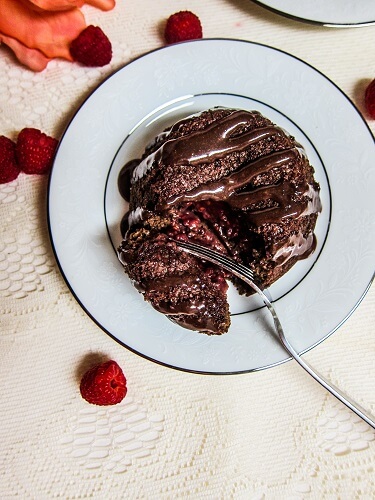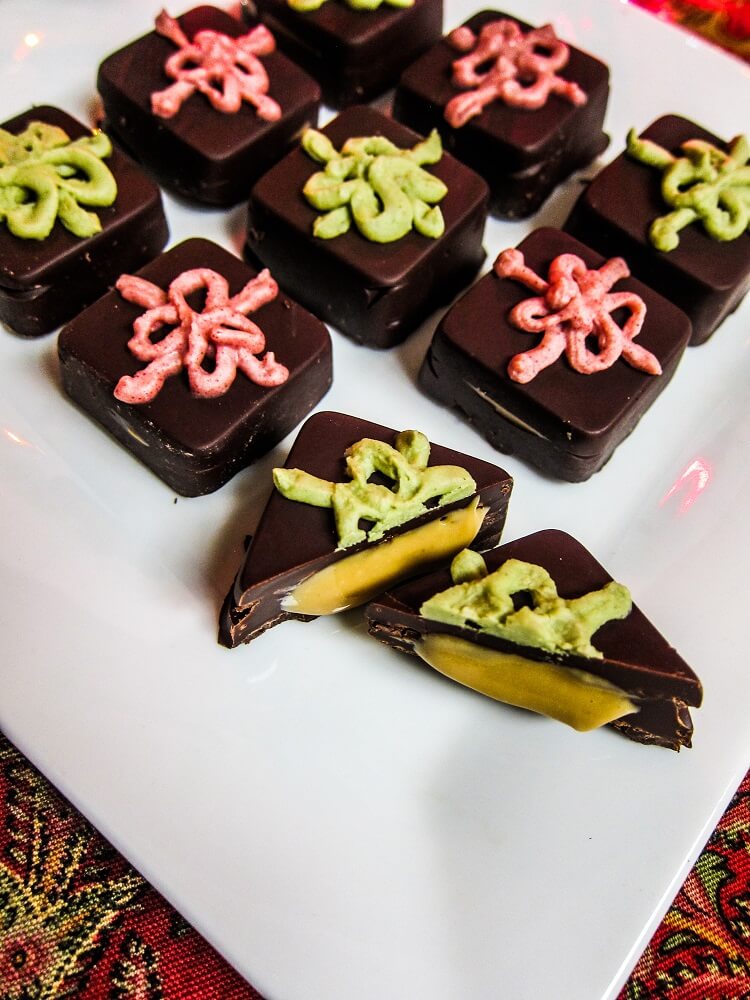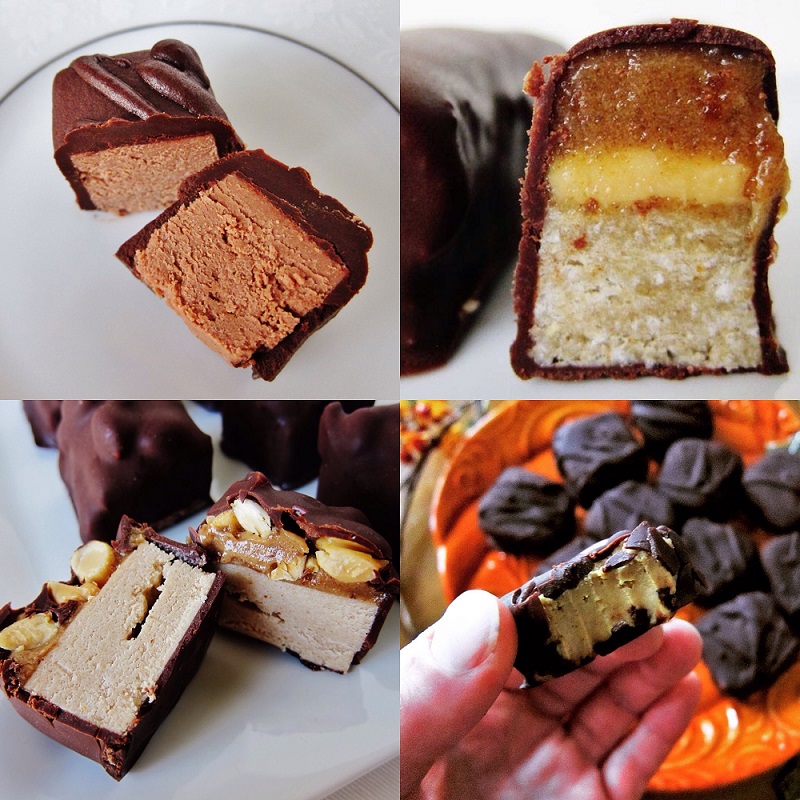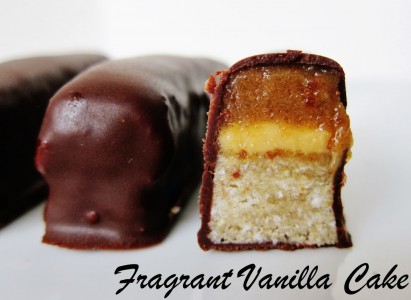
I recently watched an episode of America’s Test Kitchen when I was downstairs running on my treadmill on a Saturday morning (that is what I usually do on weekends while I work out, watch cooking shows to get ideas for recipes and learn things), and they were making Millionaire Bars. They looked sooo good. A layer of rich caramel on a shortbread crust with dark chocolate on top. Now mind you they were not vegan at all, but I said to myself I have to make those sometime, they seem totally do-able. When I was talking to my Mom a few days later, she told me she had seen the episode too and told me I should recreate a vegan version. I decided that I needed to make them on New Years Day, since I was off work and had extra time.
I cut the size of the recipe in half, since I don’t have a large family and I only wanted an 8×8 inch pan instead of a 9×13. I was a little nervous about the crust I admit, because I have tried to veganize a shortbread crust before and it did not work at all. The oil just bubbled out and it was all greasy. So this time I cut back on the fat, using 2 Tbsp less than the one I was trying to veganize, and I swapped out the butter for coconut oil and avocado oil. If I had used straight coconut oil the crust would have gotten too hard once chilled but that little bit of avocado oil makes it more like if I had used butter. I am not a fan of store bought buttery sticks, so this is why use the oils I do and I have had success so far with the combo. Also, I didn’t think the original recipe had enough flour so, I added a good amount of tapioca flour along with the pastry flour in the crust to make it tender in the same manor cornstarch would. If I had just added more flour it might have been more tough but cornstarch makes a nice melt in your mouth texture.
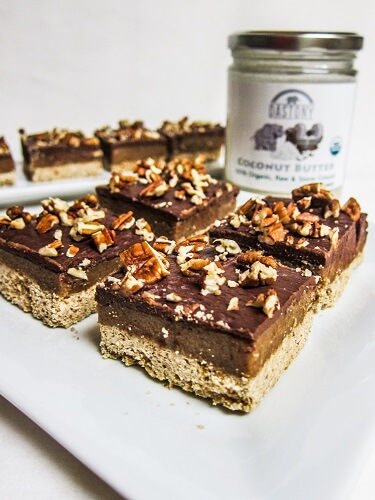
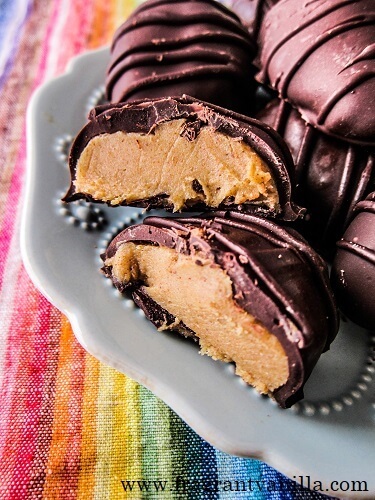
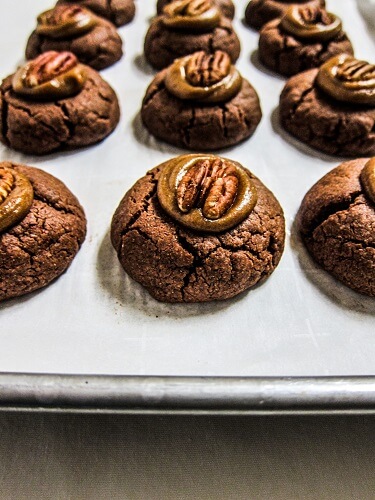
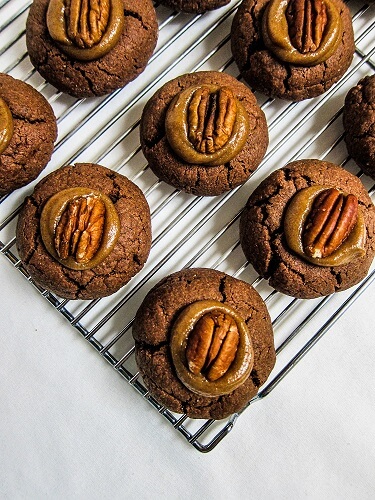
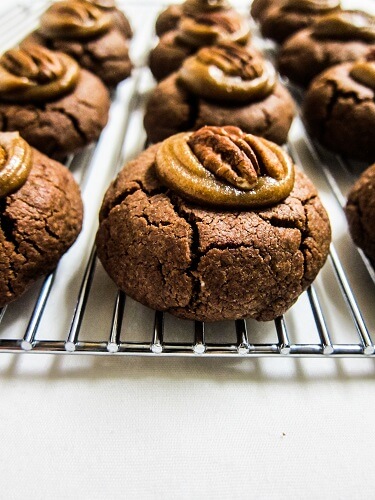
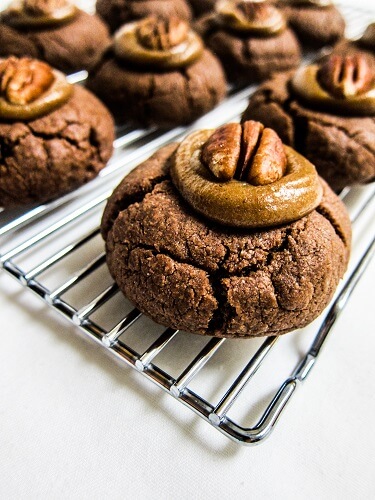
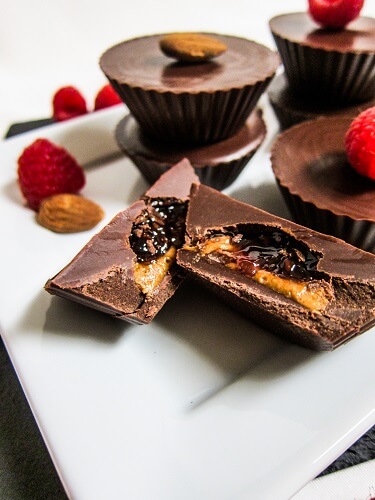
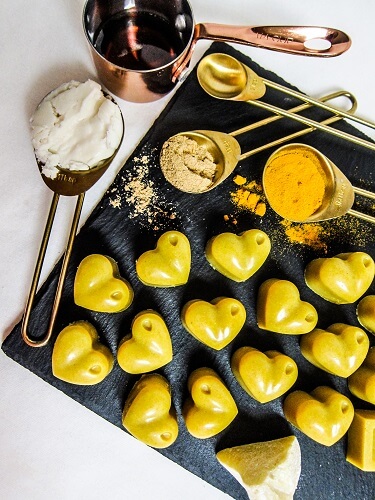
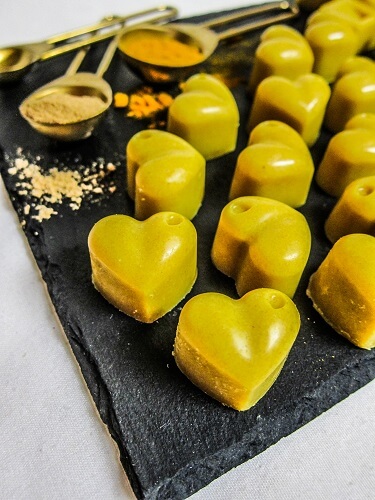
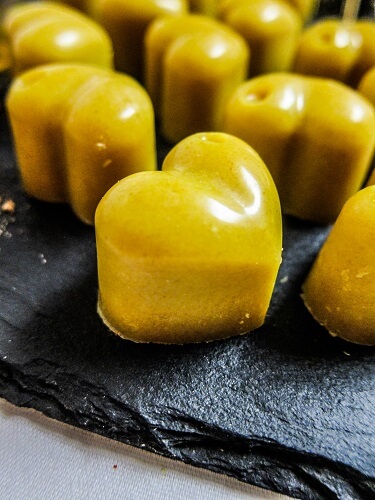
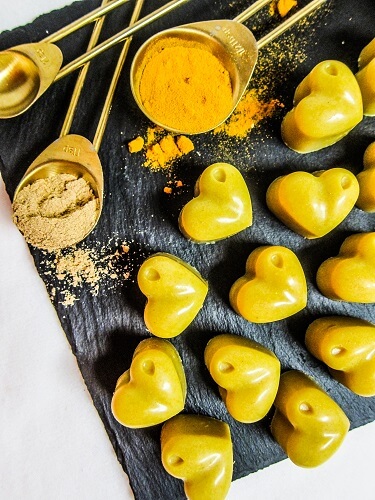
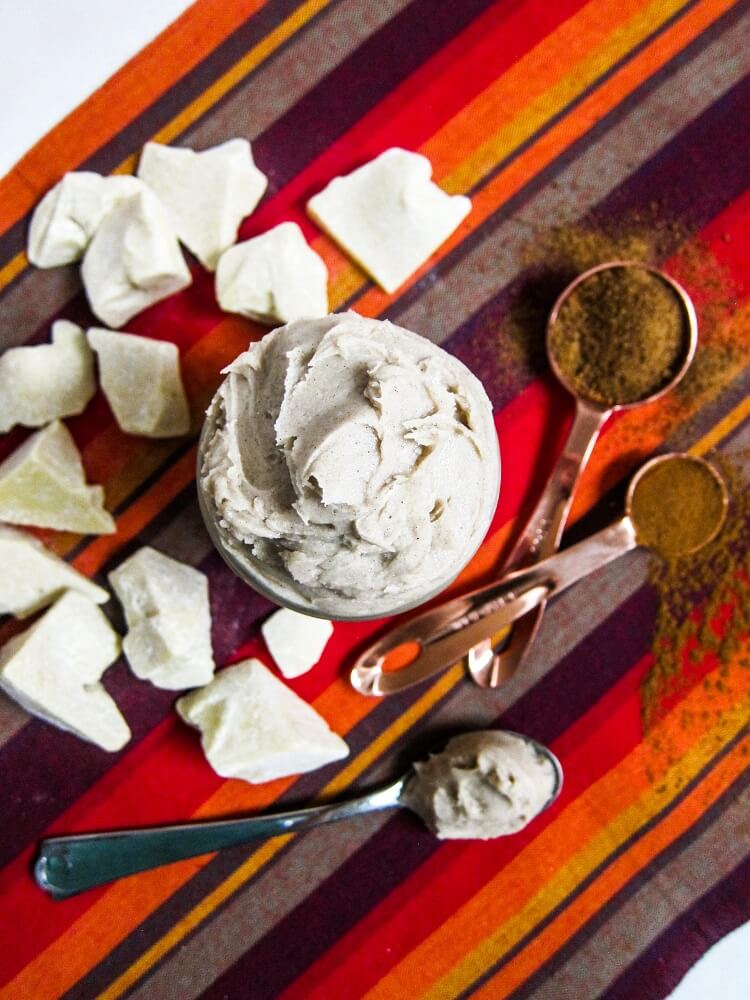
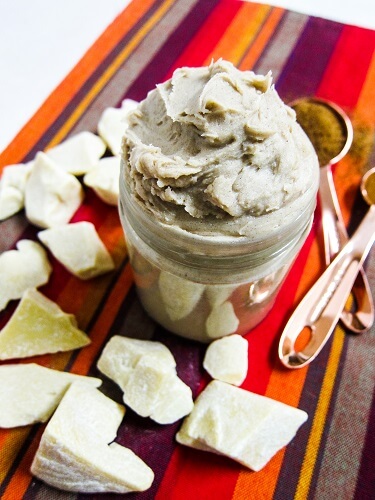
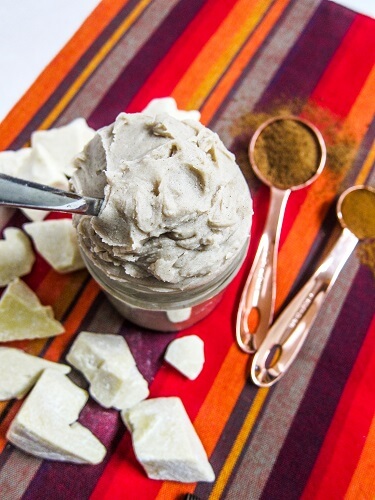
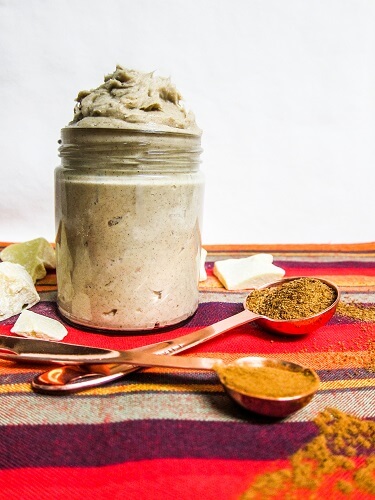
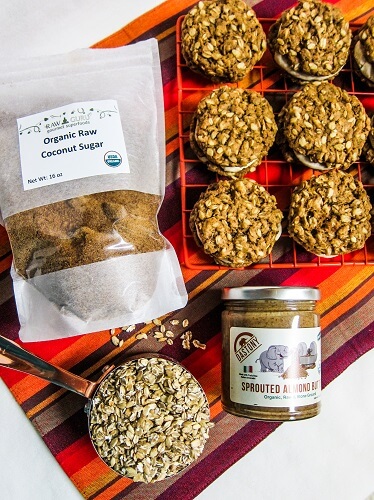
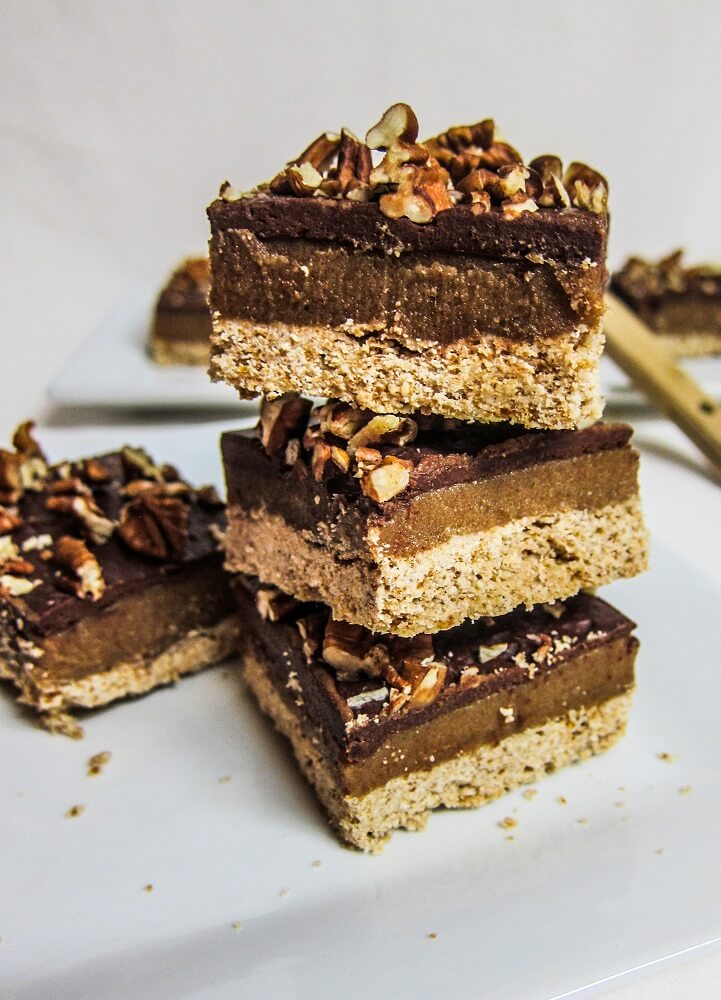
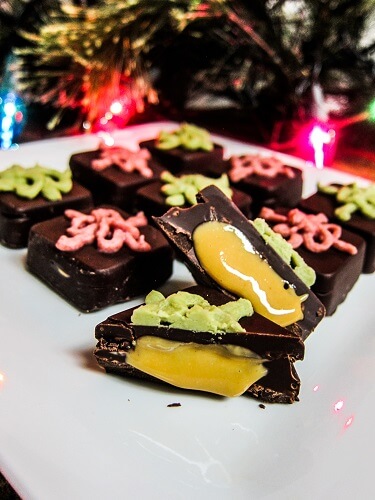
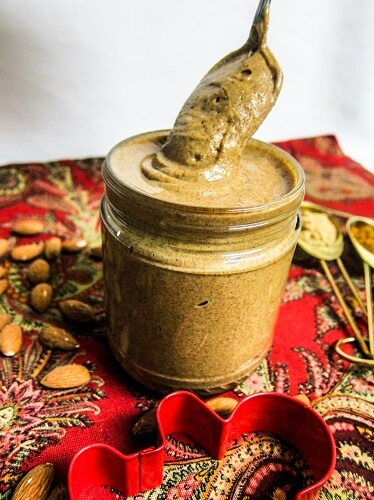
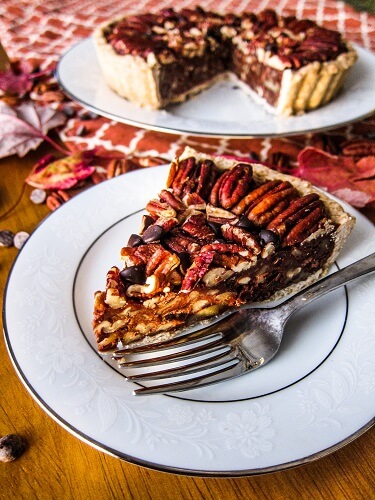
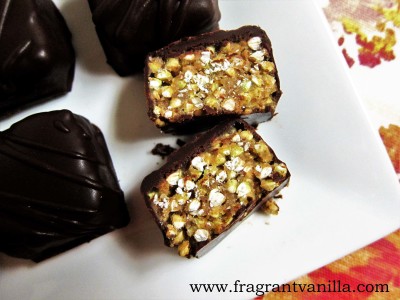
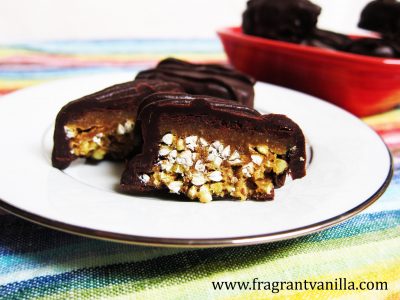
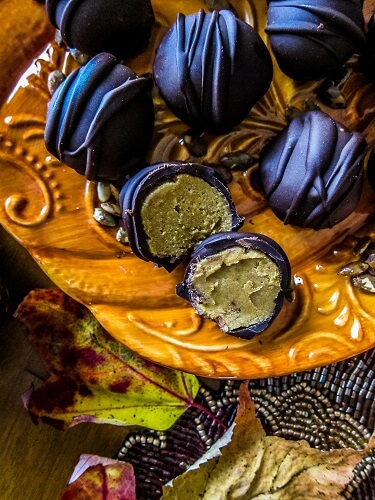
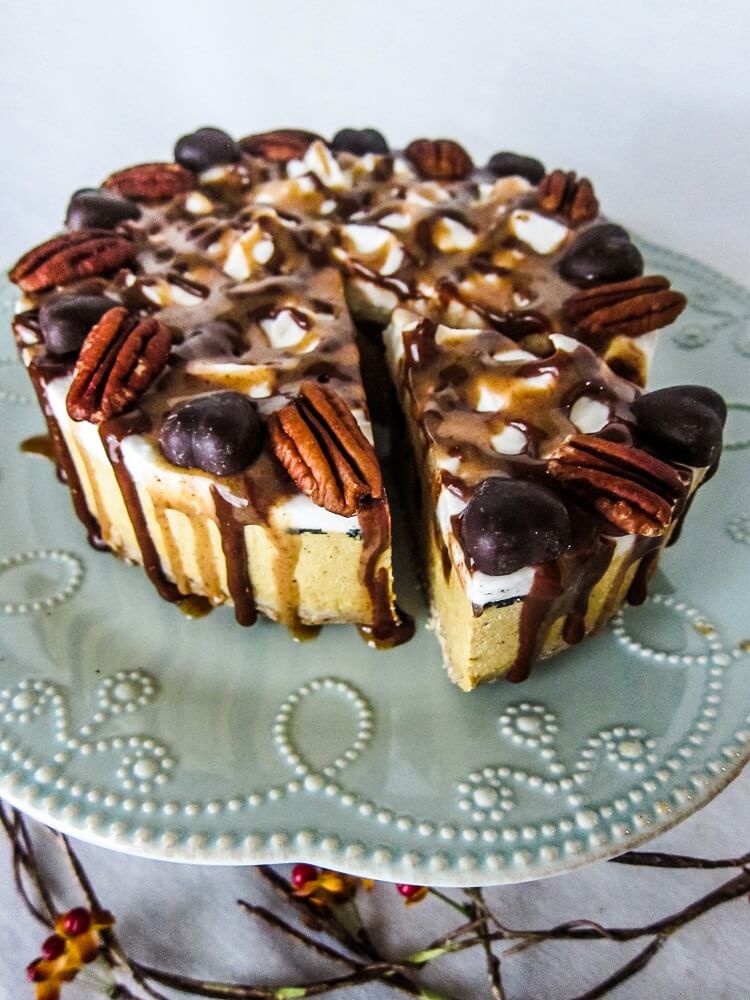
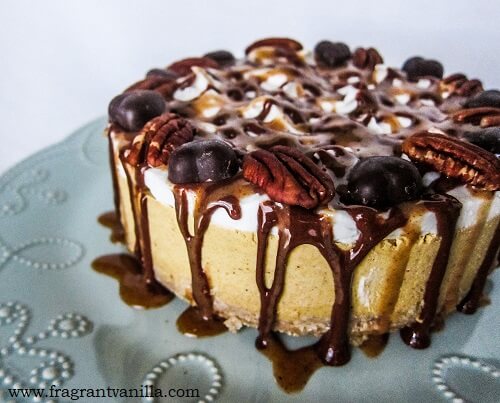
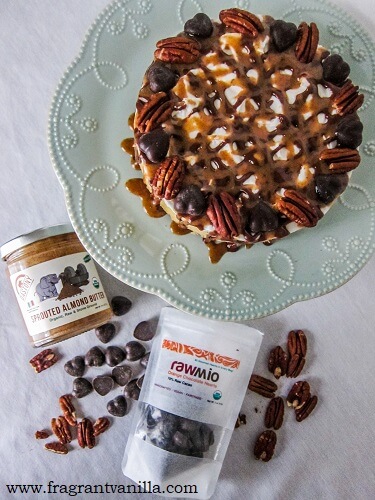
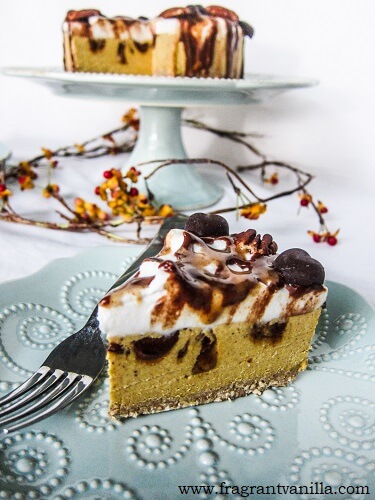
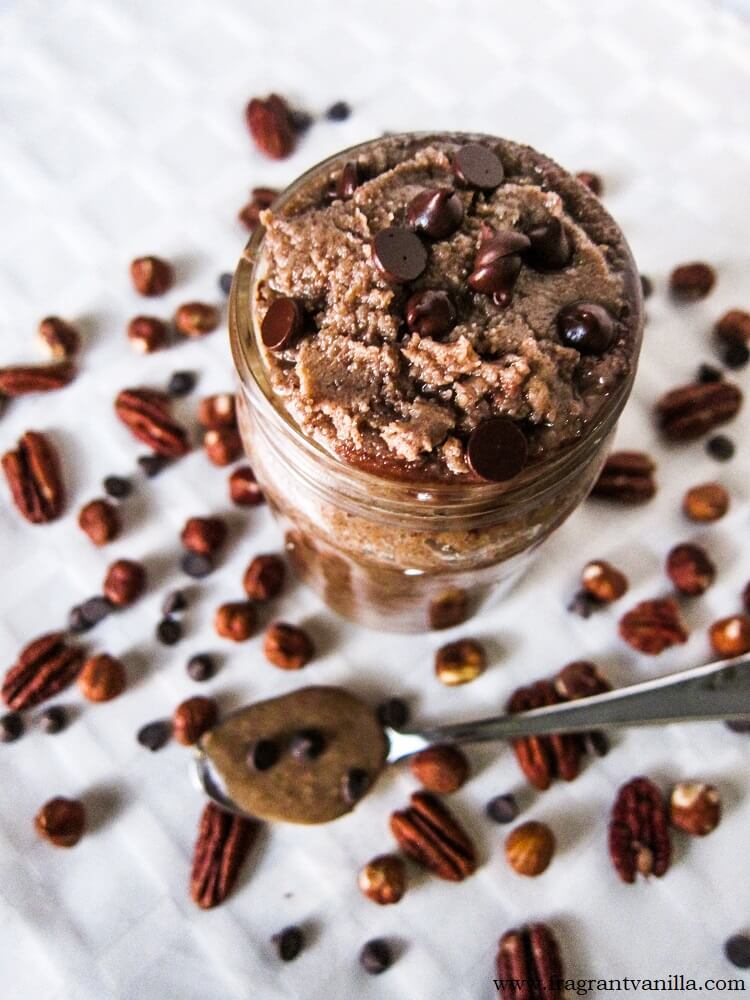
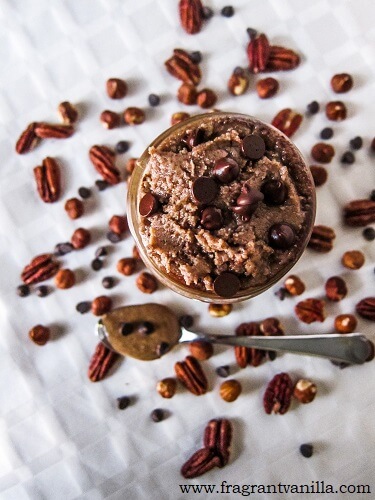
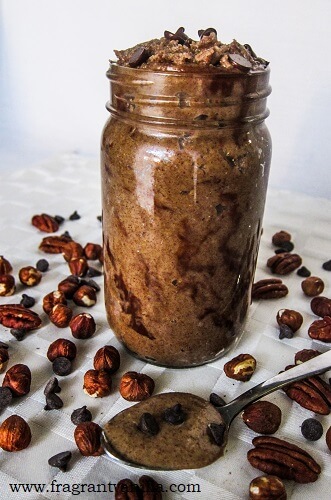
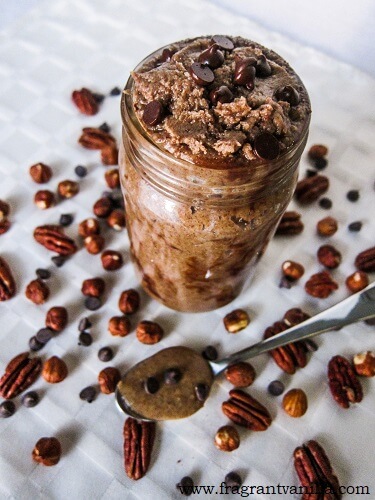
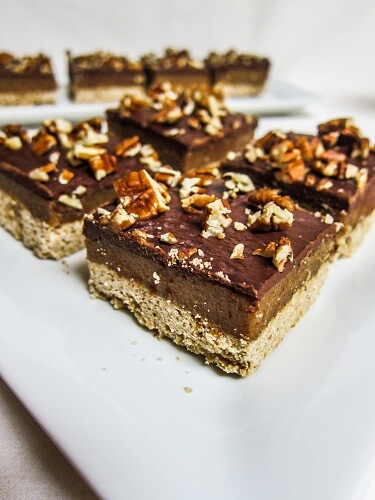
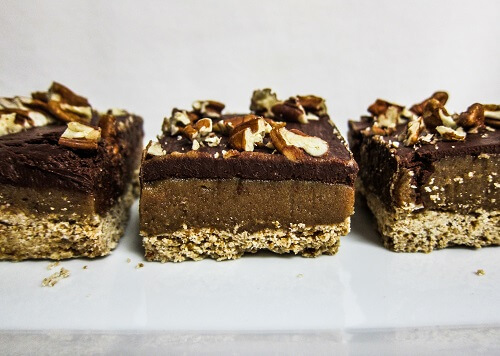
It baked up beautifully! I was super excited to make the rest of it. For the caramel, I used dates as the main ingredient since they are nature’s caramel after all. I combined them with pecan butter because it has an almost caramel like flavor, but of course you could use almond butter if you don’t have any. I had to thicken the caramel as well, so that it would stay nice when the bars were cut and keep its shape, so I added Dastony coconut butter from Raw Guru to it to make the caramel more firm, plus give it richness and a more sweet flavor. The original recipe called for sweetened condensed milk or some kind of milk, so it took the place of that in my recipe. I decided to make it salted caramel, since I love sea salt with my caramel. It makes it all the more crave worthy. And, OMG was the caramel ever amazing. I could have just eaten it with a spoon.
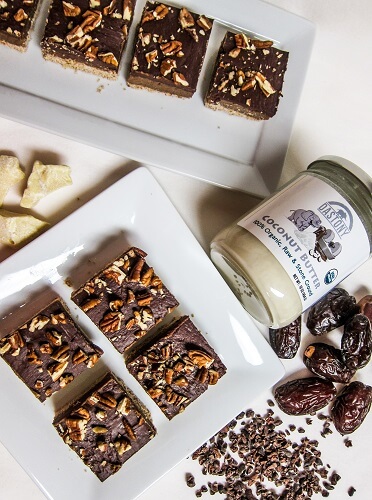
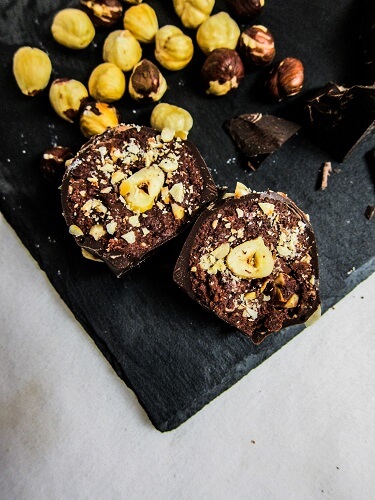
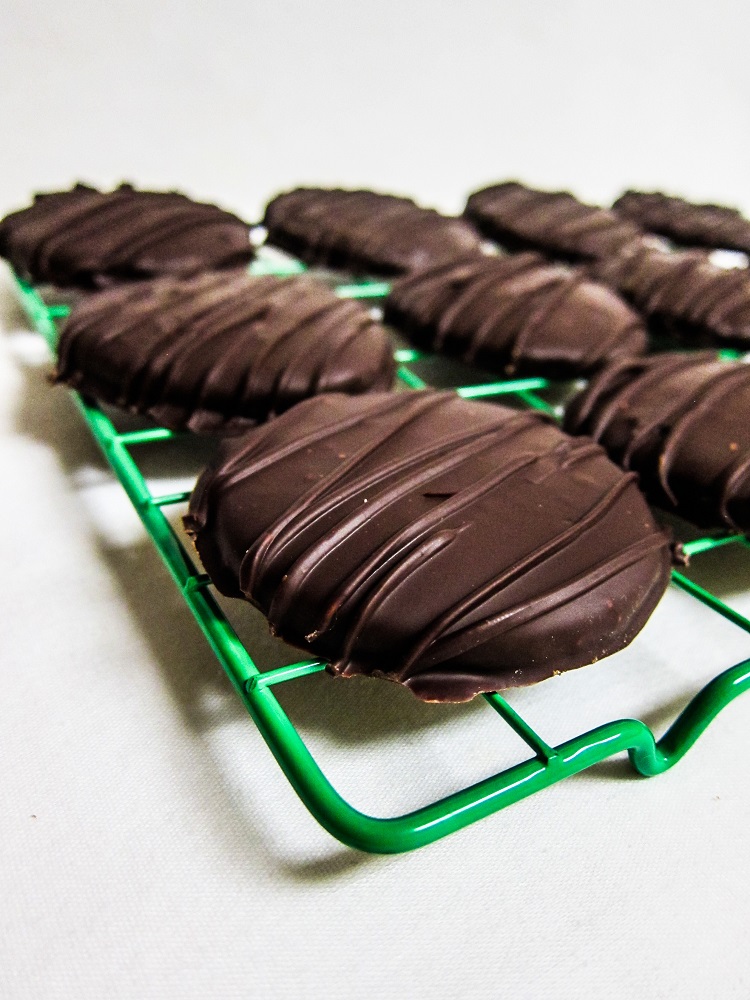
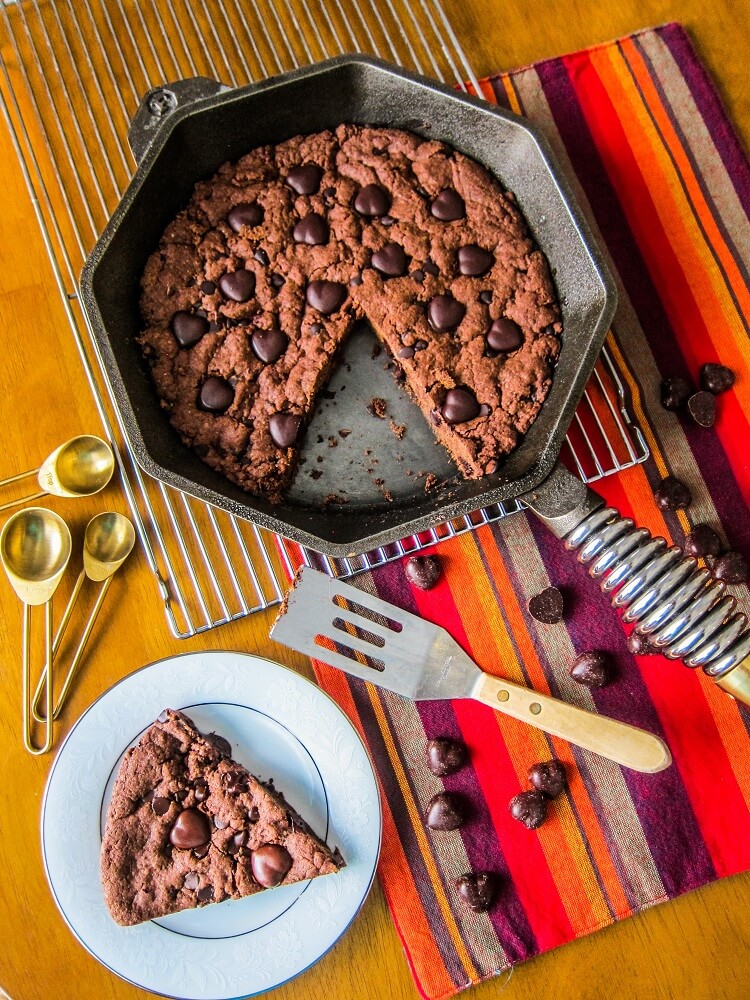
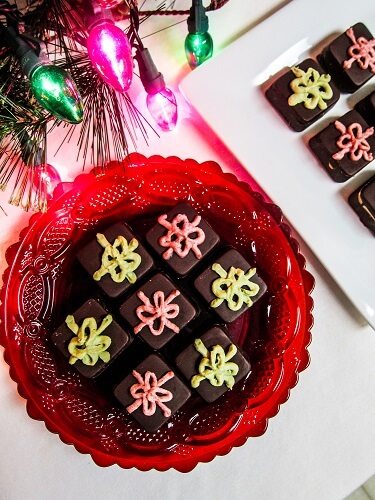
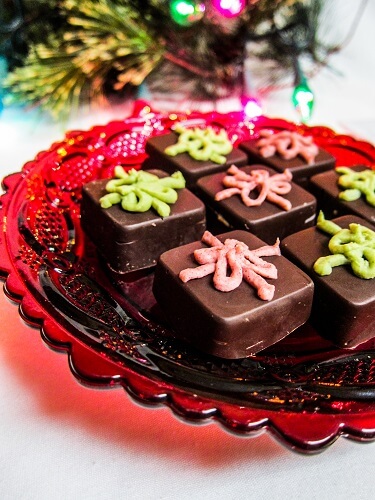
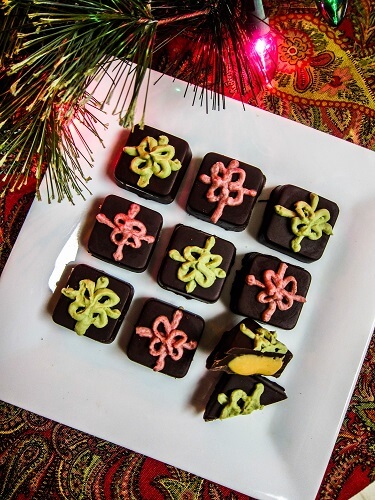
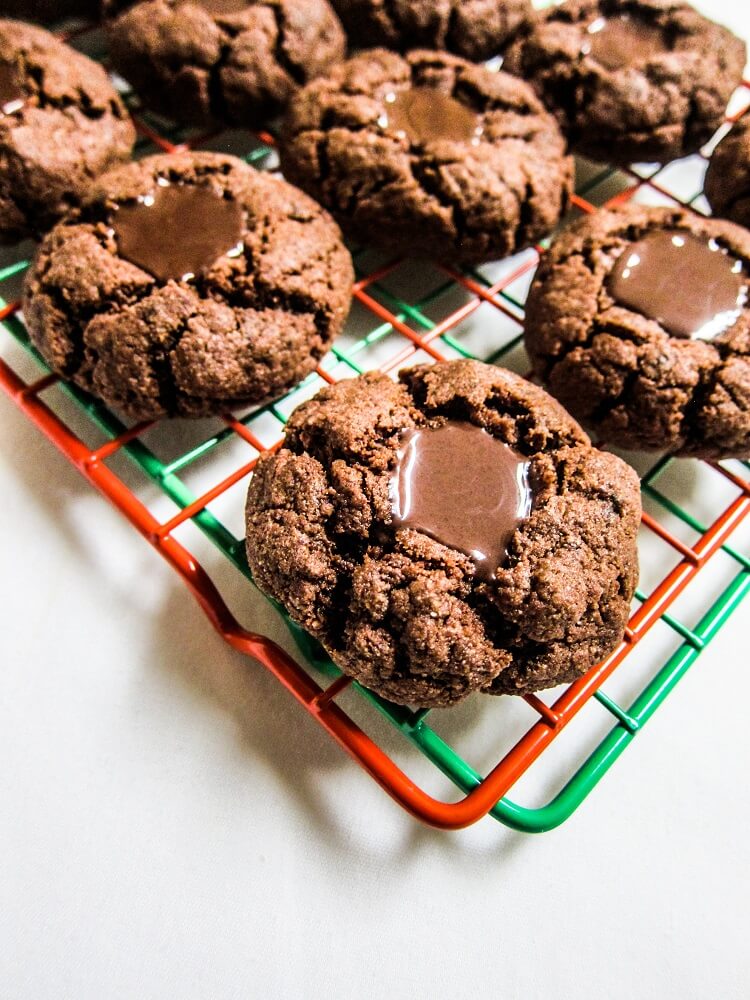
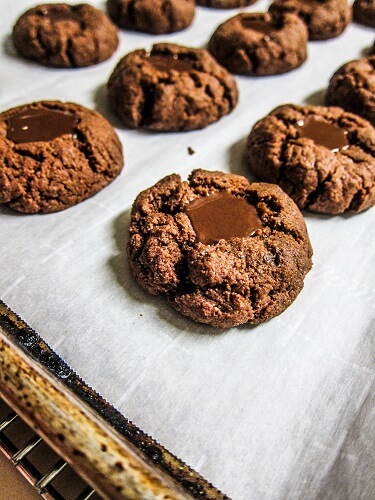
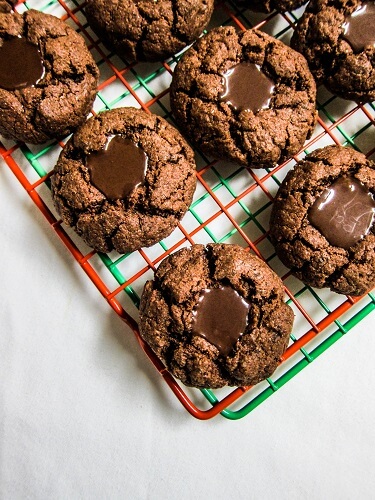
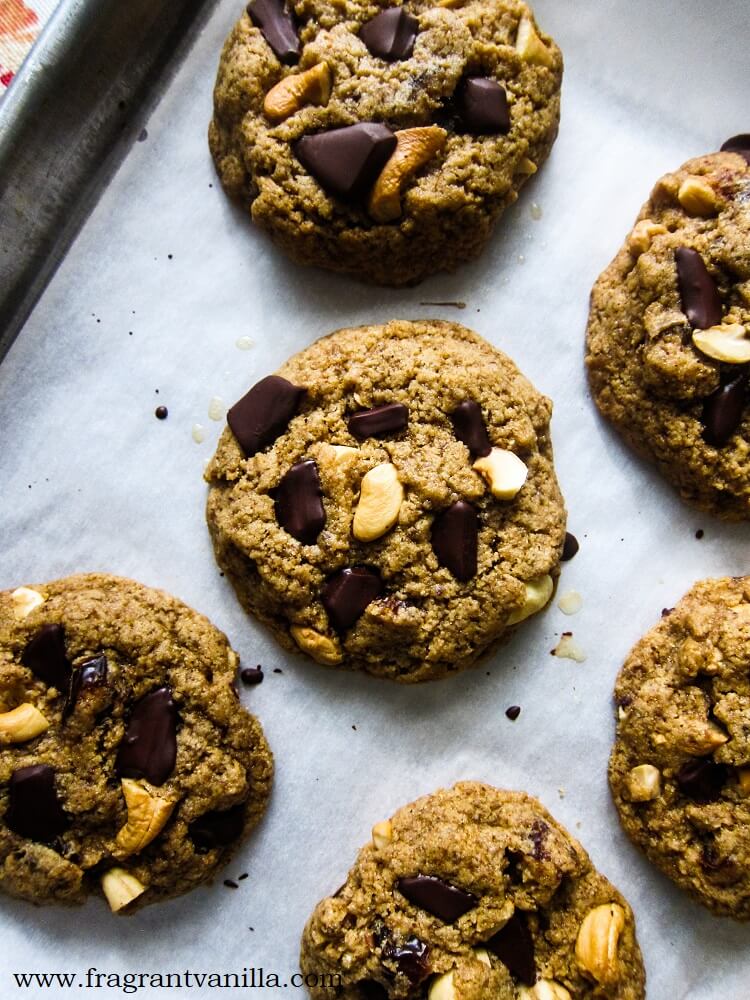
It got even better once I made the chocolate ganache to top off the caramel, and decided to sprinkle pecans over it to make it more pretty. The pecans aren’t traditional, but this is my spin on the classic bars. They were sooo crave worthy! I make a lot of desserts, but I can honestly say these are some of the best bars I have ever made, and I am totally please with how all of the elements of them turned out. The crust was tender and buttery, the filling was gooey, sweet and tasted like traditional caramel, plus firm enough to slice nicely, and the rich dark chocolate ganache and crunchy pecans were the perfect pairing with it! These are crave worthy. If you love caramel you must make these.

Vegan Salted Caramel Millionaire Bars
Makes 16
Crust:
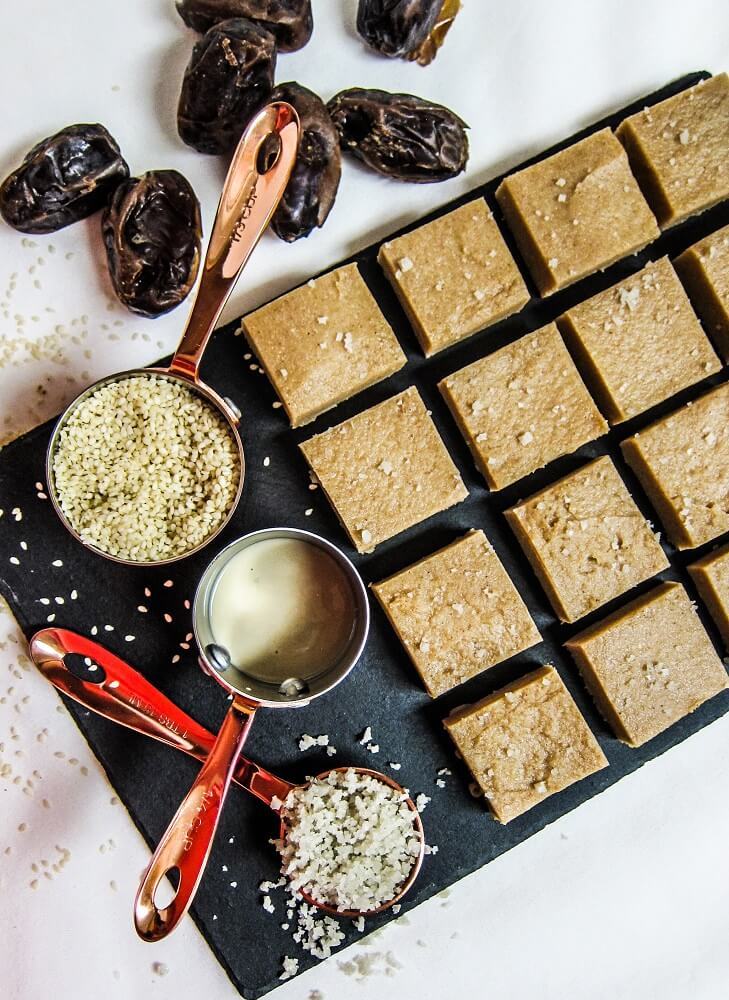
- 1 3/4 cups organic whole wheat pastry flour*
- 1/4 cup tapioca flour
- 1/2 cup maple sugar
- 1/4 tsp sea salt
- 1/4 cup melted coconut oil
- 1/4 cup plus 2 Tbsp avocado oil (or other neutral oil liquid at cool temperatures)
Caramel:
- 1 1/2 cups soft, pitted medjool dates (if they are not soft, soak them in filtered water 30 minutes & drain before use)
- 1/2 cup pecan butter or almond butter at room temperature
- 1/4 cup plus 2 Tbsp Dastony coconut butter, warmed to liquid
- 1/4 cup plus 2 Tbsp filtered water
- 3 Tbsp maple syrup
- 1 tsp pure vanilla extract
- 1/3 tsp sea salt
Chocolate:
- 8 oz vegan chocolate chips, or chopped dark chocolate
- 1/2 cup coconut cream (you want the thick part of the coconut milk from the top of the can I used Thai Kitchen brand)
Topping:
- 3/4 cup chopped toasted pecans
Instructions:
- Preheat the oven to 350F degrees, and line an 8×8 inch square pan with parchment paper (so that it goes up the sides too).
- To make the crust, mix all ingredients together in a bowl until combined, then press into the bottom of the prepared pan.
- Place the pan in the oven and bake for 20 minutes or until set and lightly browned.
- To make the caramel, combine all ingredients in a high speed blender or food processor and process until smooth. If you do not have a high speed blender and you still have little date bits you may strain the caramel through a fine meshed strainer to remove them. Pour the caramel over the prepared crust. Place in the freezer until firm, a few hours.
- Melt the dark chocolate in the top of a double boiler with the coconut milk and whisk together until smooth. Pour over the bars, and spread to the sides until smooth. Then sprinkle with the pecans.
- Place the bars in the freezer until the chocolate sets.
- Cut into 16 bars. Enjoy!
- Store any extra bars in the refrigerator in an airtight container.
*If you wanted to make these gluten free, you could use Bob’s Red Mill gluten free all purpose baking flour instead of the pastry flour.