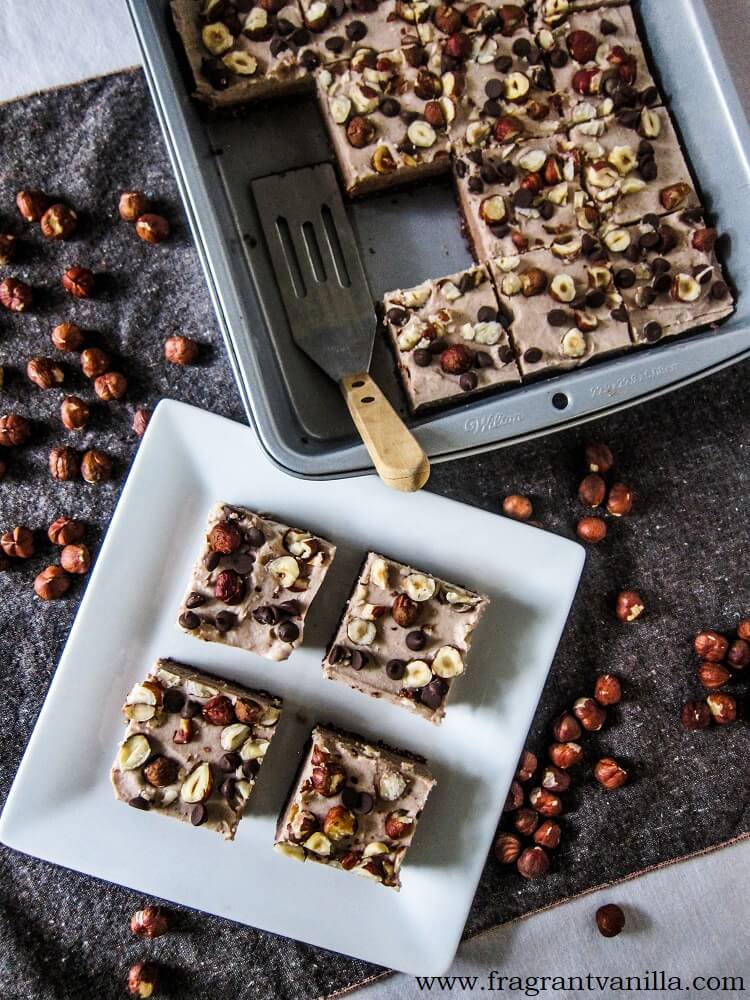
Vegan Hazelnut Bliss Bars
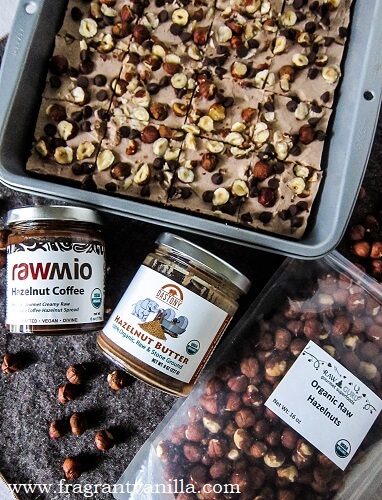
About 5 years ago, I made some really amazing raw hazelnut bars with some hazelnut spreads that Rawmio sent me. They had a chocolate crust, a layer of plain hazelnut cream and a layer of chocolate hazelnut cream with chocolate on top. They were amazing! Well, fast forward to now, when I was looking through my recipes from back in the day and I said to myself, I need to make these again! But the old ones required cracking raw coconuts open, and a spread that no longer exists, so I decided to revamp the recipe to make it easier to make (no cracking young coconuts this time, or sprouting buckwheat groats for the crust). And I was in luck, because Raw Guru had recently sent me 2 jars of hazelnut butter! One Dastony Hazelnut Butter and one Rawmio Hazelnut Coffee Spread. The plain hazelnut butter is silky smooth with intense hazelnut flavor and the hazelnut coffee is crave worthy, like something you could just eat with a spoon. I totally wanted to, but I needed it for the recipe. But seriously it tastes like they melted their dark chocolate right into it and added a hint of coffee. So much better than any other store bought hazelnut chocolate spread I have tried. Definitely check them both out on their website!
For these bars, I wanted the crust to be about the same as the old one, so I made only one swap. I traded the sprouted dehydrated buckwheat groats for organic gluten free rolled oats. Back in the day I had the buckwheat on hand at all times because I was eating a fully raw diet, but since I am not anymore I don't make them often. Hence the oat substitution. I prefer to use the things I have on hand and didn't want to go through the 2 day process of making the buckwheat groats. The crust tastes the same with the oats, so it all works out. It ends up tasting like chocolate cookie dough! For the fillings, I made a hazelnut cream and a coffee chocolate hazelnut cream. They were so freaking delicious I wanted to keep sampling it. But I had to stop so I had enough for the bars. They reminded me of cheesecake crossed with mousse.
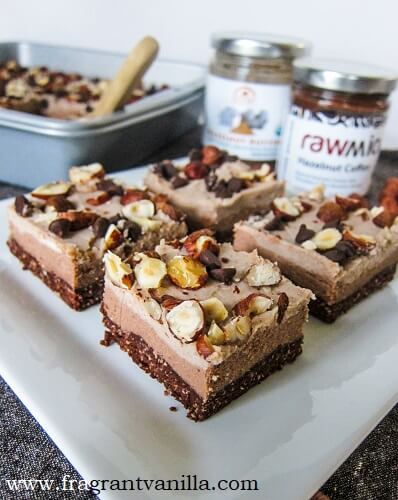
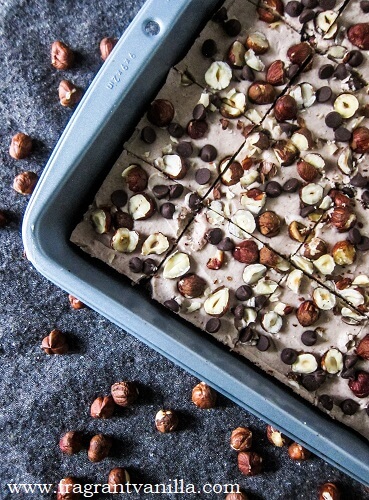
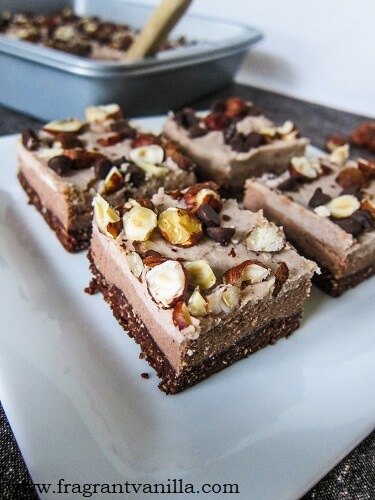
Lastly I sprinkled the top of the bars with hazelnuts and chocolate, because I thought that they needed a bit of texture and I didn't want a layer of melted chocolate like the other bars because it doesn't look nice when you cut it. I could not wait to try these! But unfortunately I had to wait until the next day because I was making them at night after work. I have to say though, they are well worth the wait! The creams are silky smooth with a rich hazelnut and chocolate flavor, and the rich chocolate crust is perfect paired with it! These are the perfect thing to make in the Summer because they don't require the oven at all!
Vegan Hazelnut Bliss Bars
Makes 16 bars
Crust:
- 1 cup Raw Guru hazelnuts
- 1 cup finely shredded dried coconut
- 3/4 cup organic gluten free rolled oats (or you may also use quinoa flakes)
- 1/4 tsp sea salt
- 1/2 cup raw cacao powder
- 3/4 cup soft medjool dates, pitted (if not soft, soak them until they are and drain them)
Creams:
- 1 15 oz can Thai Kitchen full fat coconut milk ( or another brand that is at least 3/4 of the can cream or it will not work) at room temperature
- 1/3 cup maple syrup
- 1/4 tsp sea salt
- 1 cup Dastony coconut butter, warmed to liquid
- 1/2 cup Dastony hazelnut butter
- 1/2 cup Rawmio hazelnut coffee spread
Topping:
- 1/2 cup chopped Raw Guru hazelnuts
- 1/2 cup vegan chocolate chips or chopped vegan dark chocolate
Instructions:
- For the crust, combine hazelnuts, coconut, oats, sea salt, cacao powder and dates in the food processor and process until fine crumbs and starting to hold together when squeezed. Press the mixture into a 8x8 inch square pan lined with parchment paper. Set aside in the refrigerator.
- To make the creams, combine all ingredients but the hazelnut butter and hazelnut coffee spread in a food processor and process until smooth. Remove from the food processor and divide into 2 bowls. Place one back into the food processor and add the hazelnut butter. Process until smooth, then place back in the bowl. Add the second bowl to the food processor and add the hazelnut coffee. Process until smooth, then pour over the crust, smoothing out. Pour the plain hazelnut over that and smooth out. Sprinkle with the chopped hazelnuts and chocolate chips. Place in the freezer until firmed up, for a couple of hours. Or you can put it in the refrigerator overnight (but cover the top).
- When the bars have firmed up, cut into squares and enjoy!
- Store in the fridge.
