Since a lot of people are going vegan for January, I thought I would do a post on the things that have helped me go vegan and stay vegan. I know not everyone is the same, but I want you all to succeed and not make some of the common mistakes that lead to failure. These are the things that have worked for me, and allow me to live this way and feel good. I have a lot of people who say to me, “I could never go vegan, it would be too hard.” Well, it is a life adjustment that is for sure, but if you have access to grocery stores with fresh produce, you can go vegan and stay vegan. Going vegan for me wasn’t really that hard, because I like new challenges. I had been a vegetarian for about 9 years prior, so I was used to eating my veggies as the main part of my diet, but I actually went full raw vegan cold turkey from that. I gave up the loads of cheese and yogurt I ate at the time, and found things that I liked just as much to replace them. I really enjoyed the food that had started to make as a vegan, so that is what made it easy. When you are eating foods that you enjoy, you are more likely to stick with it. I am still vegan, although not raw because I feel I am just as healthy when I eat cooked and raw foods in a balance. I see a lot of posts online or hear about people that go vegan, try it and end up going back to their old lifestyle. So I wanted to do a post today that might be helpful for those of you that are going vegan and want to stick with it long term. So, here are a few of the possible problems you might run into and how I solved them.
Giving Up Animal Products
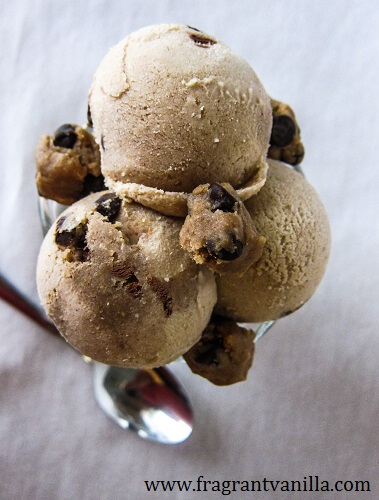
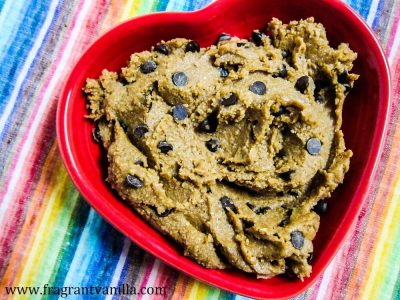
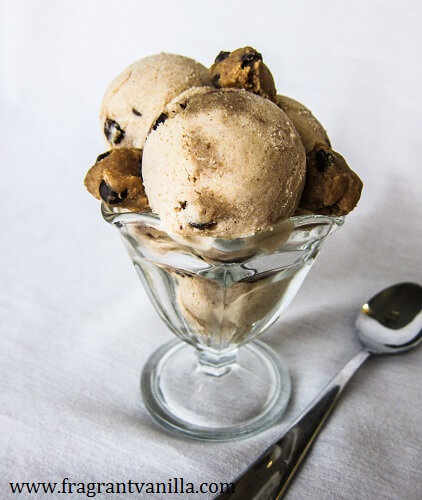
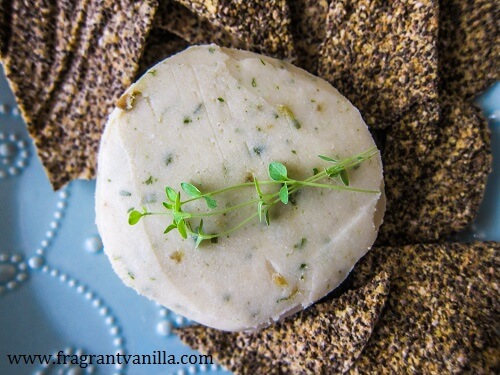
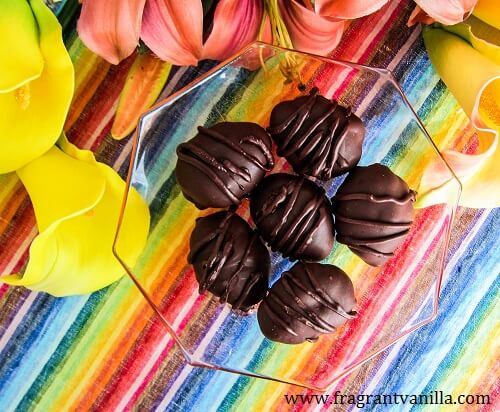
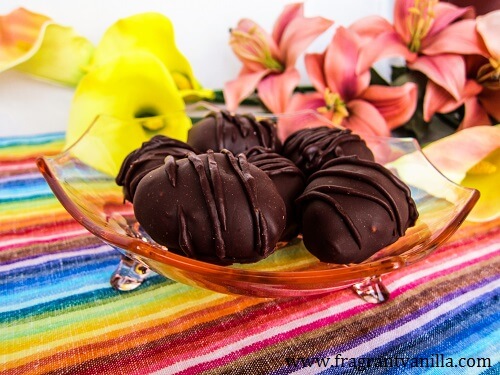
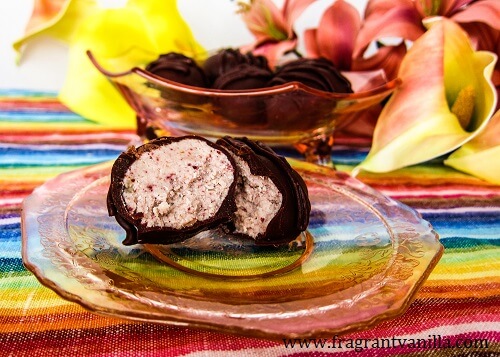
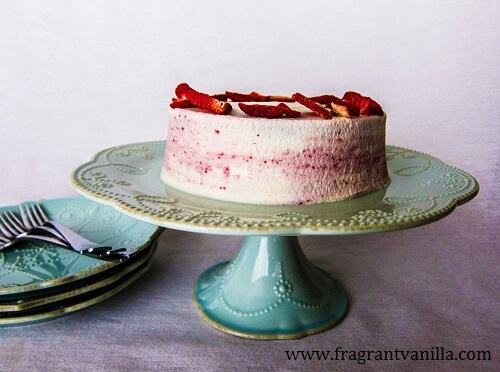
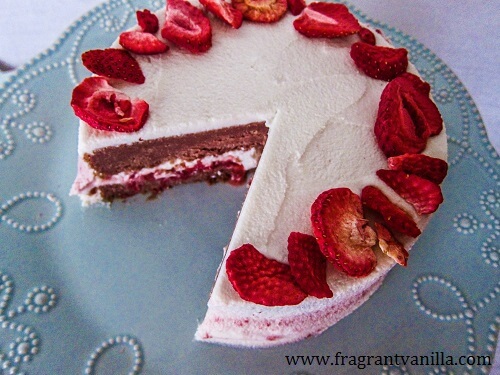
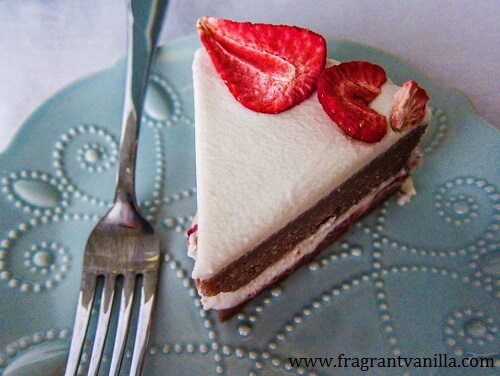
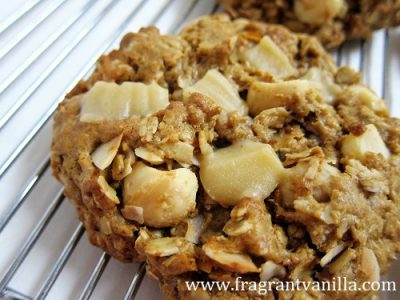
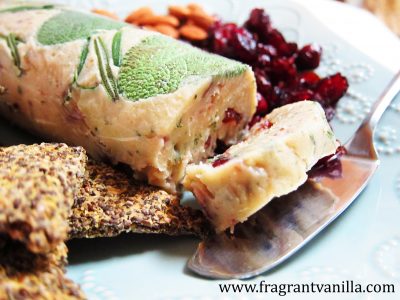
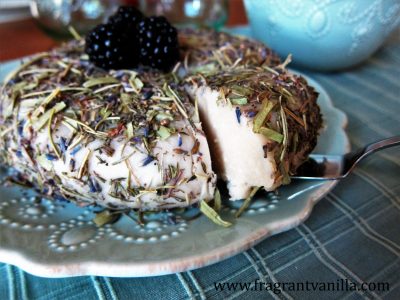
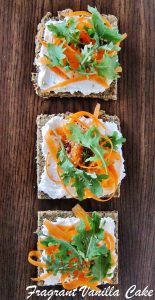
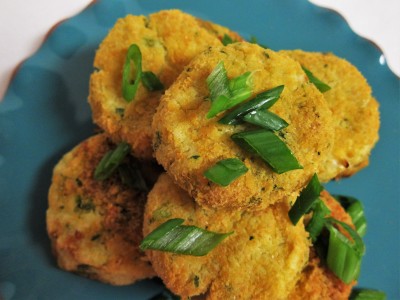
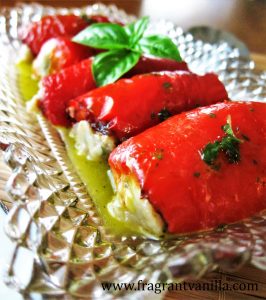
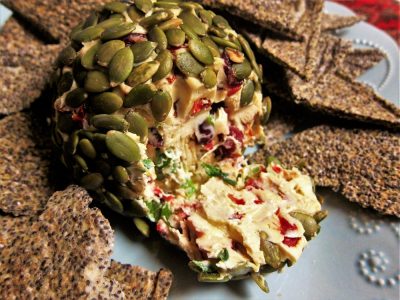
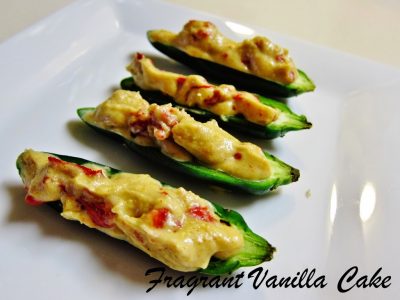
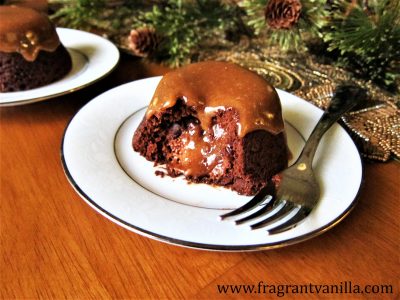
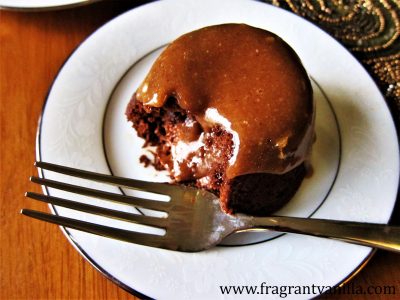
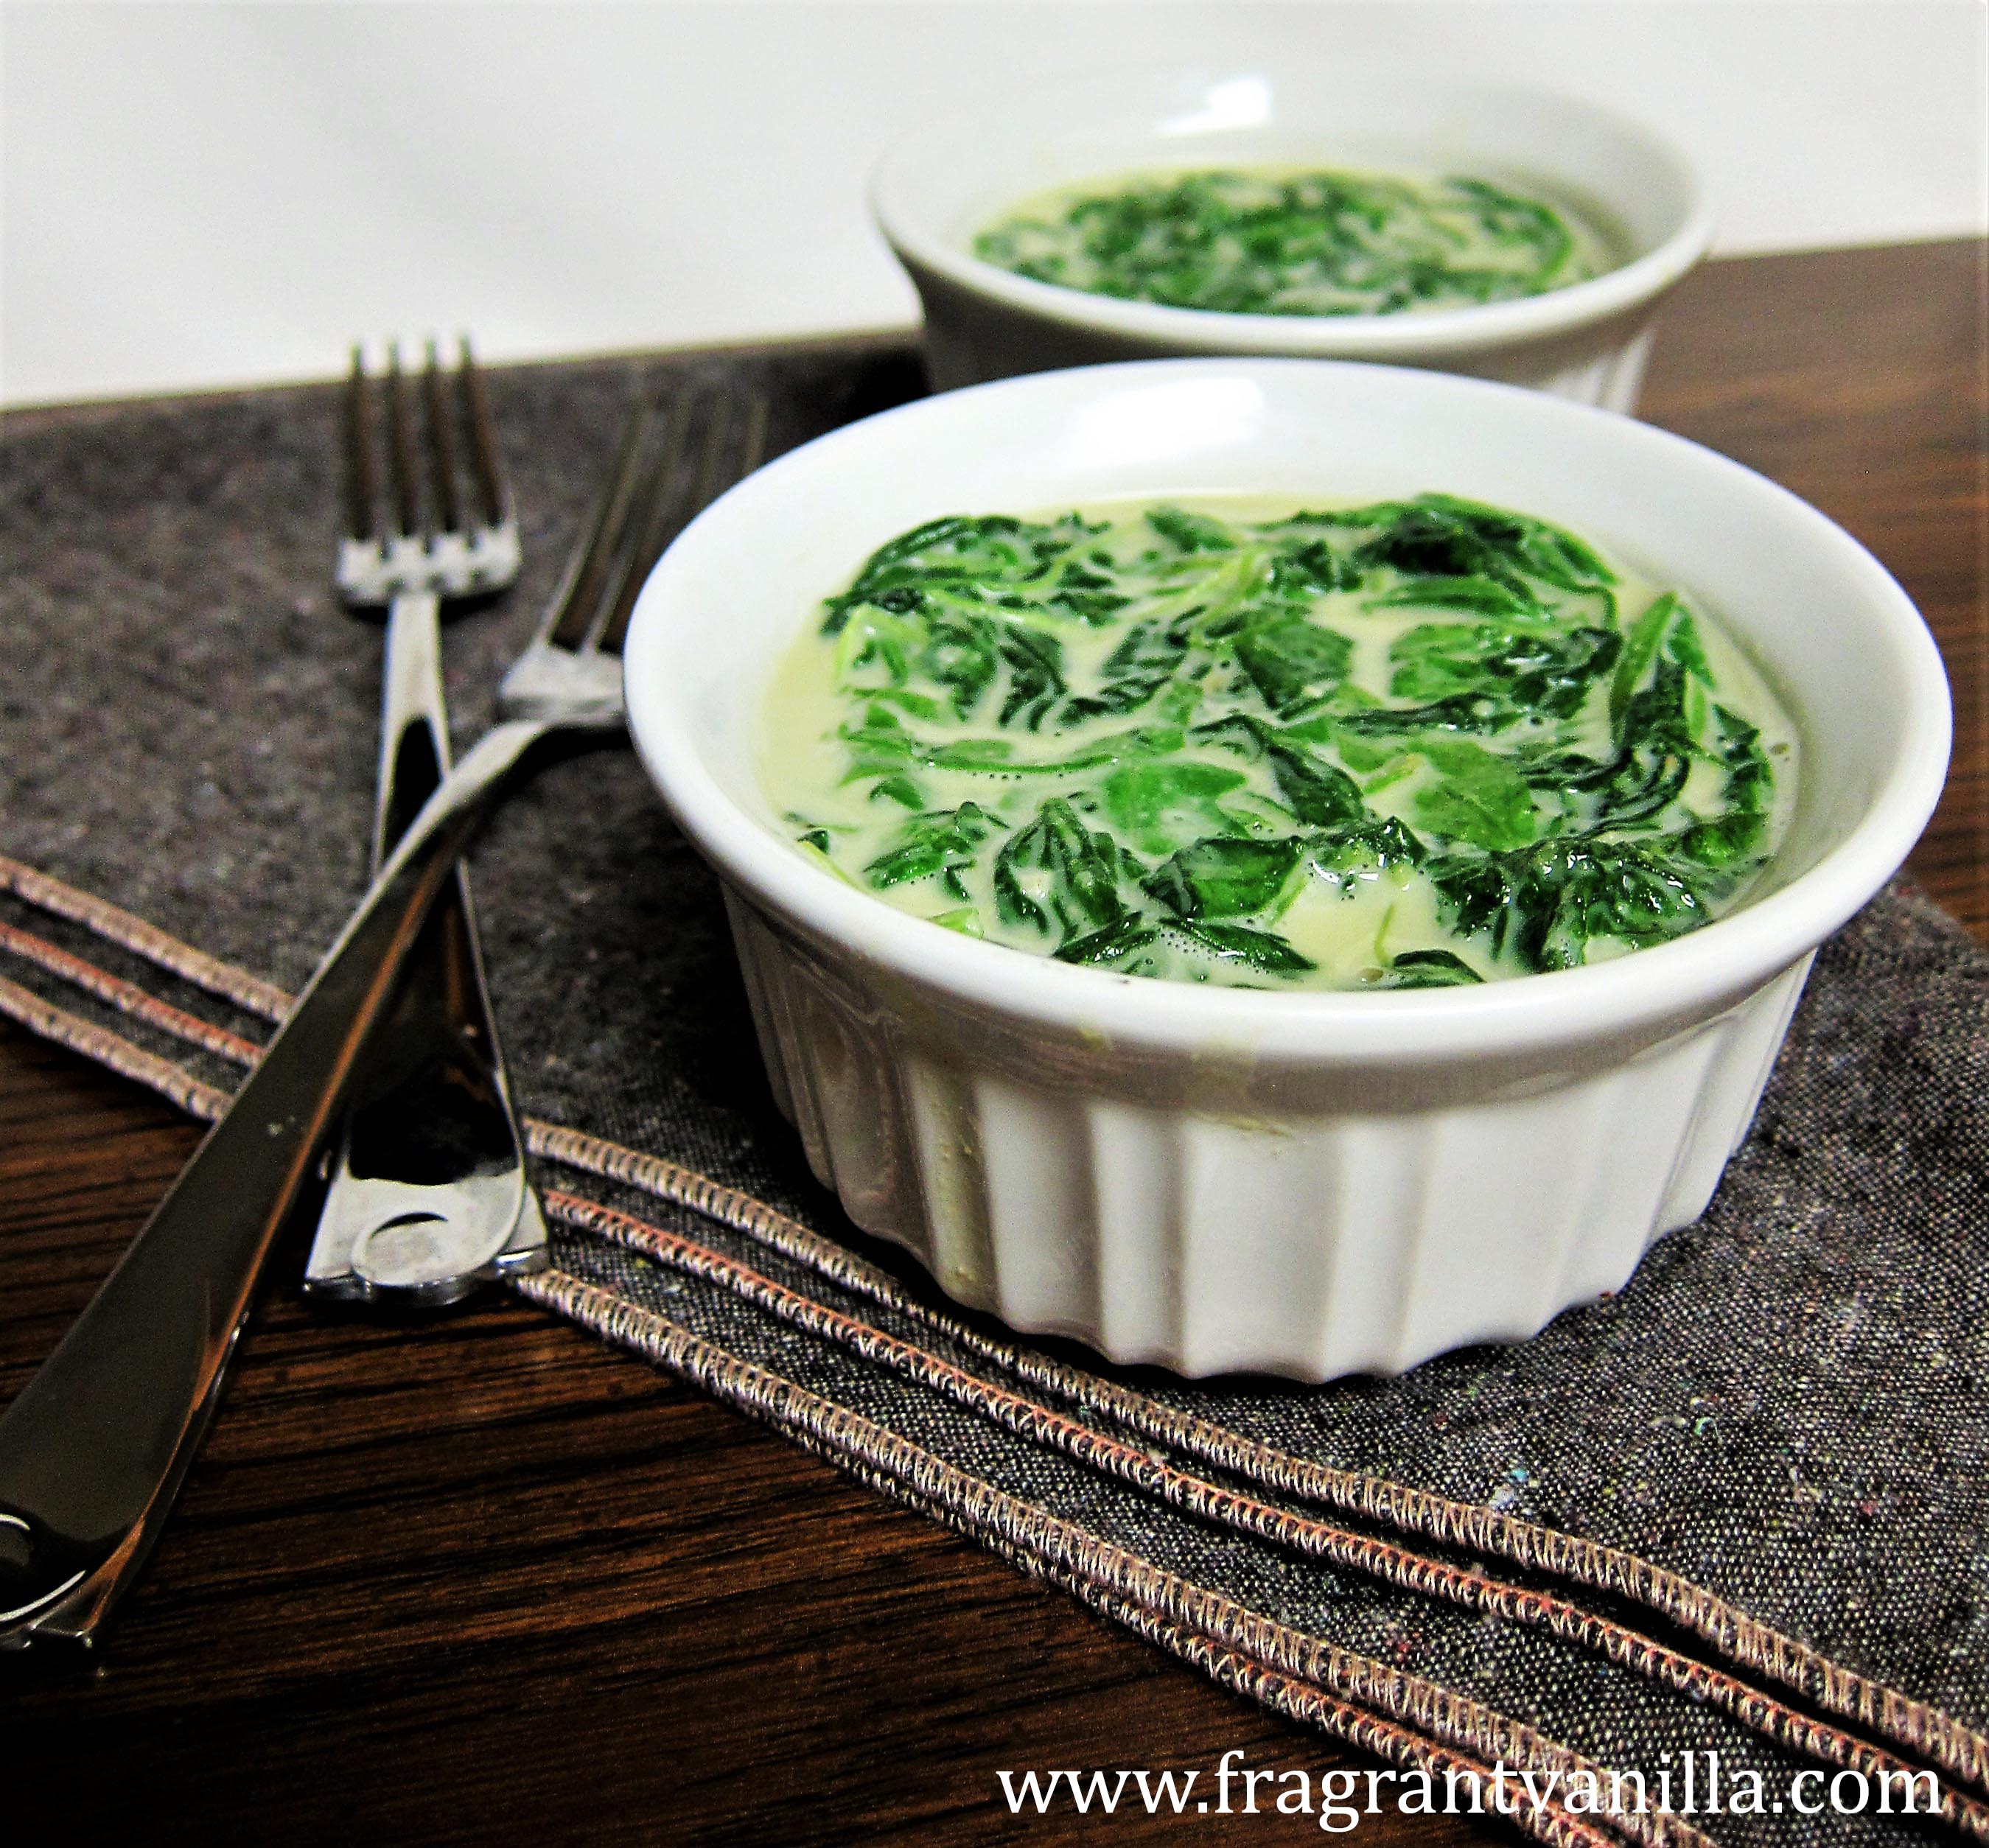
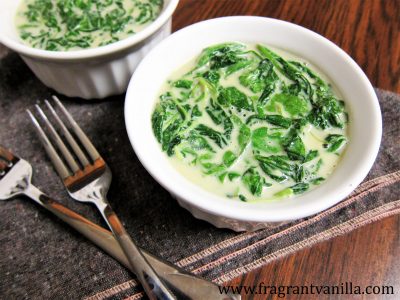
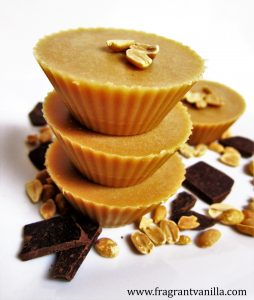
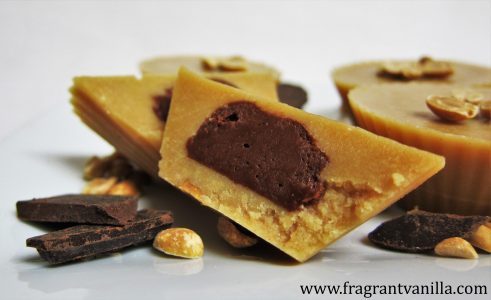
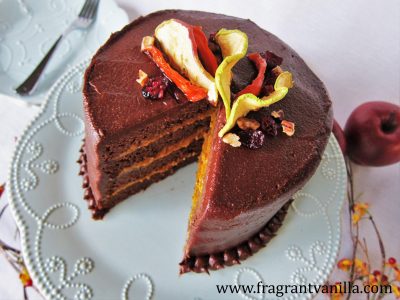
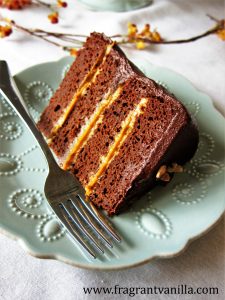
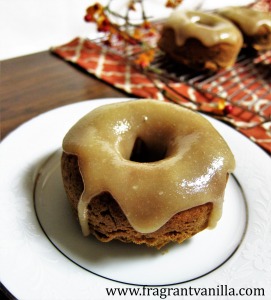
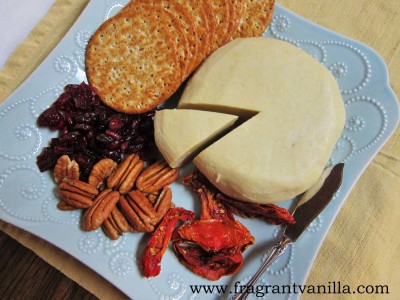
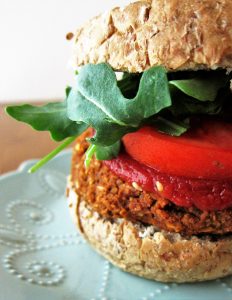
I haven’t eaten meat in many years since I became vegetarian. But it might surprise you all that at one time I loved giant cheeseburgers, pepperoni pizzas and bacon. When I was in high school, these things were eaten often and I never thought twice about it. I admit that I went vegetarian (and later vegan) to begin with for health reasons and gave up these things (now it is ethical too), but I still missed the flavors at times. At the time, there weren’t as many good meat substitutes as there are now, but lately I am seeing so many new options! A lot of them actually taste like meat too like the products from the Herbivorus Butcher, and Upton’s Naturals. Look around at your local health food store, try new products and see what you like. I would stay away from anything with too many fillers or ingredients you can not pronounce though. As far as cheese goes, you can still have delicious cheeses as a vegan. I prefer to make my own, but there are a lot of good brands you can now find at the store like Miyokos Kitchen, Or Kite Hill. Find the brand that you enjoy! There are also great vegan yogurts out there now as well, much more of a selection with less weird ingredients then there used to be. It is easy to make your own too with a few simple ingredients (link below). With all of the replacements for animal products that taste amazing, there is really no excuse as far as taste goes to not go vegan. Here are a few of my recipes that I replace traditional animal products with:
Vegan Chorizo
Chickpea Cutlets with Mushroom Gravy (chicken substitute)
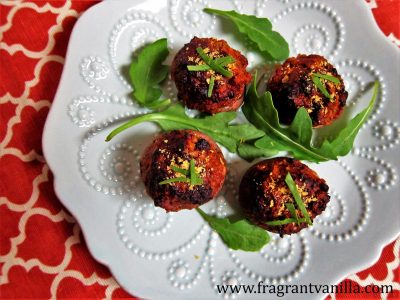
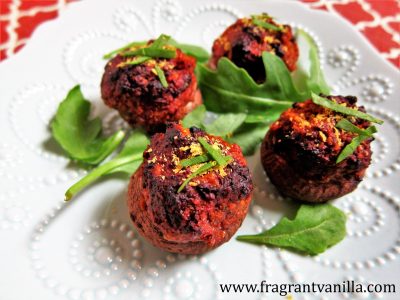
Moroccan Lentil Meatballs
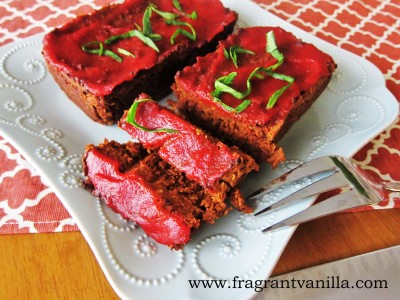
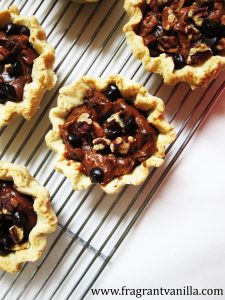
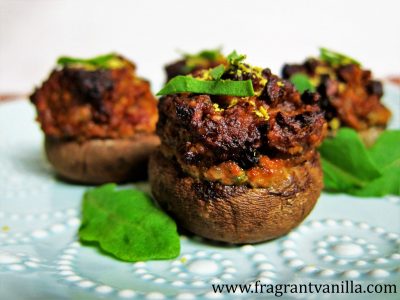
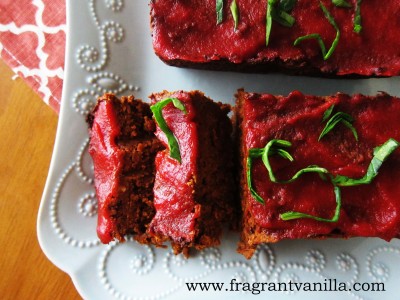
Lentil Walnut Meatloaf
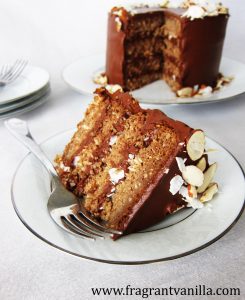
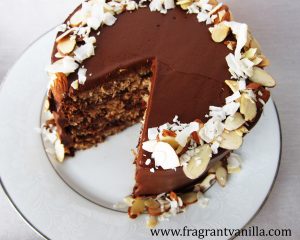
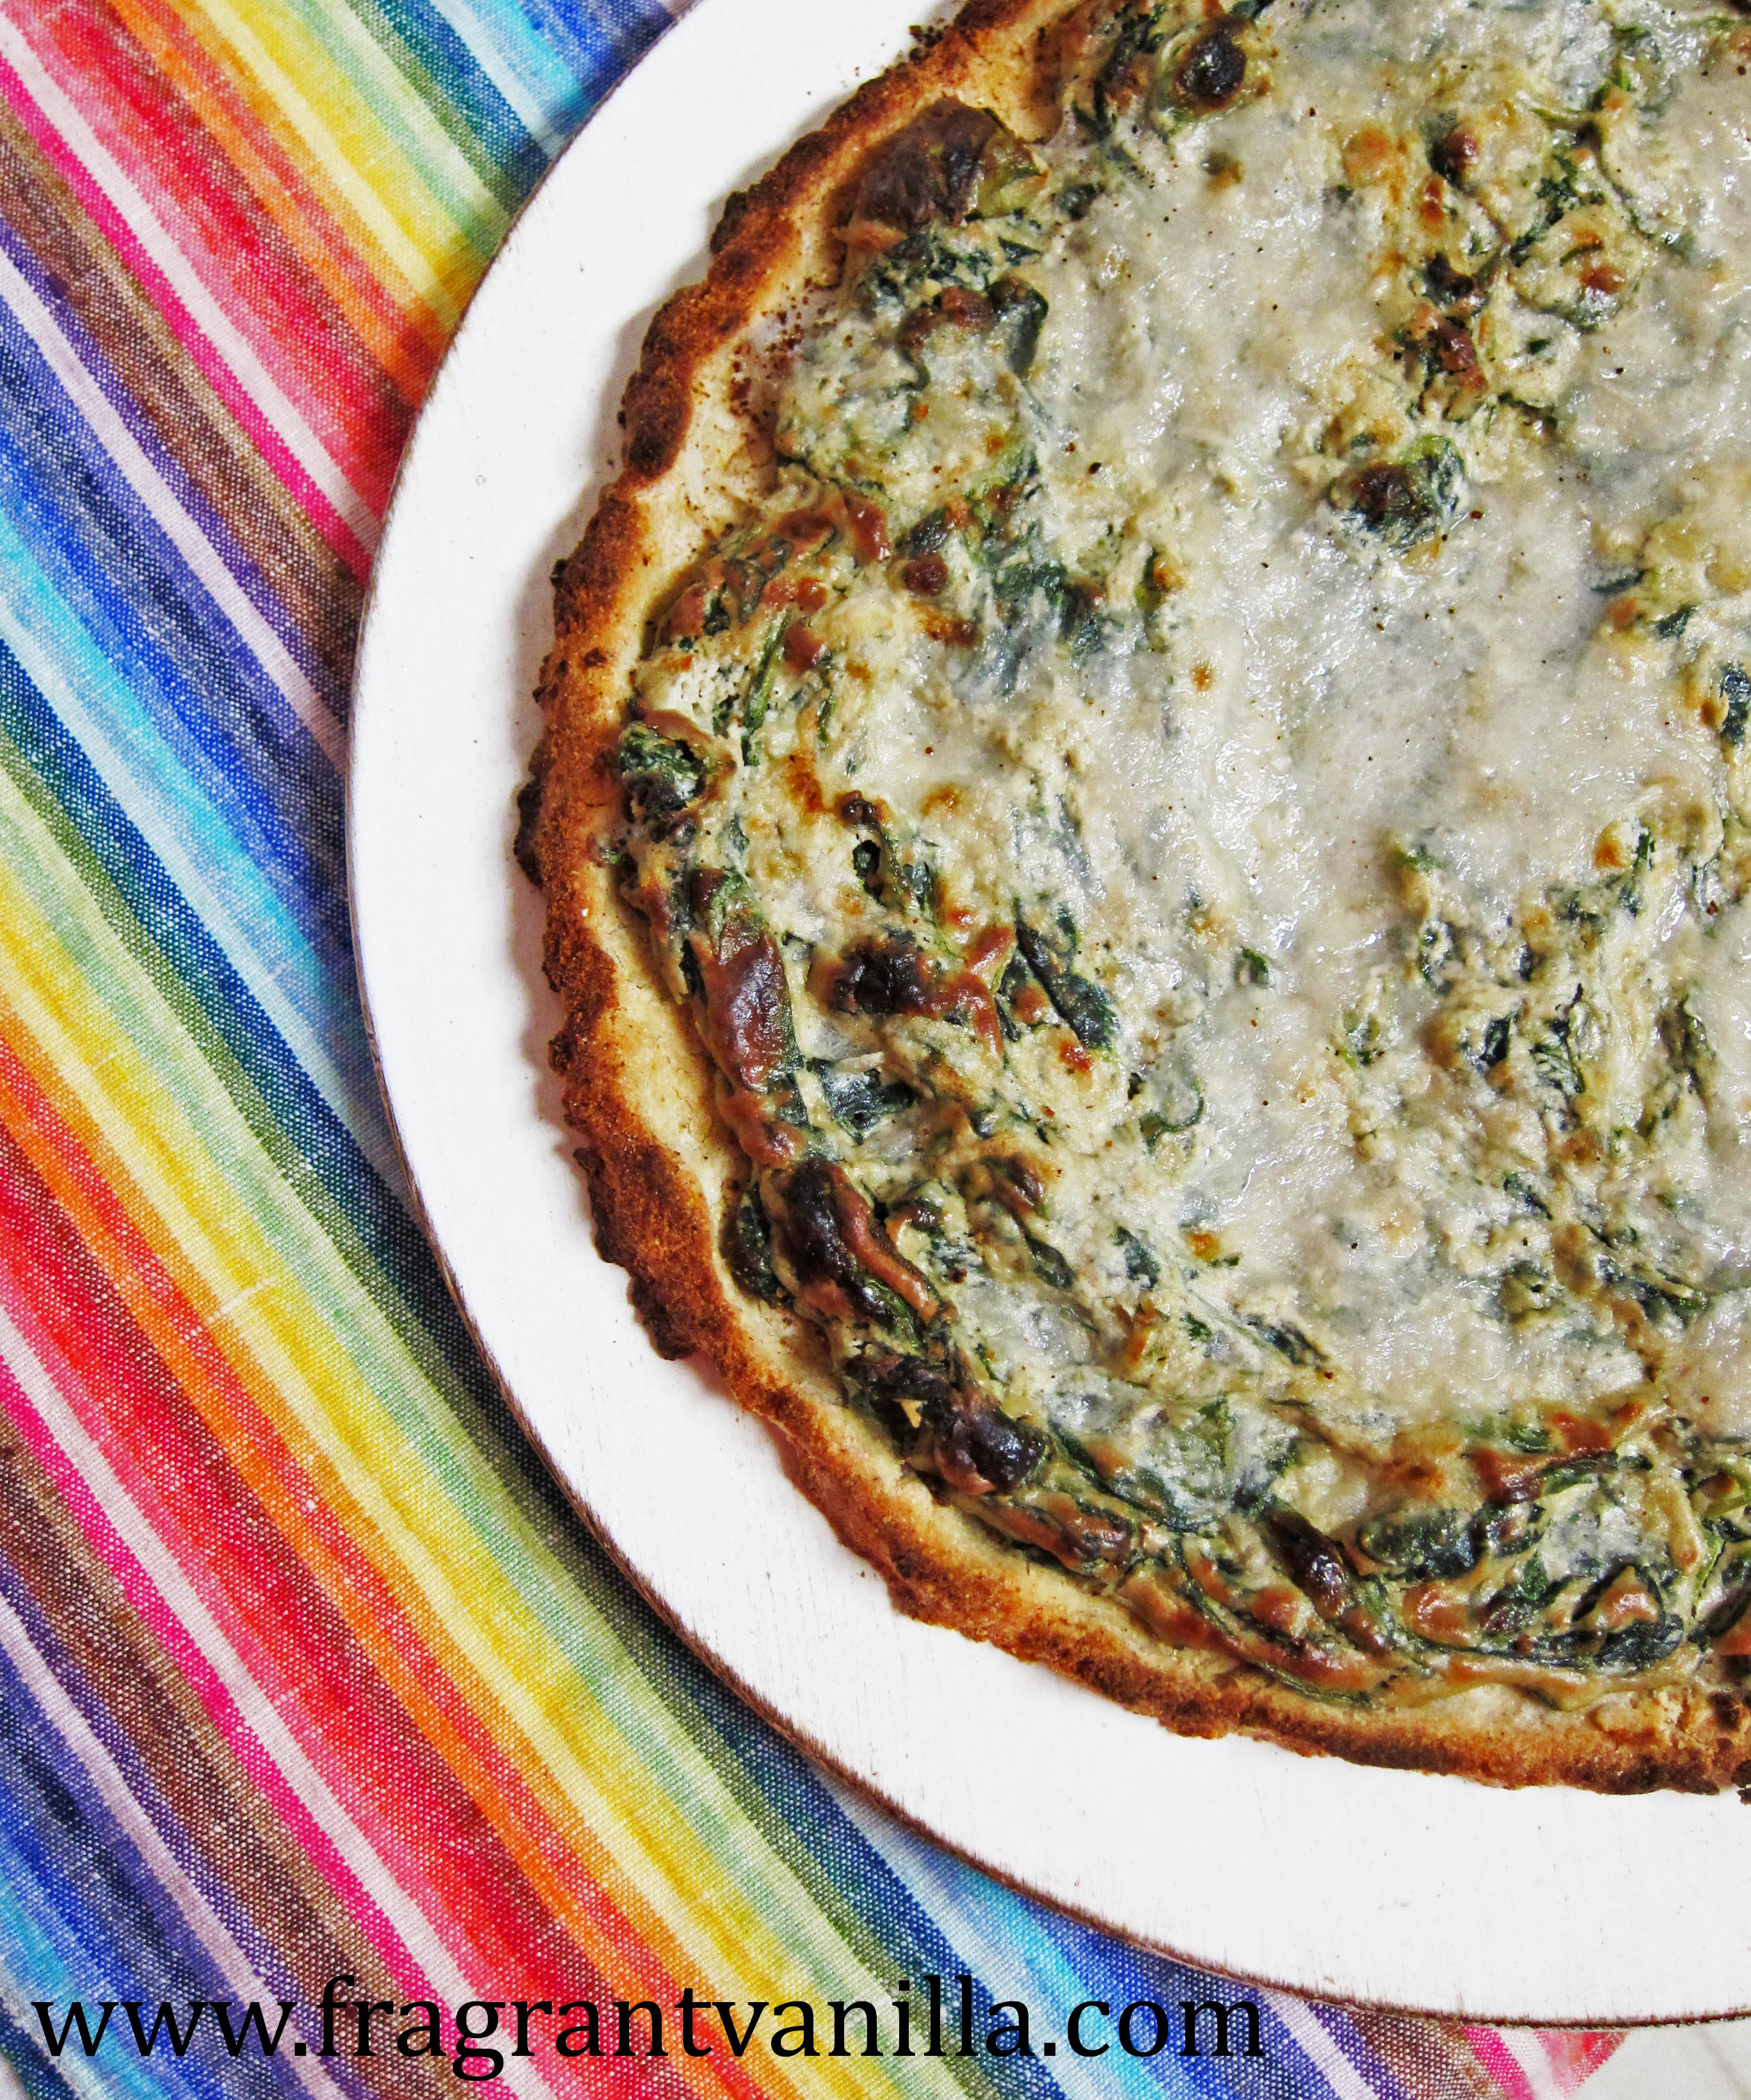
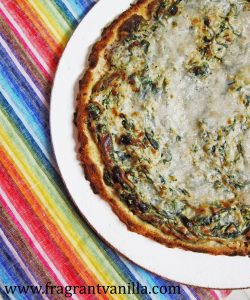
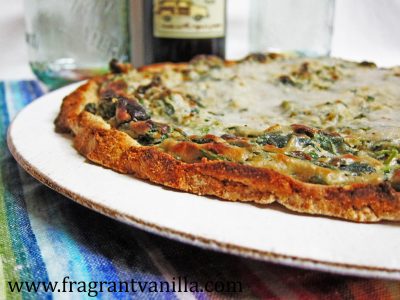
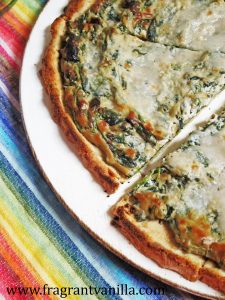
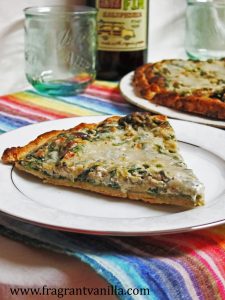
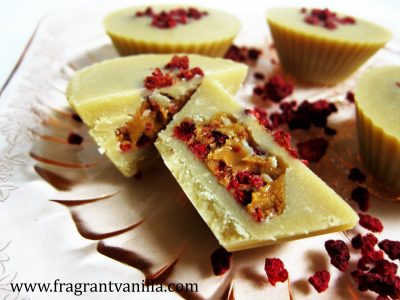
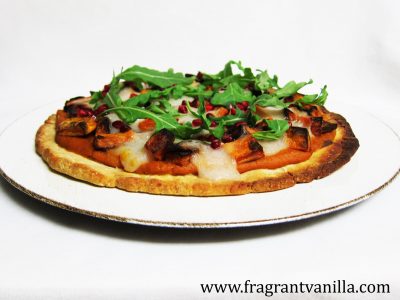
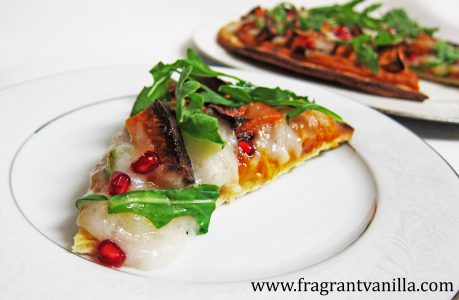
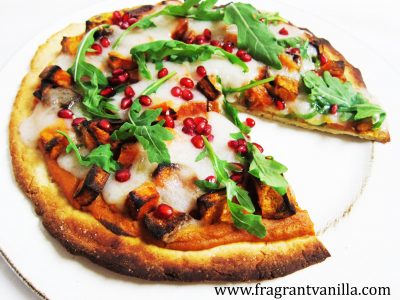
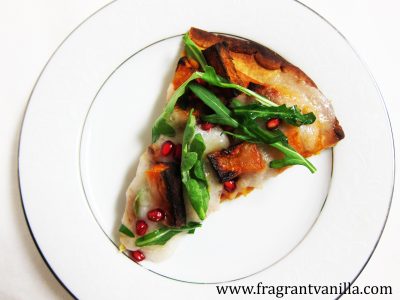
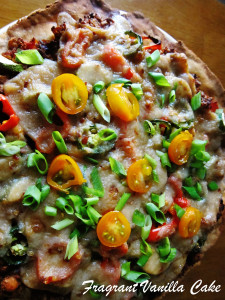
Vegan Mozzarella Cheese (and pizza recipe)
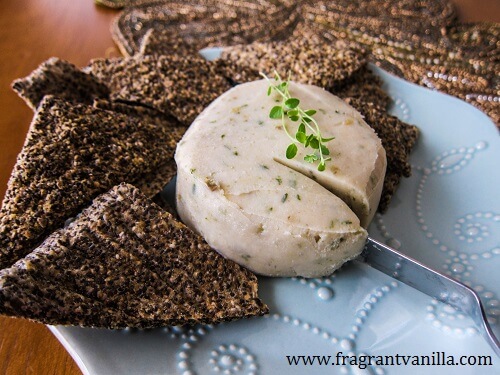
Vegan Herbes de Provance Chevre (for plain leave the herbs off)
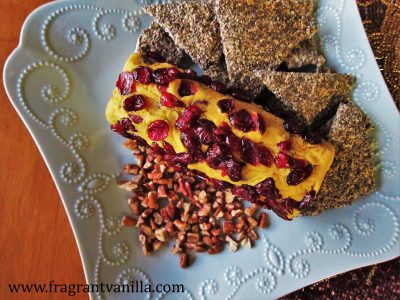
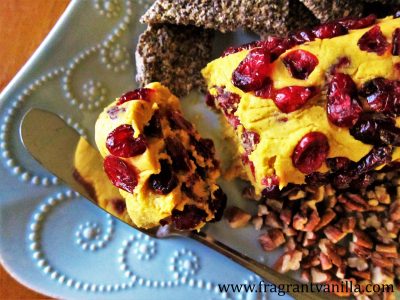
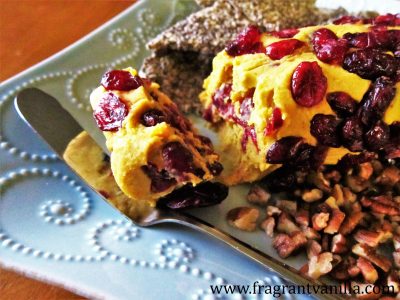
Vegan Sharp Cheddar Cheeze
Vegan Butter
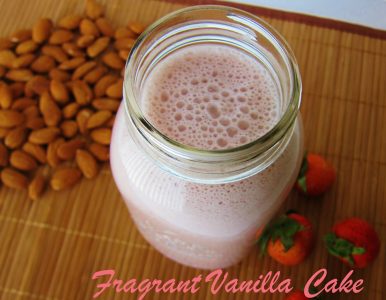
Vegan Coconut Yogurt
Maple Cinnamon Cream Cheese
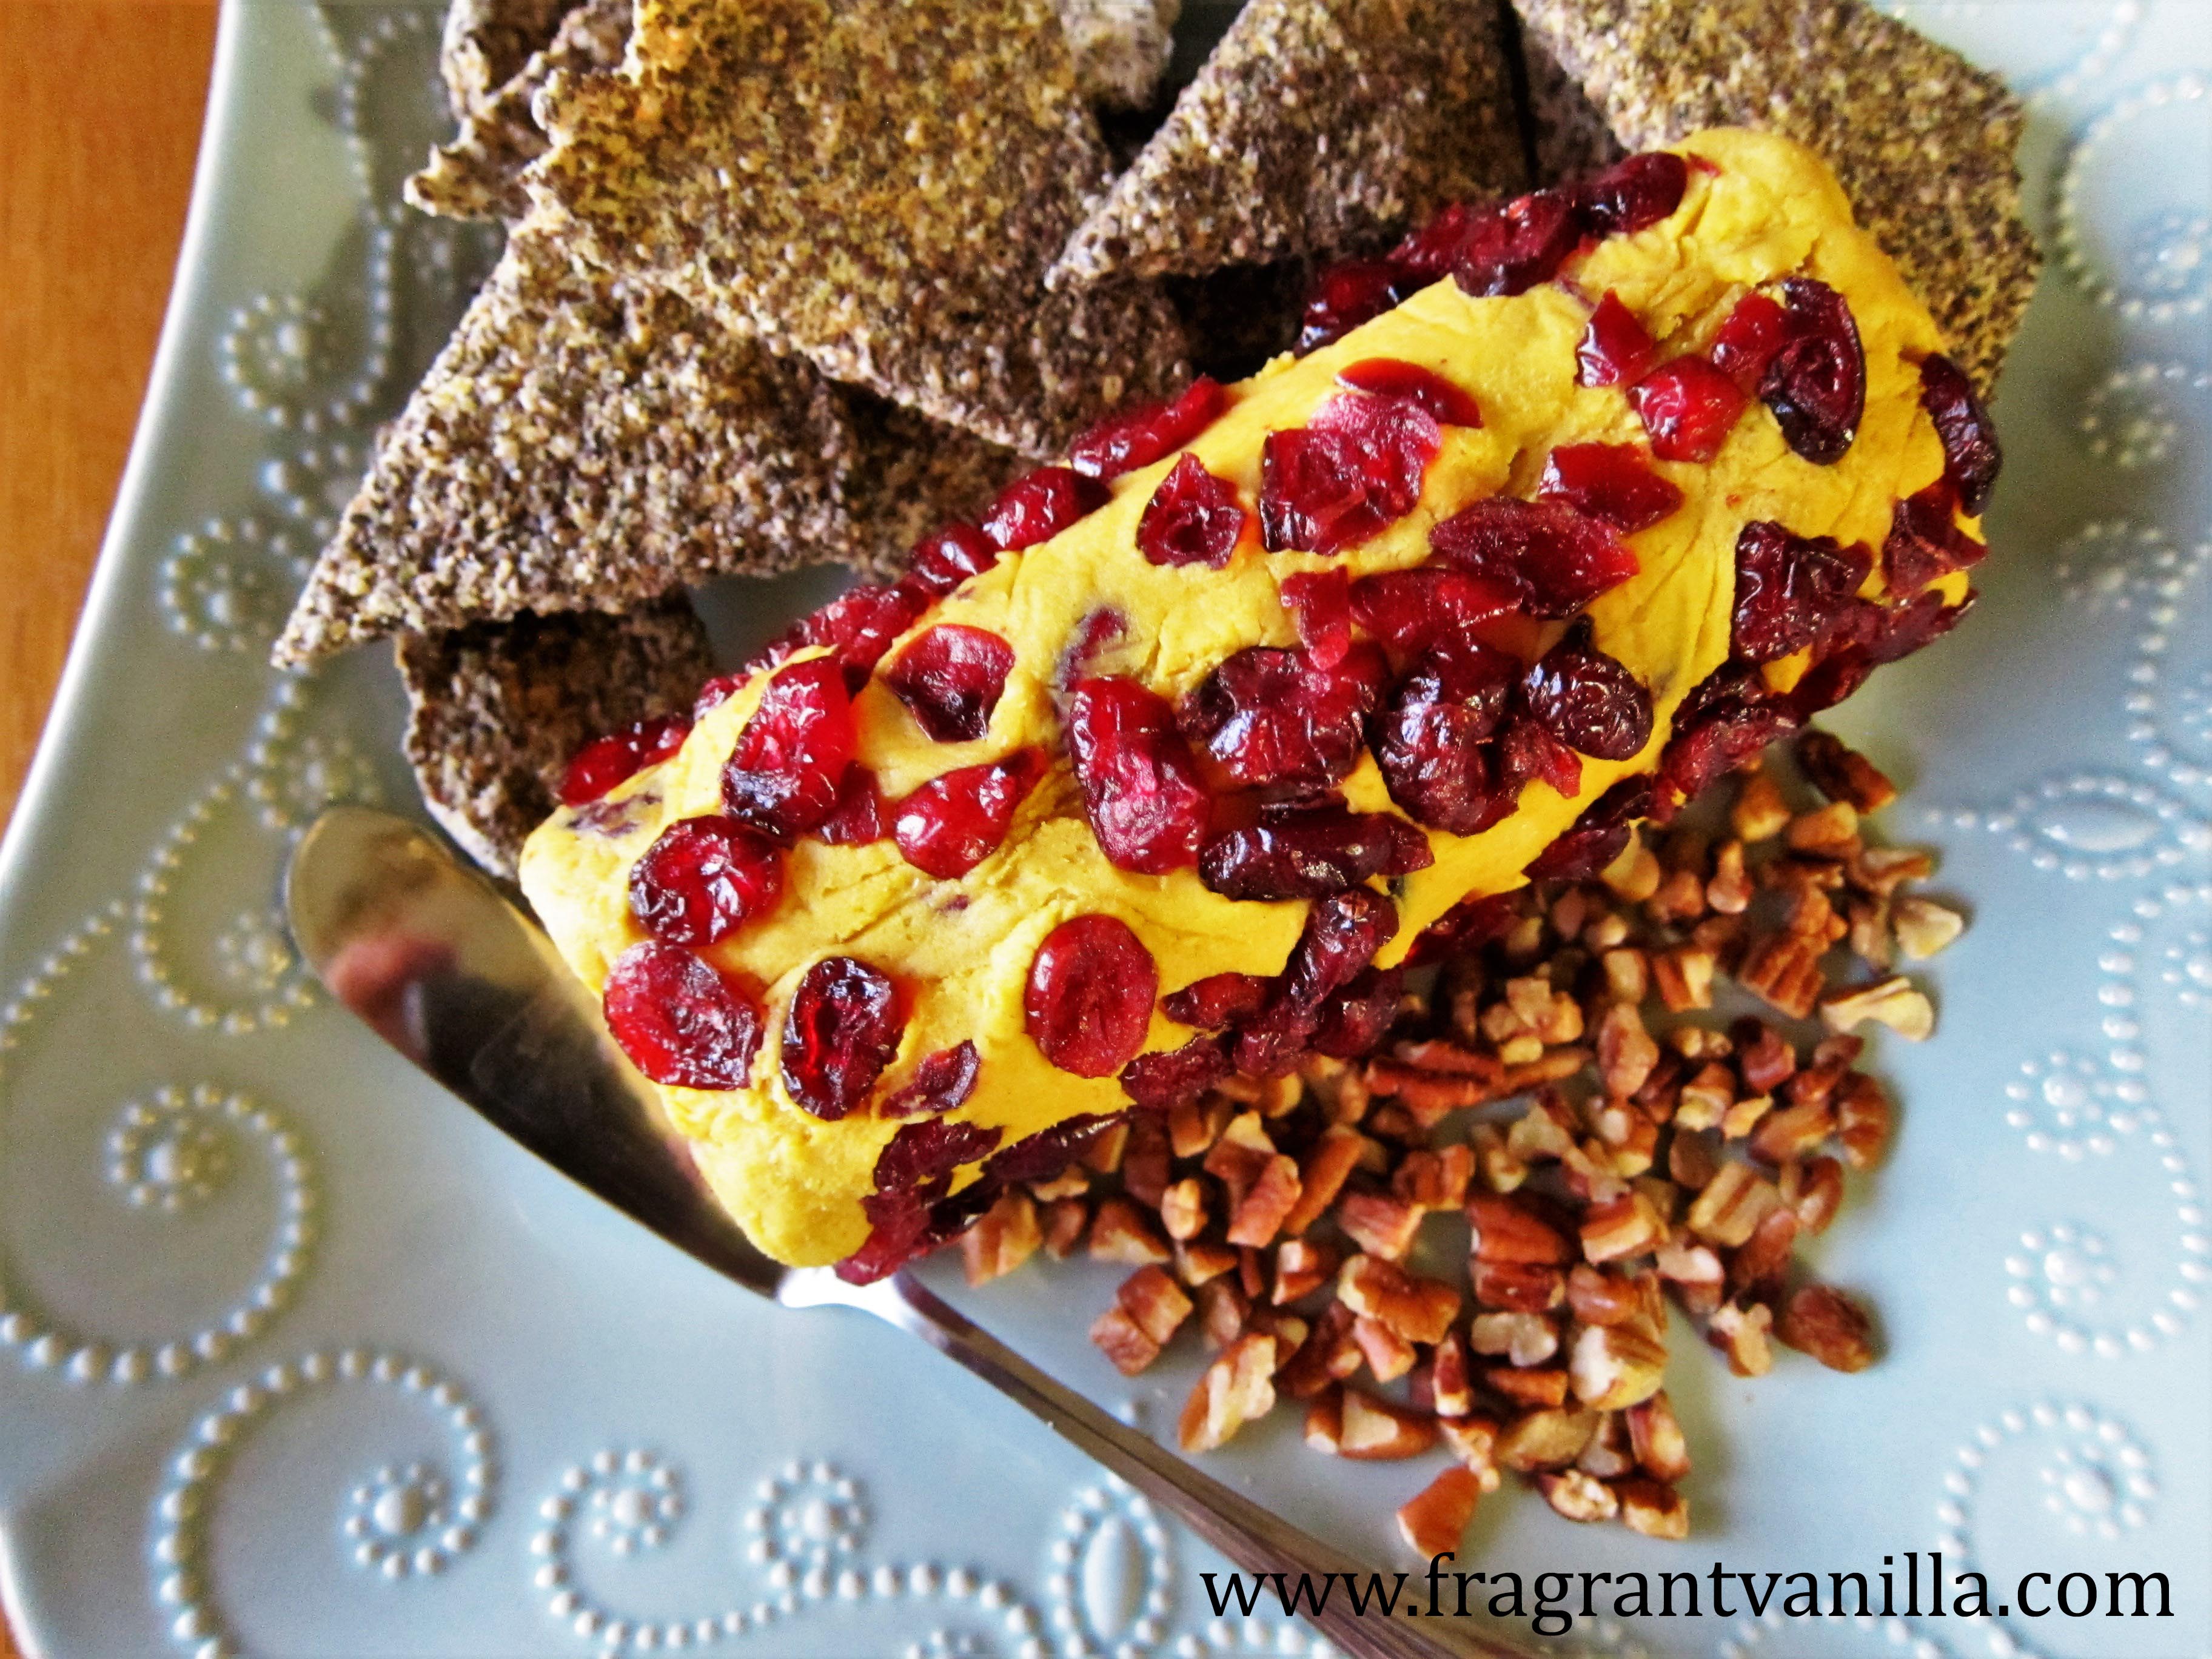
Vegan Pepperjack Cheese
Do I have to eat just salads?
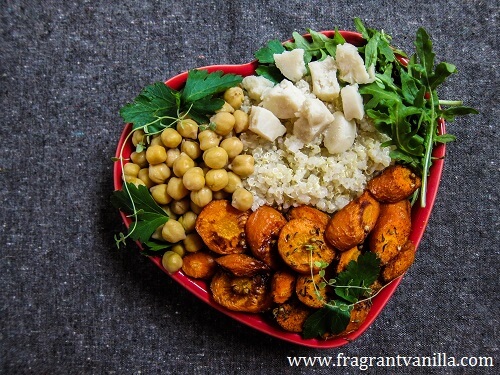
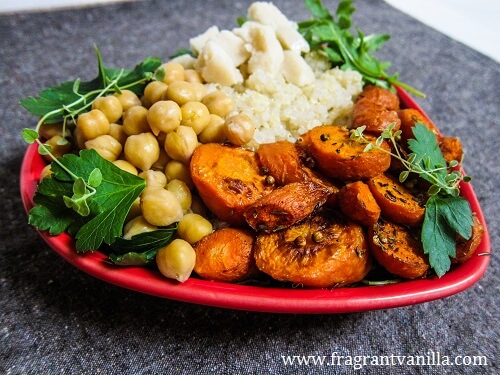
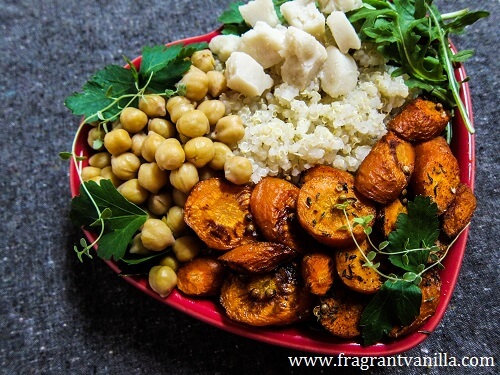
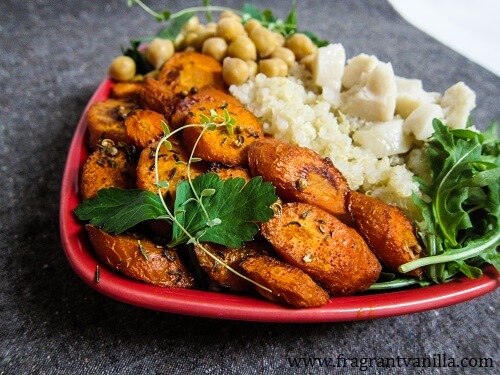
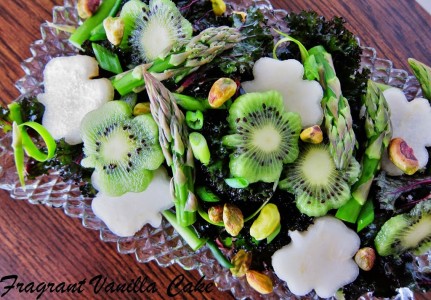
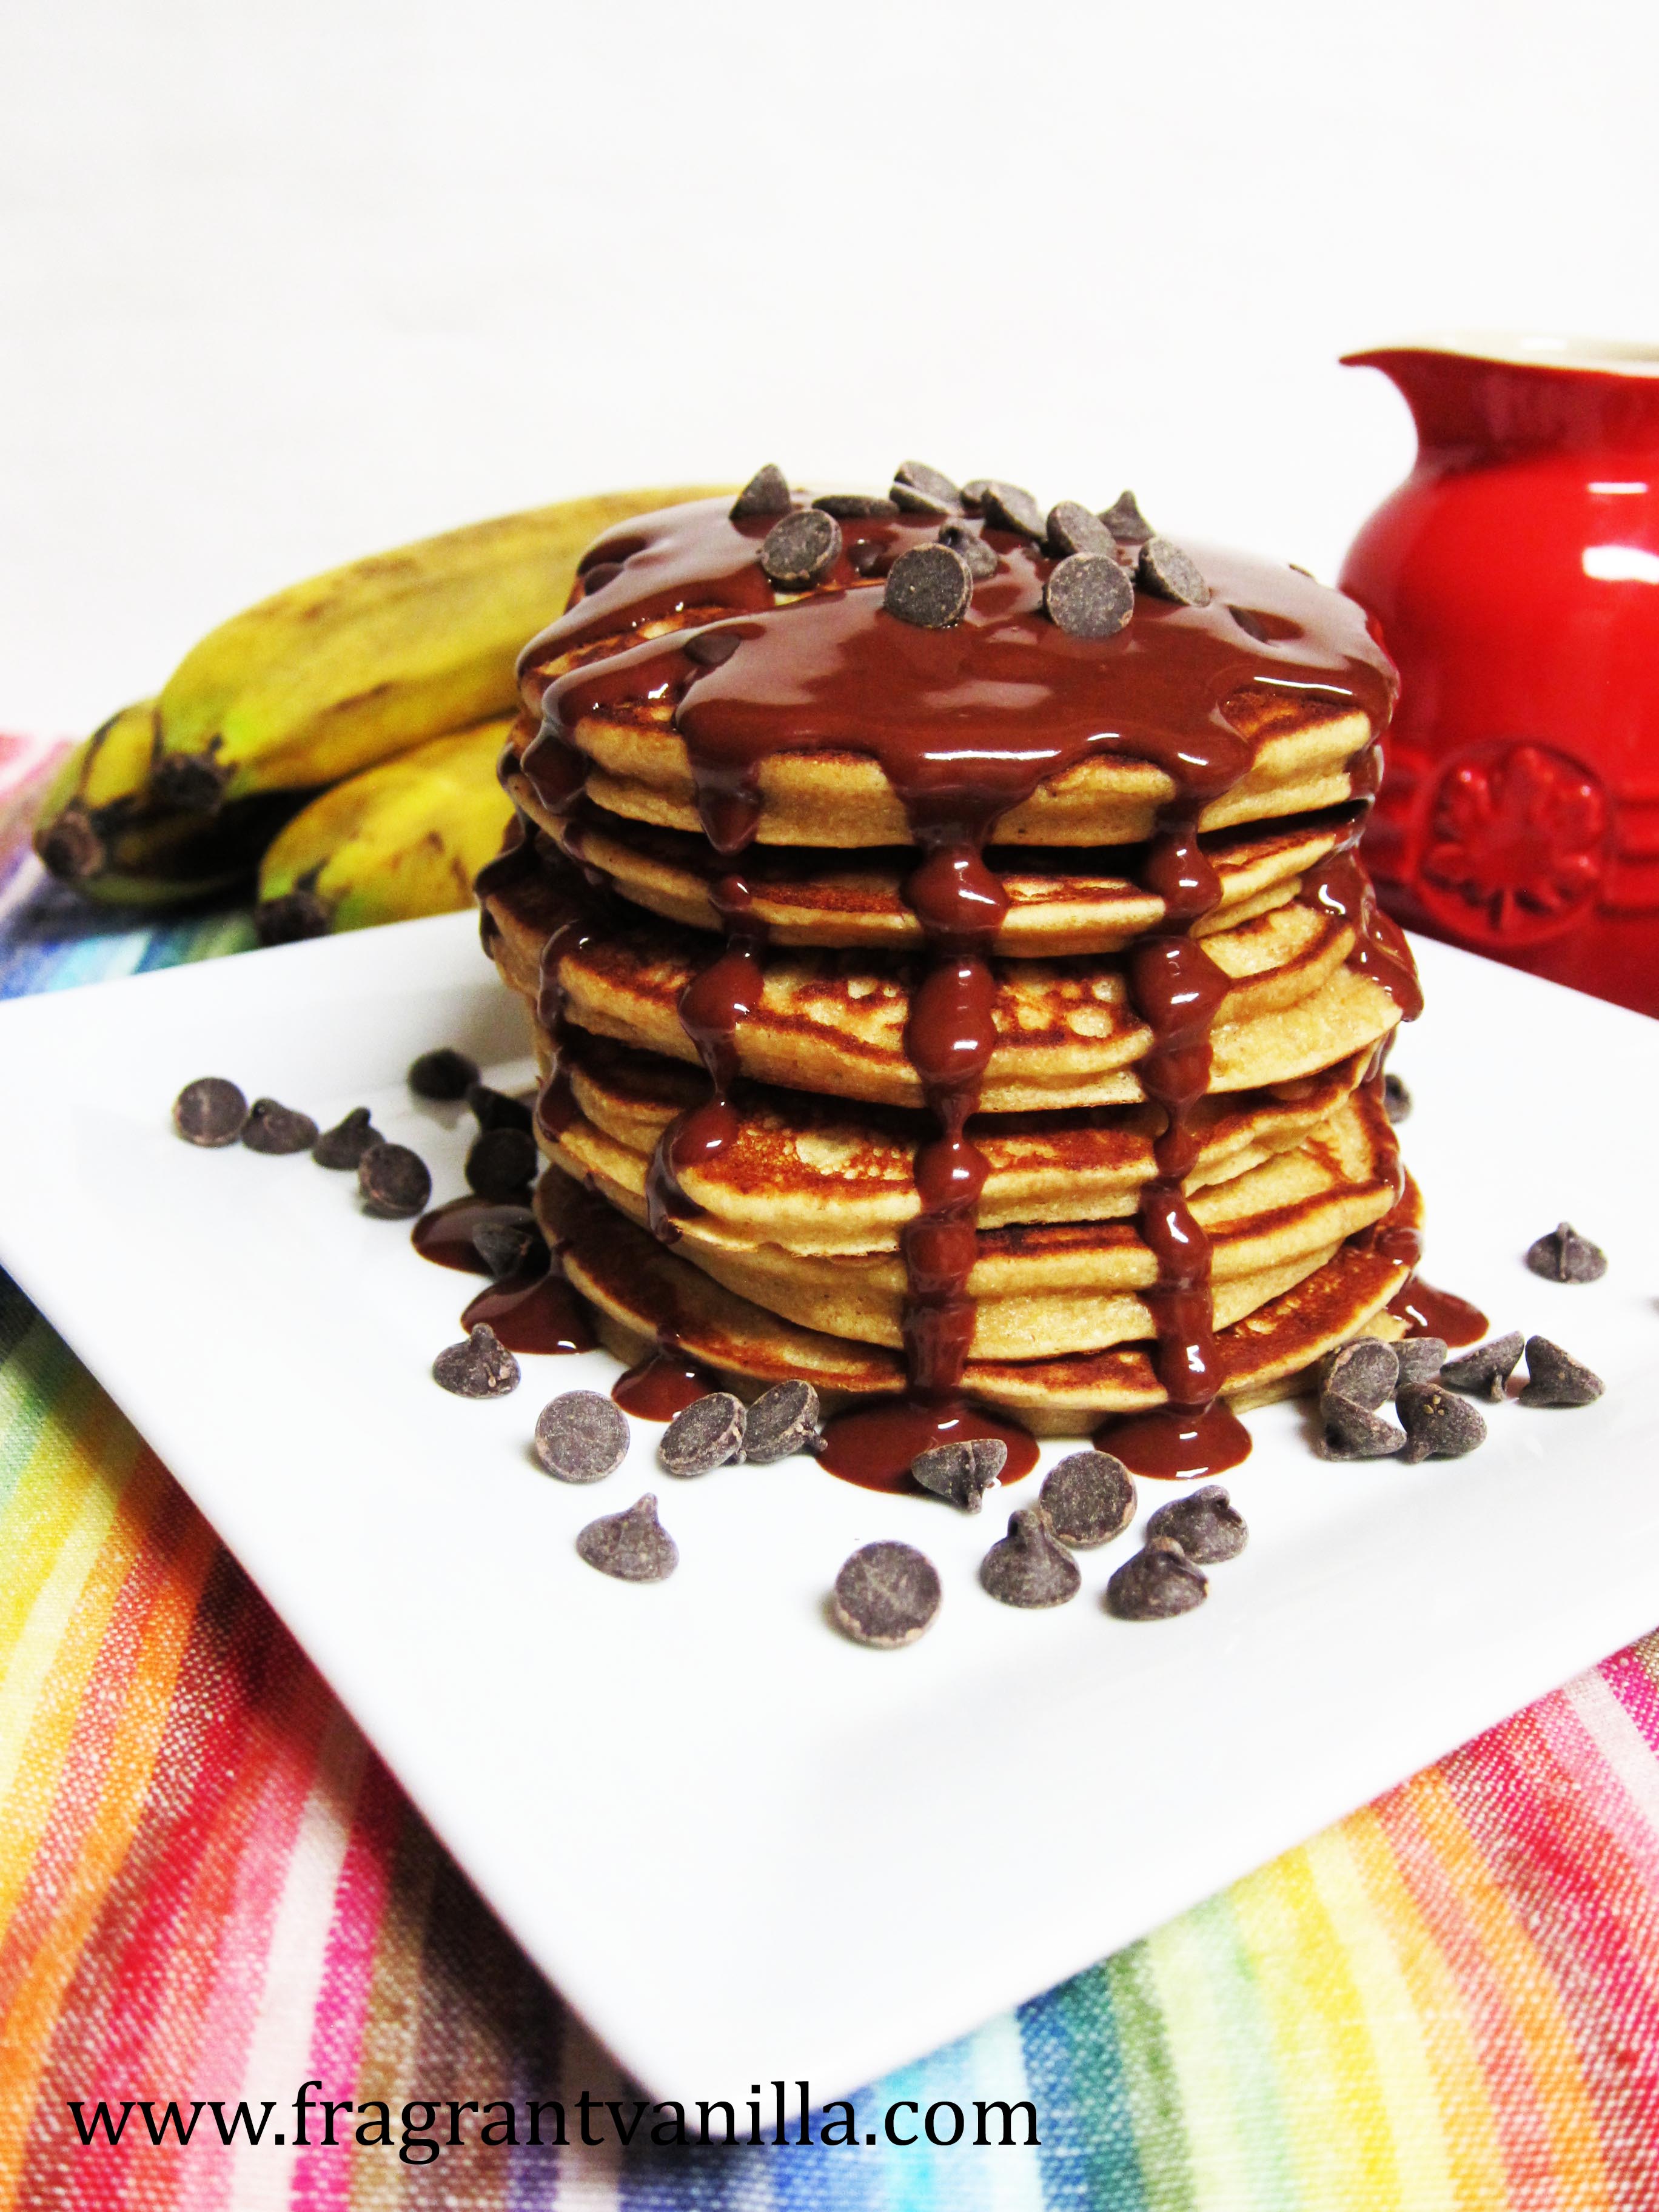
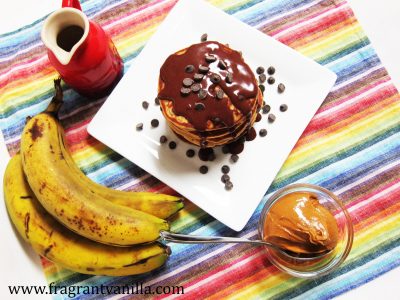
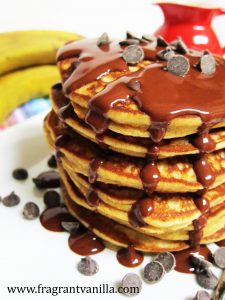
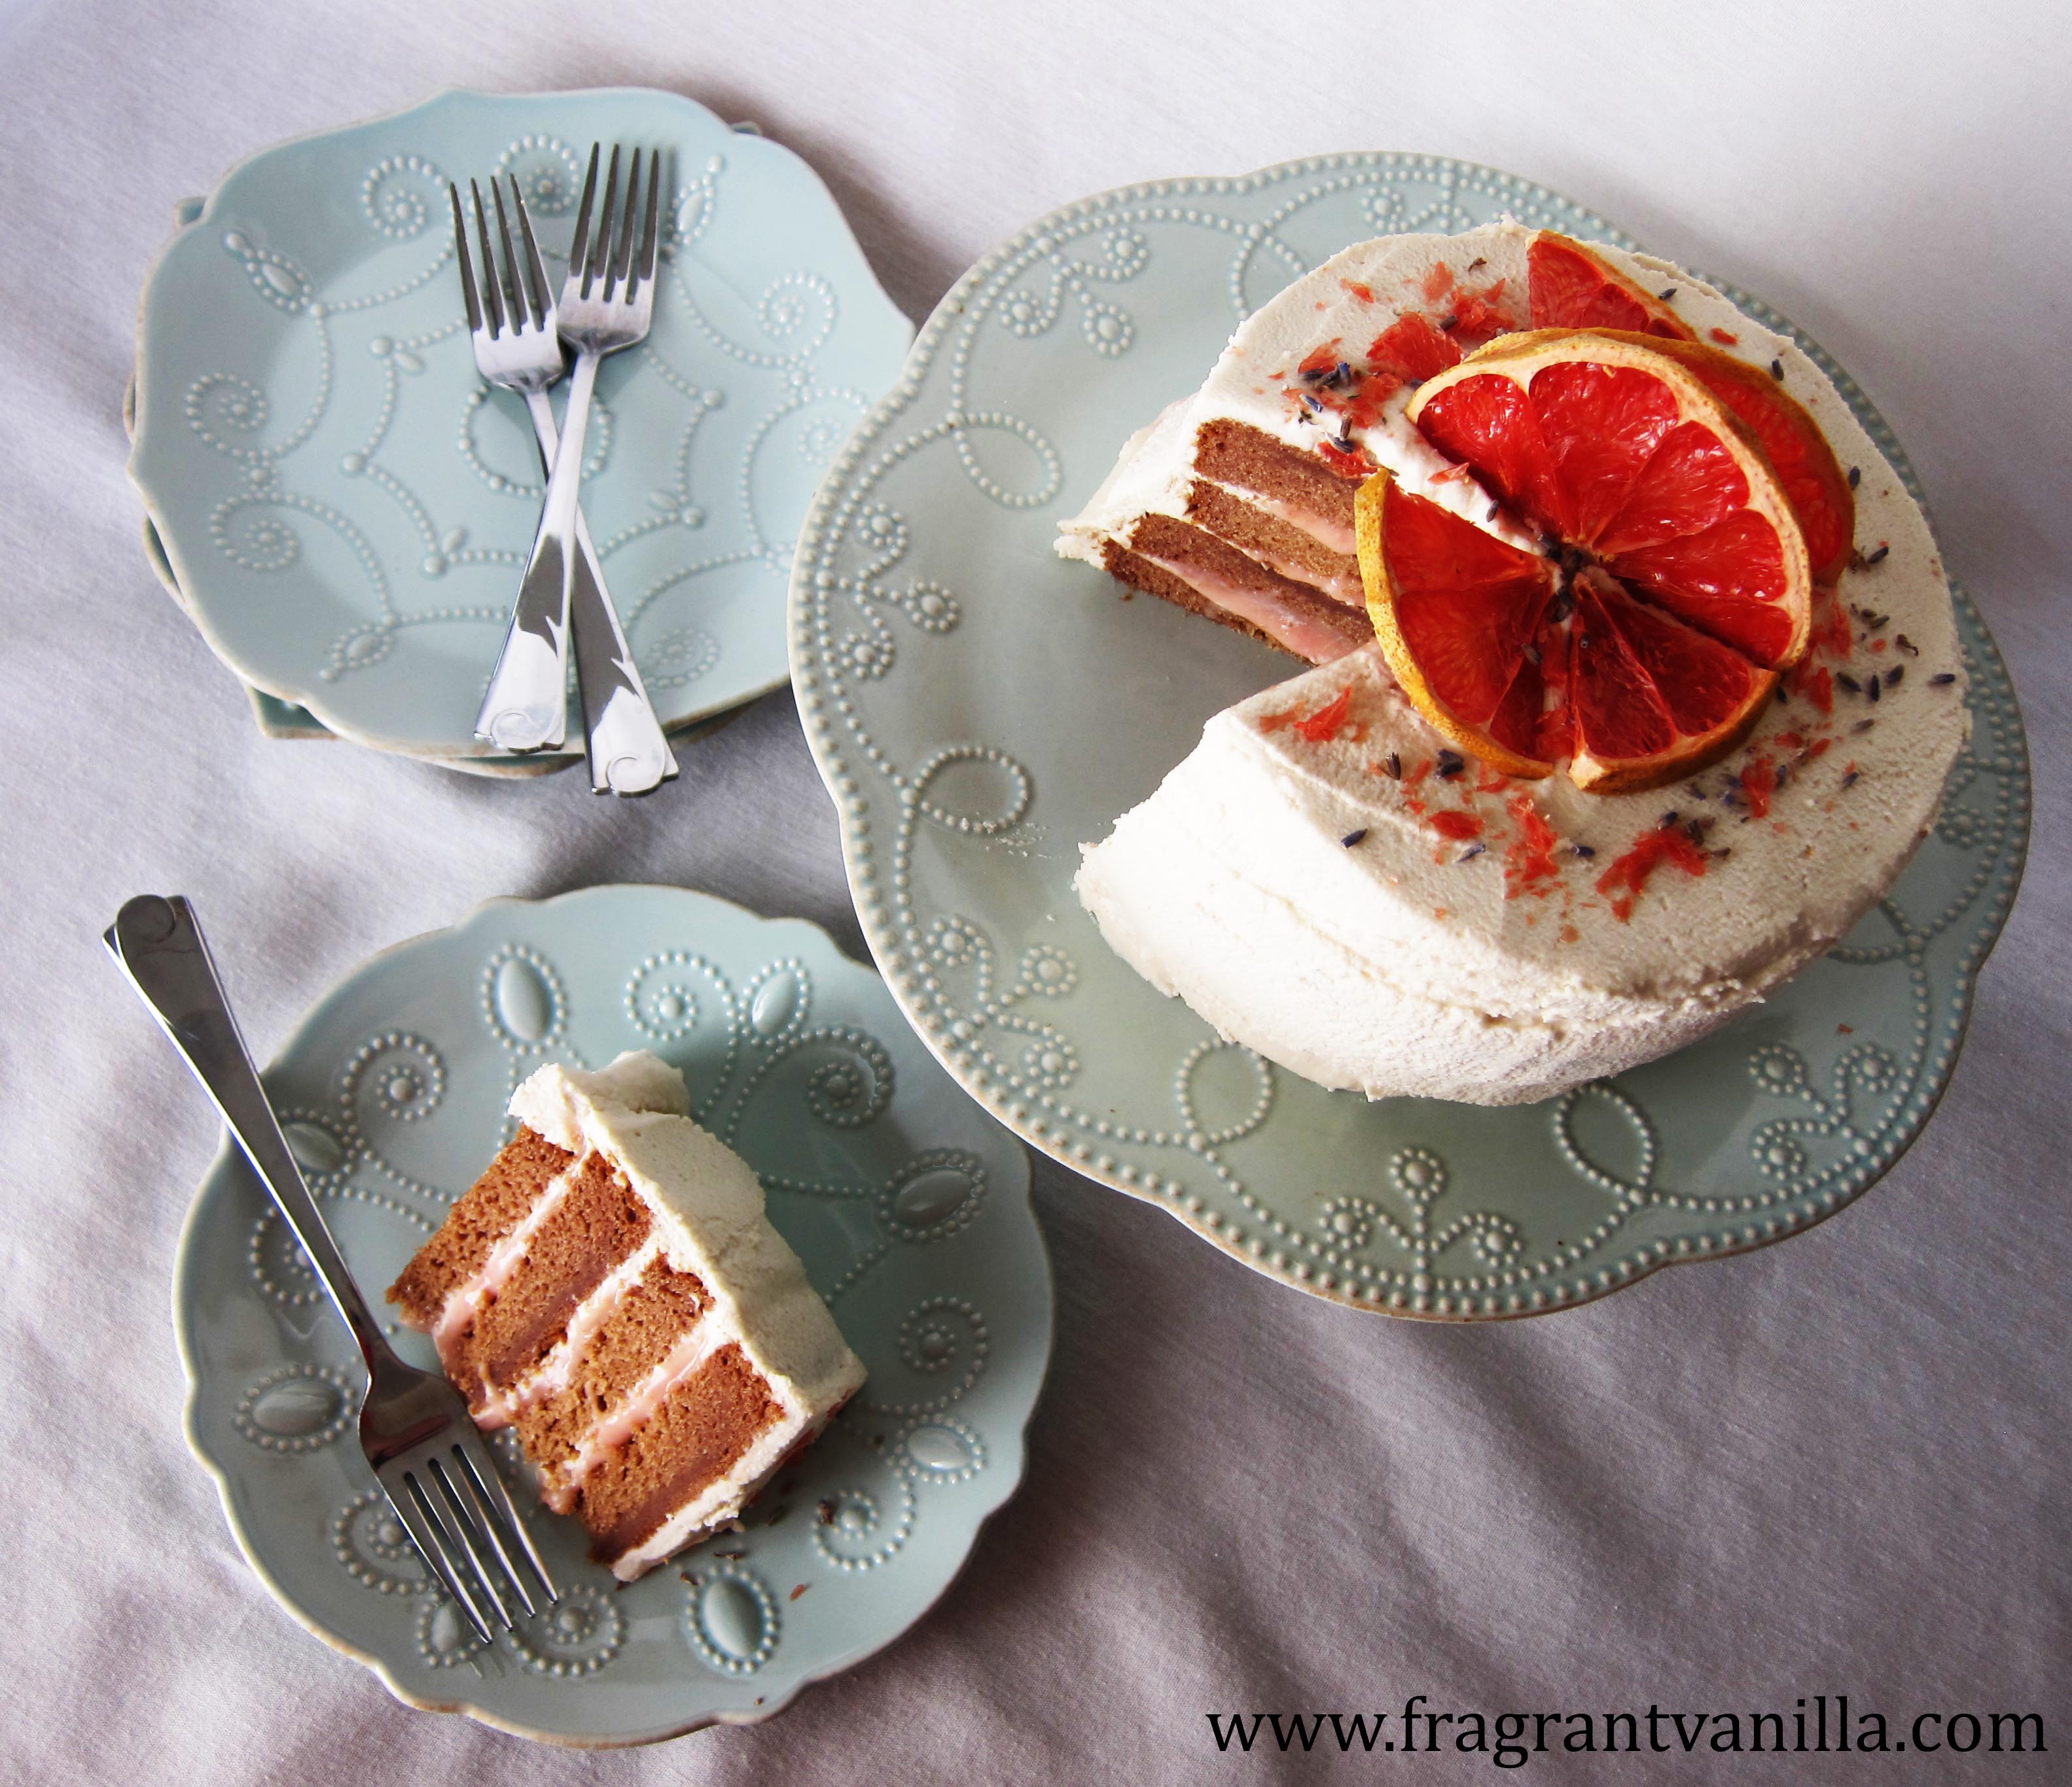
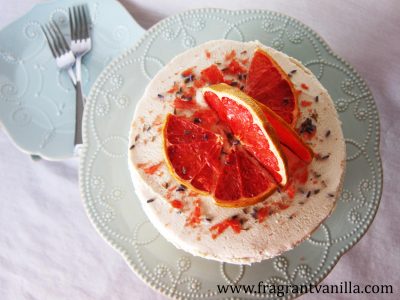
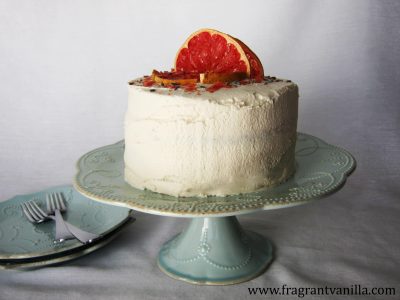
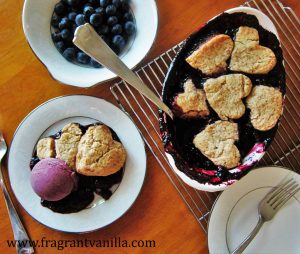
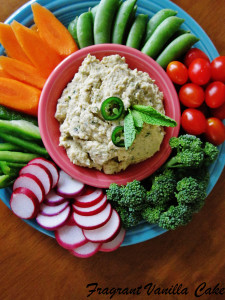
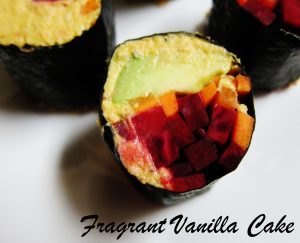
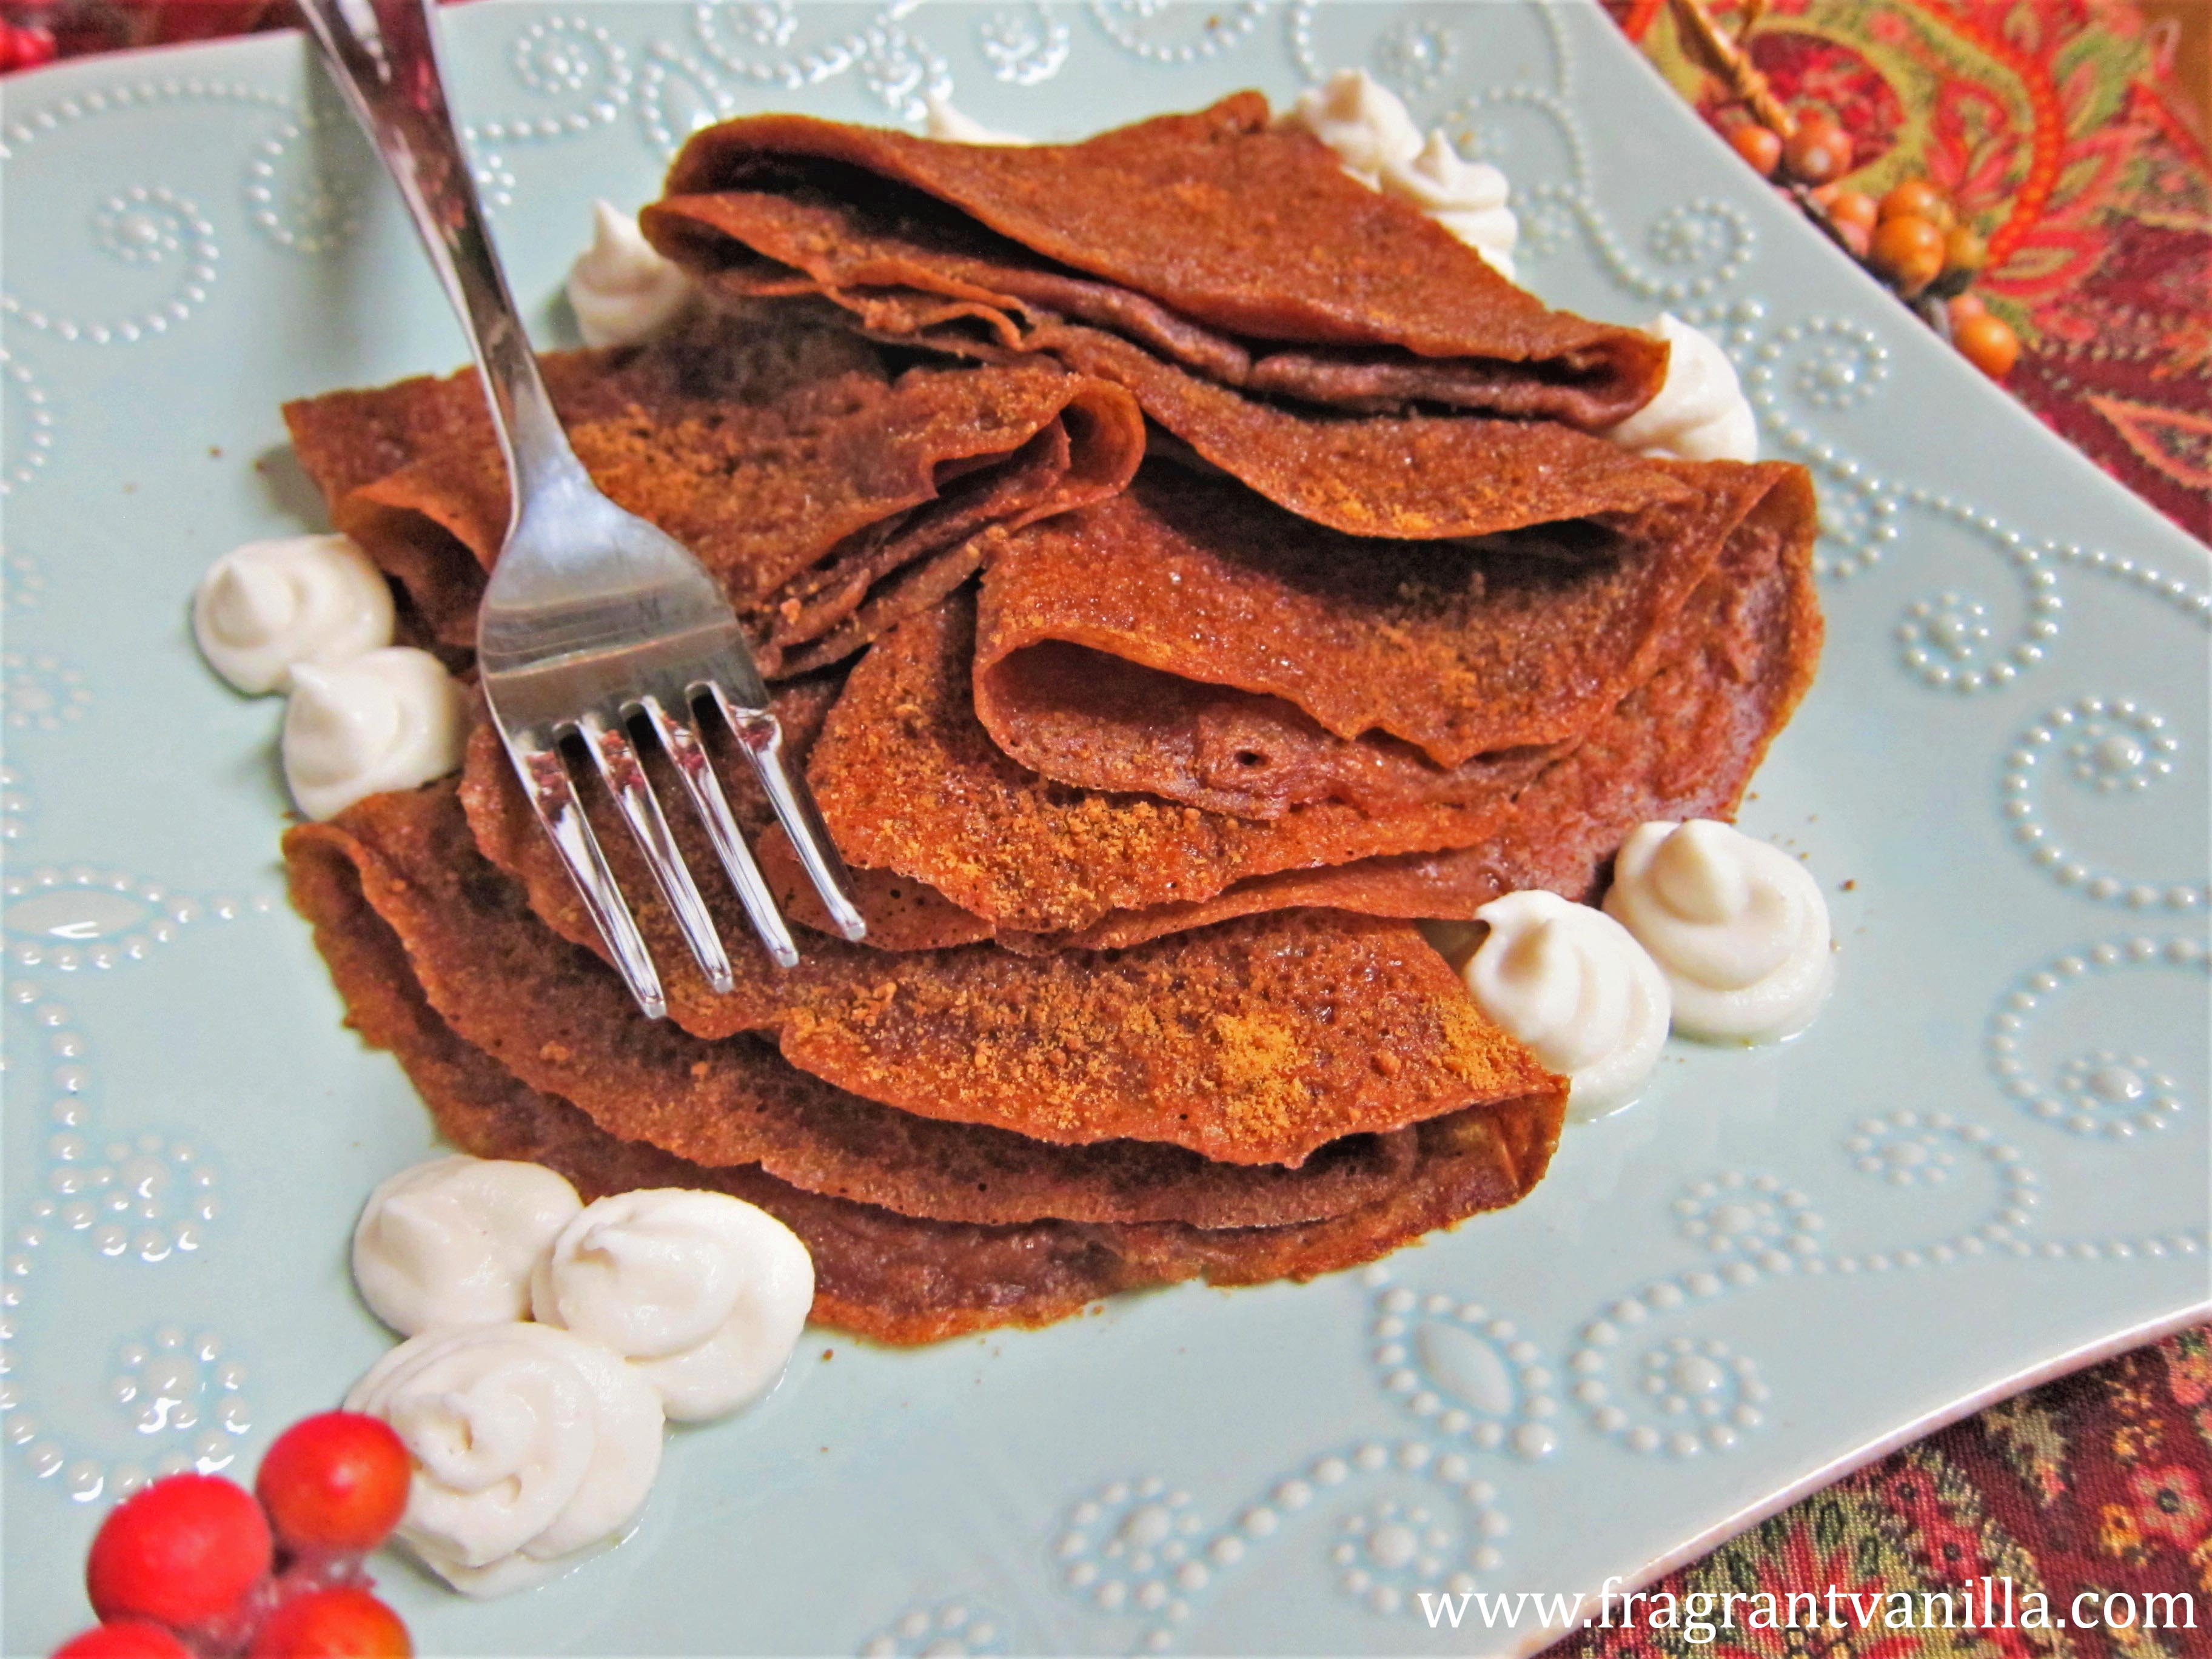
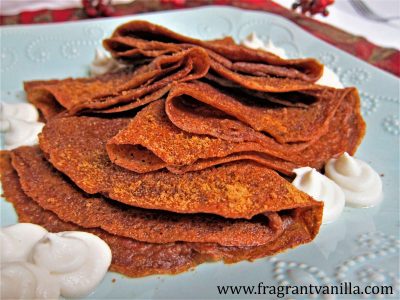
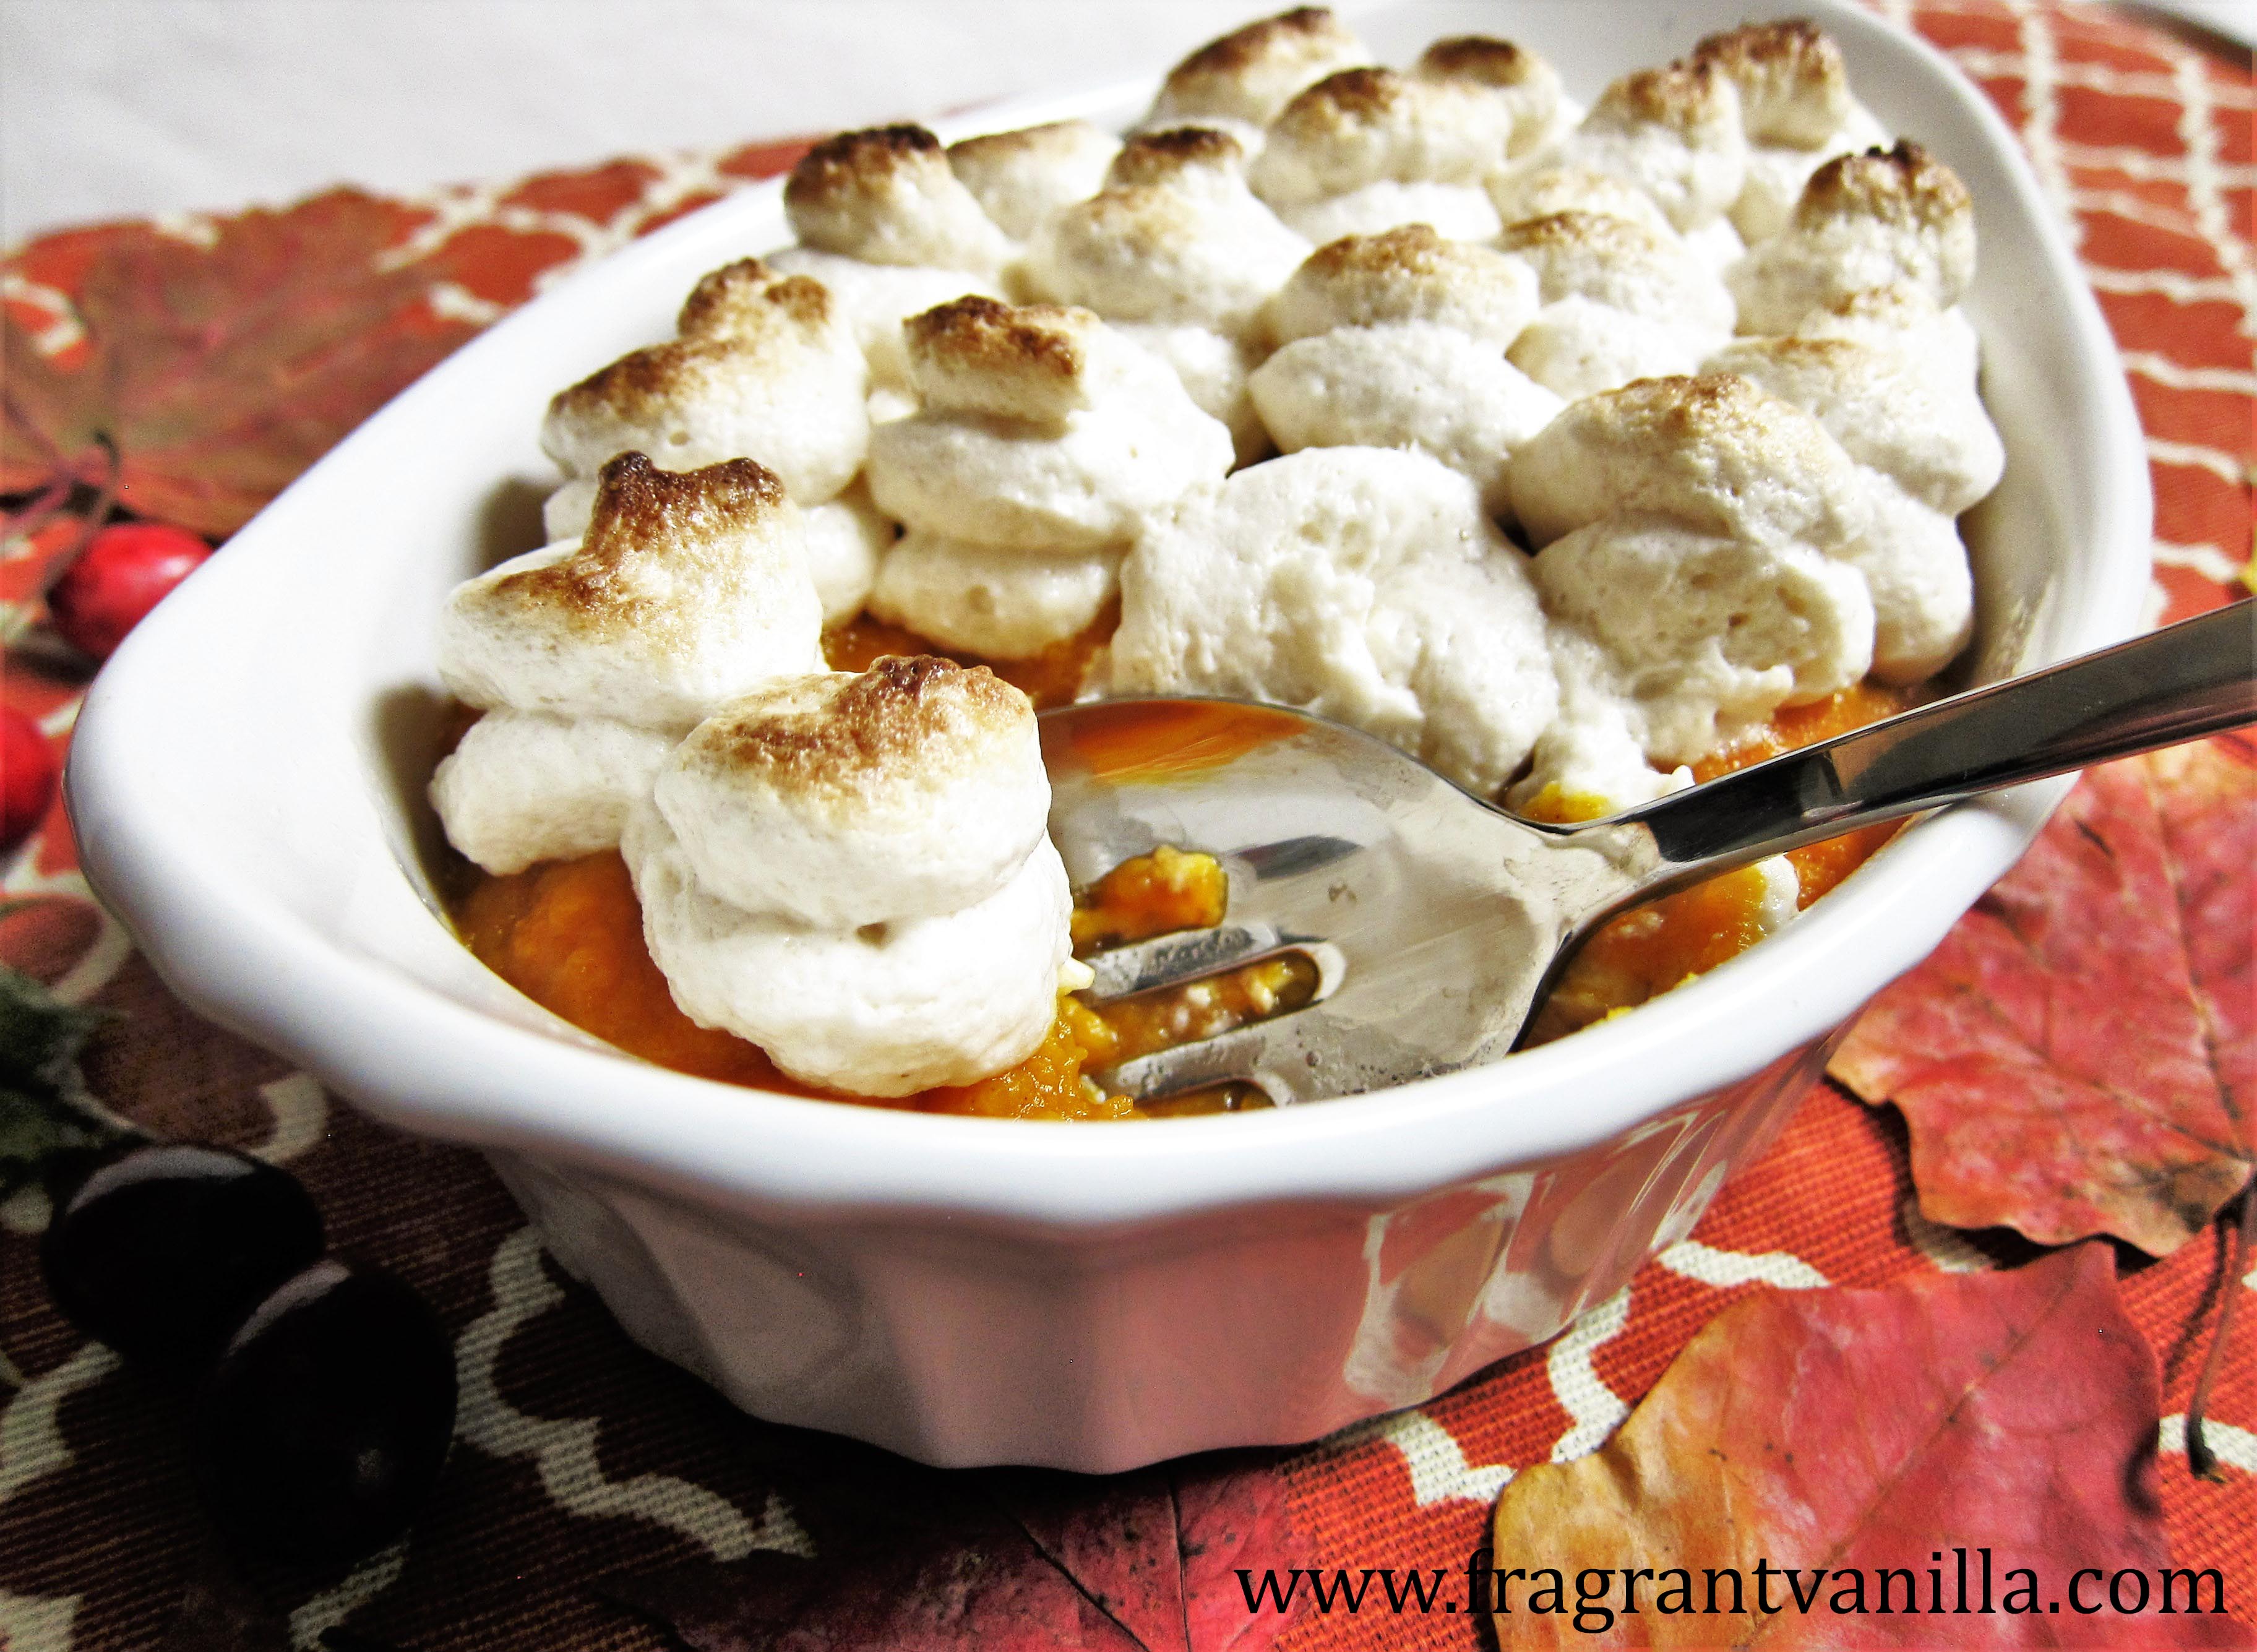
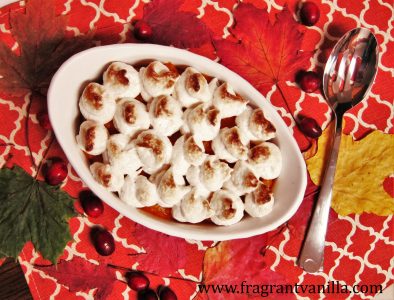
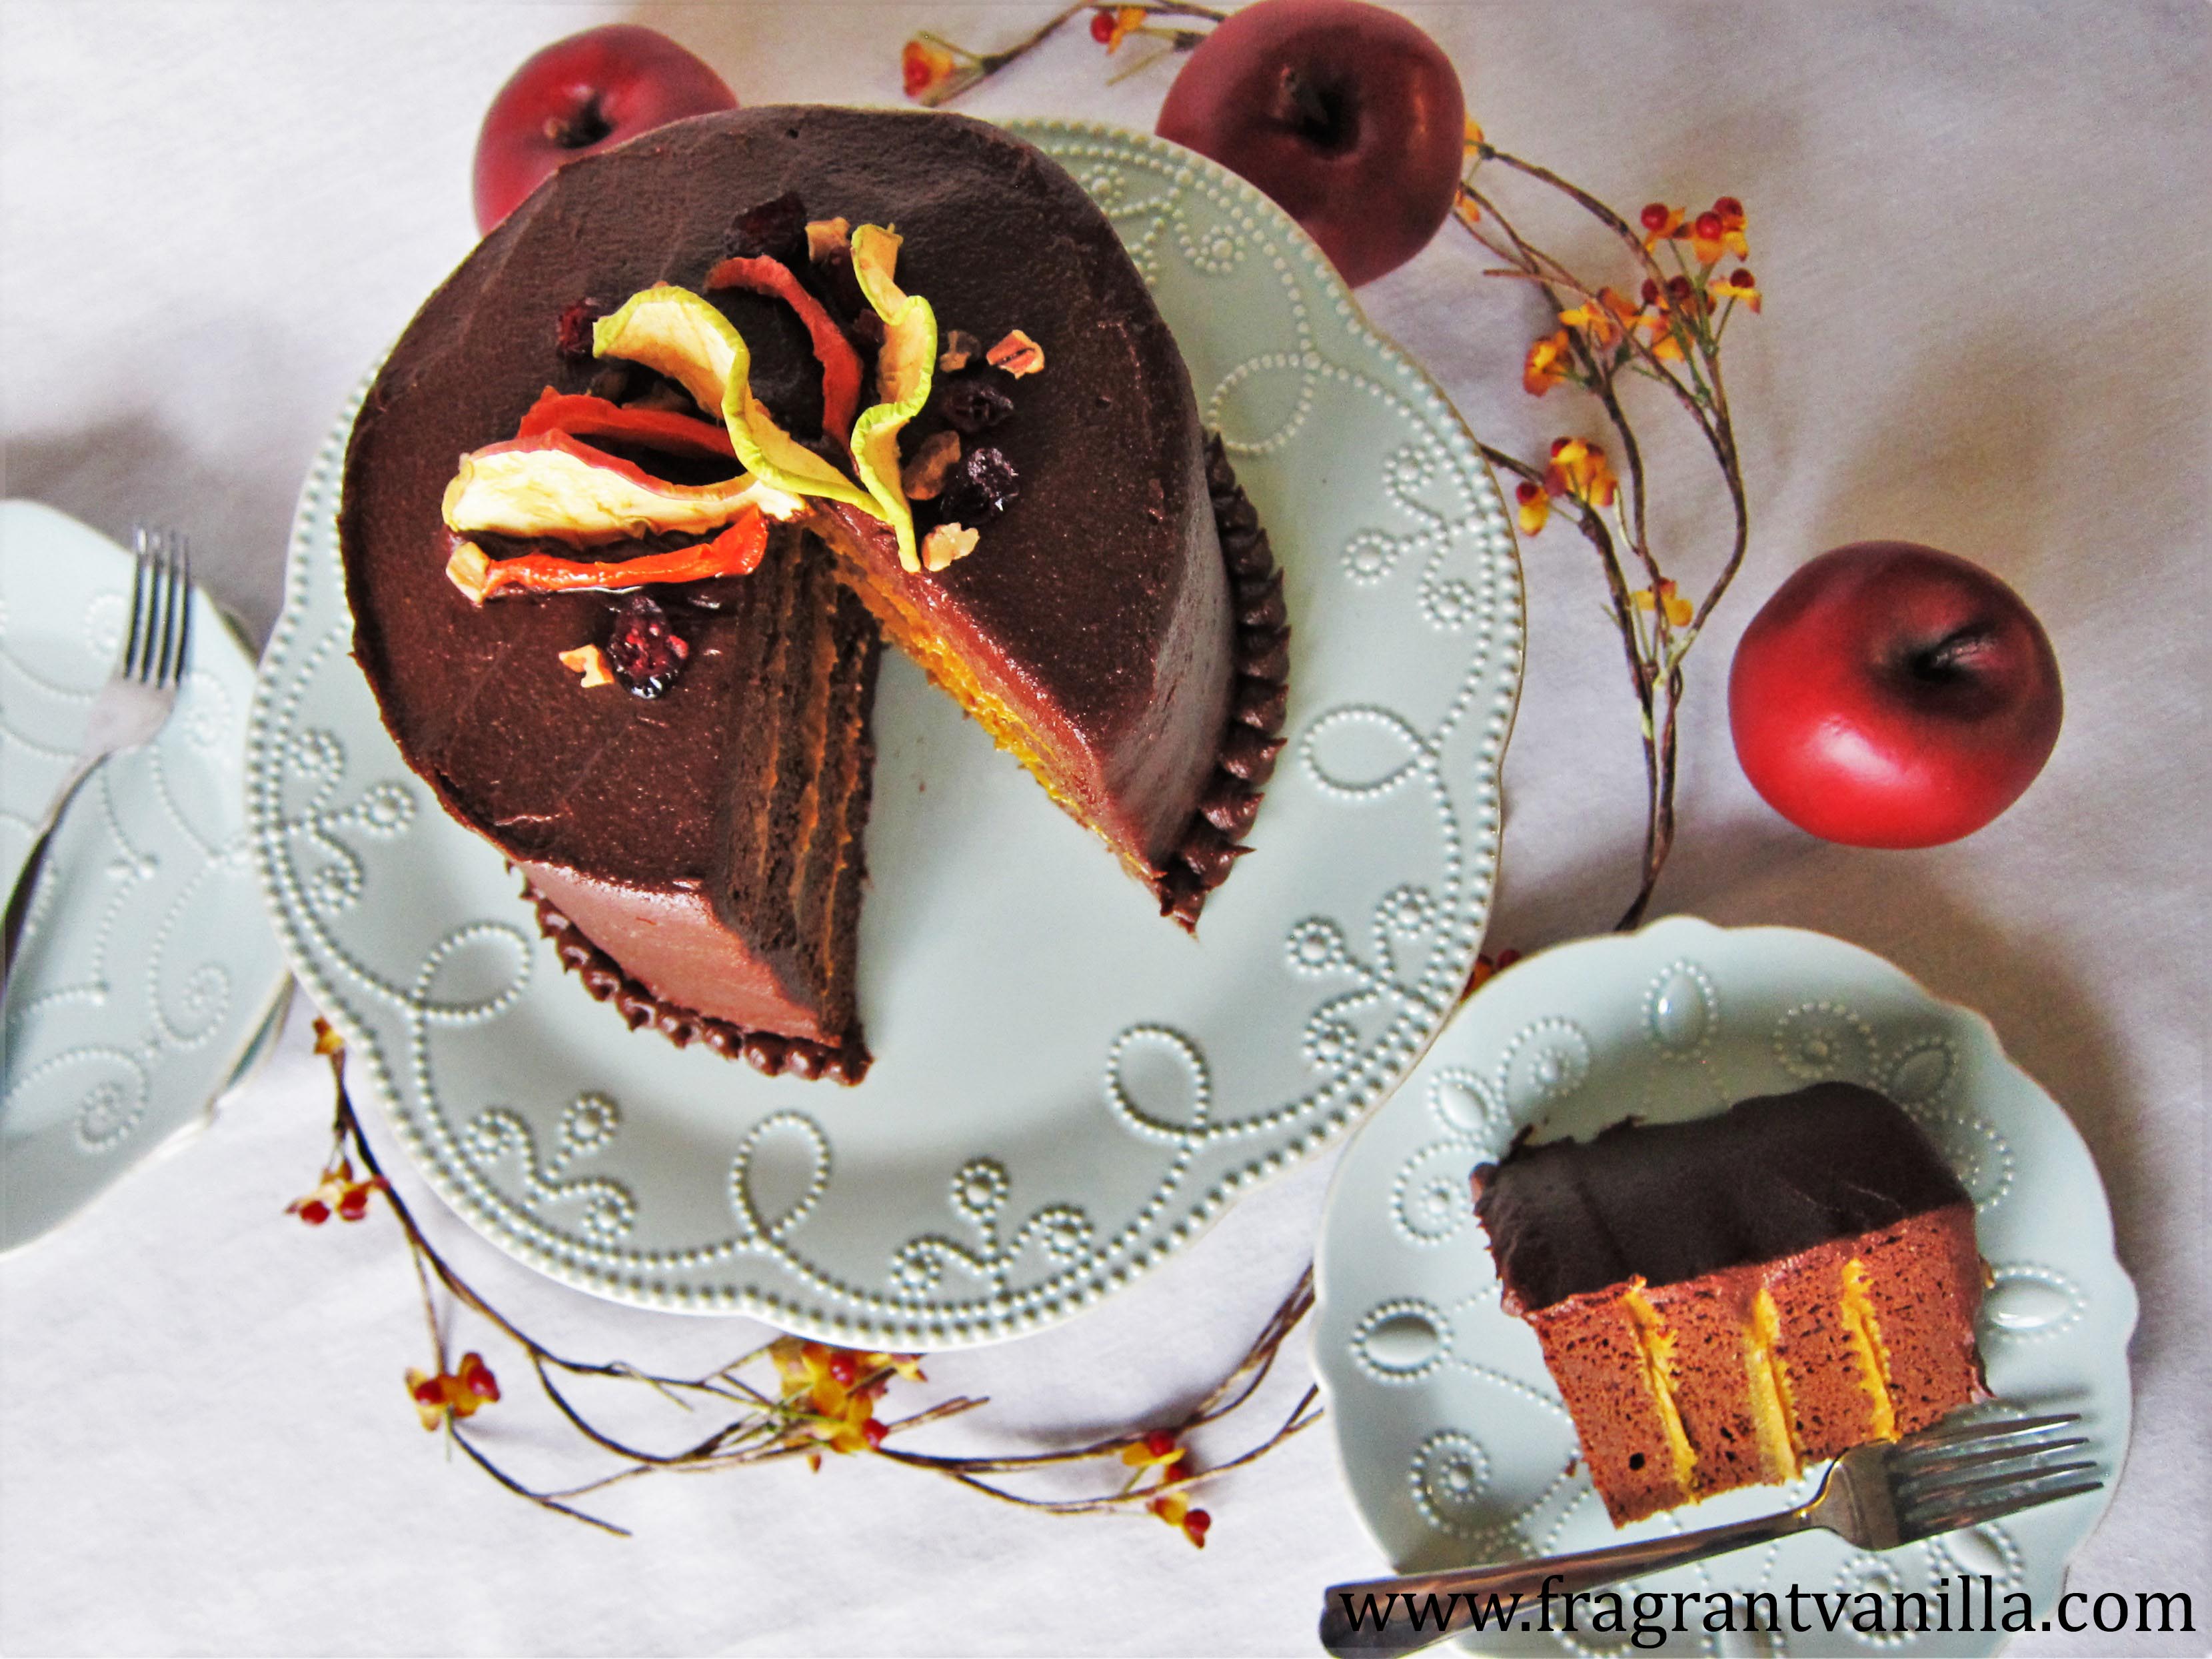
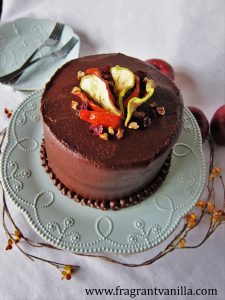
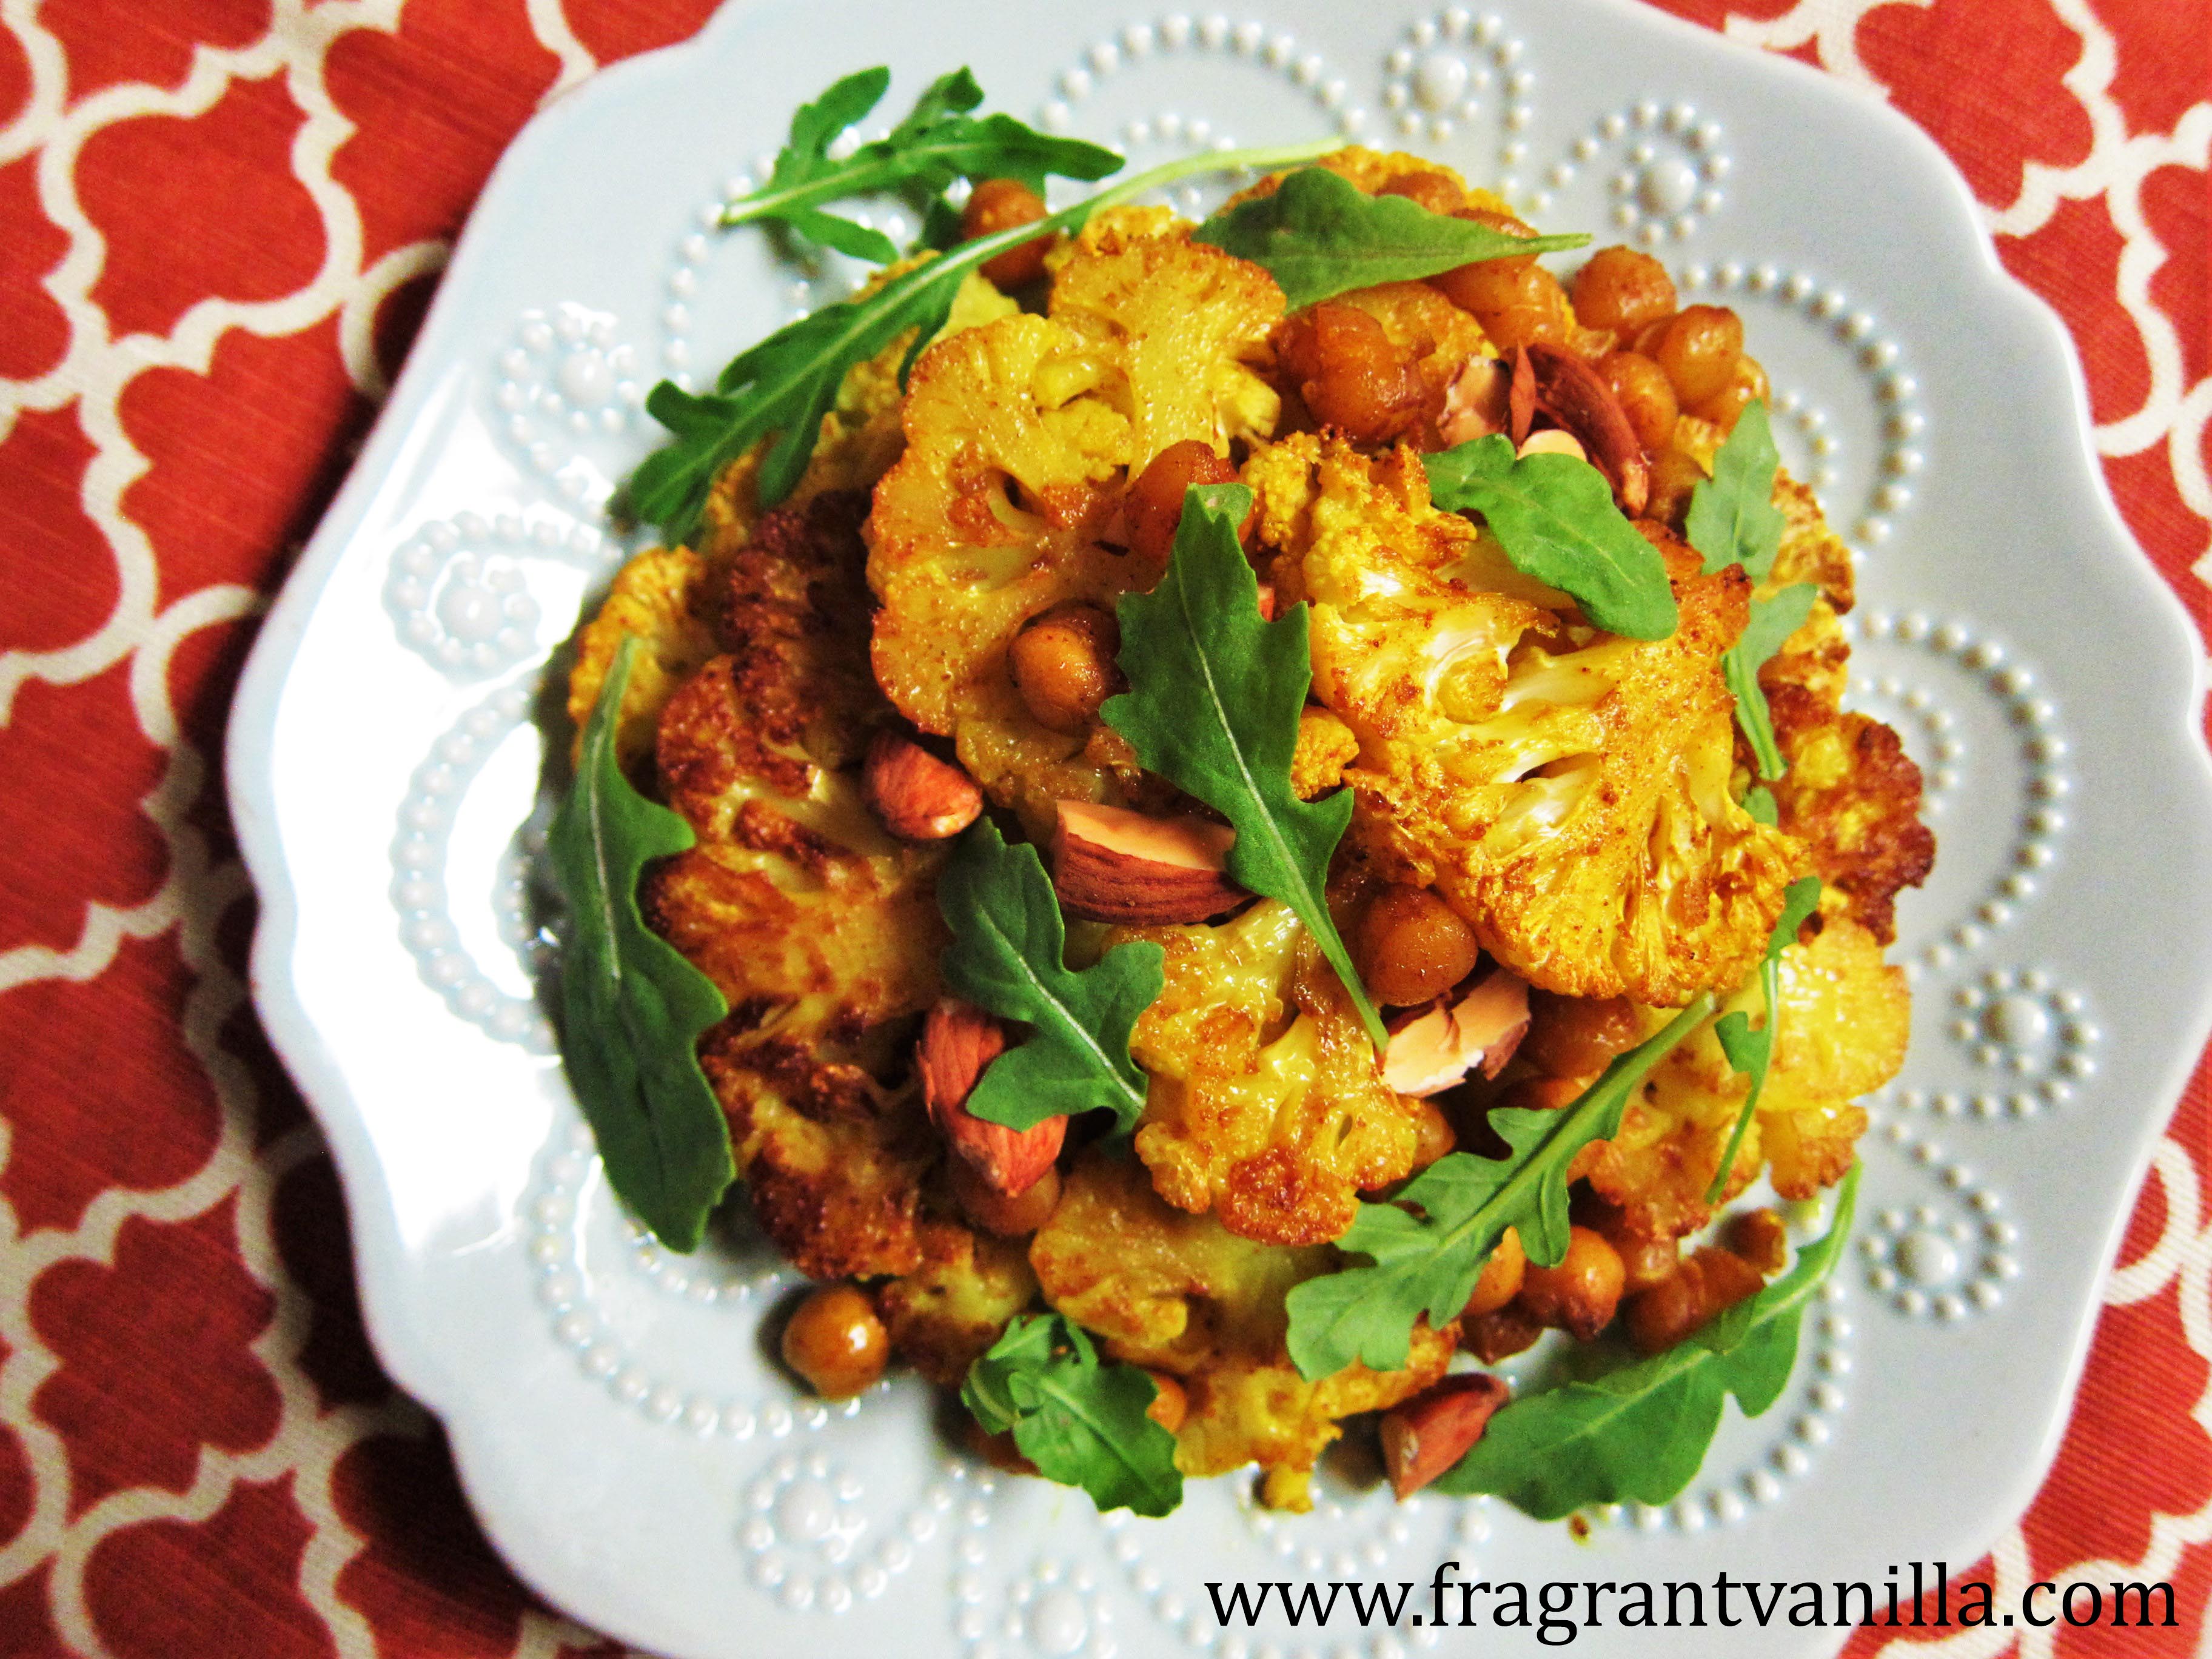
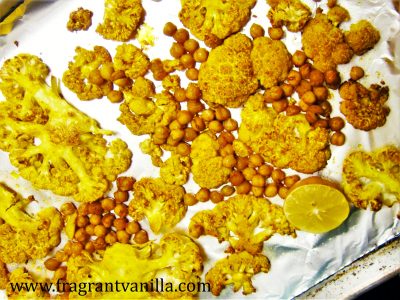
A lot of people think that vegans eat just salads all day long. As important as it is to eat lots of greens to get nutrients as part of ANY diet, that is not all vegans eat. We eat traditional foods veganized, and comfort foods too when we feel like it, and desserts that taste just as good as the ones with the animal products (this whole blog is filled with them *wink wink*). One of the keys to staying vegan is to find the foods that you enjoy! I never feel deprived being vegan, because I have found recipes and foods that I enjoy just as much (if not more) than the foods I used to eat as an omnivore. And I feel better eating them too, because my body feels better, and I have no guilty conscience of animals being killed for me to eat. I encourage you to learn to cook for yourself too. A big part of the success is also planning. Bringing your lunches along with you to work so that you don’t rely on unhealthy convenience food will keep you feeling energized and not sluggish and tired. I make a big batch of a salad at the beginning of the week, and cook some tempeh, and I portion it out for my lunches the whole week. This is just what I like. You have to find what works for you. If you like sandwiches, prep the ingredients ahead of time so that you have them ready to make them when you want to bring them with or enjoy them. Things like hummus, guacamole, salsa, tempeh and nut butters are great things to have on hand in your fridge for just that, and along with veggies you can build a great sandwich! Also, making things like soup in bigger batches on the weekends and freezing them is great for when you are in a hurry. Here are a few of my favorite savory recipes that I make time and again:
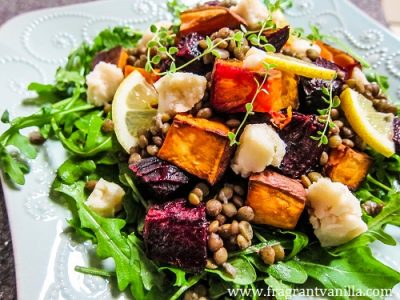
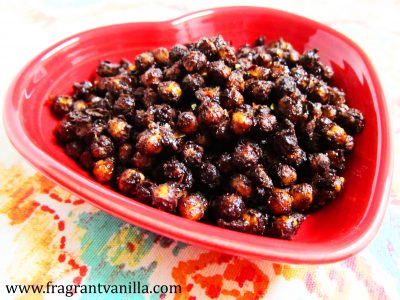
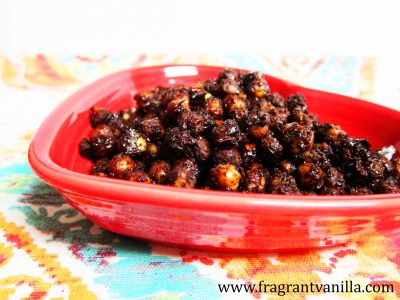
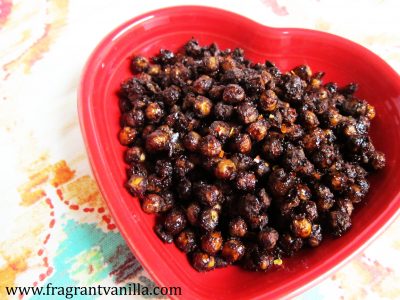
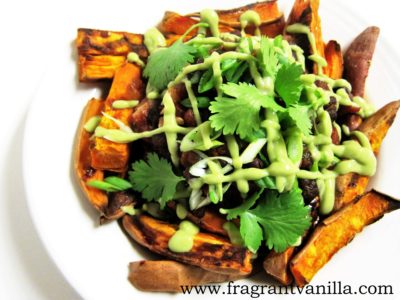
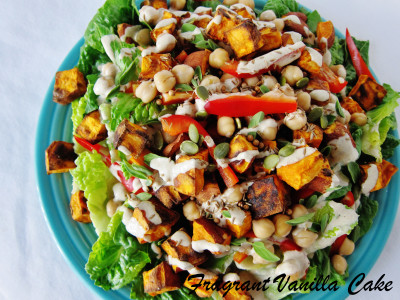
Roasted Sweet Potato and Chickpea Salad
Tahini Broccoli Salad
Autumn Apple Kale Salad
Spicy Quinoa Veggie Black Bean Salad
Black Bean Chili Stuffed Yams
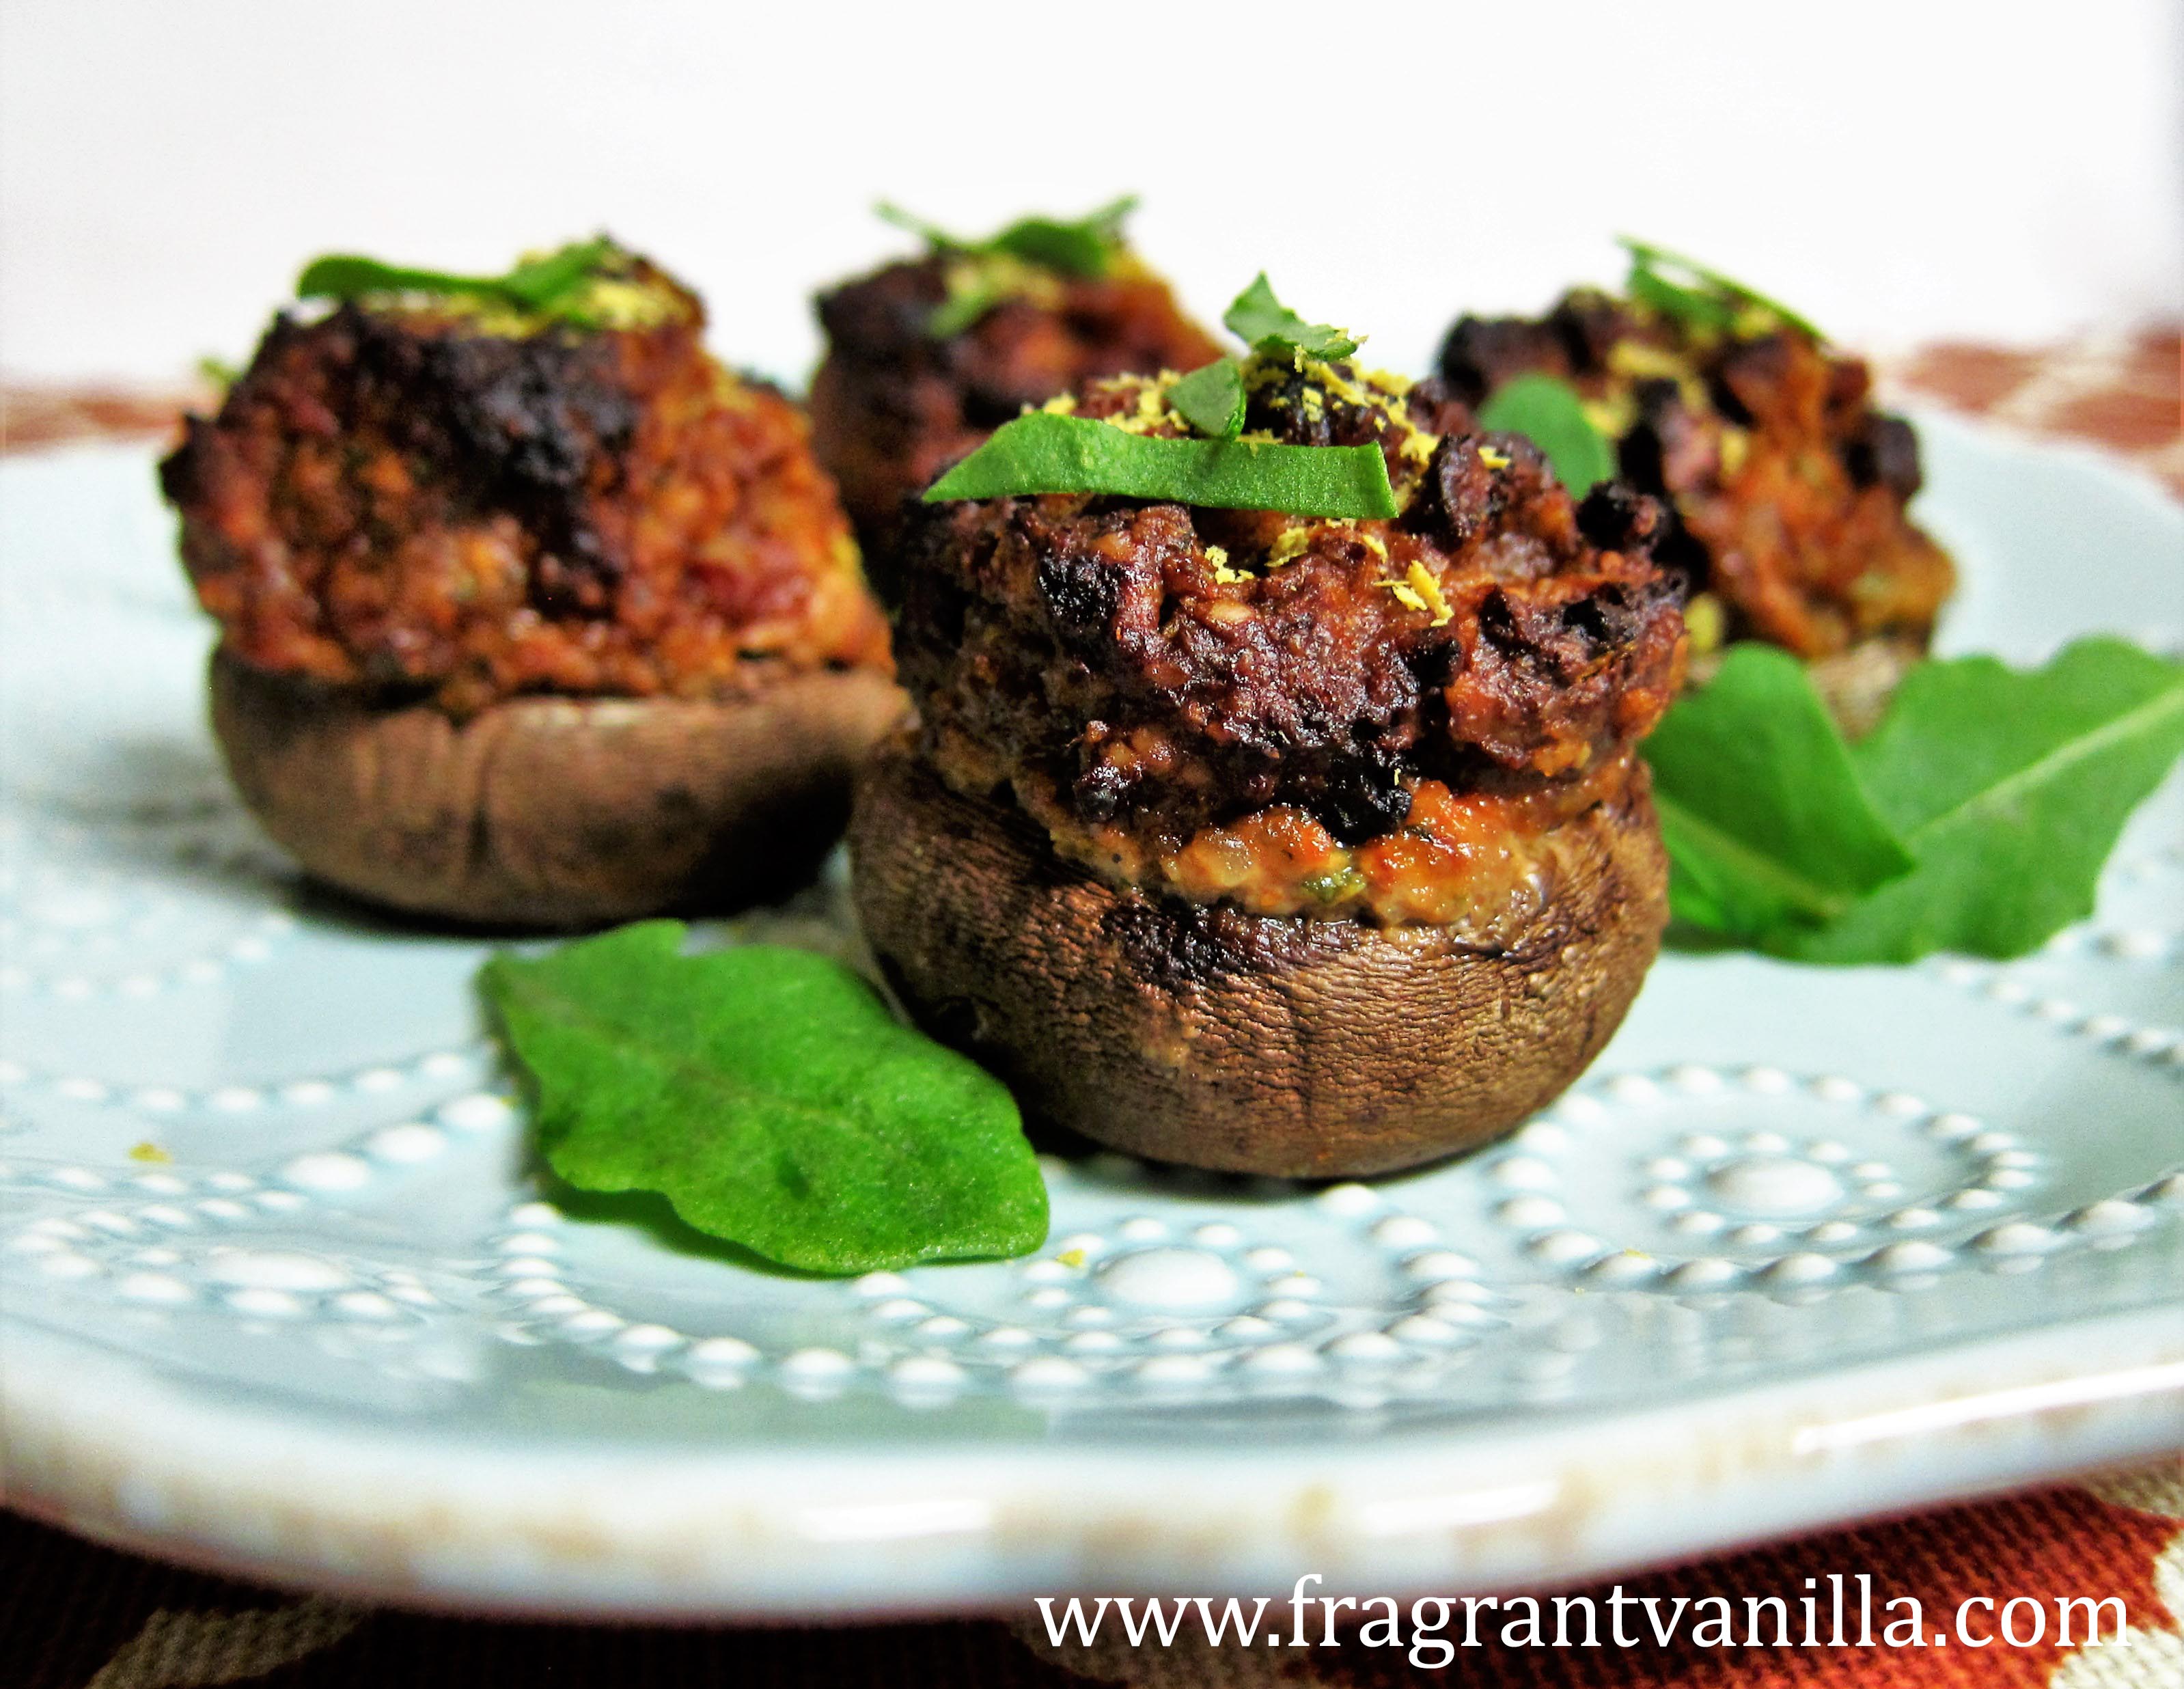
Vegan Italian Sausage Casserole
Vegan Tater Tot Hotdish
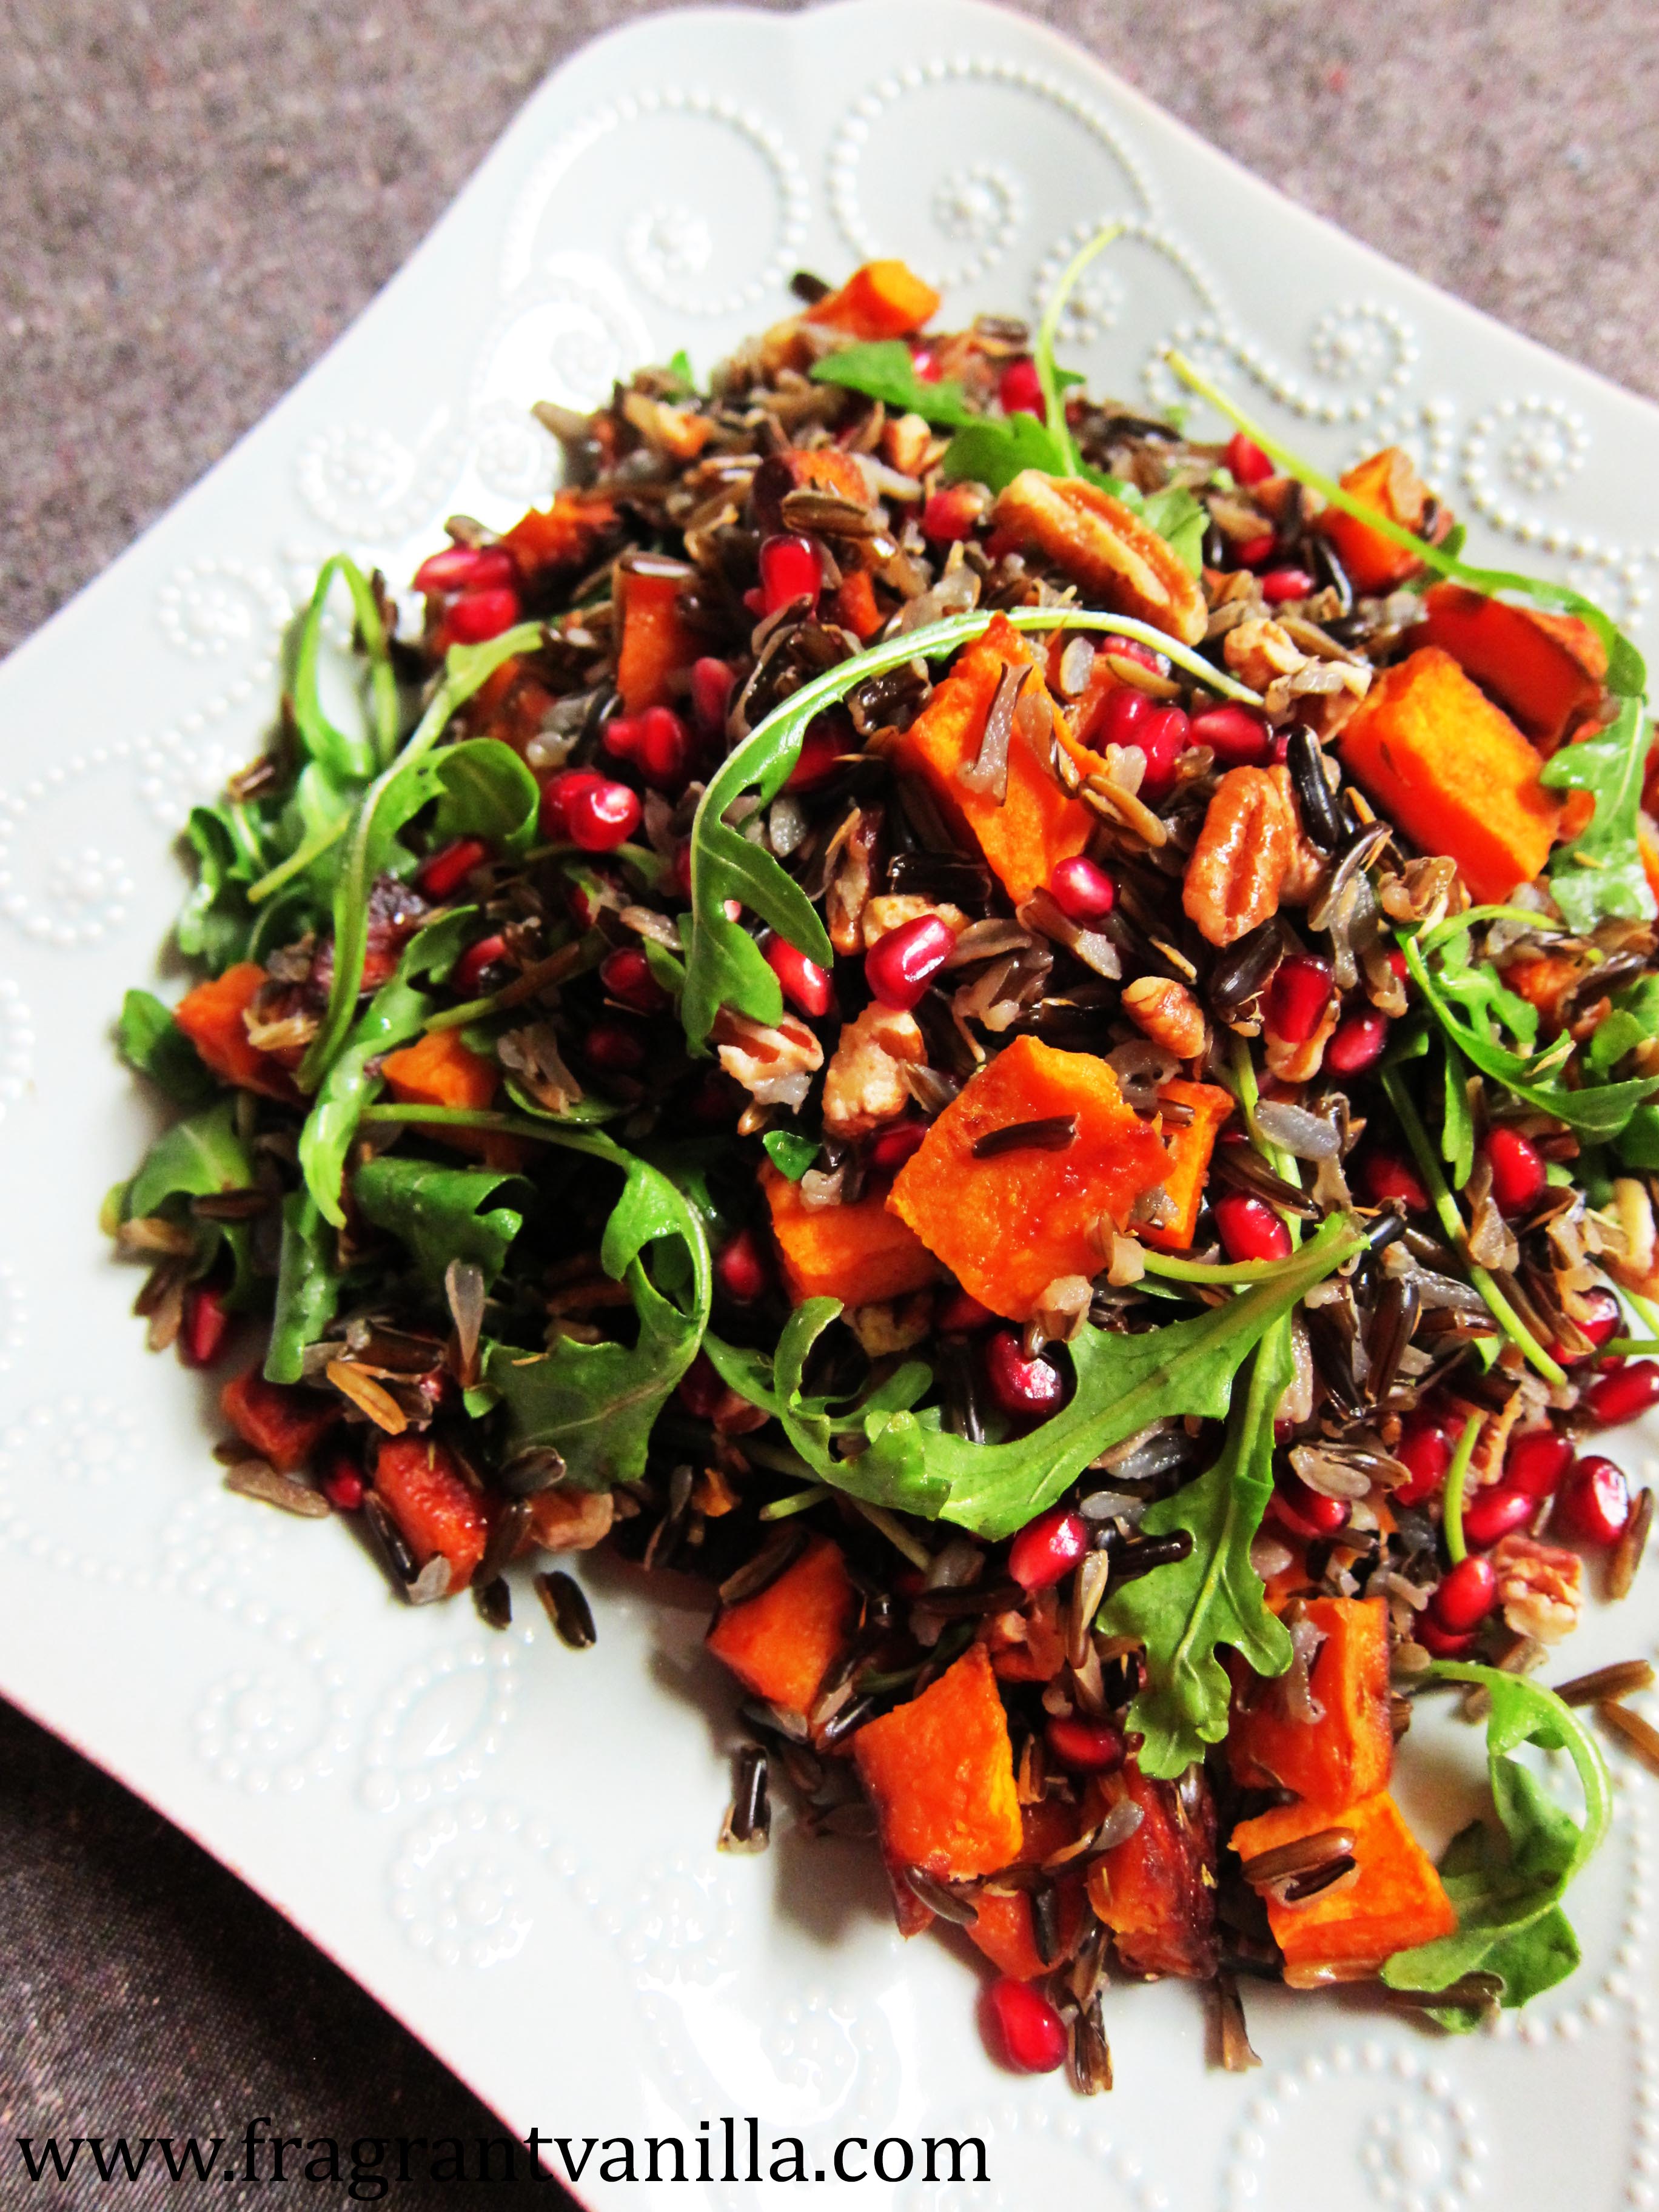
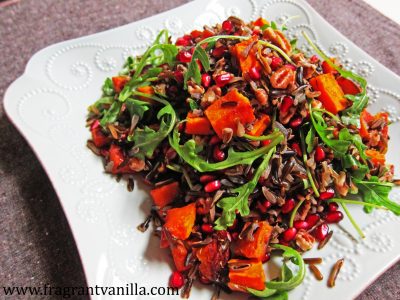
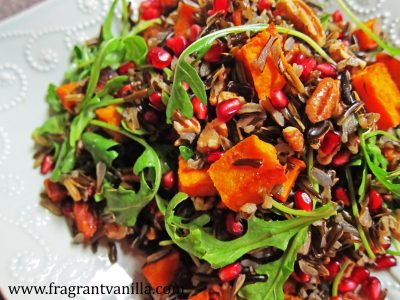
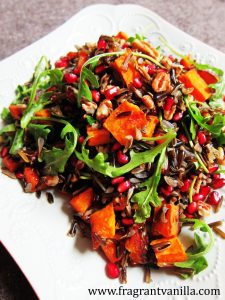
Creamy Vegan Mushroom Wild Rice Soup
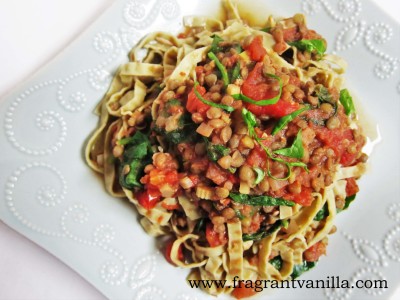
Vegan Lentil Bolognese with Greens
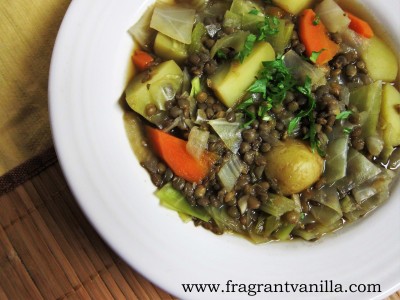
Smokey Vegan Split Pea Soup
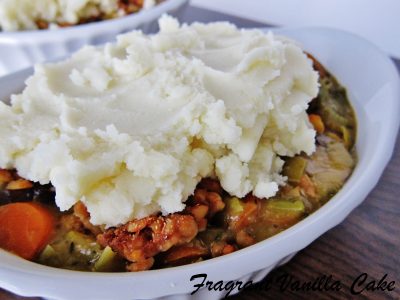
Shepard’s Pie
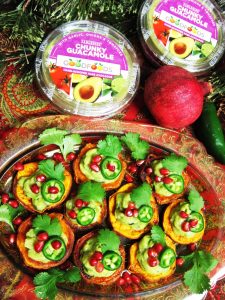
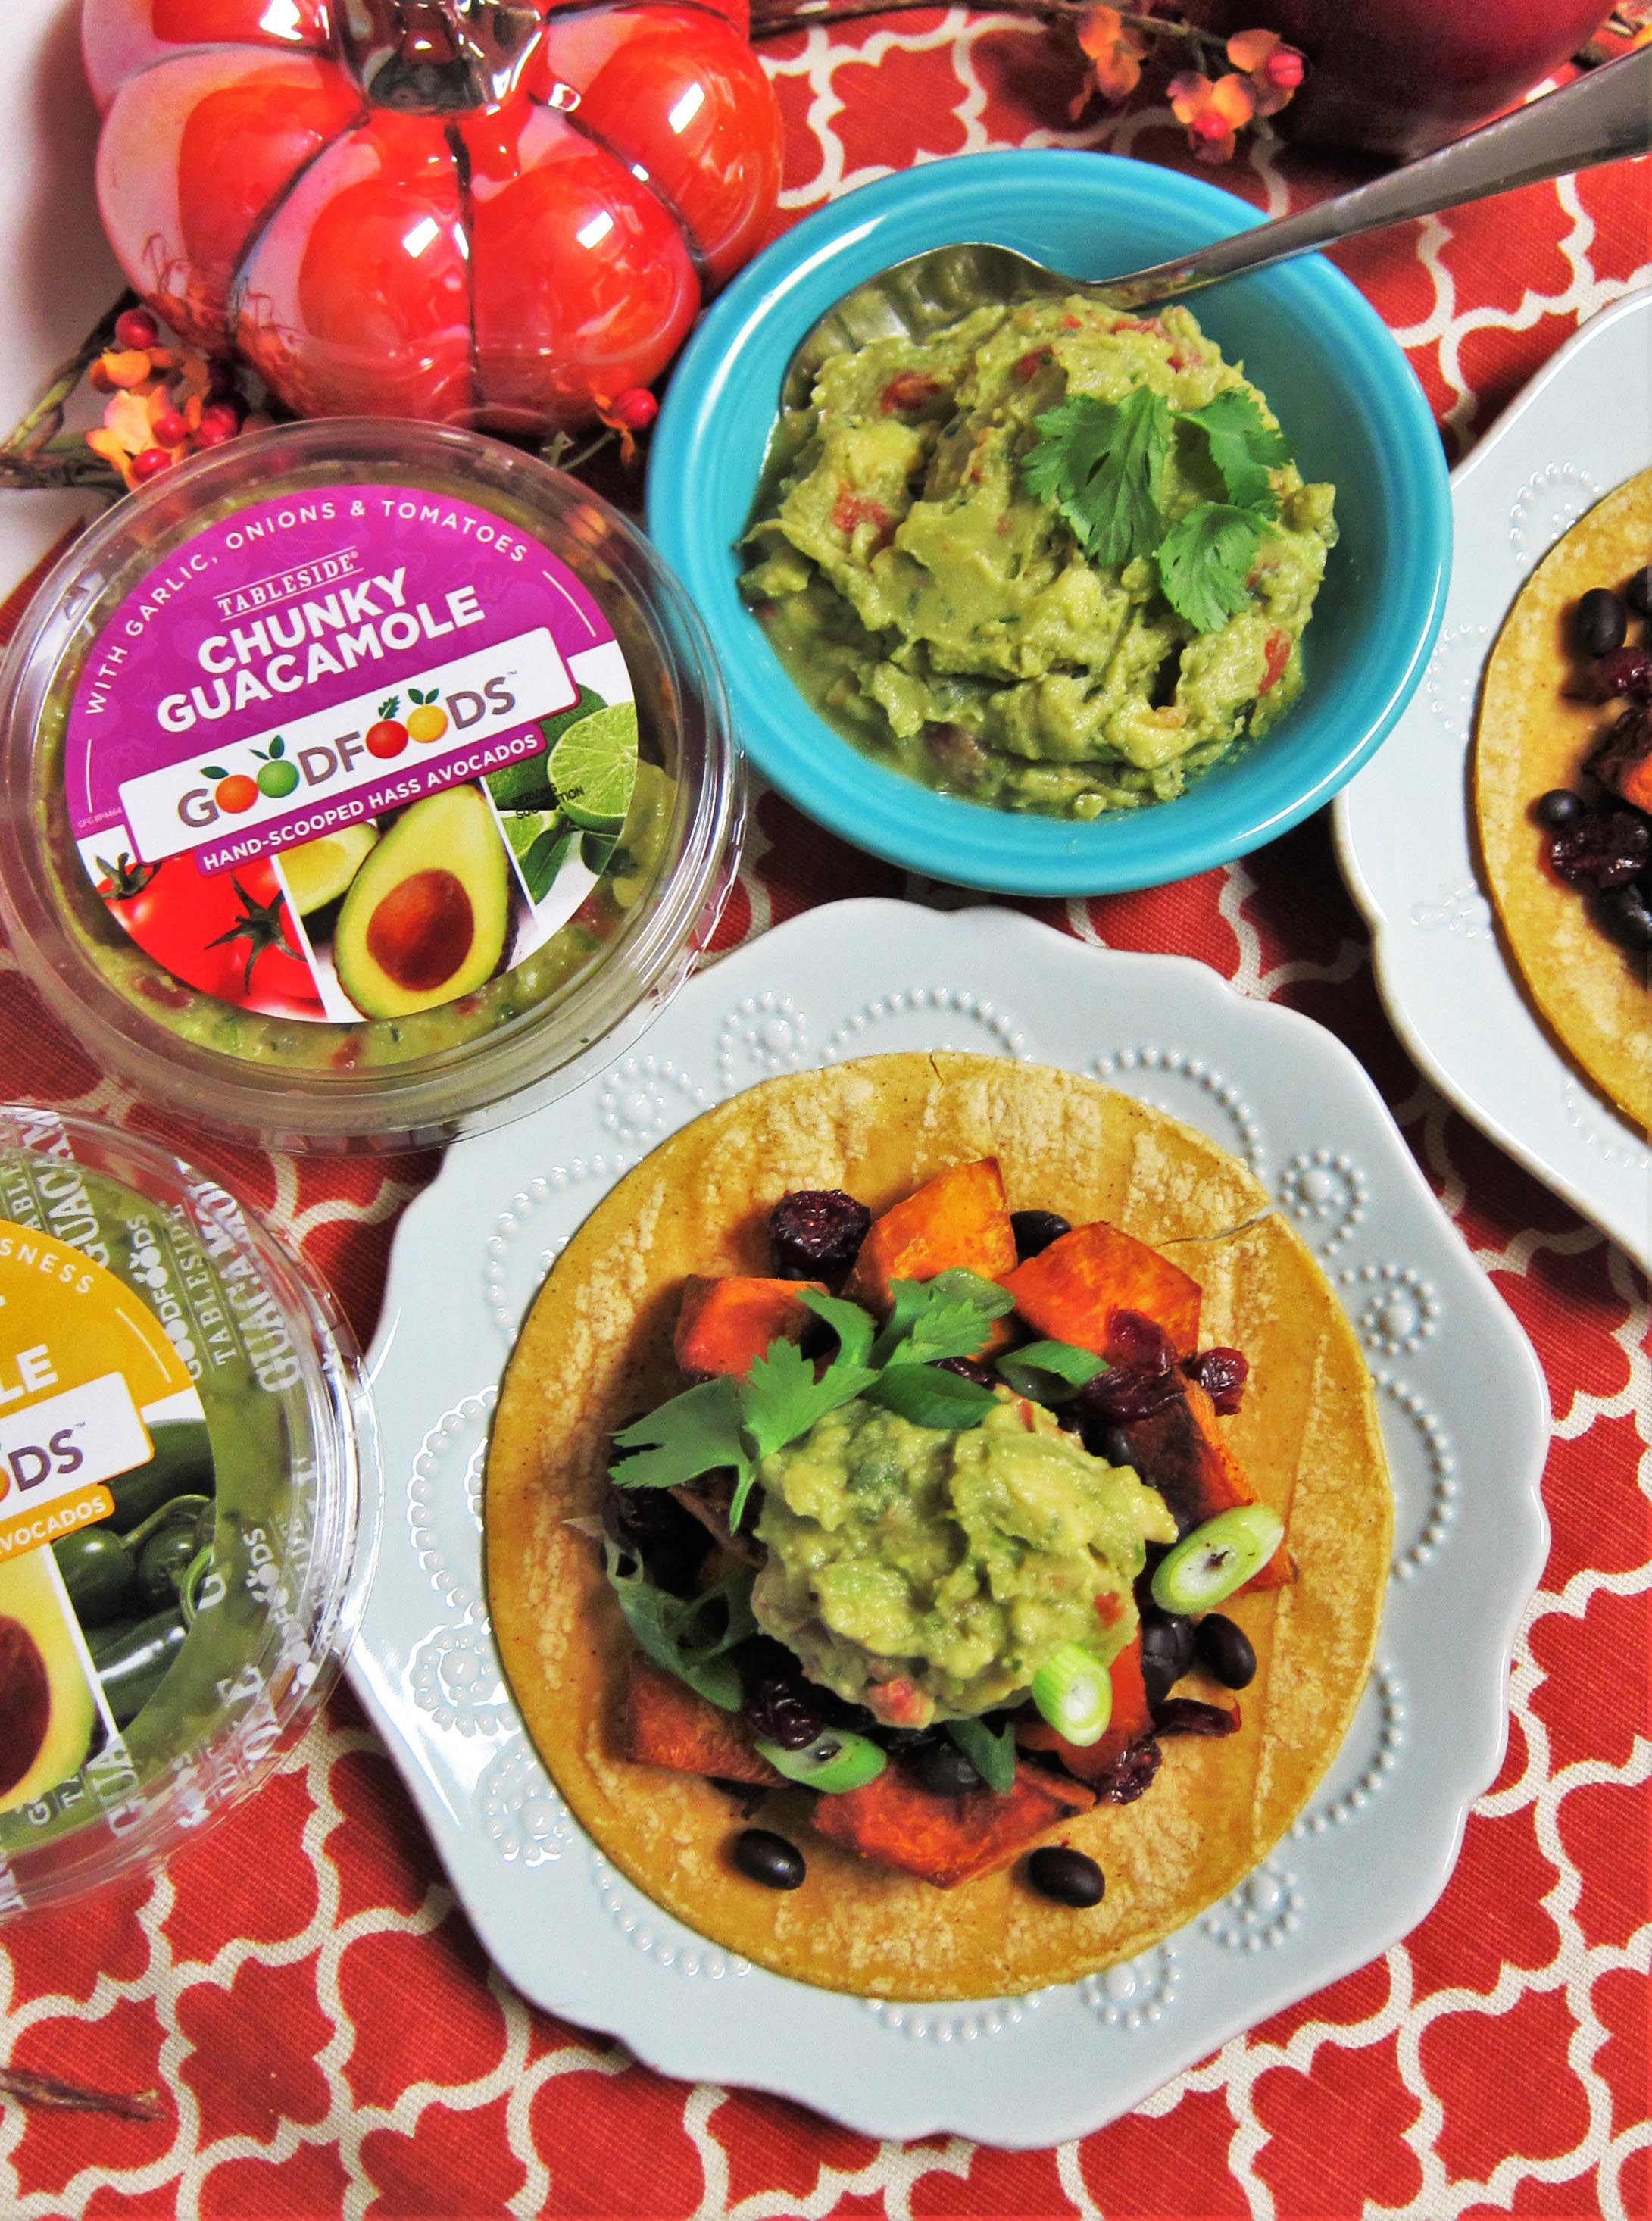
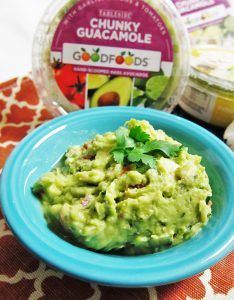
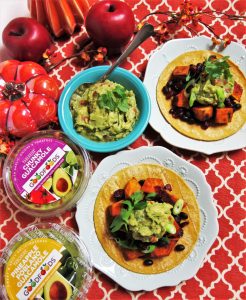
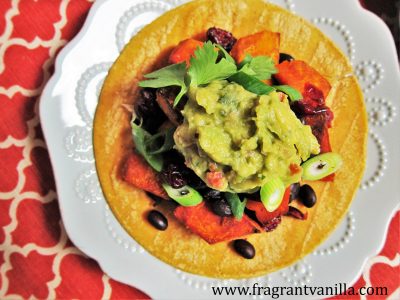
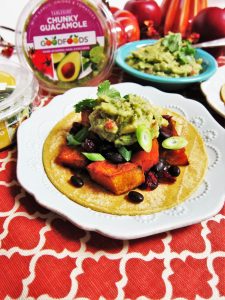
Roasted Yam and Black Bean Tacos
Vitamins and Probiotics
I think one of the reasons that some people do not feel good when they go vegan is that they are not getting some of the essential vitamins. Some people go for the junk food and convenience vegan food way of eating, and are not getting enough essential nutrients because of that, and sometimes people just do not know what vitamins they might be lacking on. I get many of my vitamins from my diet, which is loaded up with lots of veggies and fruits, but I still like to supplement with vitamin B12. This is the main big thing that vegans tend to be lower on, and in fact I myself did not know about the b12 need when I became vegan, and almost stopped being vegan because after a while I did not feel as good. I did some research and discovered that it might be the problem. It was totally the b12 deficiency which was the problem, because now that I take it I feel strong as ever. I also like to take vitamin D to help with my calcium absorption for strong bones. You can get calcium from things like broccoli, kale, beans, tempeh, and almonds among other things. As far as Iron goes, I have never been deficient, but I do eat a lot of leafy greens and beets (both good sources), and I do take a vegan iron supplement. Variety is everything when it comes to a vegan diet, the more different colors and types of fruits, vegetables, seeds, beans and grains that you eat the more vitamins you will get and the better you will feel.
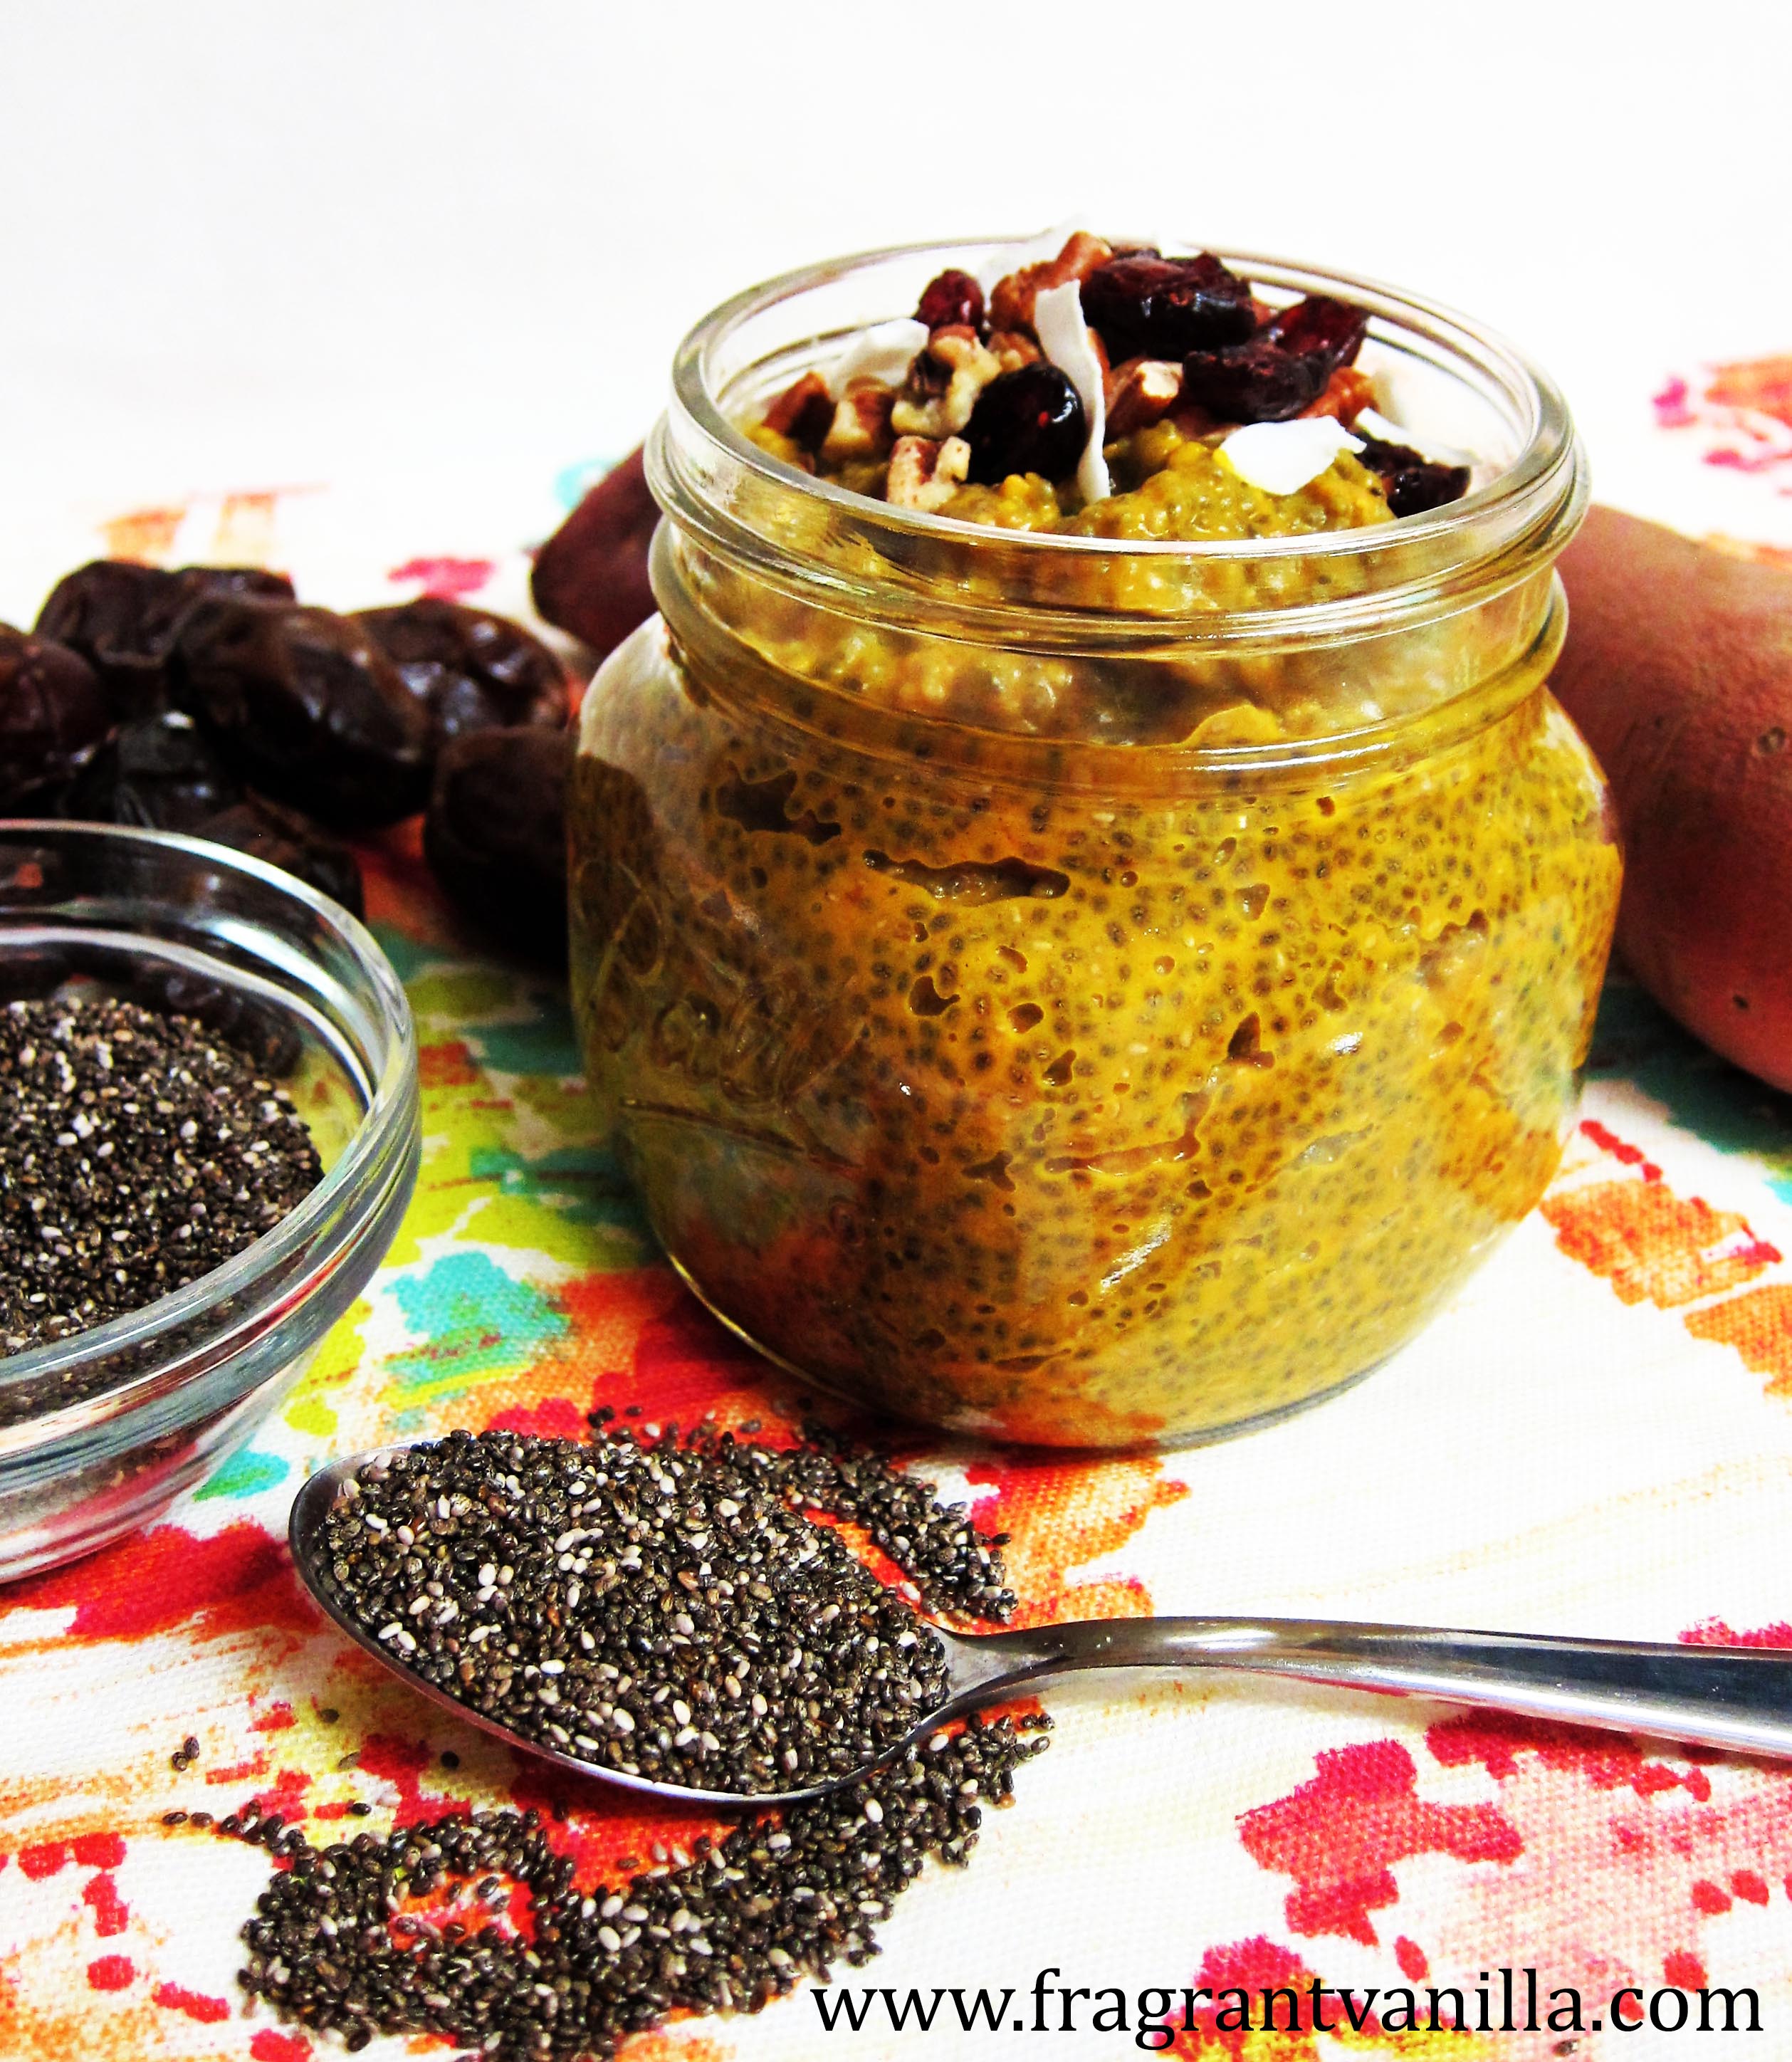
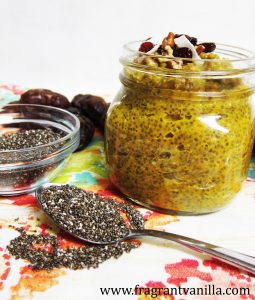
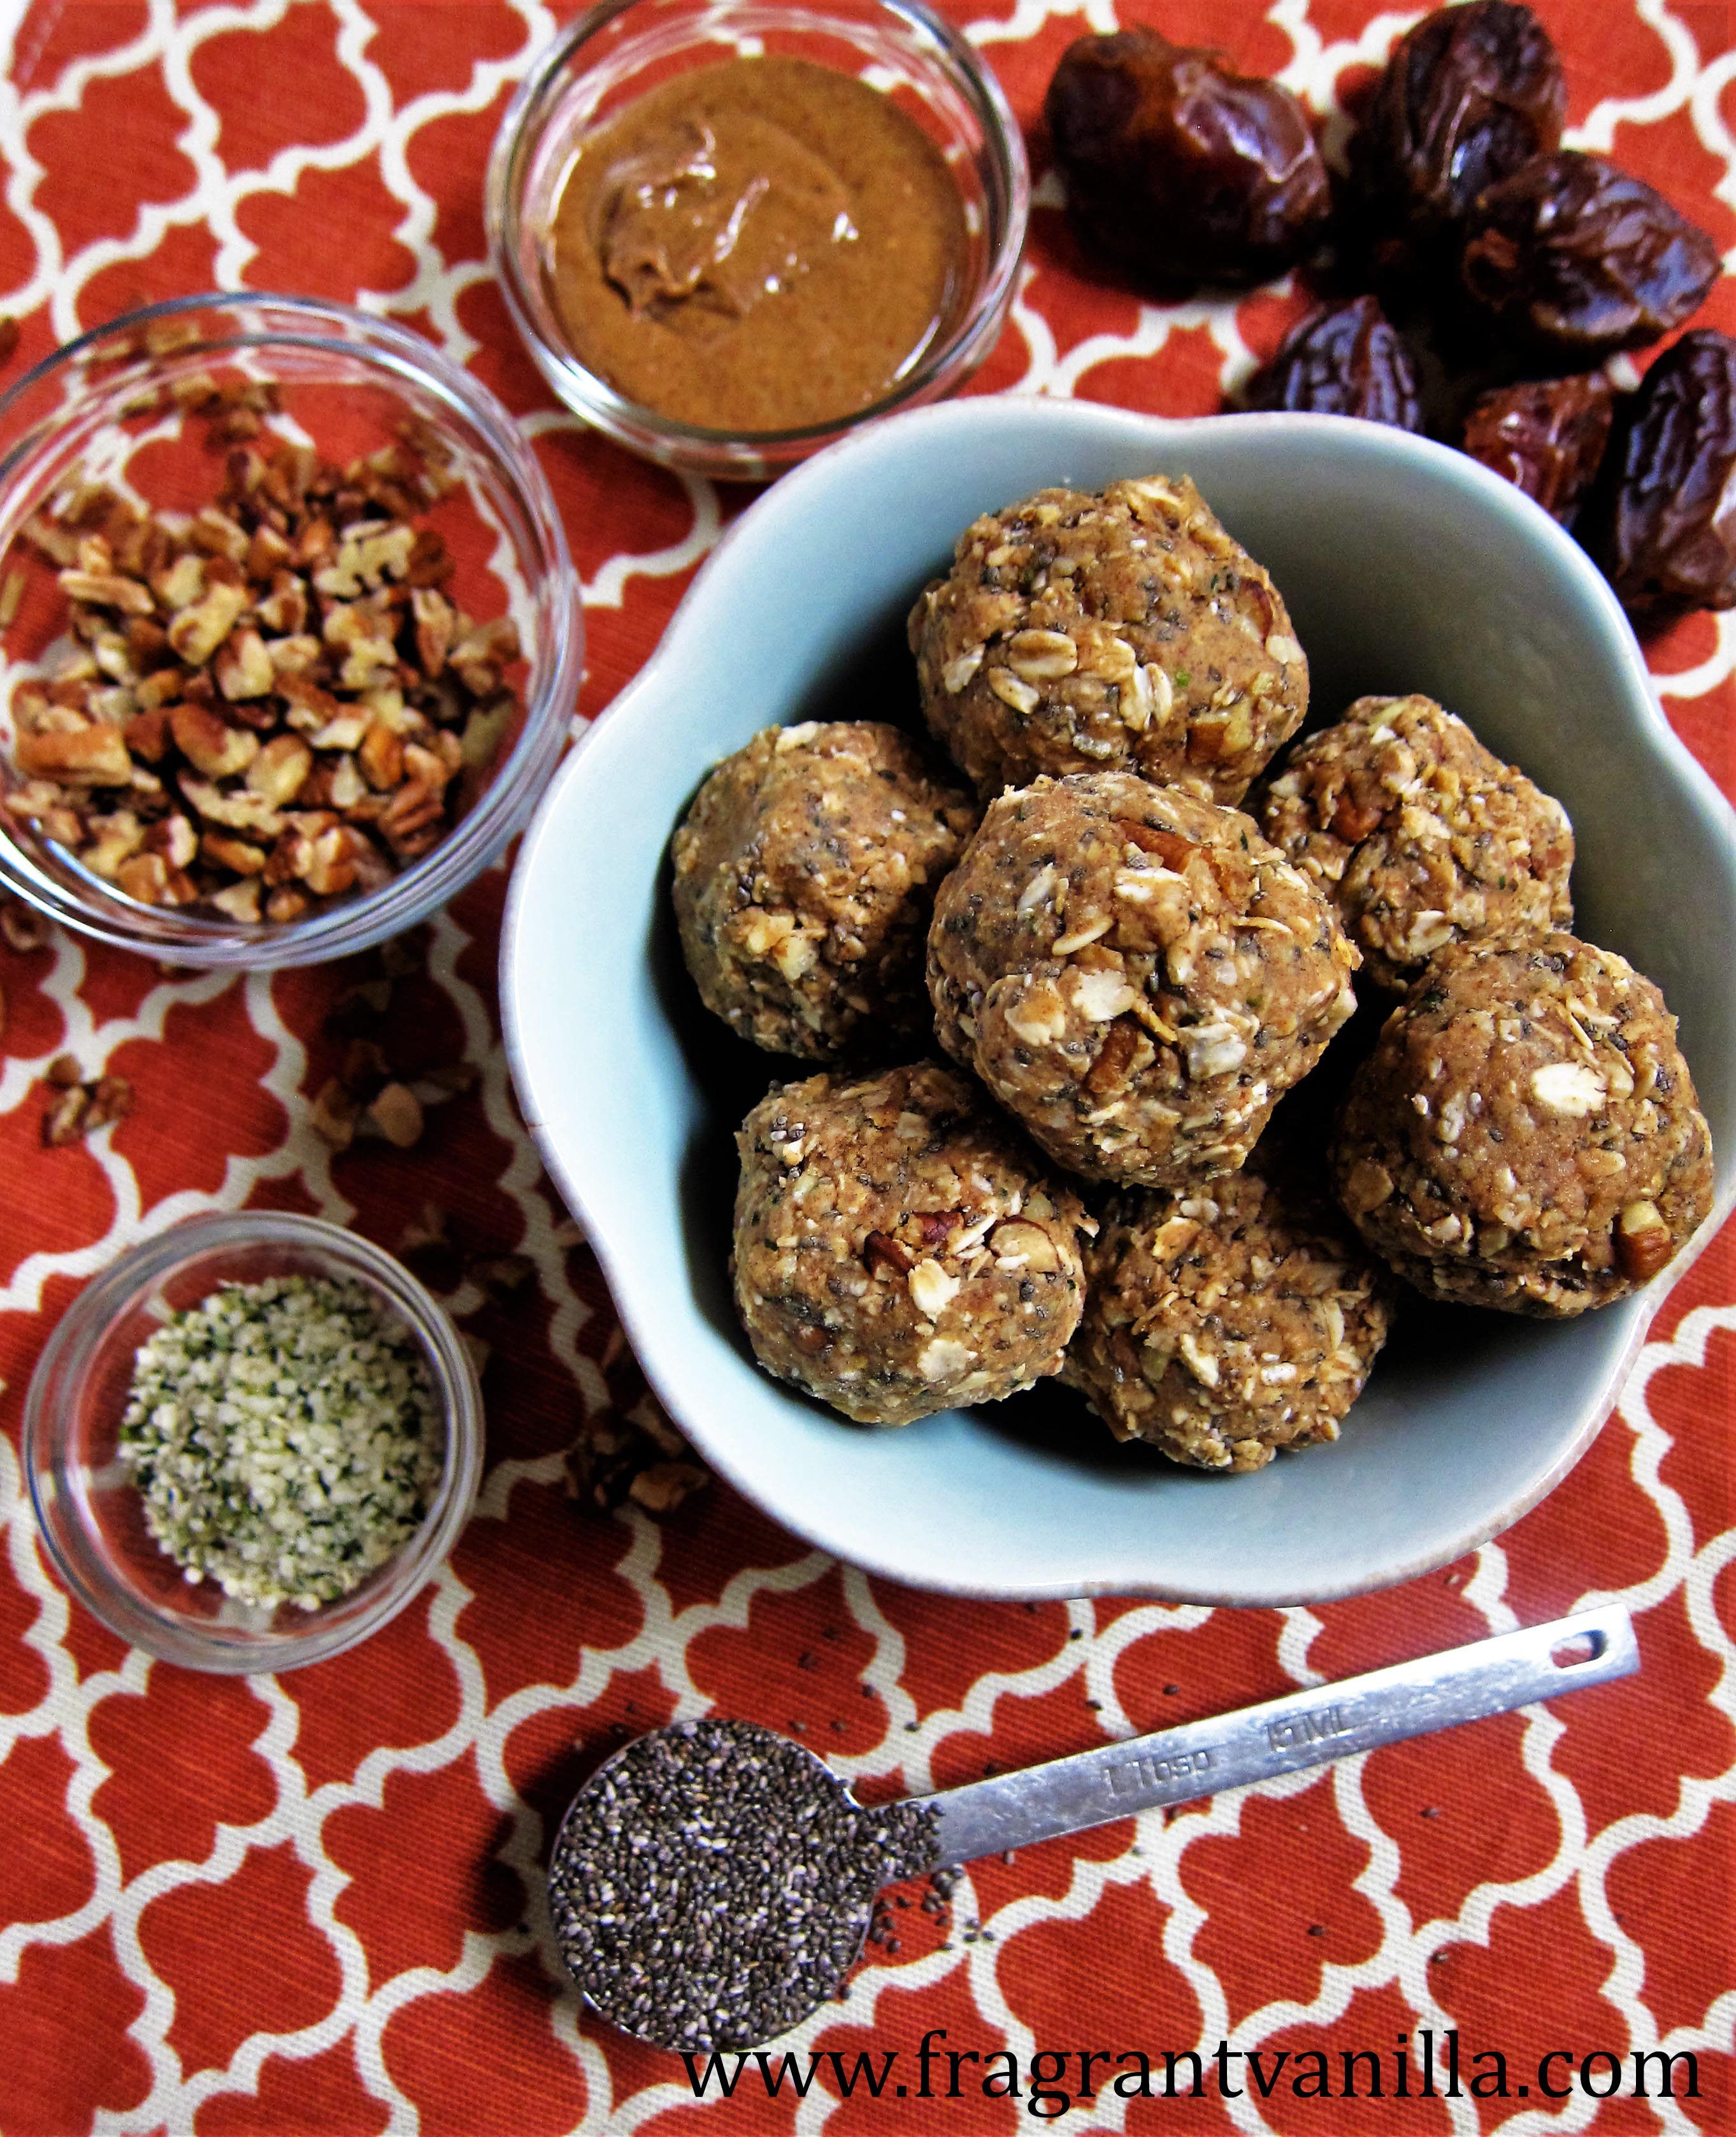
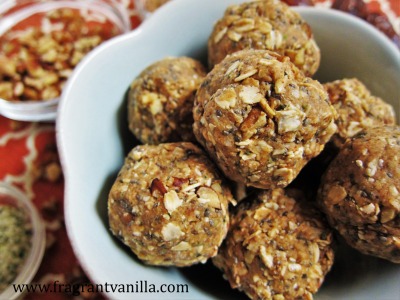
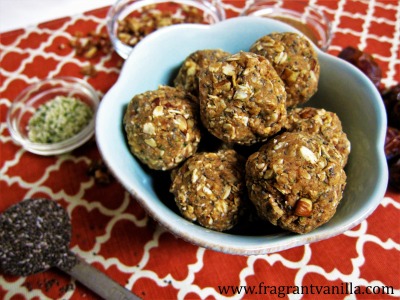
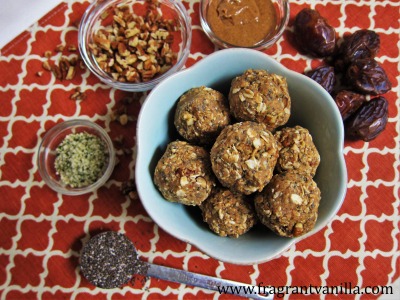
Another thing to consider is getting enough omega 3 oils. They are important for cell production, nerves, eyesight and heart health. You do need some fat in your diet in order to be healthy and this is one you want to be sure to eat. Many Americans are deficient in this type of healthy fat, even the meat eaters. Good sources for omega 3s are flax seeds, chia seeds, and hemp seeds. All of which I enjoy including in my diet, and like to sprinkle into my morning oatmeal. If you don’t think you are getting enough in your diet, Ovega 3 is a good brand for supplementation.
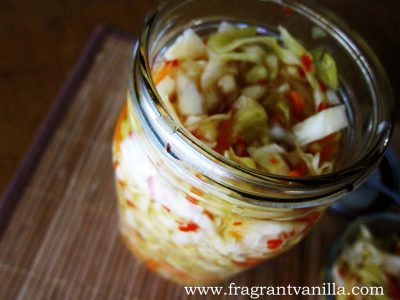
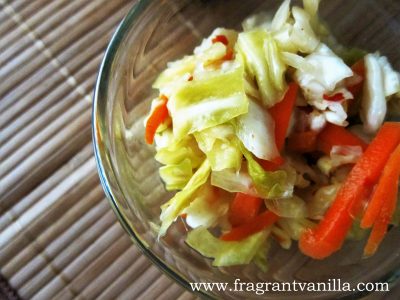
Besides vitamins, another important thing to consider for overall health of your body is probiotics. If your gut isn’t functioning properly, you will not digest your food as well, and you may be missing out on vitamins and minerals. Not only that, you might have tummy troubles such as too much bloating and gas, and your immune system may not function as well leaving you vulnerable to getting sick more often. I get my dose of probiotics through things like kombucha, vegan kimchee, sauerkraut, miso, tempeh, and vegan yogurt. You can also take vegan probiotics, and I like to keep some on hand to make things like coconut yogurt or cultured nut cheese. Below are a few recipes rich in probiotics:
Spicy Ginger Garlic Saurkraut
Fermented Saurkraut
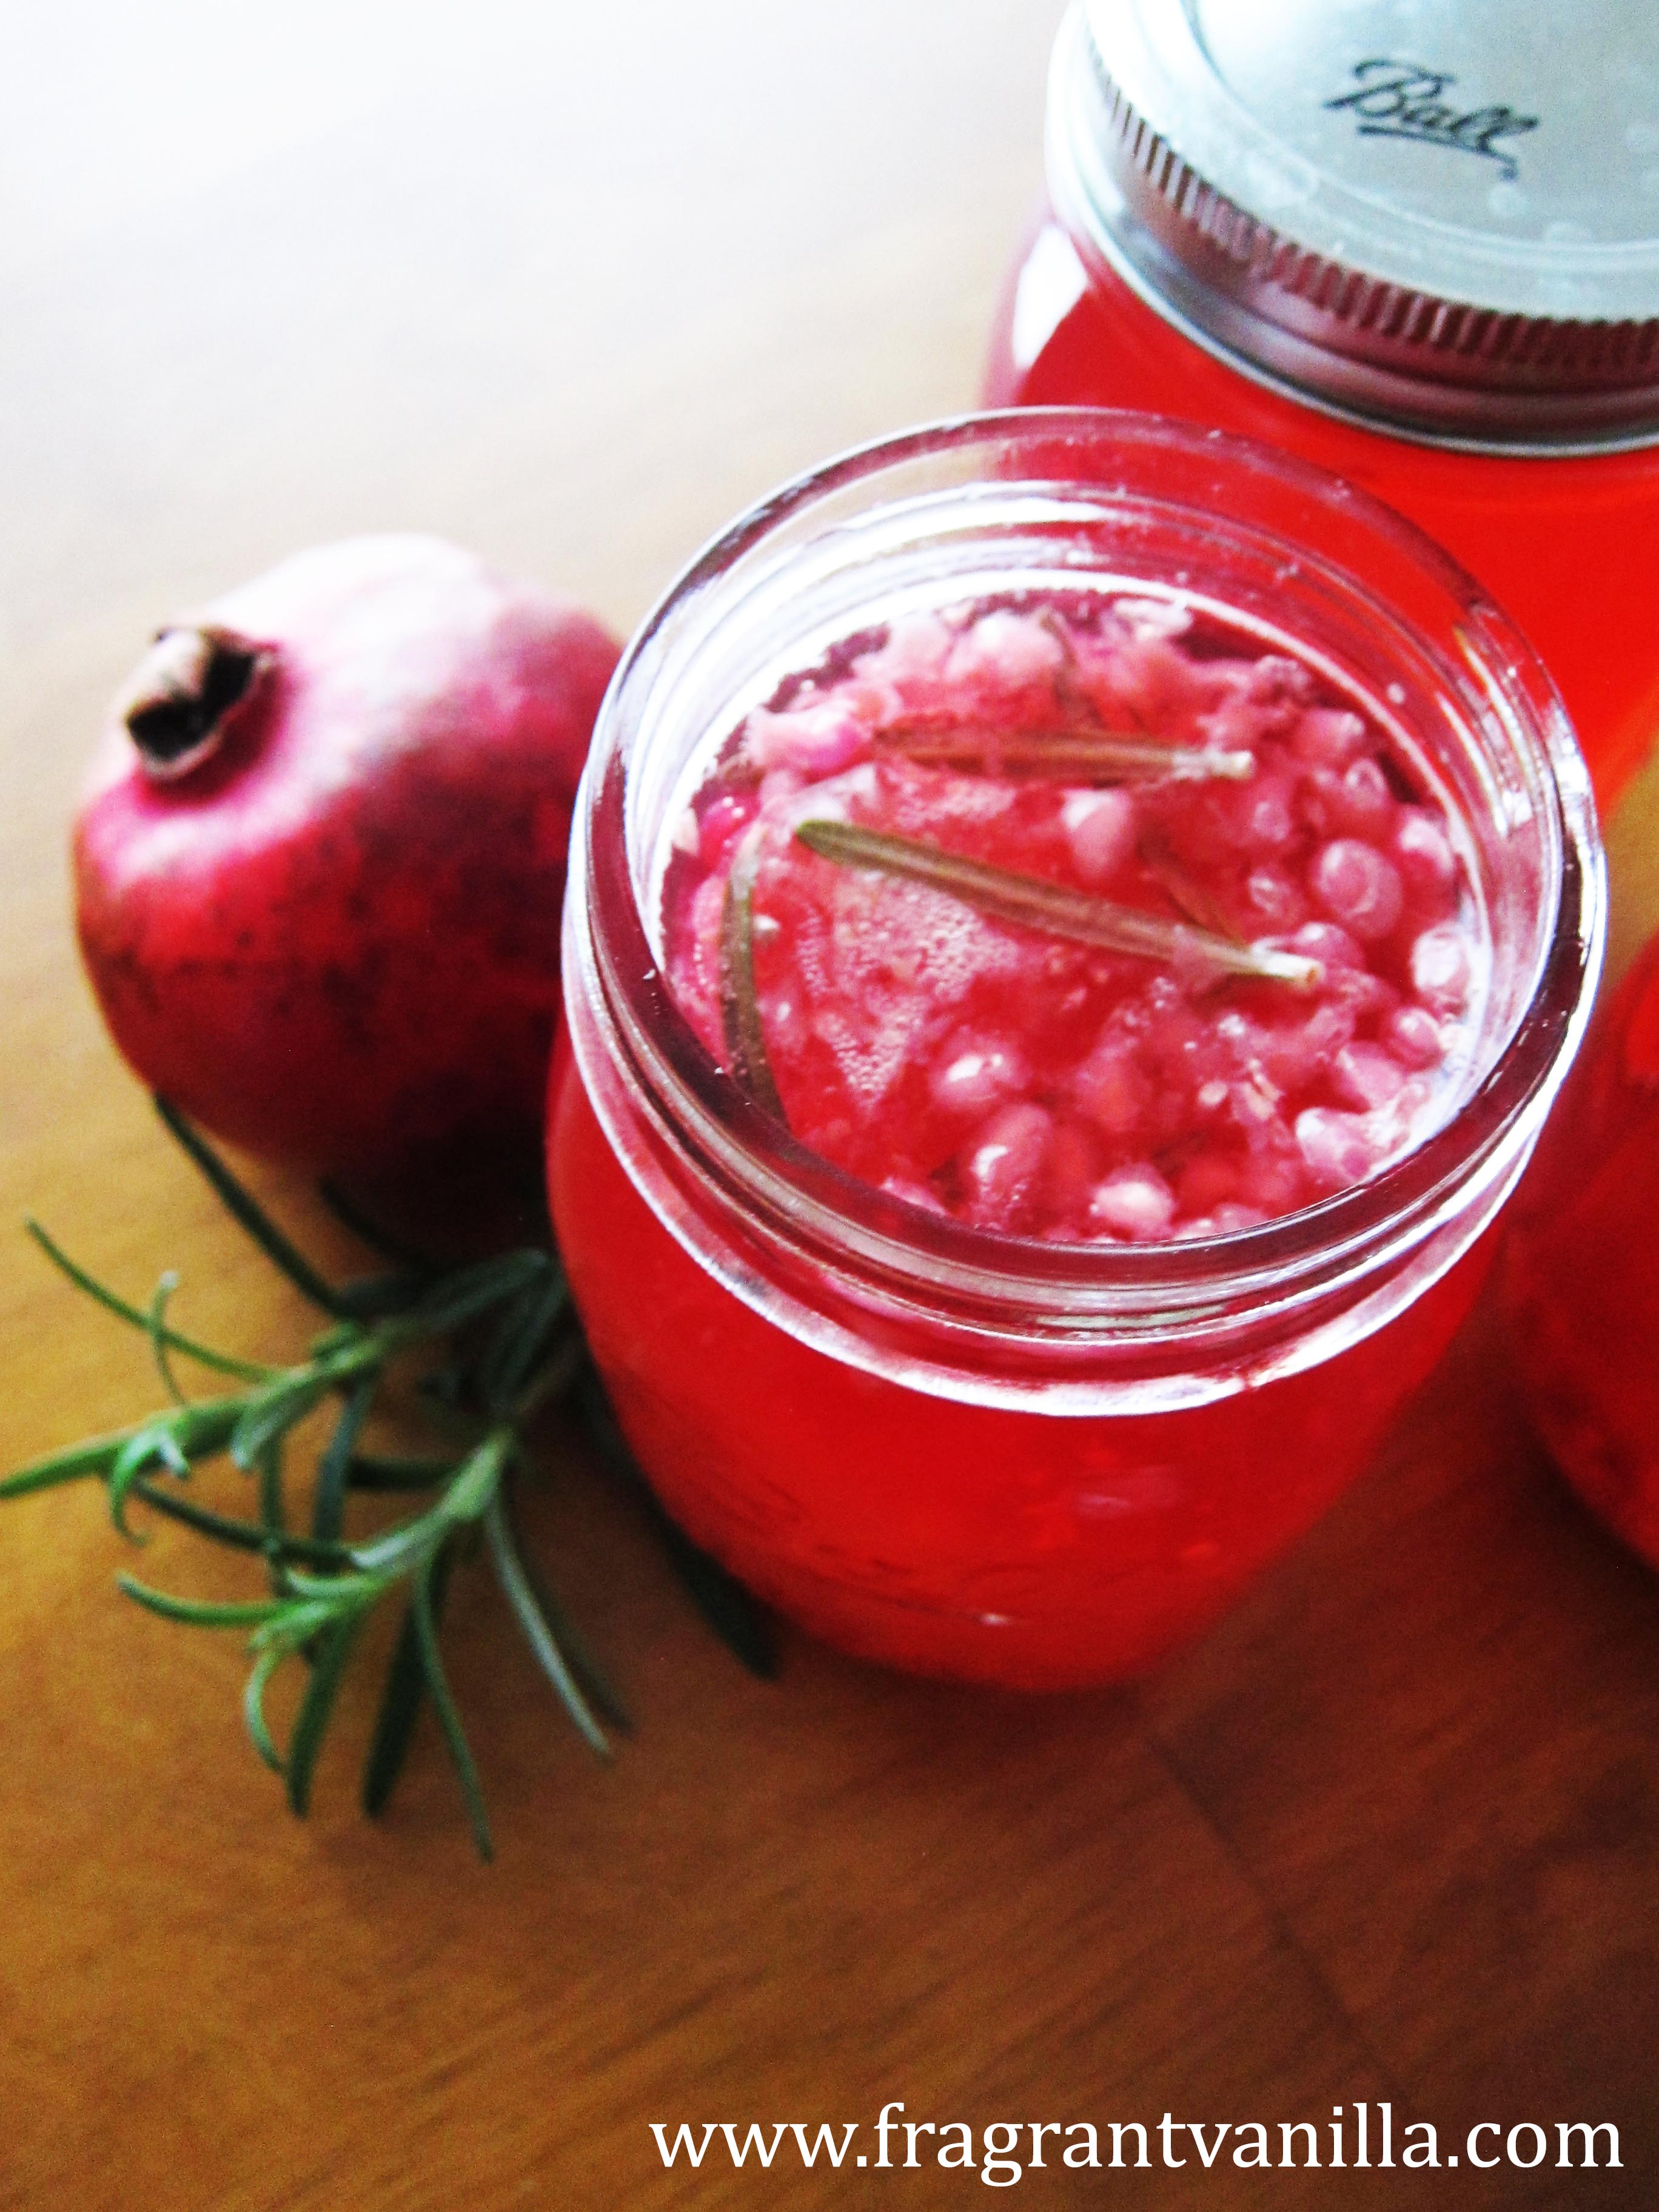
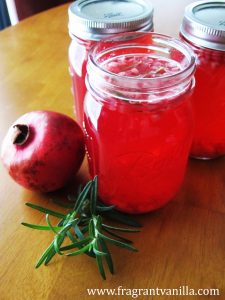
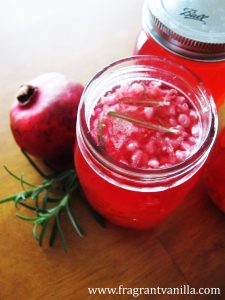
Pomegranate Raspberry Kombucha
Blackberry Lavander Kombucha
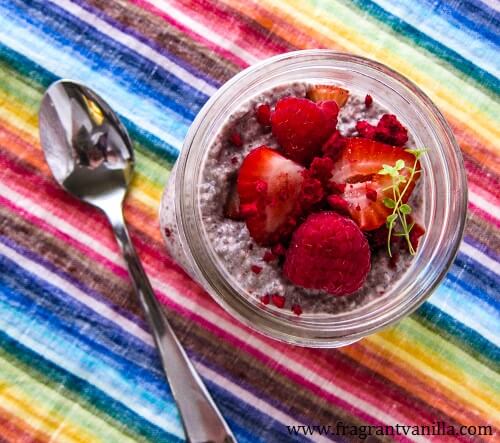
Vanilla Coconut Yogurt
Raw Raspberry Coconut Yogurt
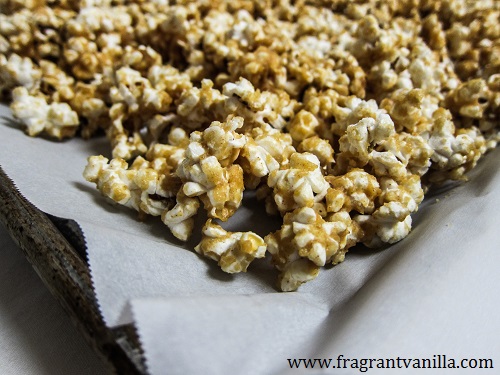
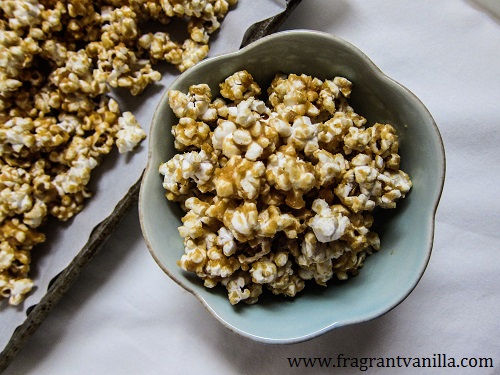
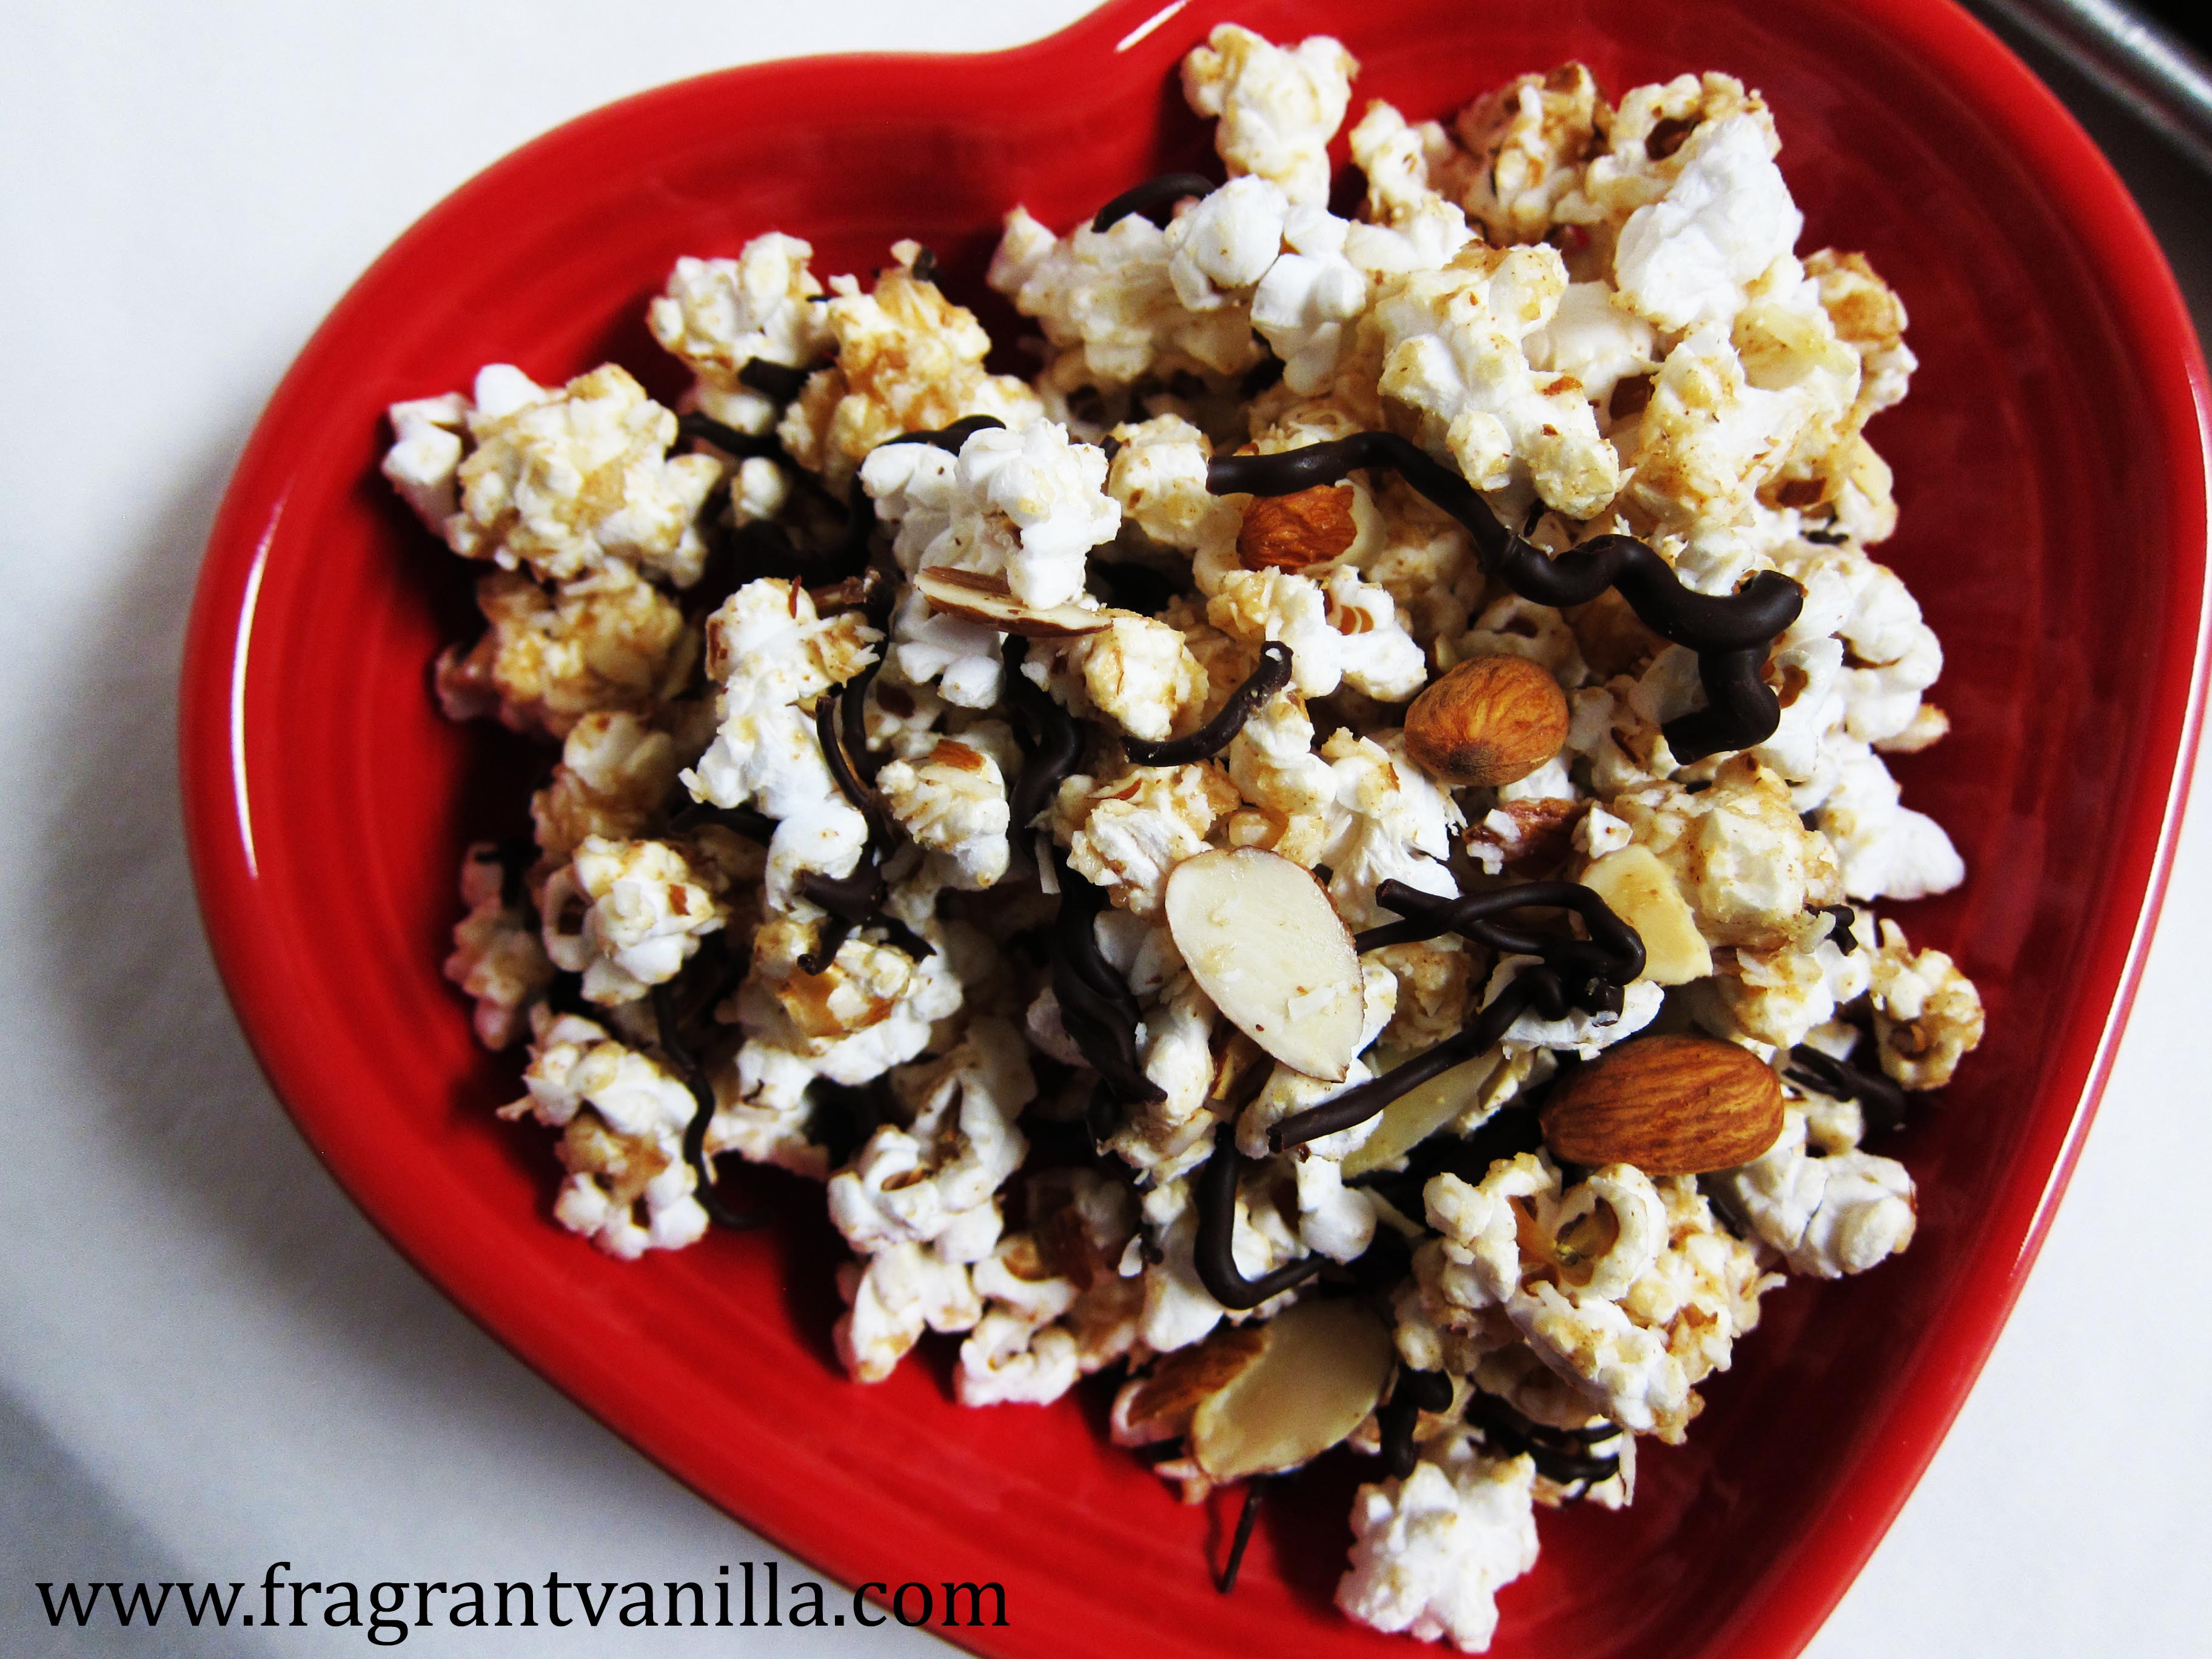
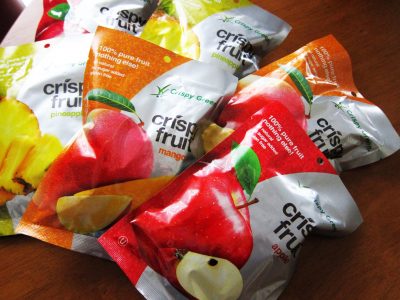
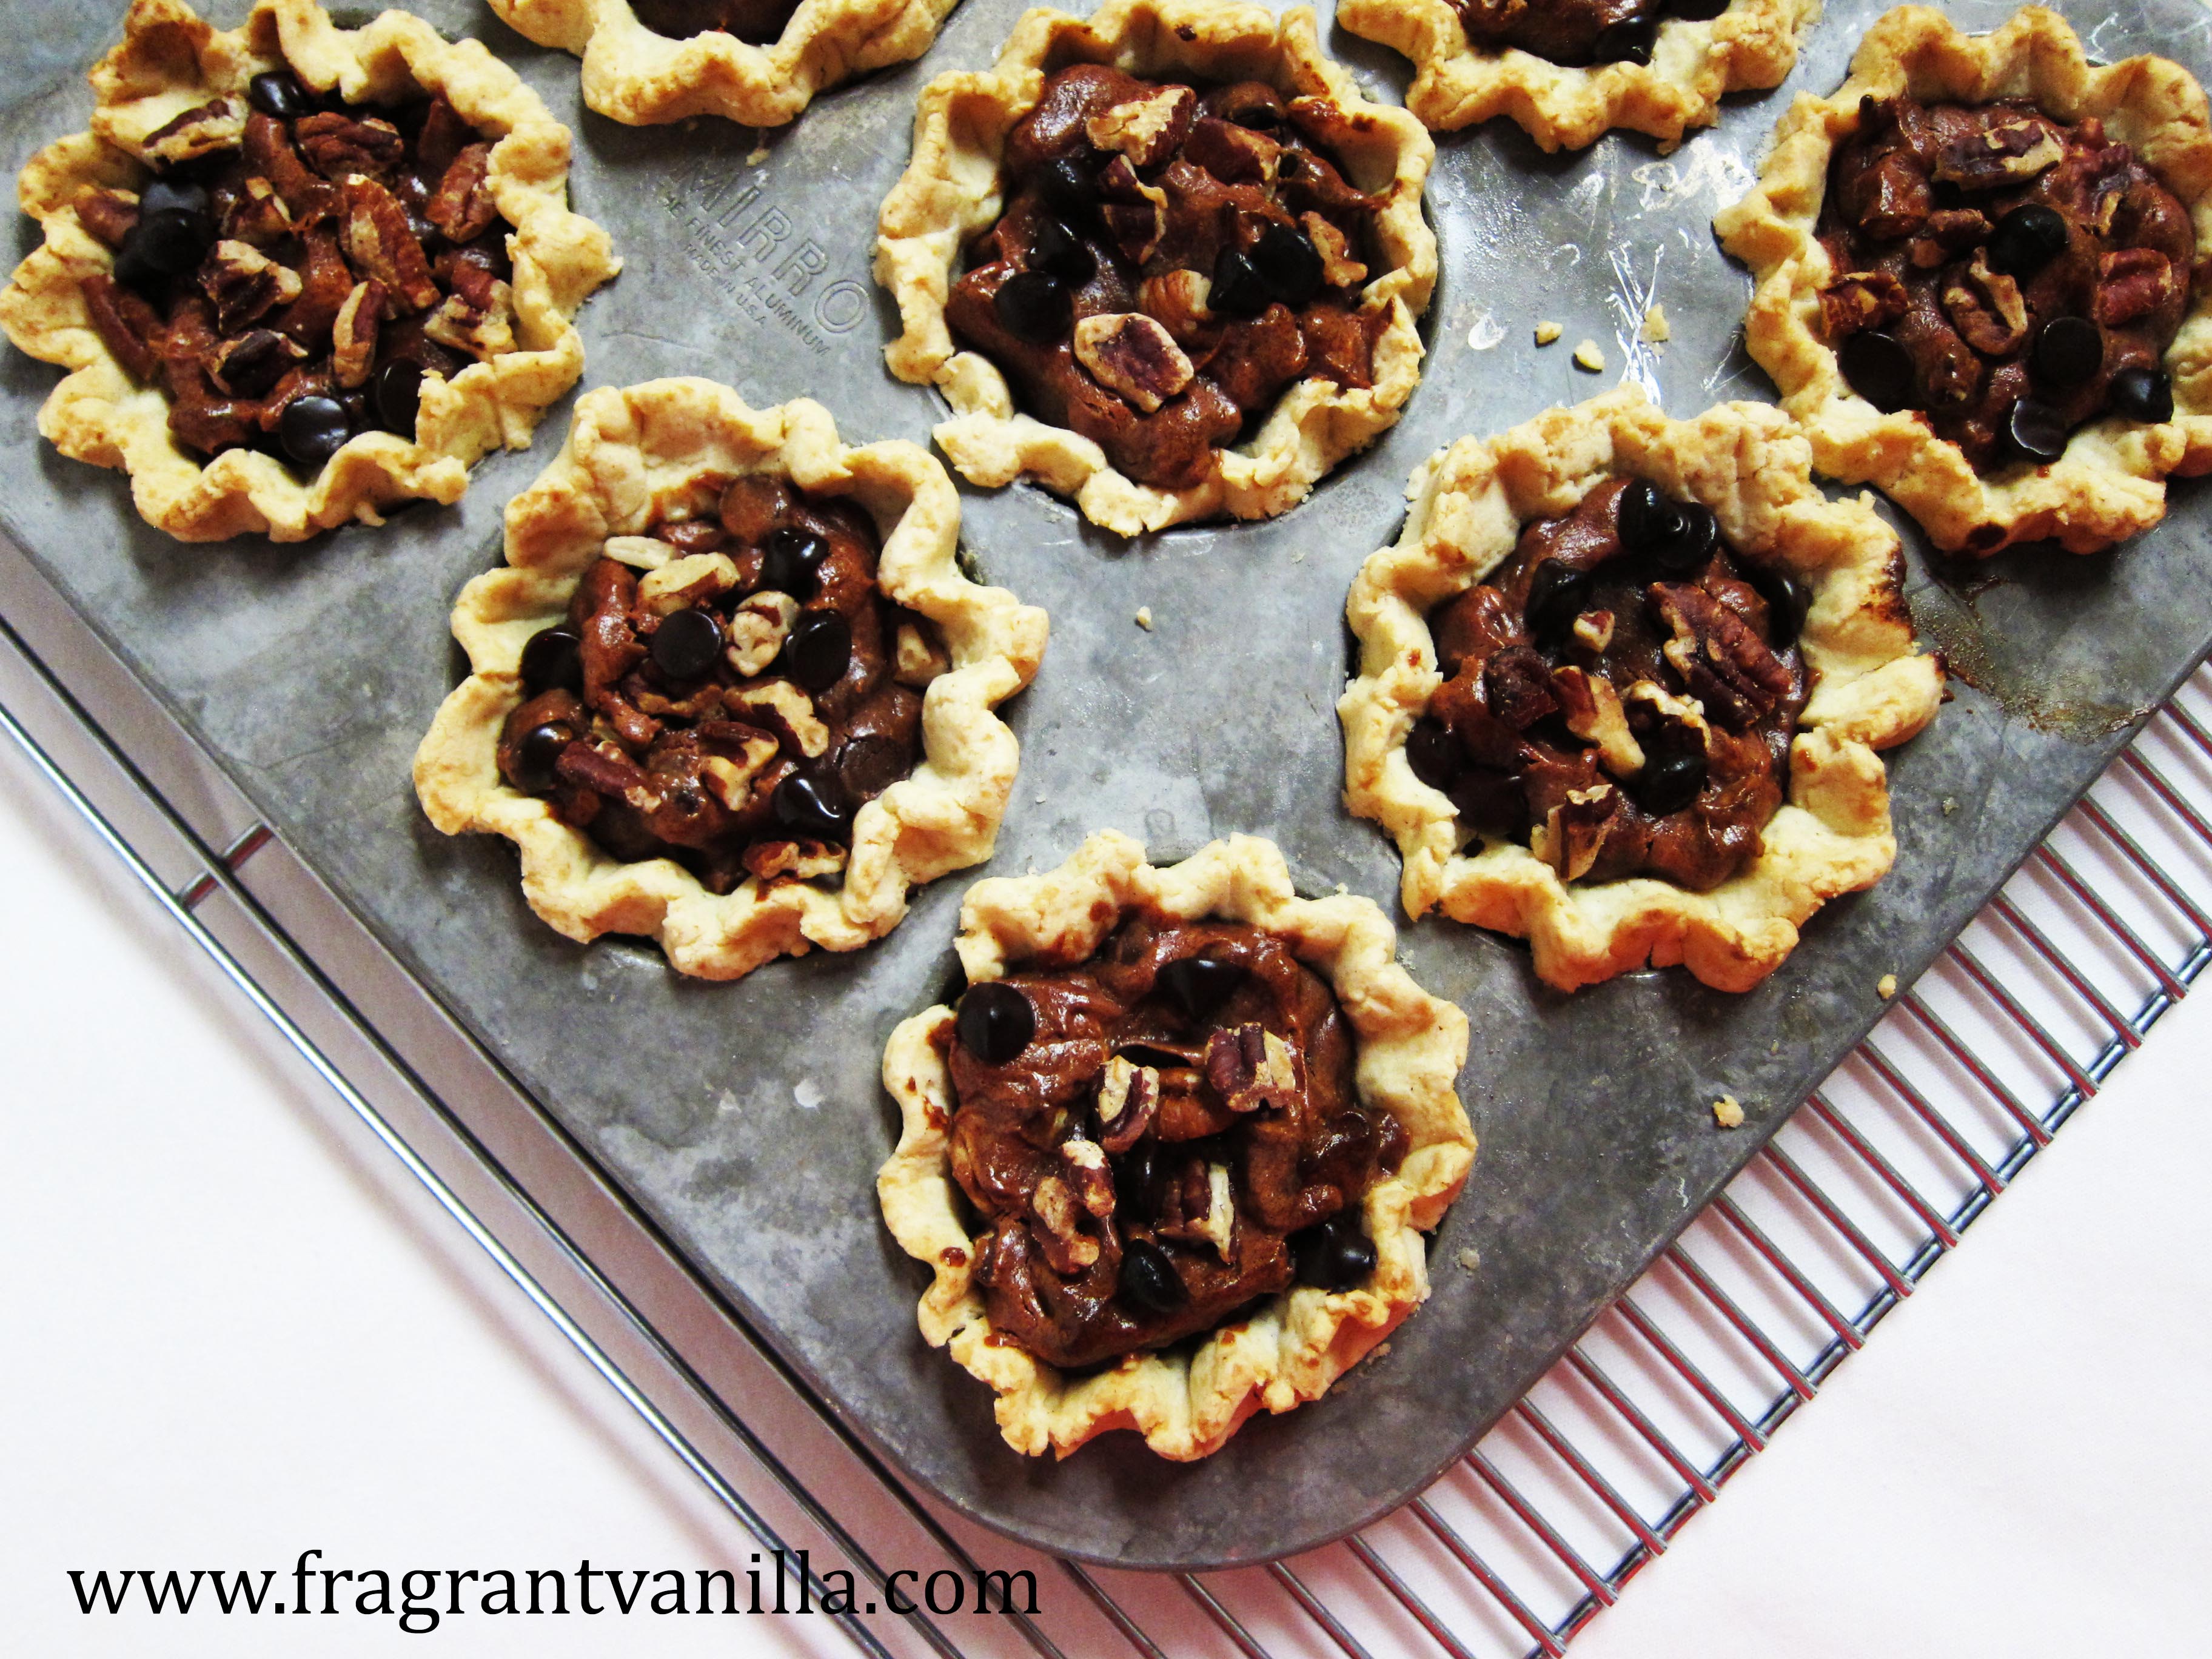
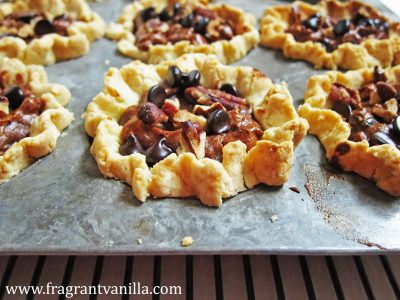
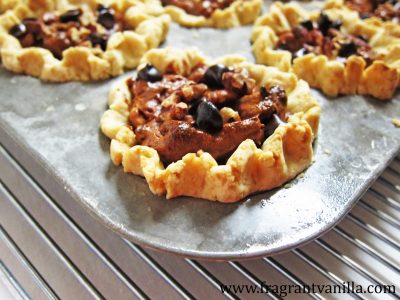
Vegan Junk Food
It is really easy to fall into the vegan junk food rut. Yes, there are loads of vegan convenience foods out there, or even lots of junk foods that happen to be vegan, but that doesn’t mean that they should comprise the bulk of your diet. I have had friends that when they went vegan they just ate all processed food, and they ended up feeling yucky and going back to eating meat. After all, vegan processed junk food is no healthier than non-vegan junk food. While it is ok to have a little indulgence once in a while, don’t rely on just processed food for your meals. If you are looking for a little indulgence, you can check out this list of vegan junk food. Which brings me to another side note. Always read ingredients carefully. If there are more than just a few ingredients in something
, or things you can not pronounce, best to put it back on the shelf. That way you prevent accidentally buying something with animal products in it. Sometimes they are sneaky with those! Anyways, back to the junk food. When I first went vegetarian (I know not vegan, but you get the point) I relied on soy dogs and frozen veggie burgers a lot (probably made with GMO soy…yikes). Until I realized that they were nutritionally void. I learned how to make my own veggie burgers, and they freeze well, so it works out great! I can just pull one out as I would a packaged one. If you are going to buy convenience foods, make sure that they have quality real ingredients. For instance, I like to indulge in chips once in a while, but I don’t buy the brands full of GMOs, bad oils and fake flavors. I buy corn chips with 3 ingredients, organic corn, coconut oil, and sea salt. Or I if I buy vegan cheese, I buy the brands mentioned above in the “giving up animal products section” because they have few ingredients, and they are made from real good for you foods.
Eating Out
I used to think it would be hard to be a vegan and go out to eat in restaurants because there would not be enough options. But I was wrong in most cases. I am lucky enough to live in a city with a few exclusively vegan restaurants. If you check around, you may find that some in your area are too! If restaurants are not vegan, many of them (especially higher end ones) are listening to the public and as more and more people are going plant based, and they are incorporating more veggie dishes into their menus. Even if they don’t have any specific vegan main dishes, many of them are willing to create one for you if you ask. You can look at their menu online and call ahead to ask if they are able to do so if you have not been there before. Sometimes though, you find yourself in a situation where there might not be much vegan food such as at a wedding or maybe if your family is going out to dinner at a meat restaurant in the middle of nowhere that doesn’t even know what a vegan is. Always be prepared to bring snacks, or your own food if there will be no vegan options. I like to keep healthy energy bars on hand just in case.
Dealing with non-vegans
Yes, you will get criticism from people around you for being vegan at times, but the best way to handle it is to be kind when responding to them, (even if they are not being kind, maybe they will feel bad later because you were so nice and had good points) and educate yourself about the vegan diet so that you have valid points to answer with. These are some common questions:
Question: “But aren’t humans are at the top of the food chain? We are meant to eat meat.”
Answer: Actually, humans just think they are. If you think about it, humans are not equipped to kill our own food without tools, we do not have claws or teeth to catch prey. If we were up against a hungry crocodile, lion or bear, who do you think would win and get to eat dinner? It would not be the human. And our teeth are more shaped like herbivore teeth than carnivore teeth.
Question: “But aren’t vegans weak and sickly?”
Answer: Not at all, there are plenty of well known vegan athletes out there, even body builders who are strong, healthy and thriving! You find less sick vegans than meat eaters in fact, and going vegan has been known to help with some diseases. Watch Forks Over Knives!
Question: “But shouldn’t I have a right to choose what I want to eat? I like eating meat, it tastes good. And don’t you miss bacon?”
Answer: You can choose, but would you really feel so good about eating meat if you had to kill it yourself? Or if you had to work in a slaughter house for a living? There are plenty of really good vegan substitutes for meats, people have gotten really innovative over the years and created some really delicious products that taste like the real thing.
Also, some people are just curious and don’t know much about what being vegan is, so take the opportunity to educate them and tell them the positives of the lifestyle. You may just win some people over. It never hurts to make really good vegan desserts and bring them to gatherings to share, and once people start talking about how good they are, then tell them that they are vegan. I find that over time, people have become more and more accepting of my veganism, the more they spend time with me, try my food, and have conversations with me. It helps that over time, more and more people are becoming vegans and learning the benefits to the lifestyle. If there are not many vegans where you live, find support groups or vegan groups on Facebook so that you don’t feel alone. There are plenty of them out there, and that way you have people in your newsfeed that relate to you. I don’t personally know many vegans, but I have met many through Facebook, even some in my area.
I think that going vegan isn’t as hard as some people may think, and once you get the hang of it, and it becomes who you are, it fits you! It does get easier with time, and never stop learning. I hope I have helped you out in some way with this post, it is my hope that going vegan is easy for you, that you thrive on the diet, and feel better than you ever have in your life! I hope you all have a healthy, happy, cruelty free 2017!
*Disclaimer: I am not a nutritionist or a doctor, these are my opinions, things that have worked for me, or things I have done personal research on.