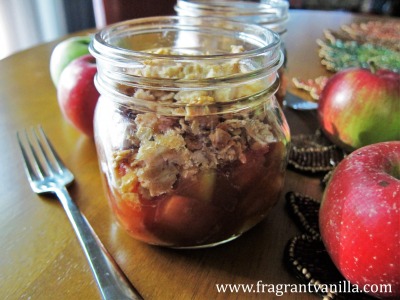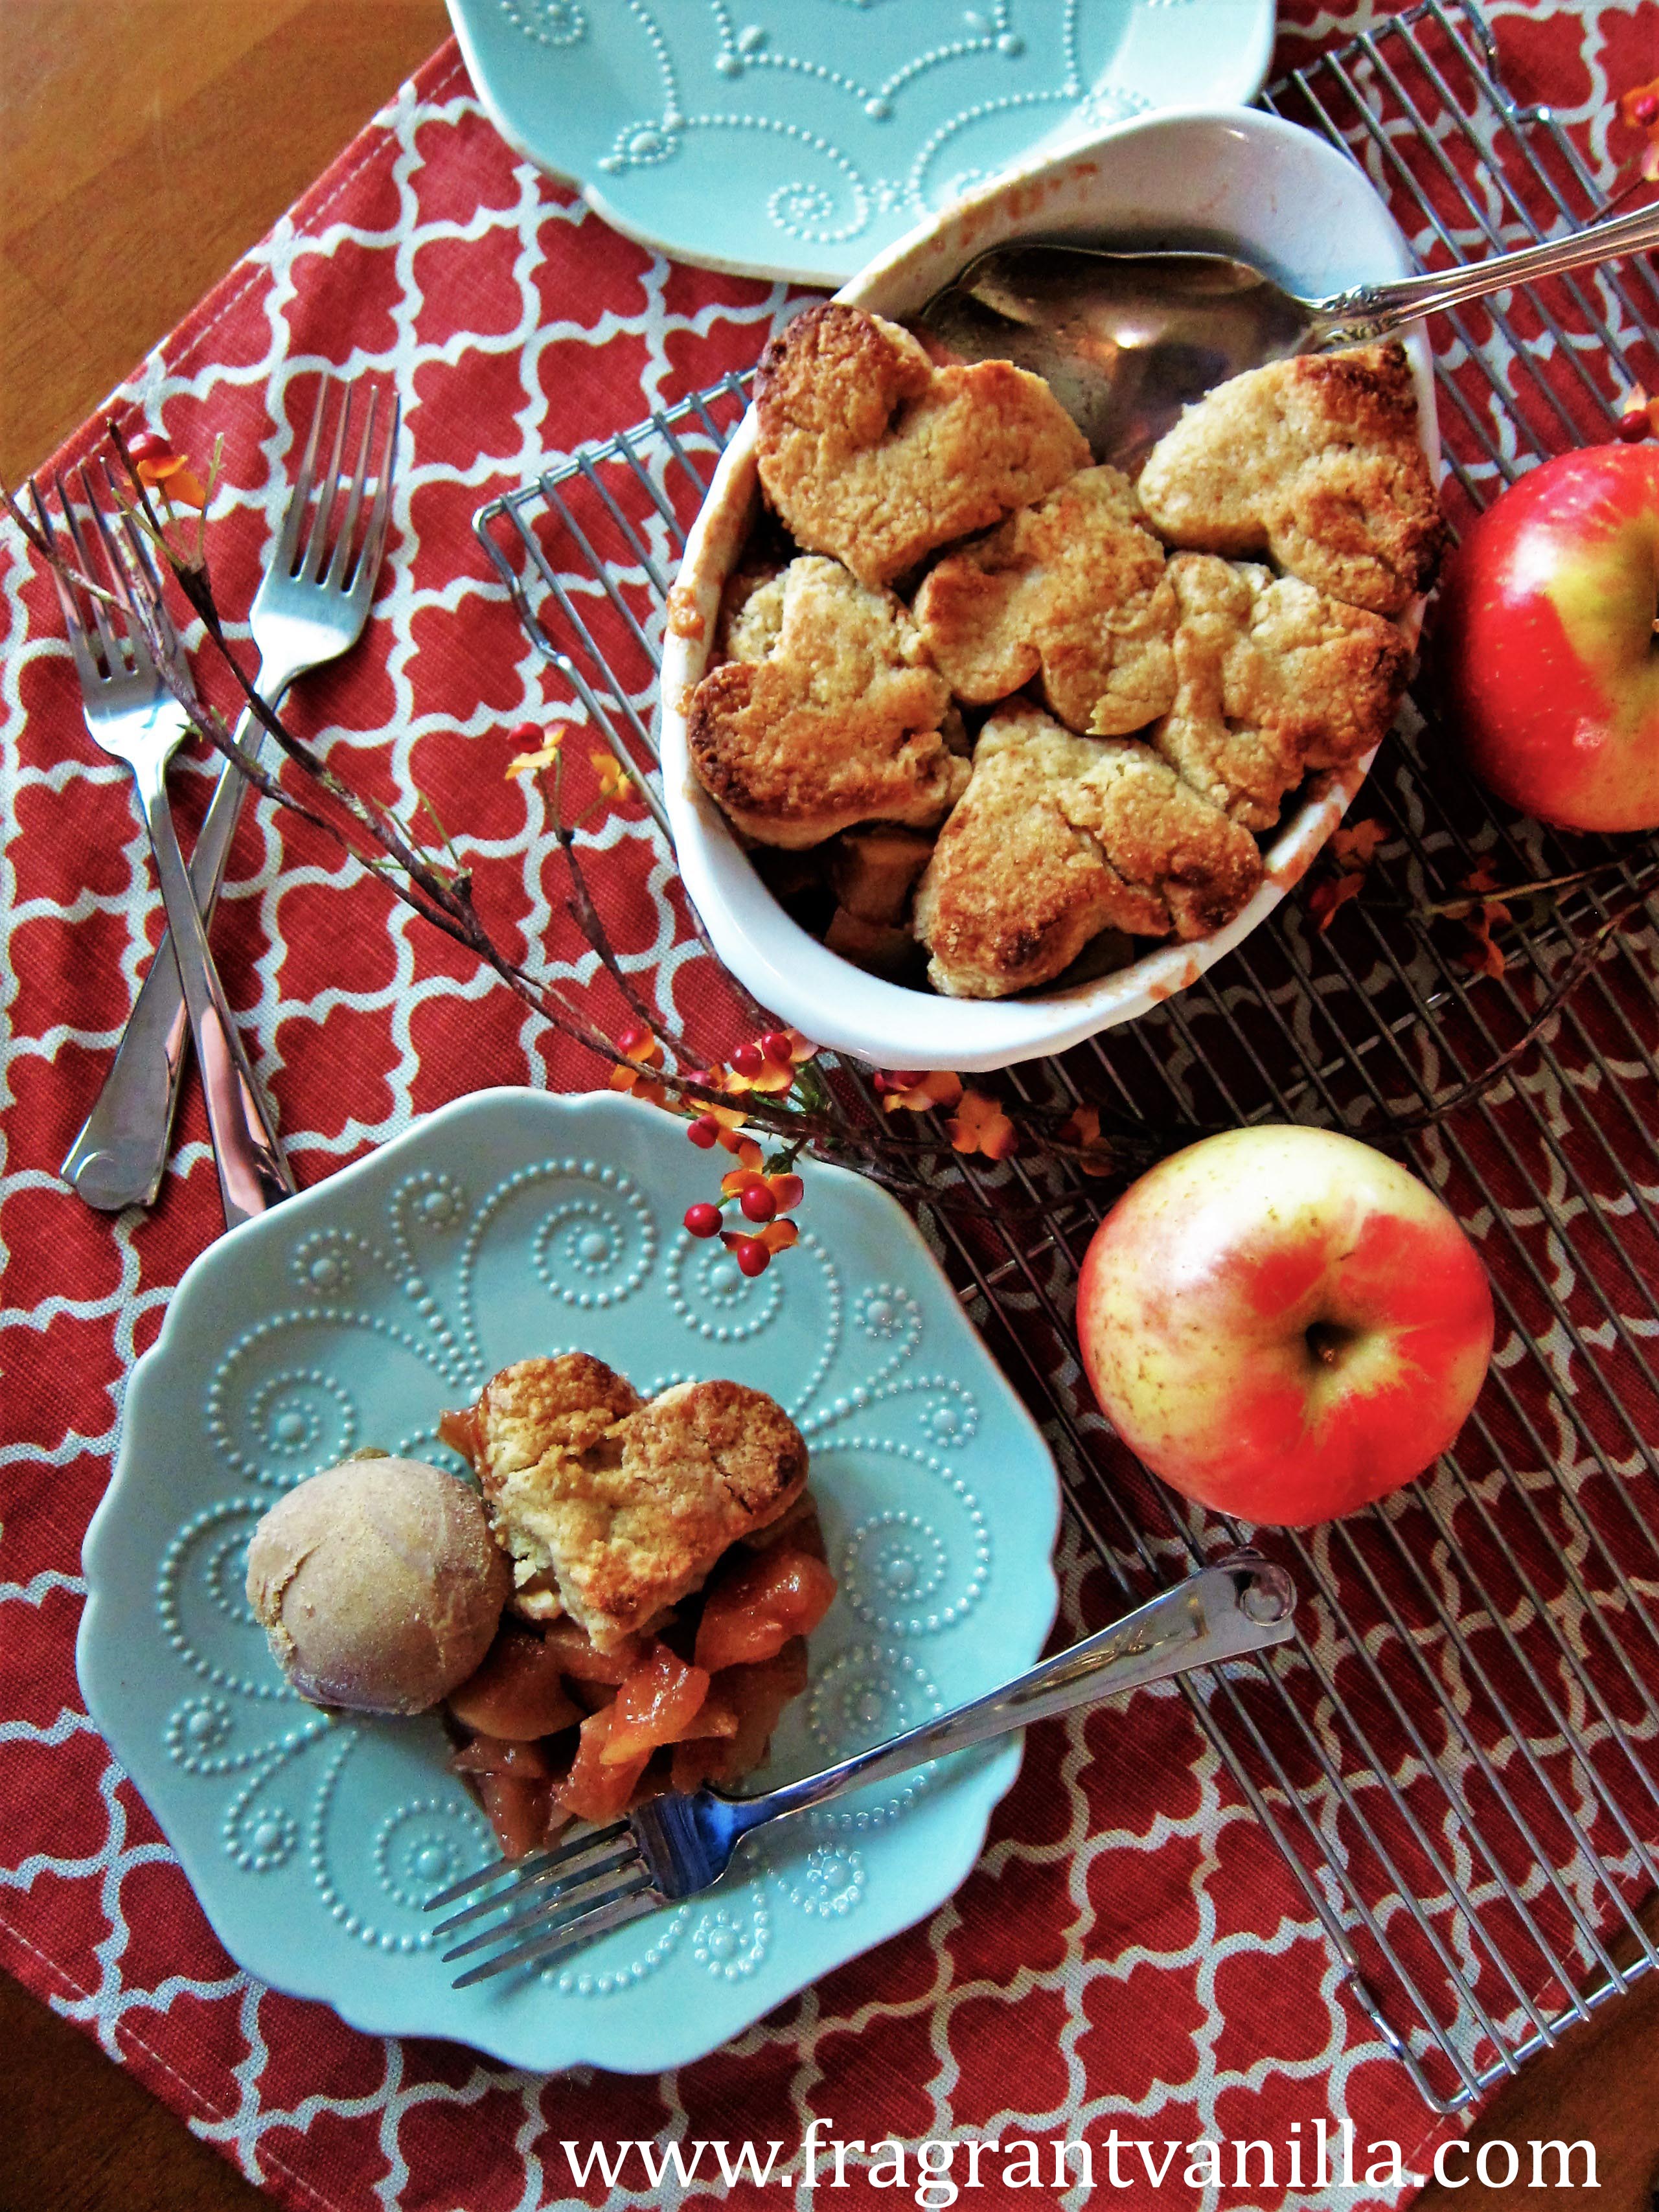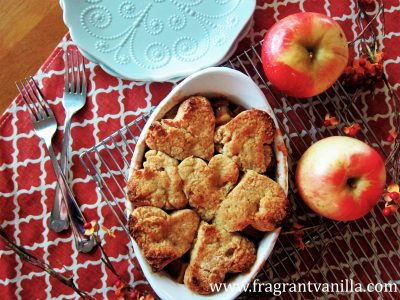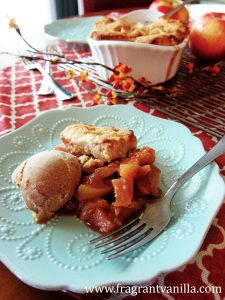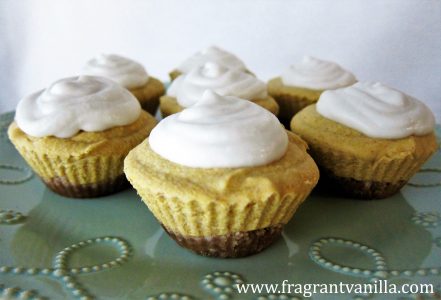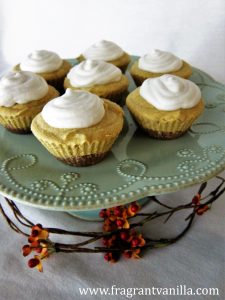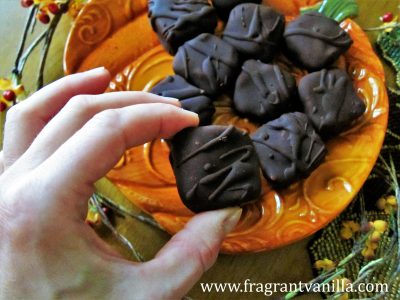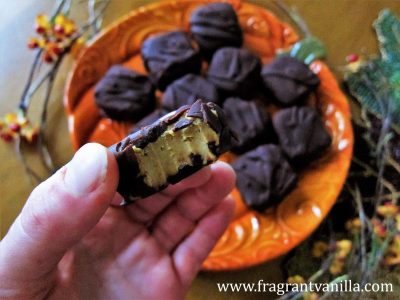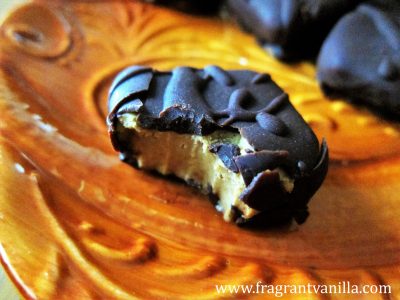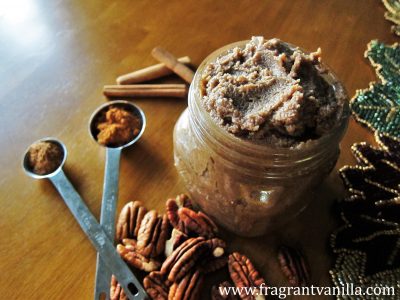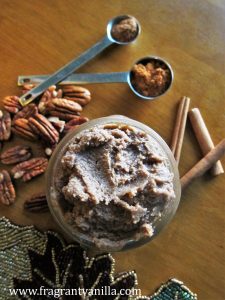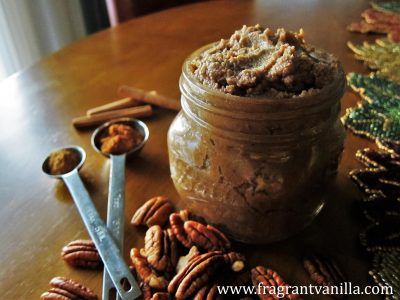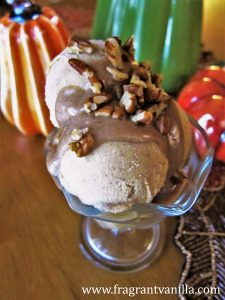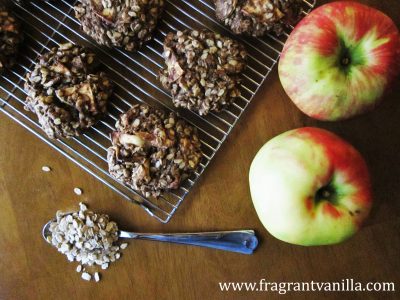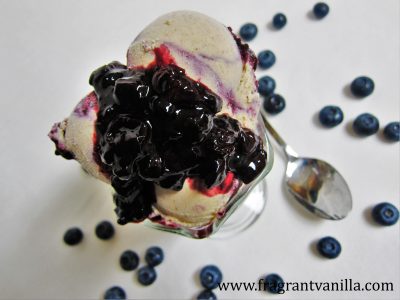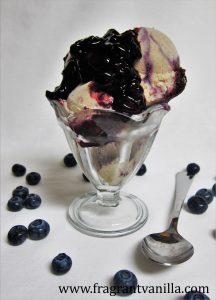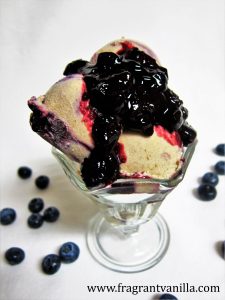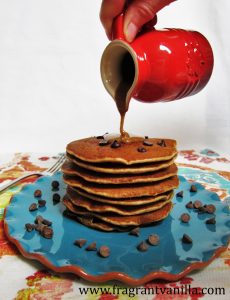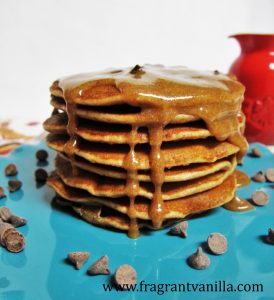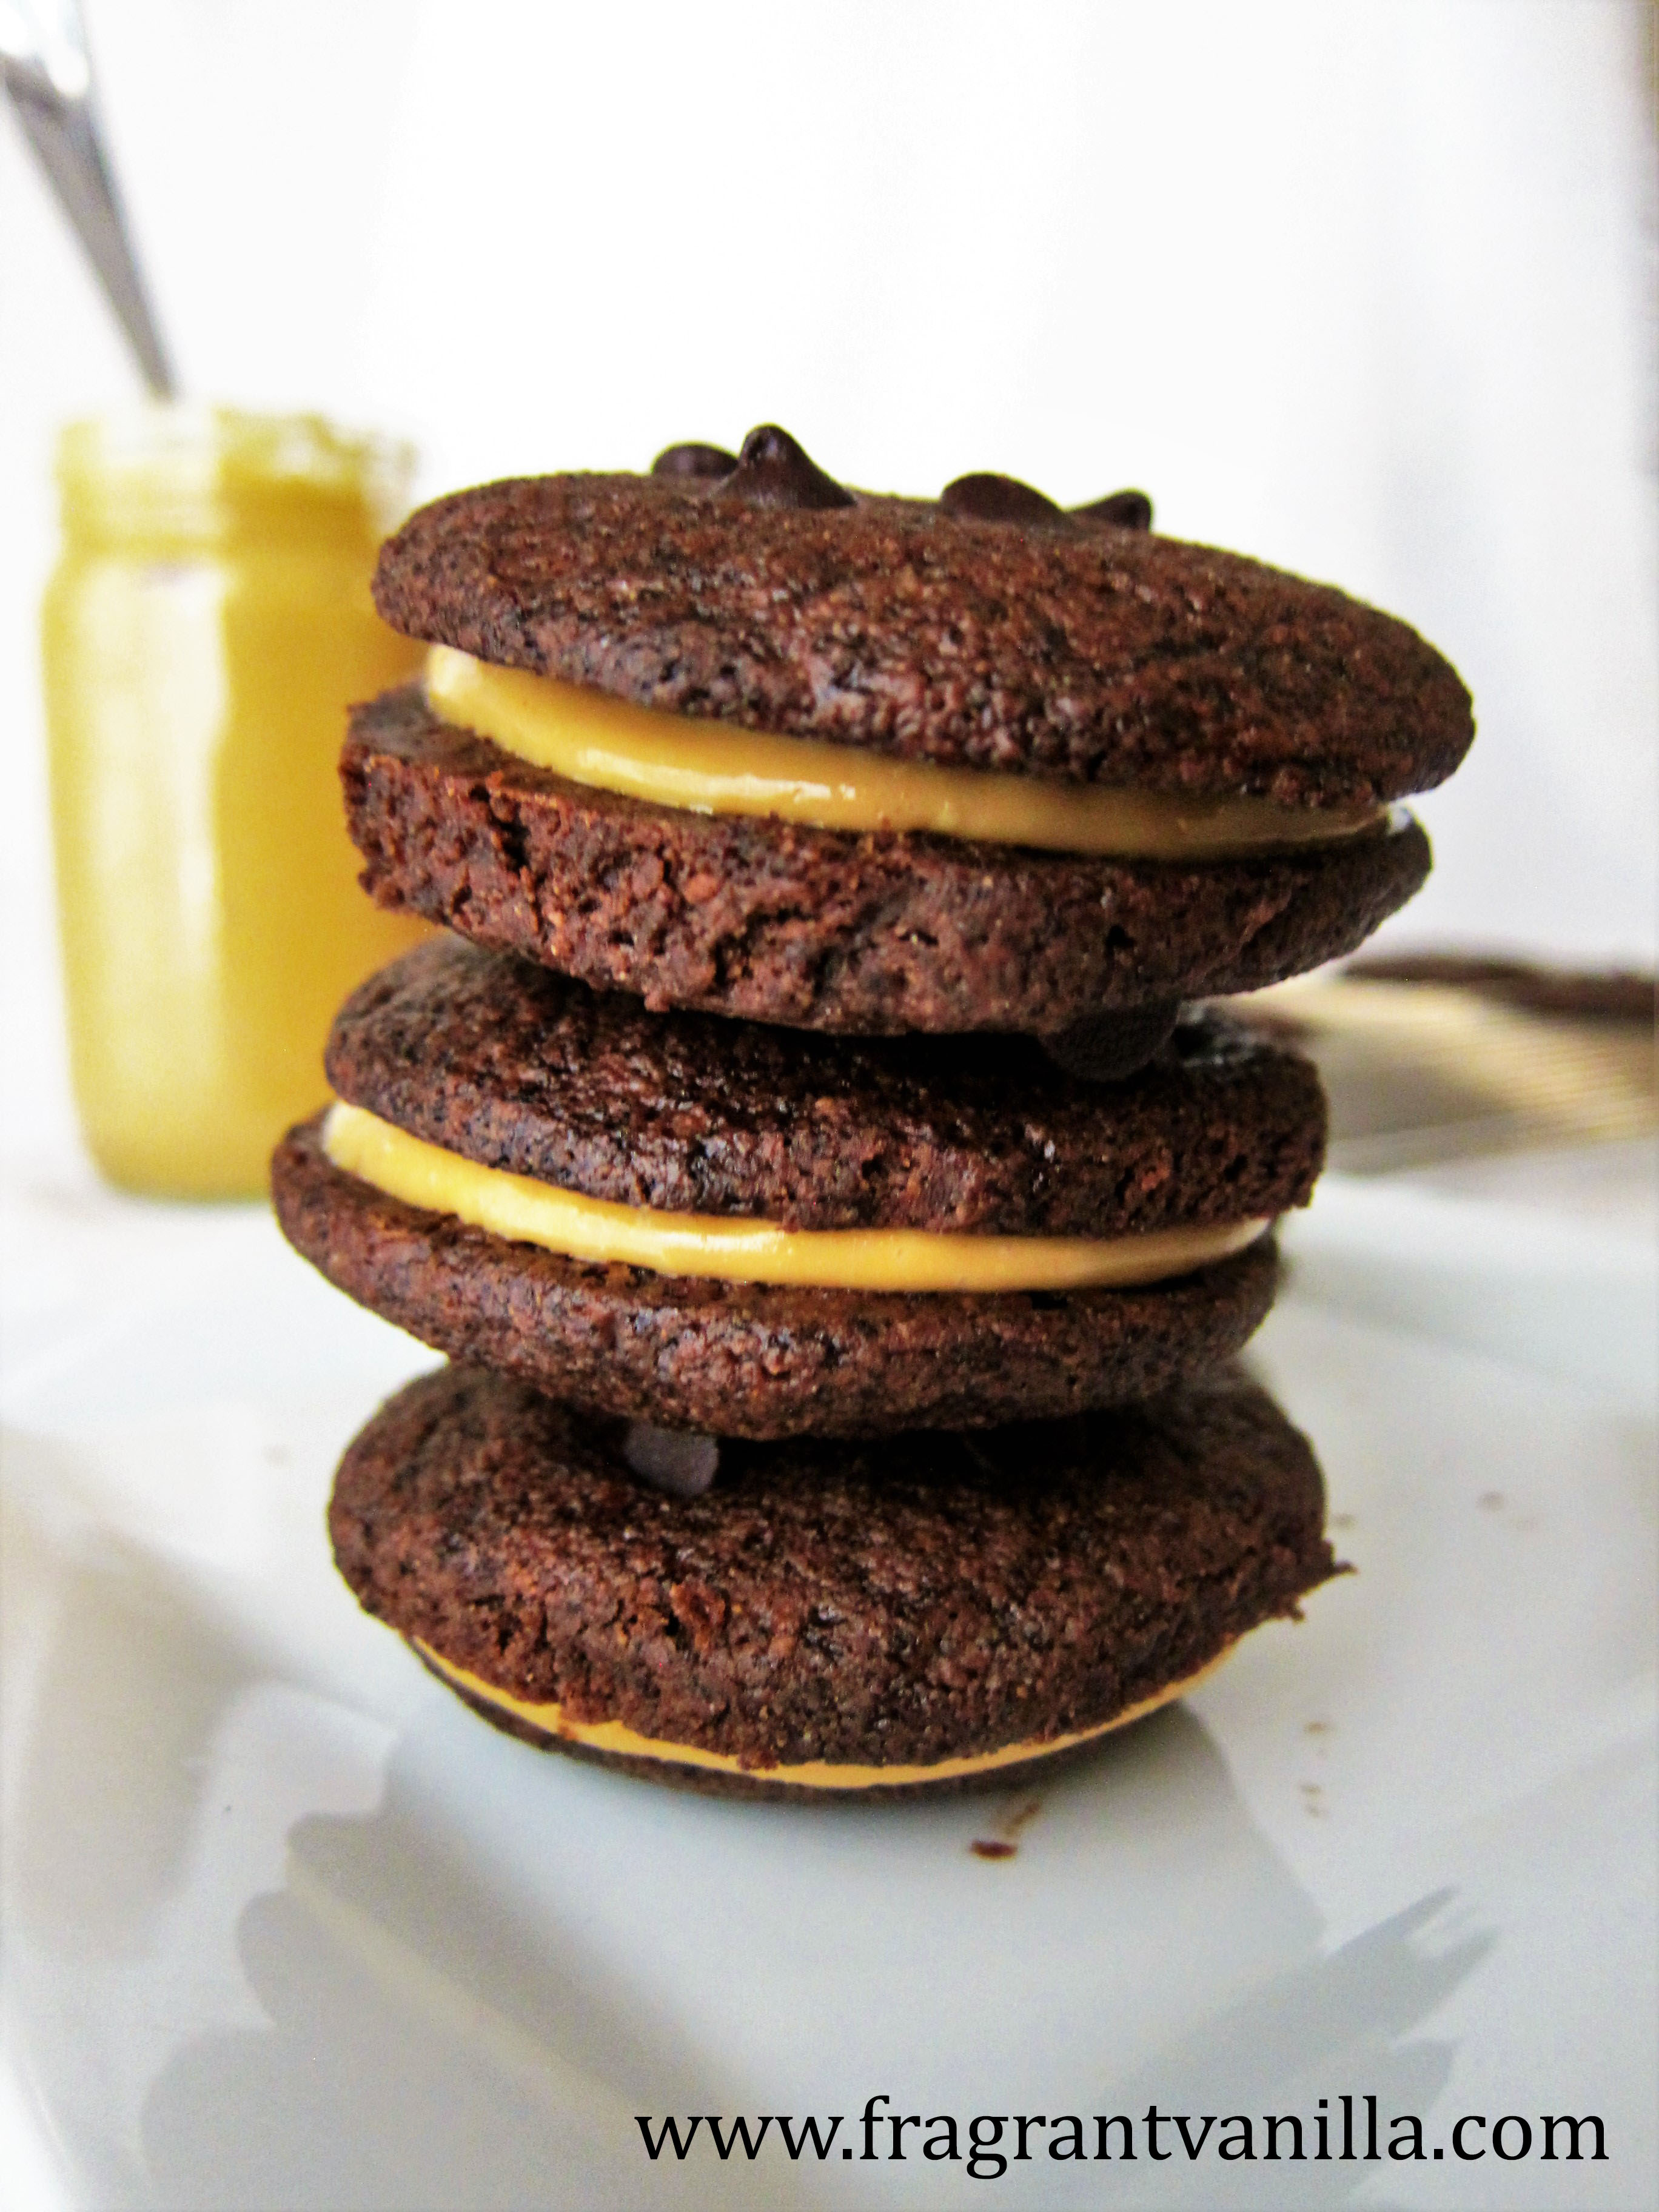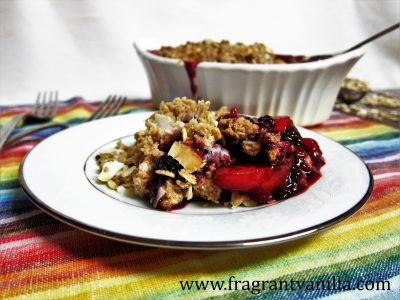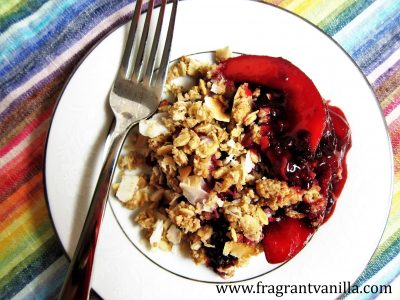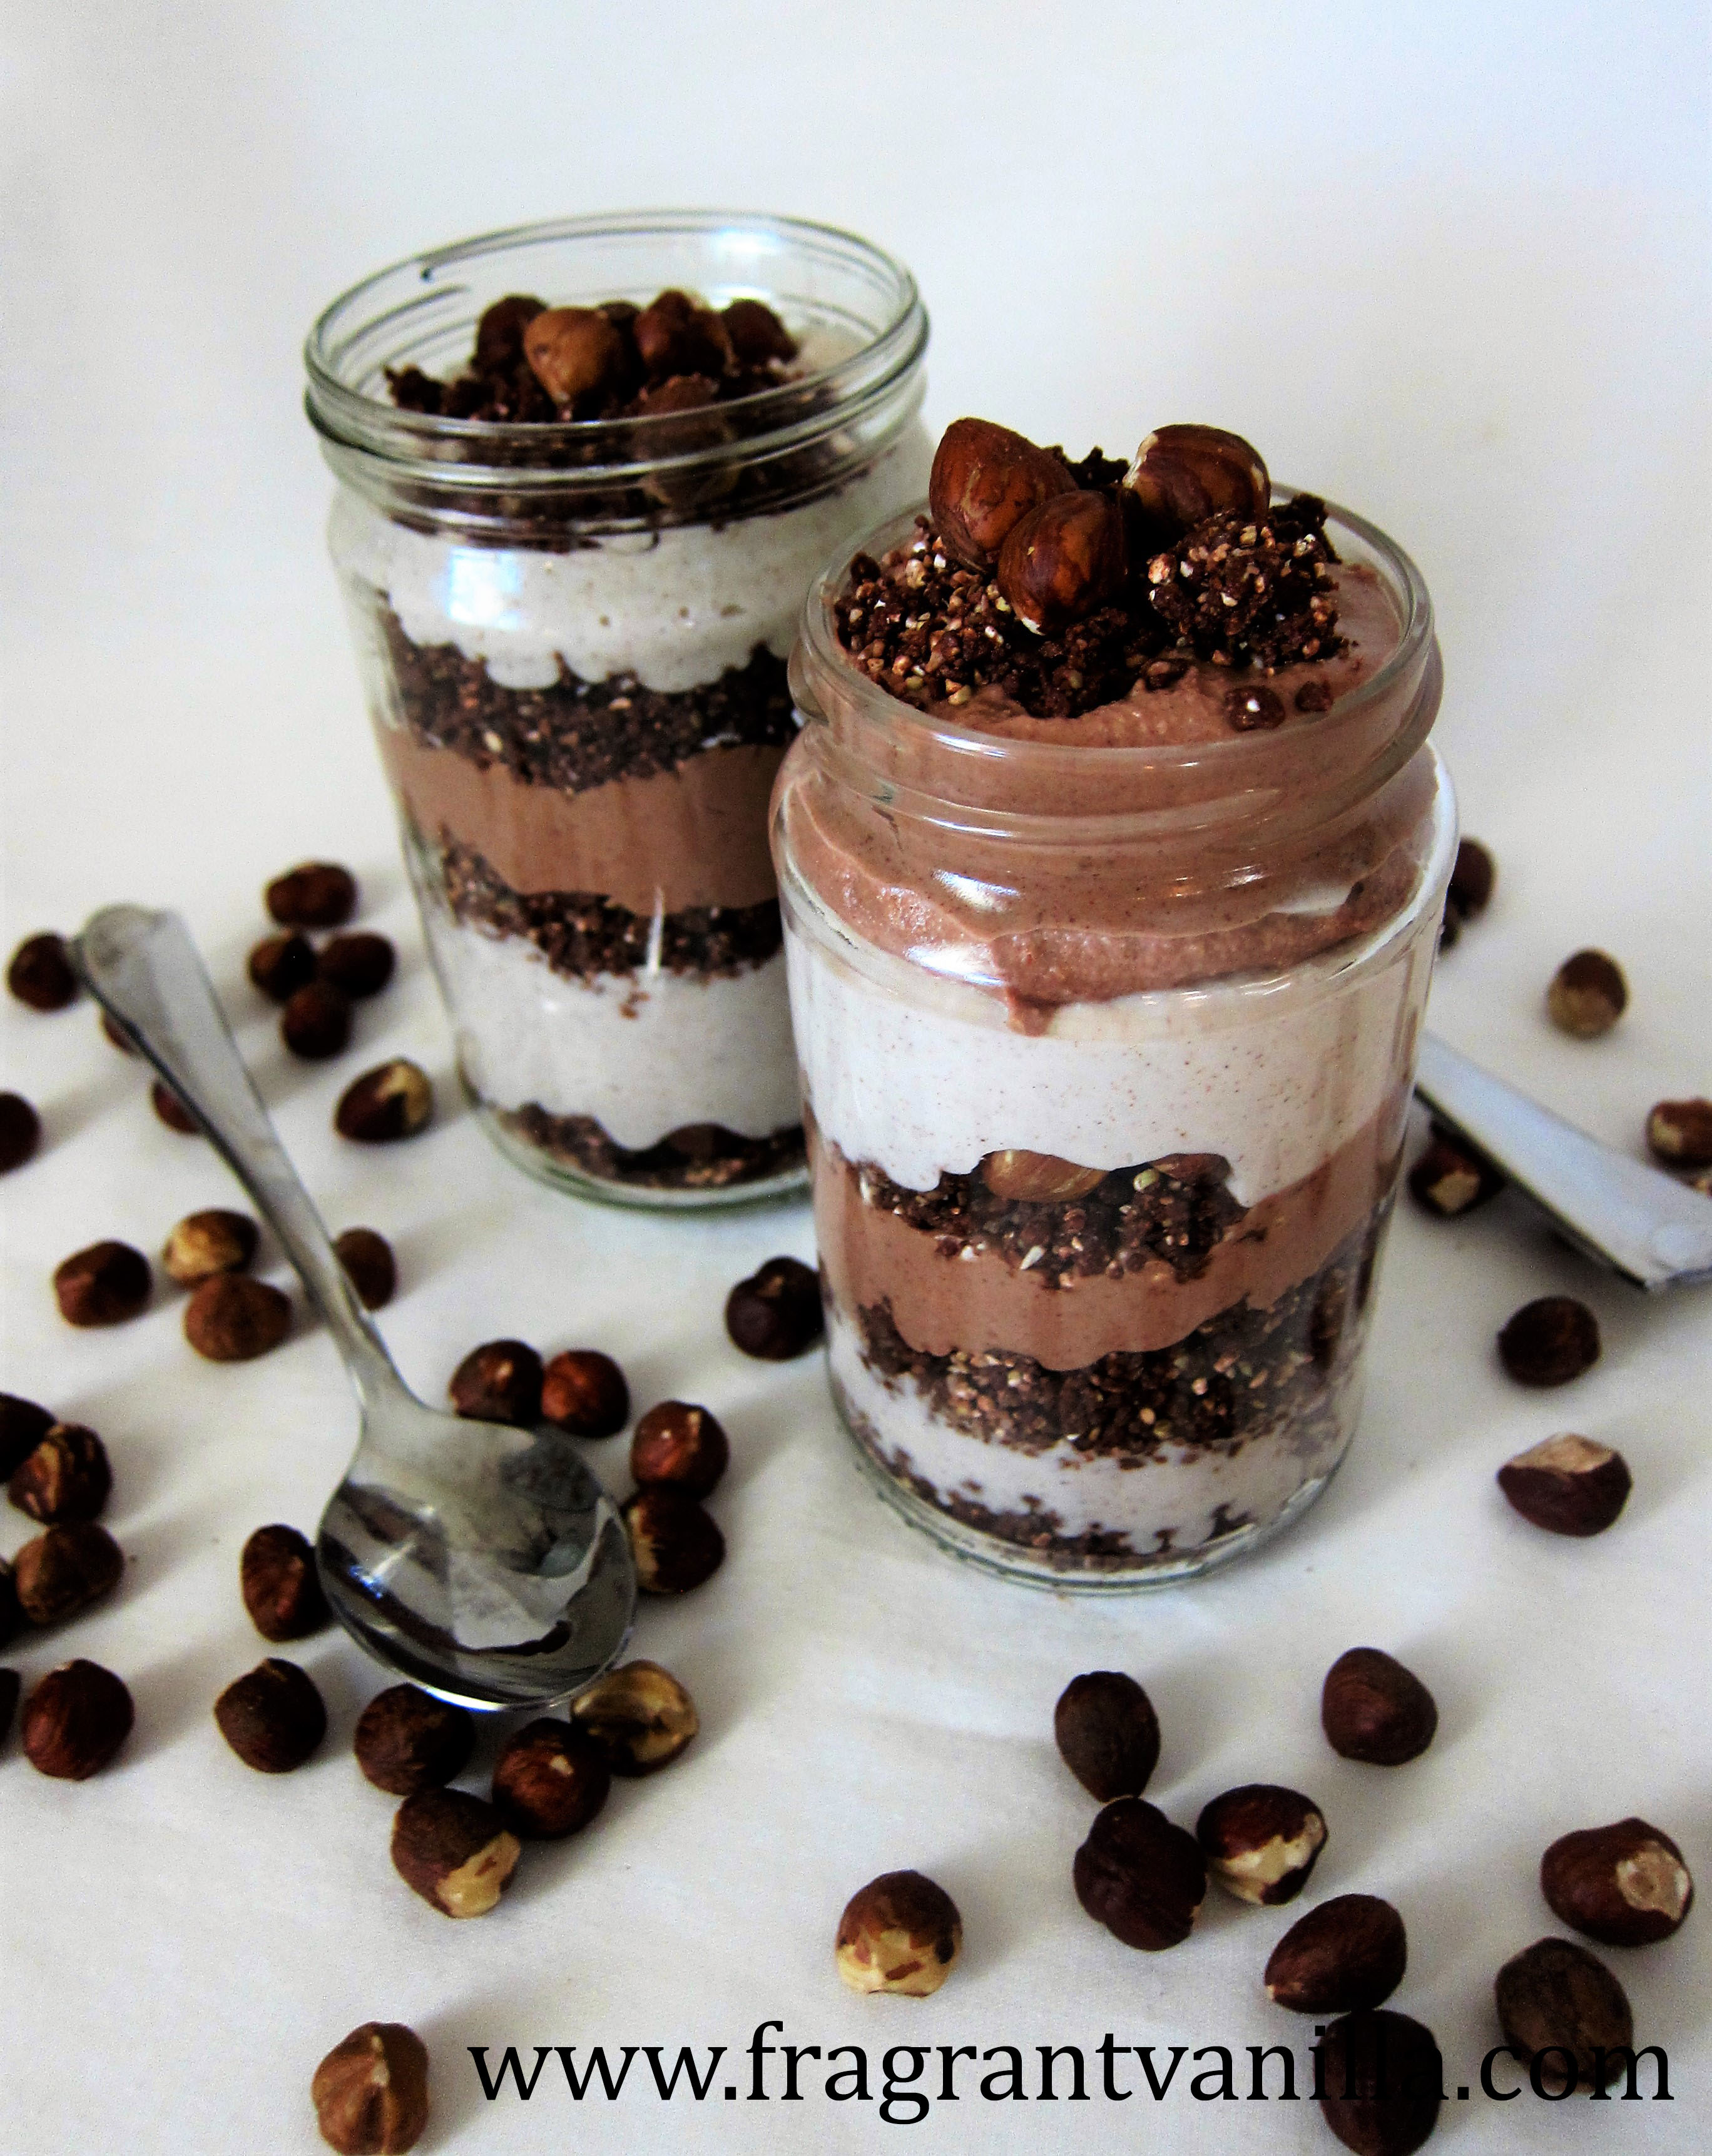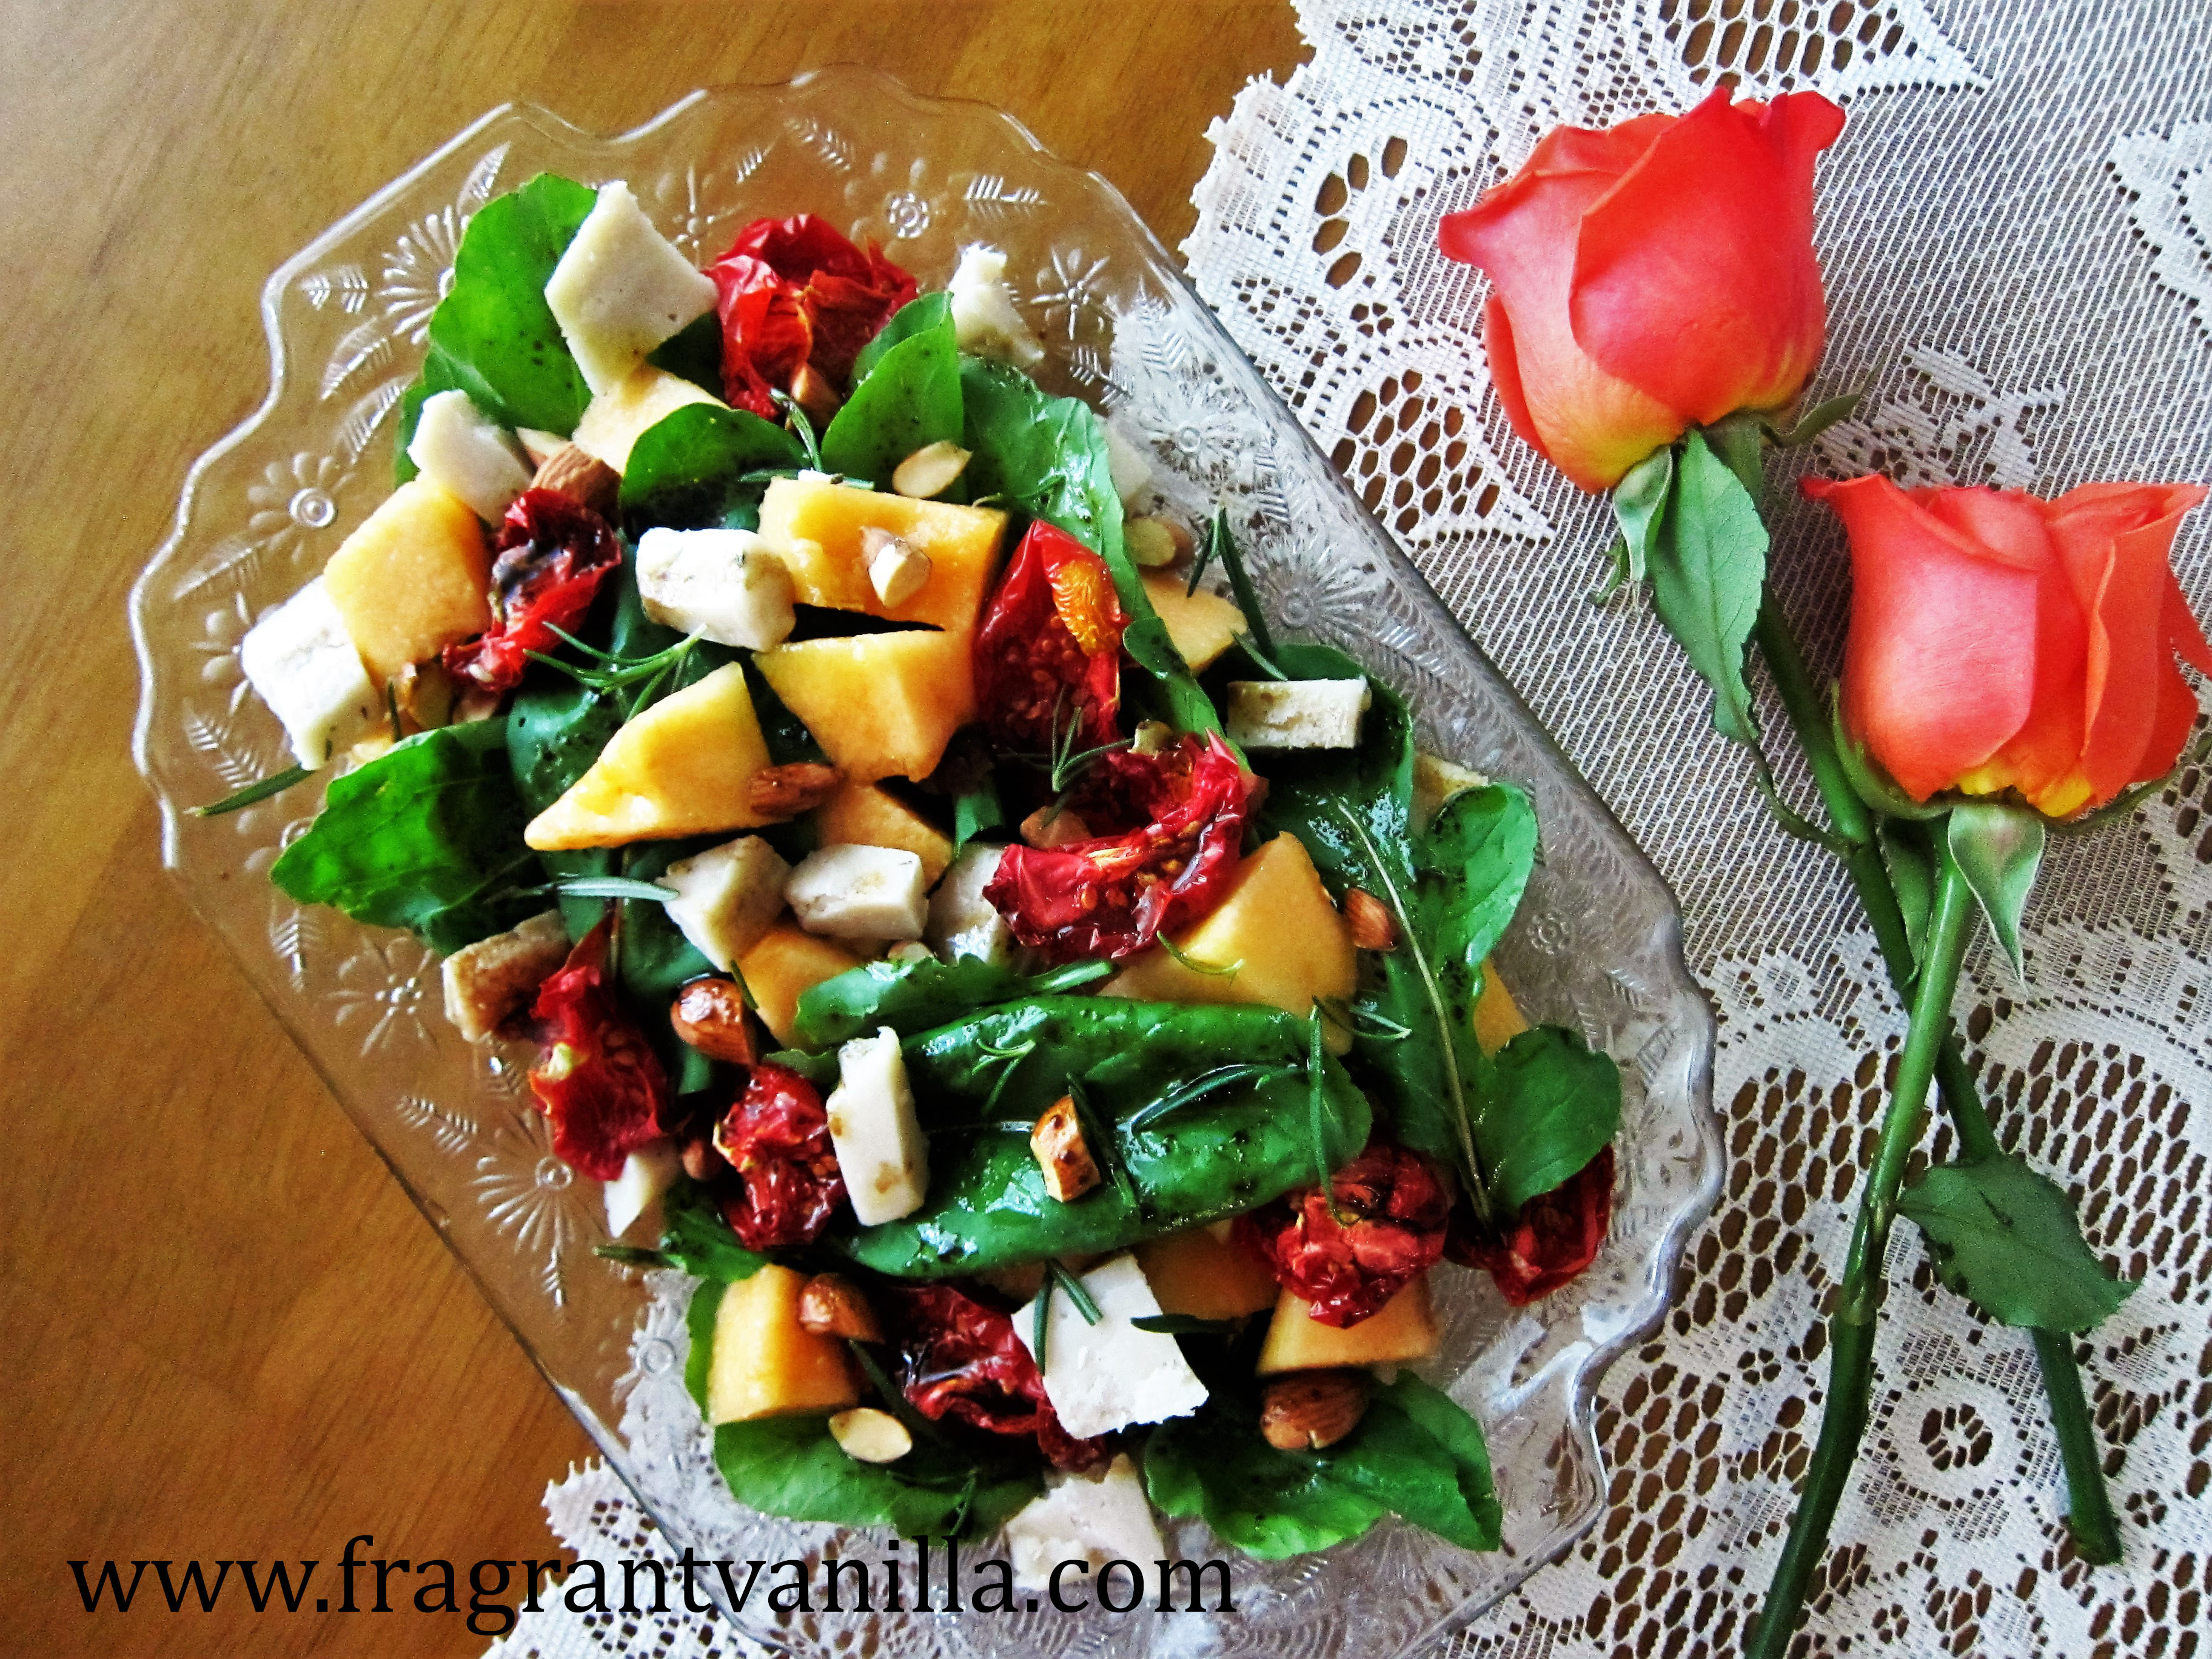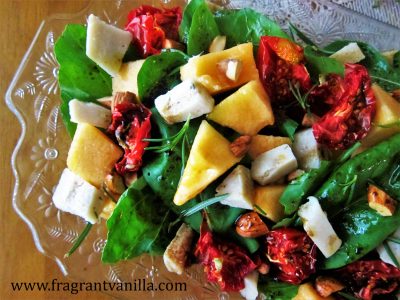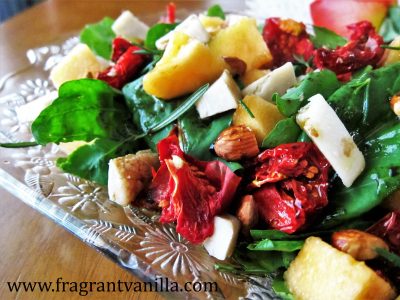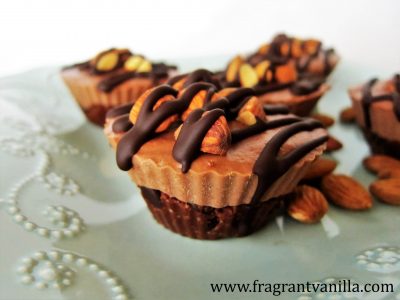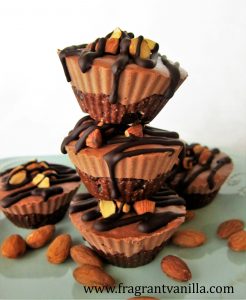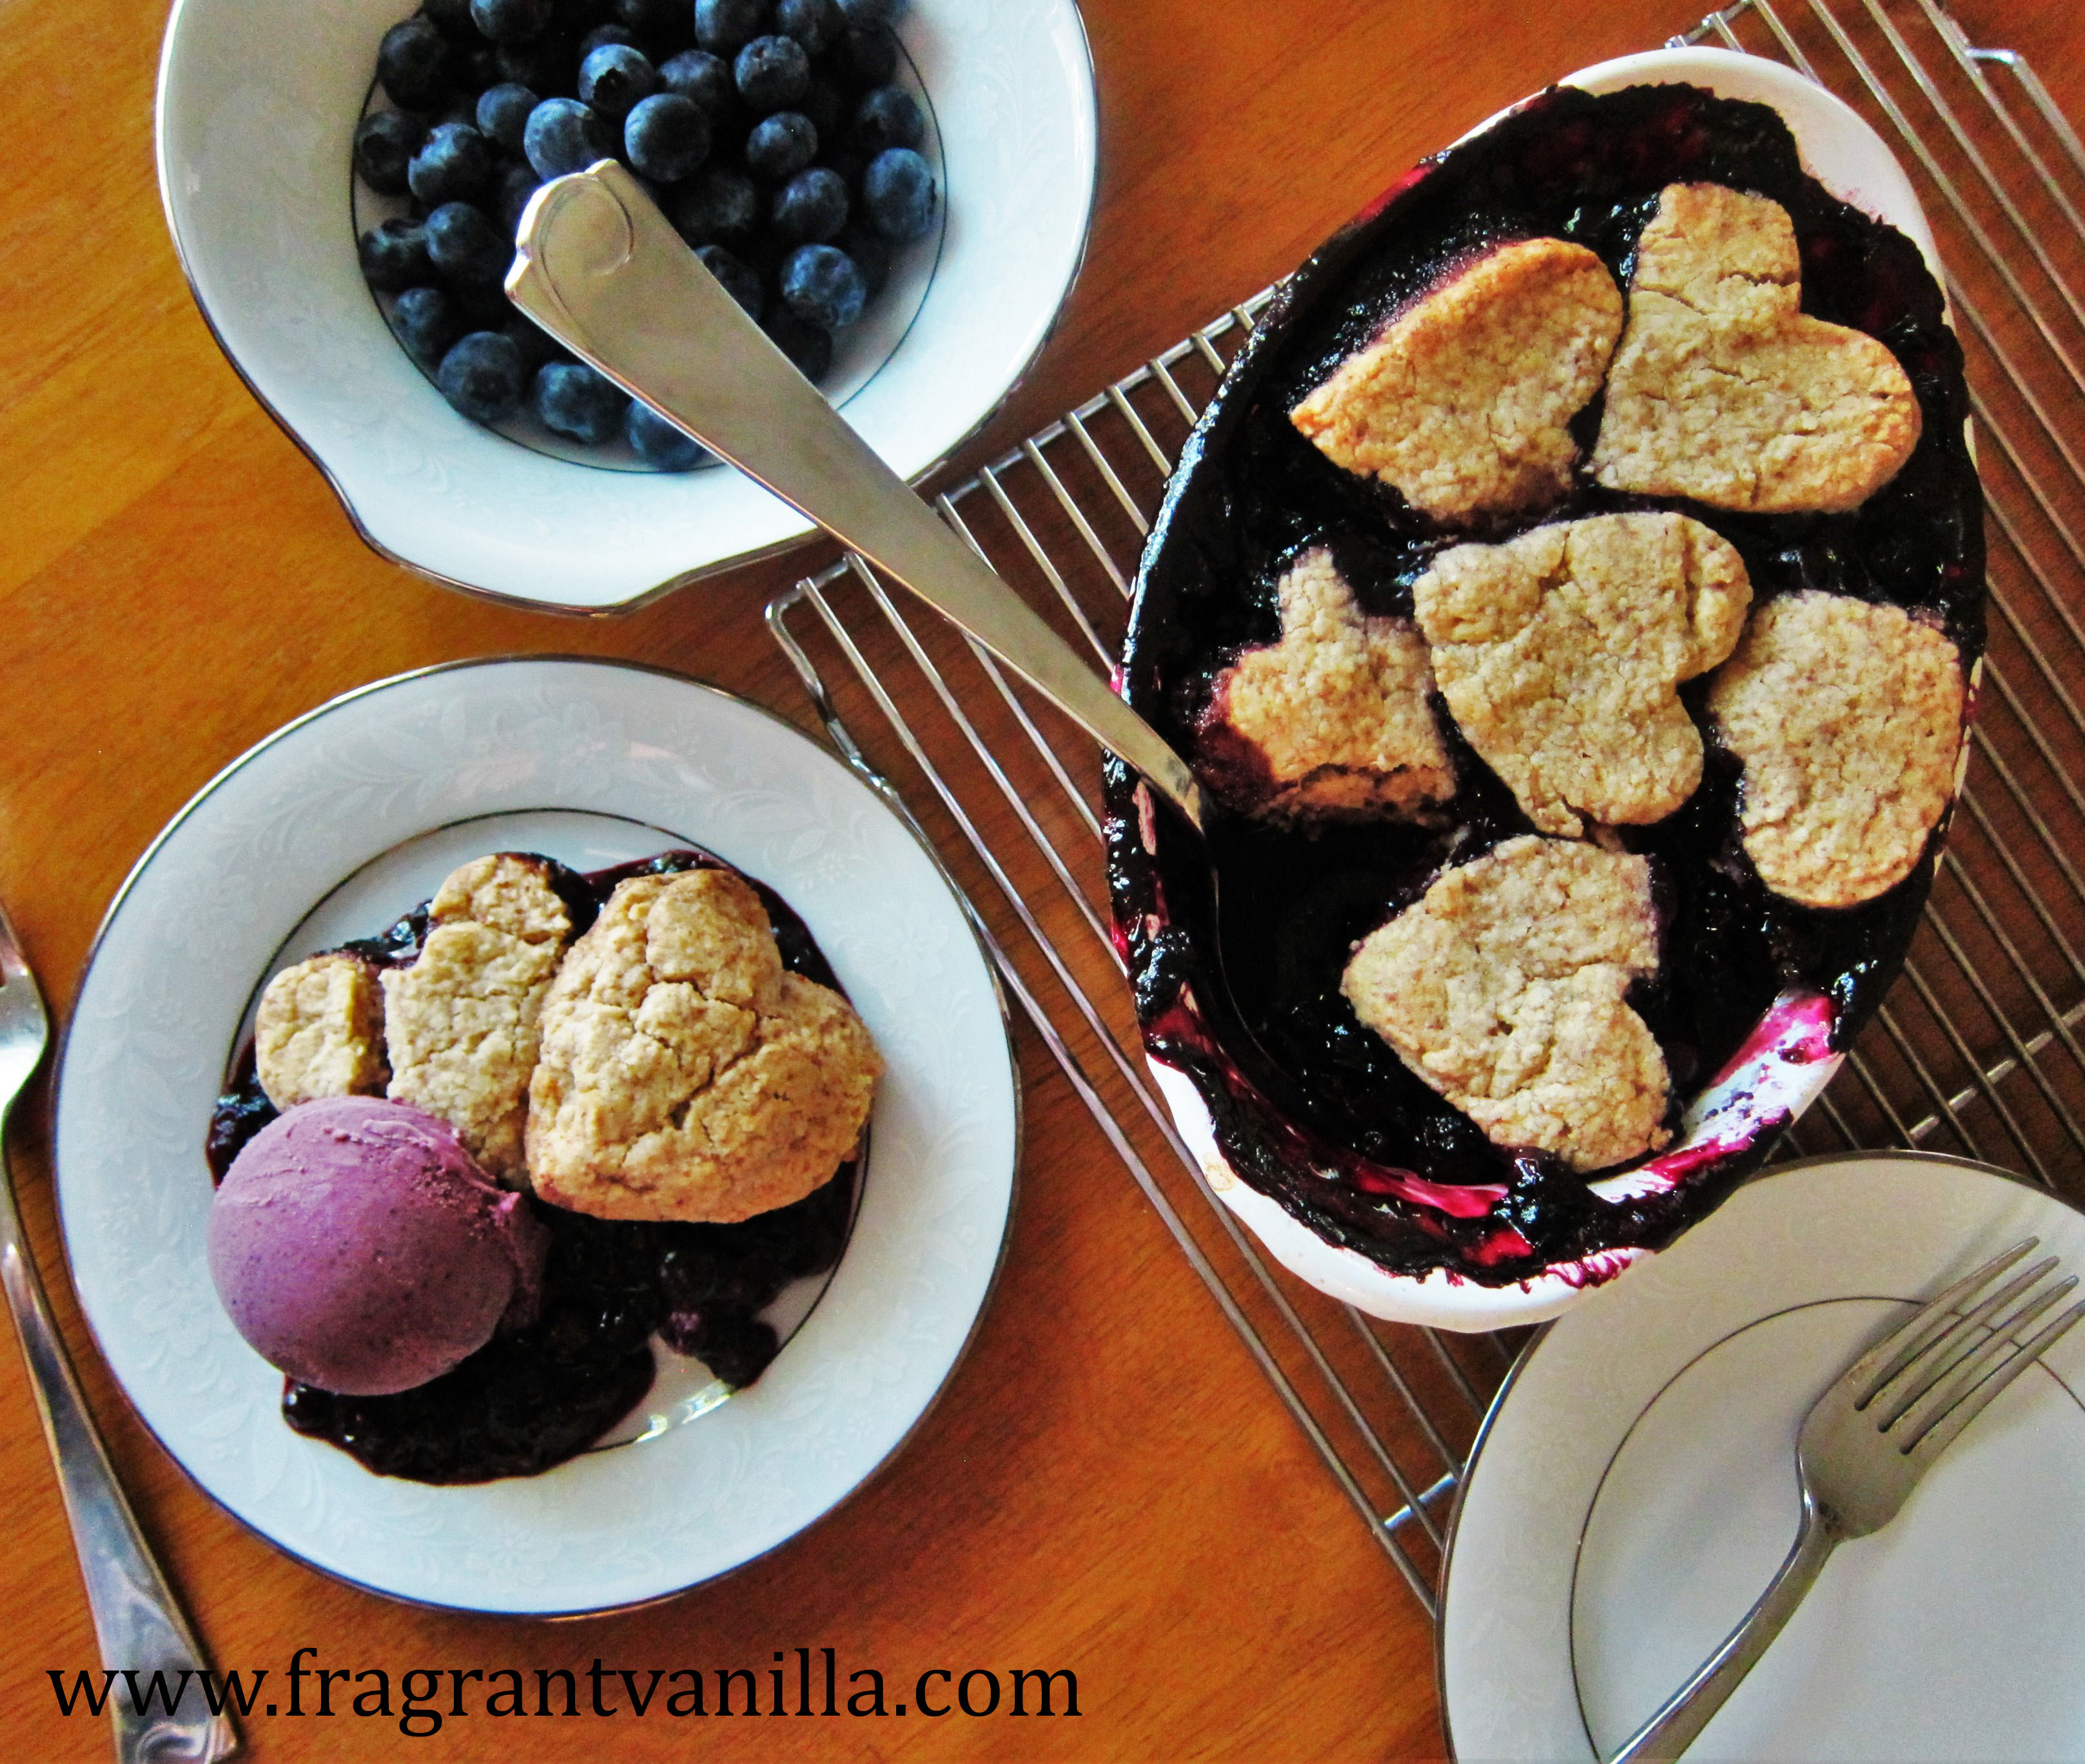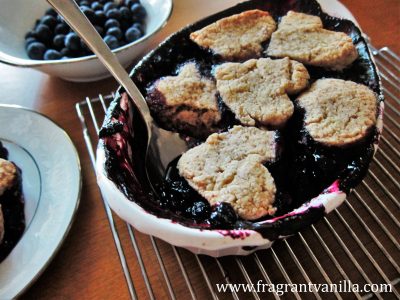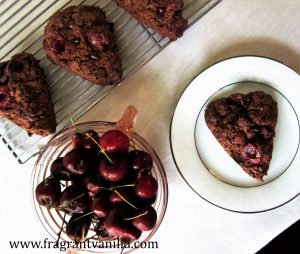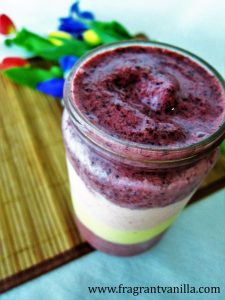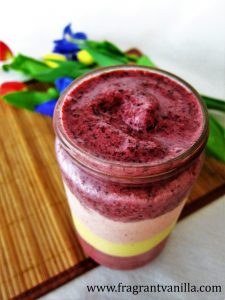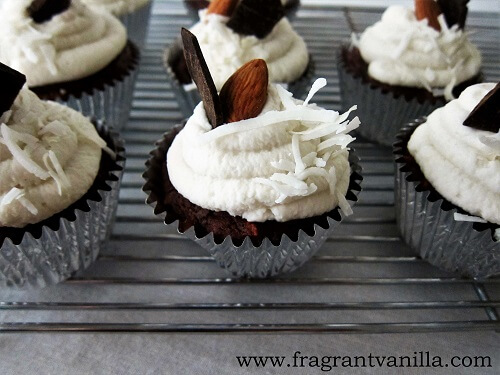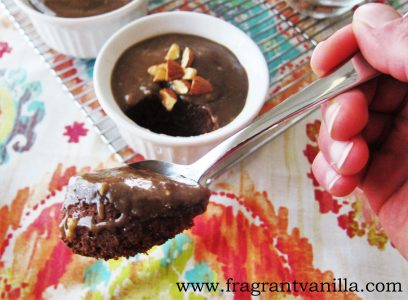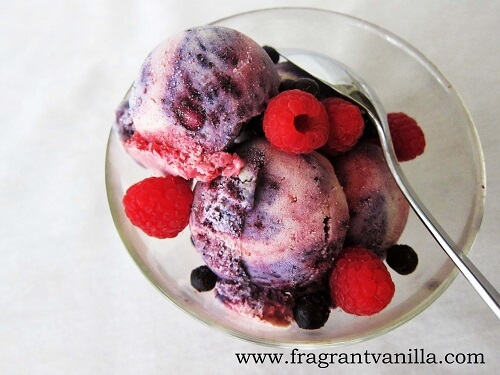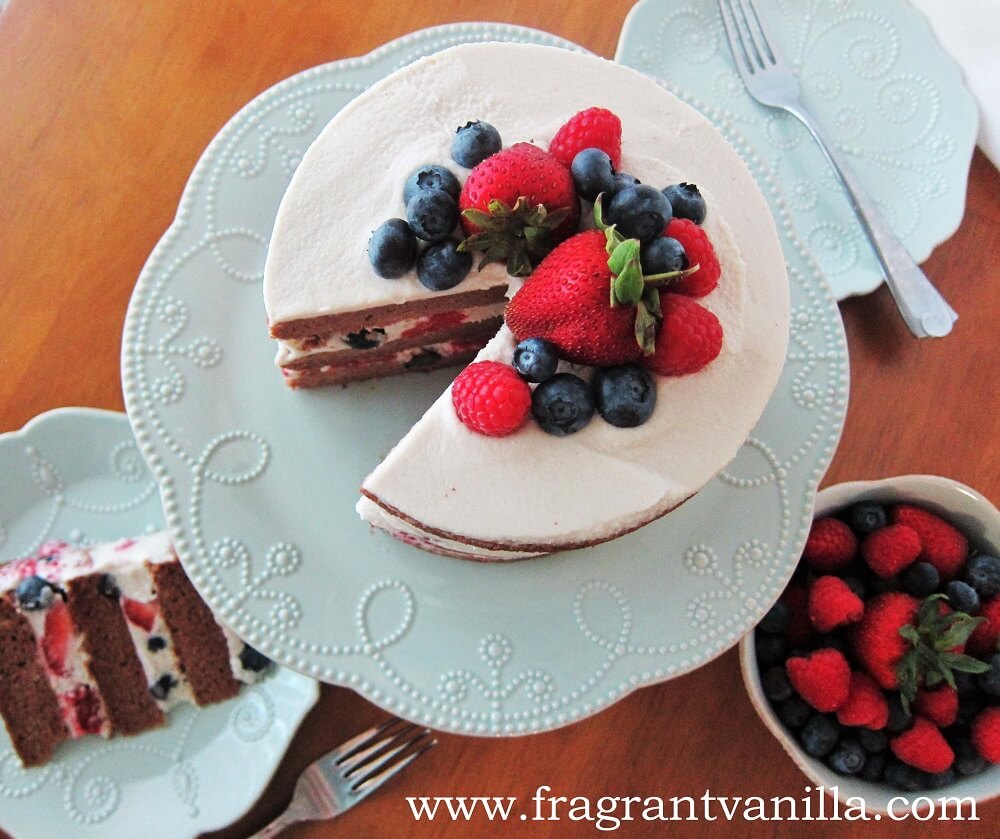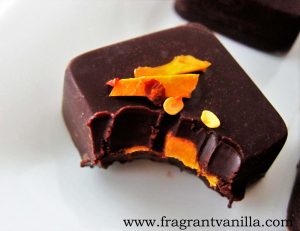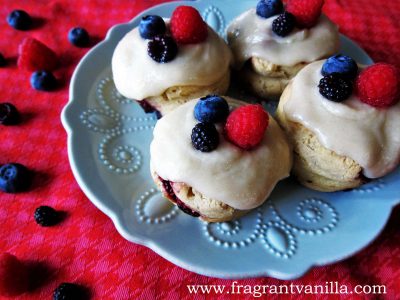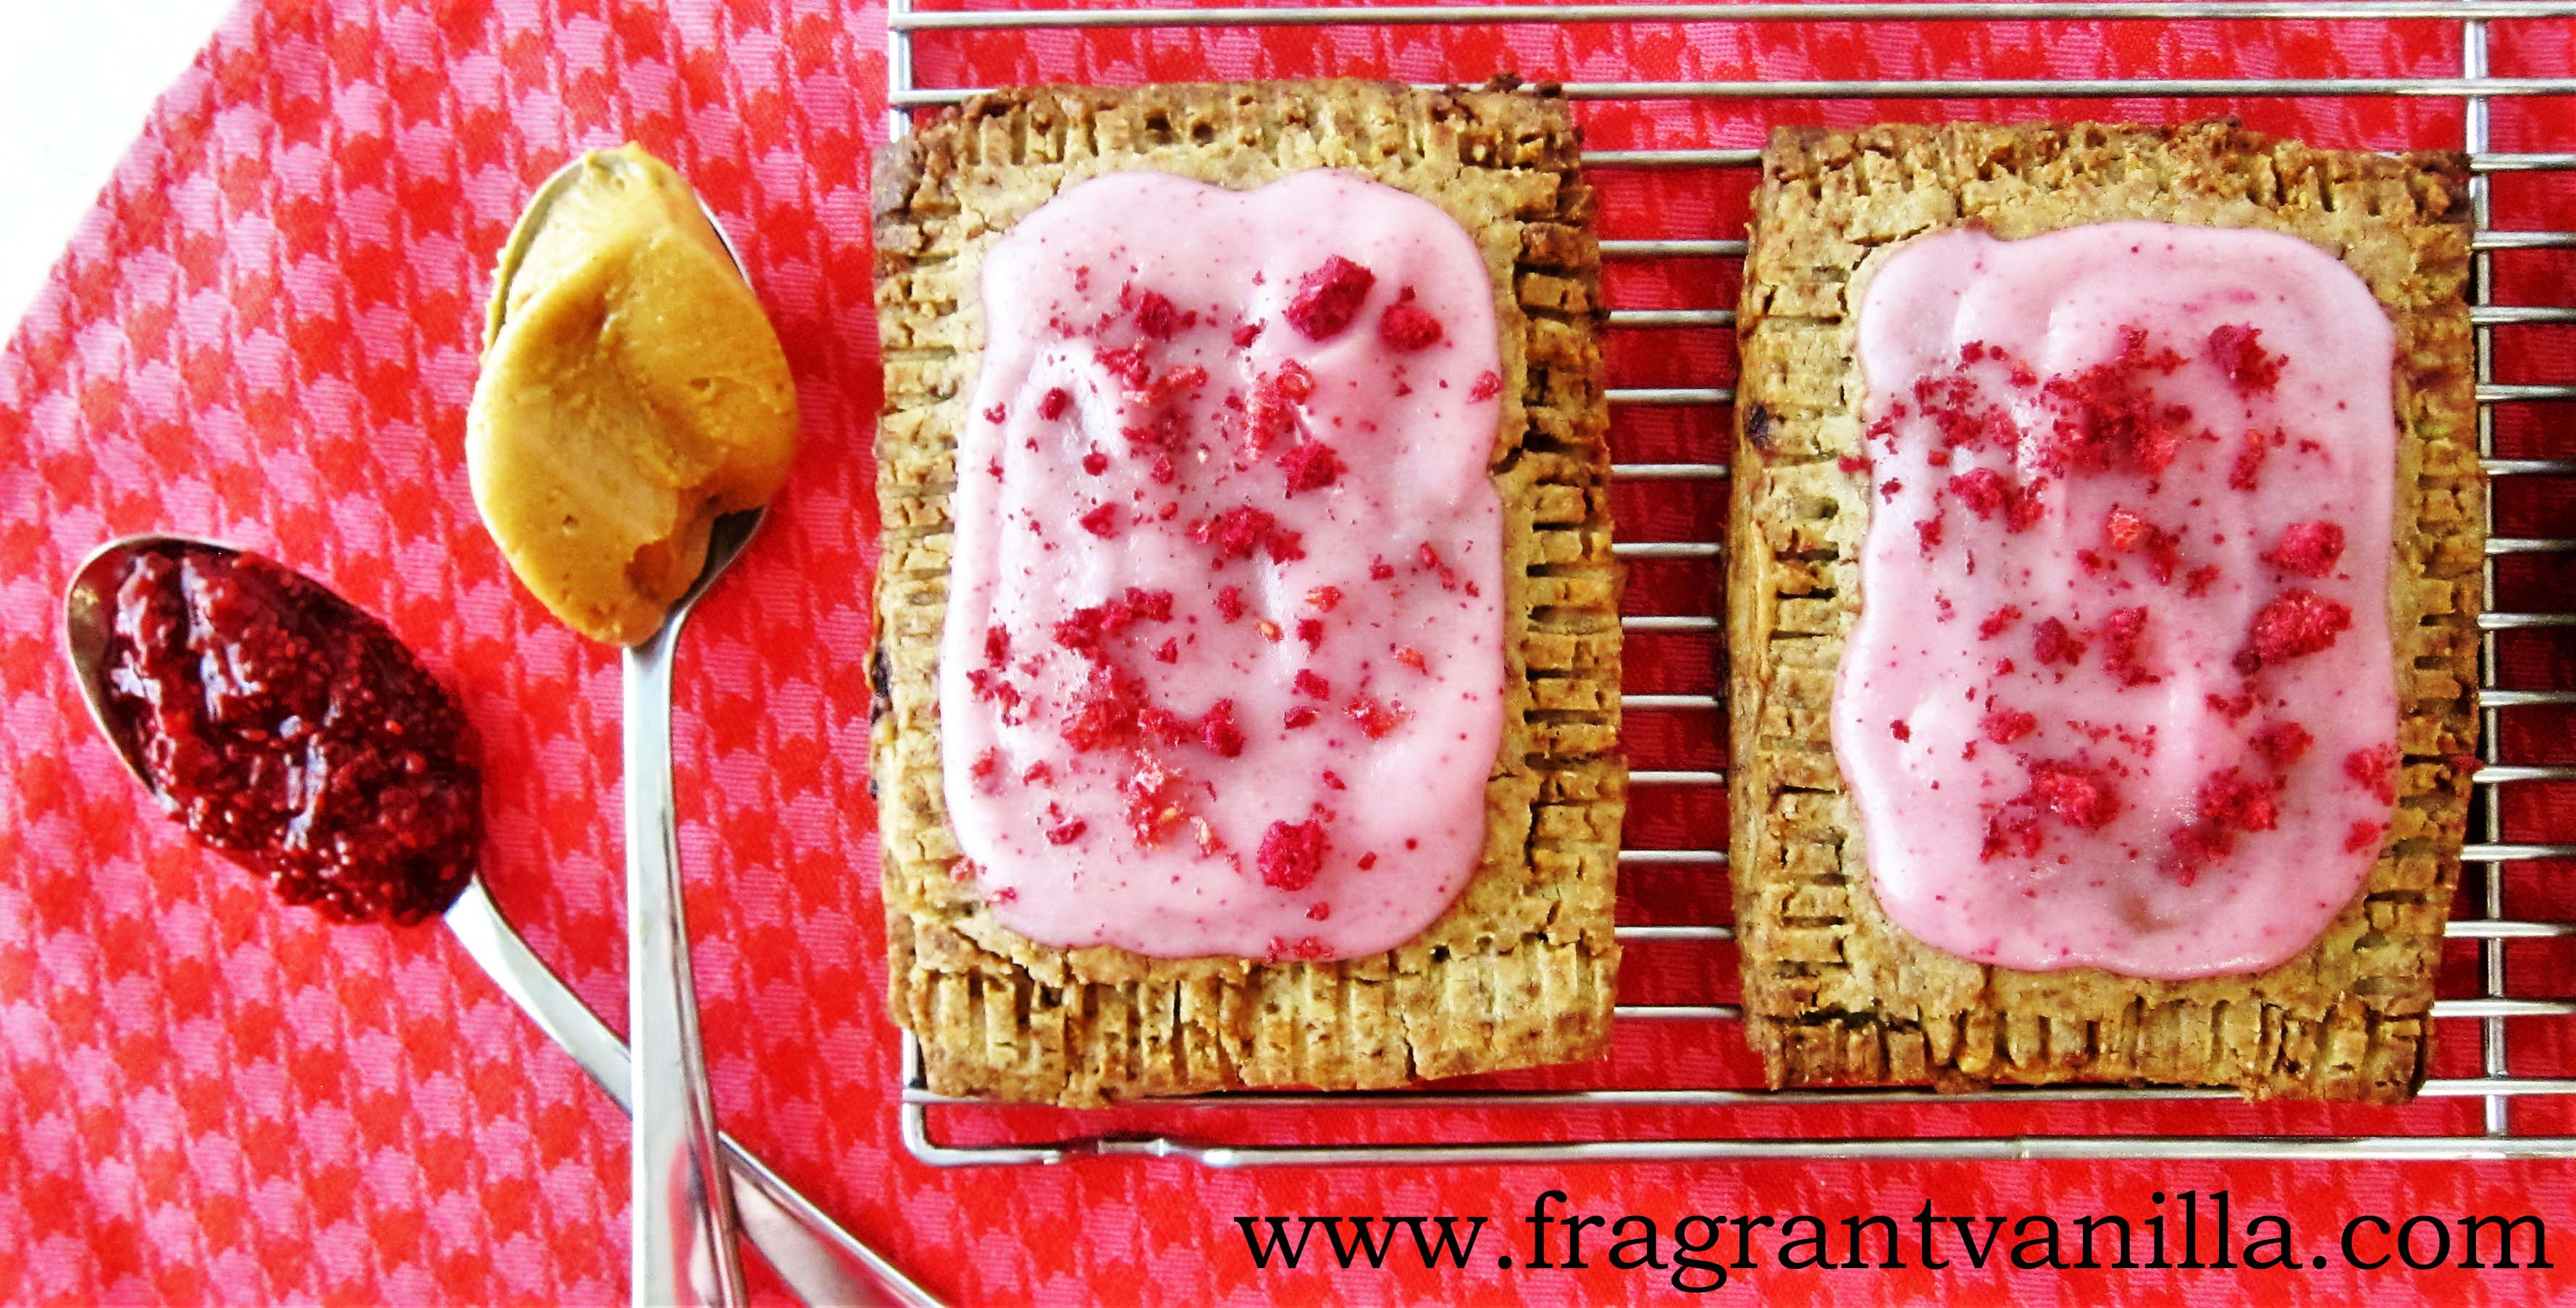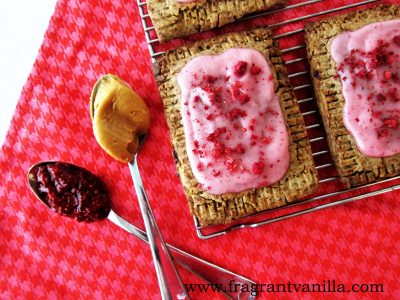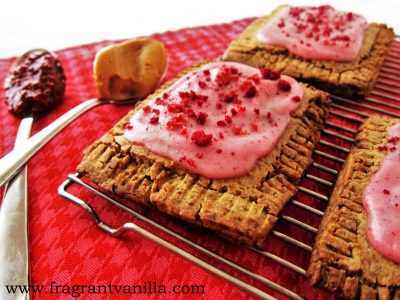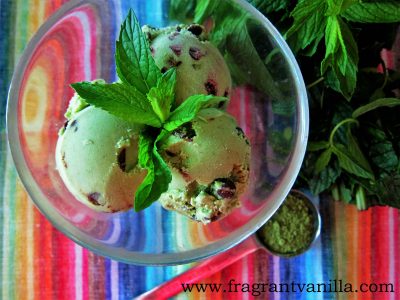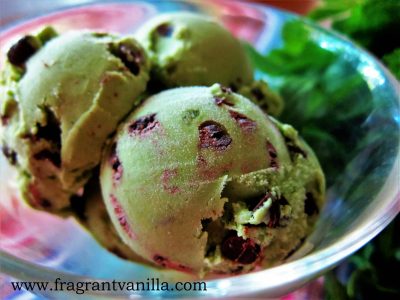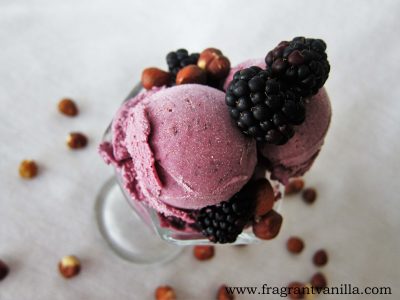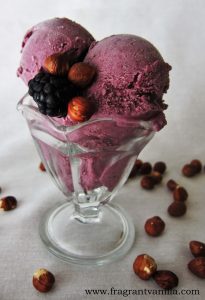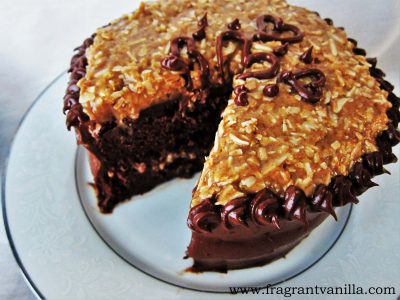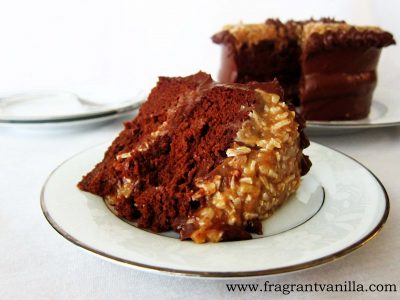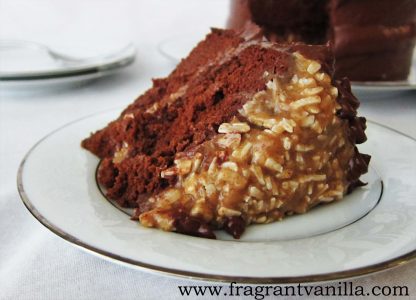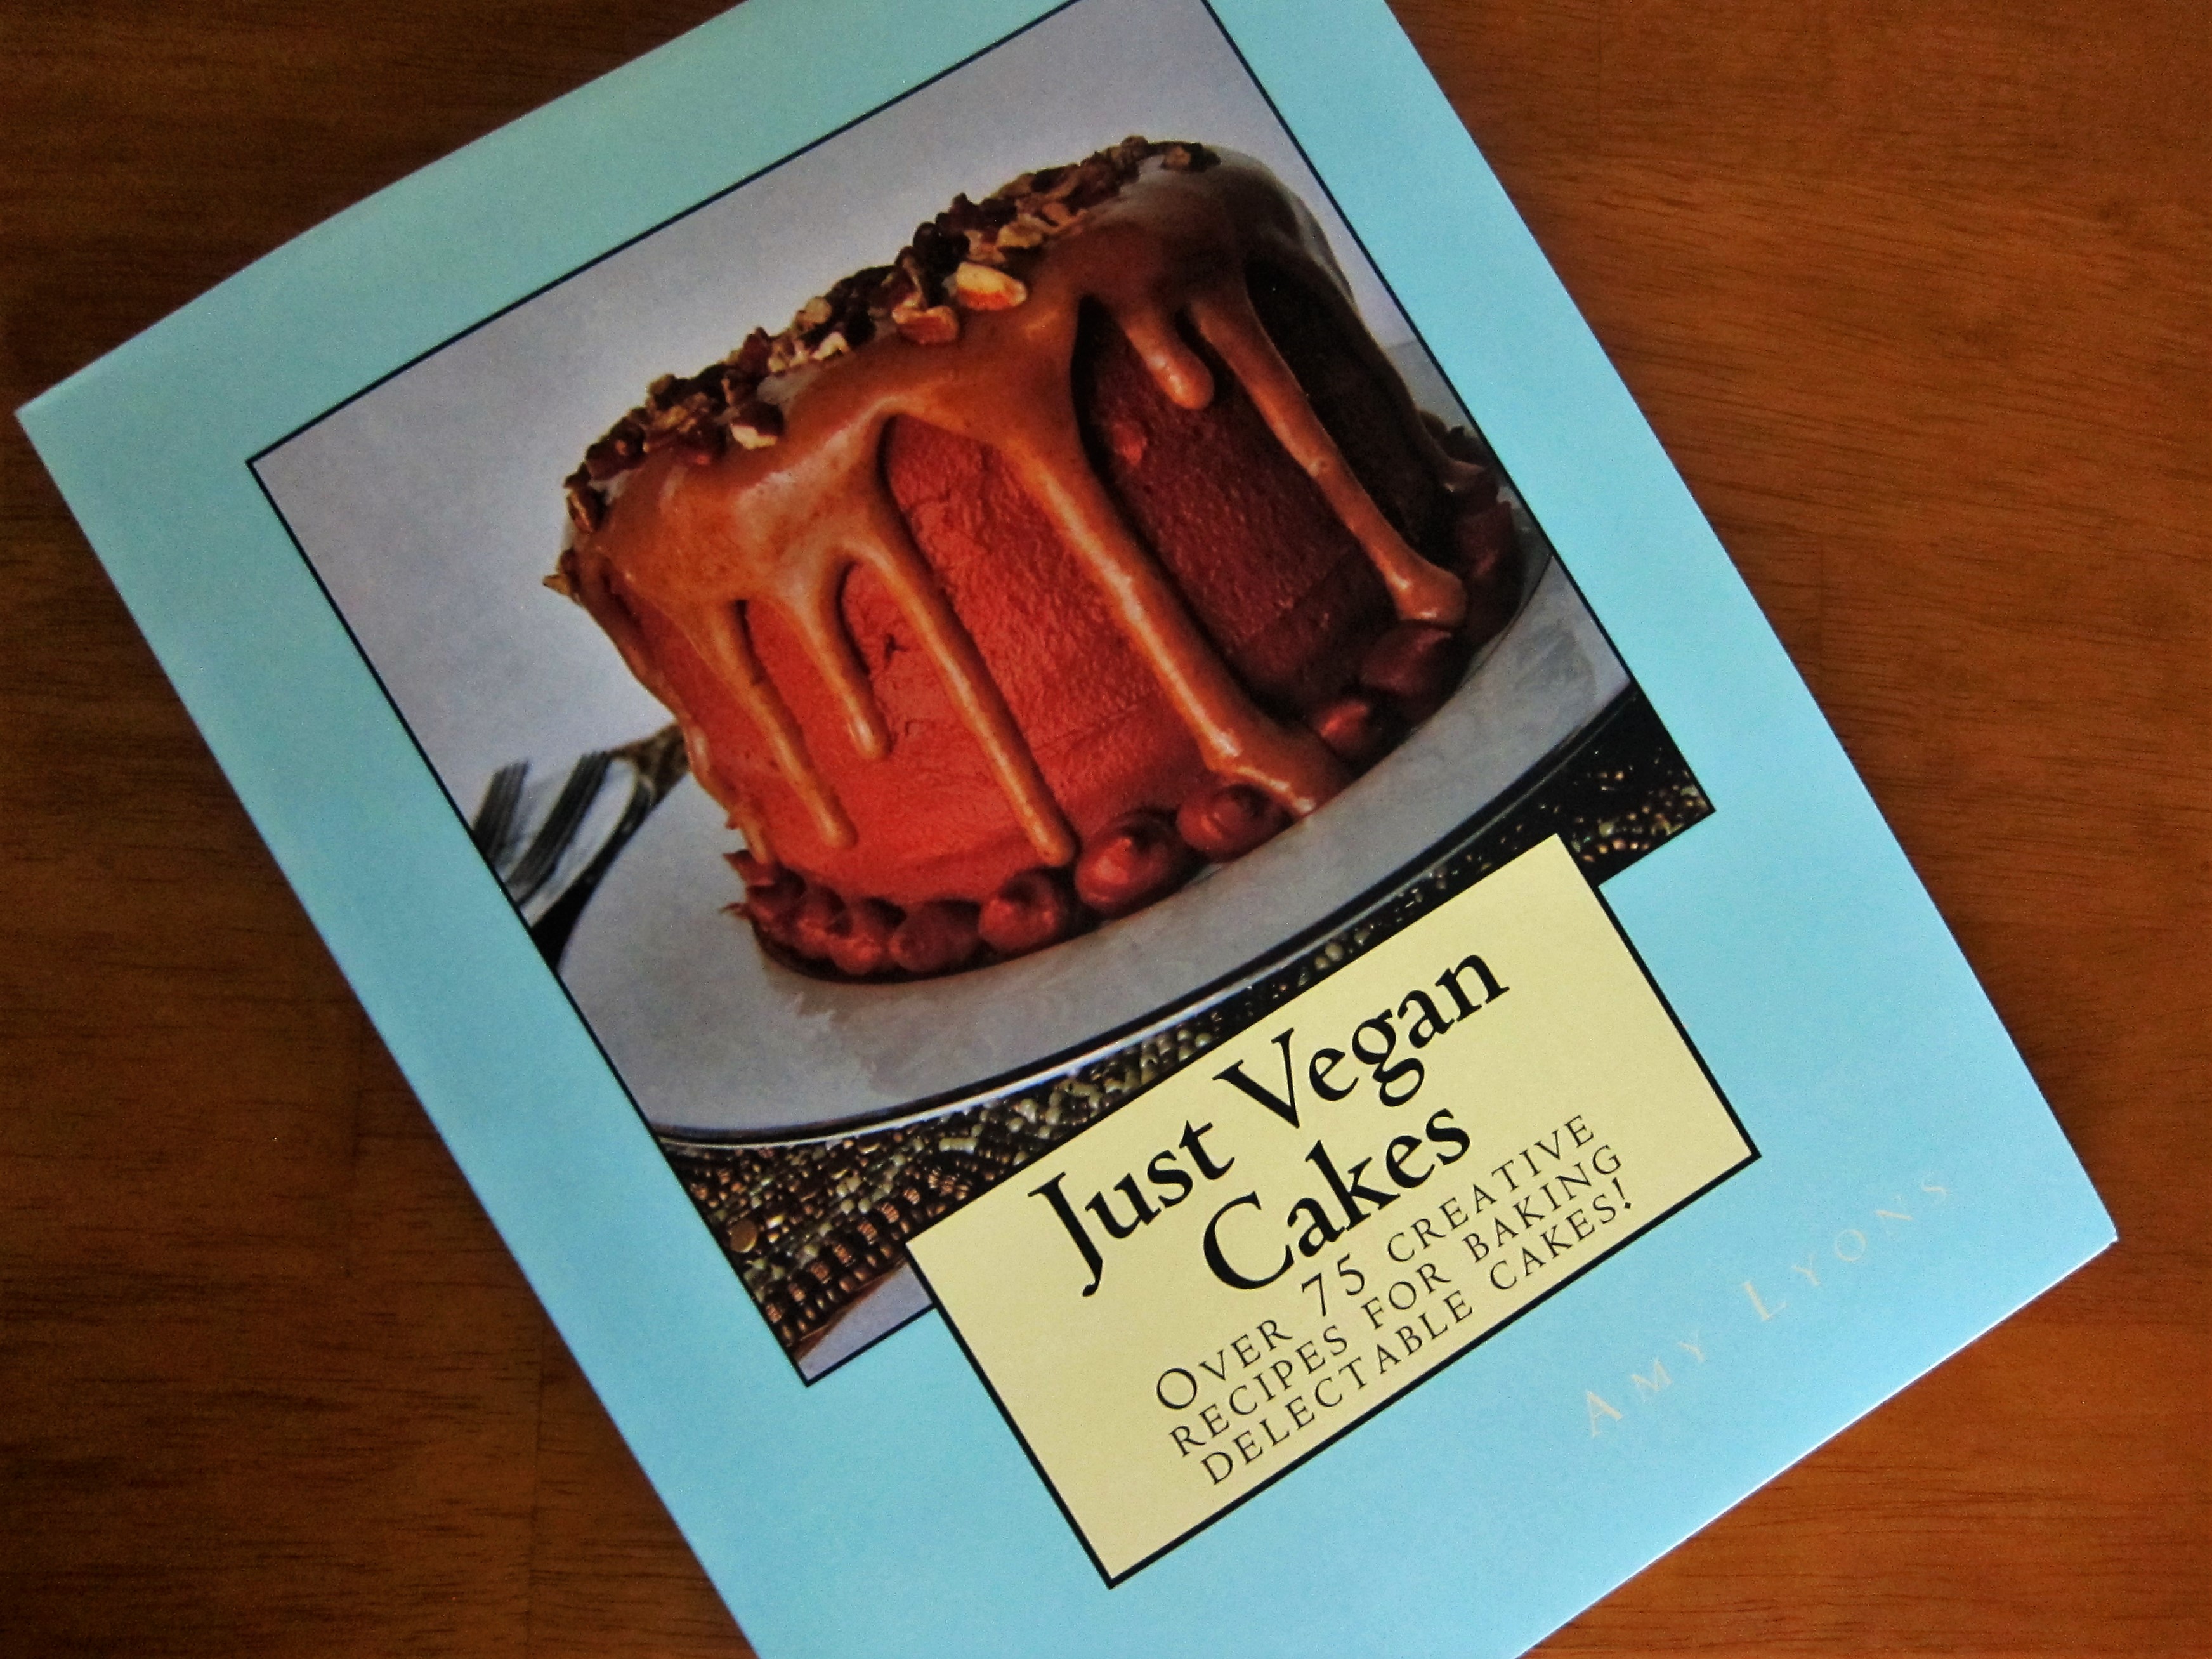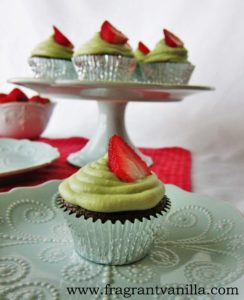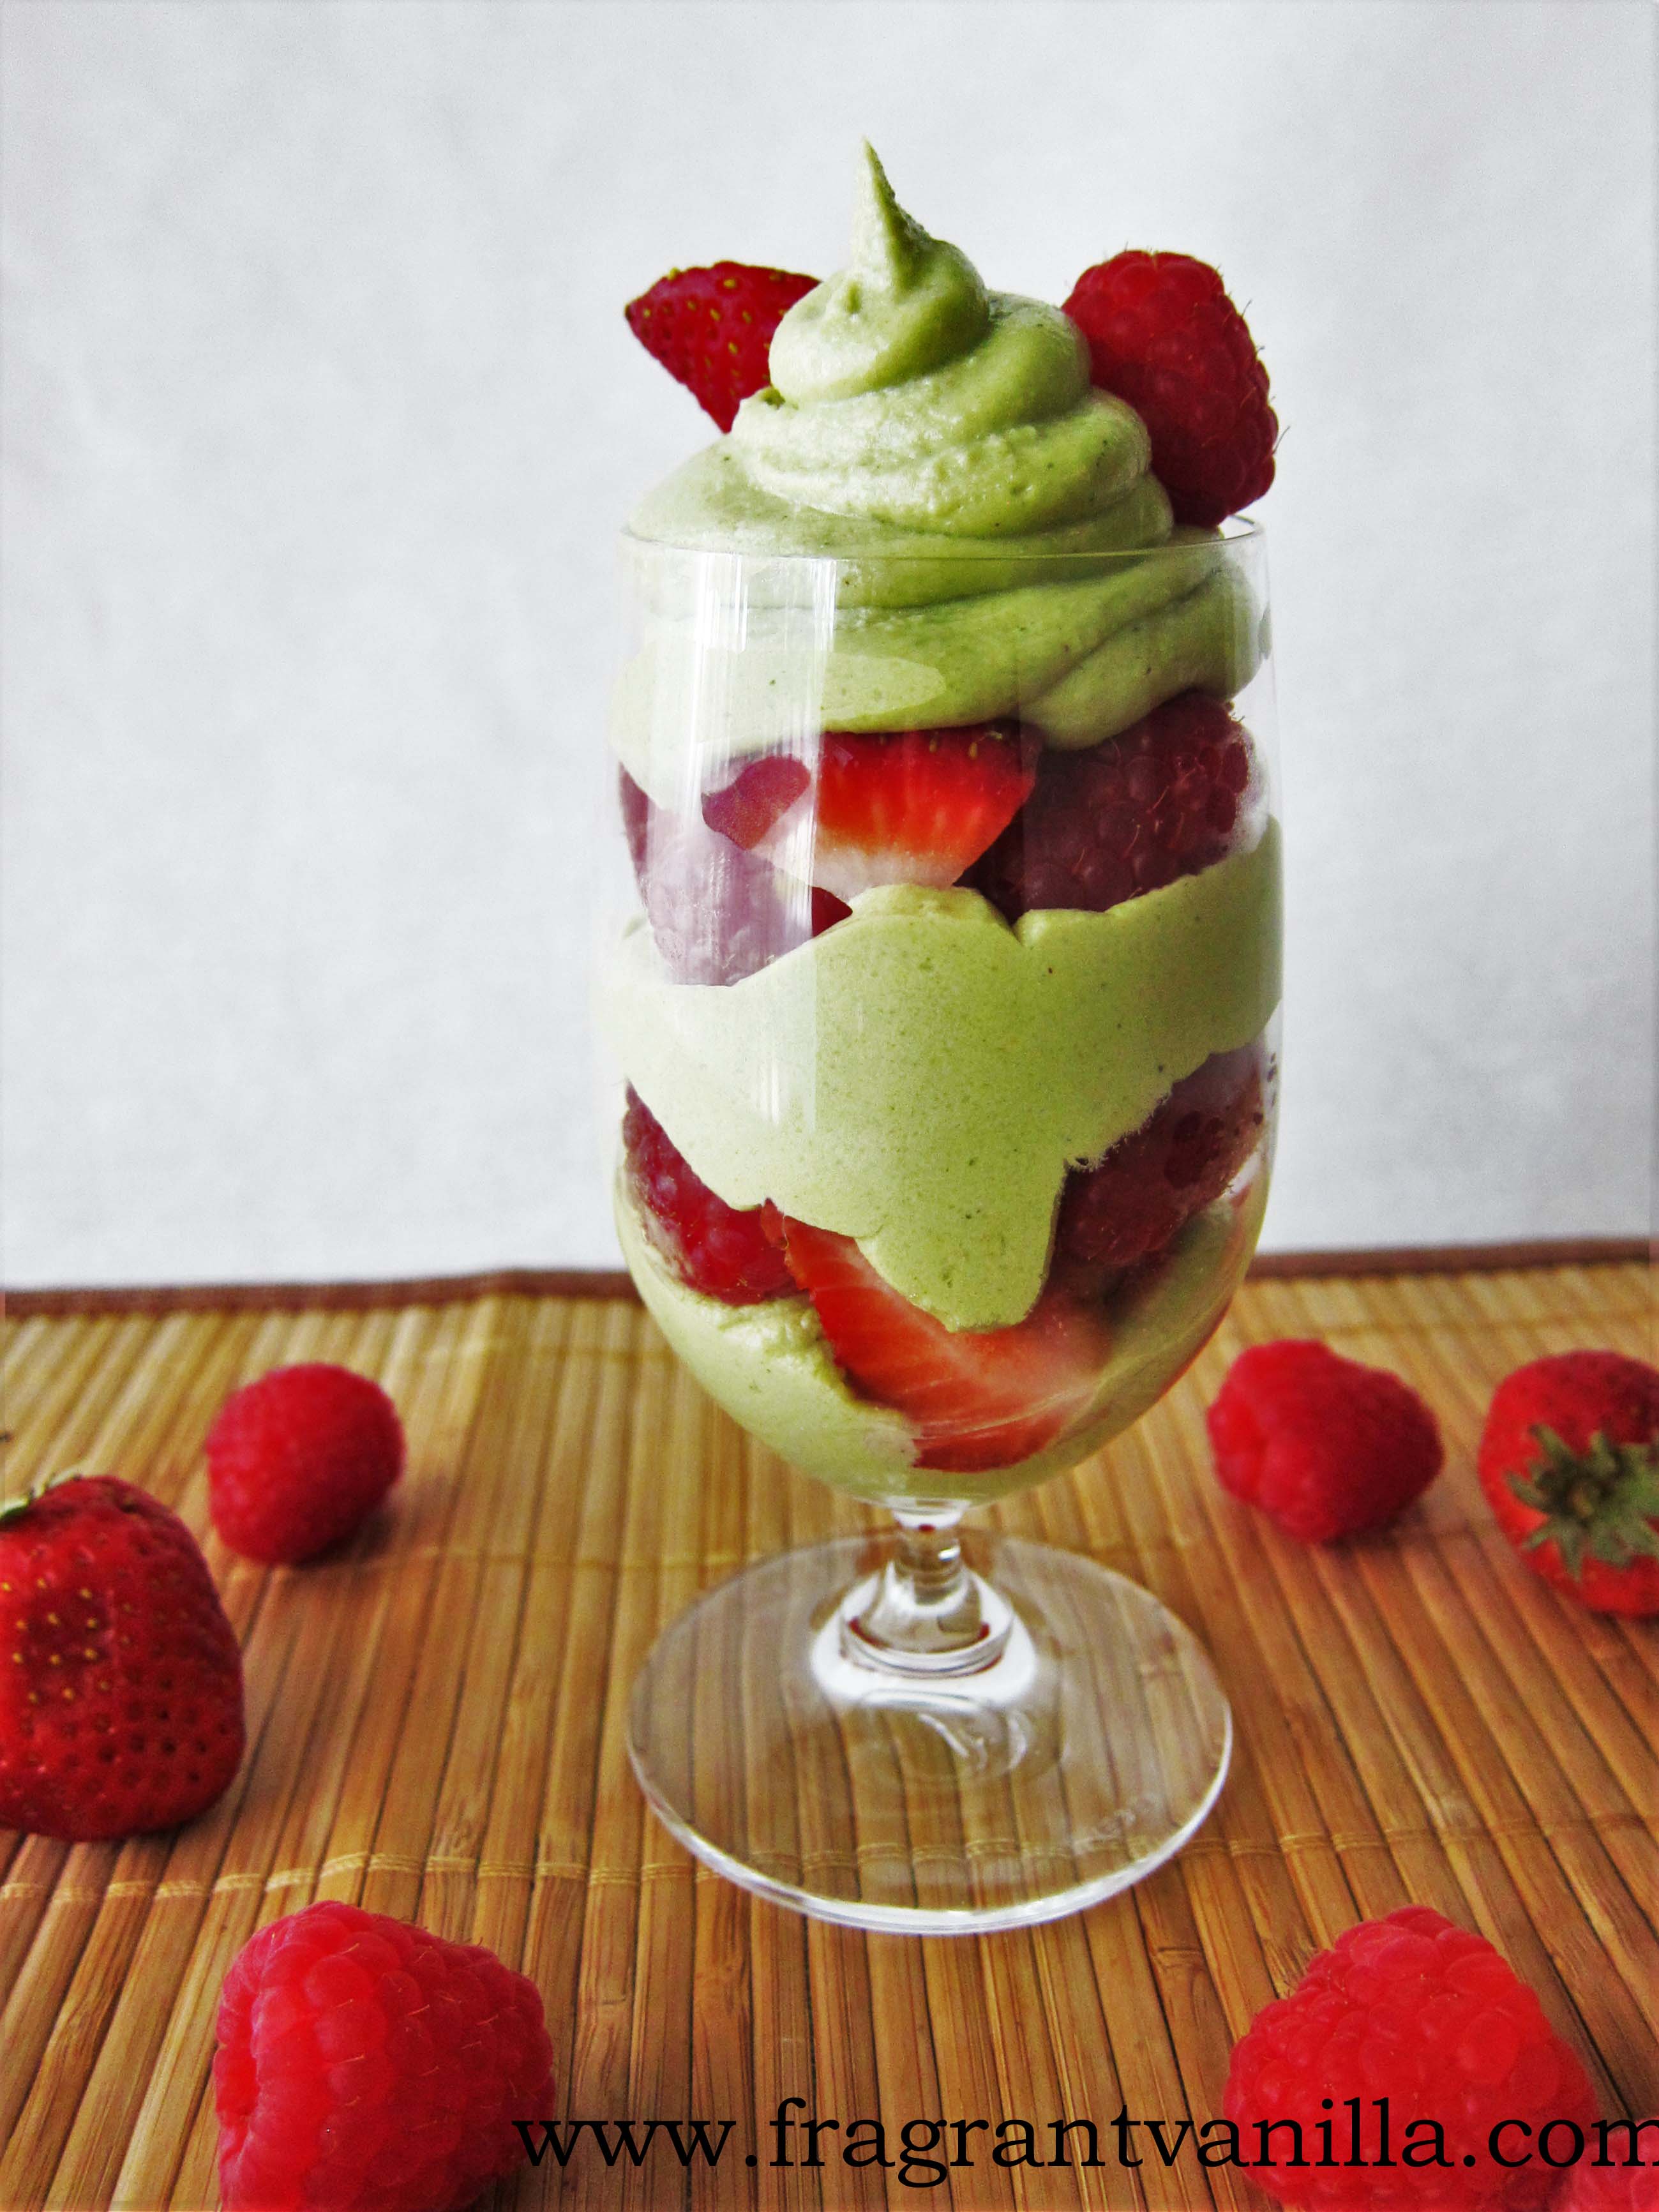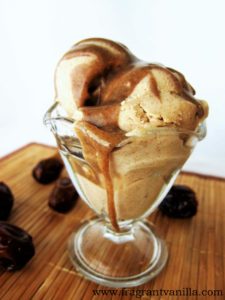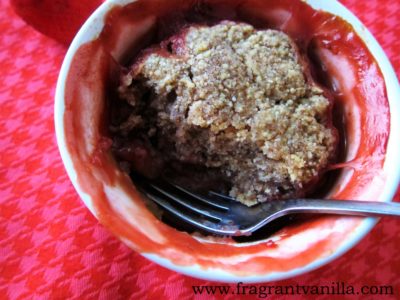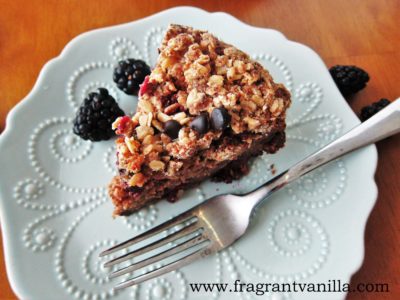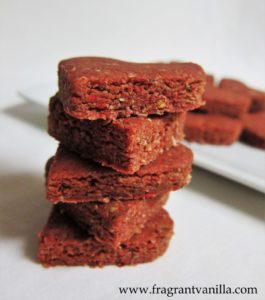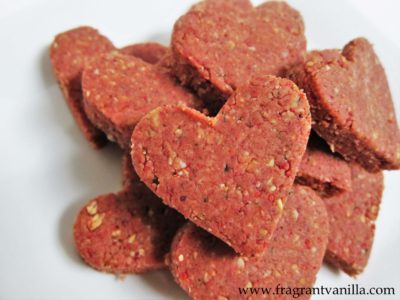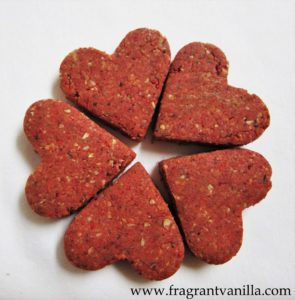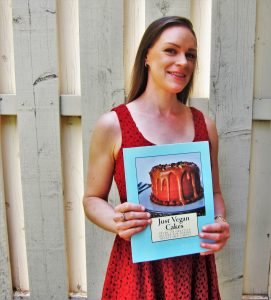
I am excited to announce, that I have just released my third cookbook, “Just Vegan Cakes“! I have been working on it for over a year, making delicious cake recipes every weekend and gathering them together to share with you all. I can not tell you how excited I am for this moment to have came to release the book. I spent many hours making the recipes, editing the book, and making sure it was just how I wanted it before I shared it with you, so I am quite excited. I got the idea for writing this book when I was baking my boyfriend’s Birthday cake and said to myself, I should create a cookbook entirely of vegan cakes. That was actually the first baked cake I had made in a while after being completely raw for two years and I had so much fun making it. To me, baking cakes is therapeutic. It is something I enjoy, something I do on a lazy Saturday or after a stressful day at work to calm down and relax. Maybe you feel the same? Well, in that case, this is the book for you. I included lots of photos as well, so that you can see how yummy the cakes are. I feel that it is very important to have photos in my cookbooks. Because sometimes I like to browse cook books, just to admire photos.
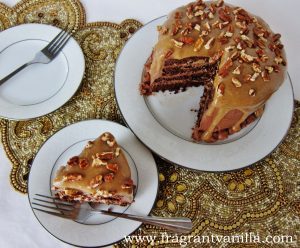
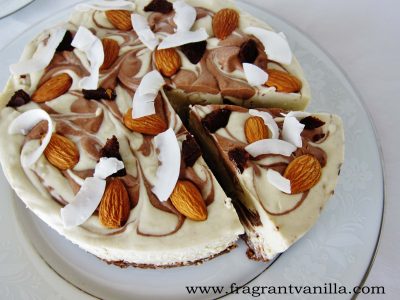
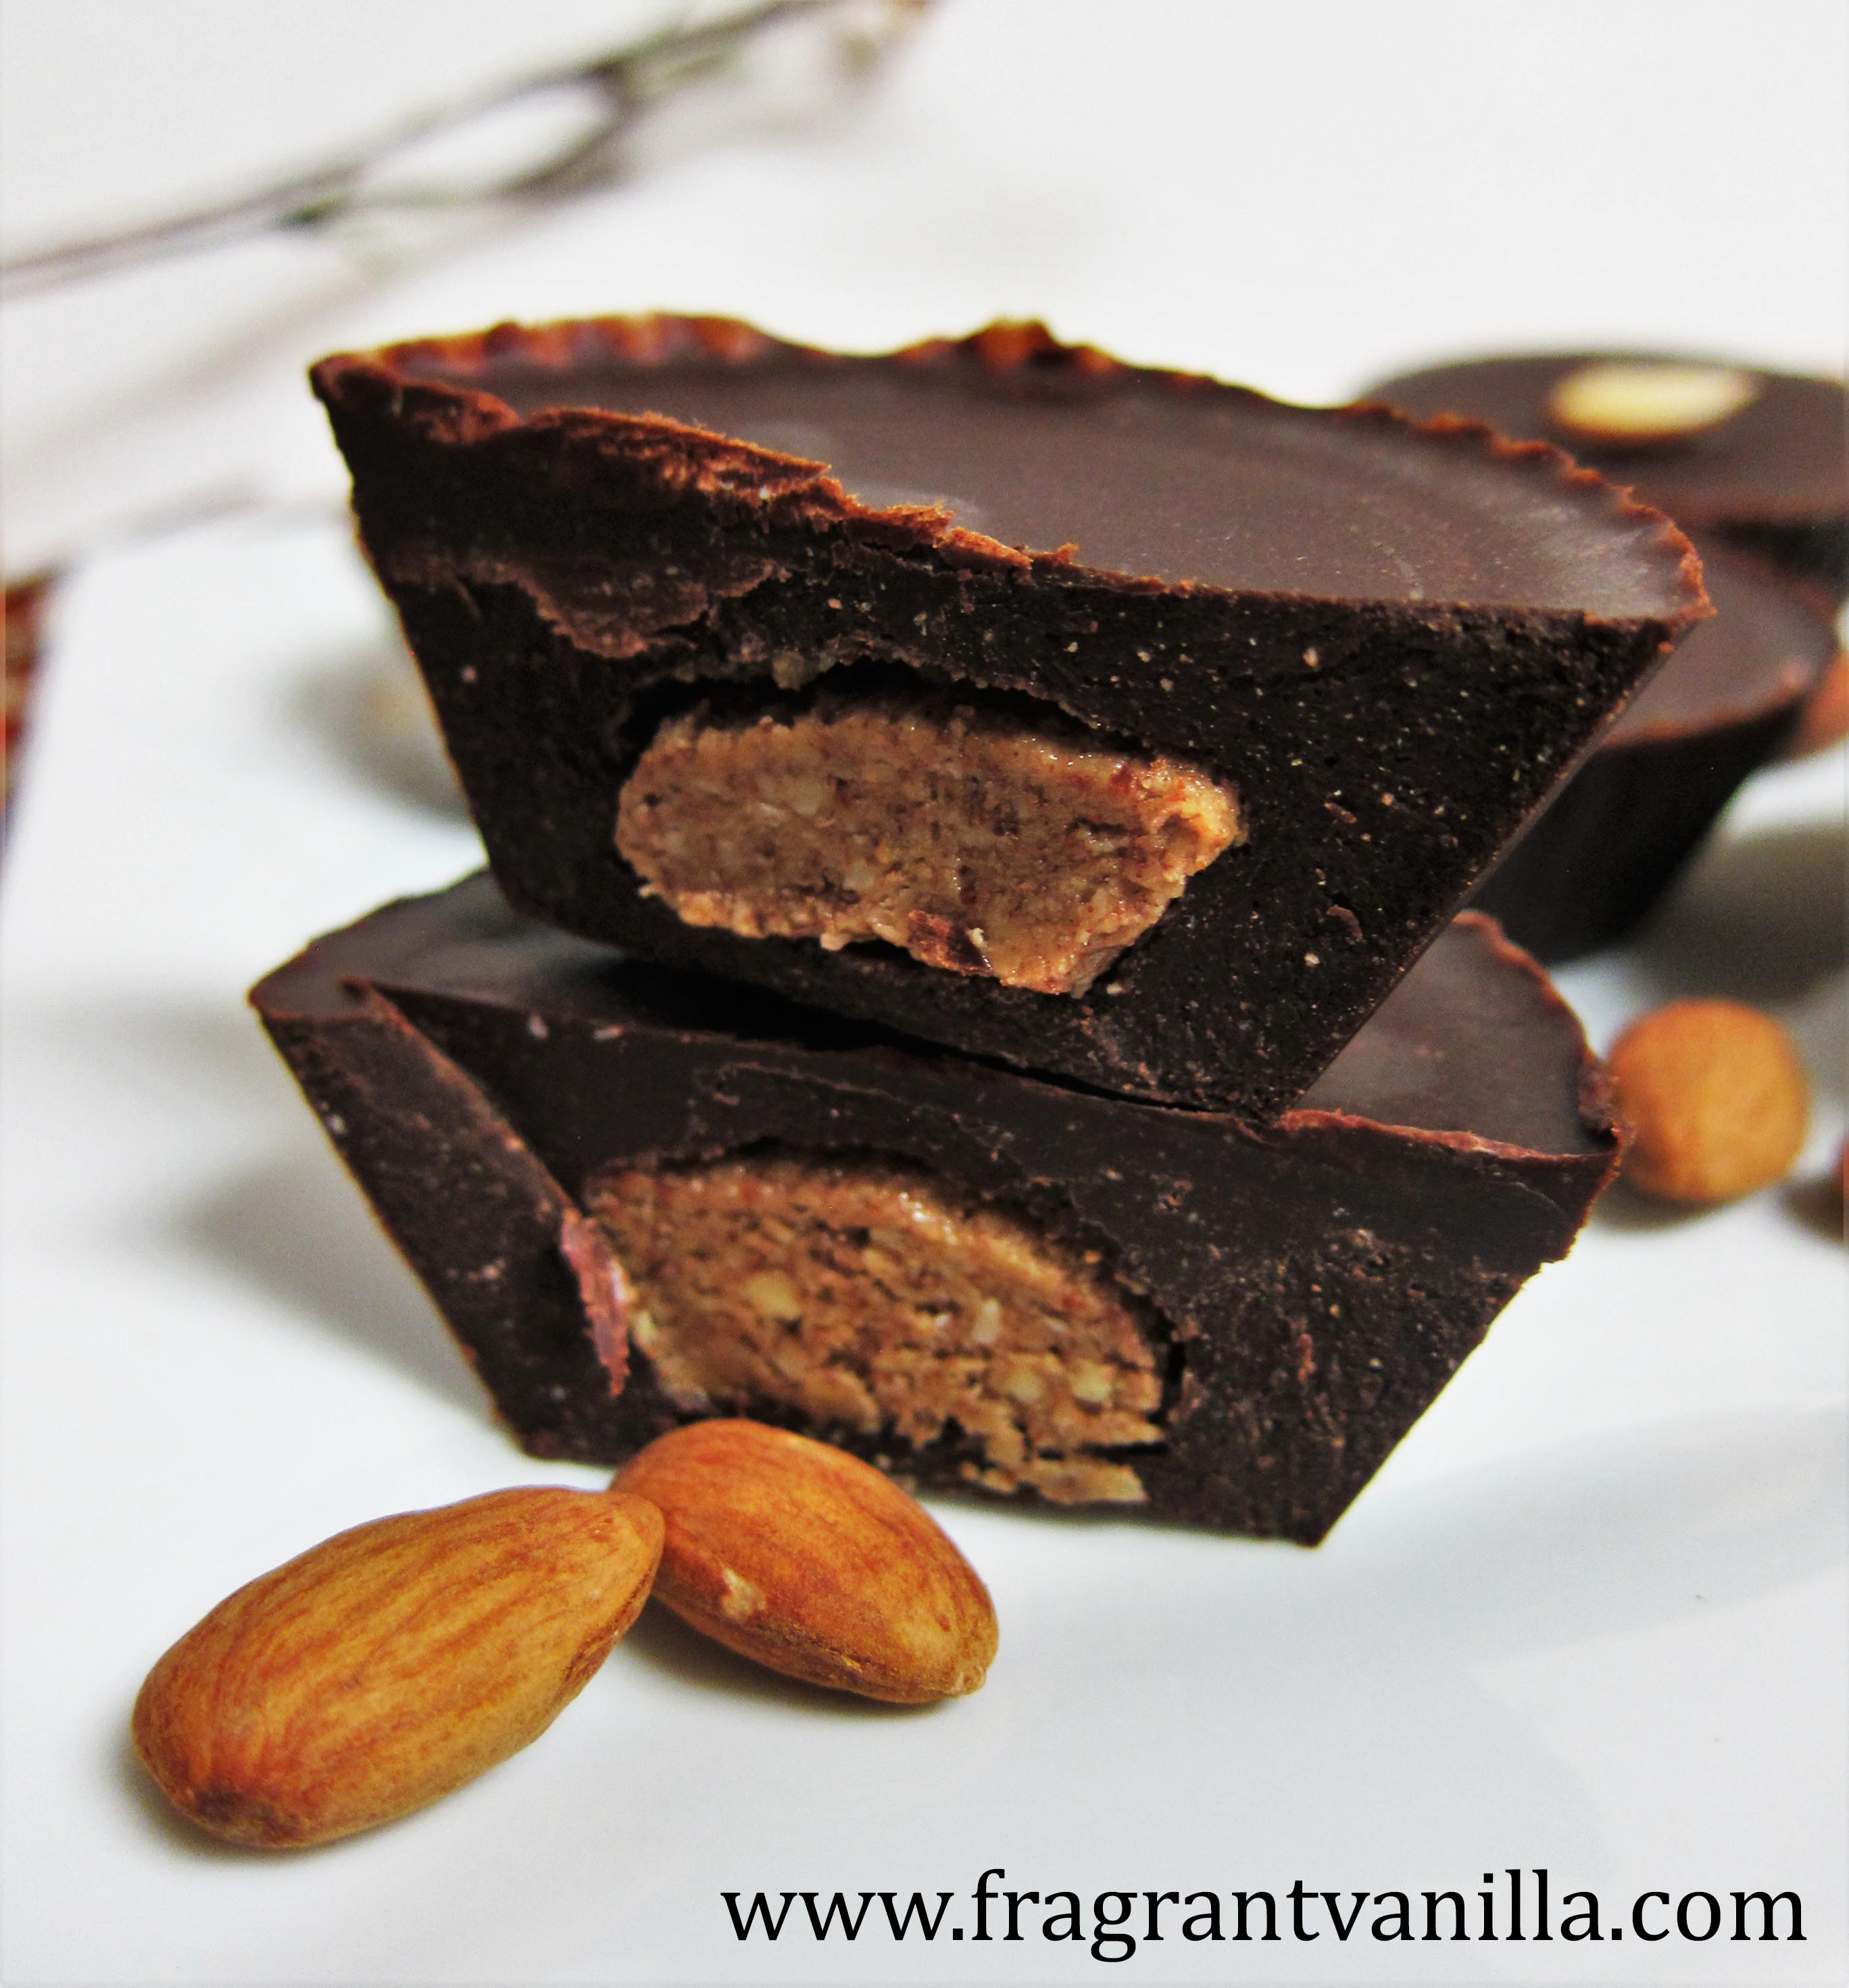
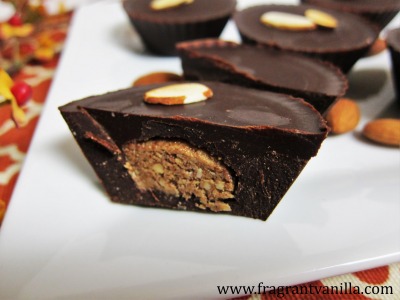
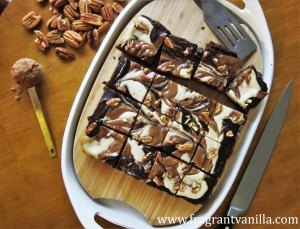
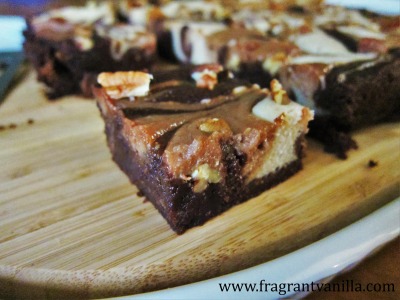
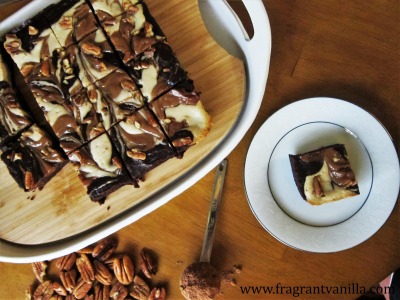
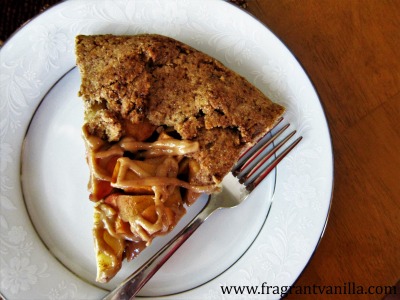
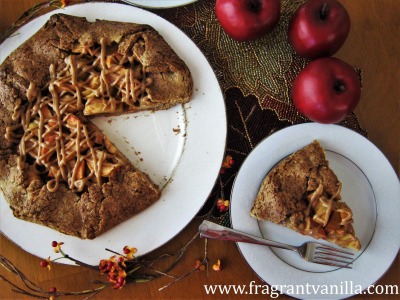
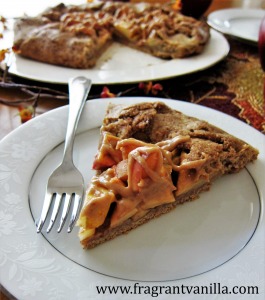
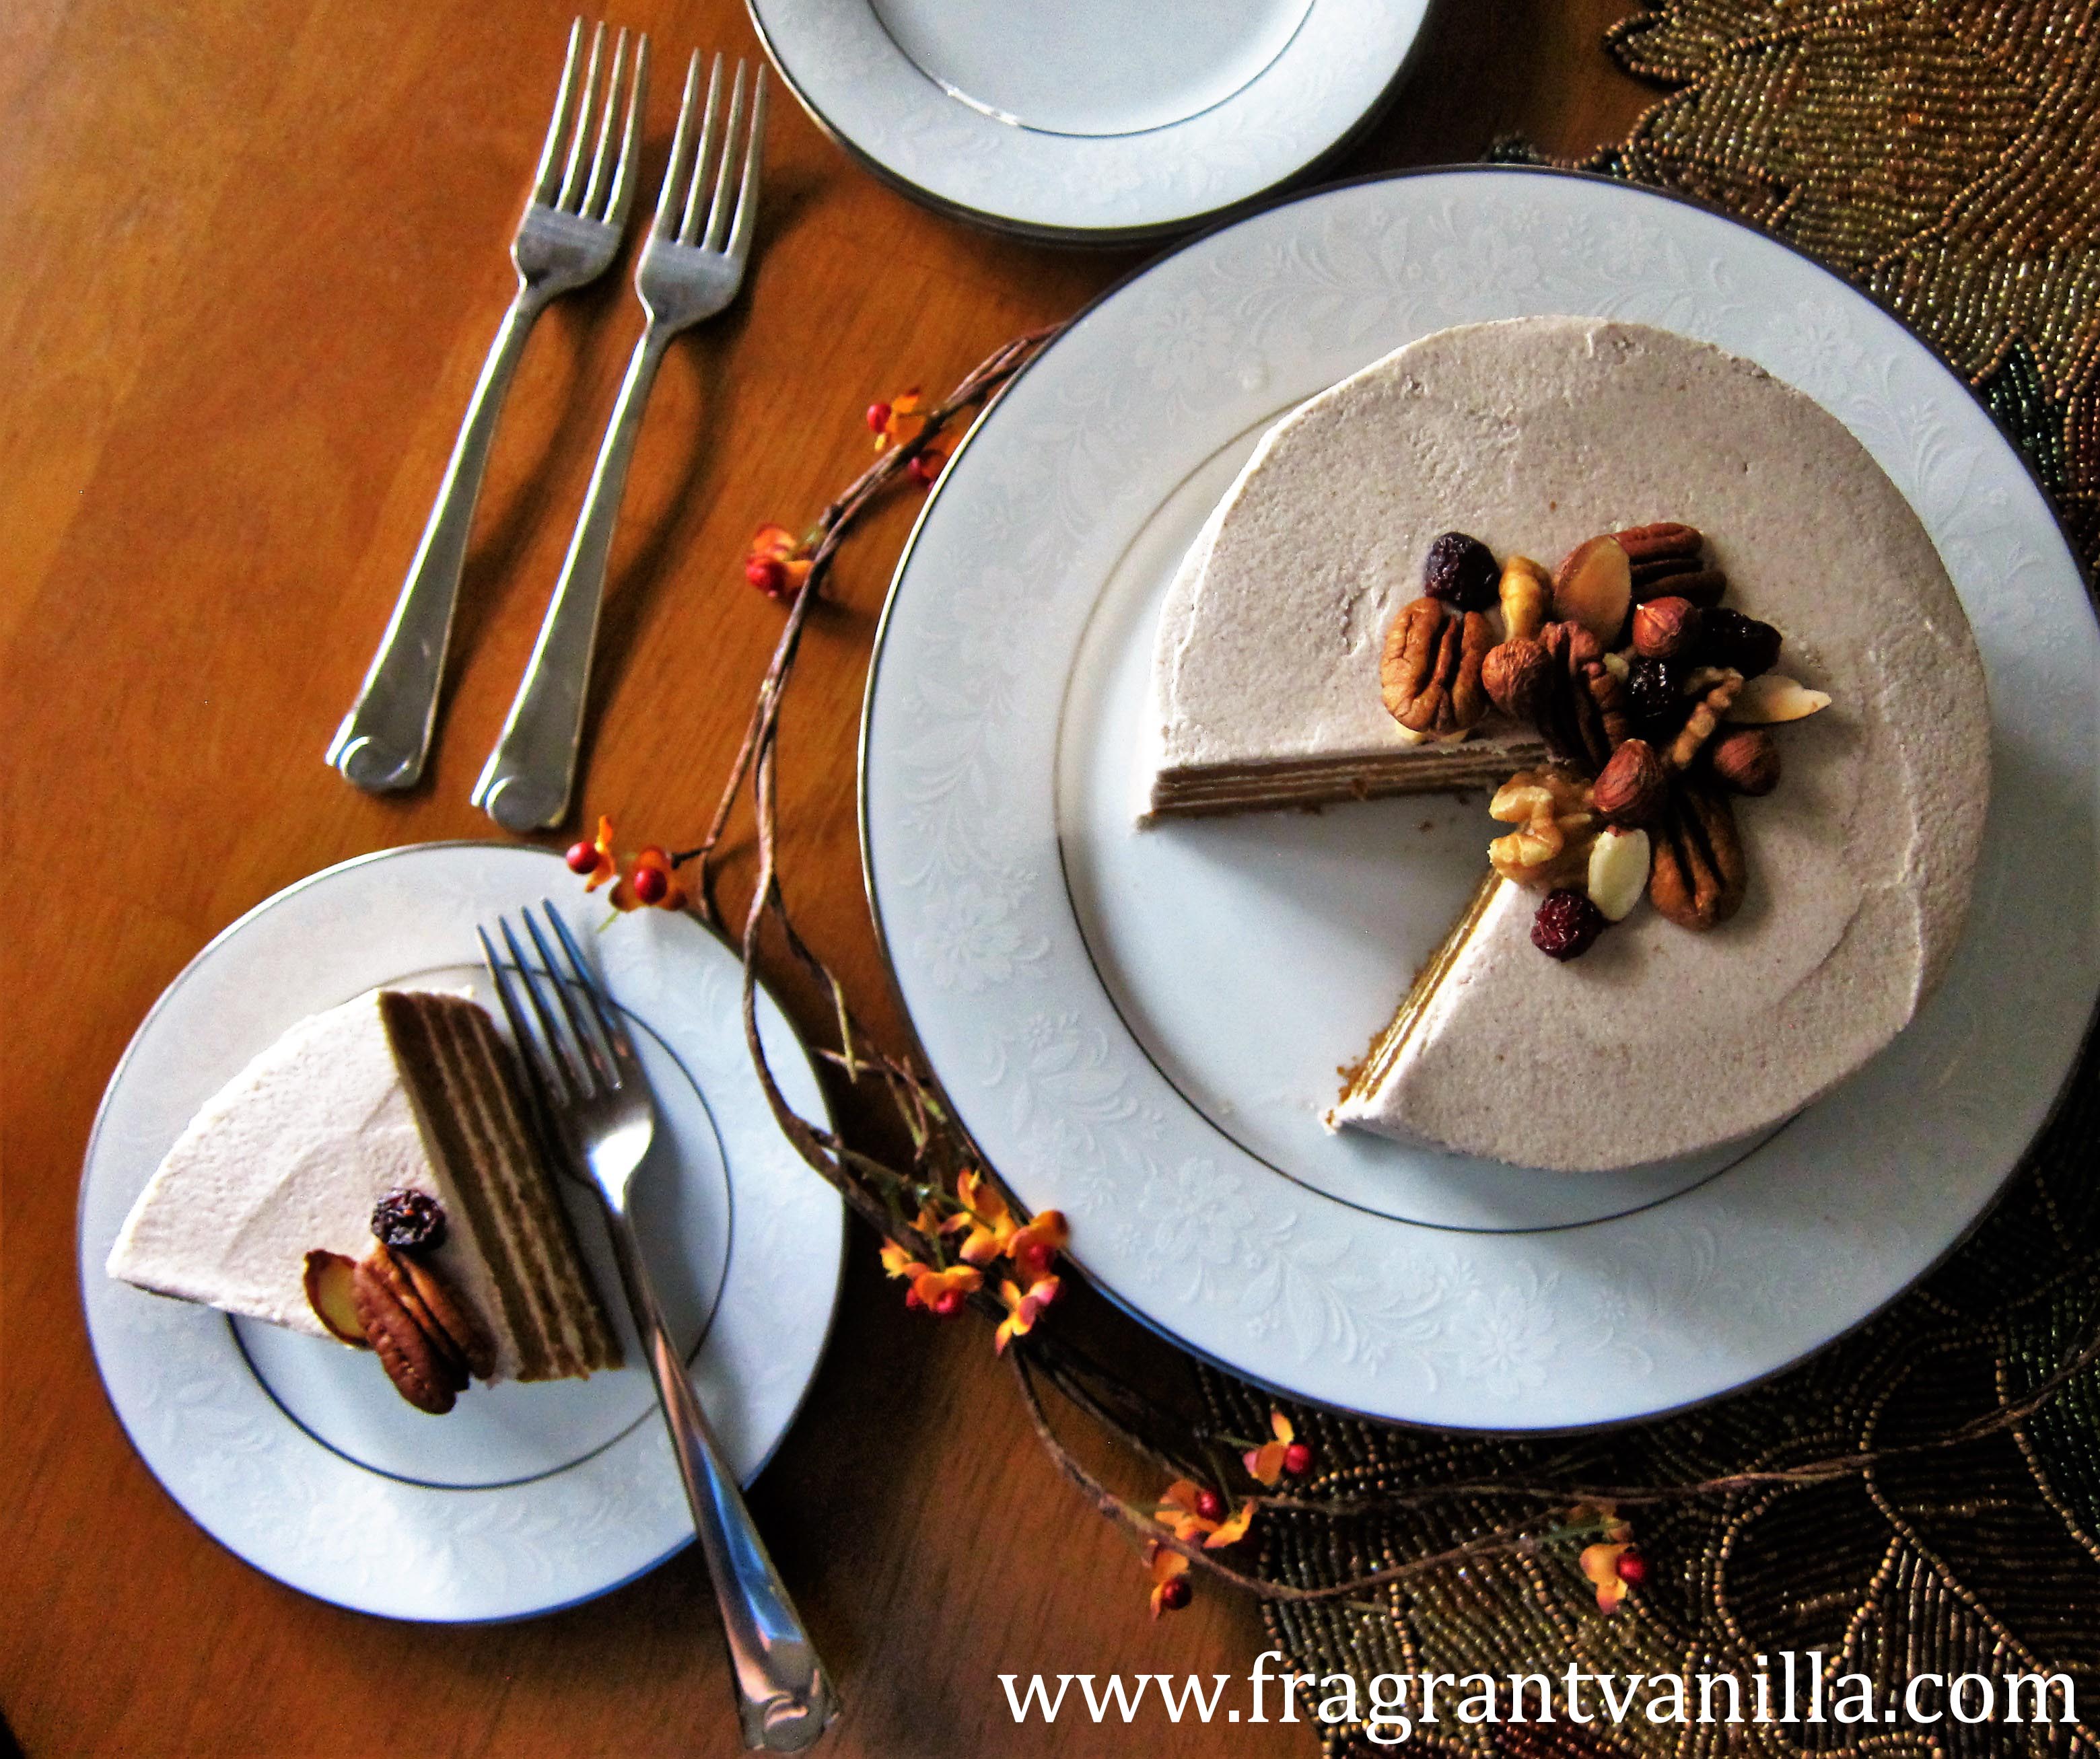
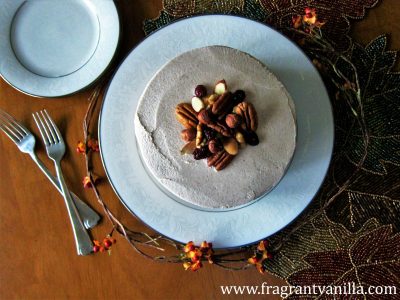
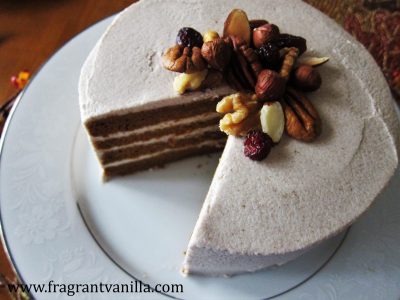
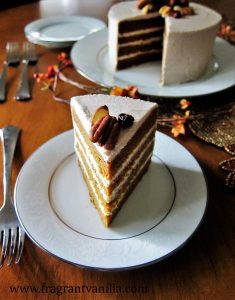
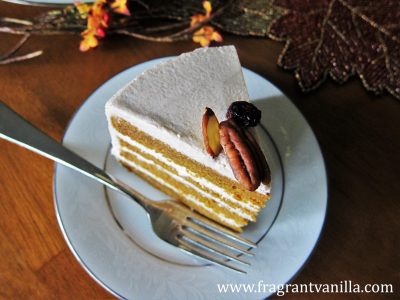
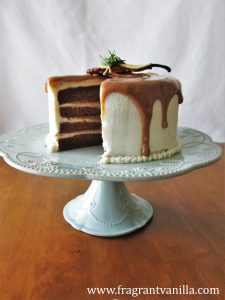
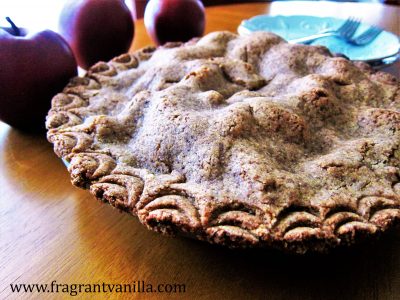
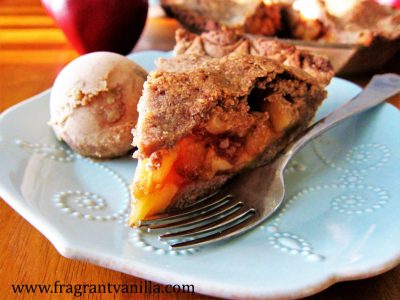
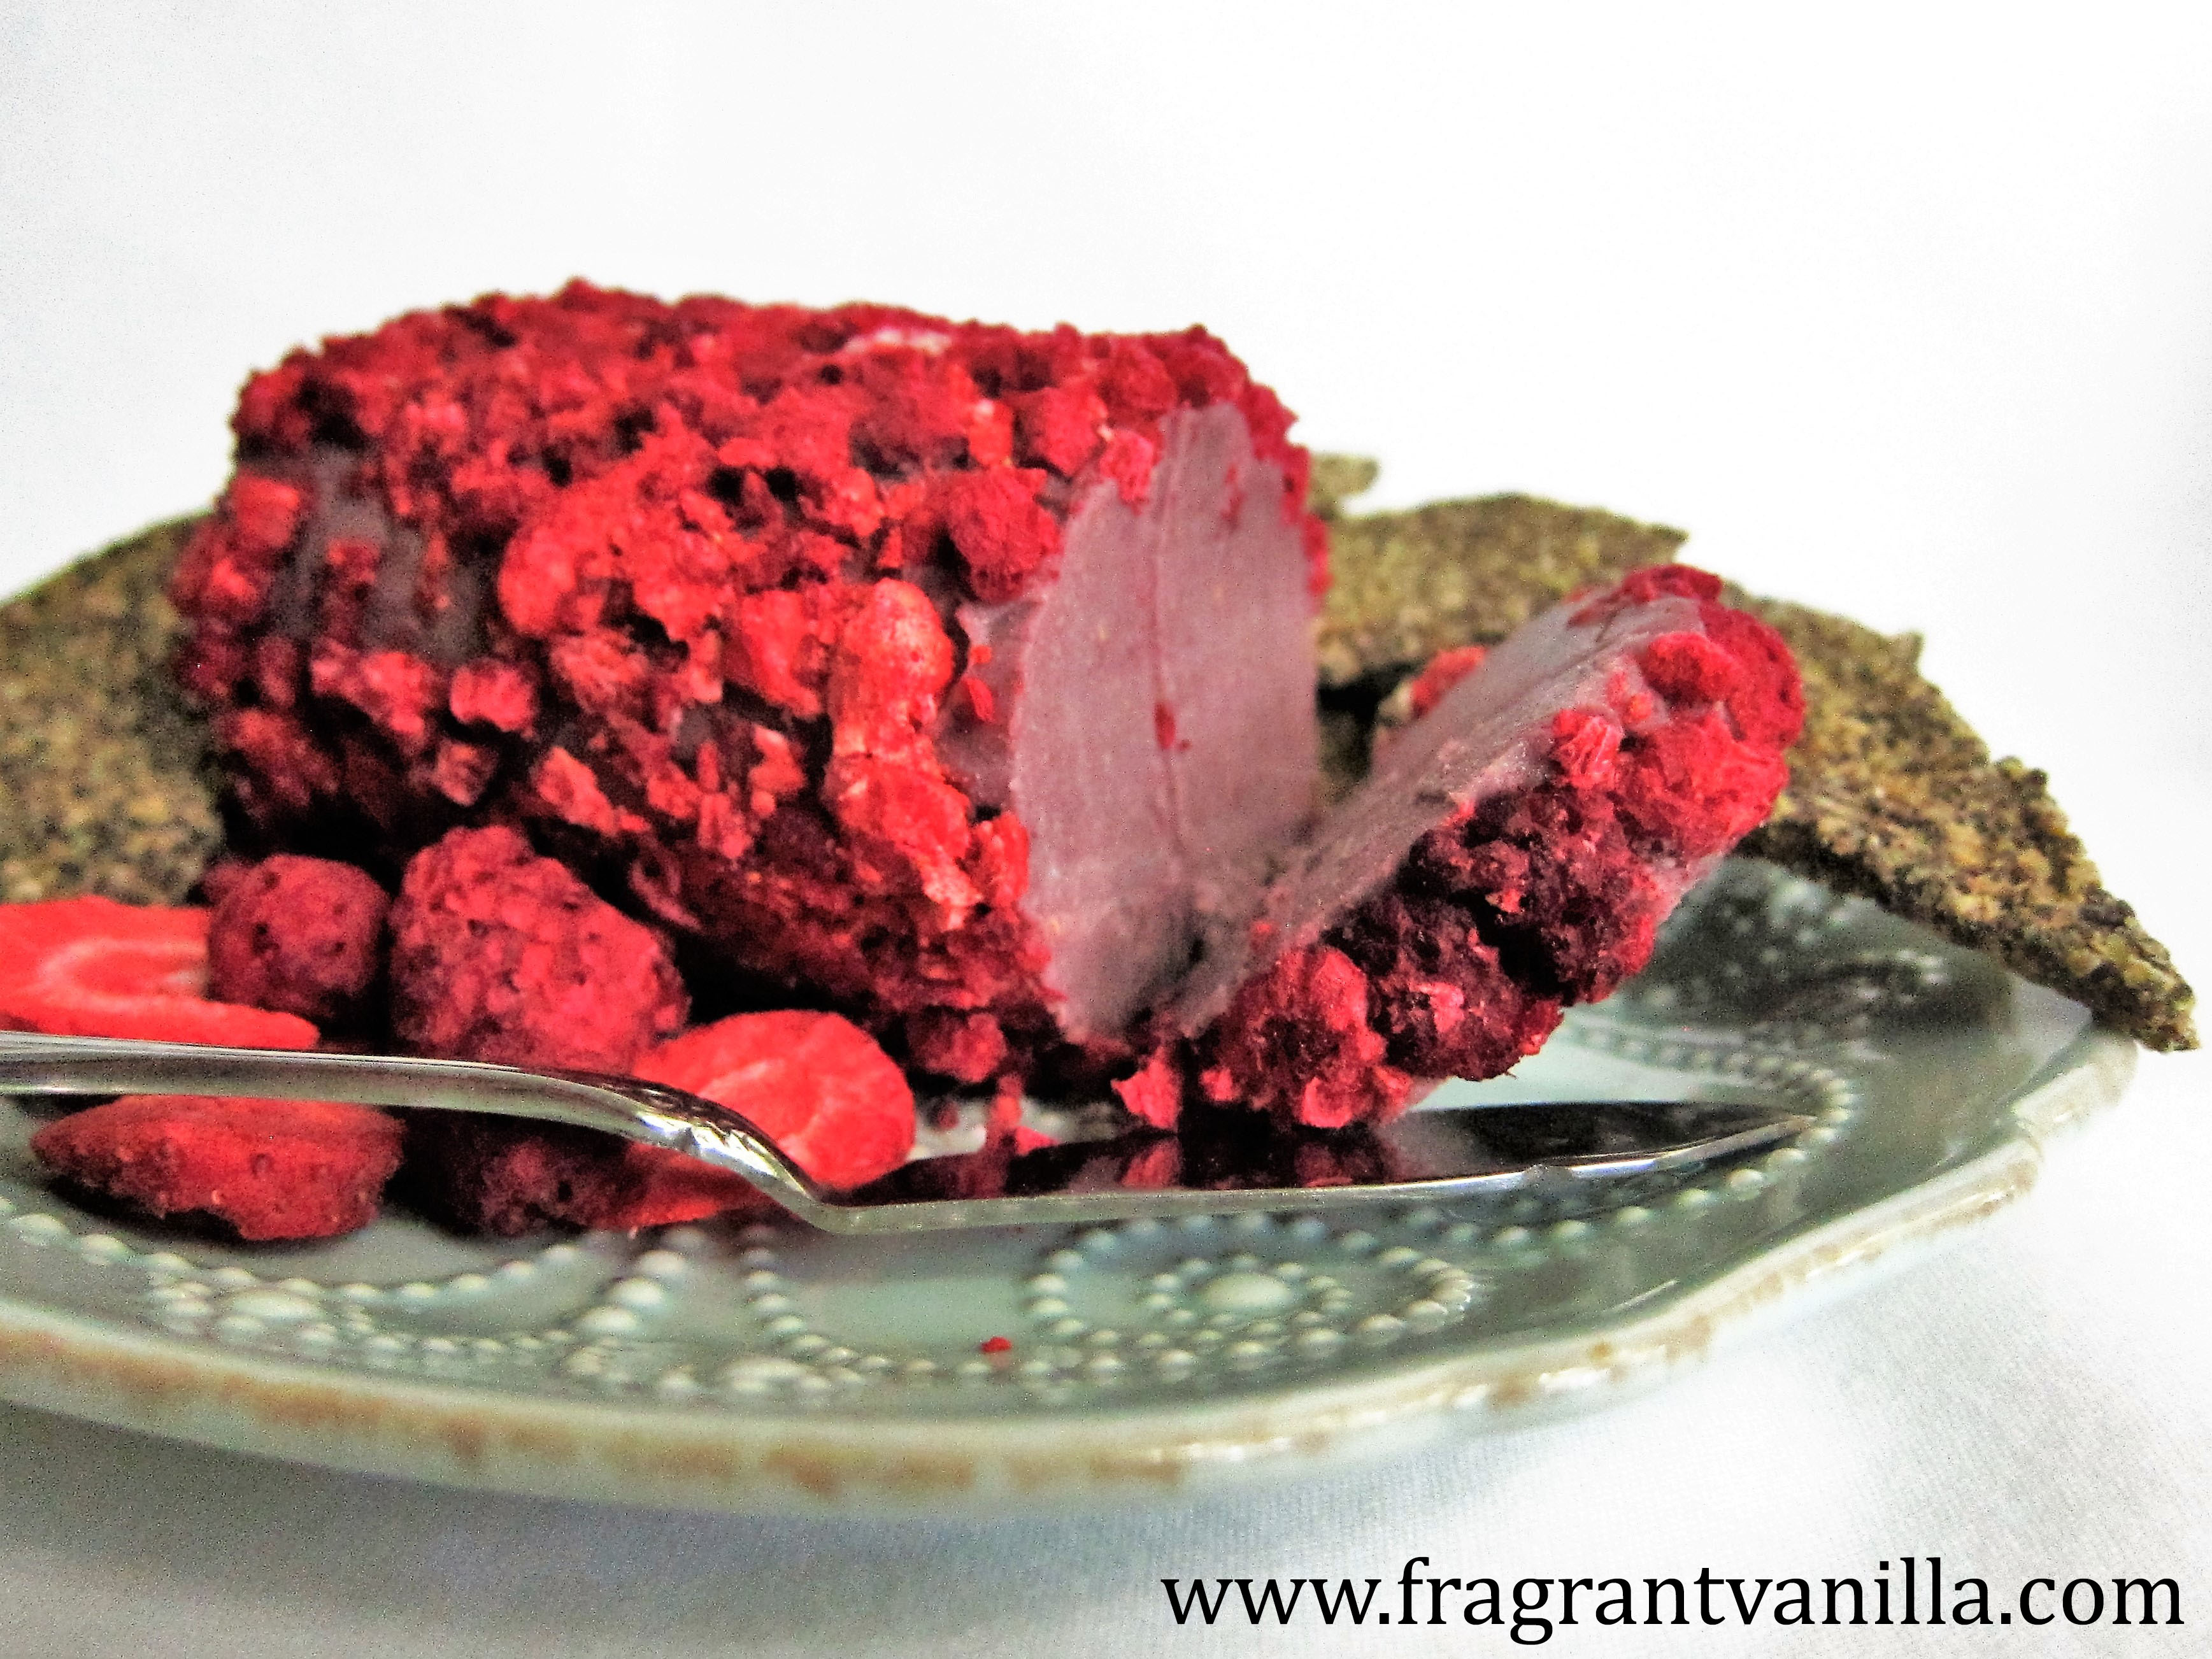
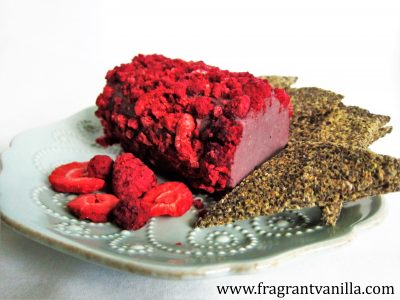
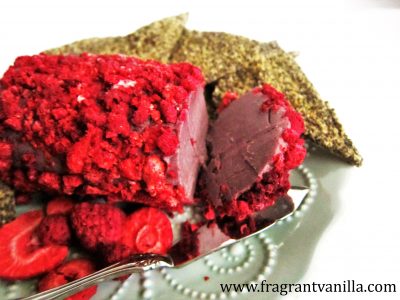
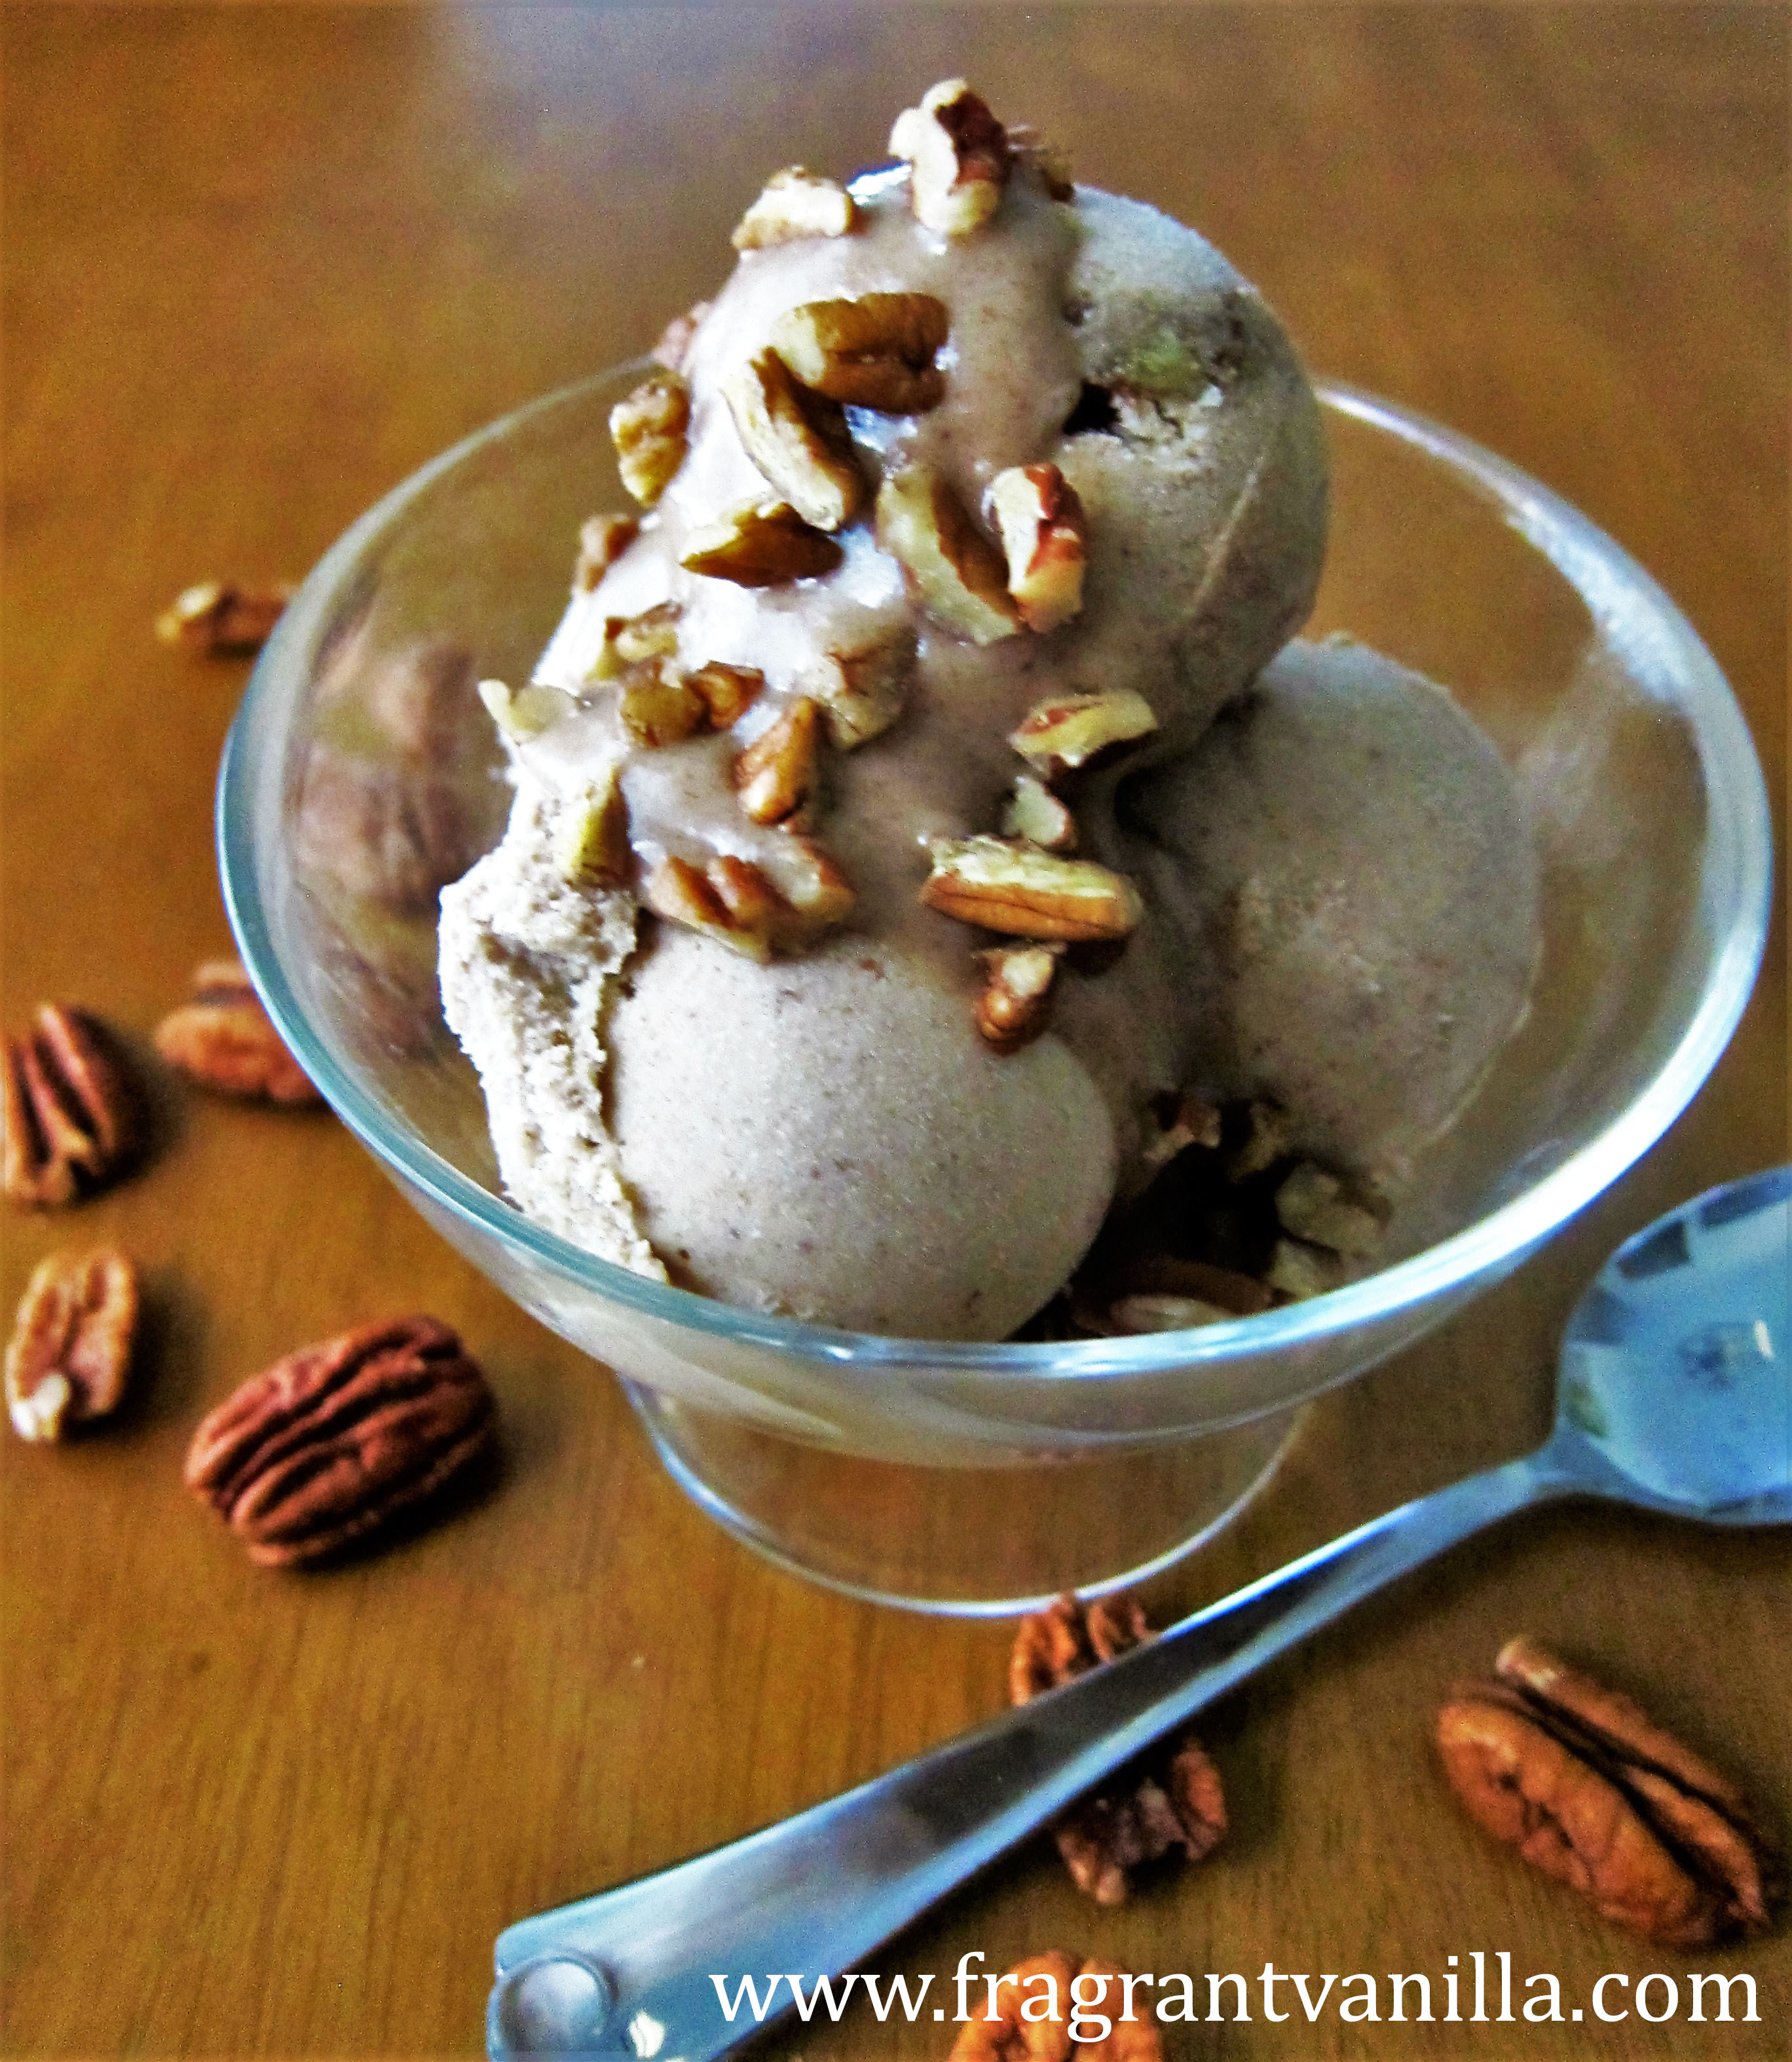
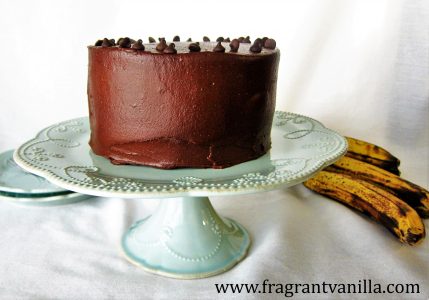
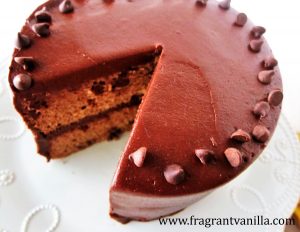
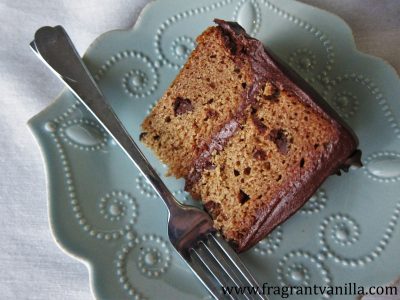
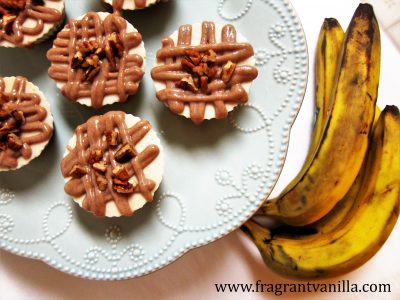
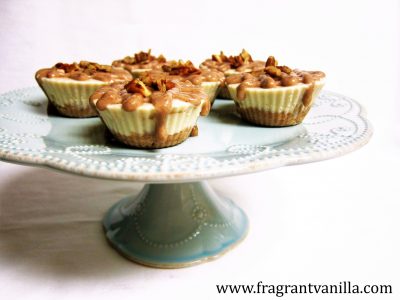
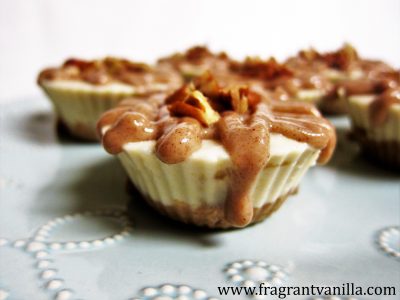
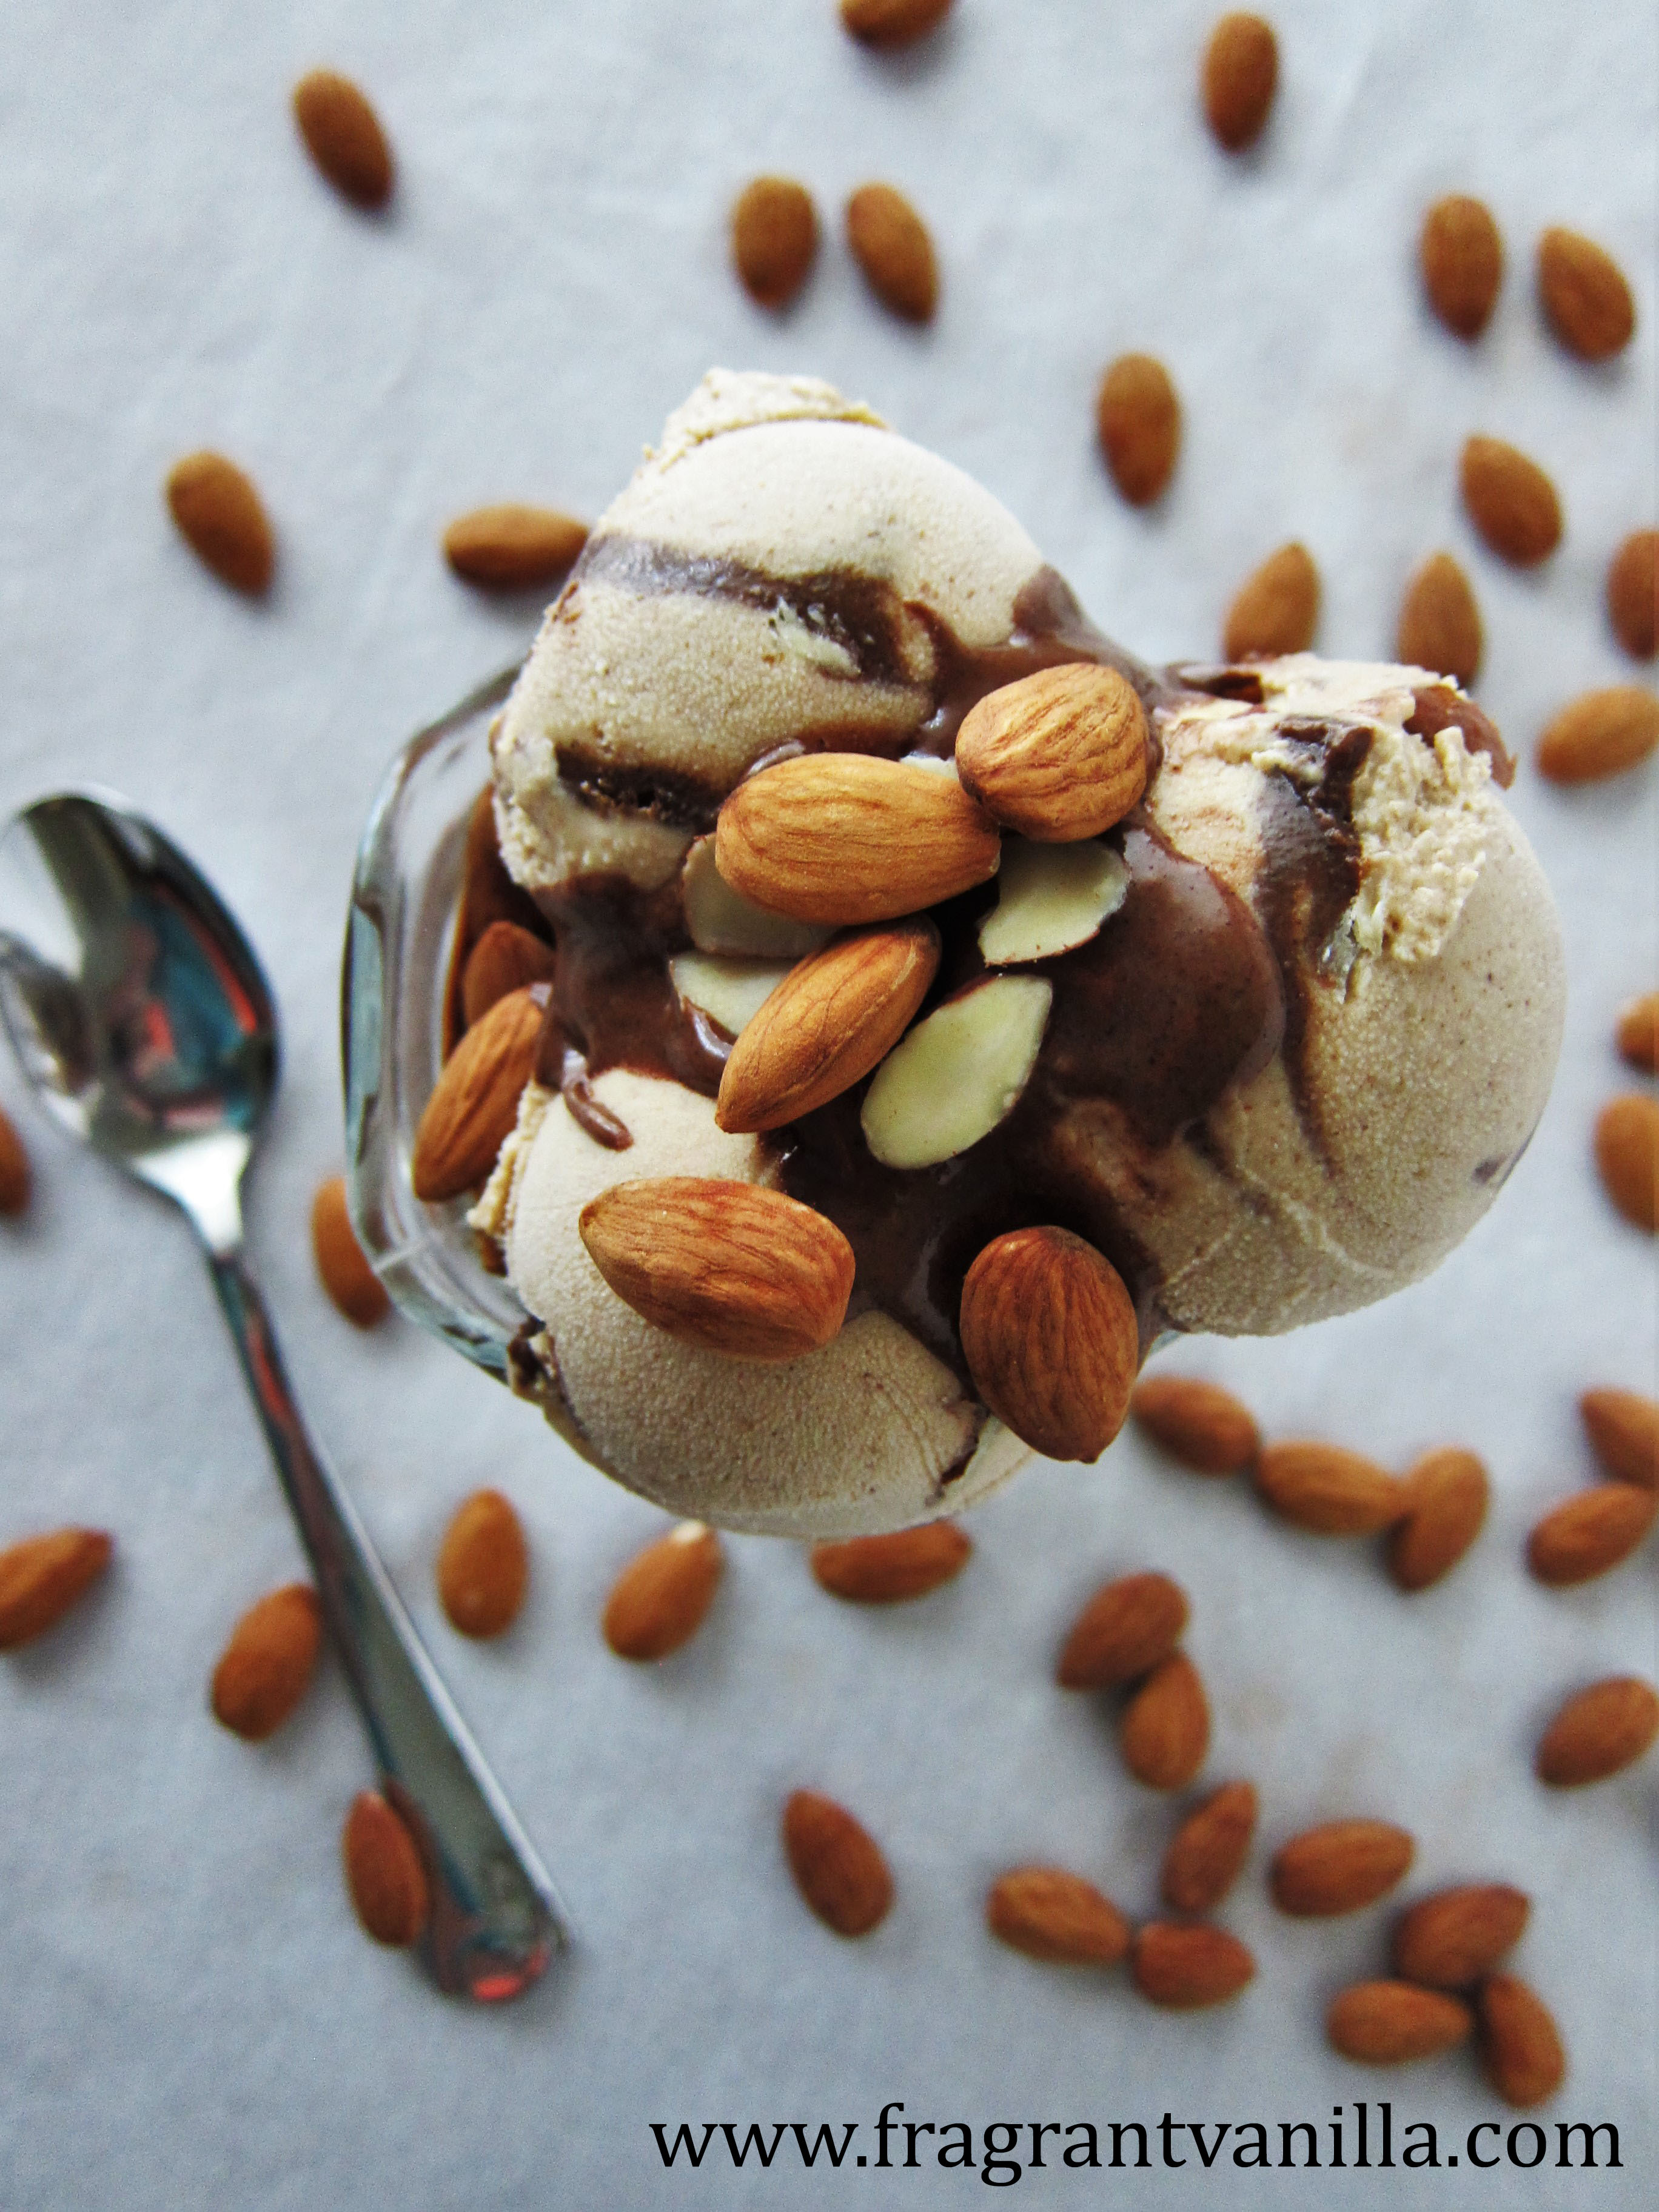
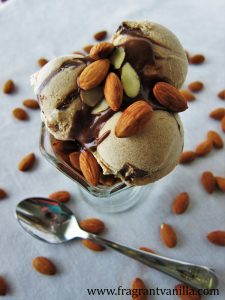
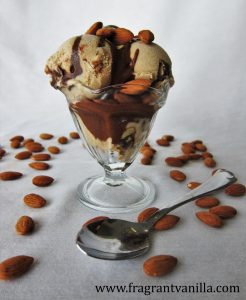
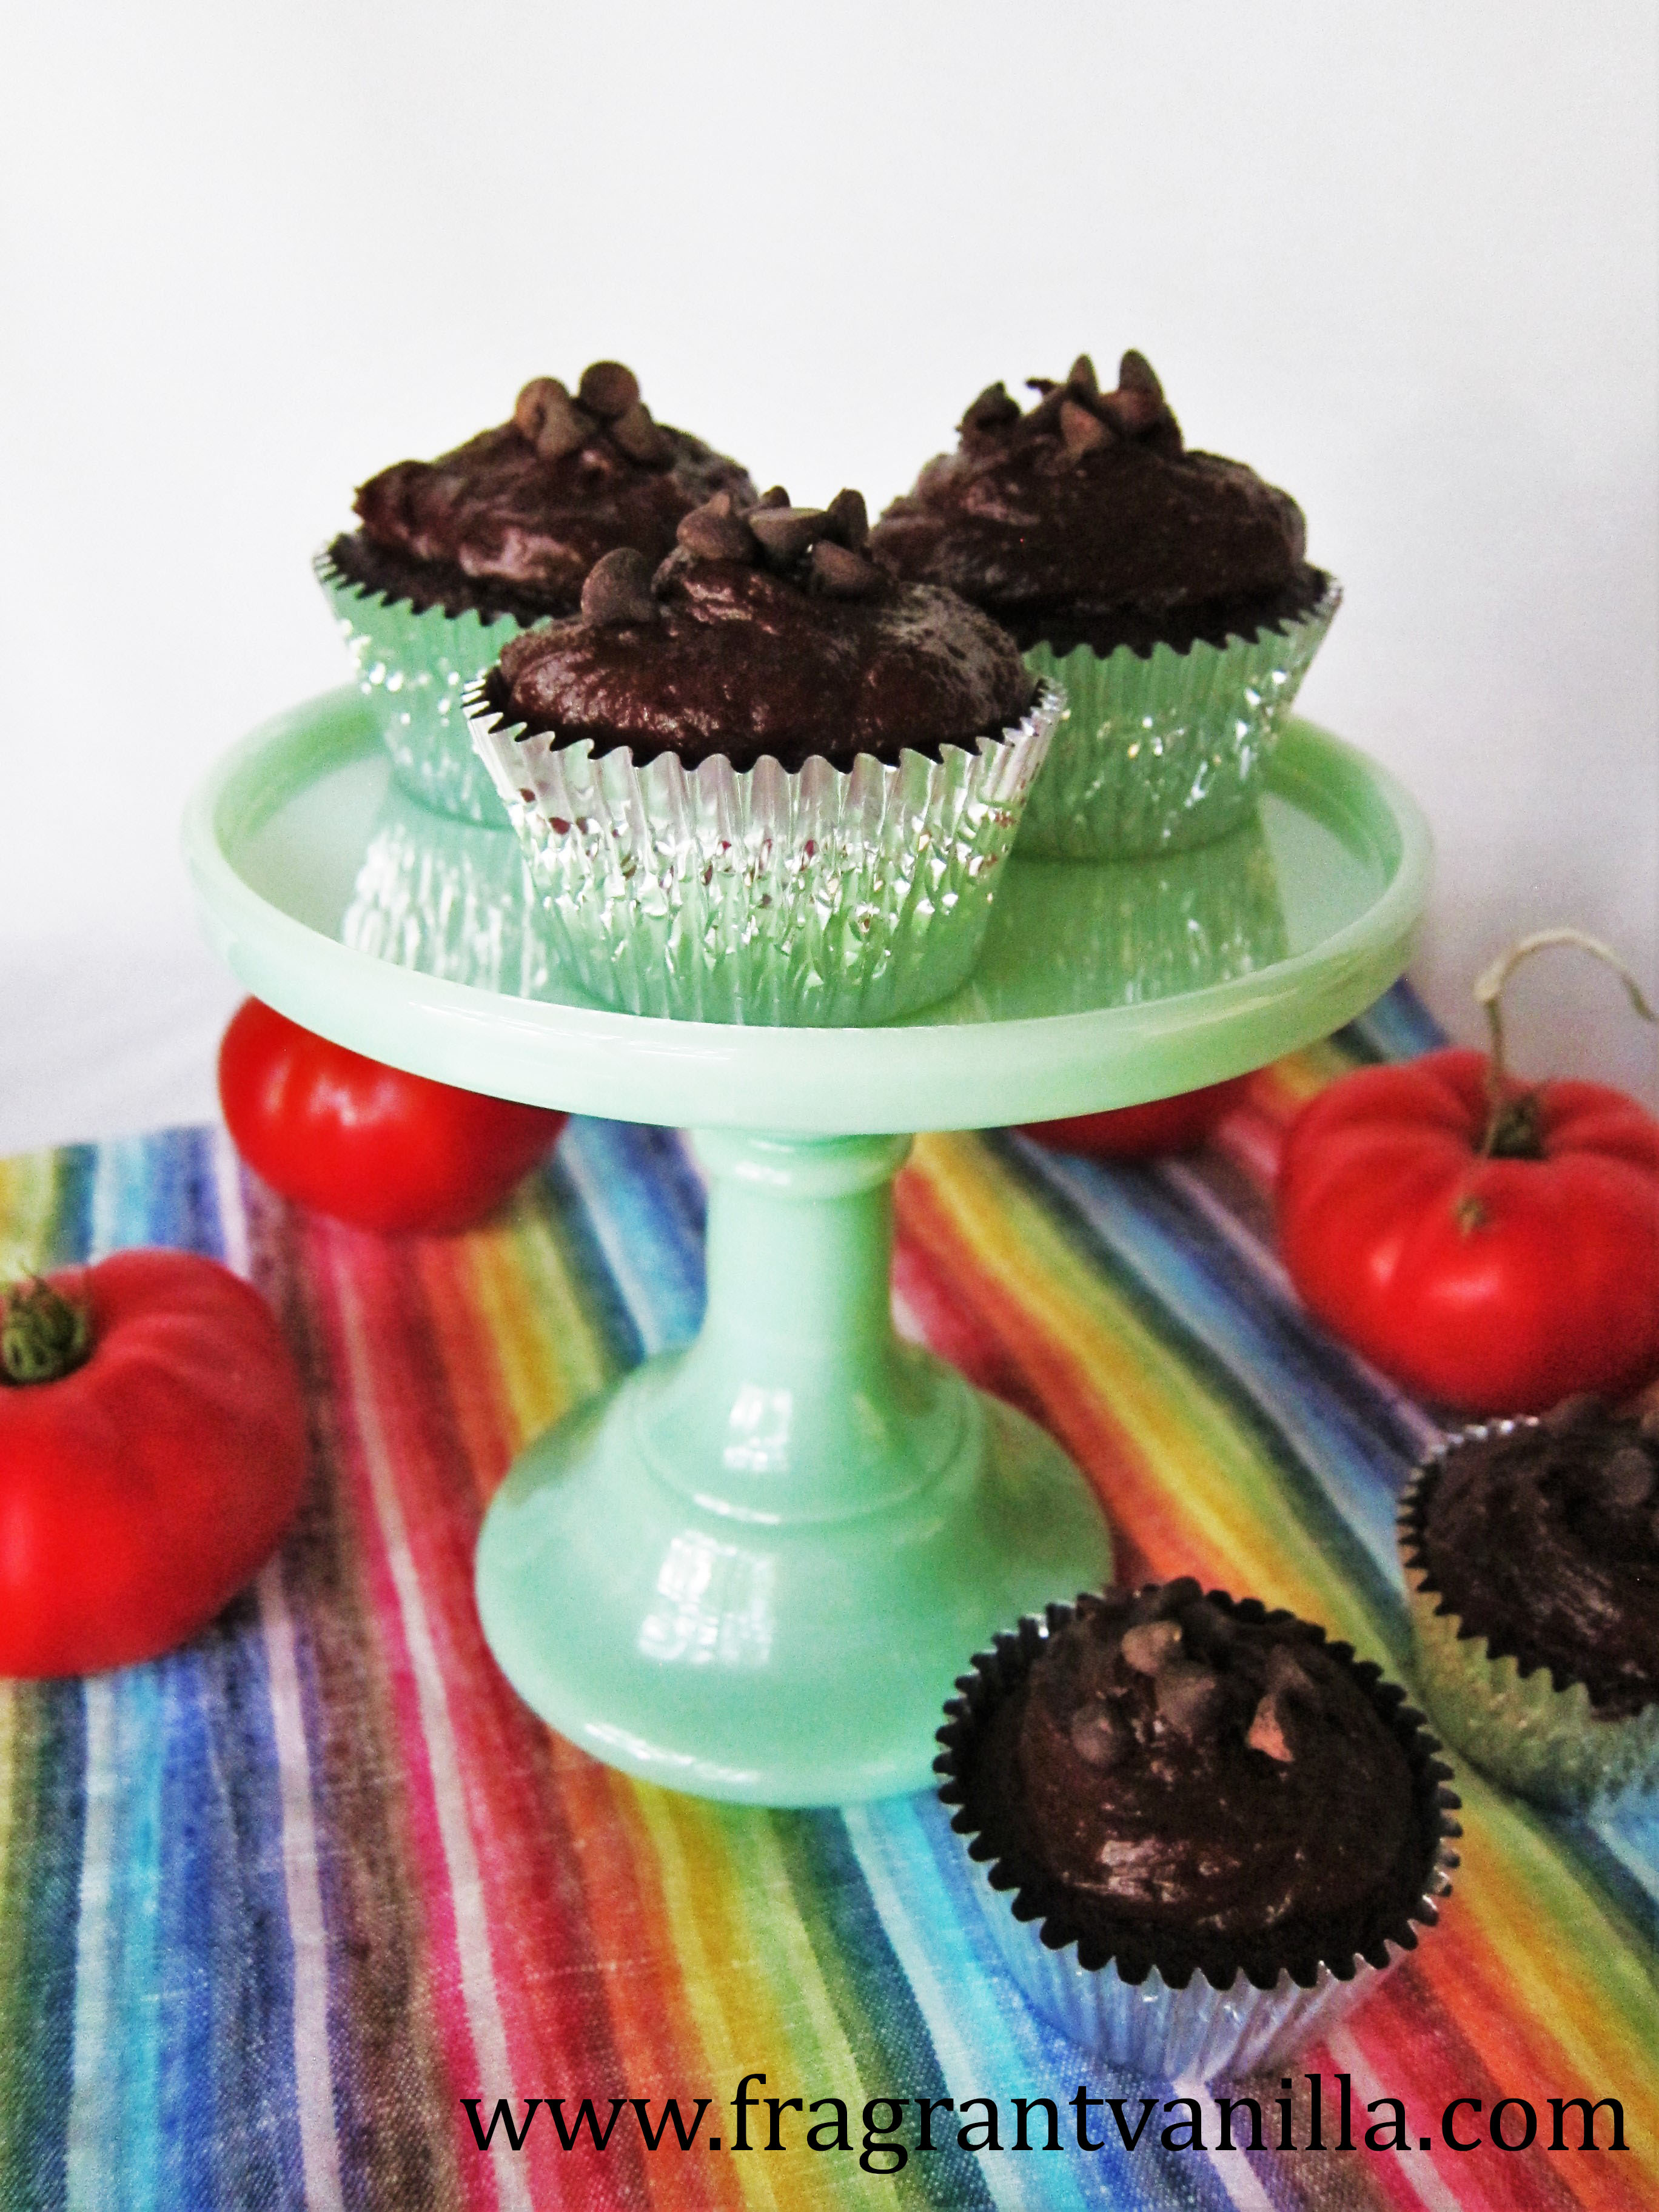
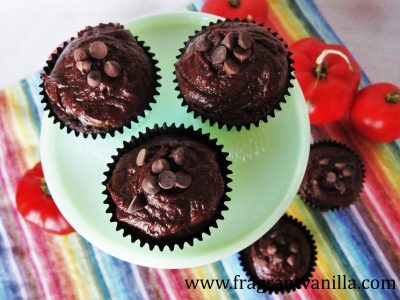
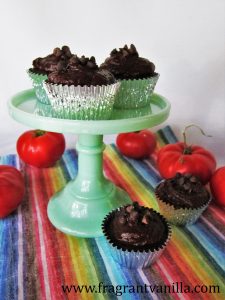
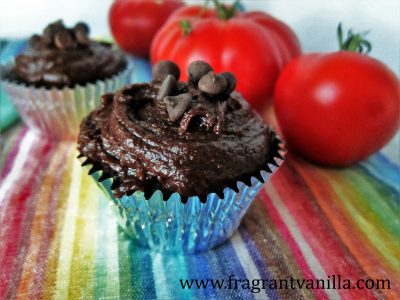
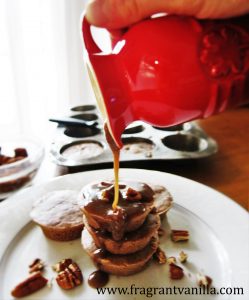
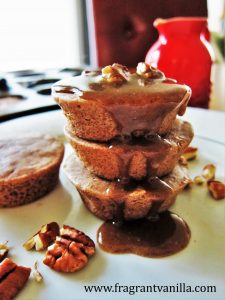
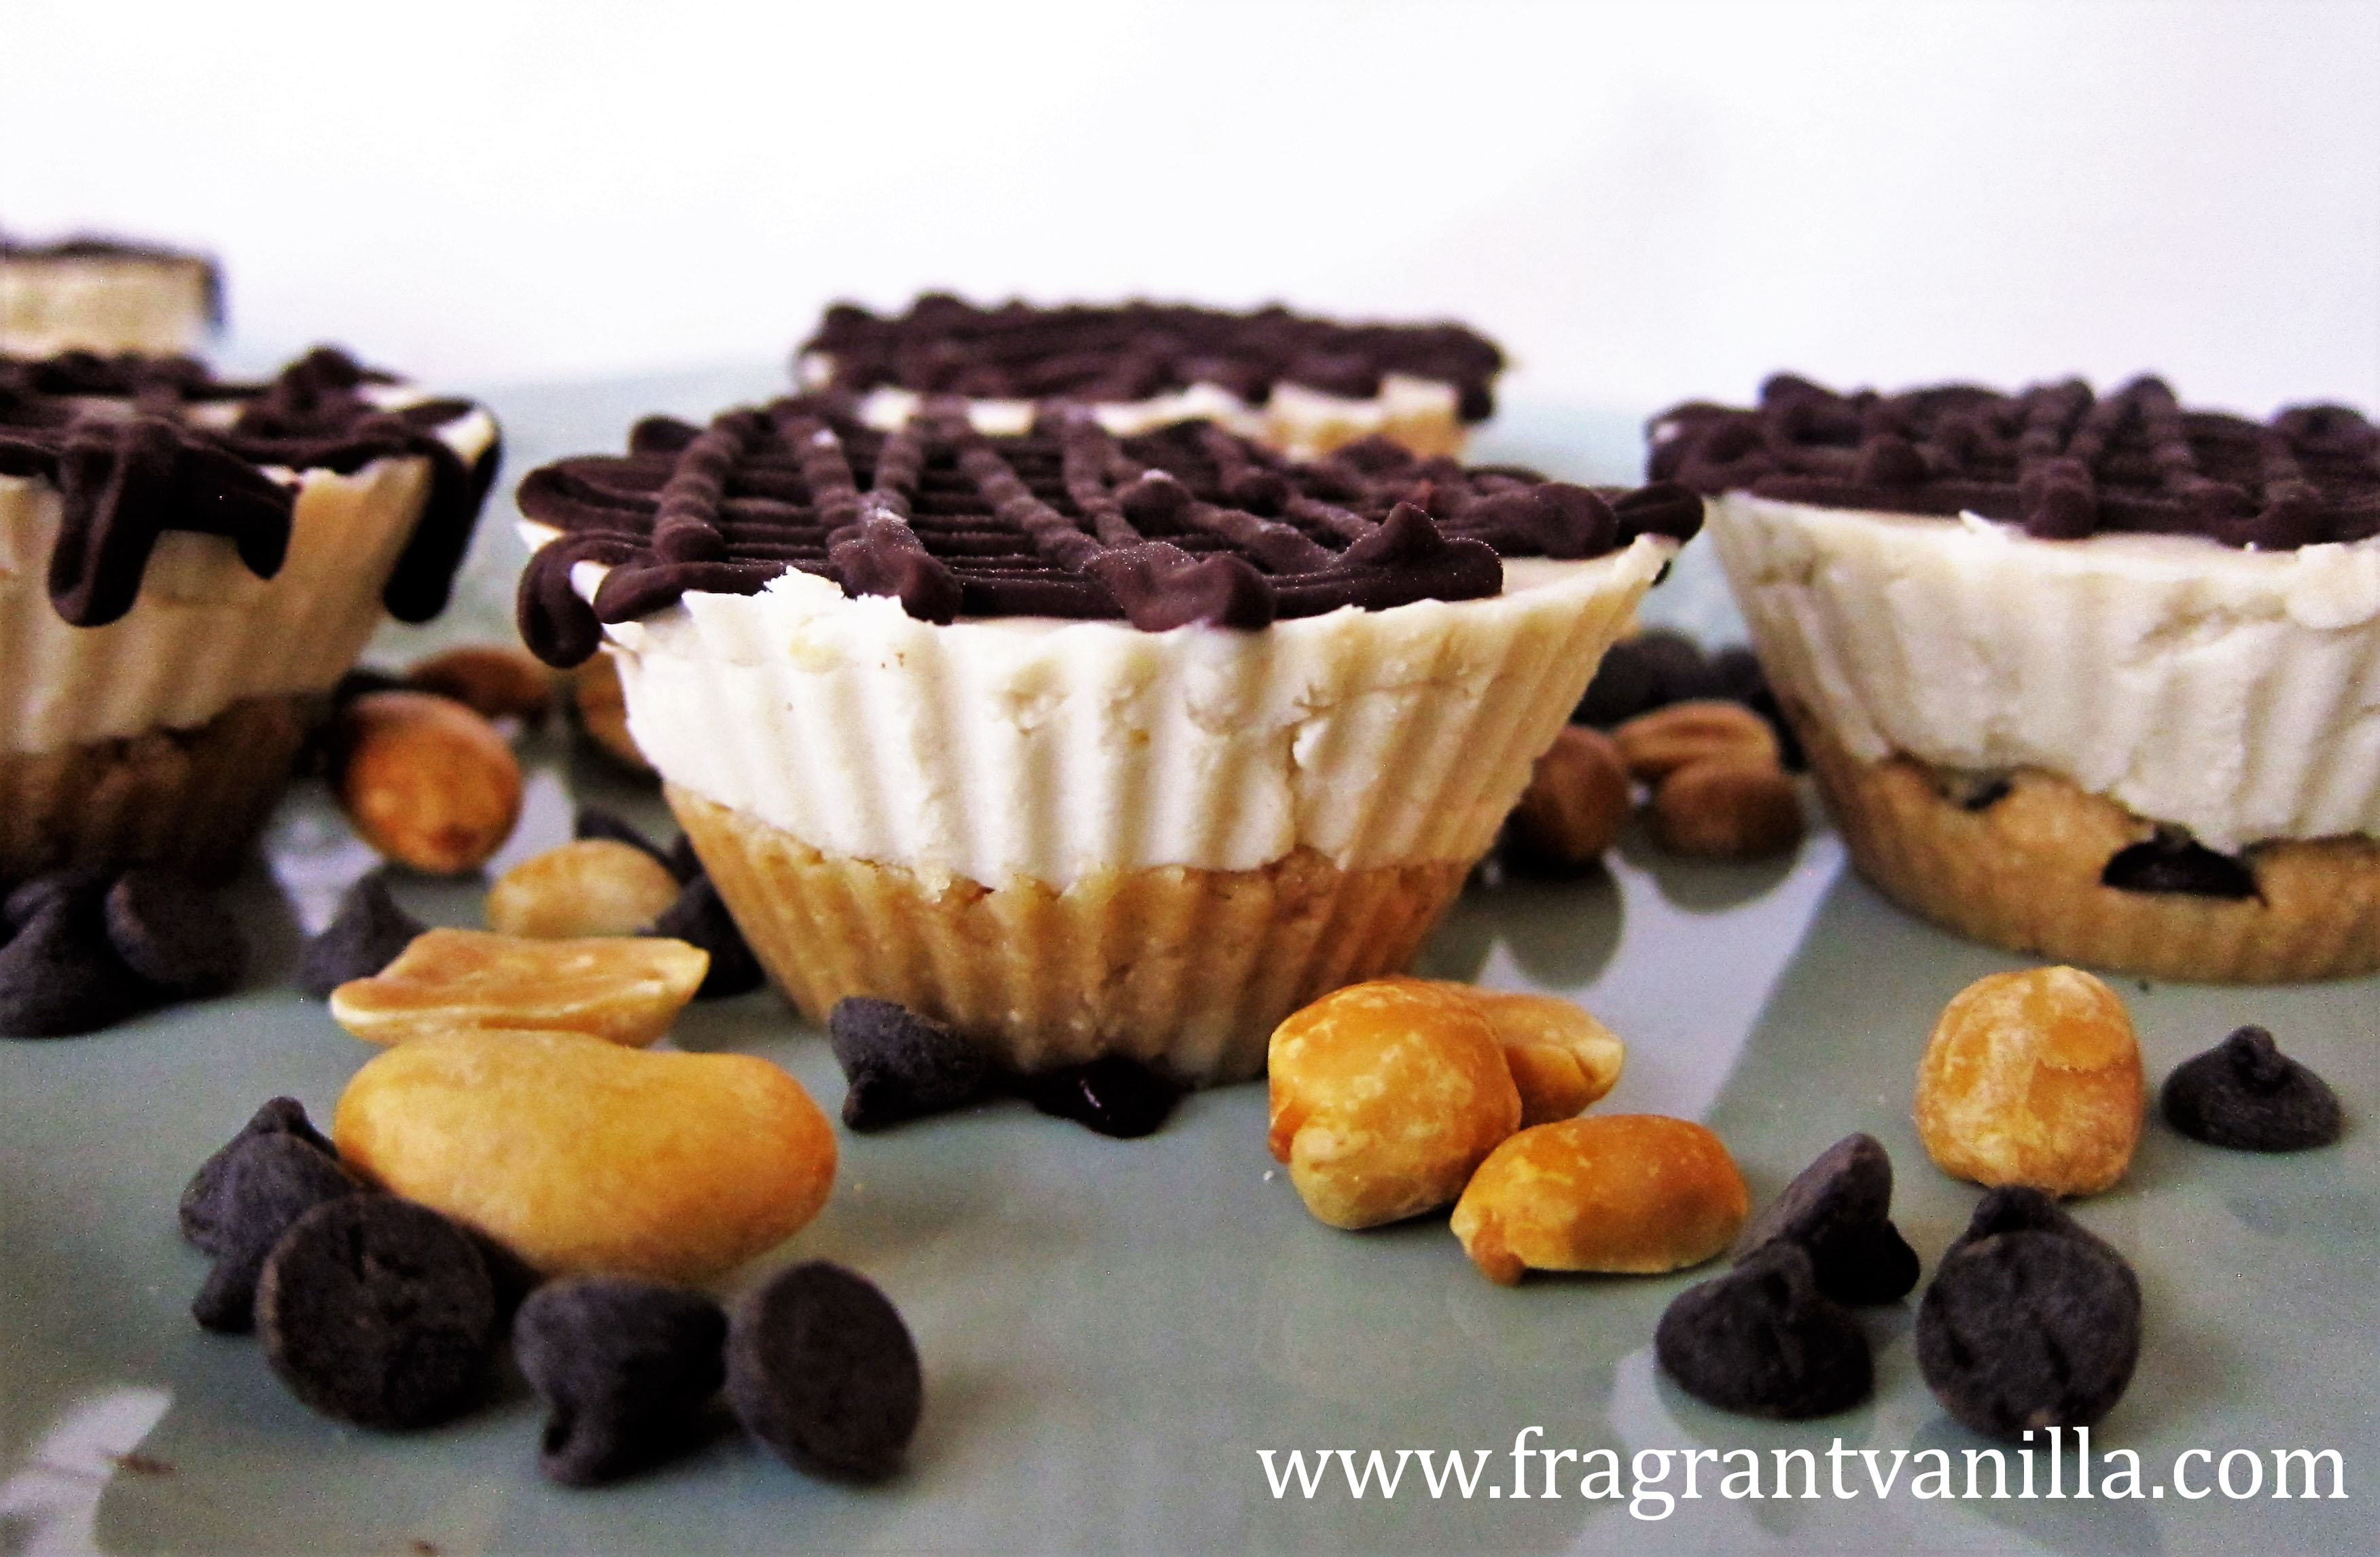
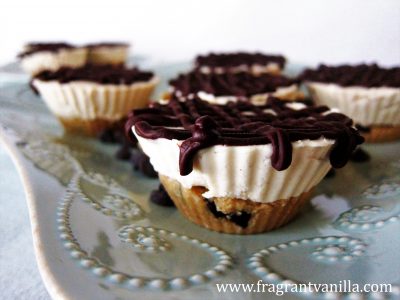
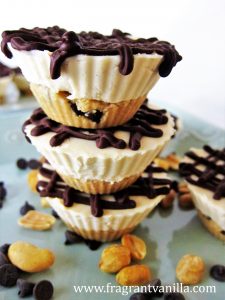
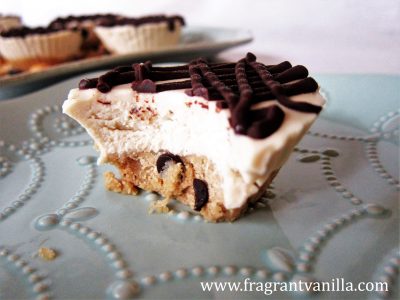
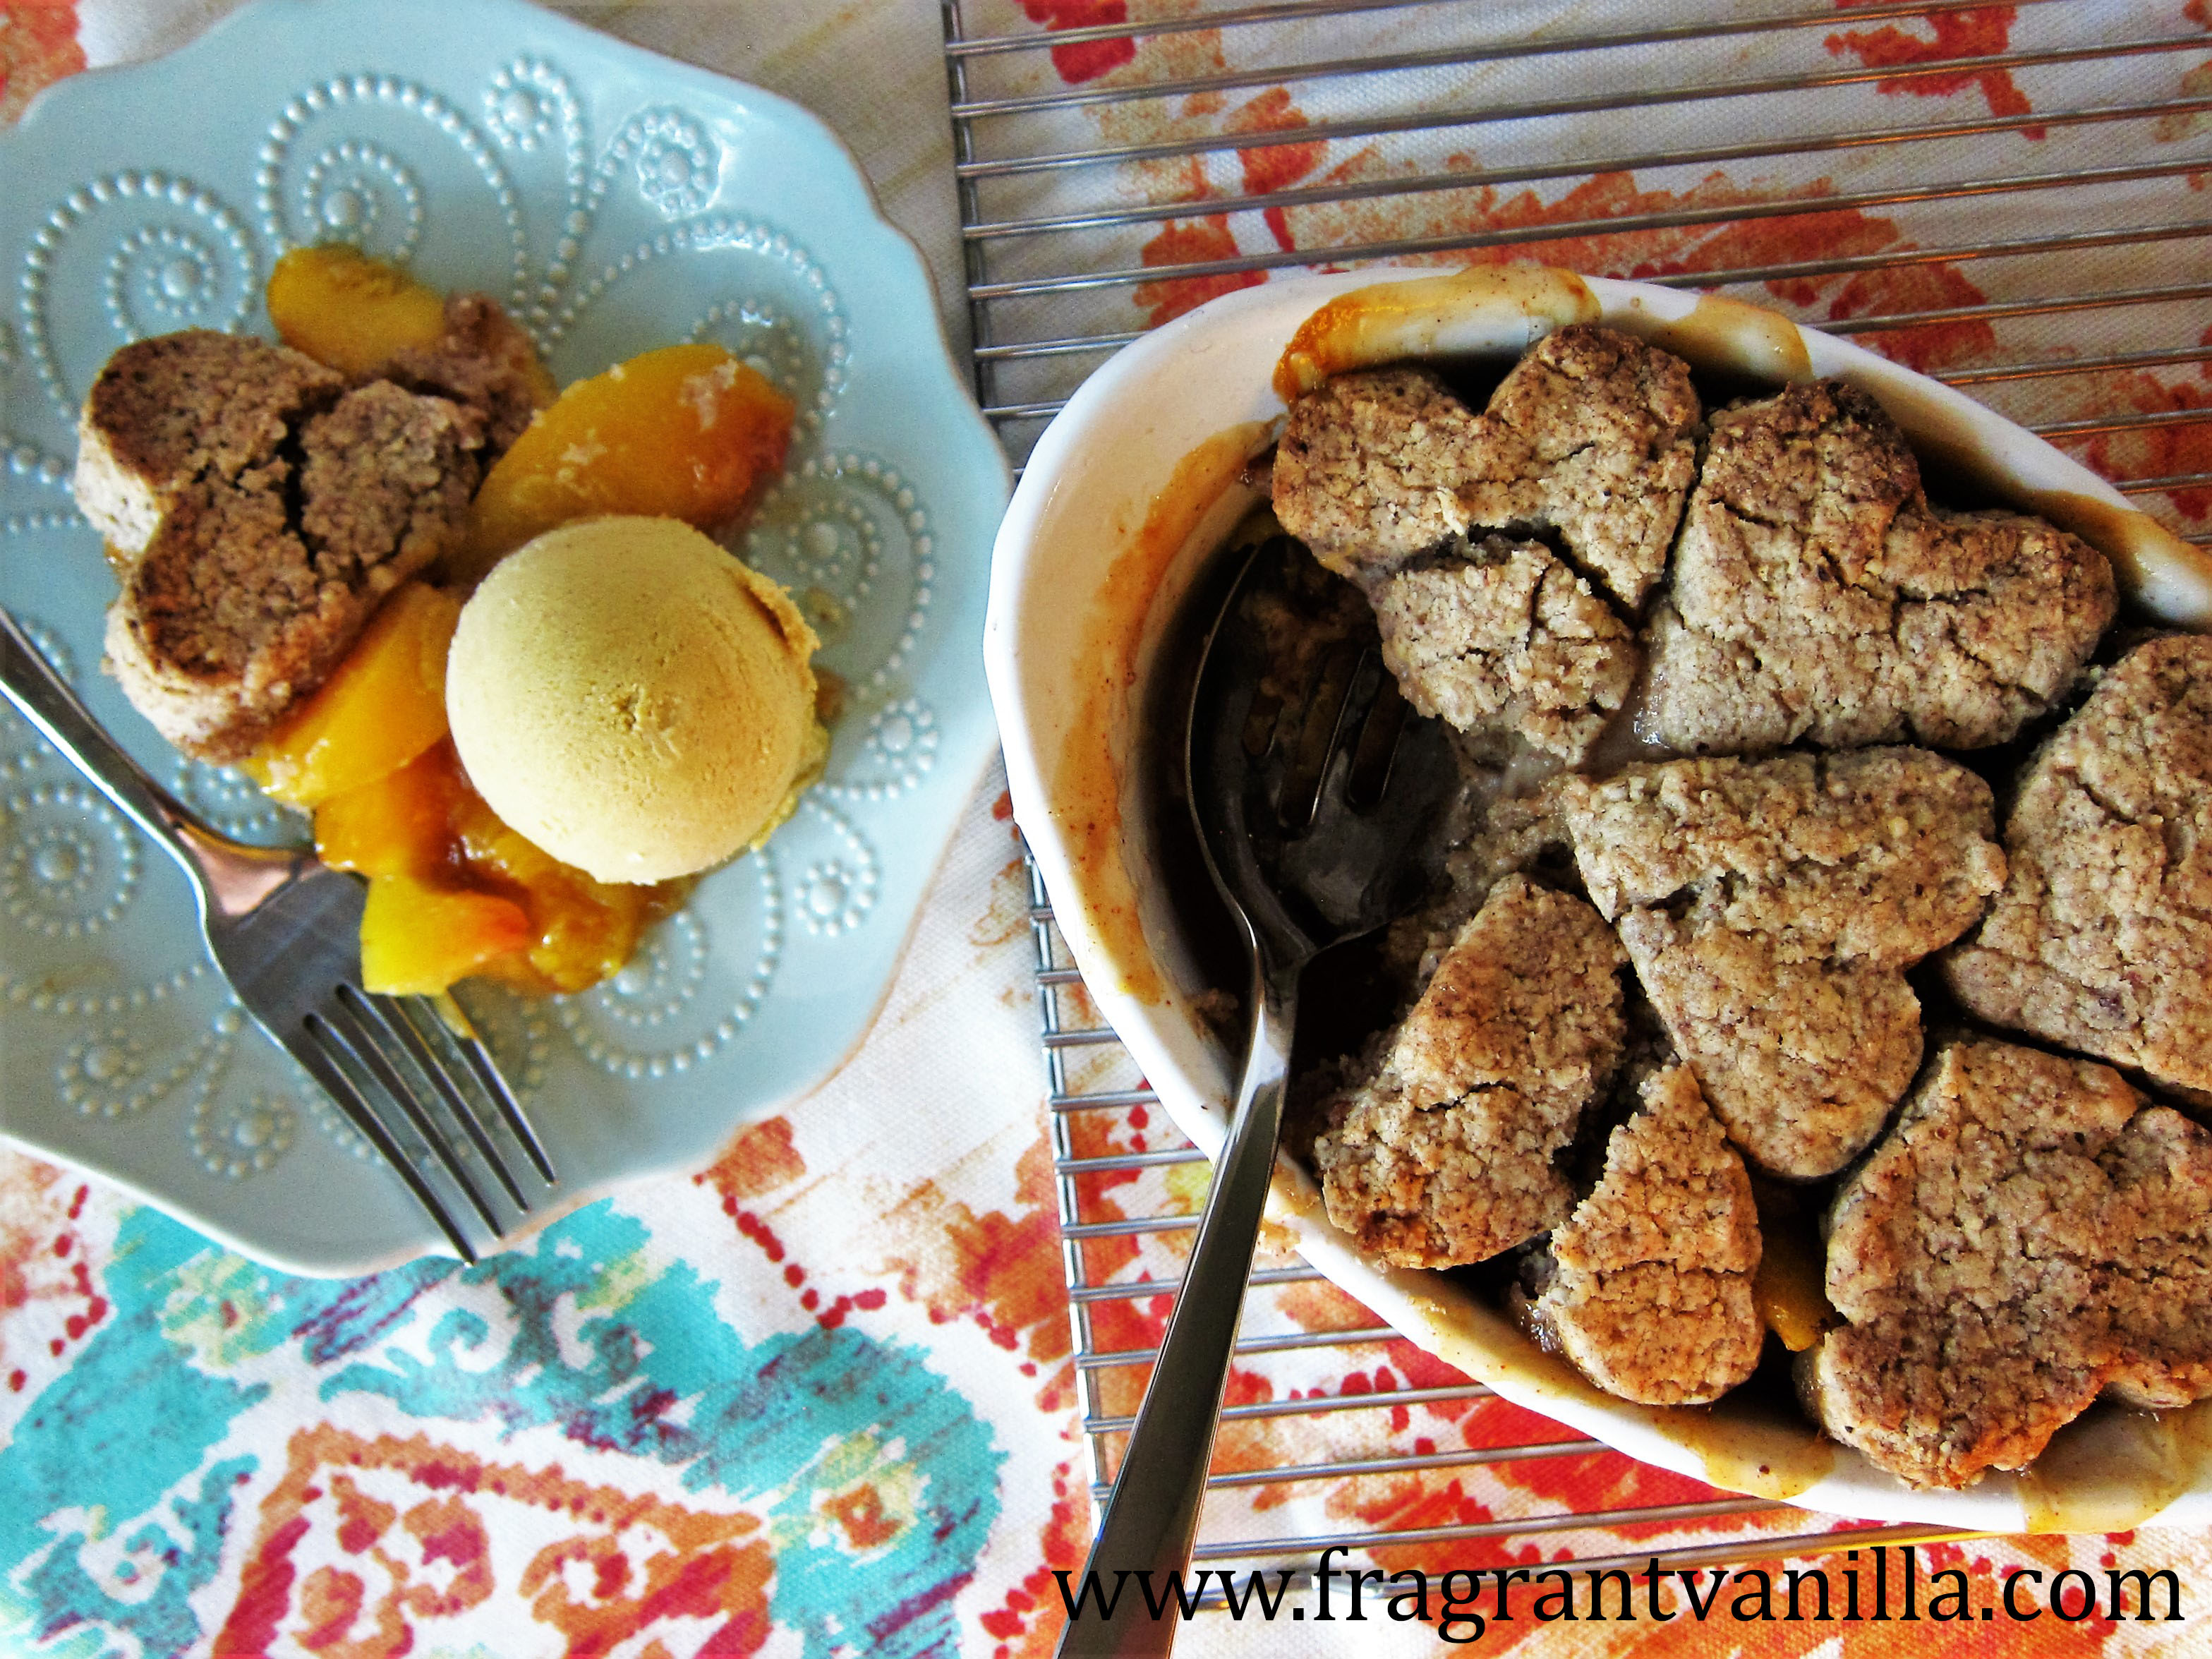
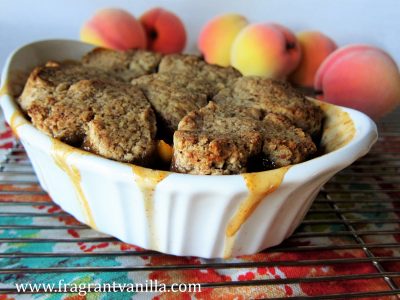
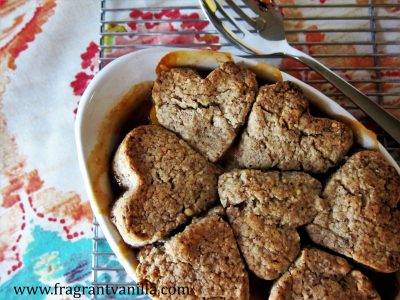
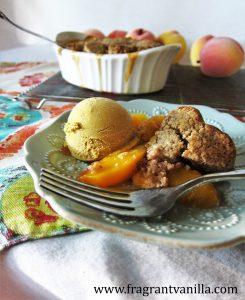
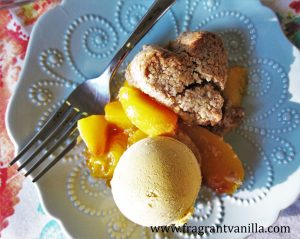
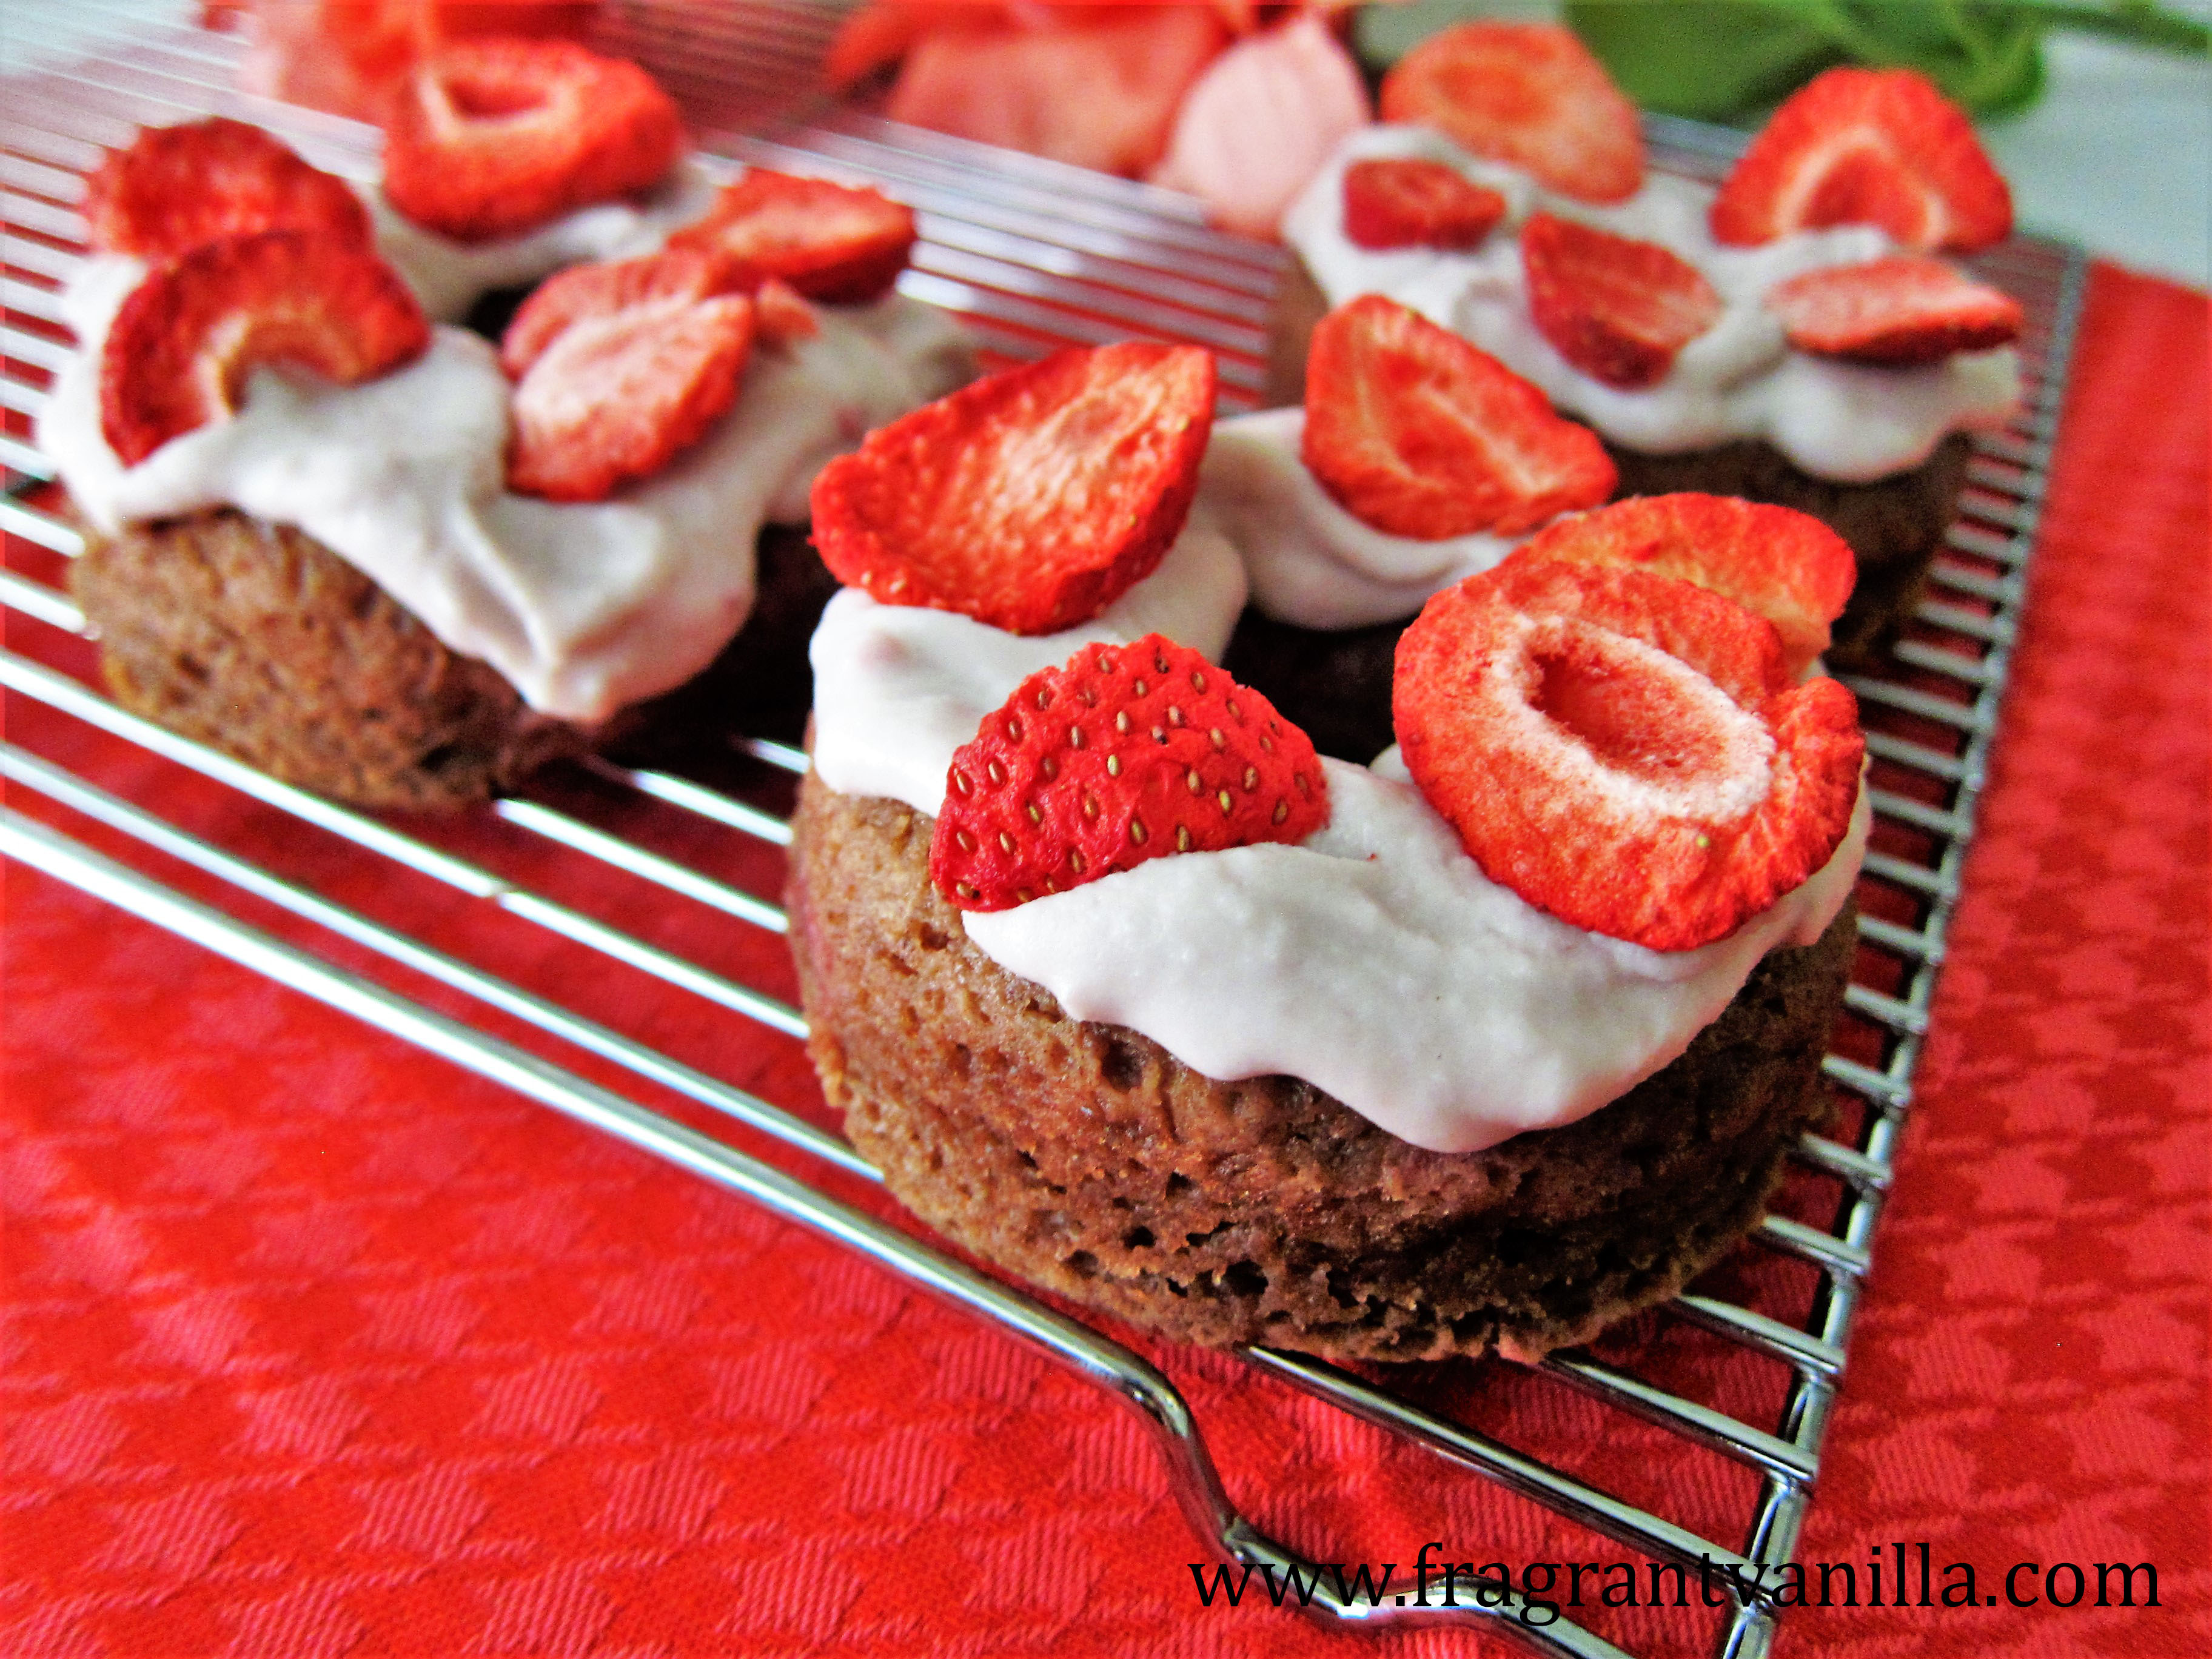
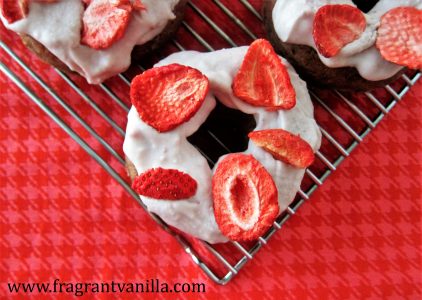
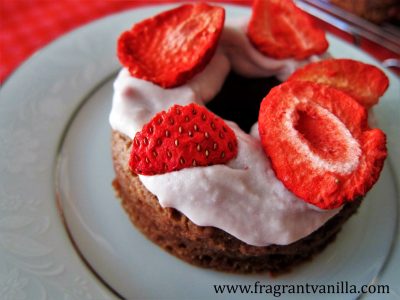
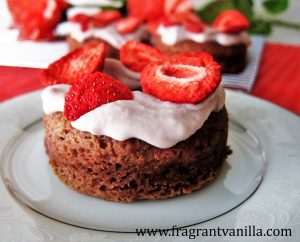
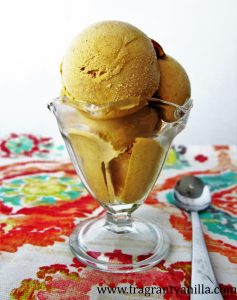
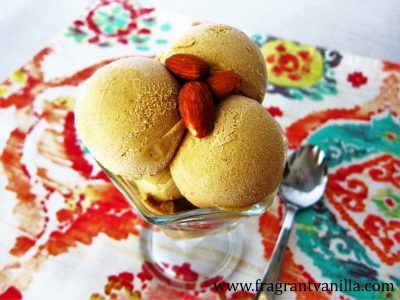
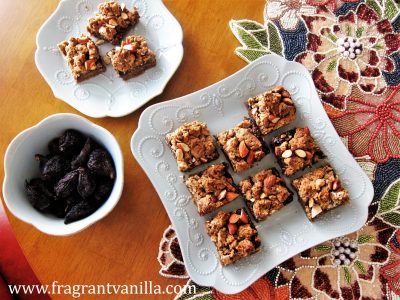
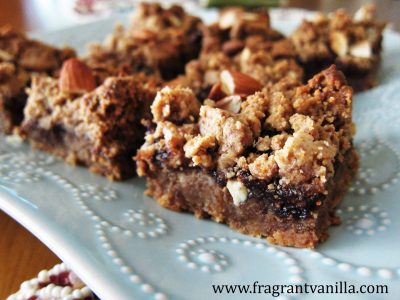
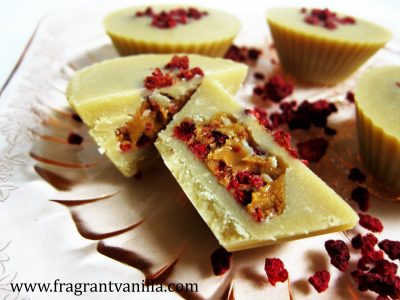
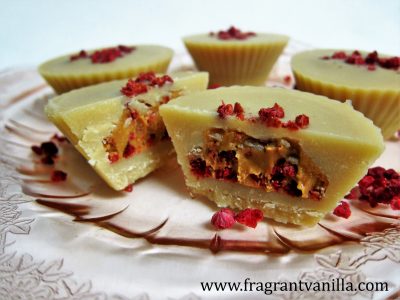
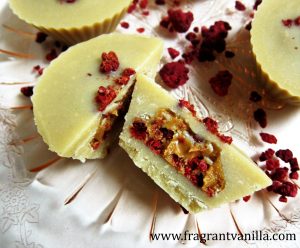
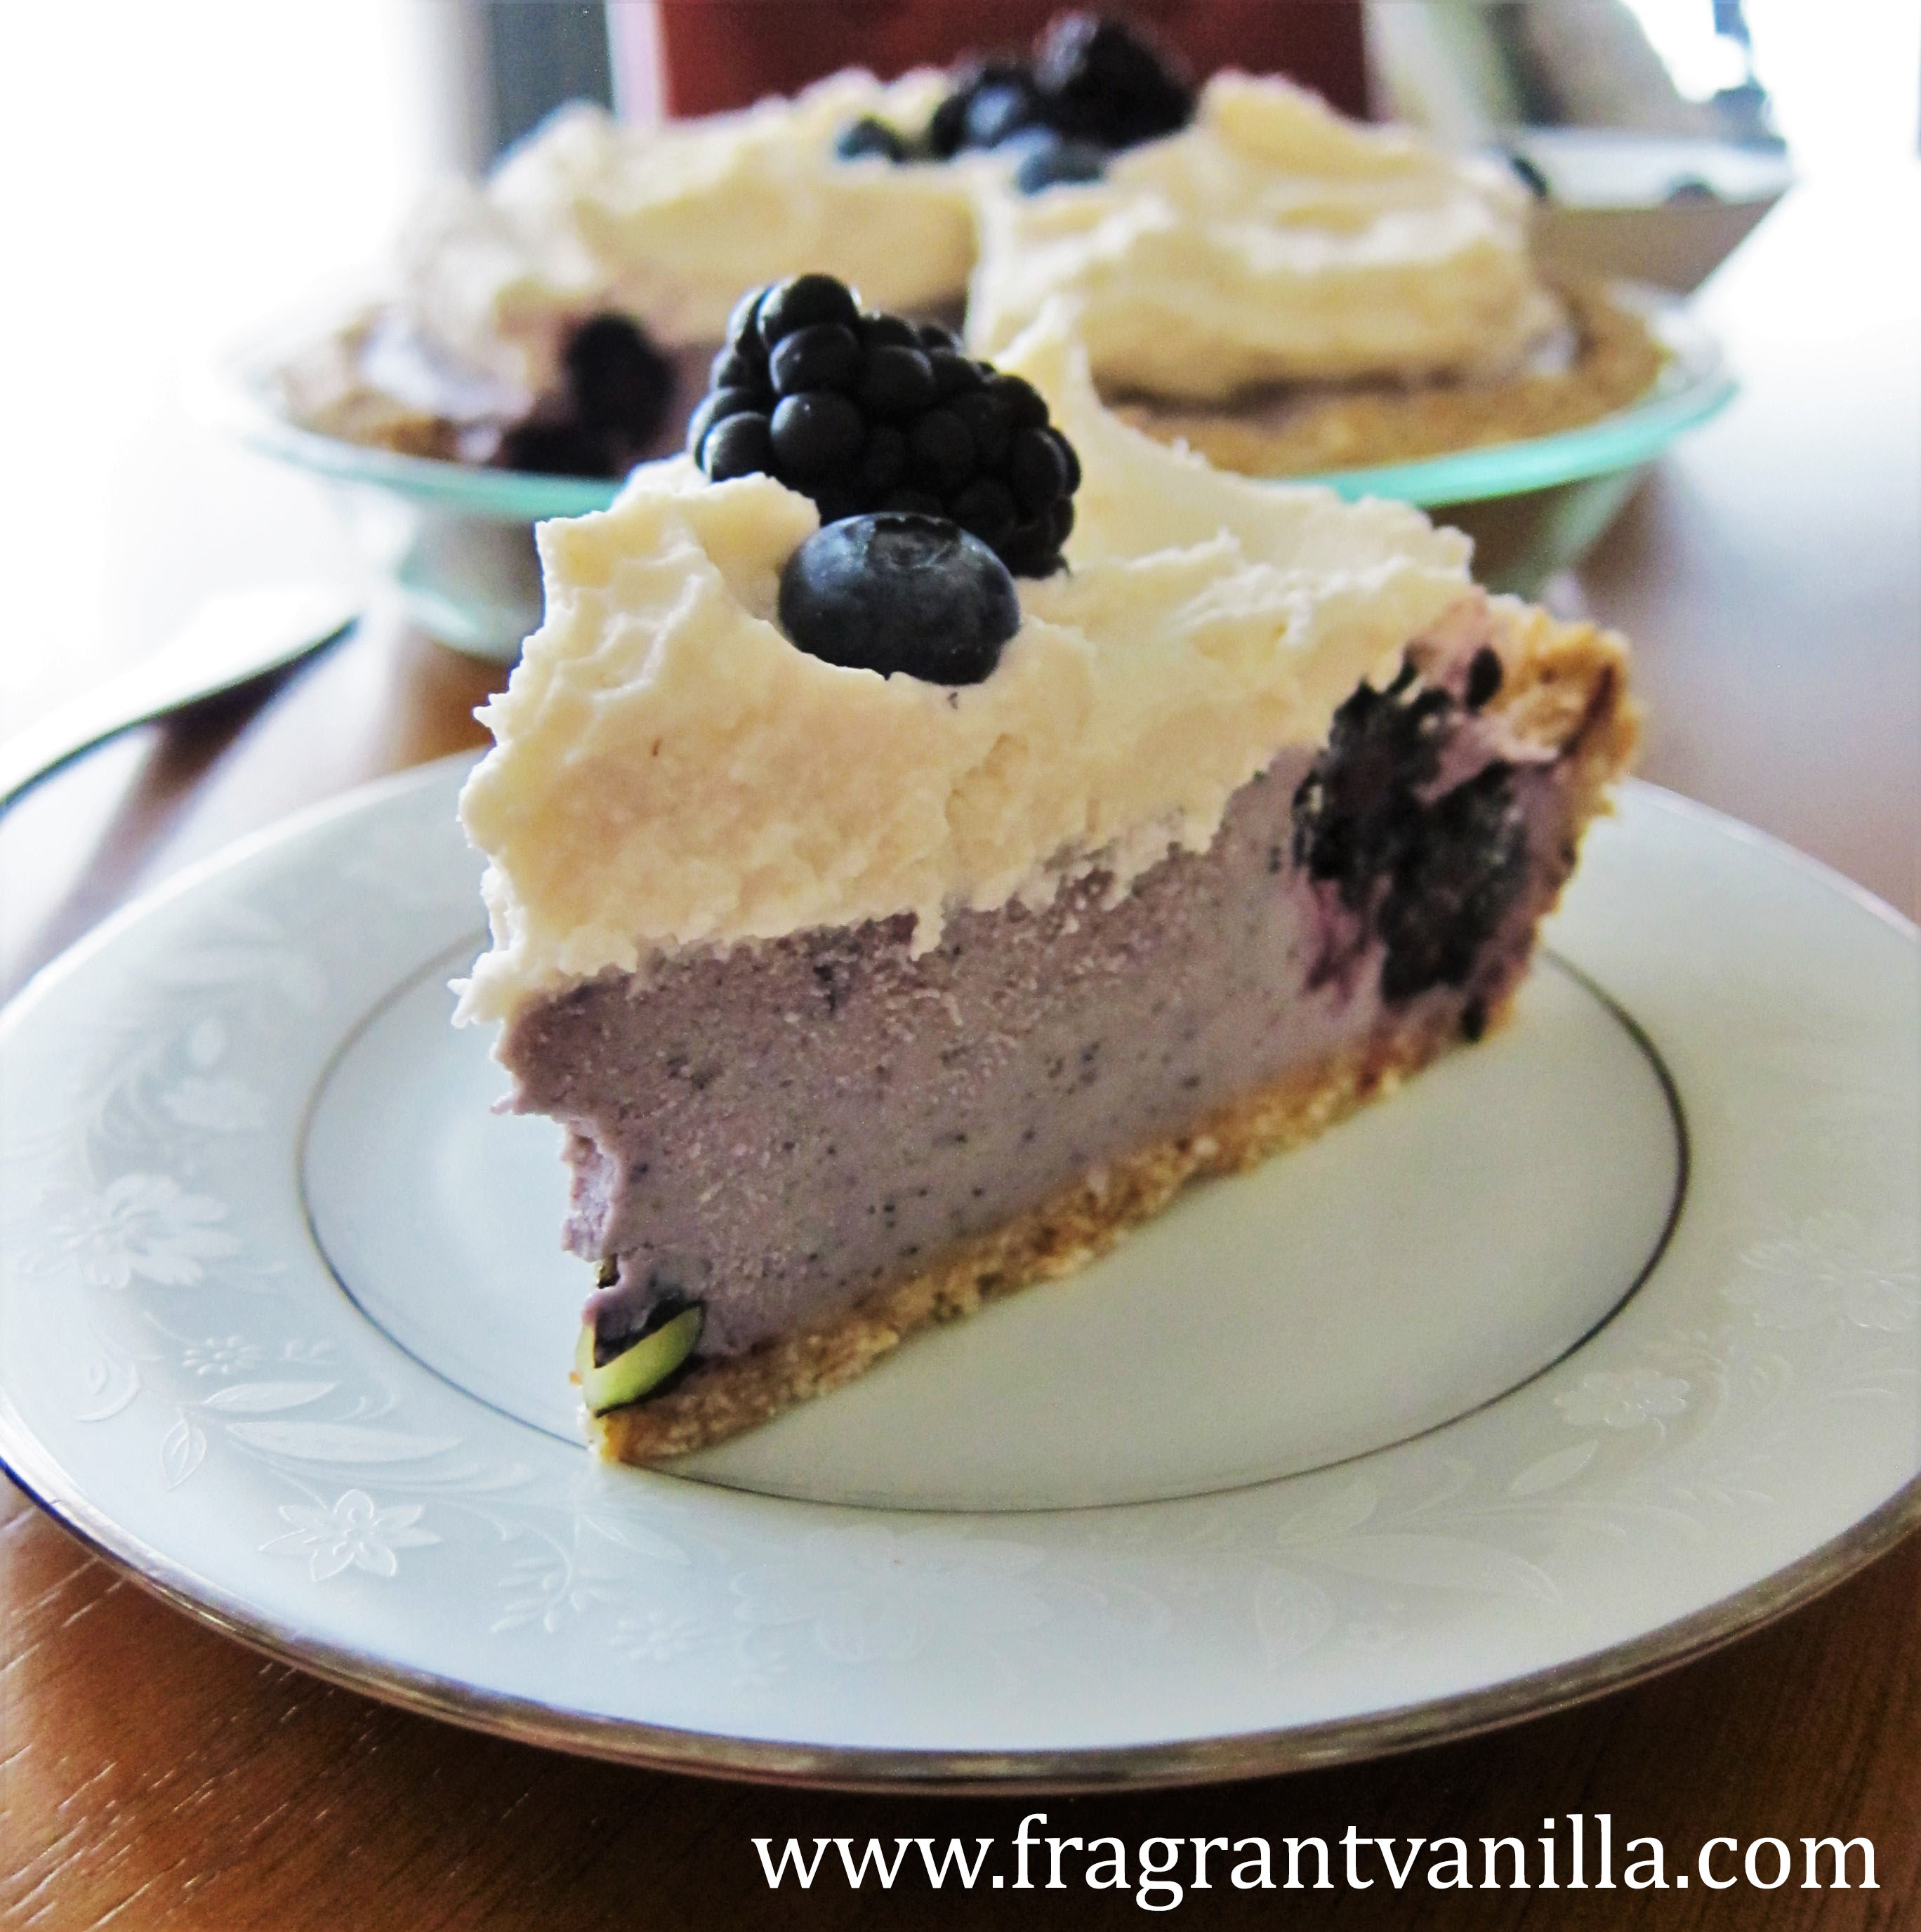
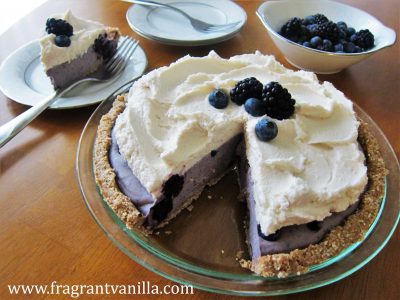
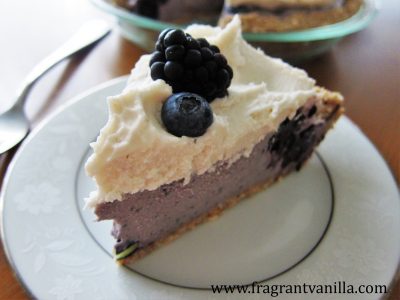
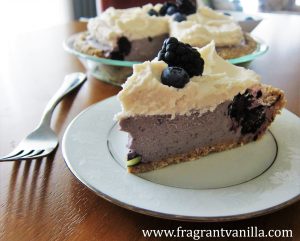
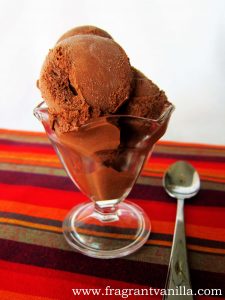
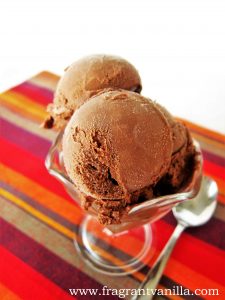
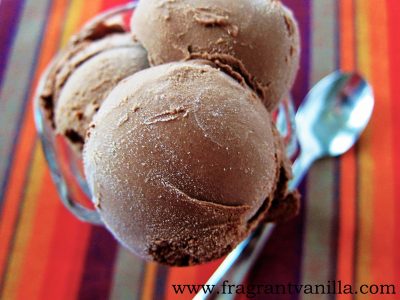
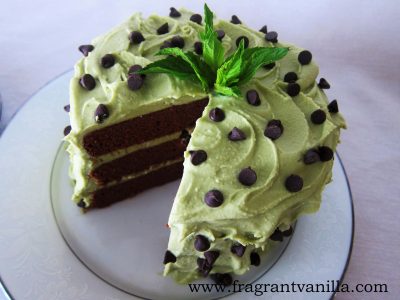
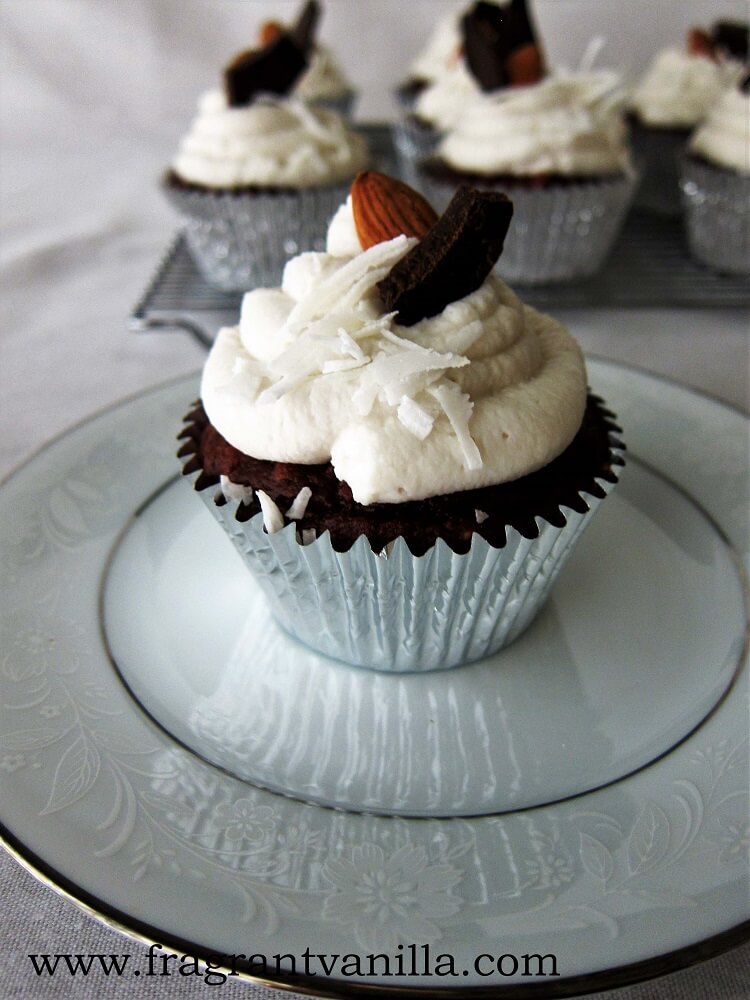
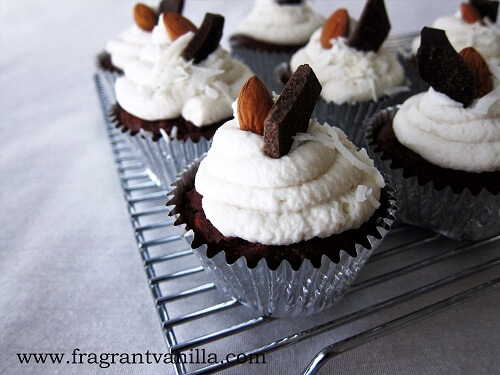
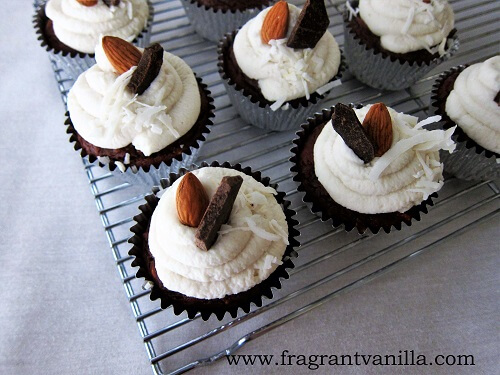
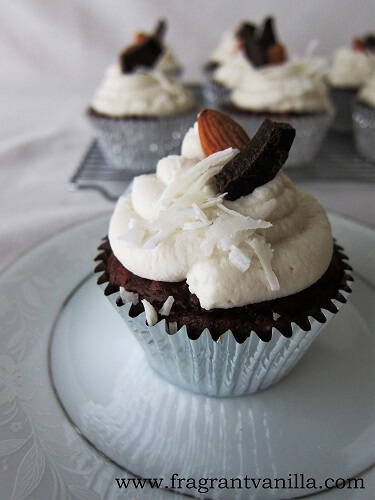
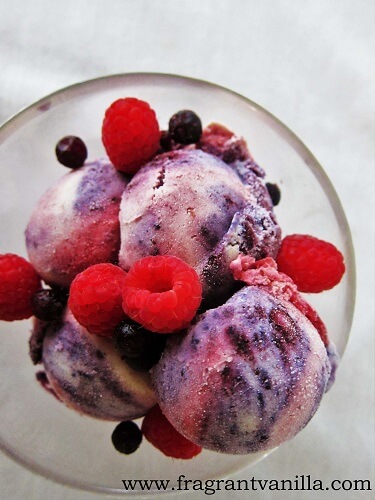
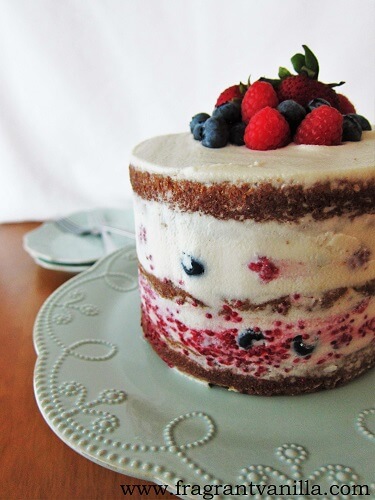
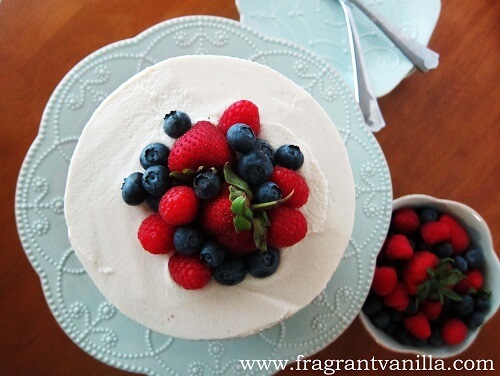
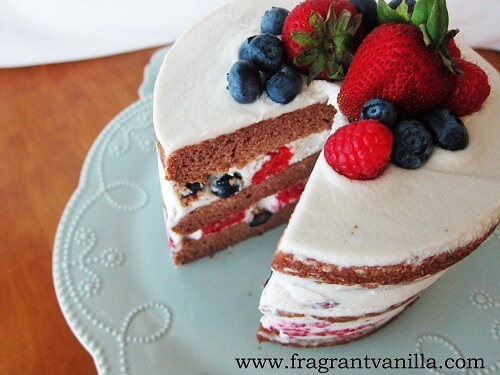
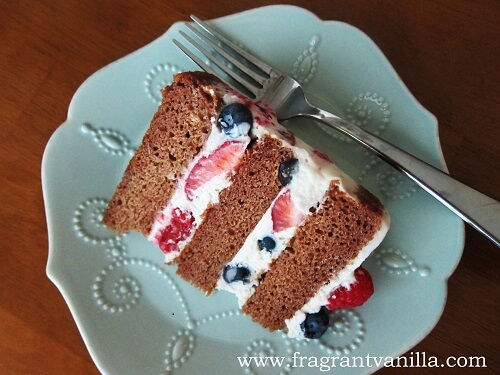
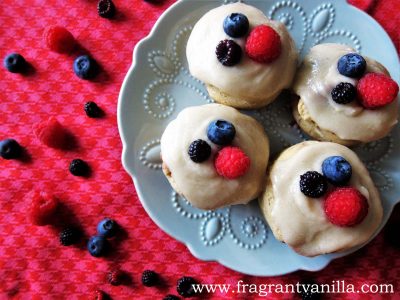
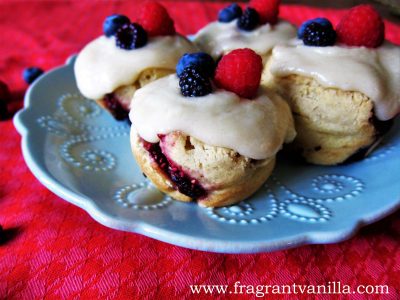
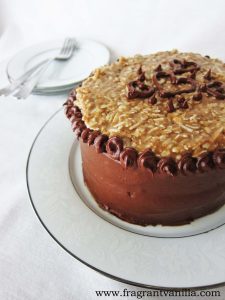
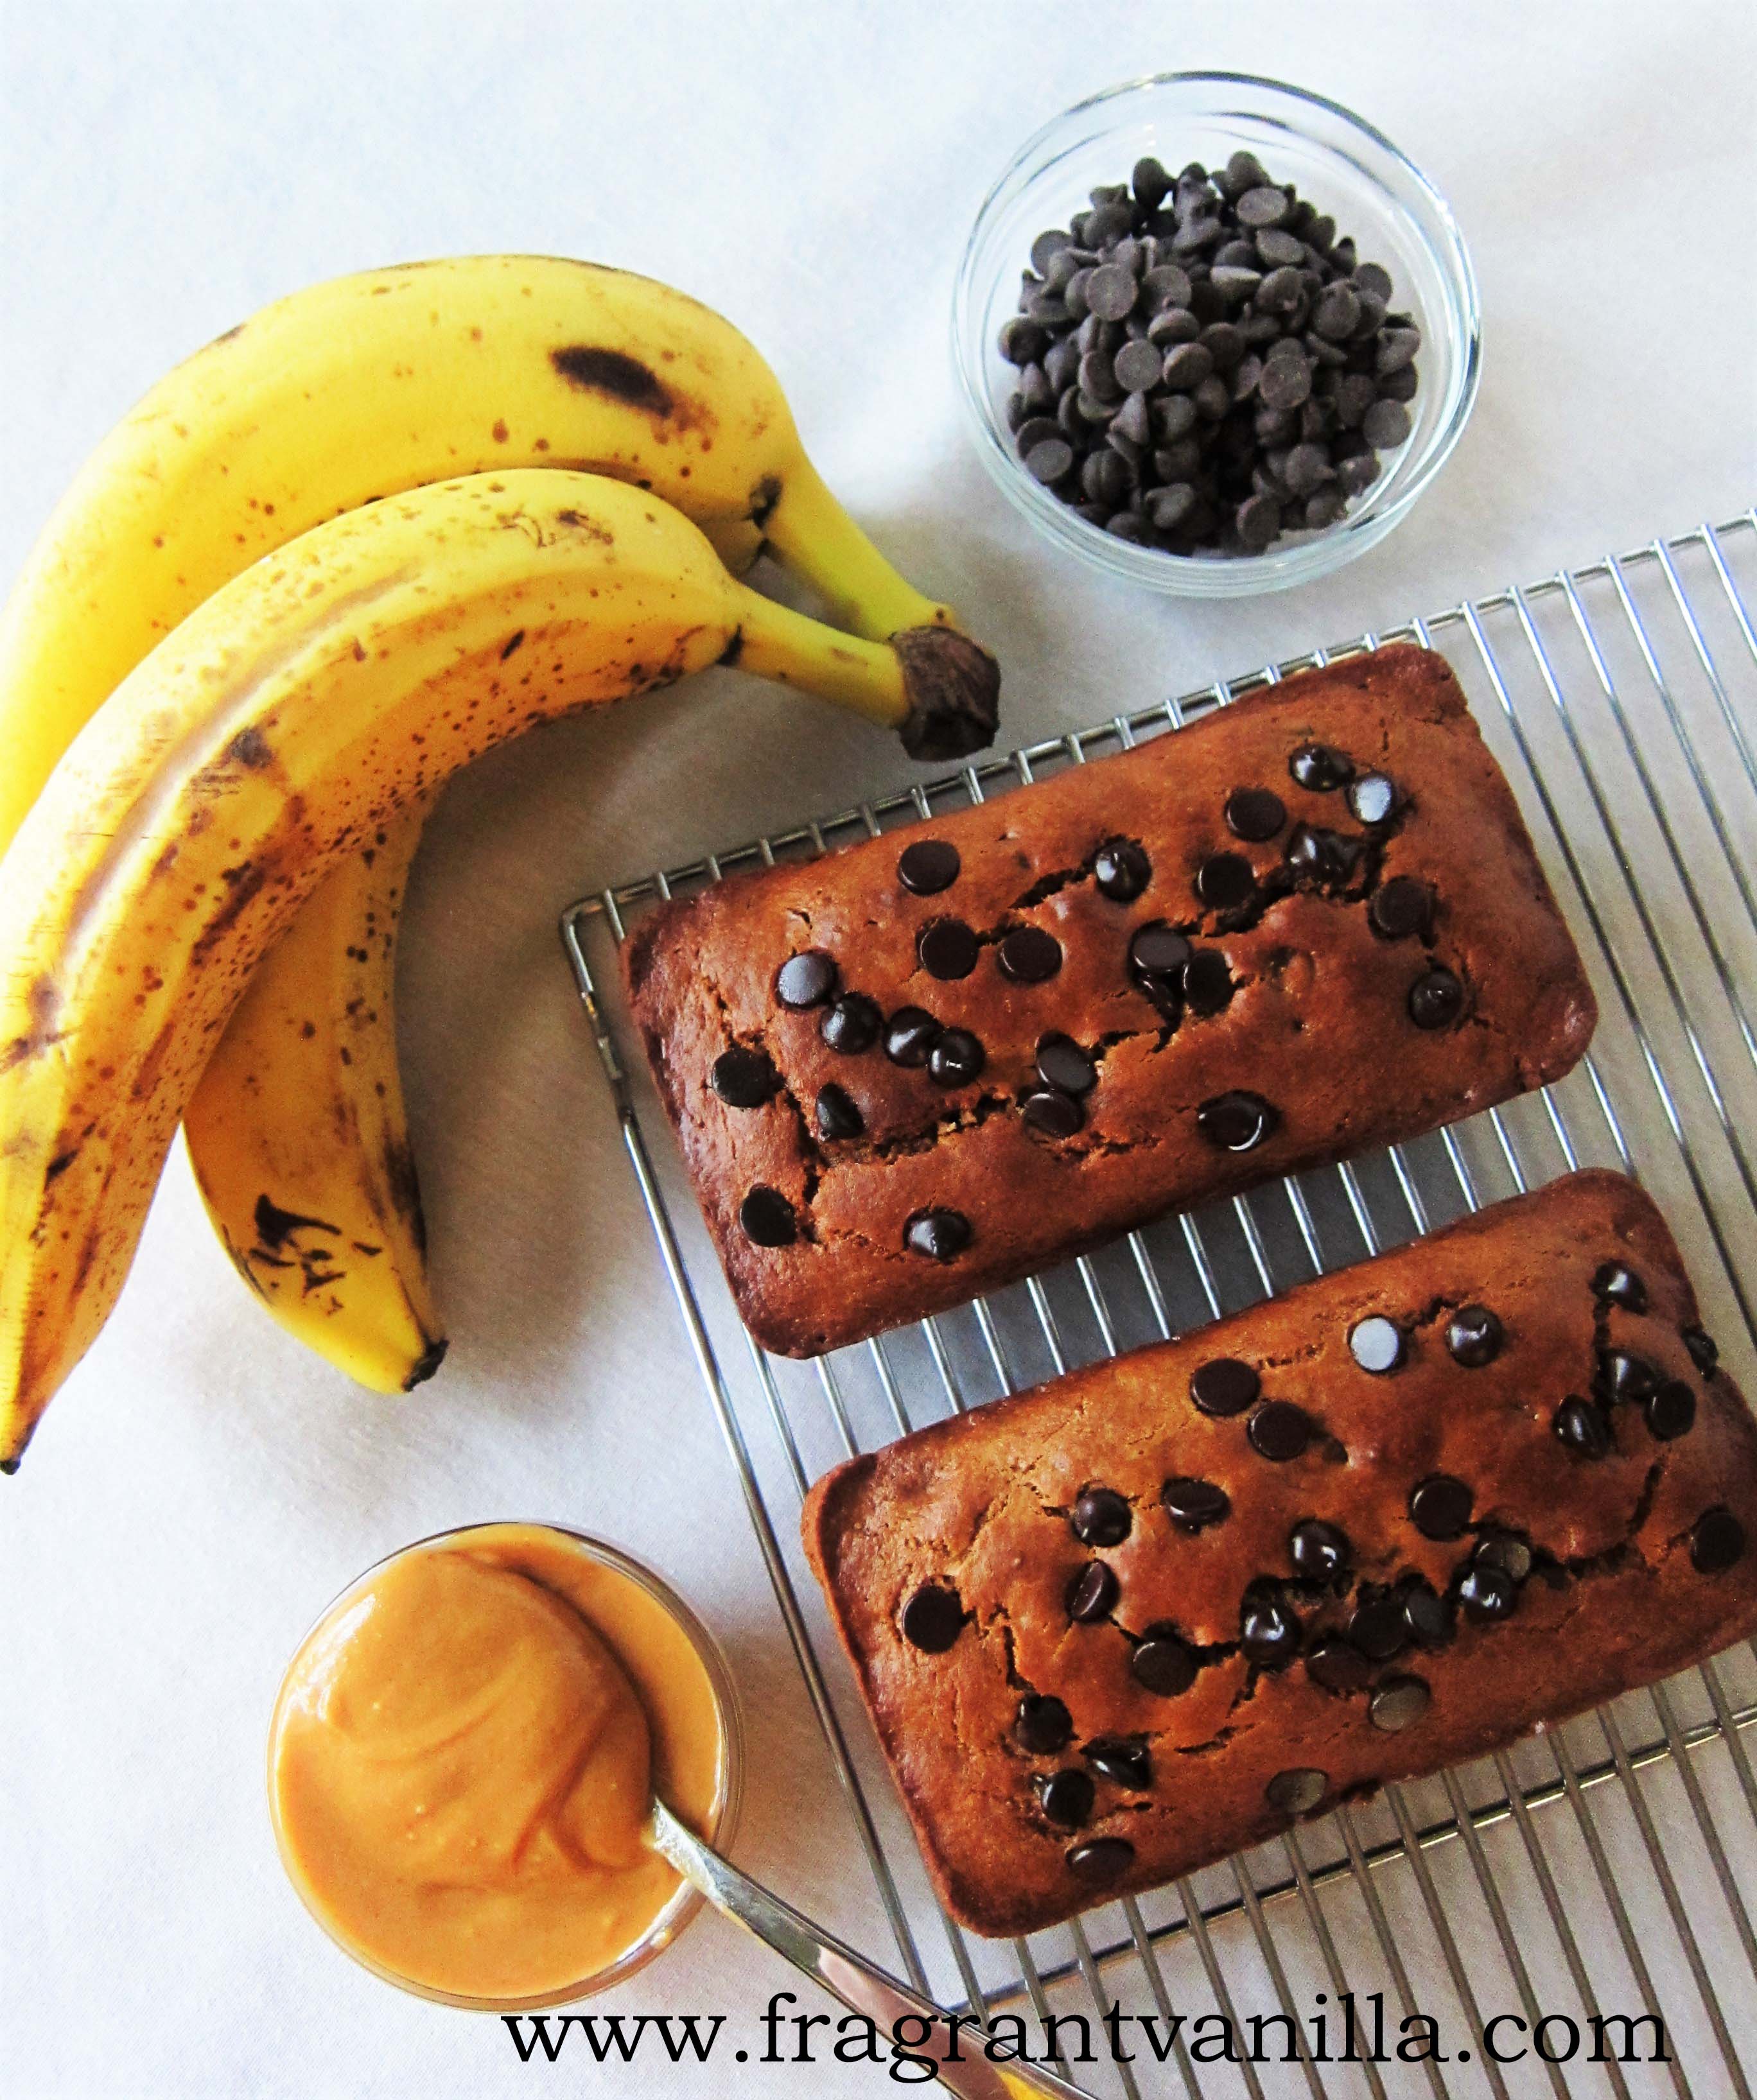
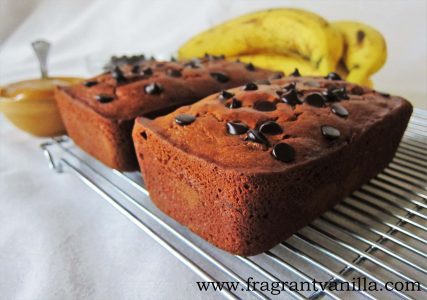
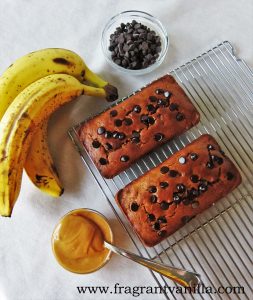
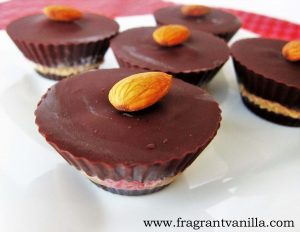
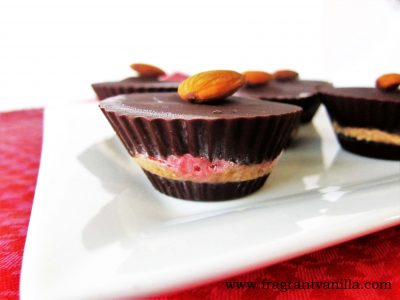
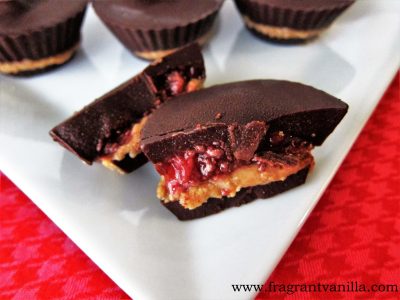
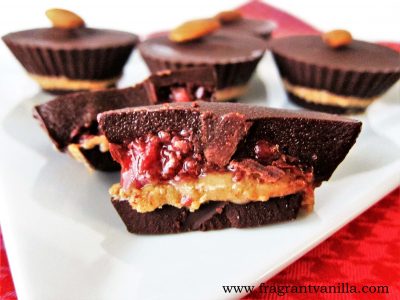
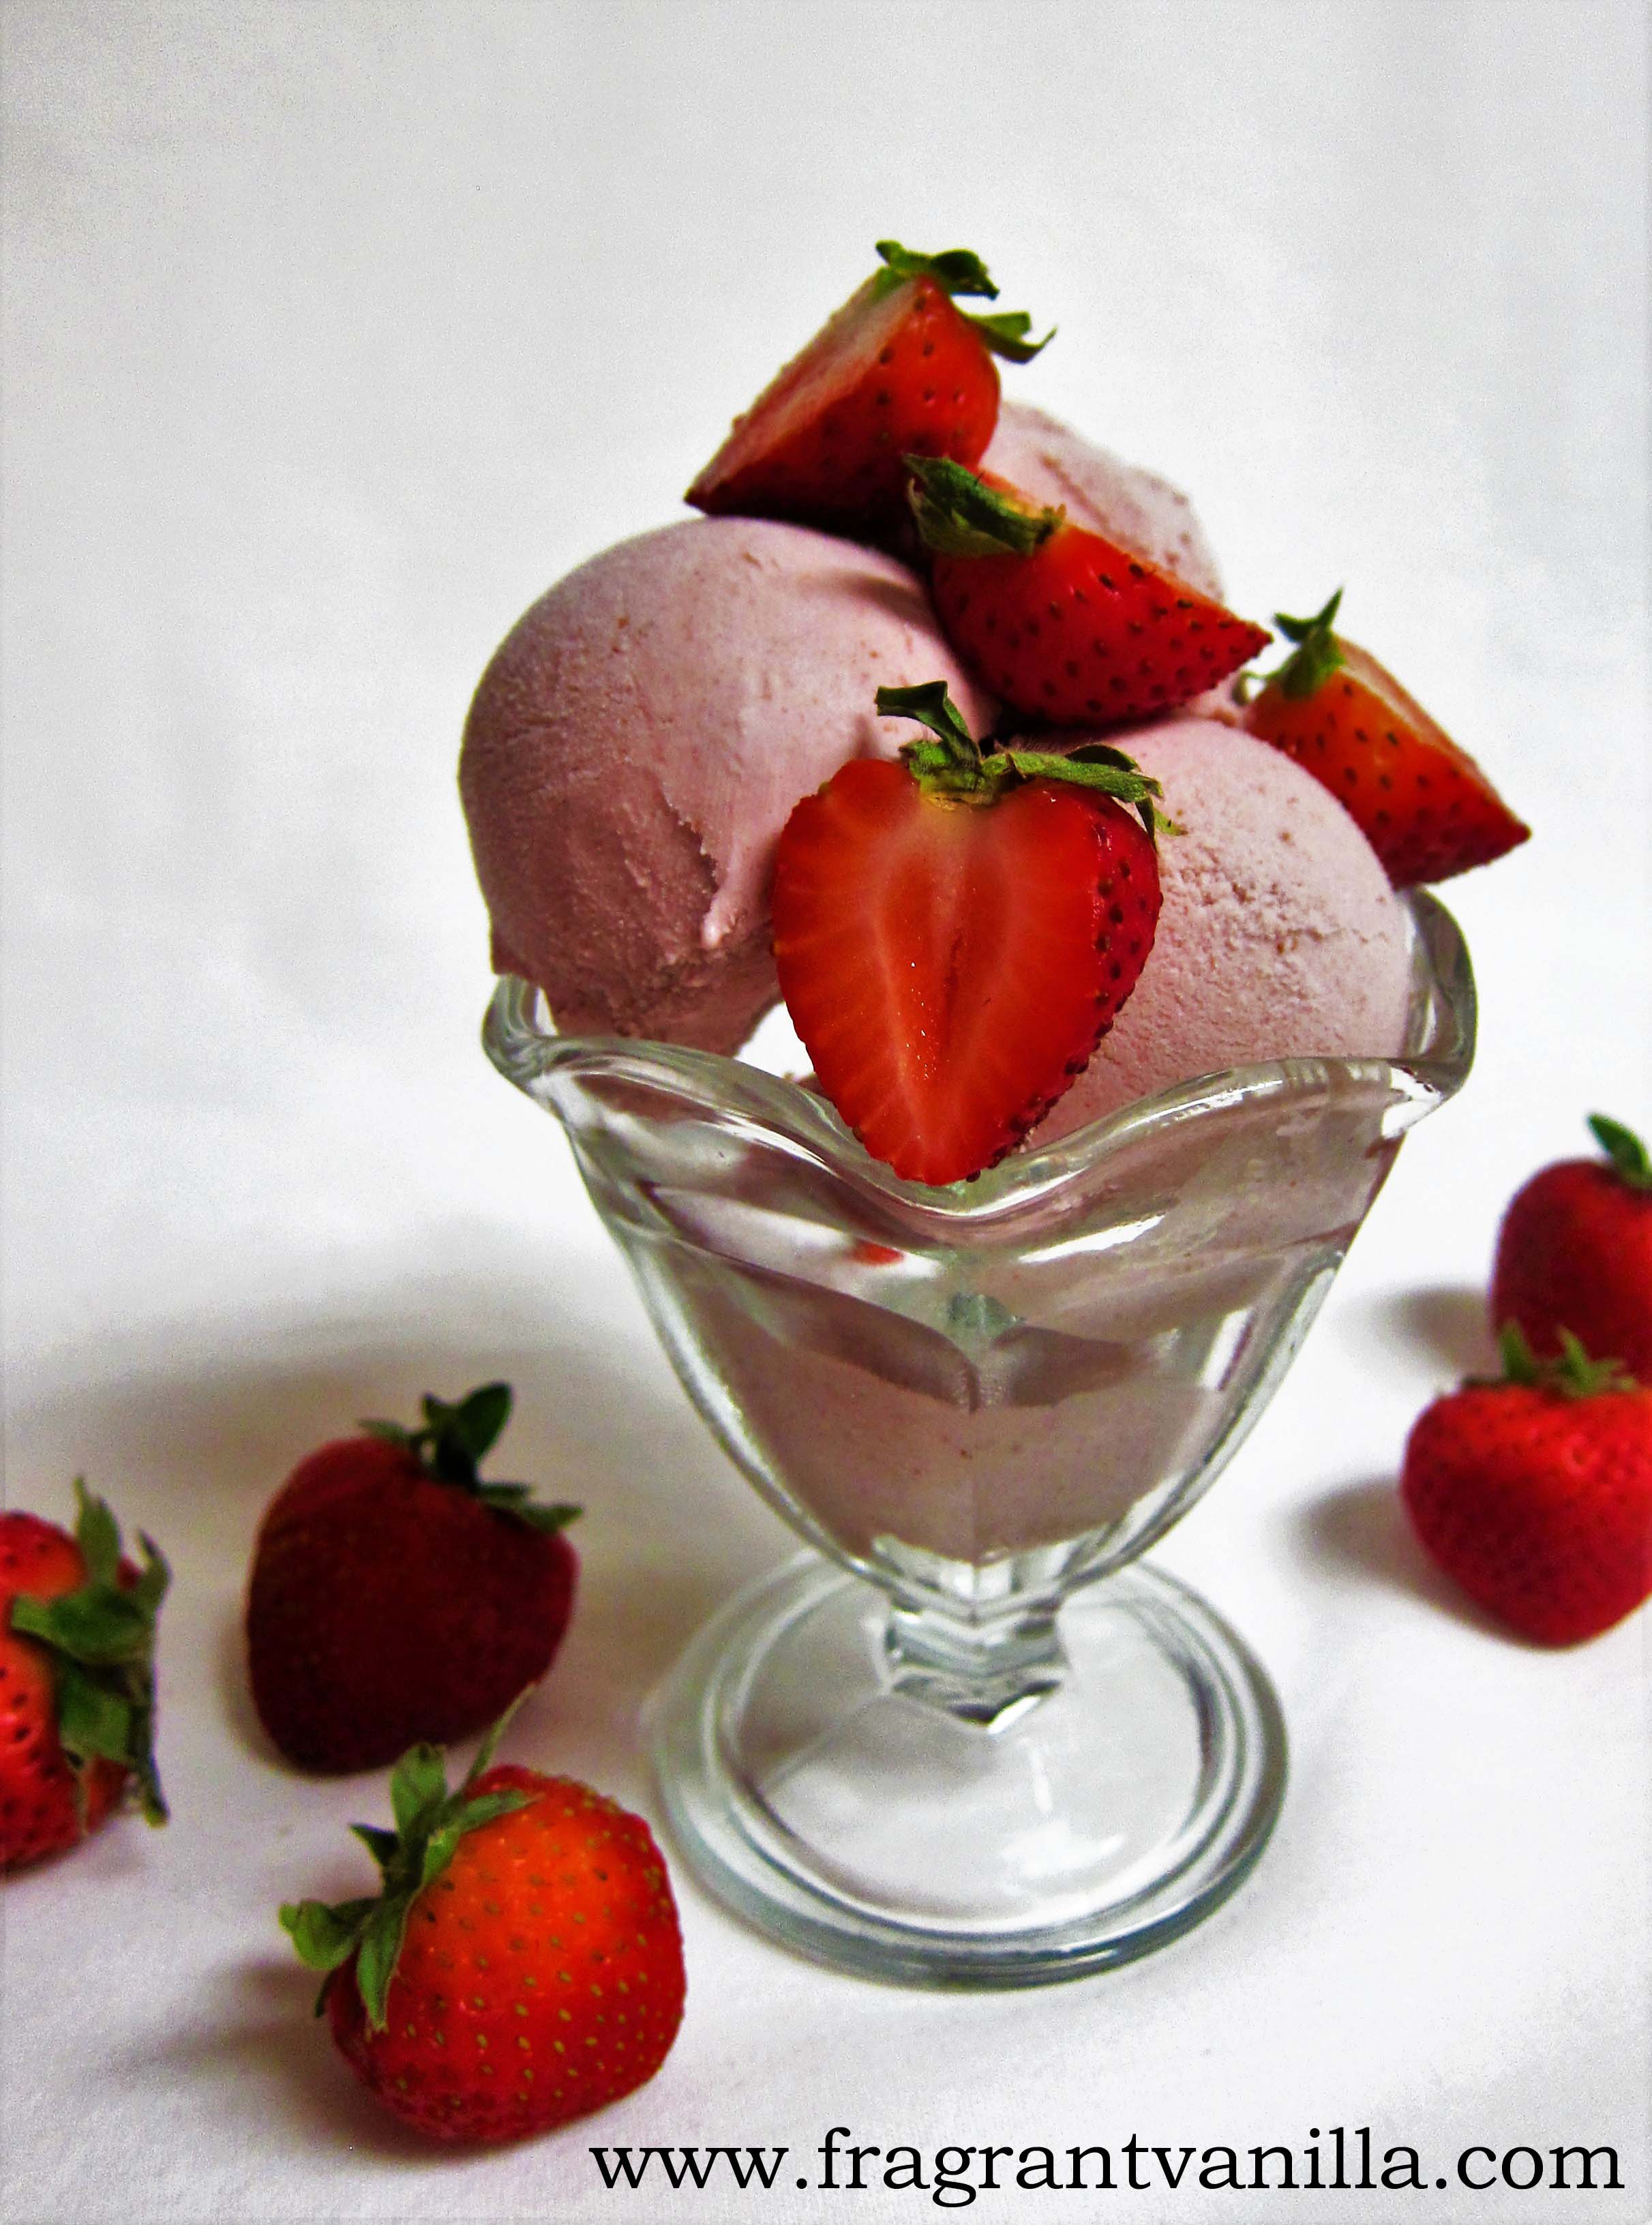
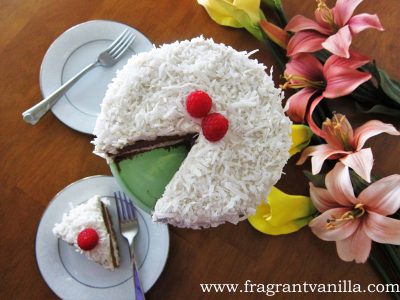
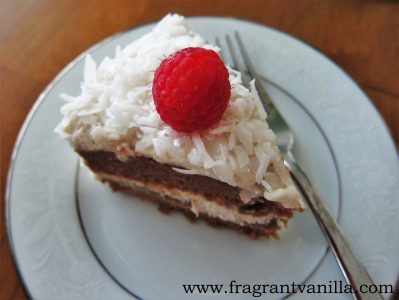
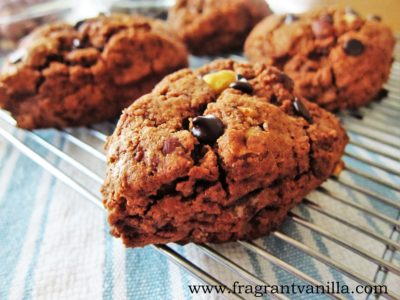
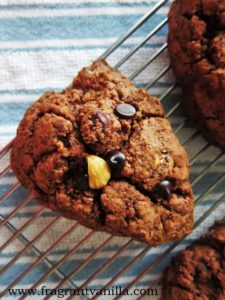
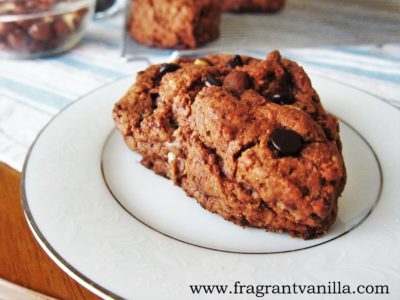
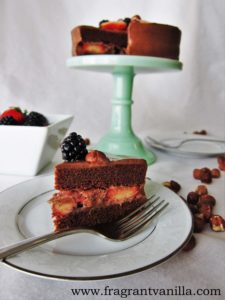
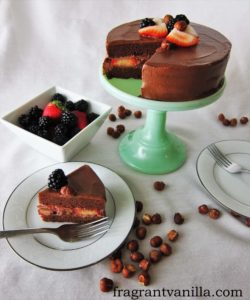
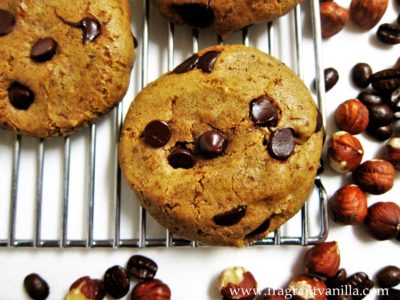
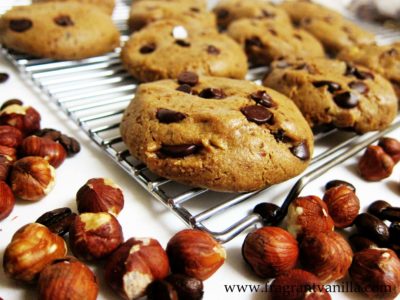
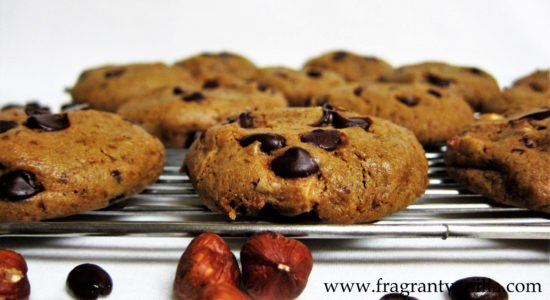
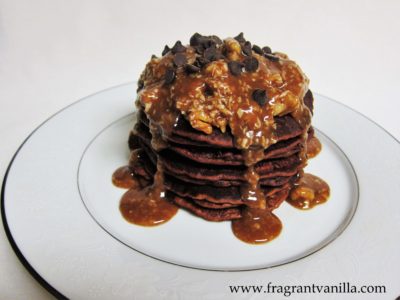
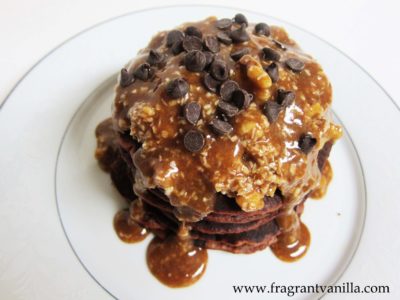
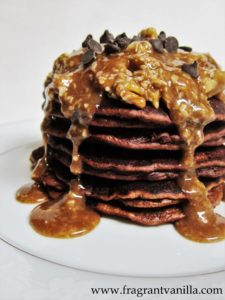
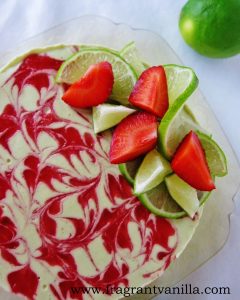
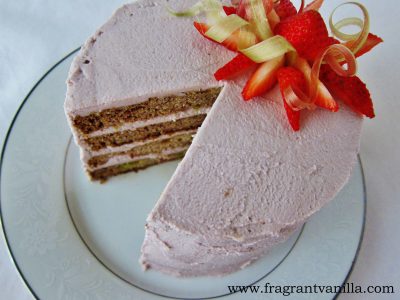
So what sort of cakes are in this book? Well all sorts, raw and baked is the short answer, but I will elaborate. I start off with a chapter on cheesecakes, and mousse cakes. Many of them are raw, because I still love raw cheesecakes but others are not, because I know not everyone eats entirely raw. I like to have a balance. I have cakes like Raw Almond Joy Cheesecake, and Raw Margarita Cheesecake with Strawberry Swirl. The next chapter is just for cupcakes and small cakes. Because I love mini cakes, and sometimes it is not always practical to make a whole cake. I have included recipes like Cookie Dough Cupcakes, and Blackberry Lime Cupcakes. The third chapter is for simple cakes. These are the cakes my Mom and Grandma often made, and the simple one layer cakes we all bake for bake sales and to bring to family events. Things like Double Berry Cream Cheese Coffeecake and Coconut Tres Leches Cake. Next, my favorite chapter, the layer cakes. Layer cakes are where I feel like I can truly be artistic. I love lots of frosting too, and they include multiple layers of it, so that is another reason why I love them. I have included cakes like Strawberry Rhubarb Layer Cake and Blueberry Lemon Layer Cake. I am also sharing a recipe from this chapter later in my post, my Peanut Butter Banana Layer Cake. The fifth chapter is all about chocolate. I had to include a chocolate cake chapter, it just seemed right. These cakes are decadent as all get out. Cakes like Turtle Cake (which happens to be the cover photo), and S’mores Cake. Lastly, I have a chapter on ice cream cakes. Which sounds really good to me right now because it is so hot and humid here. Cakes like Berry Rose Ice Cream Cake, and Key Lime Pie Ice Cream Cake. Wow, I am making myself hungry describing all of these cakes. Lots of deliciousness here, I promise you.

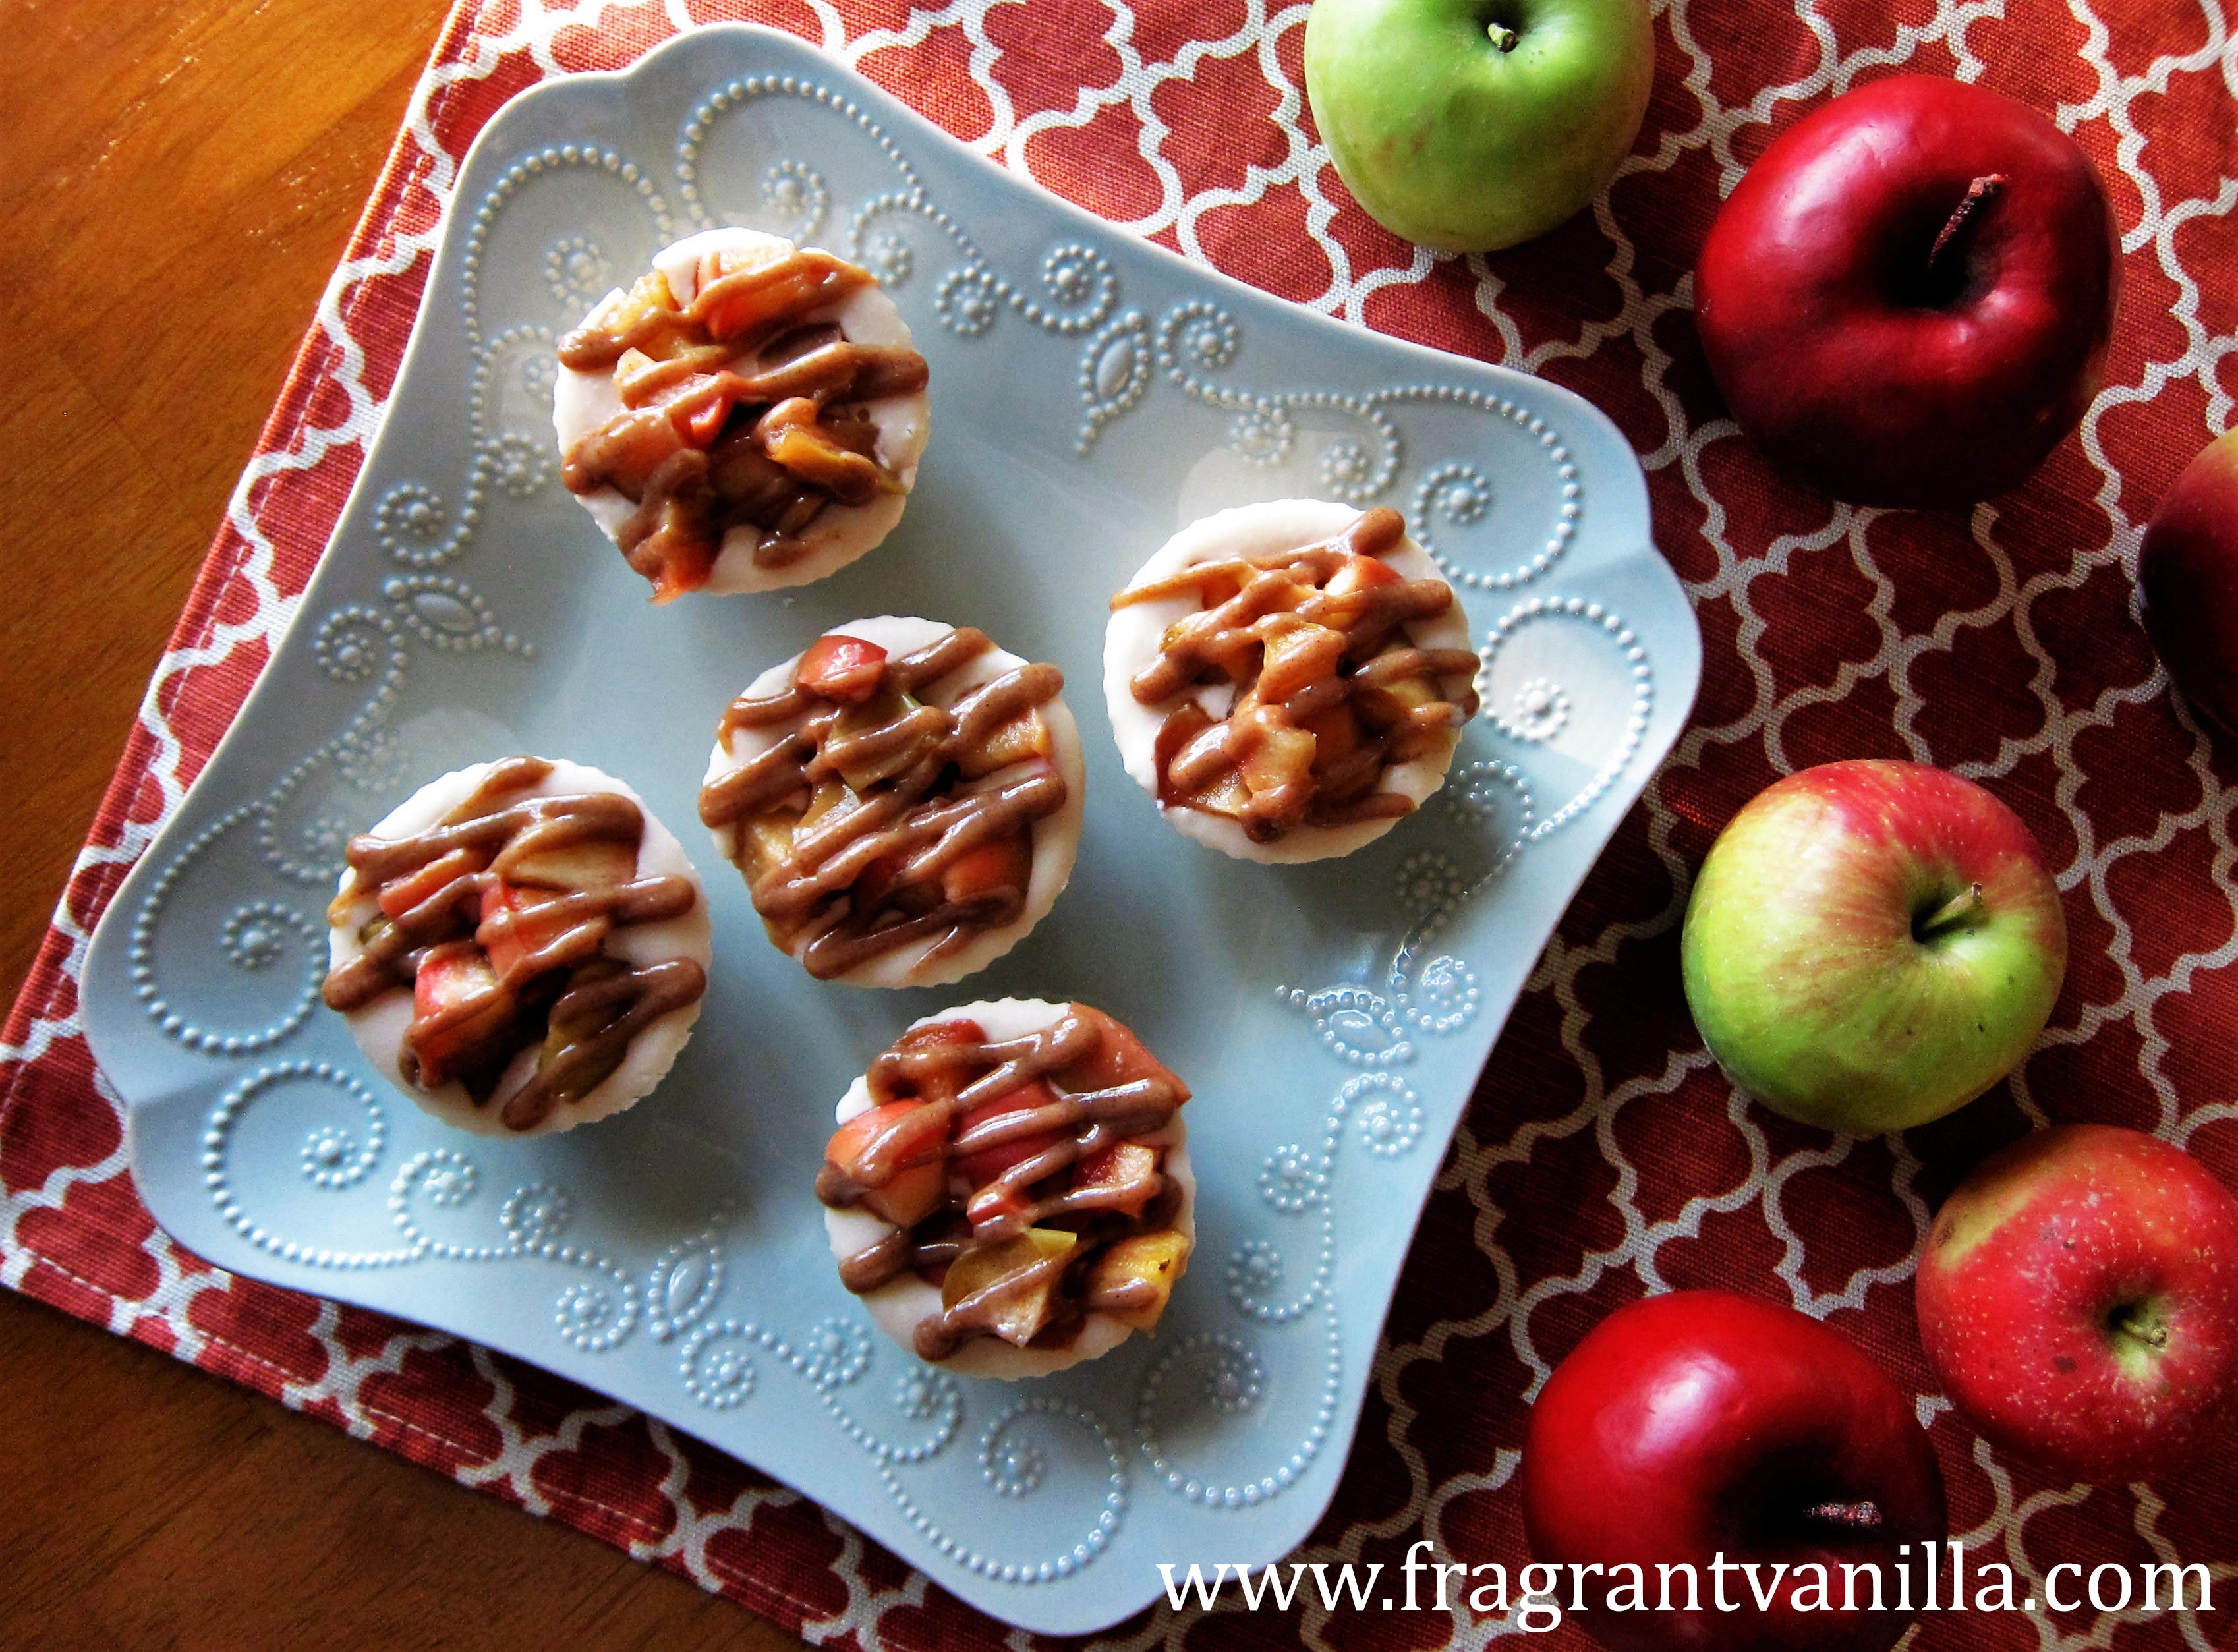
If you would like to get yourself a copy of my book, it is available on either Create Space HERE or Amazon HERE. It is also available in Kindle edition on Amazon, which is convenient if you are not a print sort of person. By buying this book, you will be supporting me and allowing me to keep my blog going so I can share free recipes with you. Trust me, it is much appreciated because I love to share recipes and I want to keep doing so. So, now comes the exciting part. I am giving away a copy of my book to one lucky reader. All you need to do is scroll down to the bottom of the page to enter my Rafflecopter Giveaway. But first, don’t forget to check out the recipe for Peanut Butter Banana Layer Cake. It is worth your time! Good luck!
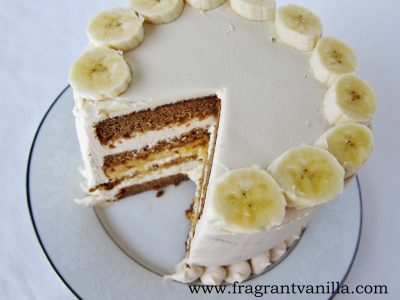
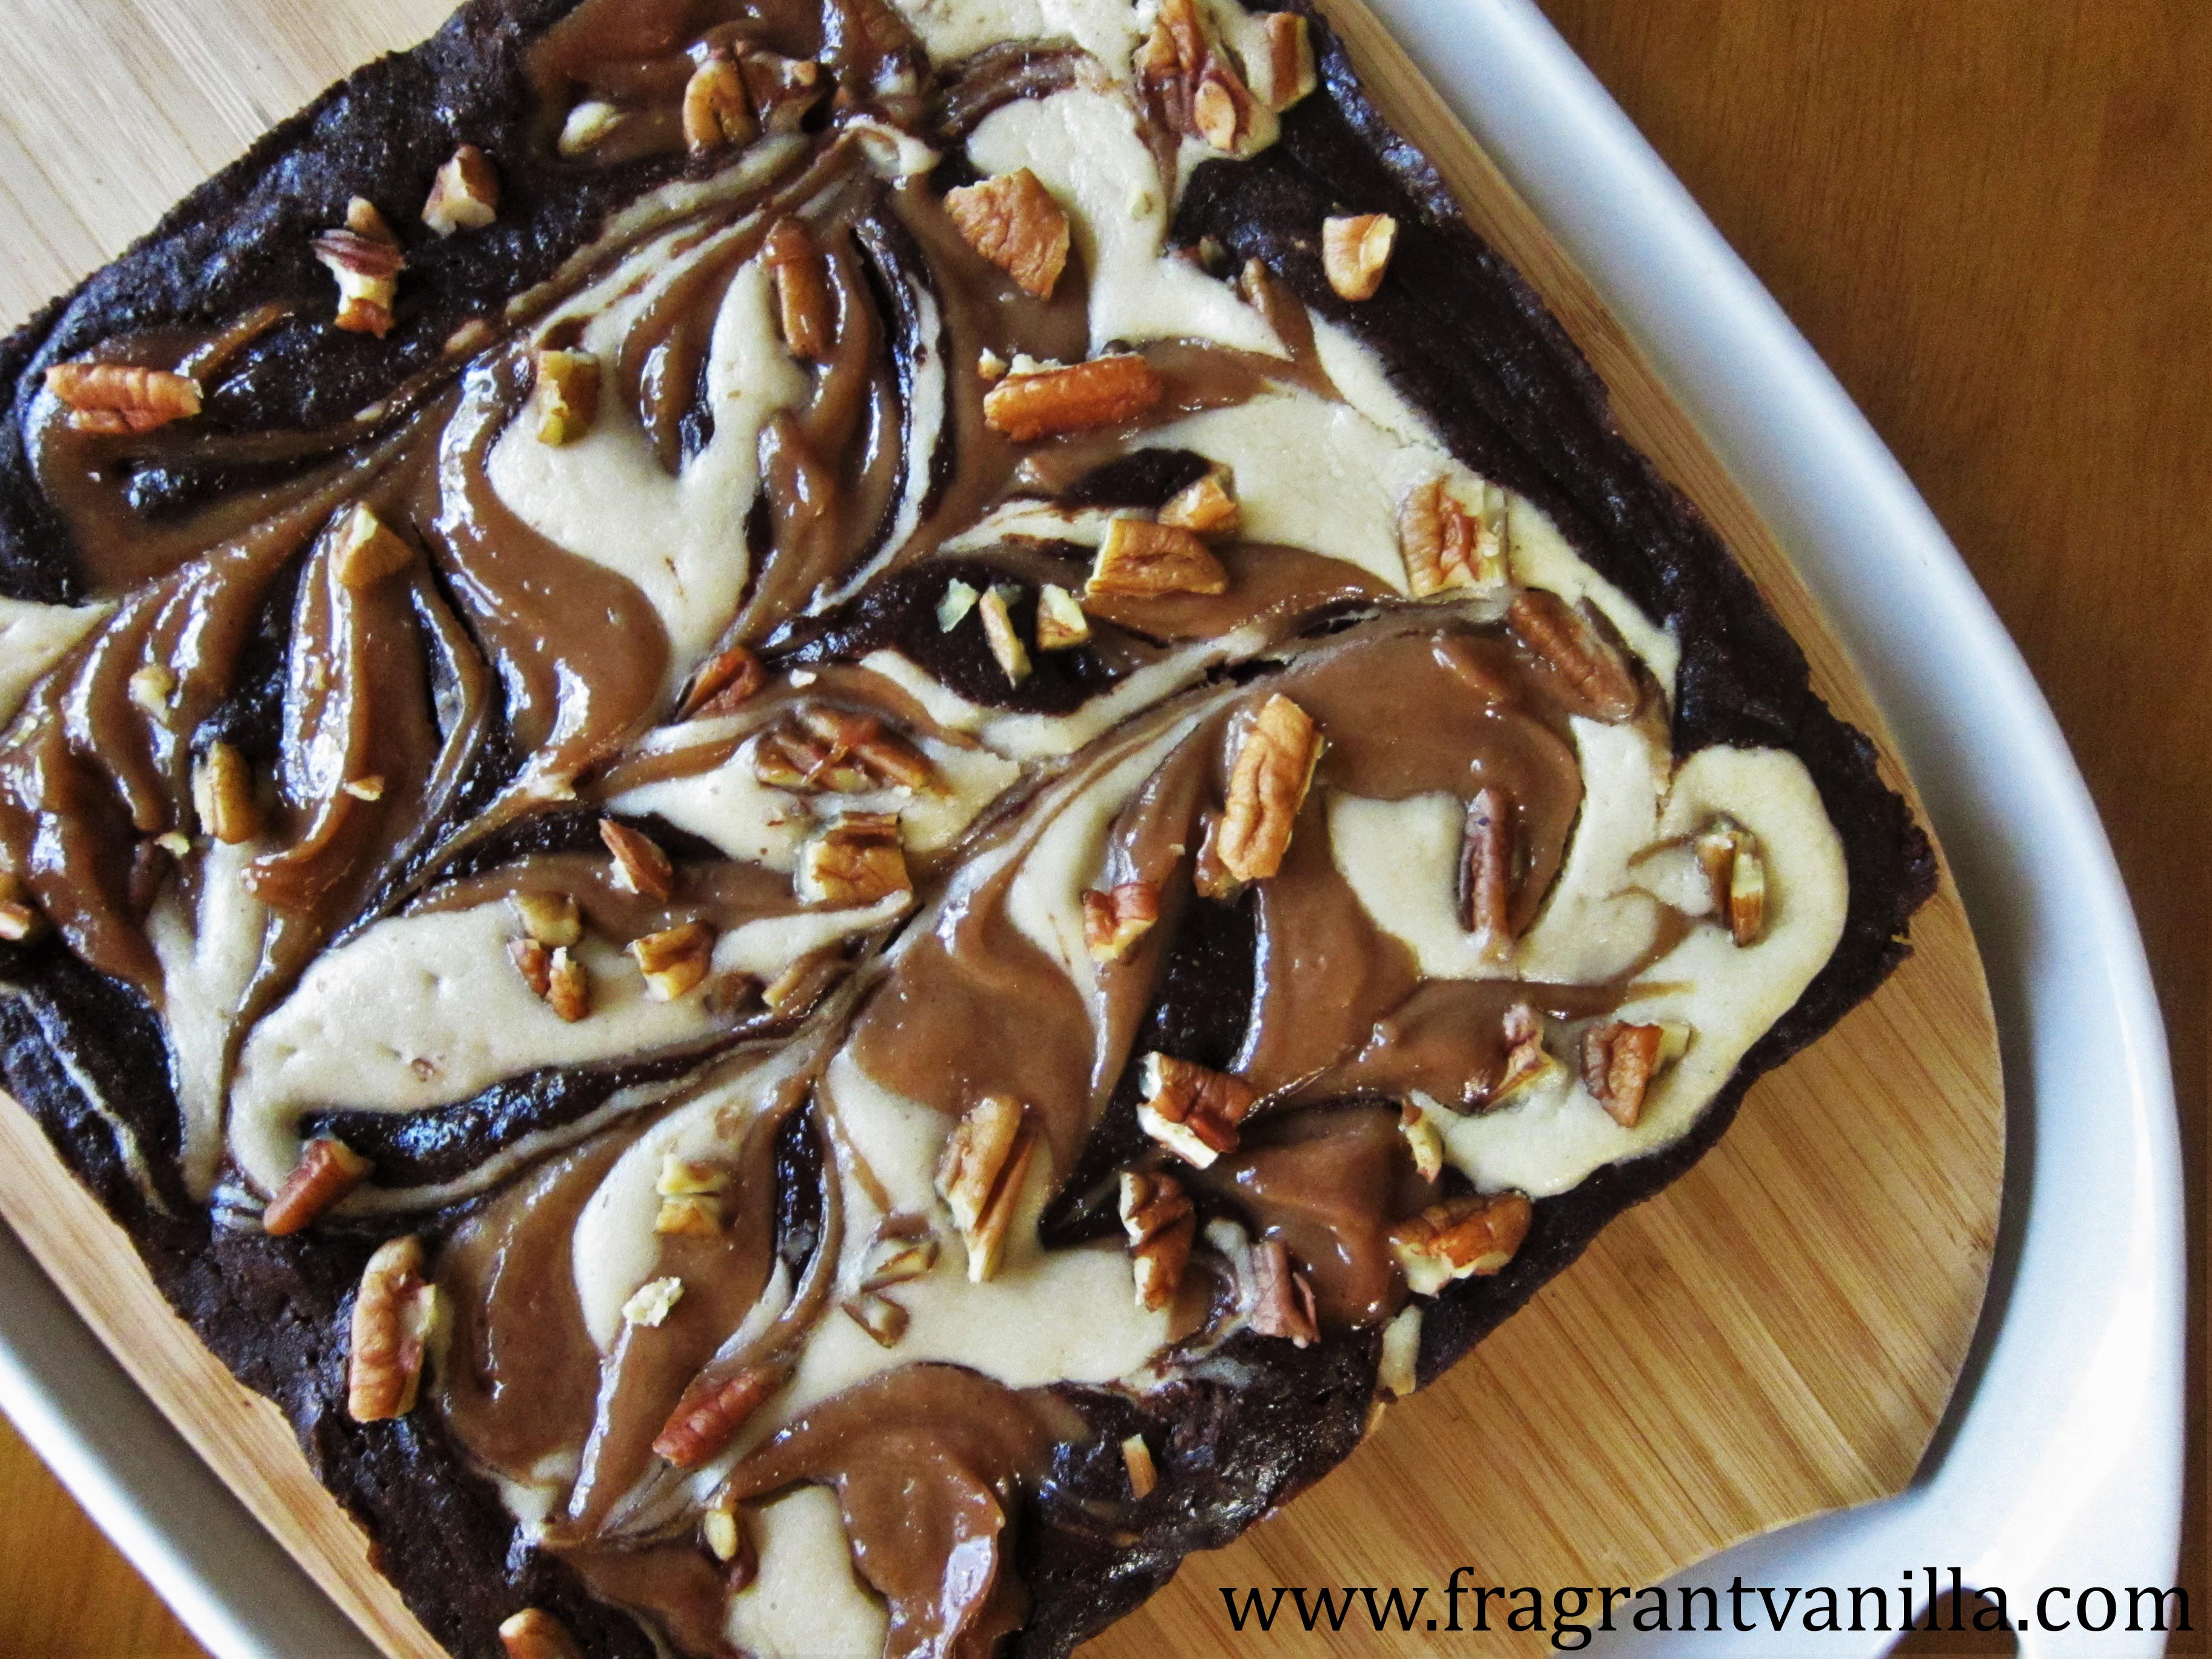
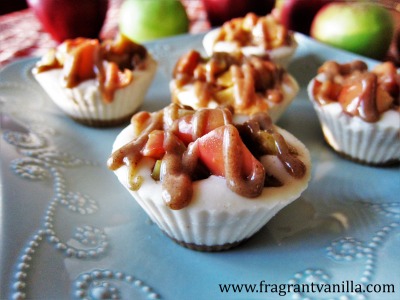
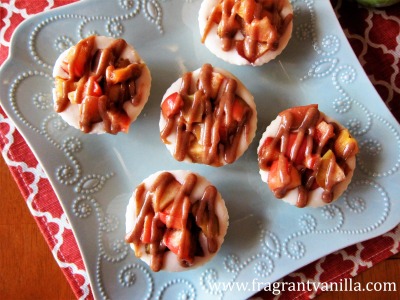
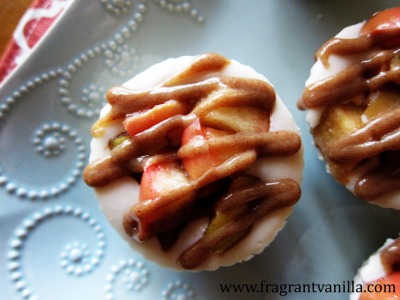
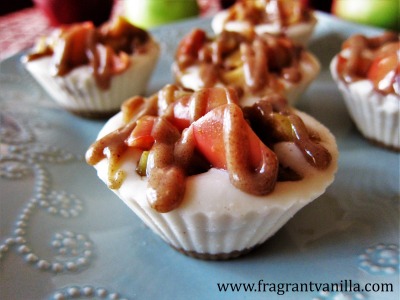
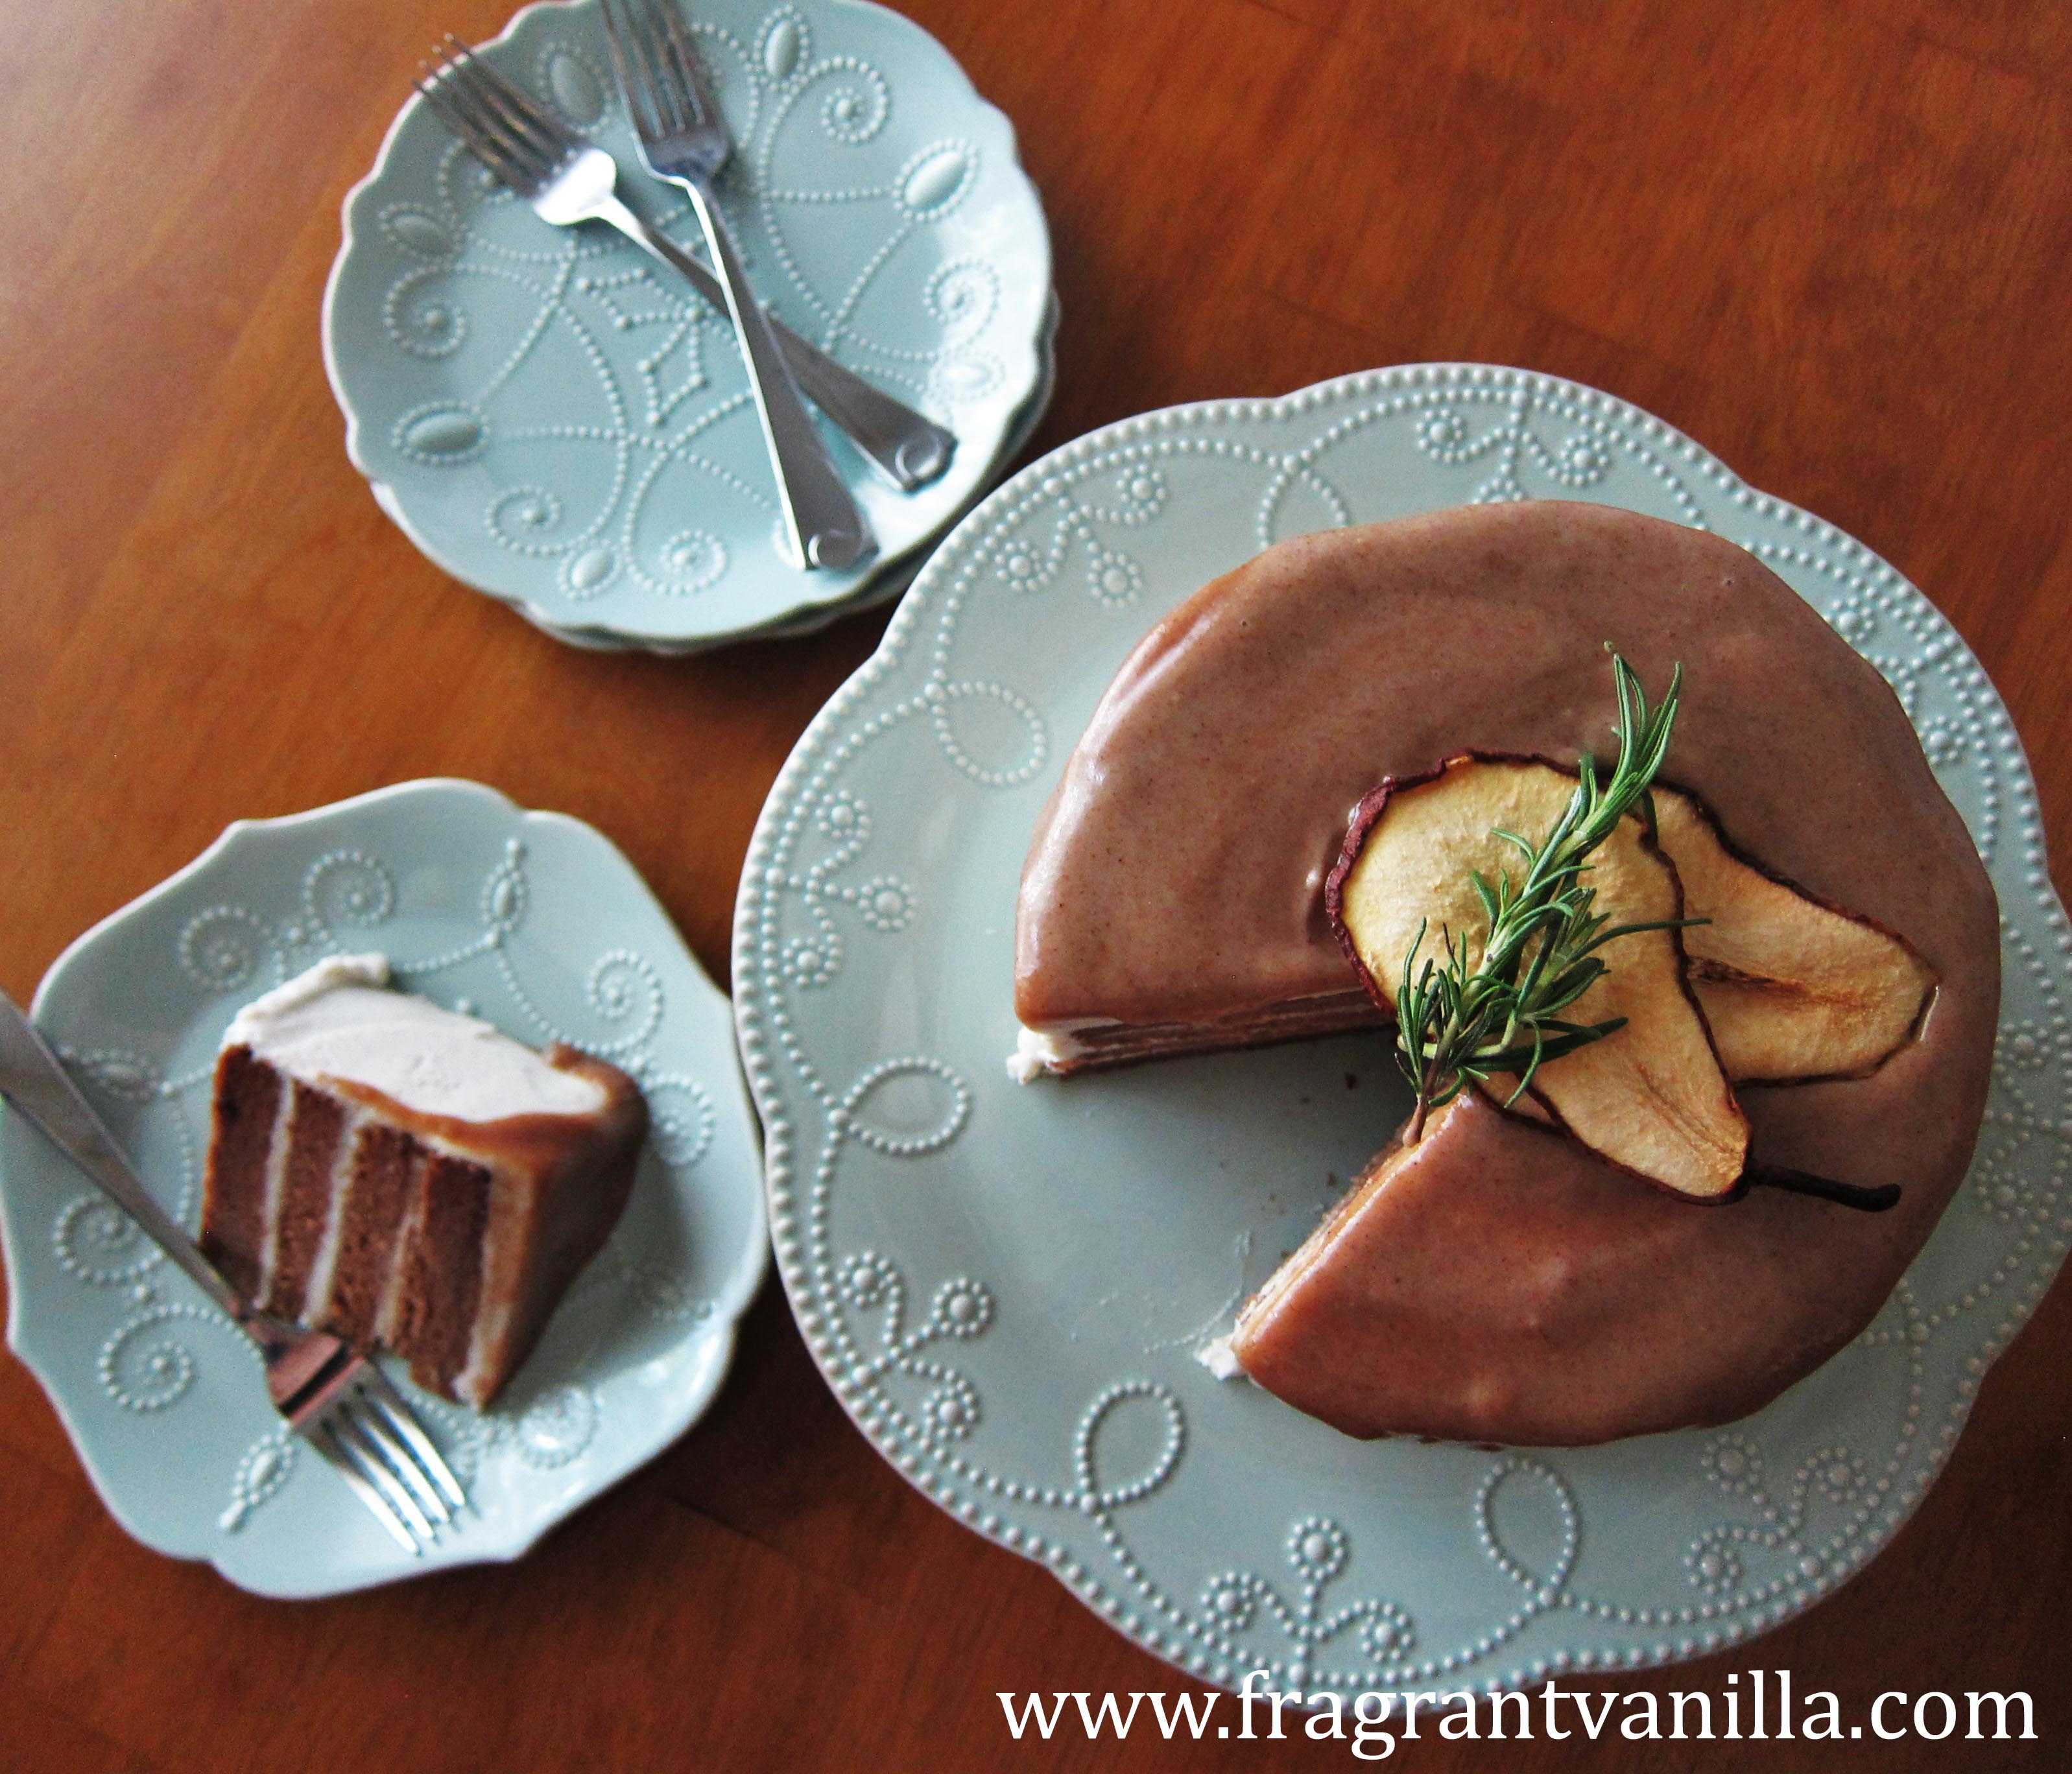
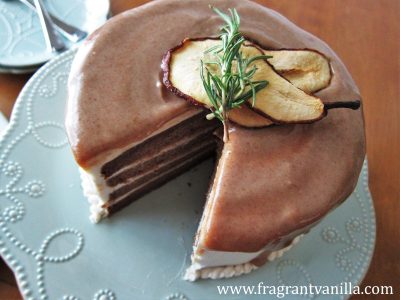
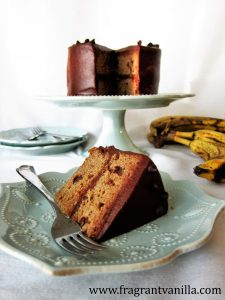
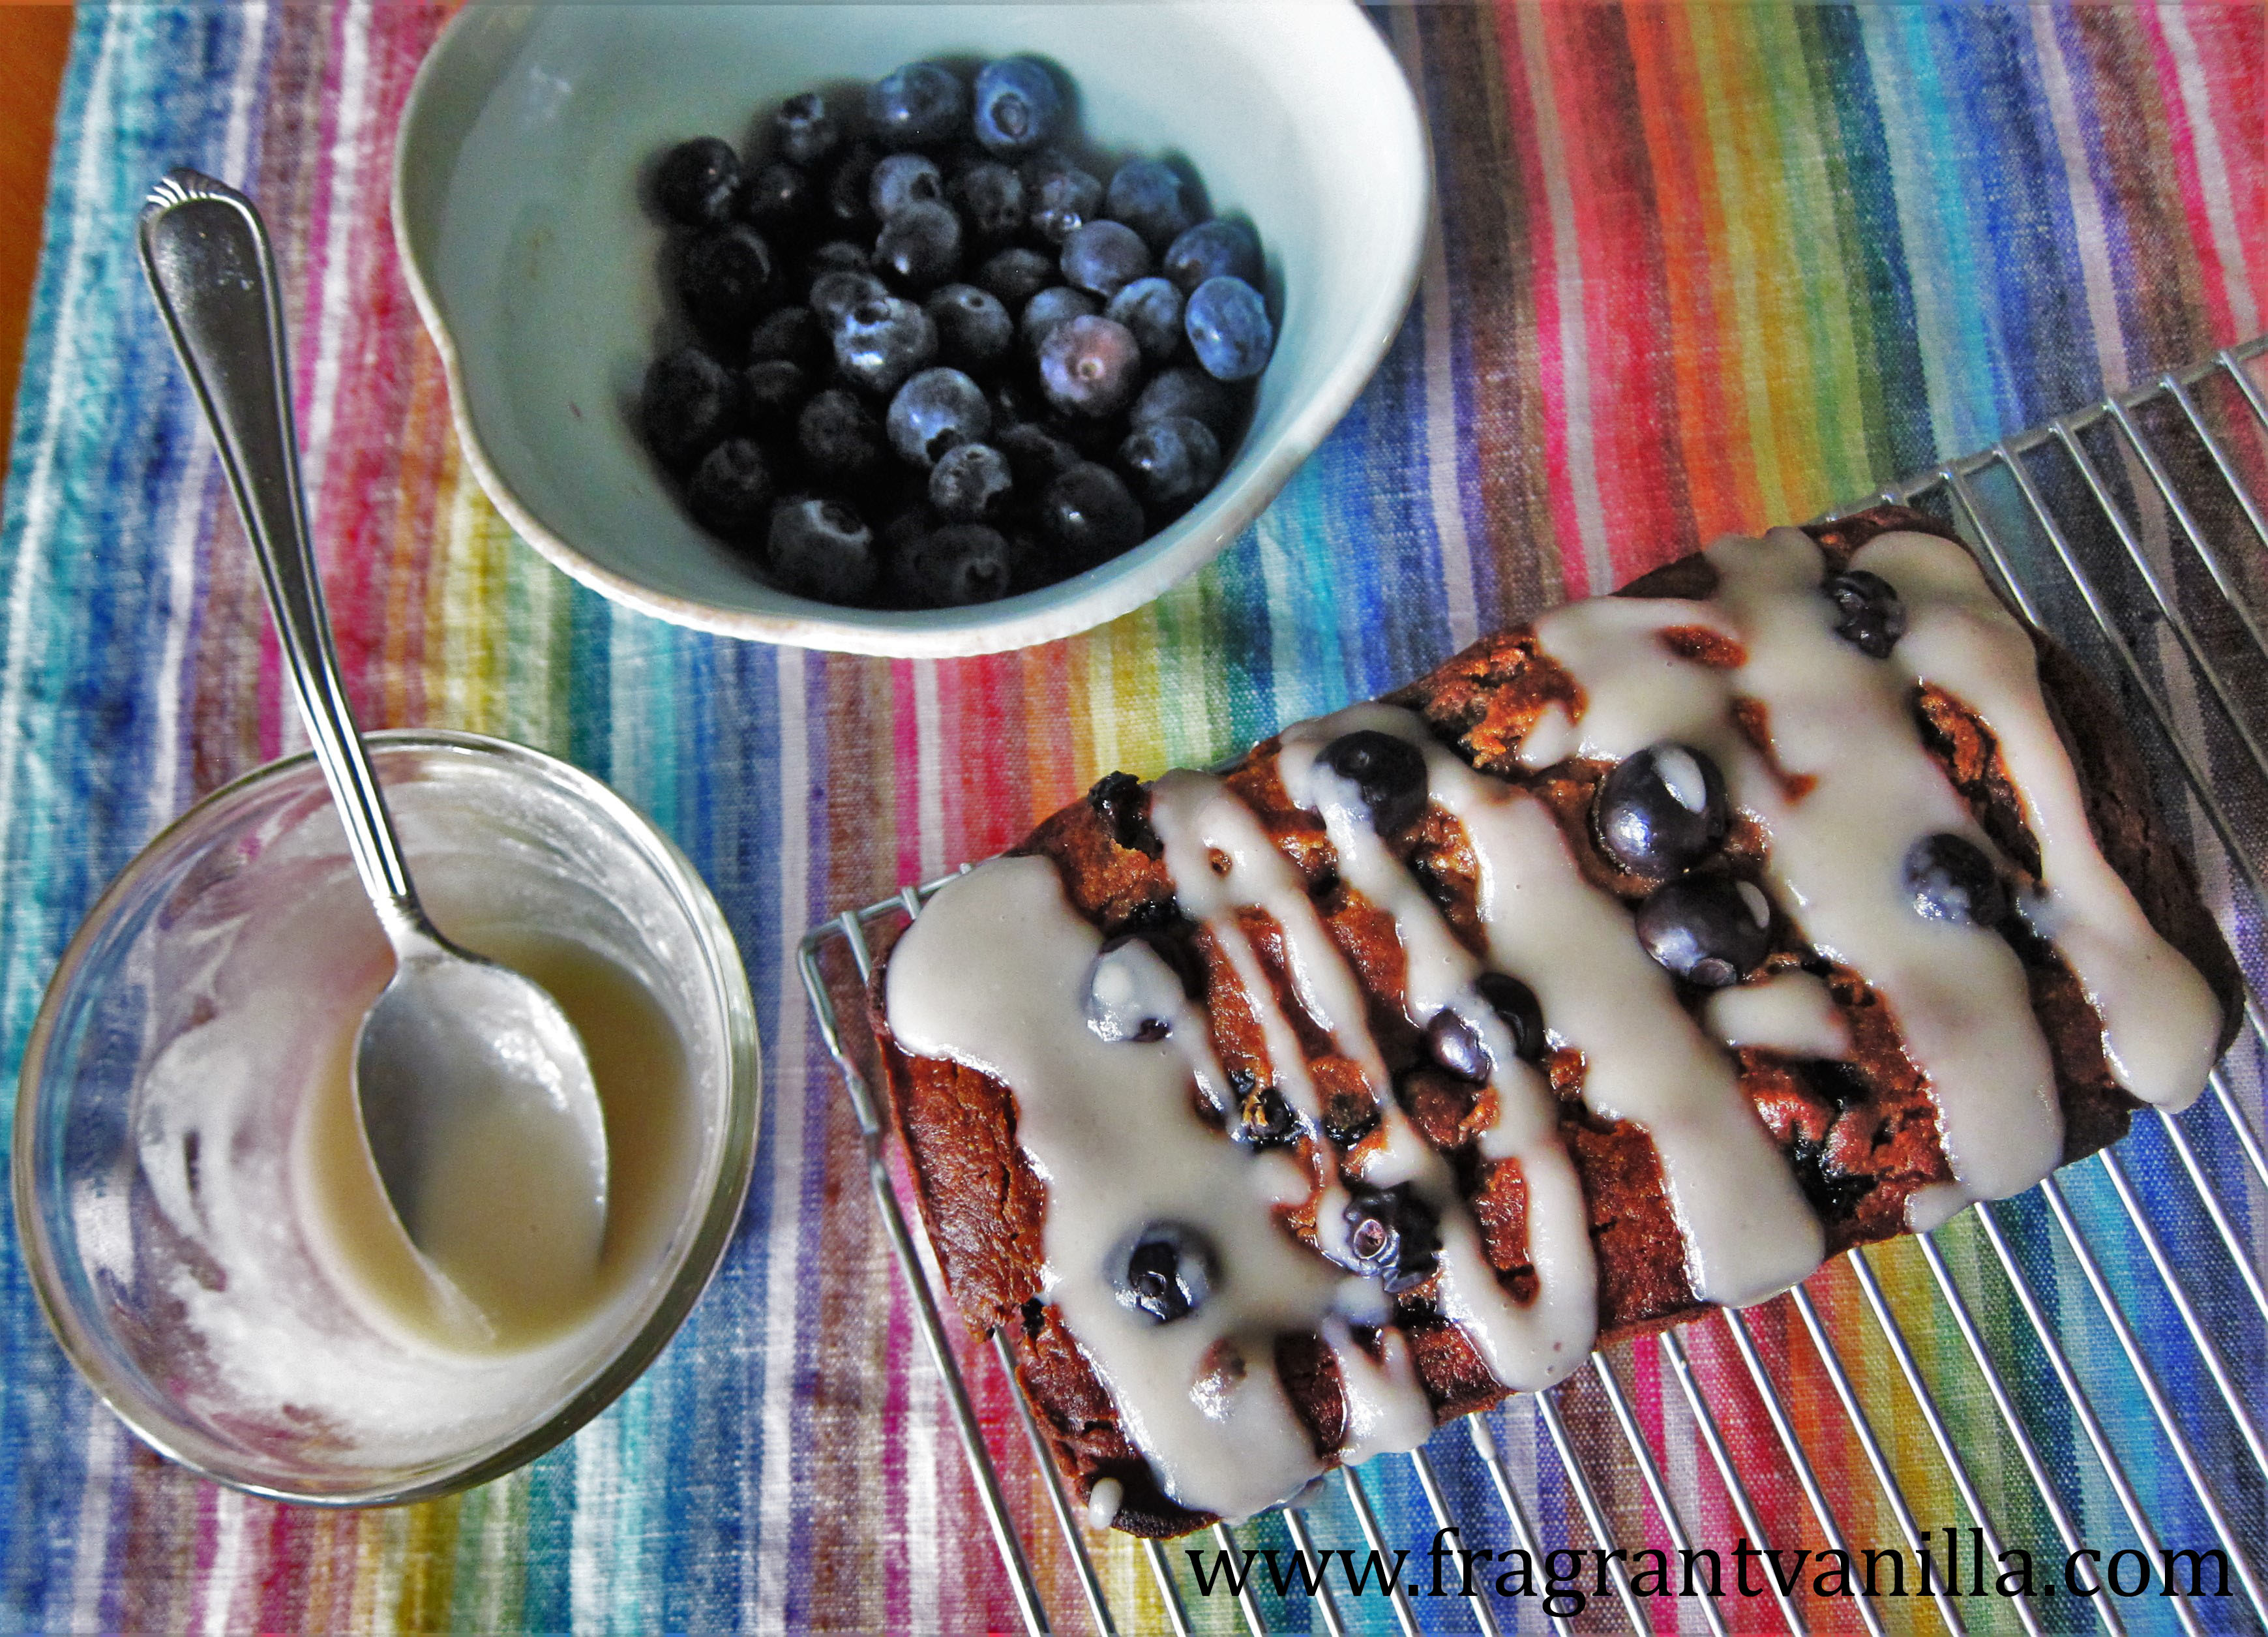
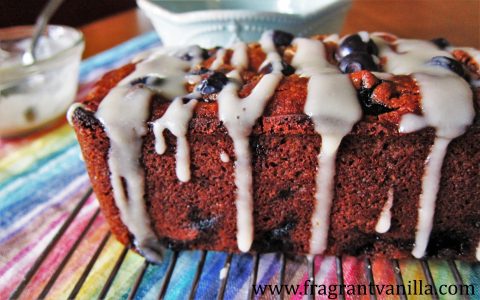
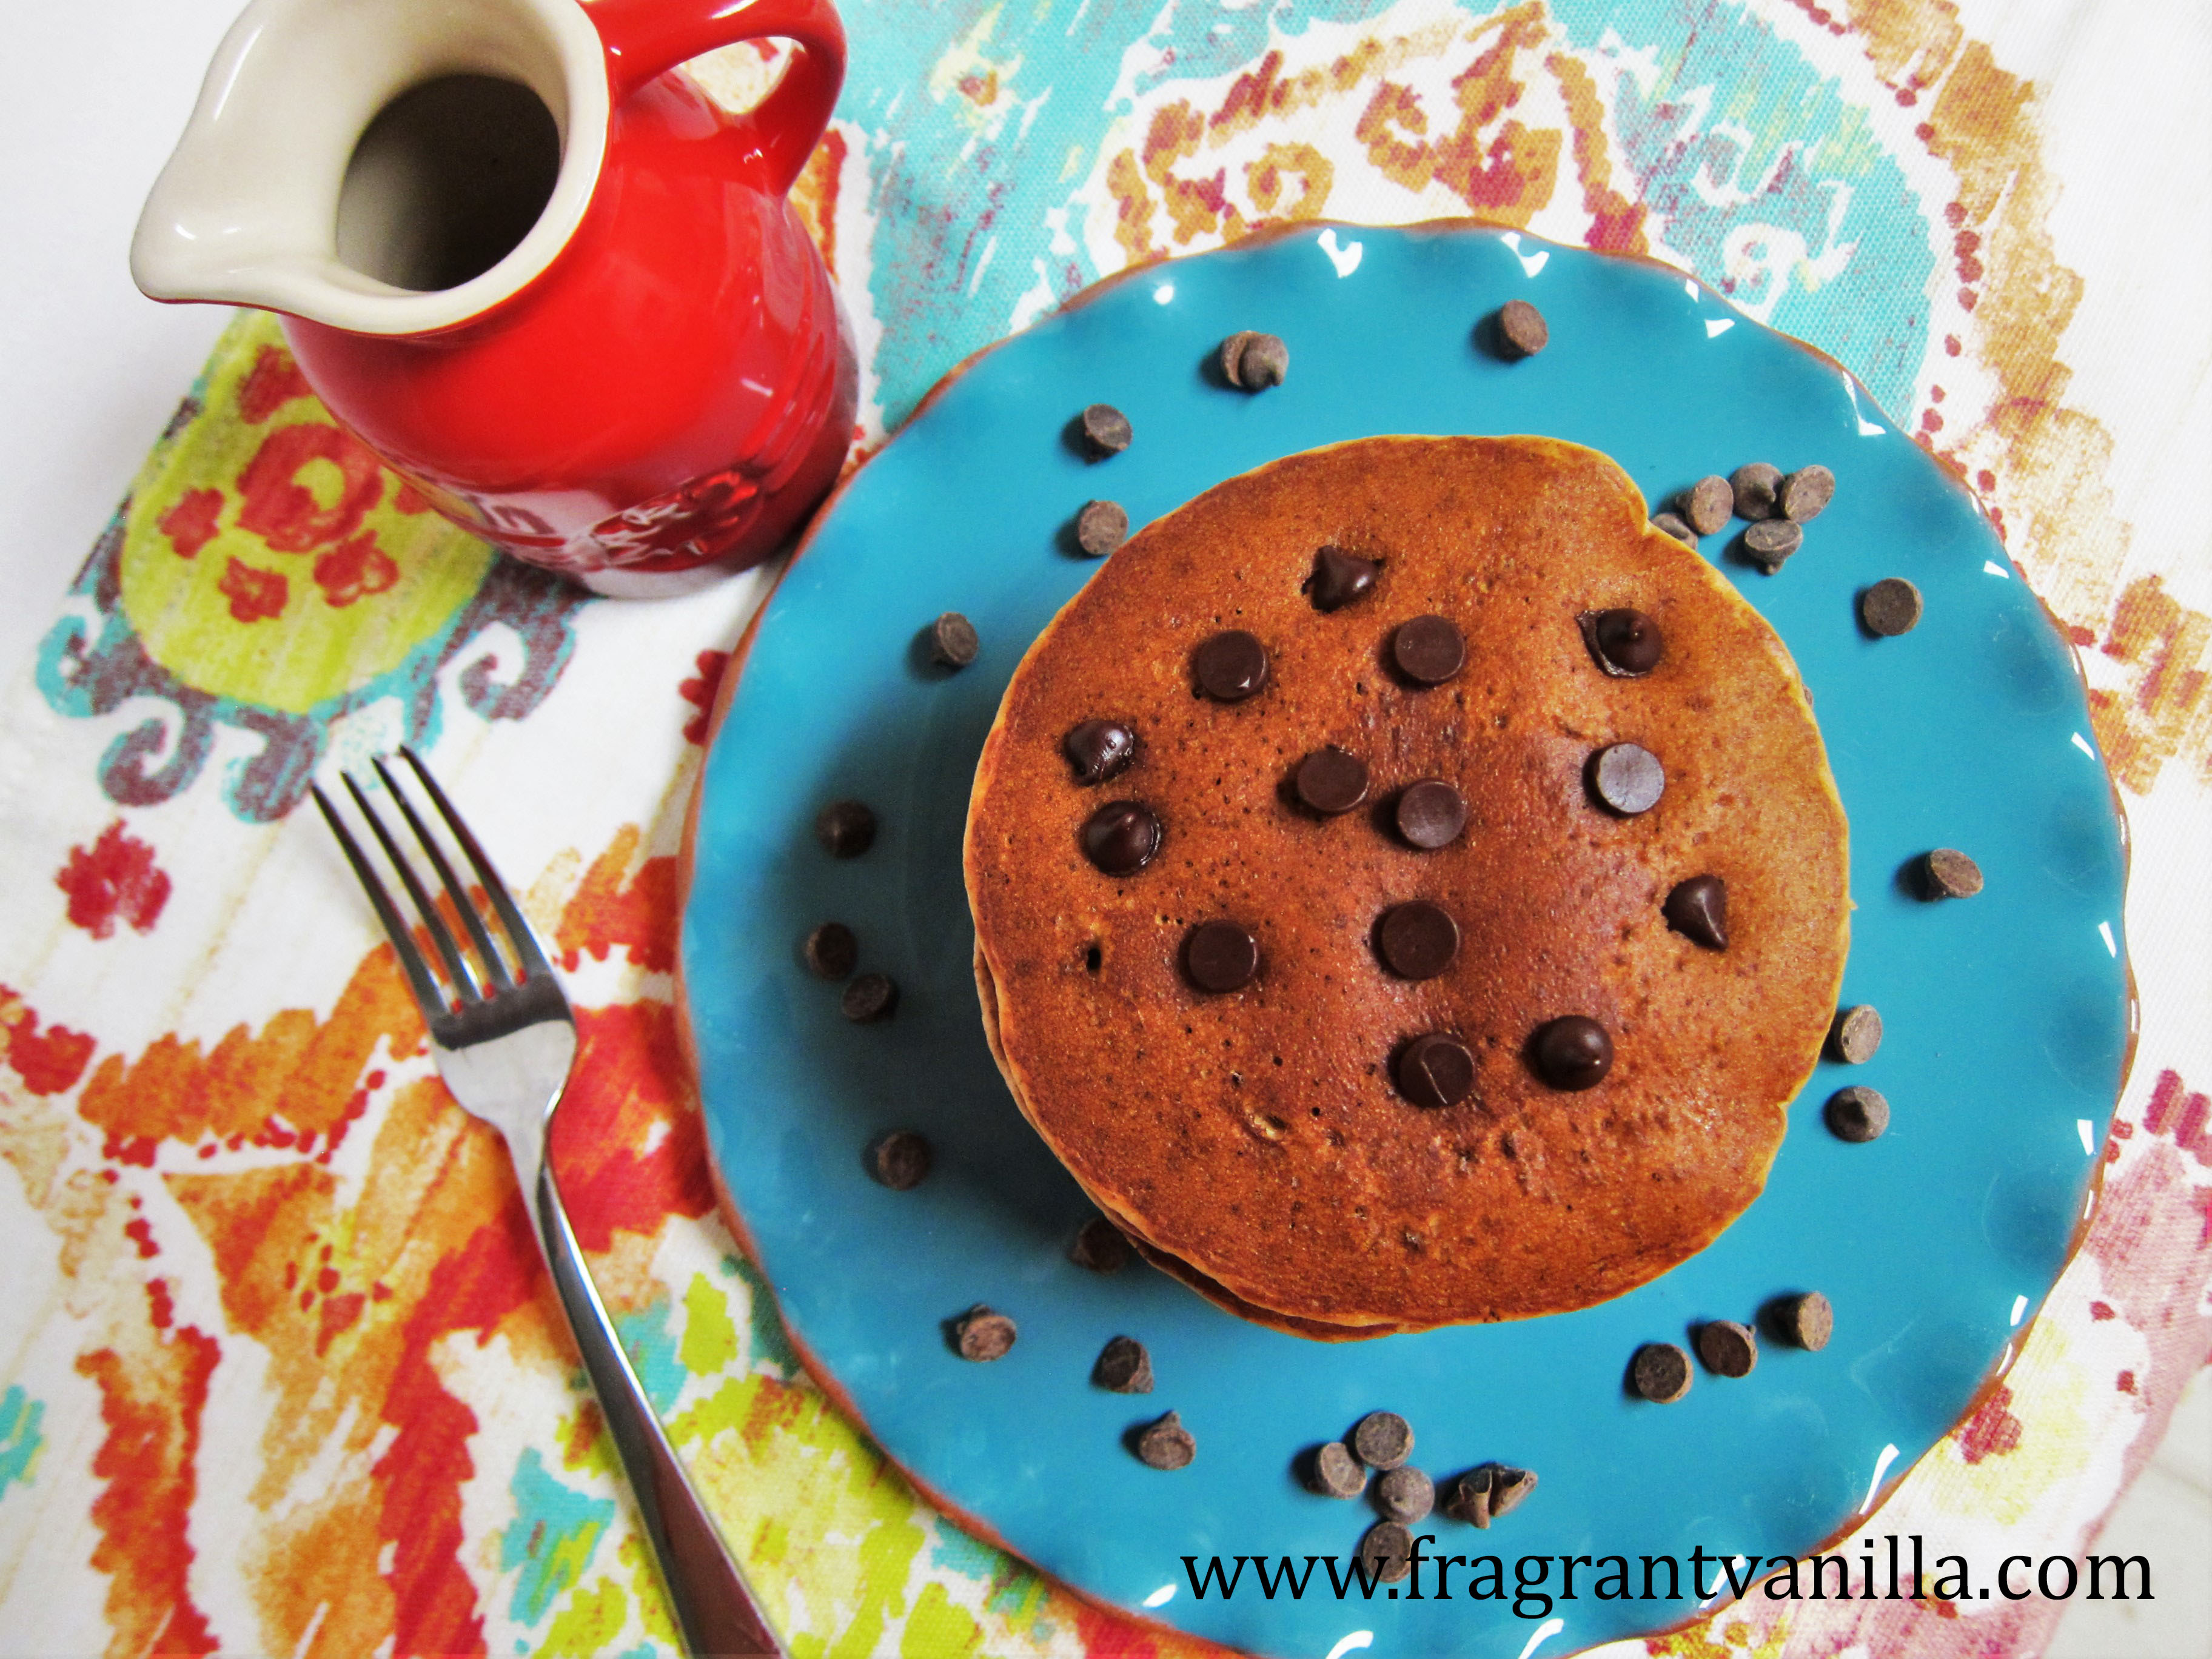
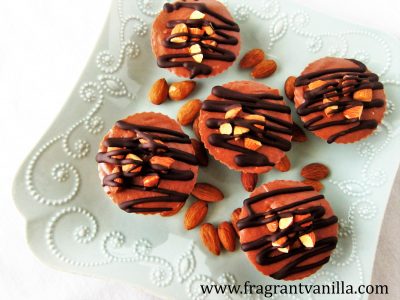
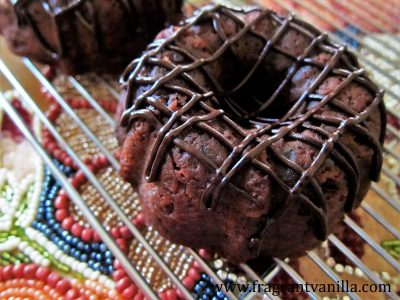
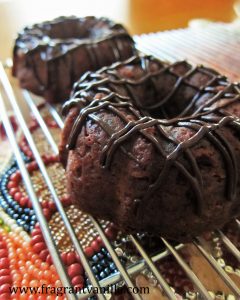
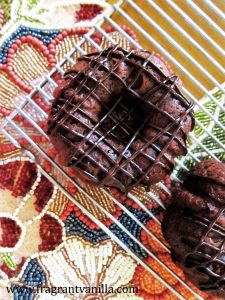
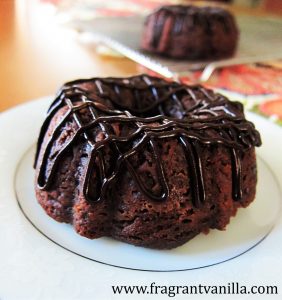
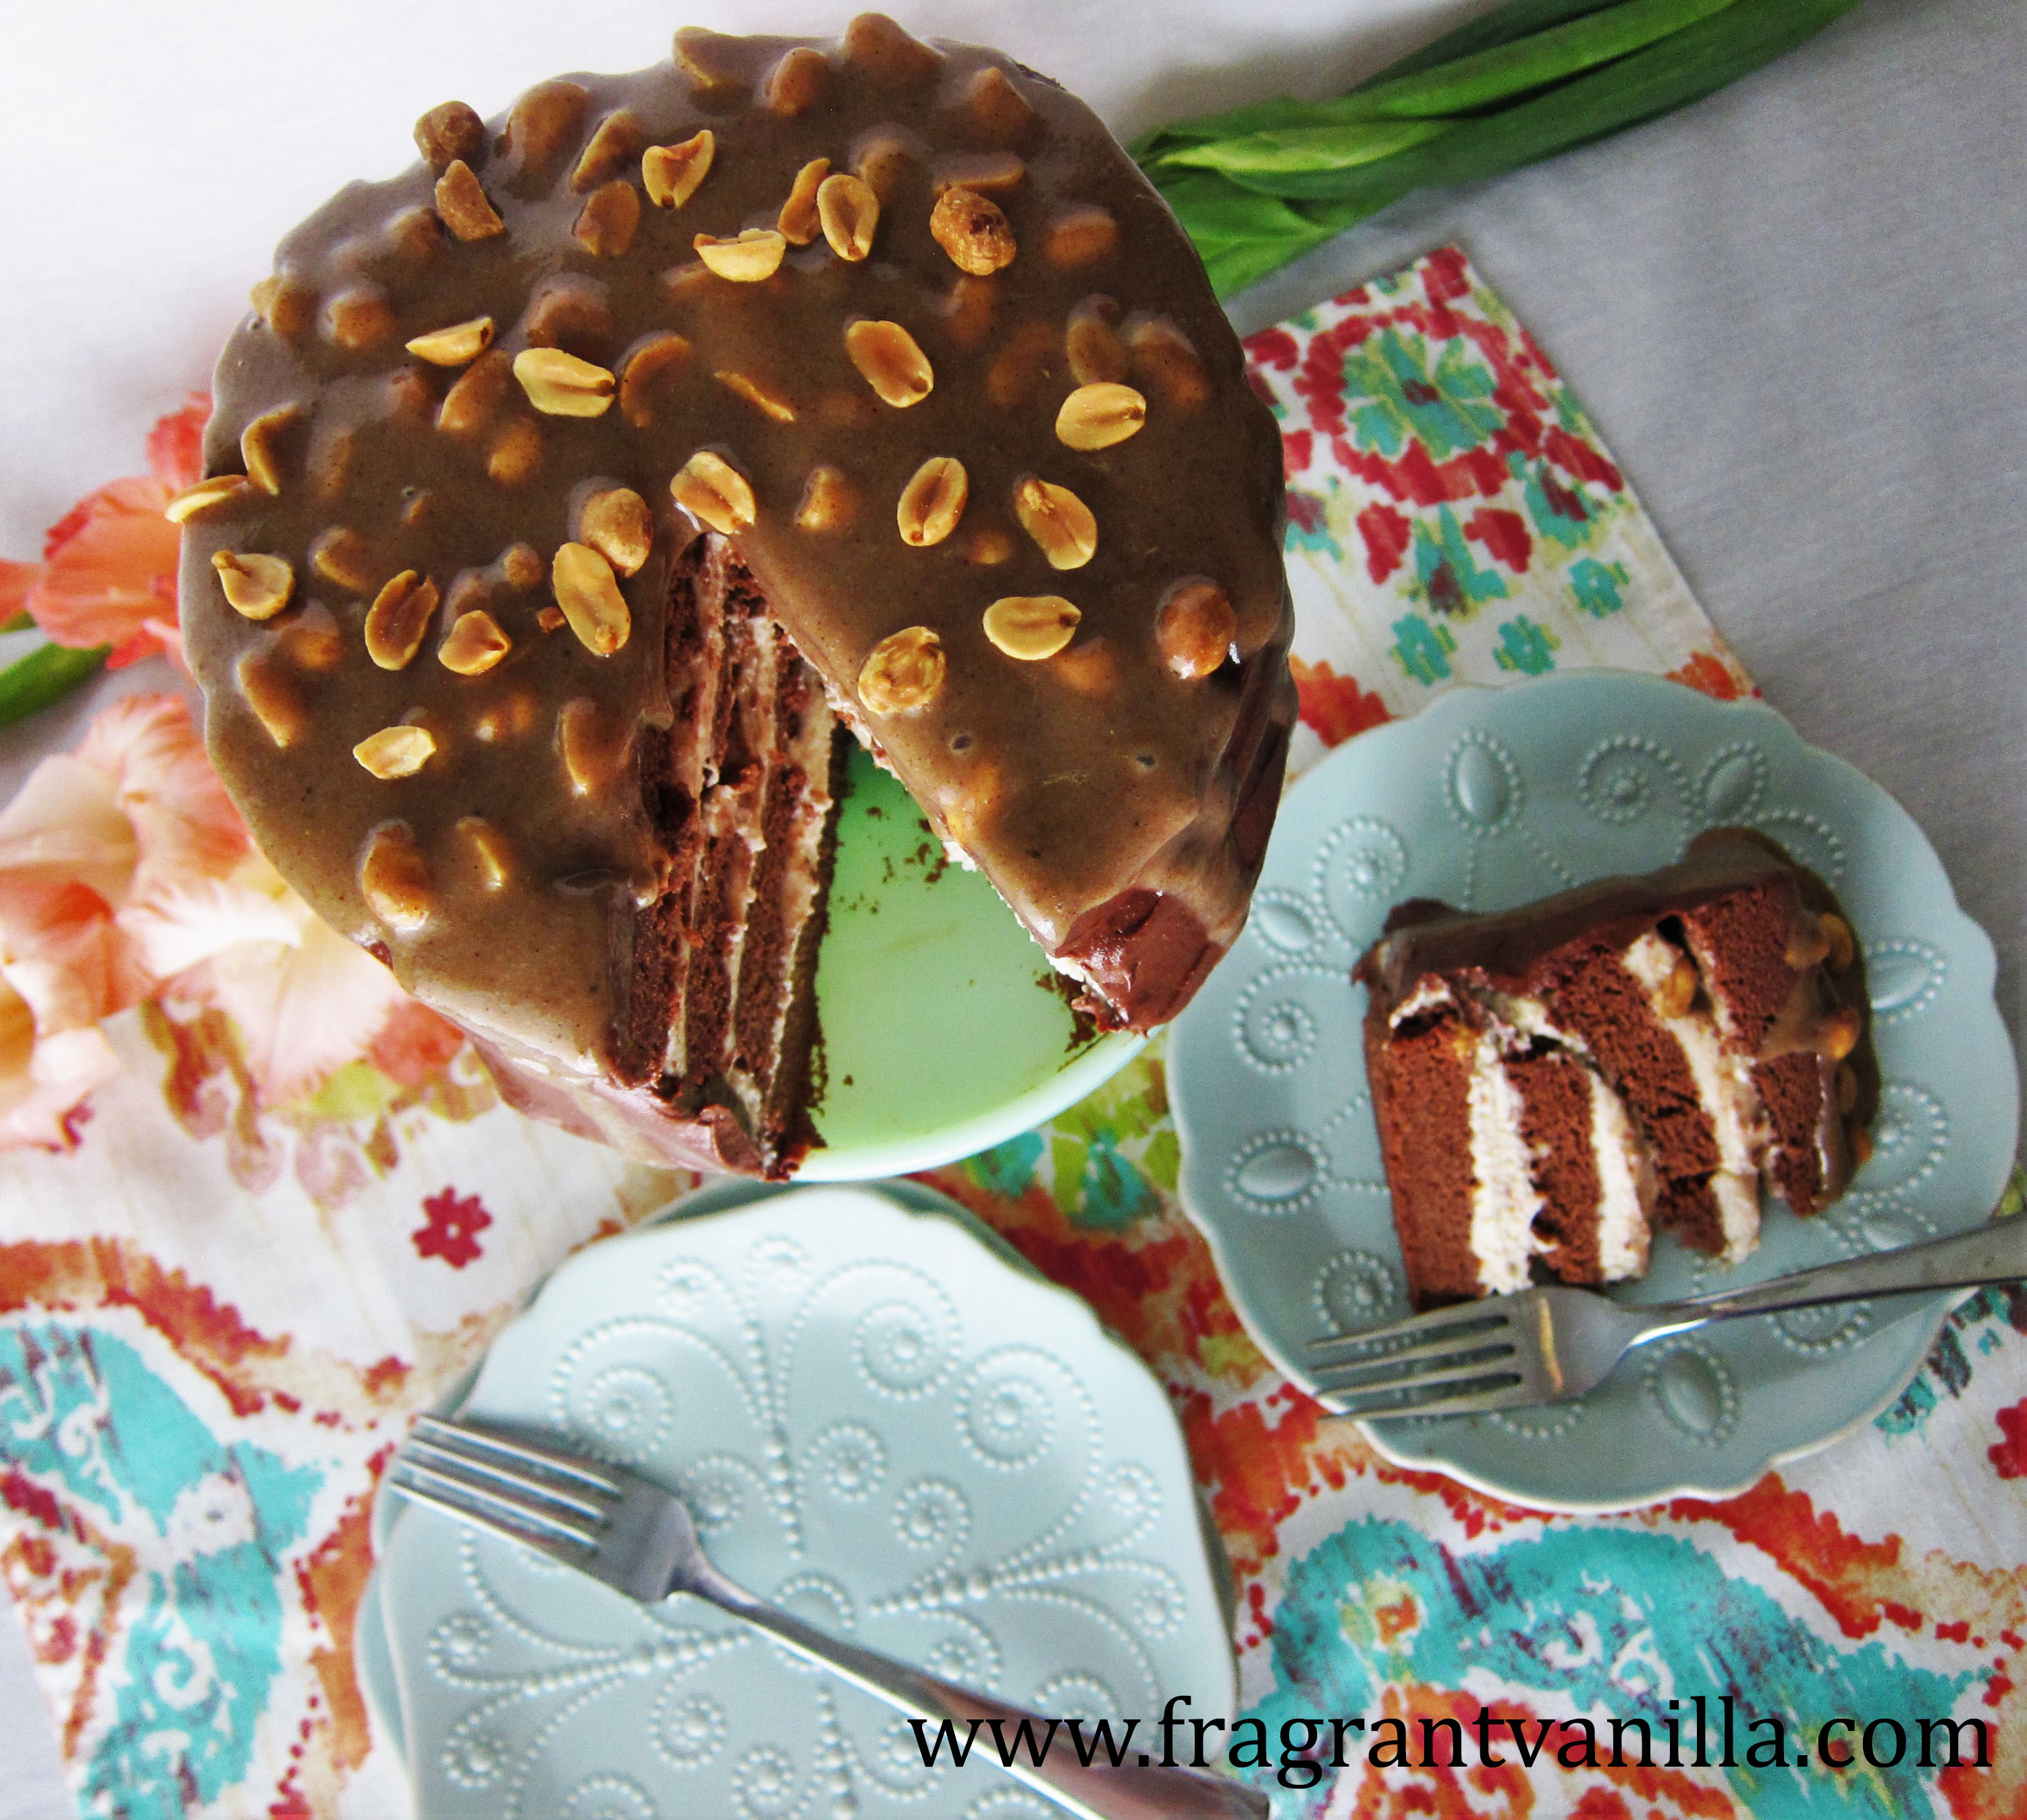
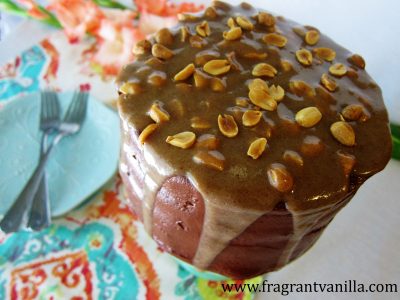
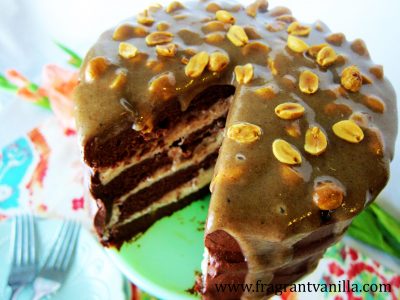
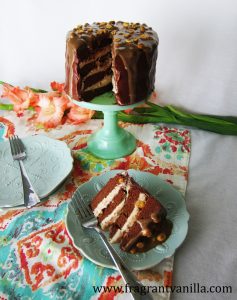
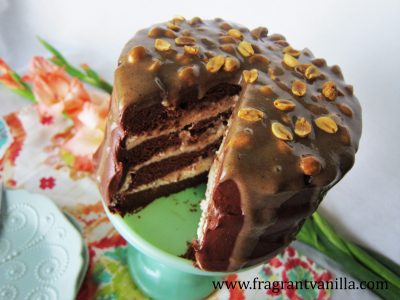
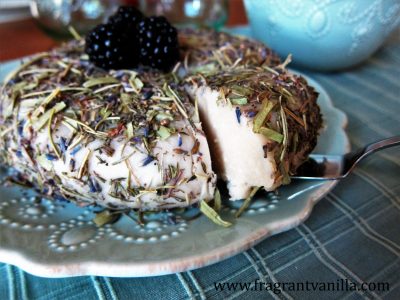
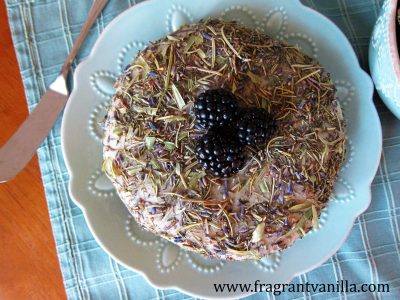
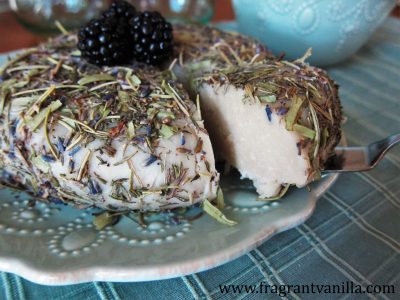
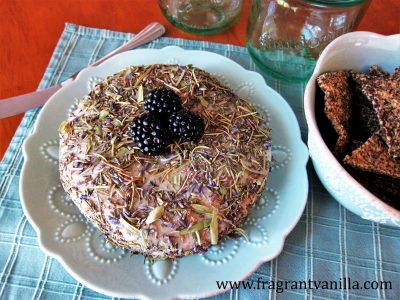
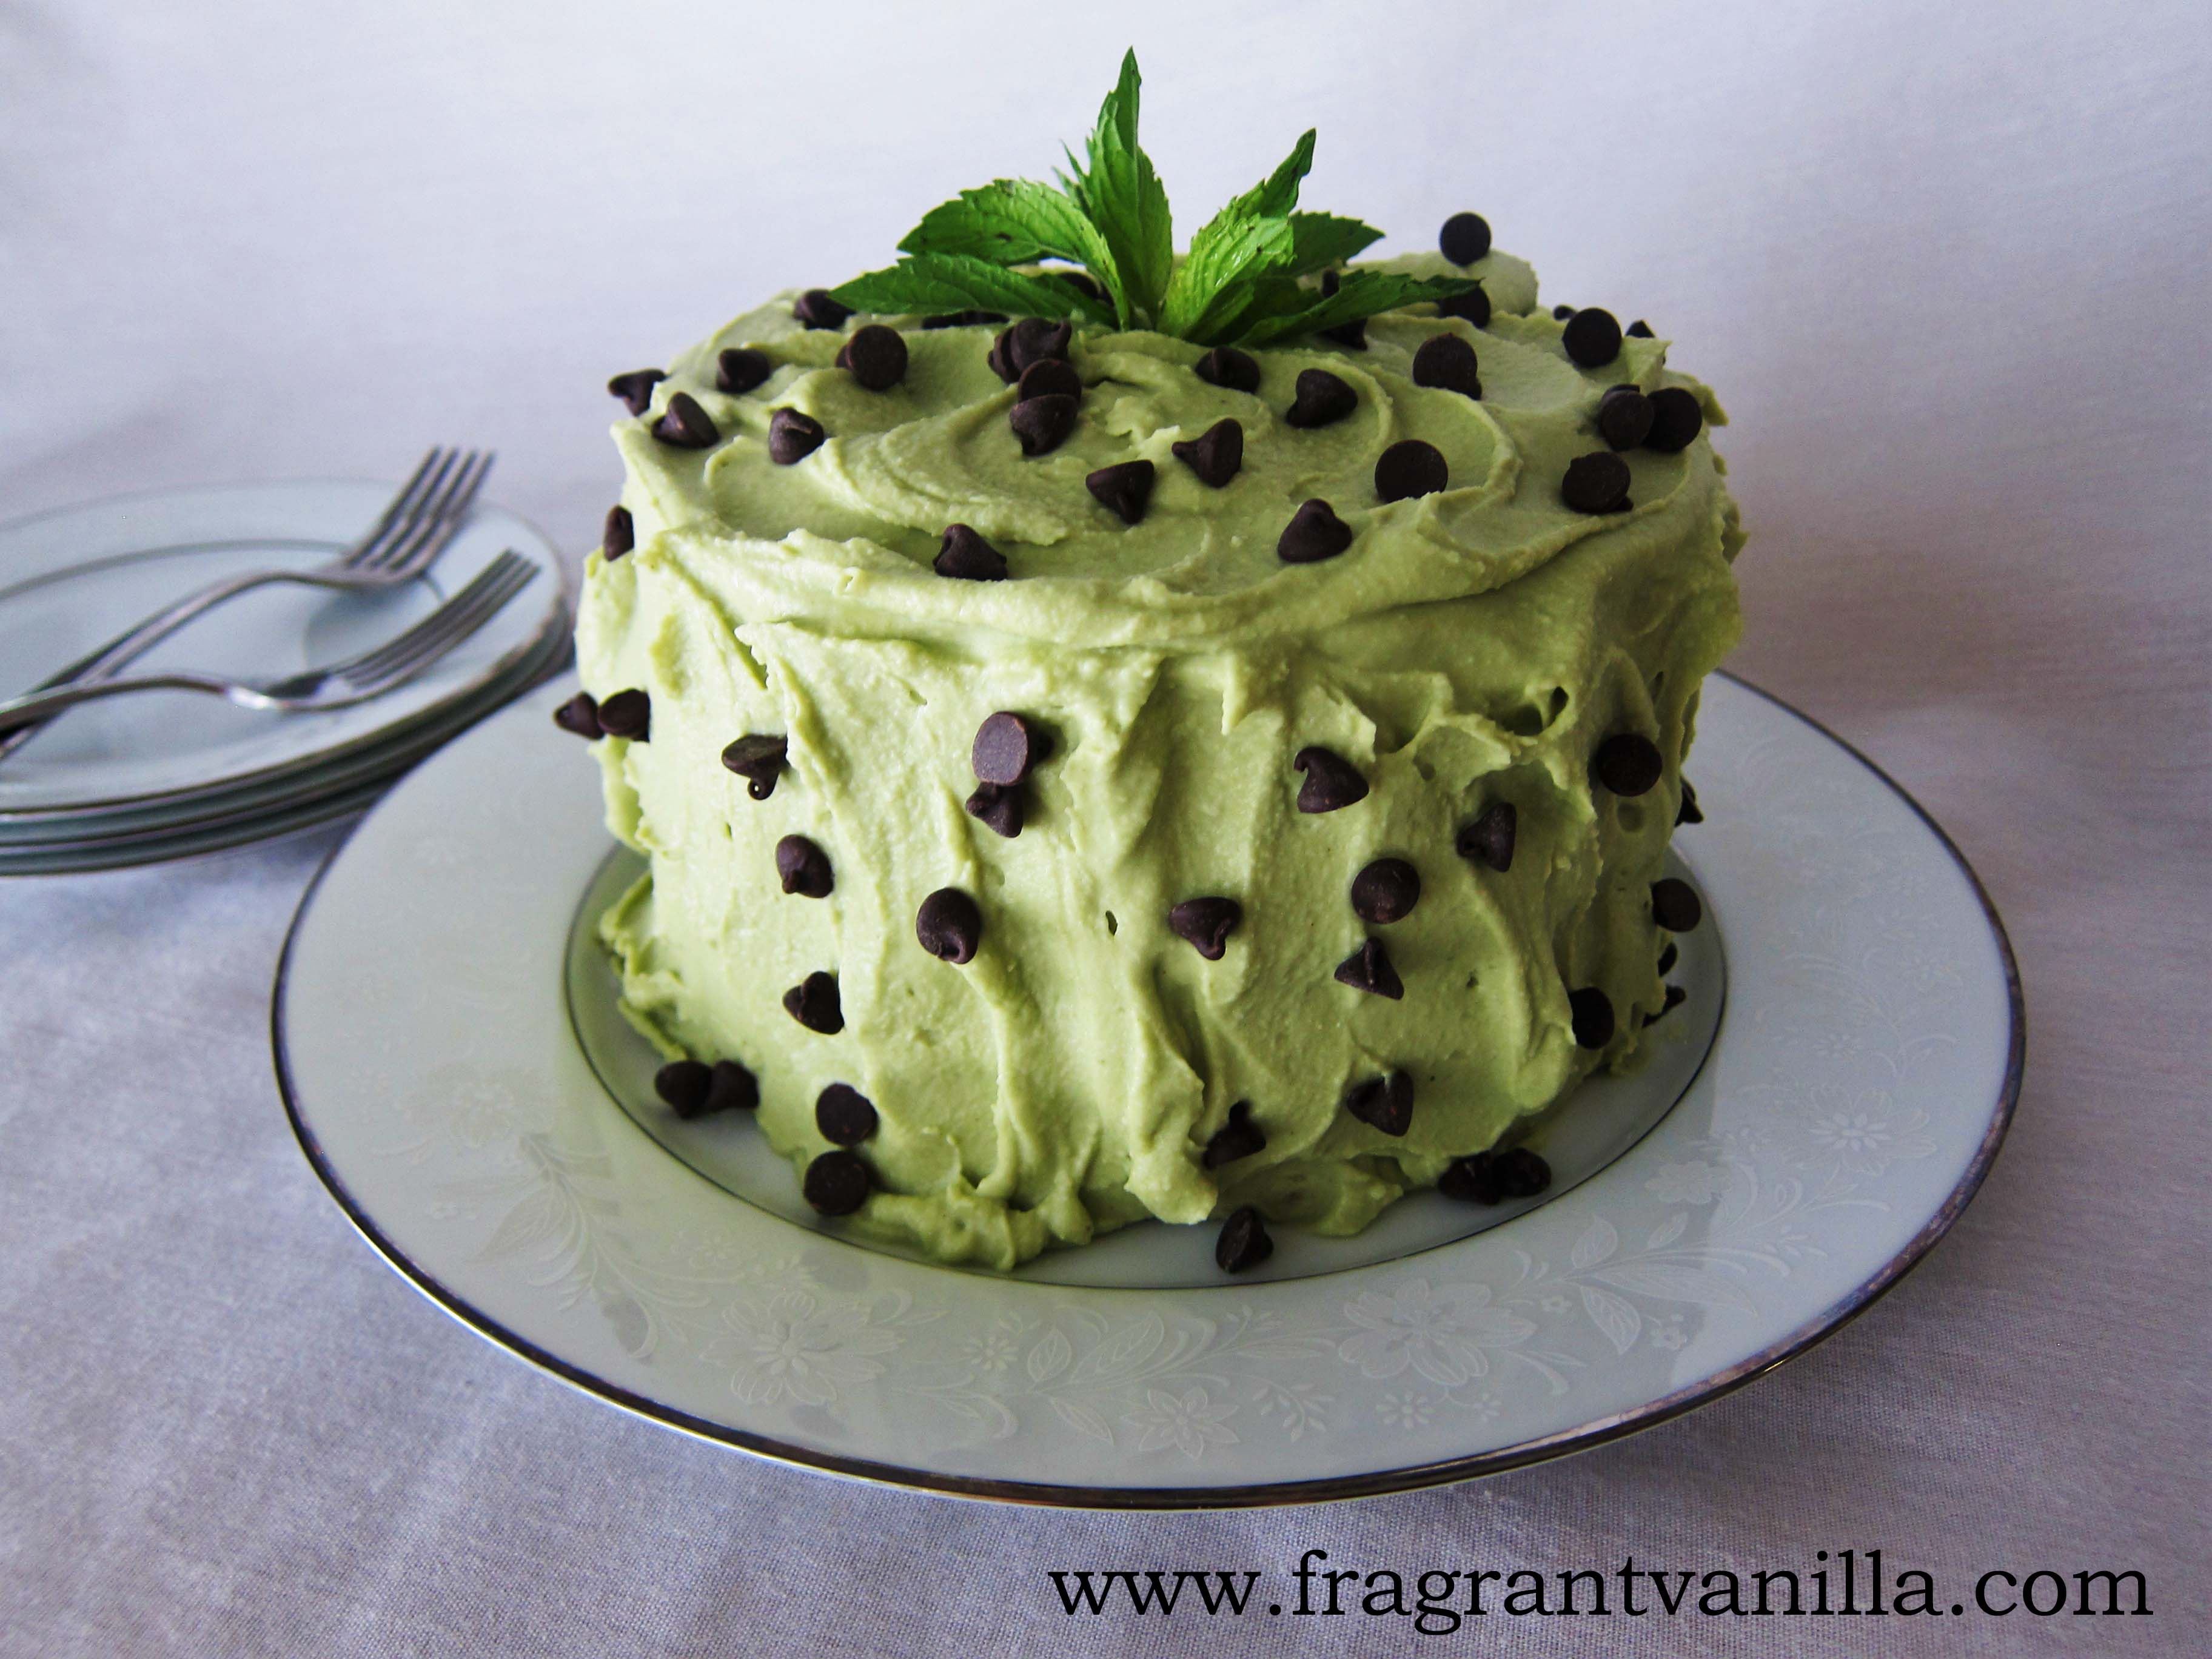
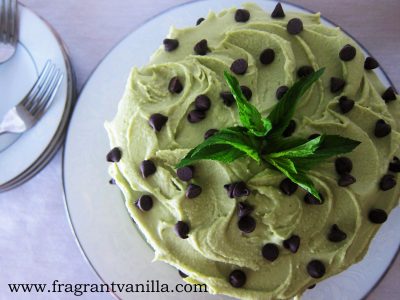
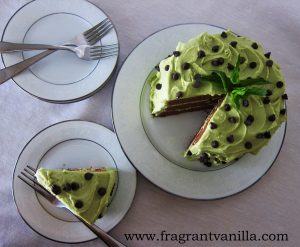
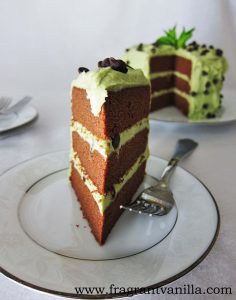
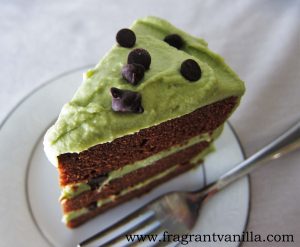
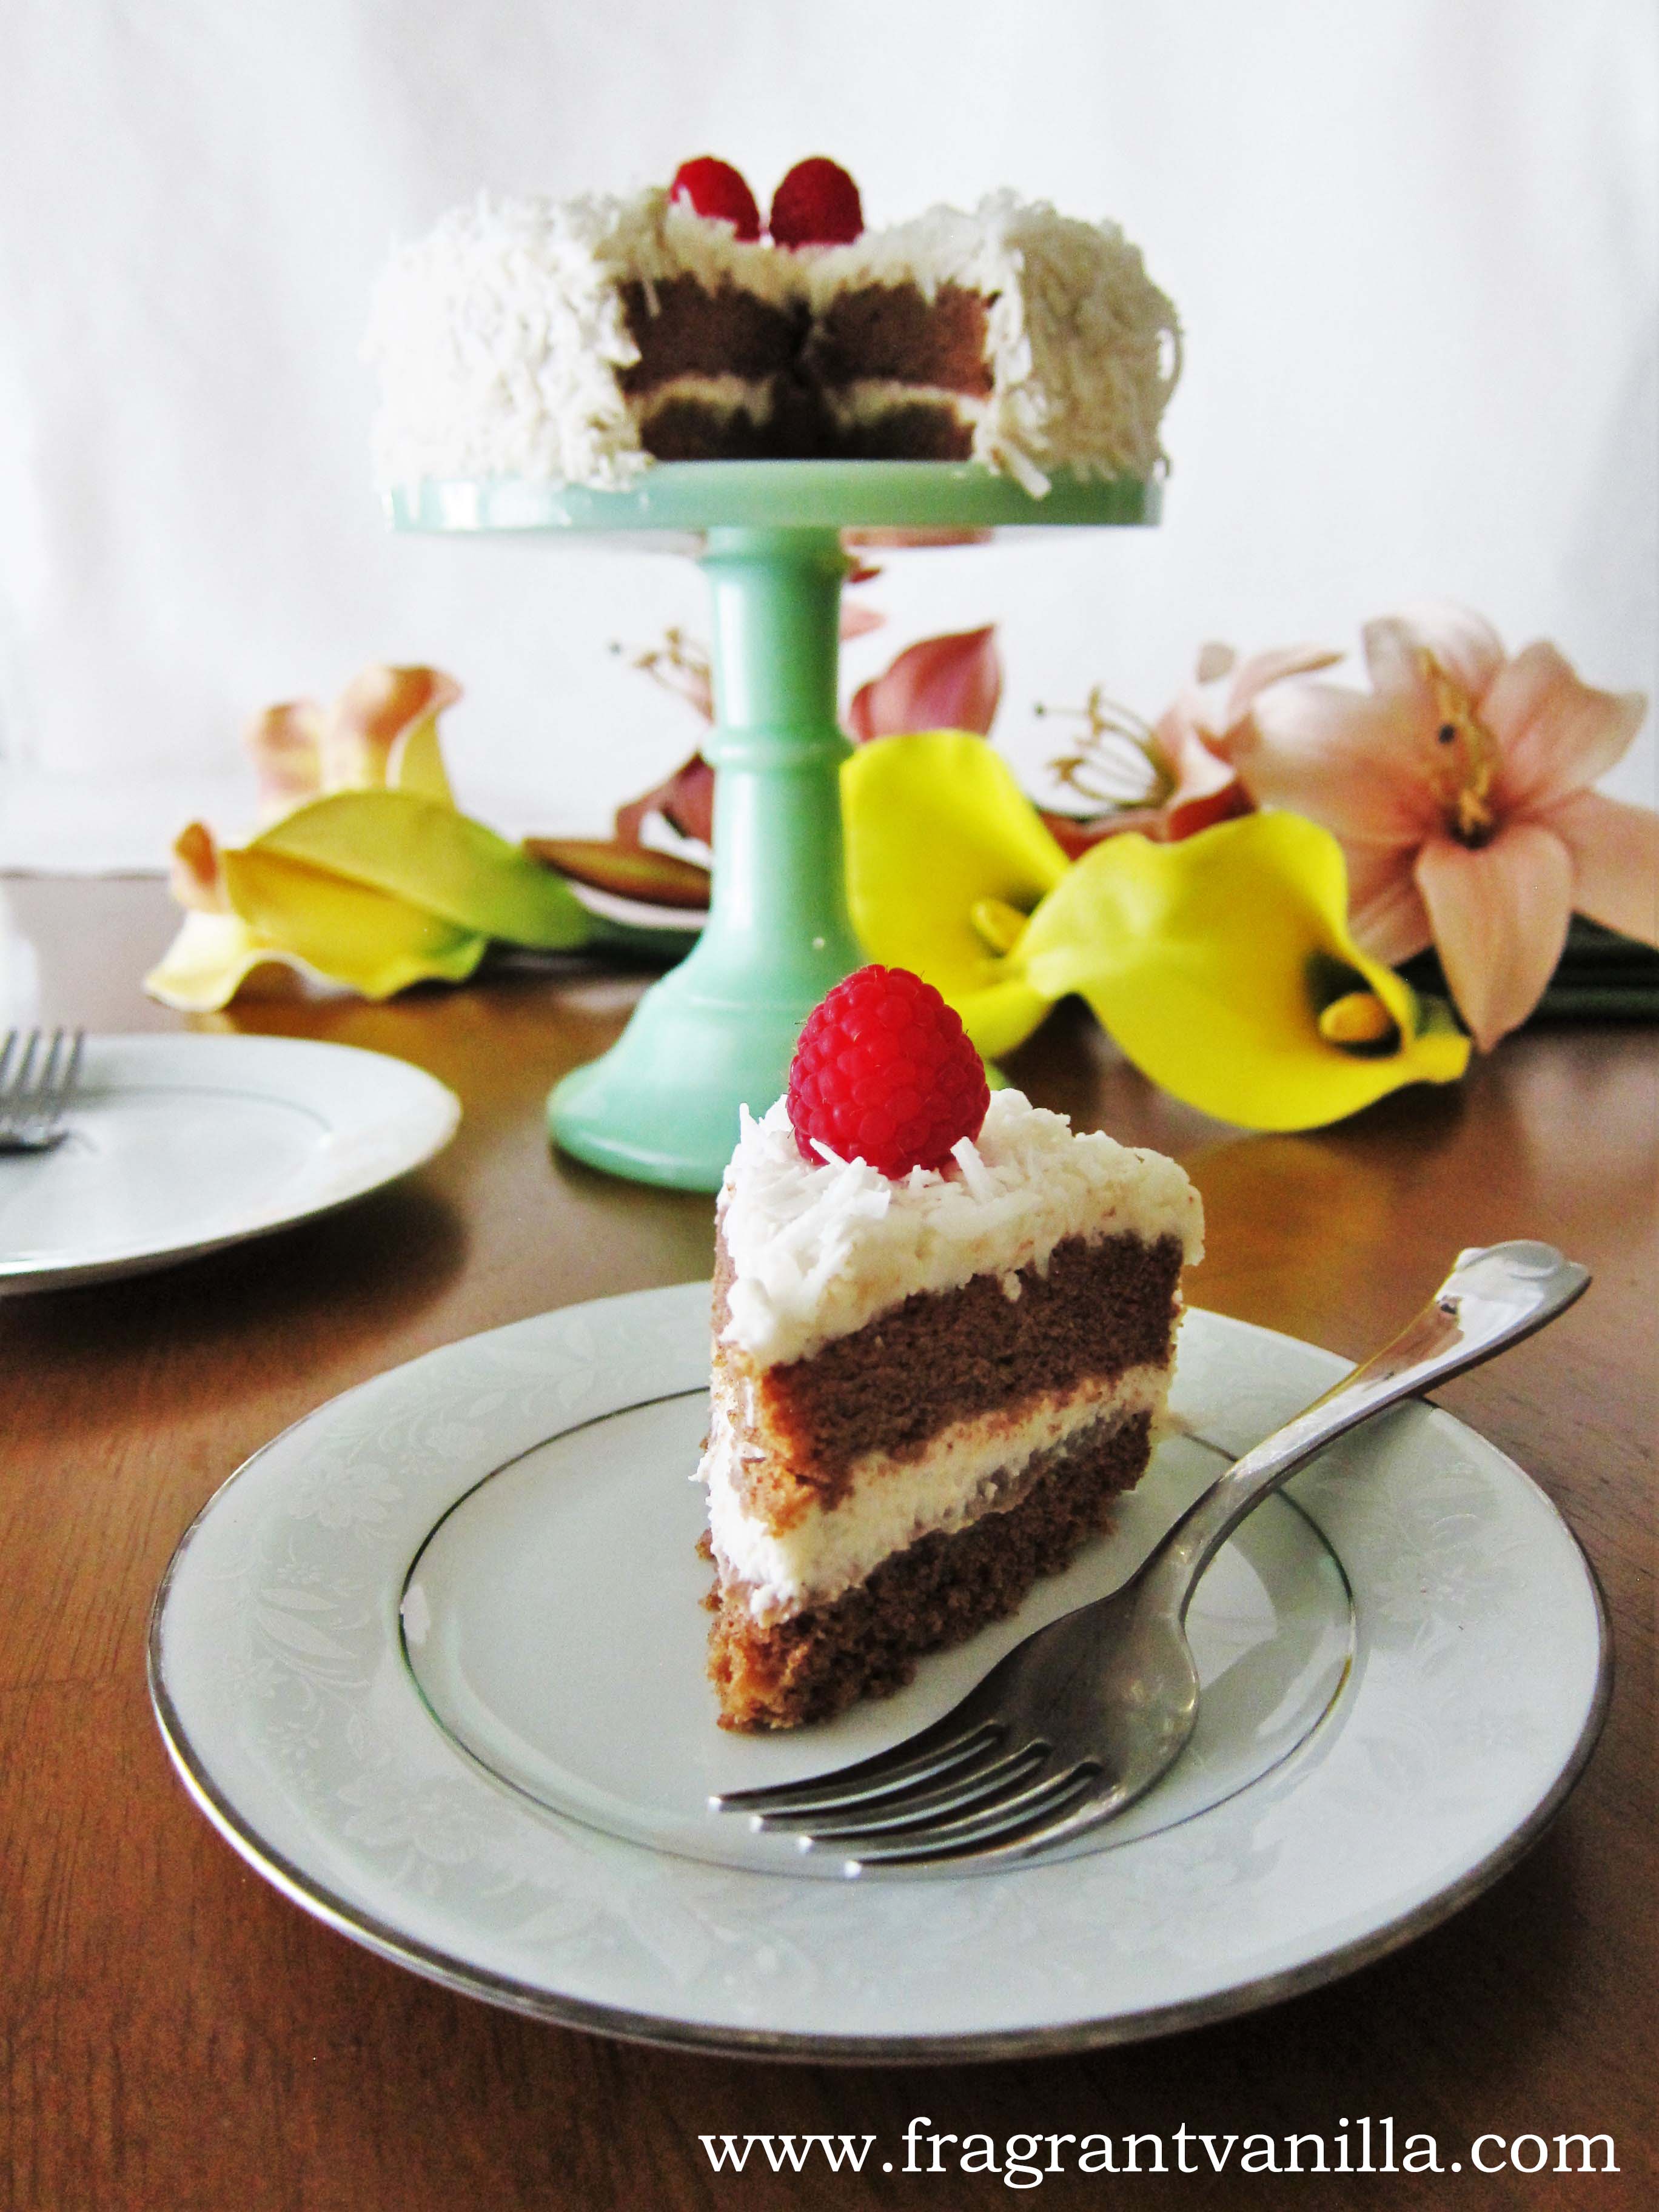
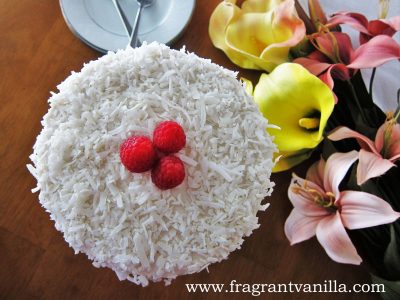
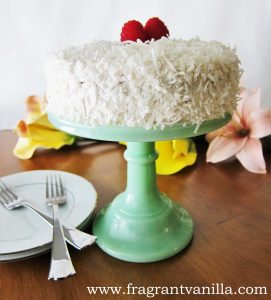
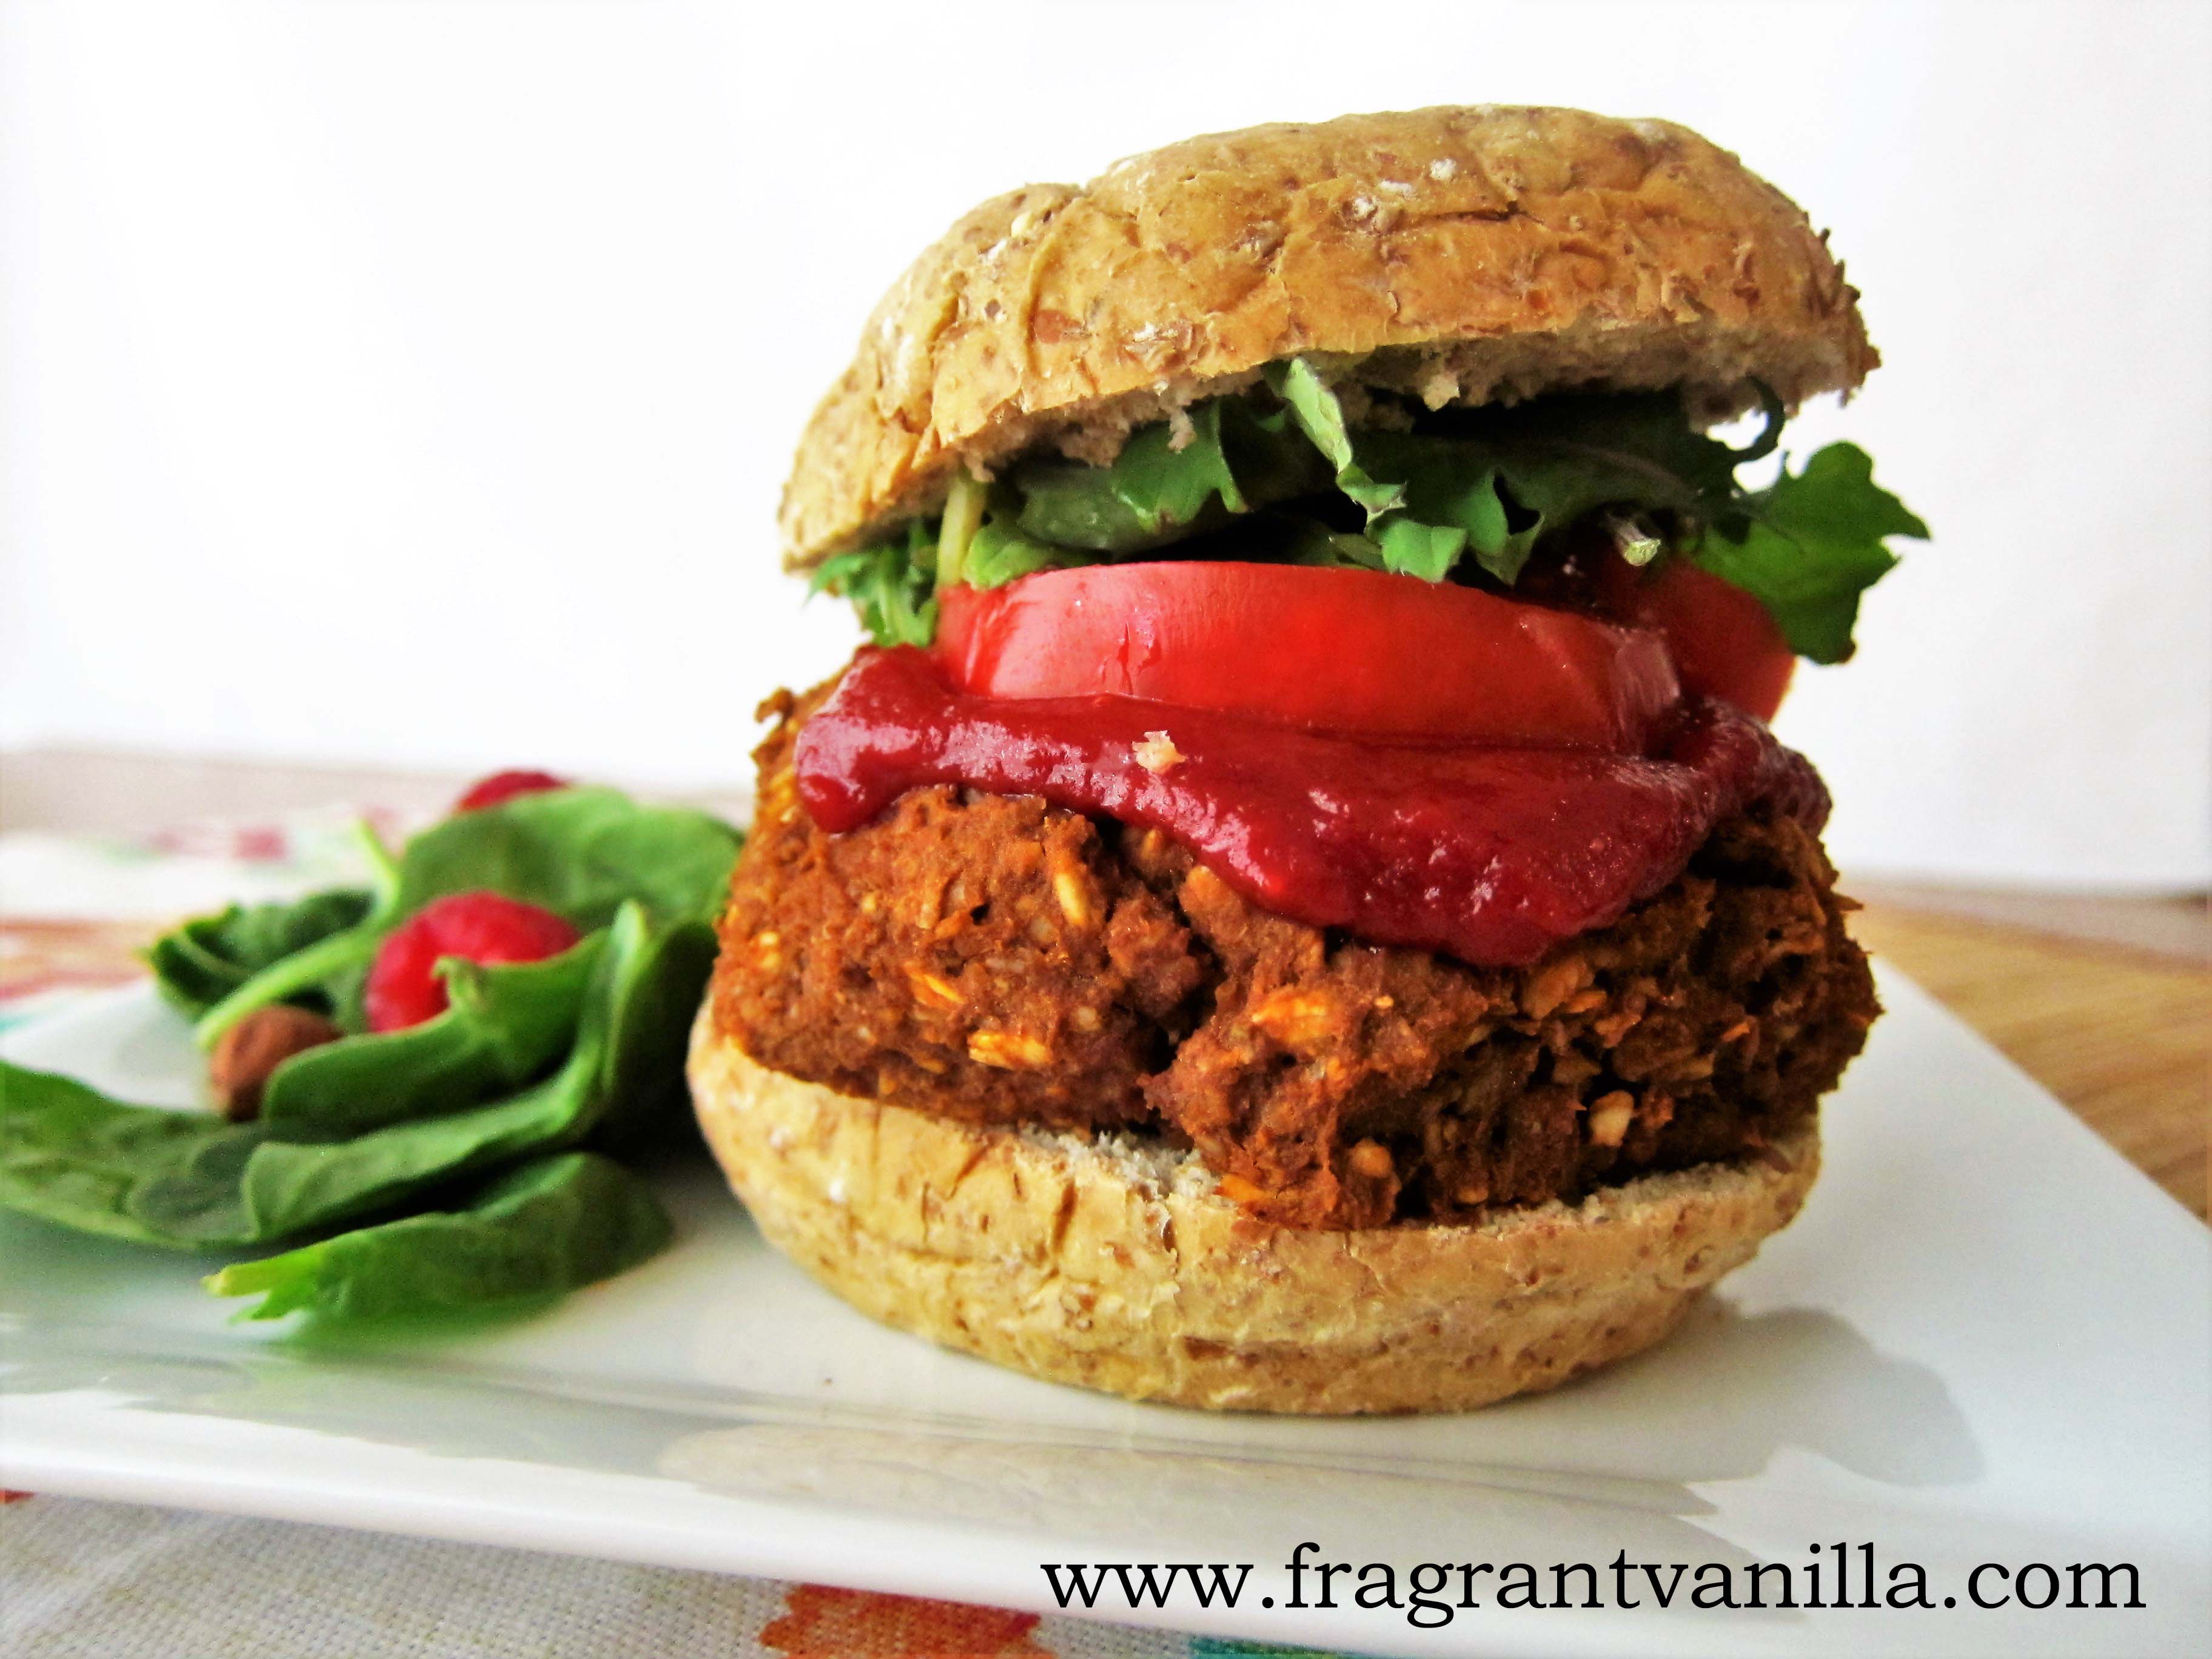
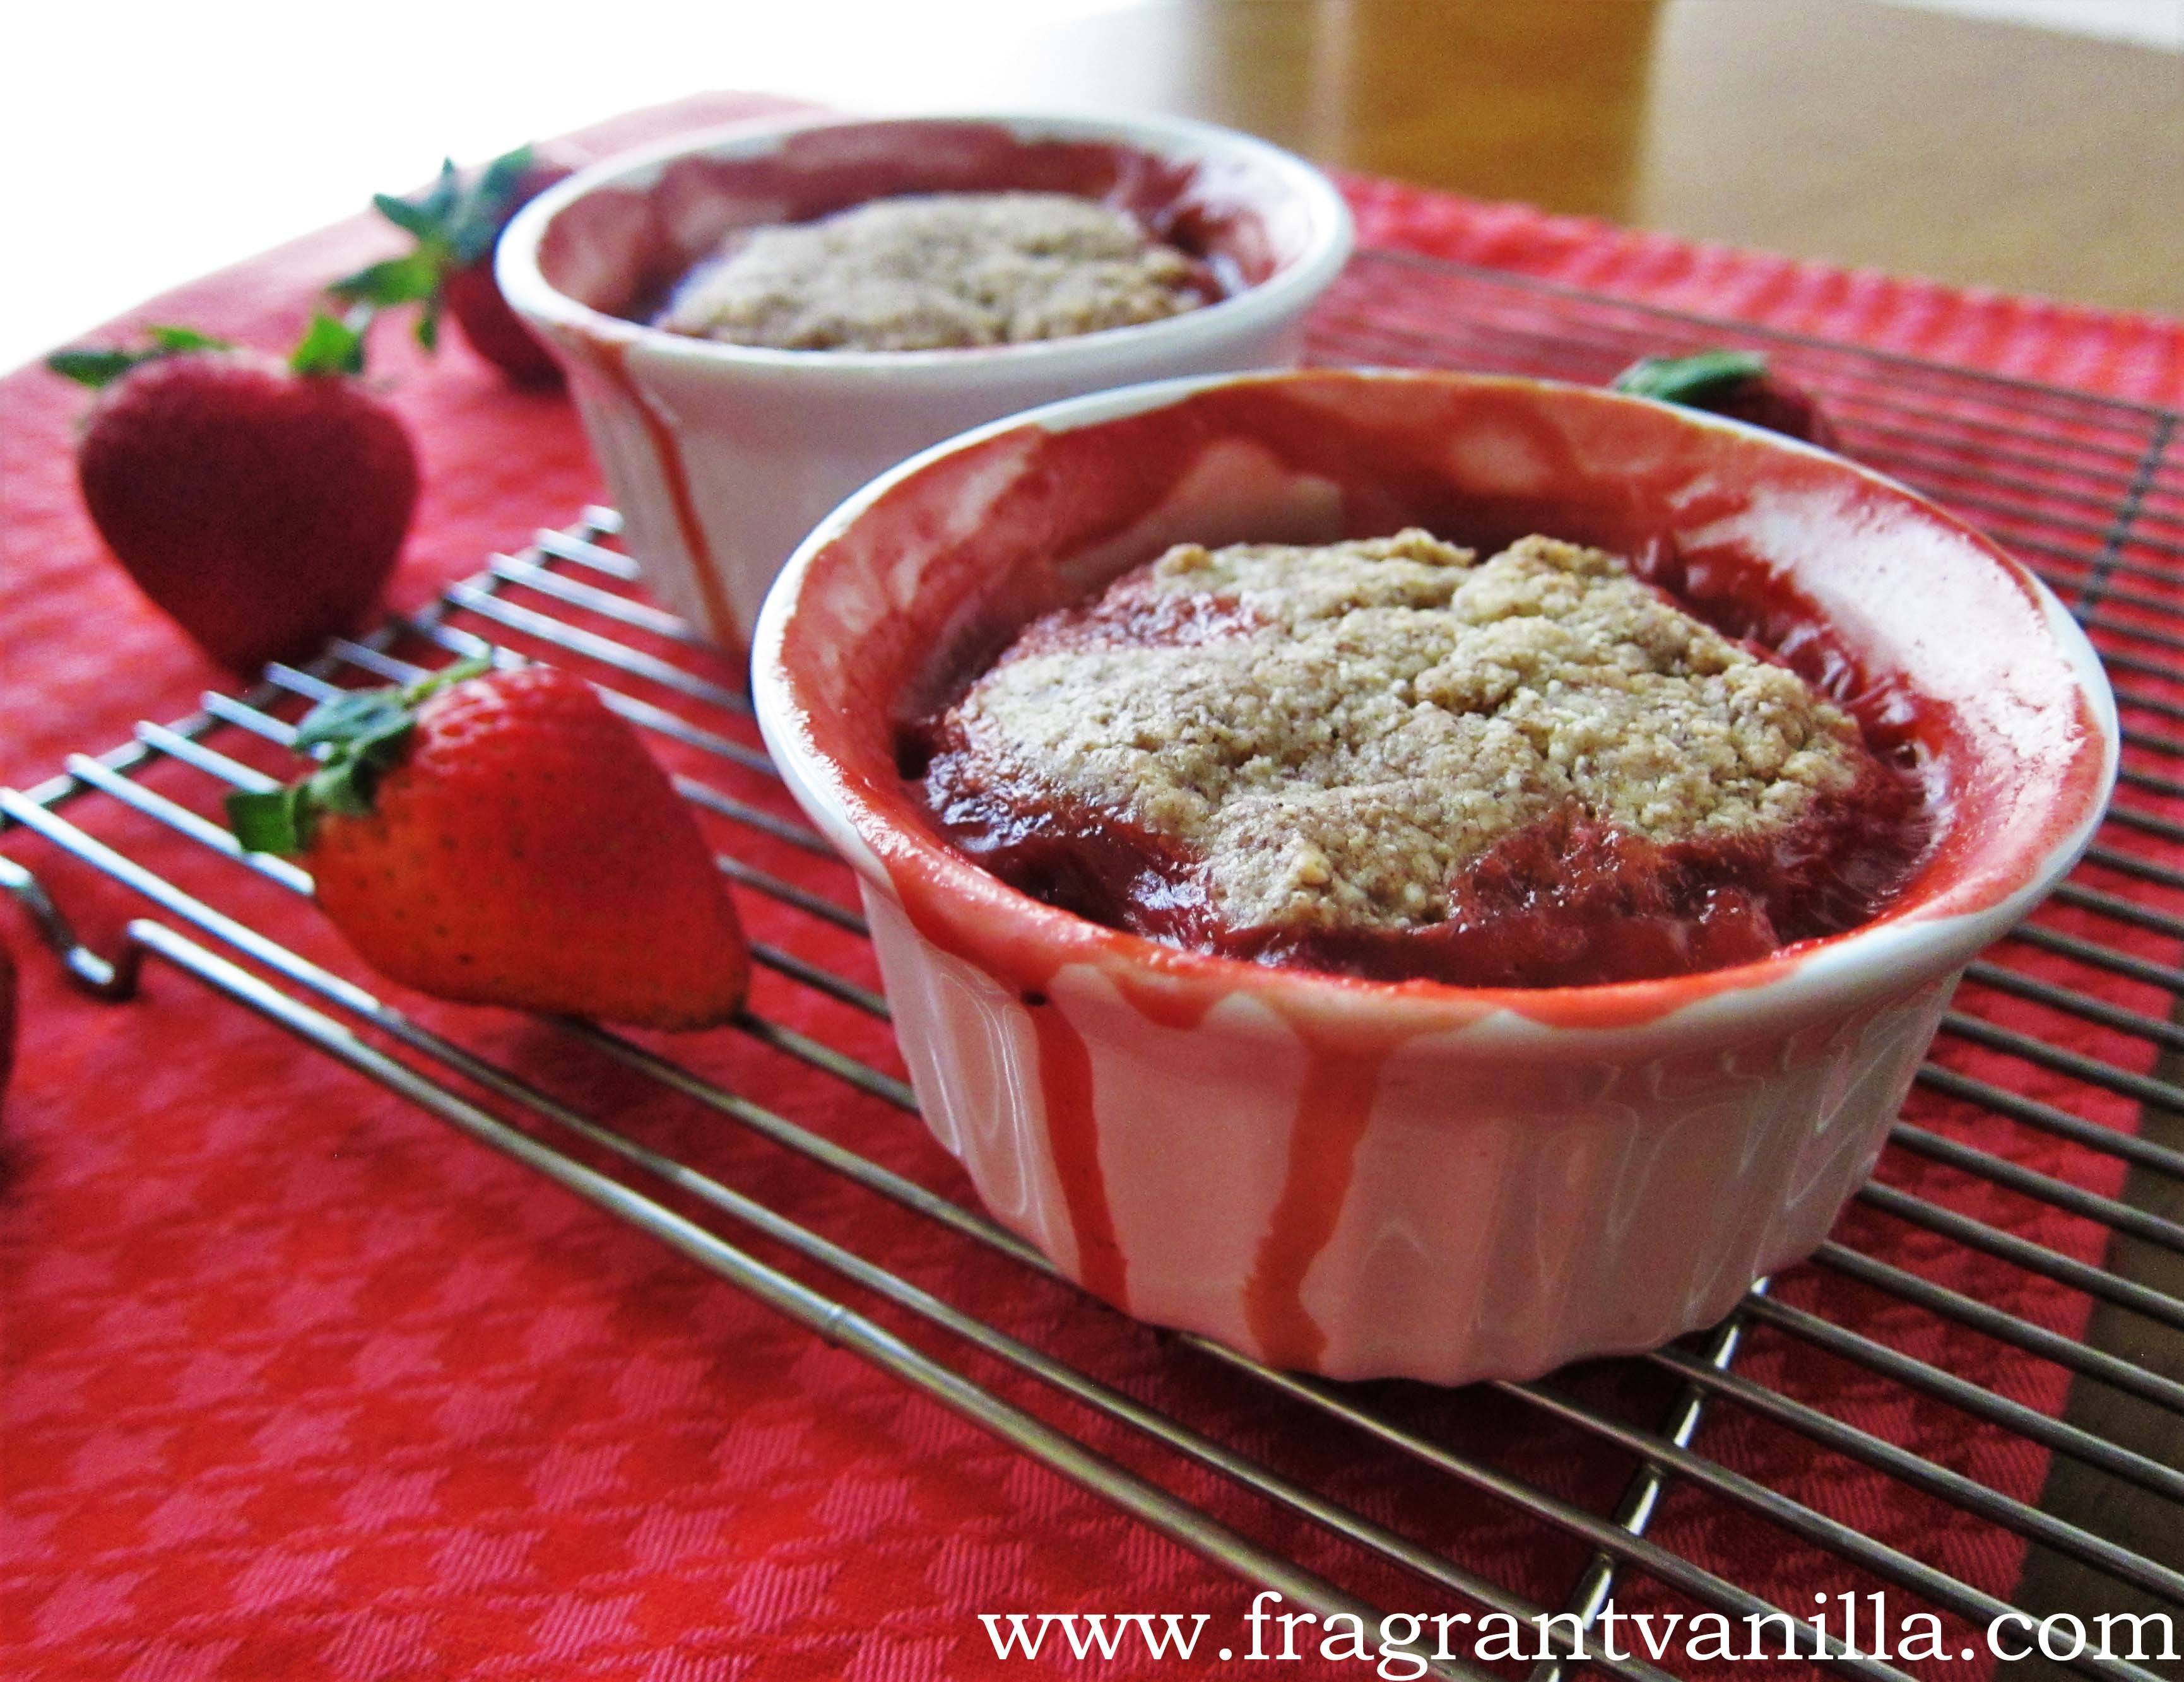
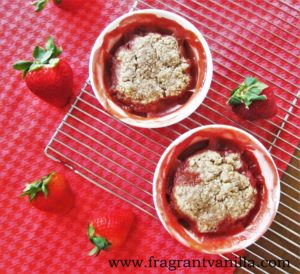
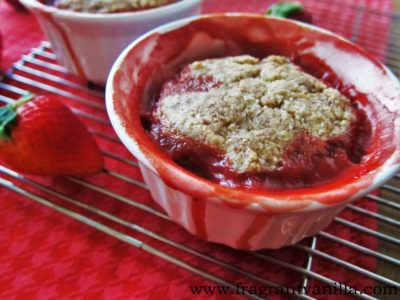
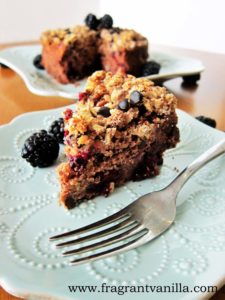
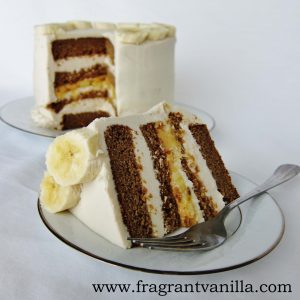
Peanut Butter Banana Layer Cake
Makes 1 6 inch 4 layer cake
2 6 inch cake pans
Cake:
1 1/2 cups all purpose gluten free flour
1 cup coconut sugar
1 1/2 tsp baking soda
1 tsp baking powder
1/2 tsp sea salt
1 cup mashed bananas
1/4 cup virgin coconut oil
1 Tbsp pure vanilla extract
1/4 cup + 2 Tbsp water at room temperature
2 Tbsp smooth organic peanut butter
2 Tbsp apple cider vinegar
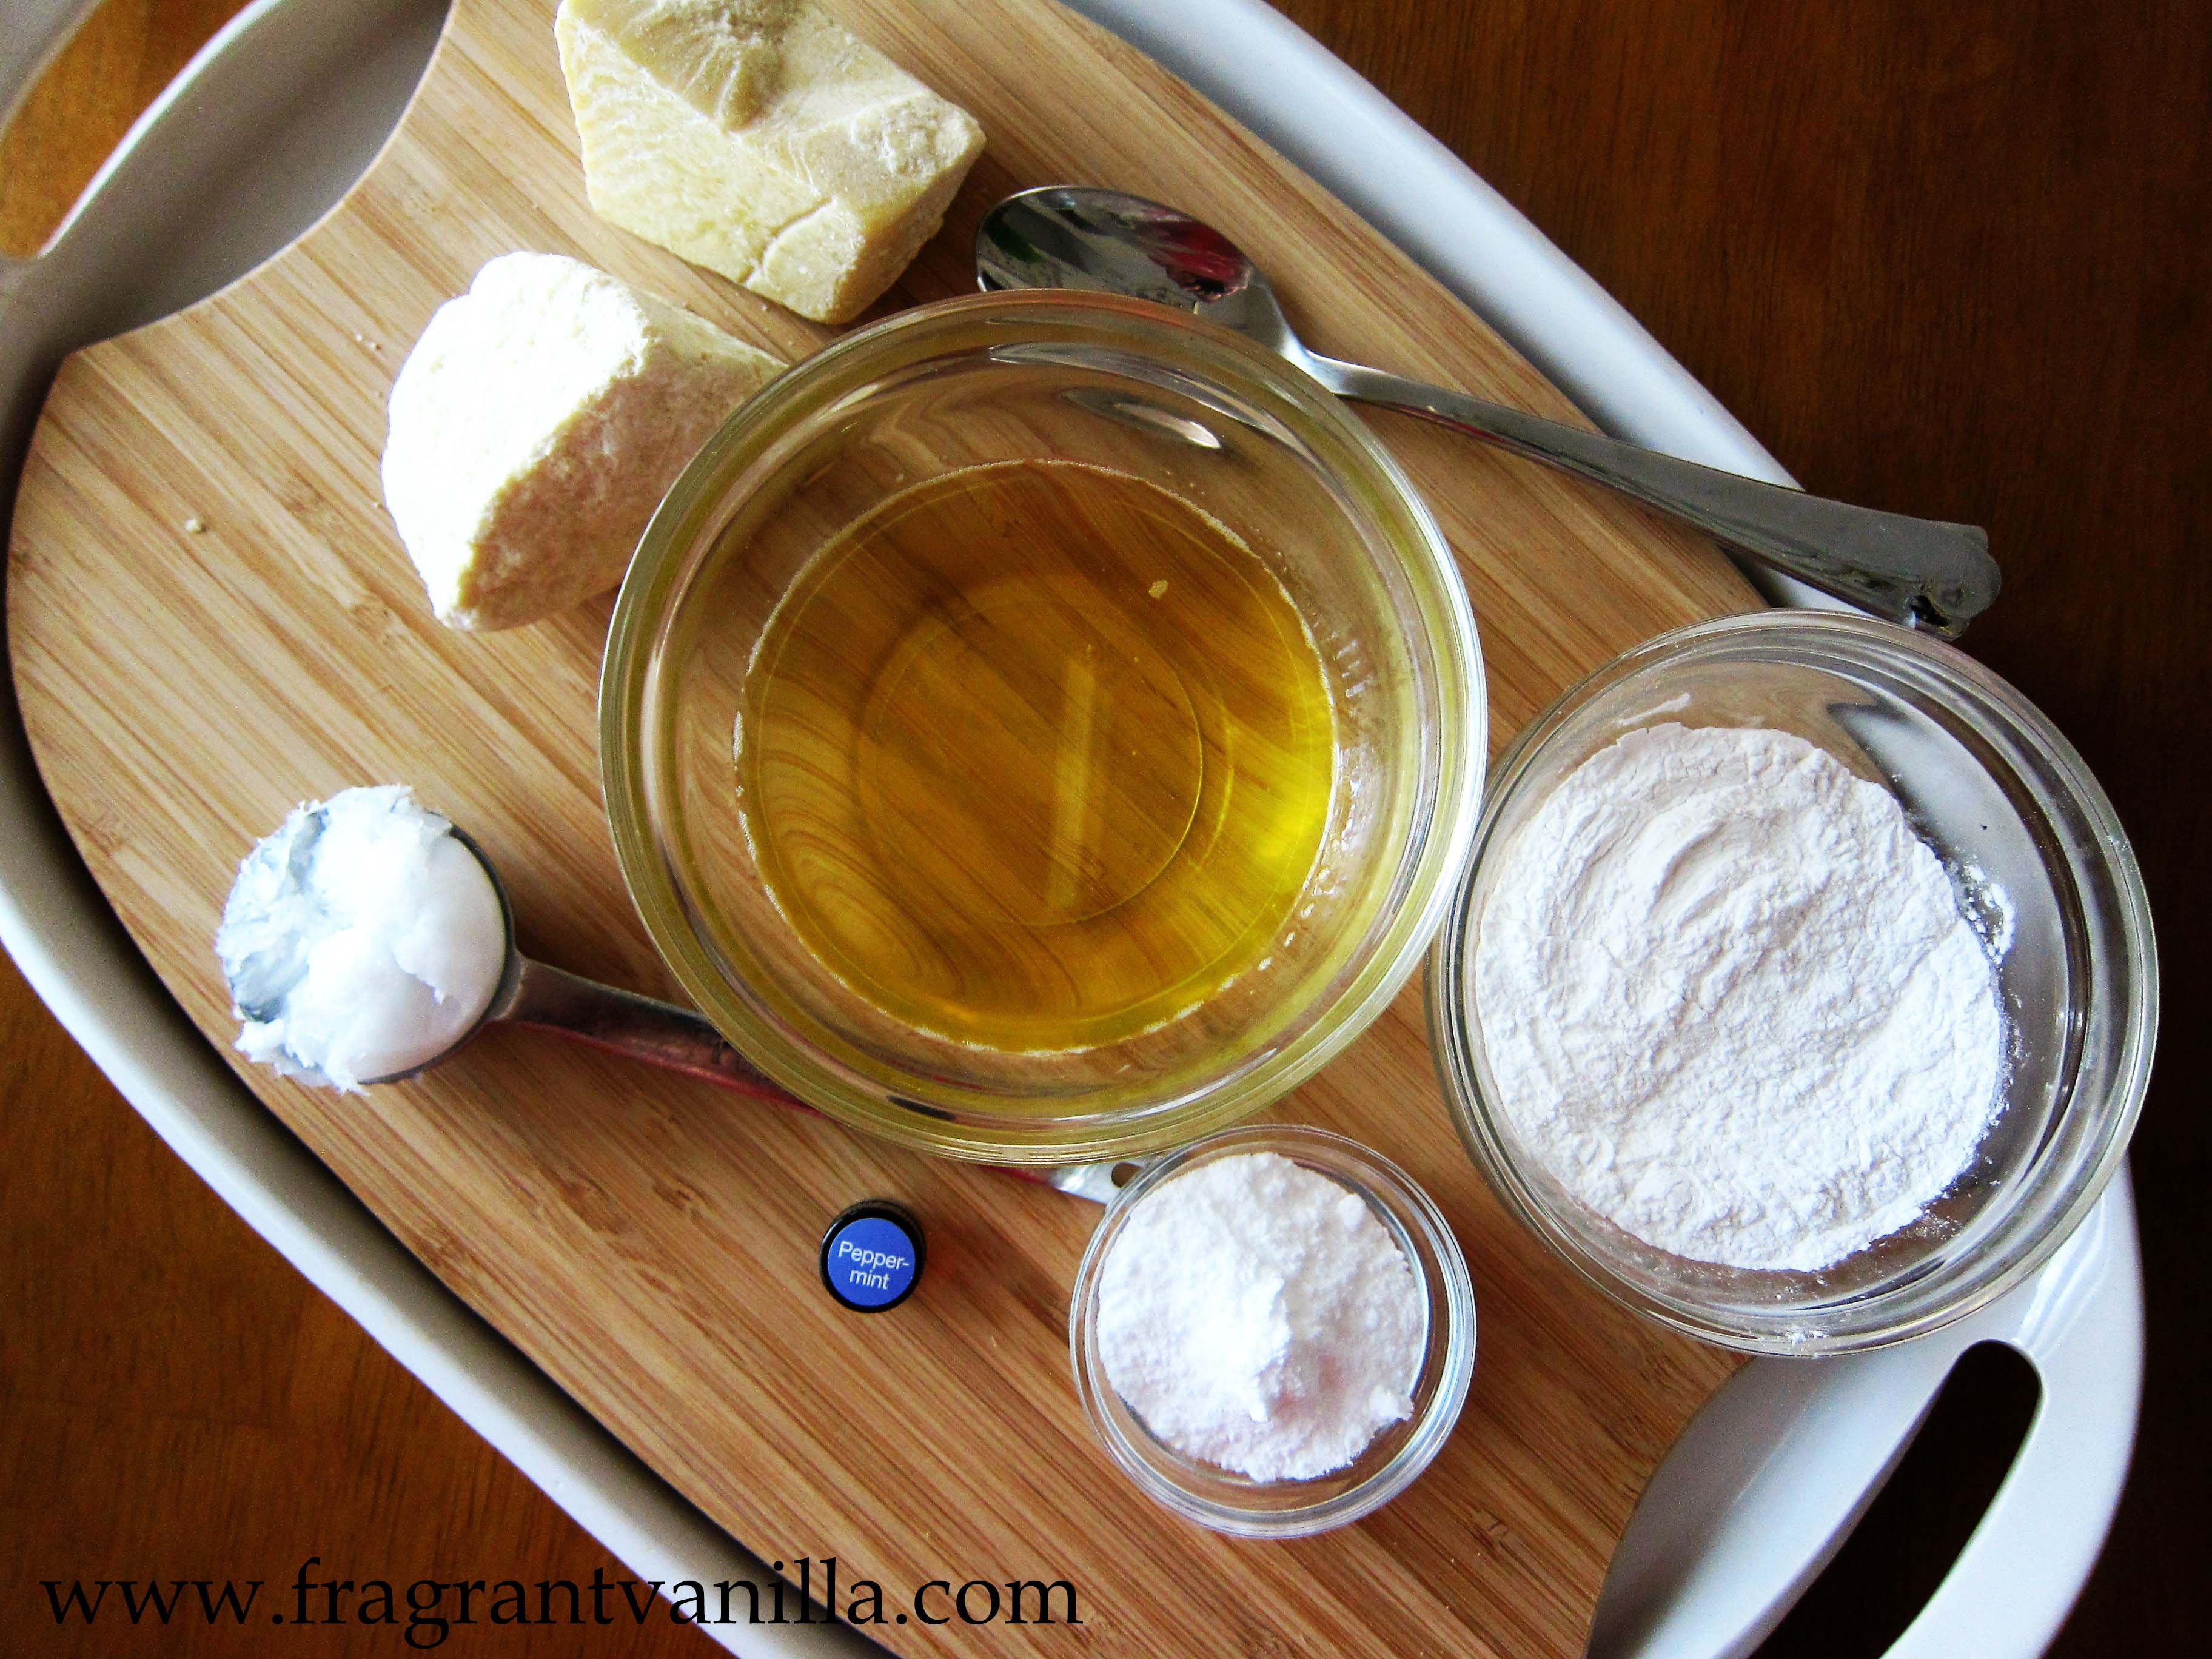
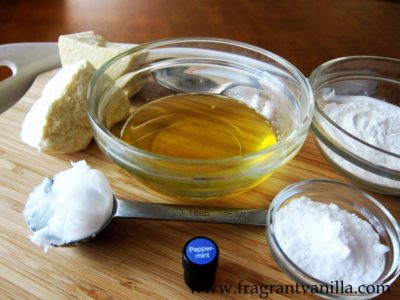
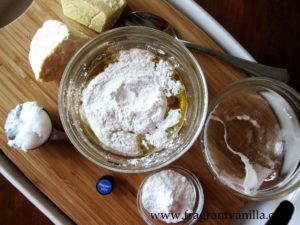
Frosting:
2 15 oz cans organic full fat coconut milk, chilled
2 cups unsalted roasted peanuts, soaked for 4 hours and drained
3/4 cup raw coconut nectar or maple syrup
1/2 tsp sea salt
2 tsp pure vanilla extract
1 3/4 cups coconut butter, warmed to liquid
1/2 cup smooth organic peanut butter
2 large bananas, sliced, divided (slice just before using, one for the filling and one for the topping)
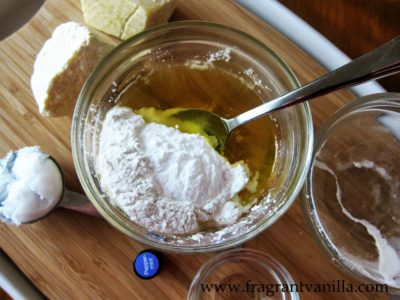
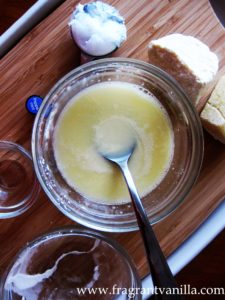
Preheat oven to 375F and position rack in center of oven. Line two six-inch-diameter cake pans with 2-inch-high sides with parchment paper. Coat parchment paper and pan sides lightly with coconut oil. Whisk flour, baking soda, sea salt, and sugar in large bowl to blend well. Whisk bananas, oil, water, peanut butter, and vanilla extract together in small bowl to blend well, then whisk into flour mixture until well blended. Whisk in the cider vinegar until bubbles form. Transfer cake batter to prepared pans and bake until tester inserted into center comes out clean, about 25-30 minutes. Cool cakes completely in pan on rack, about 1 hour. Cut around sides of pan to loosen. Turn cakes out onto platter; peel off parchment paper. Place in refrigerator to chill until very cold to make slicing easier. When chilled, slice cakes horizontally in half so that you have 4 layers.
Meanwhile, to make frosting, combine all ingredients in a high speed blender or food processor, and blend until smooth. Pour the frosting into a bowl and let set in freezer until the consistency of whipped cream (this may take anywhere from 30-60 minutes depending on how warm it has become).
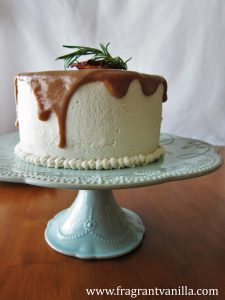
When ready to frost, place one cake layer on a plate. Spread frosting about 1/2 inch thick over first layer, then top with second. Repeat the frosting, then top with a layer of sliced bananas, then the peanut butter, being careful so the cake does not slide. Then top with another cake layer, then more frosting, then the last cake layer. Allow to set for 30 minutes in the freezer (cover the bowl of frosting with plastic and put it in the freezer too) to allow the middle layers to set up so they don’t slide when frosting the rest of cake.
Once they have chilled, spread frosting over top and down sides of cake, and use some of the extra to pipe around the bottom if desired (put it in a pastry bag or a plastic bag with the corner cut off). Garnish top of cake with remaining bananas.
Store any leftover cake in the refrigerator.
*If you would like a 4 layer 9 inch cake, double this entire recipe and bake in two 9 inch cake pans for about 50-55 minutes until a toothpick inserted into the center comes out clean with a few crumbs attached.

a Rafflecopter giveaway