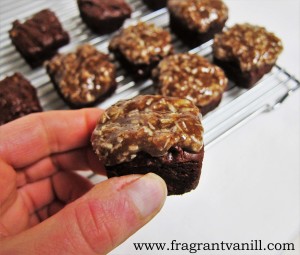
I admit, I became a vegan for the health reasons, you know, to make me feel better, have more energy, and look better as well as prevent health issues. But I now stay vegan not only for the health reasons, but because to me it is just the right thing to do. I can not justify killing other living things to feed myself, when I am able to live happily and healthily without eating them. Of course everyone knows eating meat or fish requires the killing of an animal, but what some people do not know is that by eating eggs and dairy, you are allowing the harm and killing of animals as well.
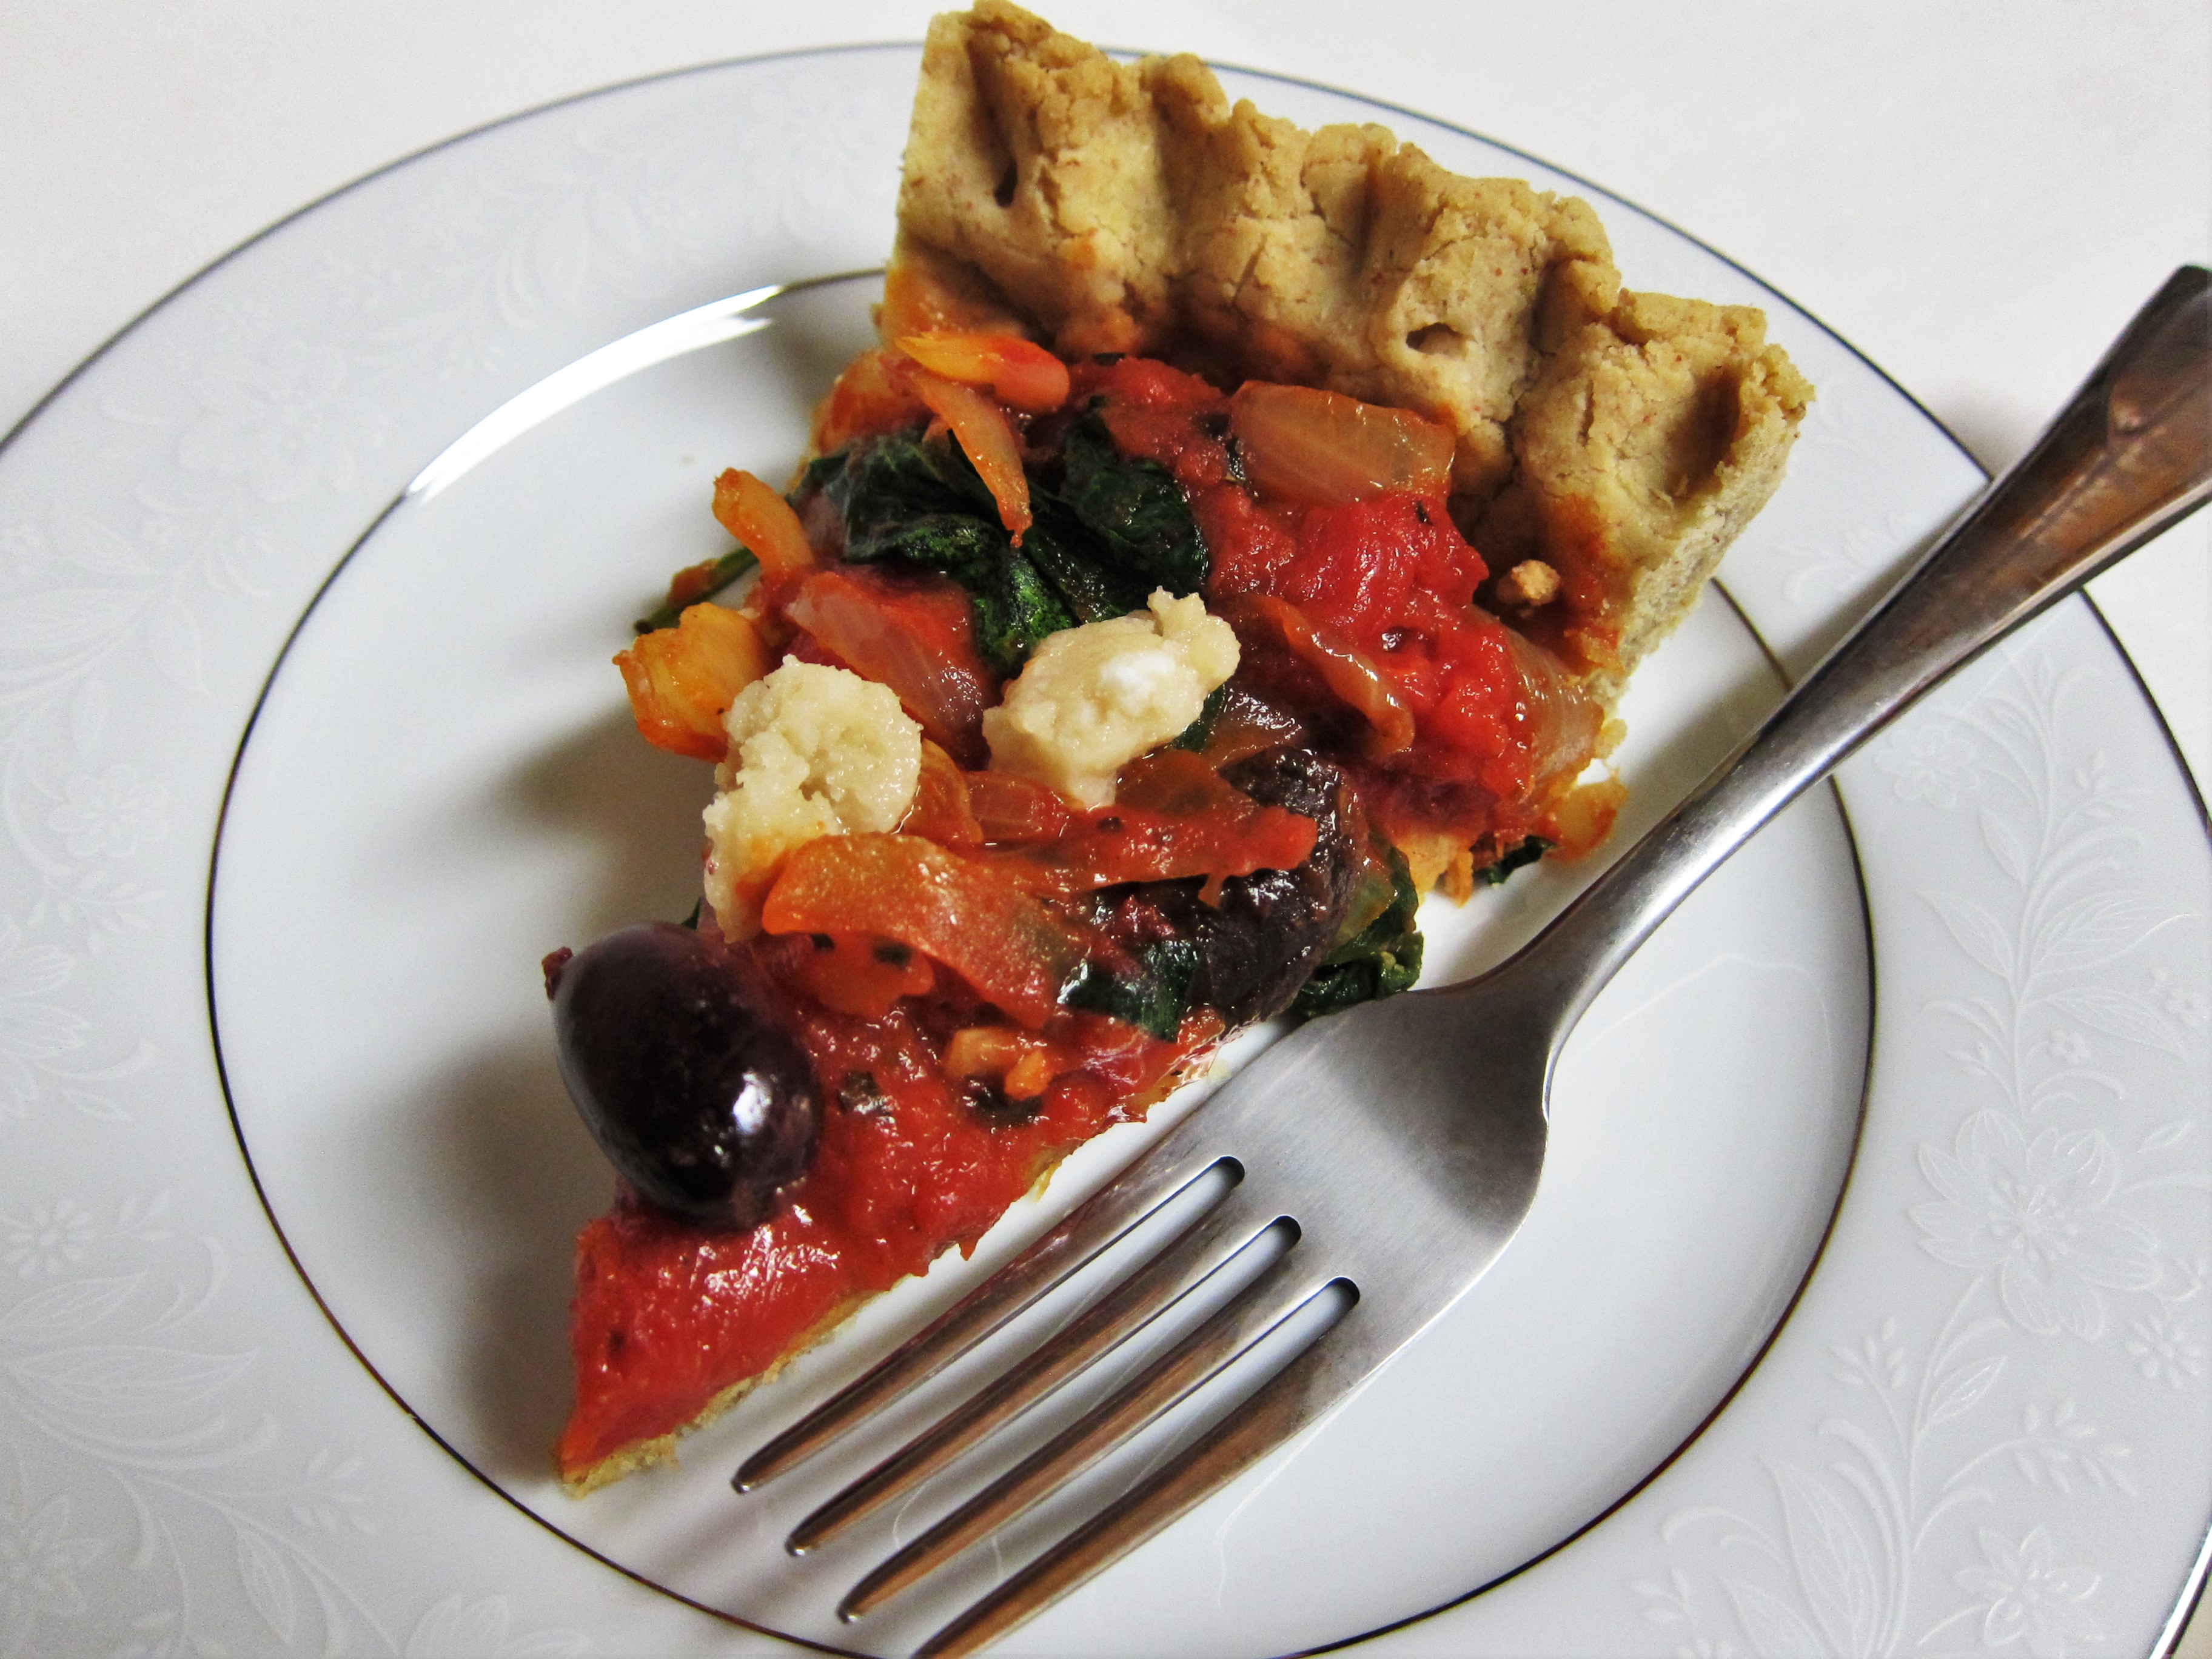
In the egg industry, many commercial farms kill the chicks that are not needed for egg laying, so the male chicks are the ones that are disposed of. They are often shredded, gassed, or electrocuted. And this even happens at places that are listed as “free range”. What happens to the female chicks is many of them are raised in very tight living quarters and their beaks are cut off at the tip so that they don’t peck each other, then they spend their lives being forced to lay more eggs than their bodies were built to lay. Then they are starved so that they lay more eggs (yes this is a technique actually used). Many of them die in the process. Want to see what types of conditions these chicks and chickens put up with? You can do so HERE. Kind of makes you rethink your omlettes and quiches doesn’t it?
Think that your milk and cheese comes with no cruelty to animals, think again. Cows are impregnated forcefully in order to produce milk, then their milk is taken from them instead of being given to their calves who are taken away from them soon after birth. If these calves are male, they are often killed to become veal because the dairy industry doesn’t need them for milk production. As far as the milk cows go, this process happens over and over again until the cows are too old to produce milk, then killed for their meat. See an Infographic on the life of a cow HERE. Dairy doesn’t sound quite so appetizing now, does it?
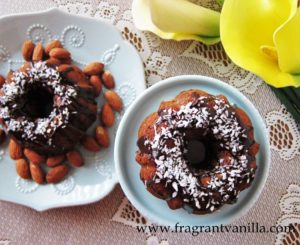
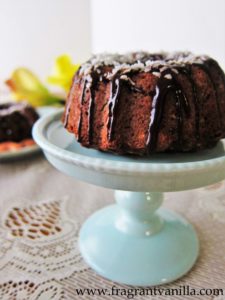
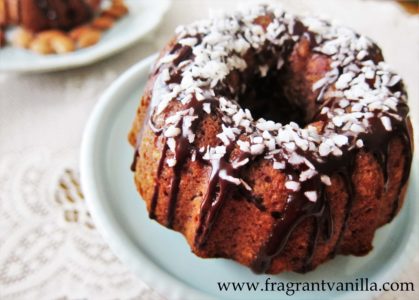
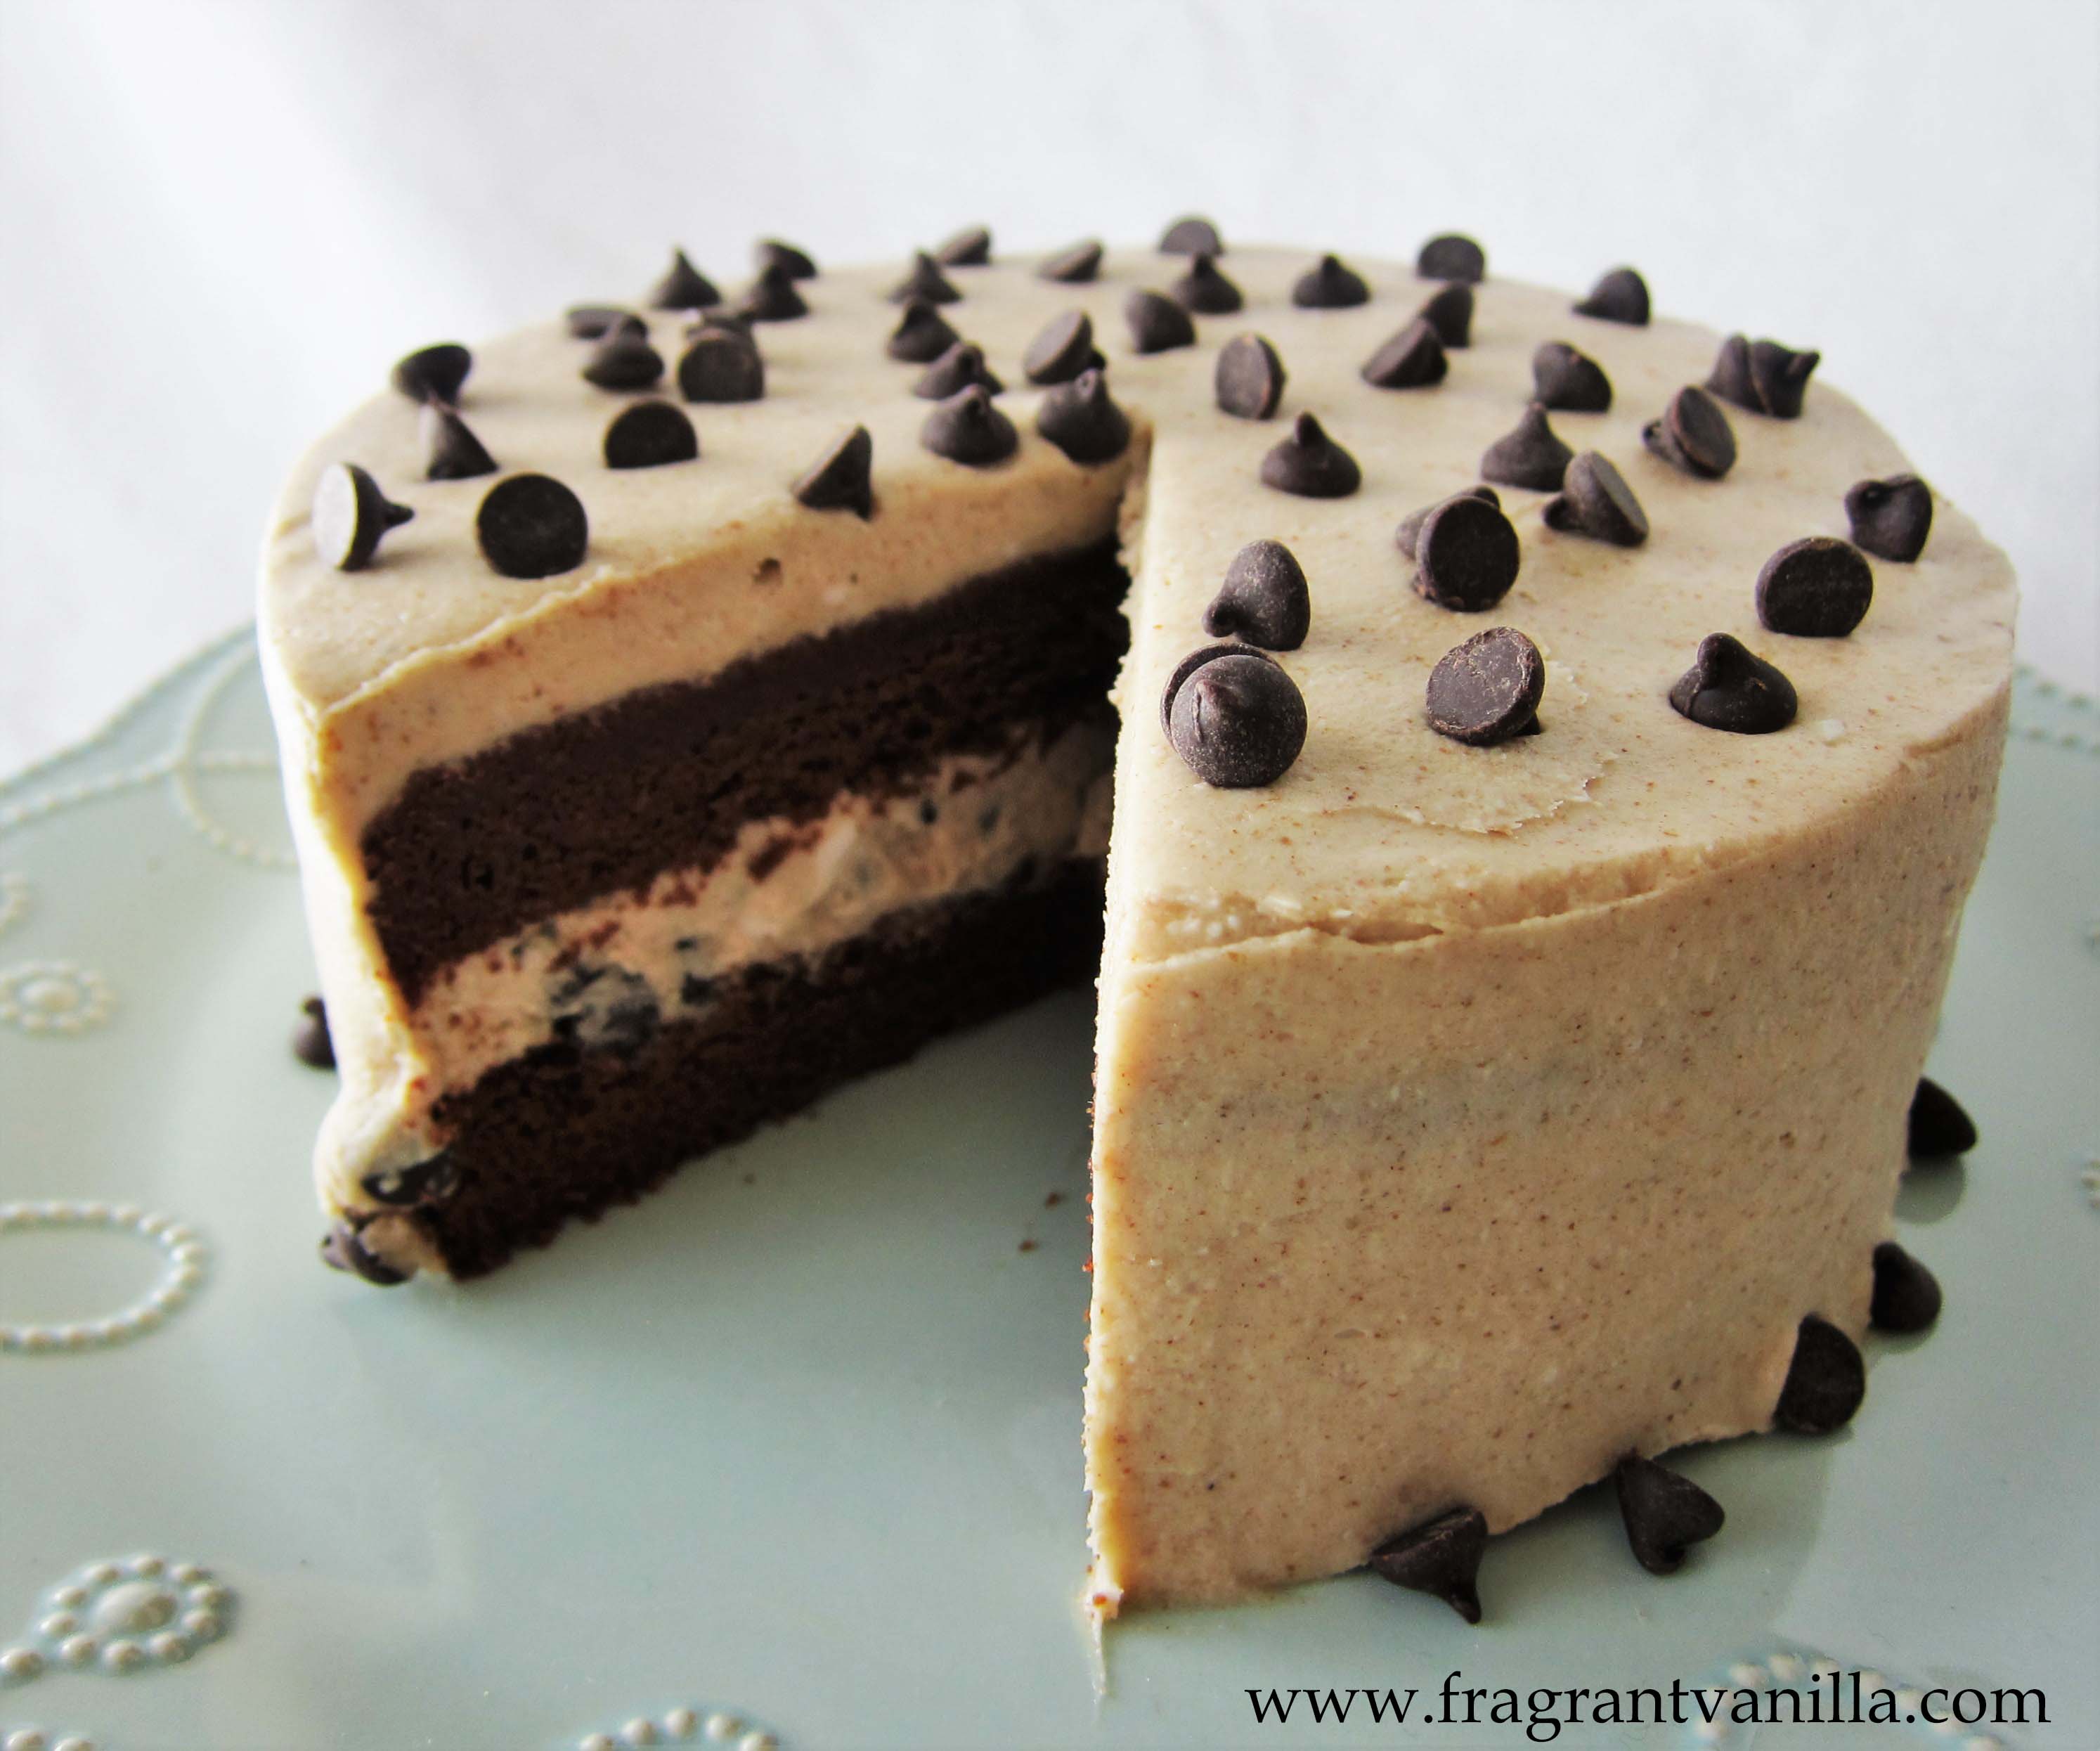
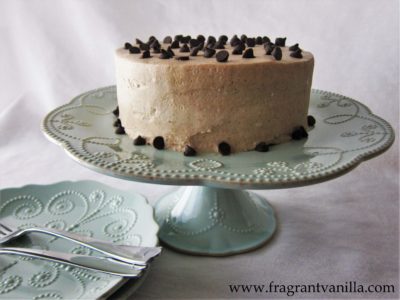
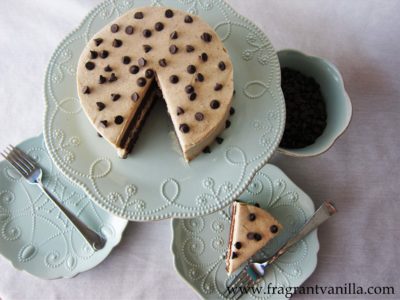
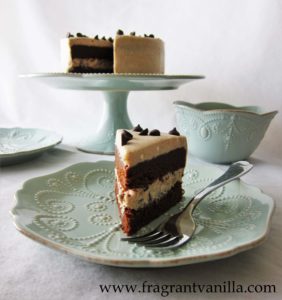
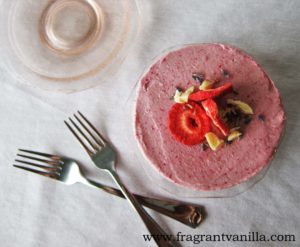
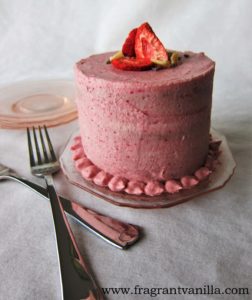
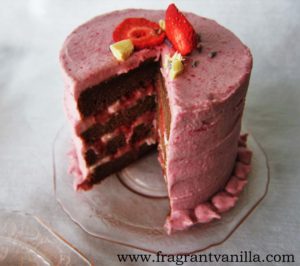
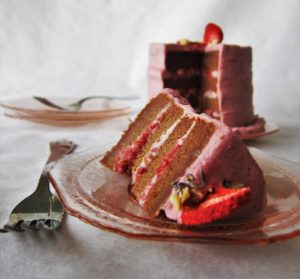
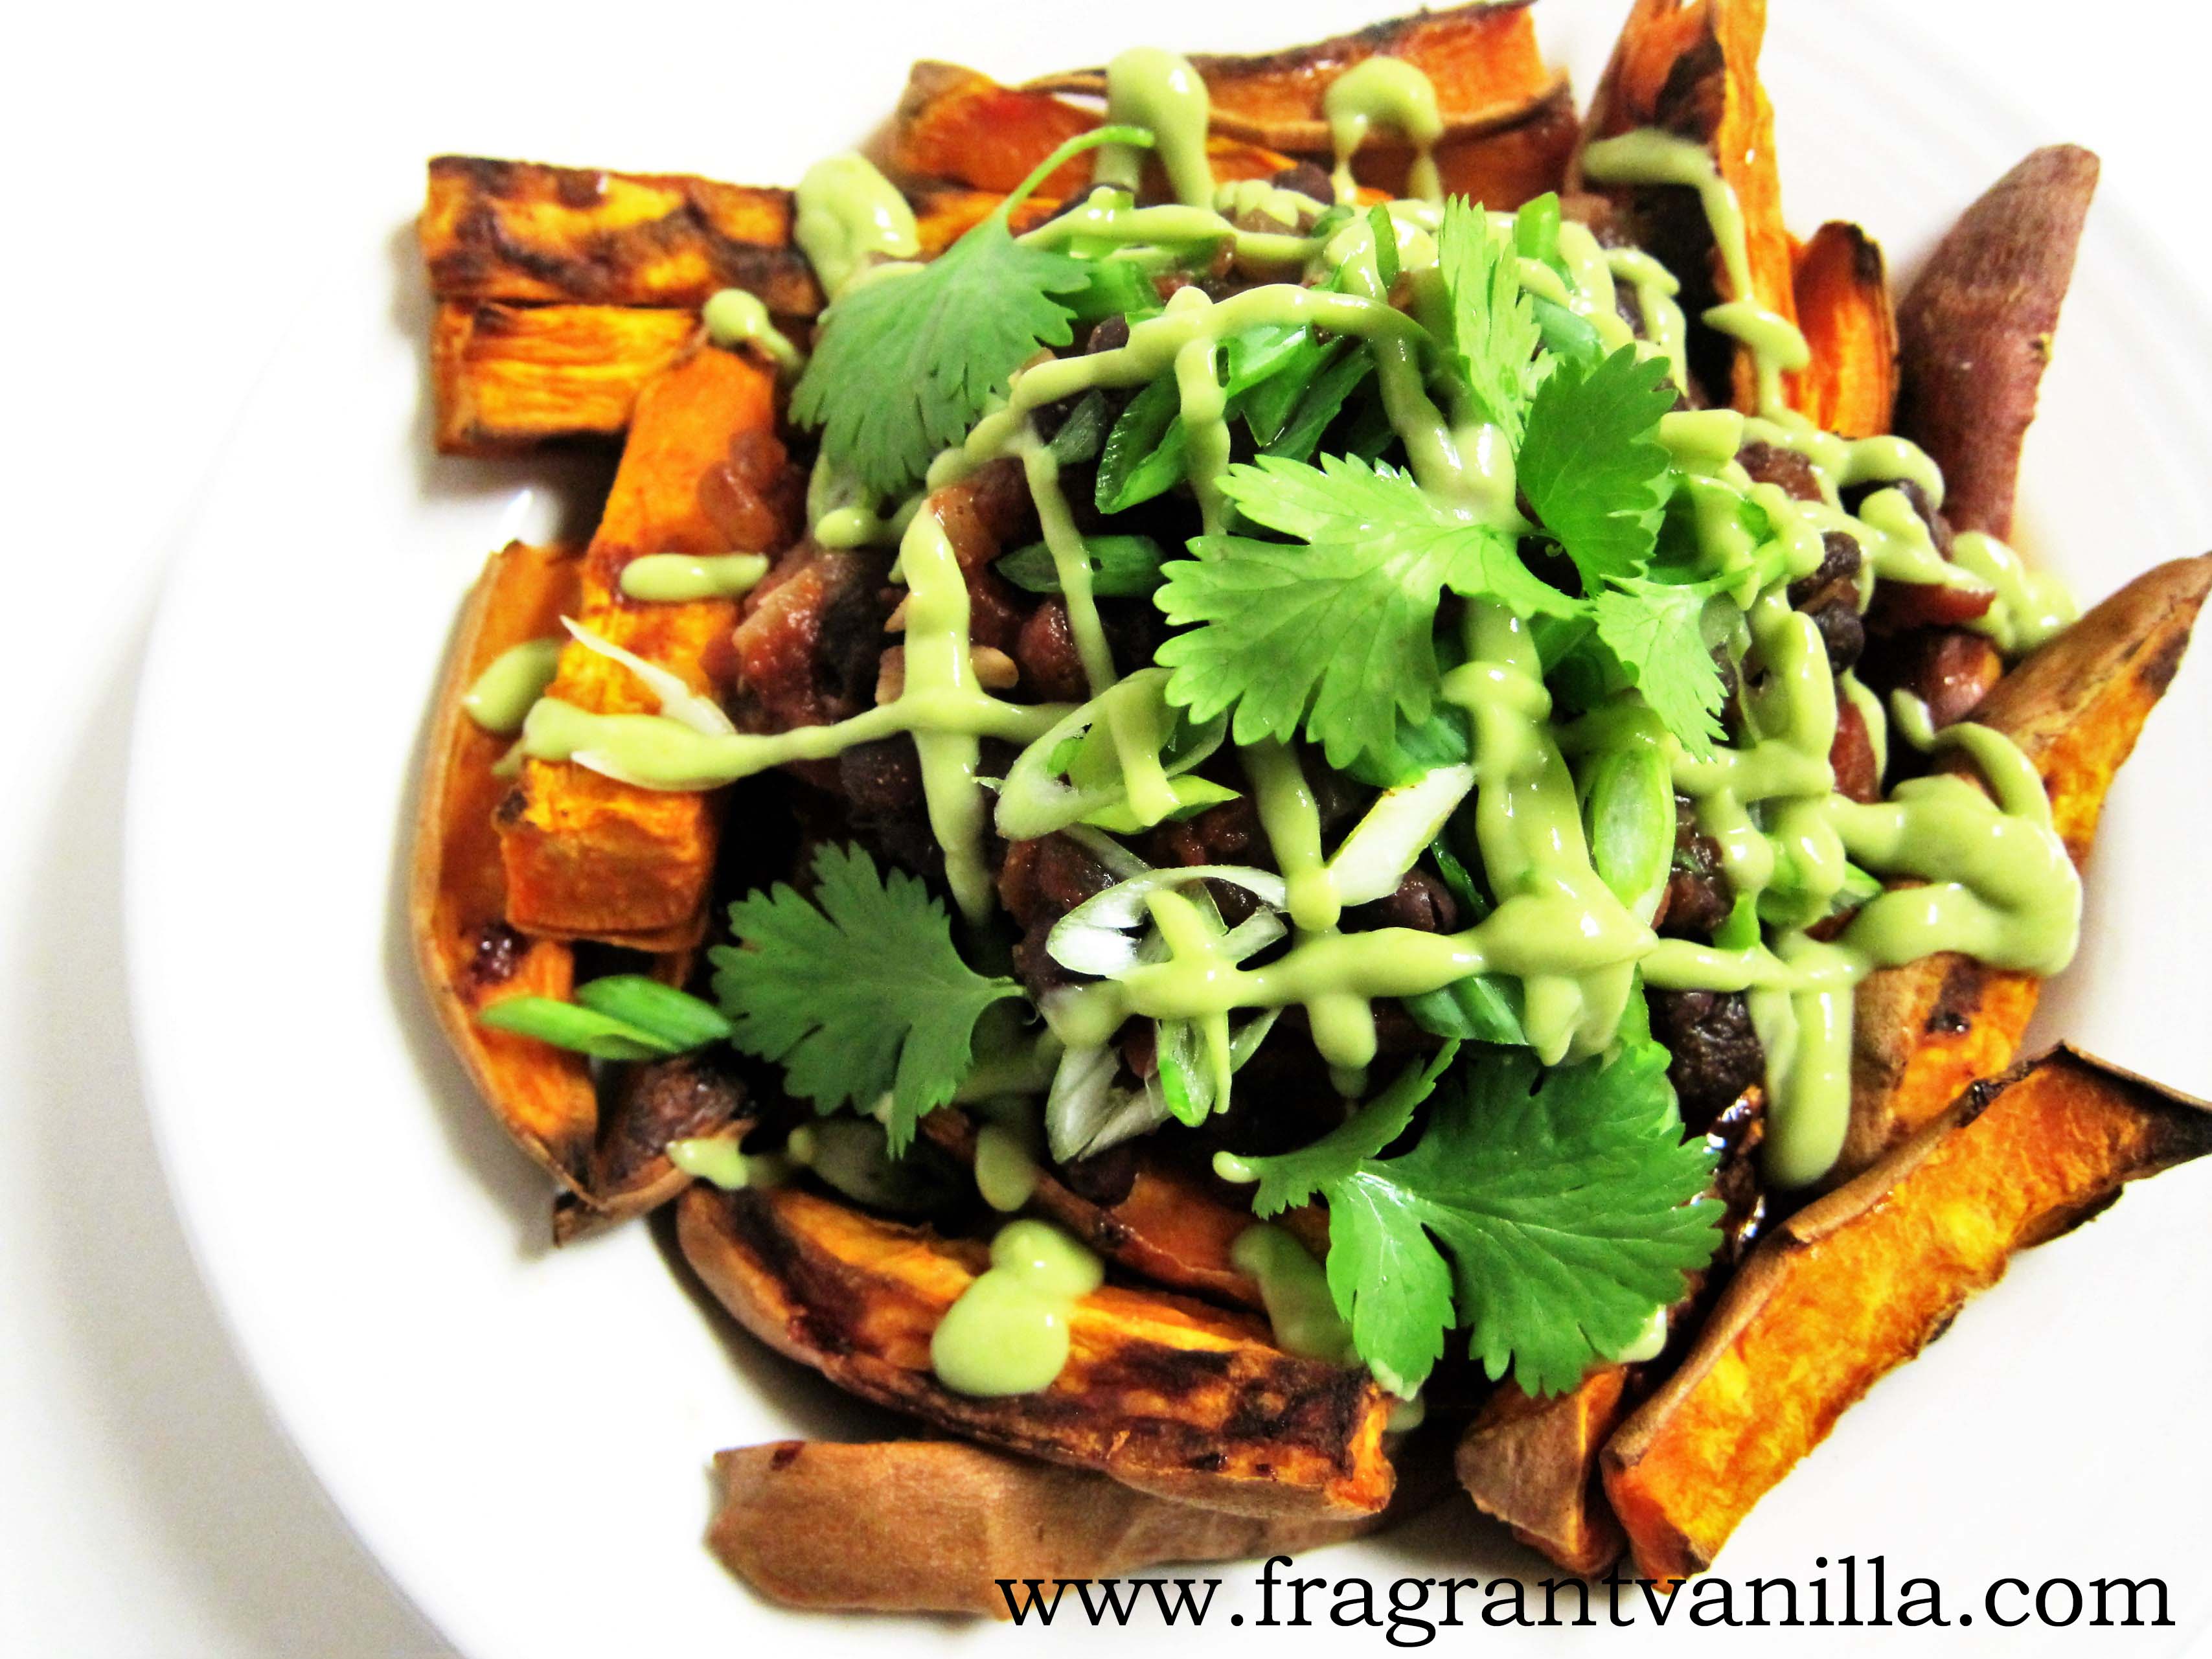
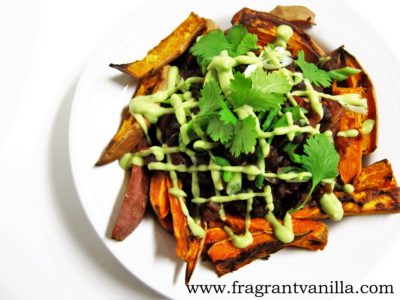
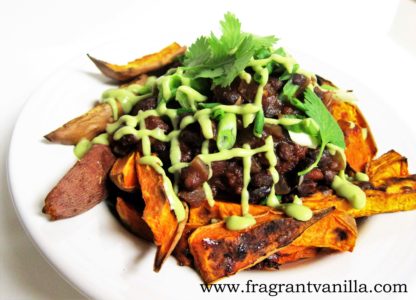
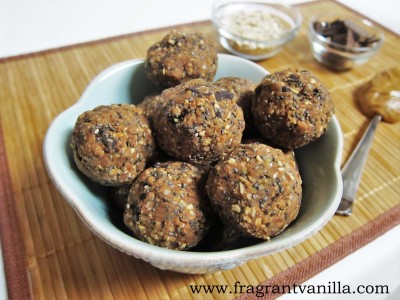
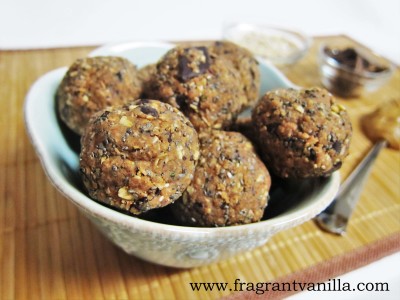
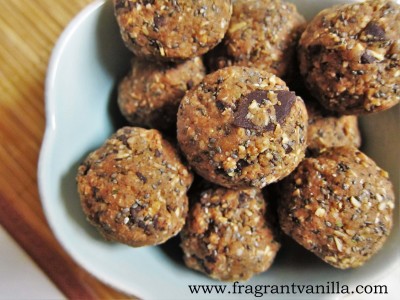
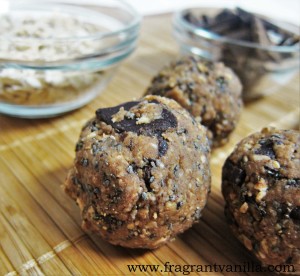
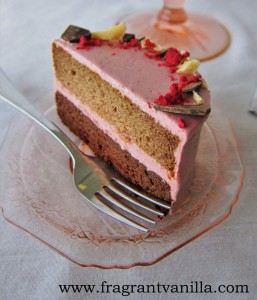
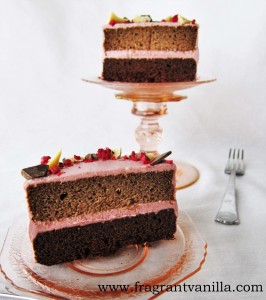
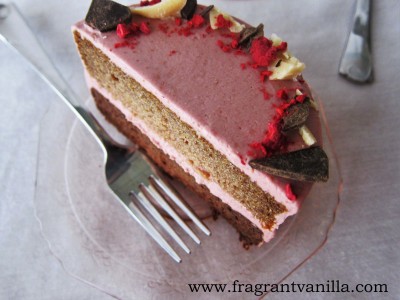
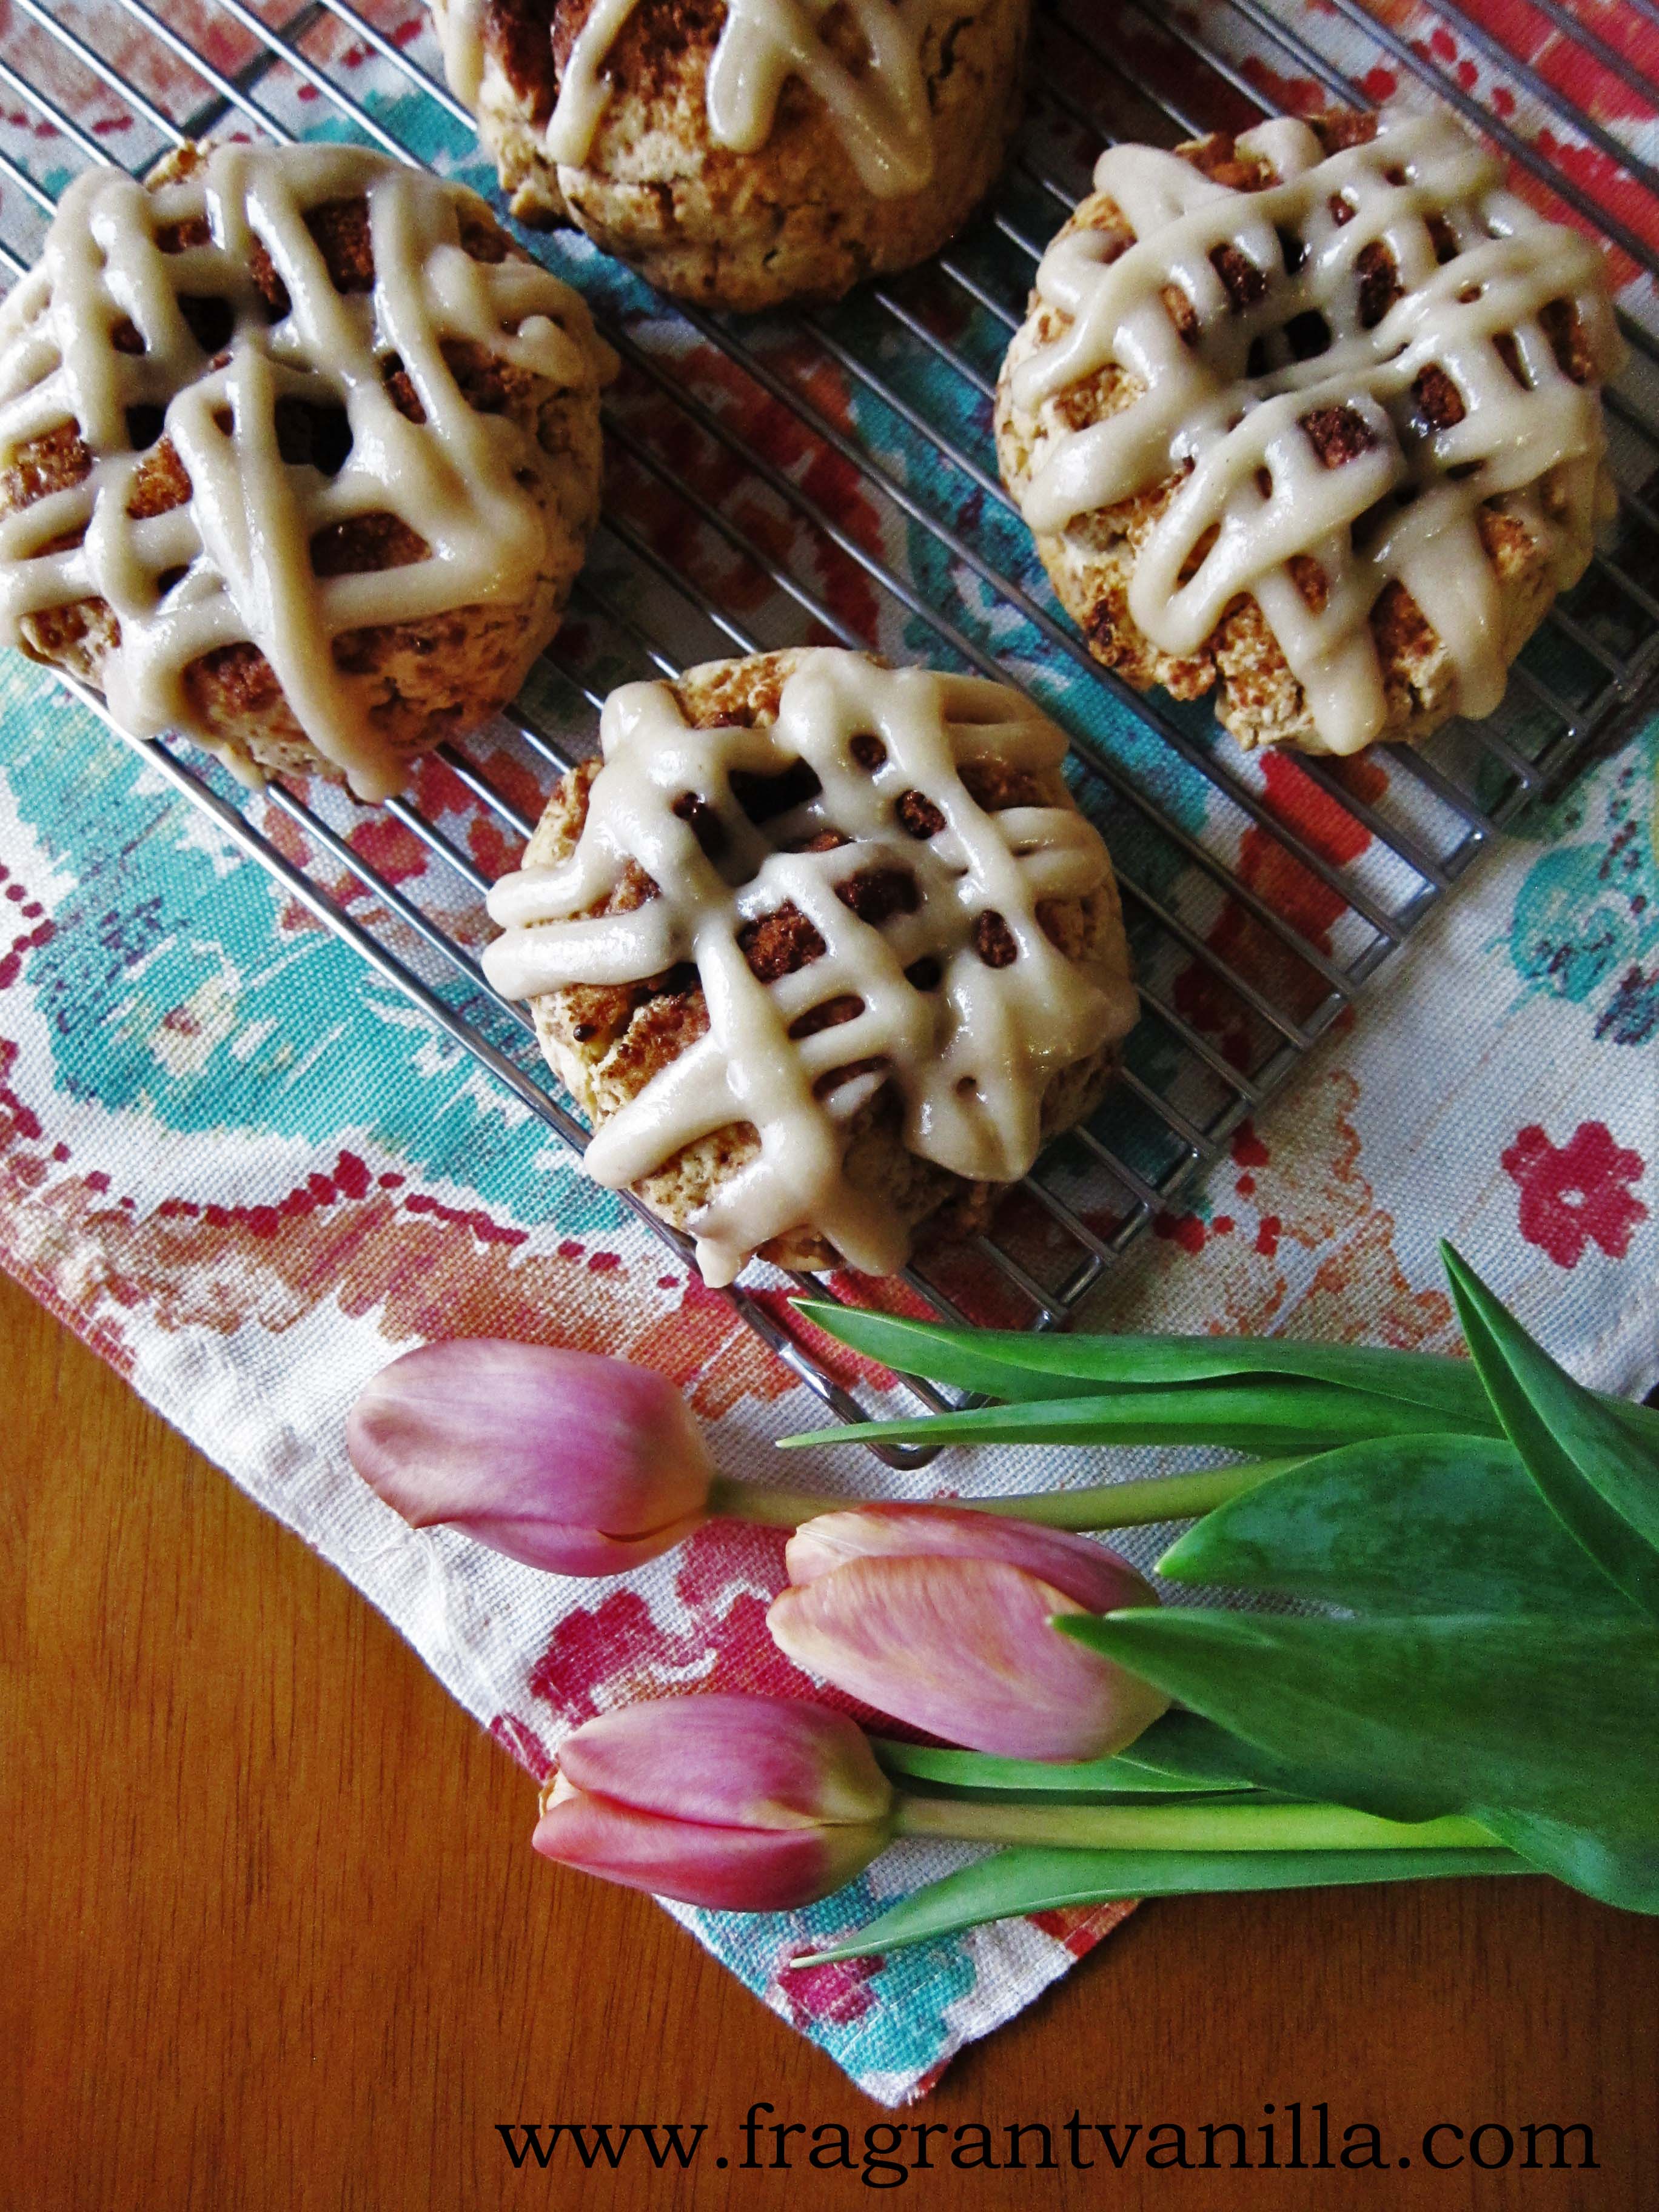
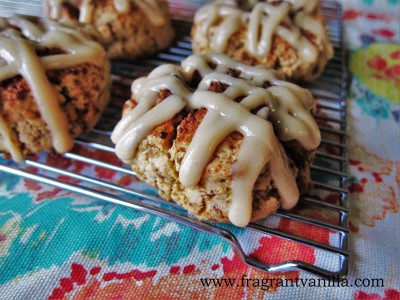
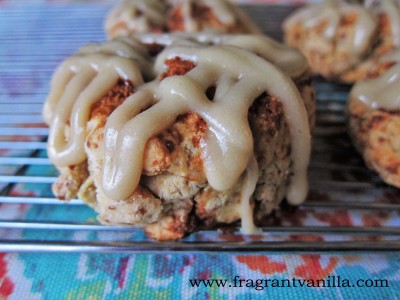
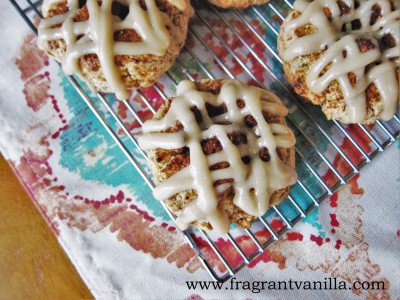
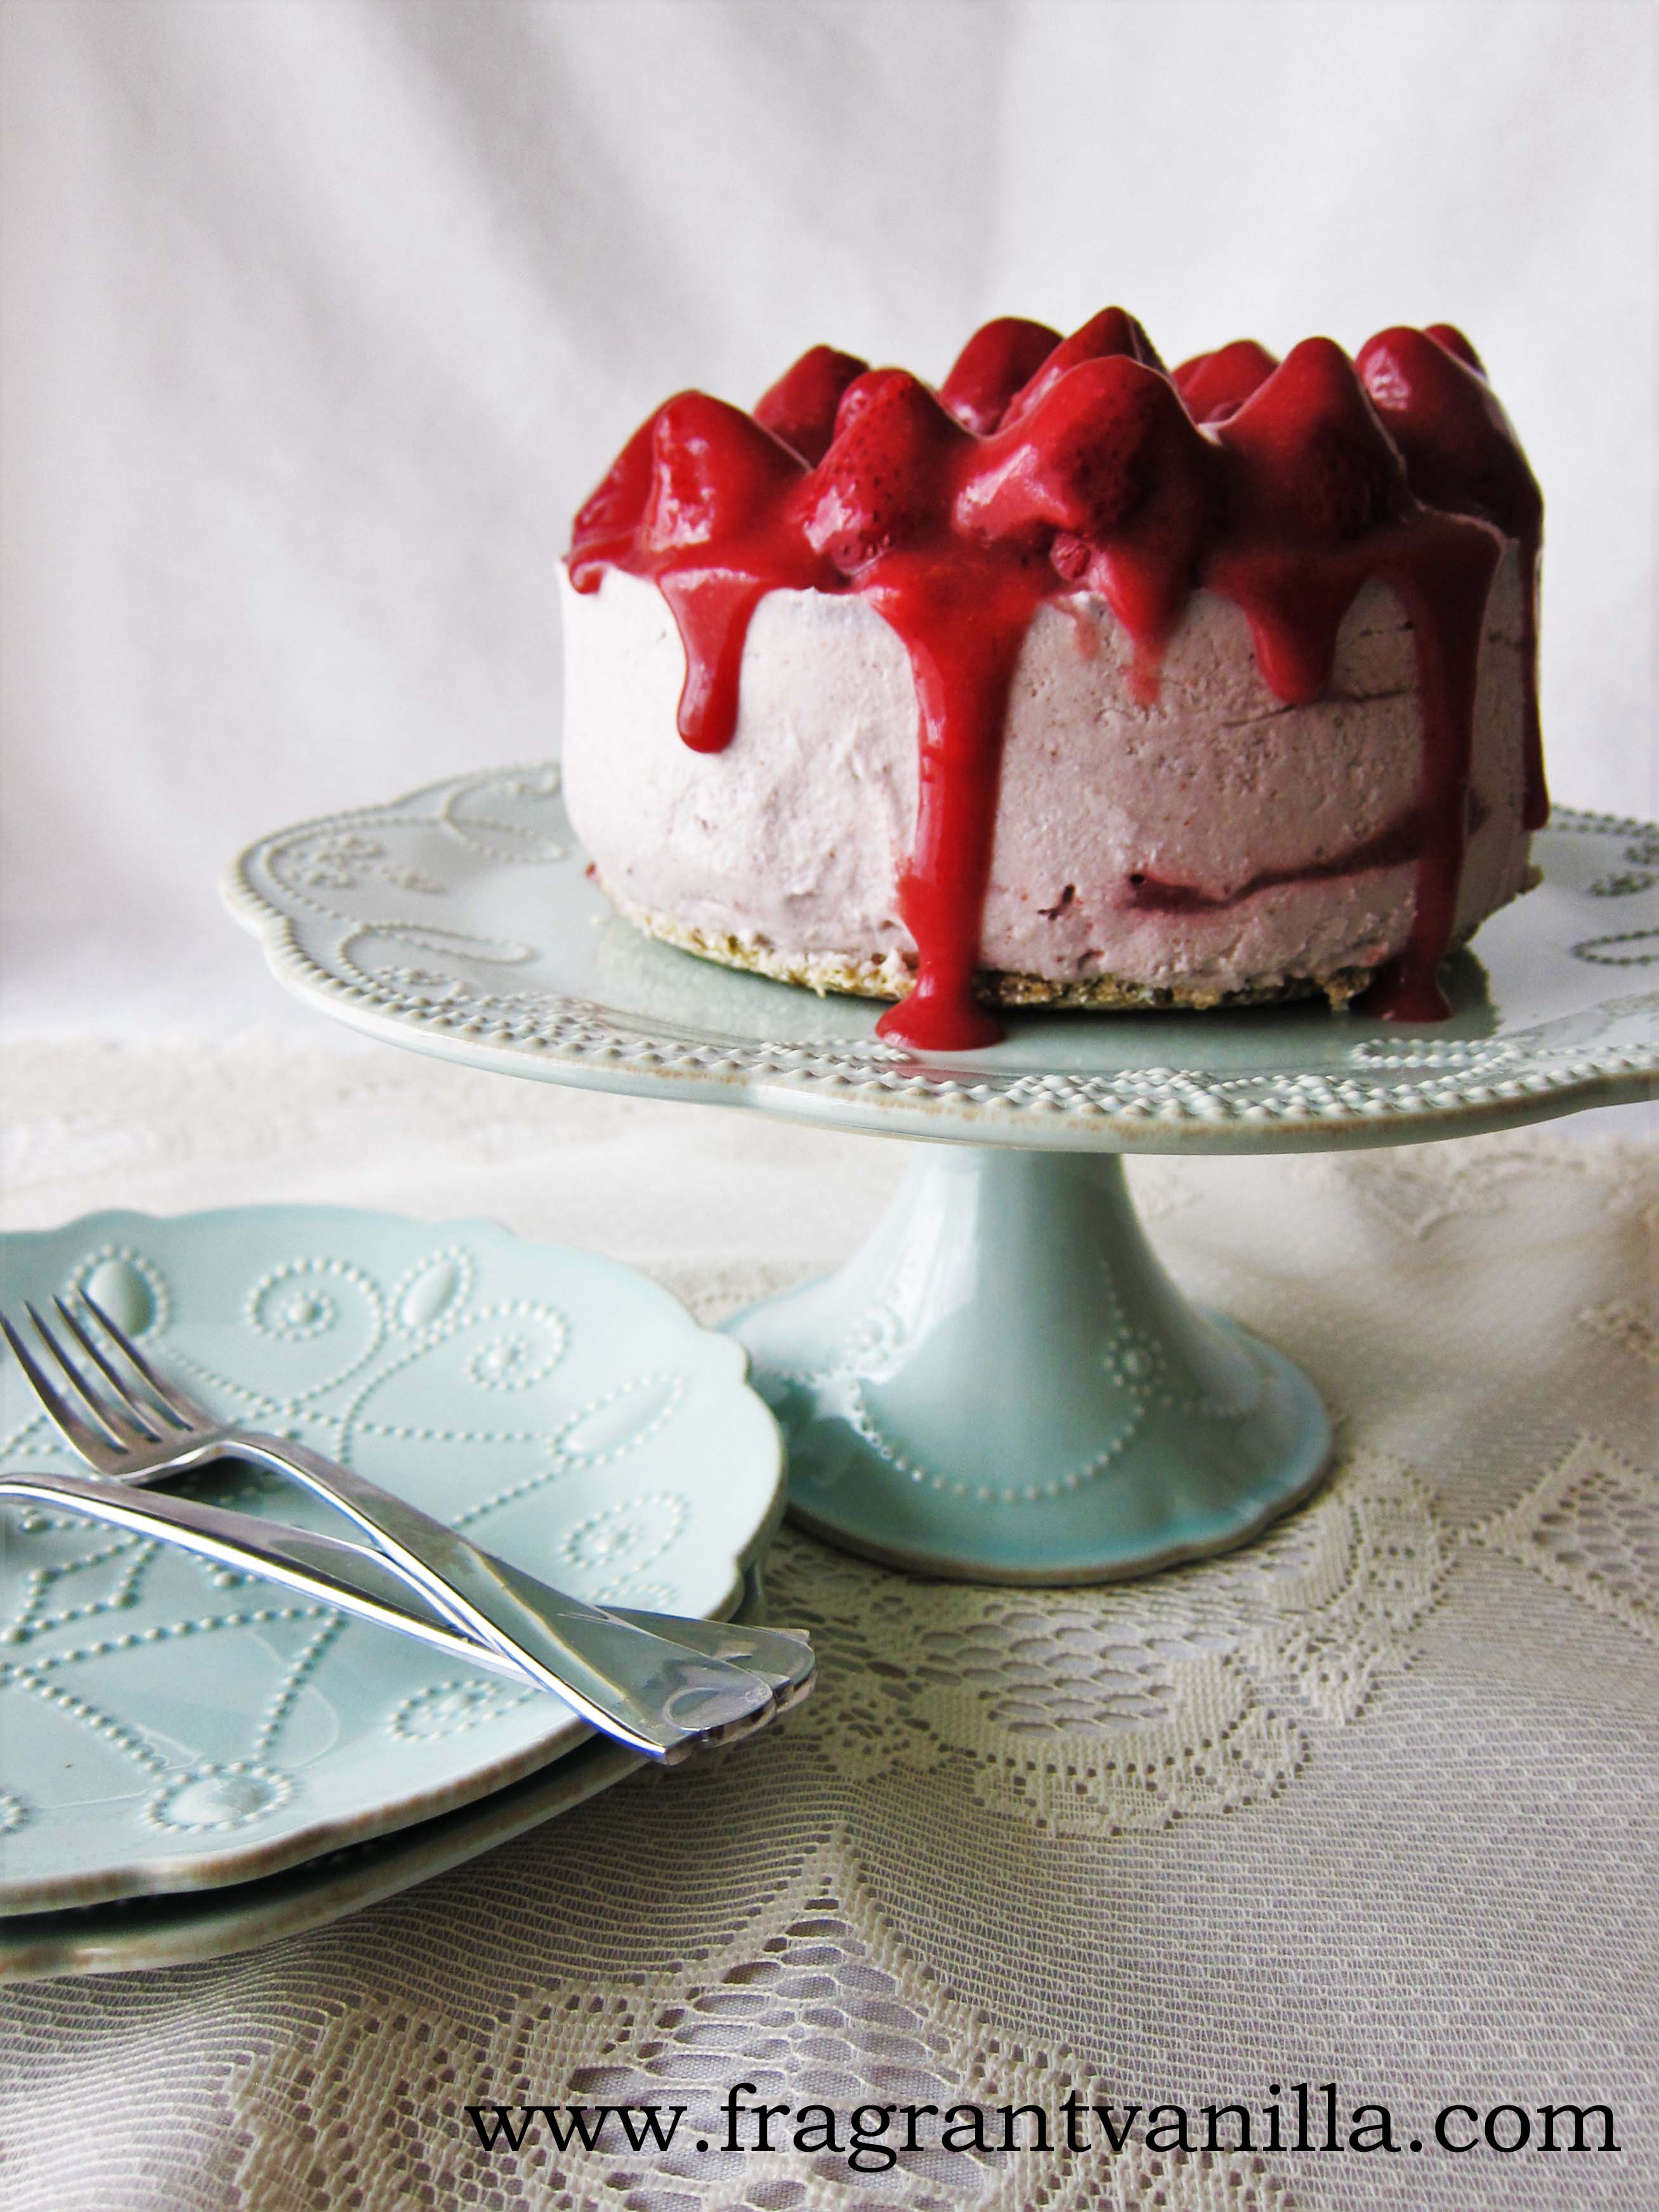
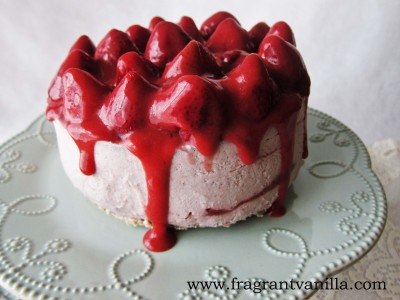
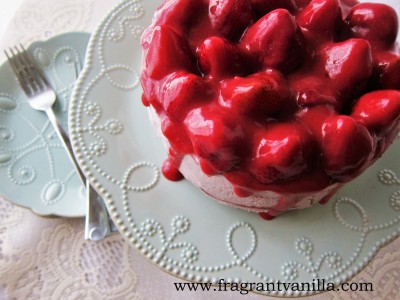
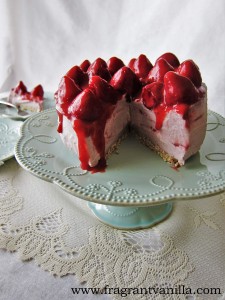
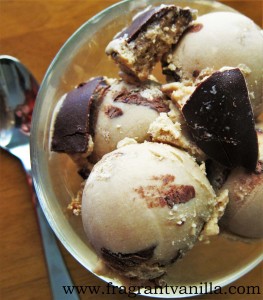
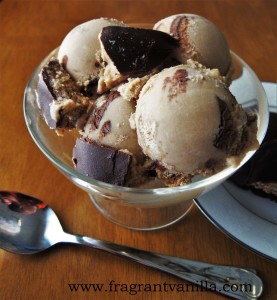
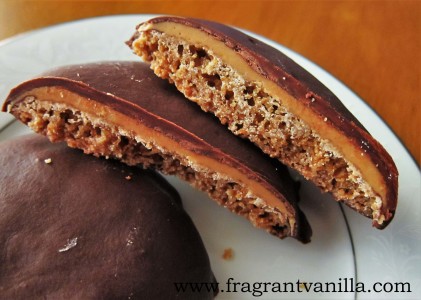
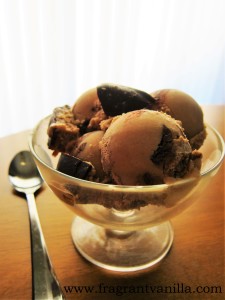
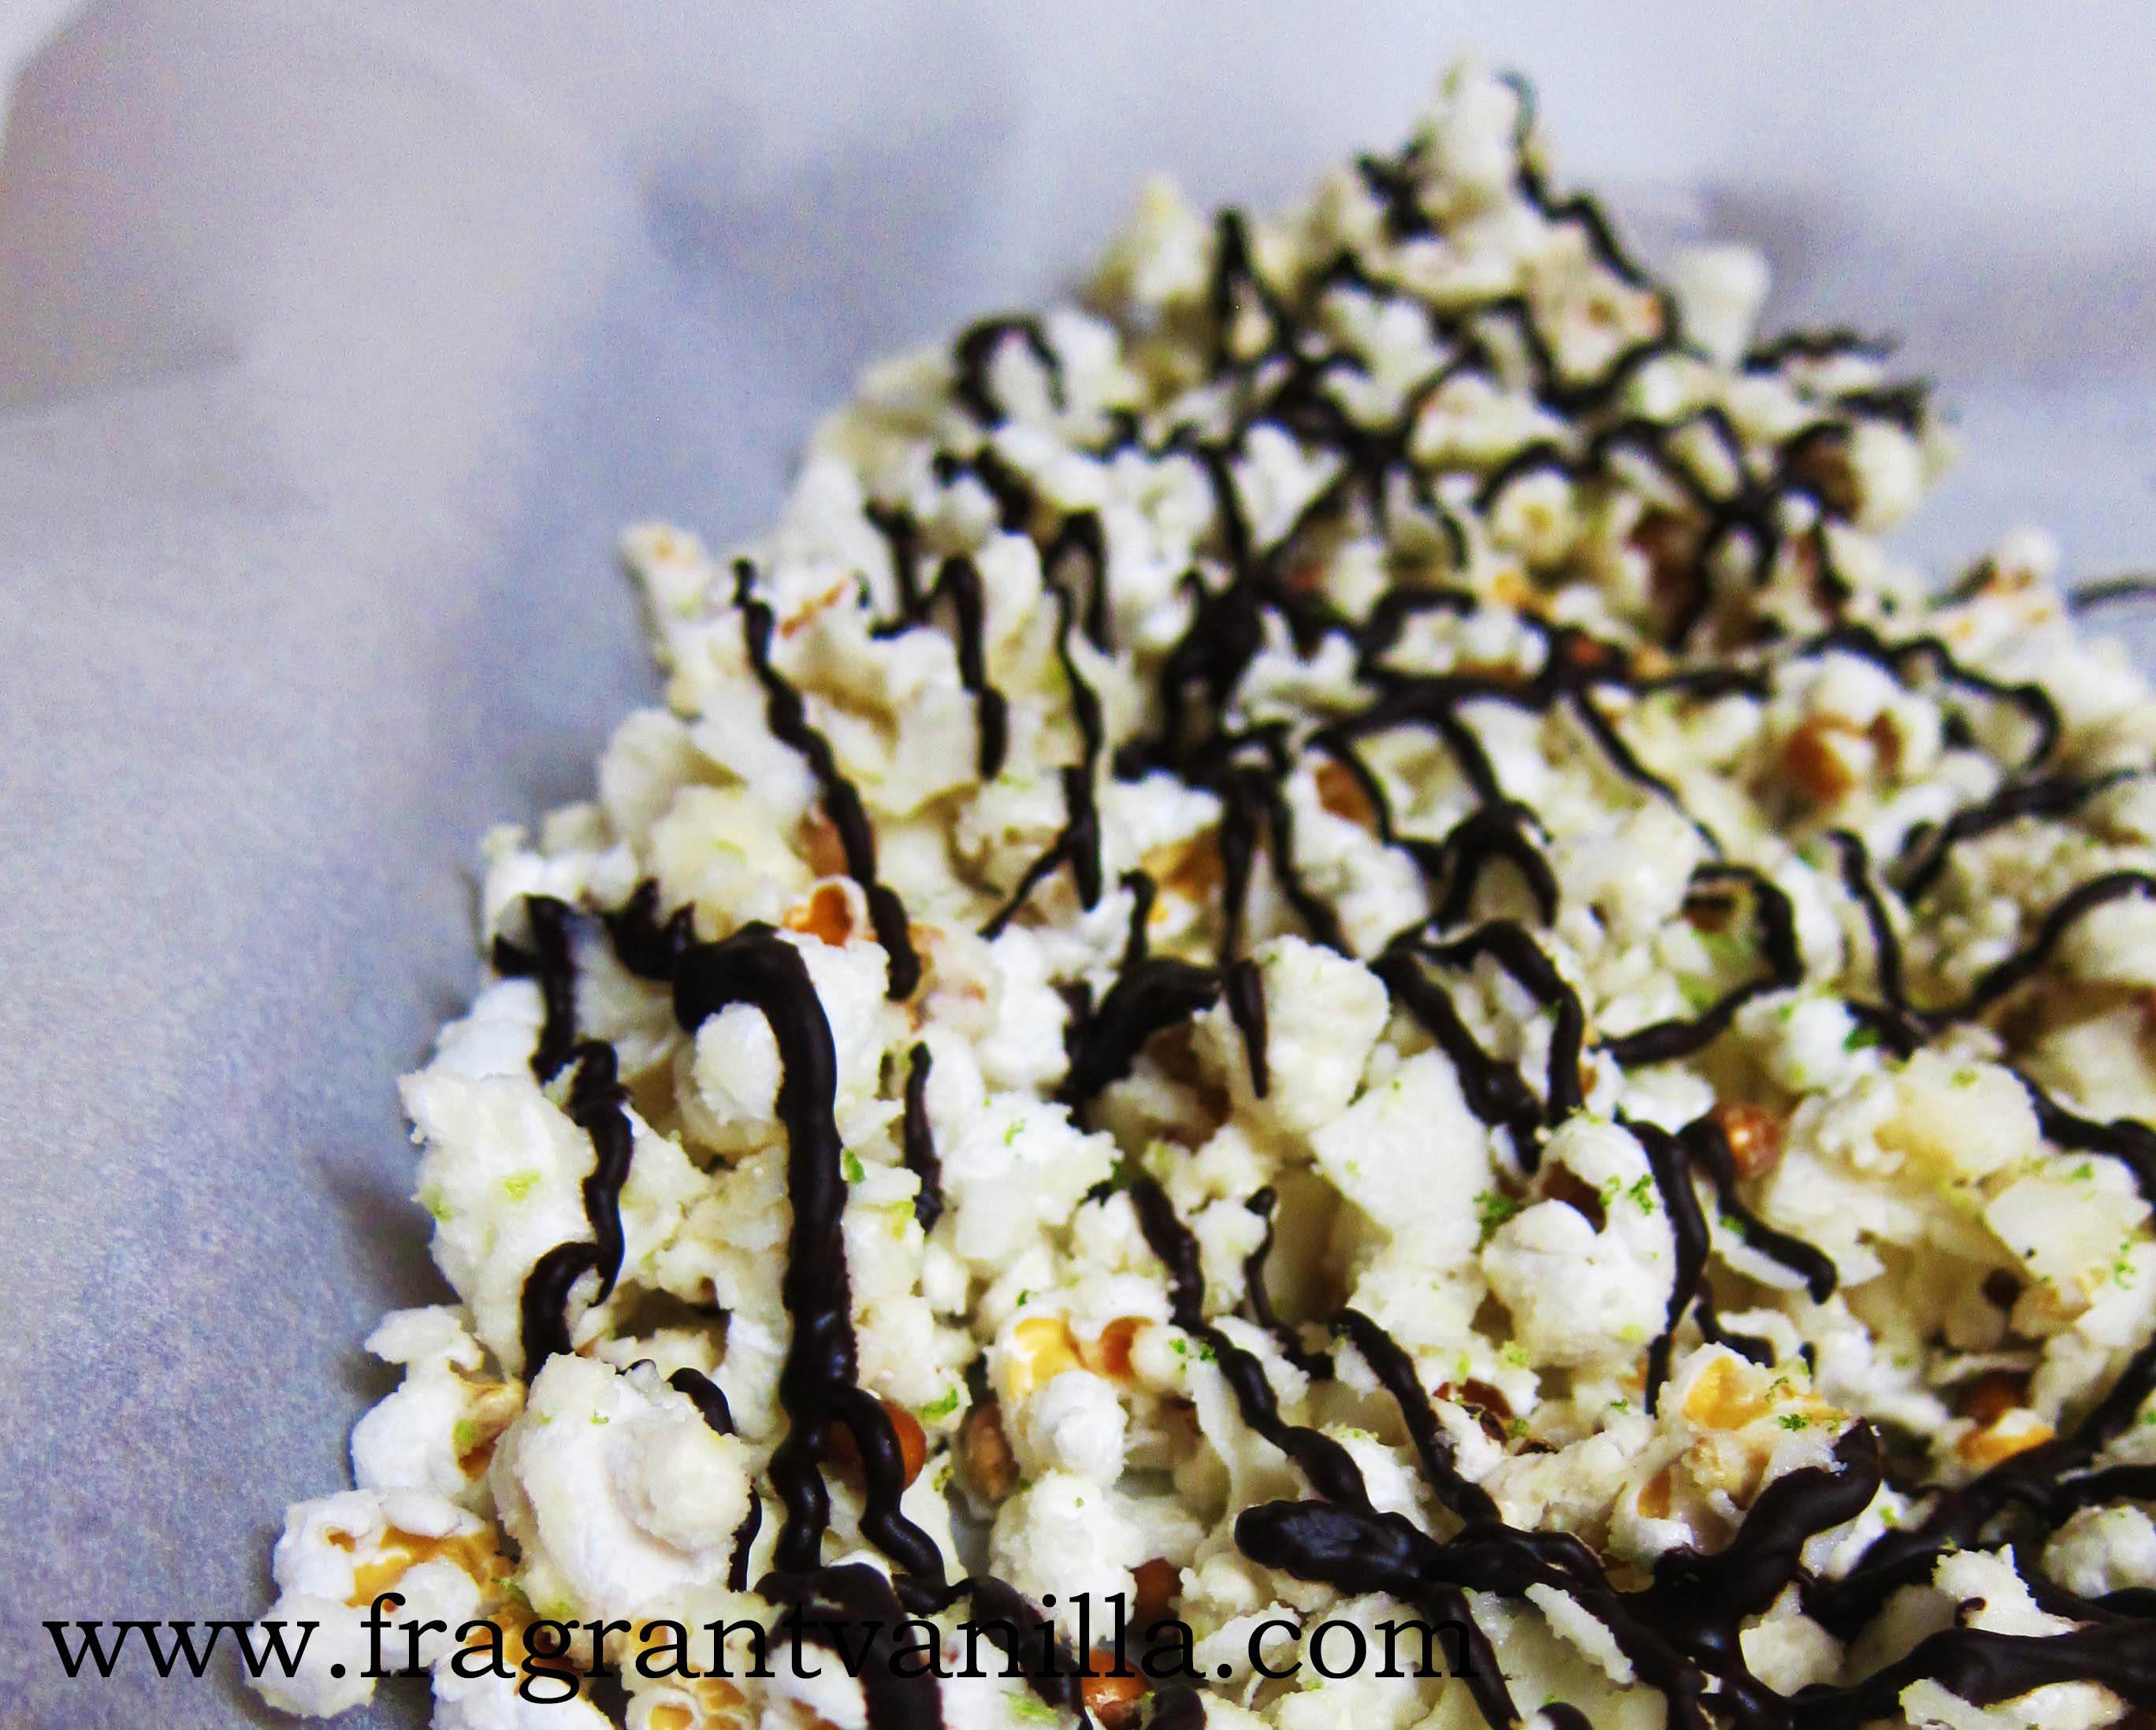
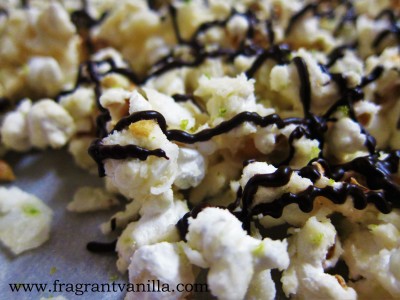
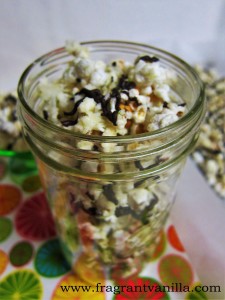
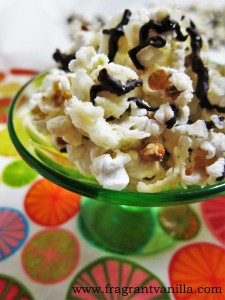
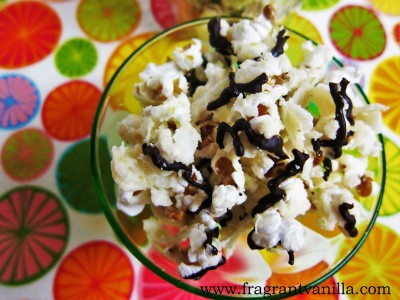
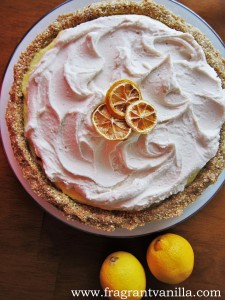
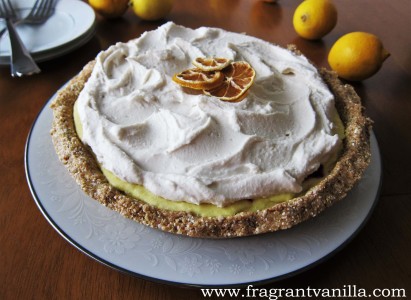
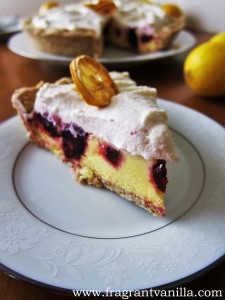
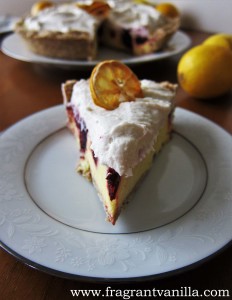
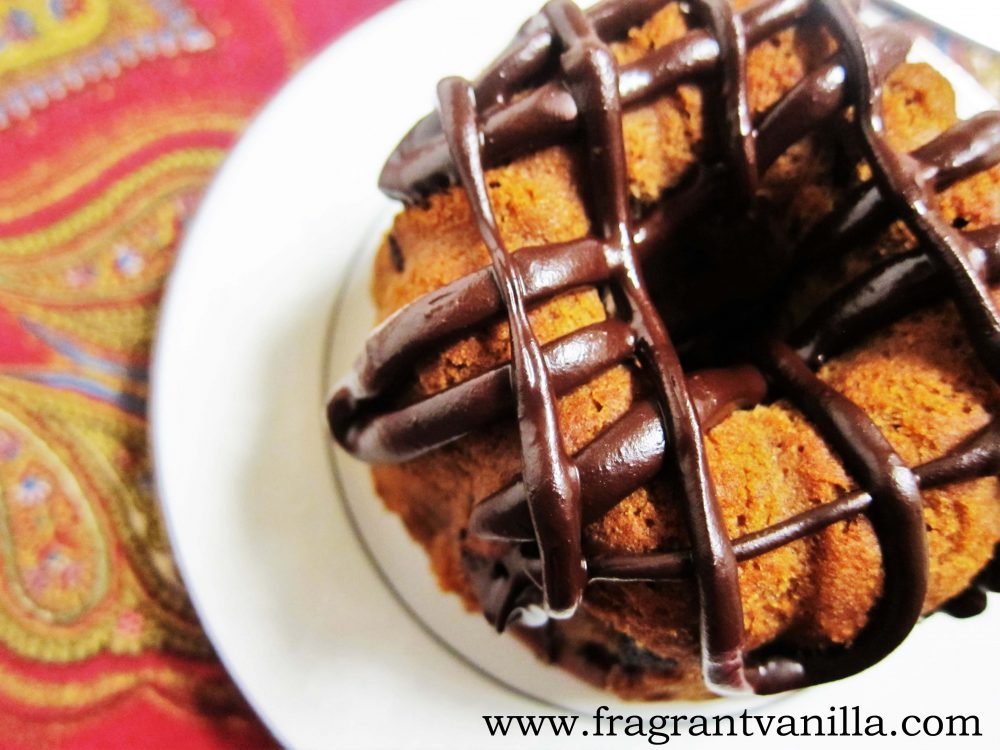
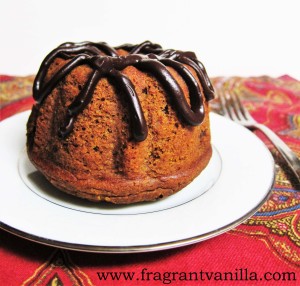
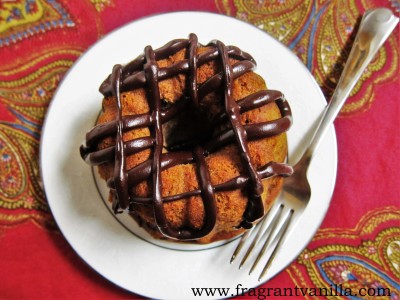
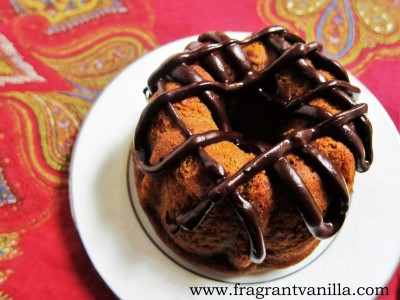
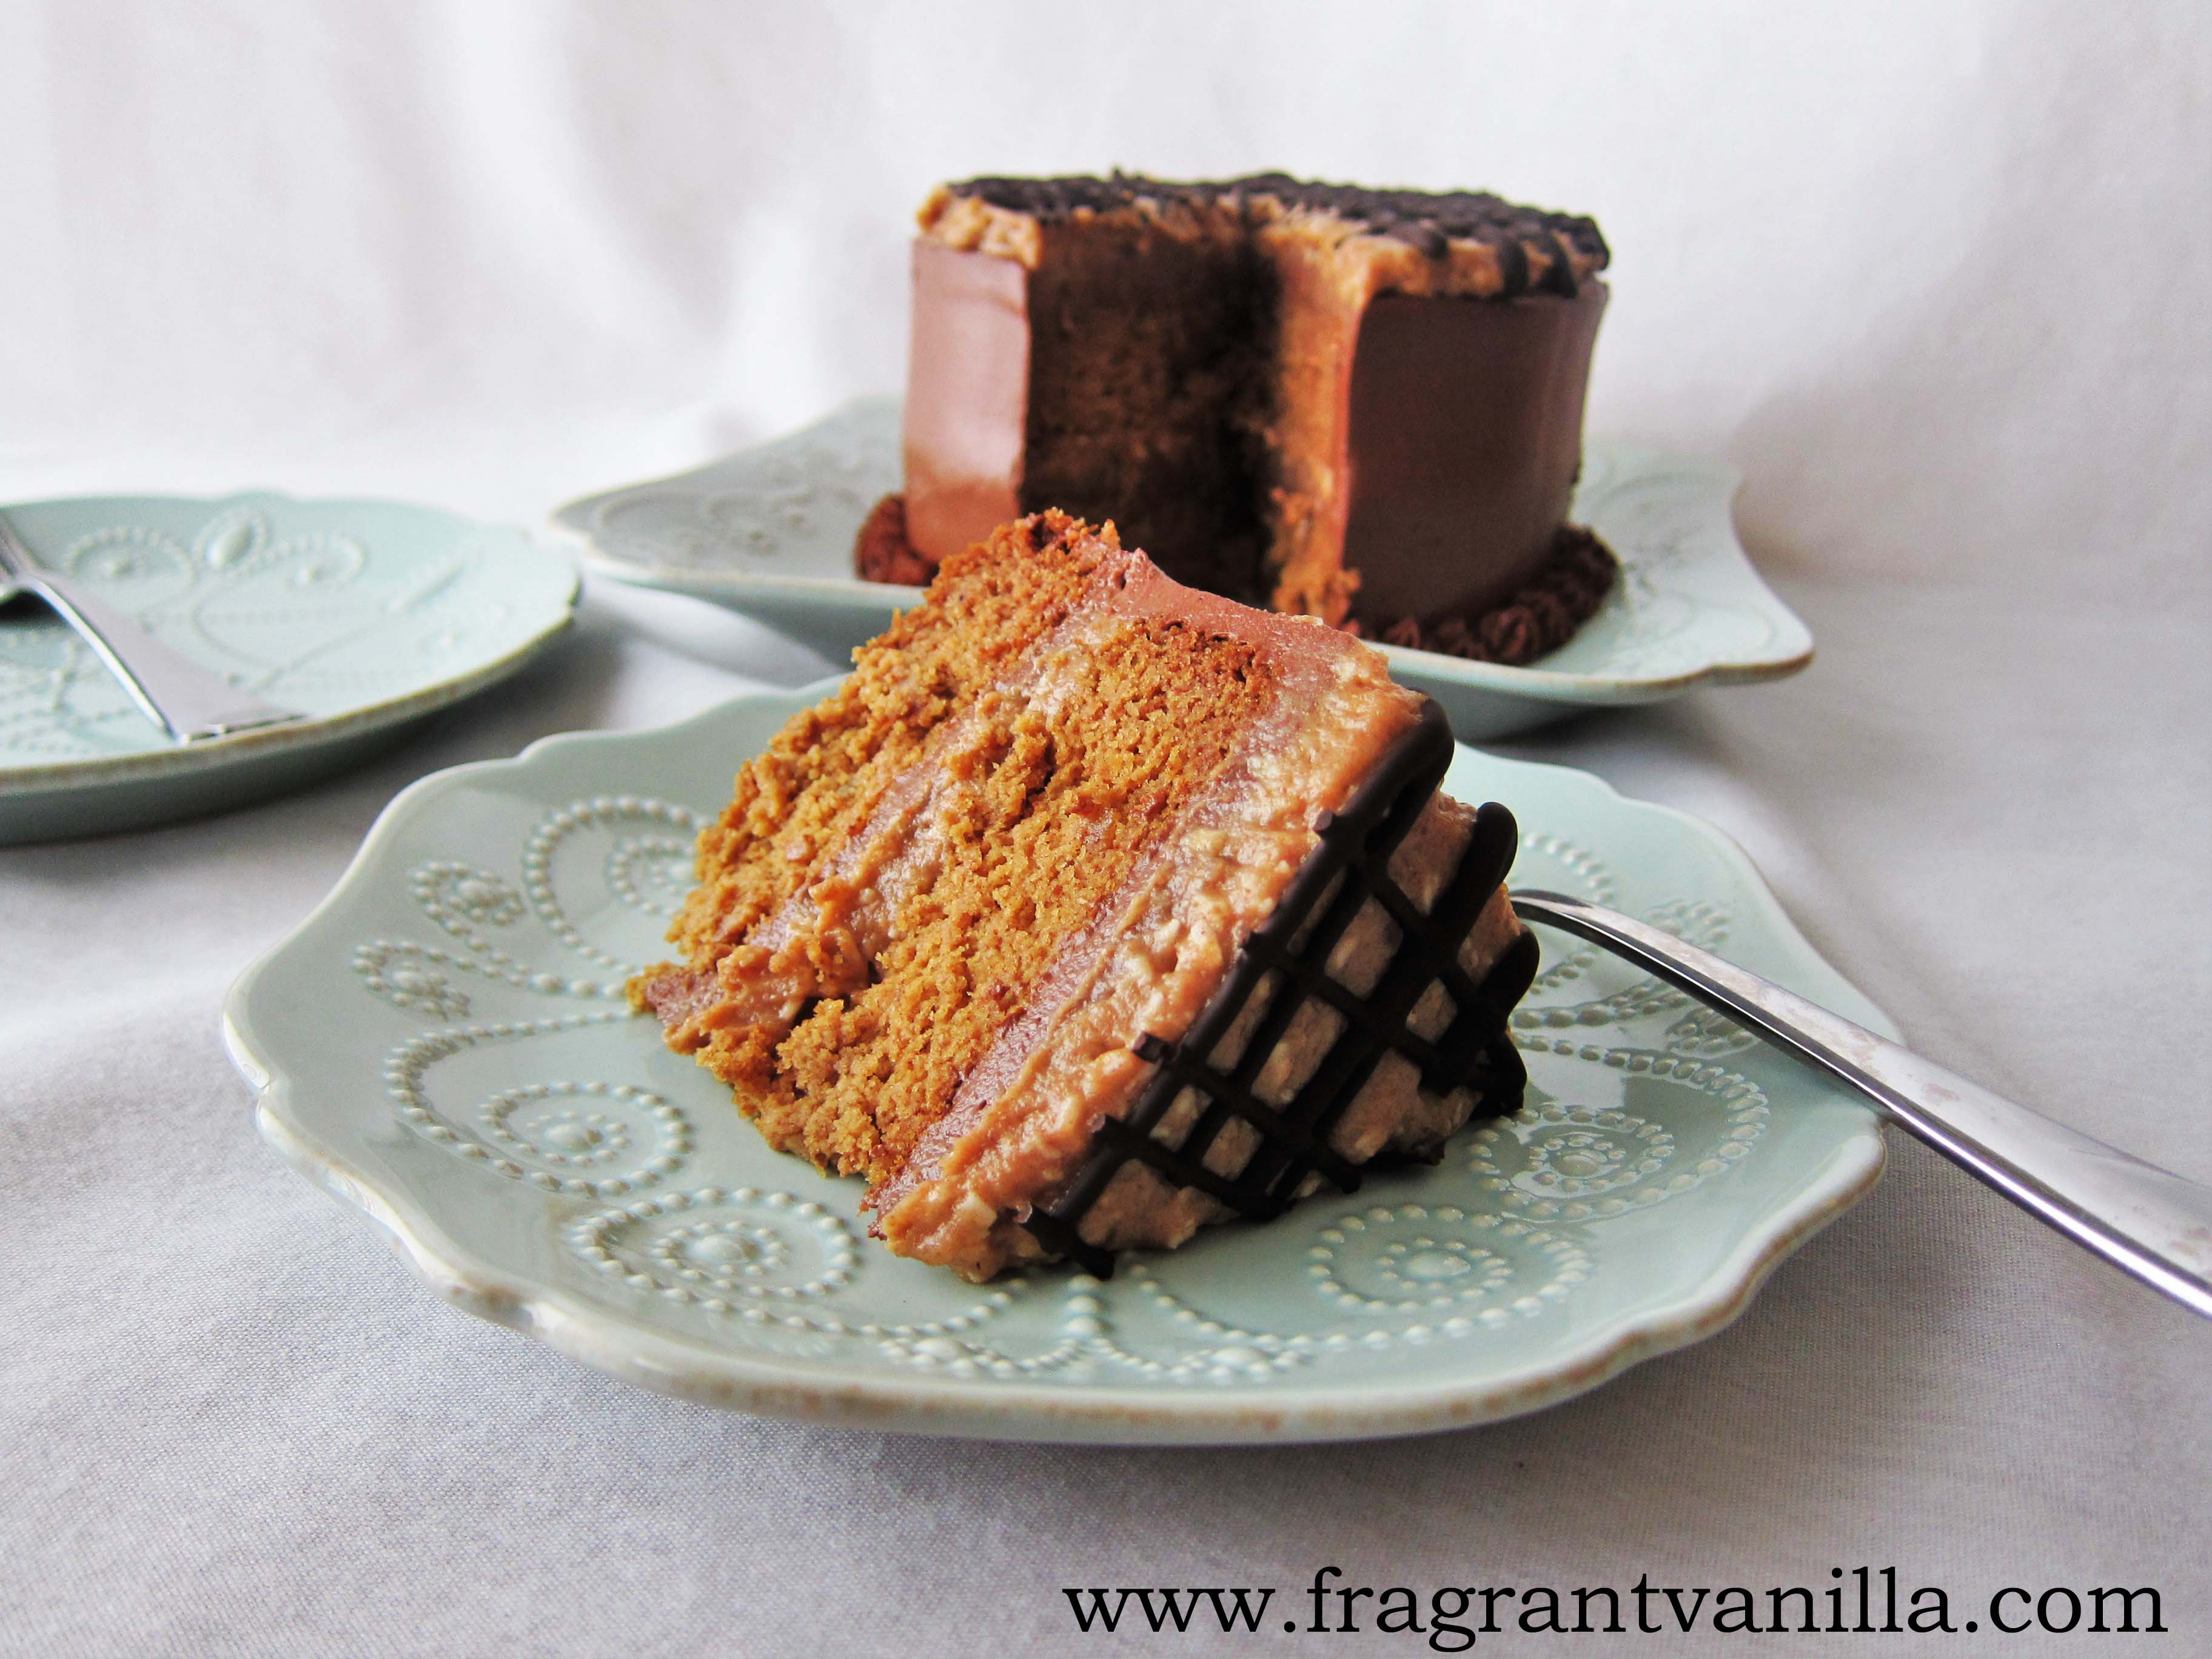
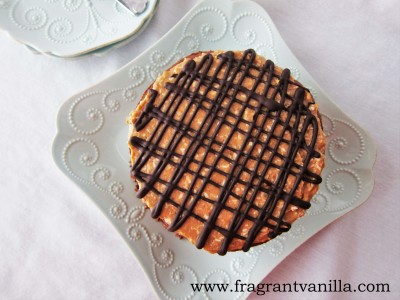
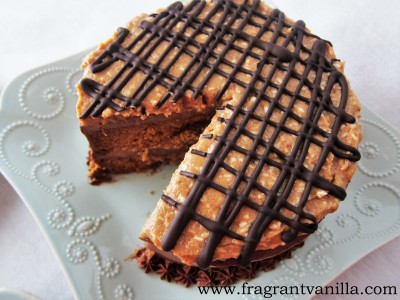
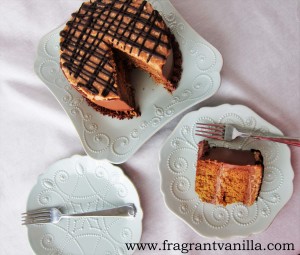
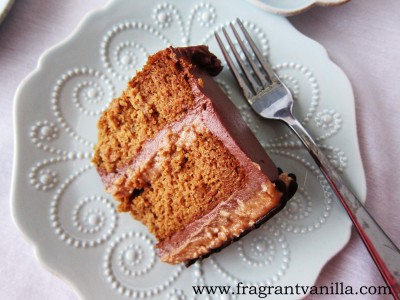
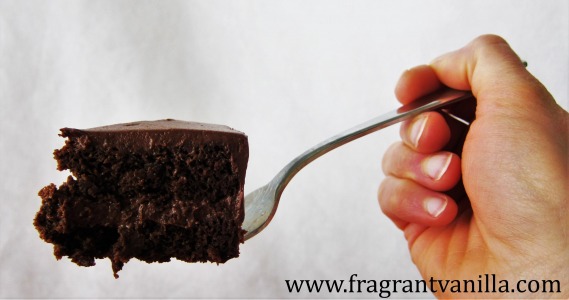
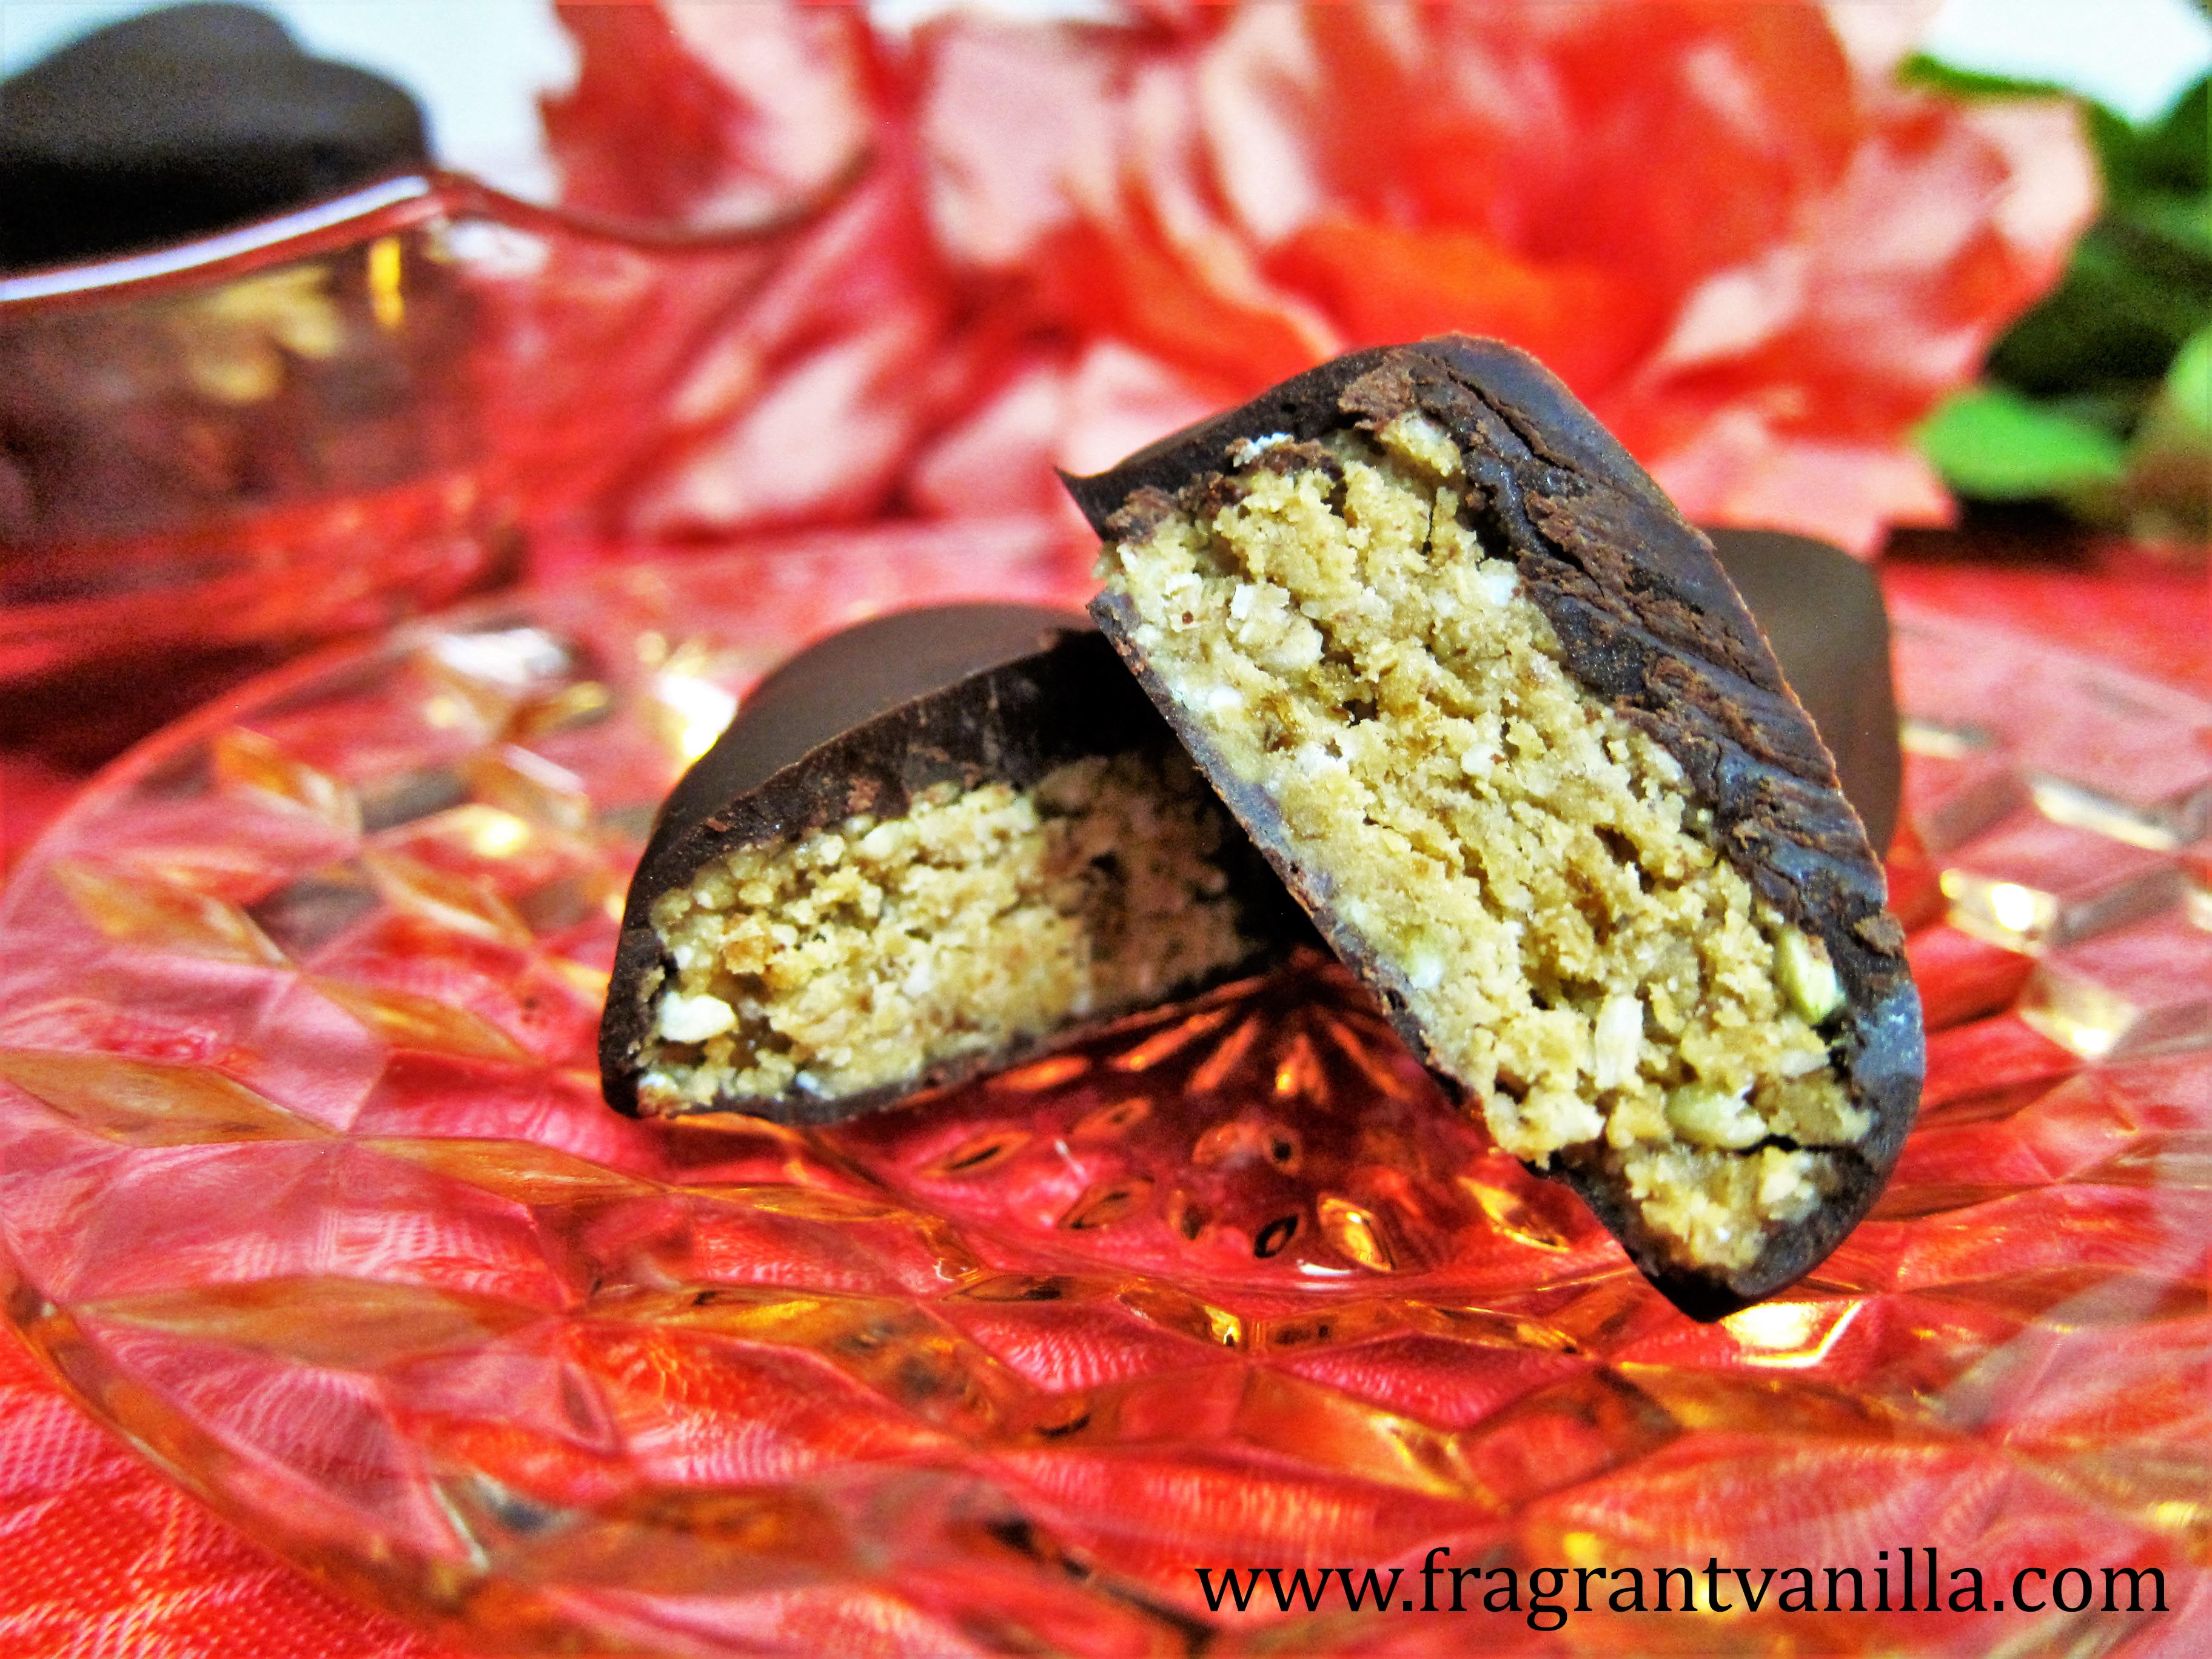
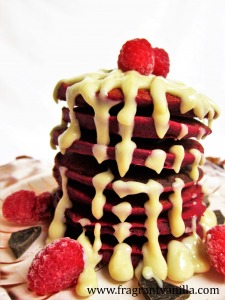
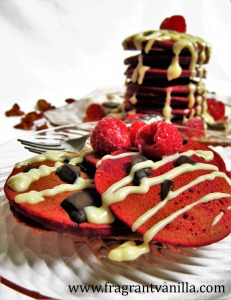
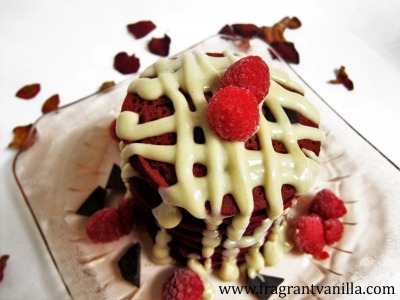
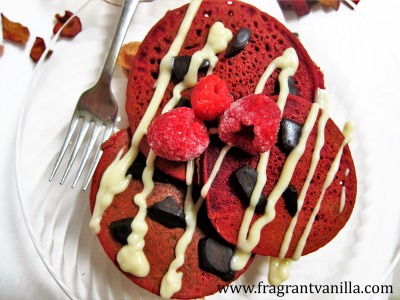
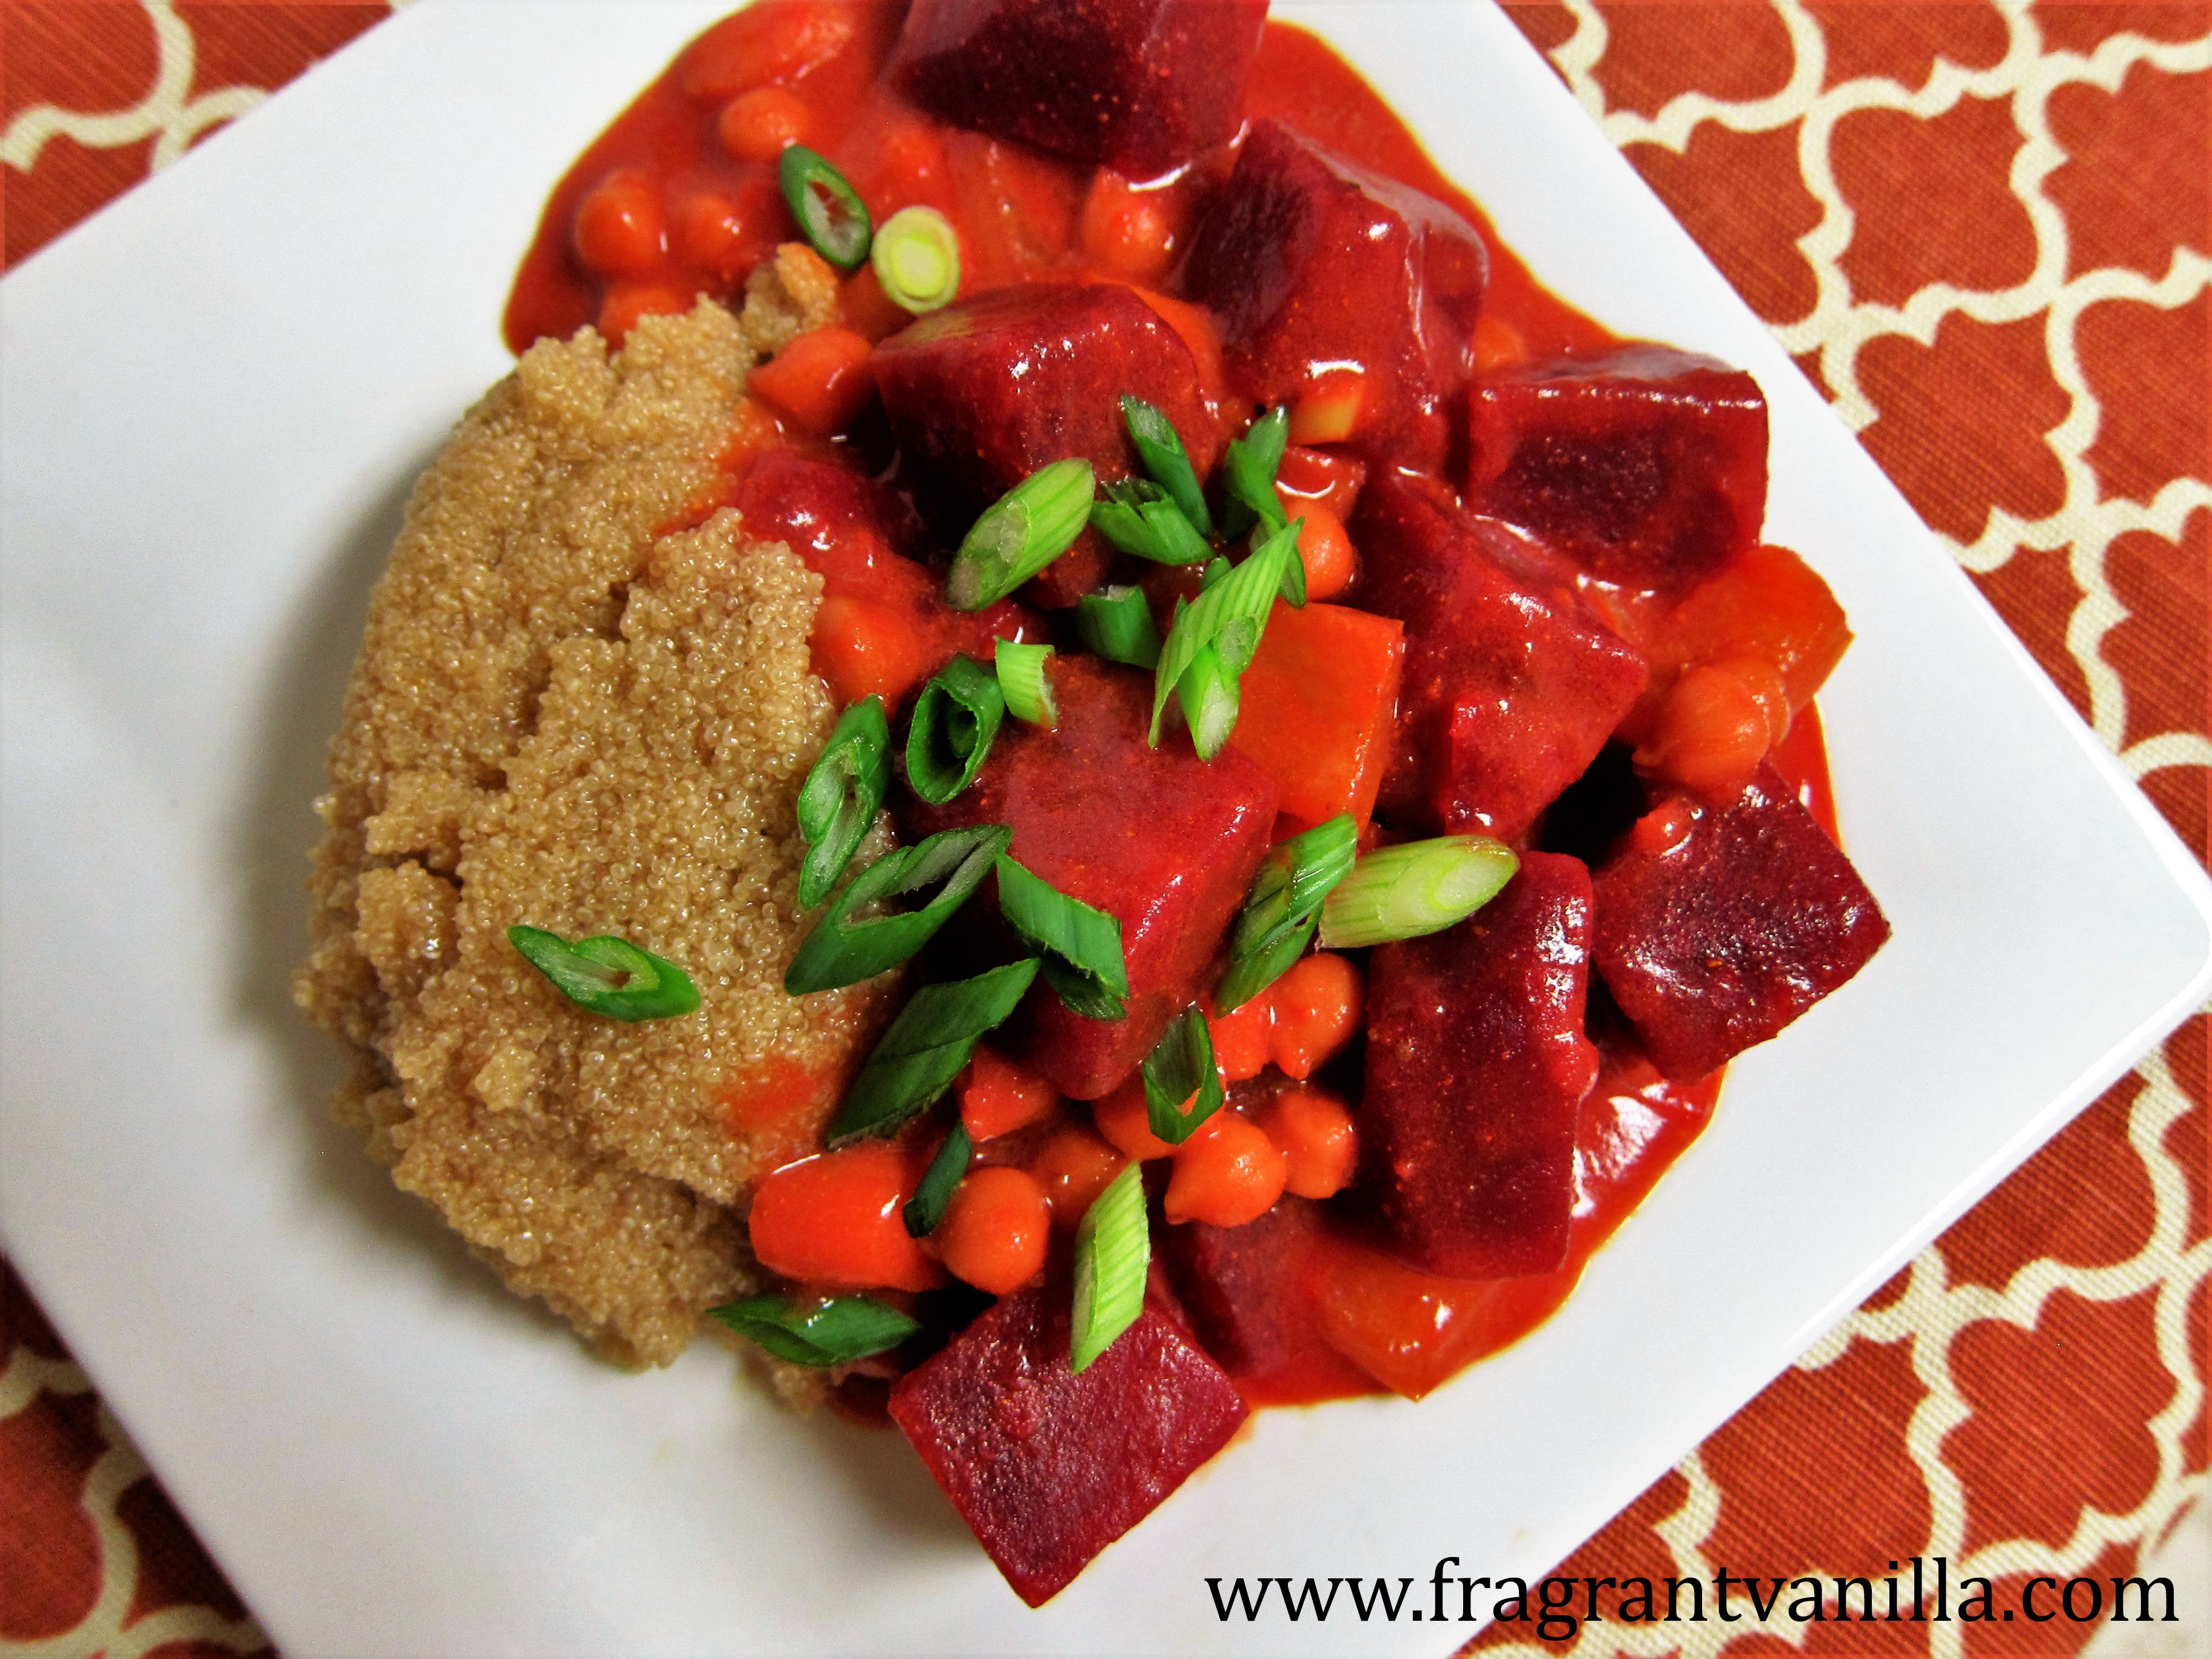
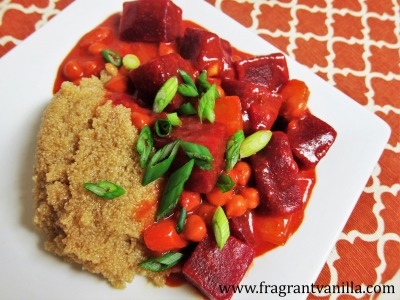
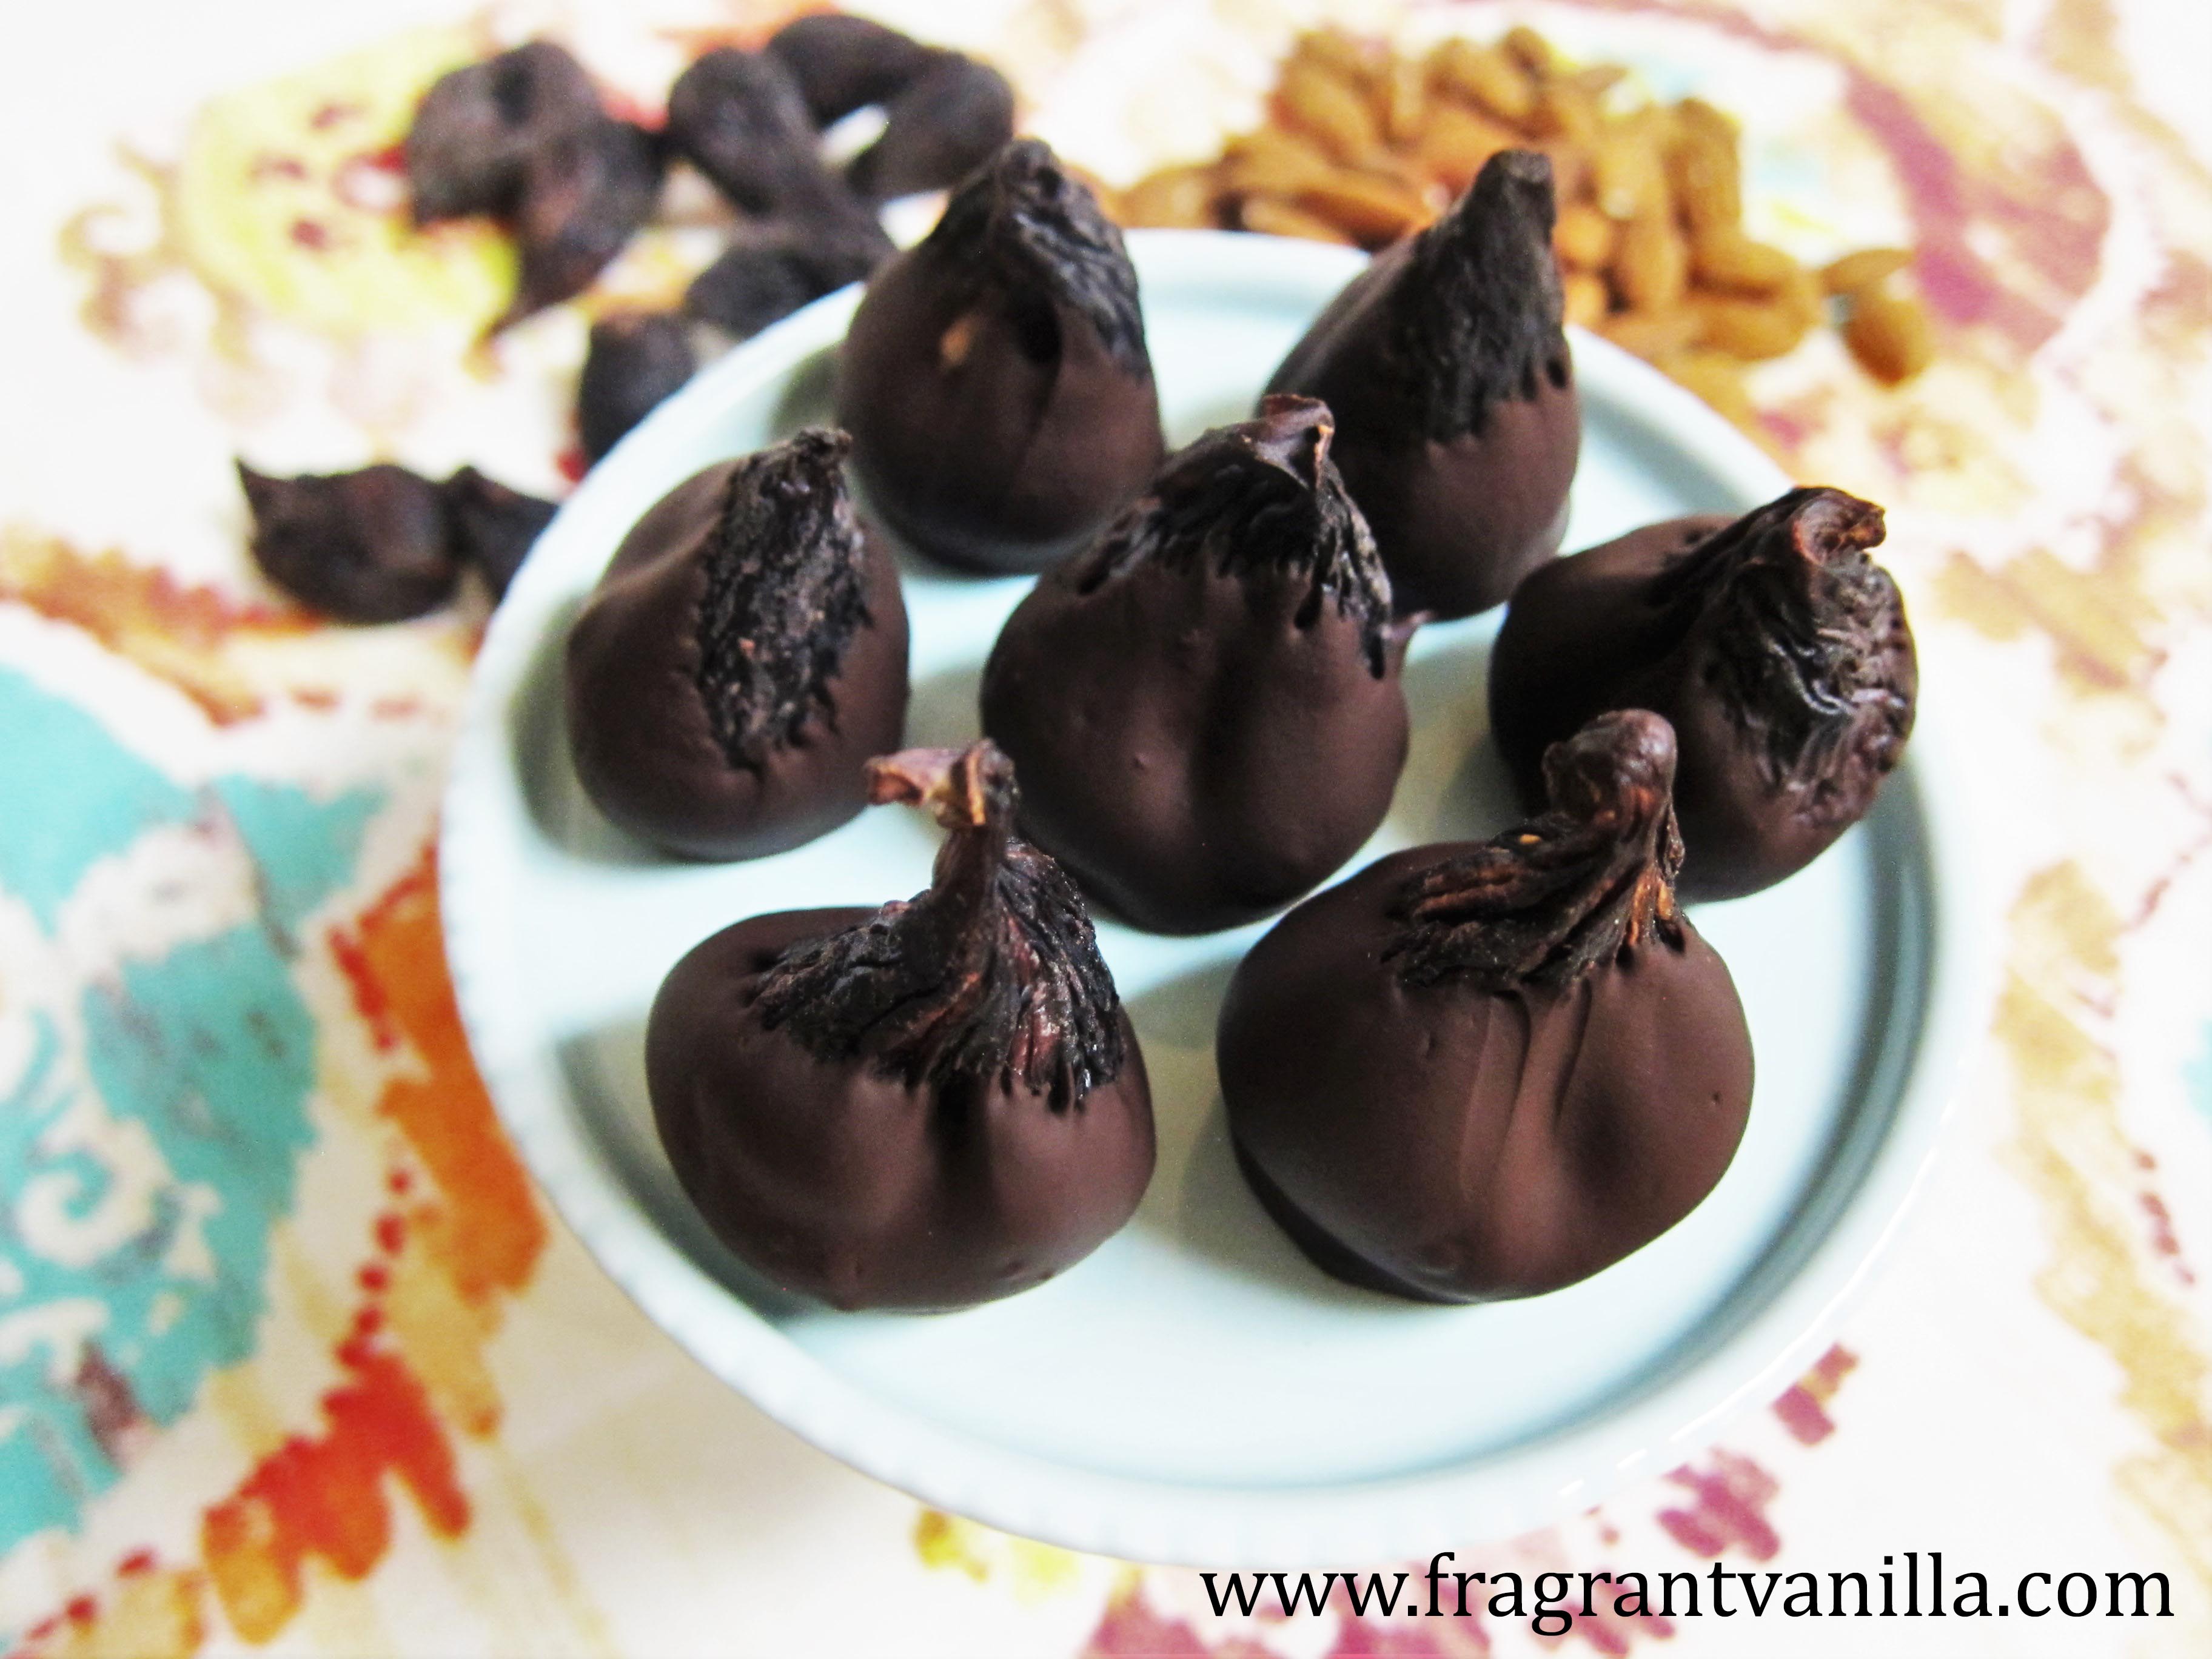
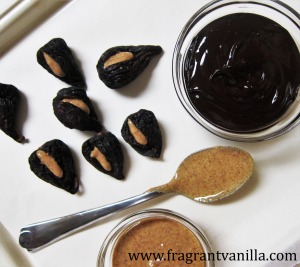
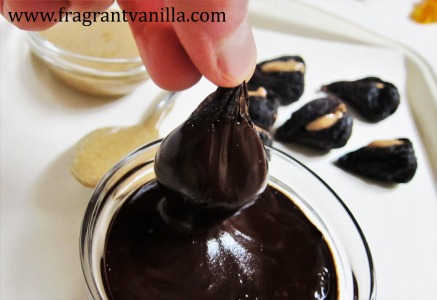
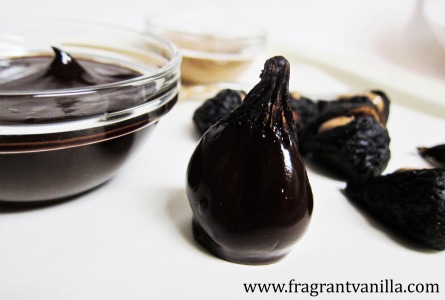
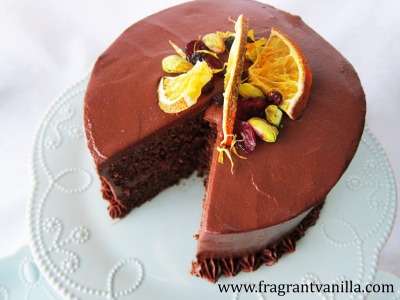
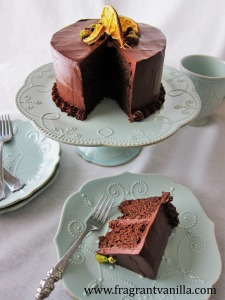
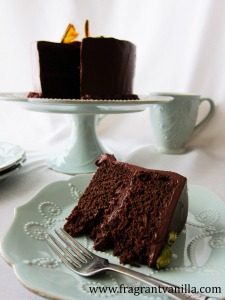
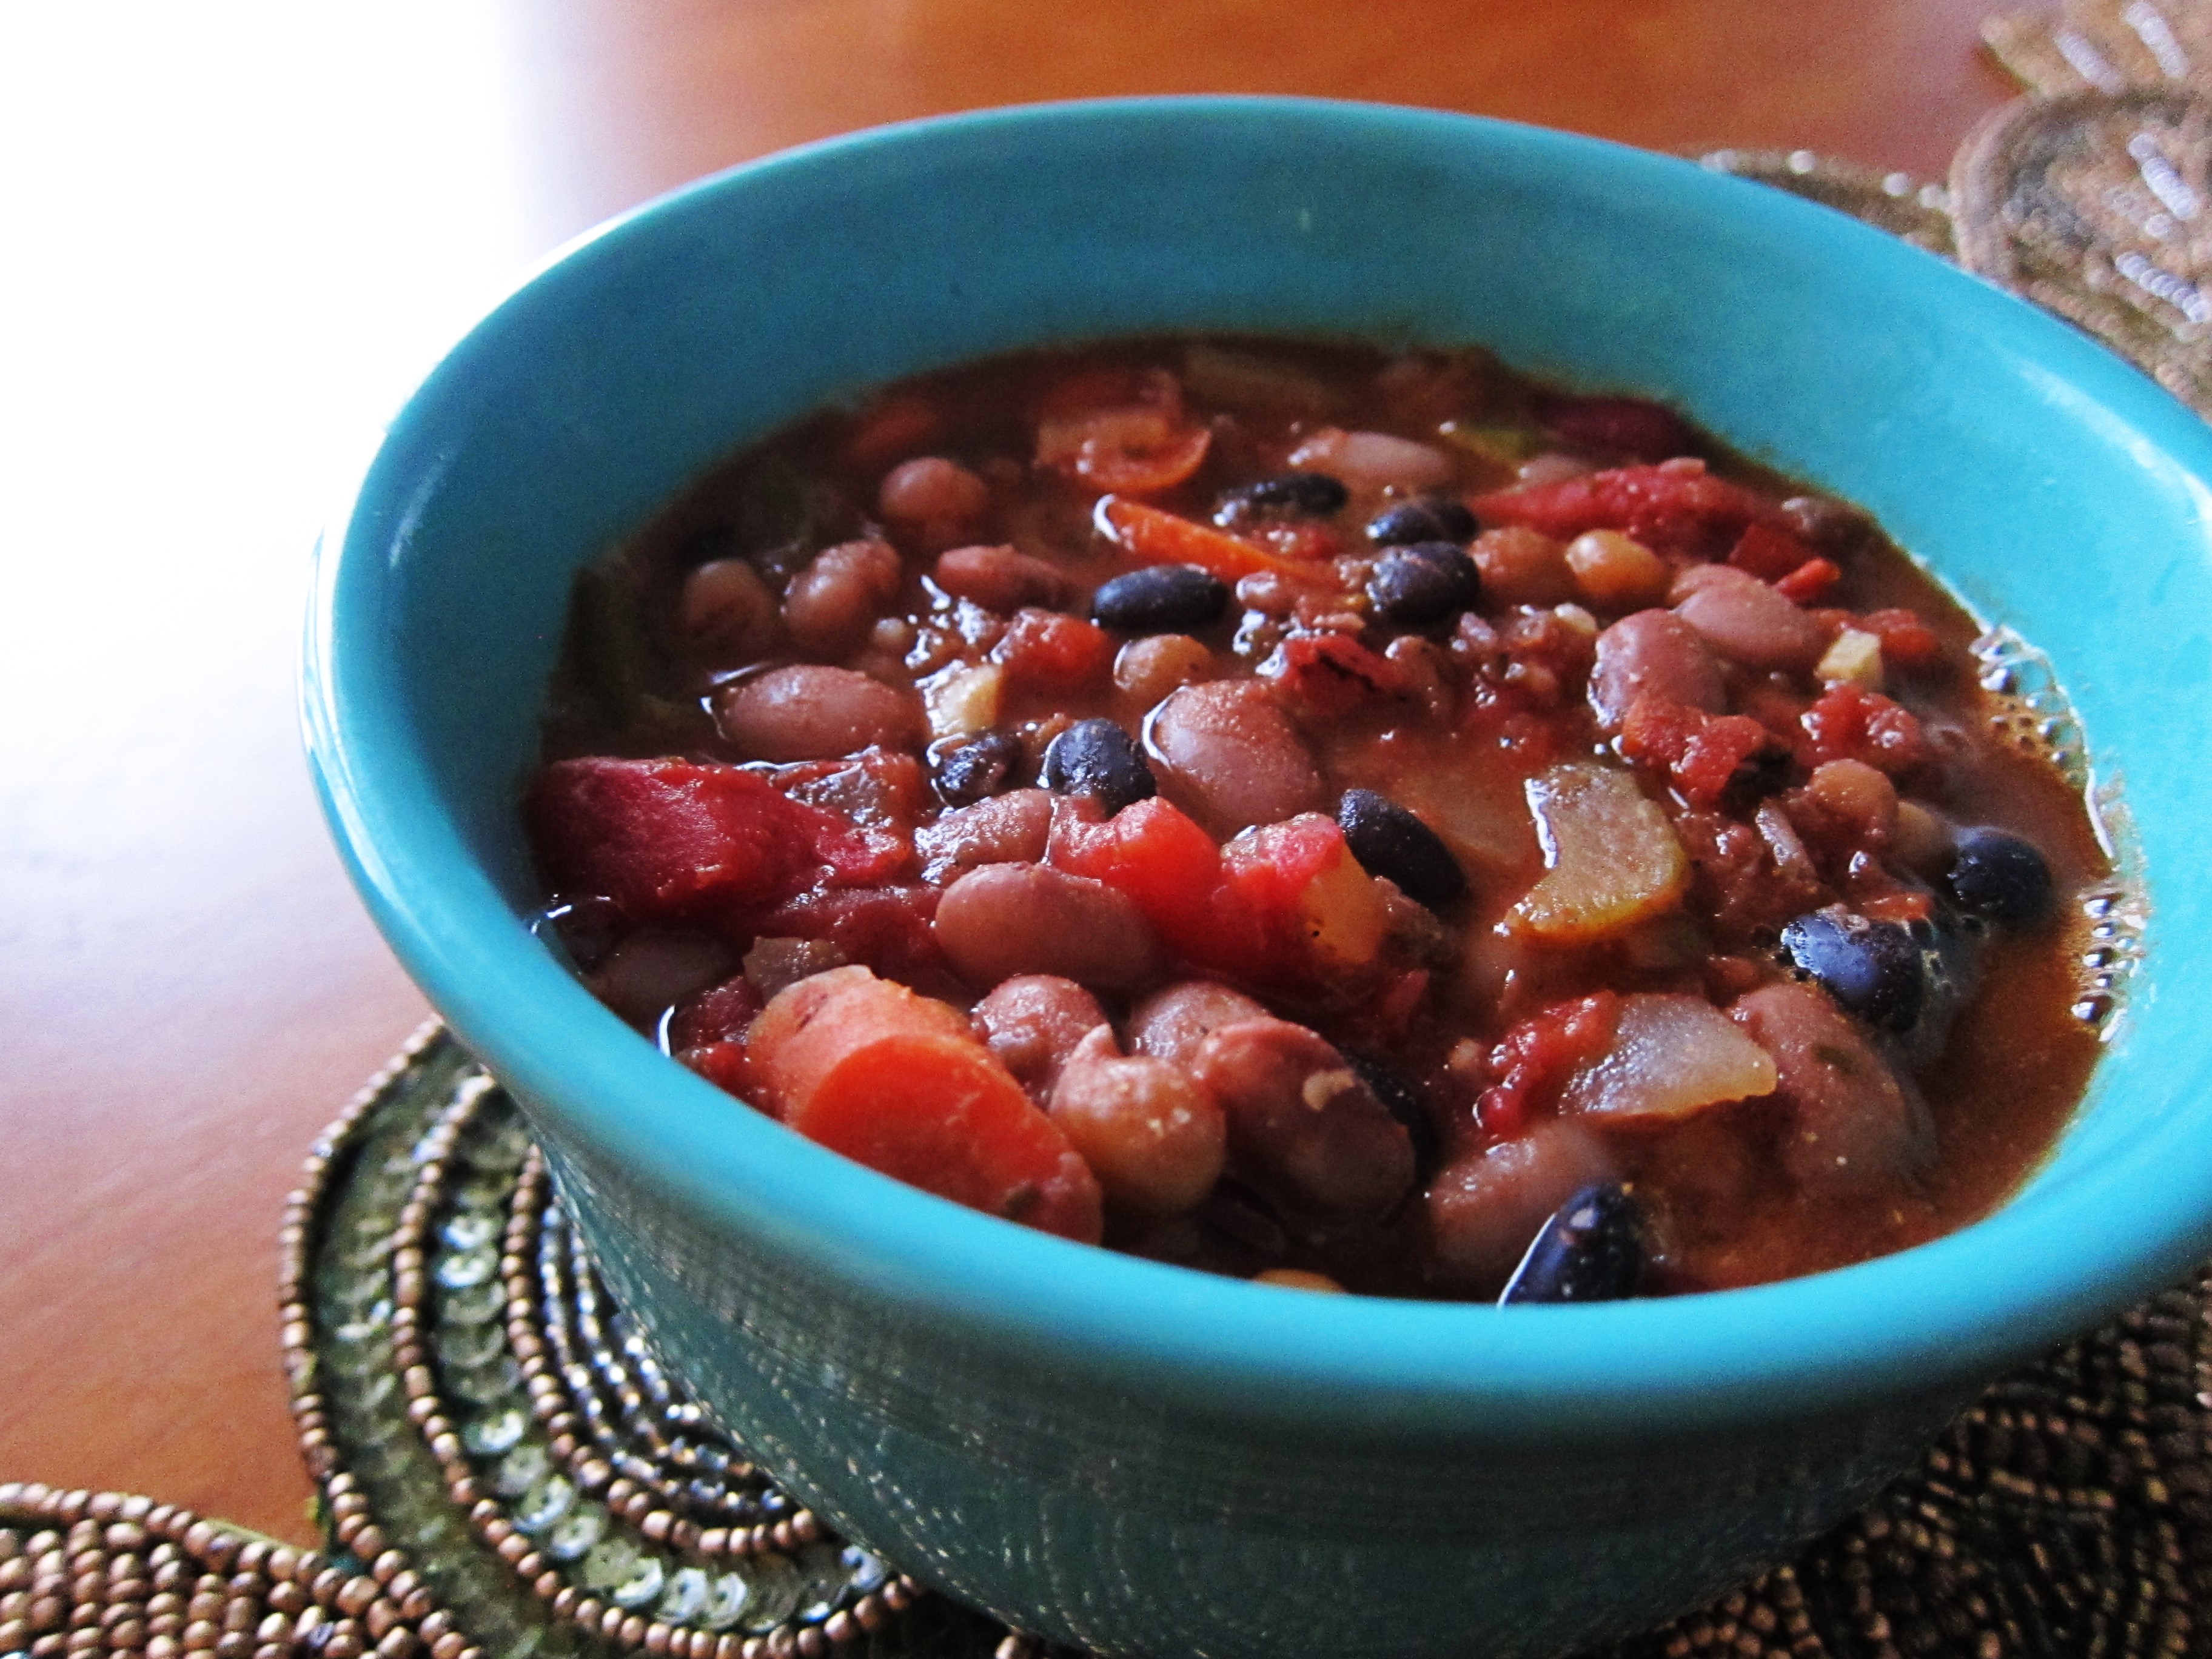
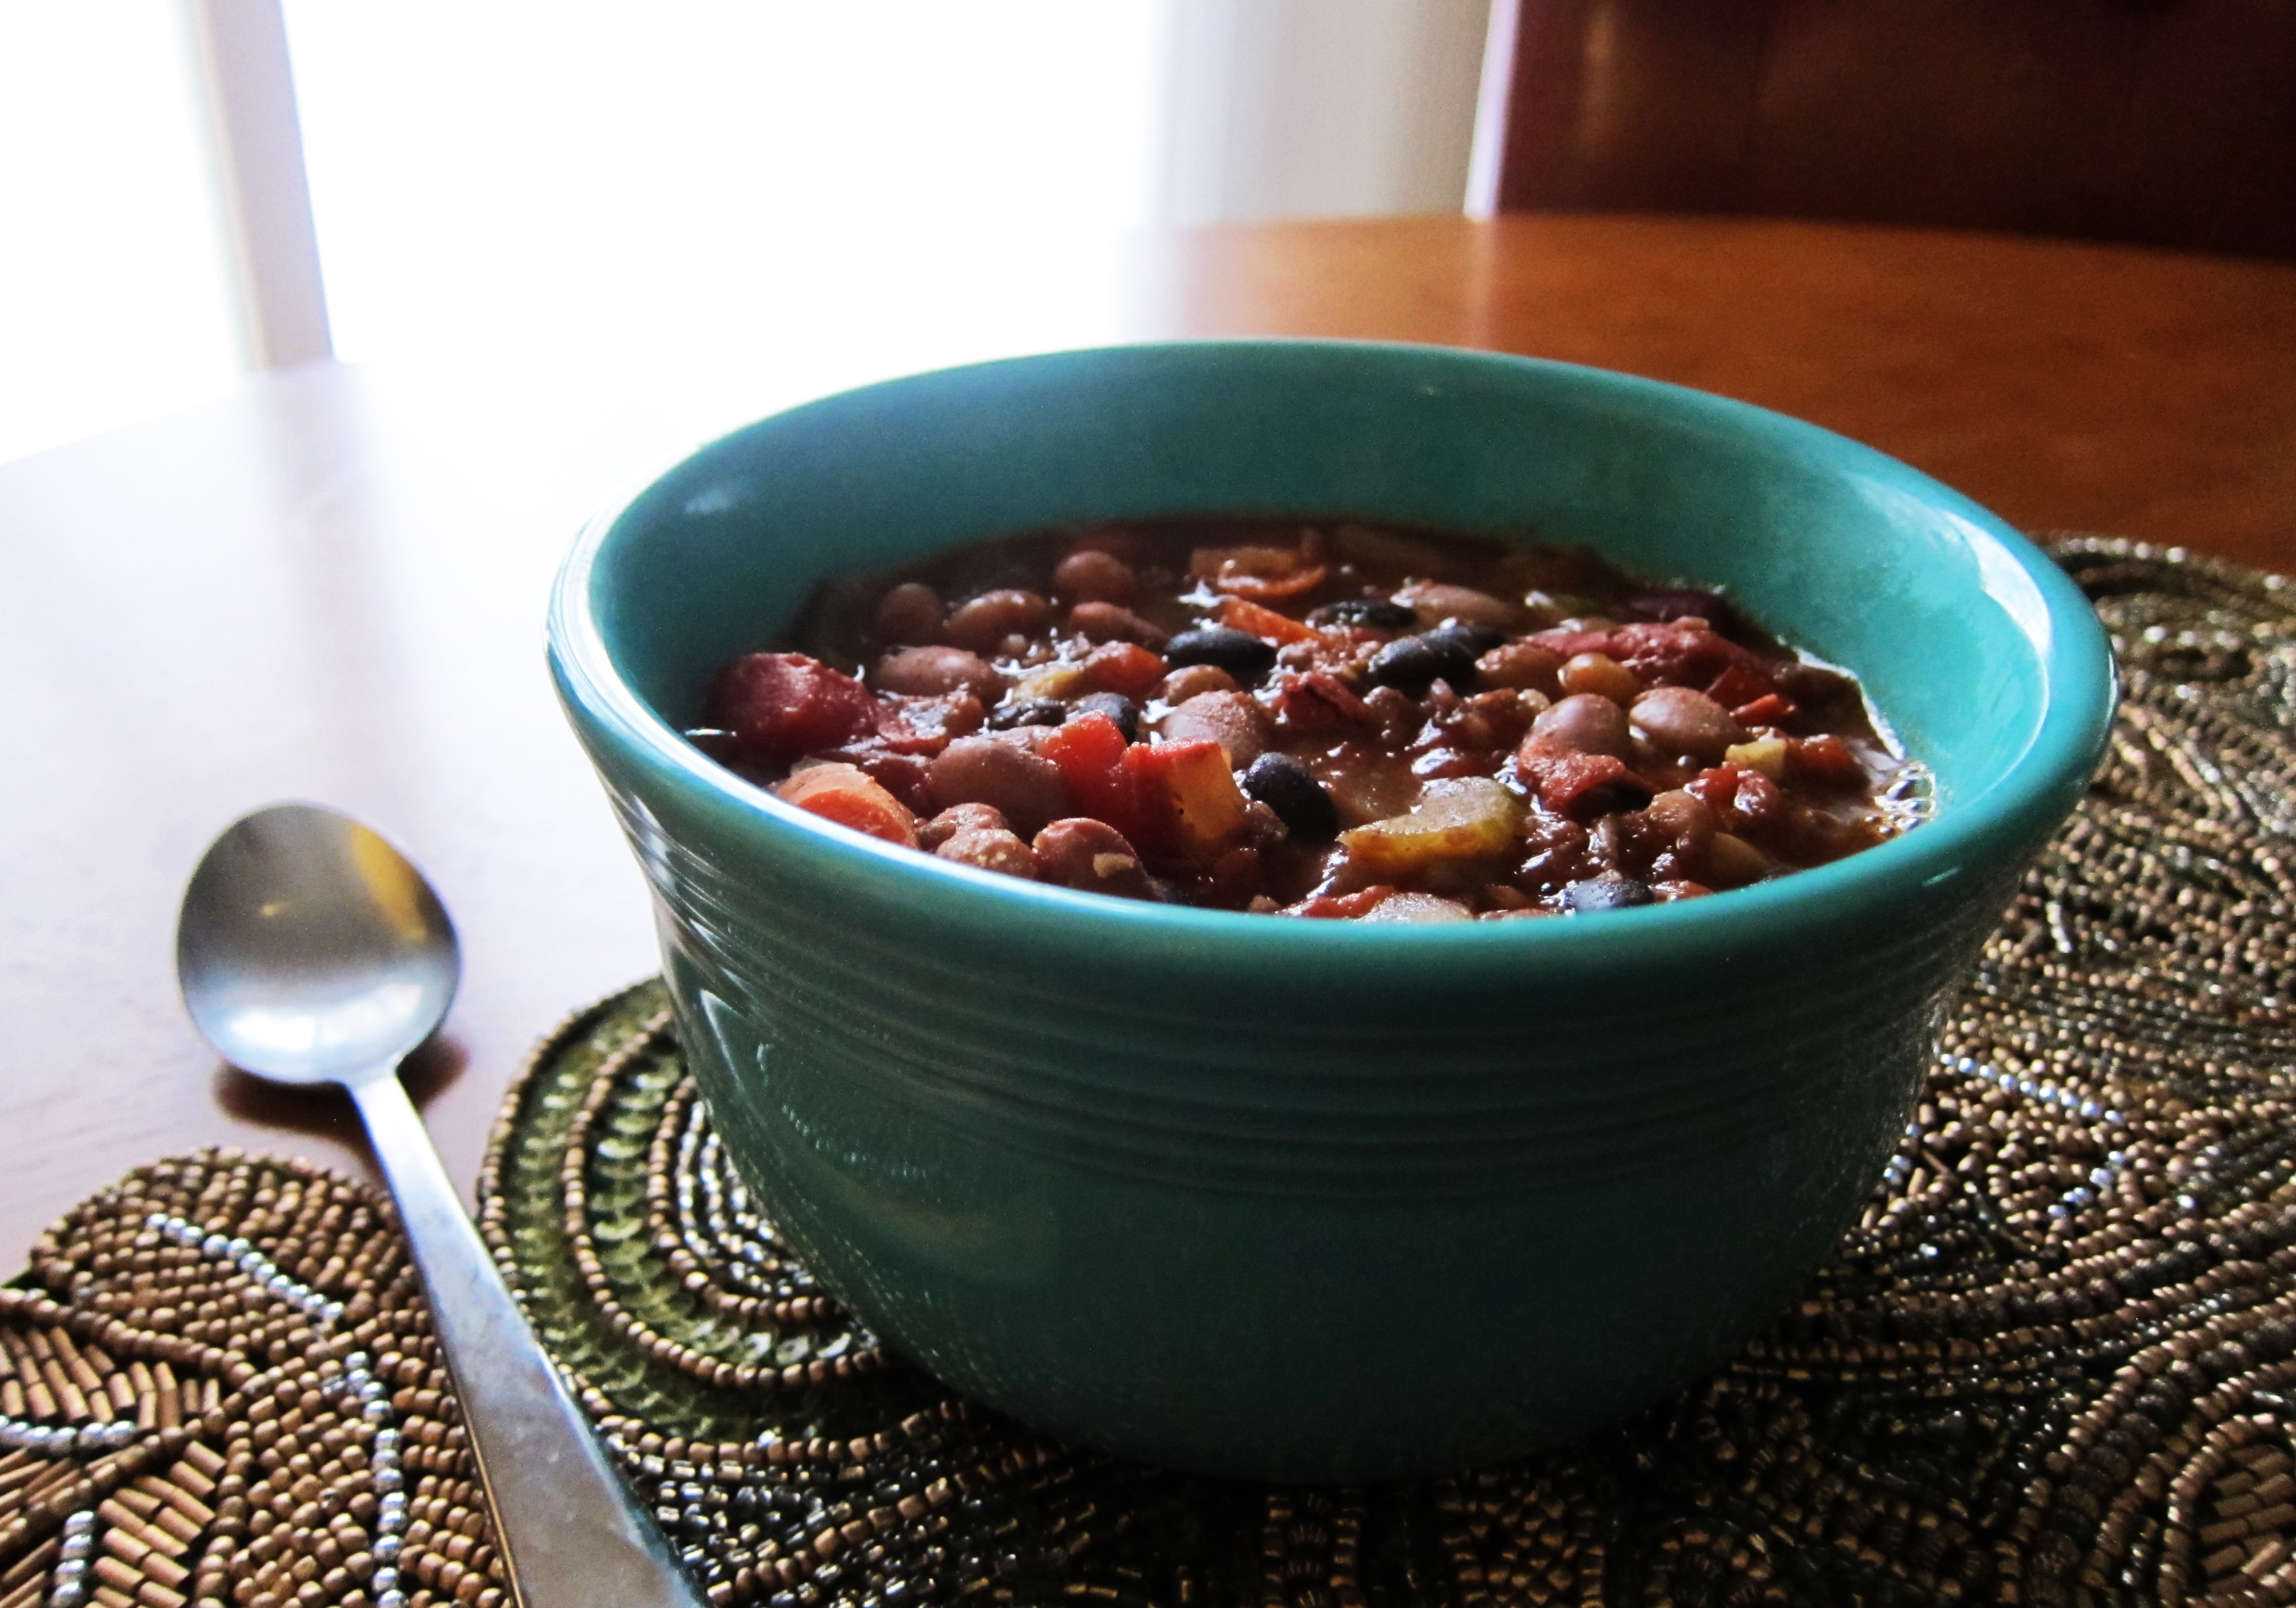
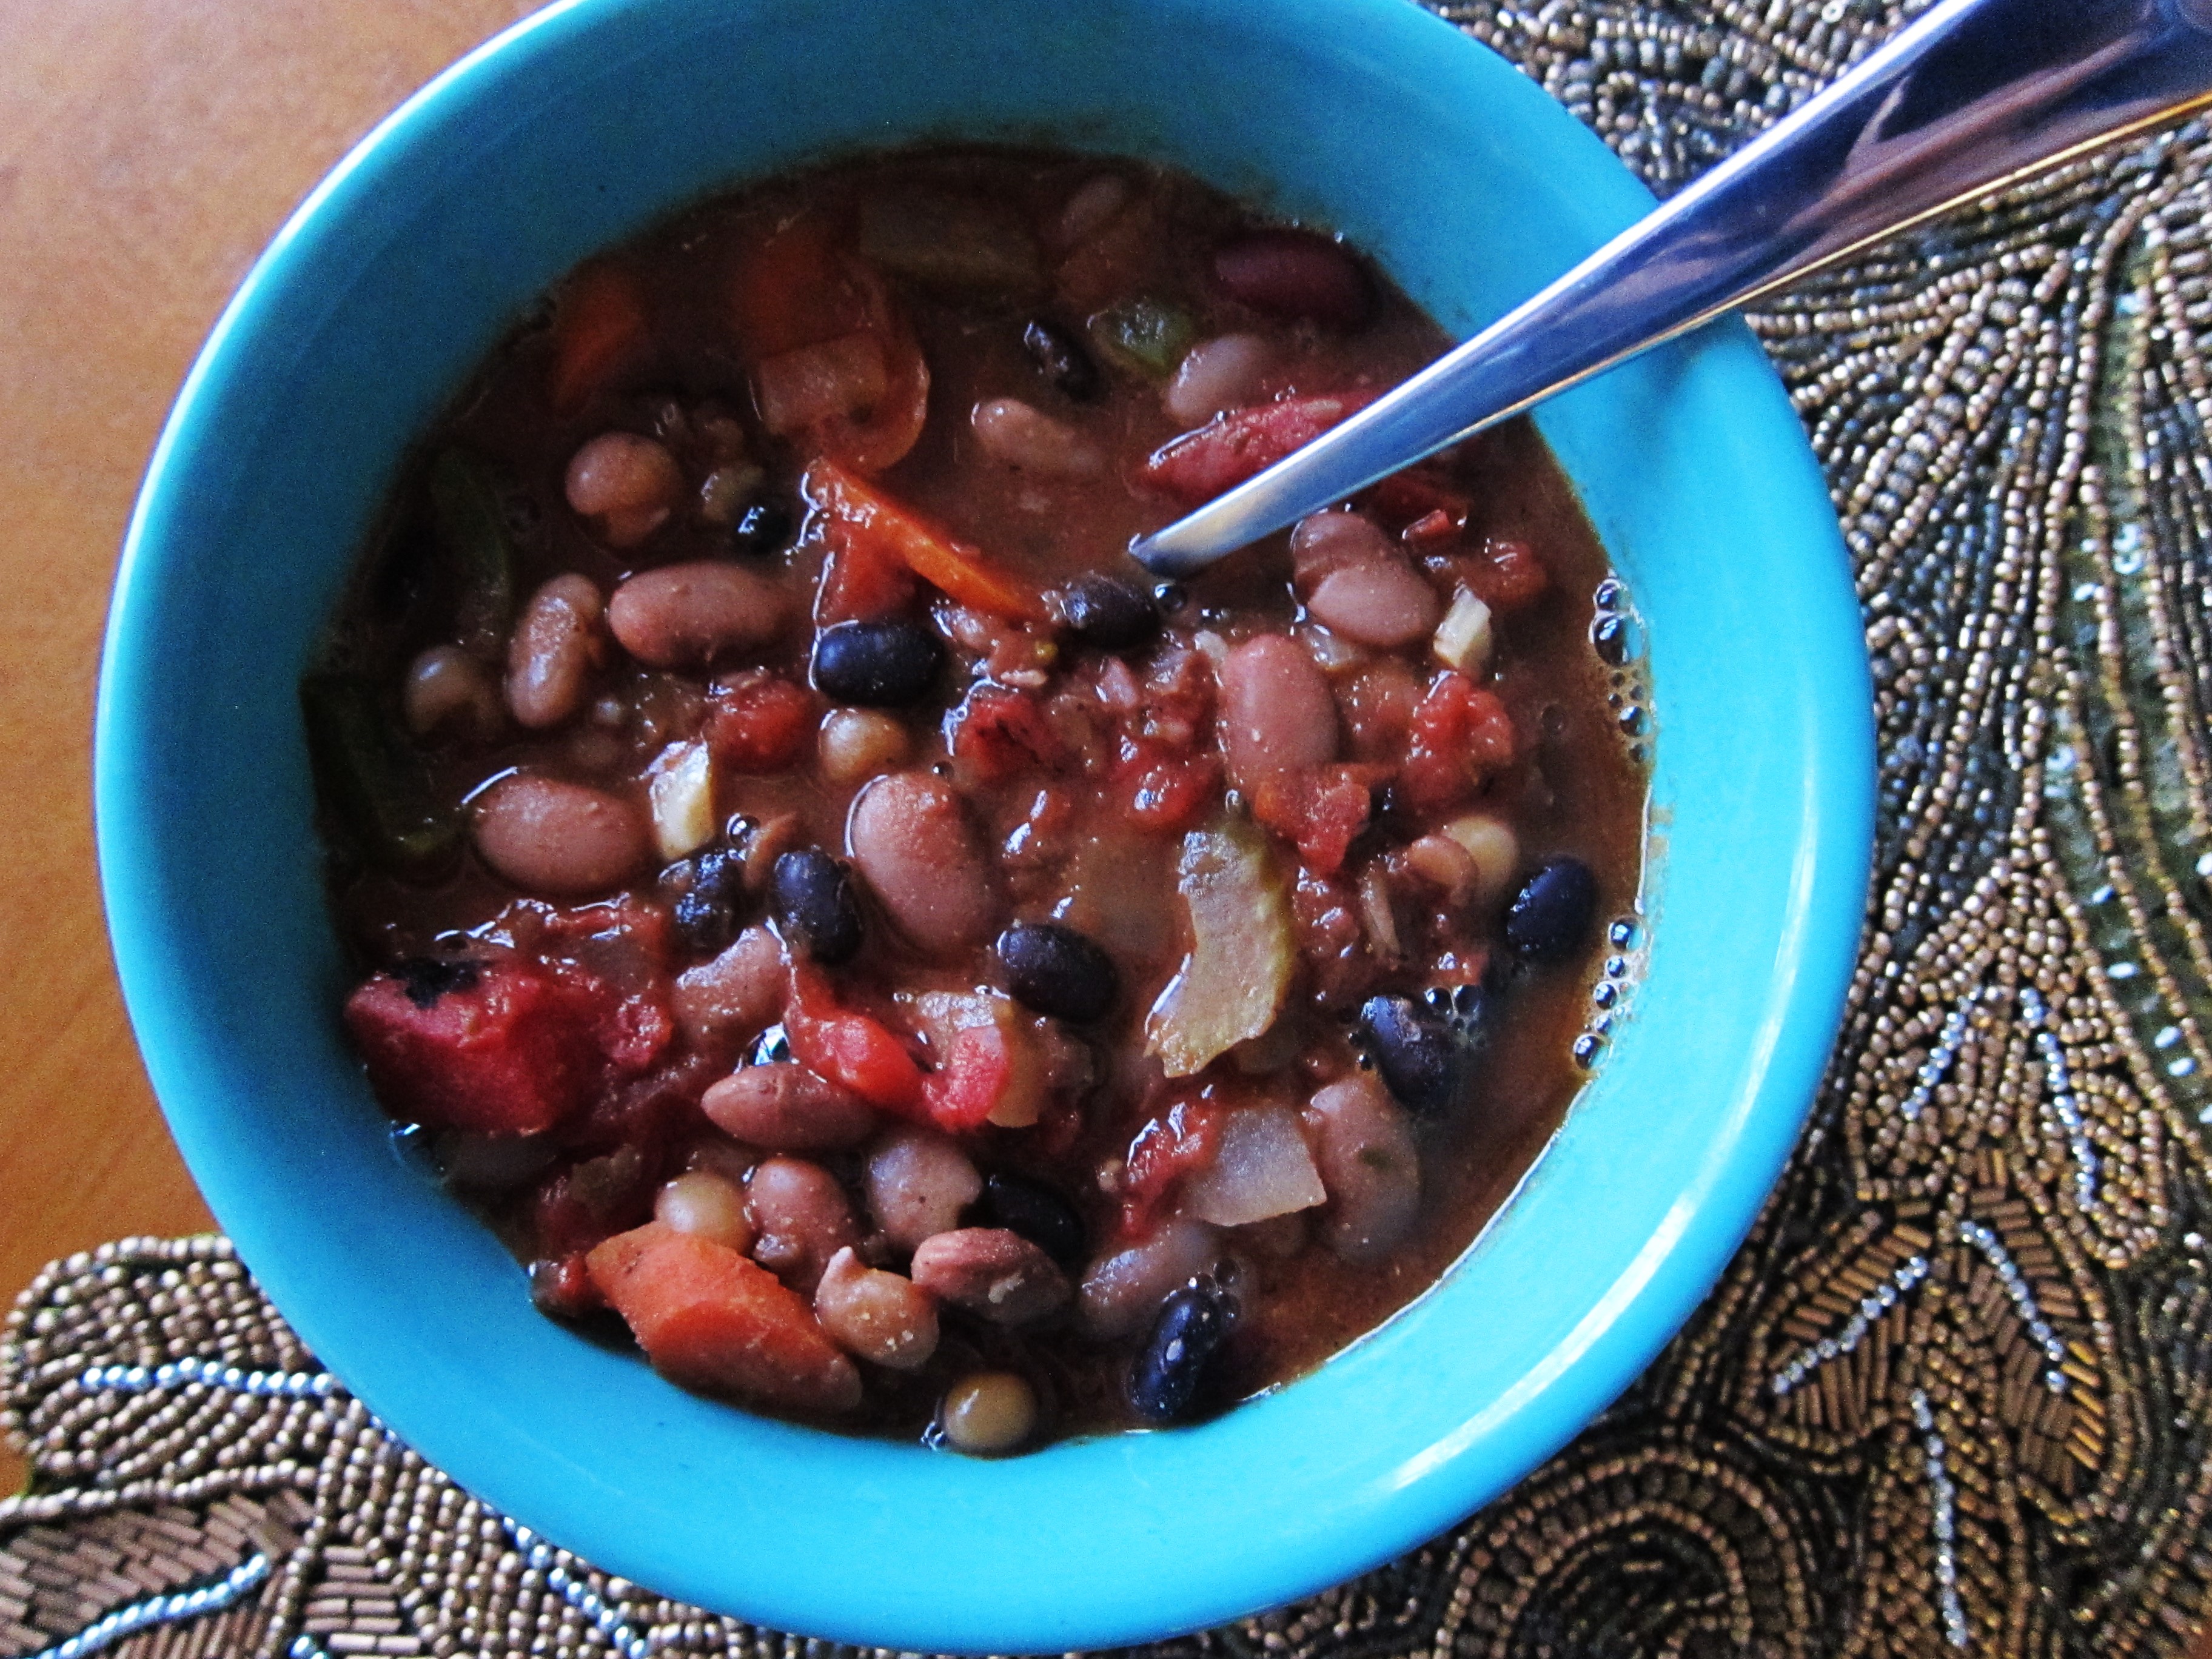
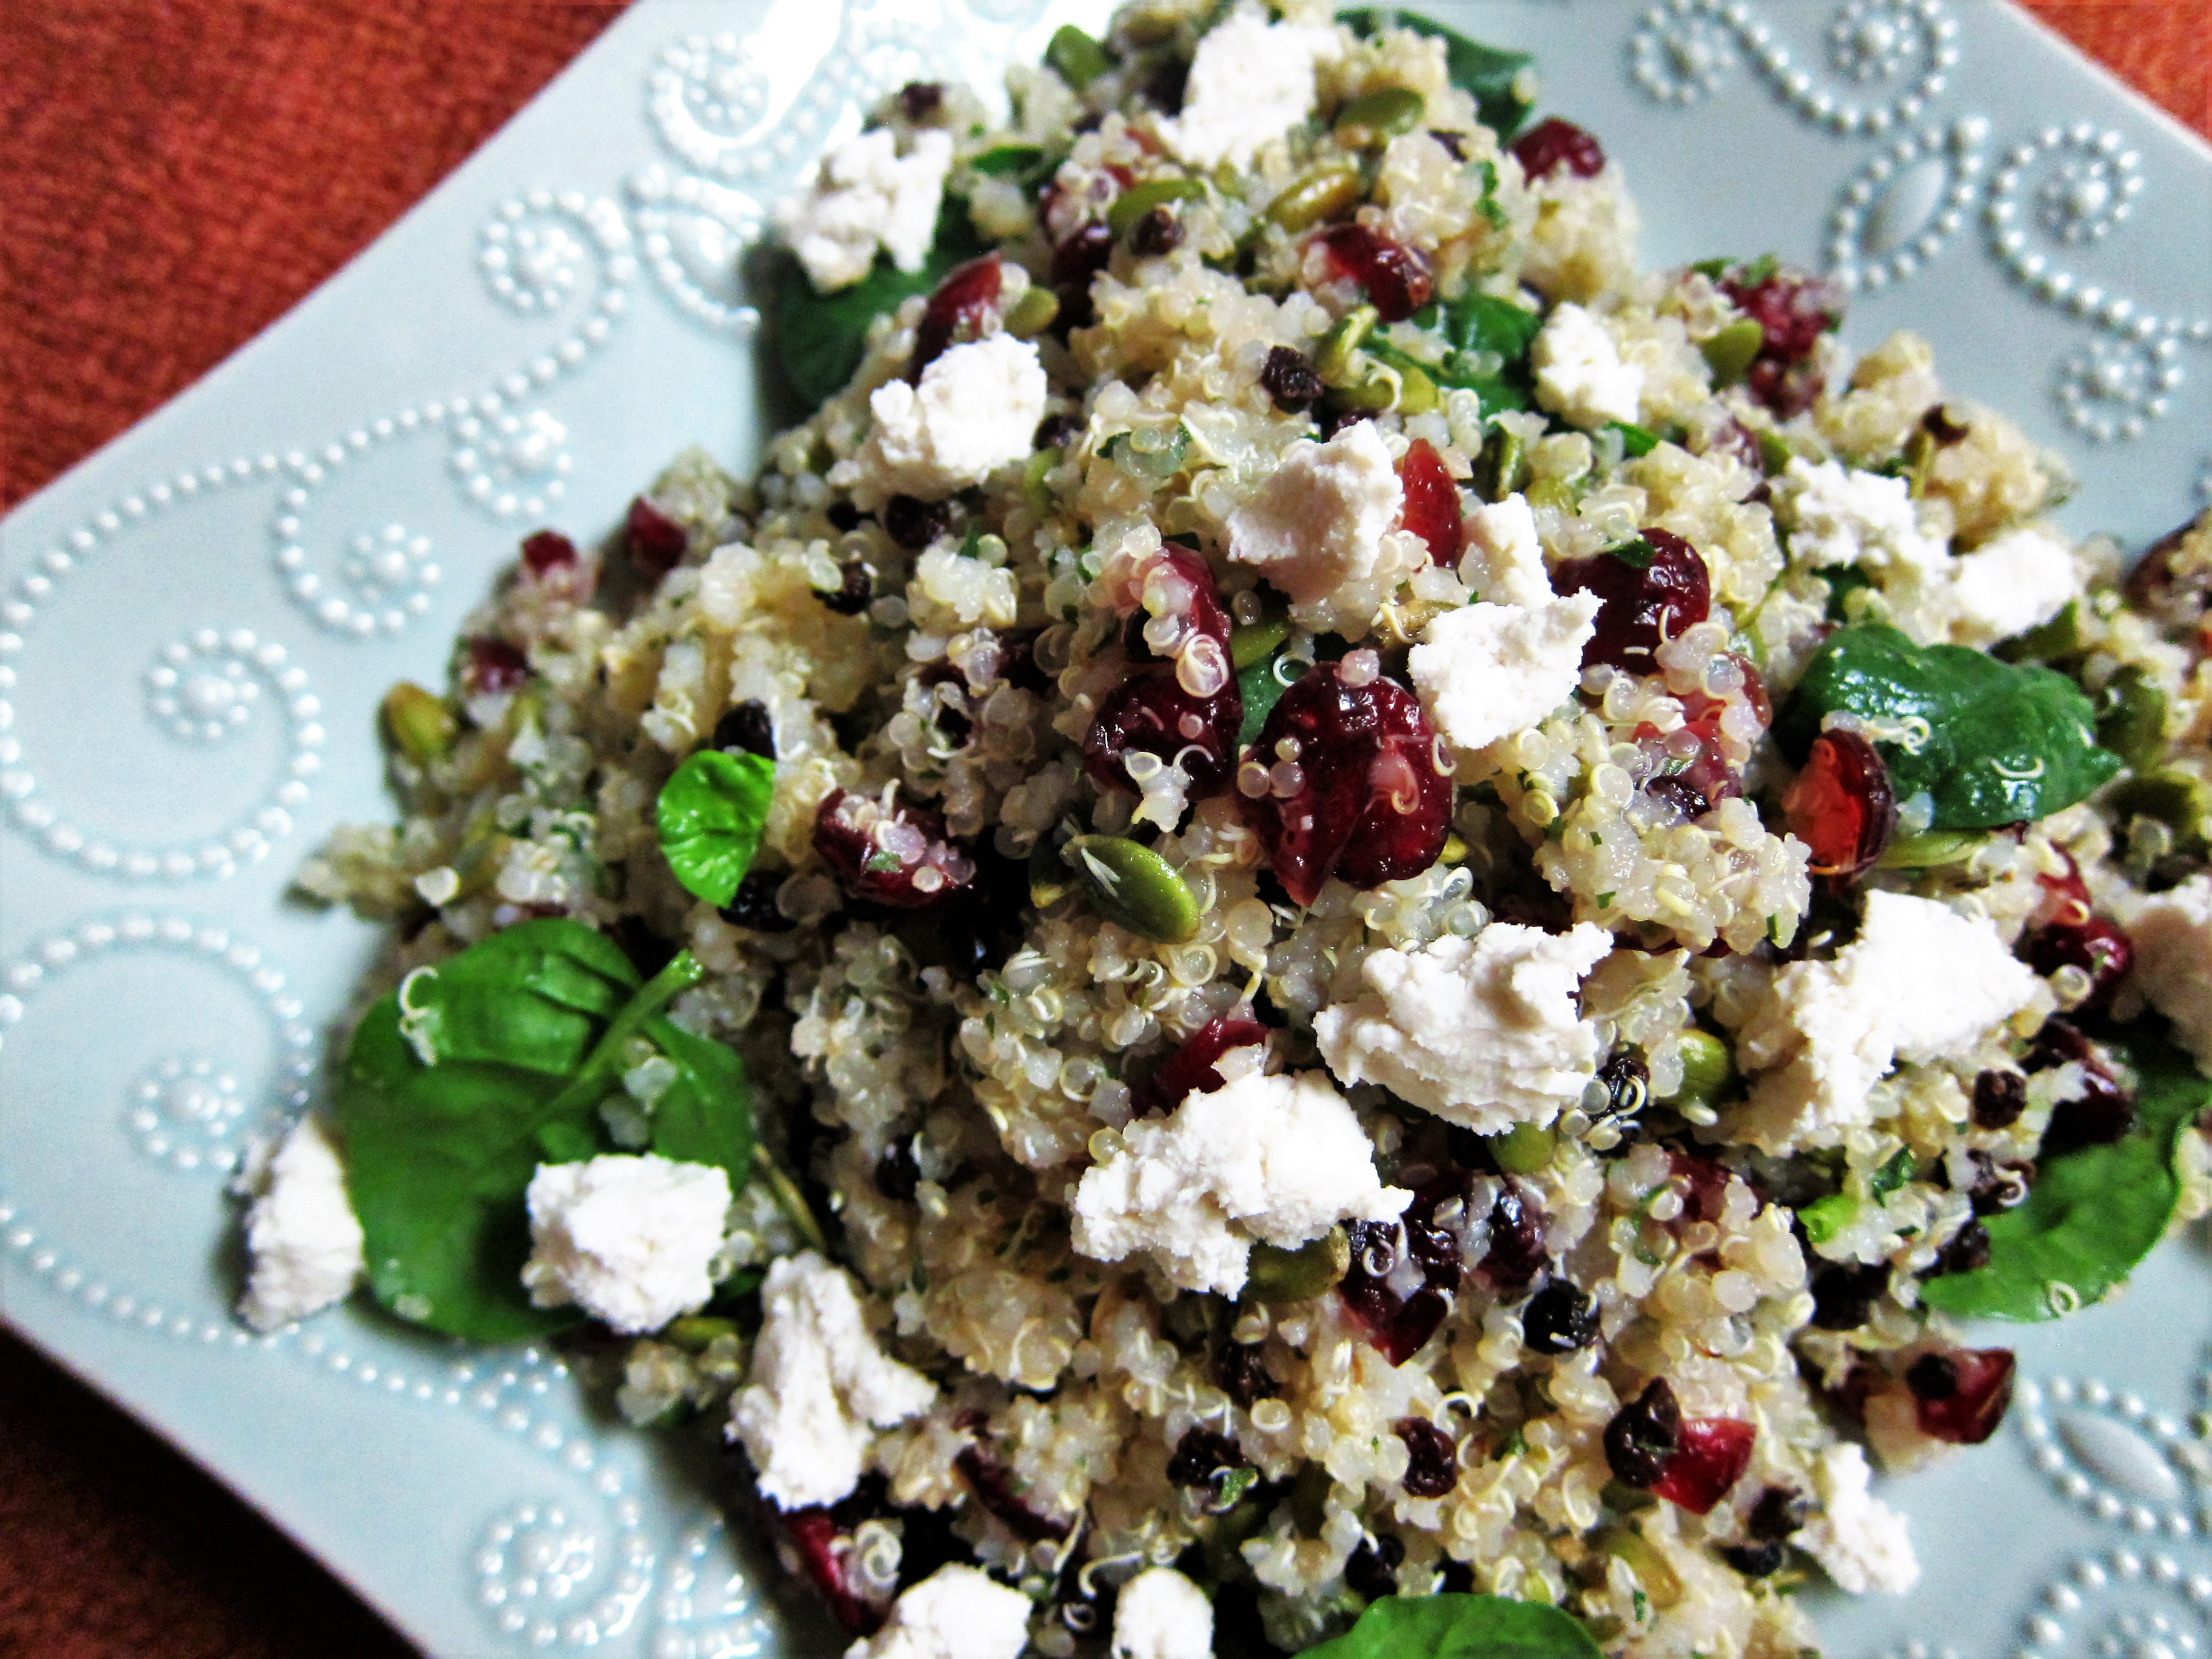
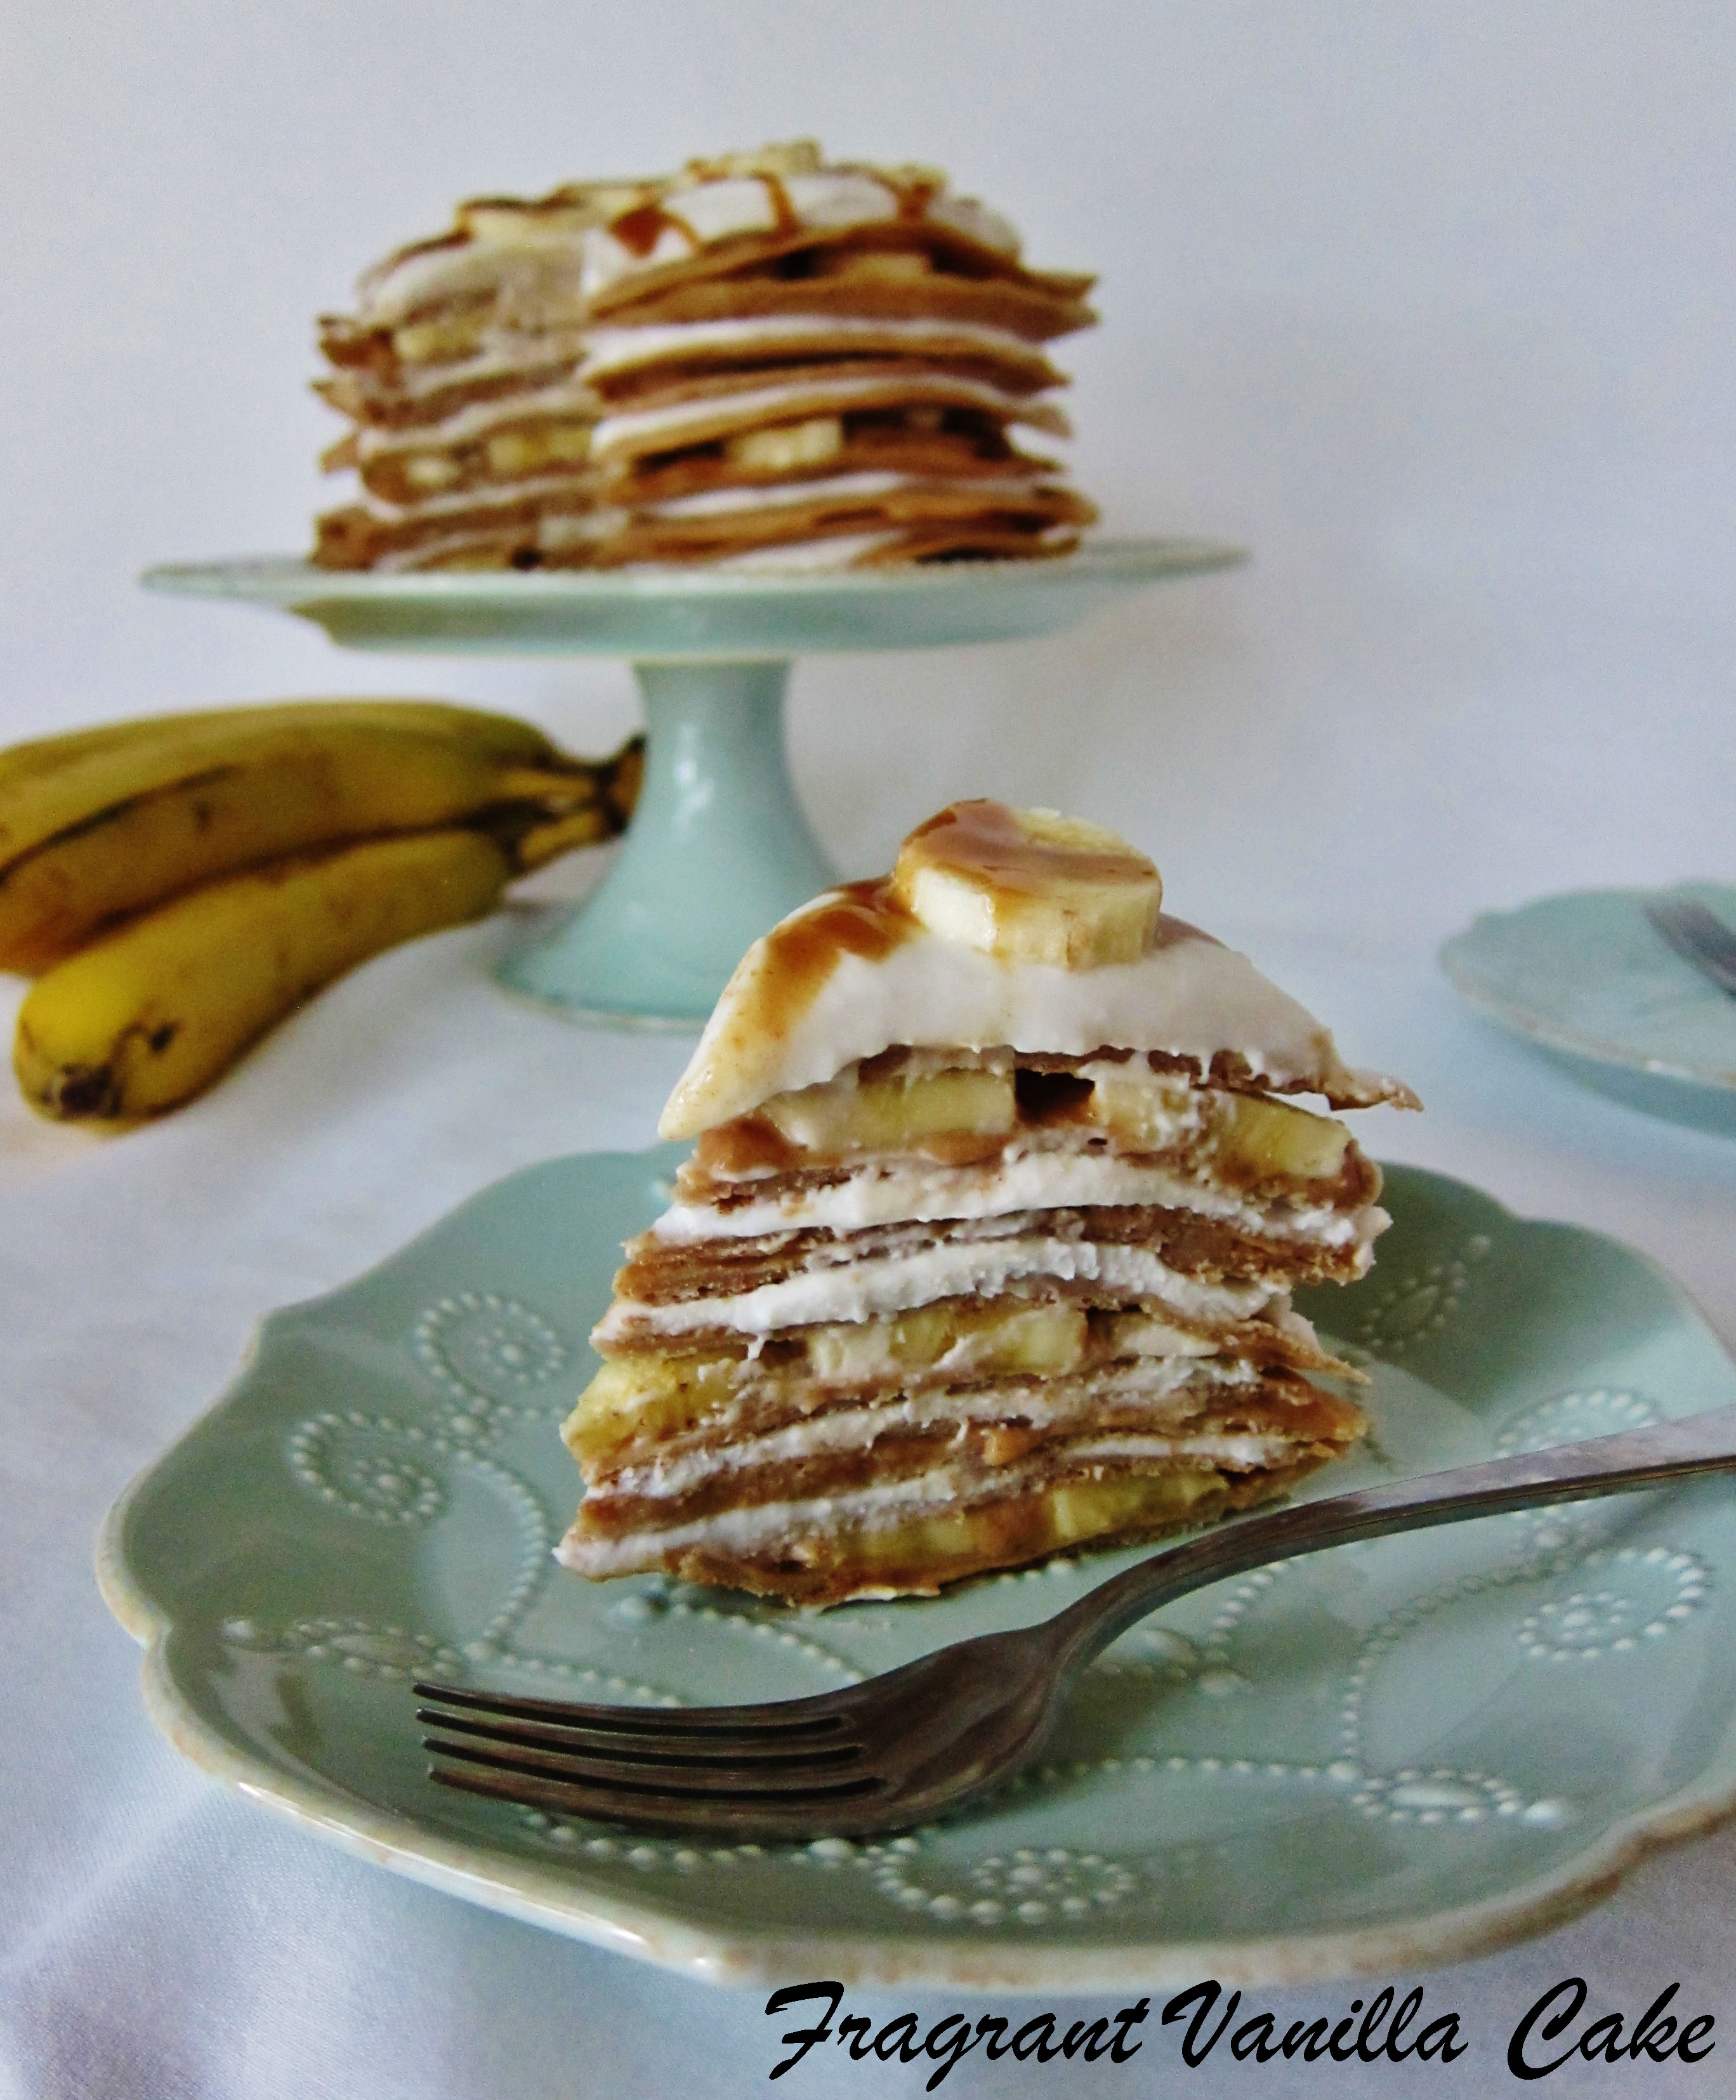
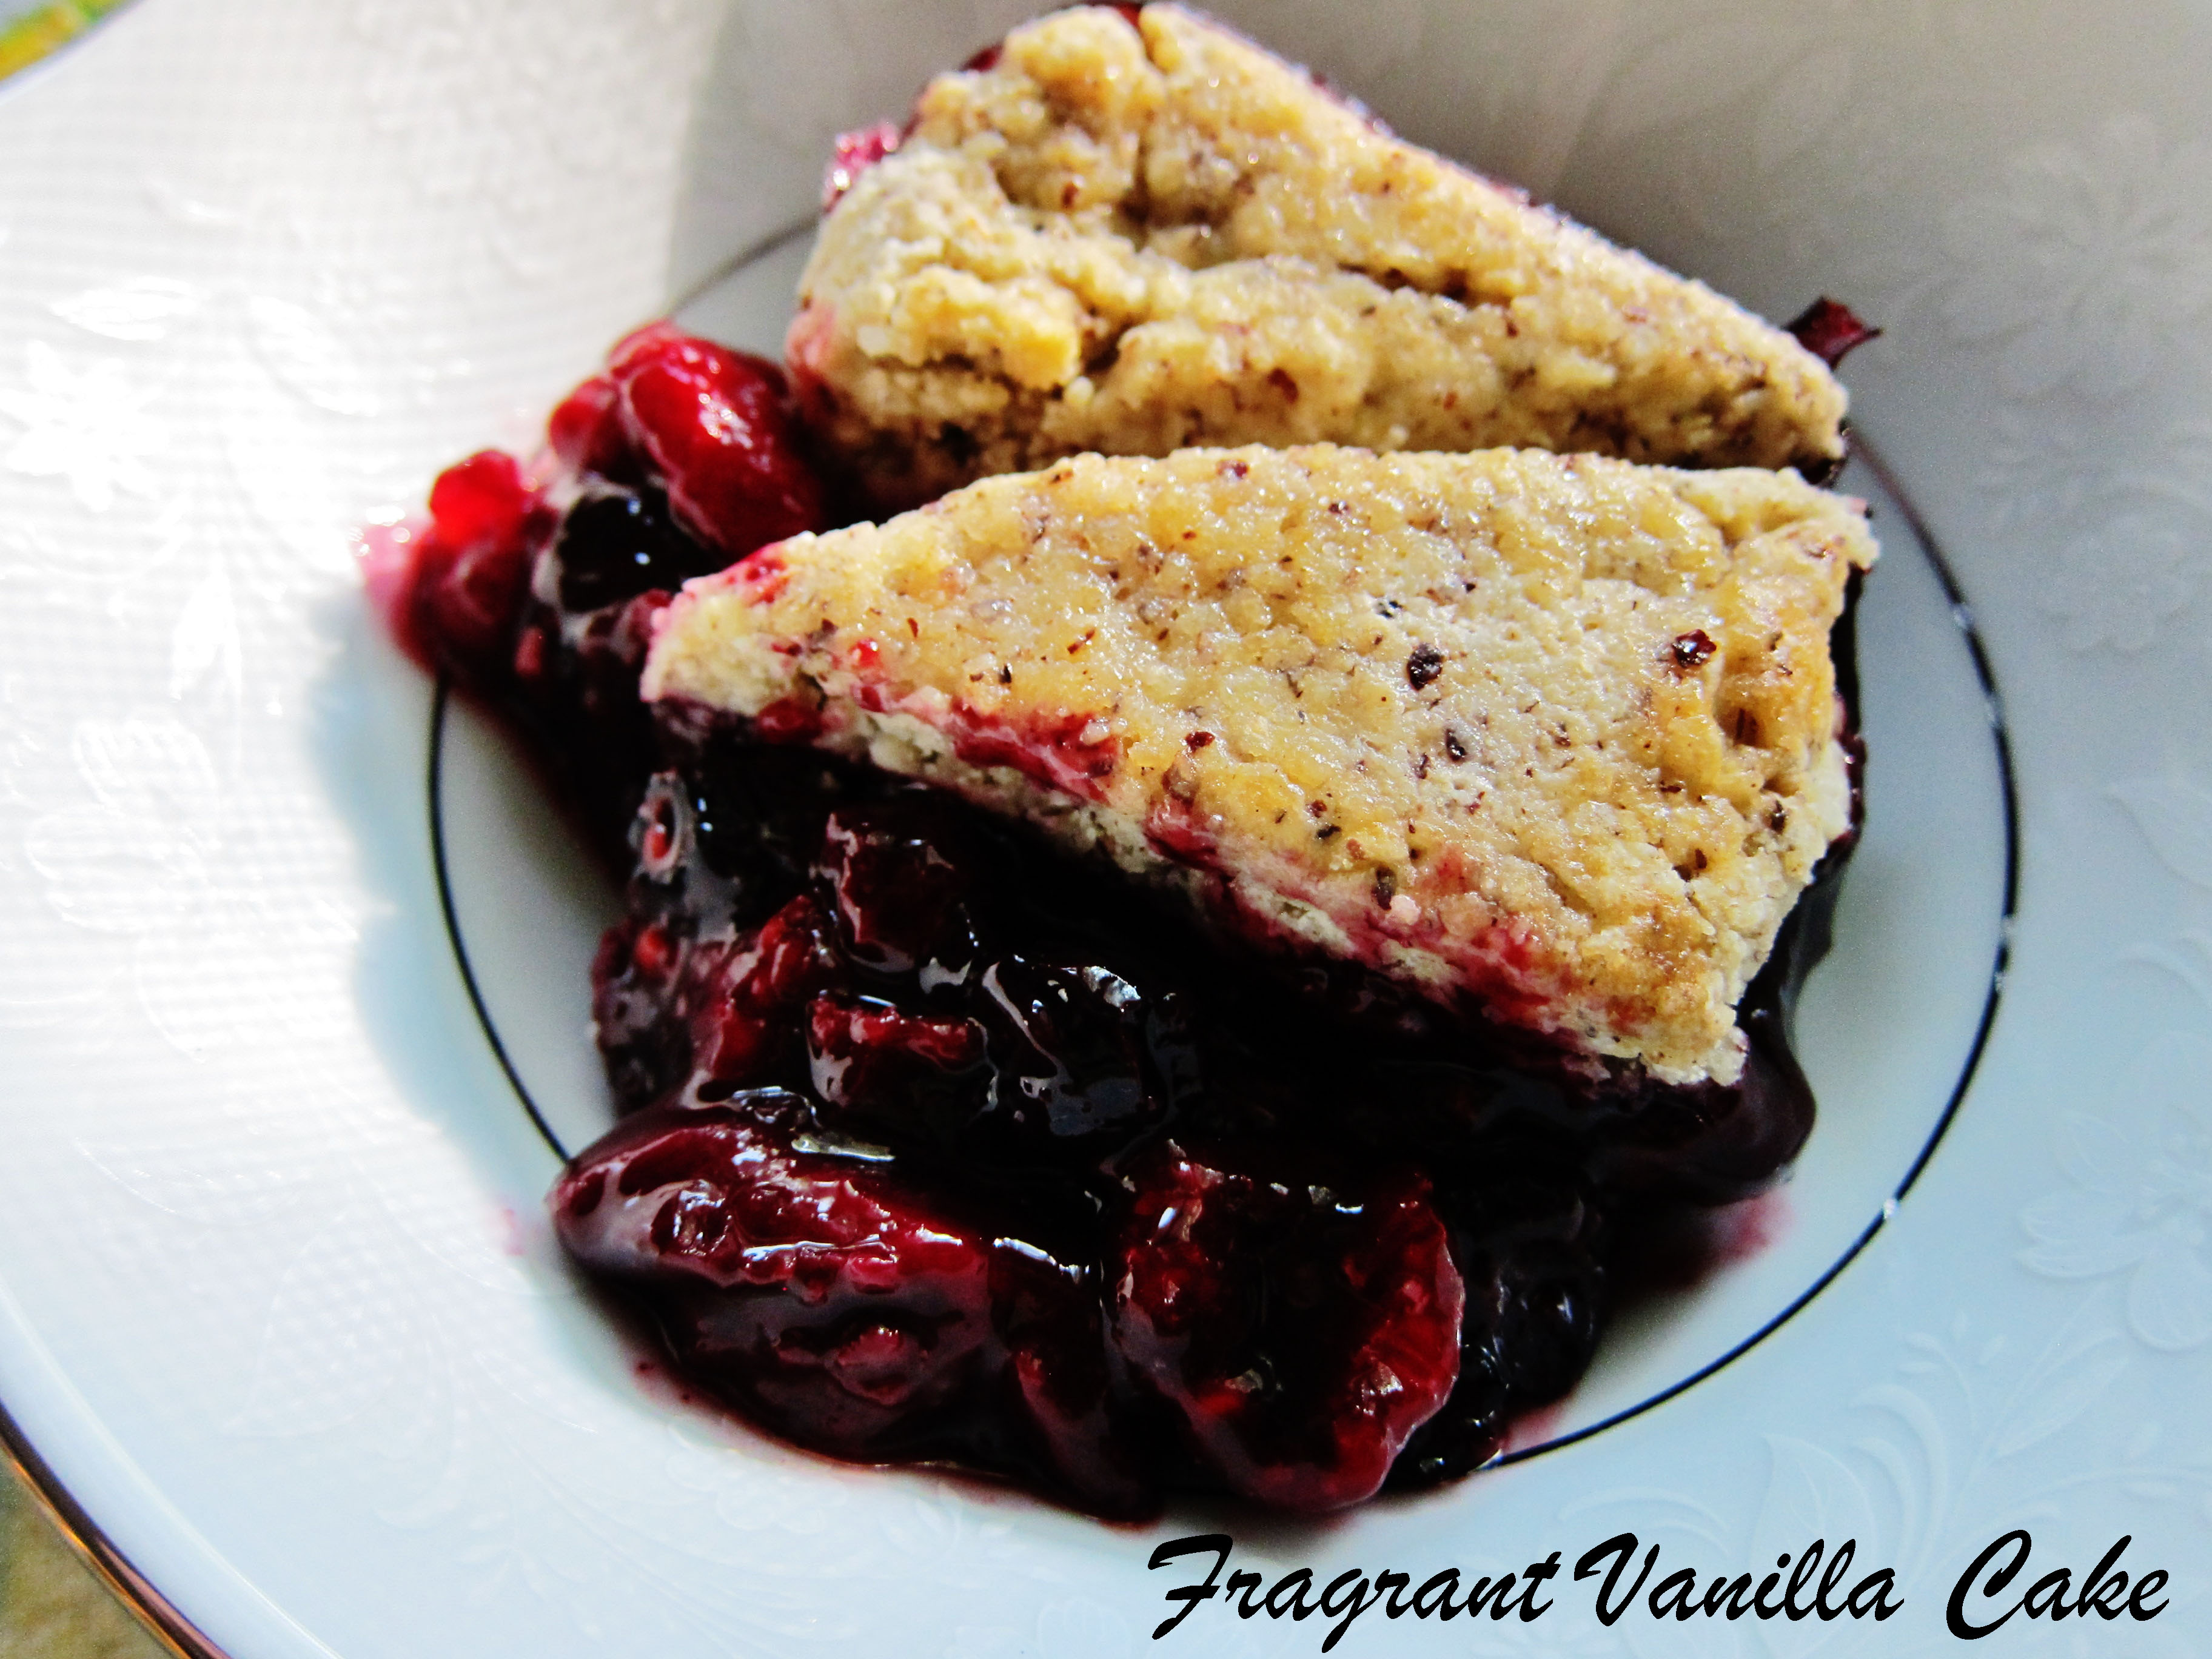
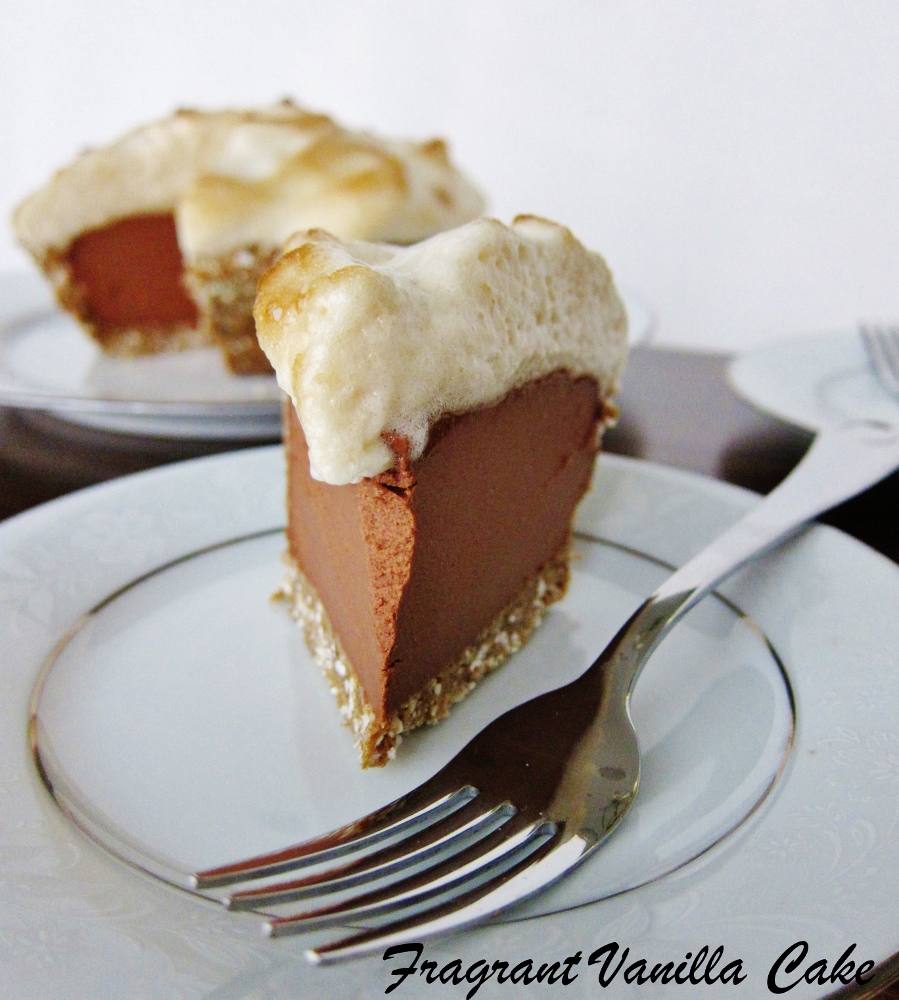
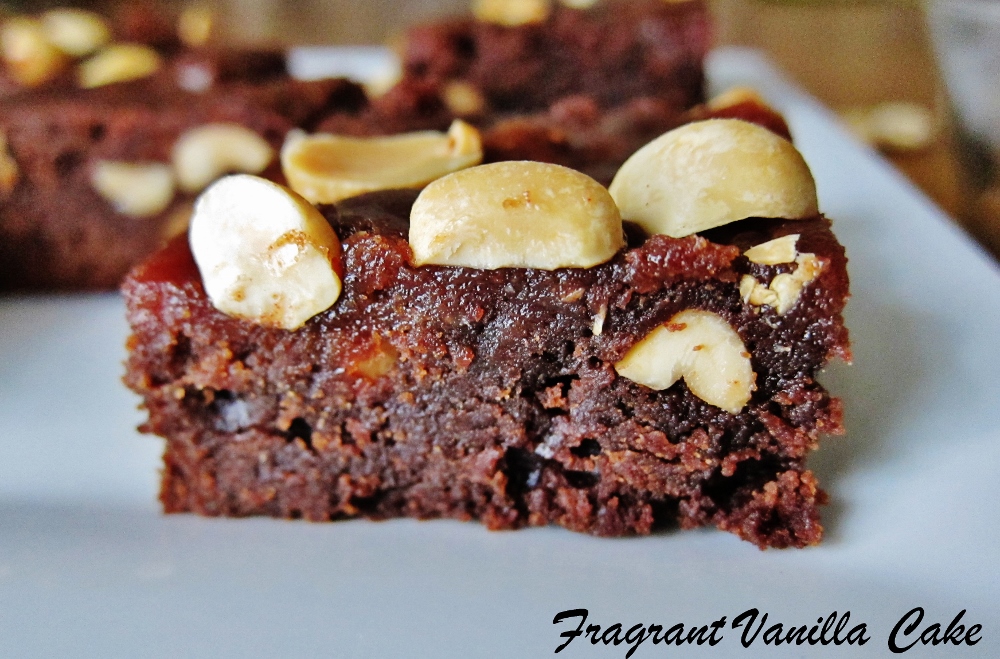
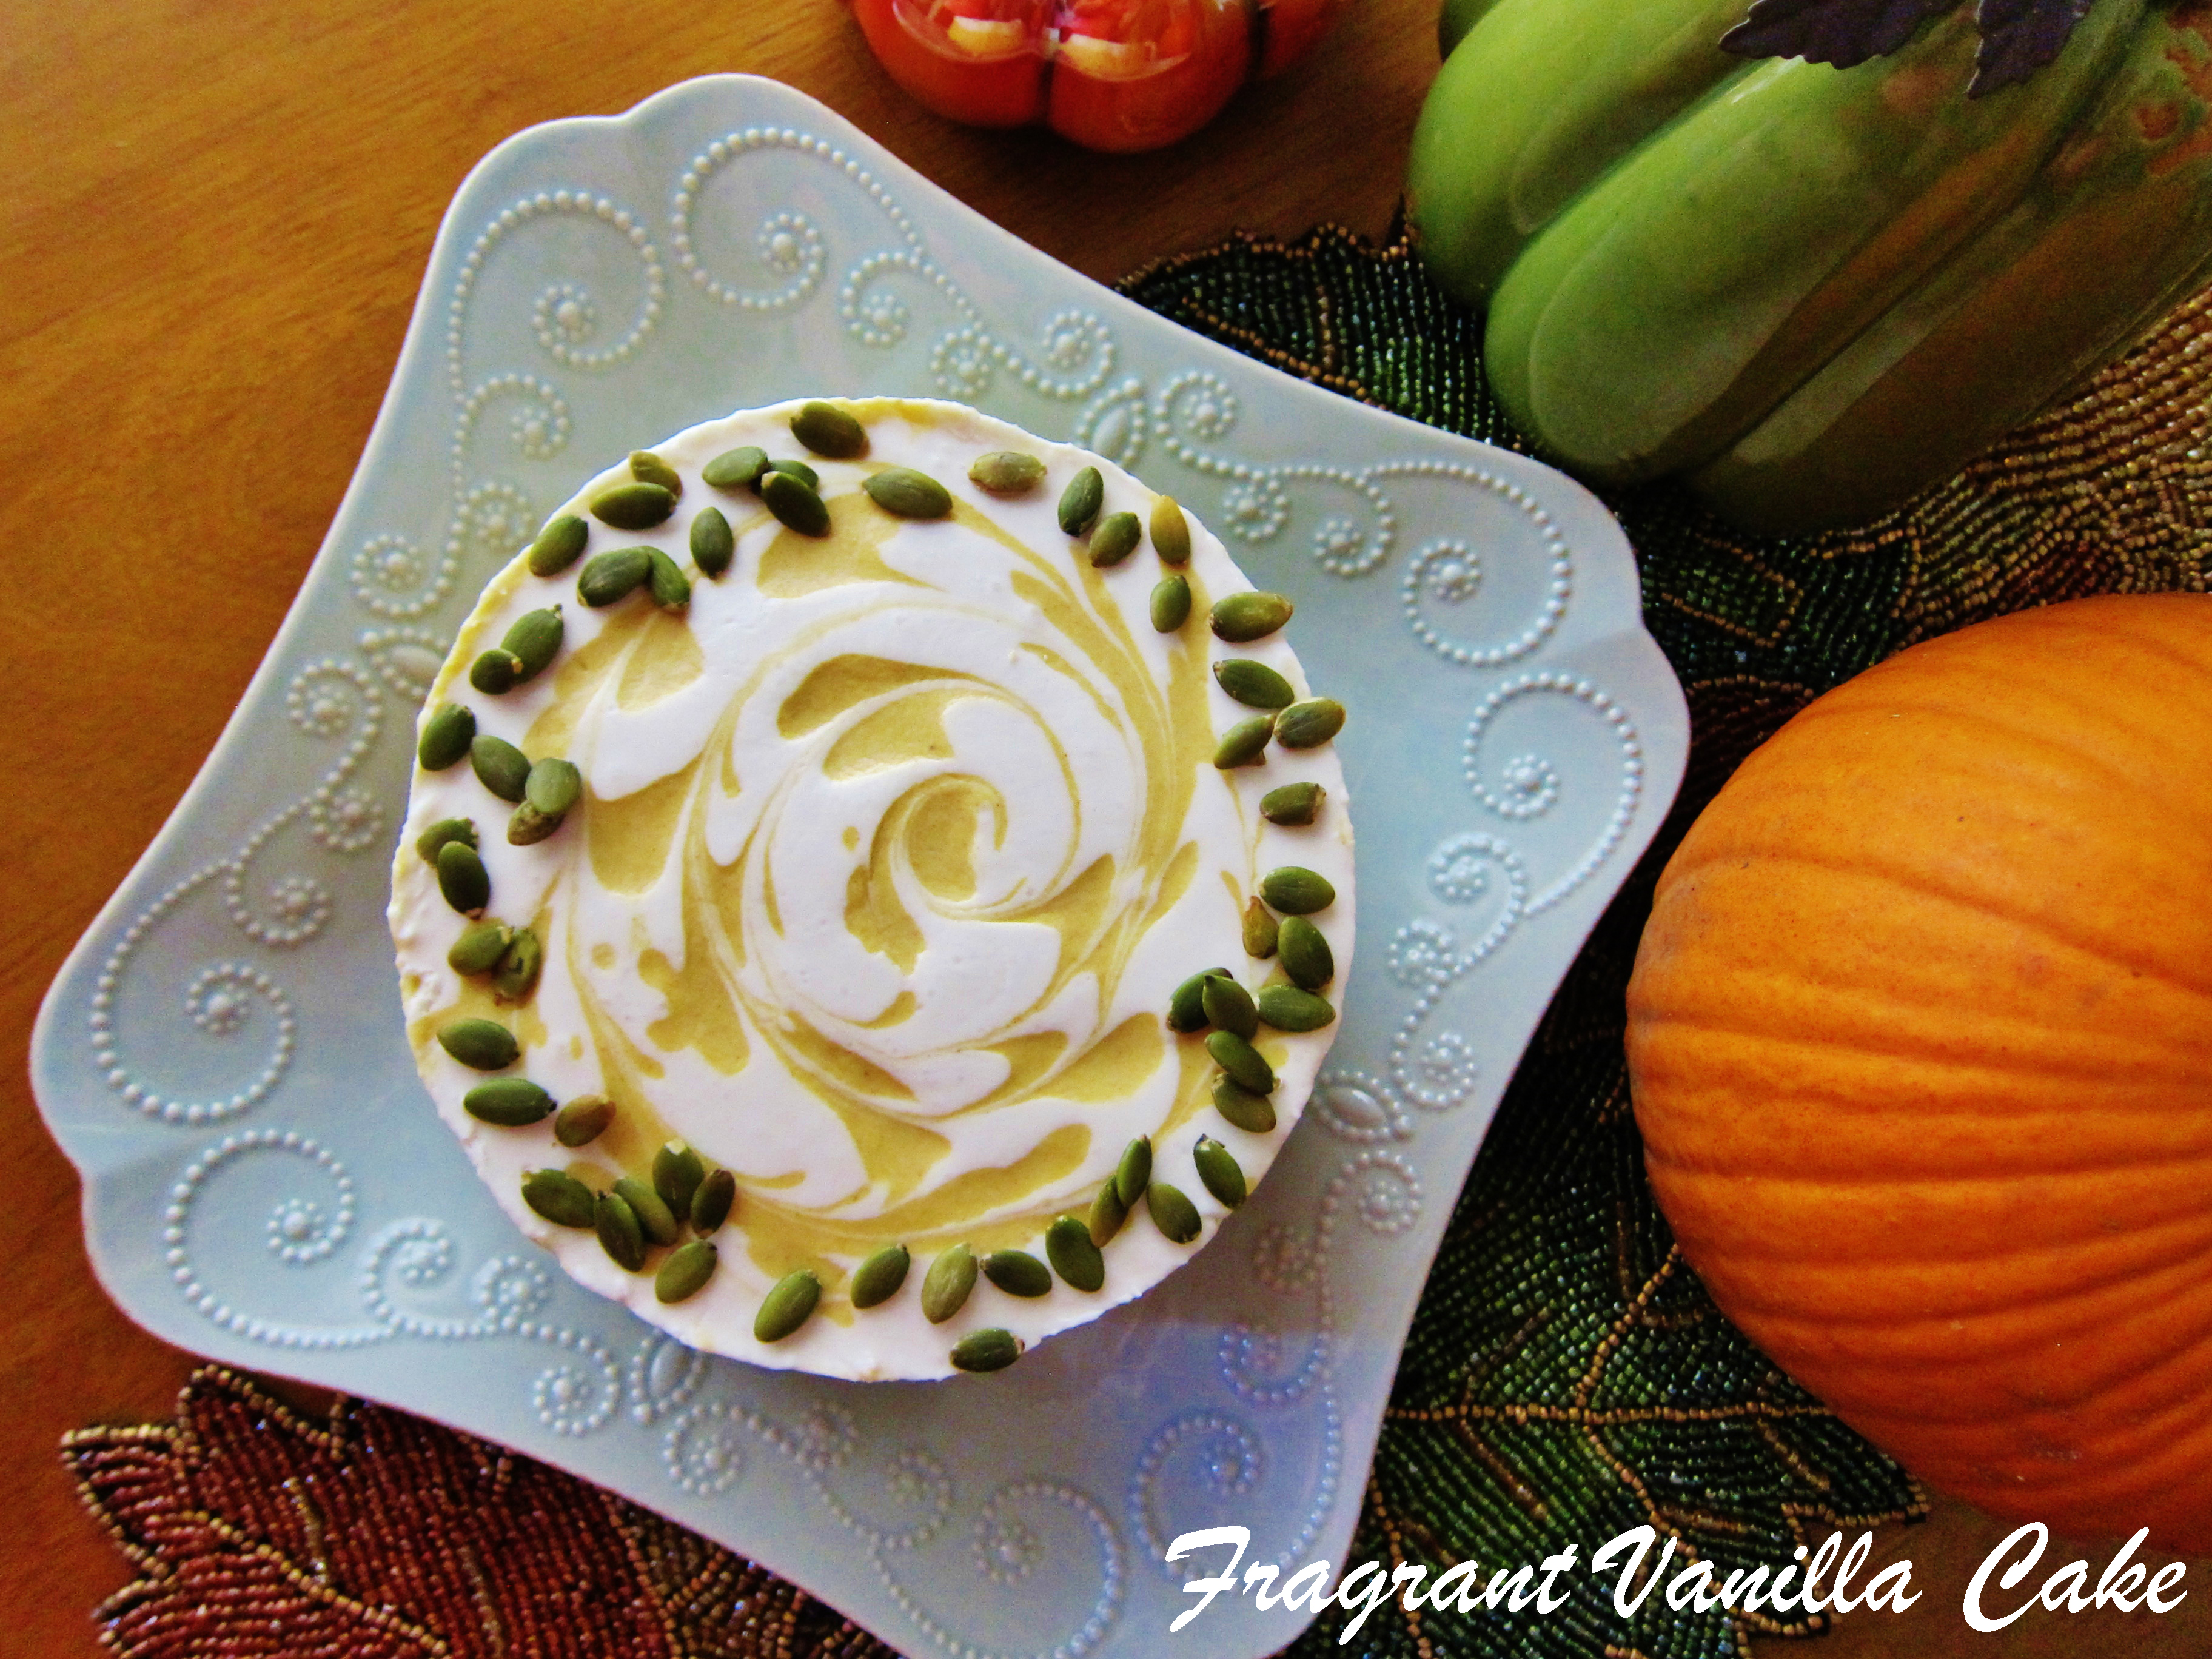
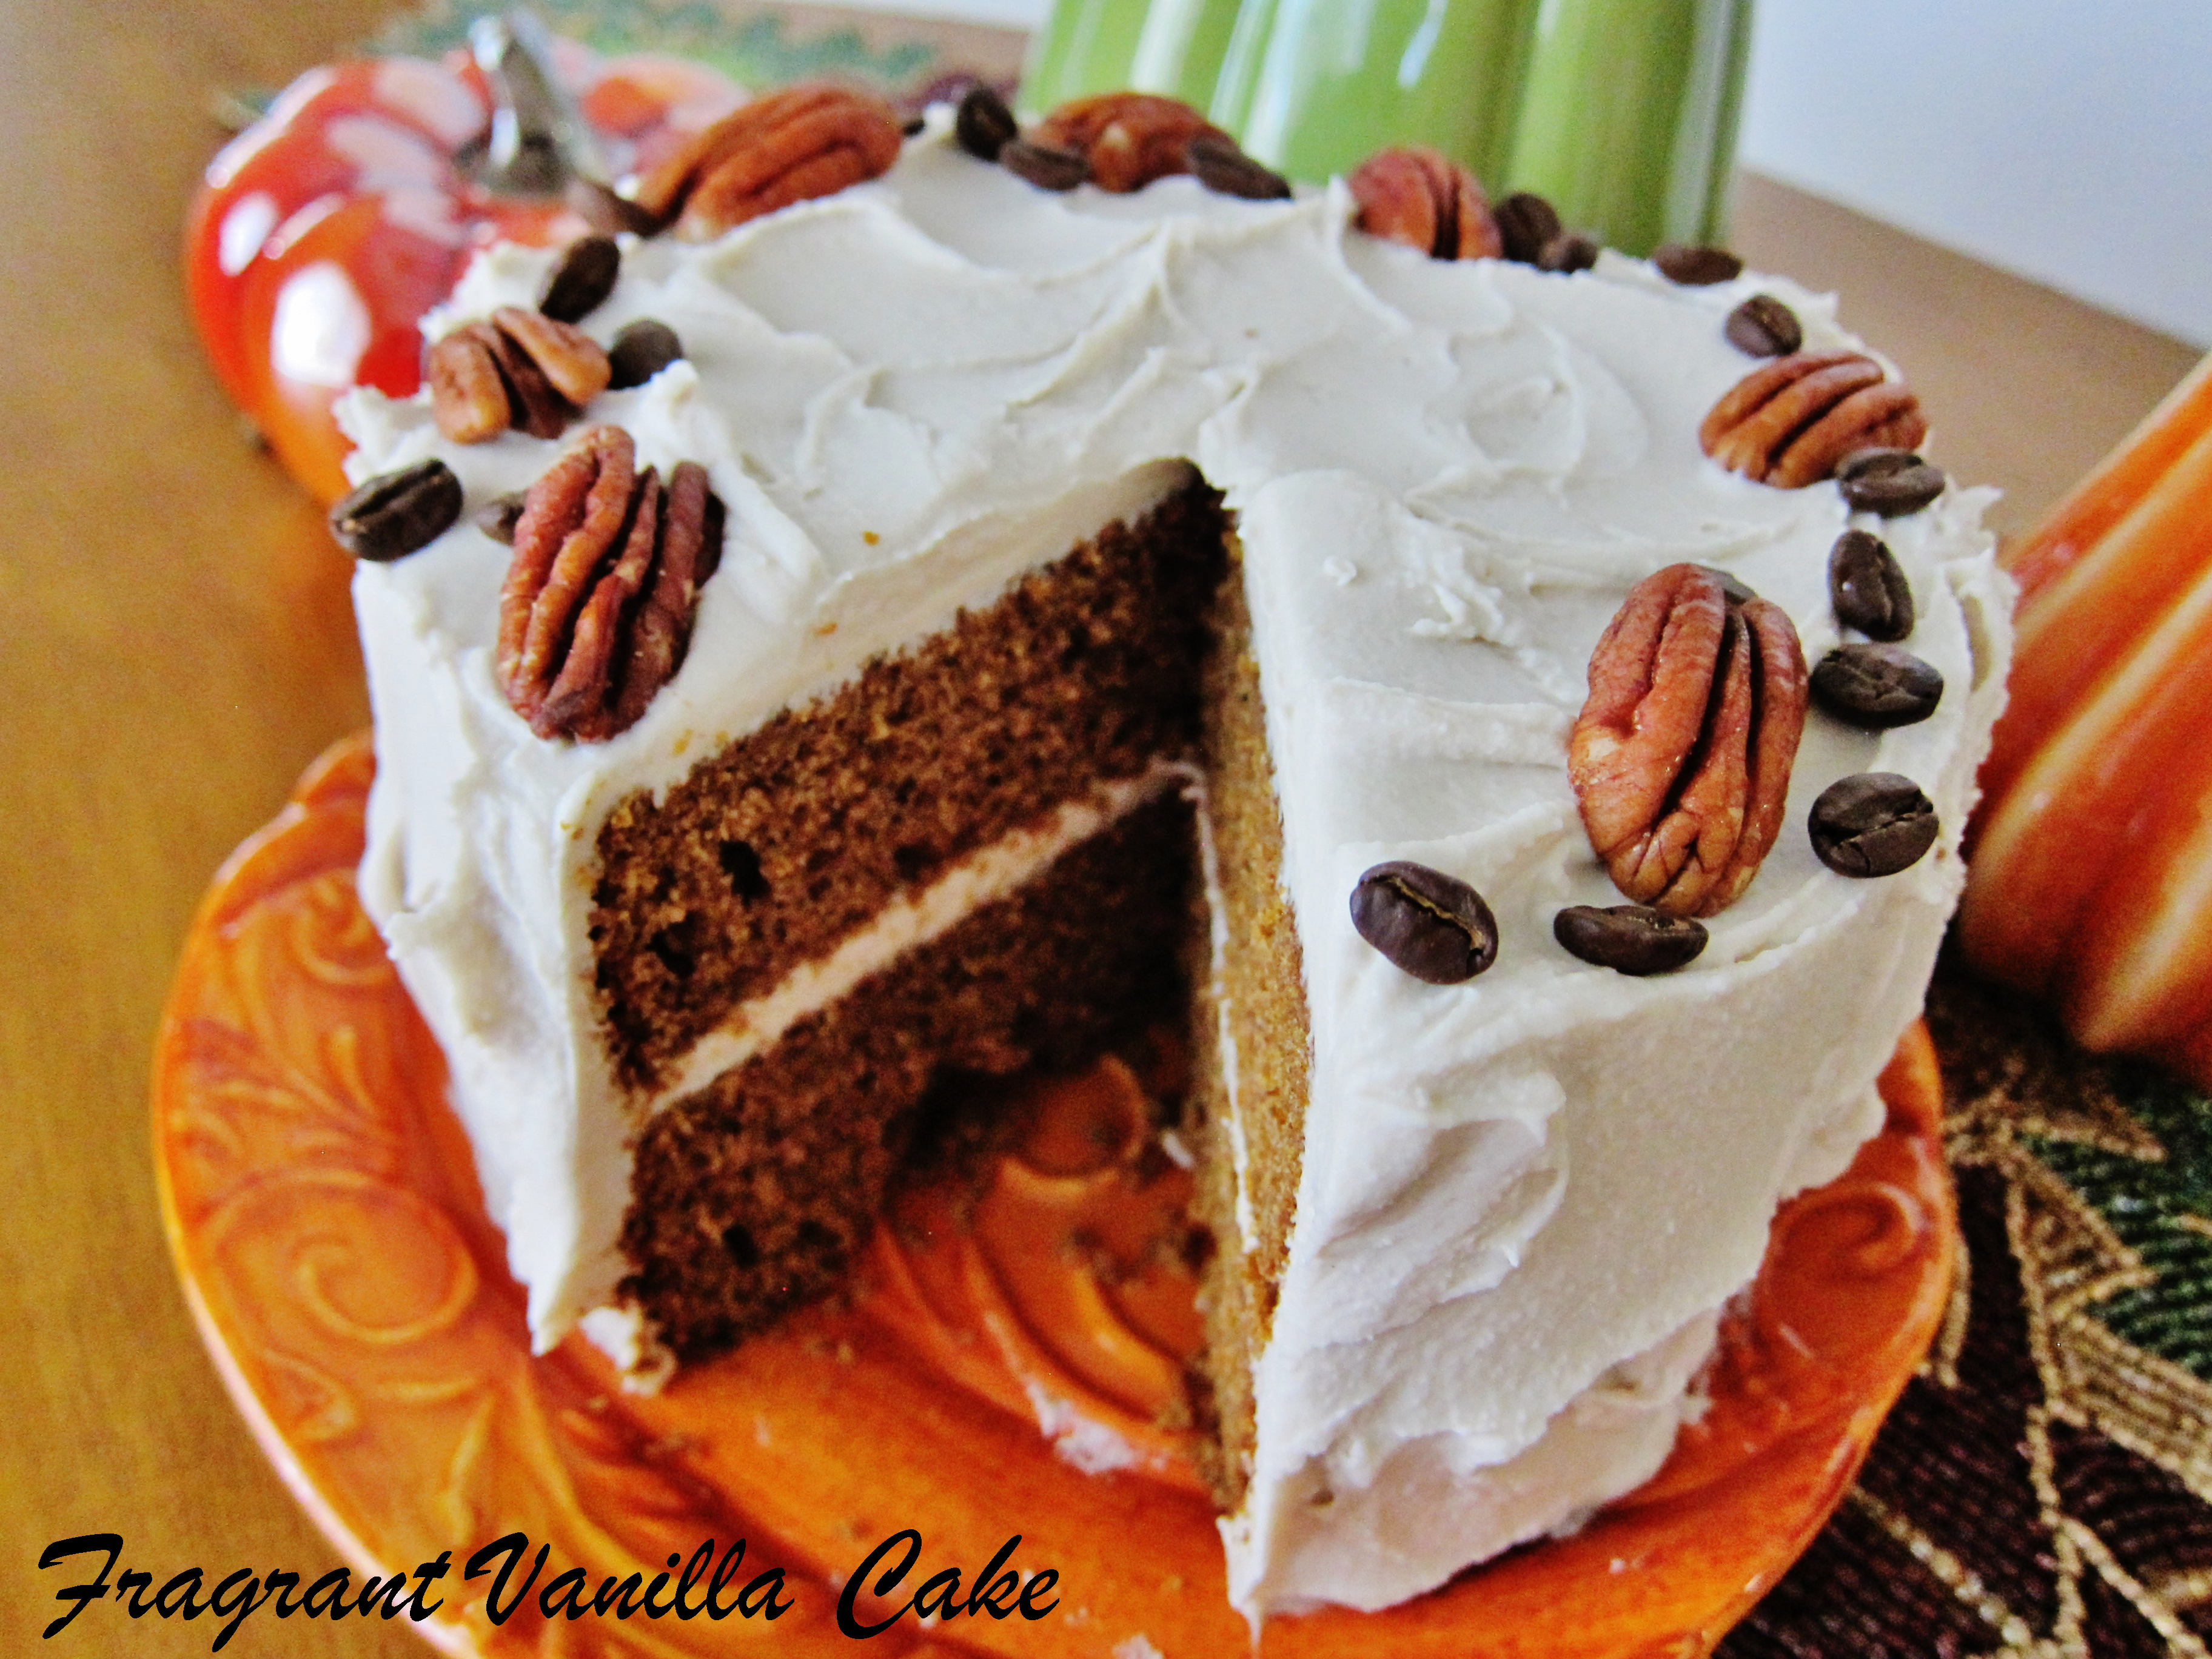
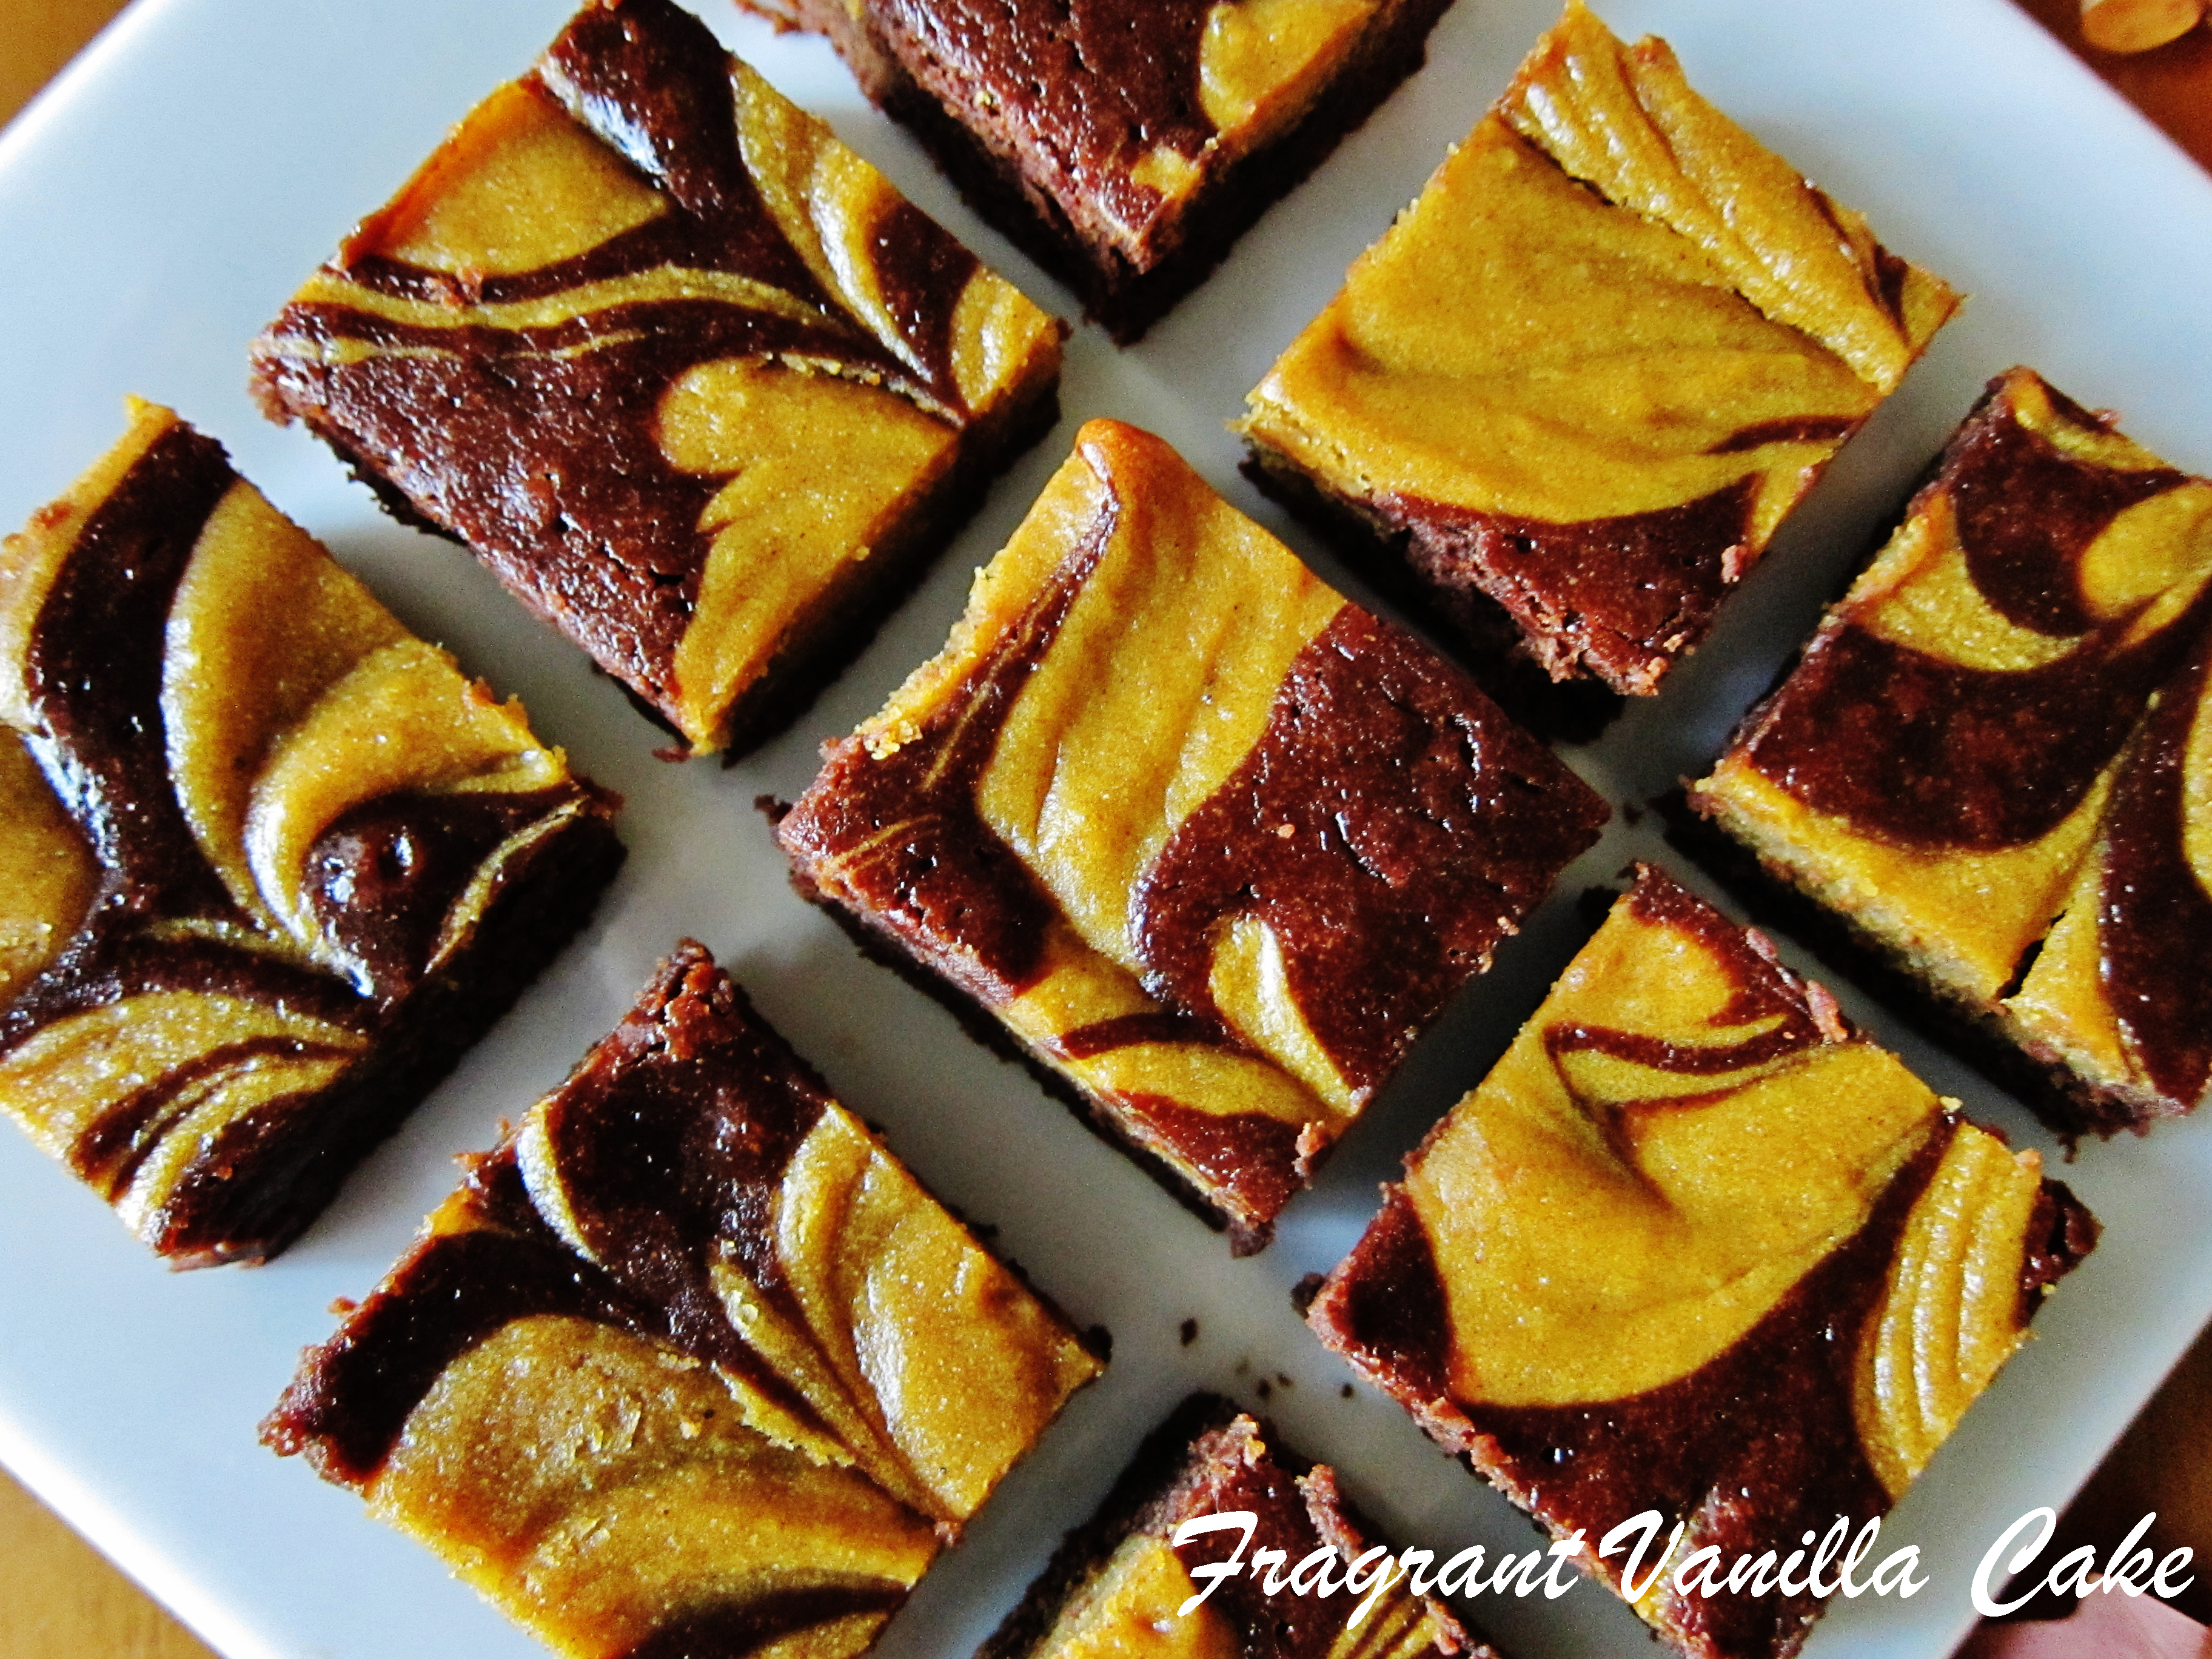
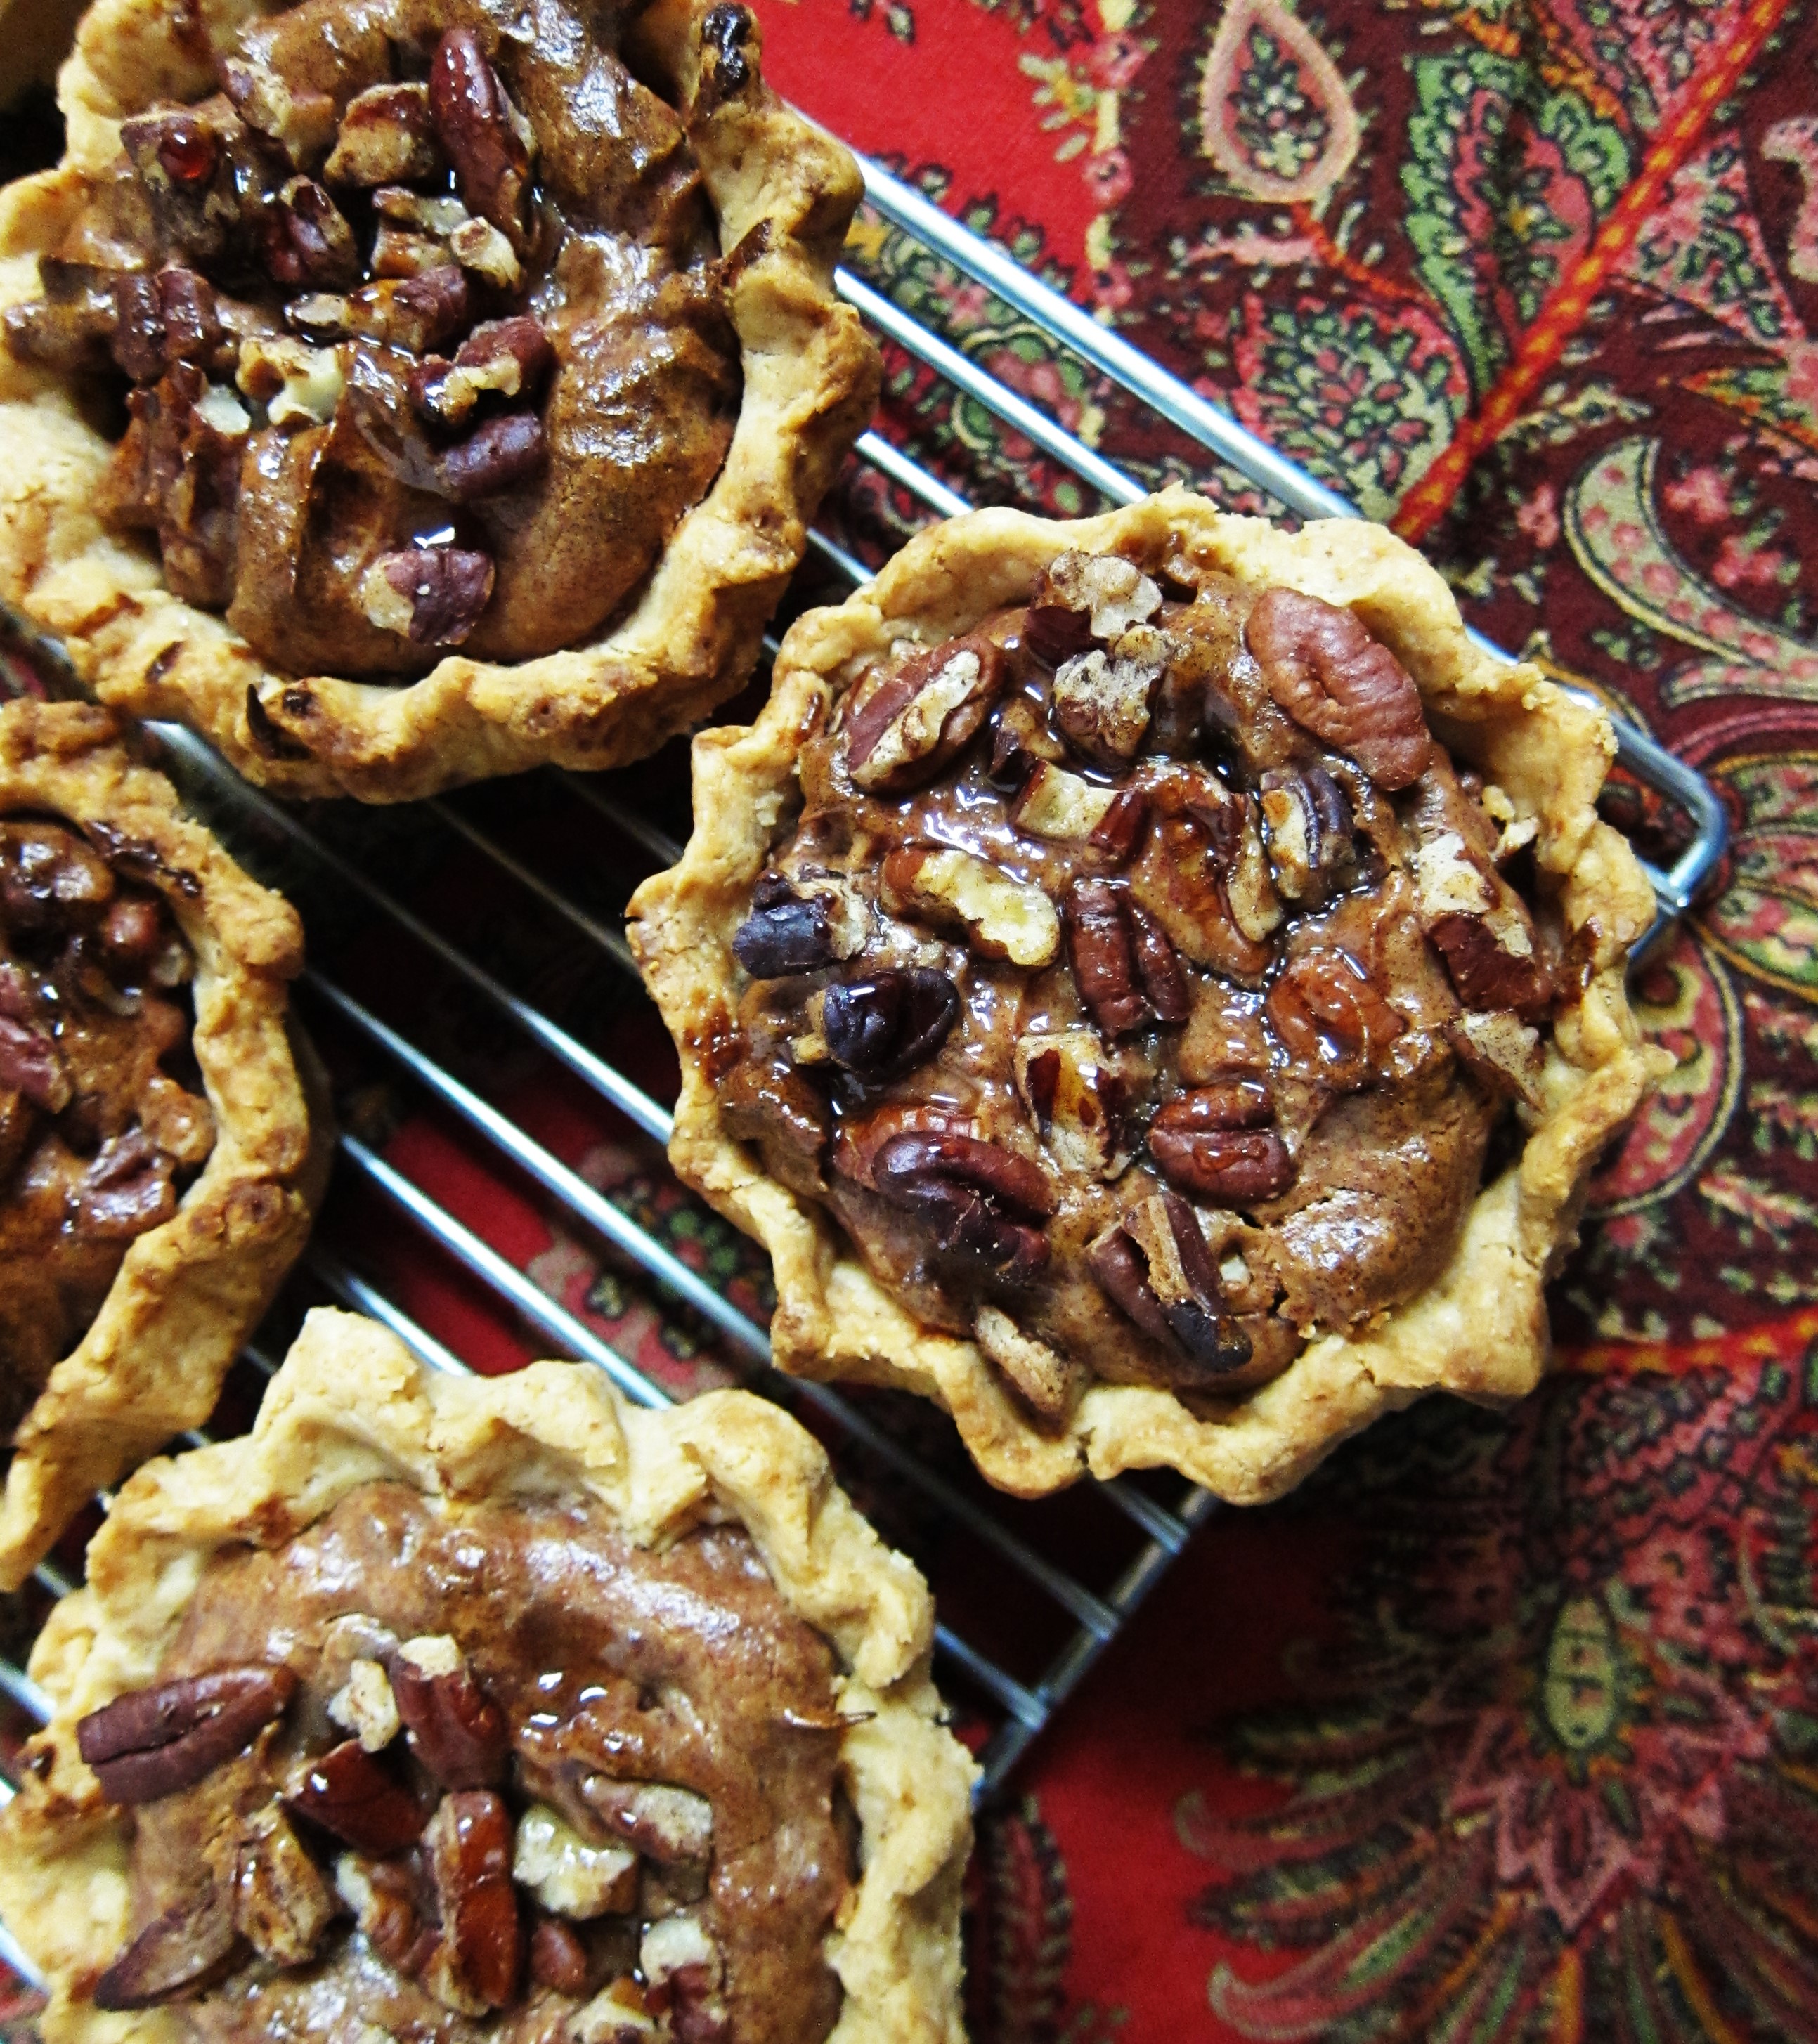
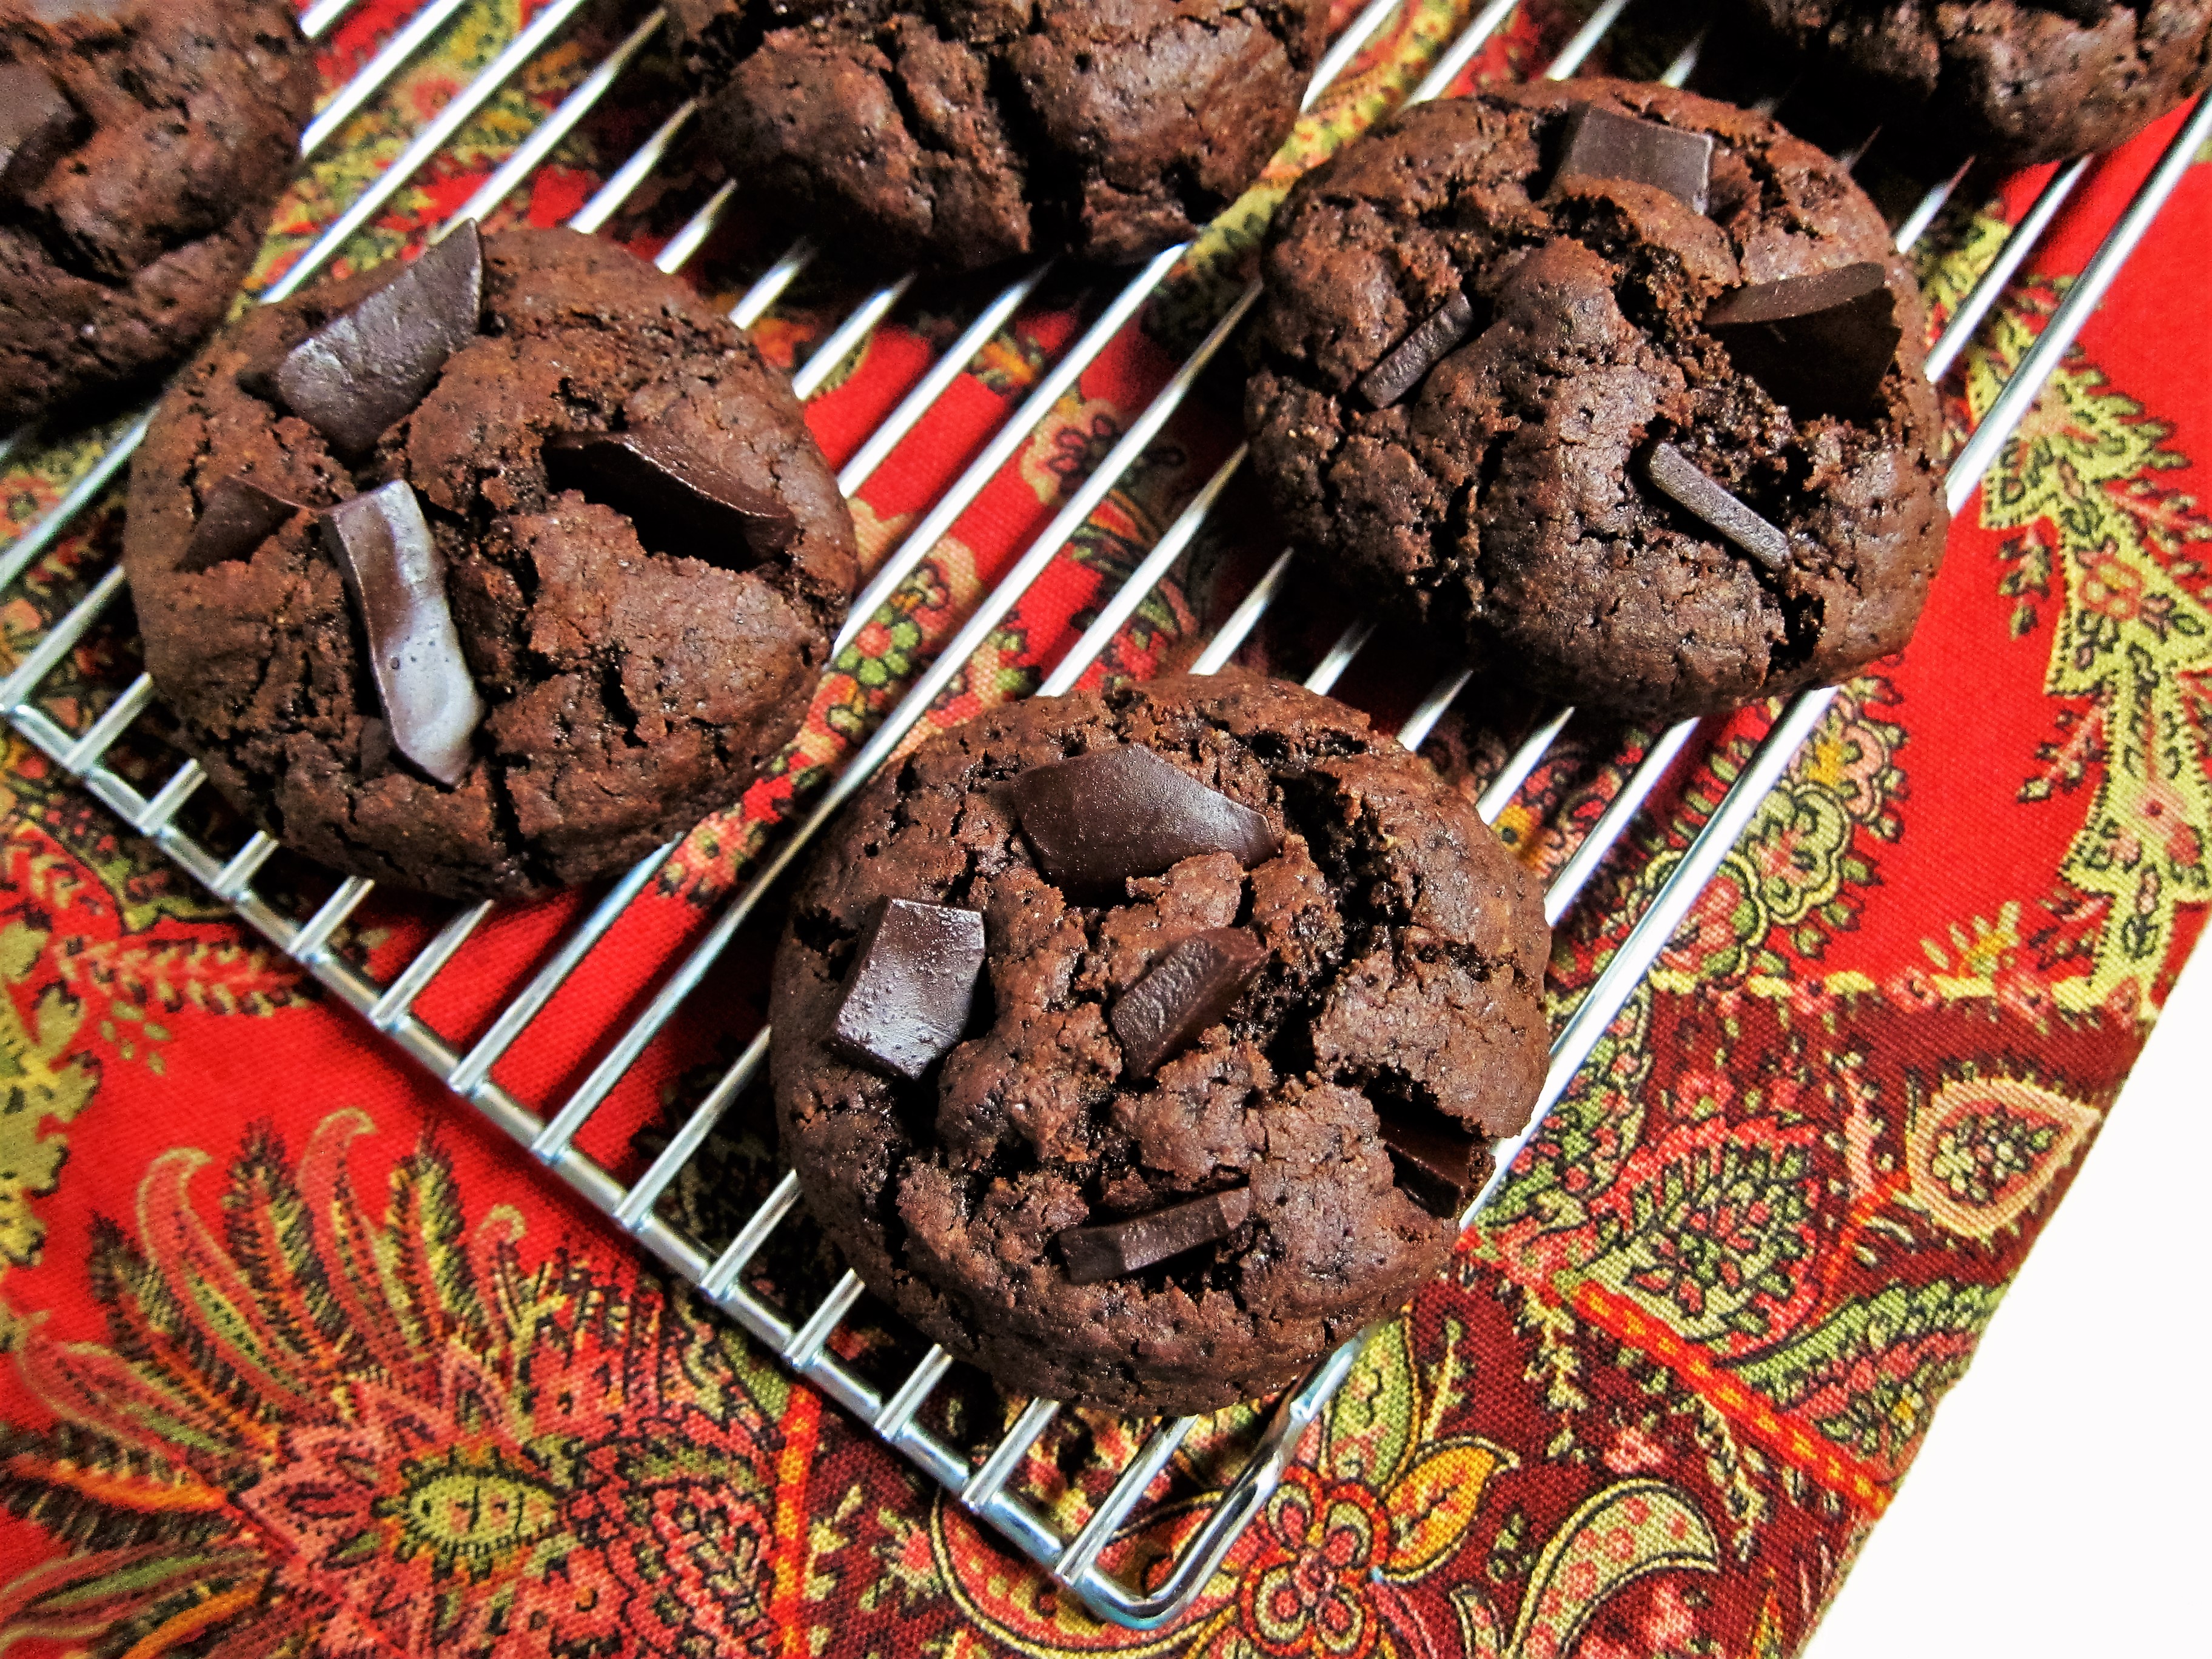
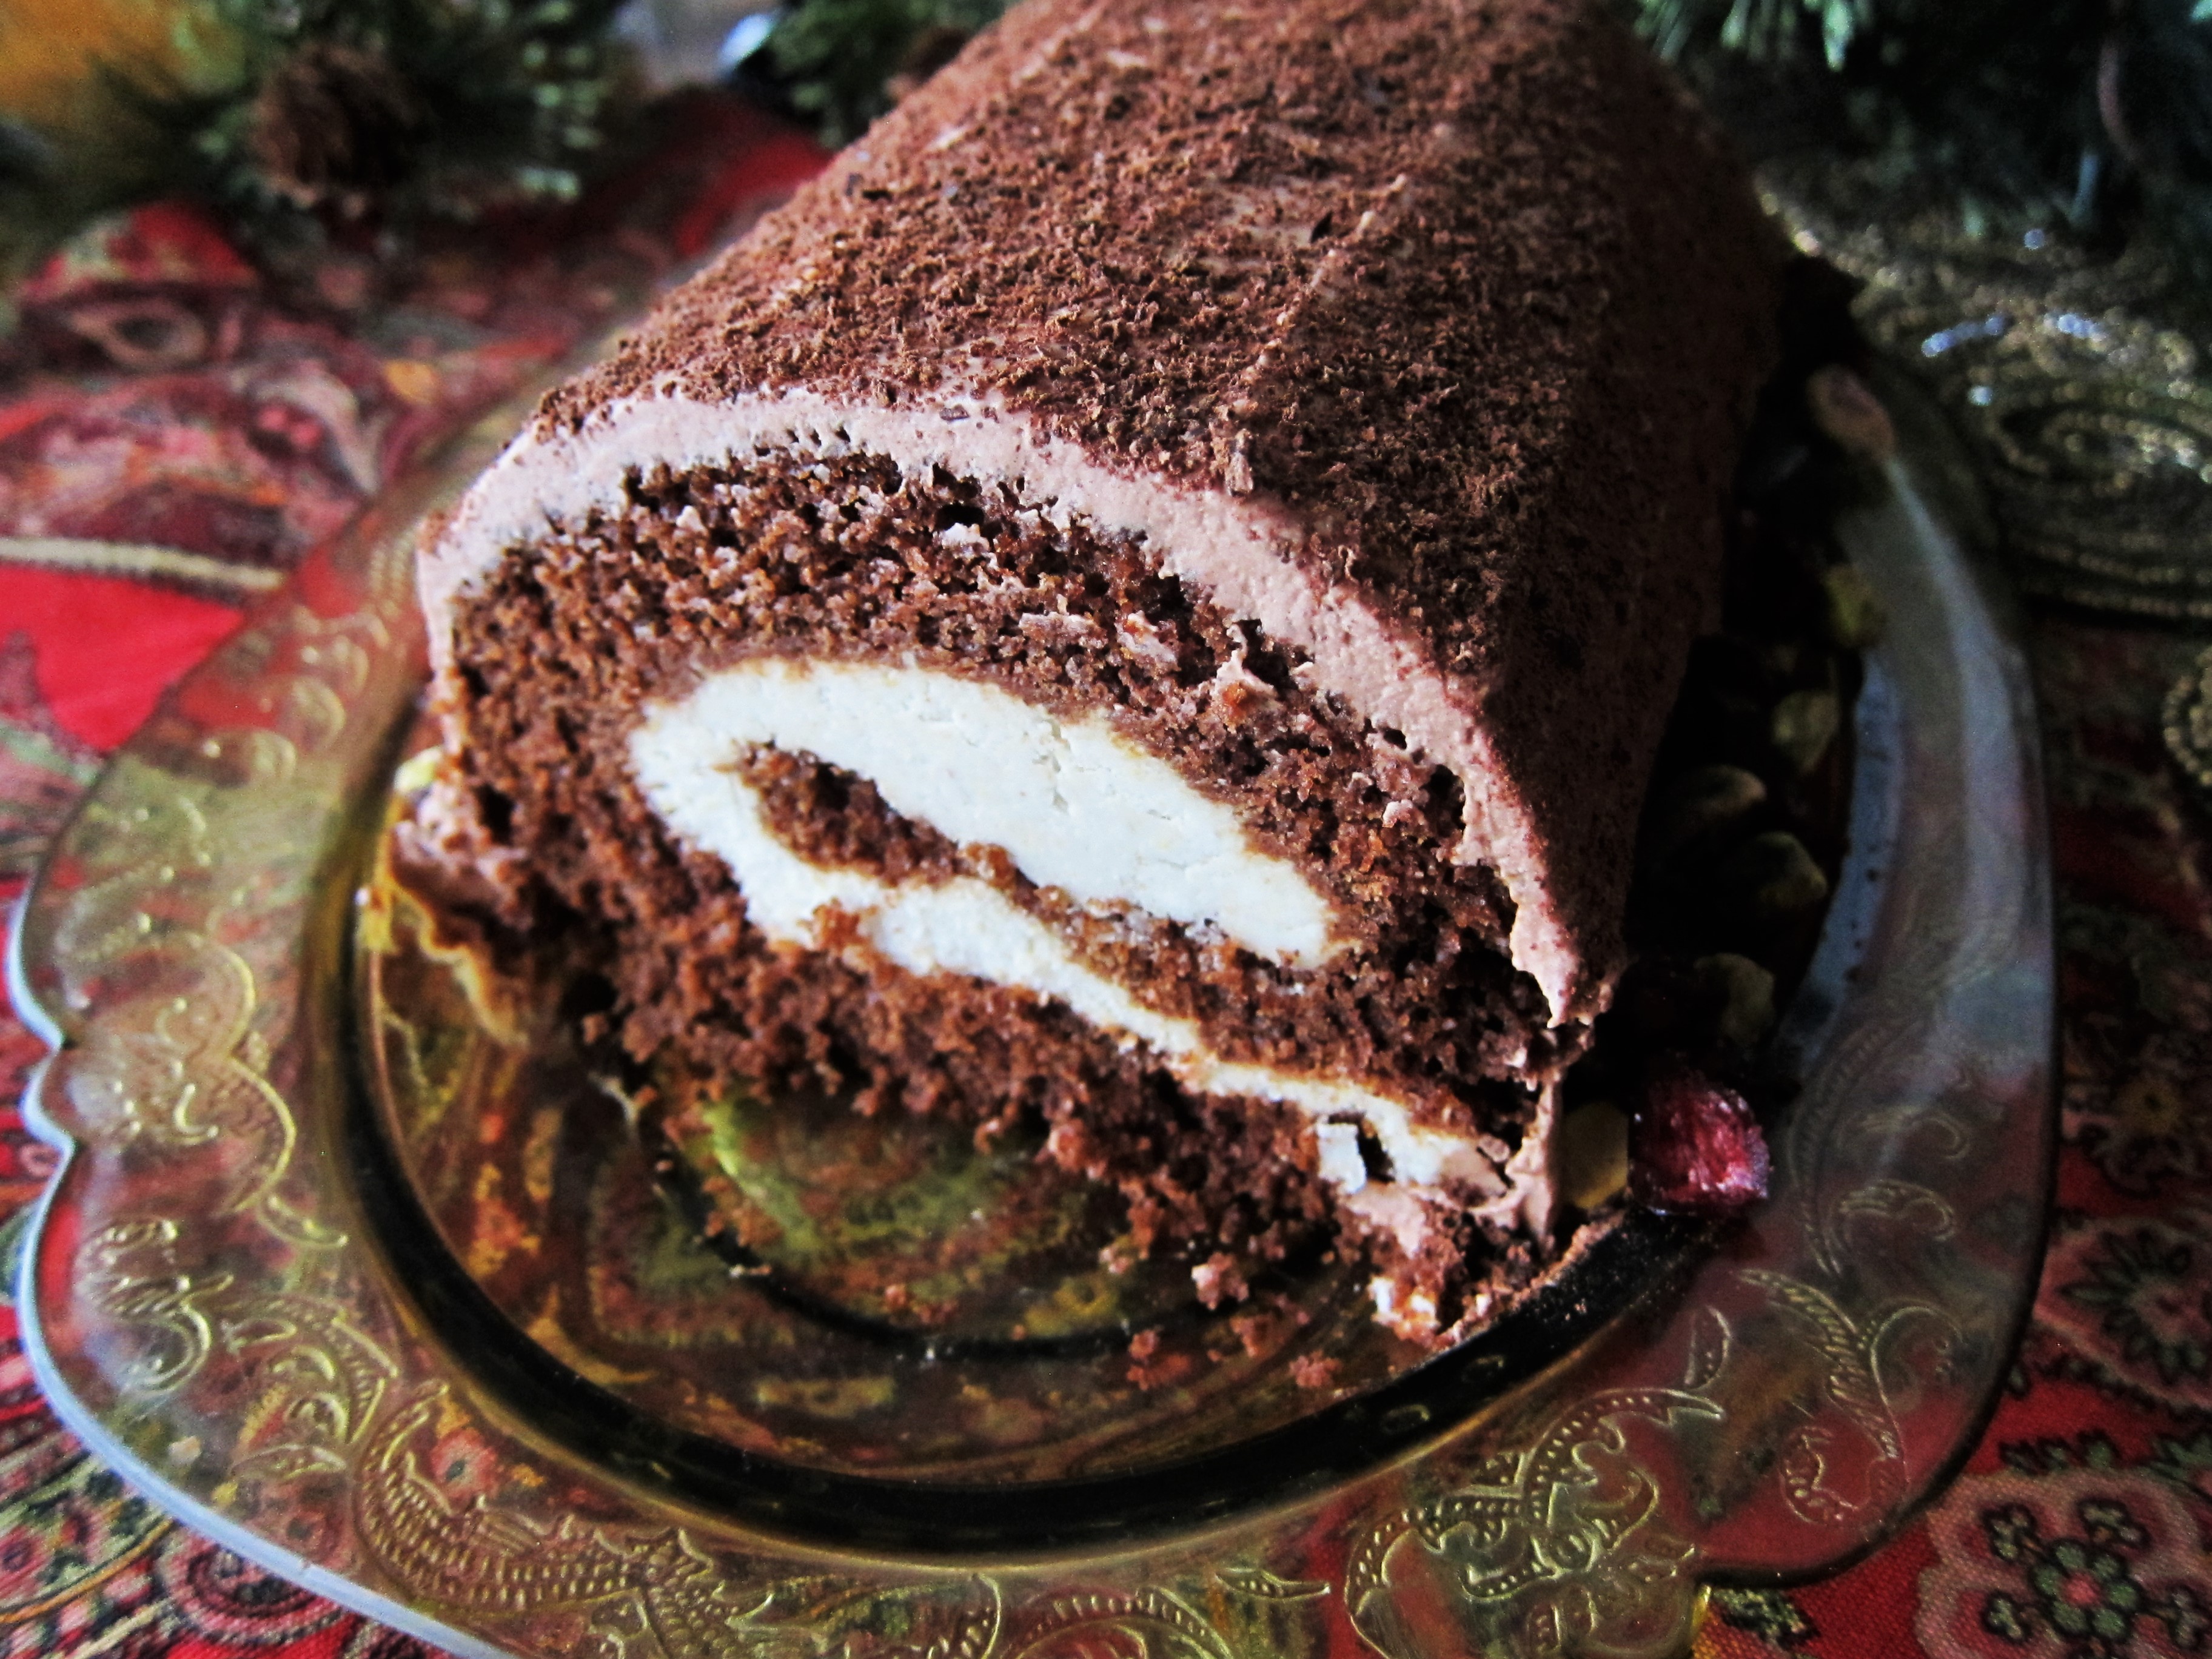
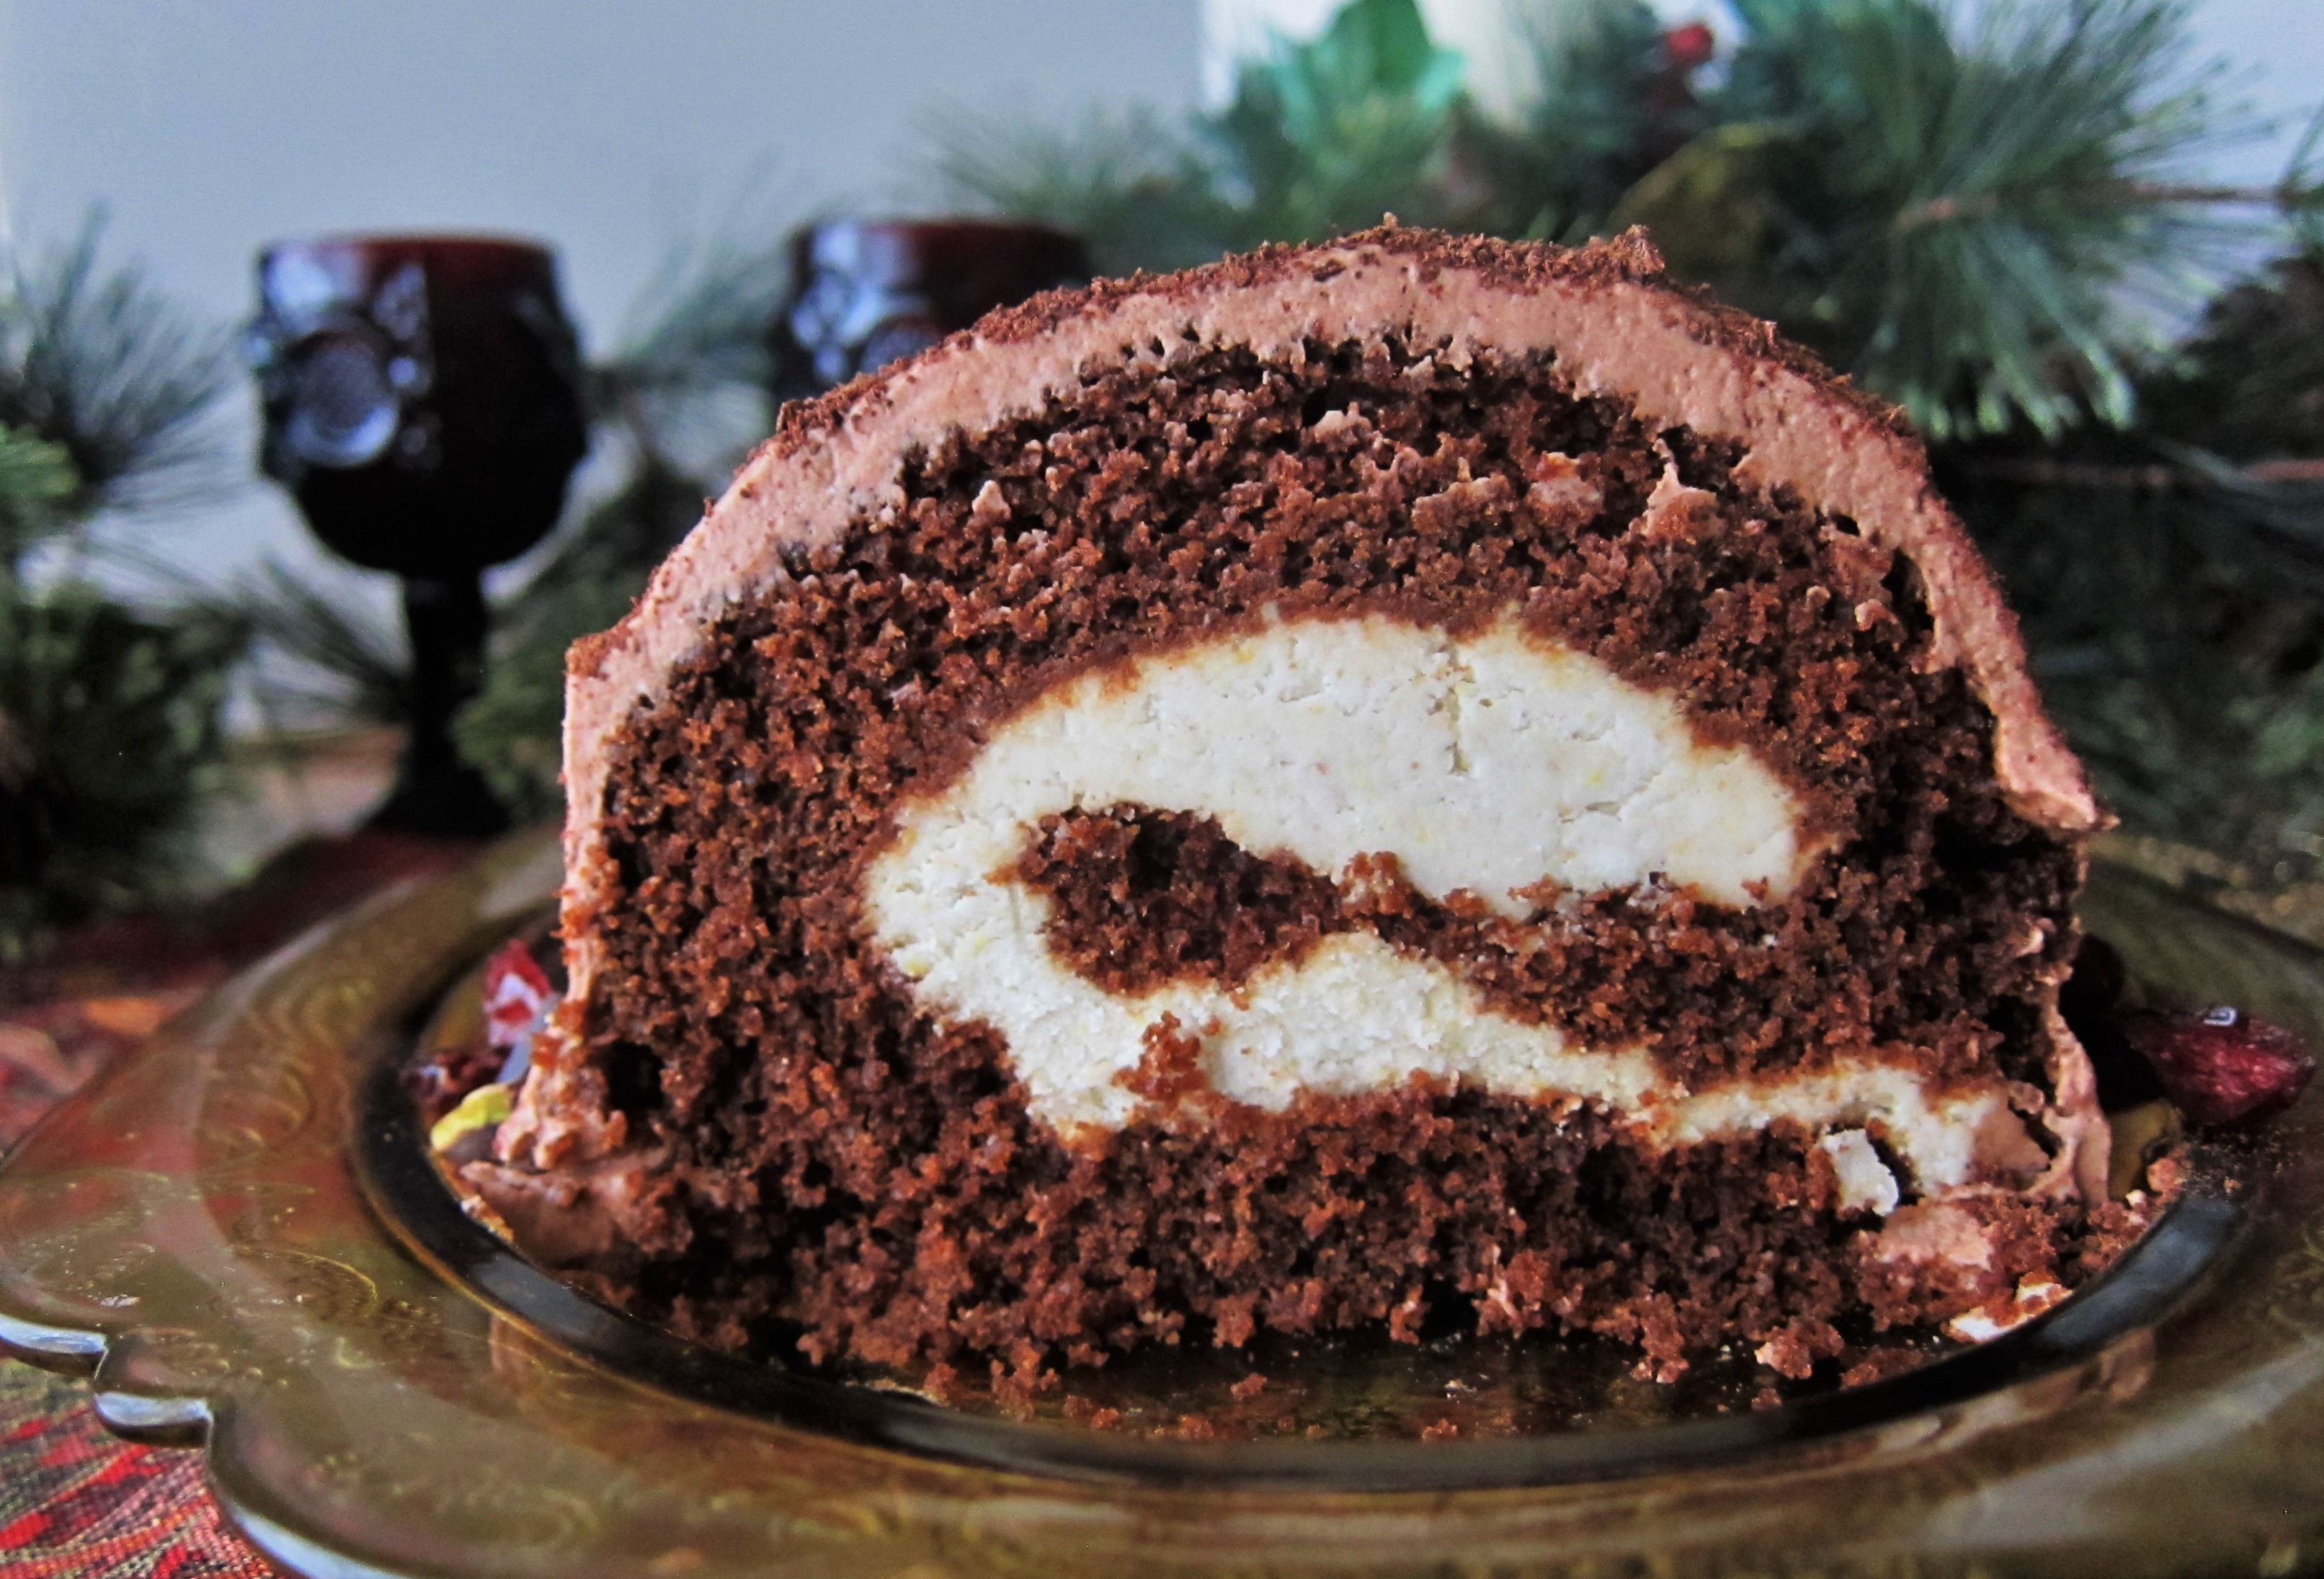
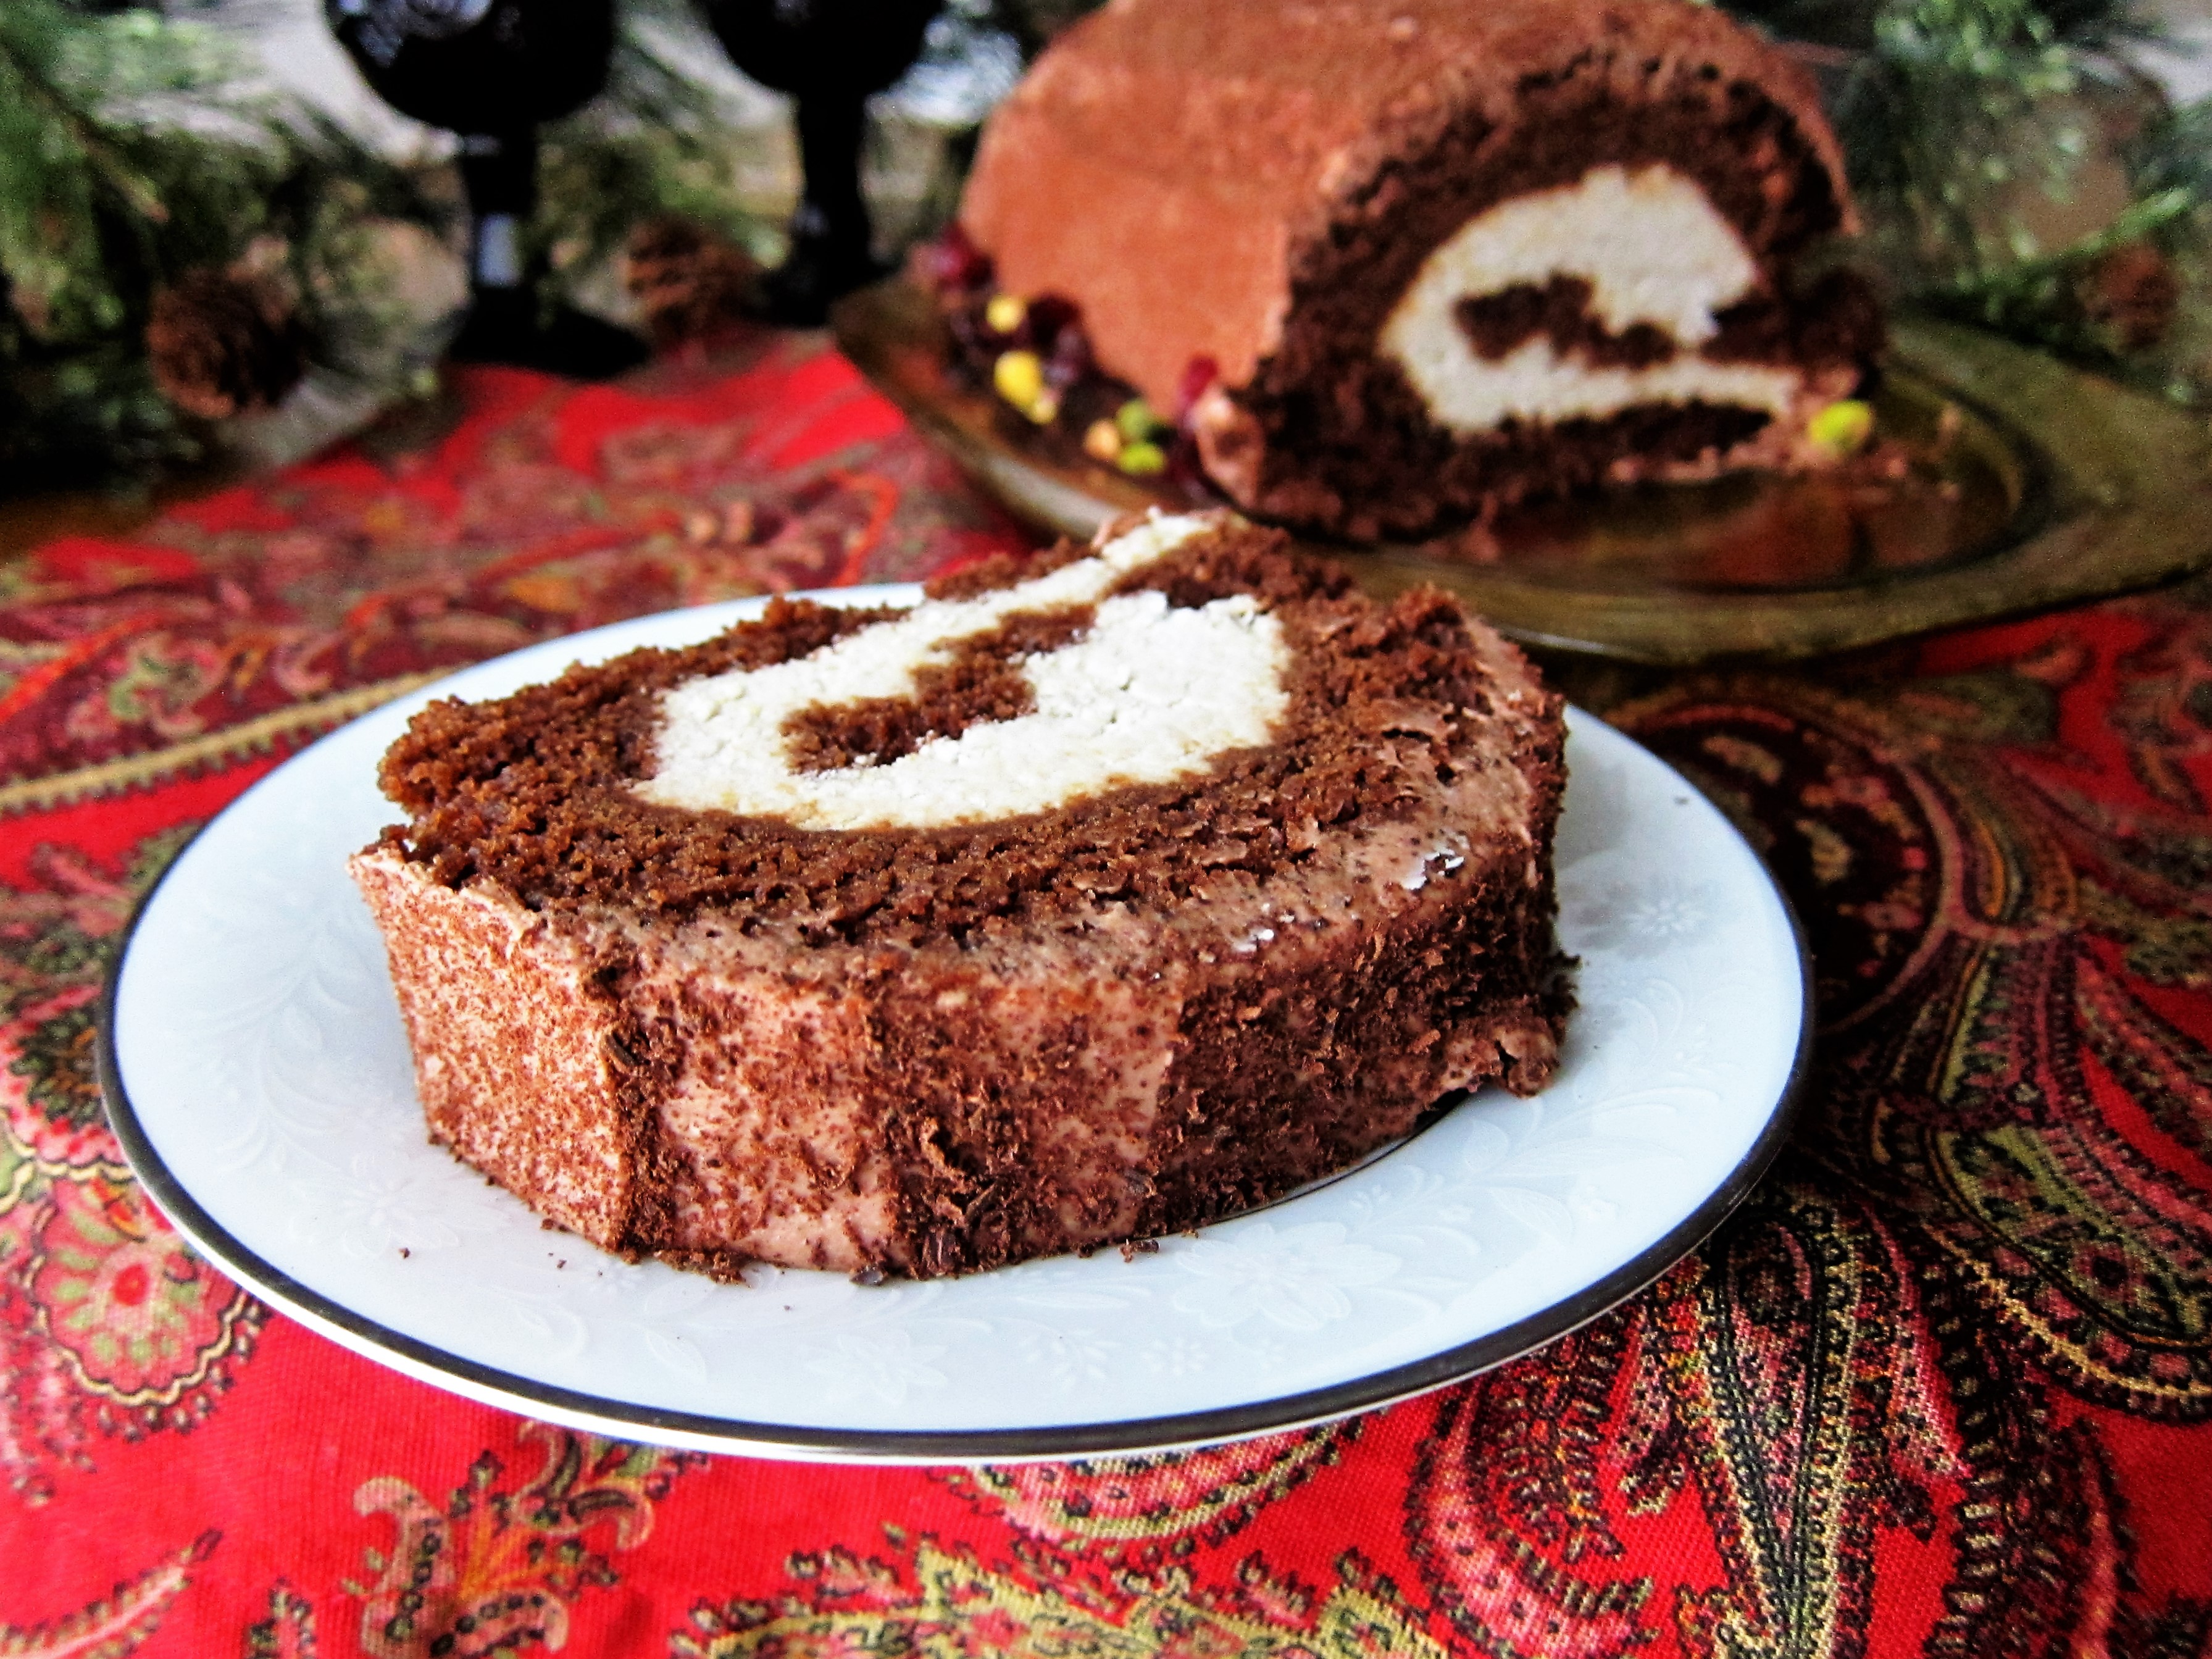
Those are just a couple of examples of why I choose not to eat eggs and dairy. I thought that by just being a vegetarian I was being cruelty free, but after learning about all of this a few years back, I need to be vegan. I just can’t feel good knowing that another life was cut short or lived in bad conditions just so I could enjoy a pizza or sunny side up egg. Also, yes it is more work to check food labels and check what your clothing and personal items are made out of before buying them, but it is worth it. Also, being vegan is really not hard once you get the hang of it! If you are worried about the clothing items and personal care items, there are lots of quality brands out there that are animal product free. As far as food goes, I never feel as if I am missing out, because I have found substitutes for items I used to eat that I enjoy even more! Today I am going to share a few vegan dairy replacement recipes for those of you that think you can’t go without it. I used to be the queen of dairy. I ate yogurt and cheese every day, ate lots of ice cream, and I said I could never live without it. But guess what? I do! And I never feel deprived. Because I have things like these to keep me happy…
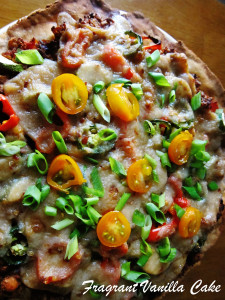
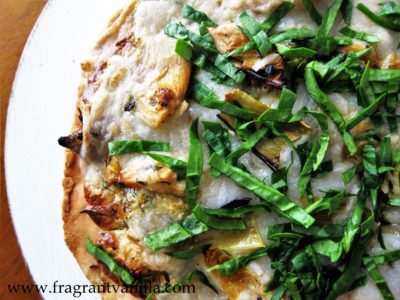
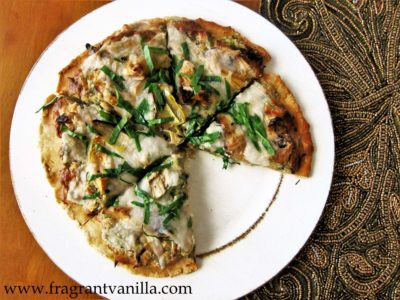
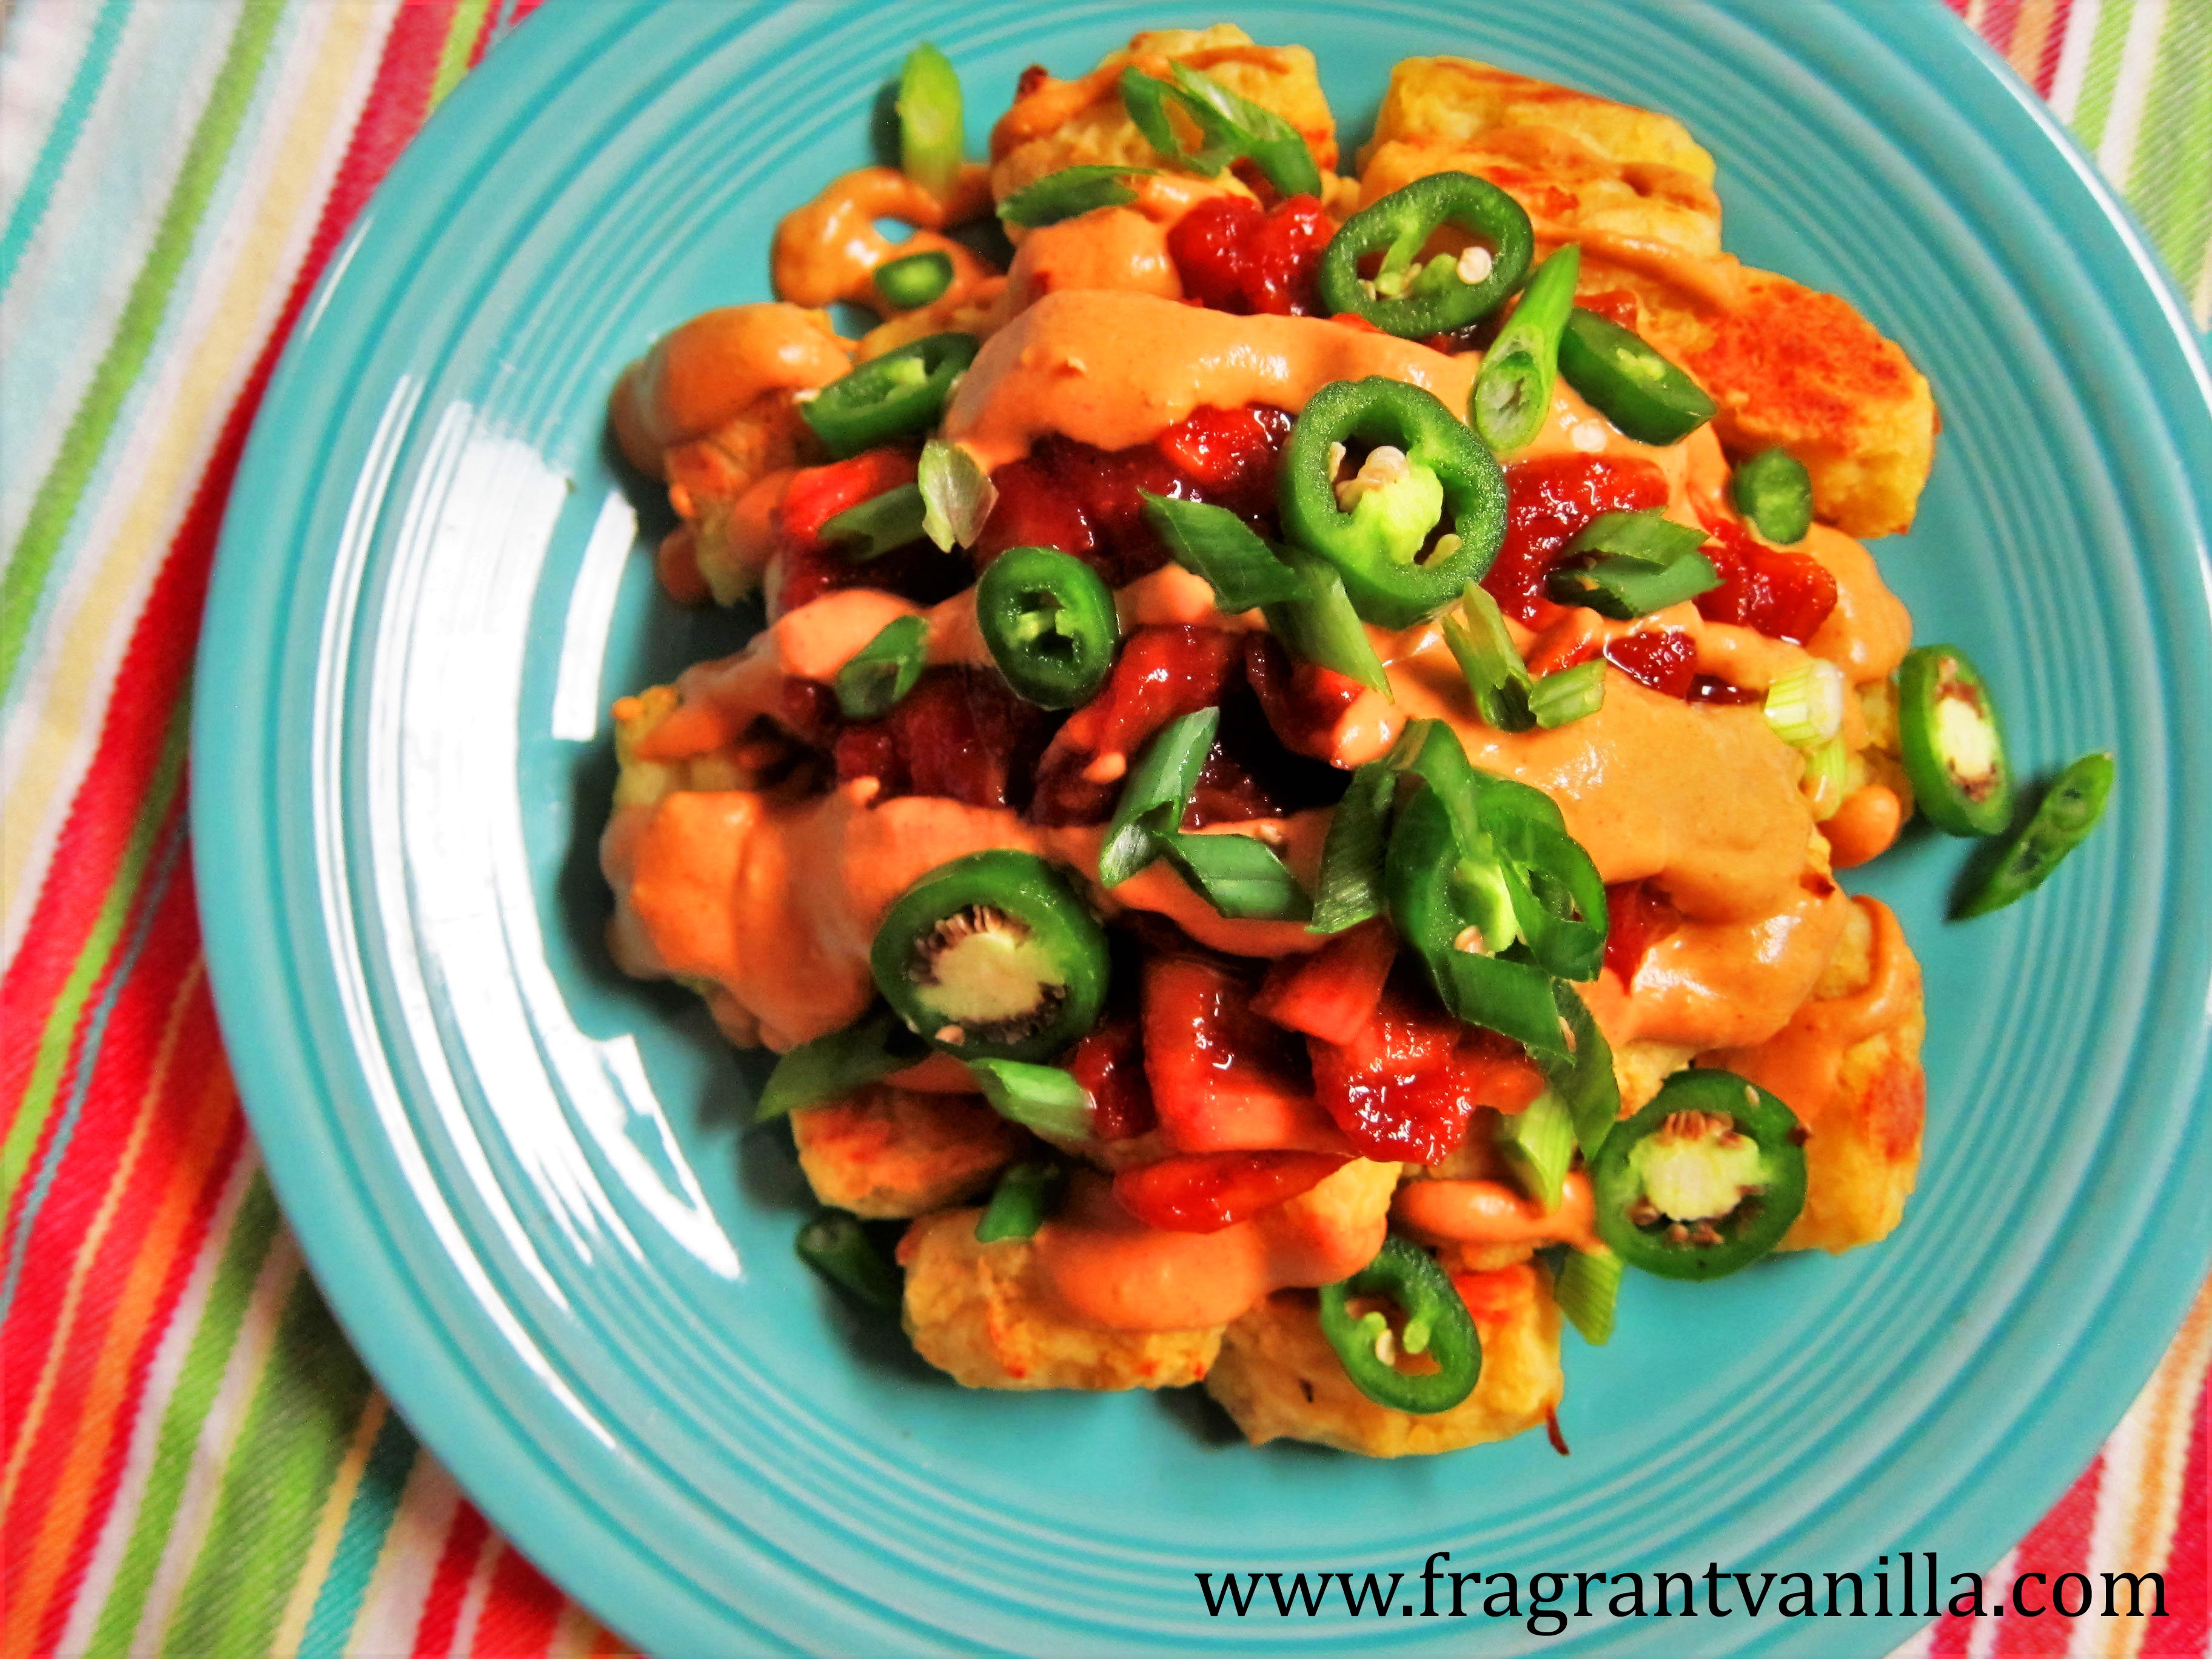
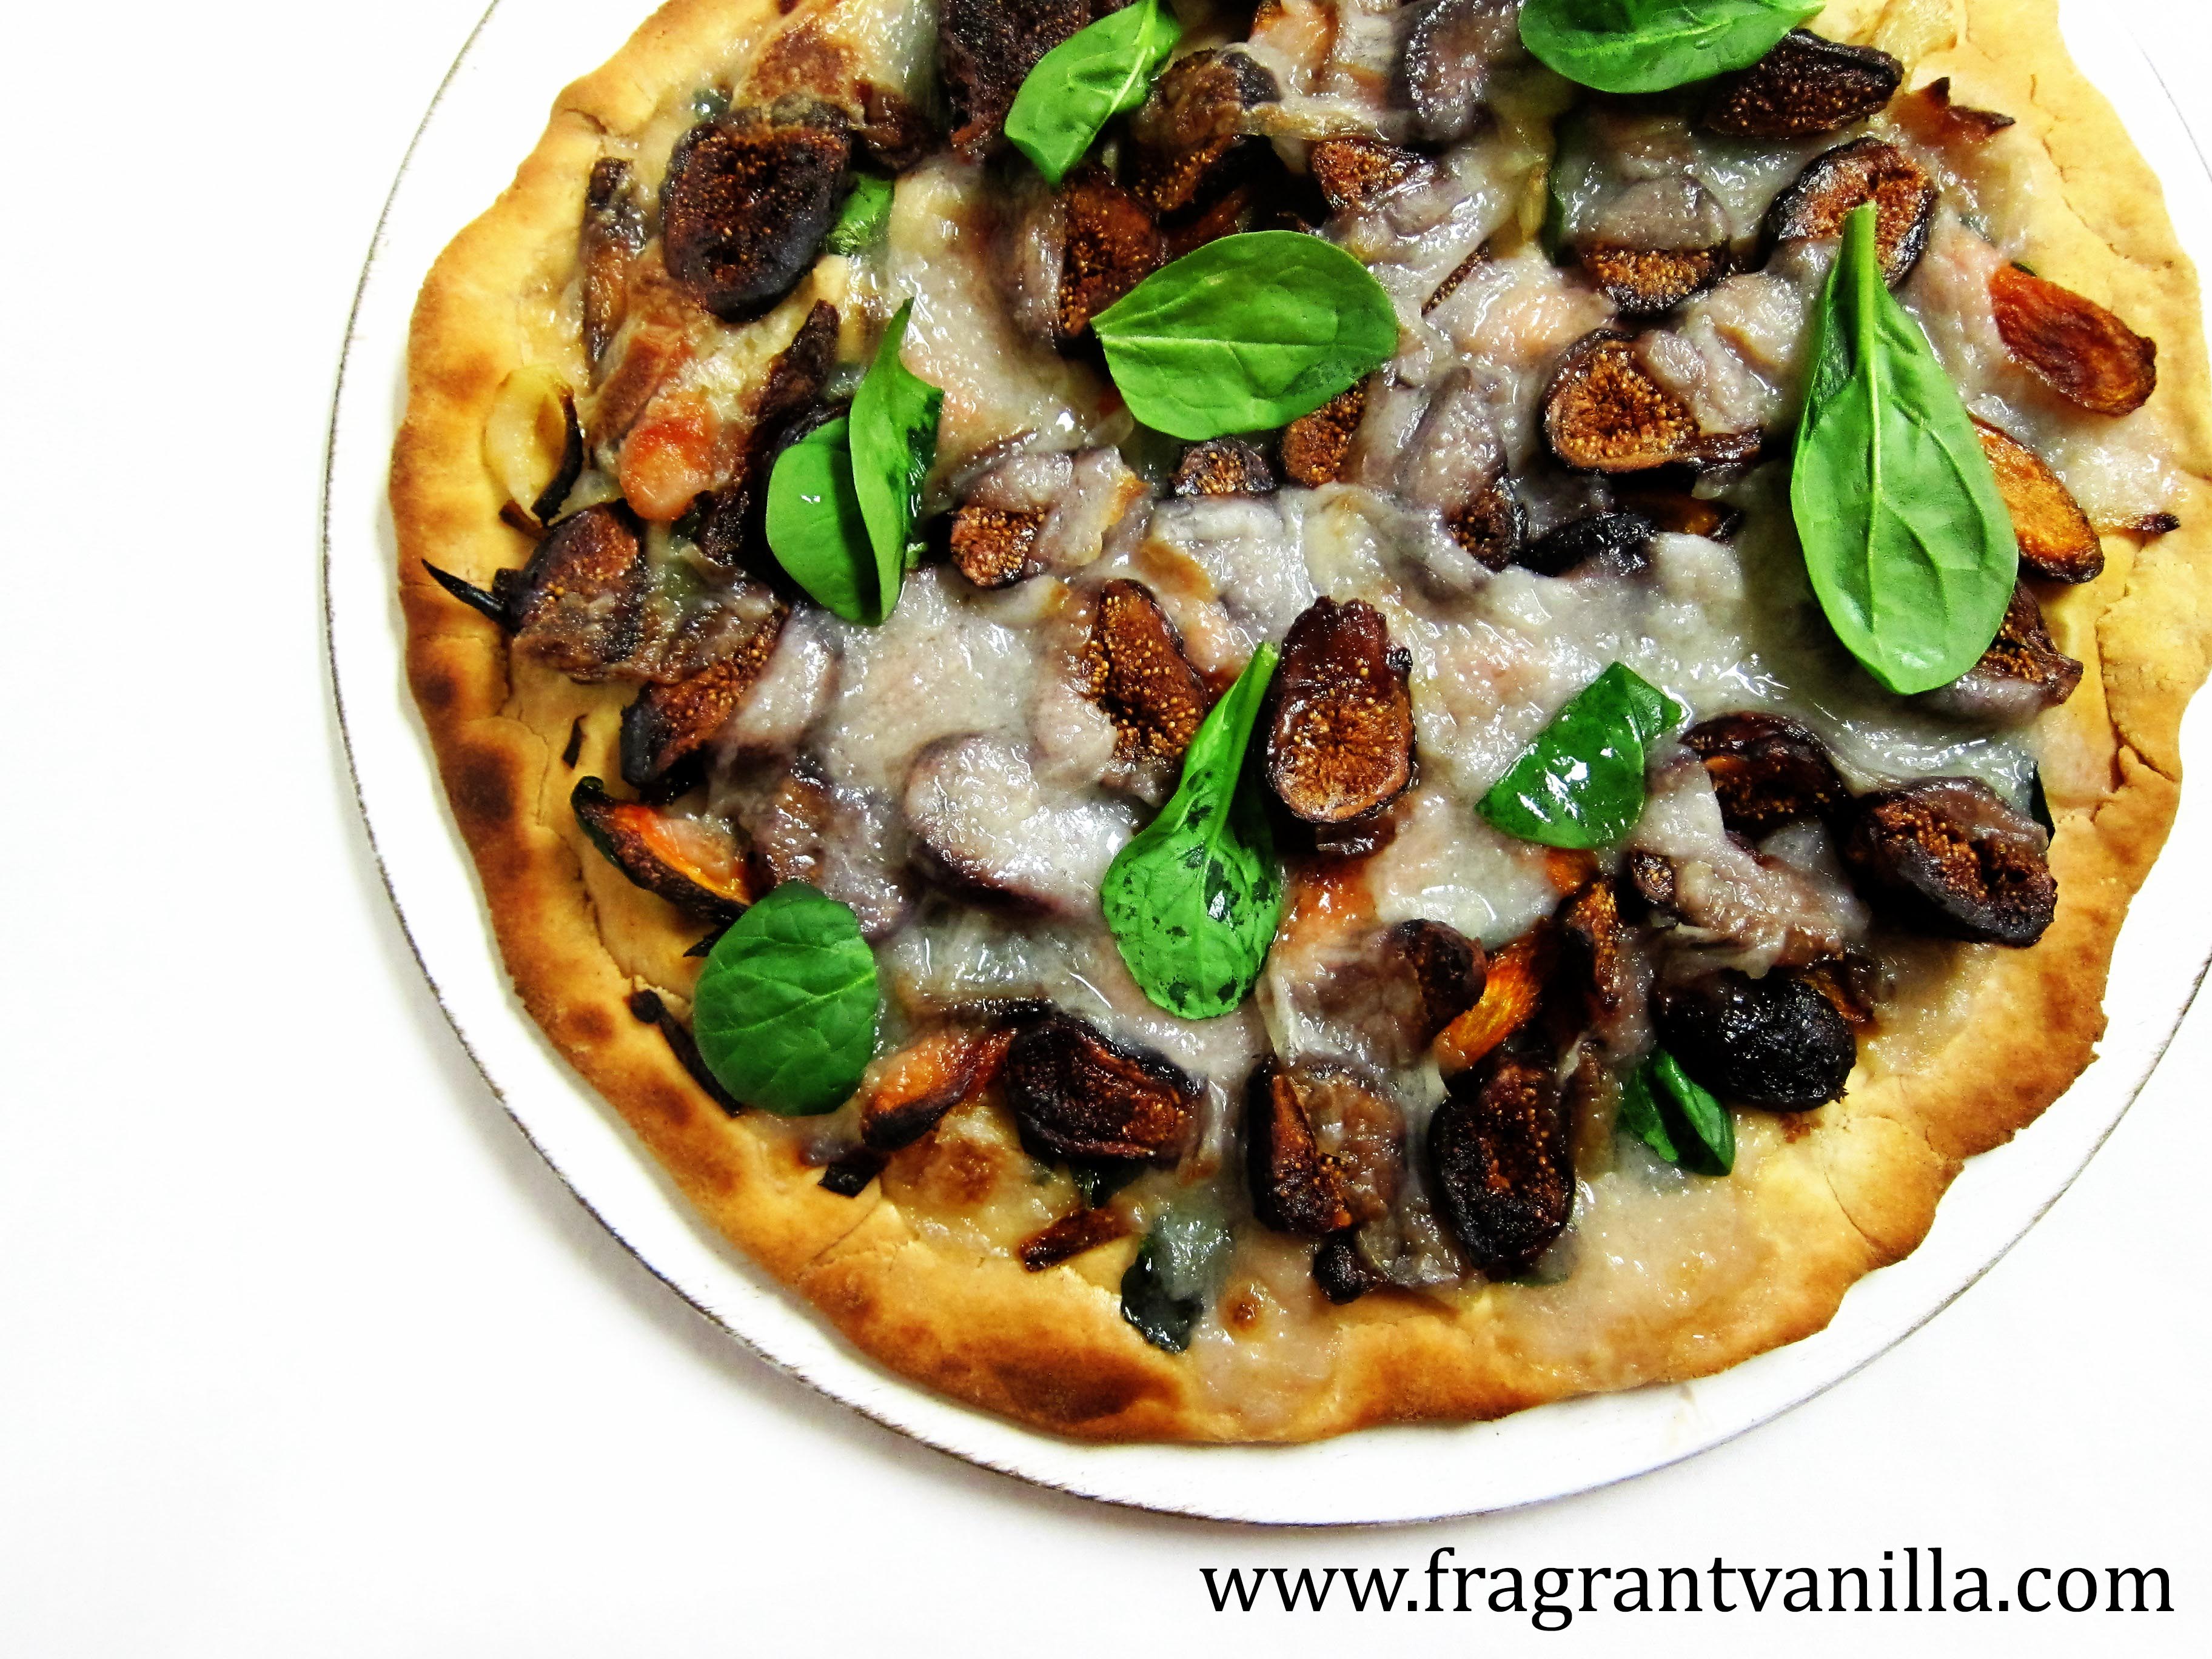
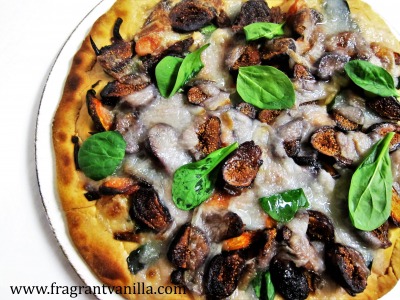
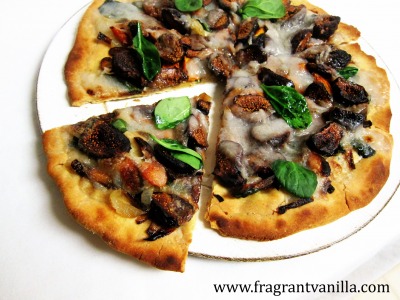
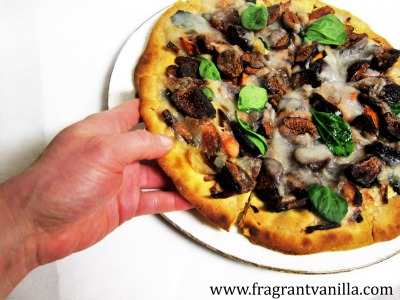
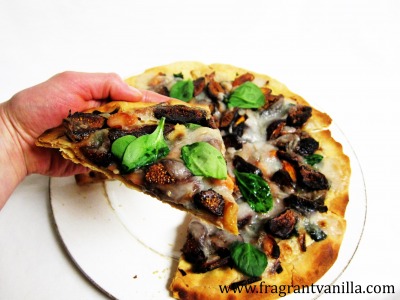
Spicy Vegan Veggie Chorizo Pizza

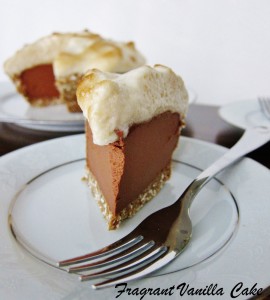
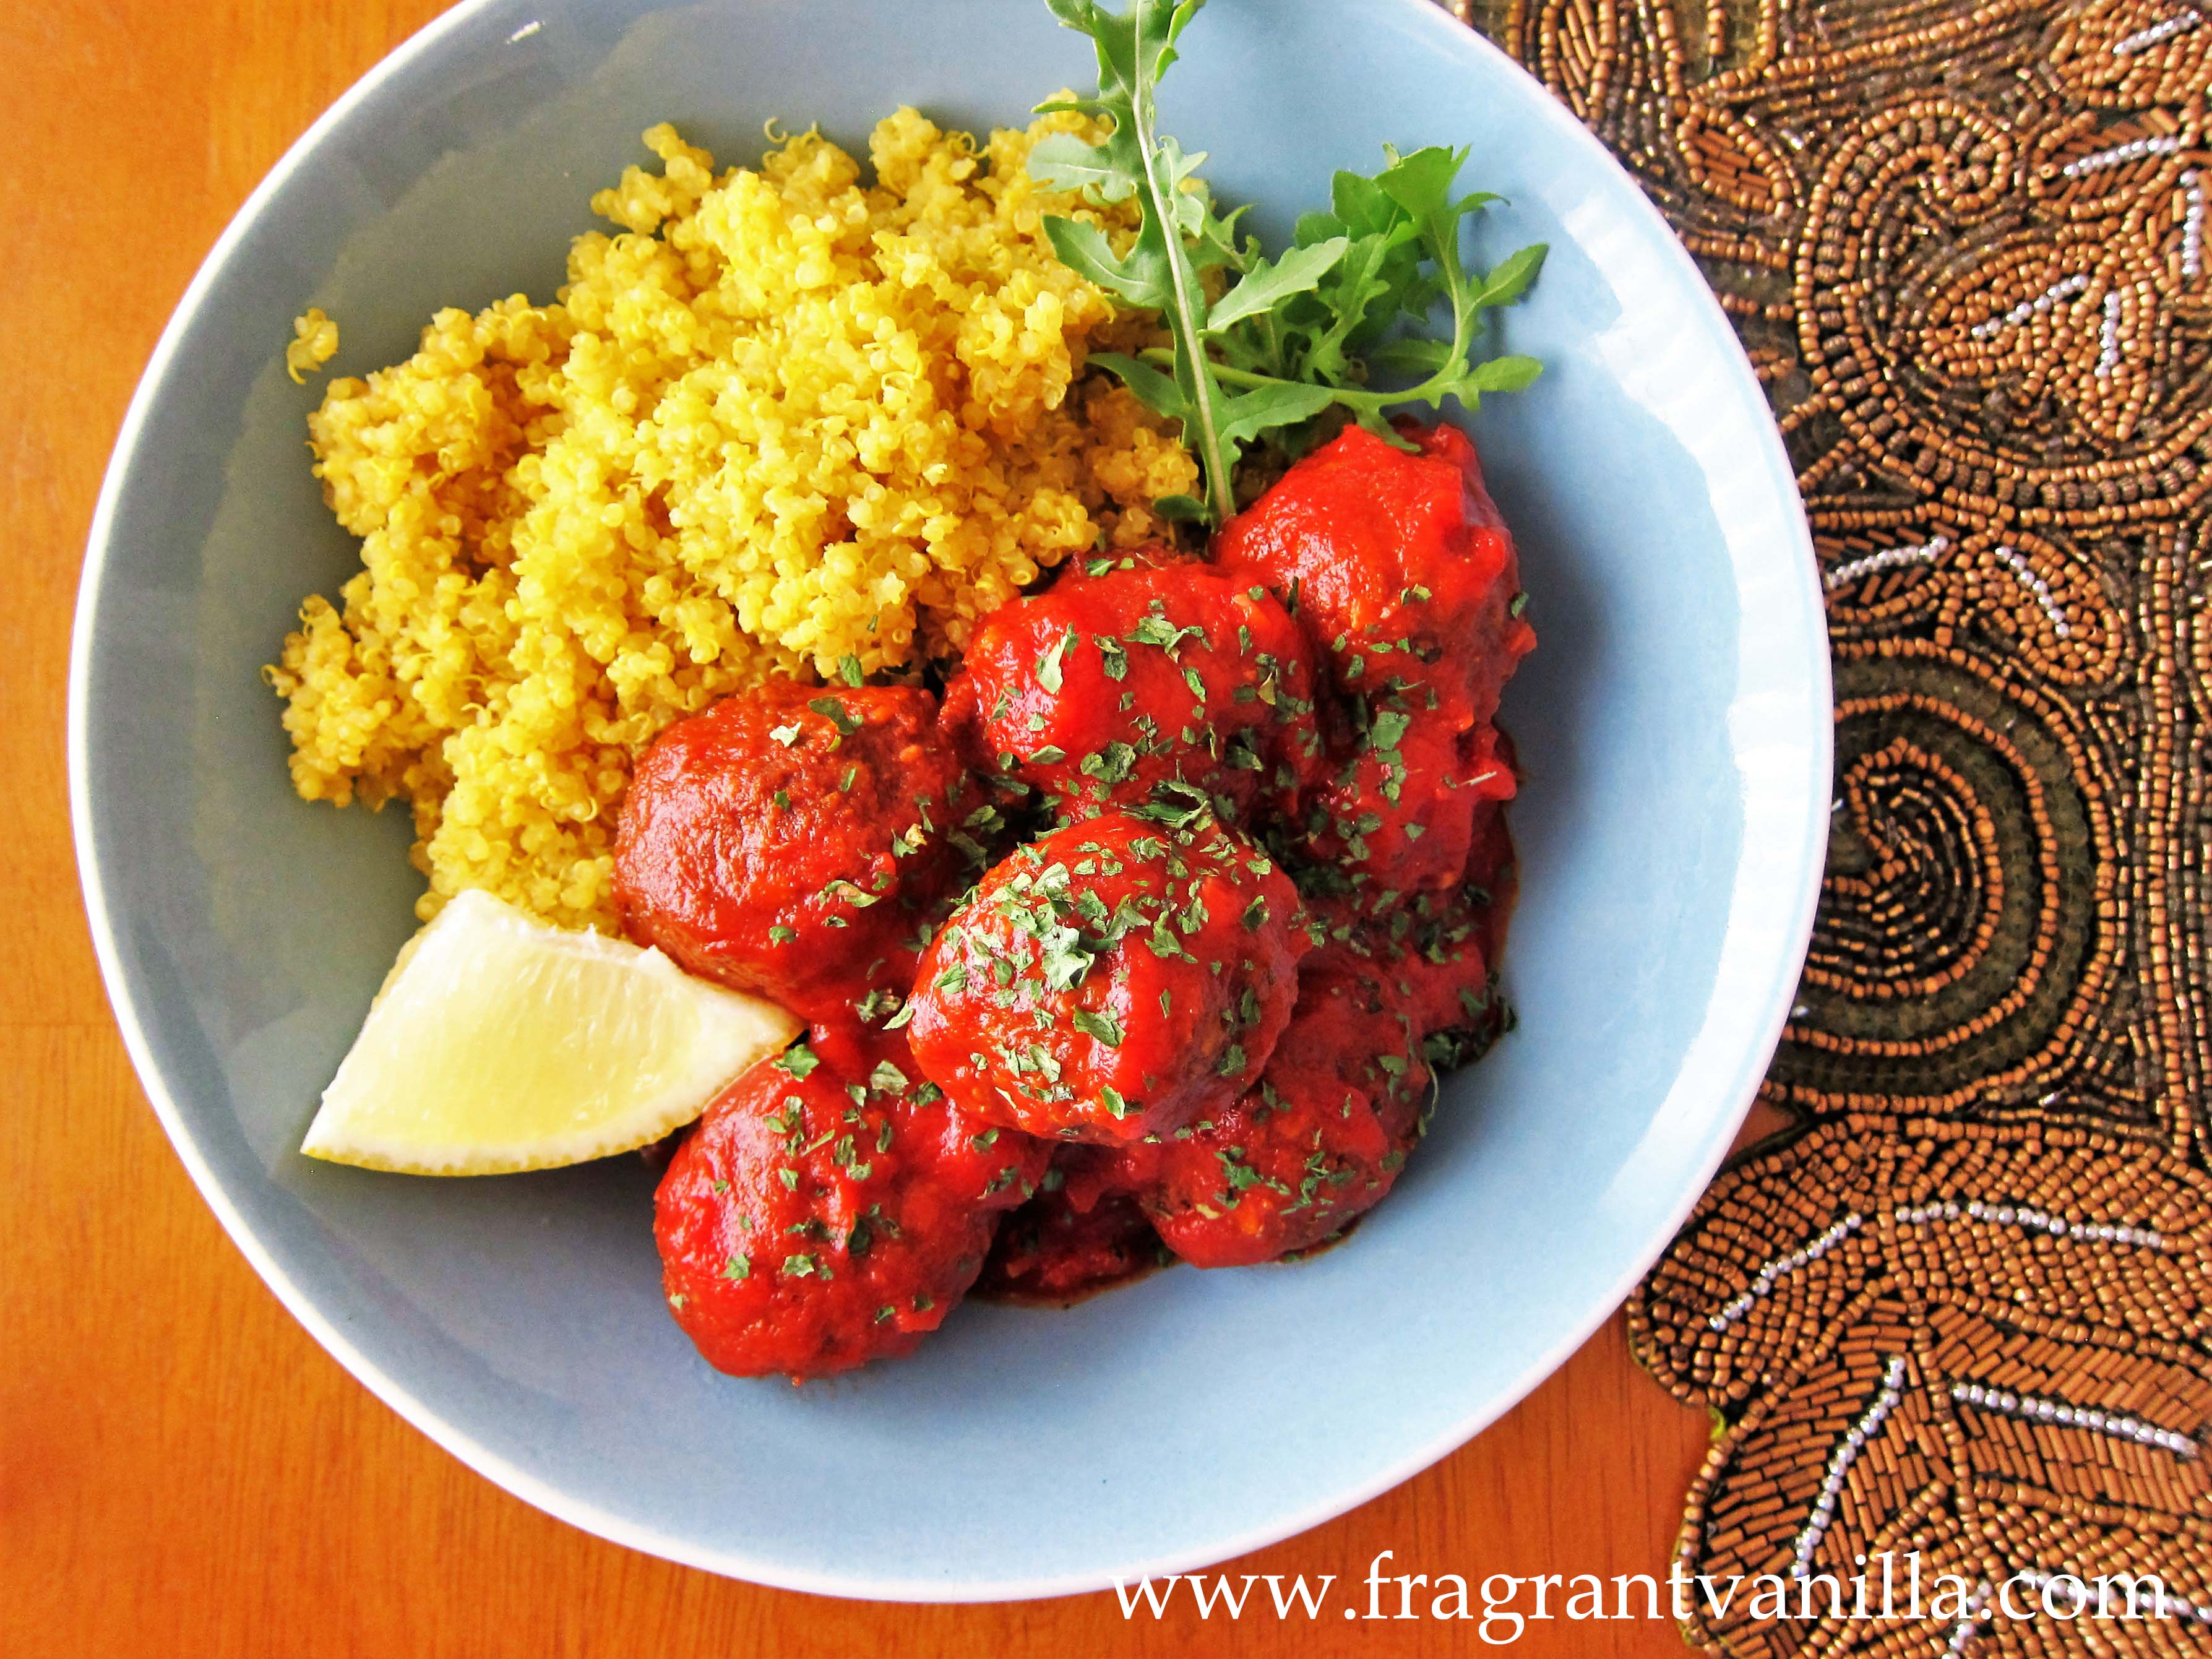
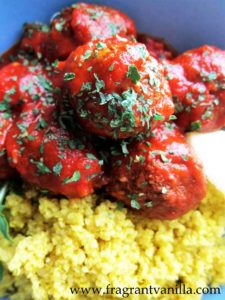
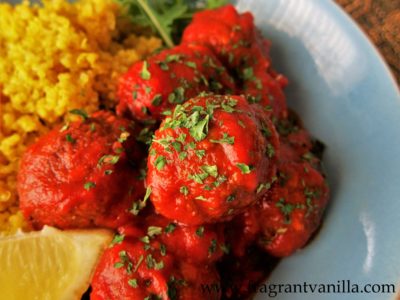
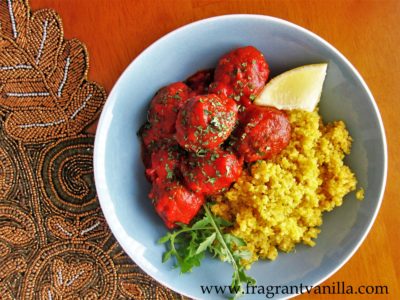
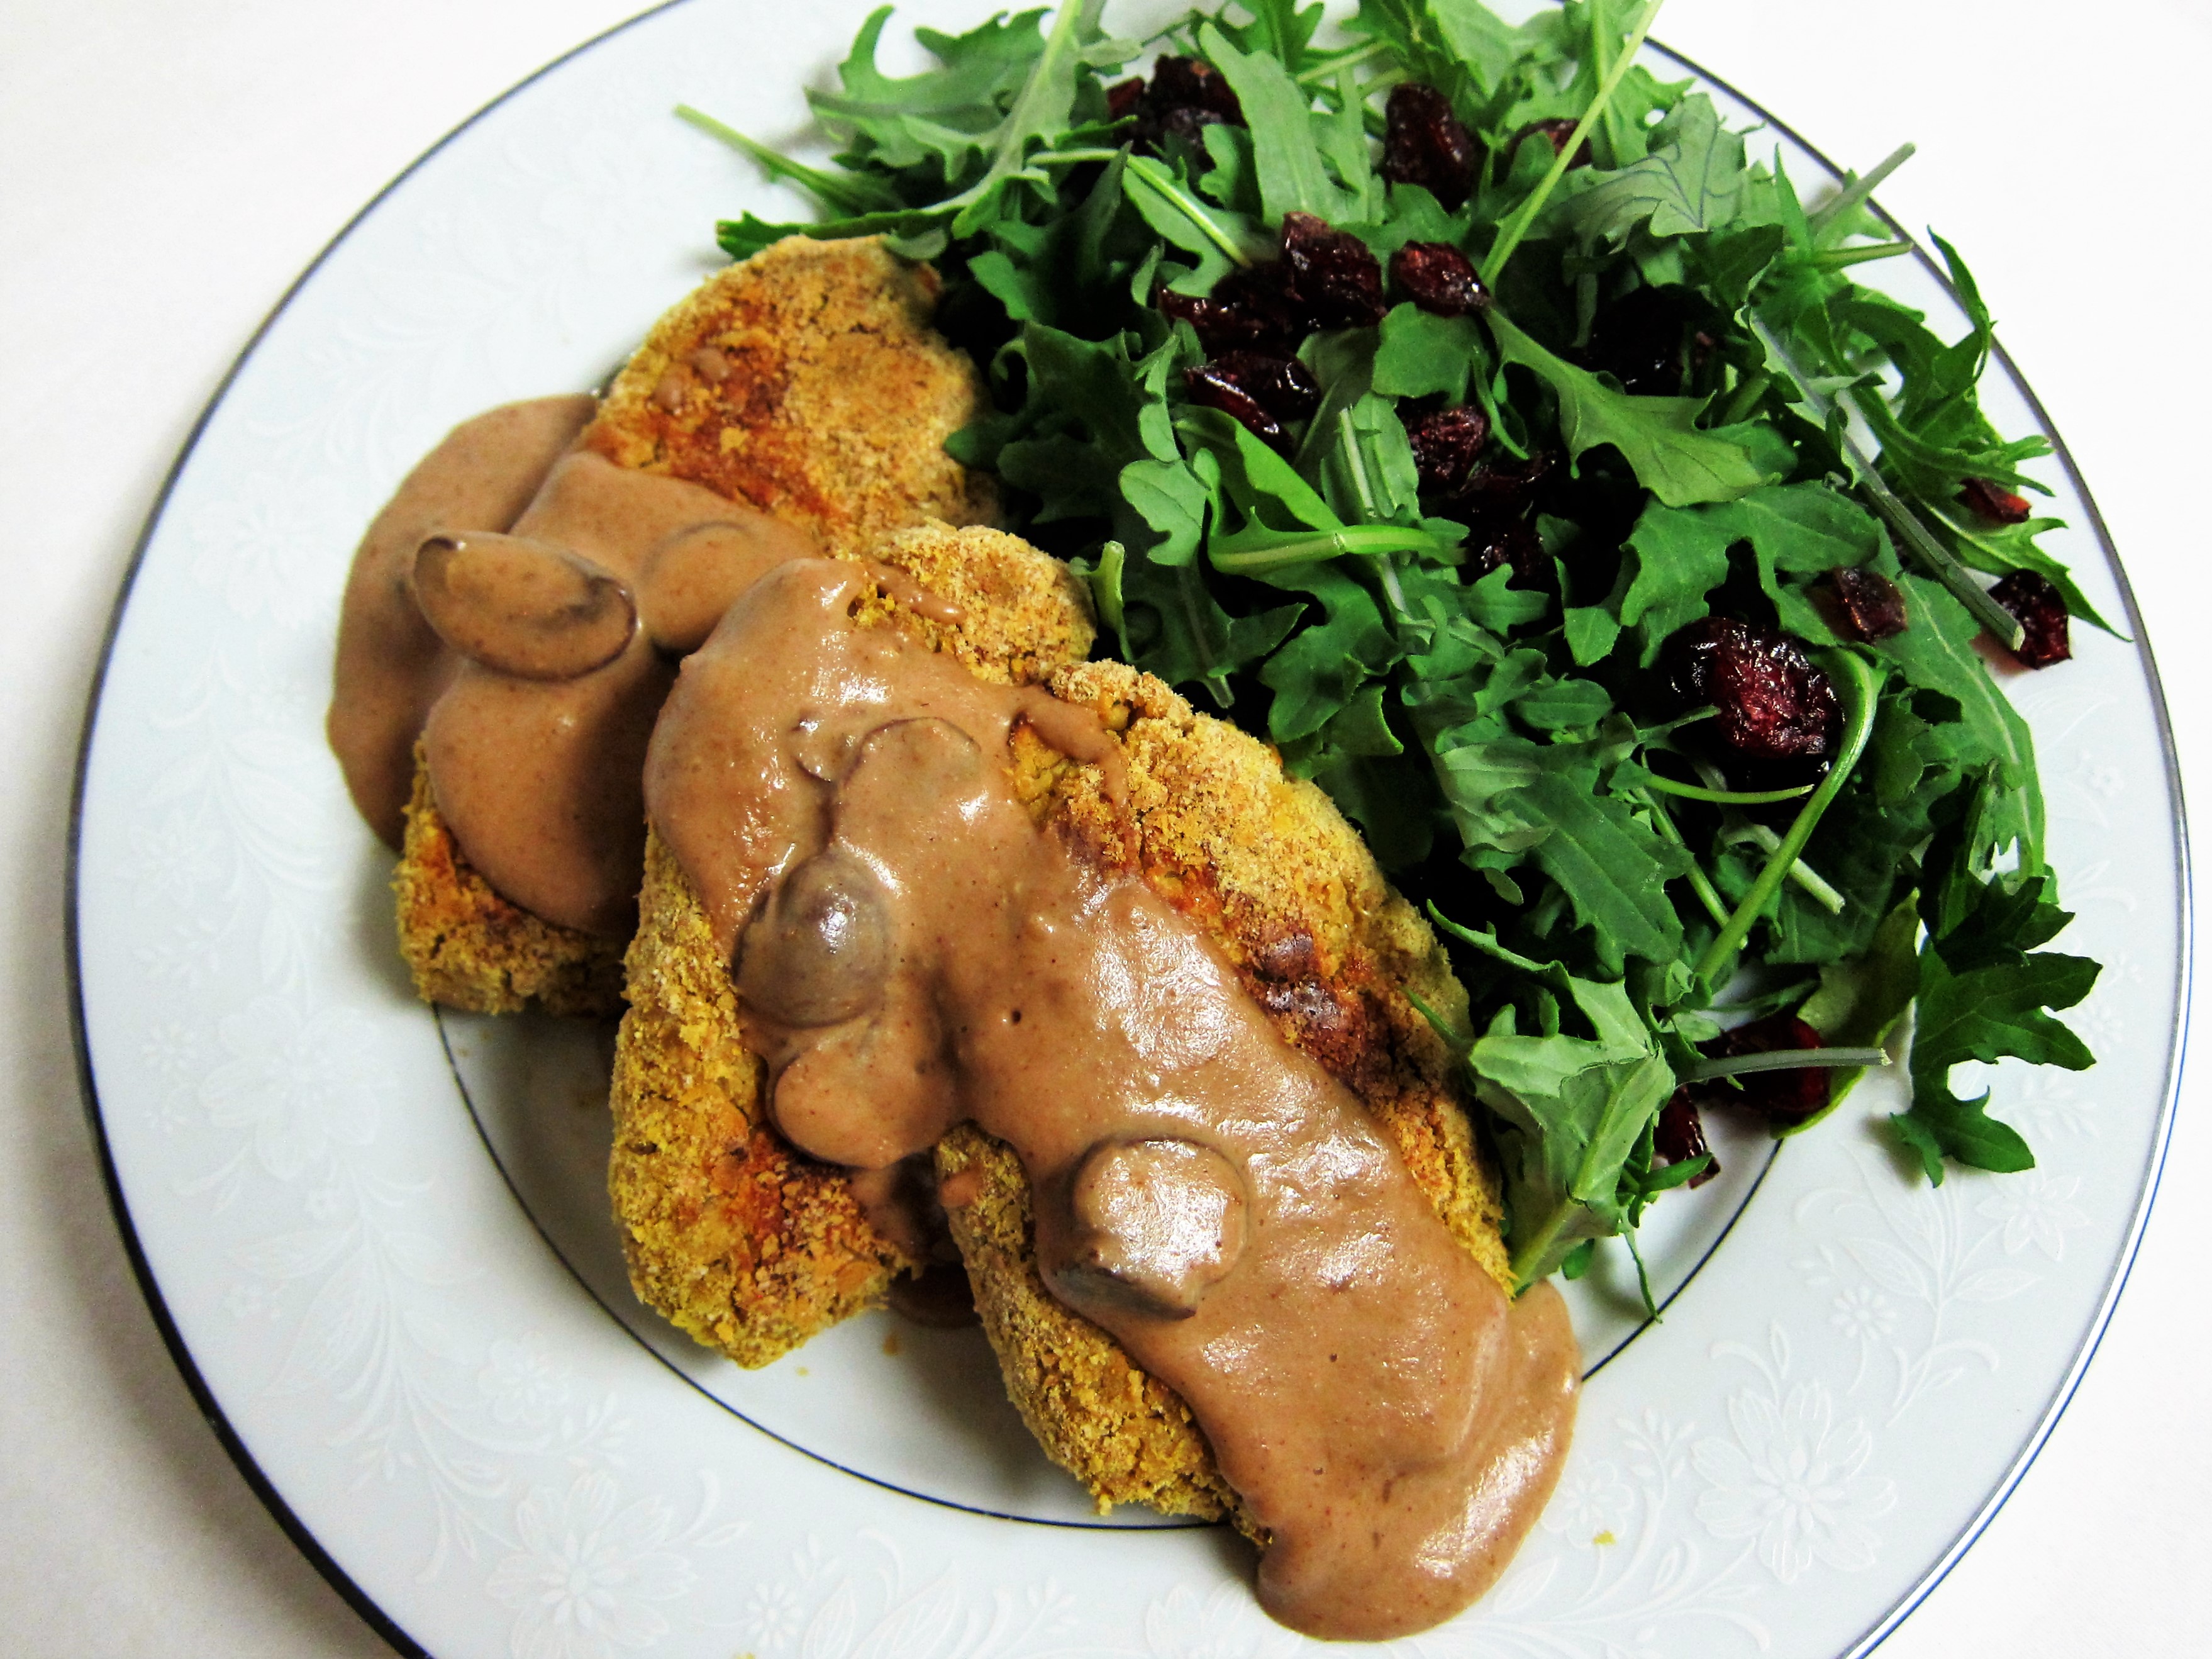
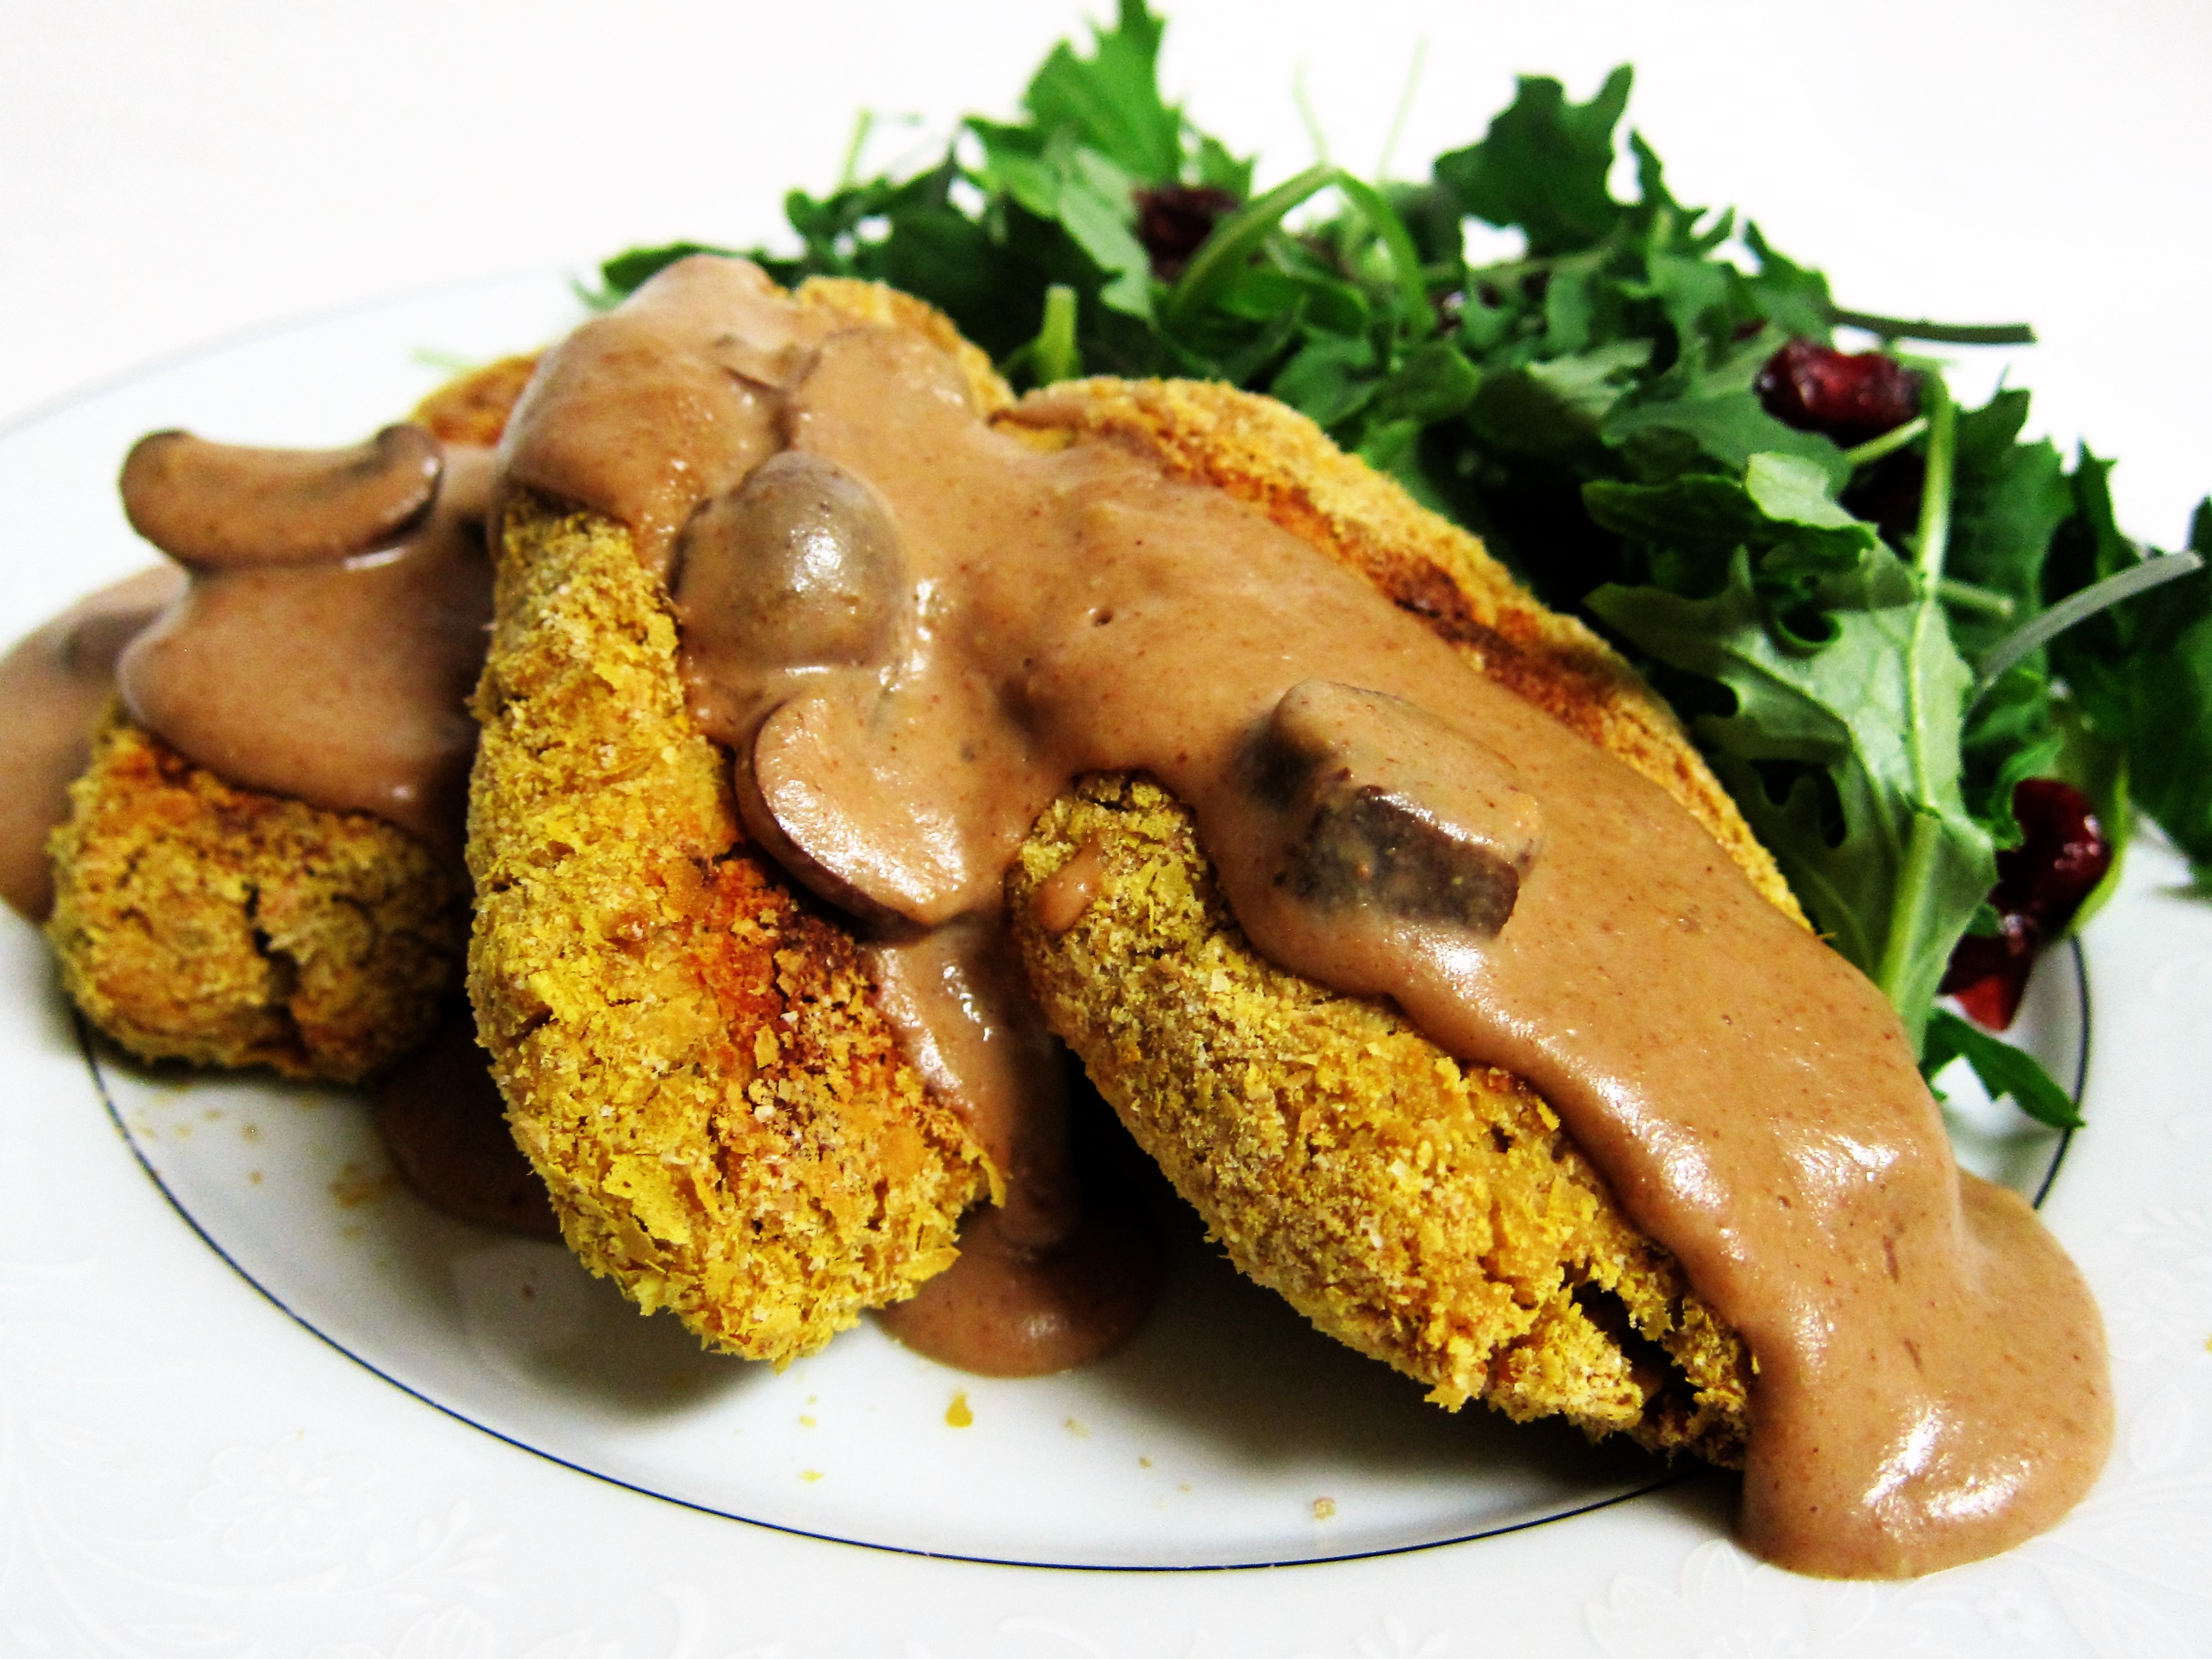
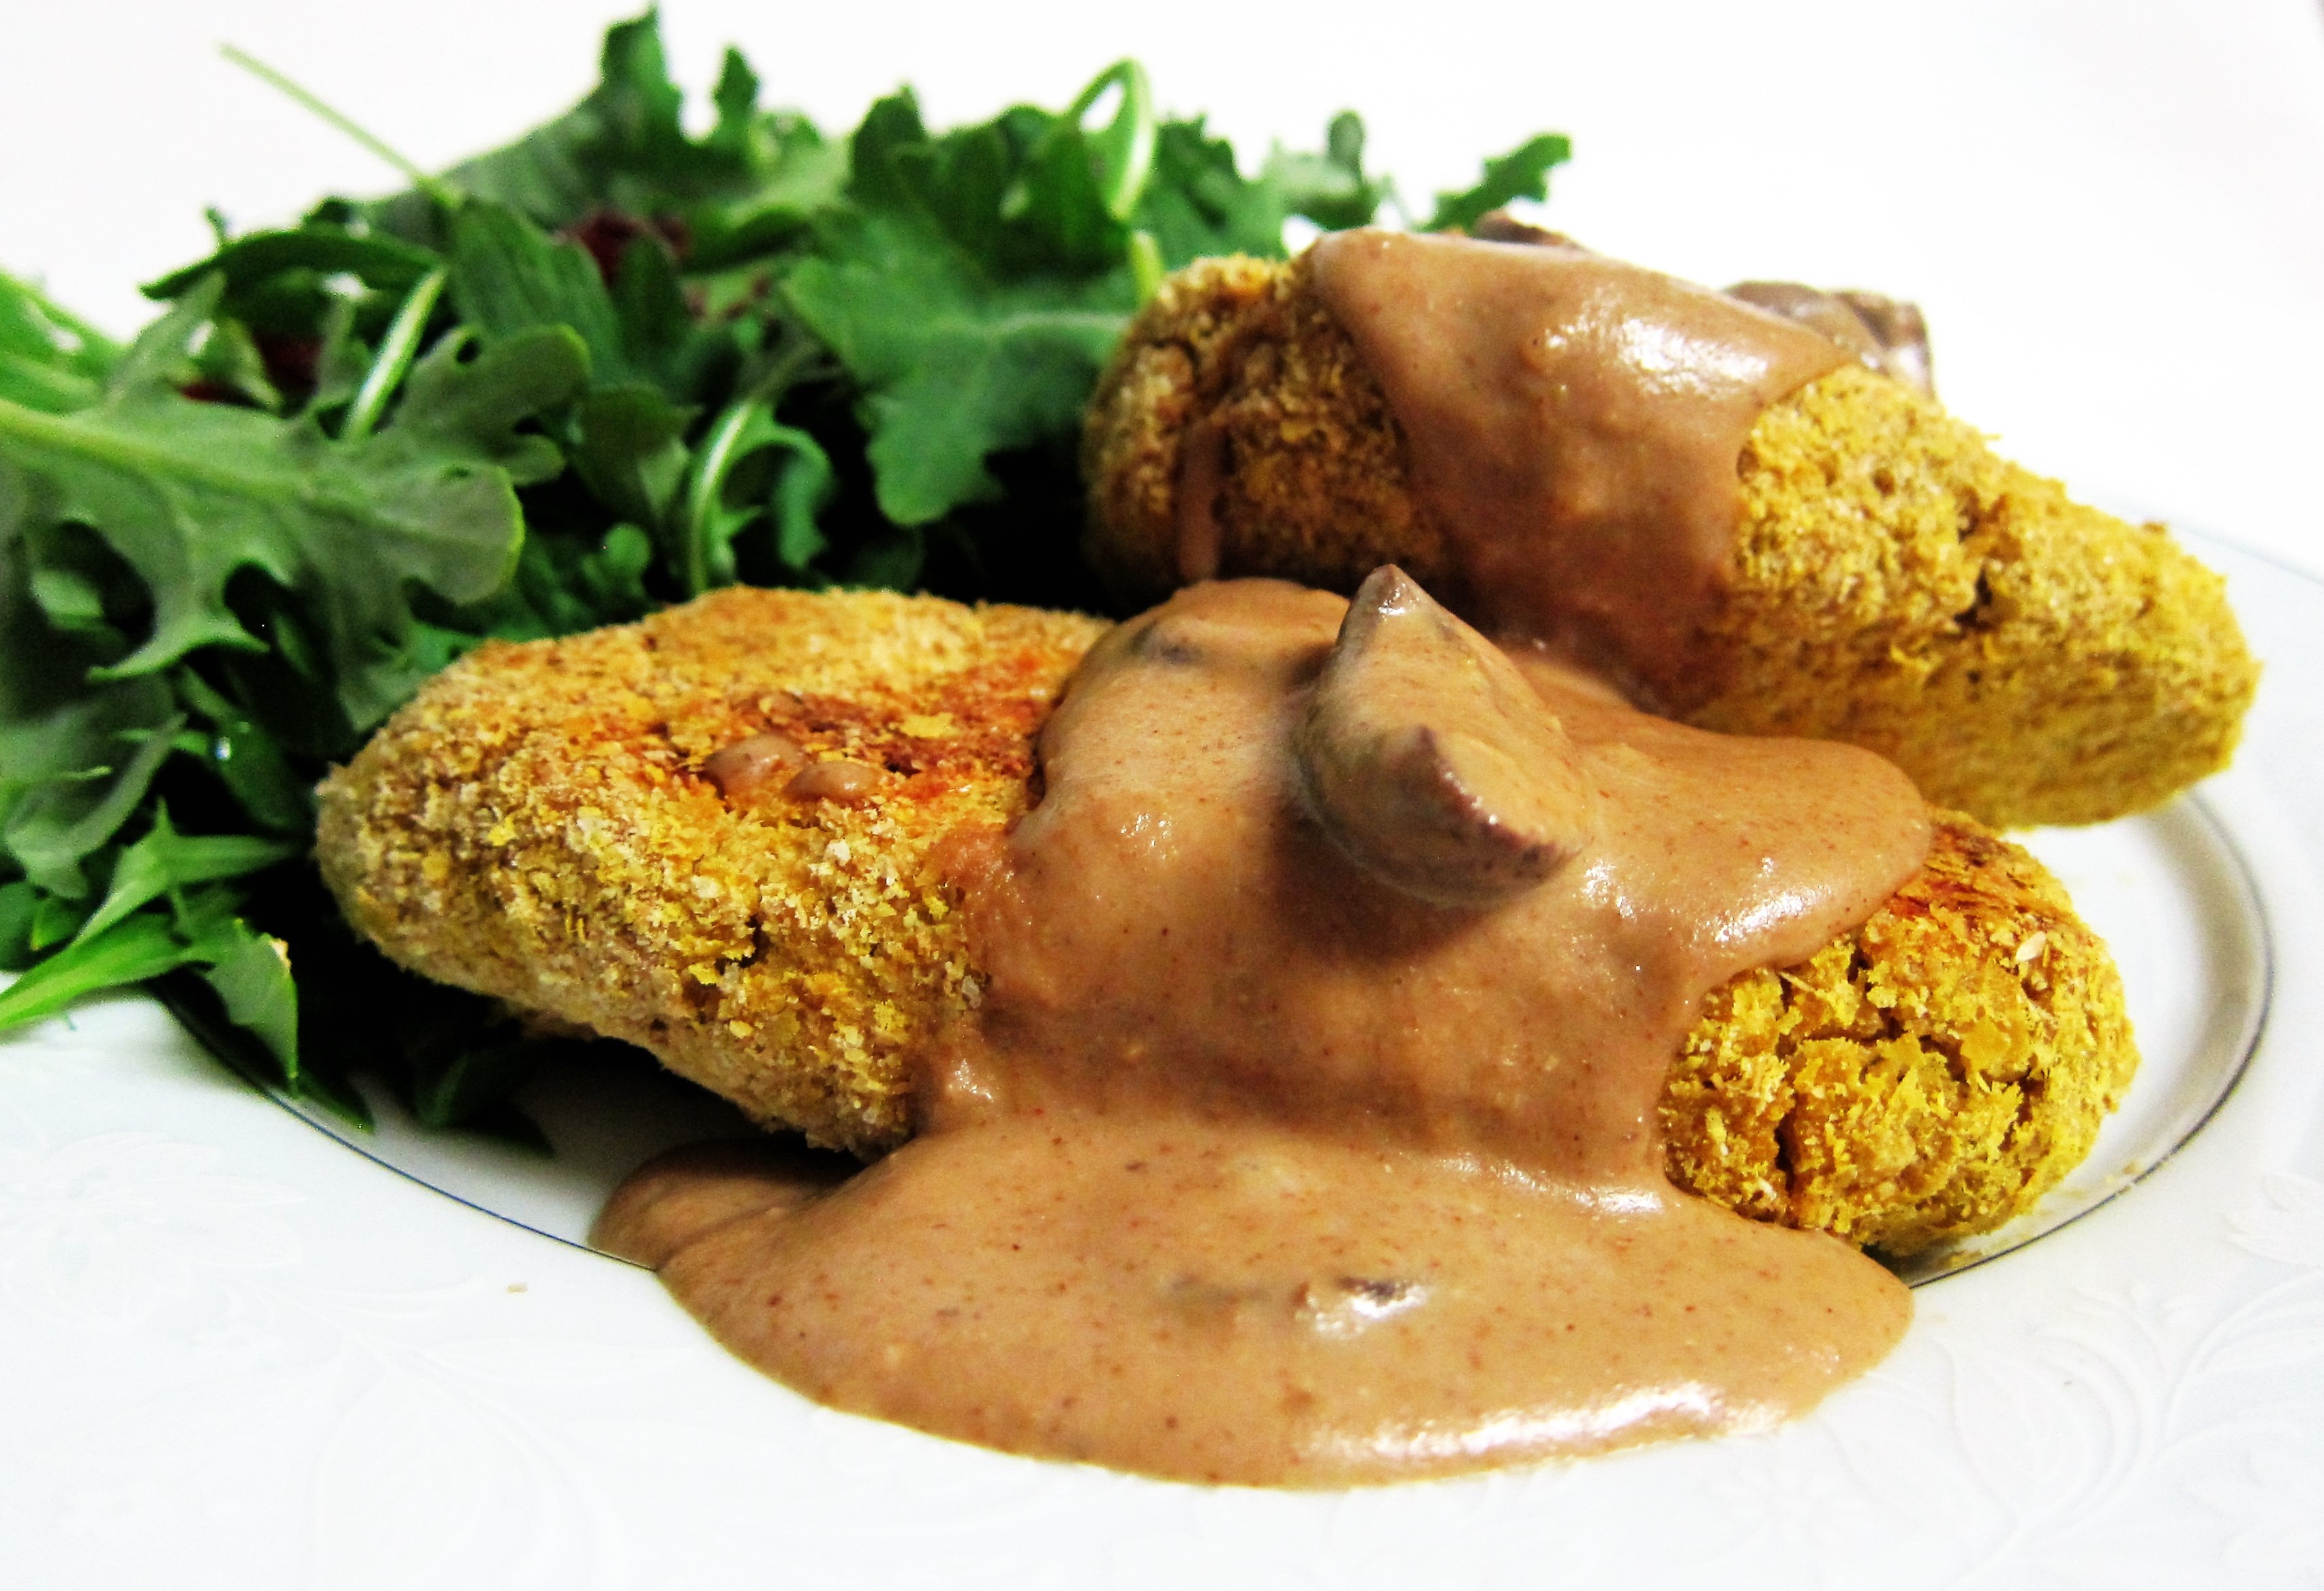
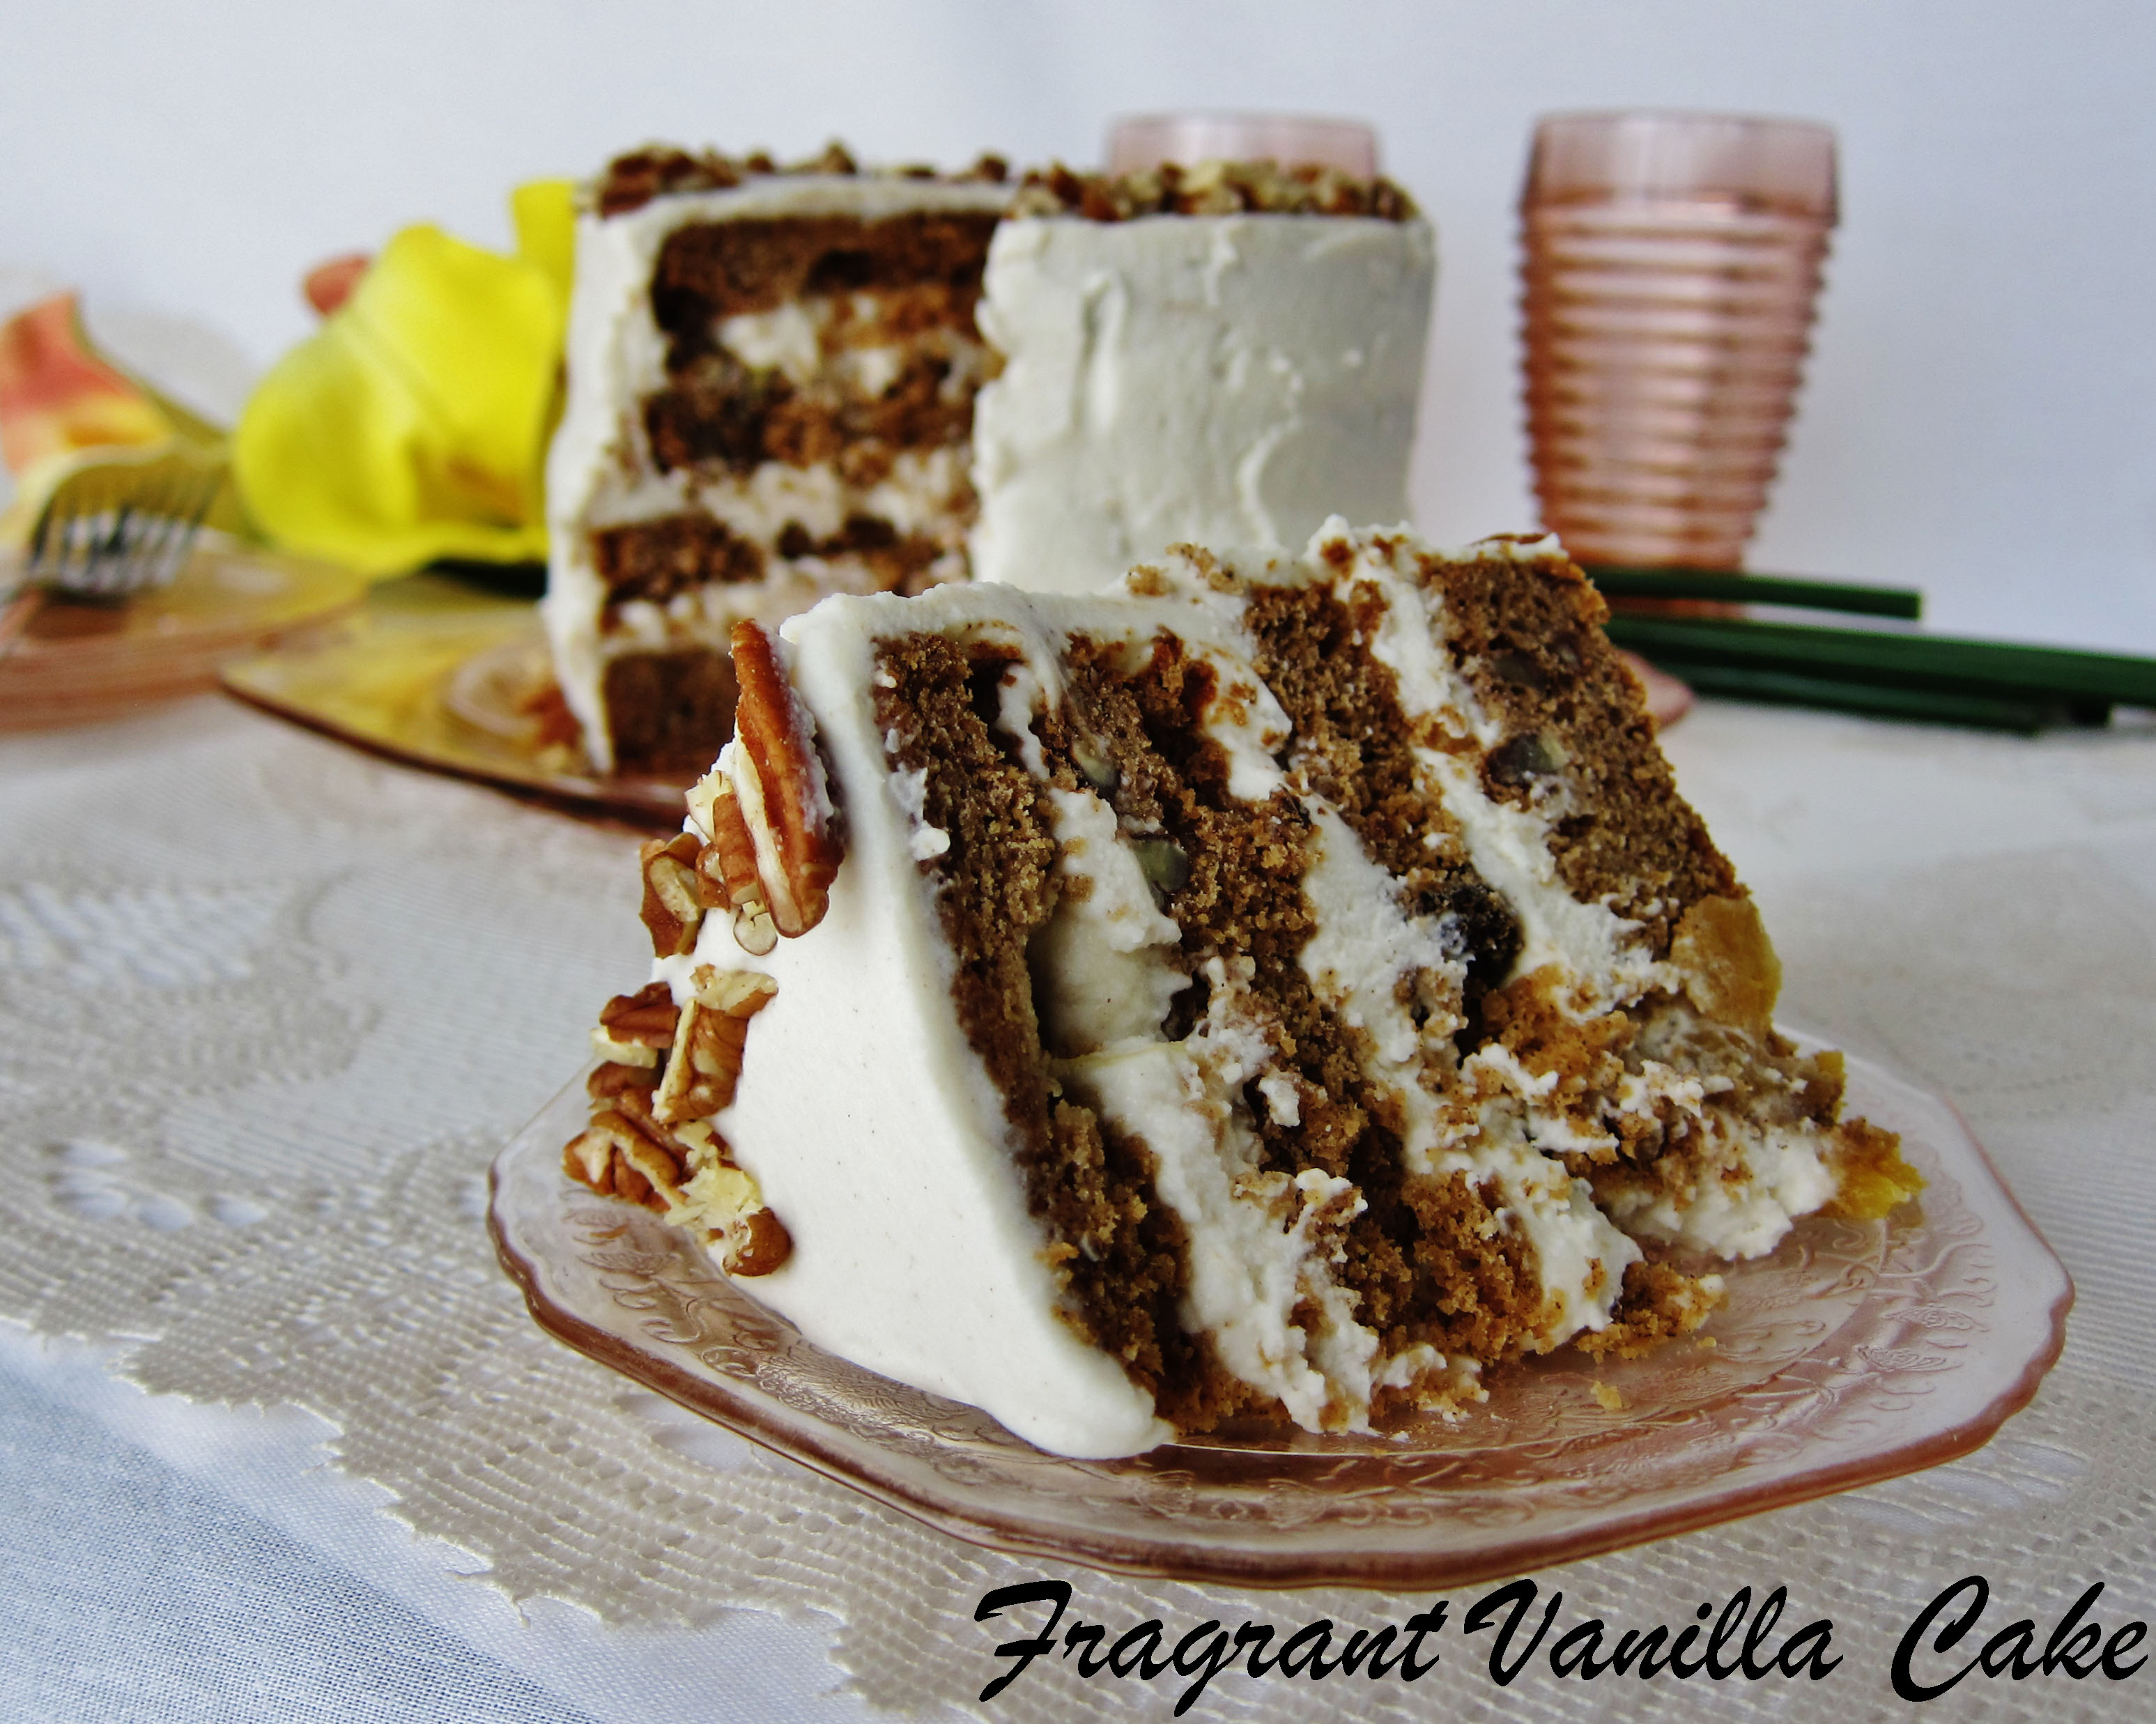
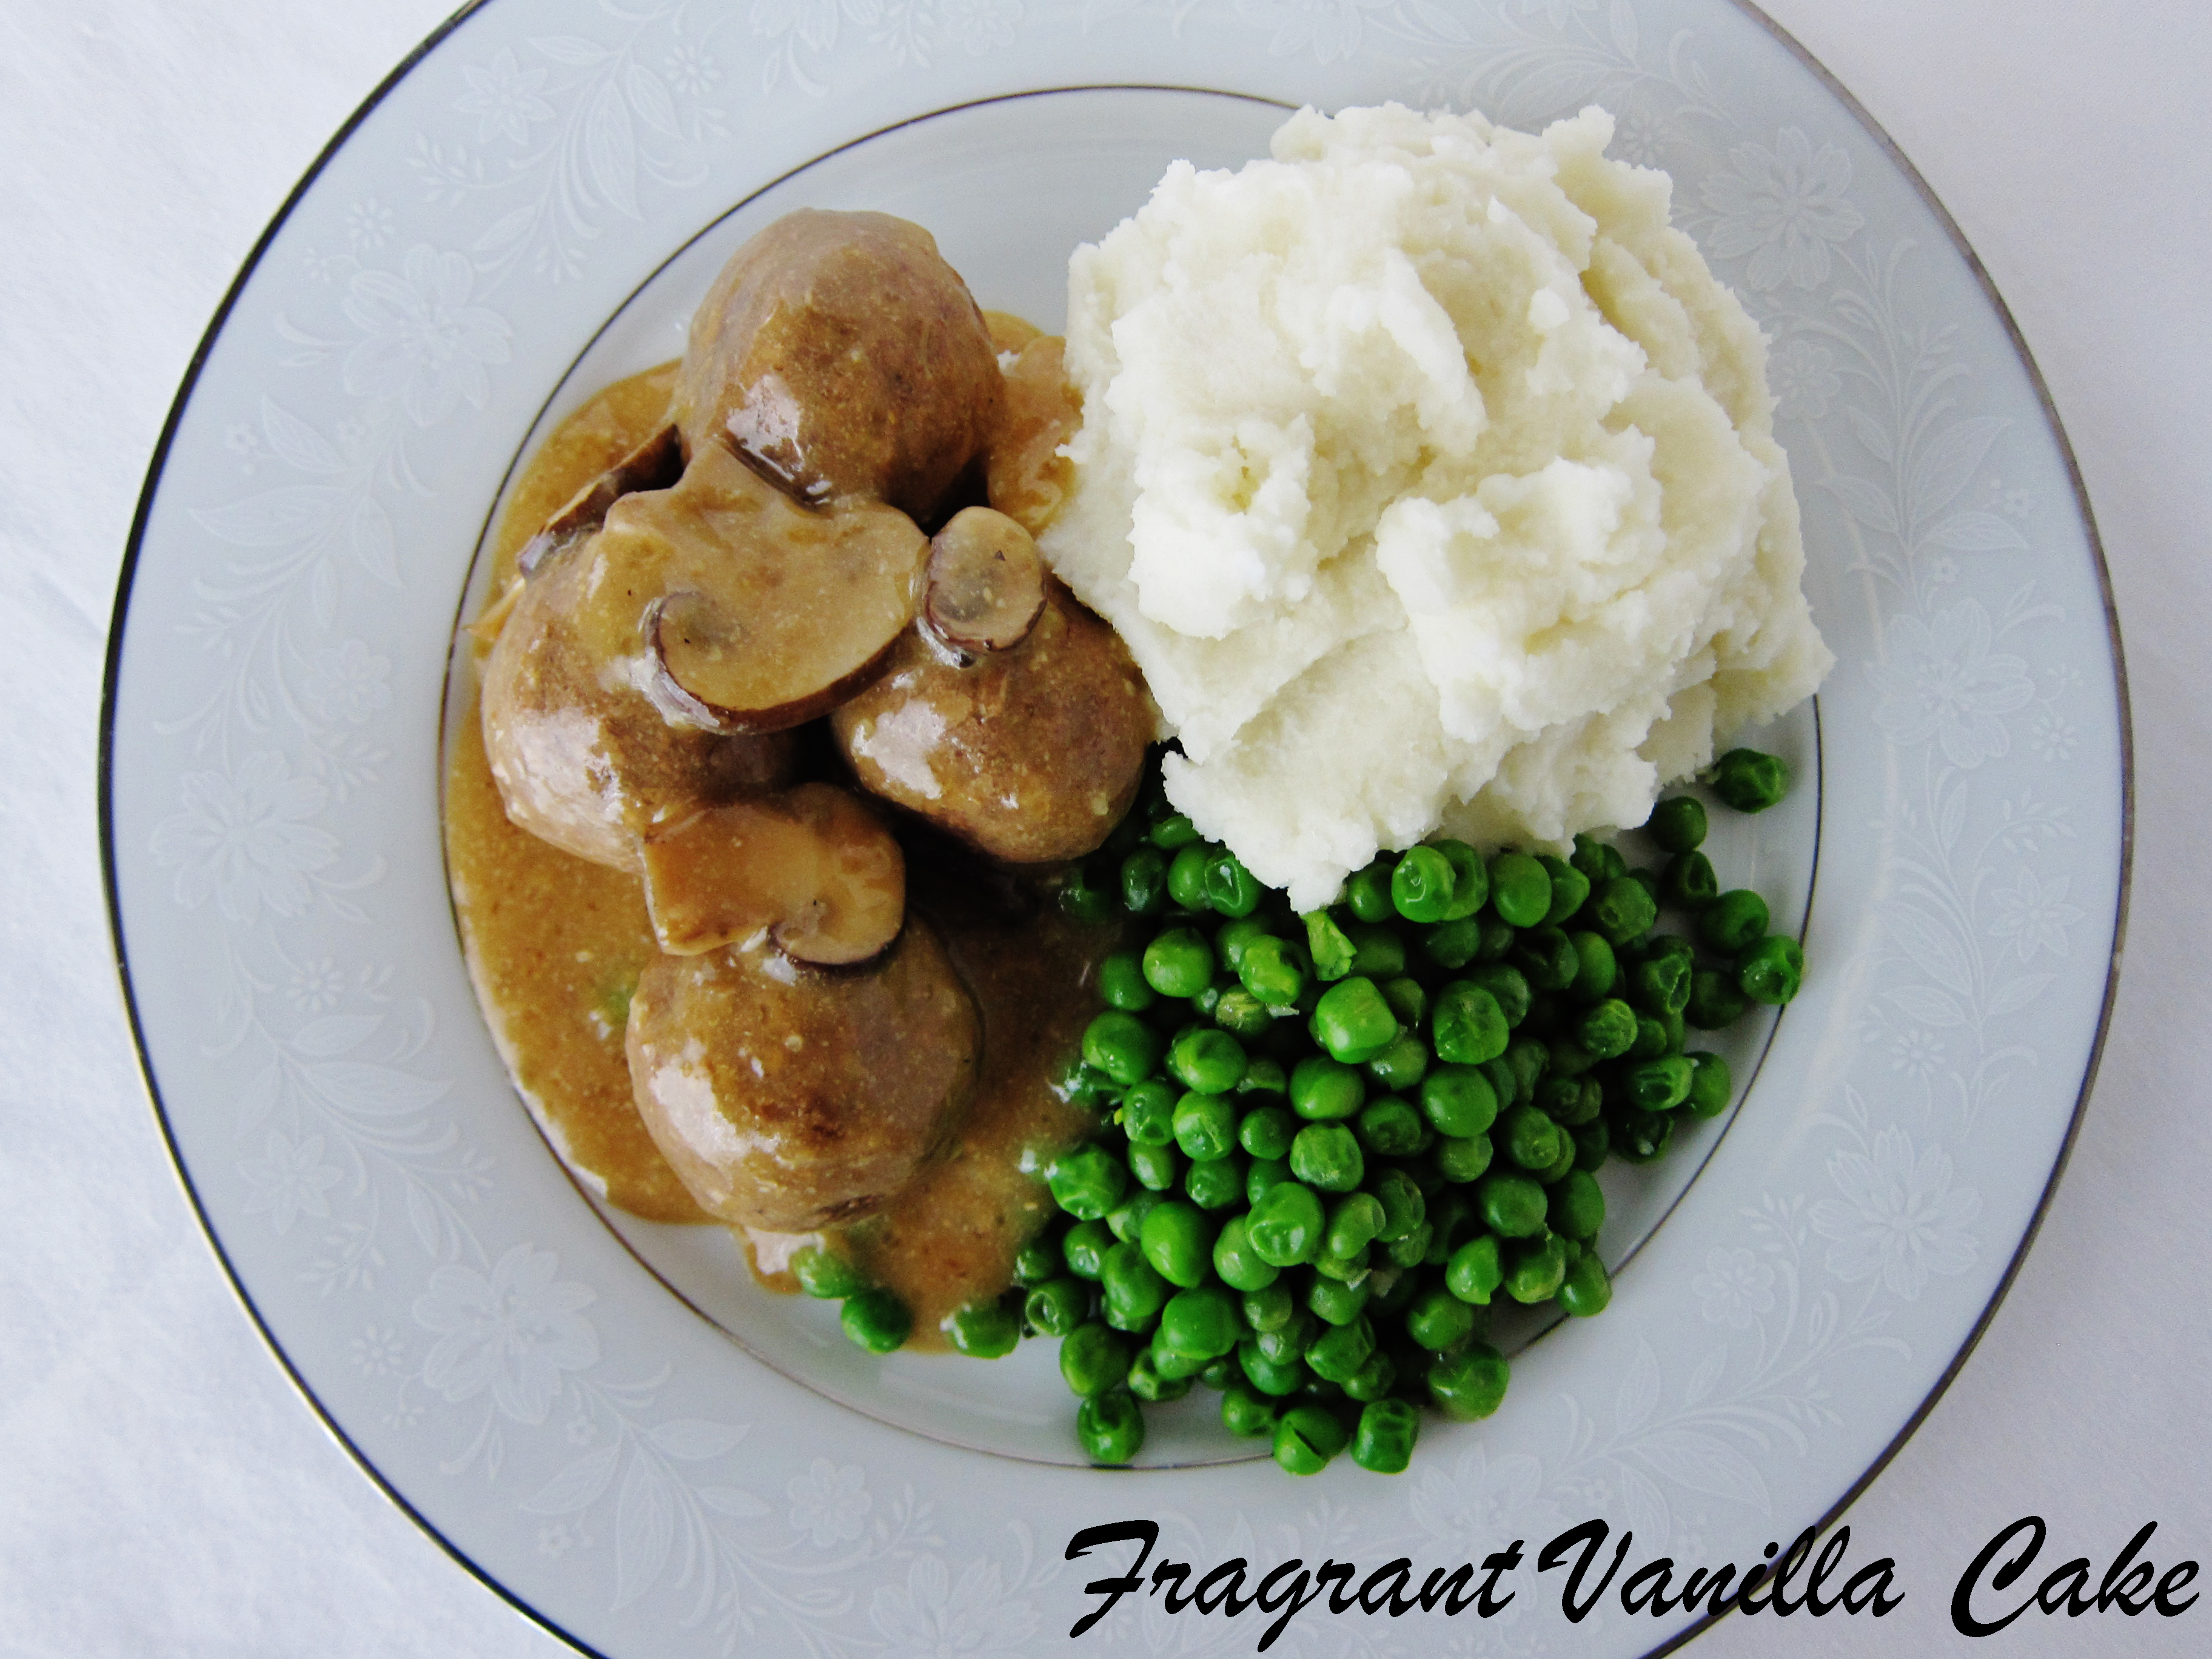
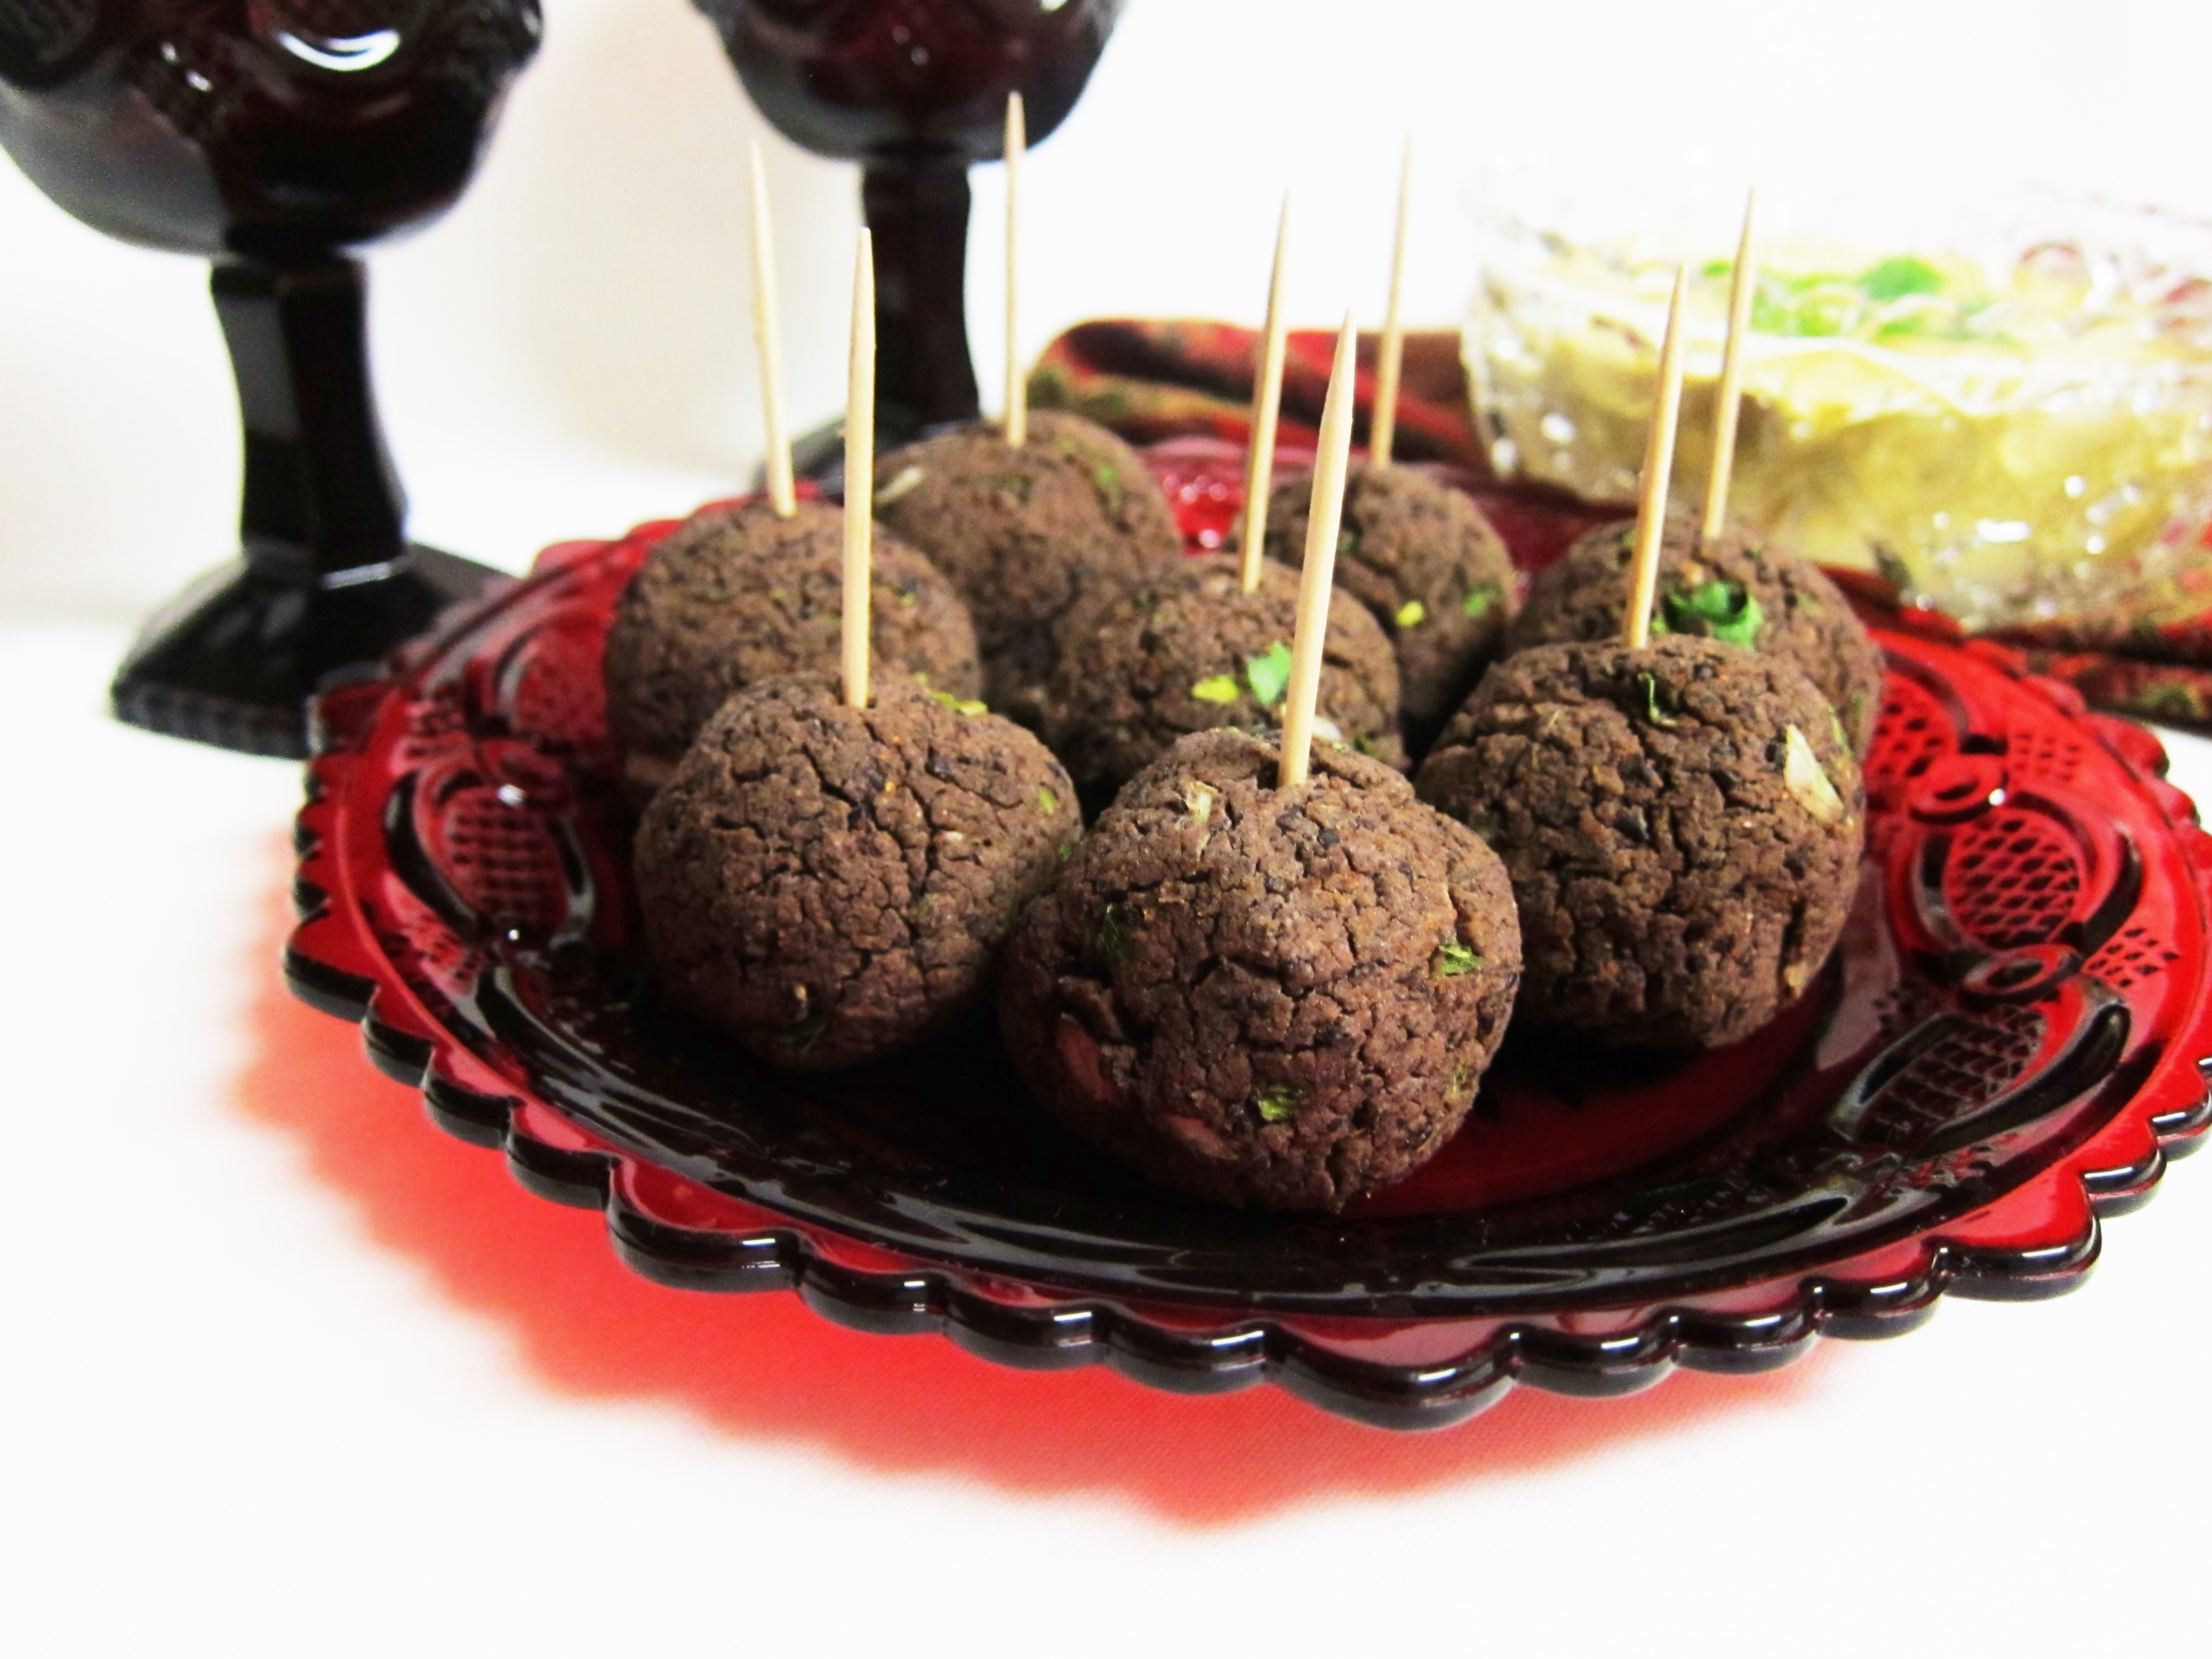
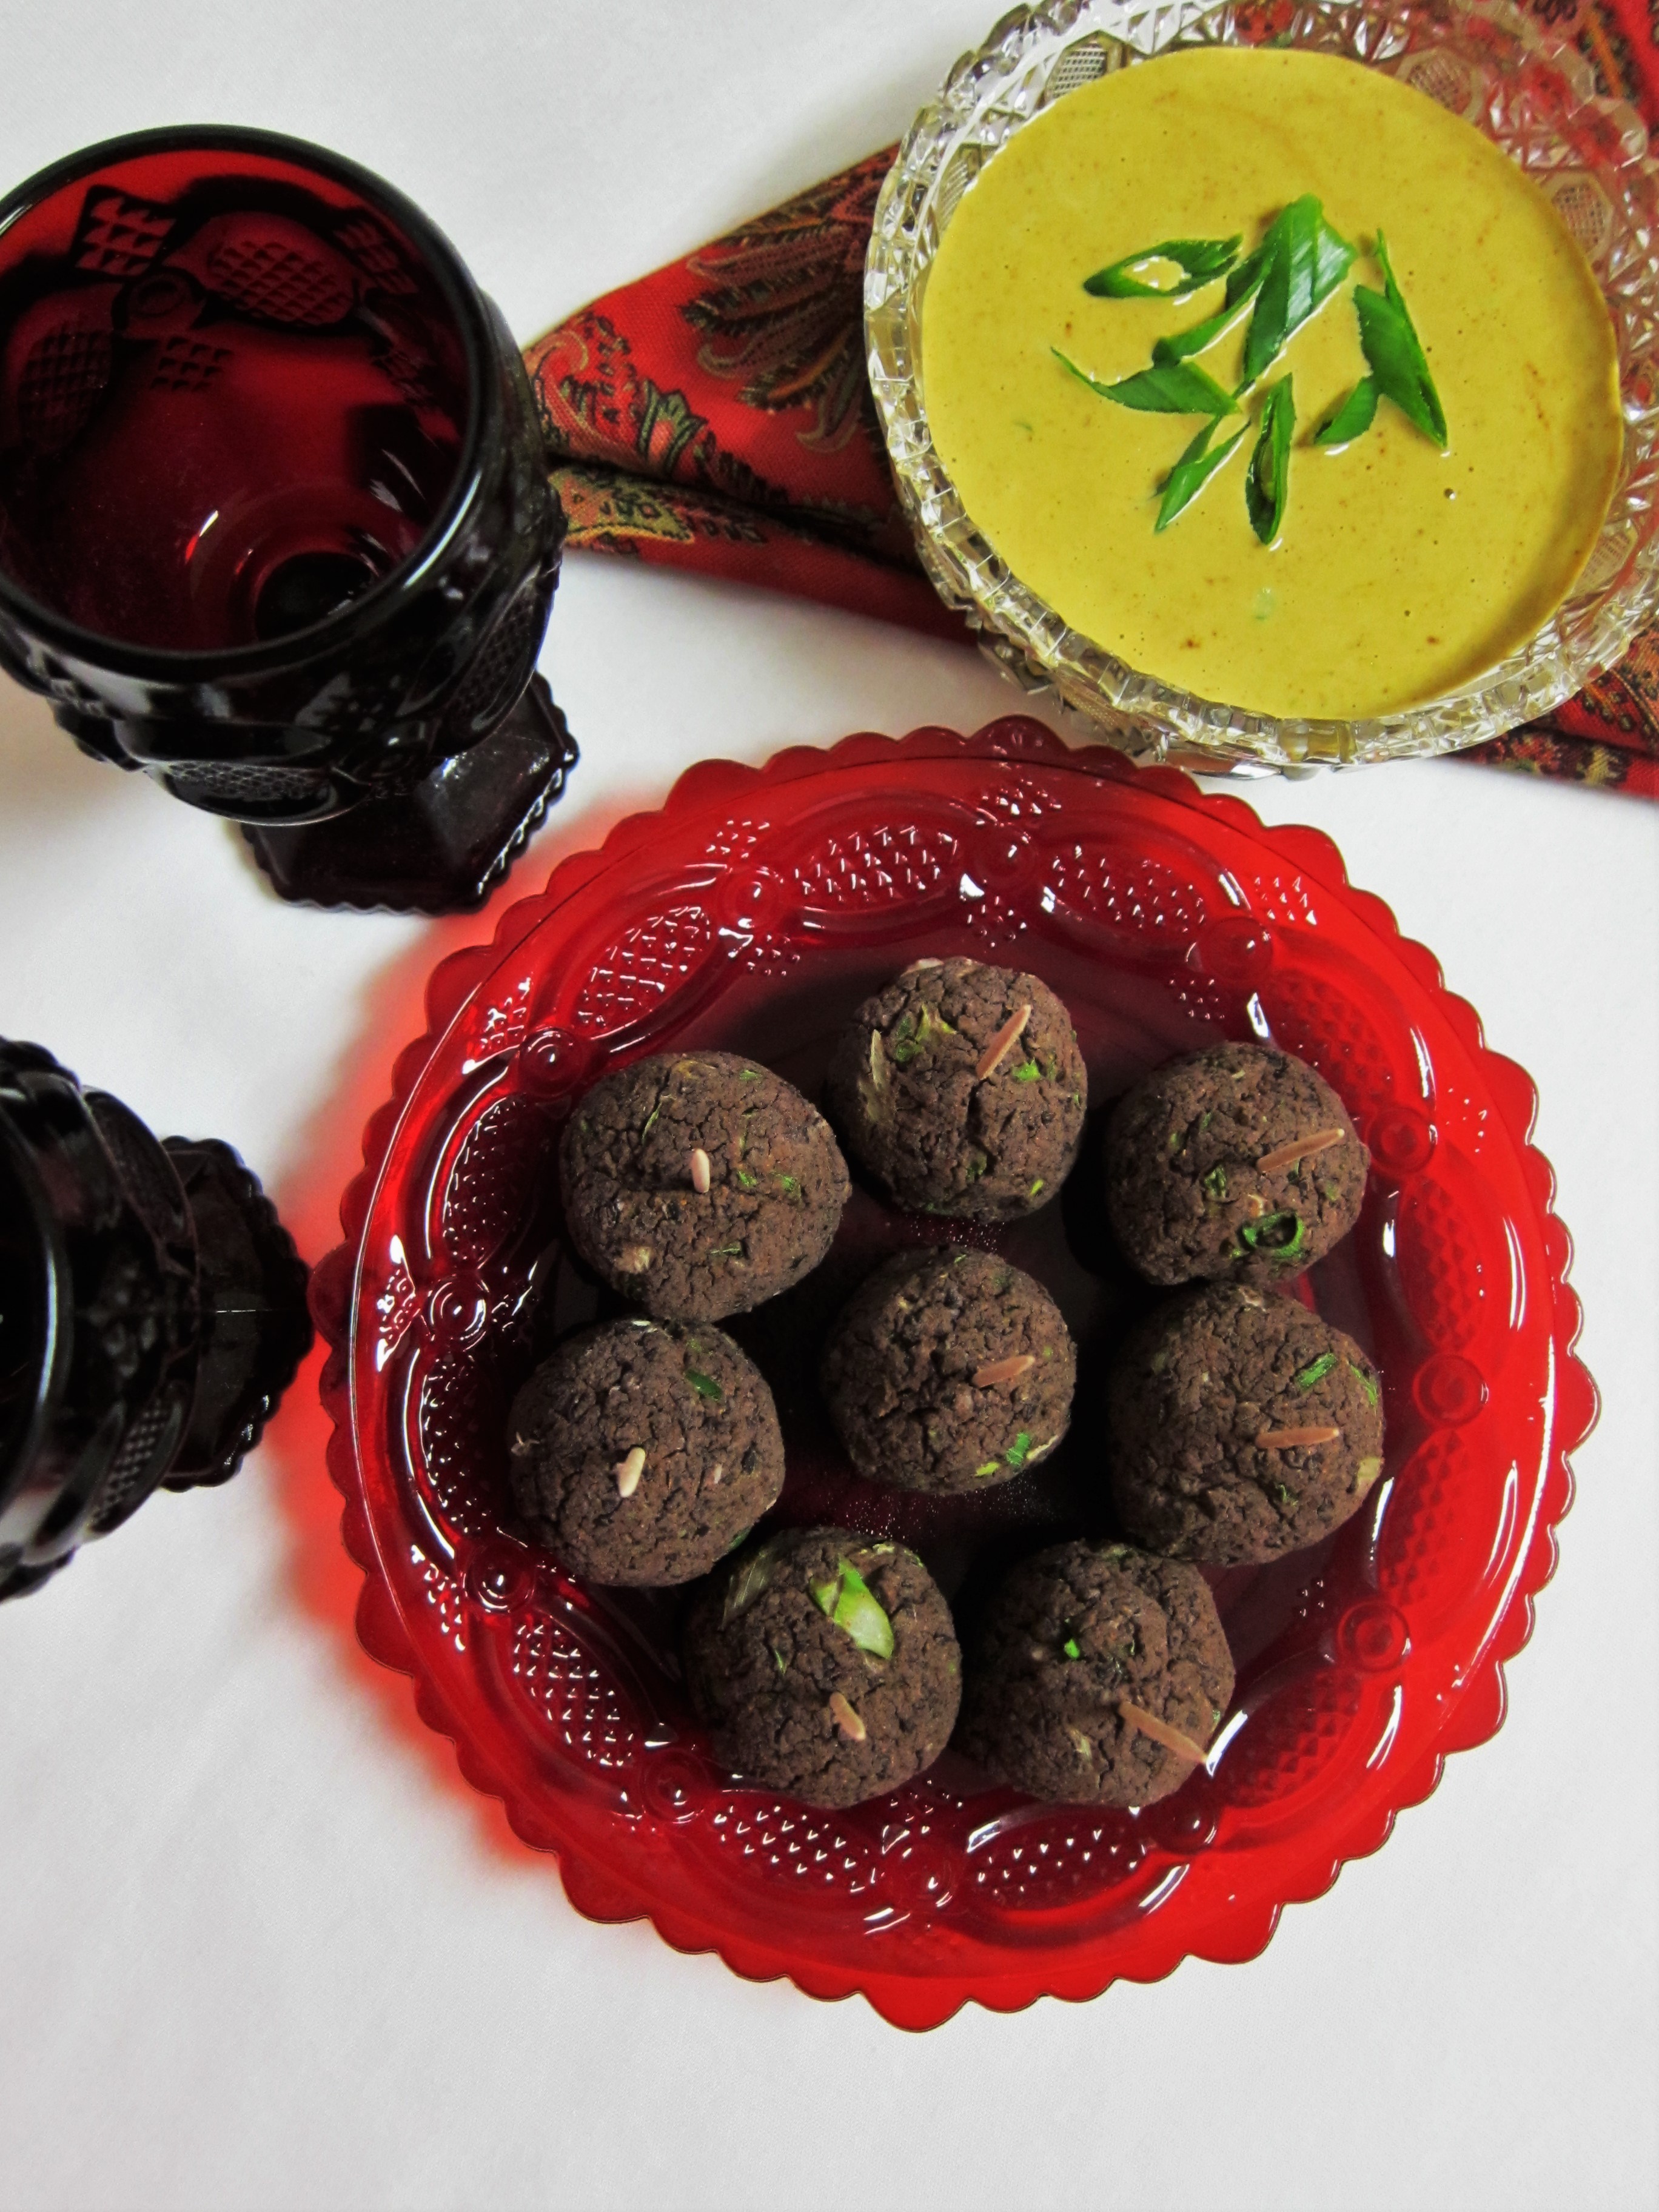
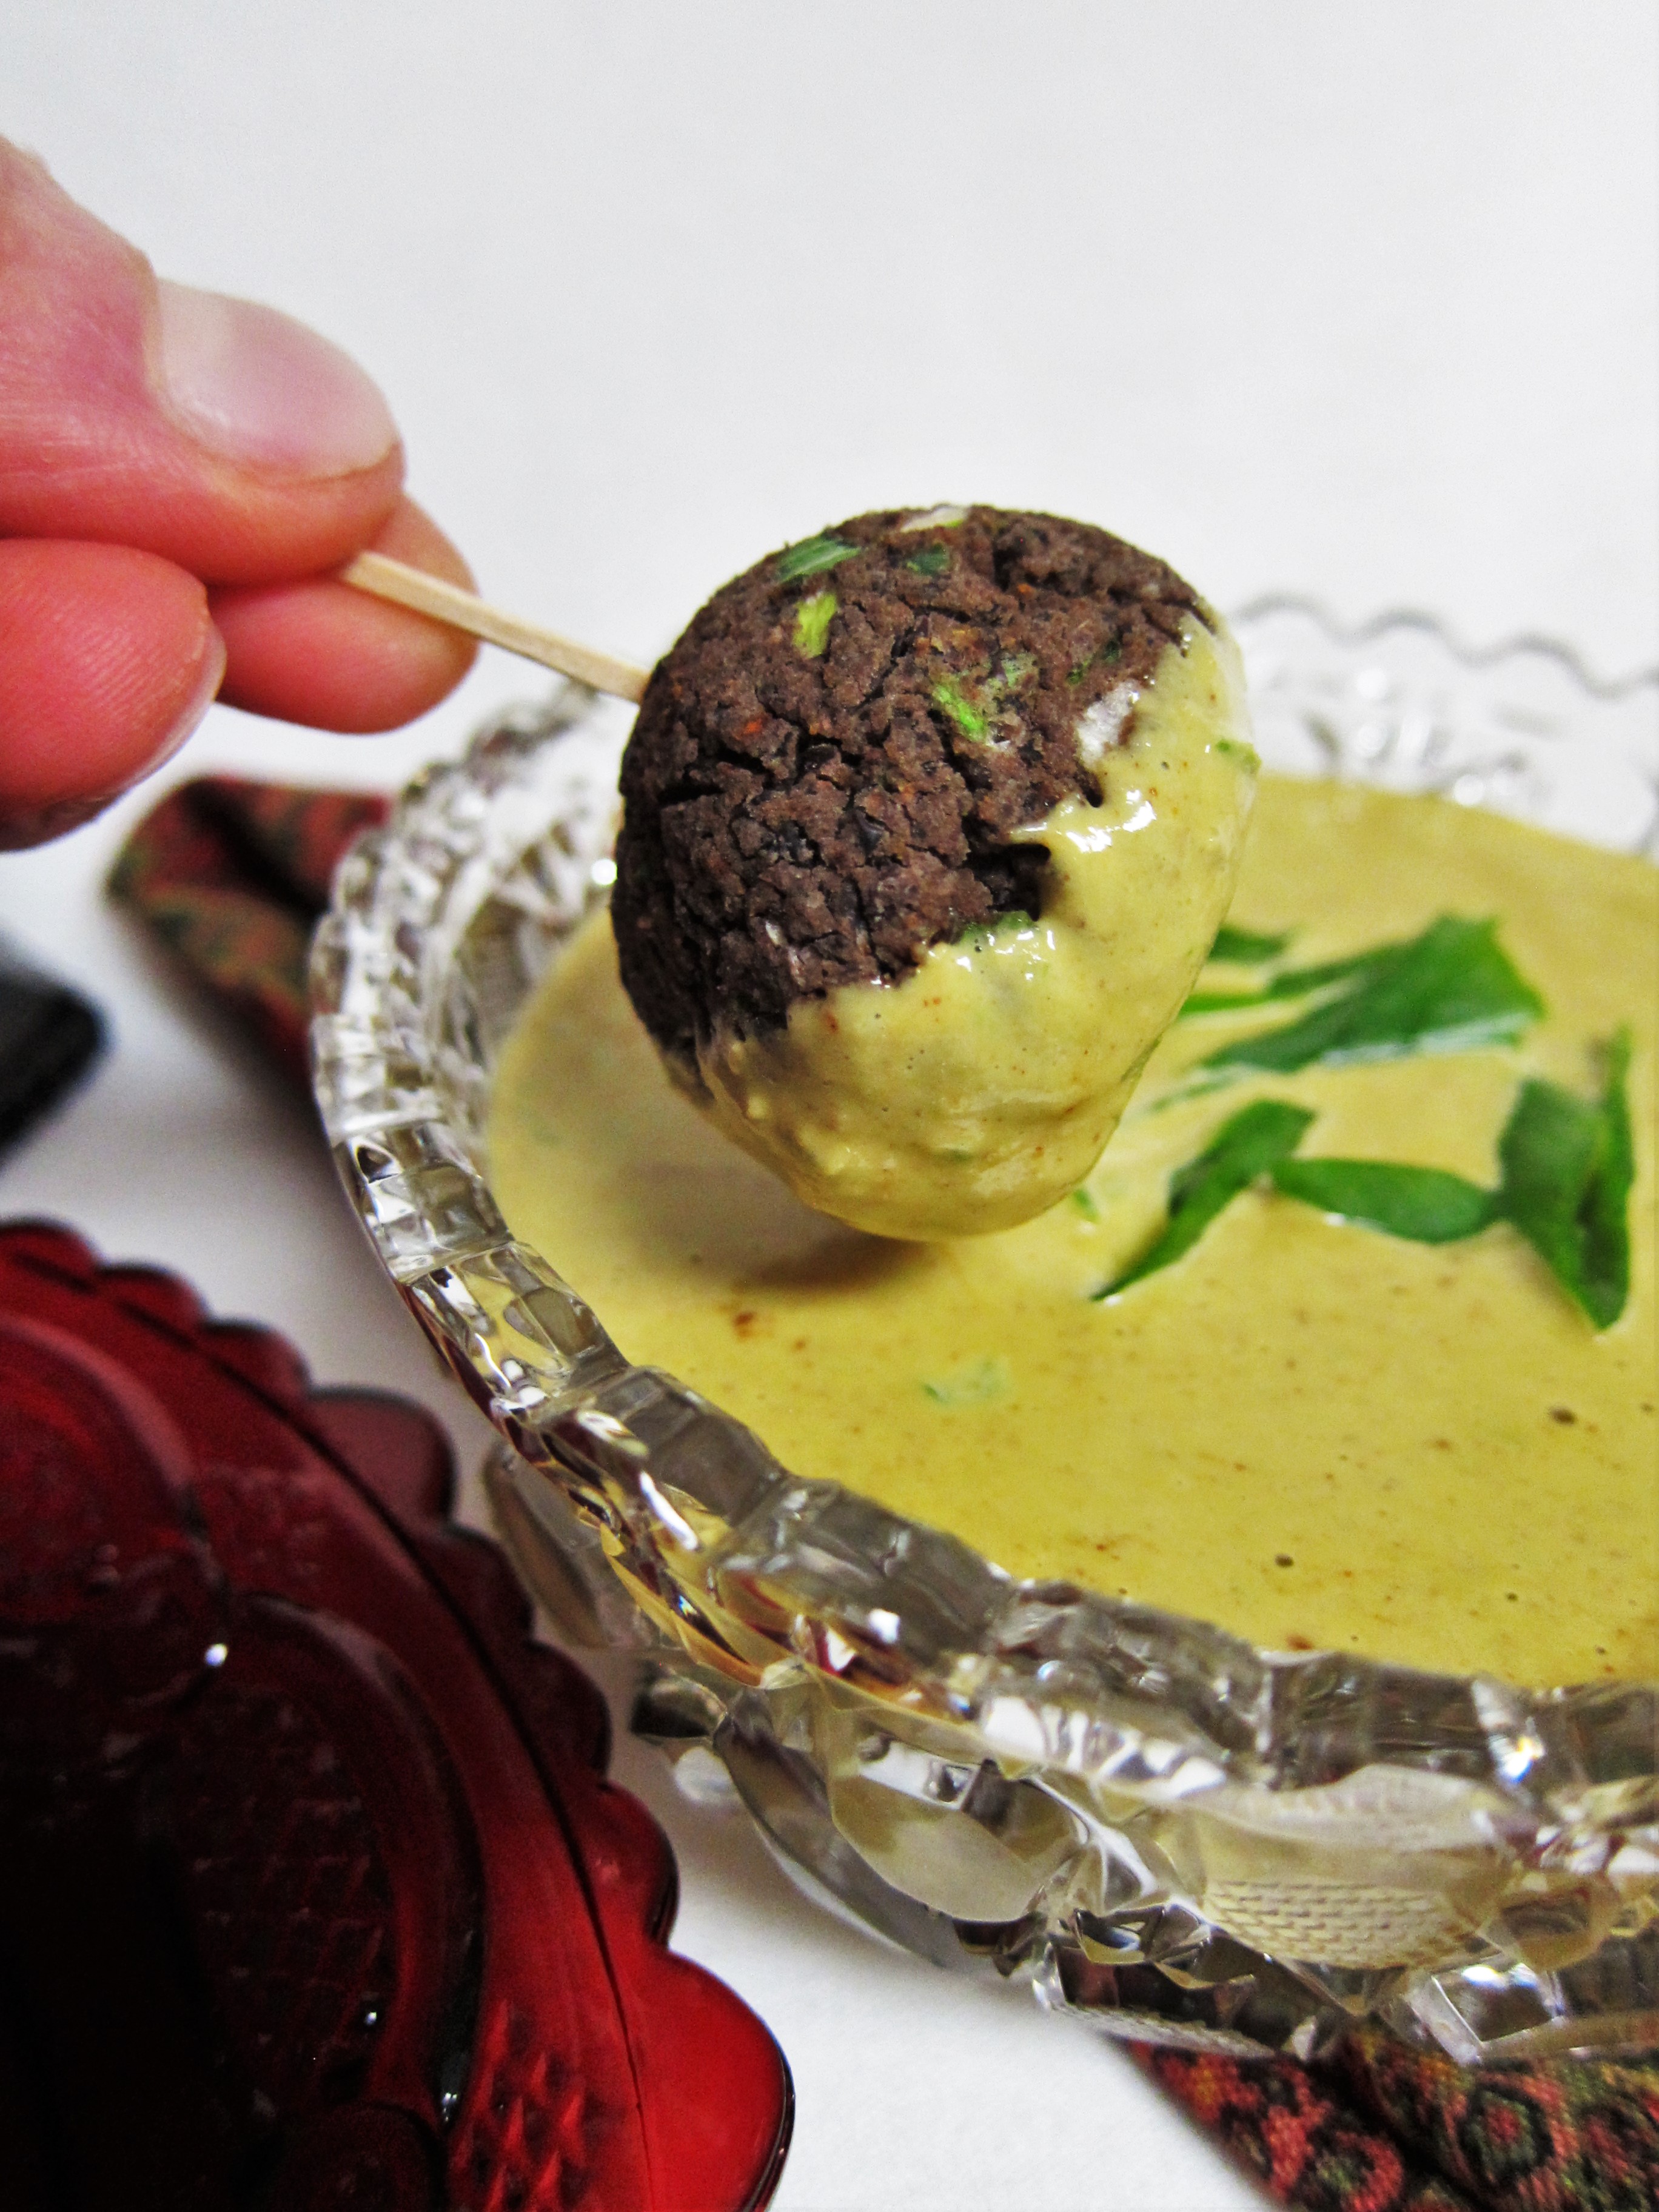
Vegan Mushroom Walnut “Meatballs” with Gravy and Mashed Potatoes
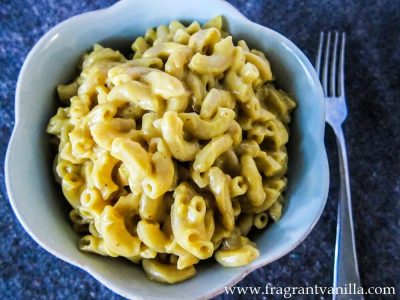
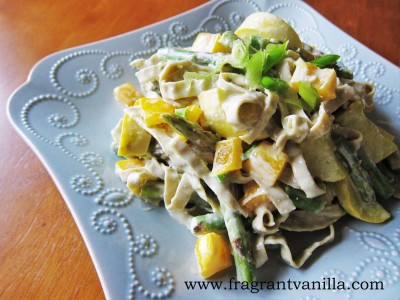
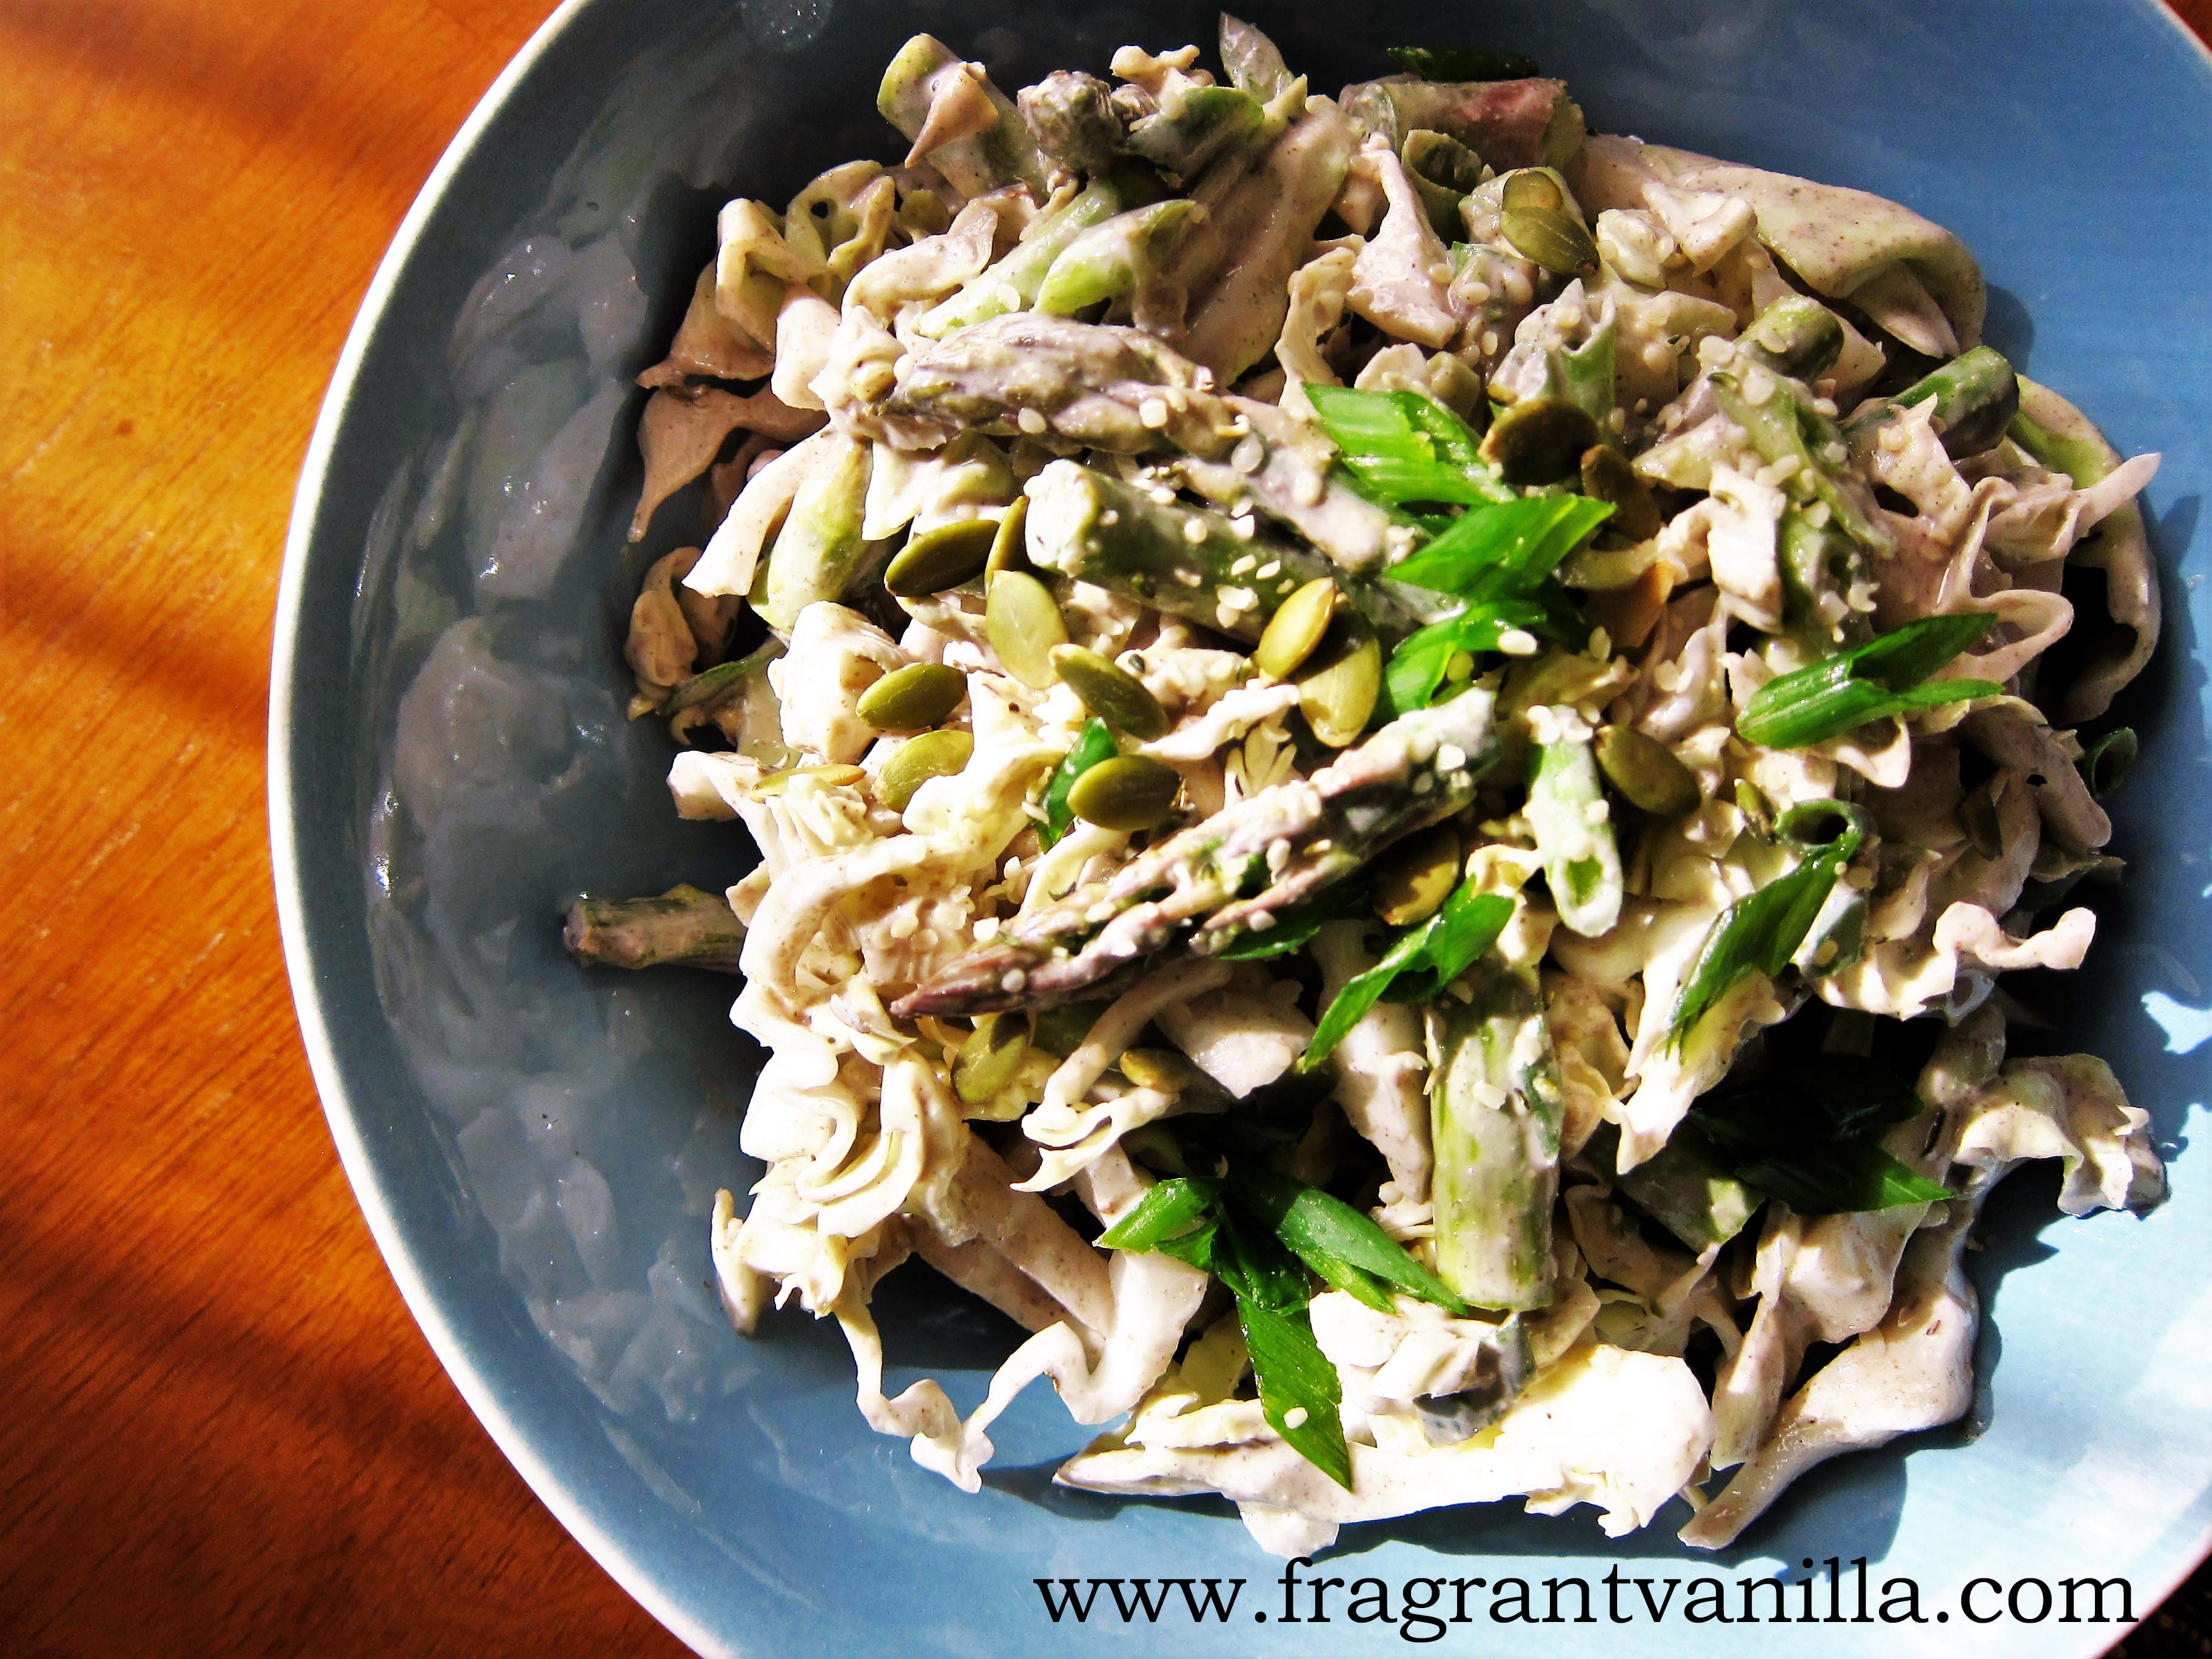
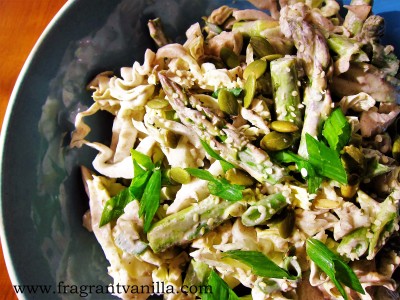
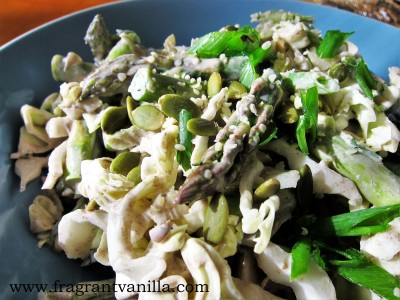
Creamy Vegan Mac and Cheese (GF)
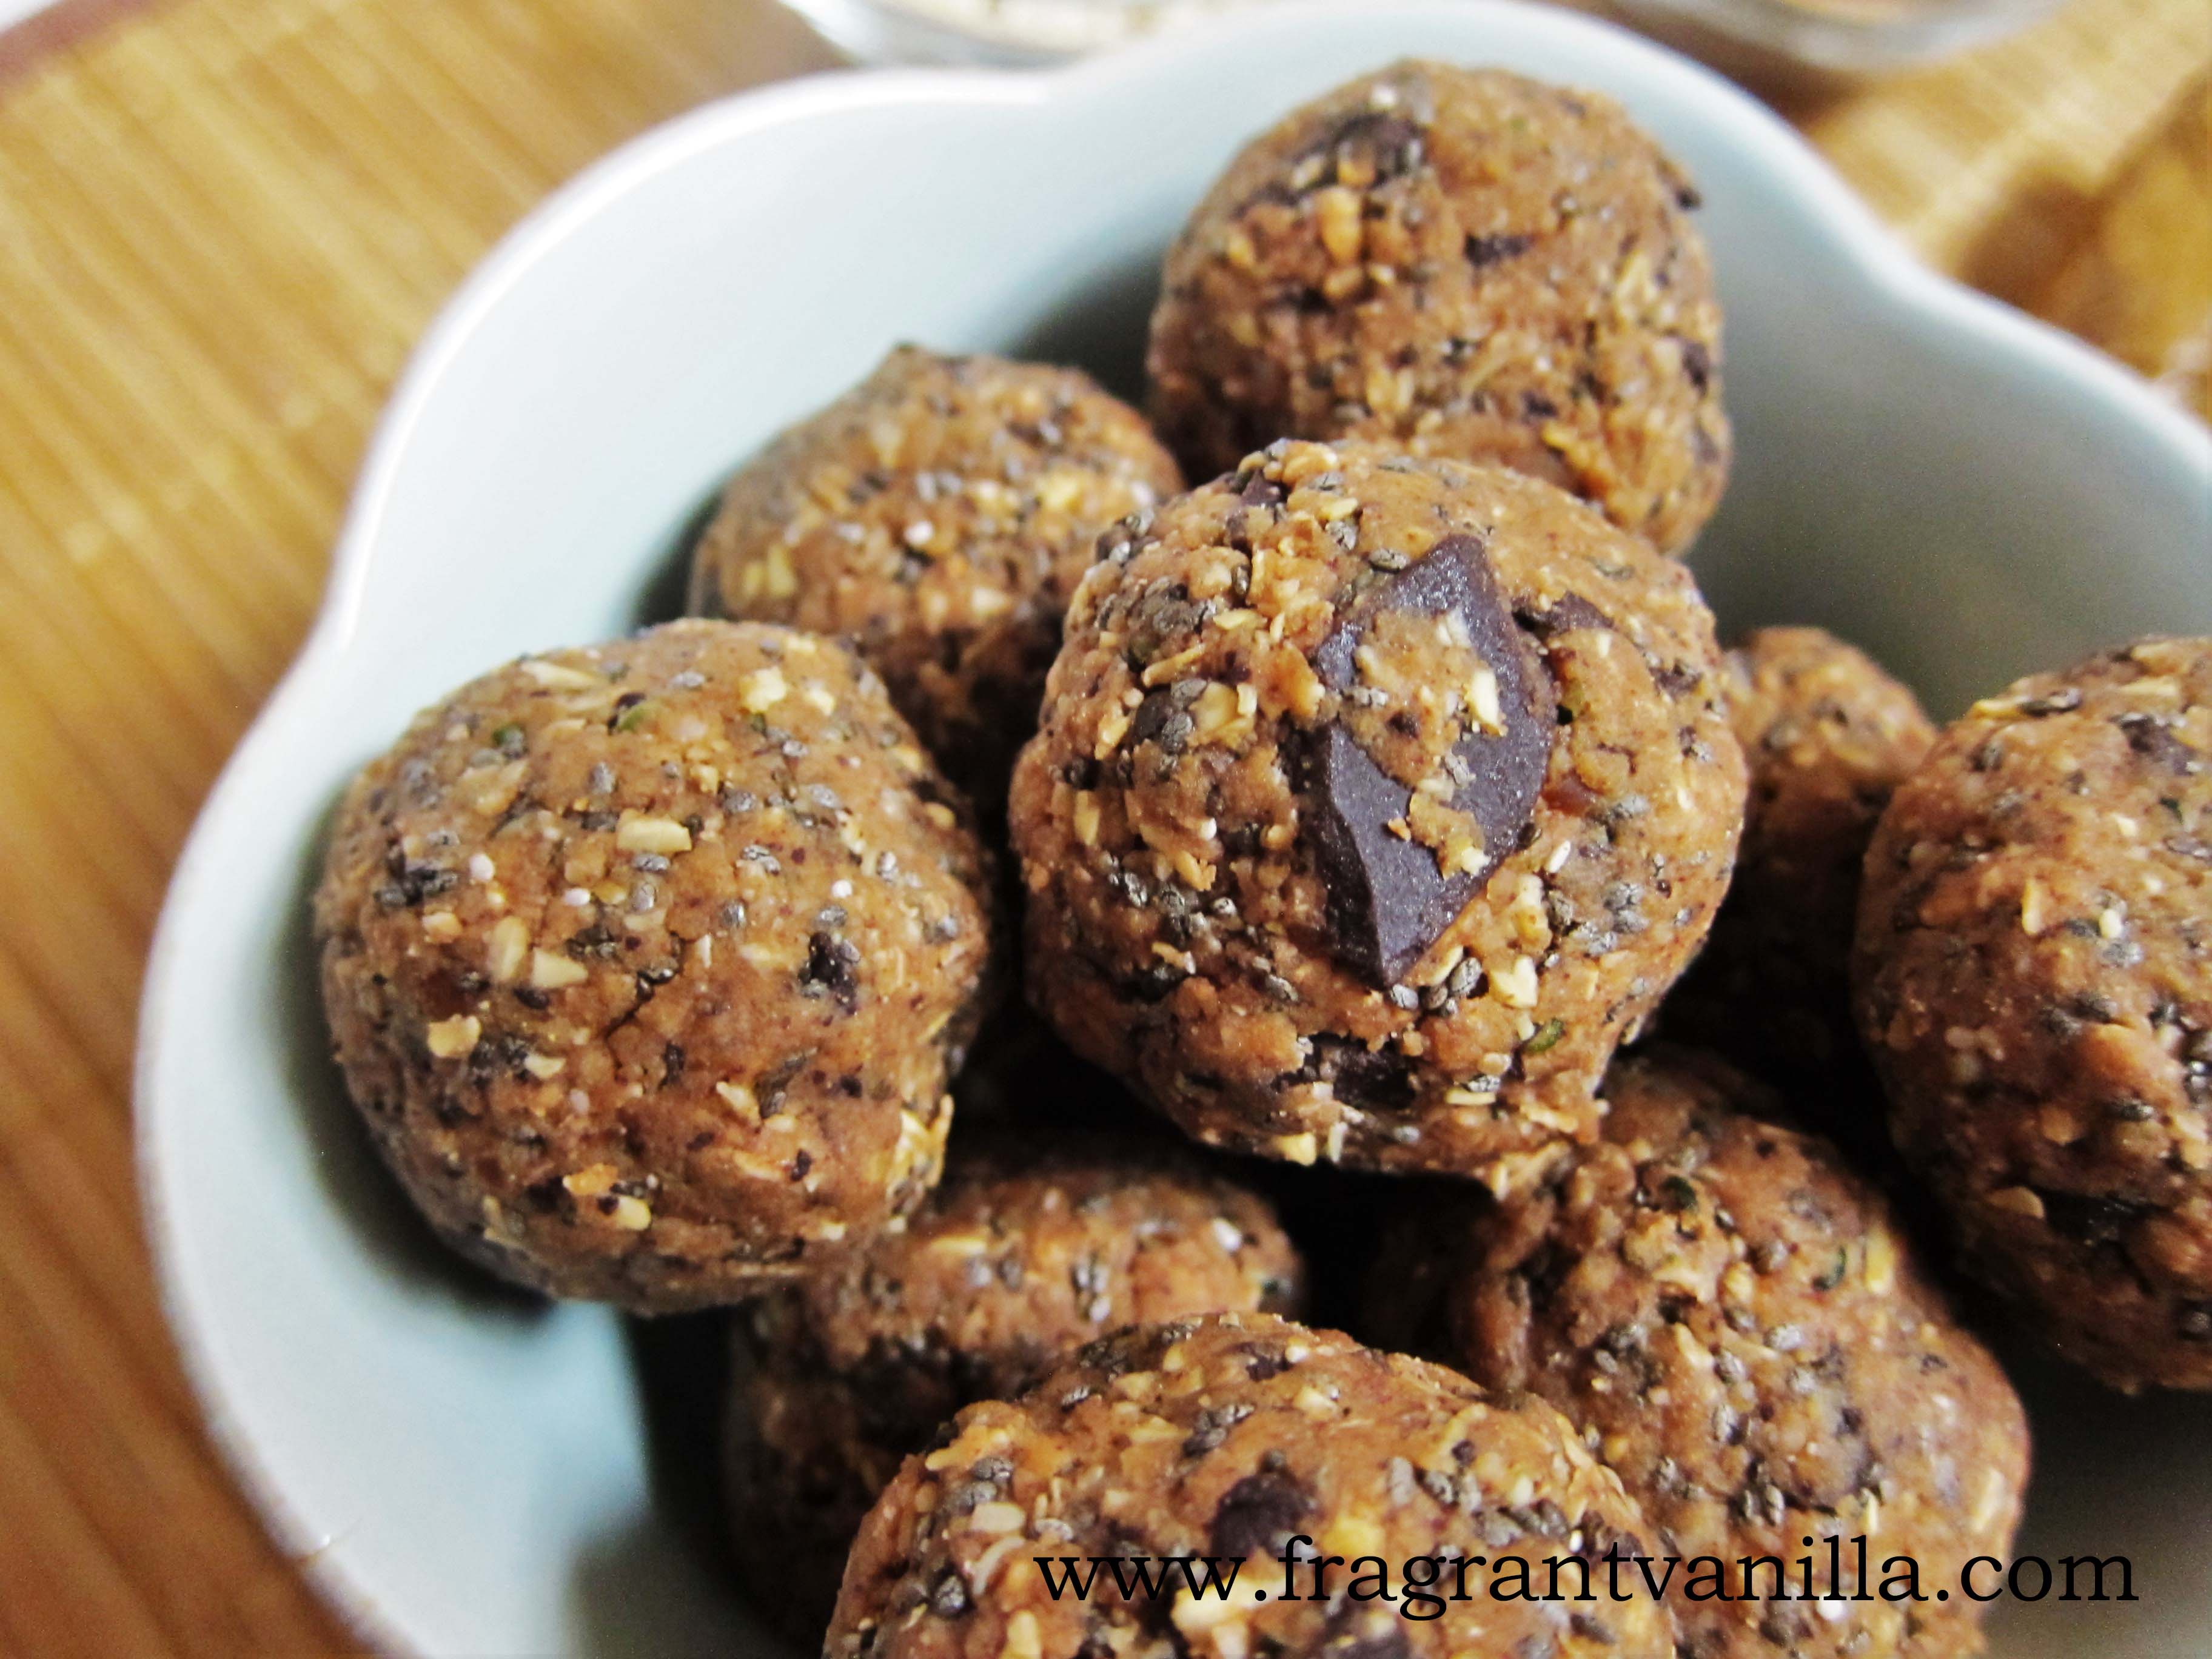
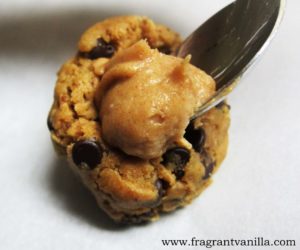
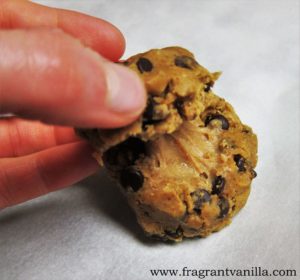
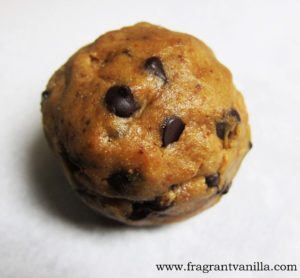
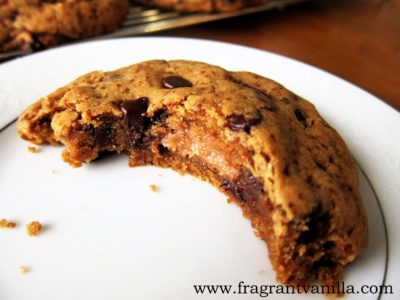
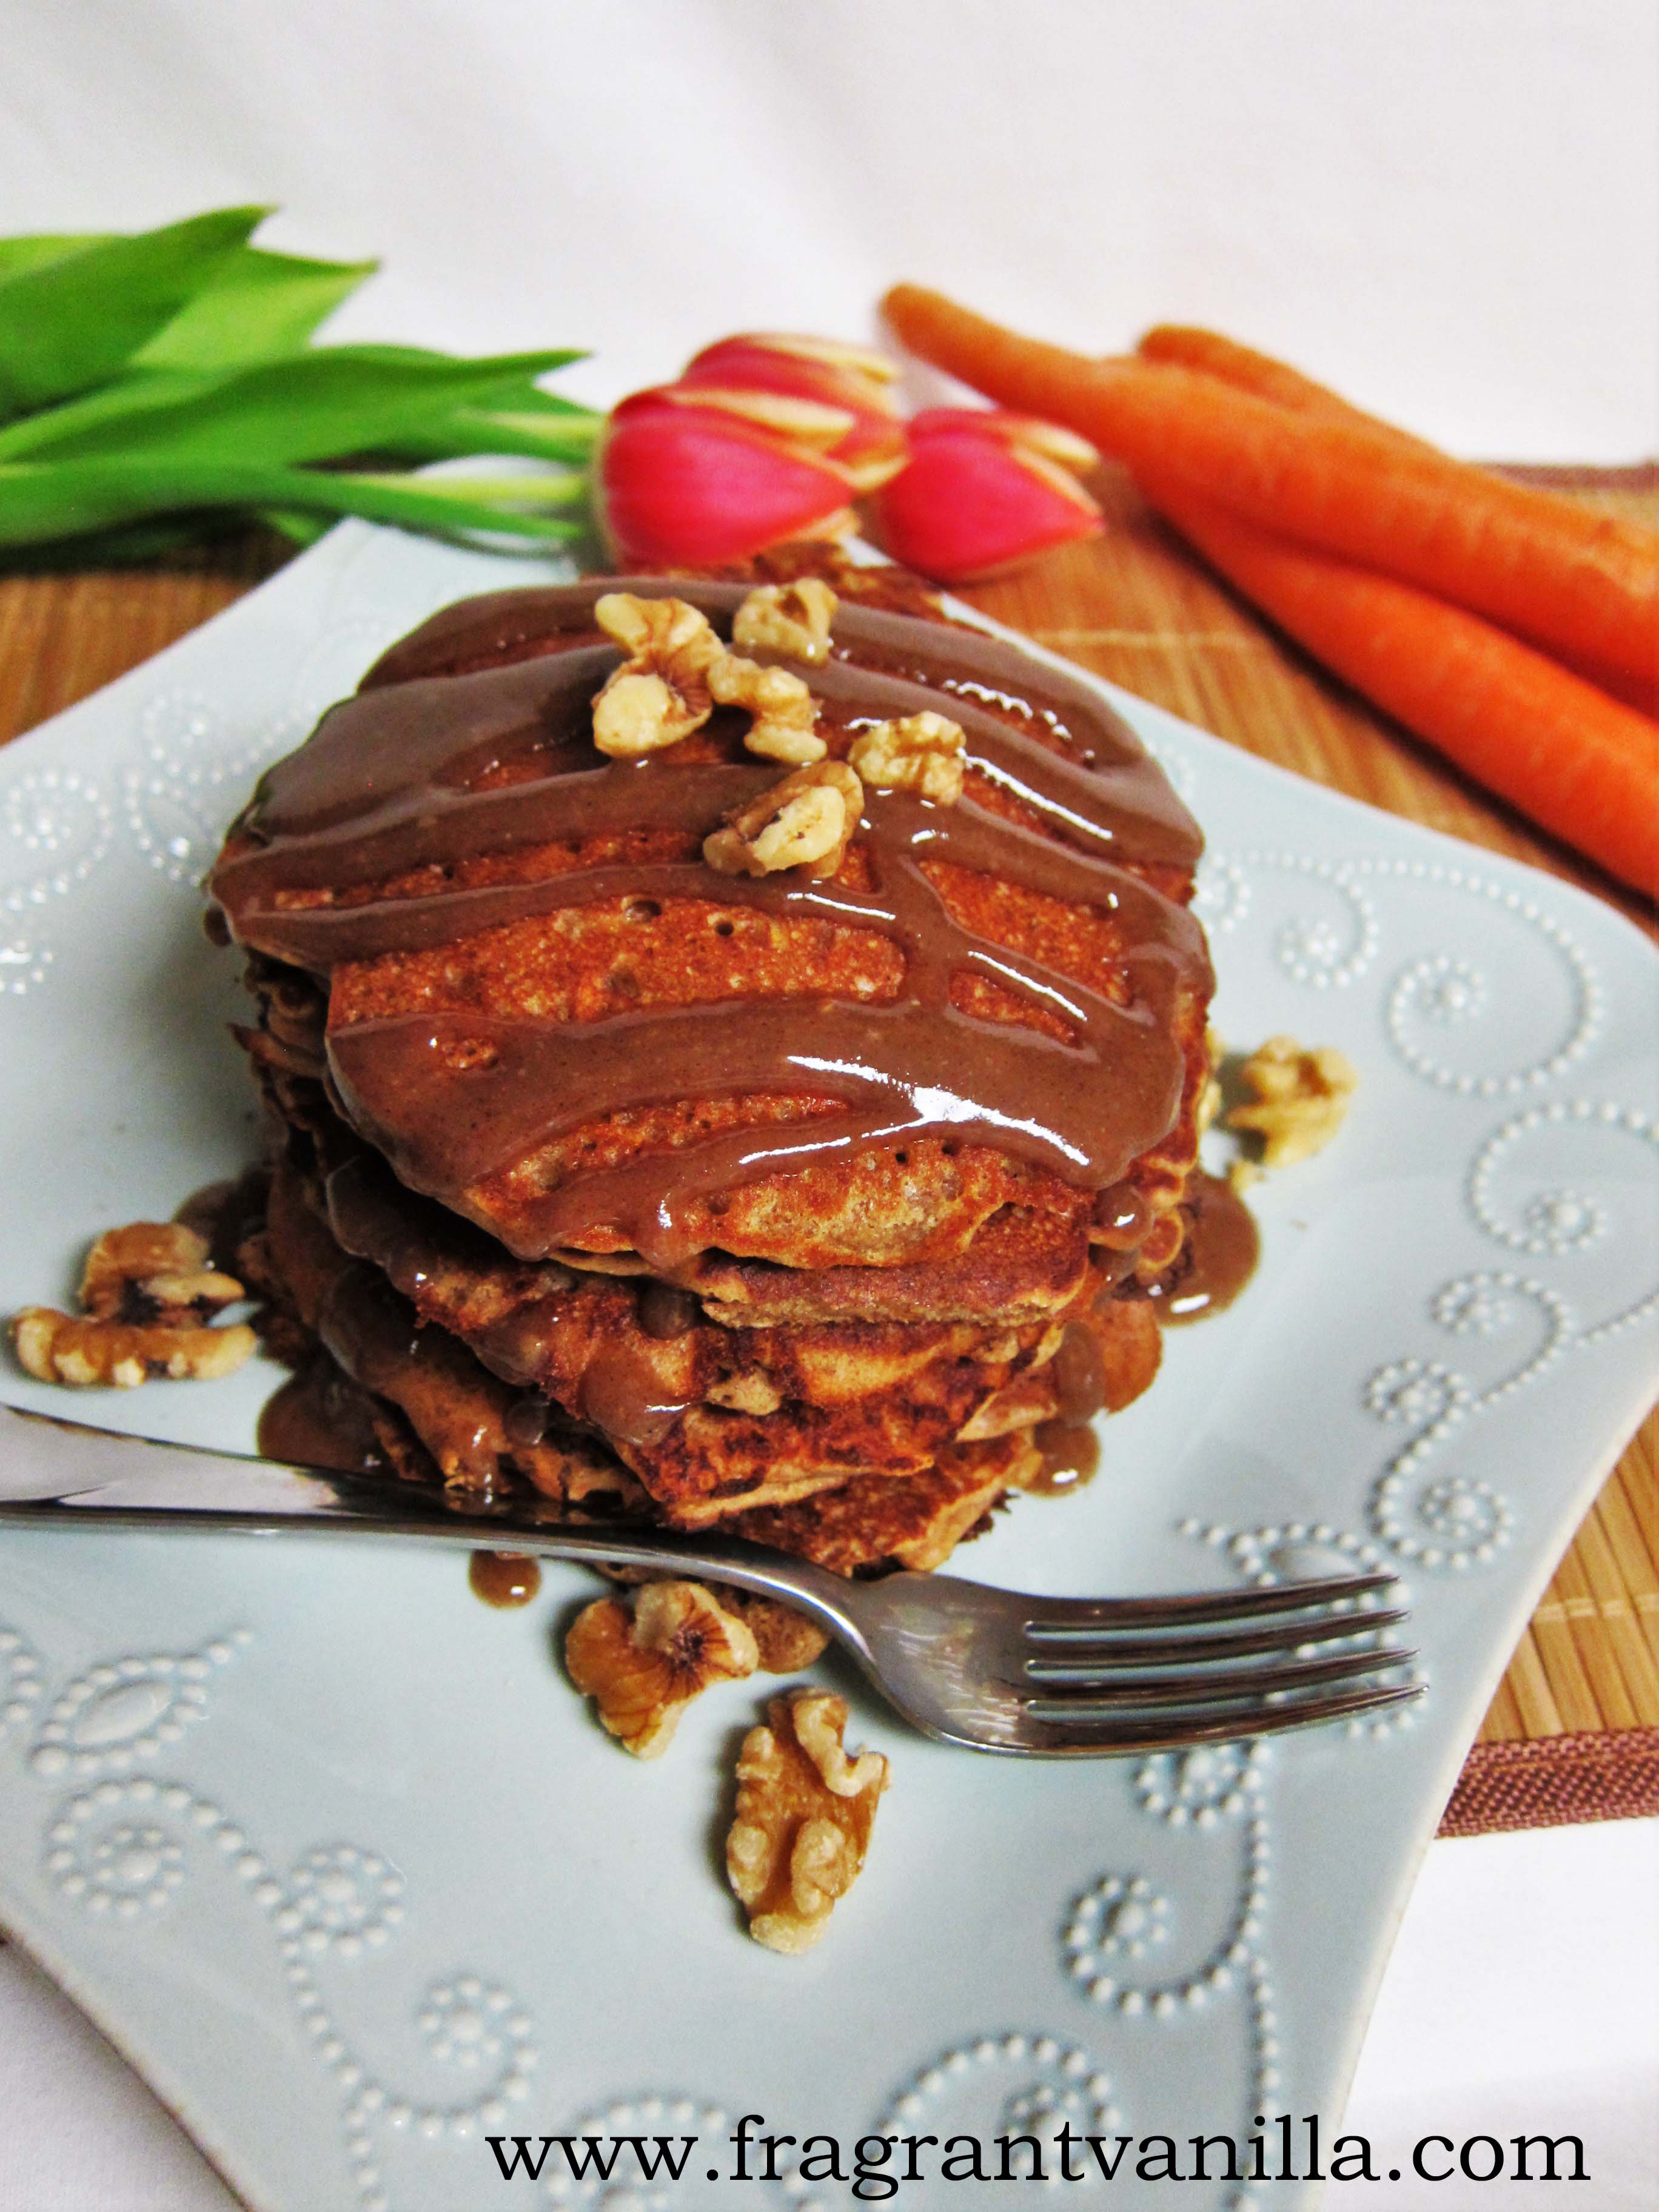
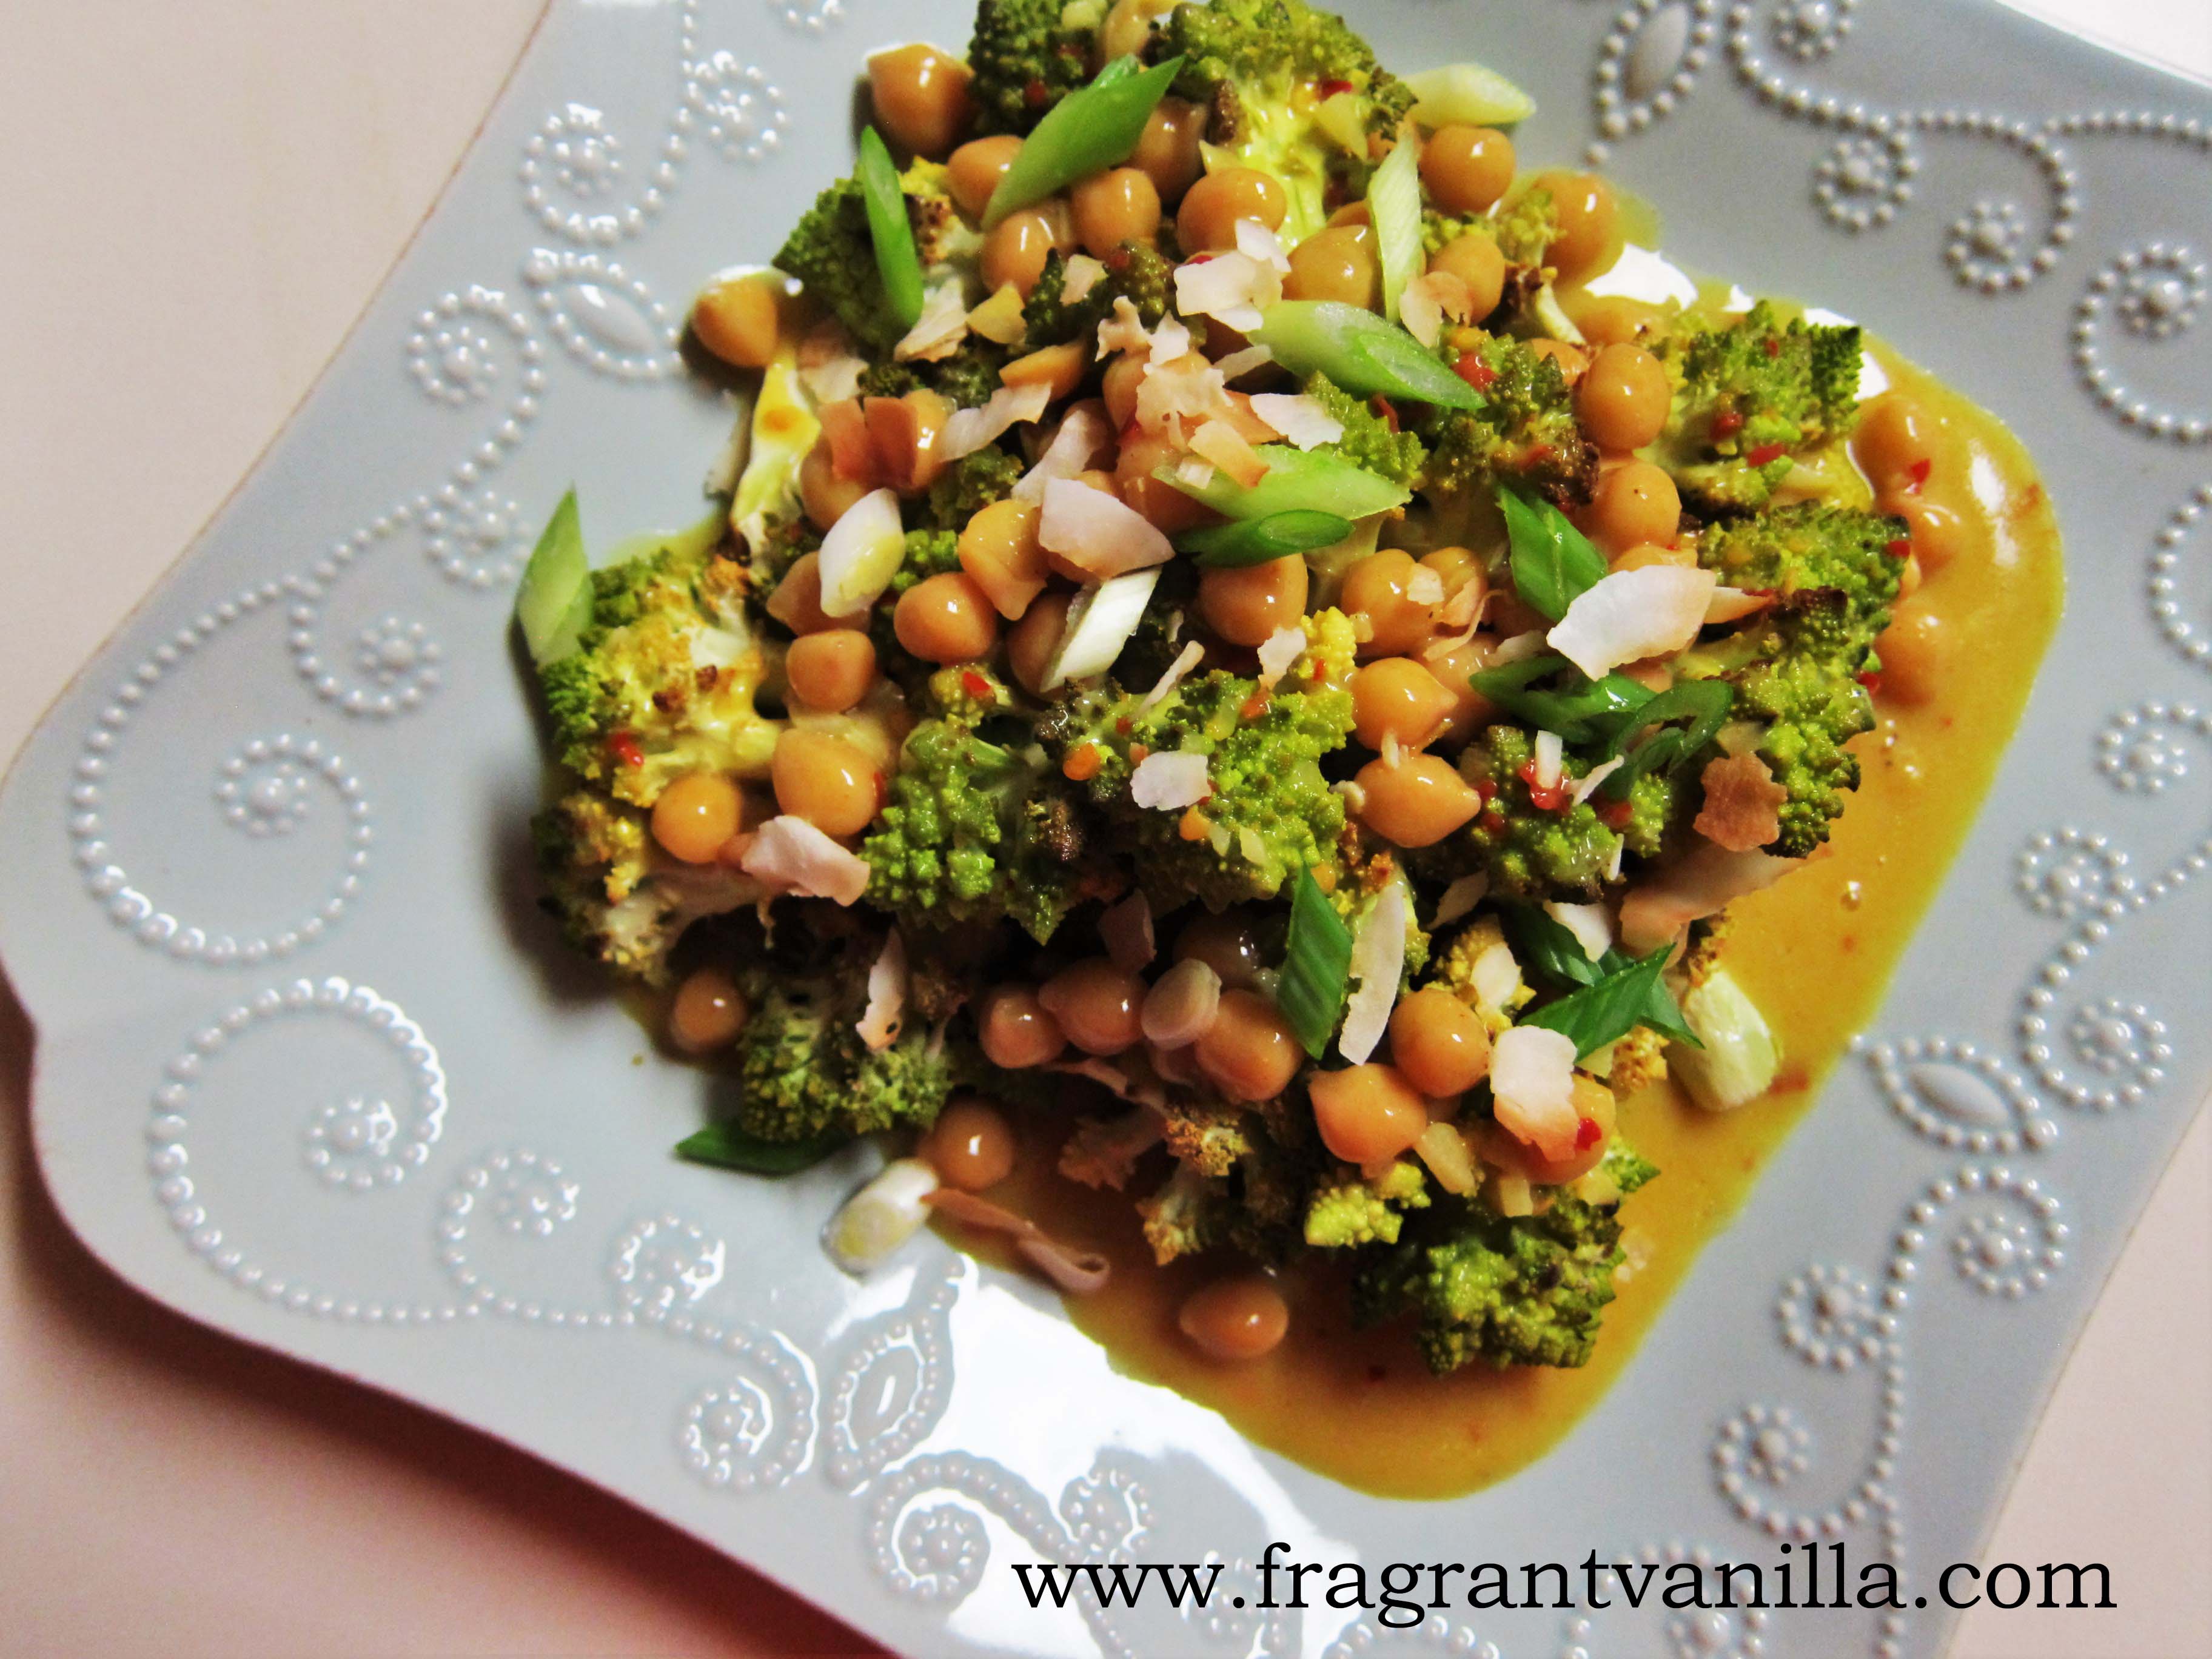
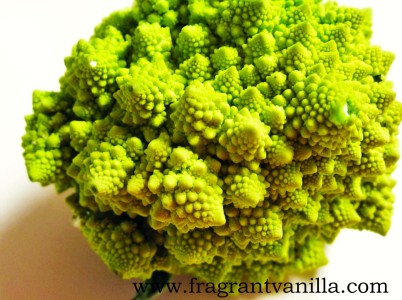
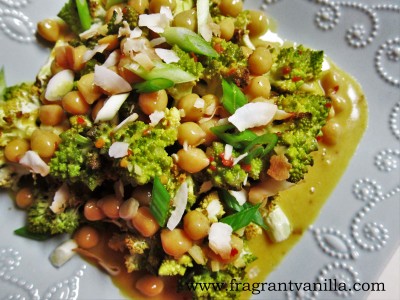
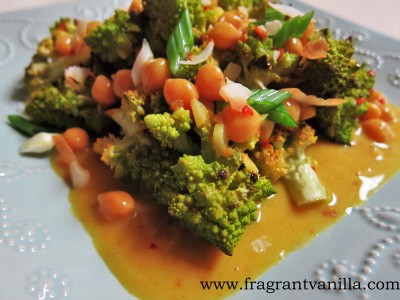
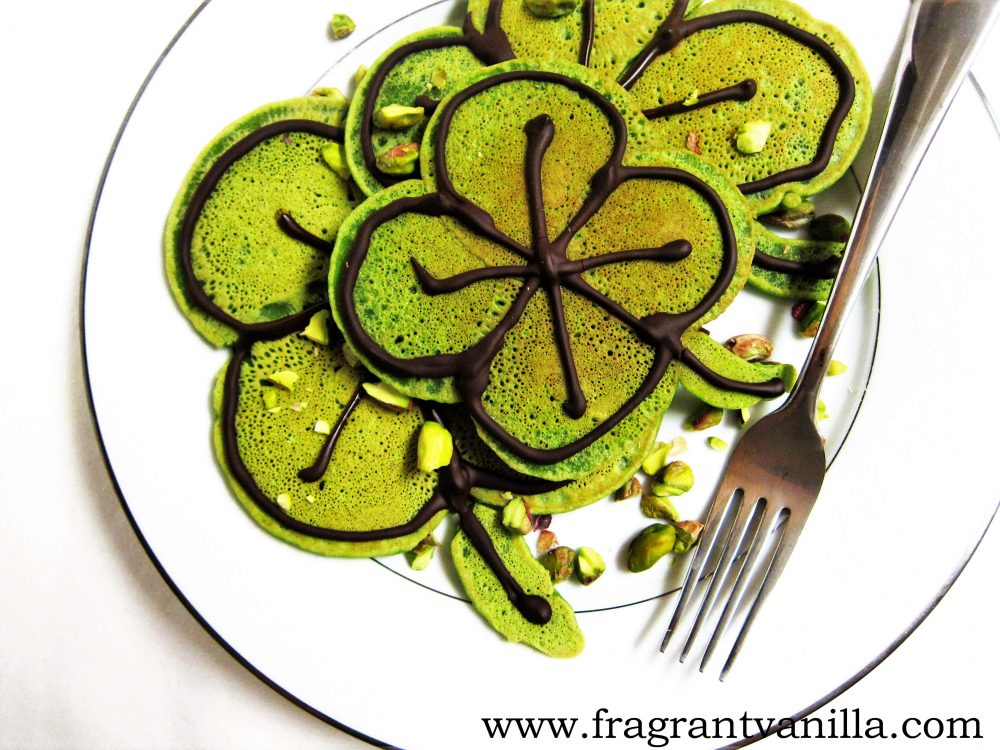
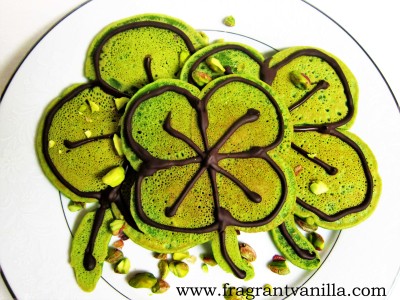
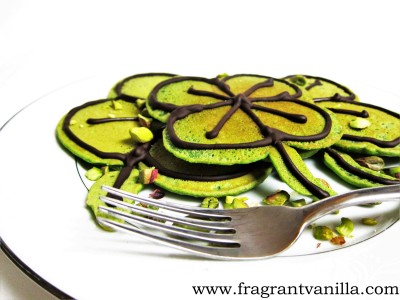
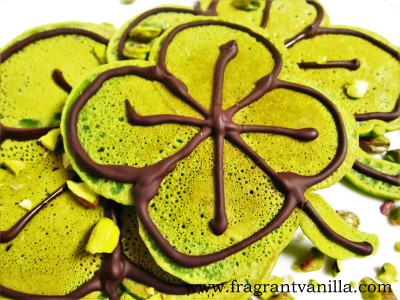
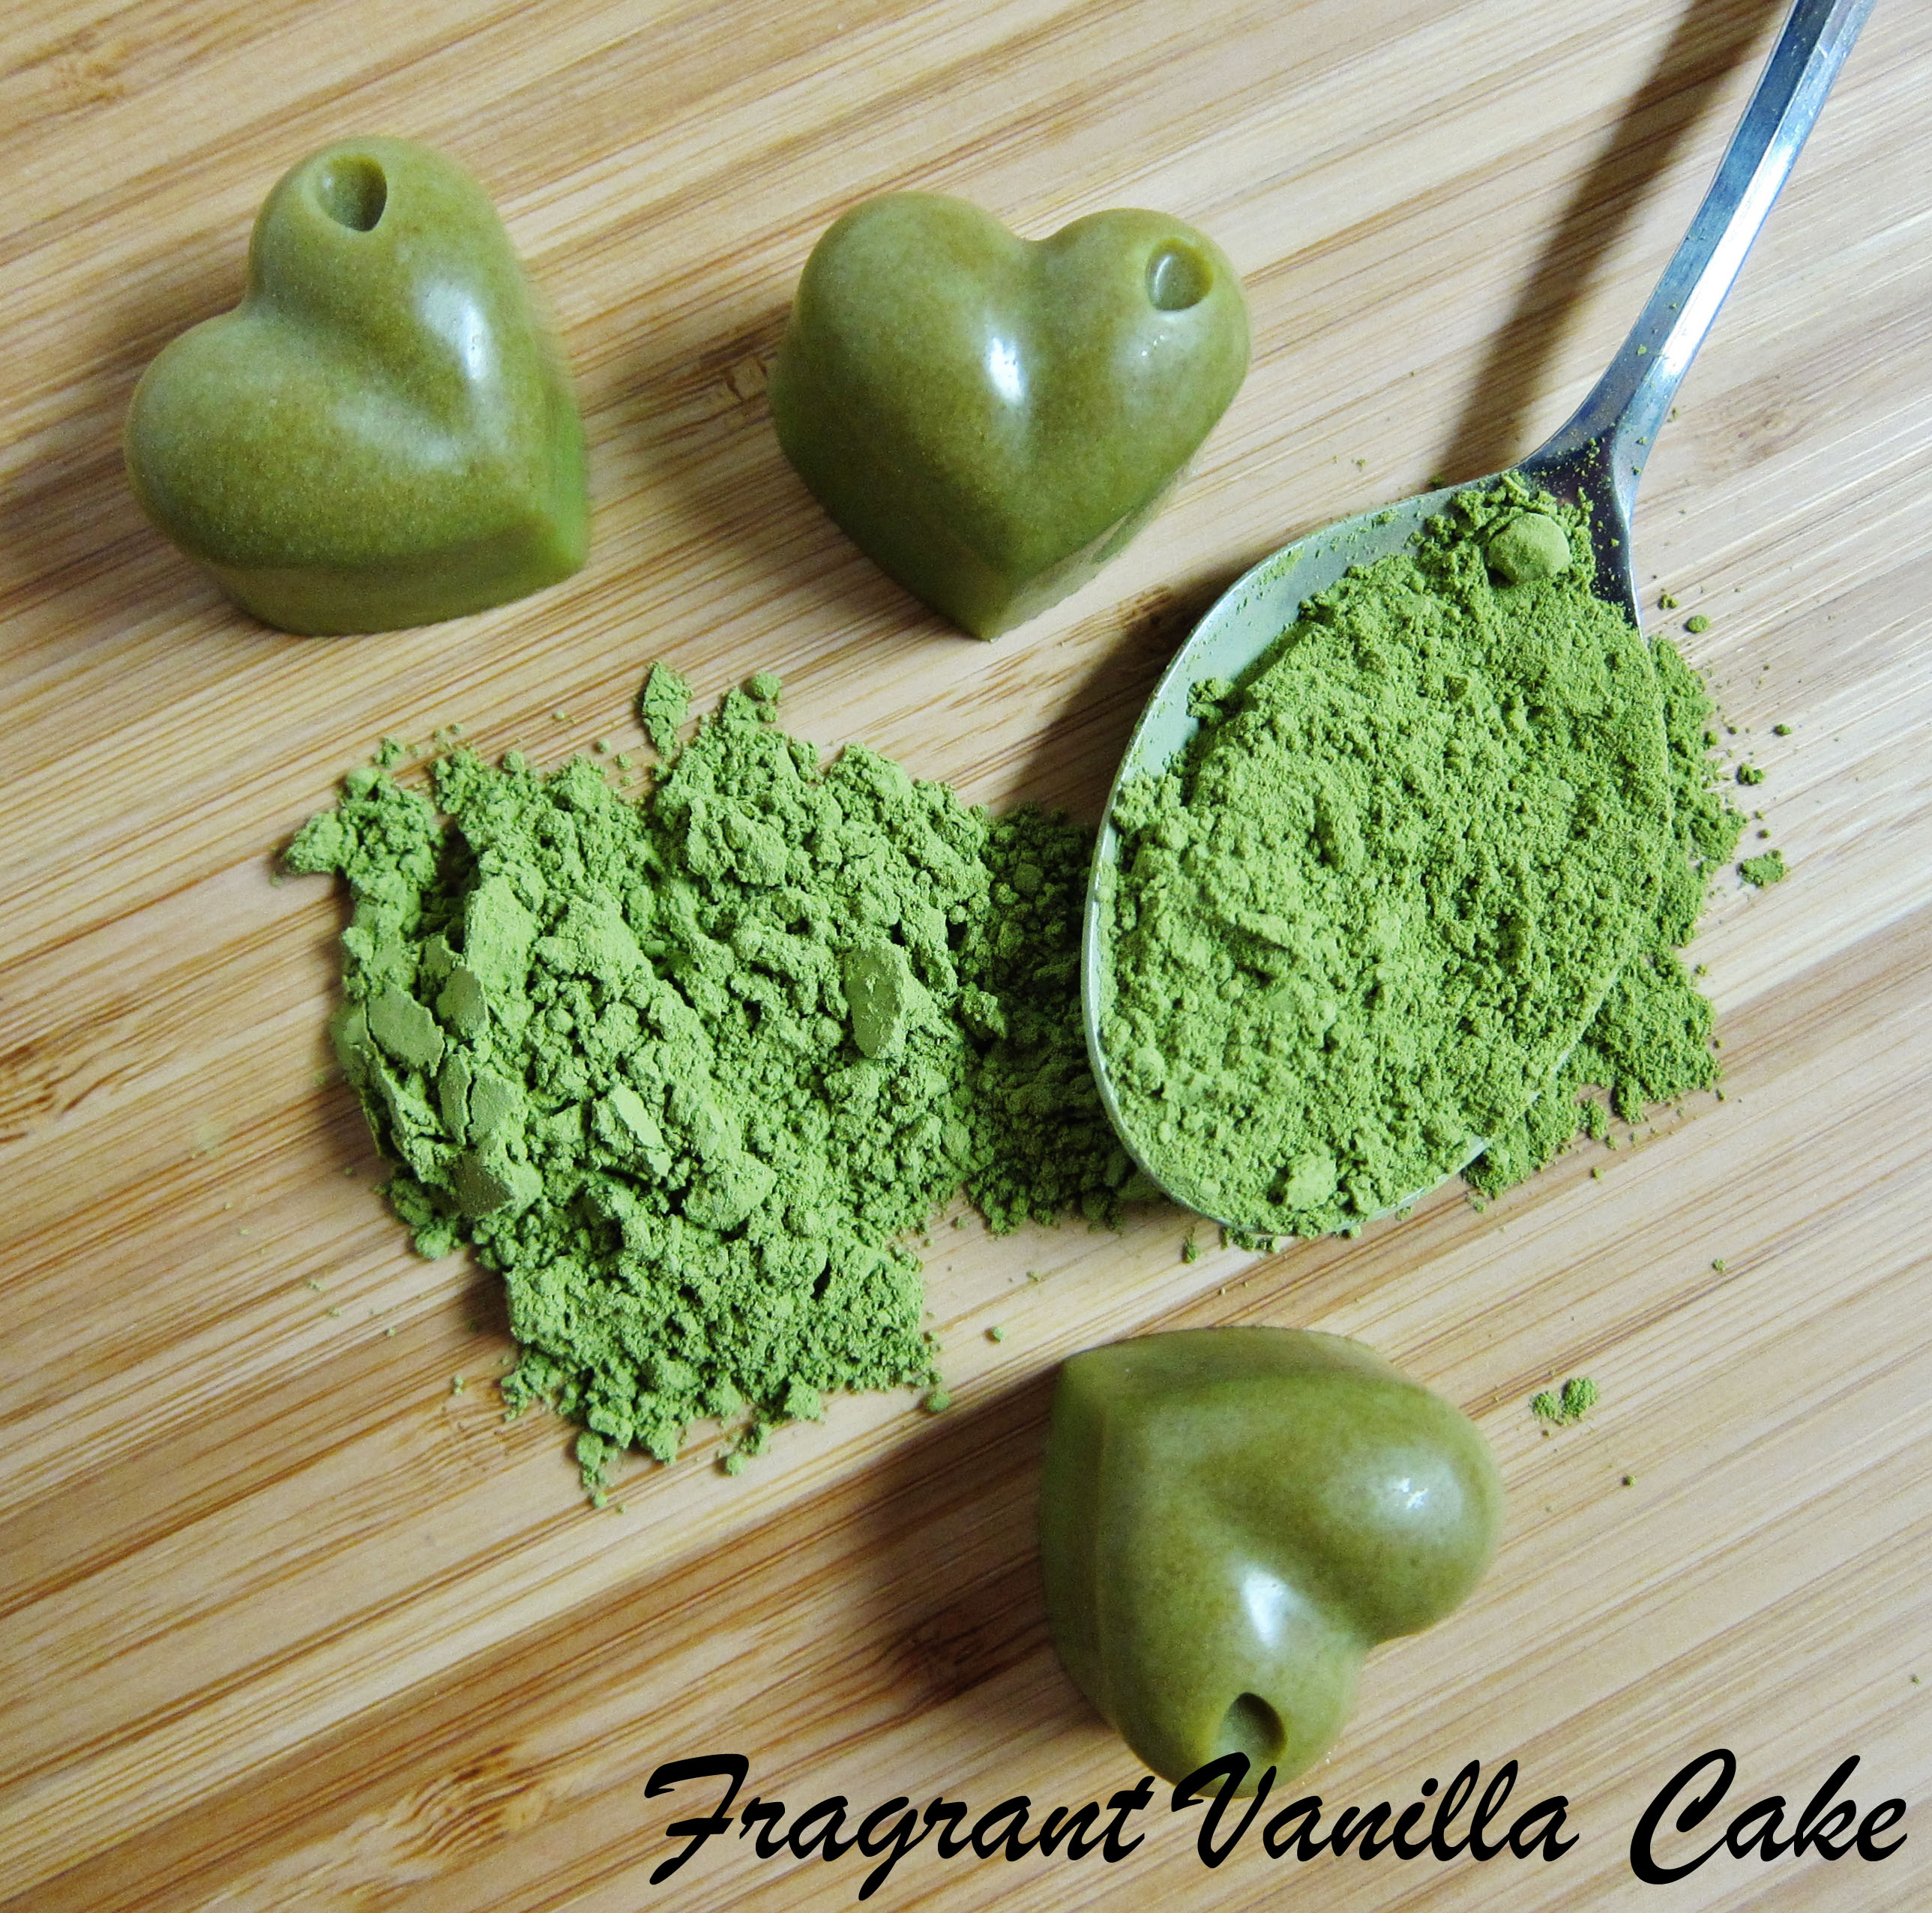
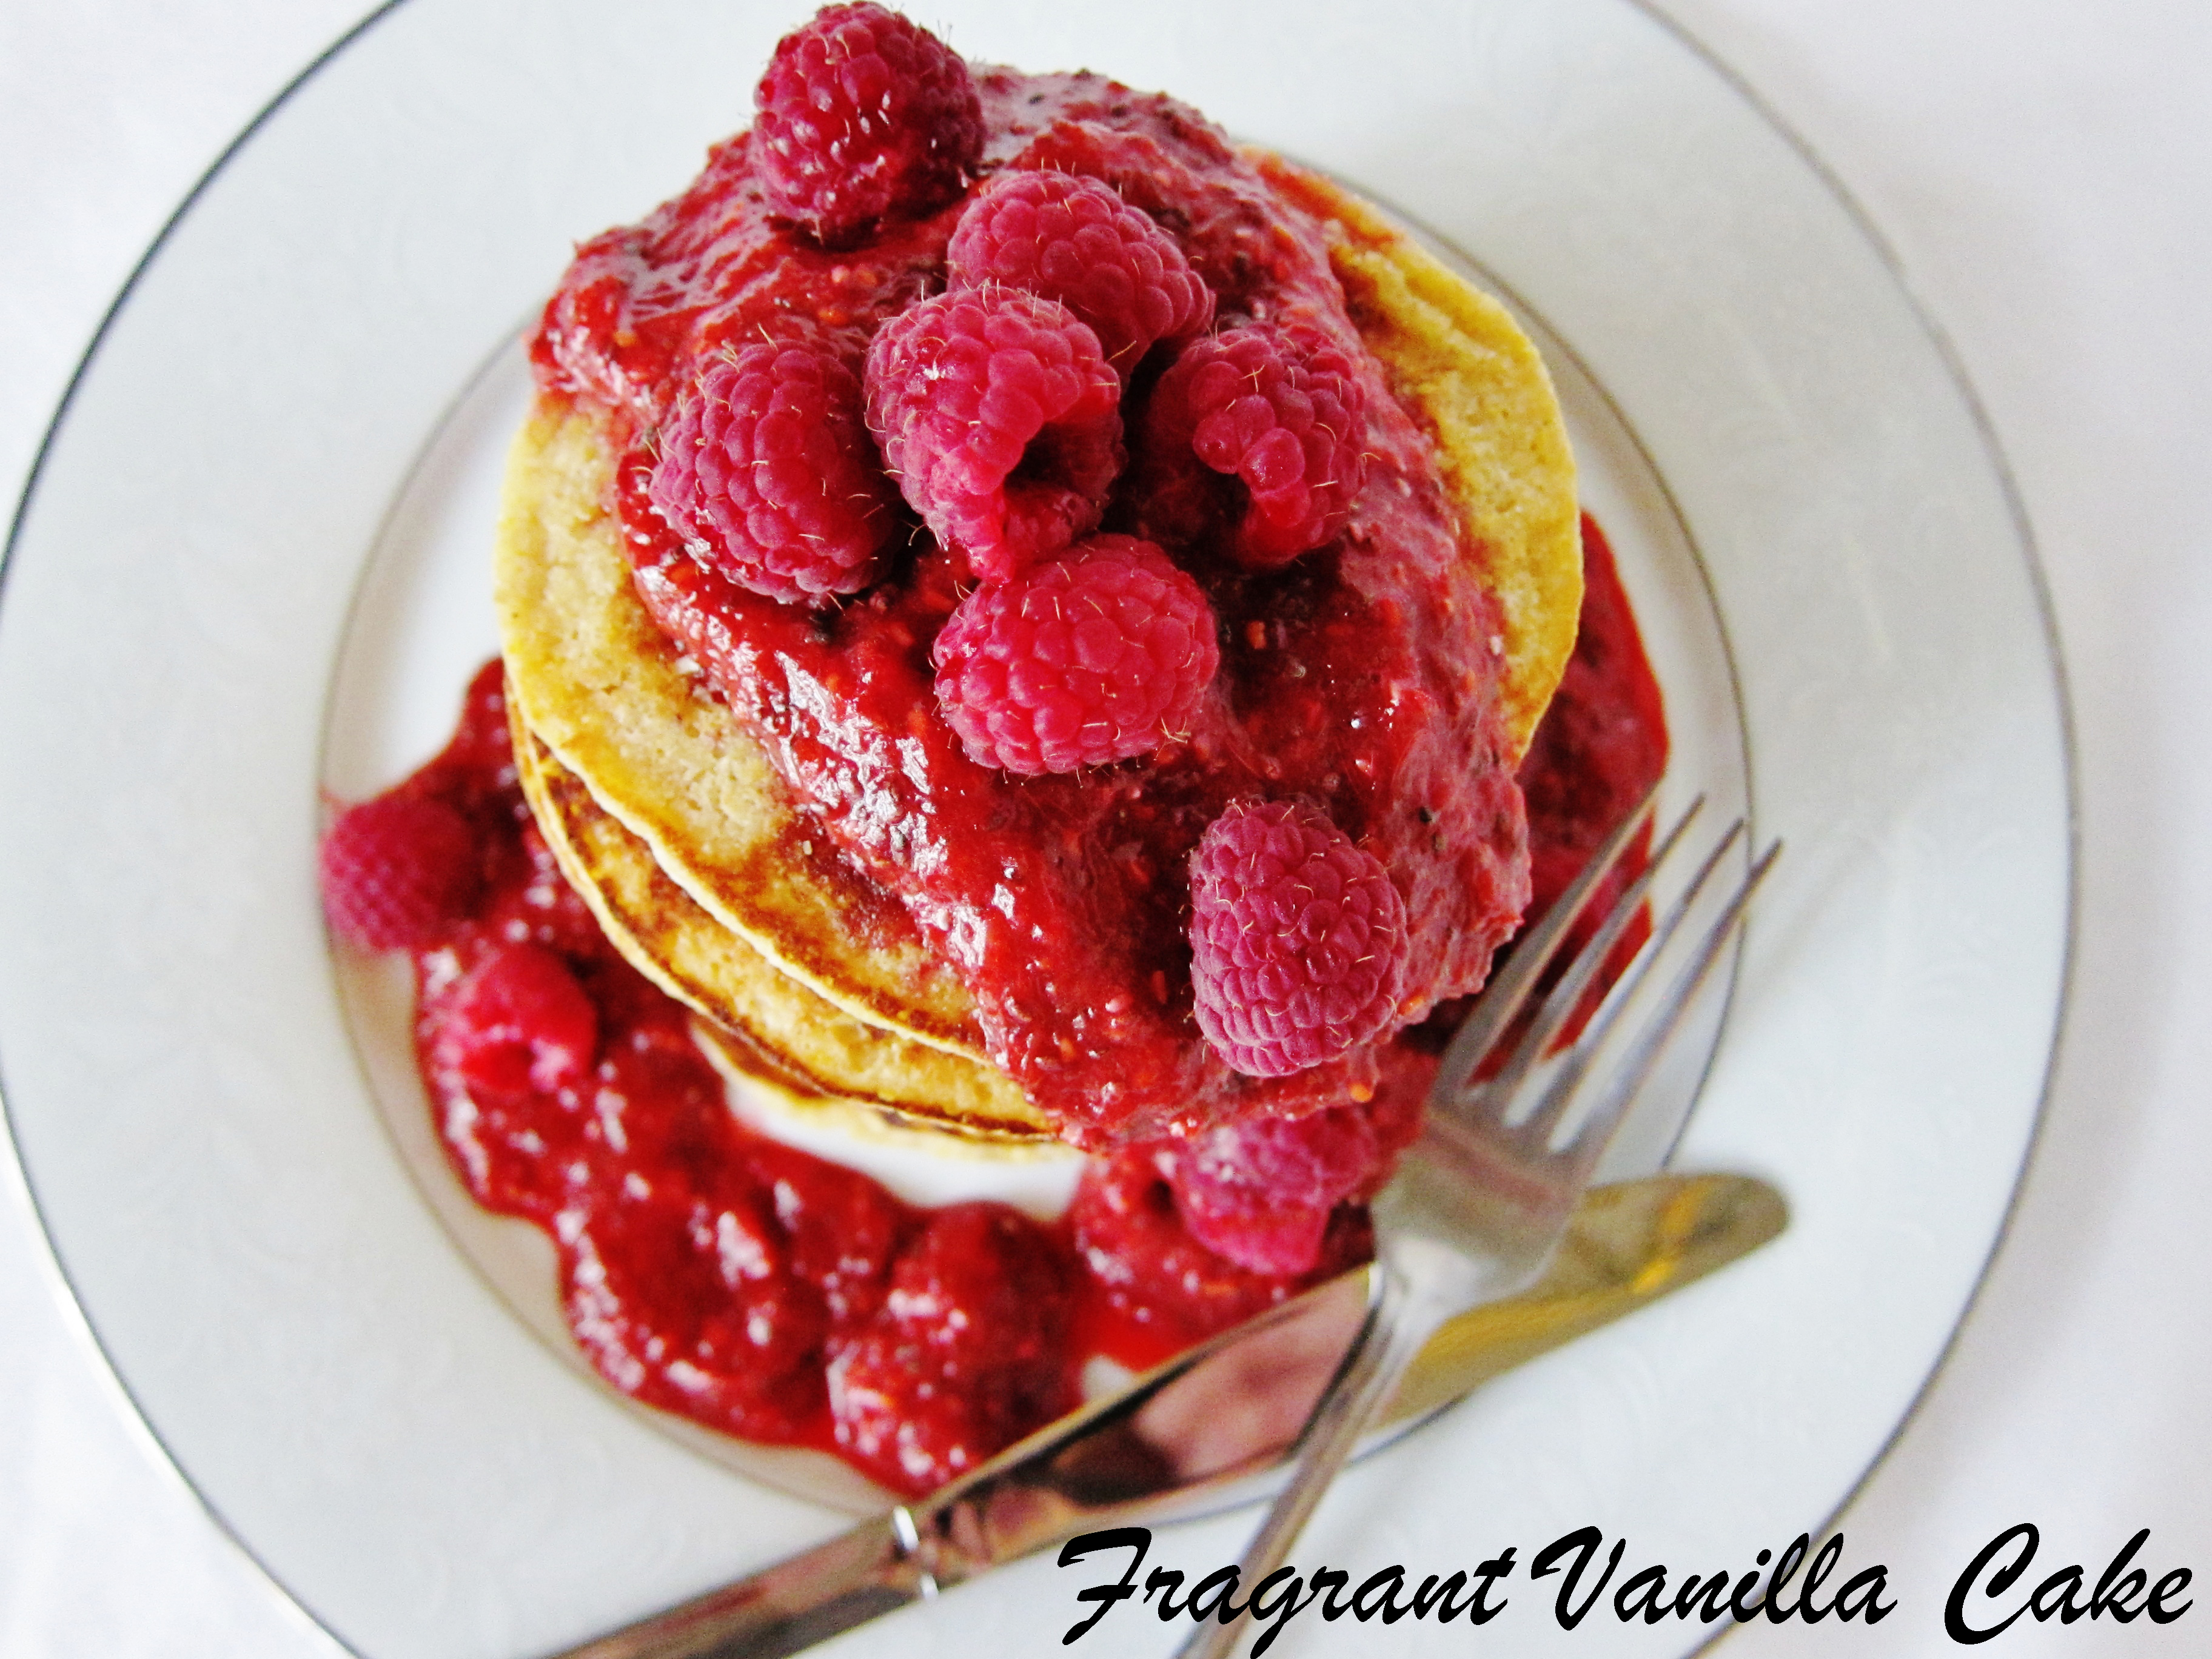
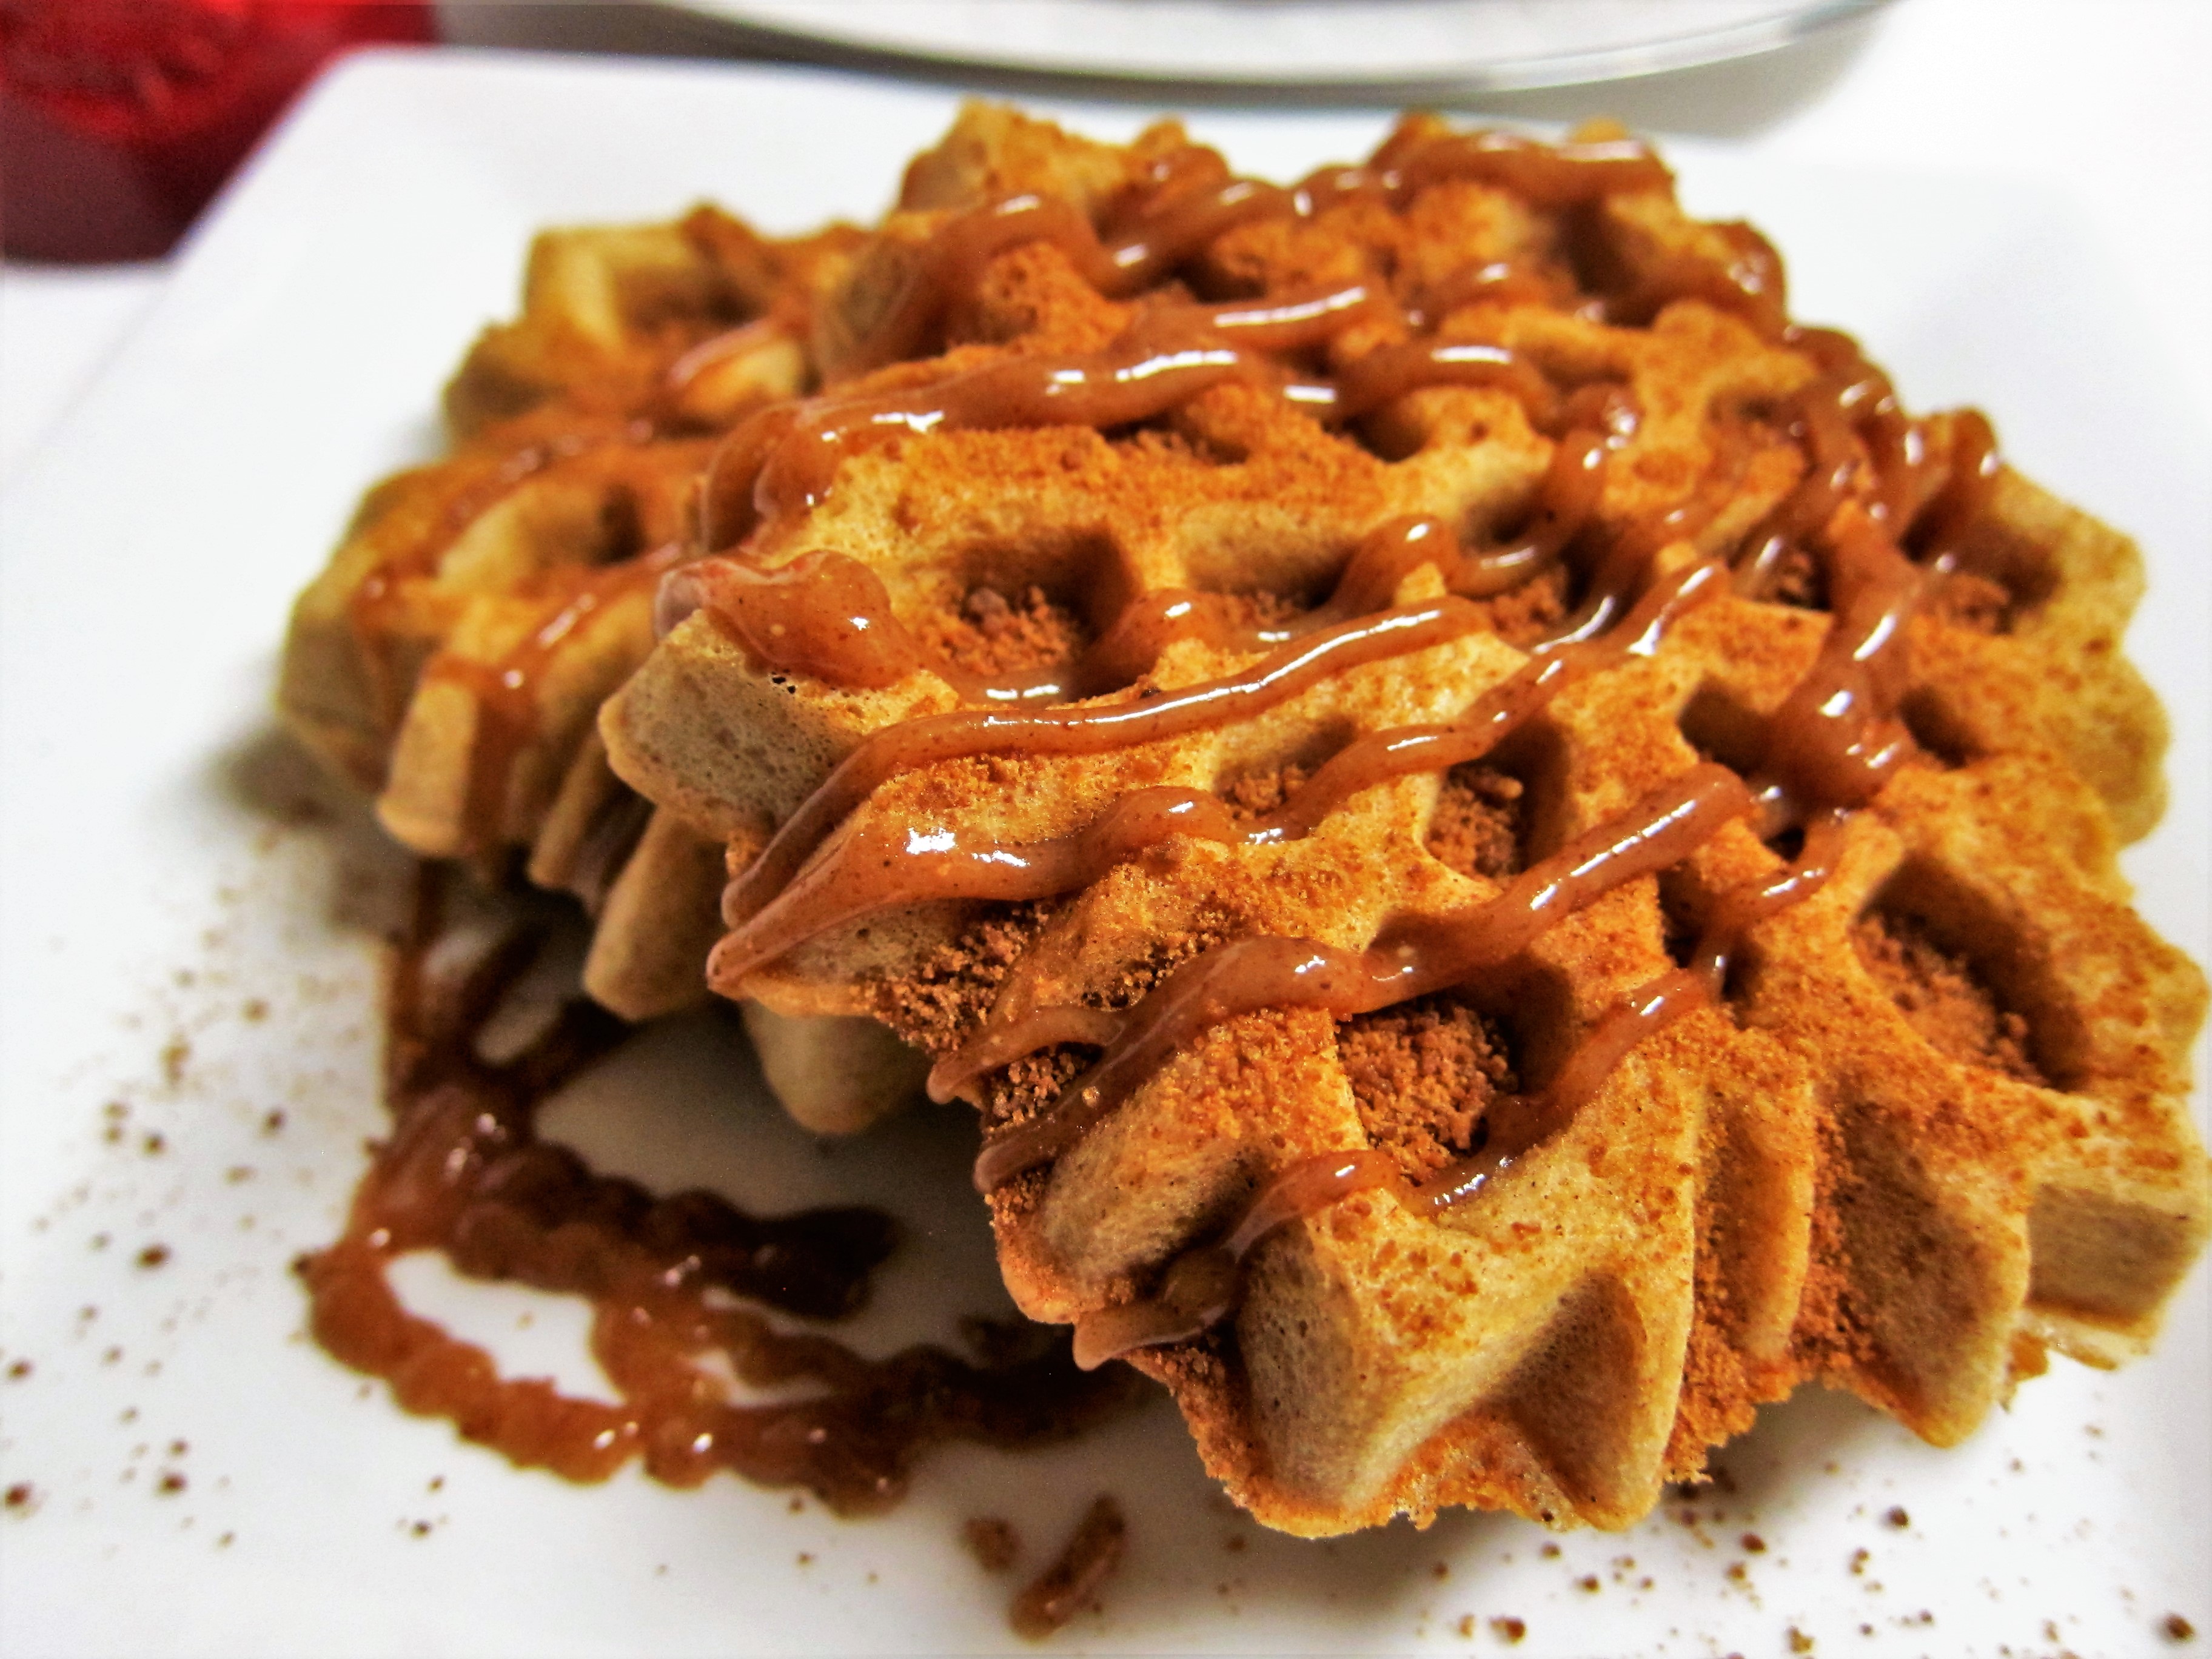
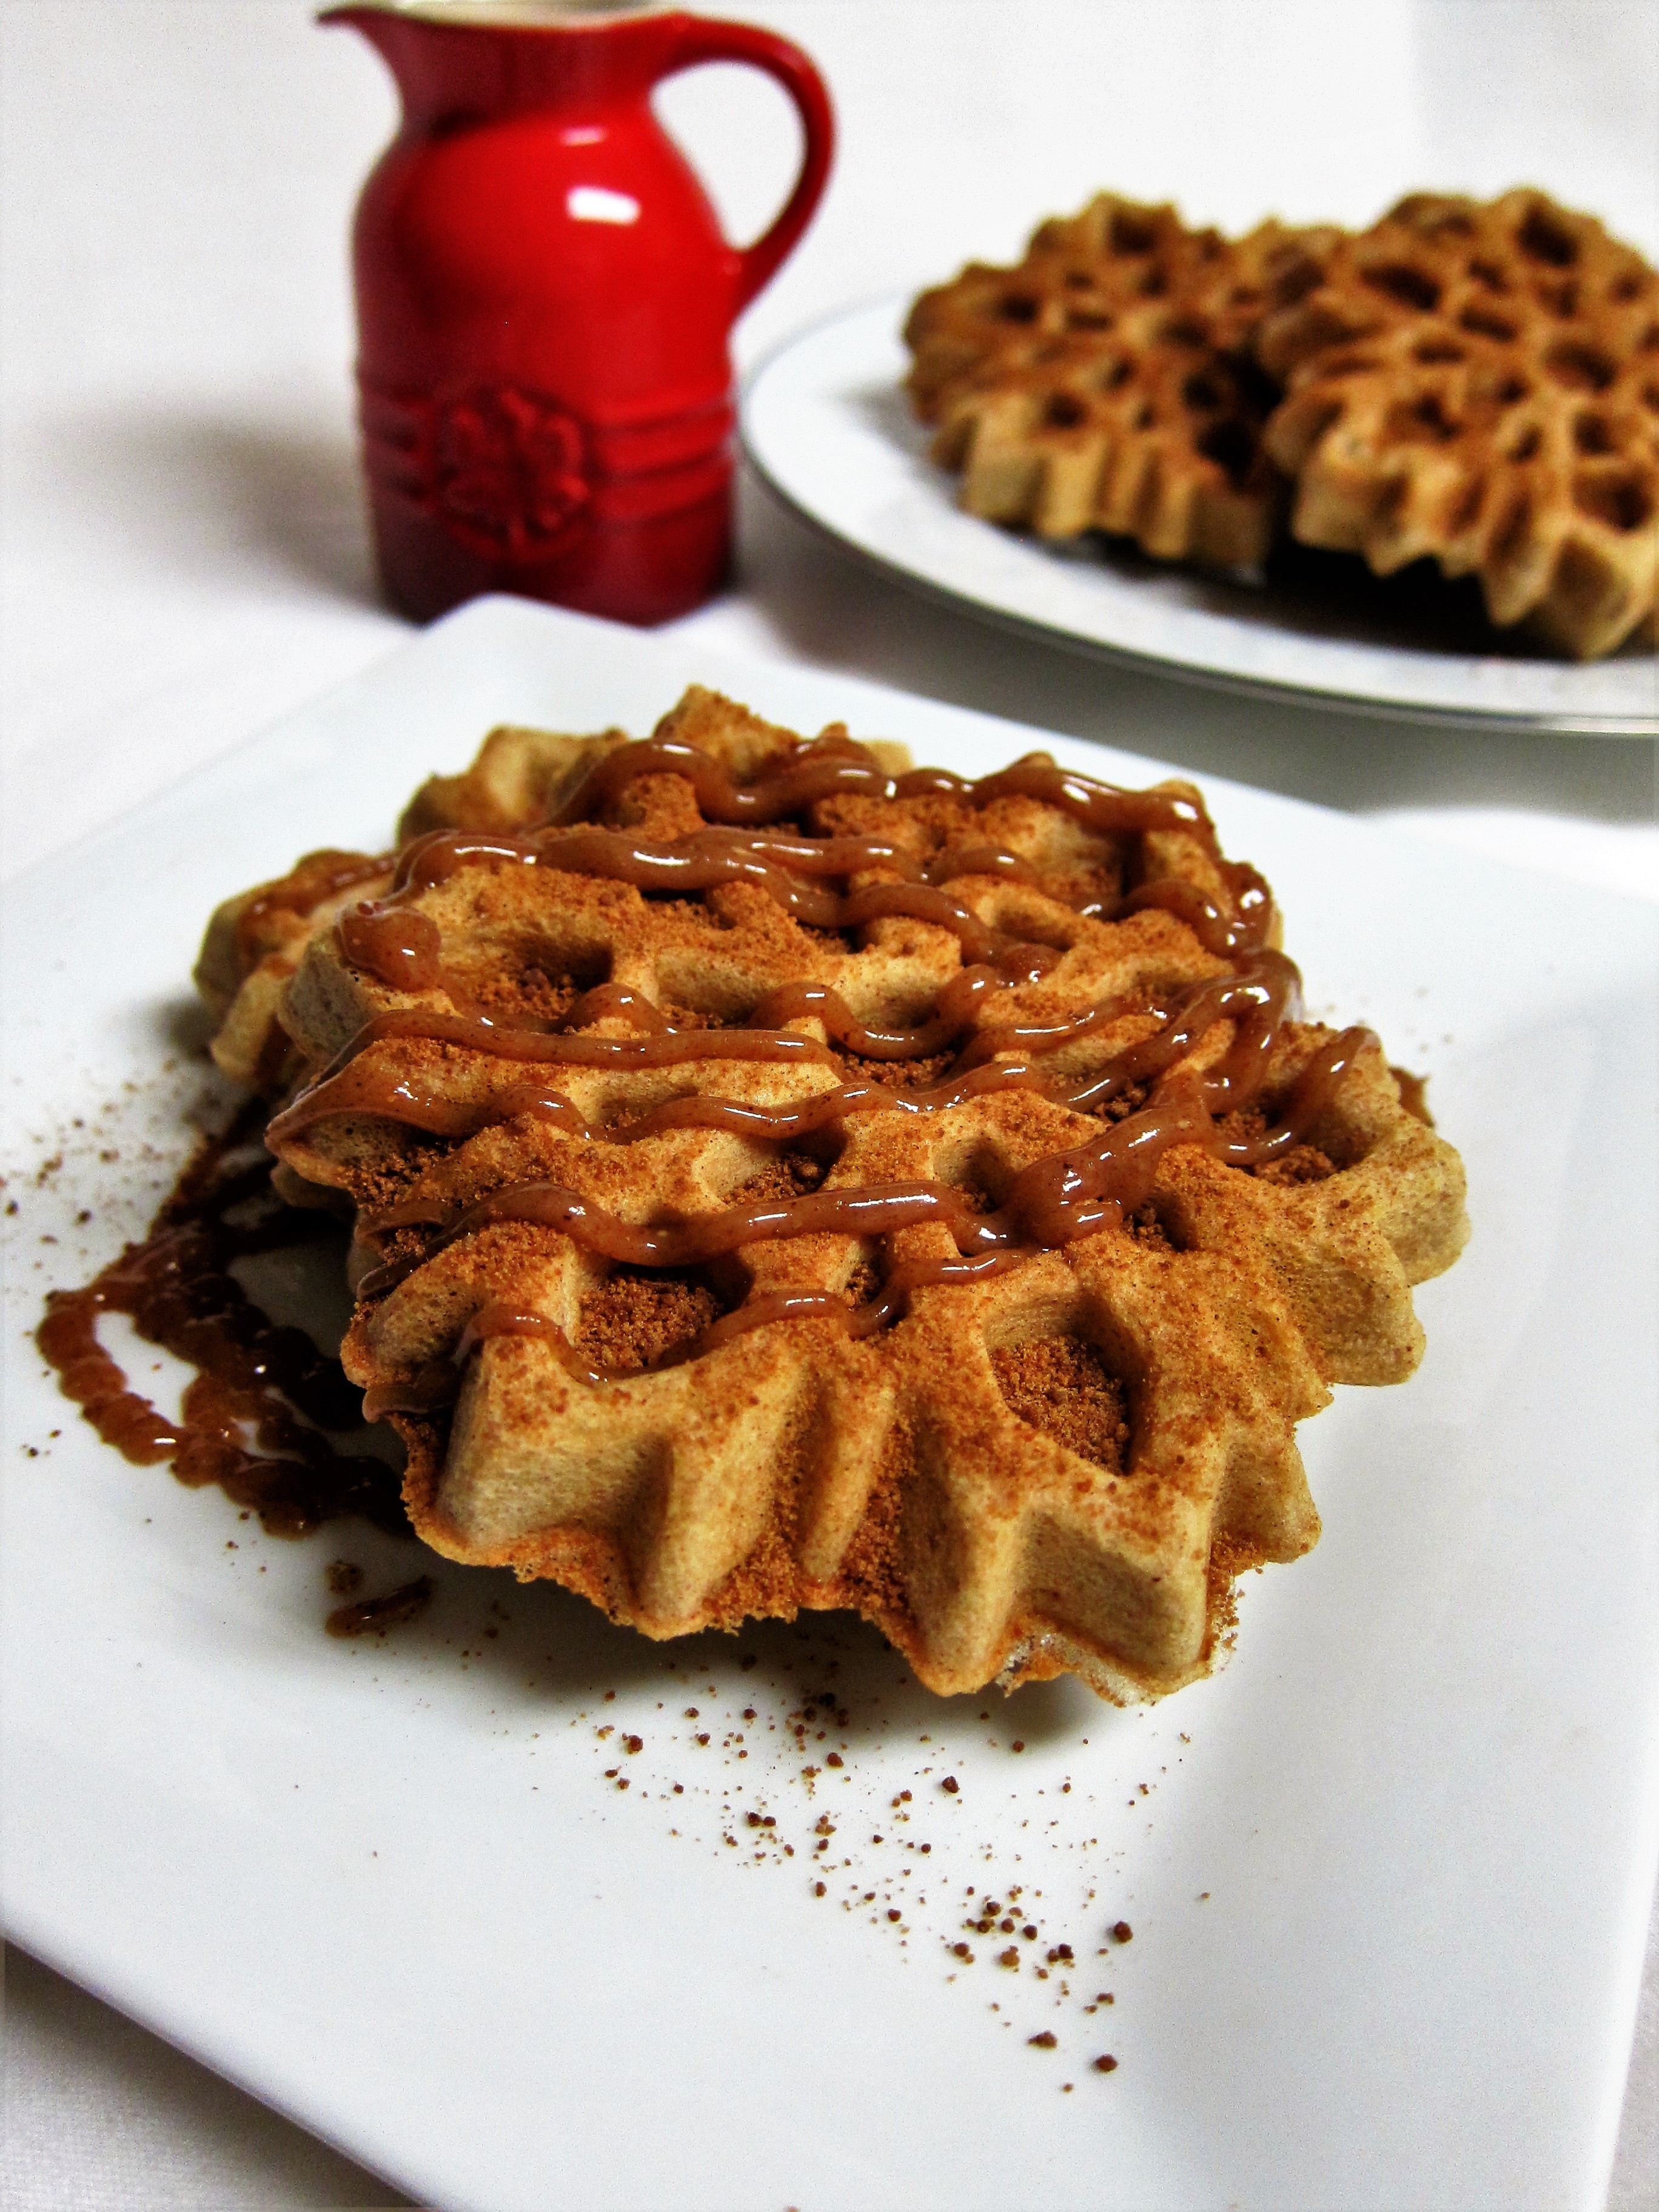
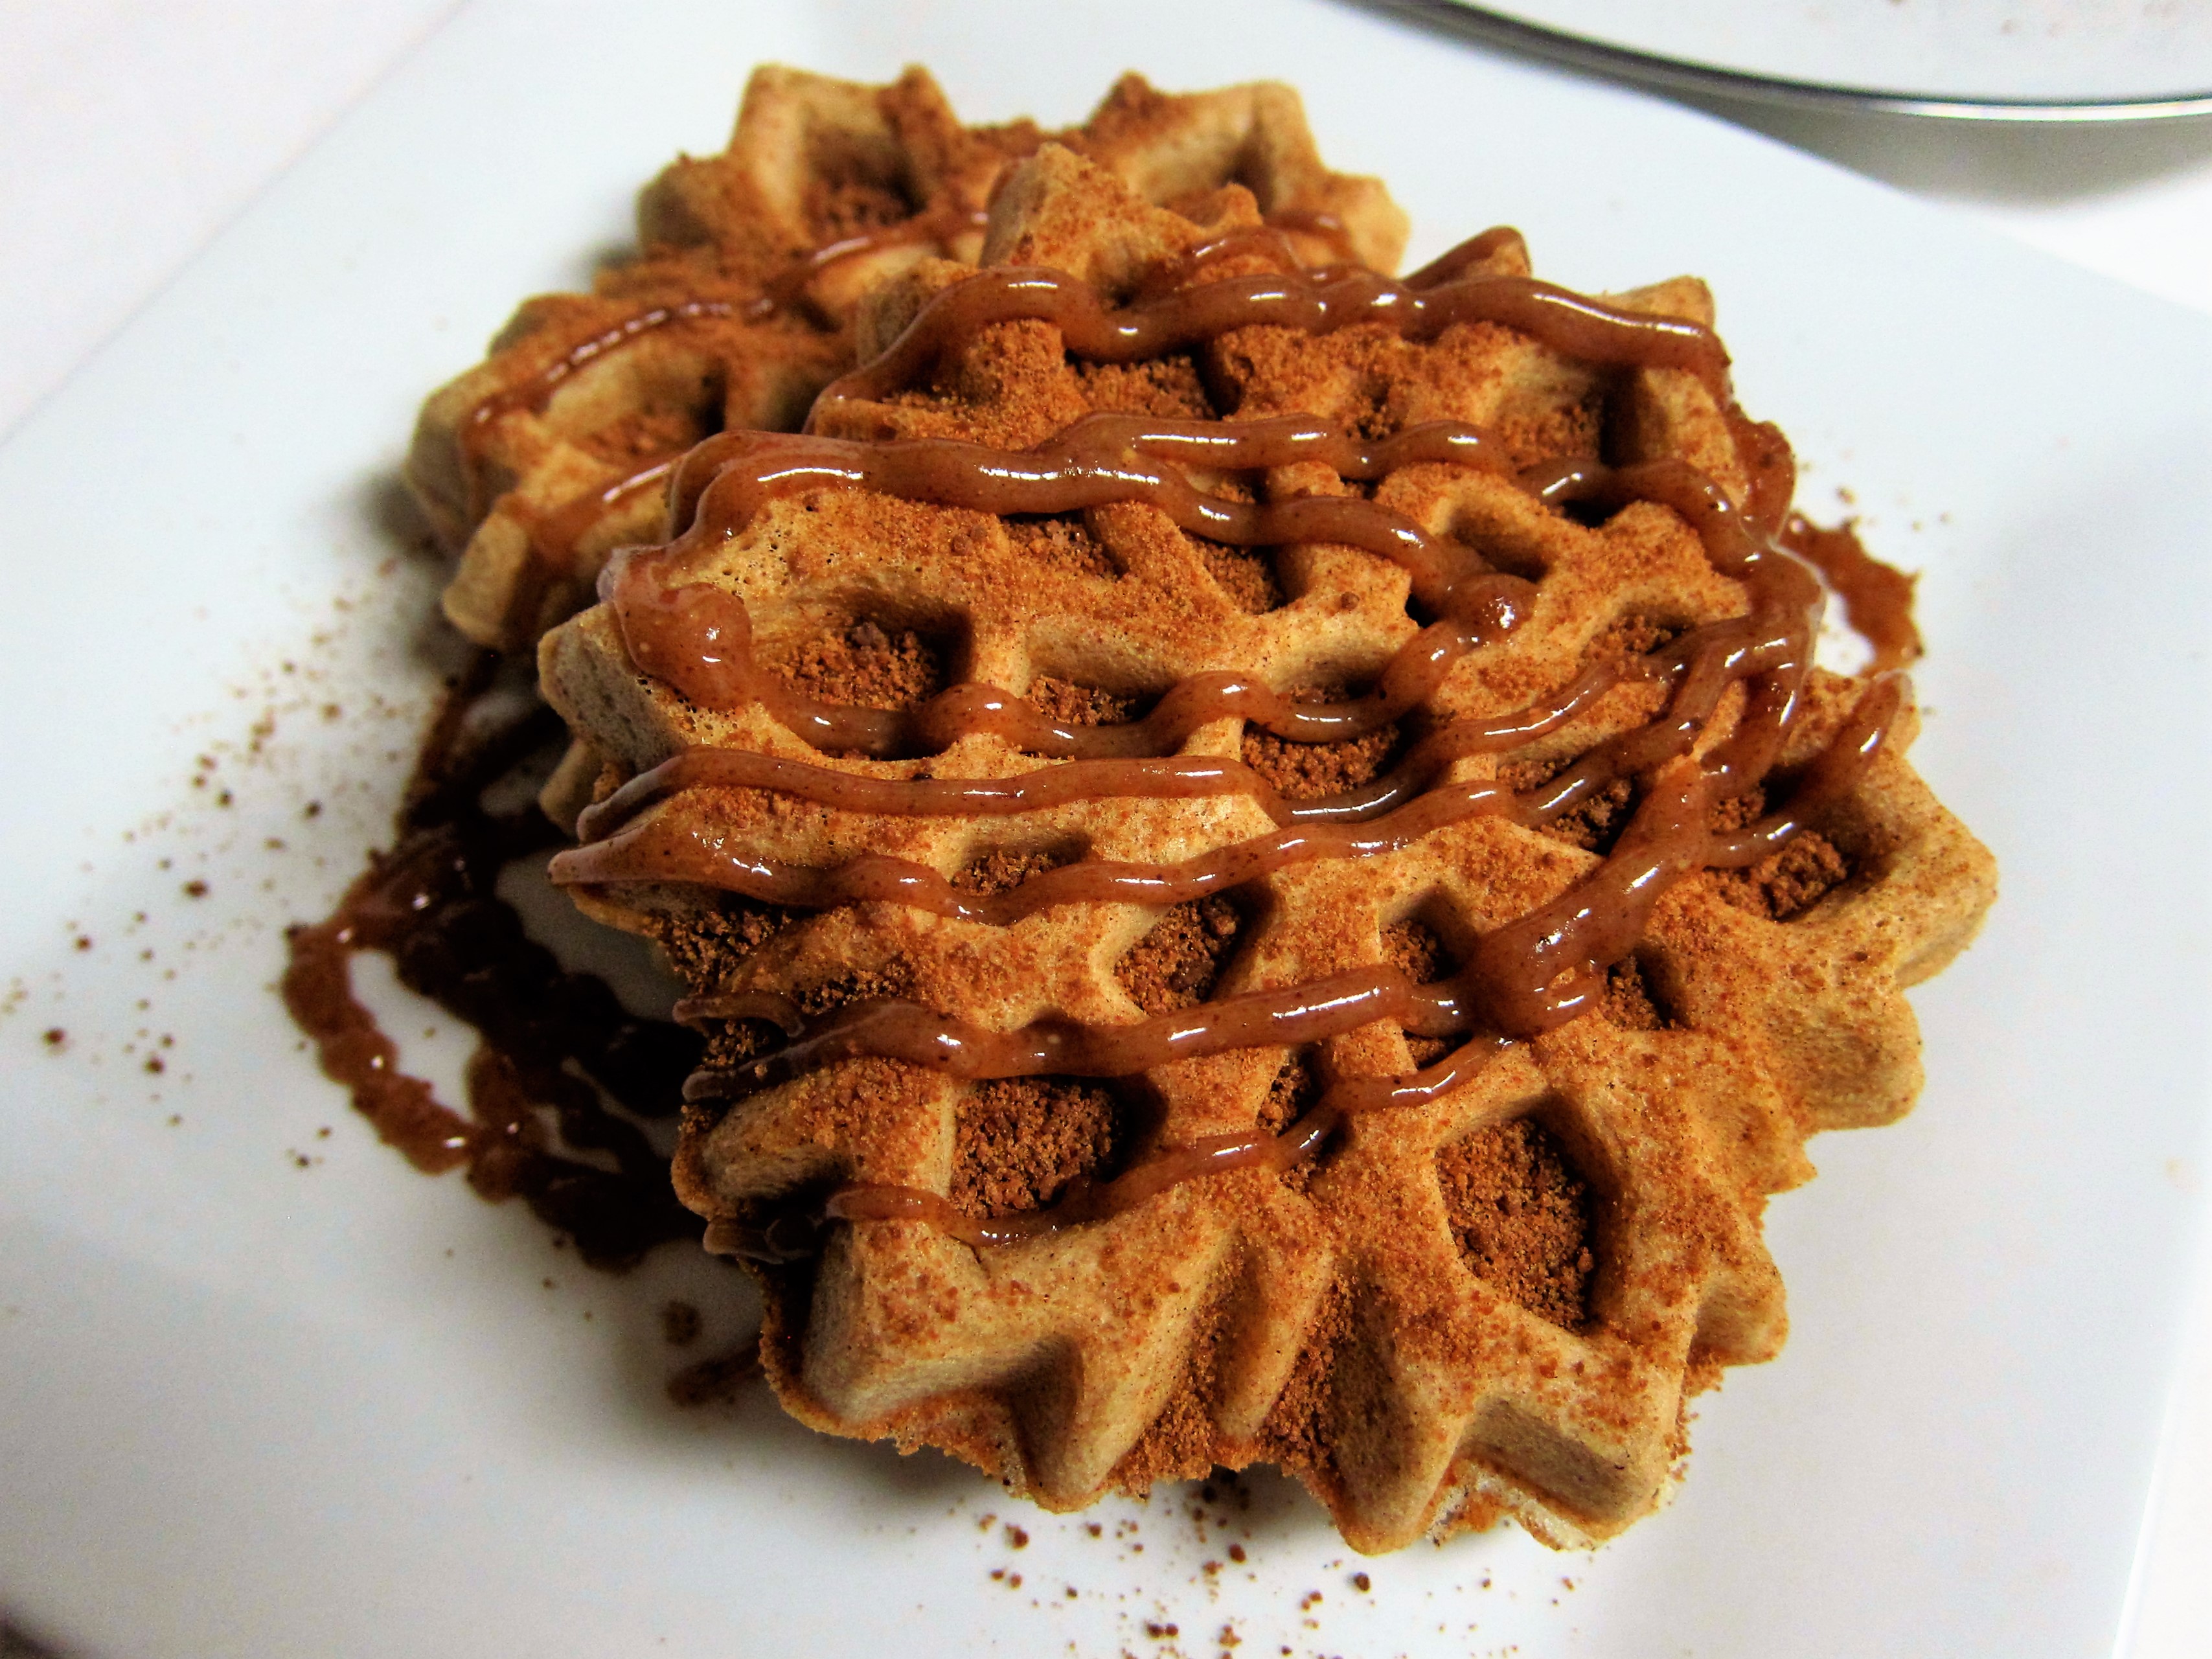
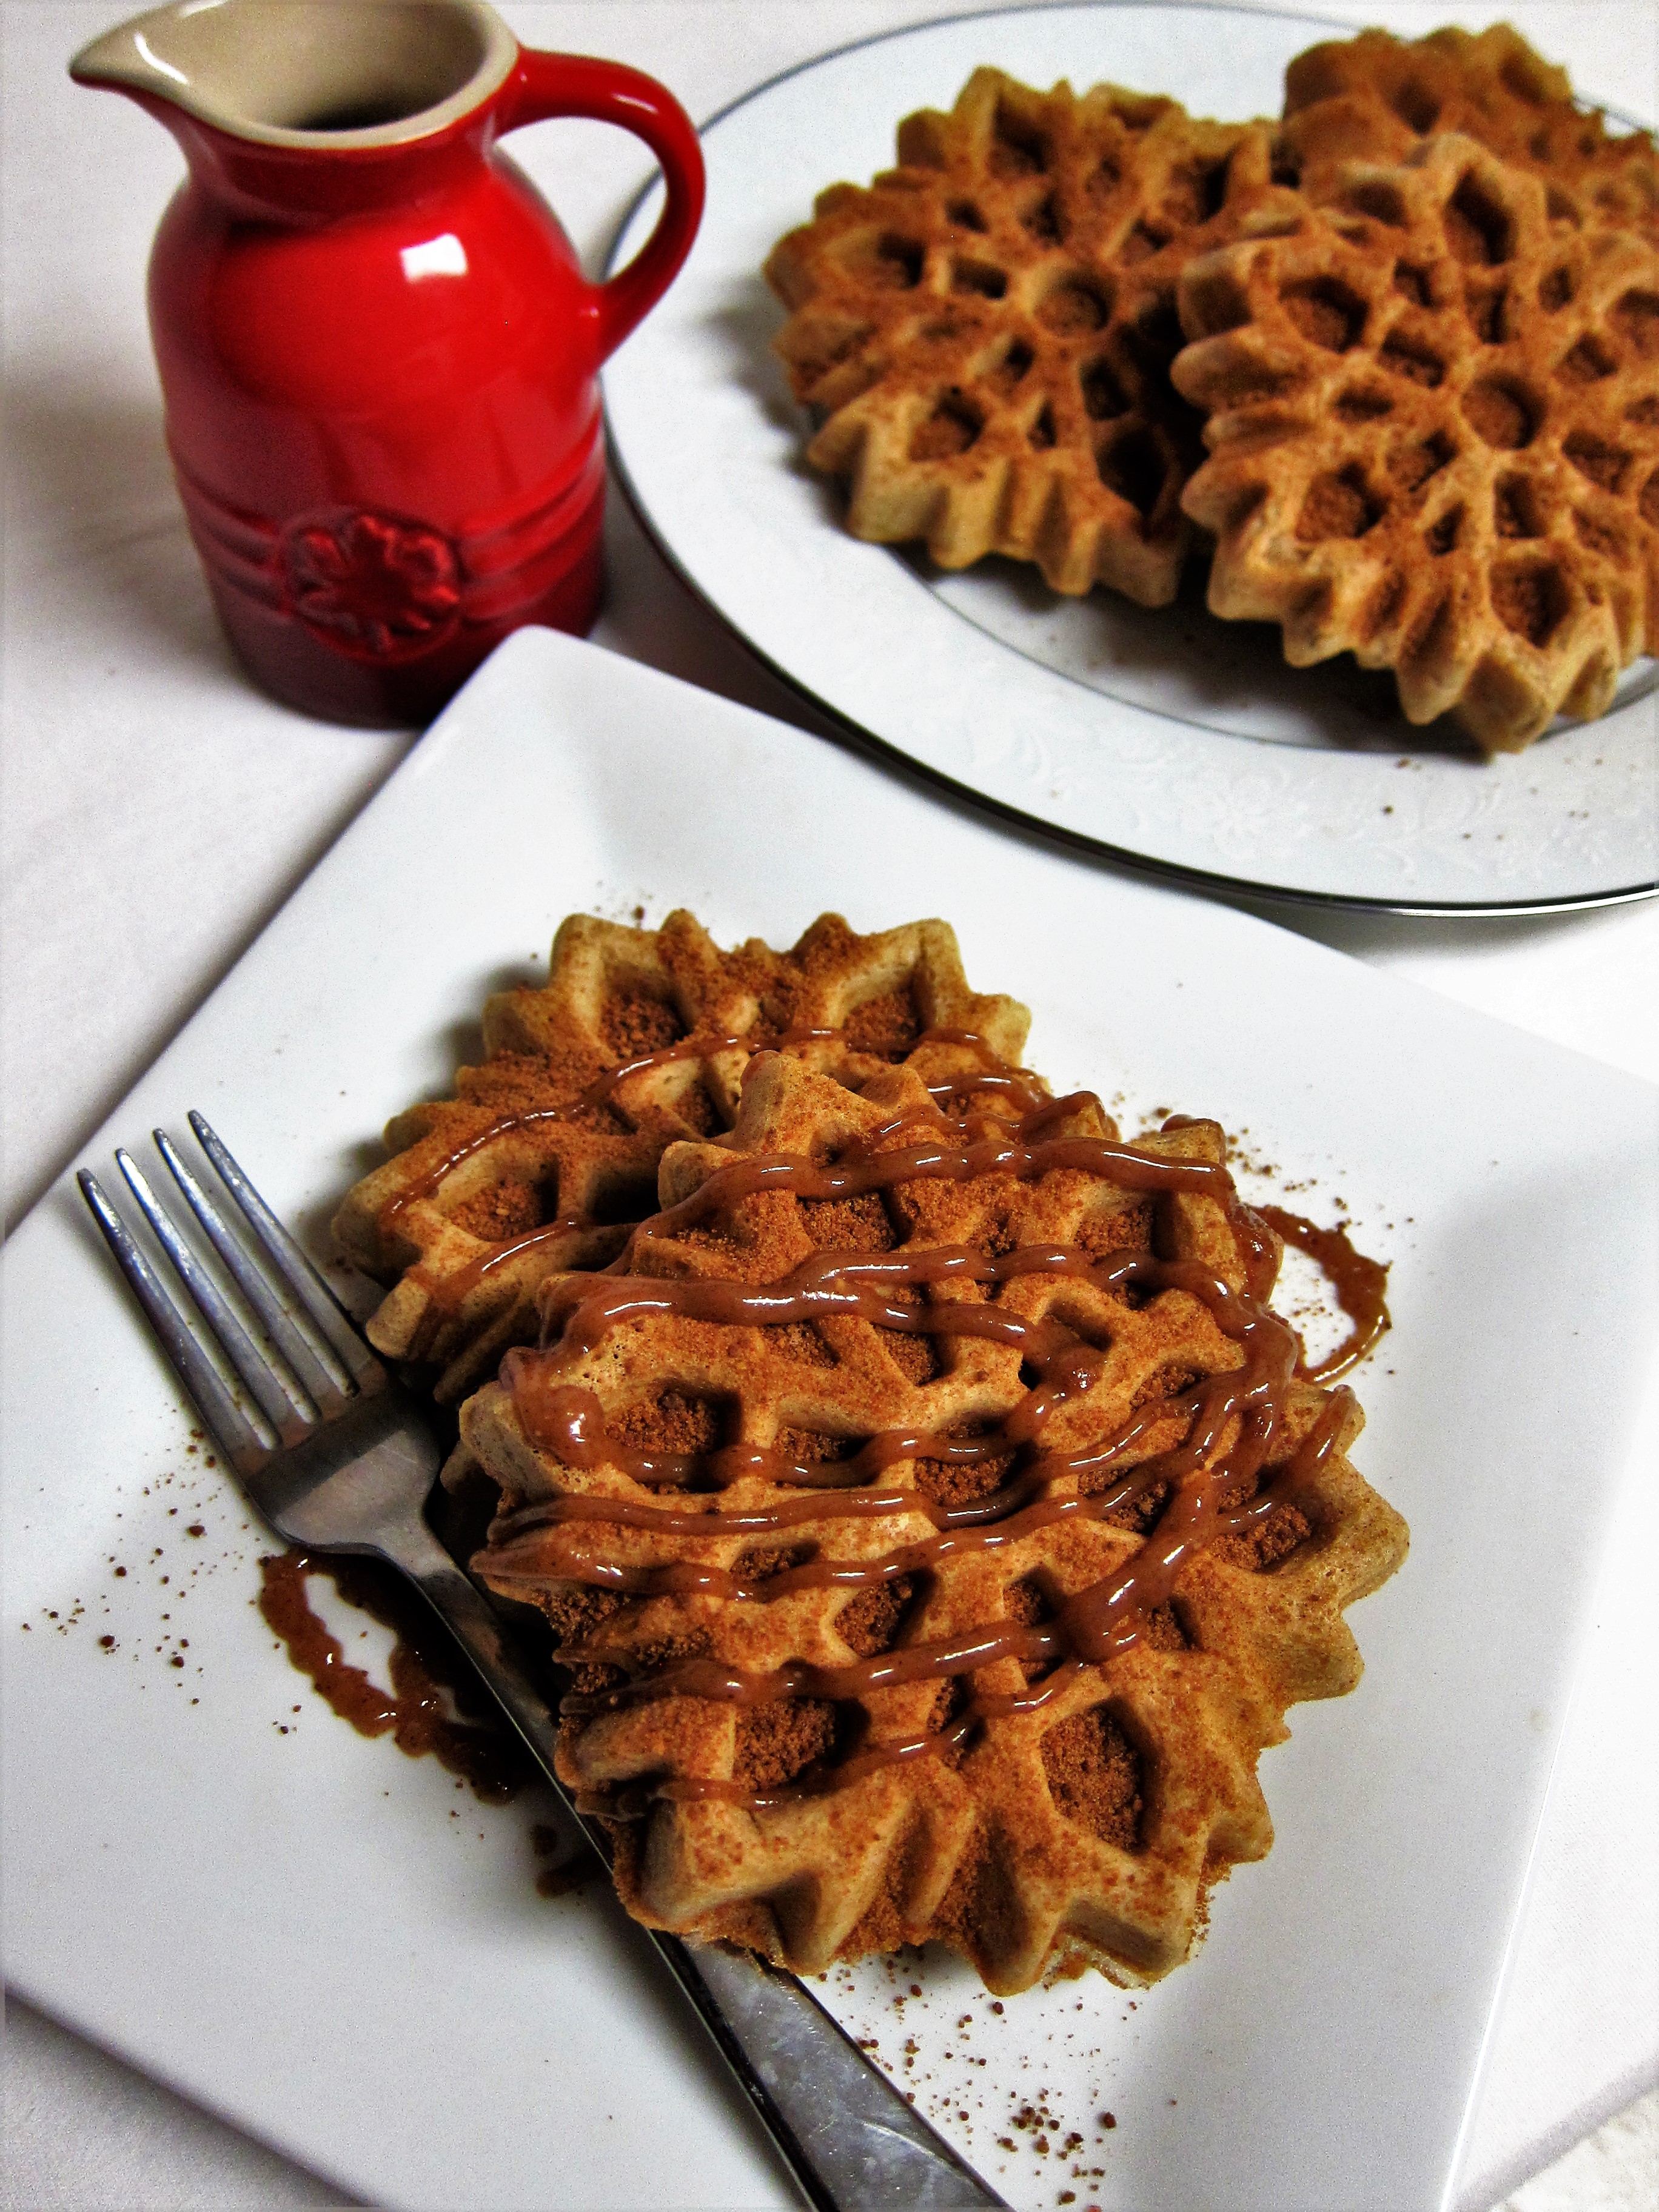
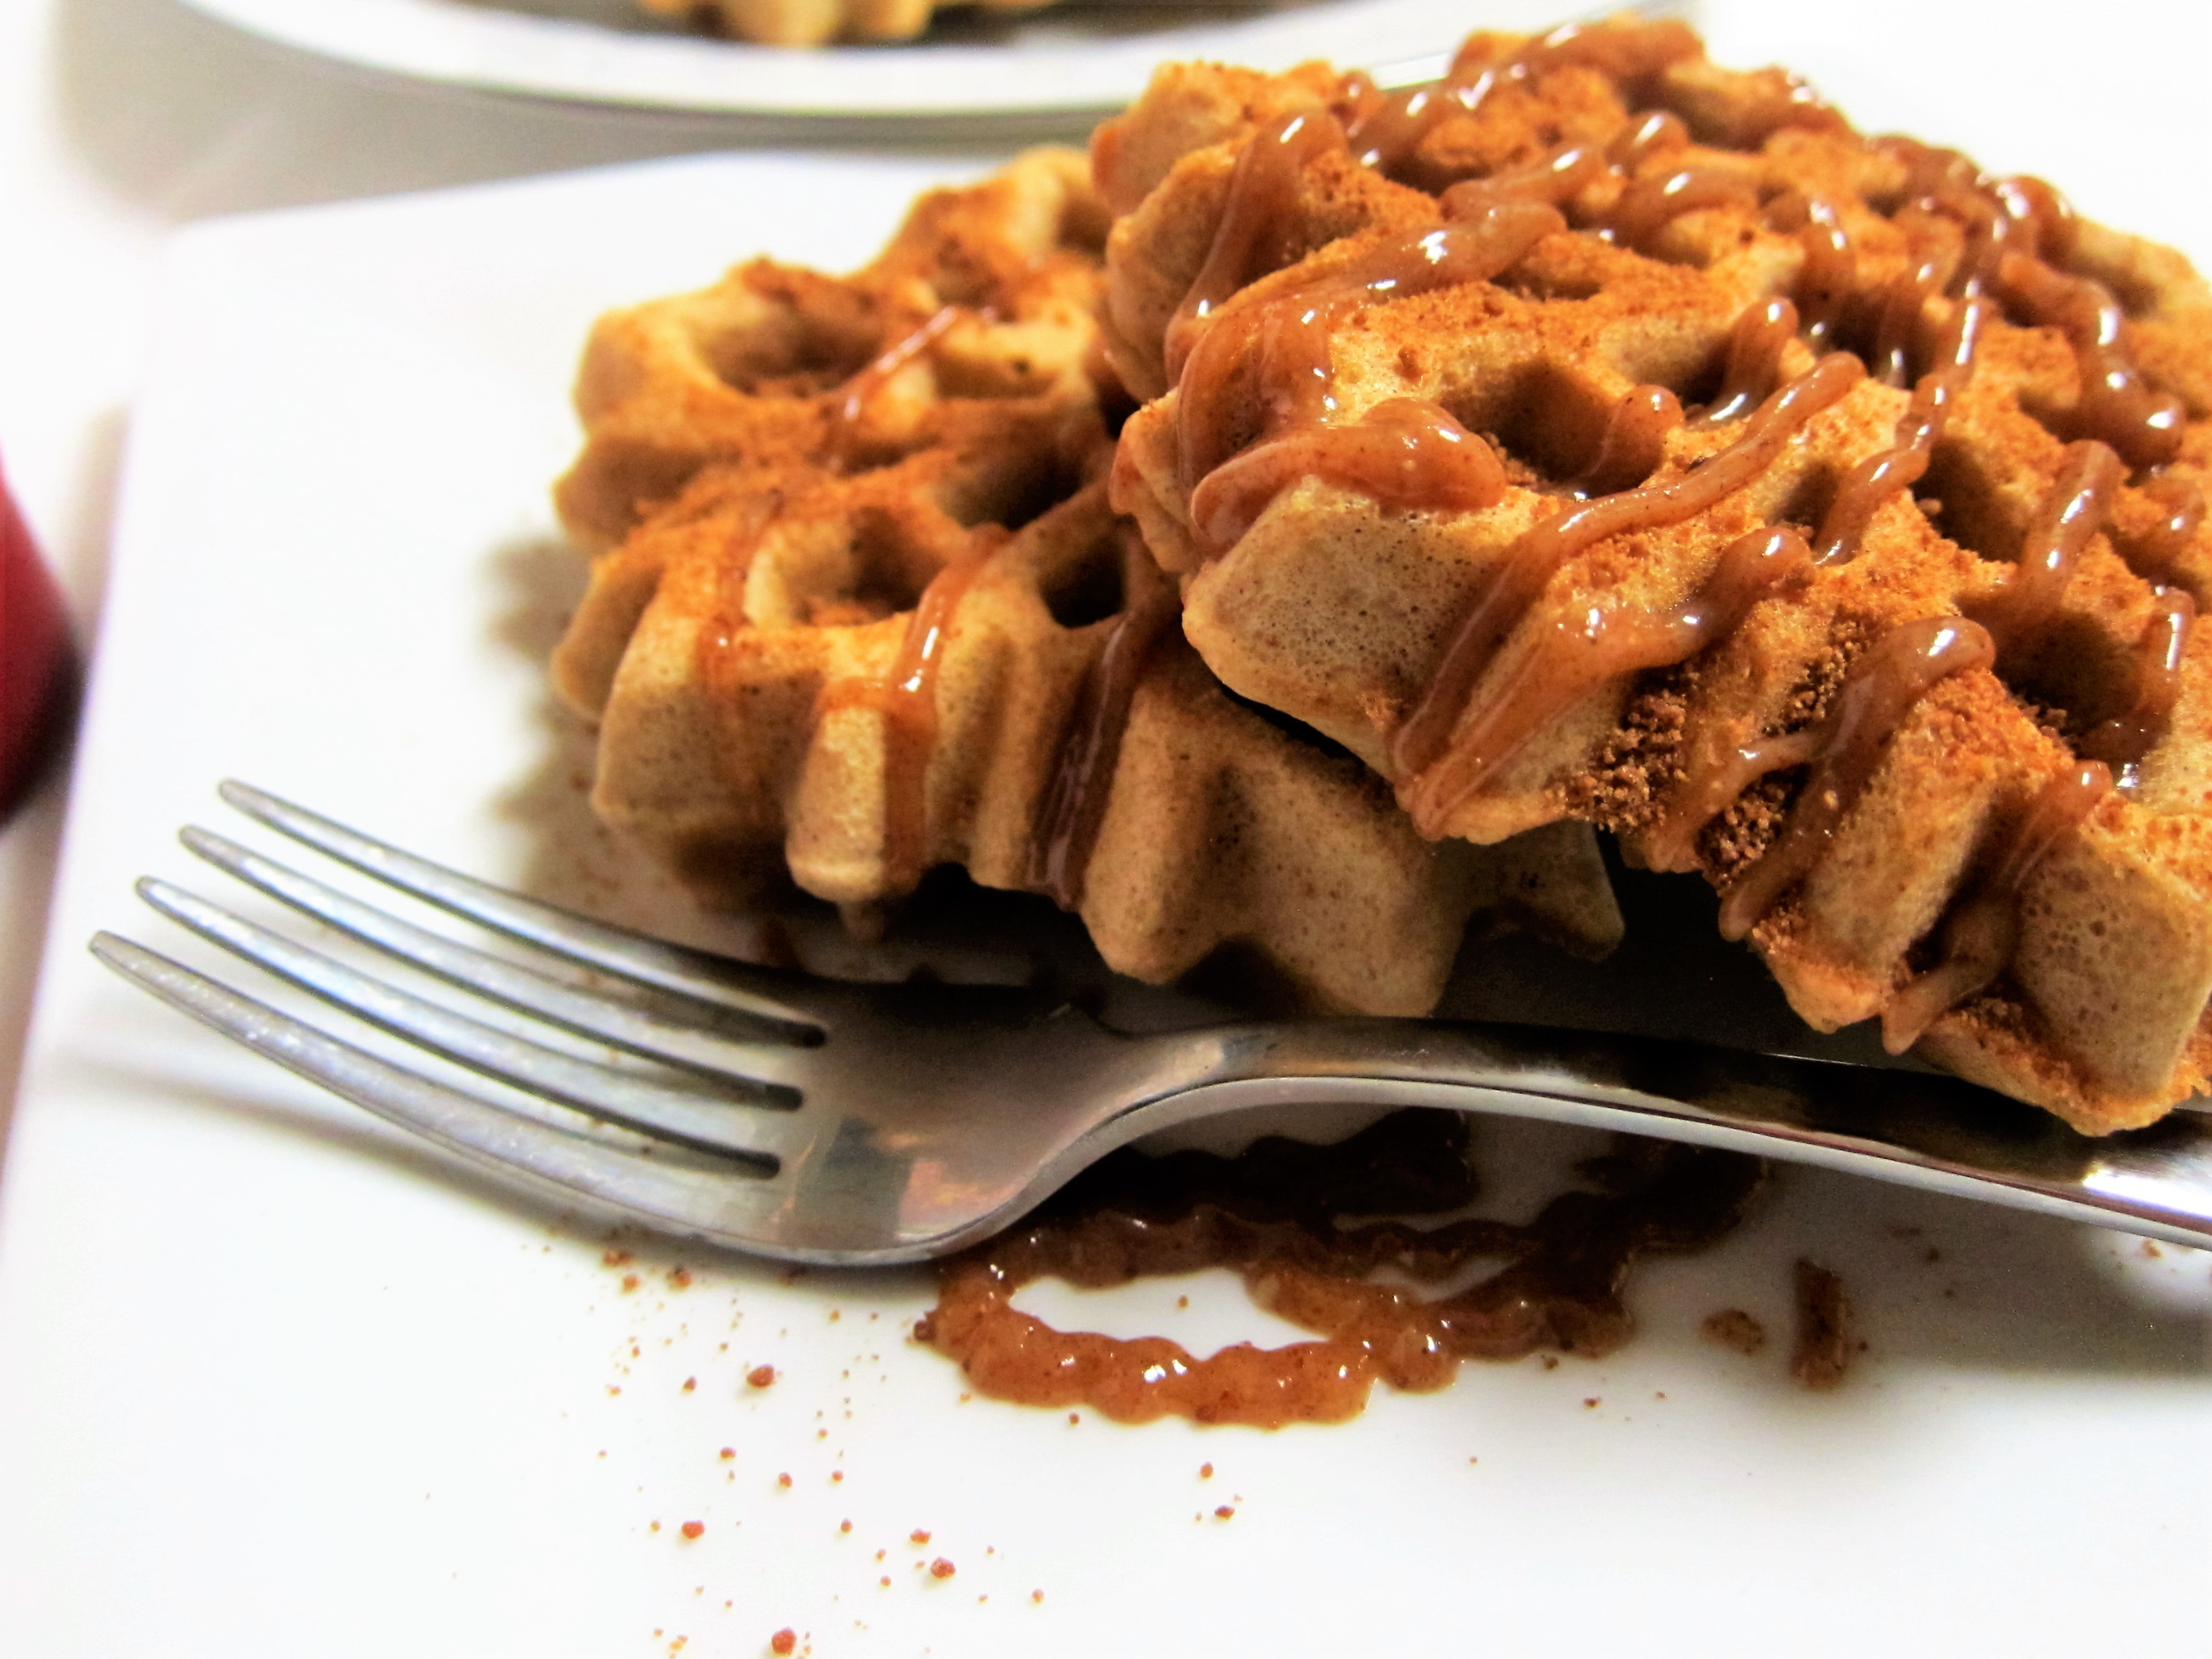
Yep, vegan food is so boring and nothing at all like regular comfort food I know…just kidding of course! I always feel satisfied and happy with what I am eating. There is really no reason to eat animal products with all of the good vegan replacements out there. Many things you already have in your pantry can be transformed into good vegan alternatives to dairy and eggs. Like aquafaba for instance. If you have no clue what I am talking about, it is the liquid of canned or cooked chickpeas and it is used to replace eggs in recipes. Everything from meringues to the eggs in a baked cake. Like my recipe for Vegan S’mores Peanut Butter Mousse Pie or Simple Vegan Vanilla Bean Cake or Vegan Snickerdoodle Waffles. If you are going to use it just be sure that it is the consistency of egg whites, and if it isn’t then place it in a pan and reduce it until it is thicker. It keeps for 1 week in the refrigerator. You can also replace eggs in baking recipes with ground flax seed mixed with water. For one flax egg, you need 1 Tbsp ground flax seed, mixed with 3 Tbsp filtered water. Let it sit for 15 minutes before using before it becomes gel like. As far as making things like omelettes go, chickpea flour can be a perfect substitute for eggs. Check out Vegan Richa’s website, she is the queen of of awesome egg replacement recipes like this chickpea flour omelette.
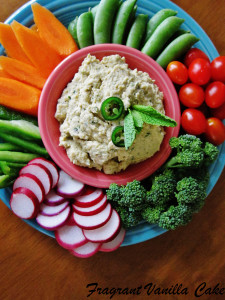
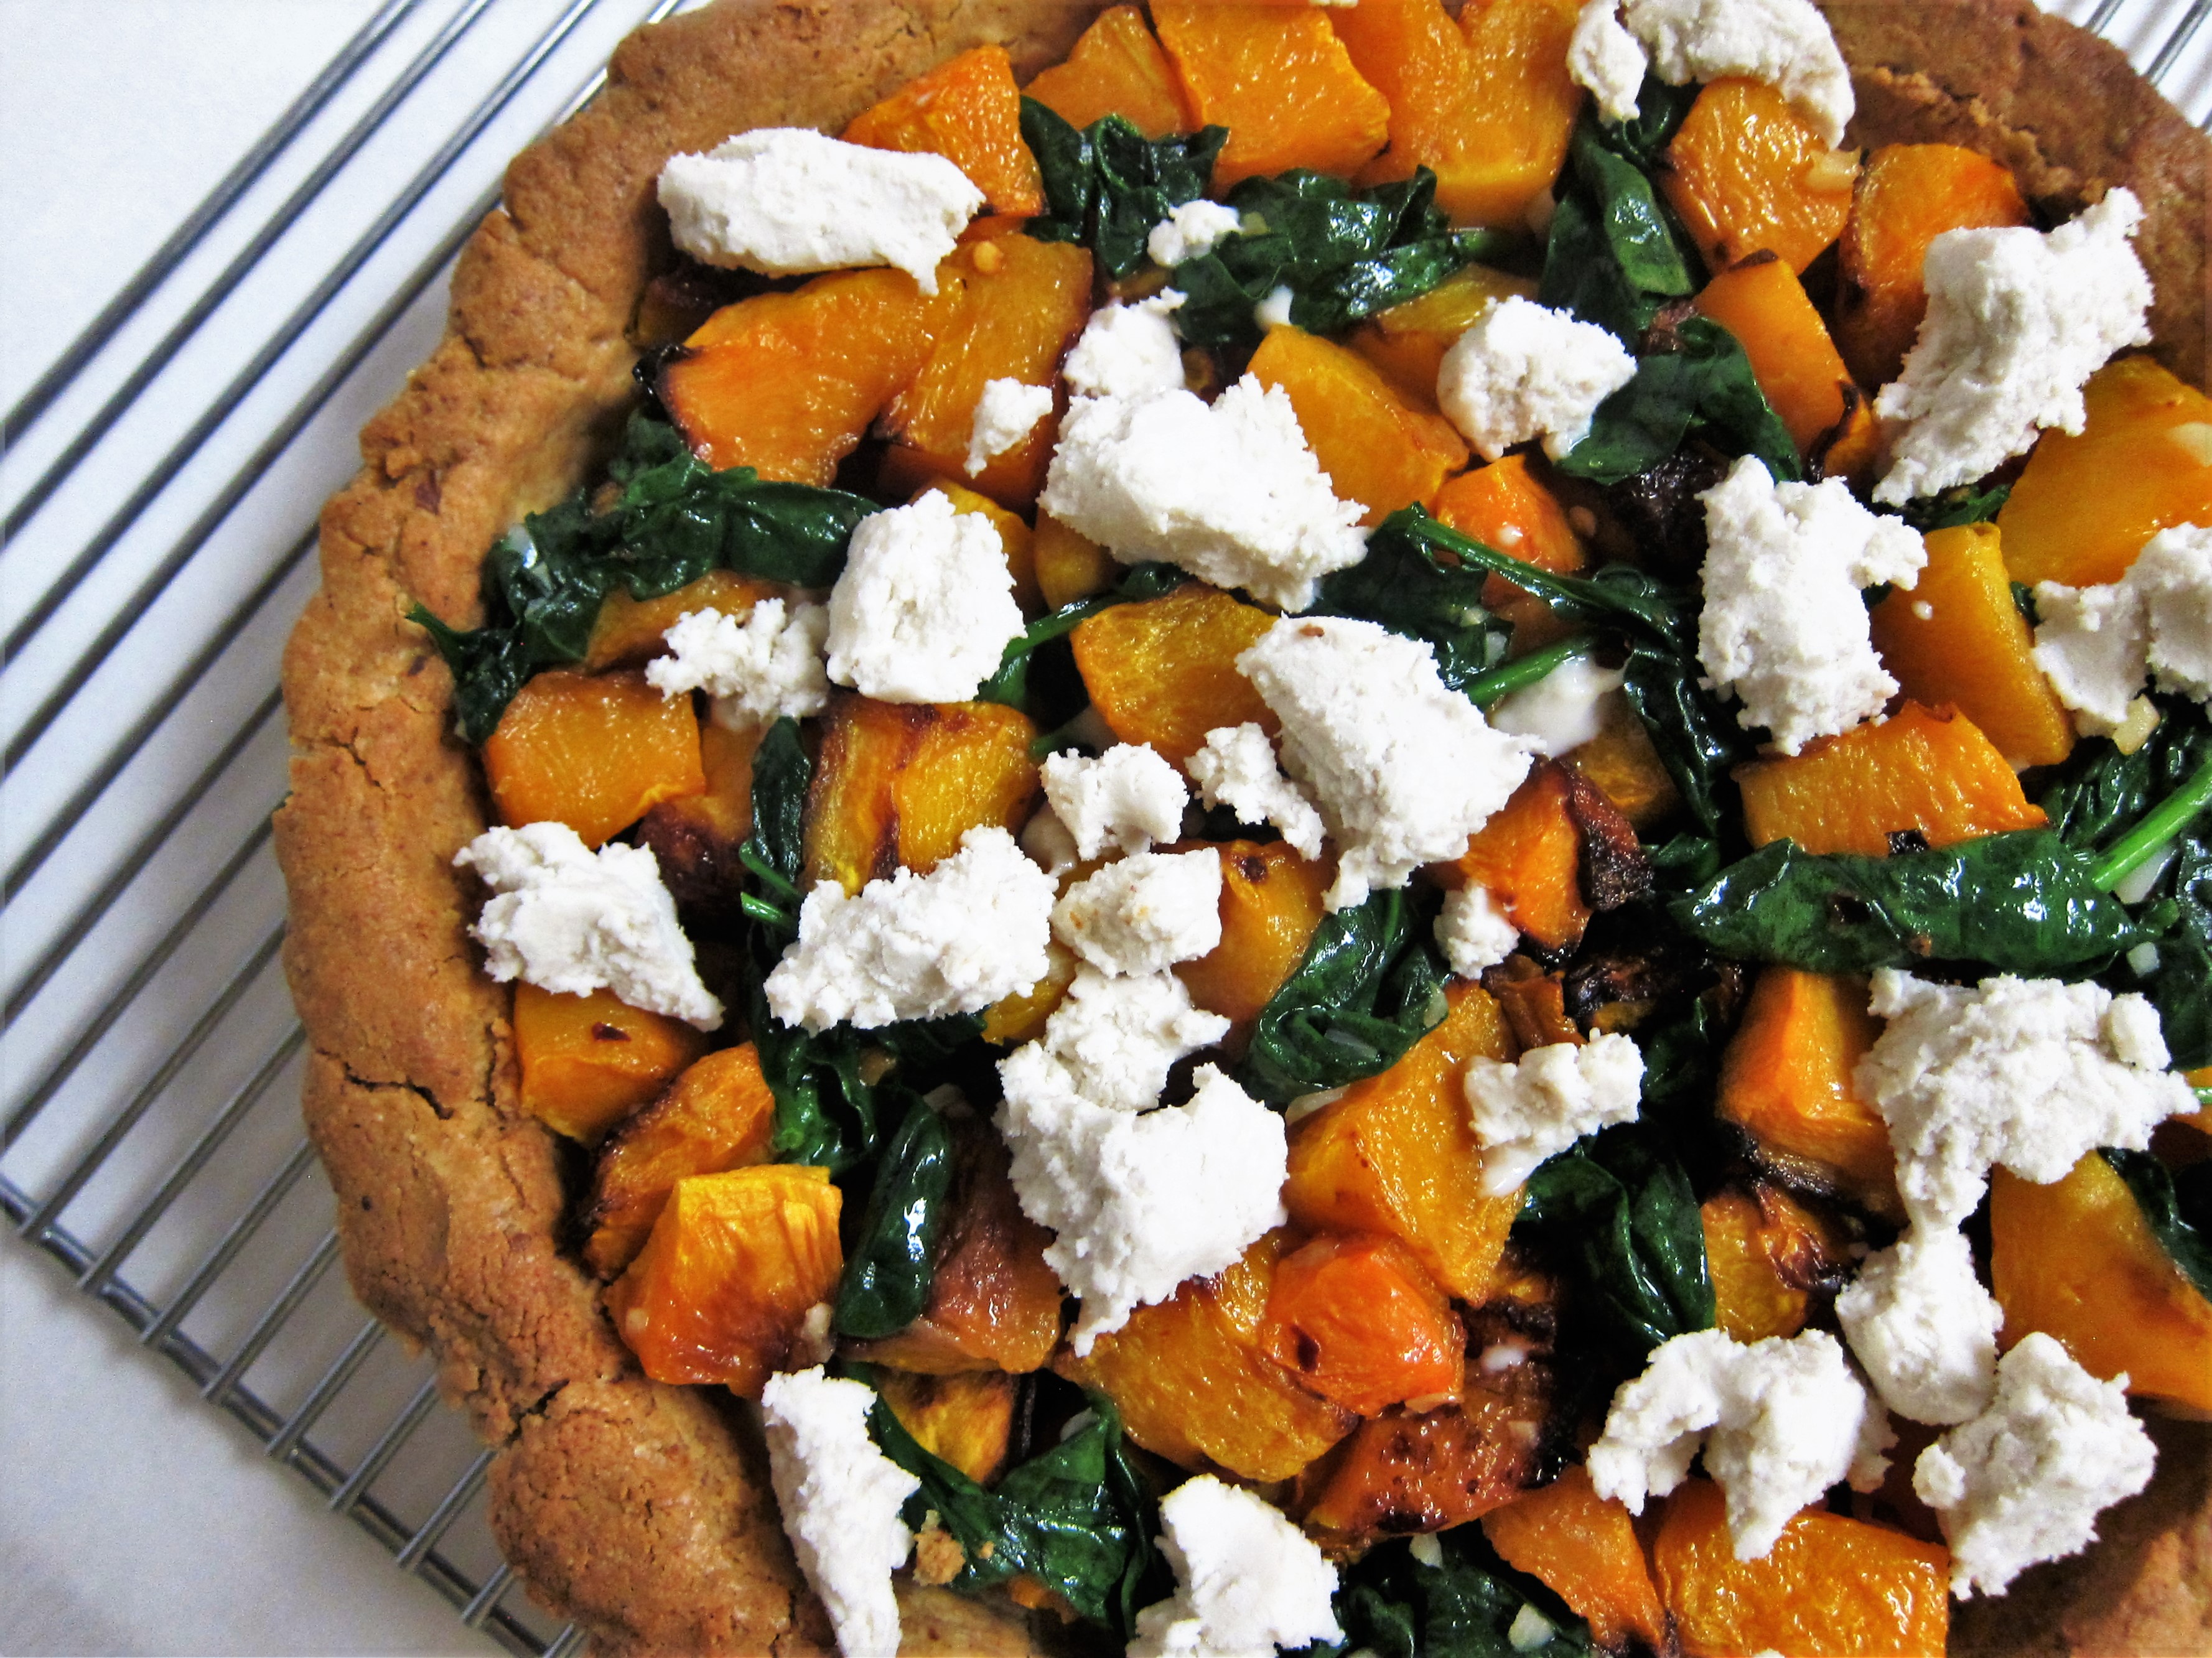
As far as dairy goes, I used to eat a lot of it and I thought I could never give it up, but I did…and I have found some great substitutes for it! Cashews and macadamia nuts make the most wonderfully textured cheeses you can imagine, and coconut makes a great yogurt substitute once you add probiotics to it. I actually like these vegan versions I have made more than real dairy. I even have made a vegan mozzarella that melts great on things like pizza, like THIS ONE. As you can see, there are plenty of ways to eat cruelty free, and I have a few more dairy free “dairy” recipes to share with you that I have replaced my favorite dairy items with below. I hope I have inspired you to think about the products you are eating and maybe consider replacing them with some of these vegan alternatives. And of course if it is vegan desserts you would like to replace the traditional ones with, all you need to do is search this website, I have thousands!

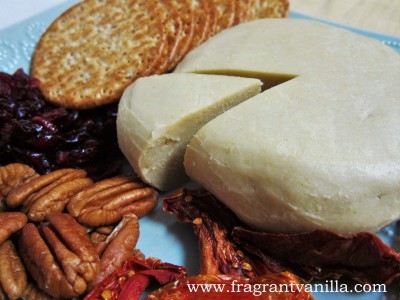
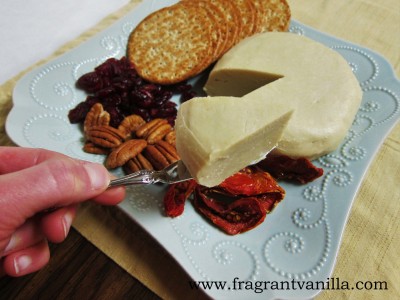
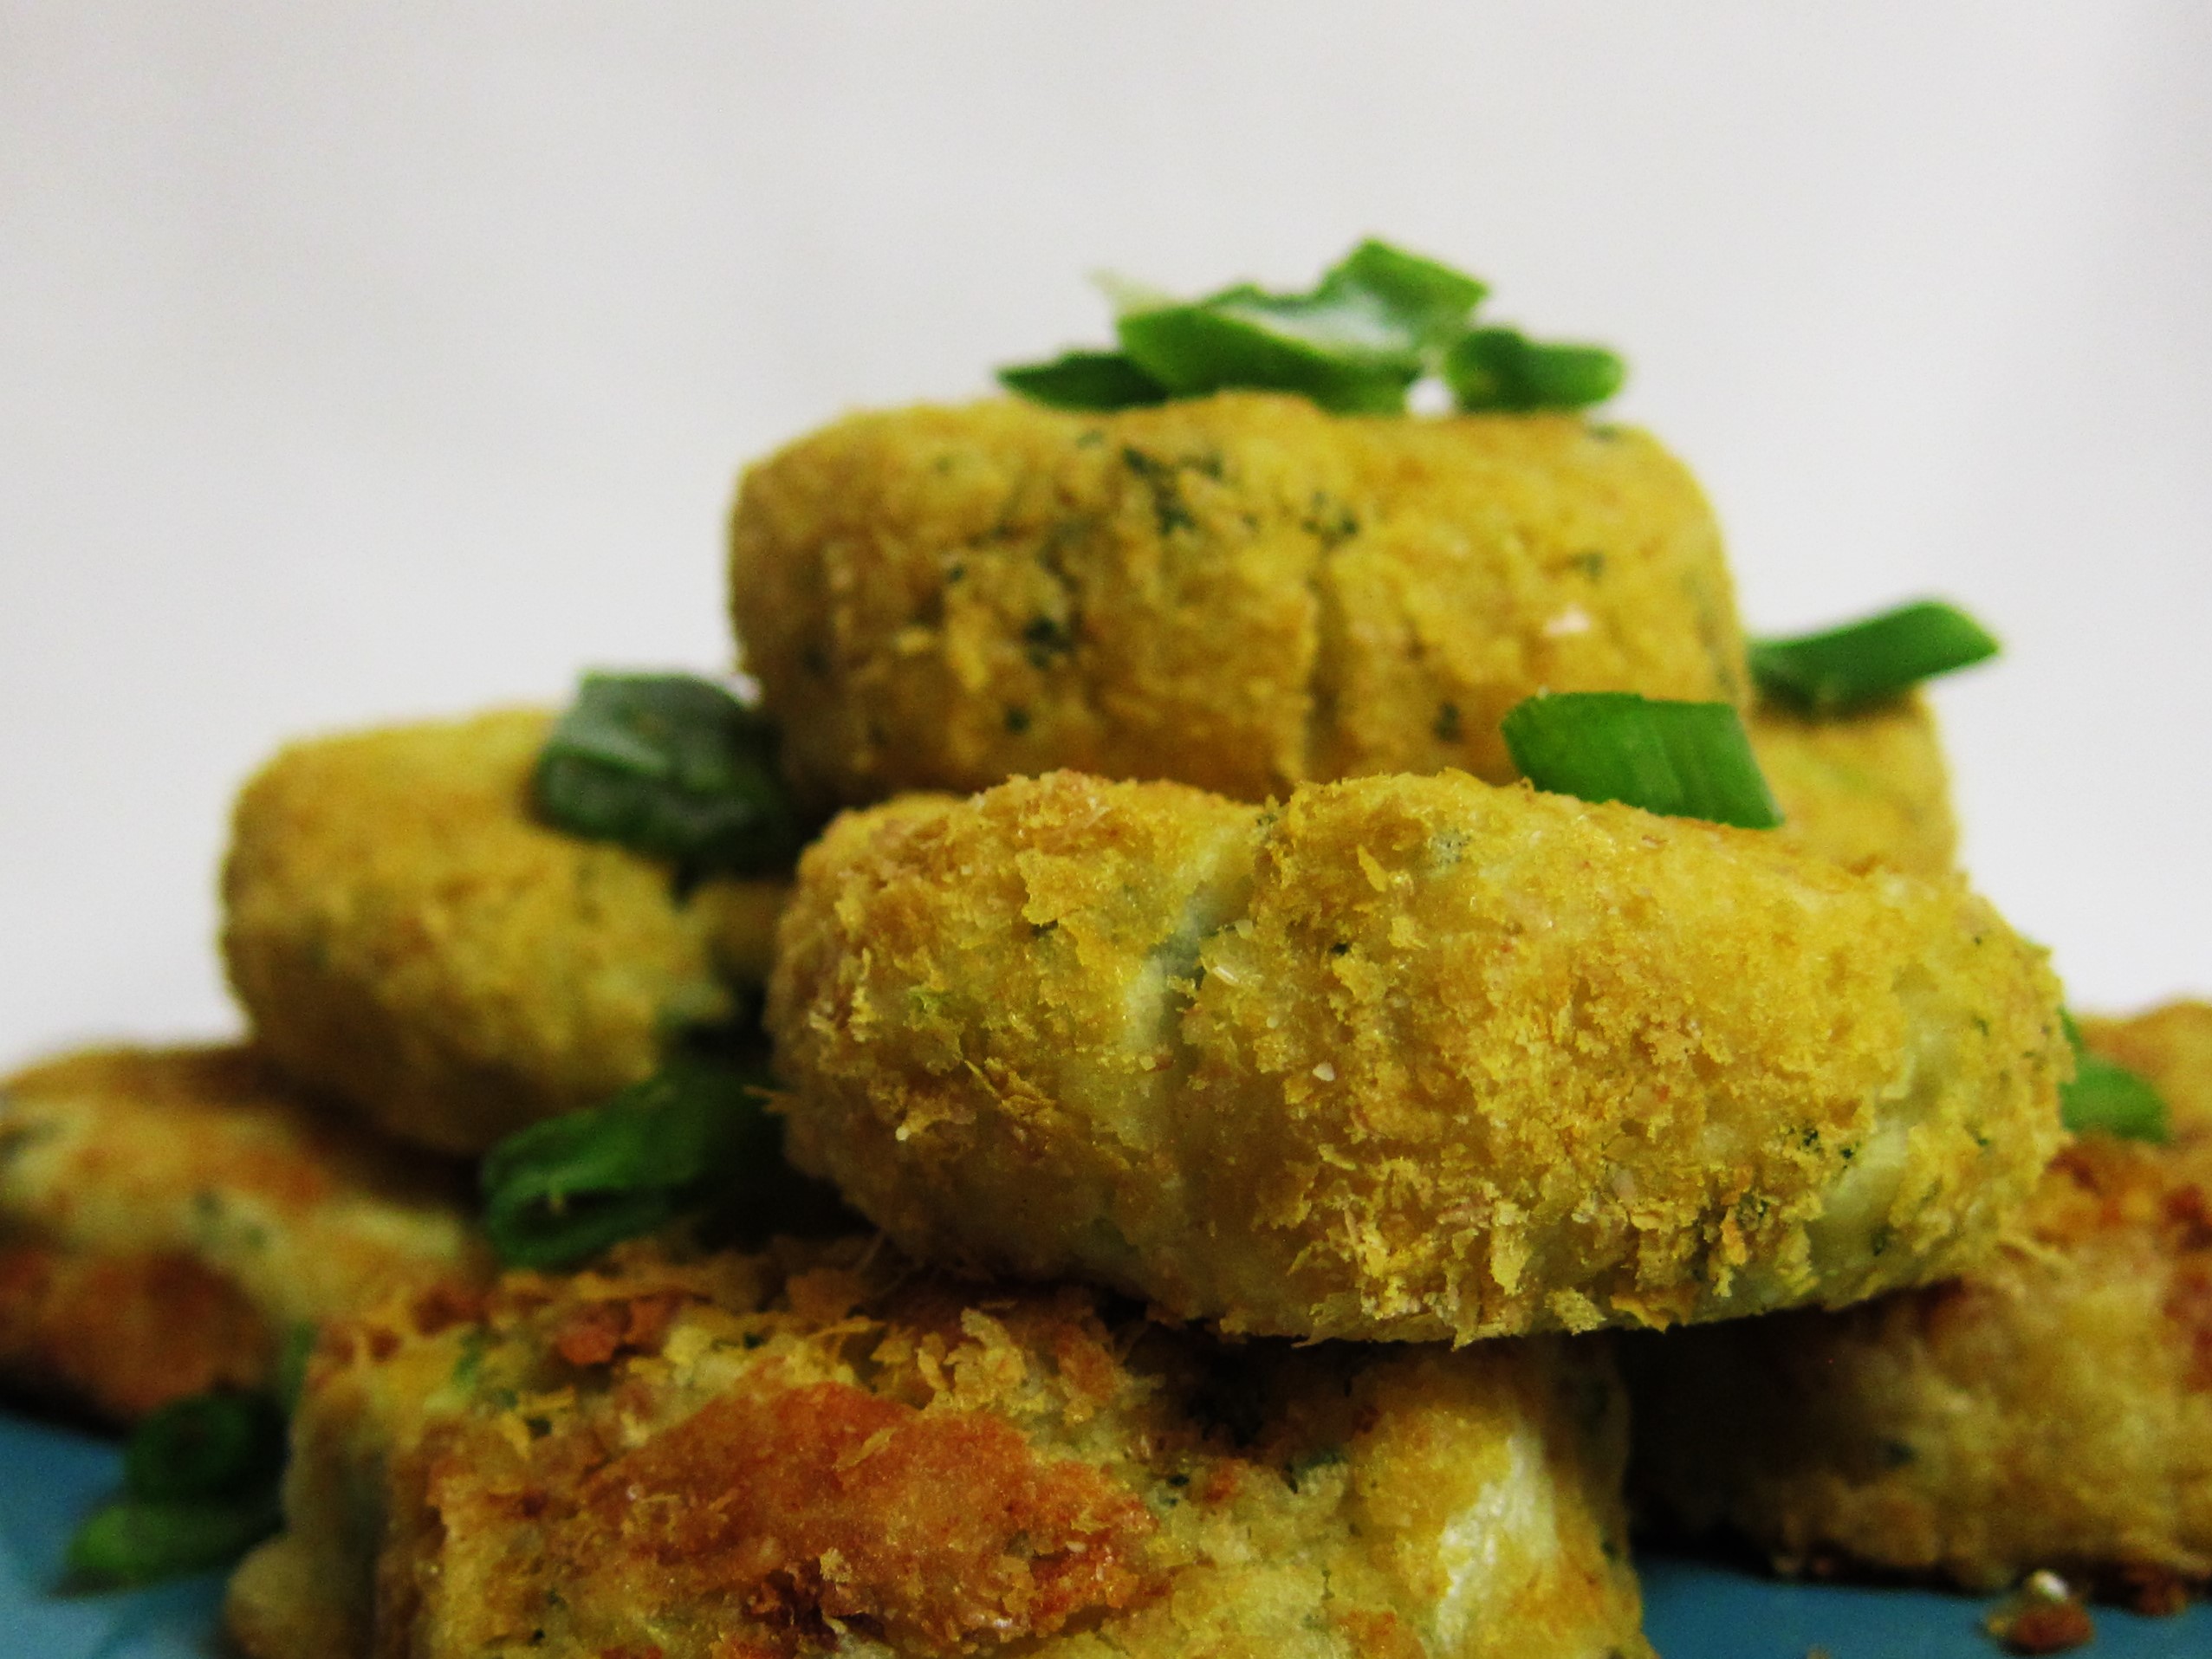
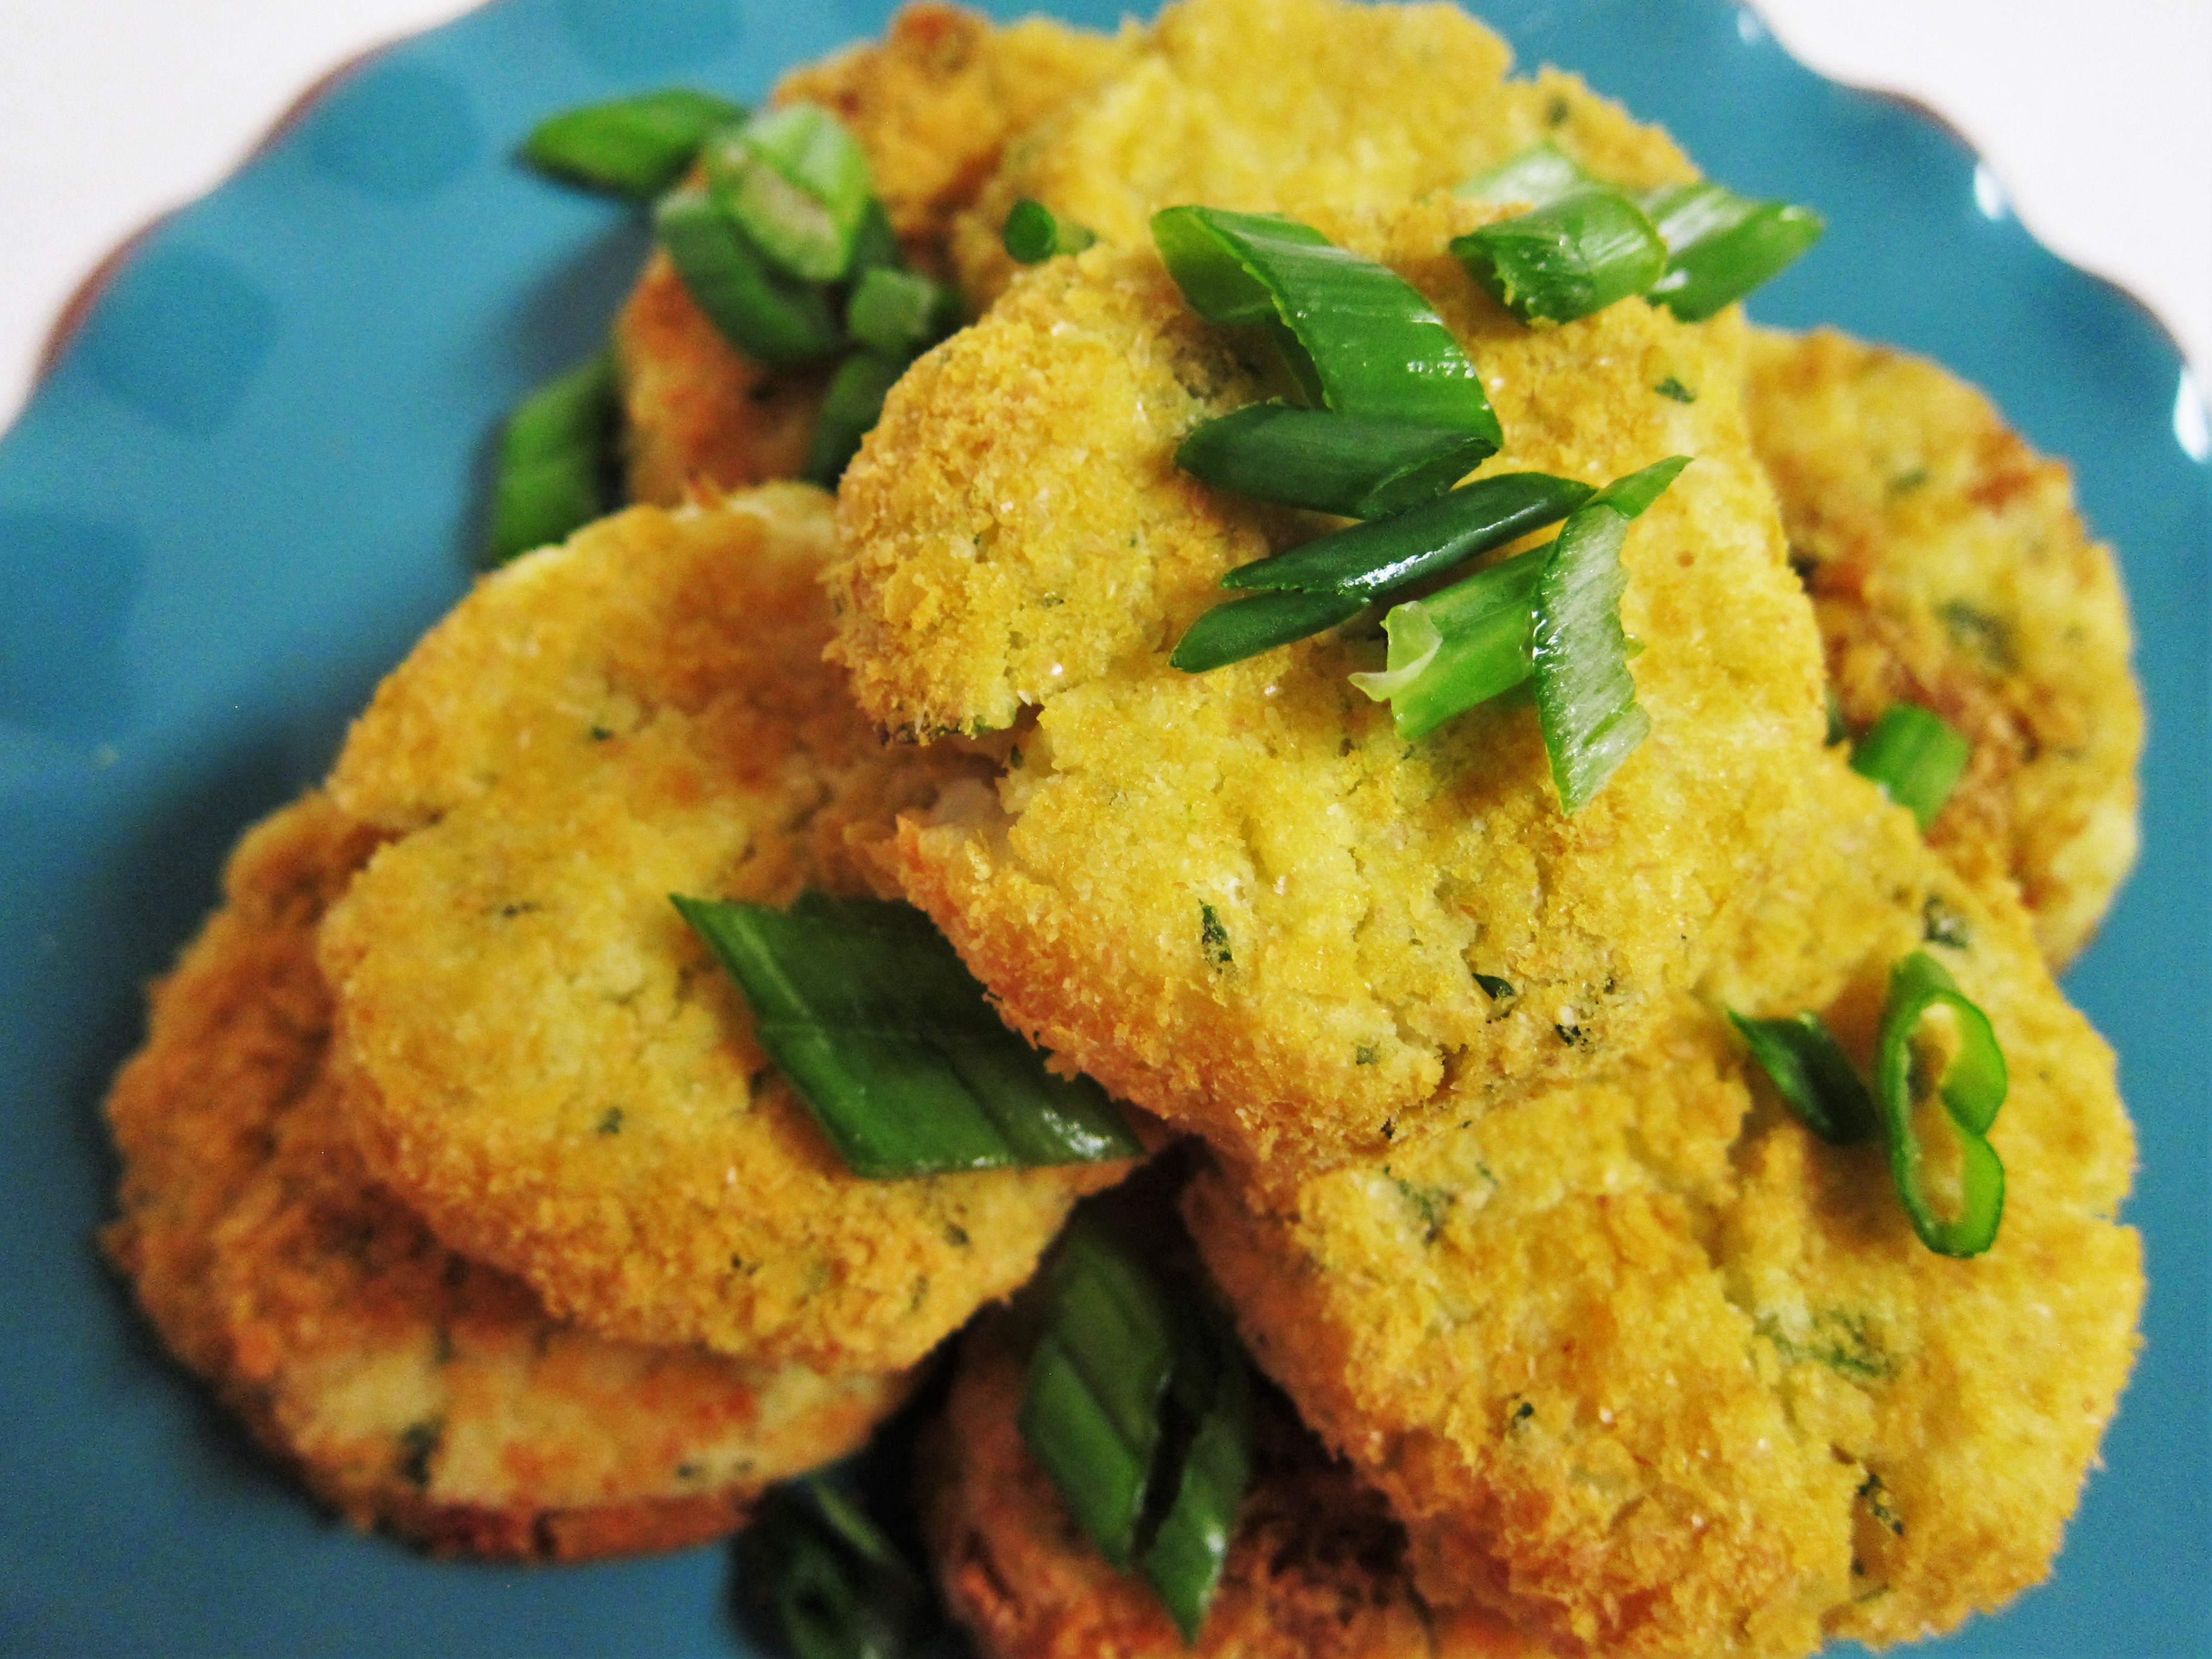
Vegan Sharp Cheddar Cheese
This cheese is tangy like real sharp cheddar thanks to the probiotics and miso which ferment it overnight. It is a wonderful thing to serve with crackers, or if you whisk a bit of hot water into it, you get a luscious cheese sauce perfect for mac and cheese.
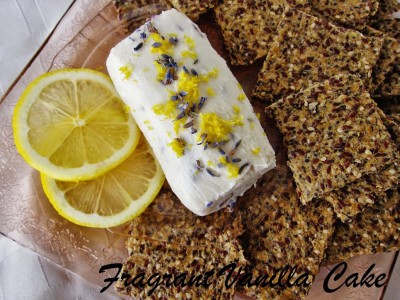
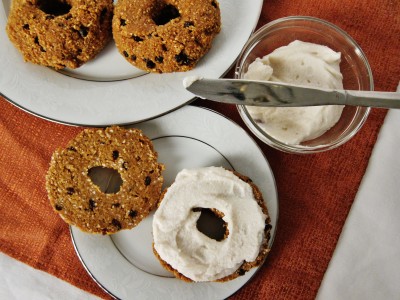
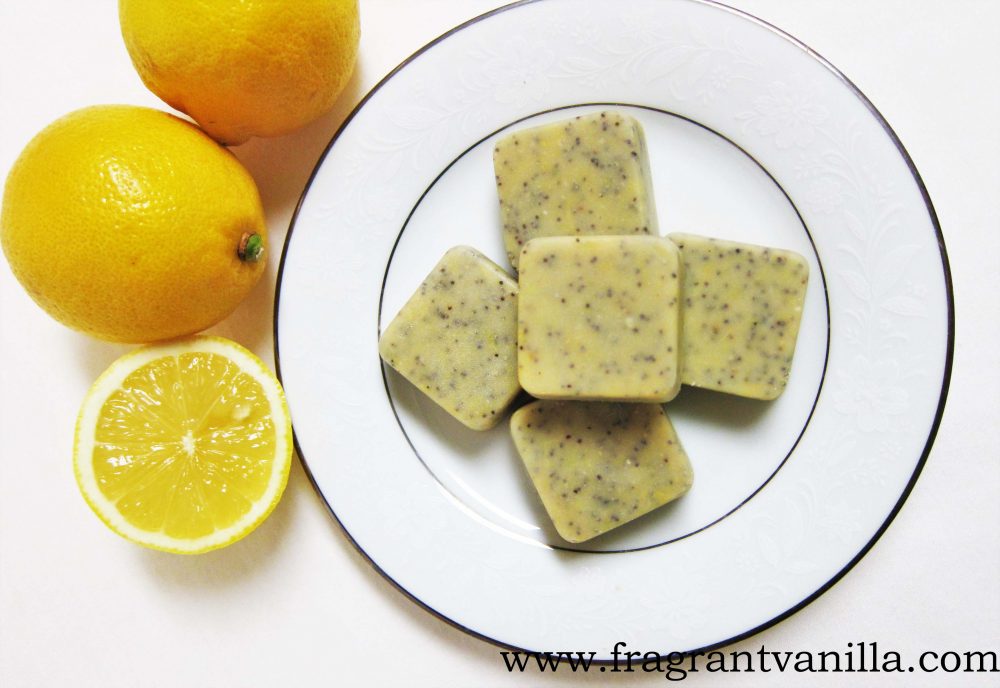
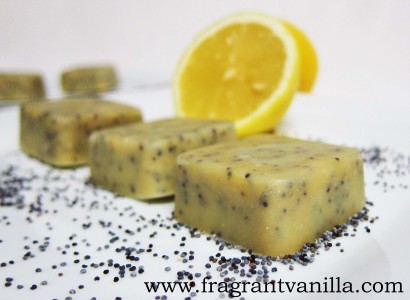
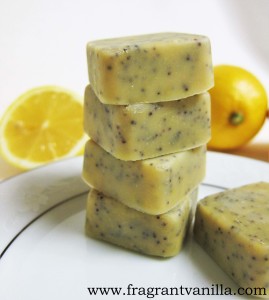
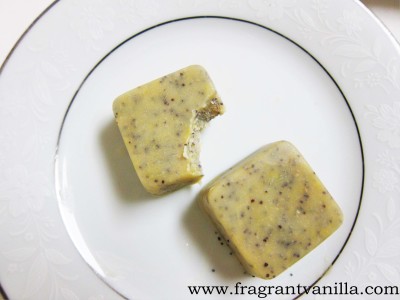
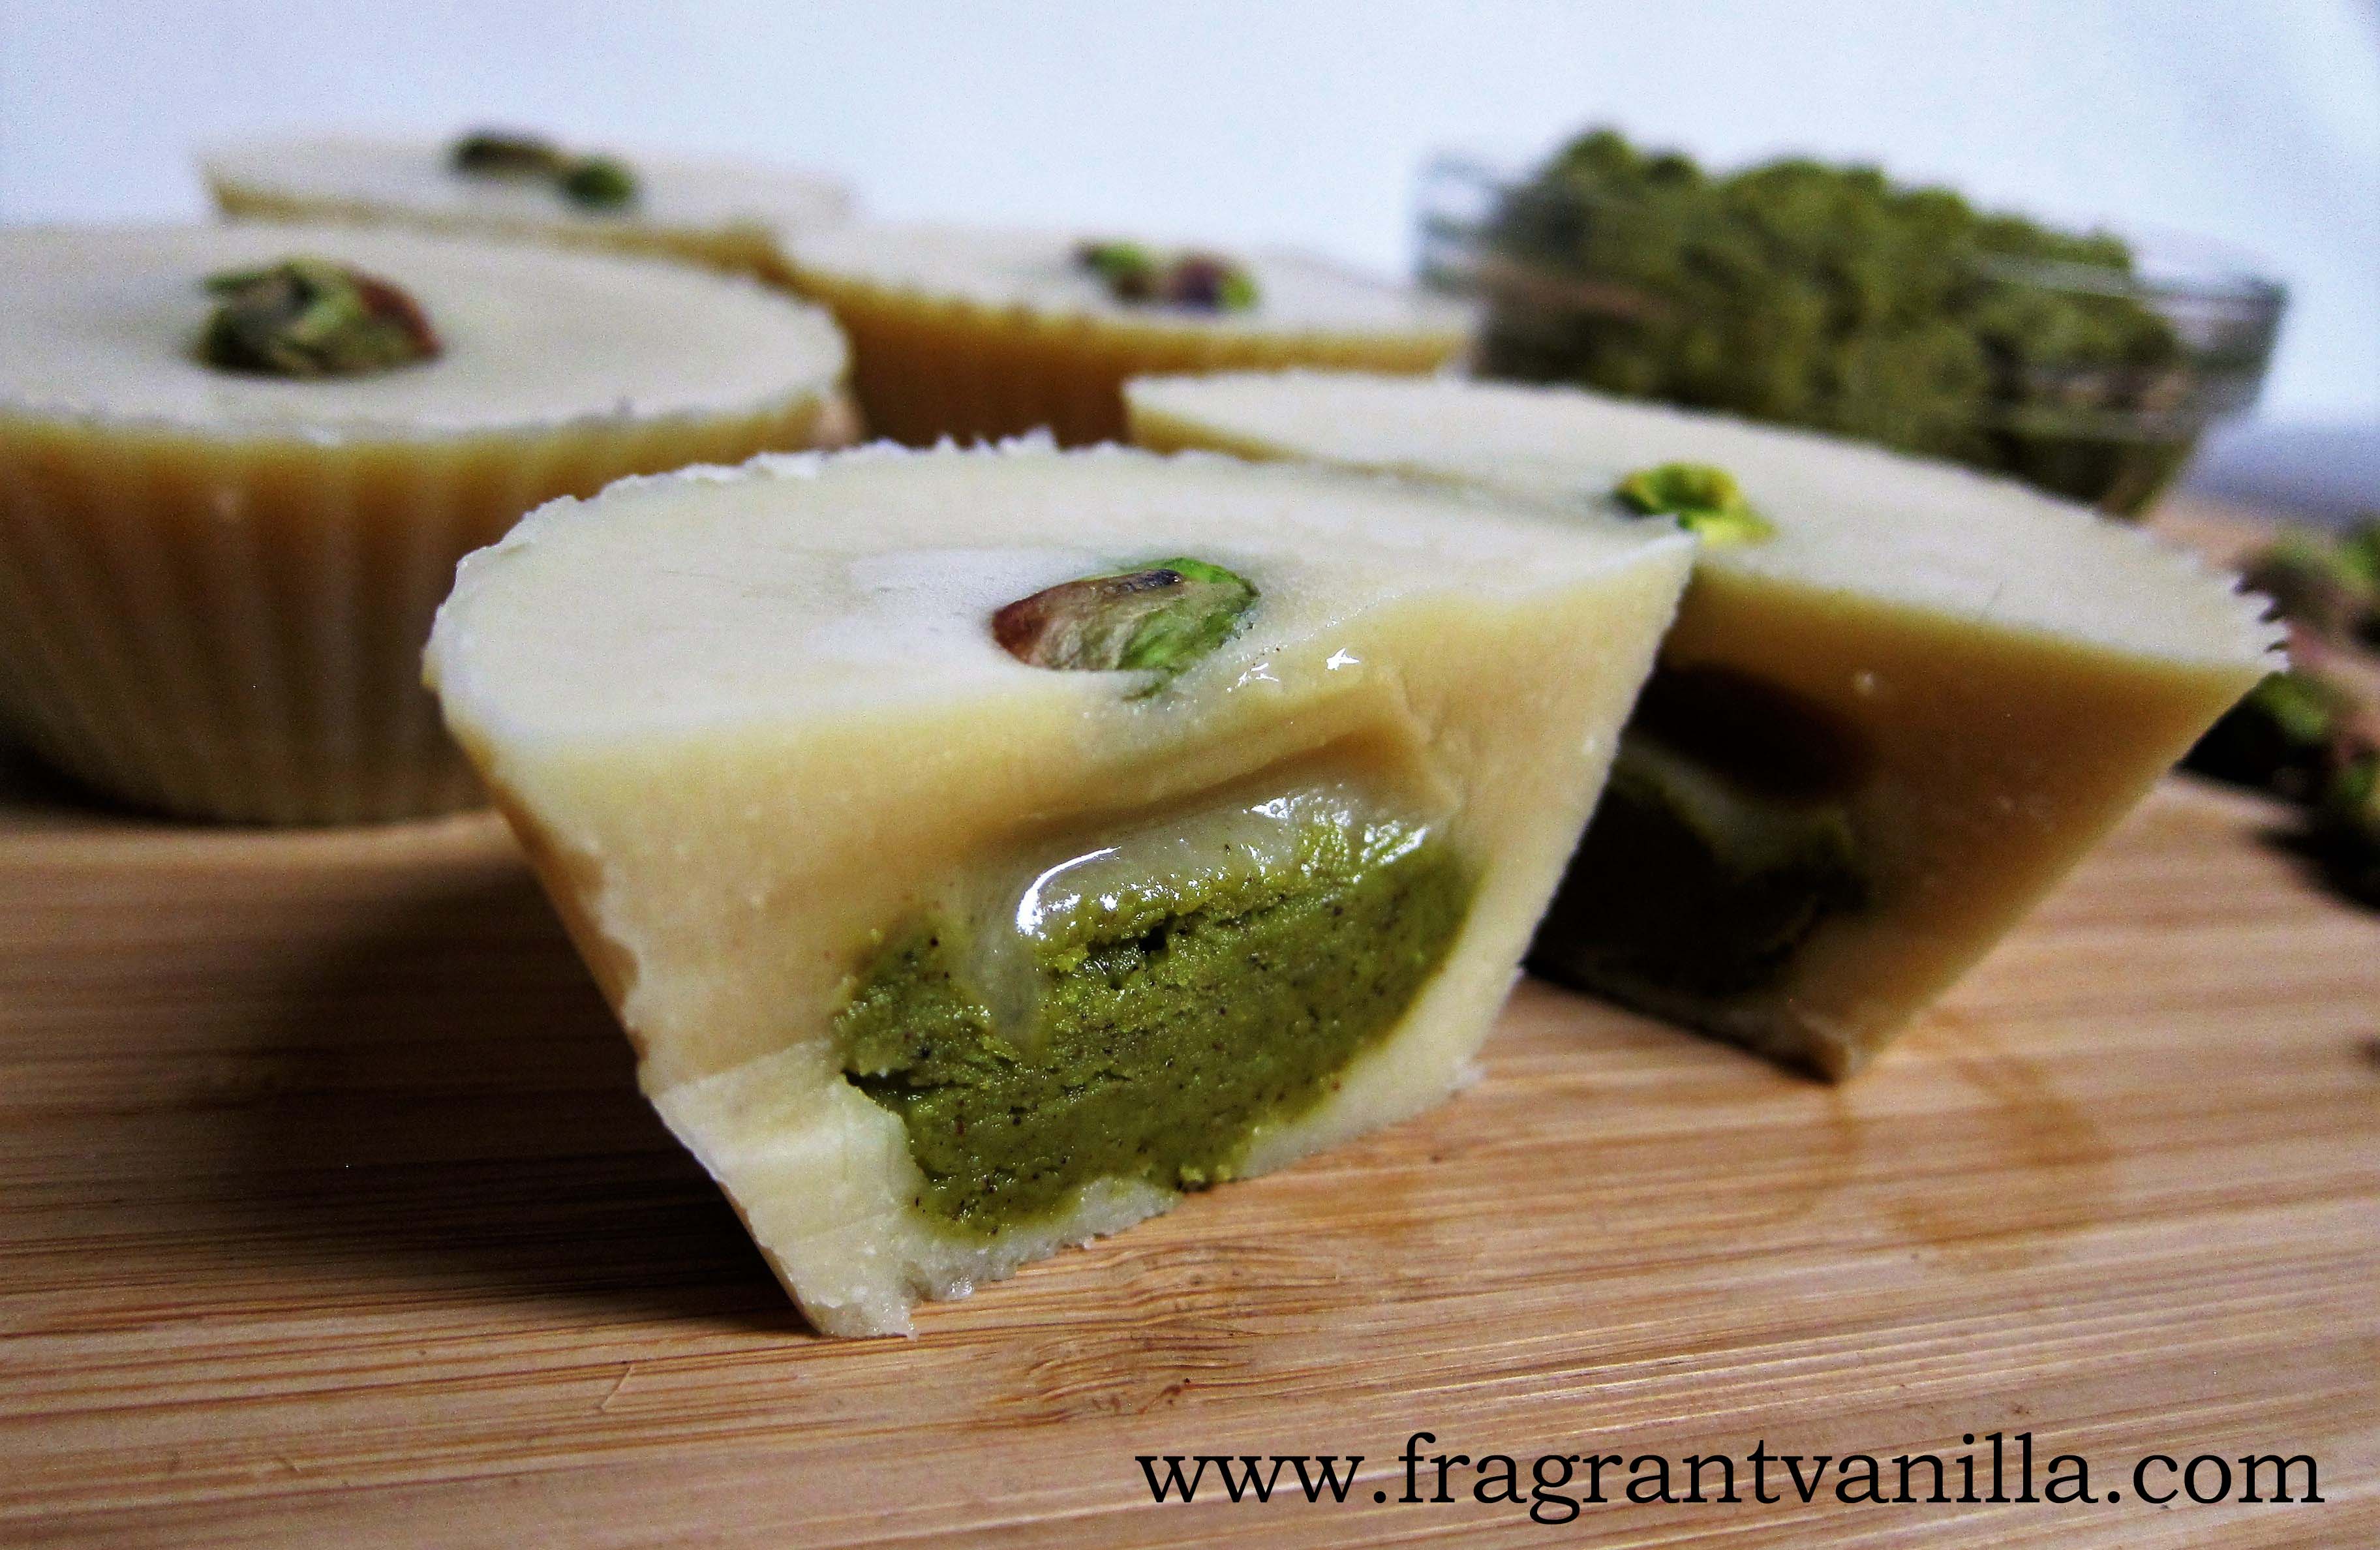
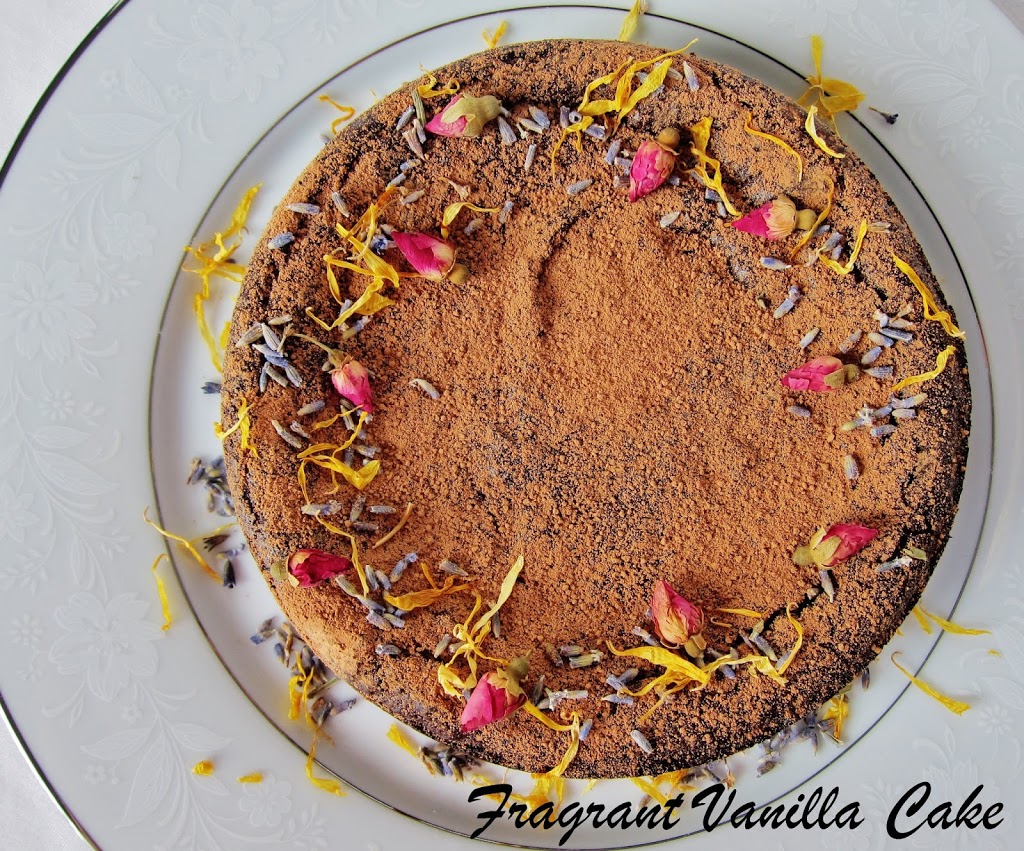
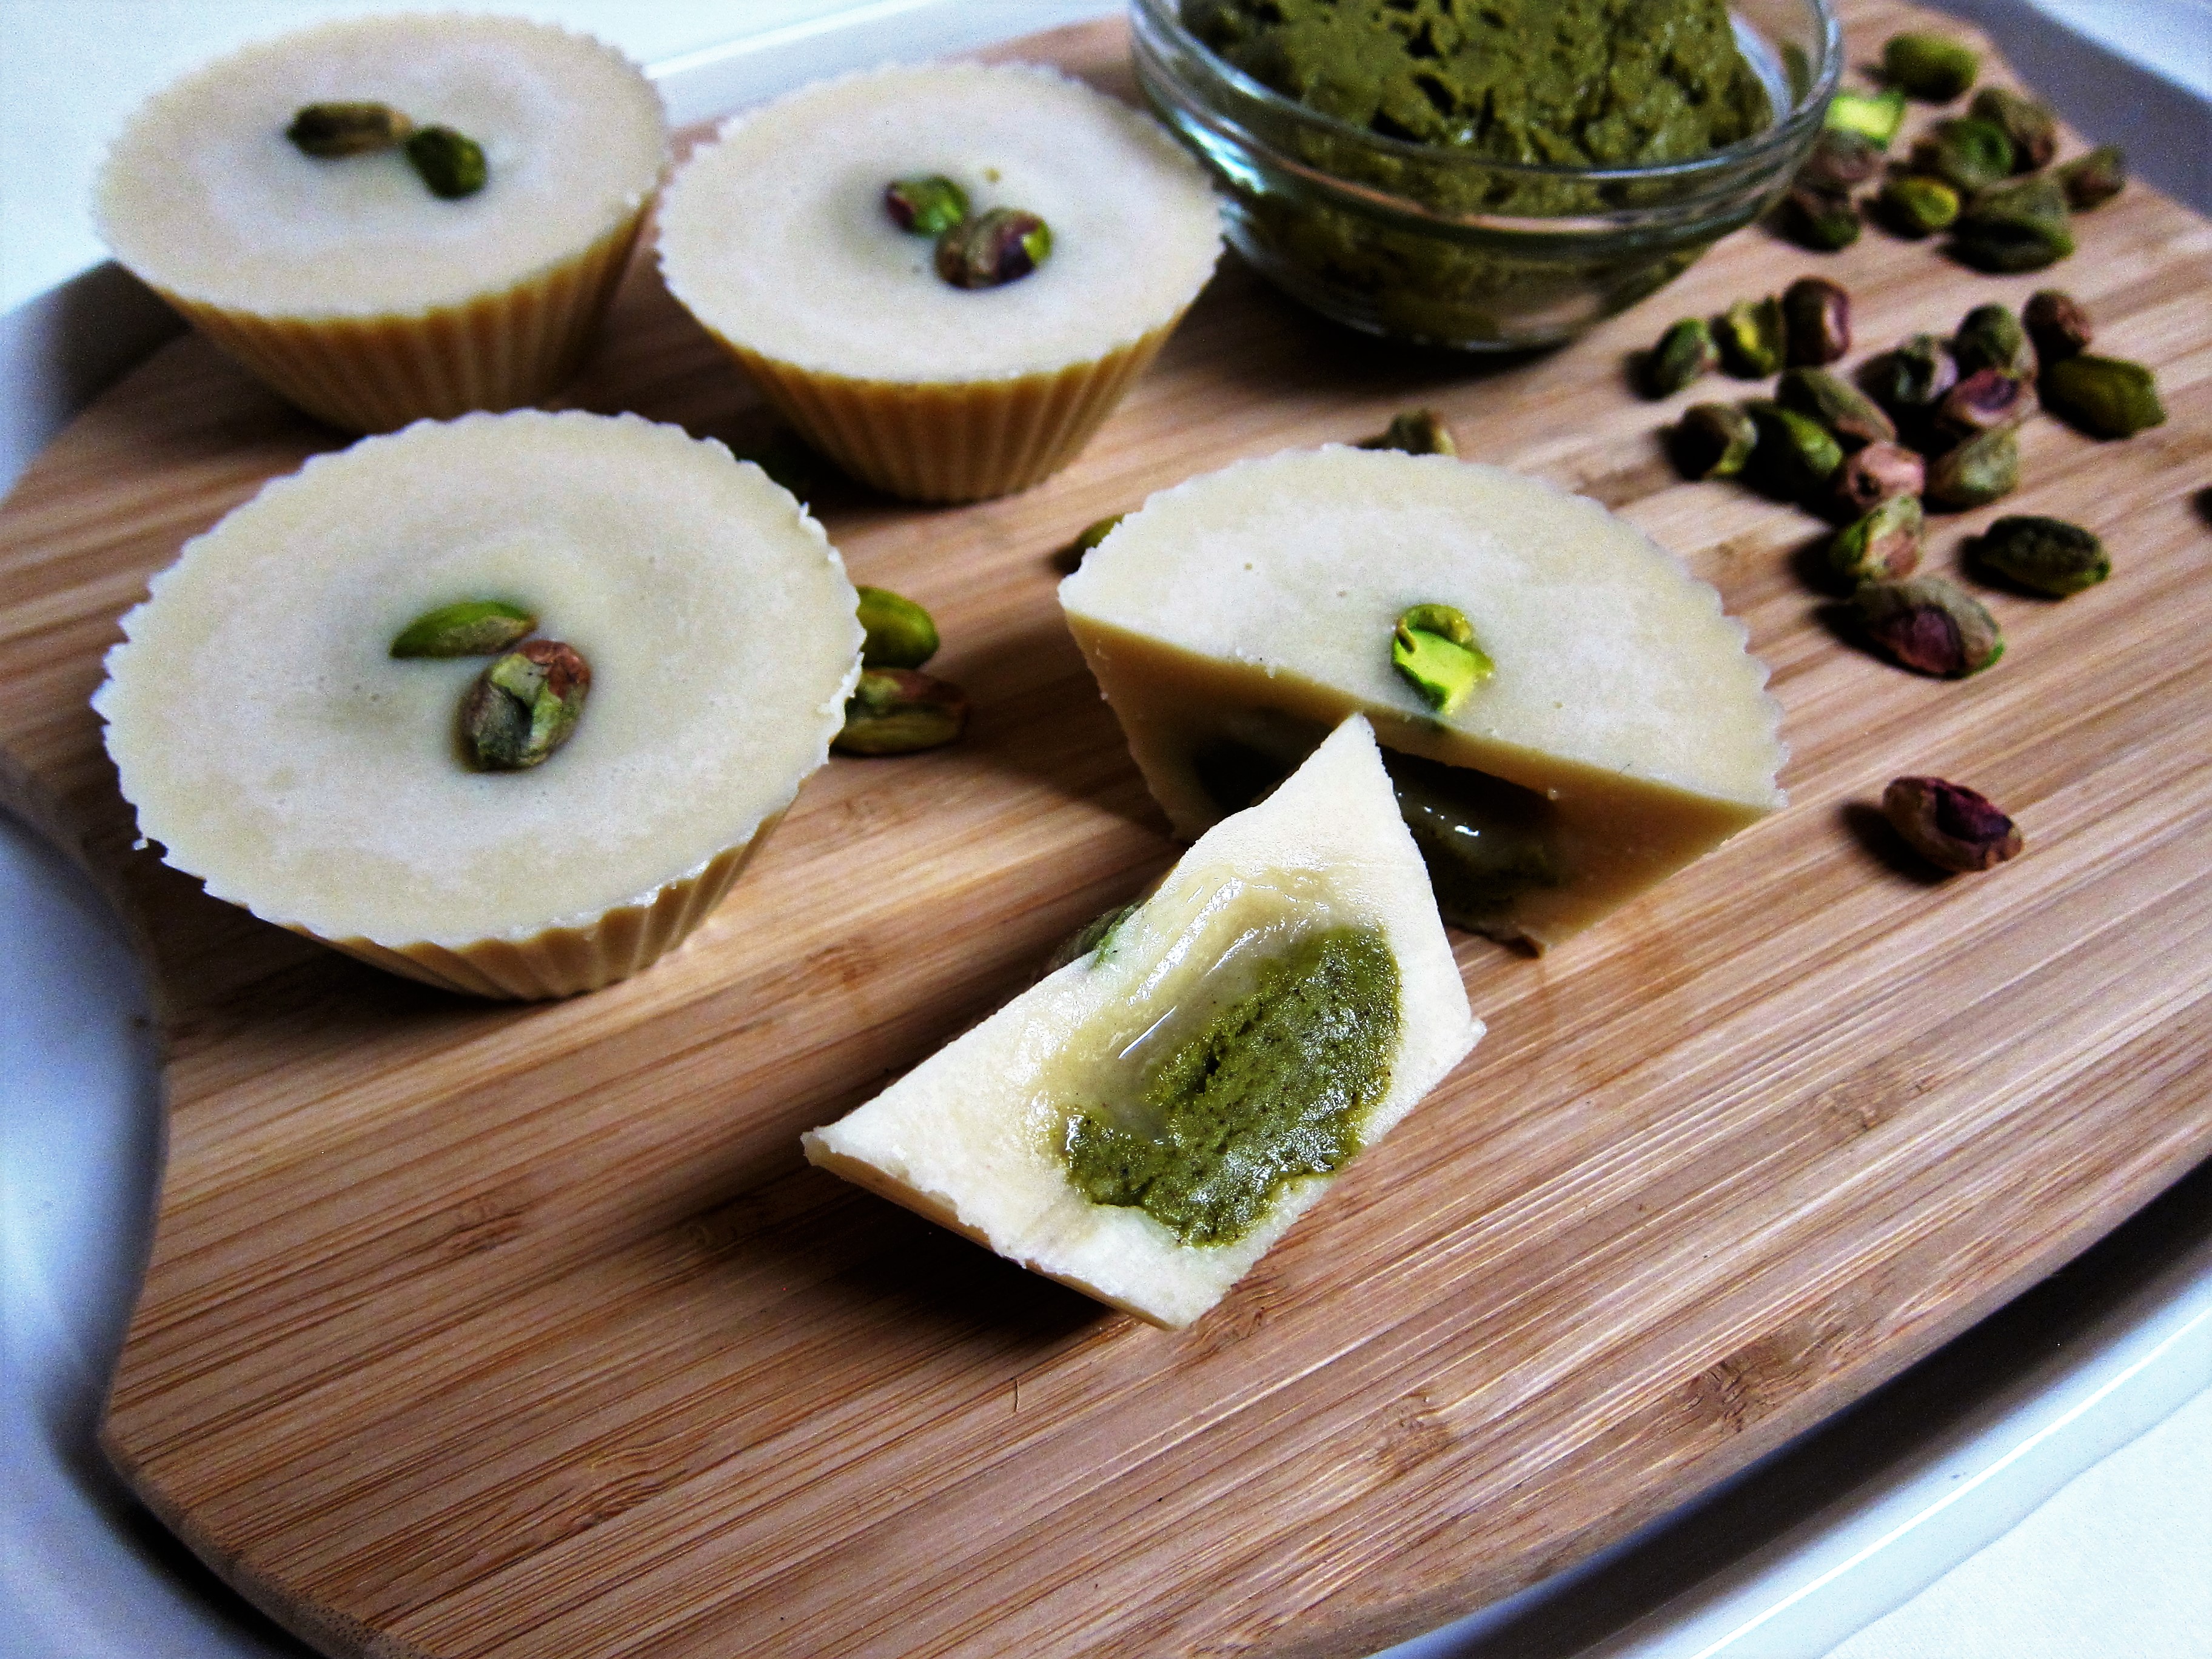
Raw Lavender Lemon Chevre
This is a slightly sweet, easy to make vegan cheese which is perfect for spreading on bagels or crackers or crumbled up with fruit for a simple dessert (as I like to eat my chevre).
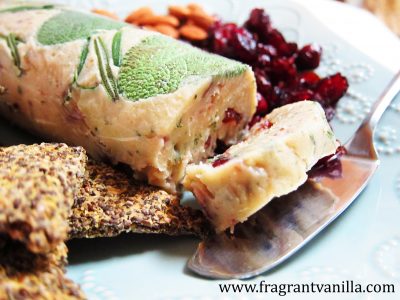
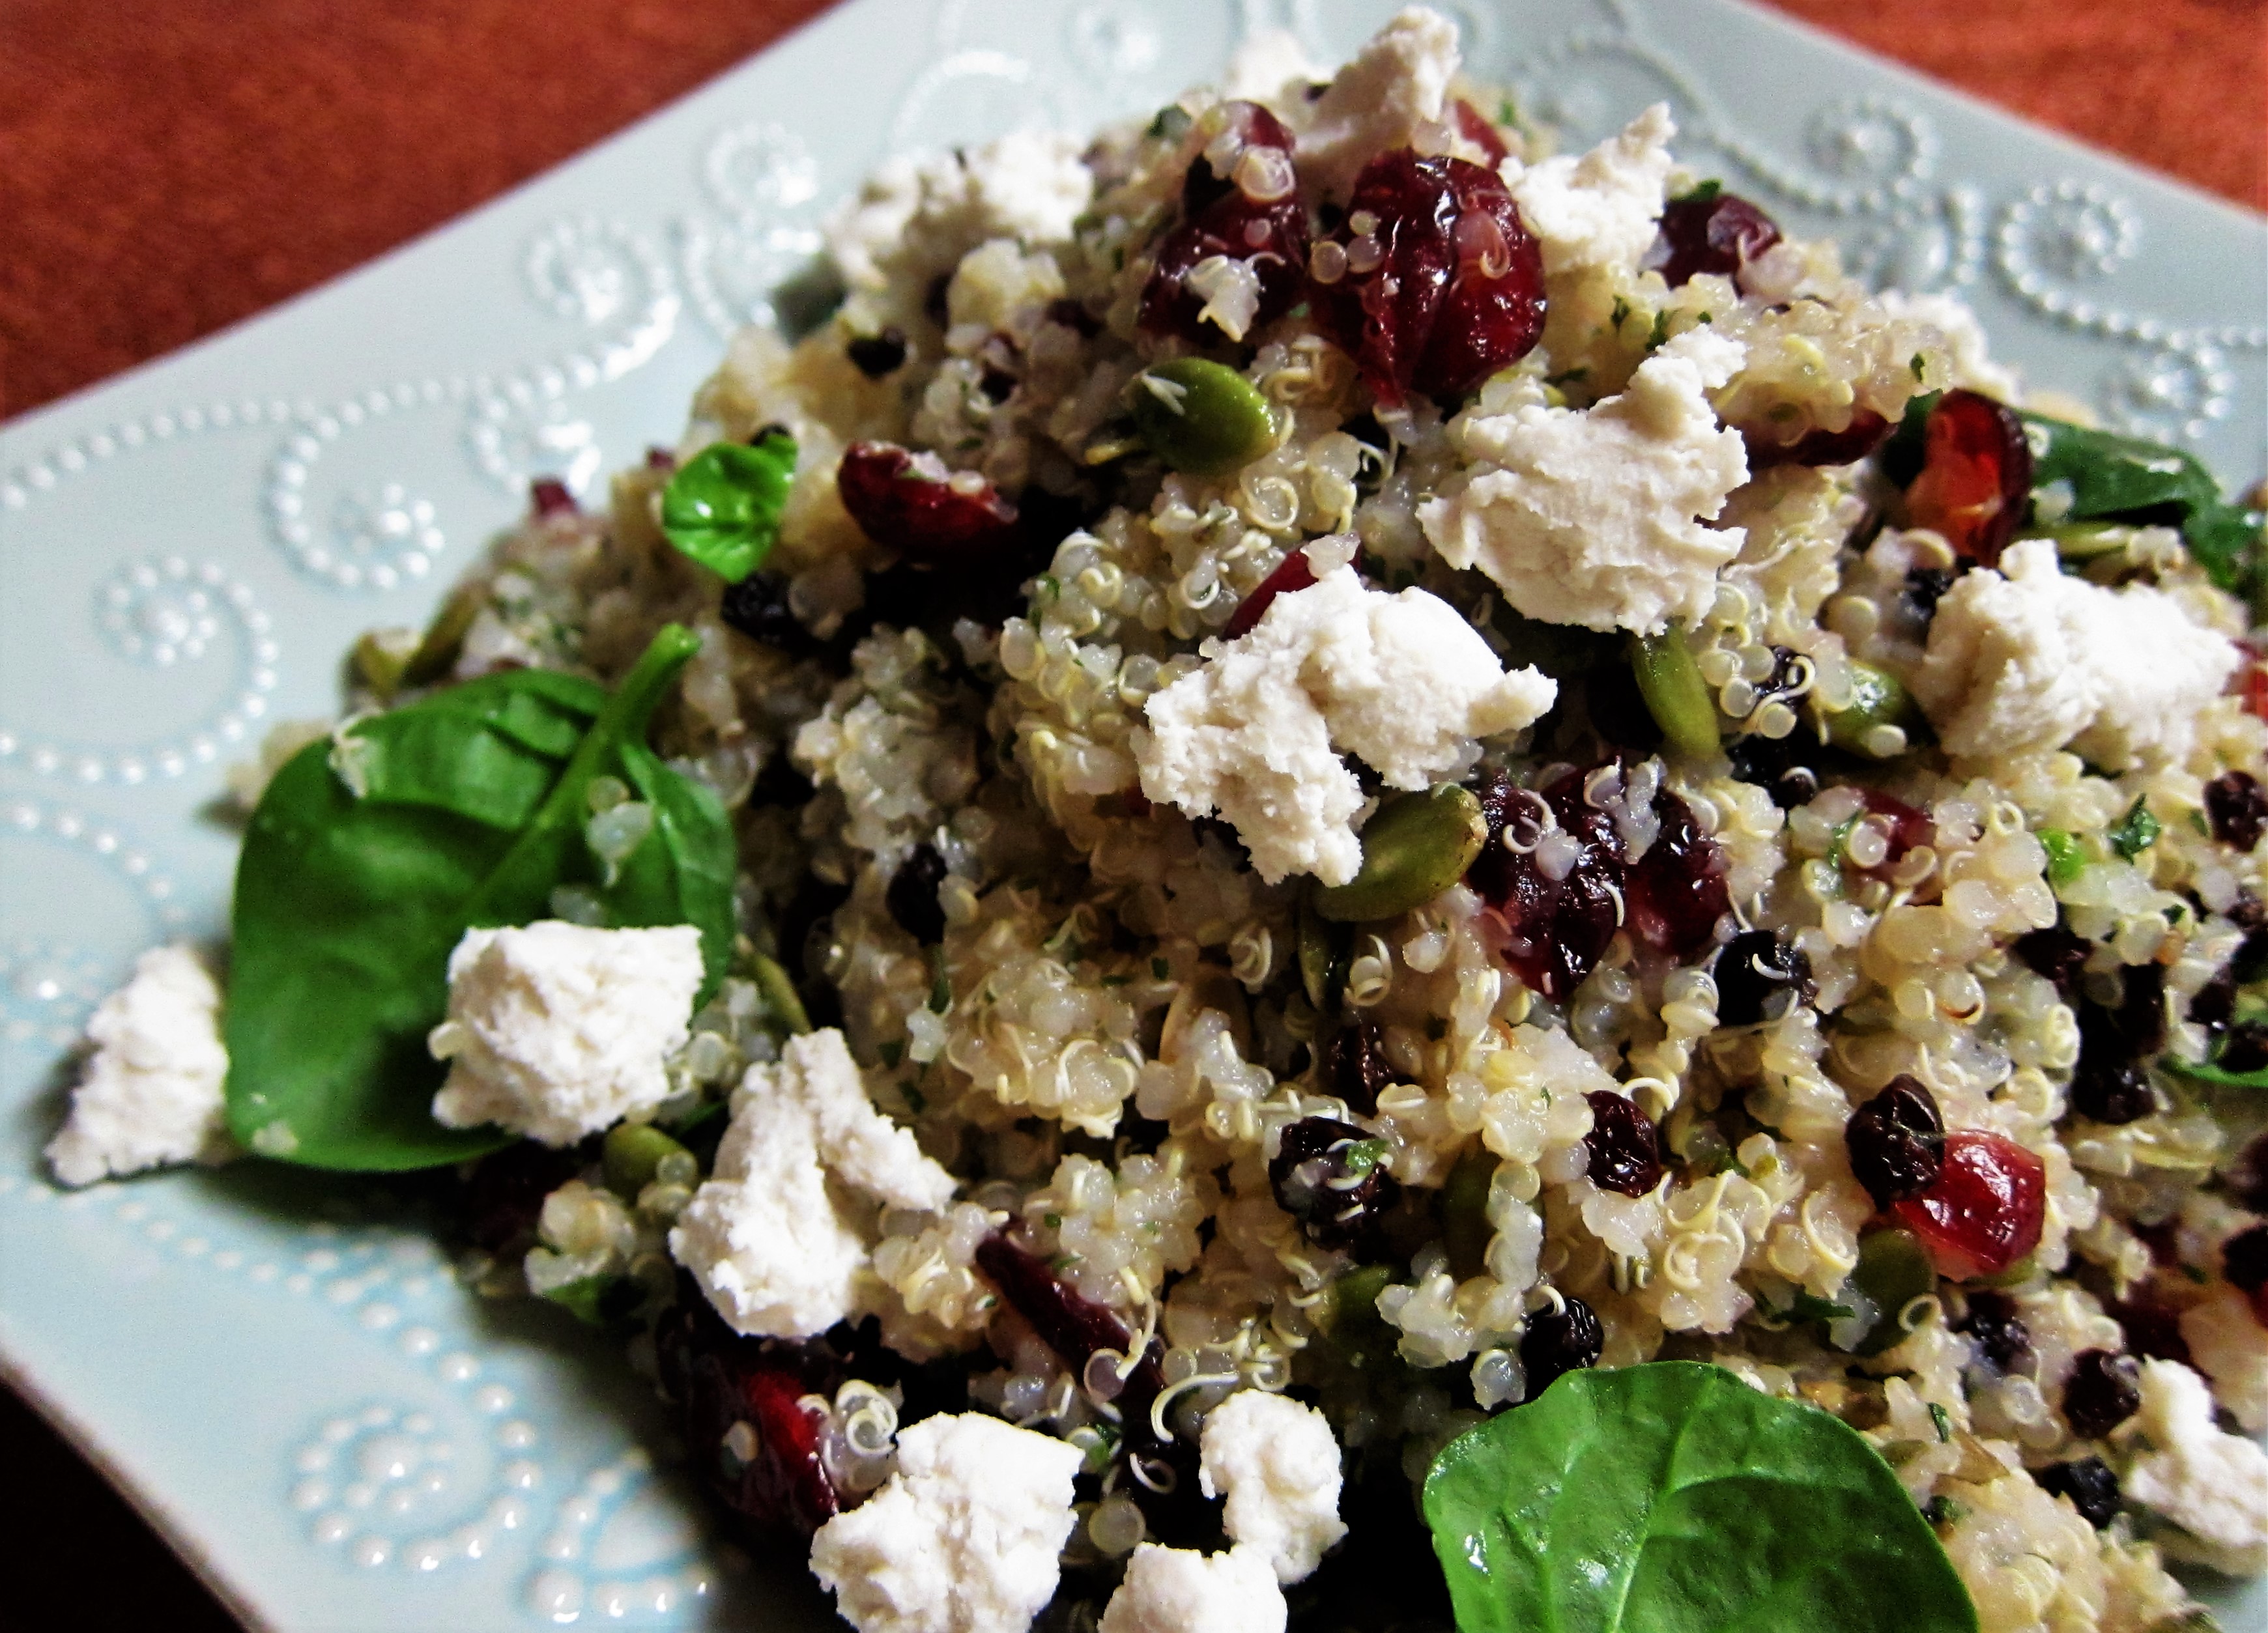
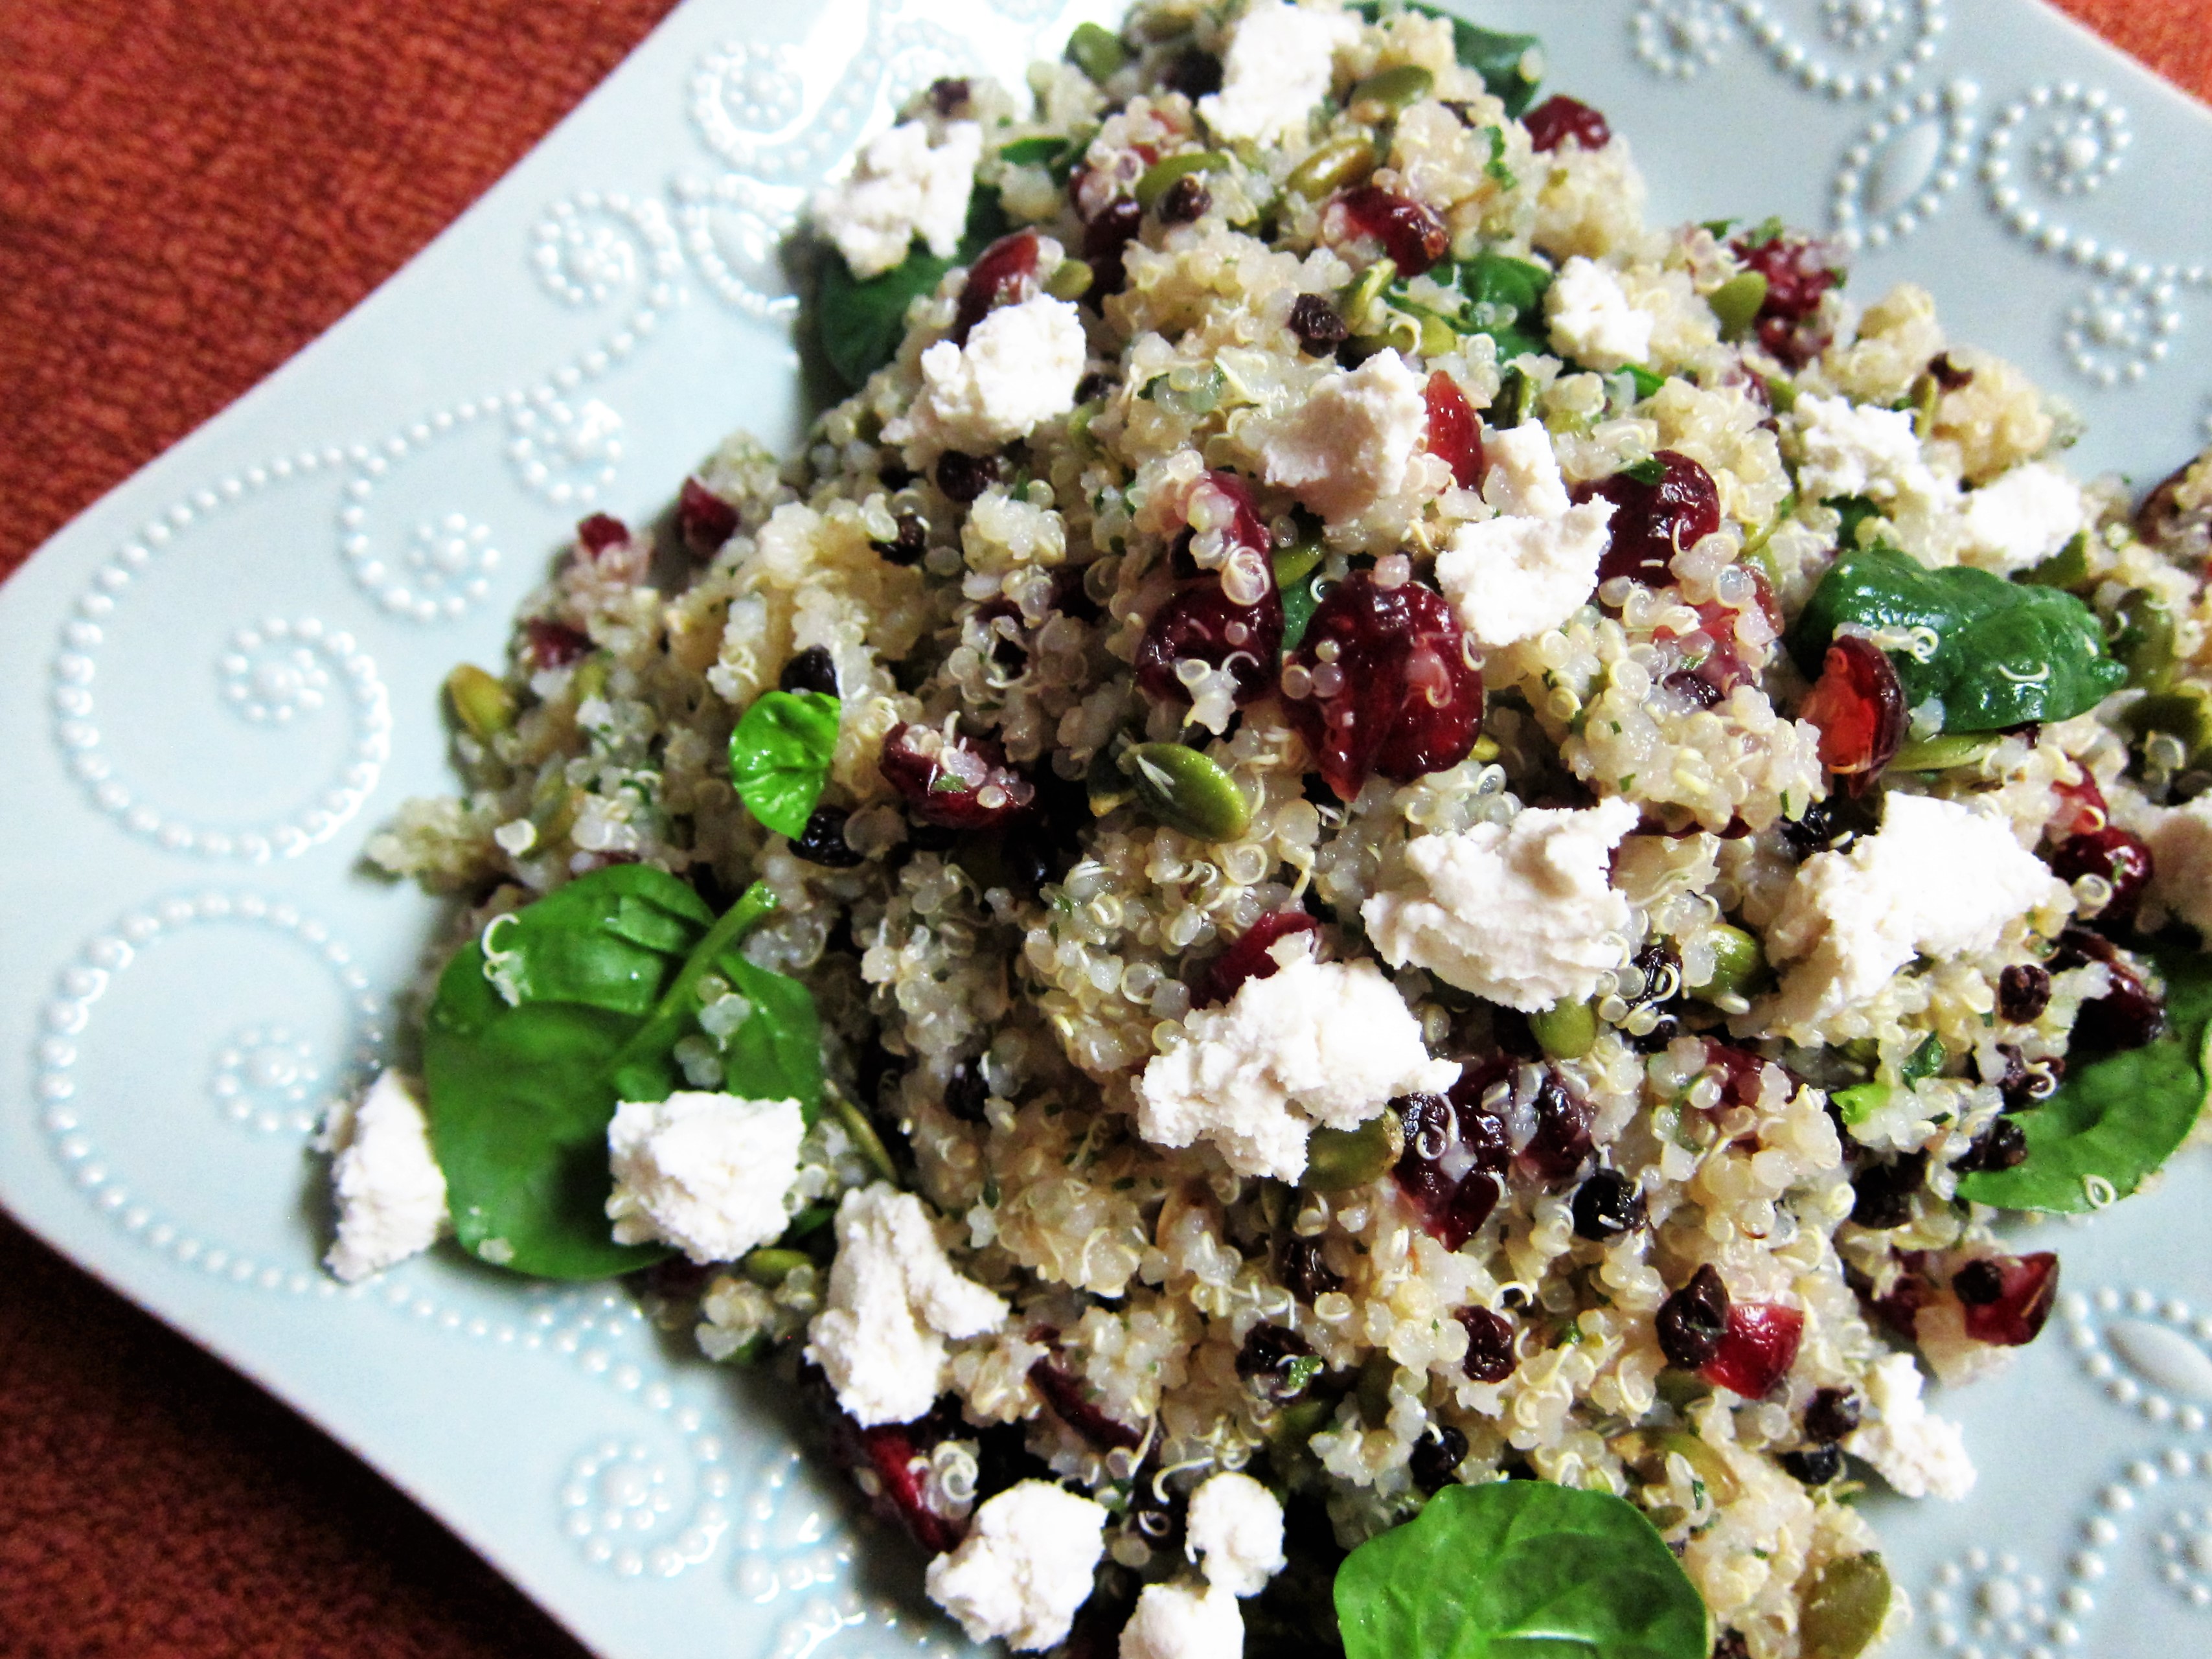
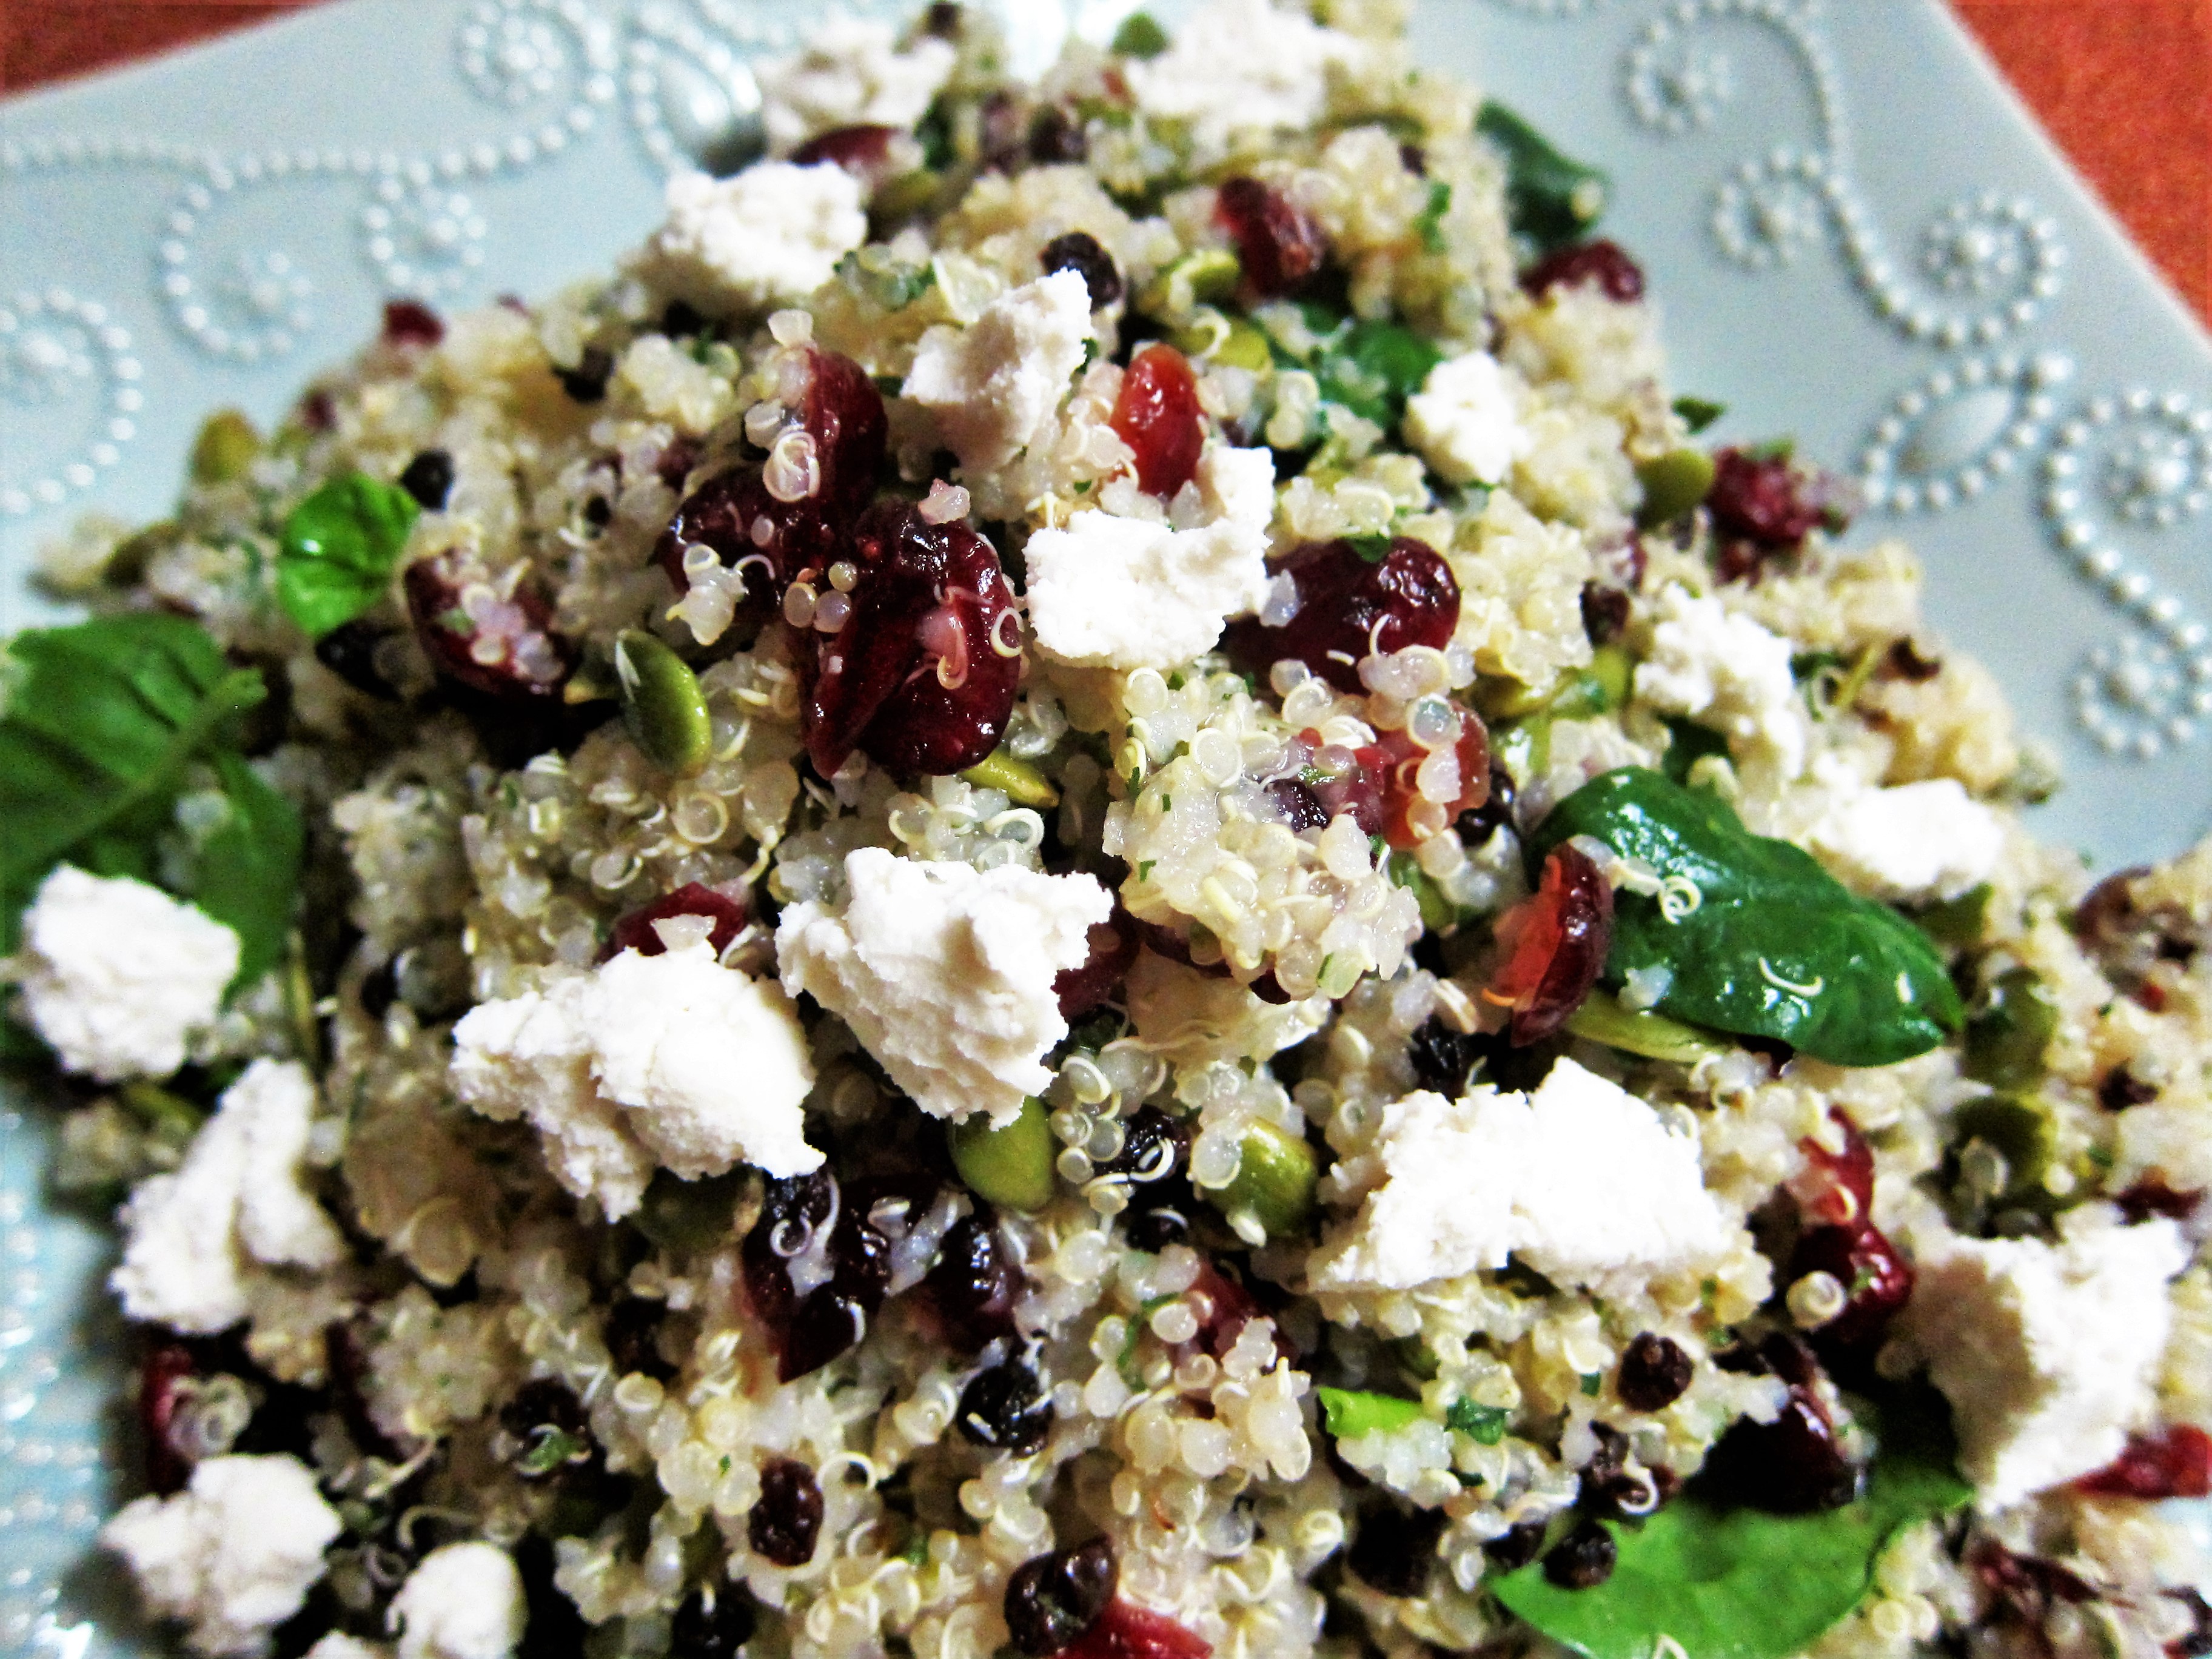
Vegan Rosemary Sage Cranberry Chevre
If you are entertaining for Thanksgiving, this would be the perfect cheese to add to your cheese plate. It is not only pretty but super delicious served with seeded crackers. Or, you can crumble it over a savory salad or pasta dish at the last minute before serving.
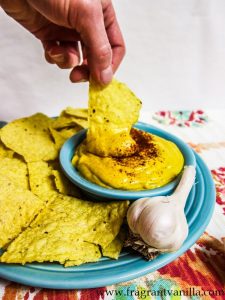
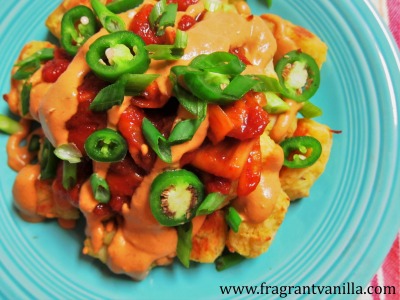
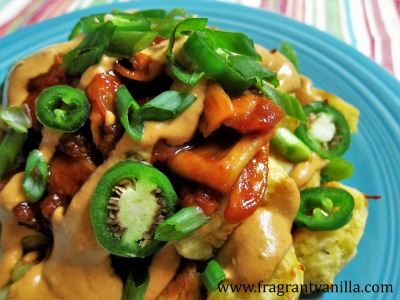
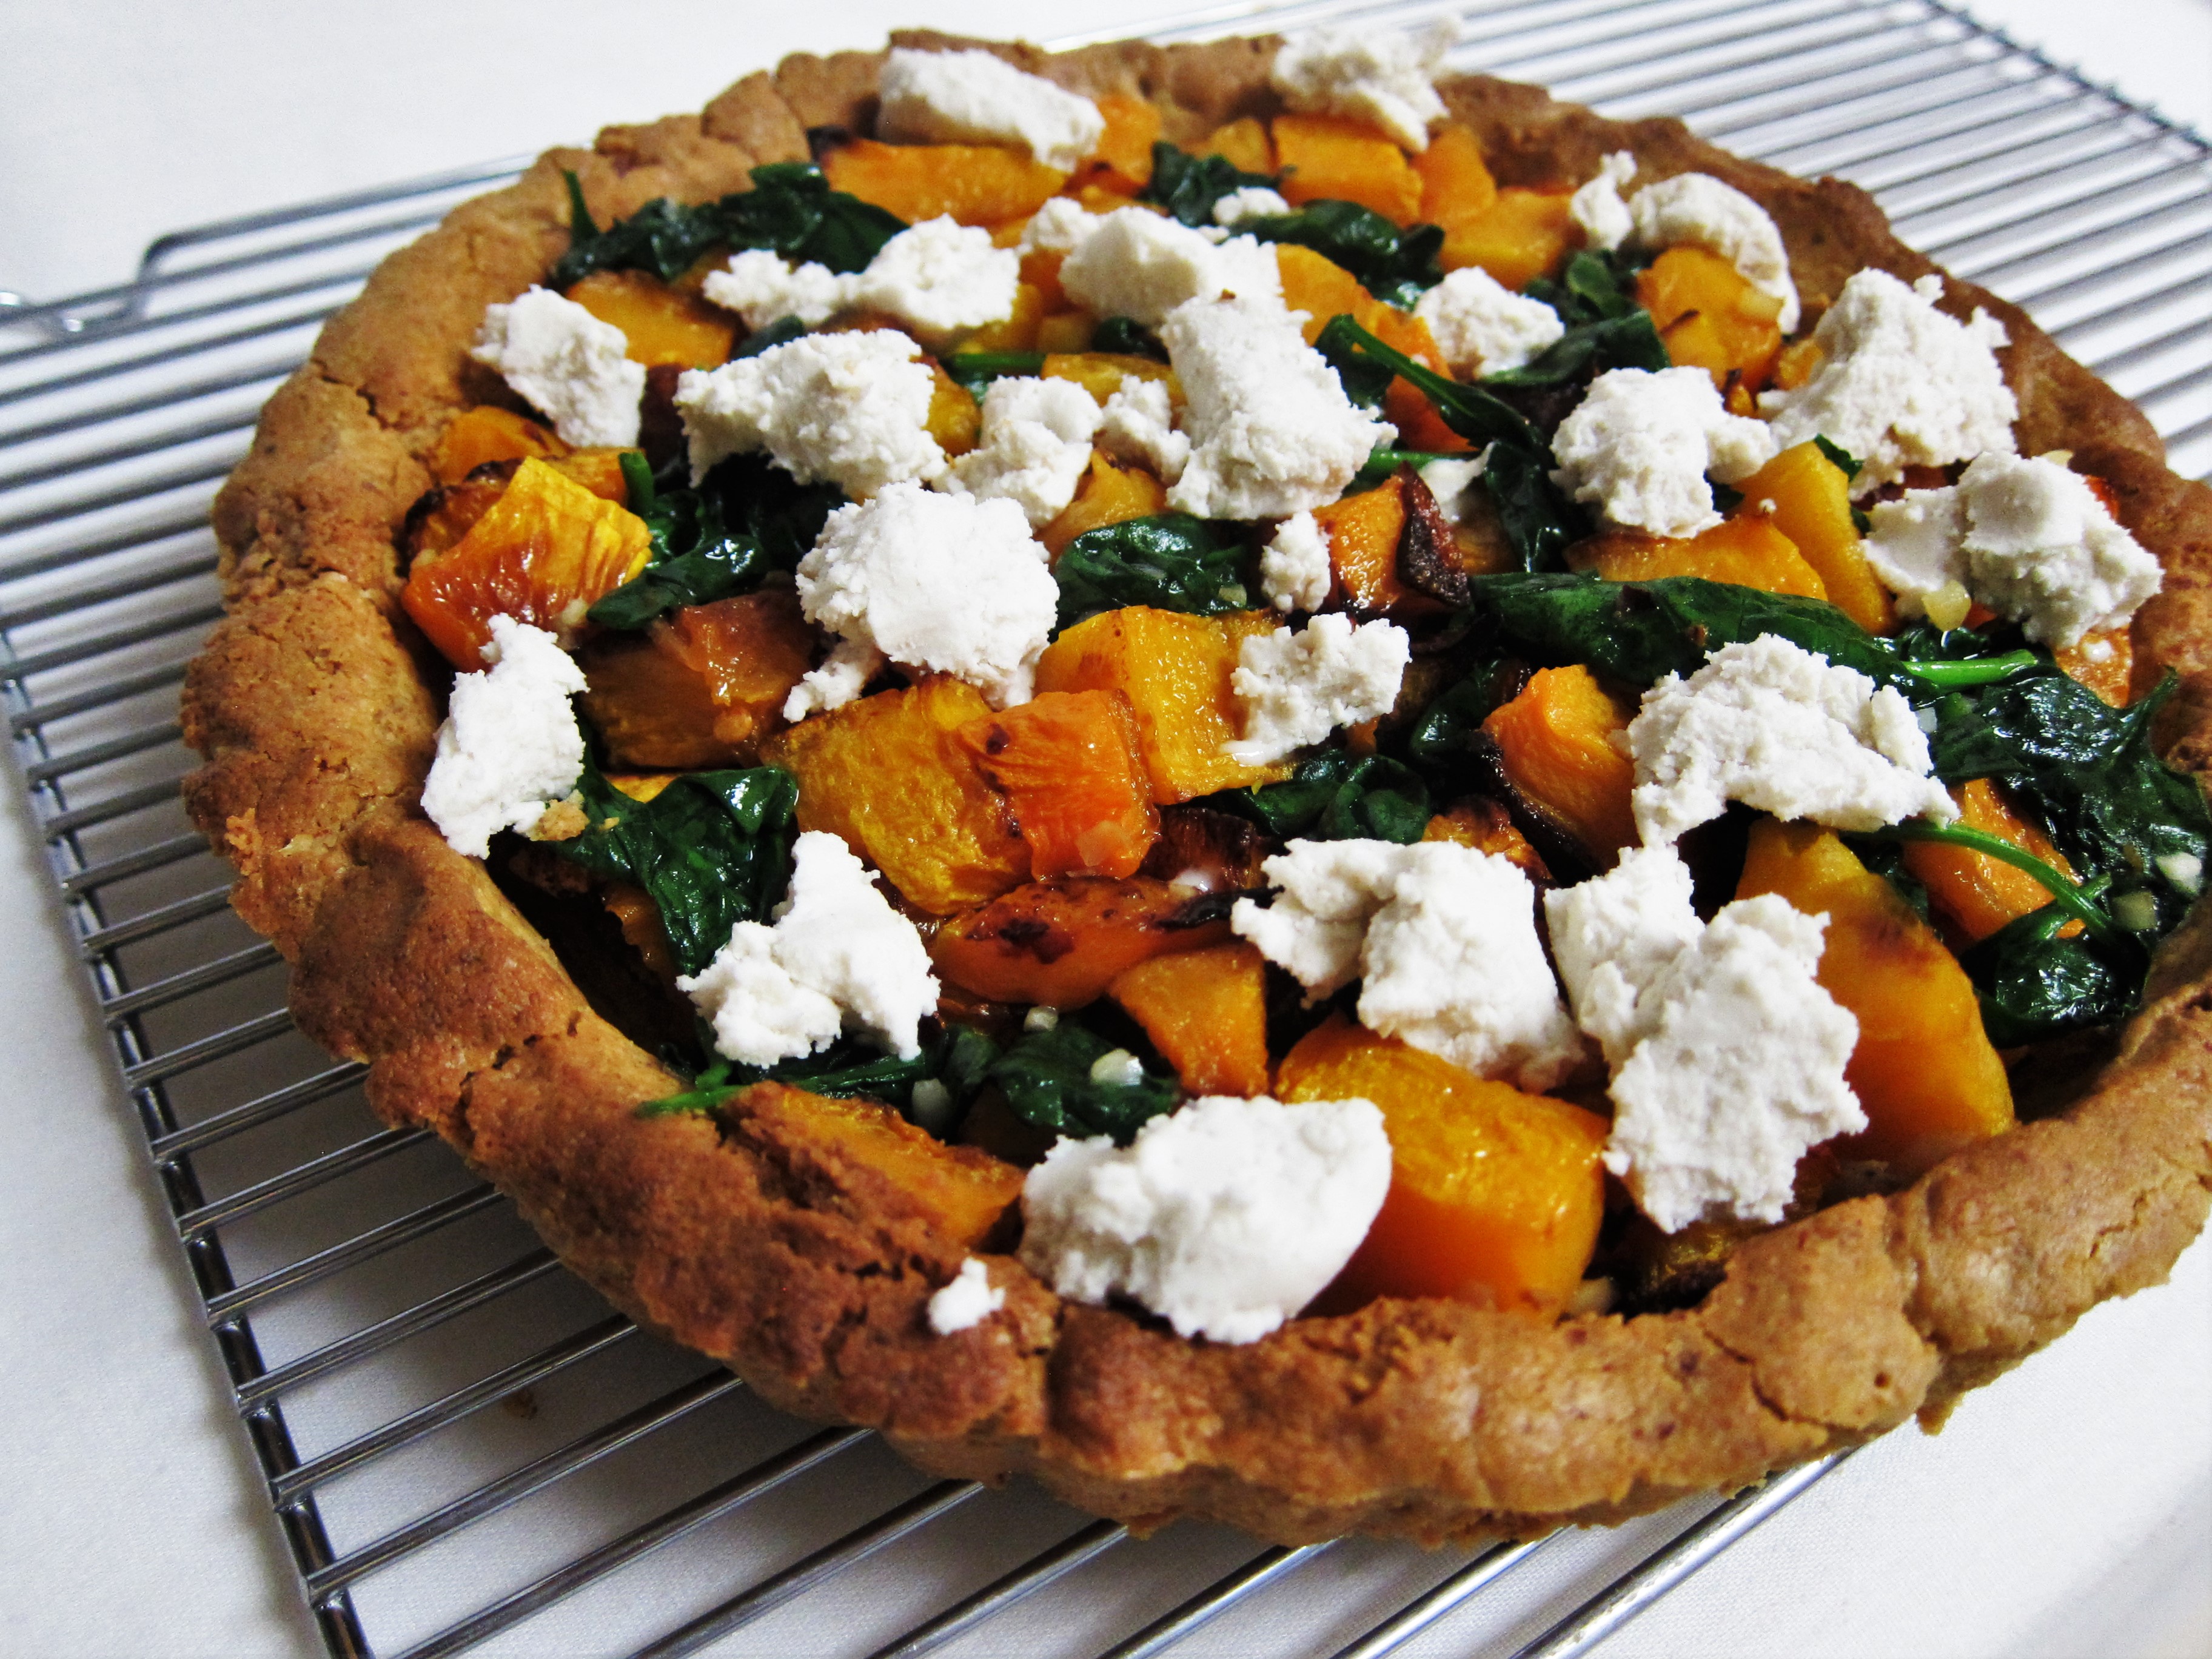
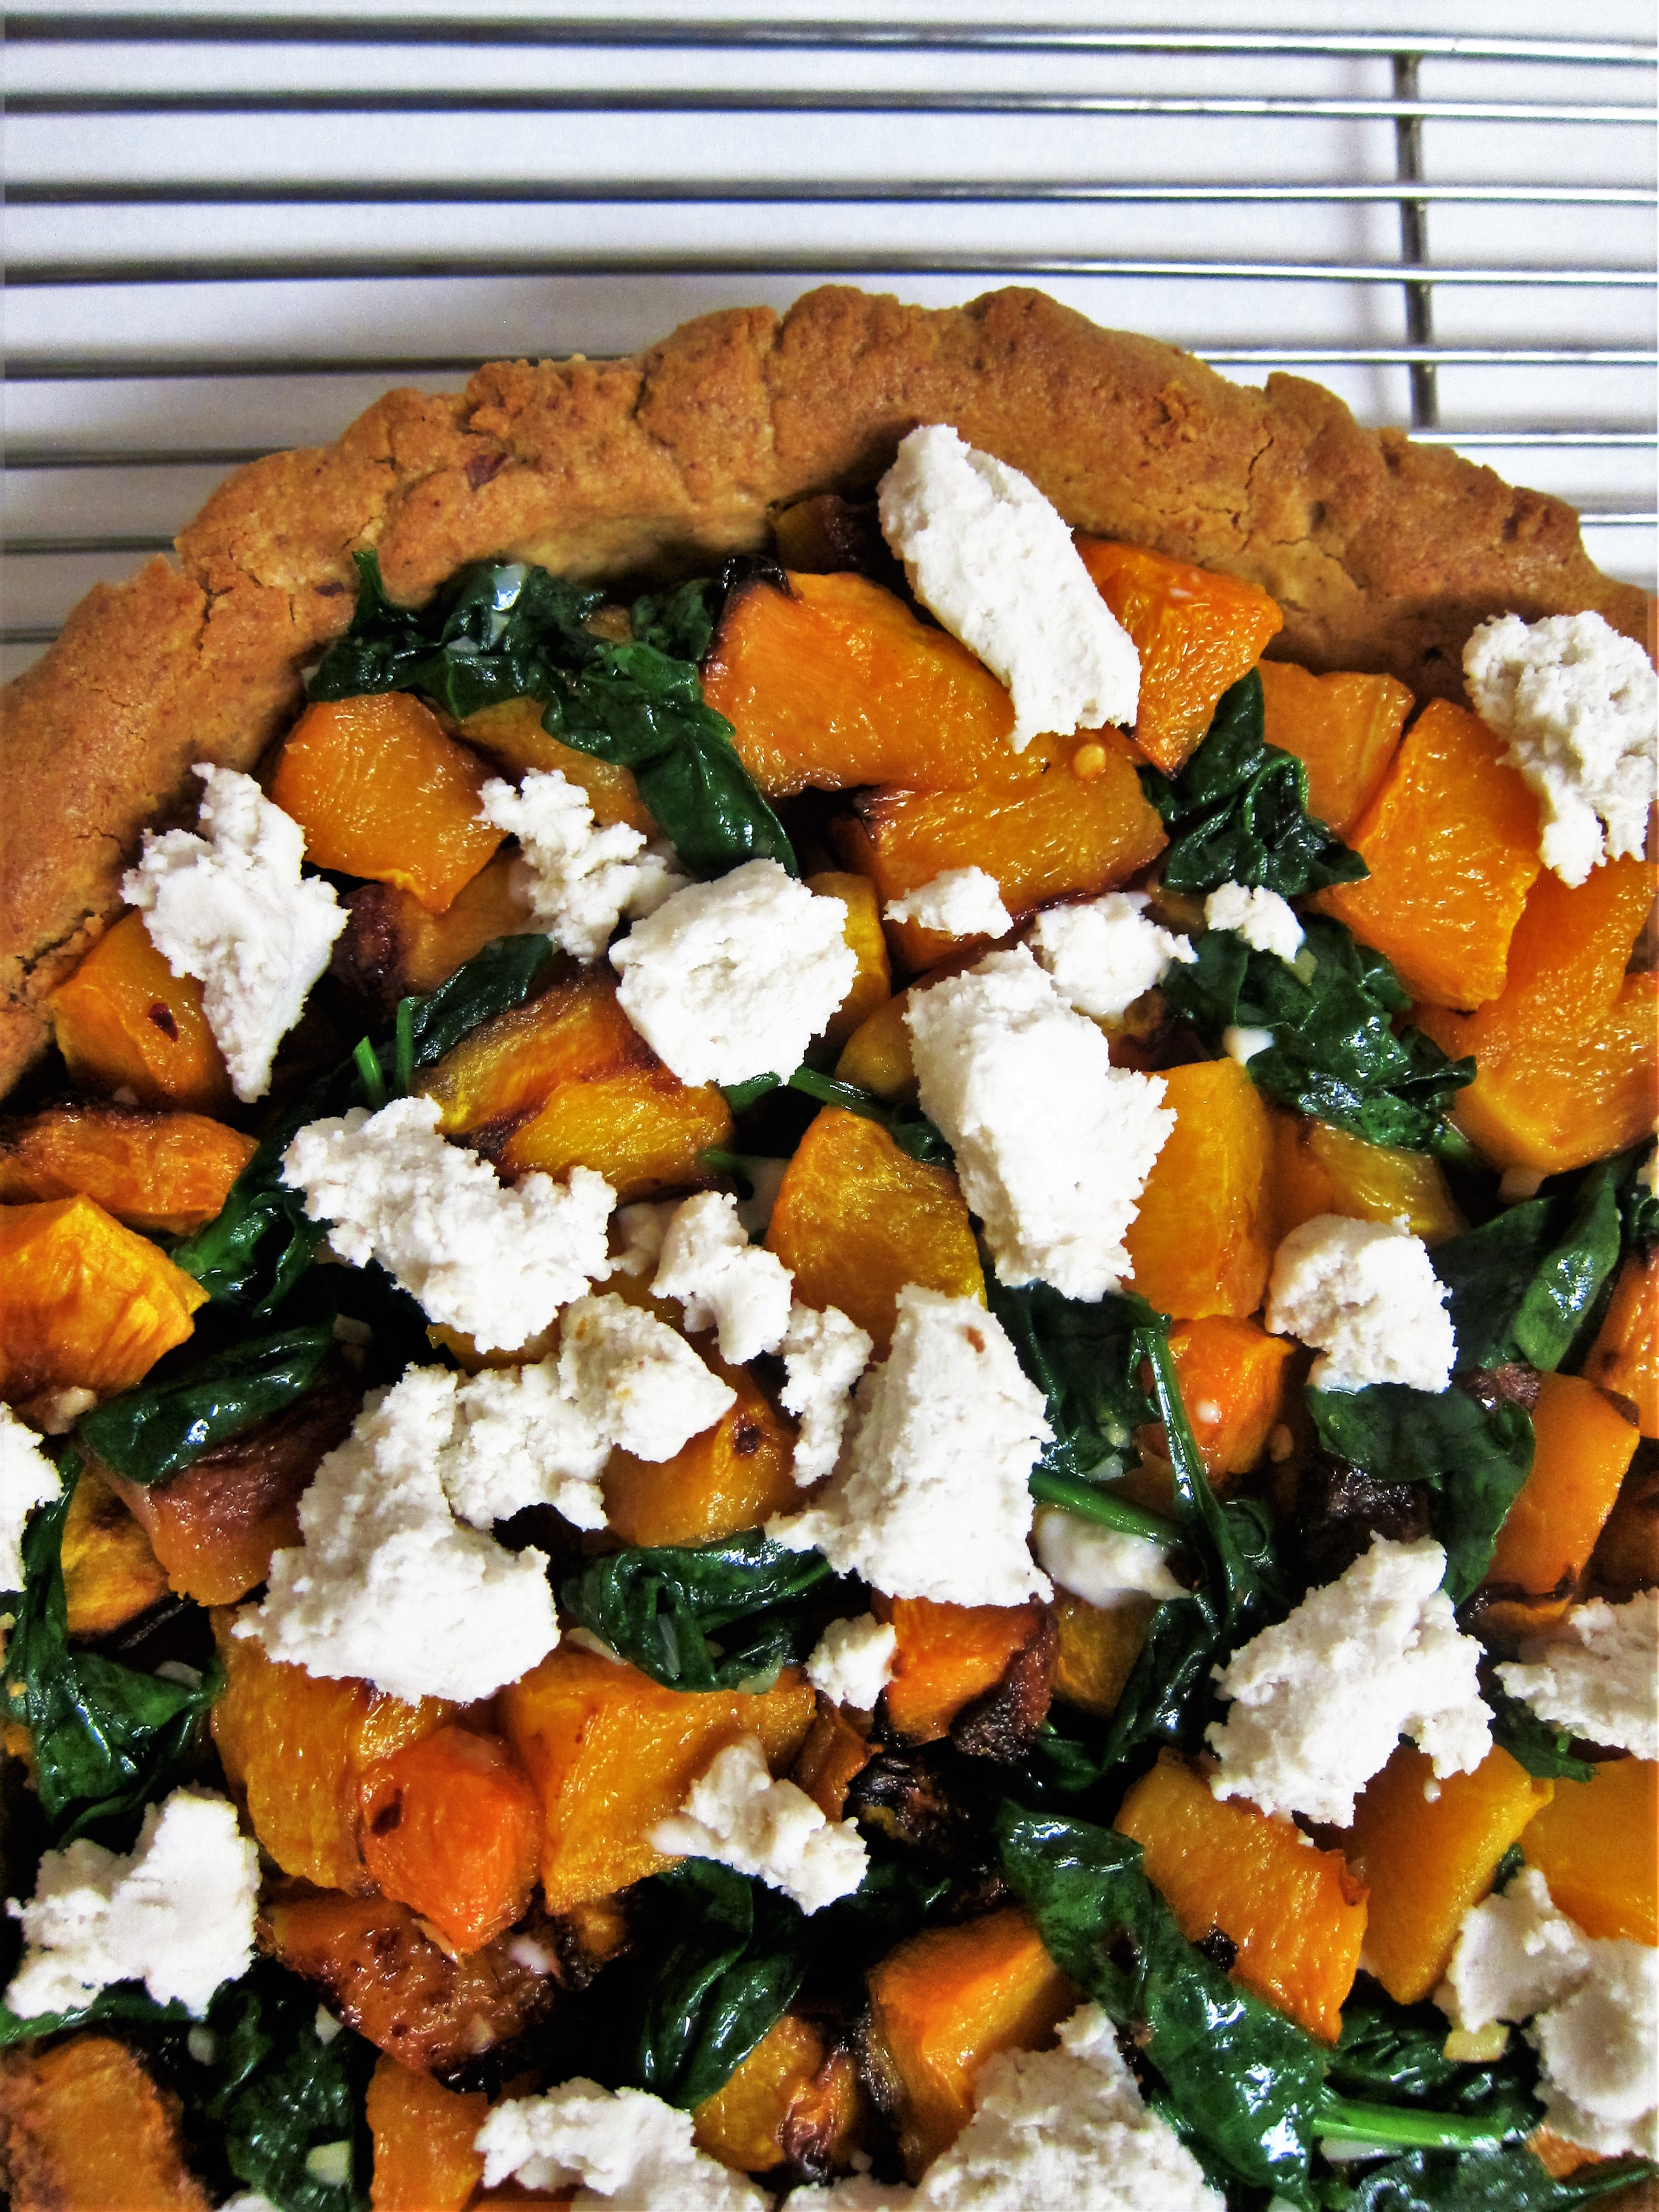
Vegan Roasted Squash Nacho Cheese
If you loved the nacho cheese you had as a child, this is like that. You know, the stuff in school lunches. I myself loved it. But this is made from squash and way healthier so you can feel free to indulge!
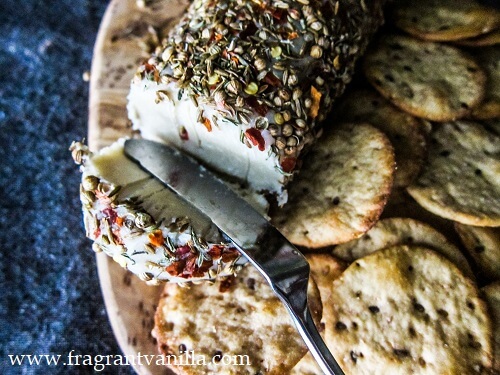
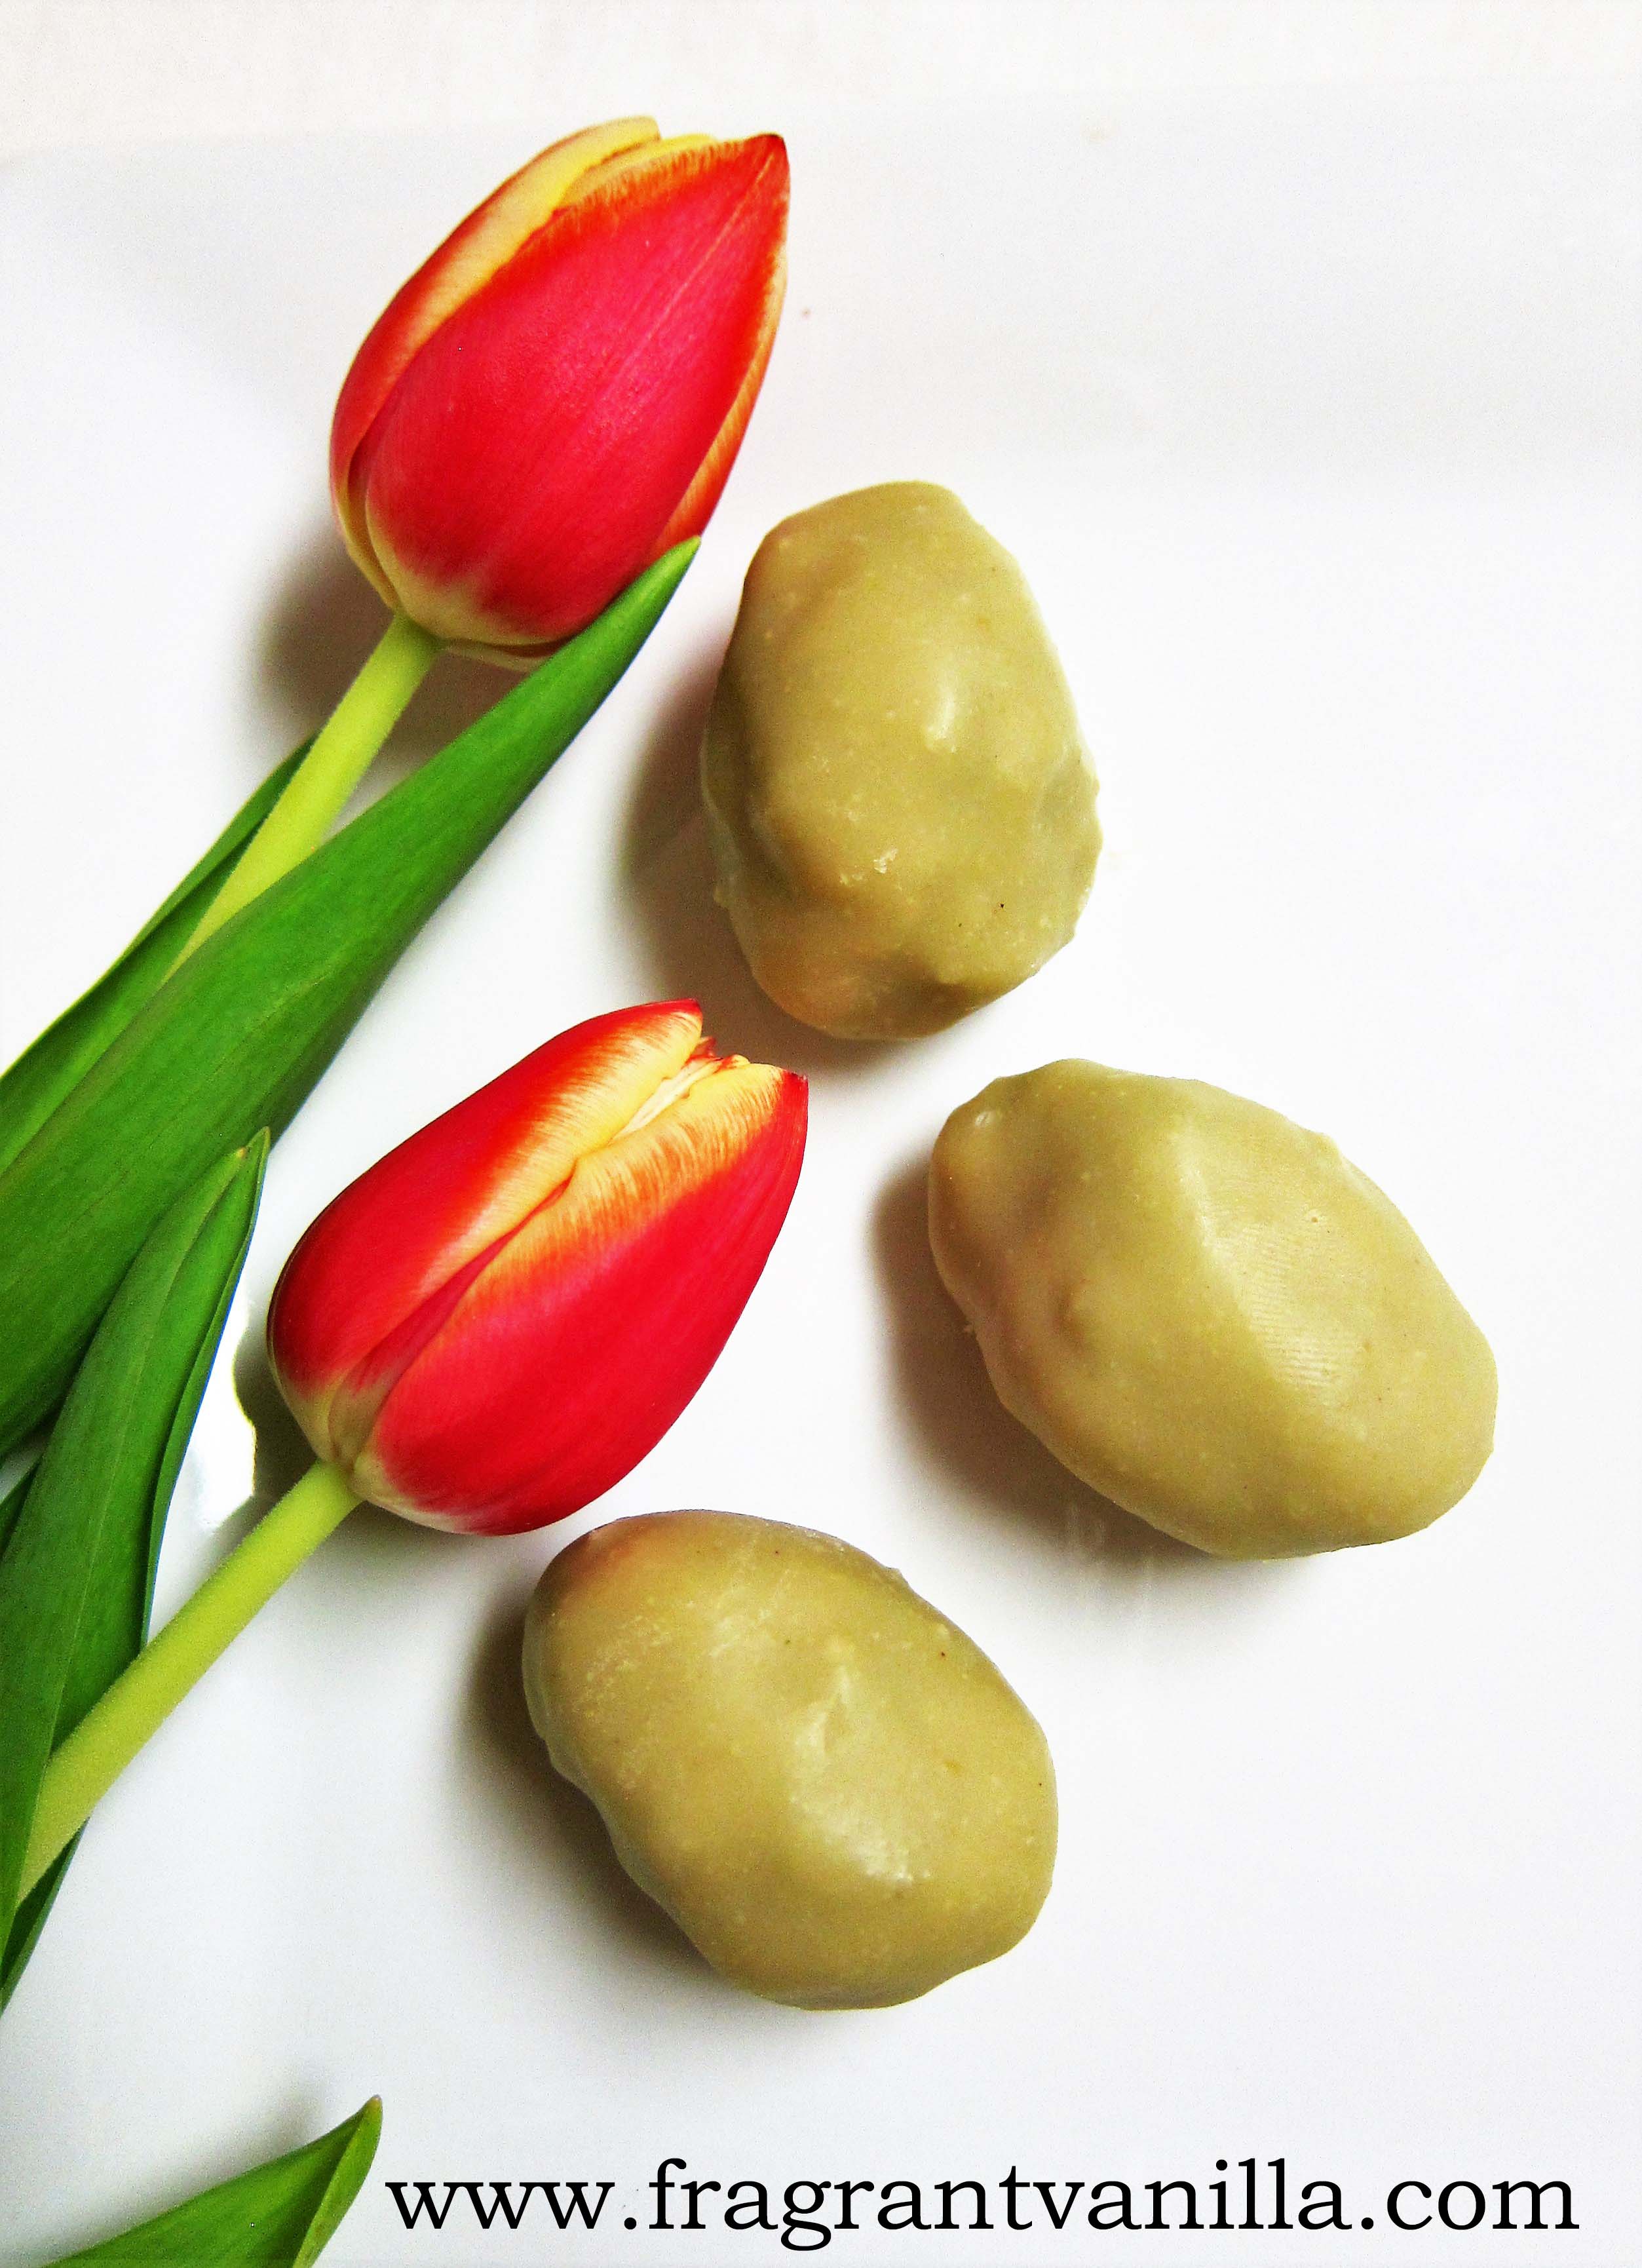
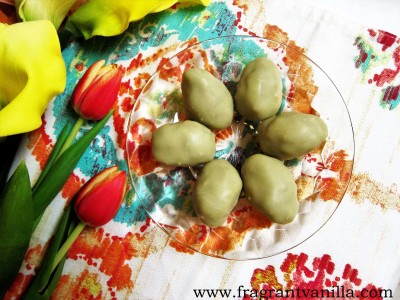
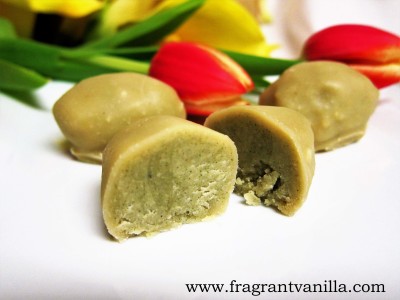
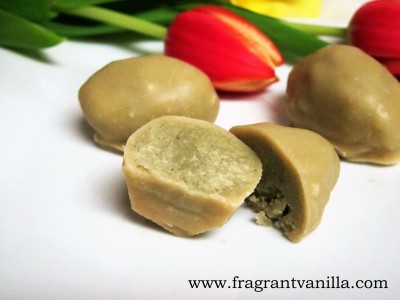
Vegan Spice Crusted Chevre
This is perfect for crumbing over roasted vegetable salads, especially in the Fall and Winter when using warming vegetables like squash and potatoes.
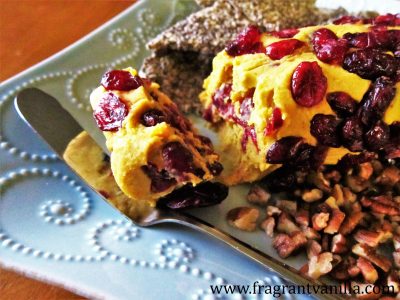
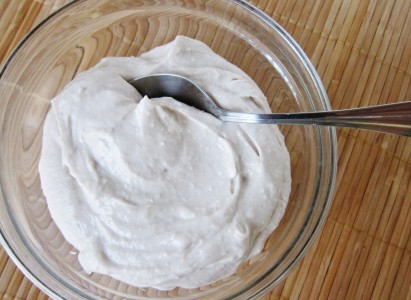
Vegan Pumpkin Cranberry Chevre
This slightly sweet chevre is perfect for a Holiday cheese plate and was inspired by a chevre that I saw at the store and wanted to recreate. It is good served with crackers or maybe spread on a toasted bagel if you are enjoying it for a snack.
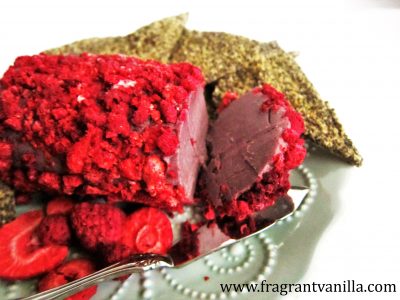
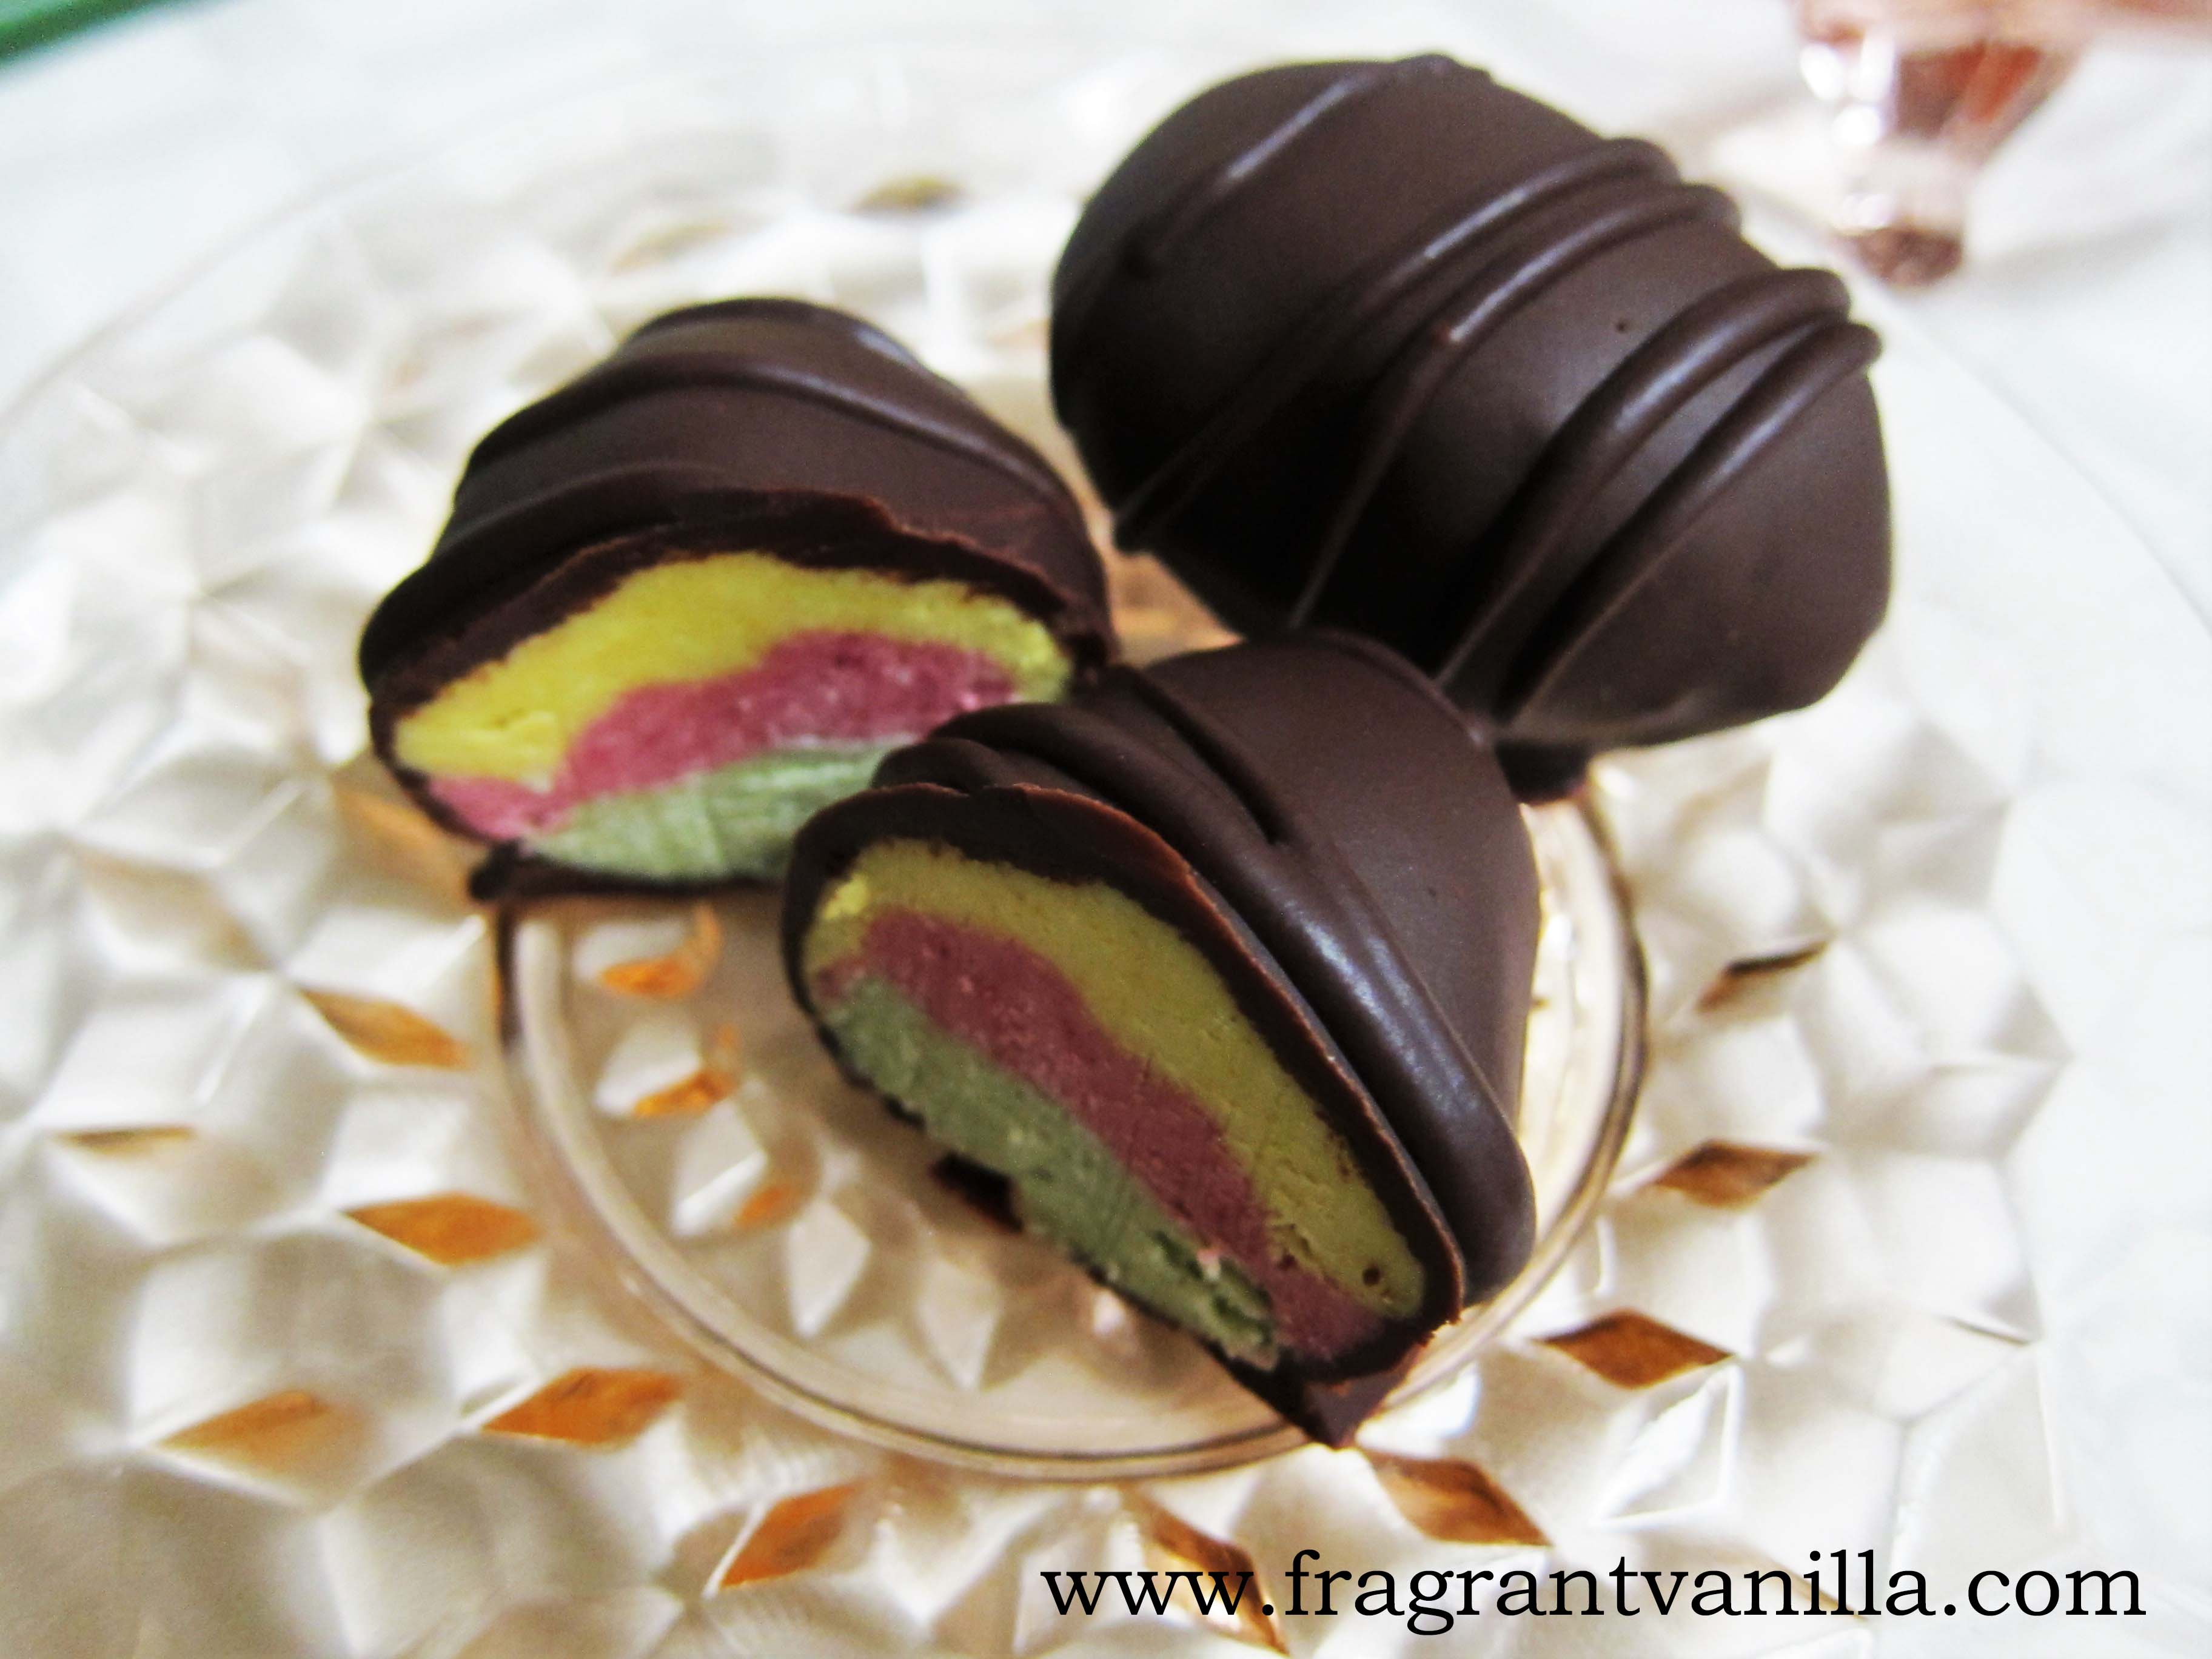
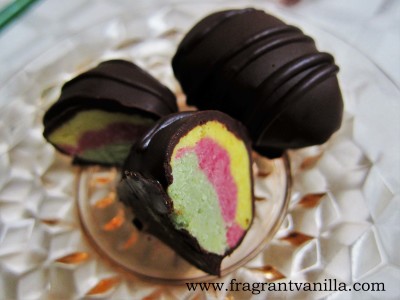
Vegan Double Berry Chevre
This sweet dessert like cheese reminds me of cream cheese but with a little more volume. It is just as delicious though, and would be good crumbled in a savory salad paired with fruit or served spread over a bagel as you would cream cheese.
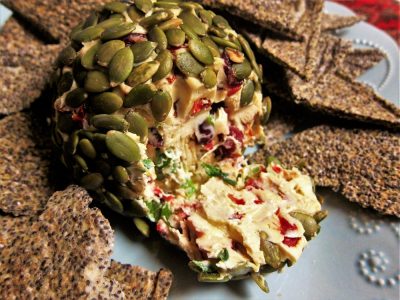
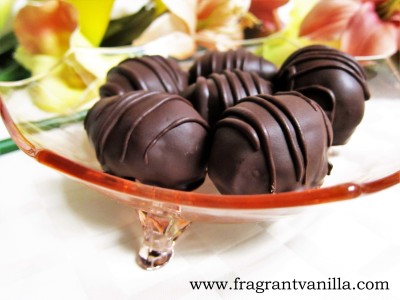
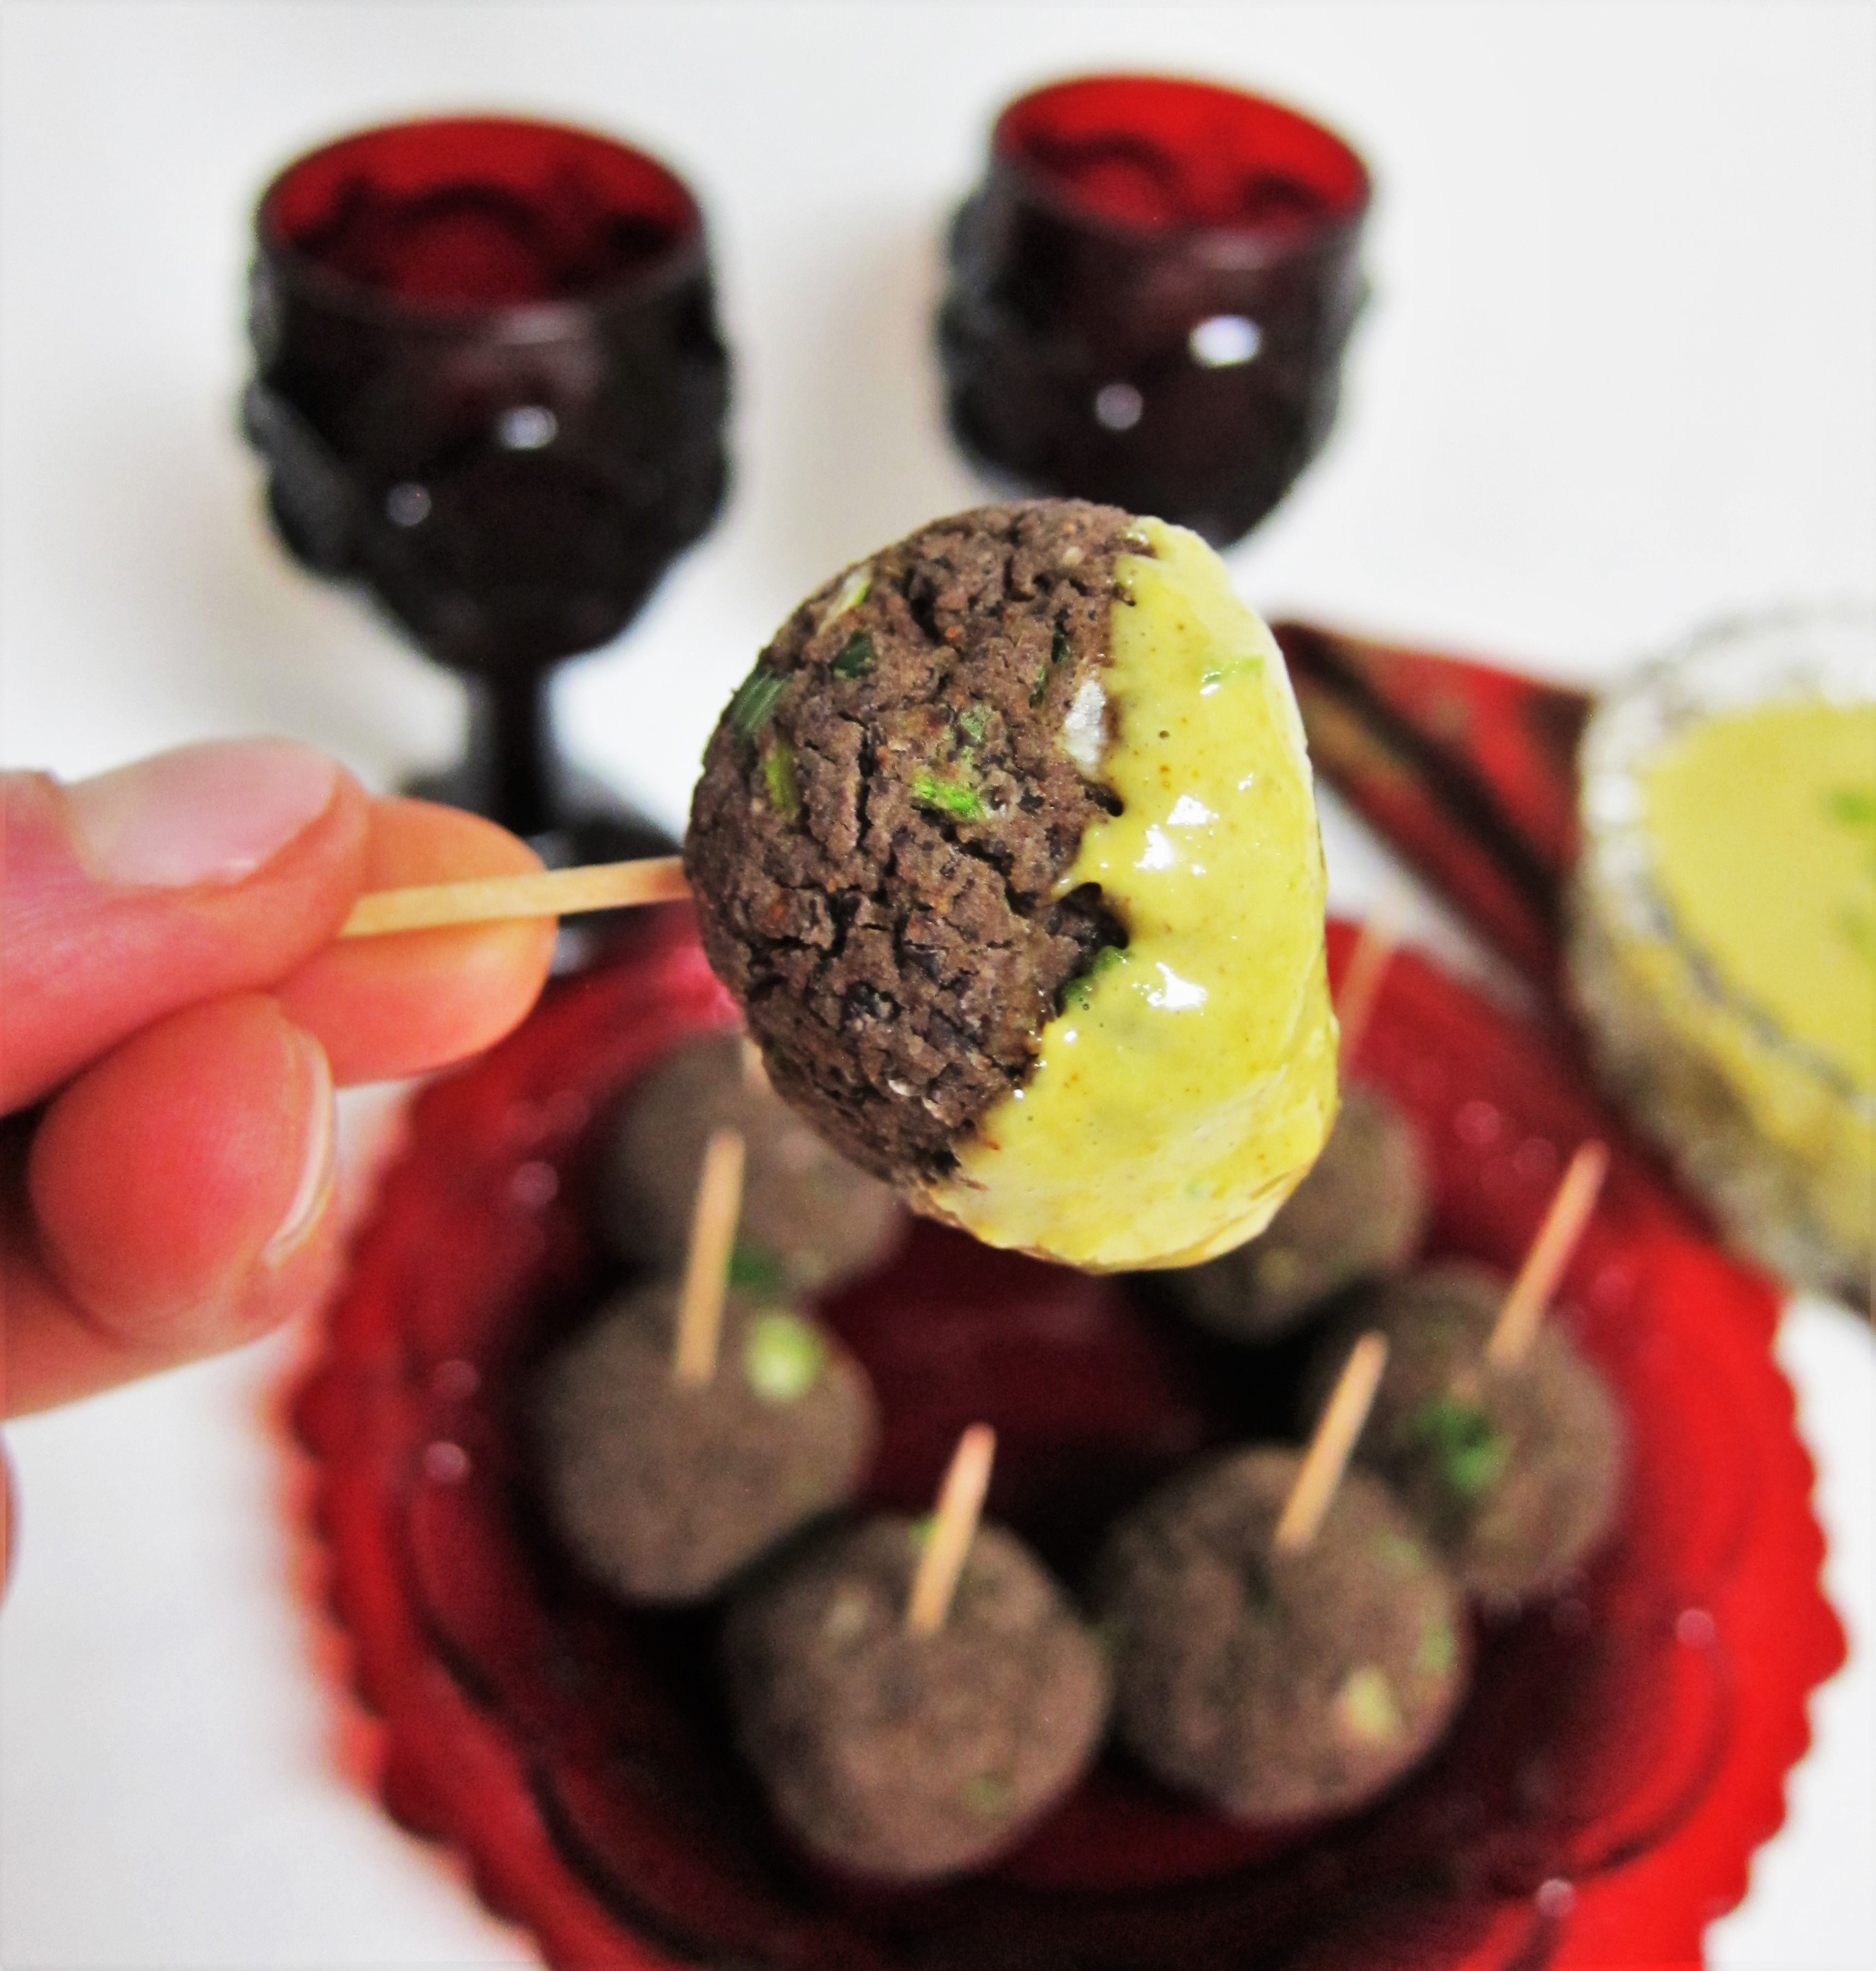
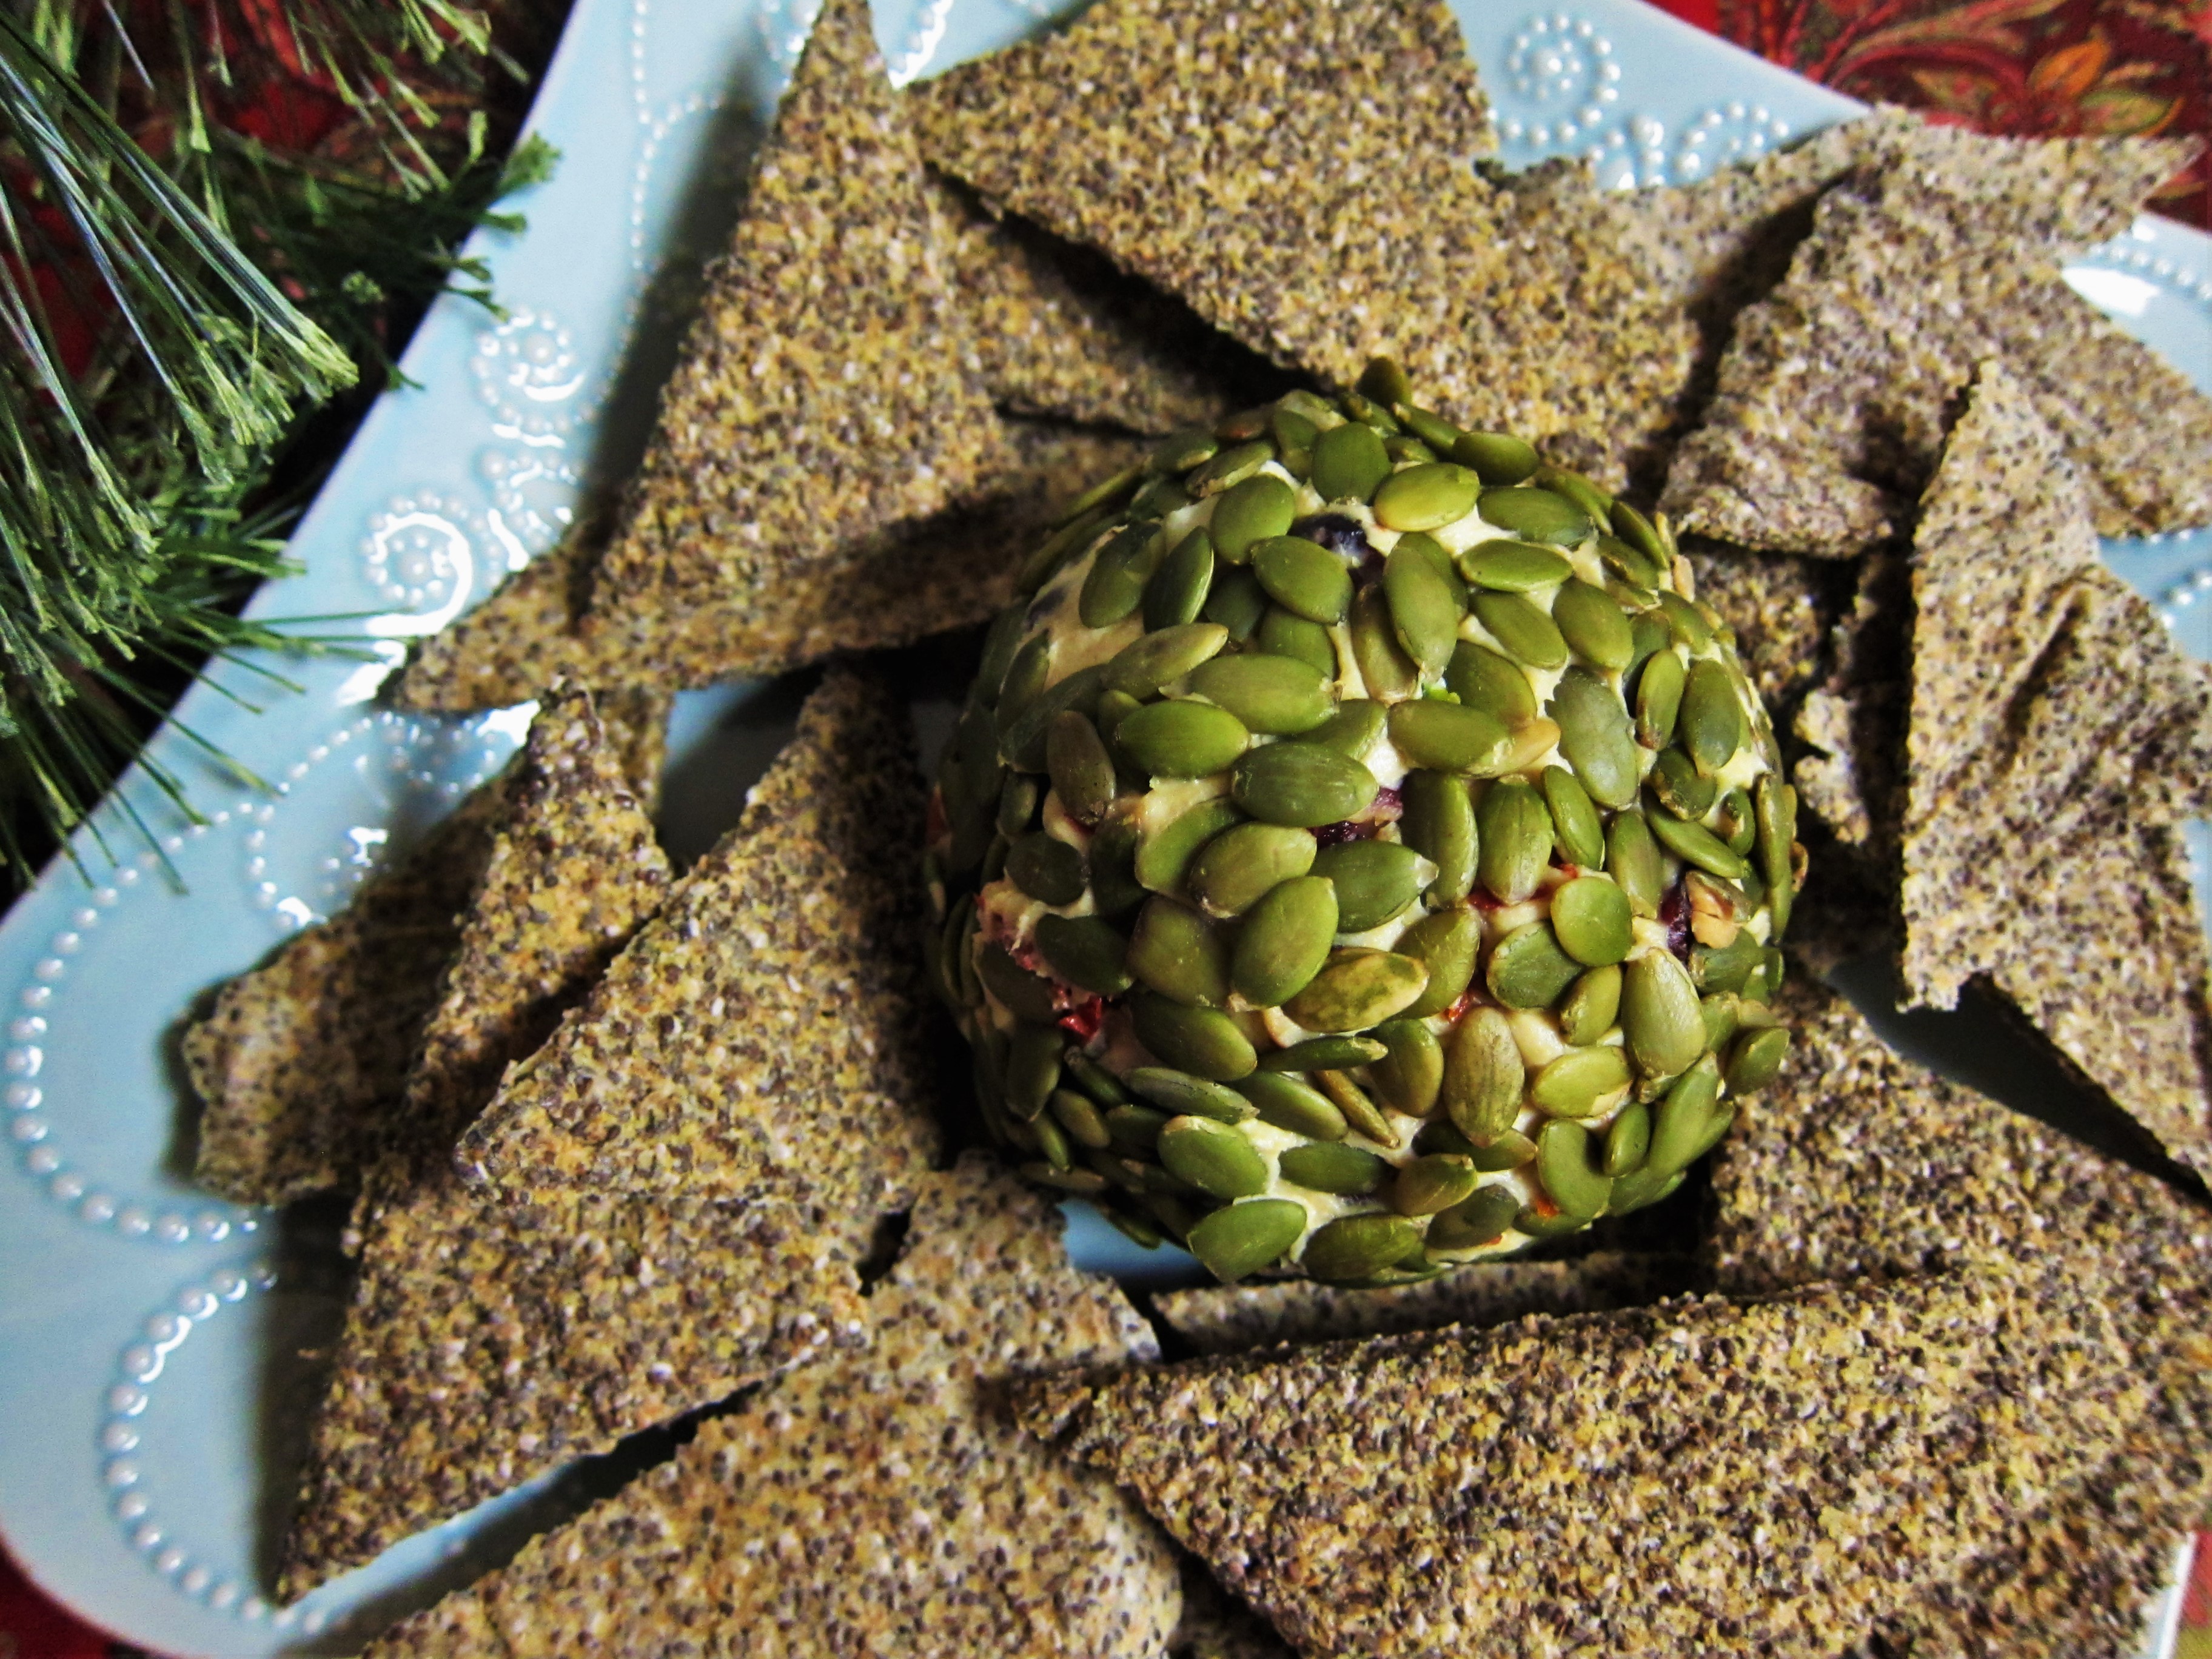
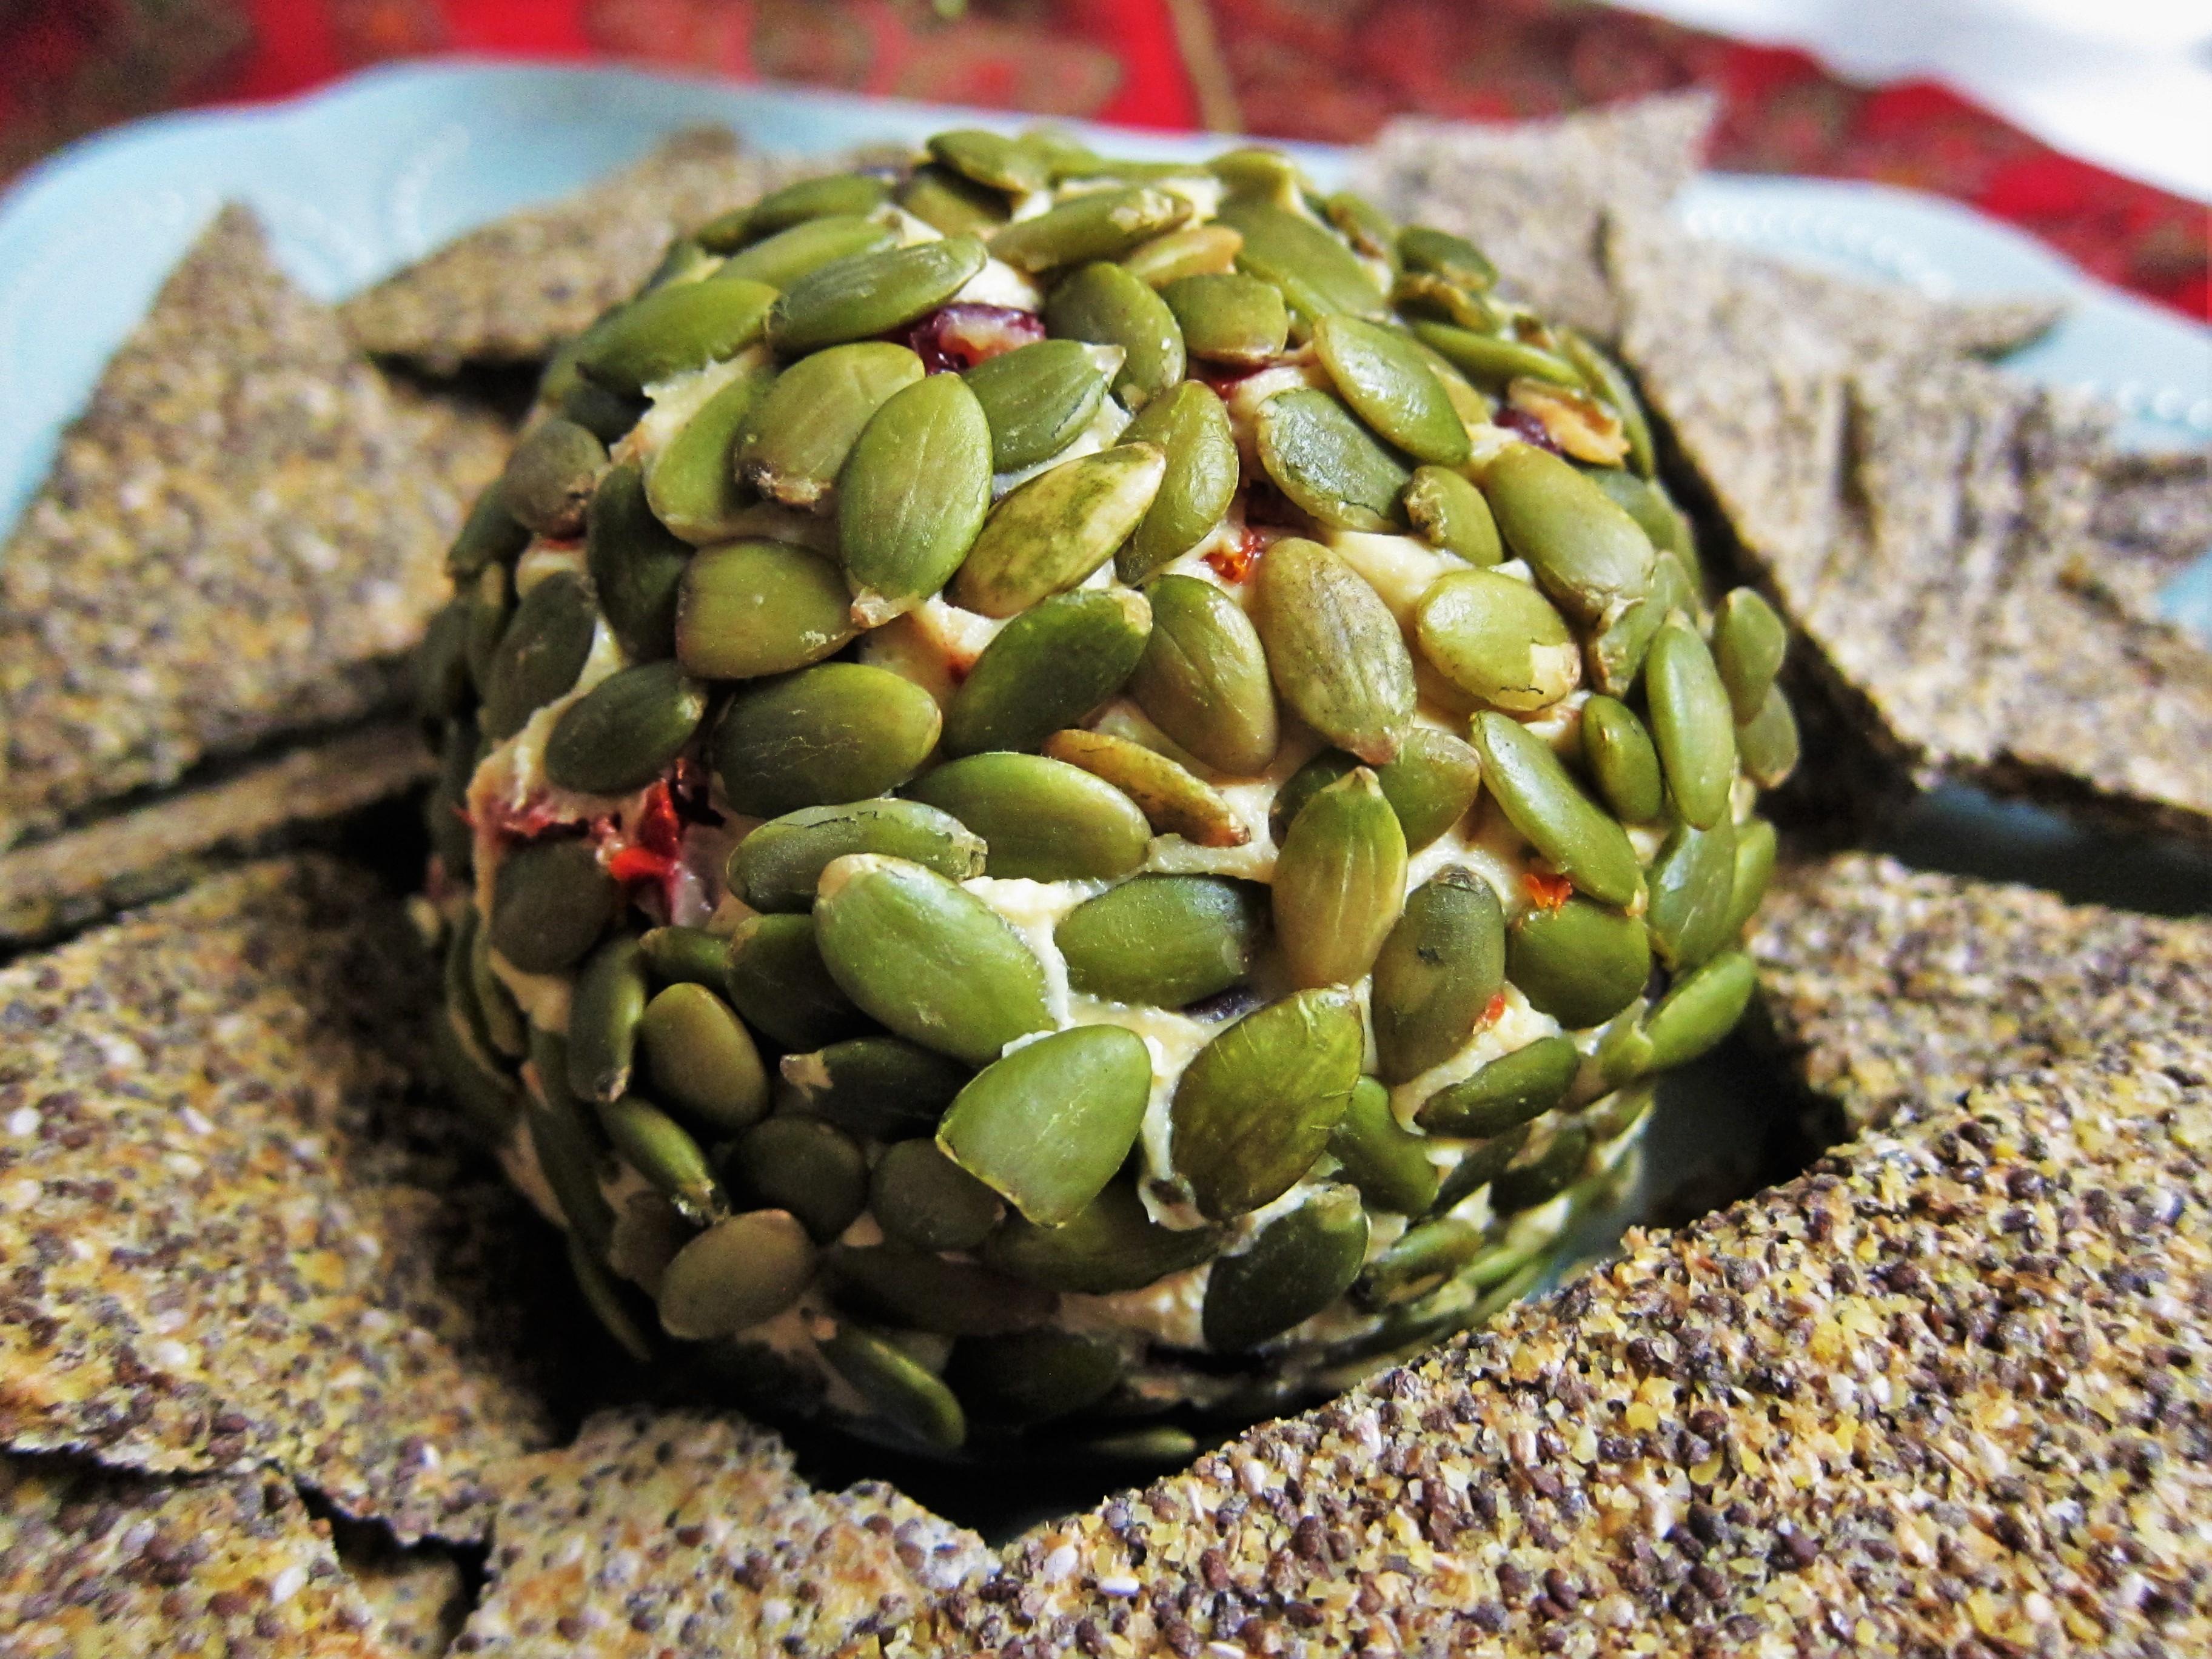
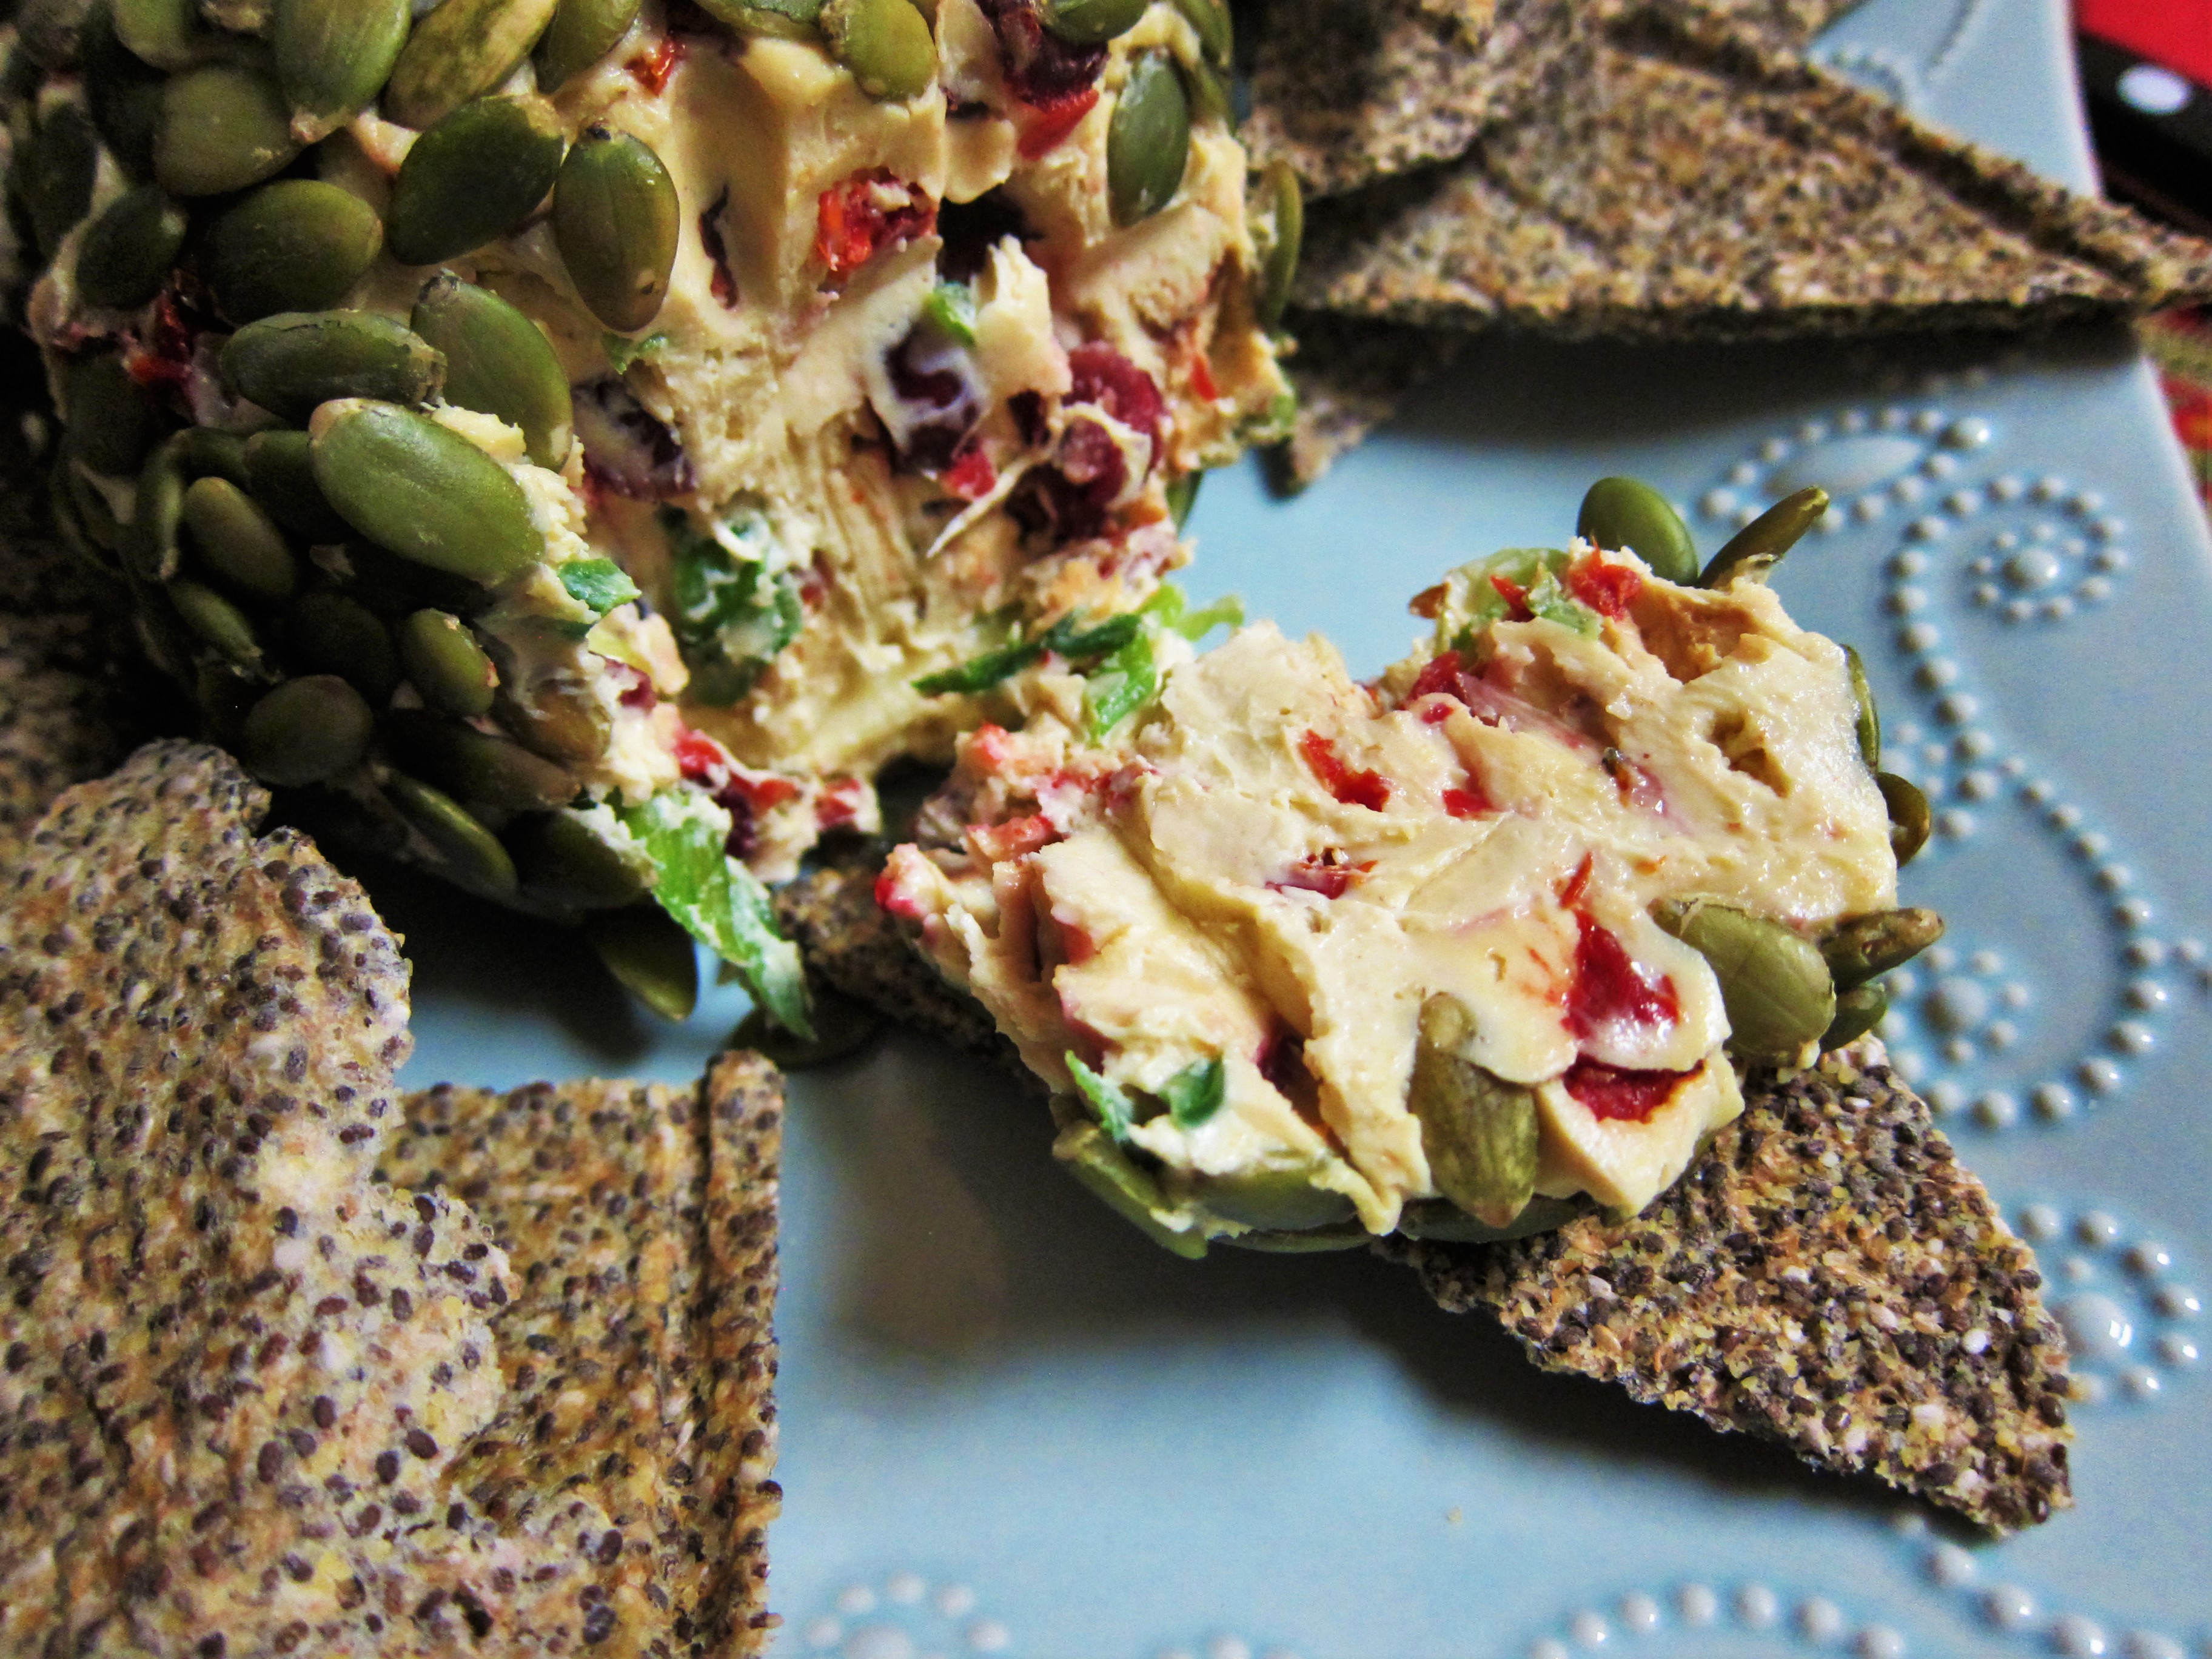
Raw Spicy Holiday Cheeseball
This is honestly the best cheese ball I have ever eaten, even above the ones with dairy I enjoyed earlier in my life. It is slightly spicy thanks to chipotle and has the flavors of cheddar and garlic. Serve this at your Holiday parties accompanied by good crackers and your guests will be happy! You don’t even need to tell them it is vegan because they will never guess.
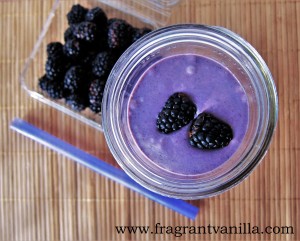
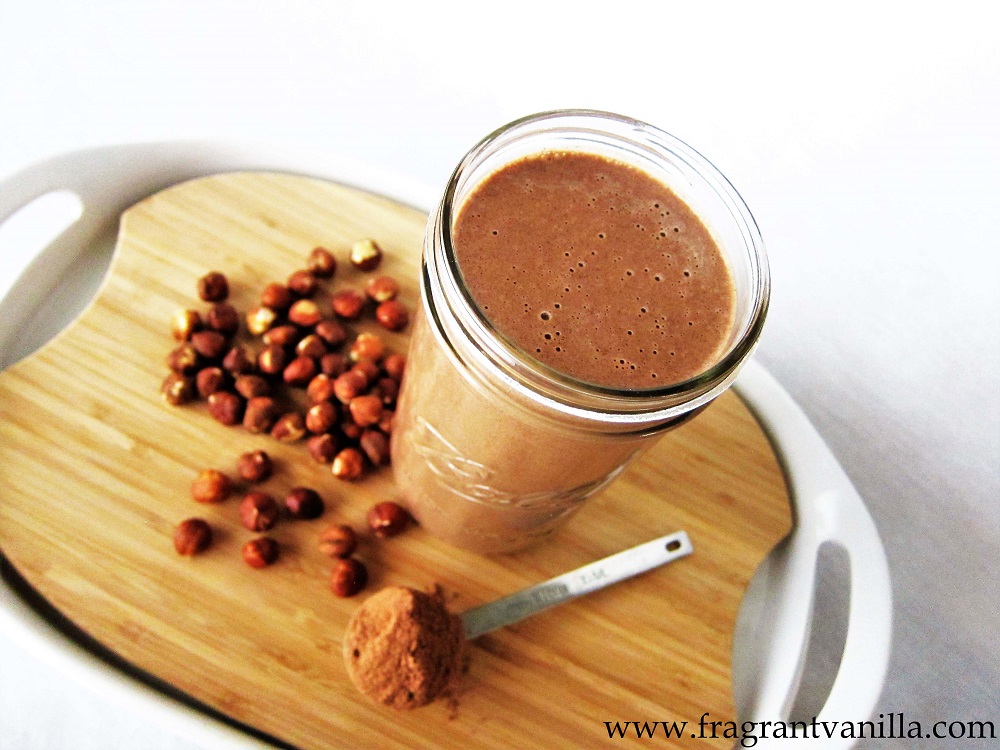
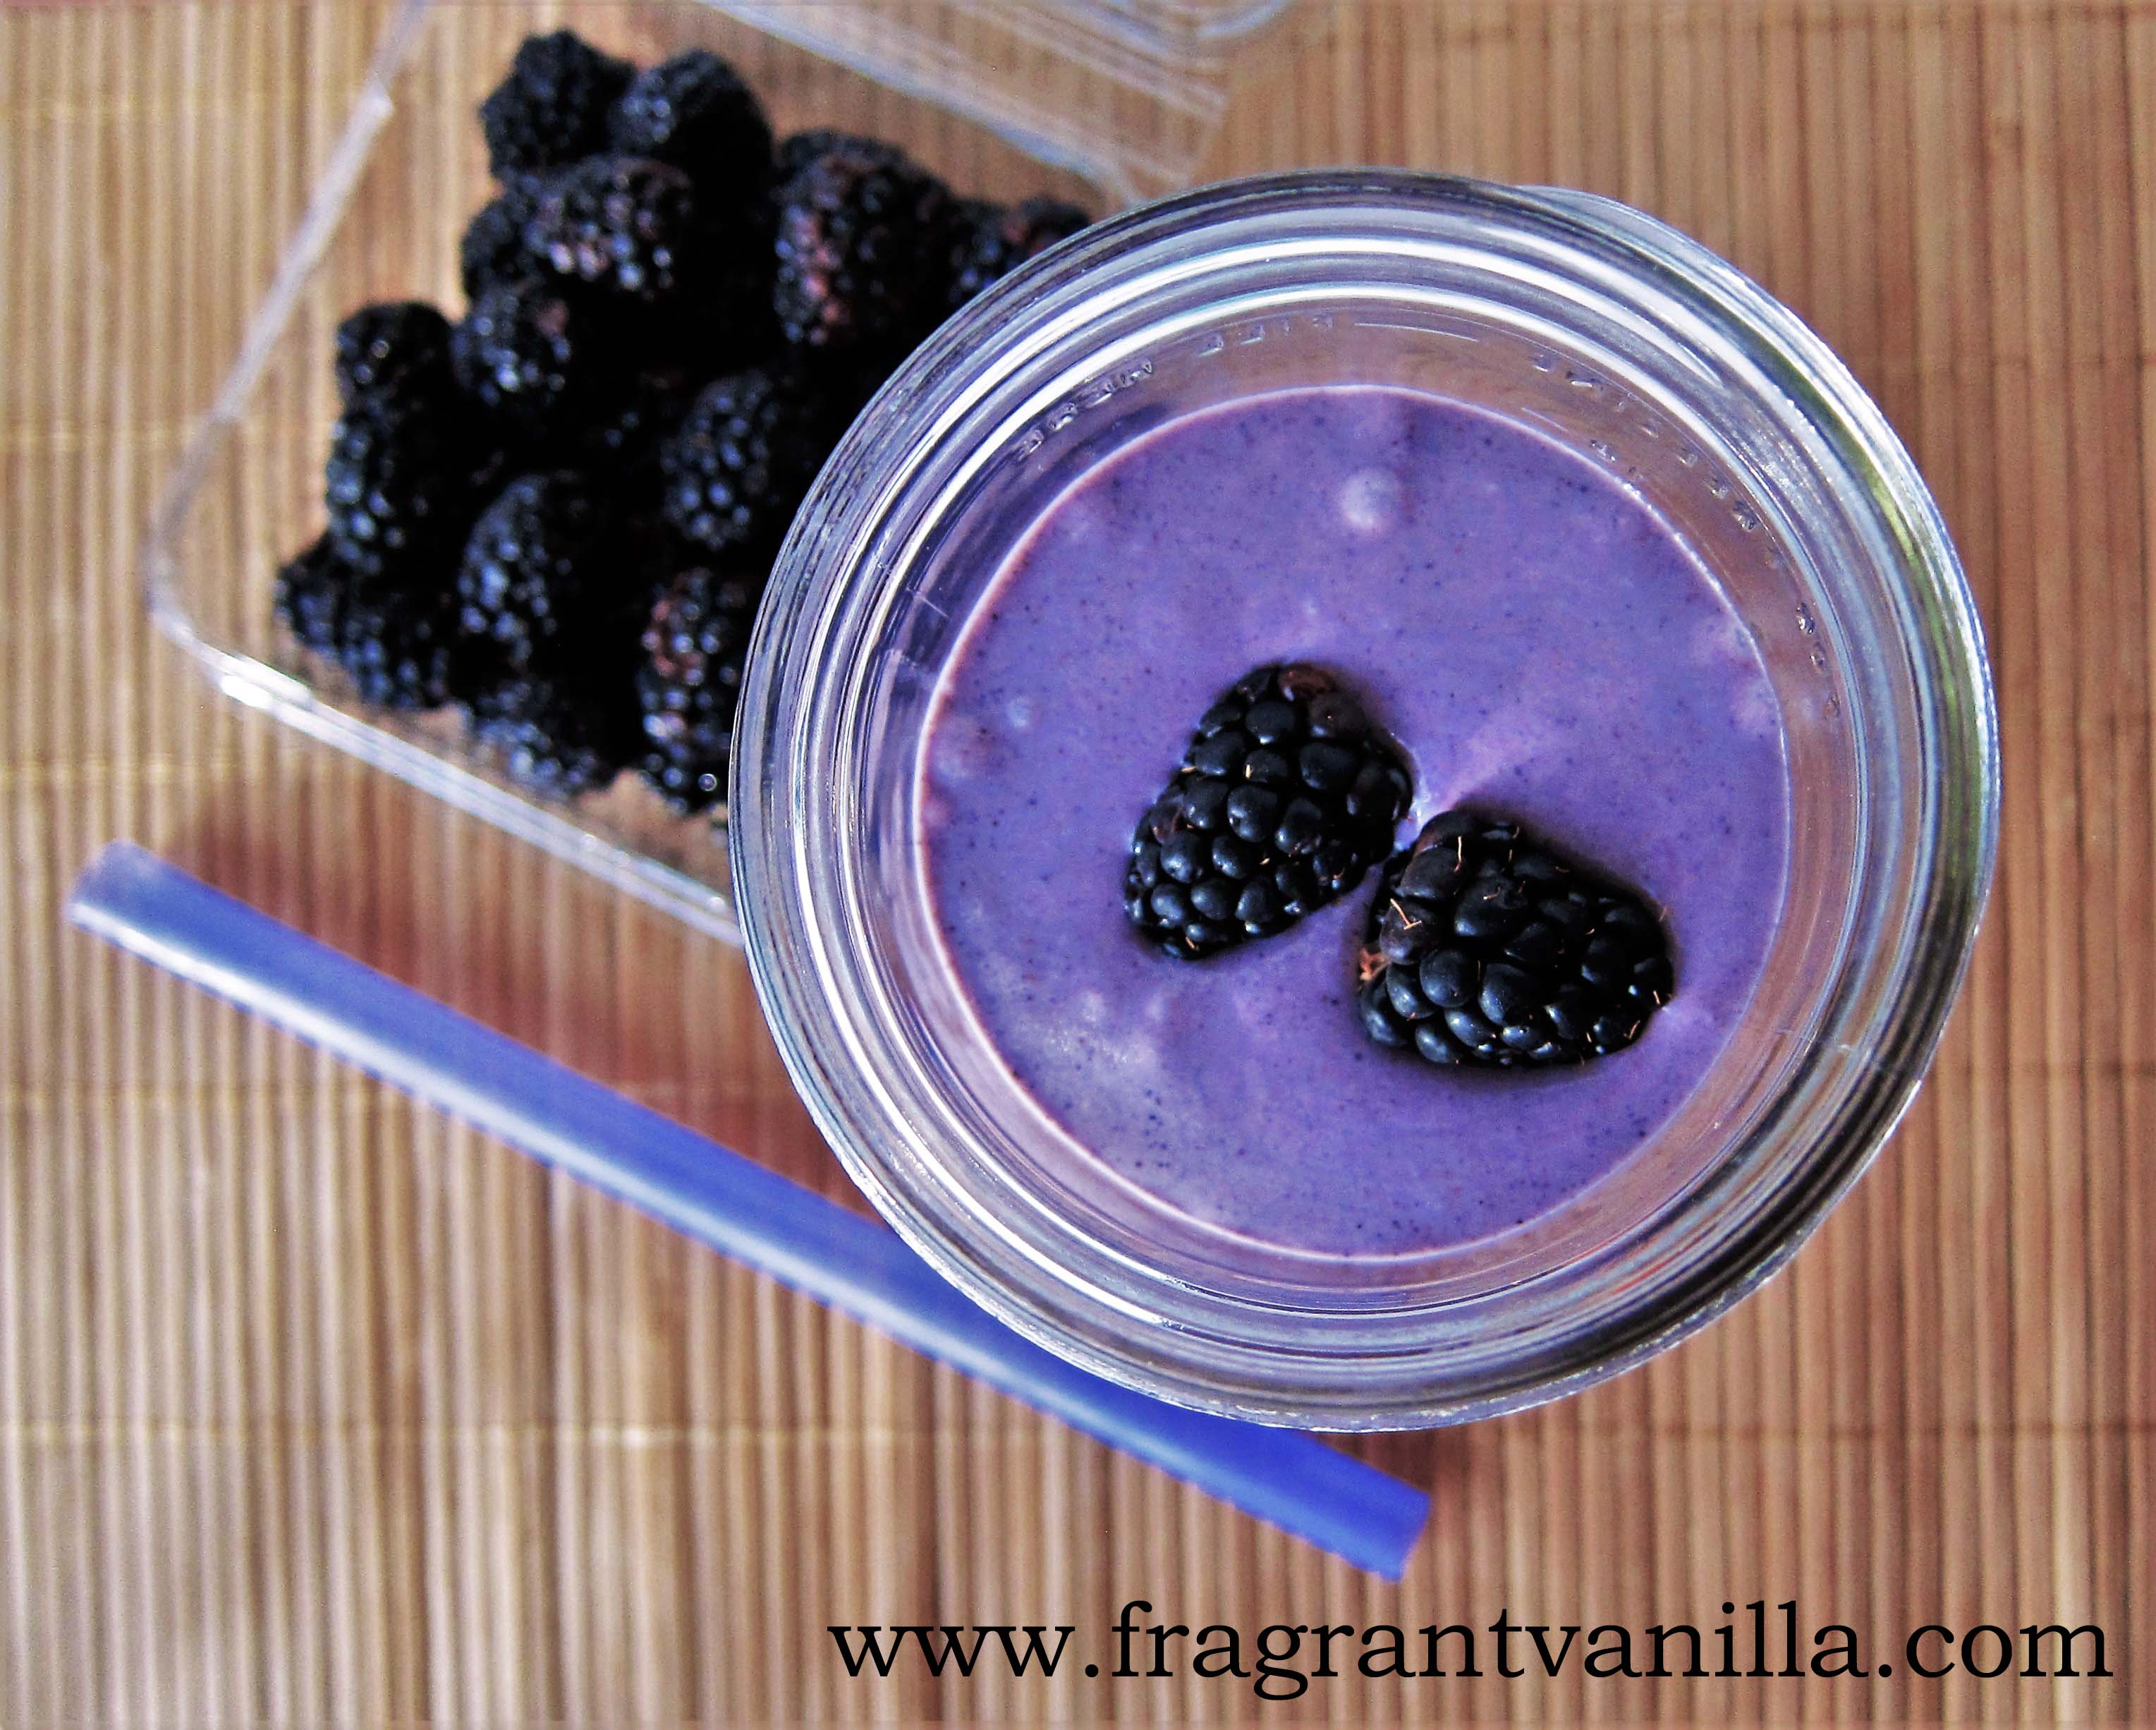
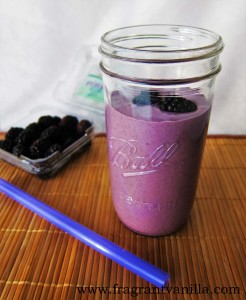
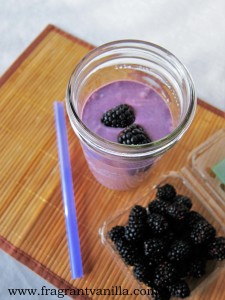
Vegan Blackberry Kefir
I made this recipe, because my boyfriend is a fan of kefir, and I wanted to prove that the vegan version can be just as good. This stuff definitely is. He loved it, and so did I!
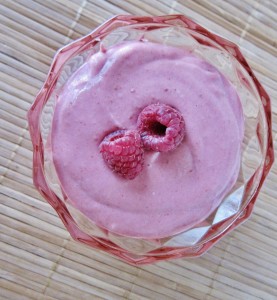
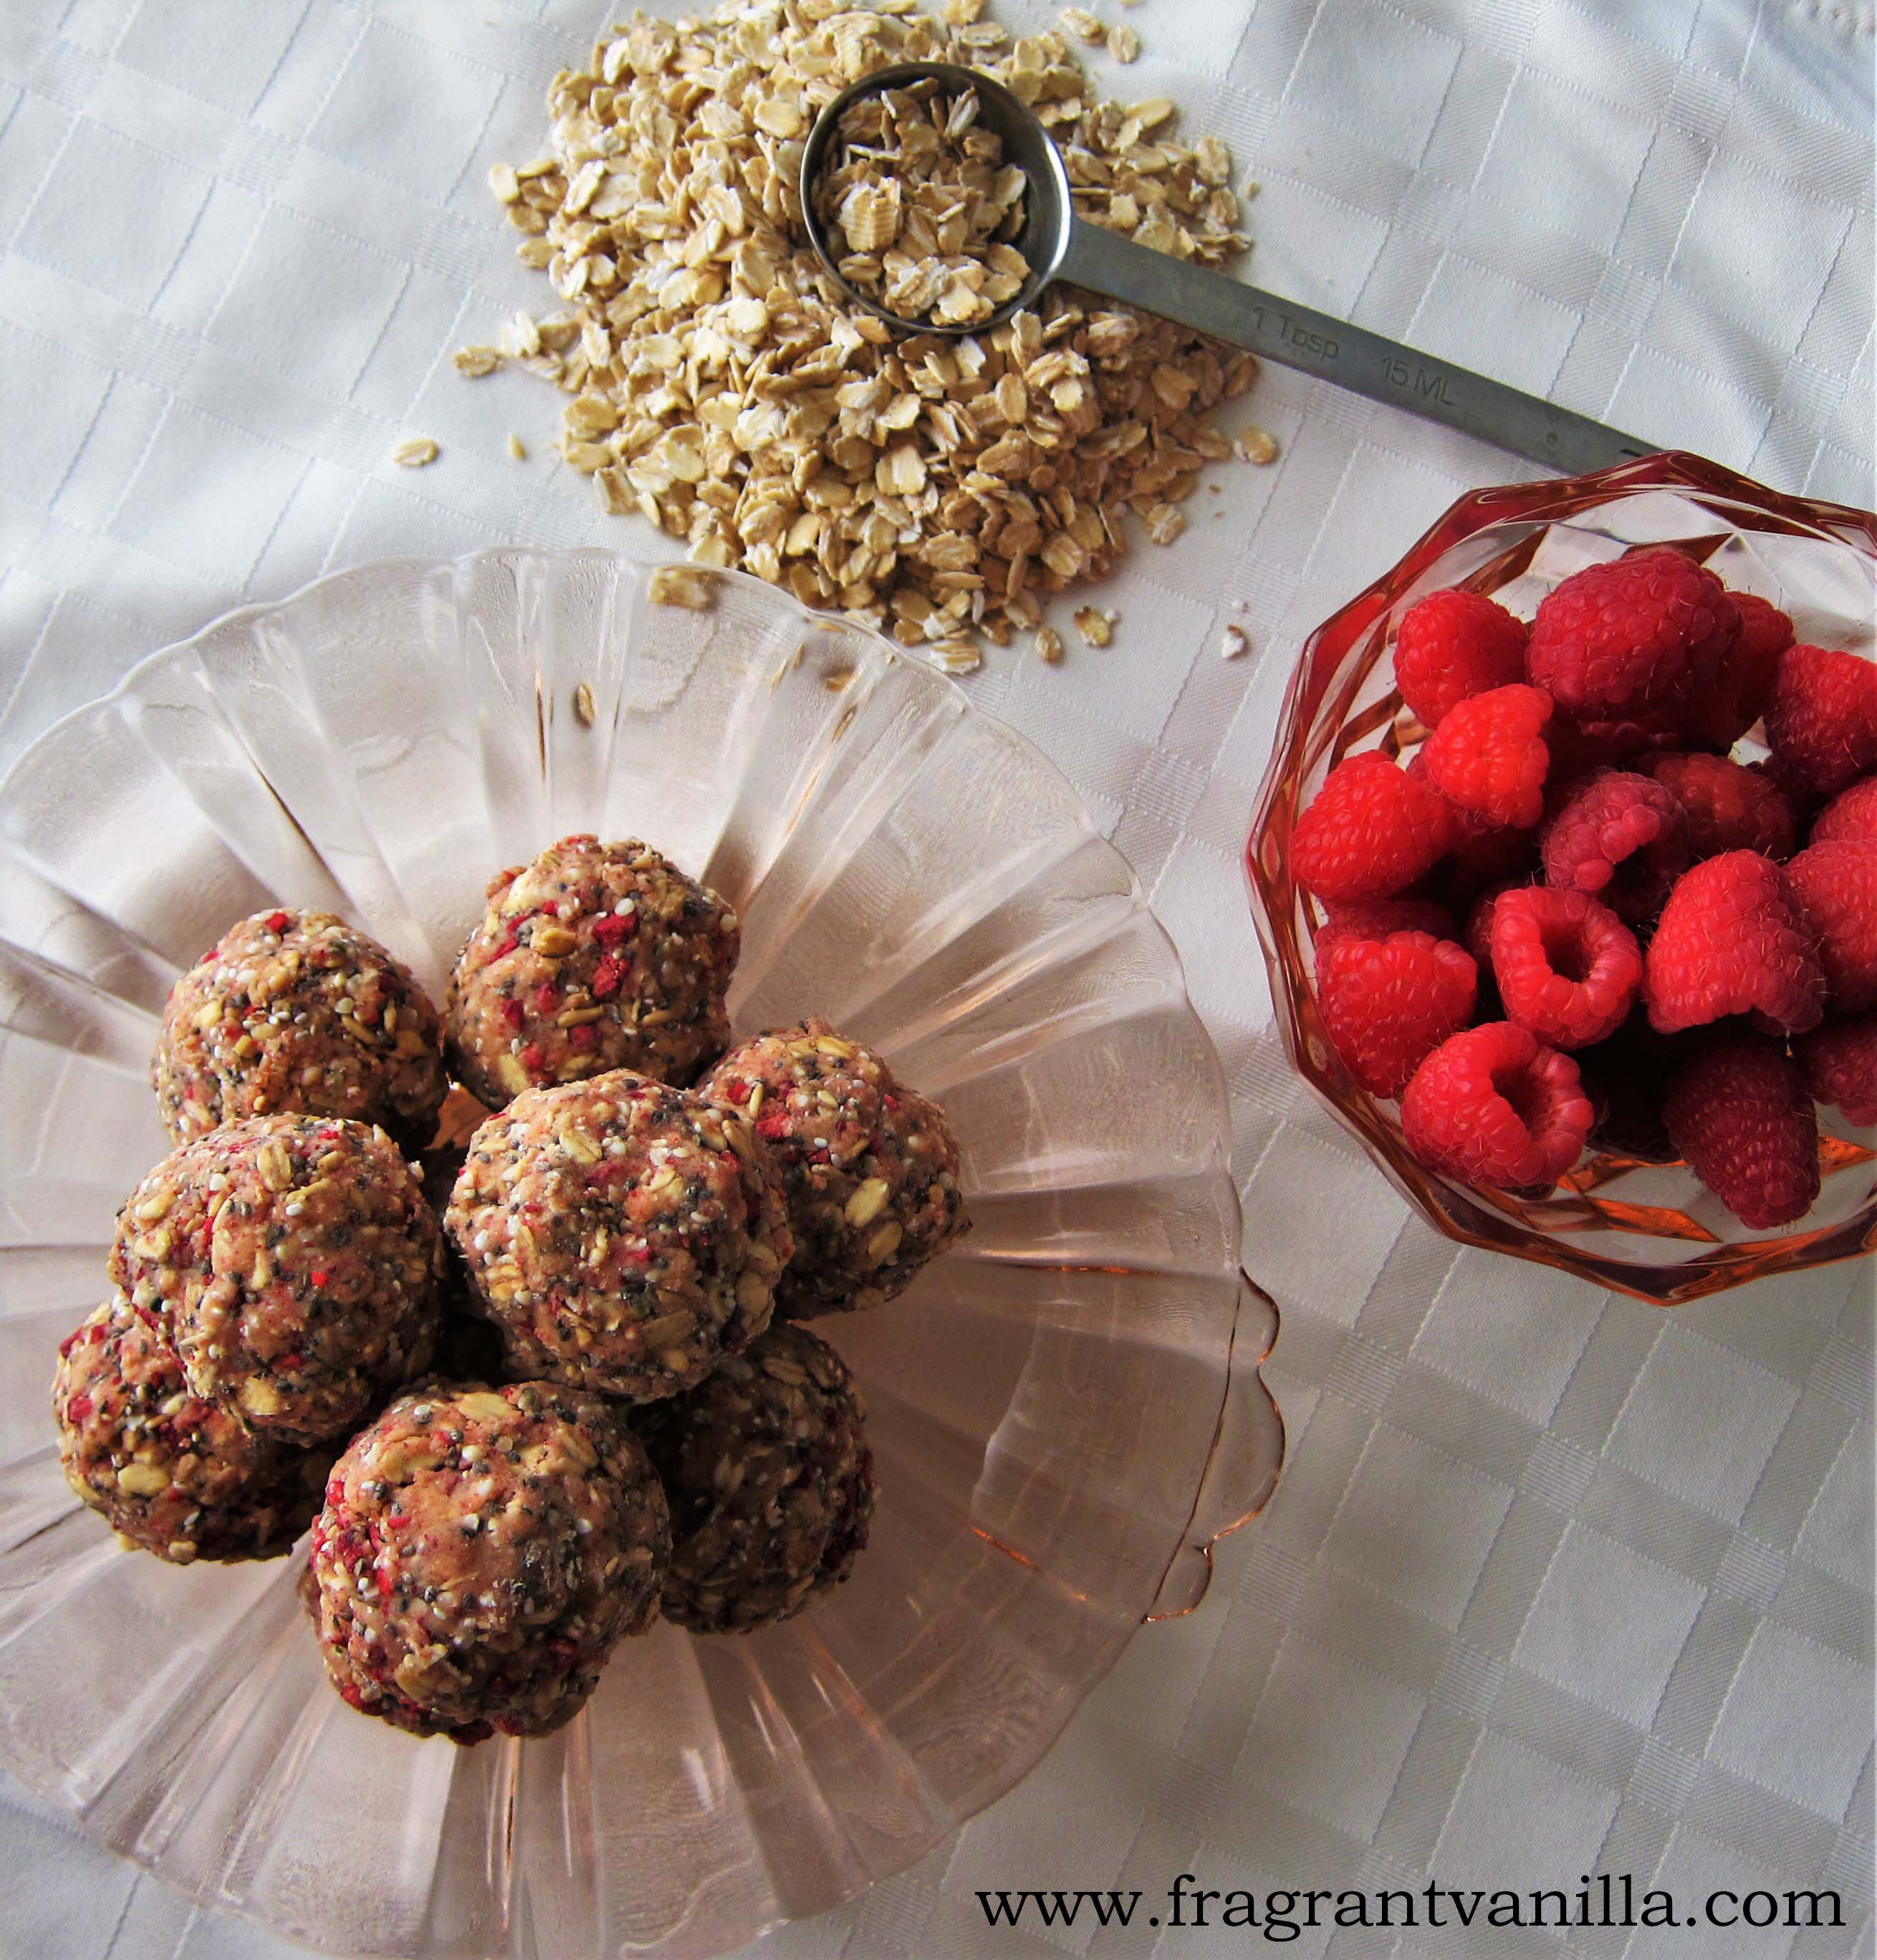
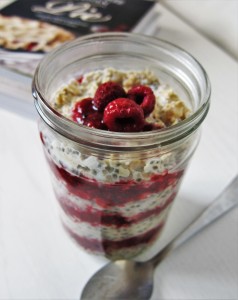
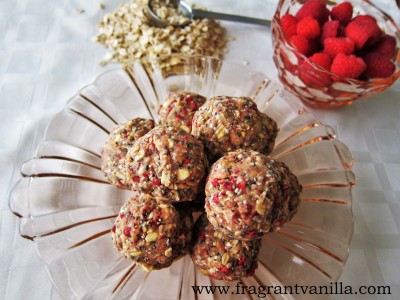
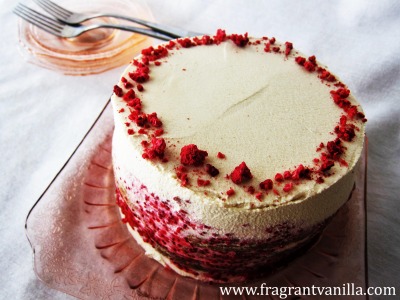
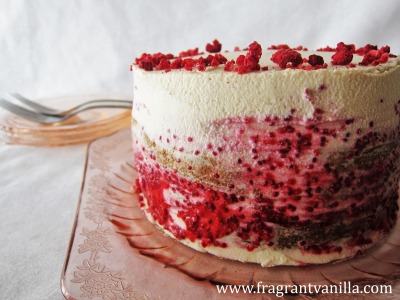
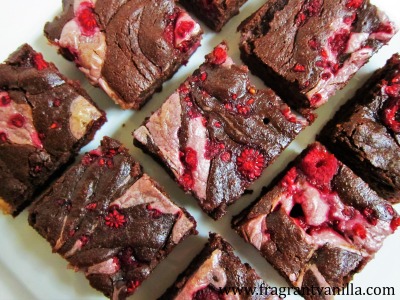
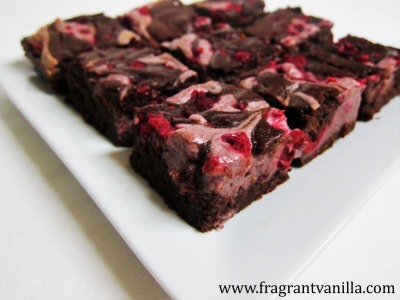
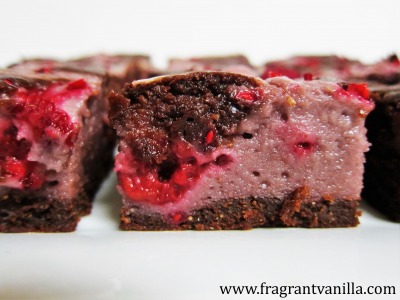
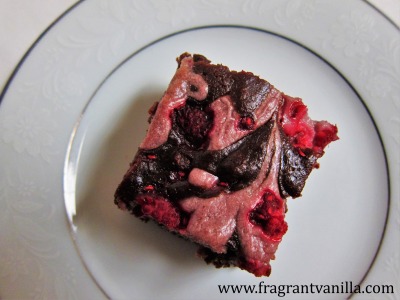
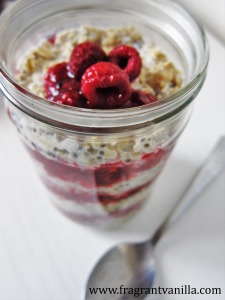
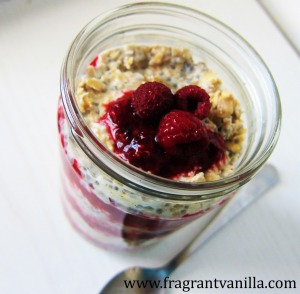
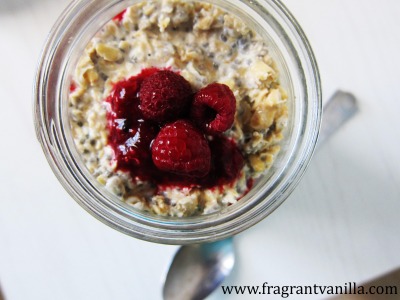
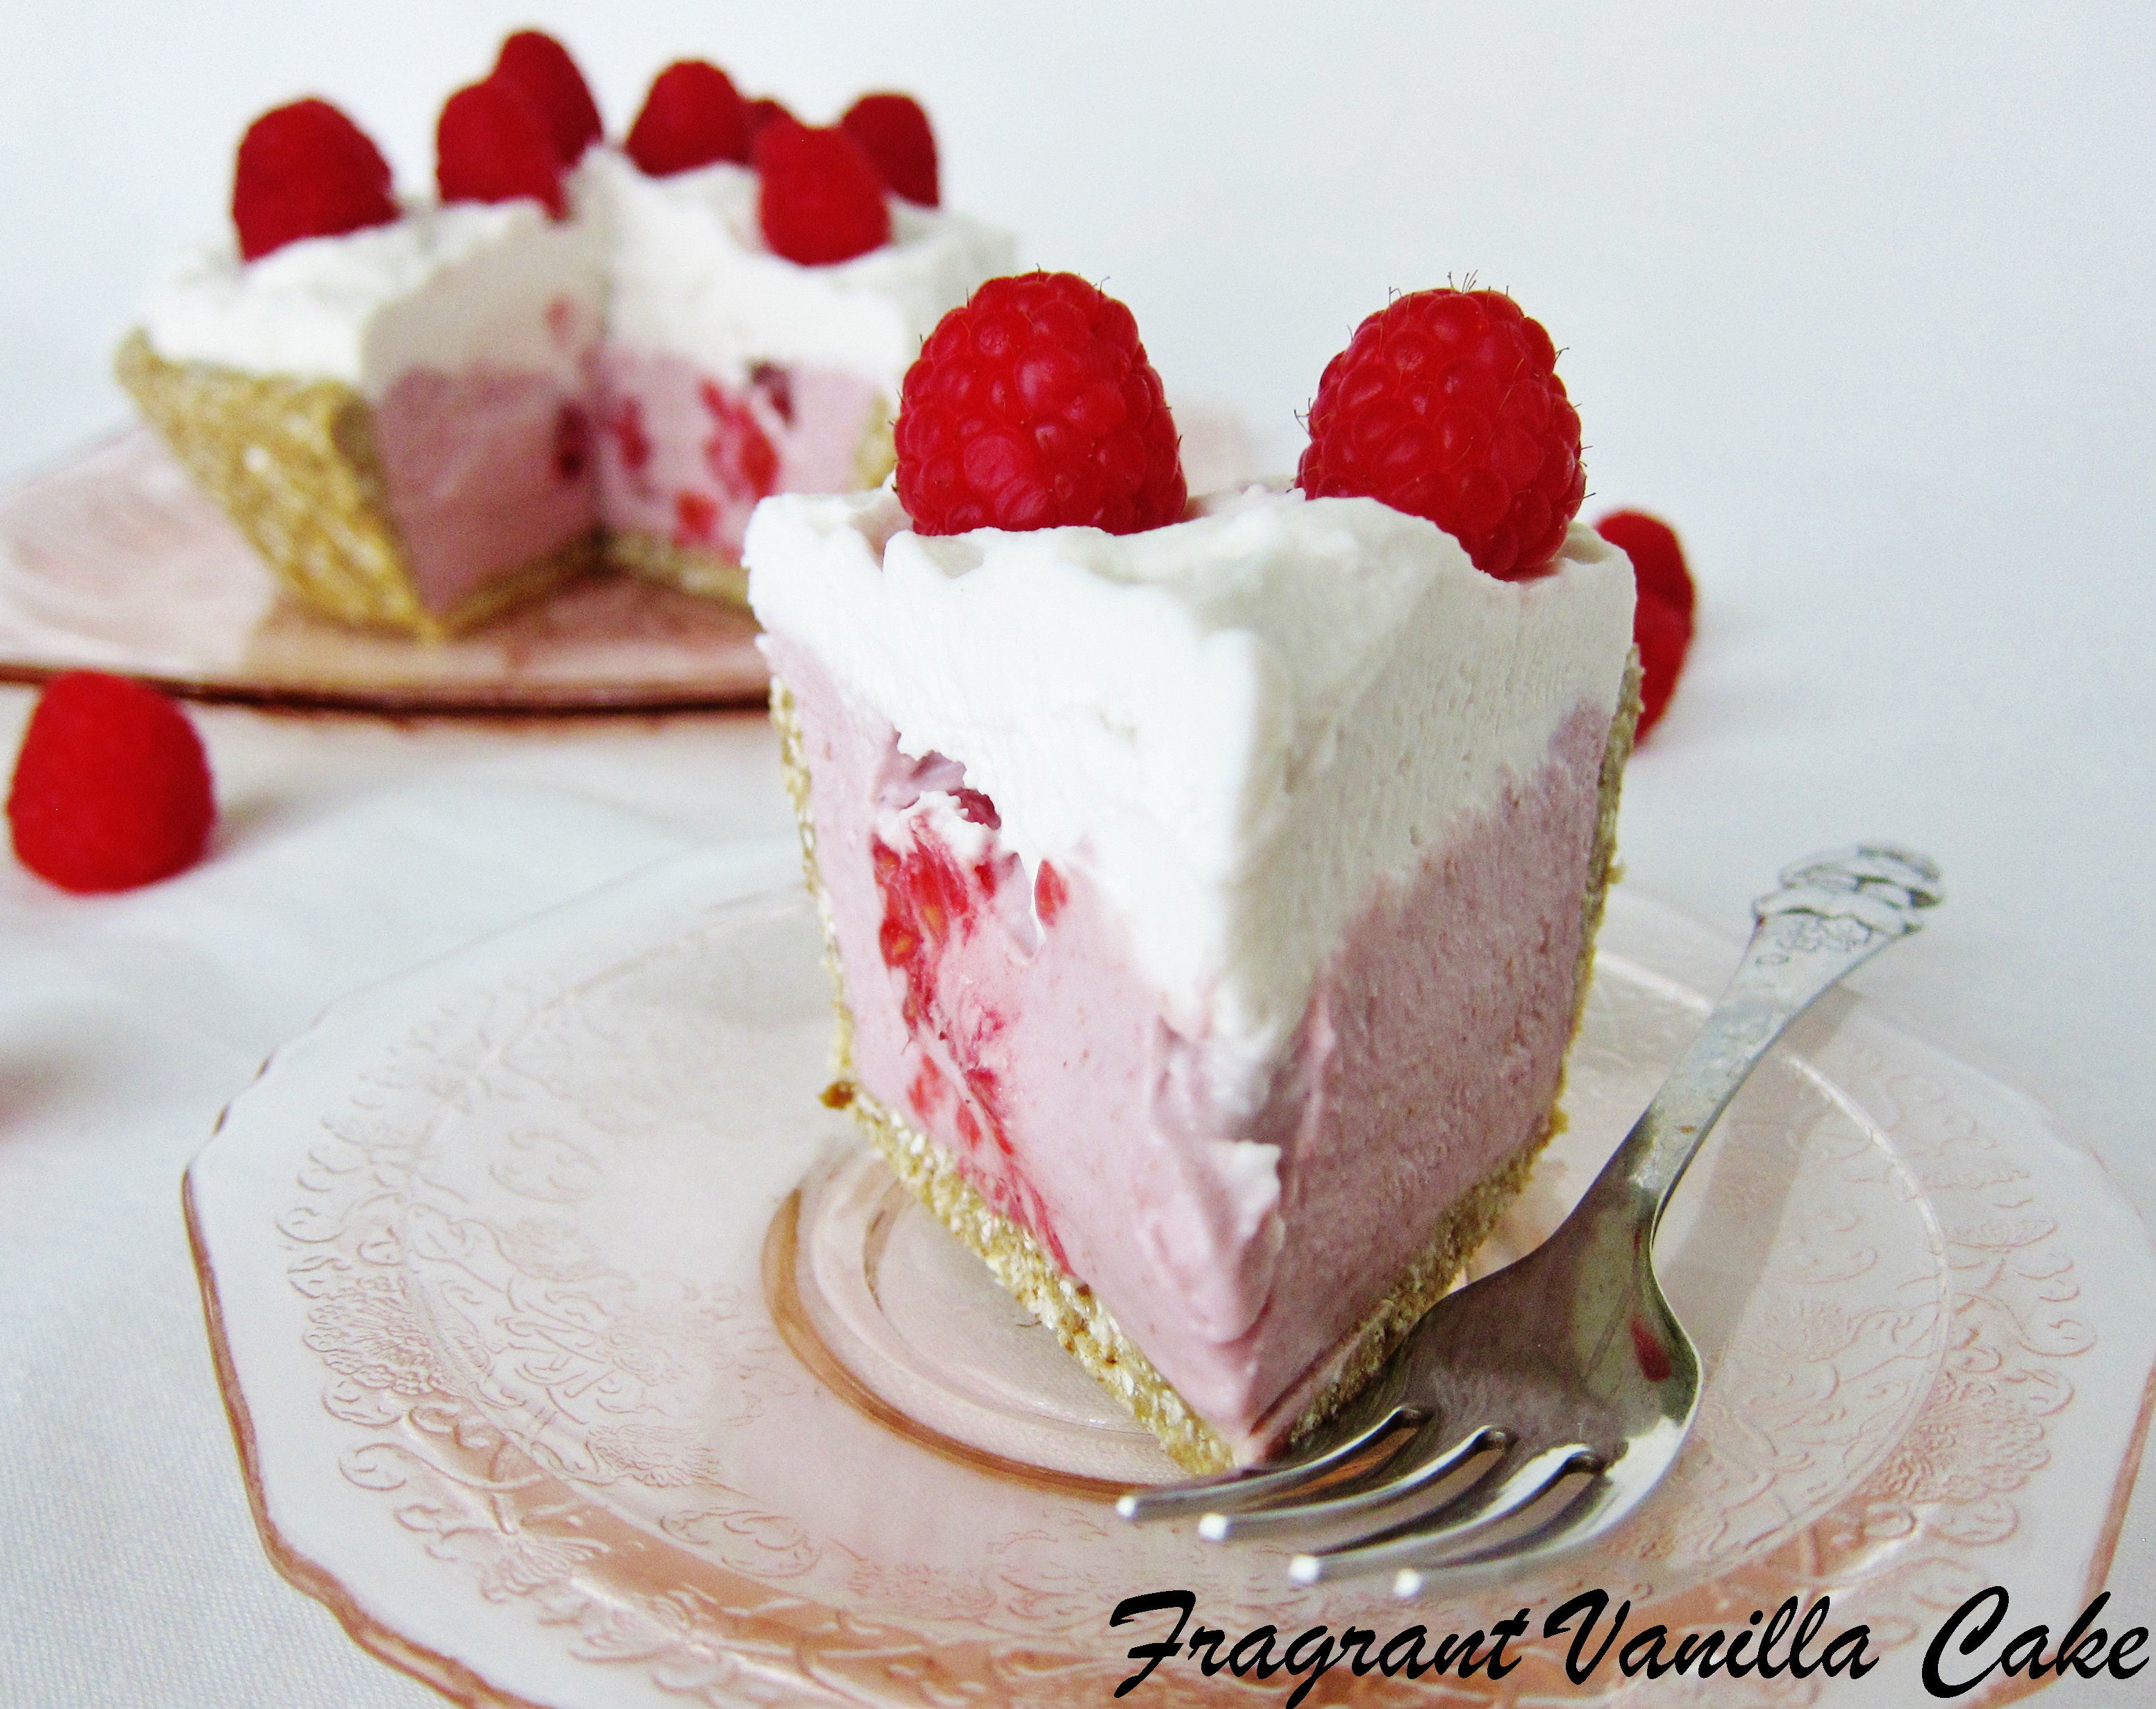
I ate raspberry yogurt for most of my childhood. It was always my favorite flavor. Unfortunately it was giving me tummy troubles the whole time and I did not know it. This vegan version is tummy friendly, especially since it contains probiotics, and you would never know it is not dairy.
Raw Raspberry Coconut Yogurt
Makes about 3 cups
4 cups coconut meat (approximately the meat from two young coconuts)
coconut water as need to reach desired consistency (approximately 2 cup more or less if you want it thinner or thicker)
1 teaspoon powdered probiotics (you can open capsules and use those)
2 cups organic raspberries*
In a high speed blender, combine the coconut meat and water and blend until smooth. Stir in the probiotics and place in a covered bowl in a warm place for 8-16 hours or until it reaches the tangyness you like. I let mine sit for about 12. Puree the raspberries in a blender and stir in. Chill and enjoy!
*Note, I like my yogurt unsweetened, but if you want your yogurt sweeter you can add some liquid raw sweetener such as raw coconut nectar along with the raspberries.
**If you want plain yogurt, omit the raspberry step.
This yogurt is just as good as the real dairy I used to eat daily before I became vegan. My favorite way to serve it is topped with fresh fruit, and crunchy granola.
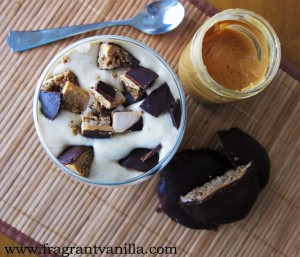
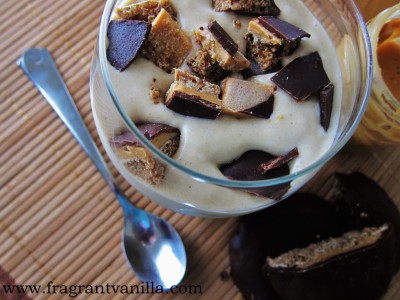
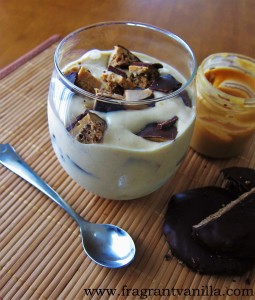
Vanilla Coconut Yogurt
1 15 oz can full fat organic coconut milk*
2 tsp powdered probiotics (I emptied out the capsules)
1/2 cup raw cashew butter
1/4 cup coconut butter, warmed to liquid
2 tsp vanilla extract
2 Tbsp maple syrup (optional for sweet yogurt)
In a blender, blend together the coconut milk and probiotics. Pour into a bowl, cover, and let sit overnight in a warm place (about 75F degrees at least). The next day, blend in all remaining ingredients, chill and enjoy! Keeps for one week in the refrigerator.
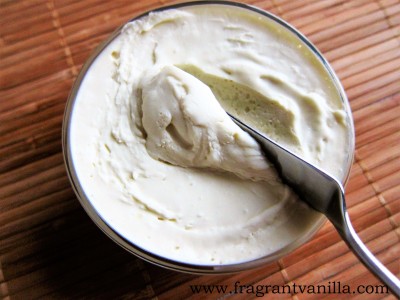
Raw Maple Cinnamon Cream Cheese
Makes about 2 cups
2 cups fresh young coconut meat*
1/4 cup coconut water
1/4 cup raw coconut nectar, or your choice of raw liquid sweetener
1/4 tsp sea salt
1 tsp cider vinegar
1 Tbsp pure vanilla extract and seeds of a vanilla bean
1 tsp cinnamon
1 tsp maple extract
1/4 cup plus 2 Tbsp raw coconut butter (warmed to liquid)
To make the cream cheese, combine the coconut, coconut water, coconut nectar, sea salt, cider vinegar, vanilla, vanilla bean, cinnamon, and maple, and process until smooth. Add the coconut butter with the processor running to incorporate it completely. Once blended, scoop into a bowl, and place in the freezer for about 45 minutes to an hour until it reaches the consistency of cream cheese.
*If you do not have access to young coconut meat, you can replace it with 2 cups raw cashews soaked for 4 hours and drained in the recipe.
Aquafaba butter is bomb in recipes like pie crusts and scones where you want the final product to be flaky, but it also bakes up beautifully in cakes. Also it is just good on toast of course, and it spreads like whipped butter.
Vegan Aquafaba Butter
Adapted from Plante Pusherne’s recipe
Makes about 2/3 cup
3 Tbsp aquafaba, chilled
1/2 tsp lemon juice
1/4 tsp sea salt
1/3 cup virgin coconut oil, warmed to liquid
2 Tbsp avocado oil or olive oil
To make the butter, place aquafaba, lemon juice, and sea salt in the bottom of a glass liquids measuring cup (with 2 cup capacity). Place an immersion blender into it, and start blending. Pour the oils in slowly blending as you go until it is all blended and there is no visible oil on top. Pour into a glass container, and refrigerate until firm, a few hours or overnight.


