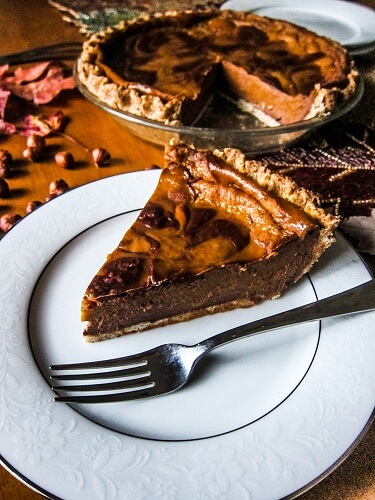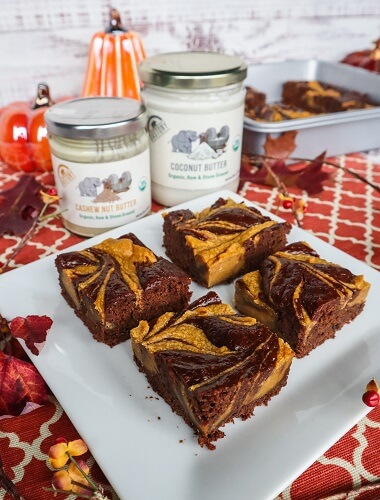
I am a big fan of tahini. It is good in savory applications like hummus, dressing and sauces, but it is equally good in desserts. I had bought a bunch of tahini for making halva, and decided that a chocolate and tahini dessert will be amazing. What I decided on was a Vegan Tahini Chocolate Cake. Because sometimes you just crave a really good chocolate cake! And one needs no special occasion to make a cake, everyday is a good day for cake as far as I am concerned!
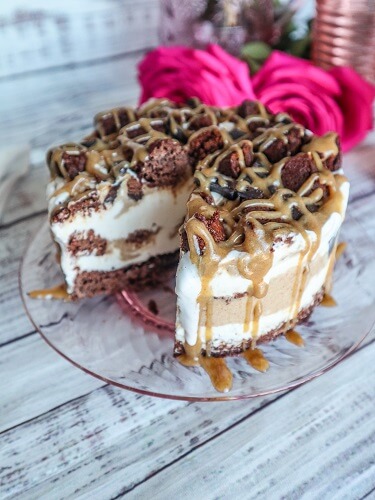
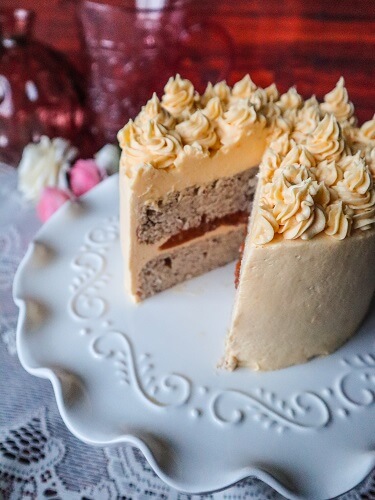
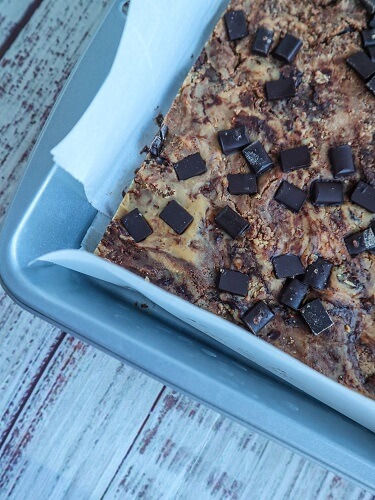
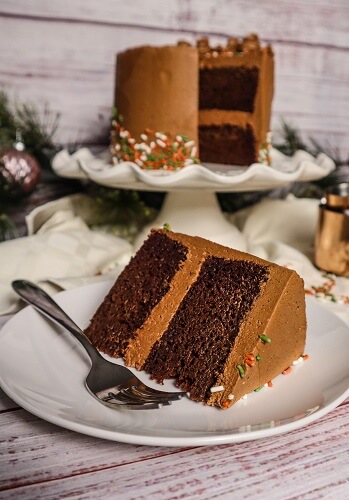
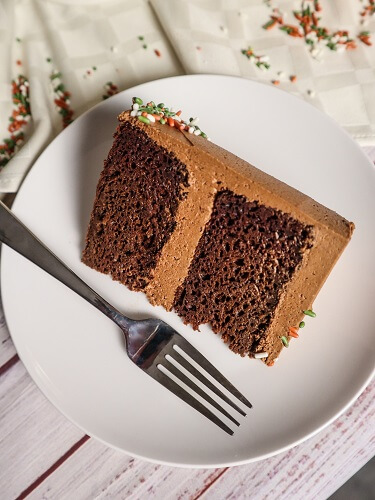
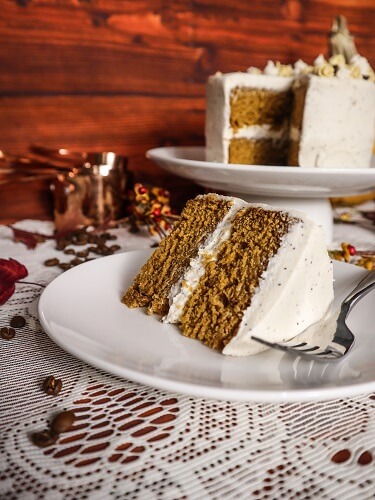
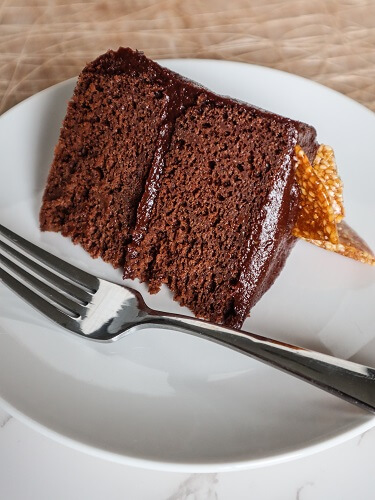
For the base, I used my date sweetened chocolate cake made rich with tahini instead of oil. I love date sweetened cakes, because they stay nice and moist without being heavy. Also, the dates give the flavor of the cake a caramel note. The batter was delicious even before I baked it. I used whole wheat pastry flour in this because it is what I have the most of on hand, but you could make this with all purpose flour as well. Also, if you wanted to make this gluten free, you could use Bob’s Red Mill all purpose baking flour or your favorite AP flour blend for this instead. I have tried many of my cakes and baked goods with Bob’s Red Mill before and always had success which is why I recommend that specific brand.
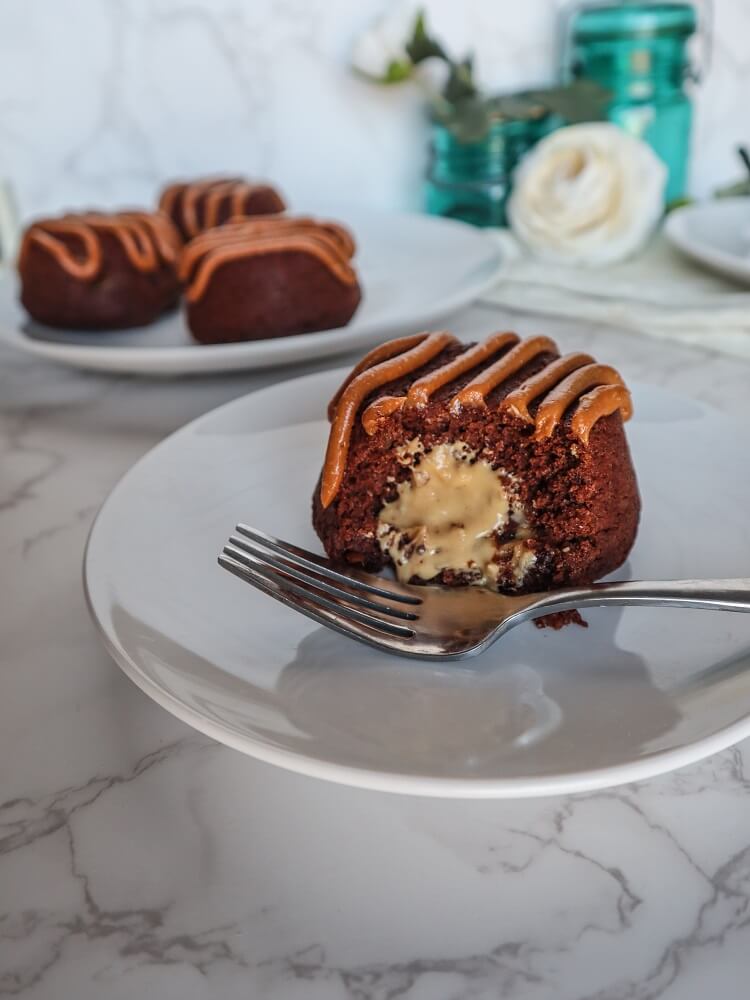
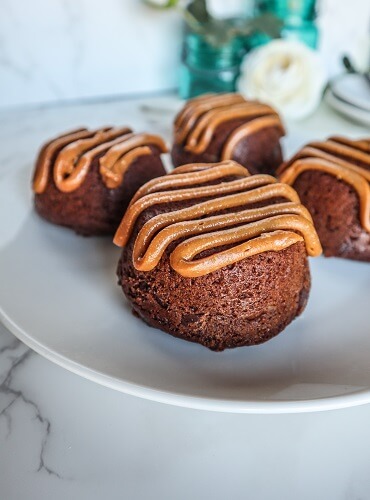
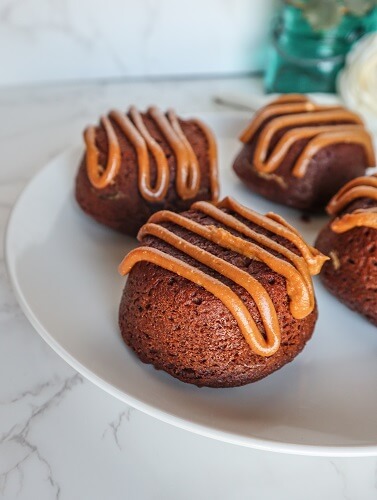
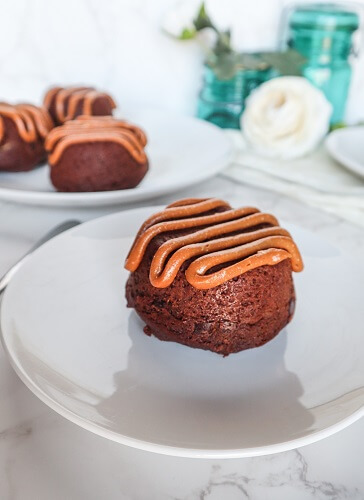
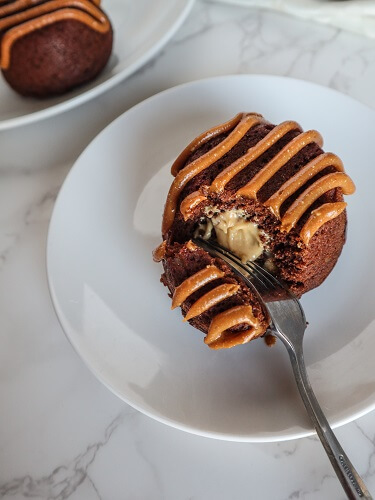
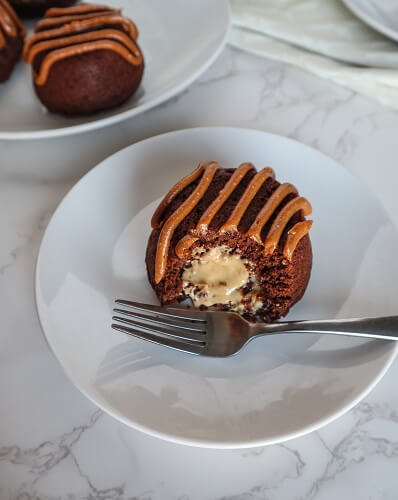
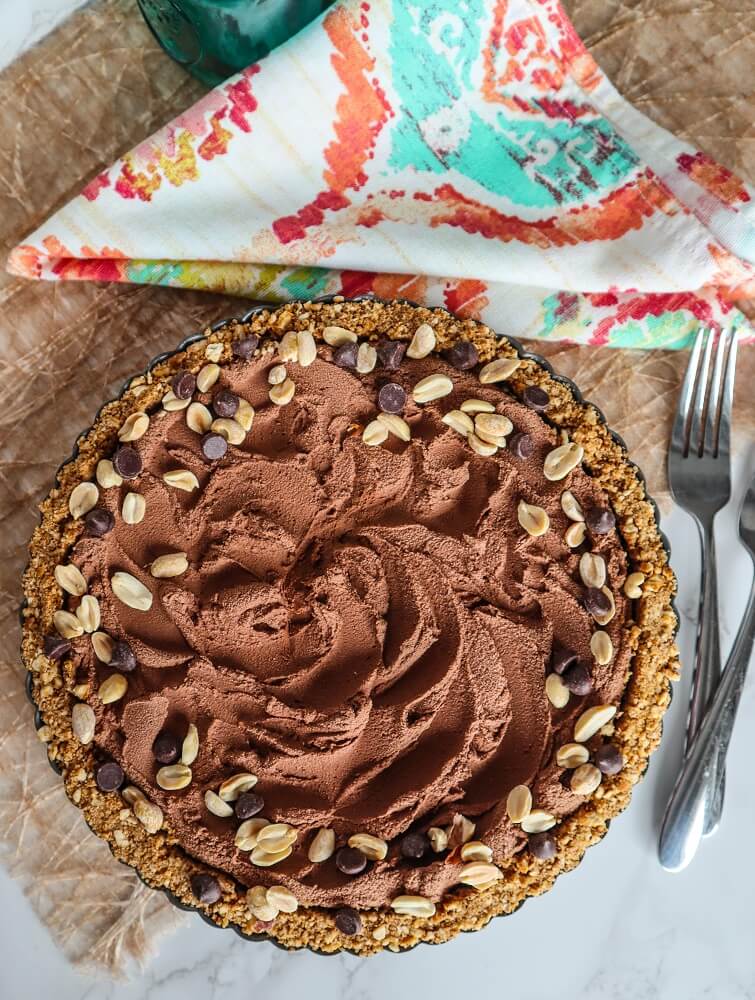
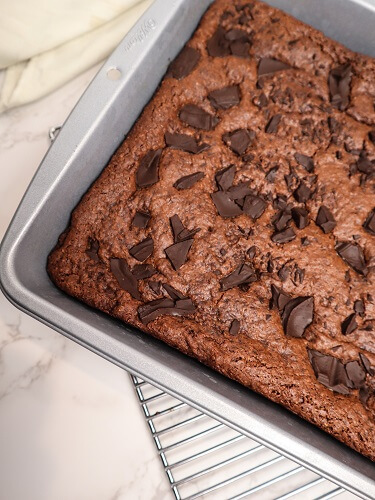
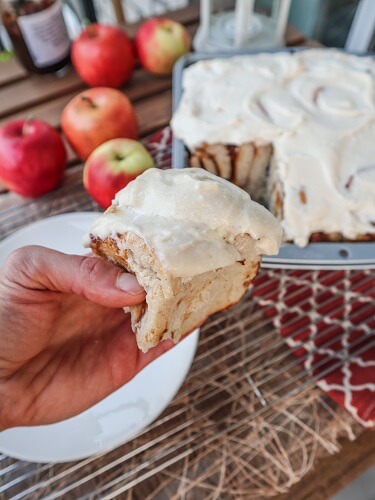
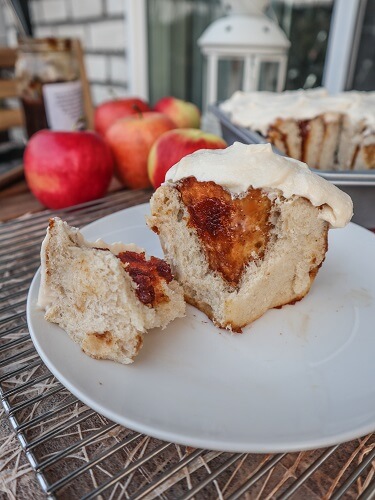
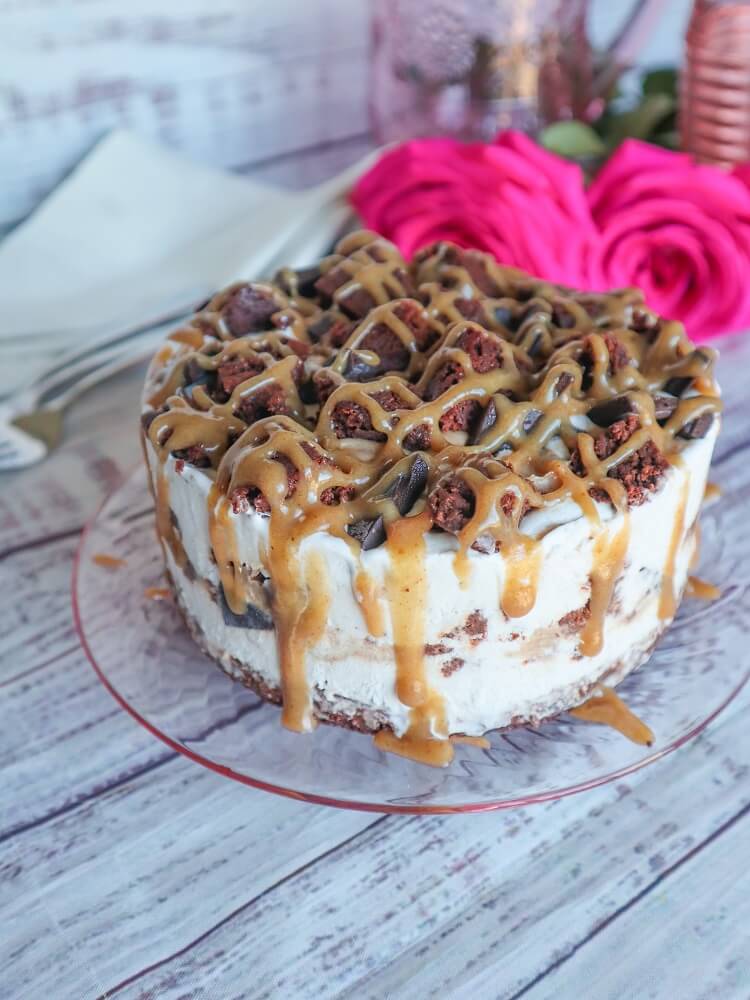
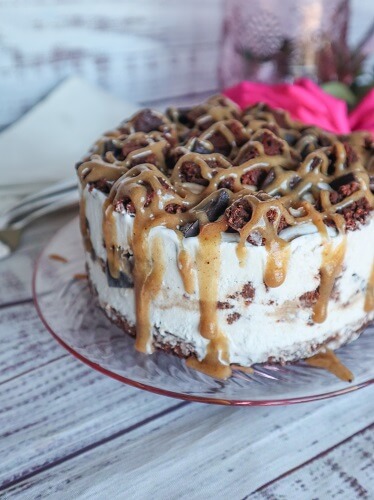
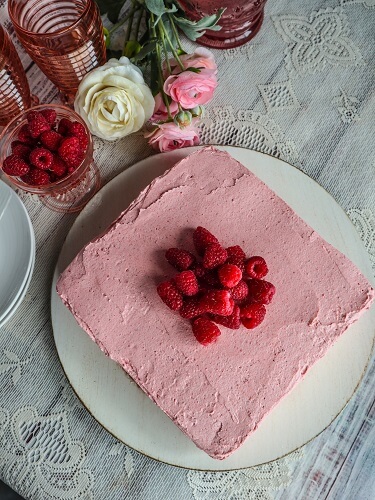
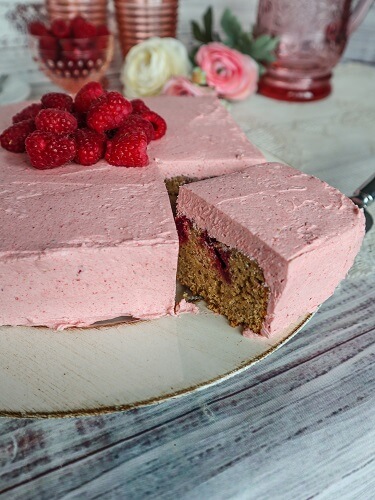
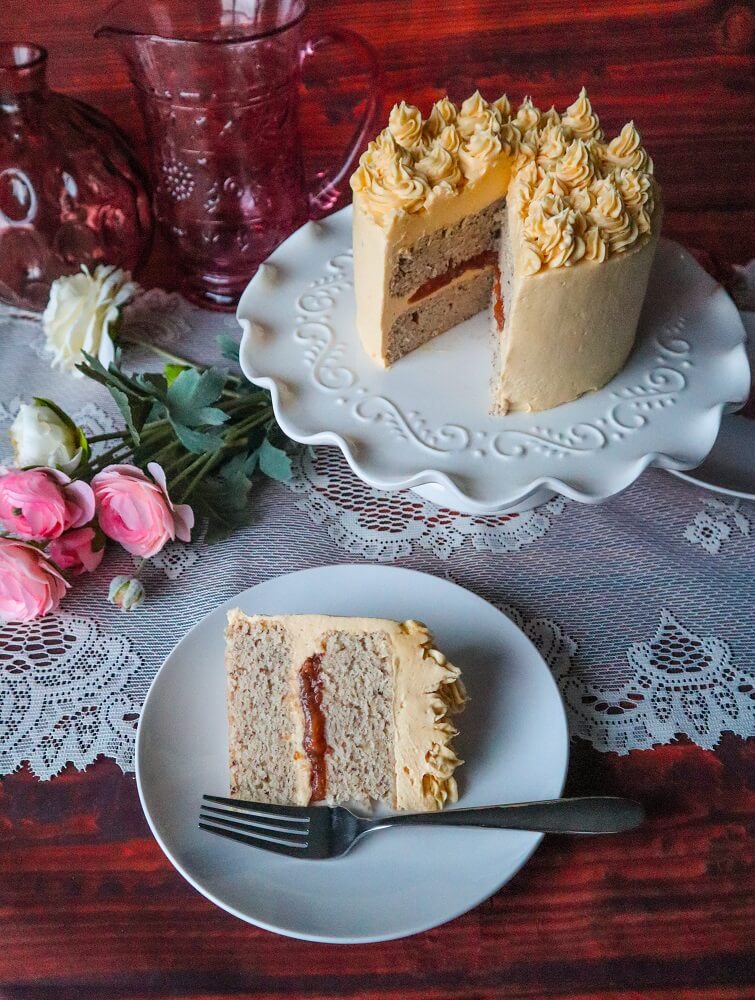
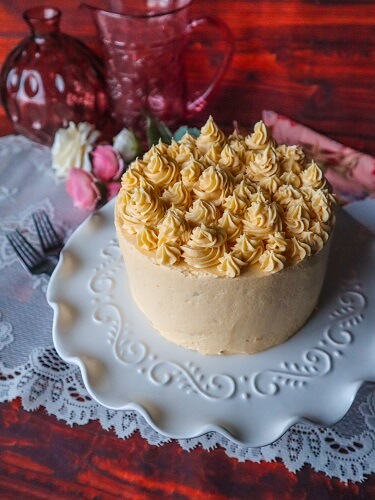
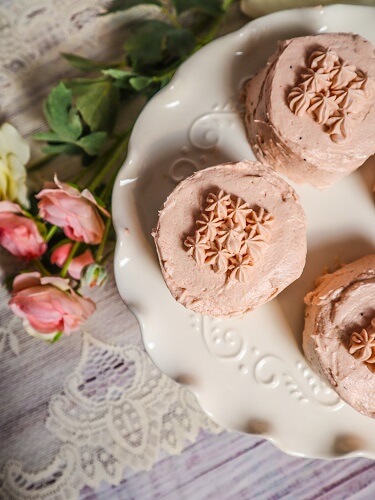
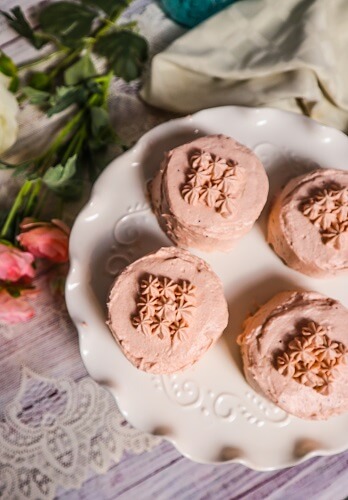
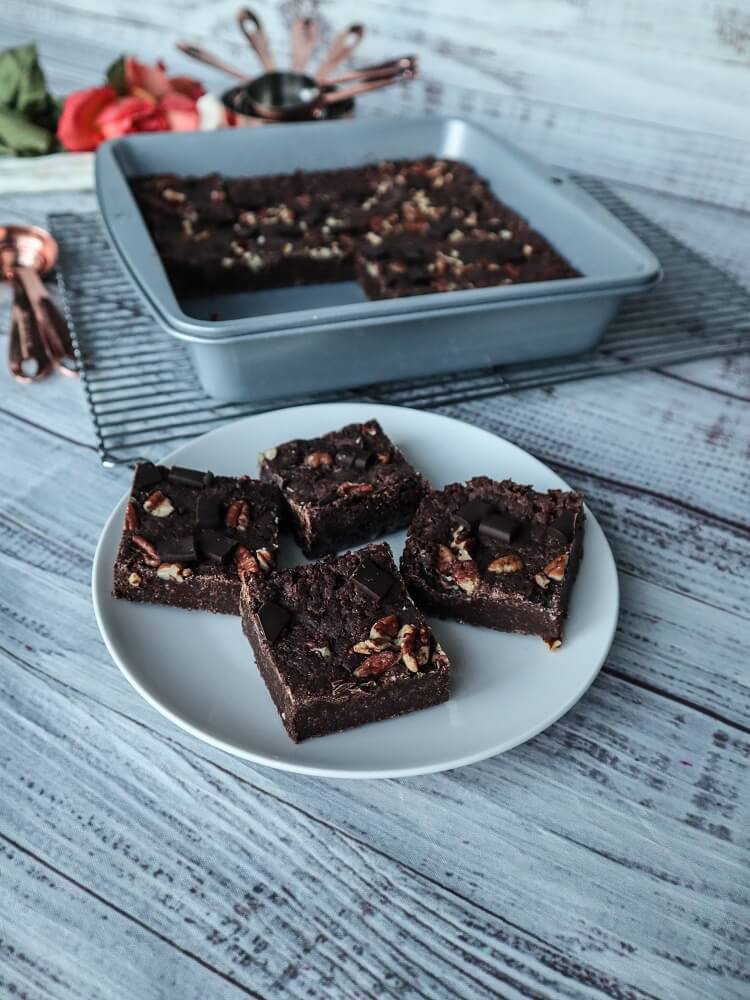
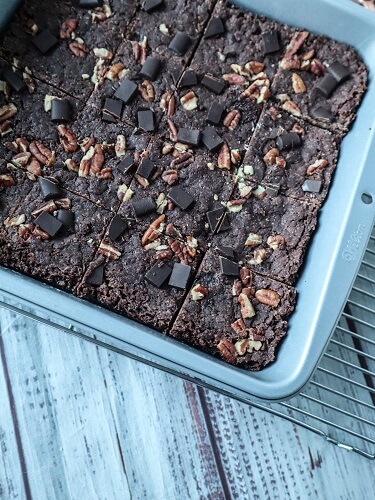
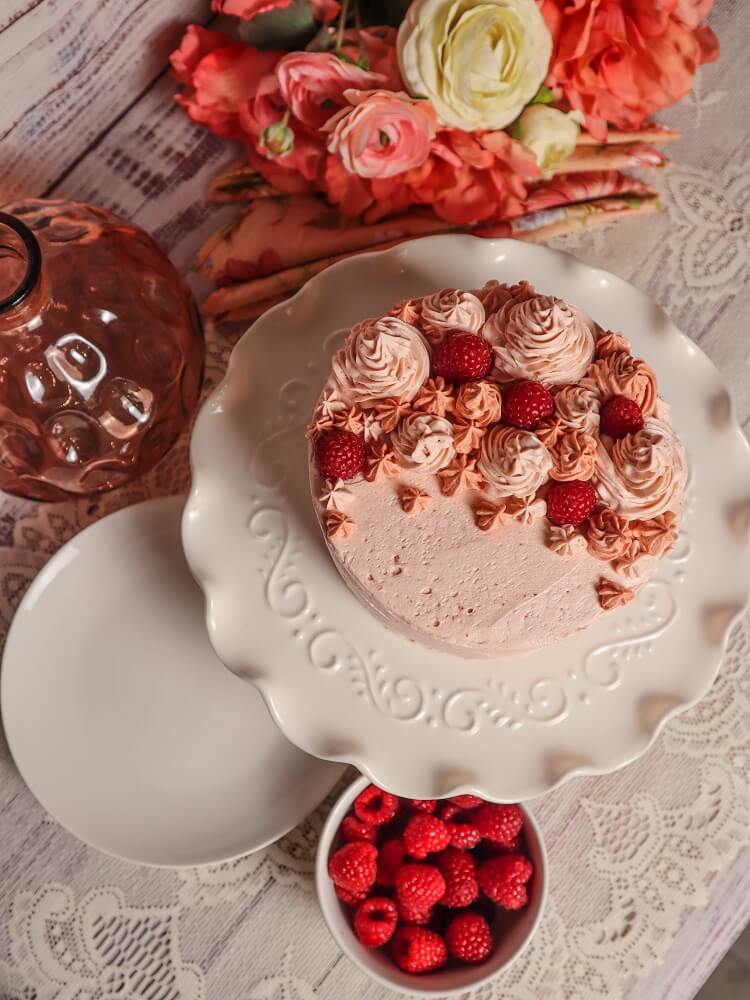
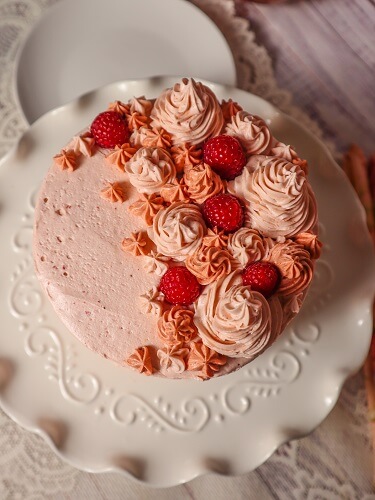
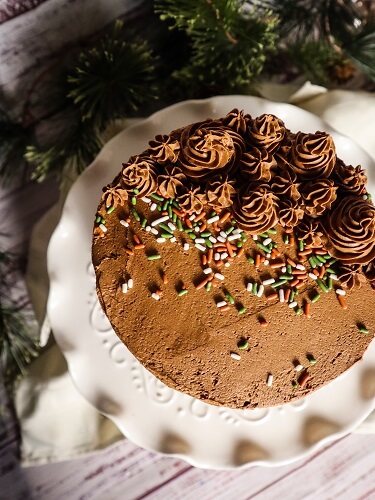
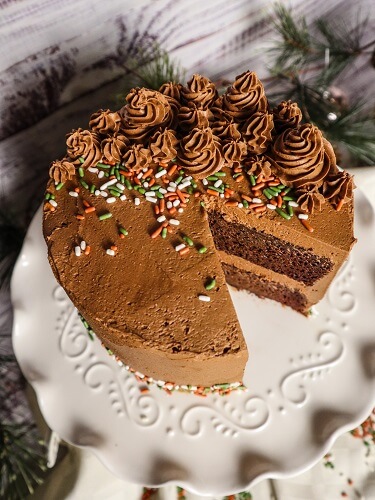
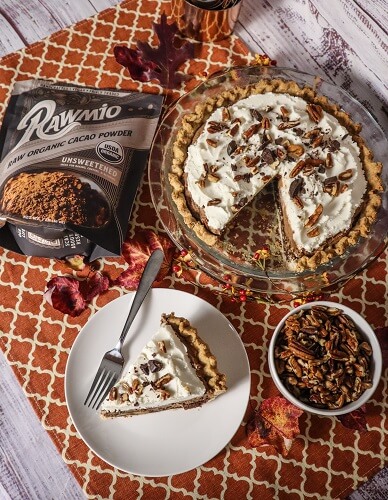
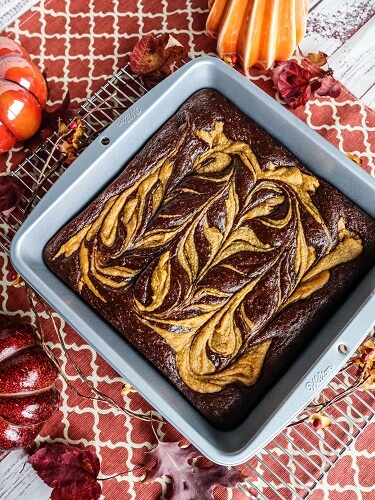
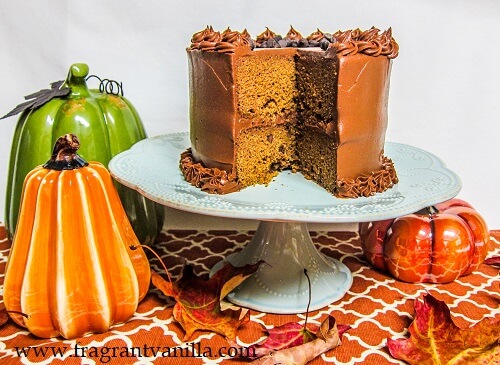
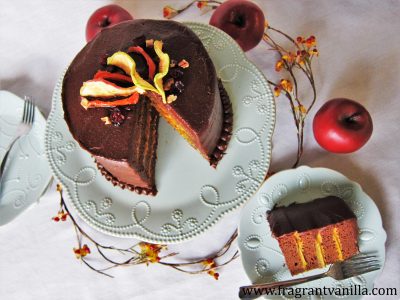
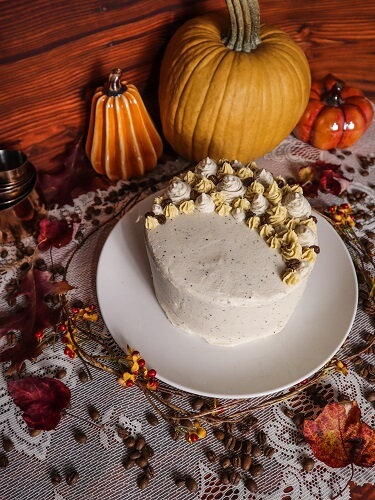
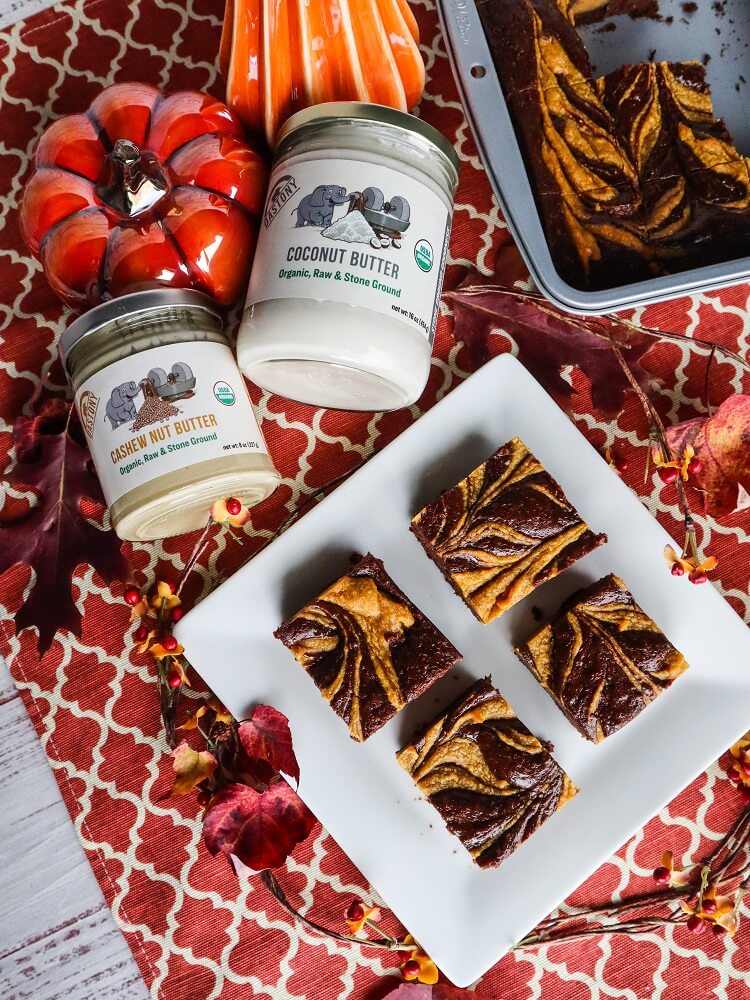
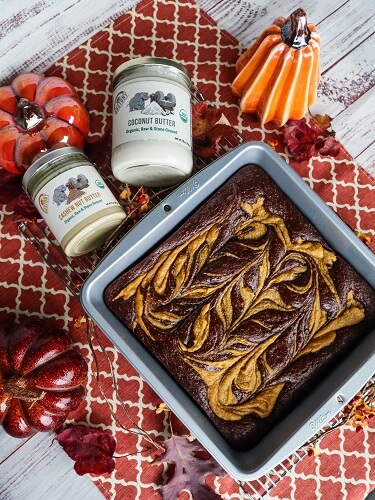
The cake baked up beautifully and filled my kitchen with the most heavenly aroma like brownies. I wanted a simple frosting for this cake that was easy to make so I went with tahini in the base as well. I added in cacao powder and maple syrup and it made a delicious fudgy frosting! It worked out perfect on the cake, spread nicely and didn’t involve any chilling or whipping or anything.
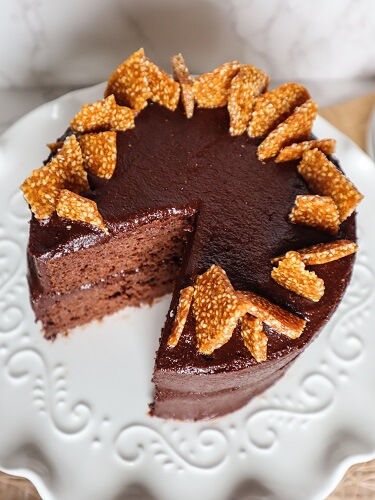
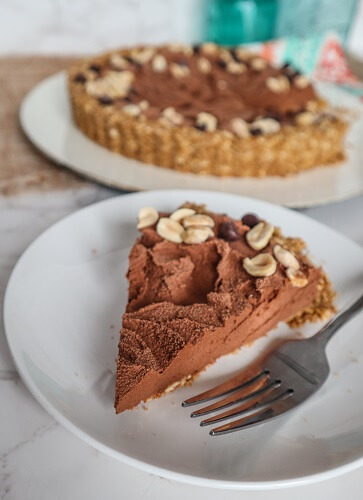
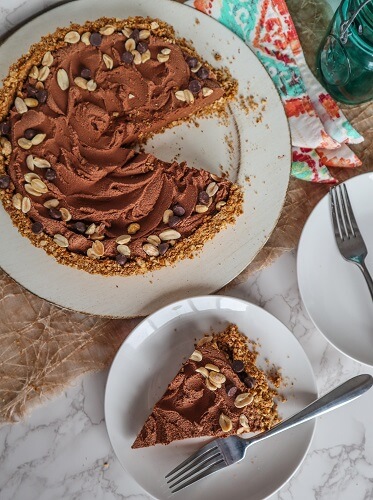
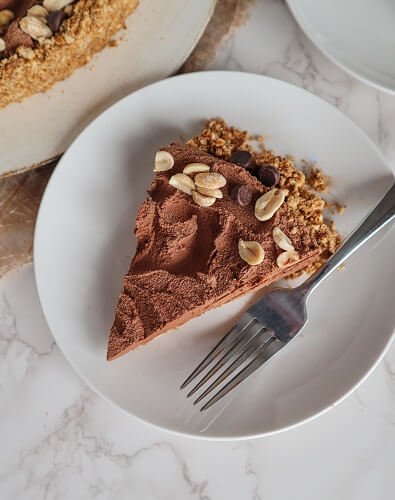
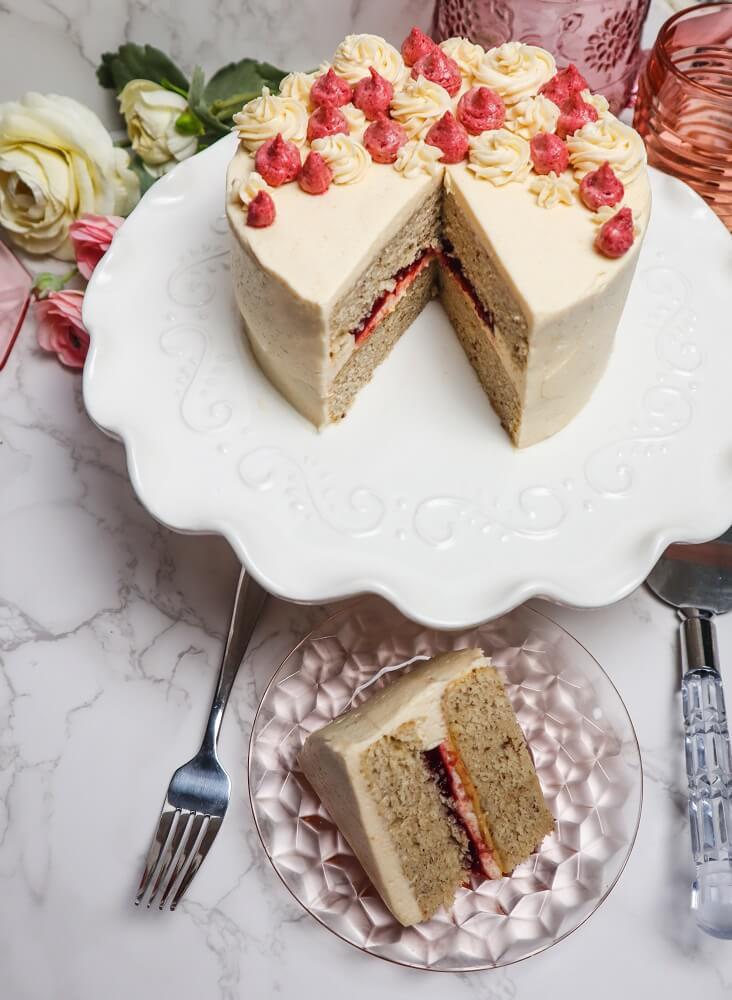
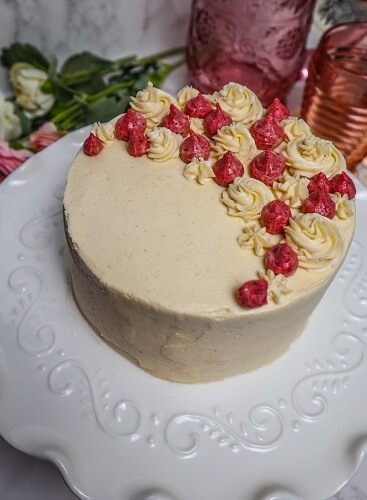
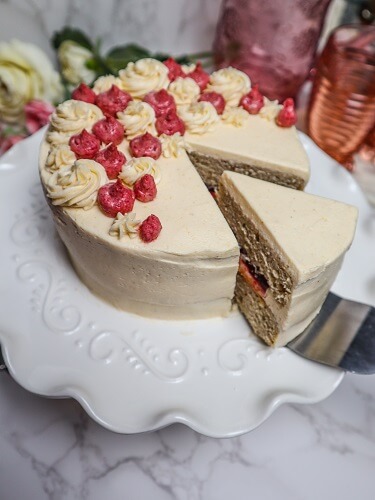
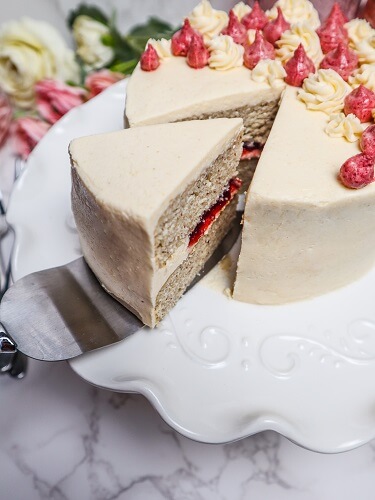
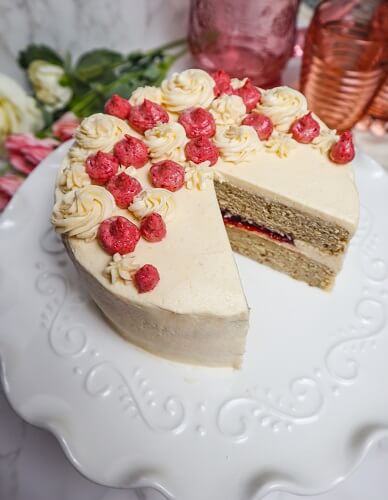
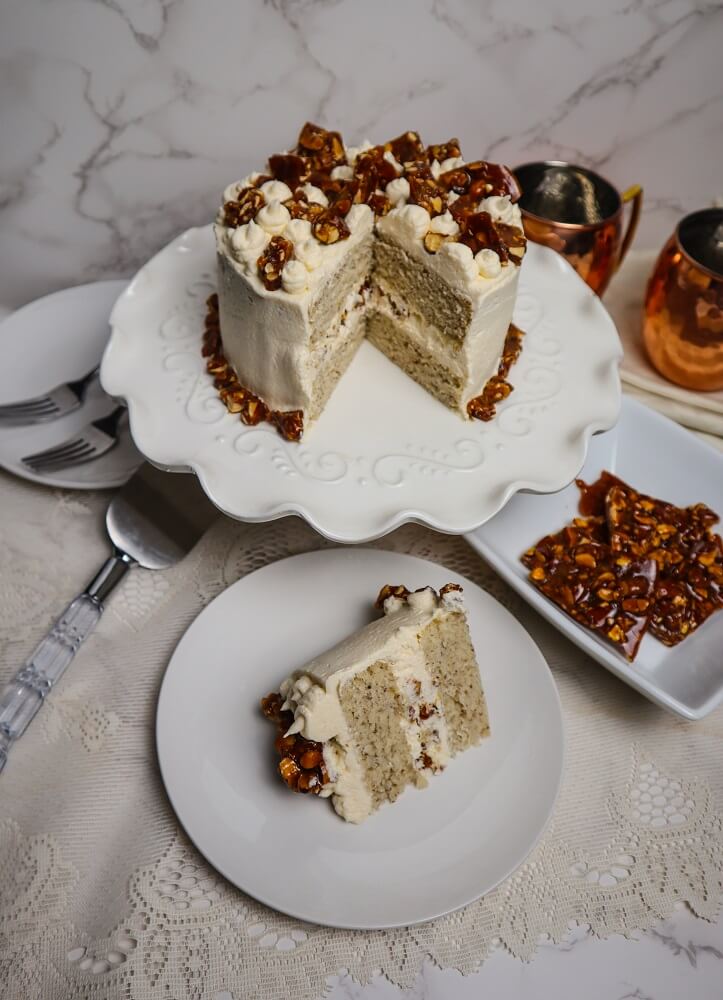
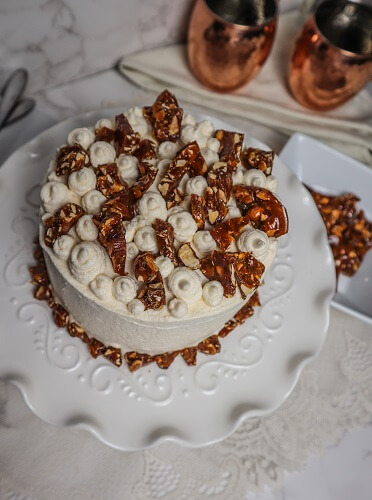
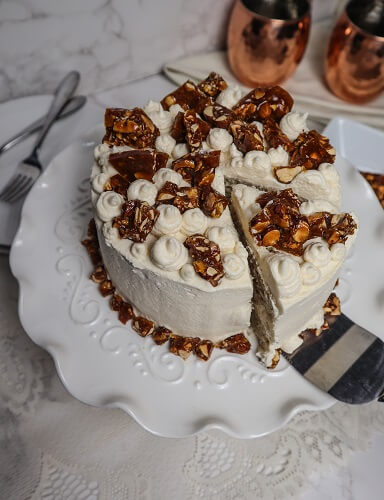
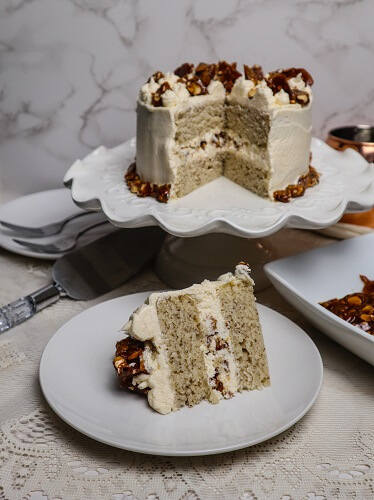
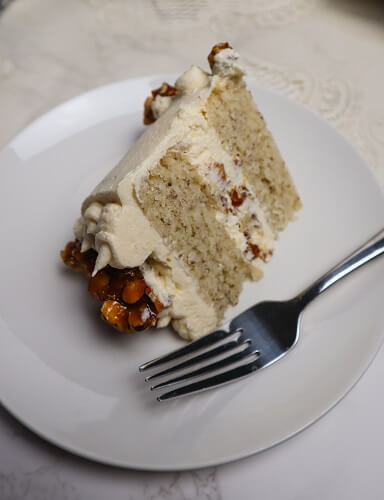
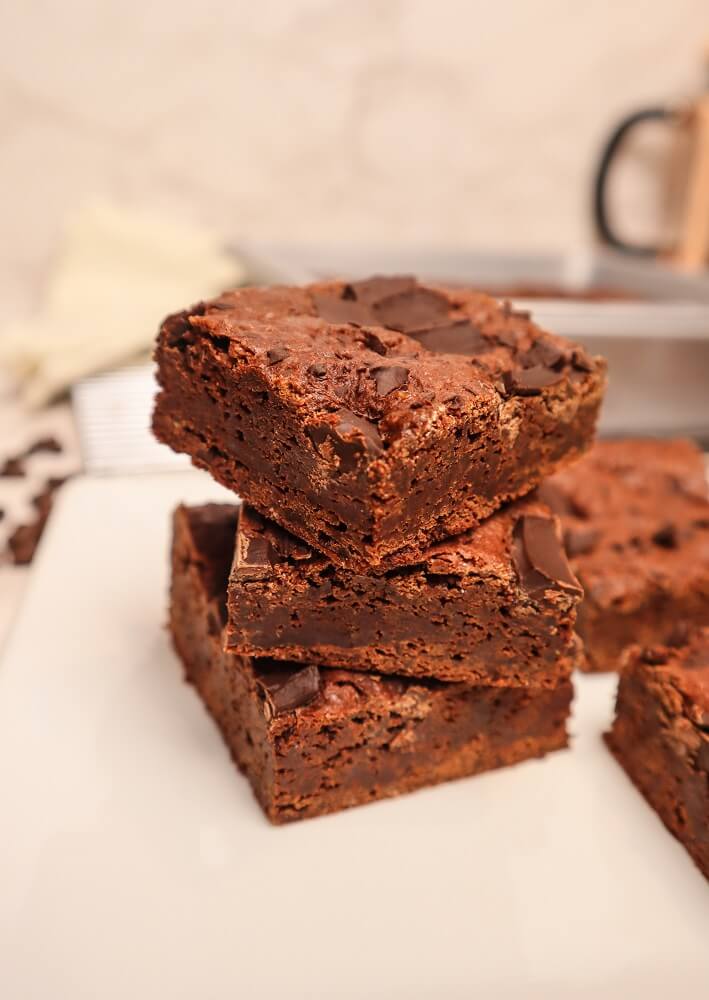
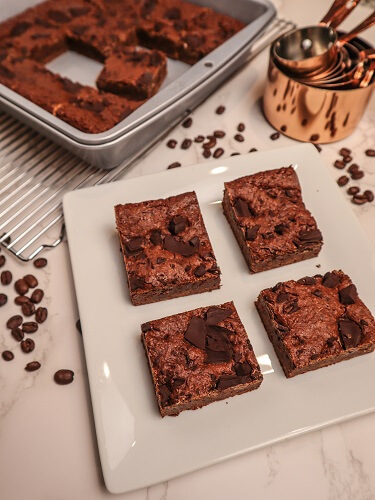
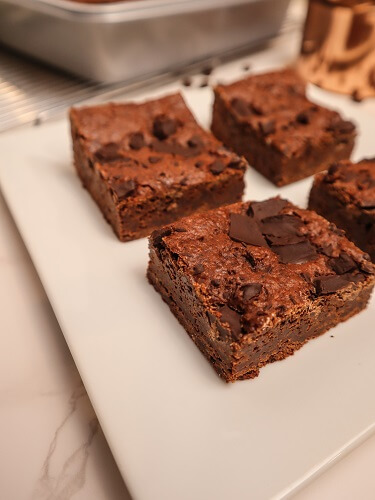
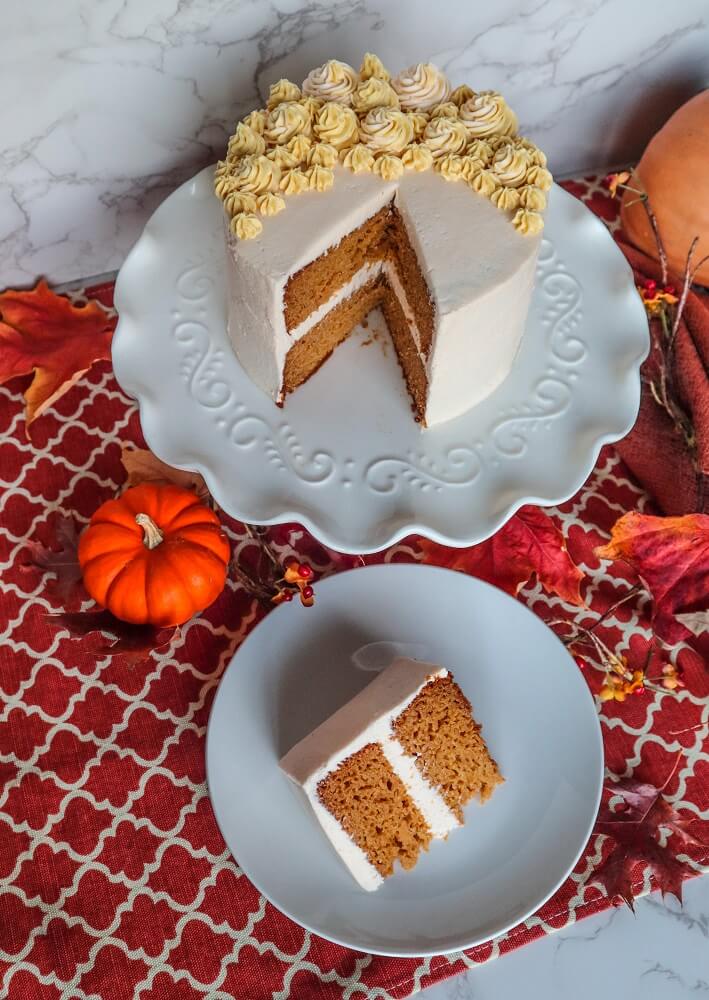
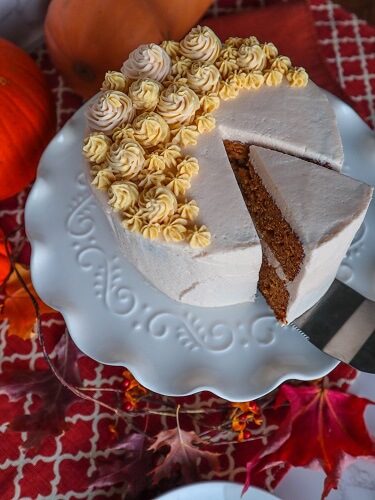
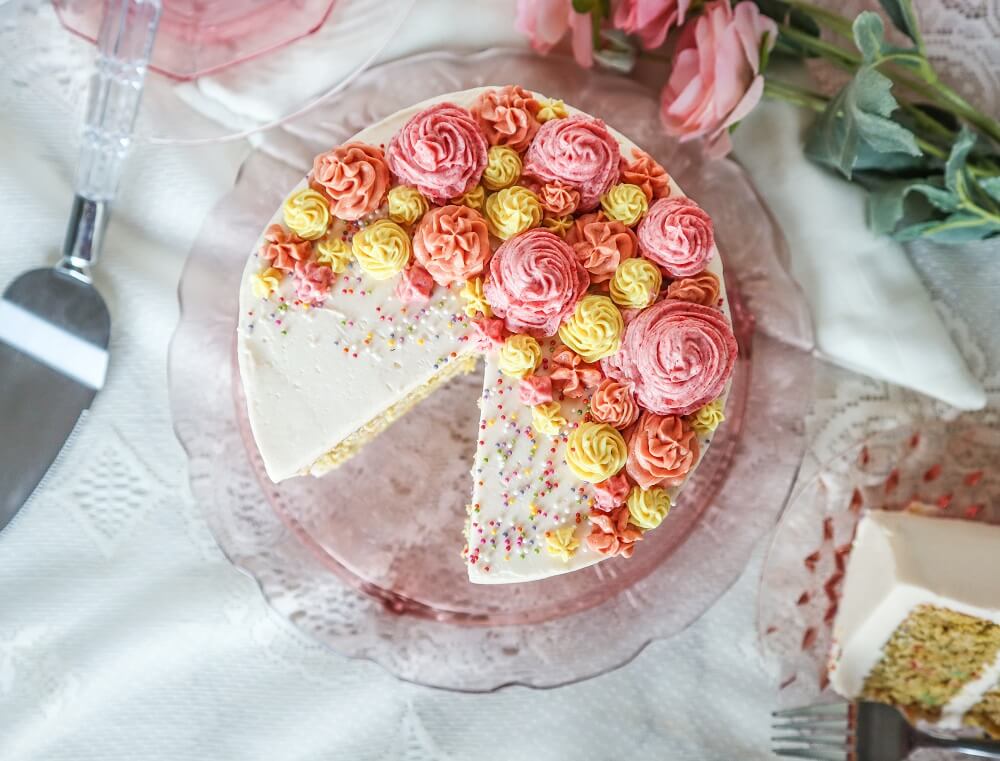
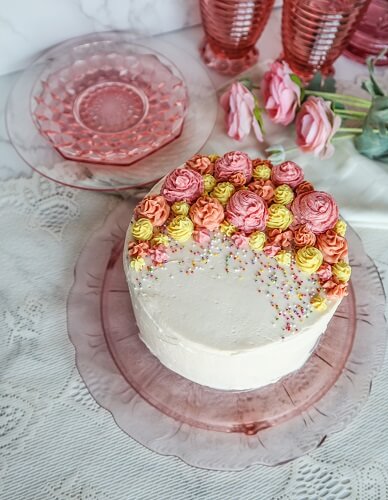
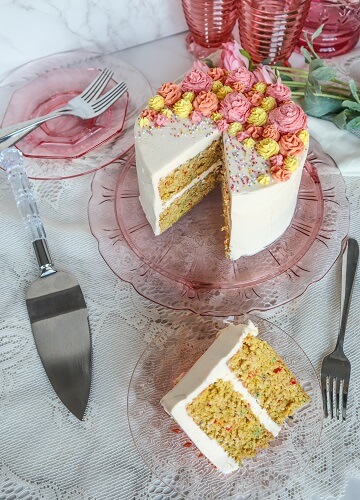
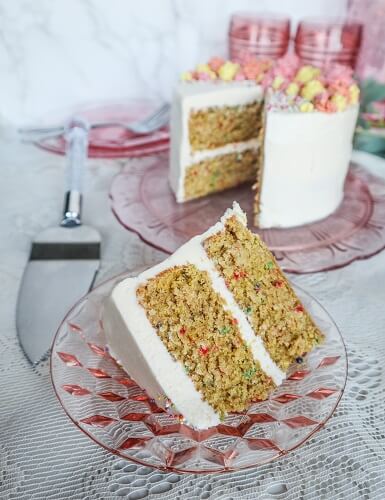
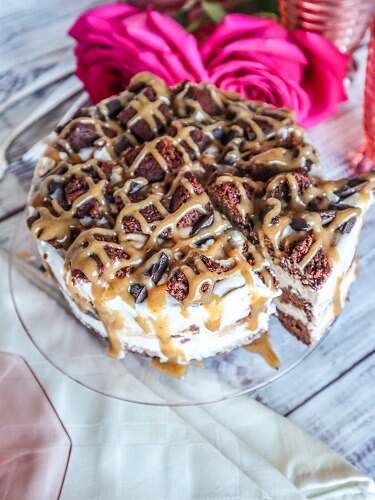
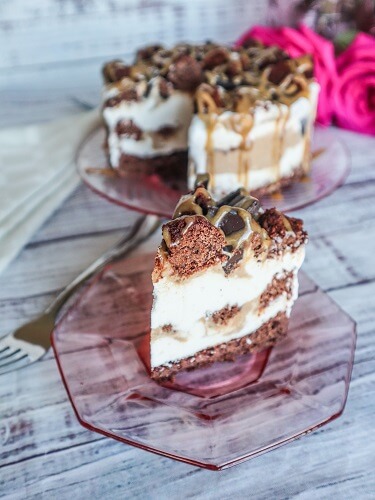
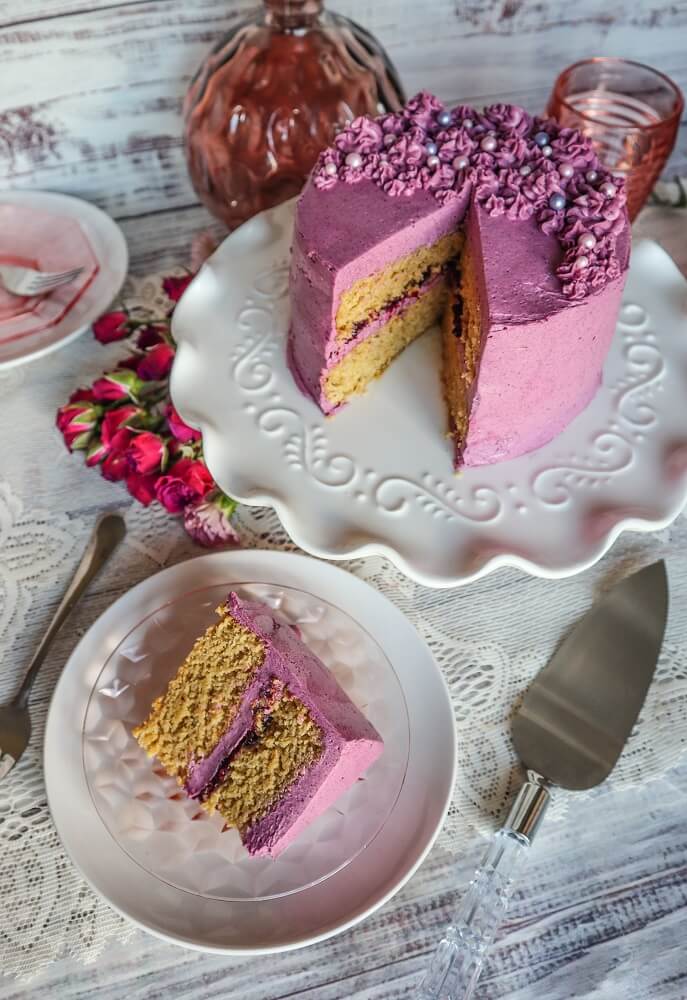
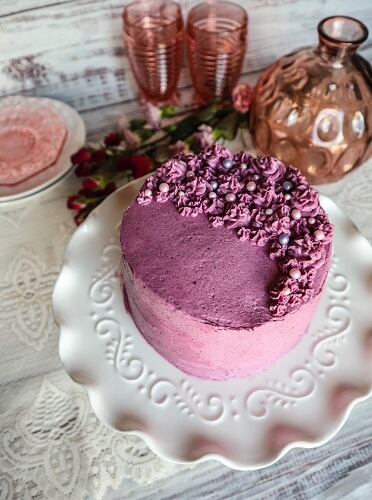
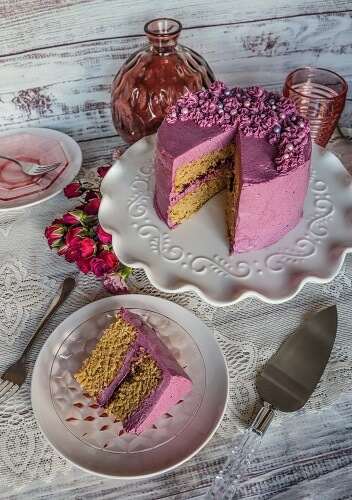
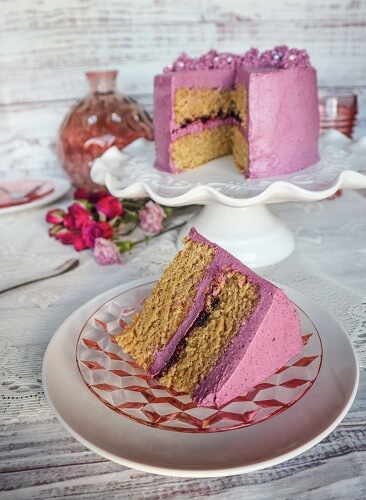
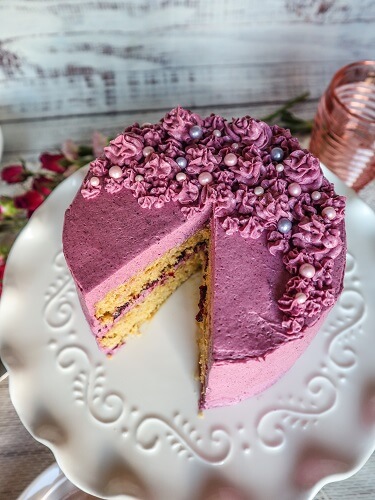
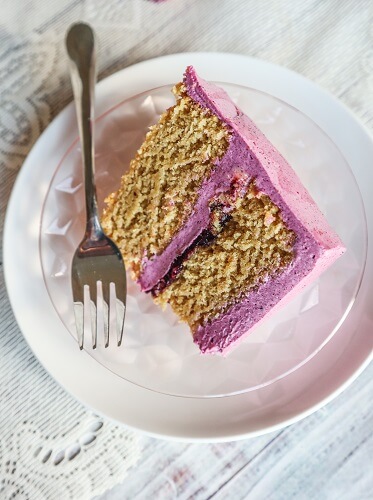
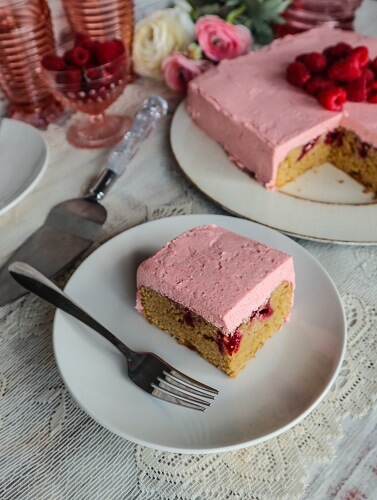
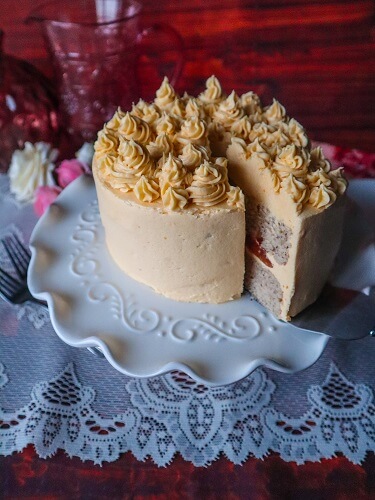
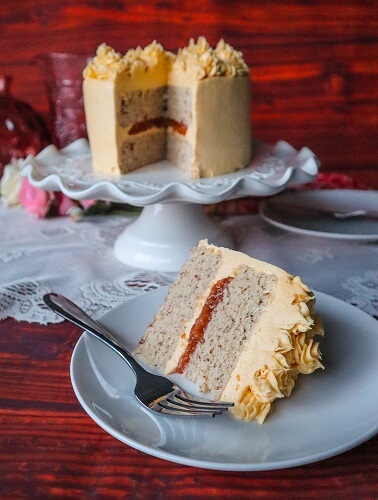
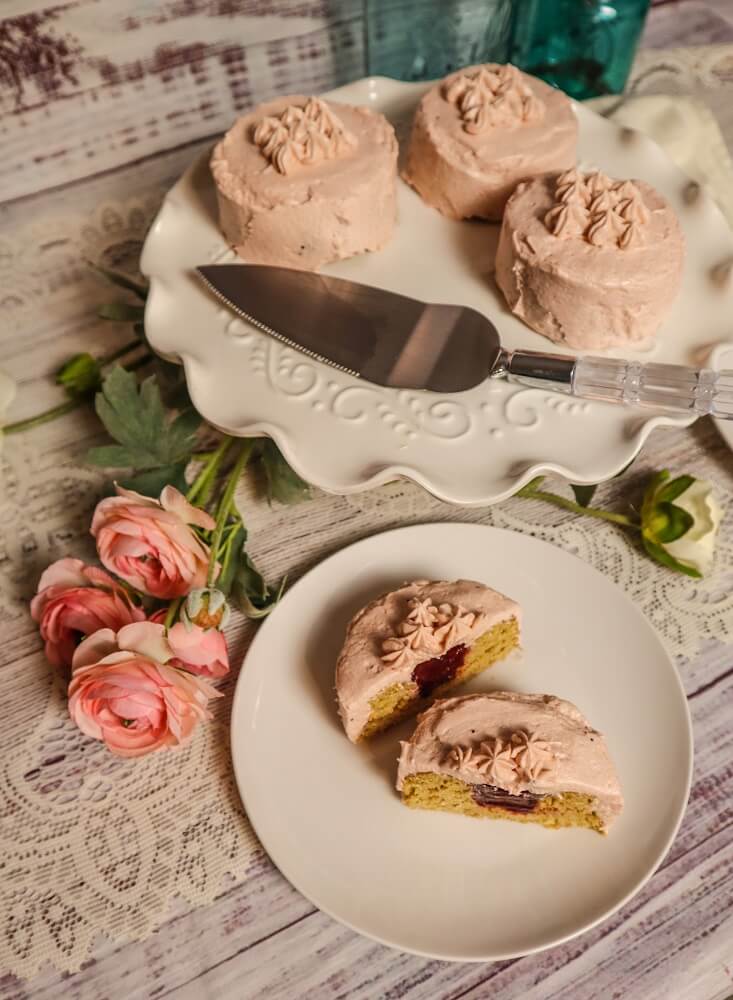
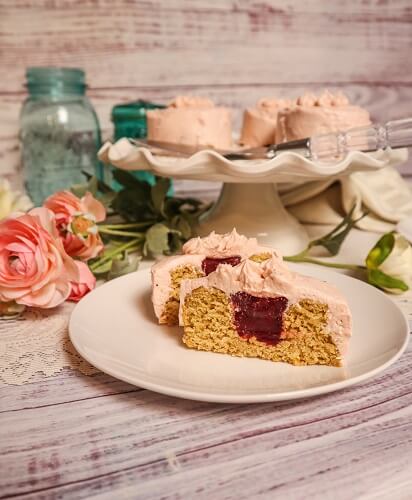
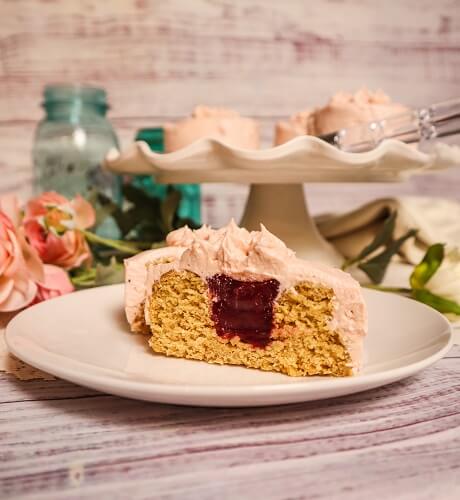
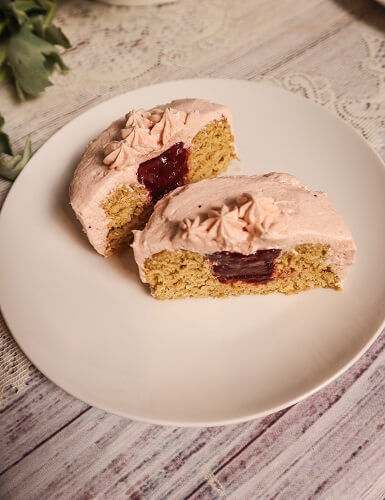
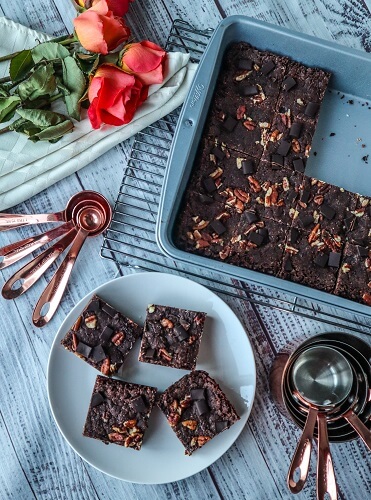
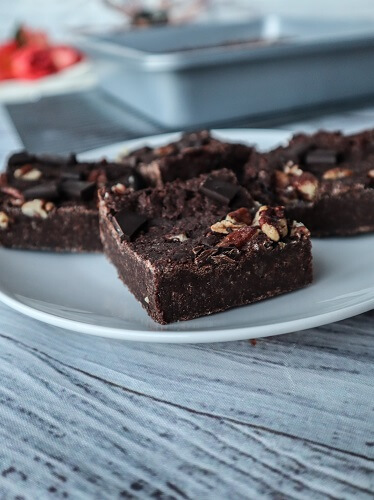
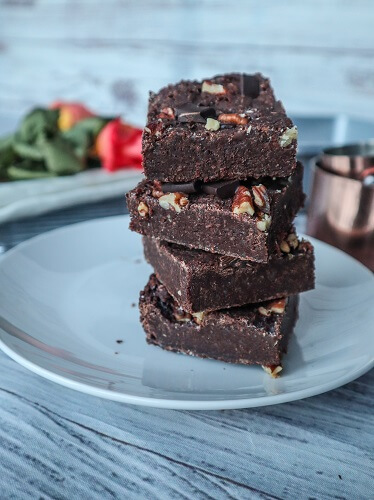
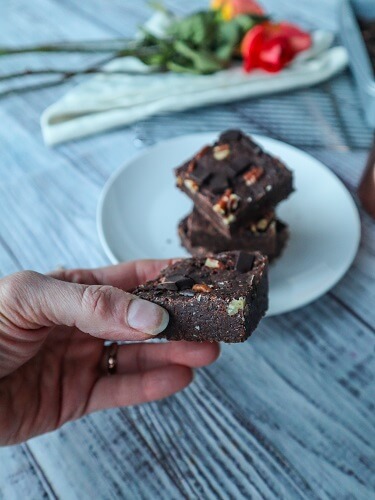
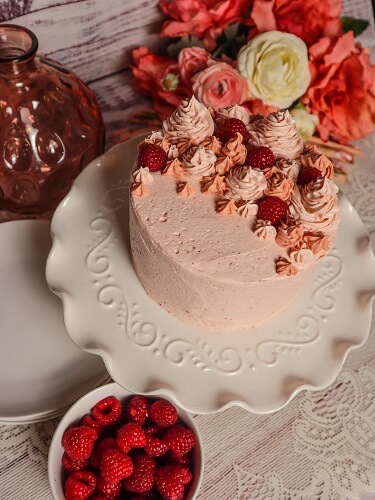
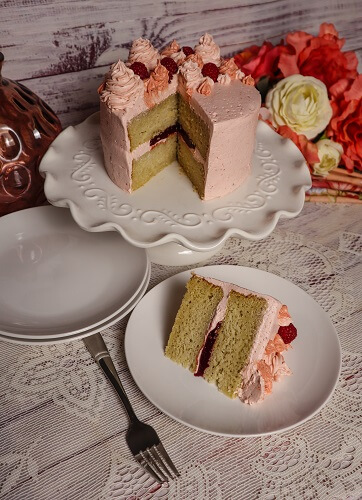
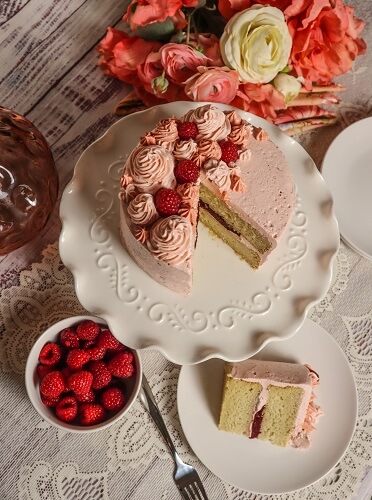
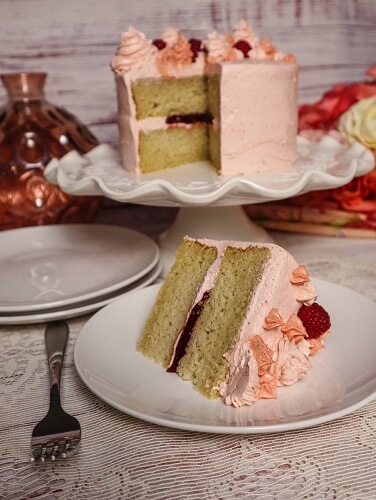
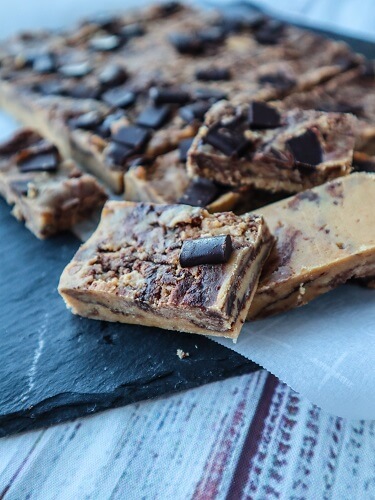
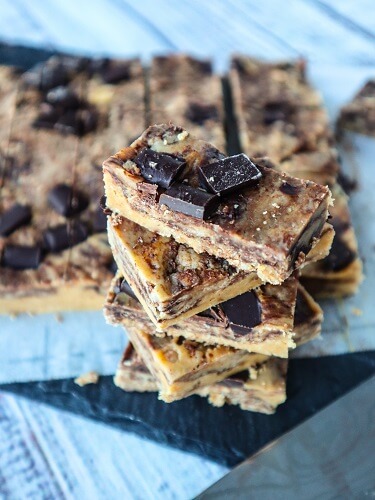
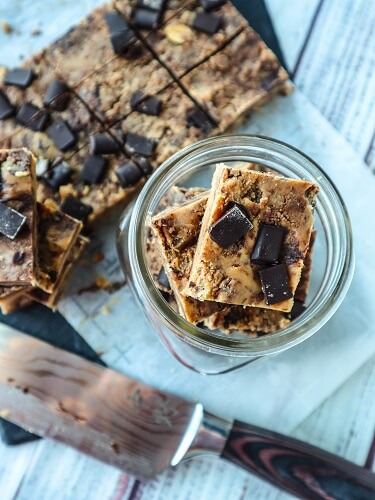
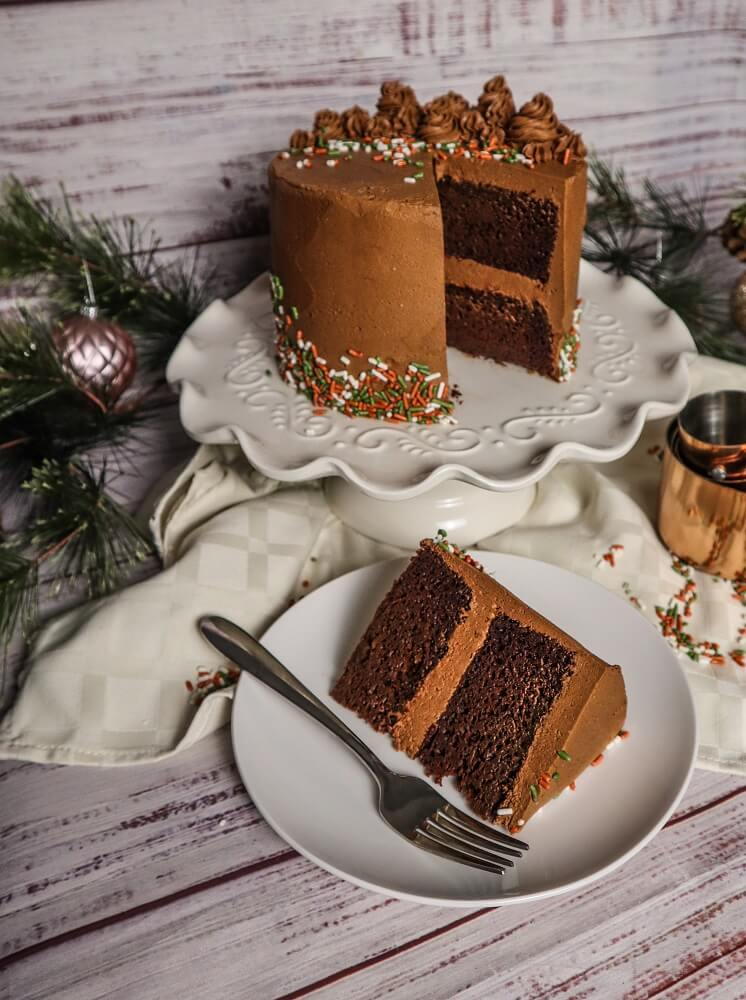
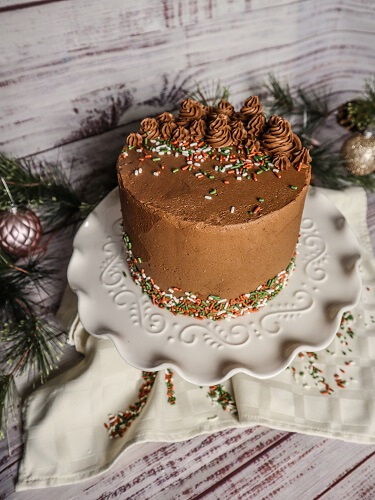
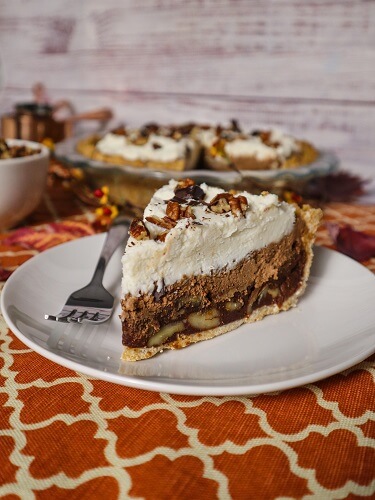
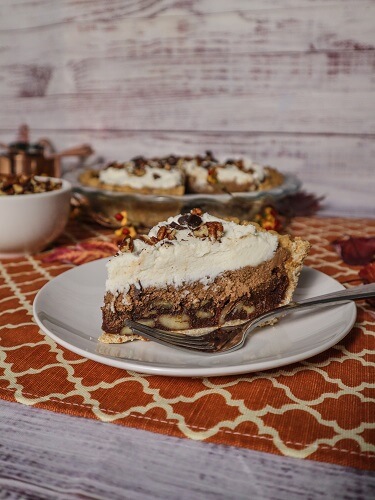
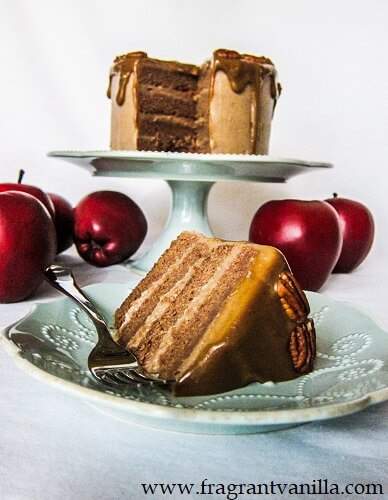
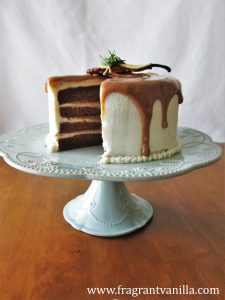
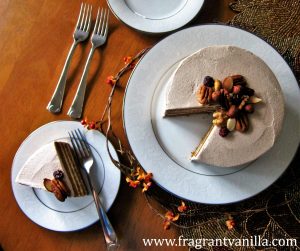
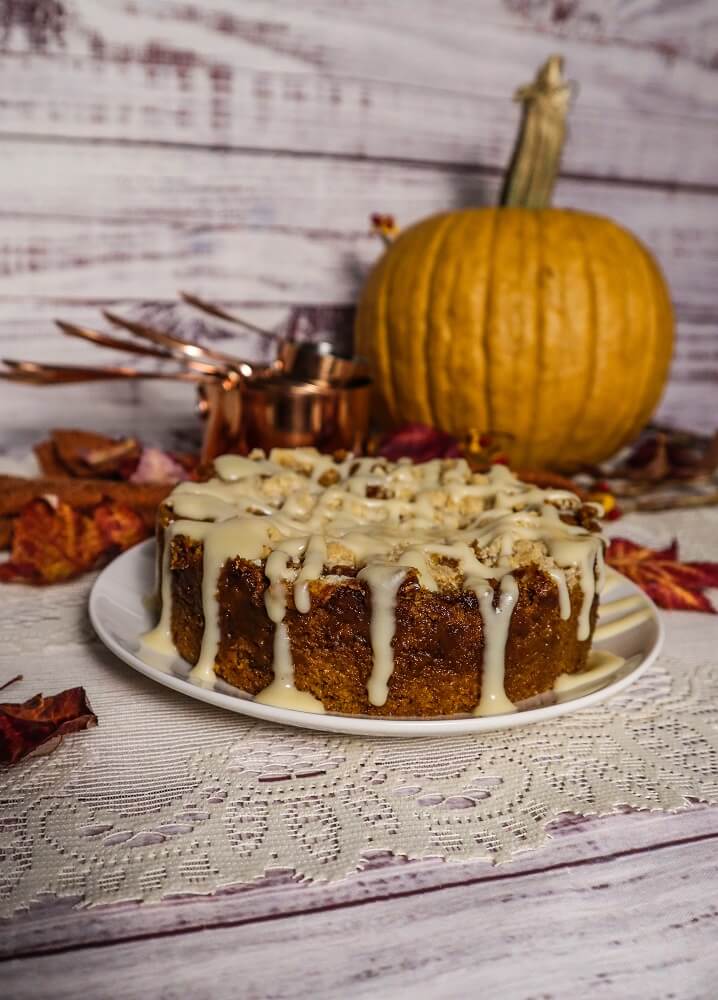
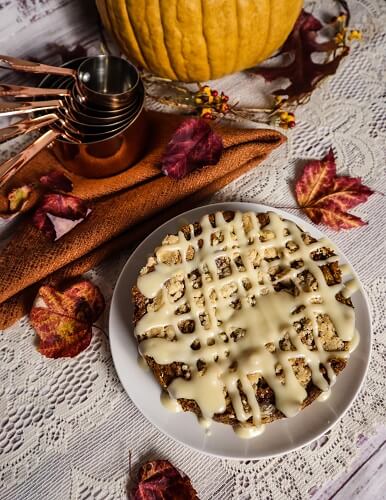
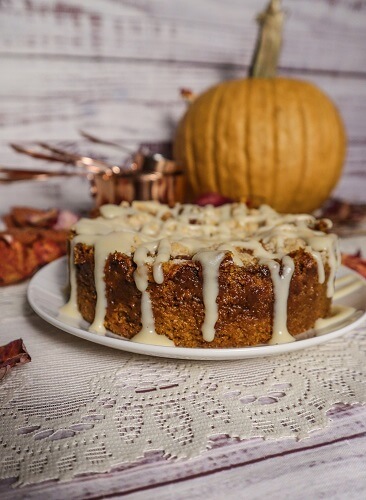
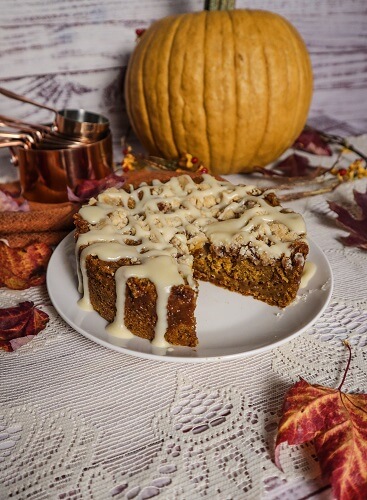
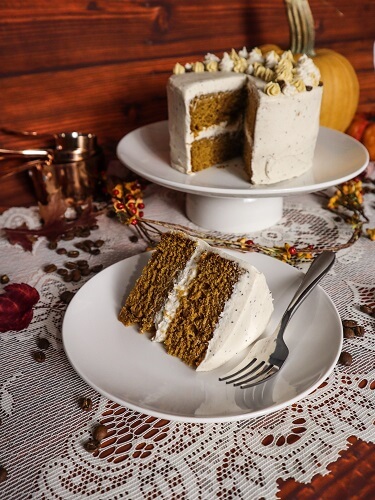
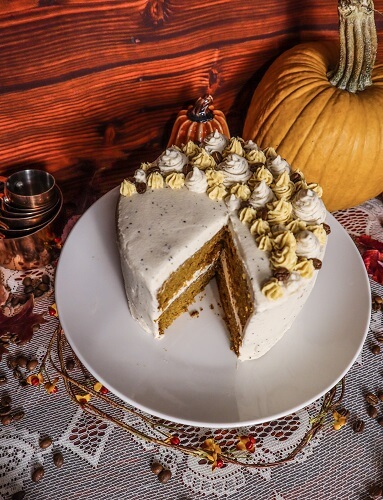
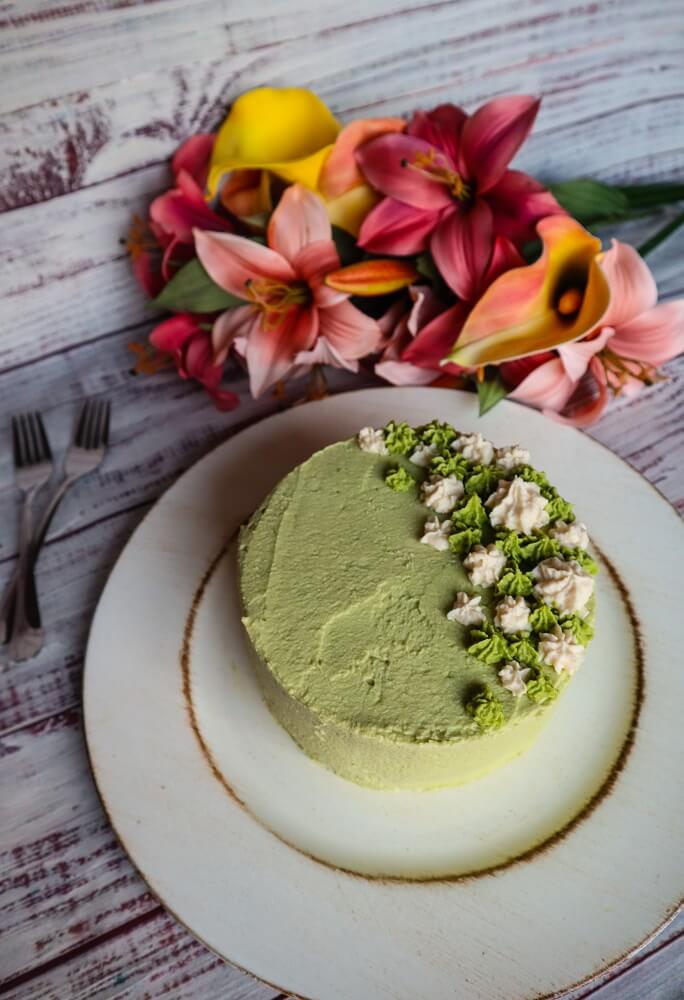
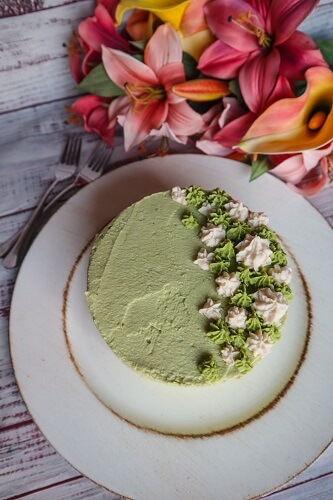
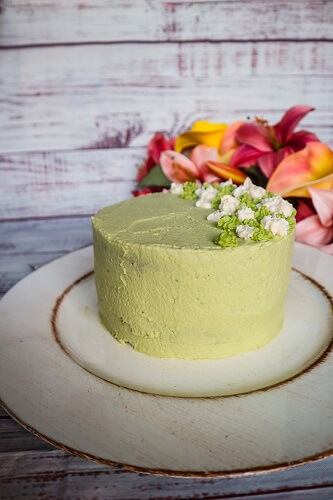
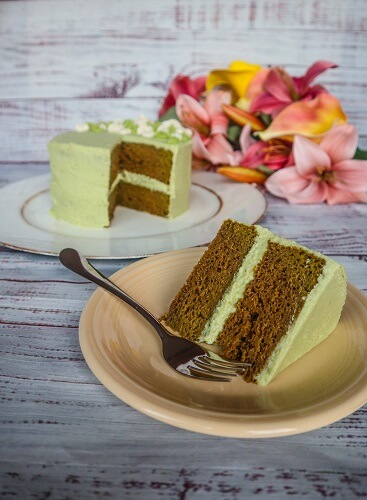
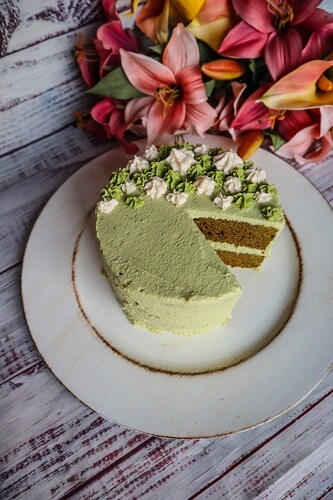
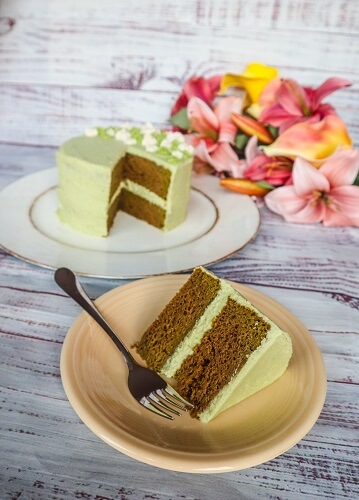
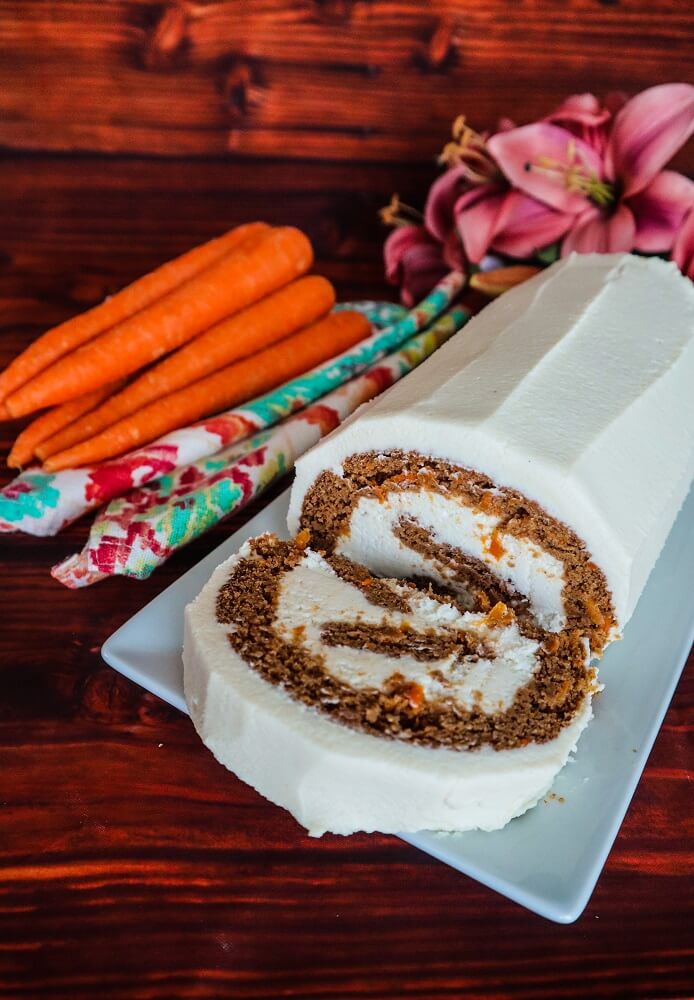
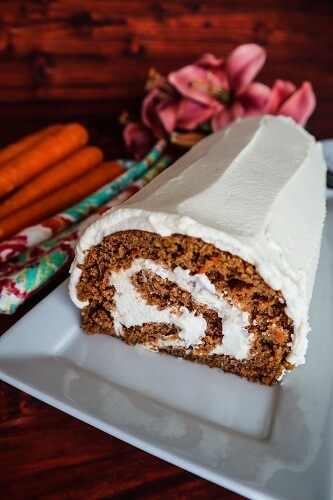
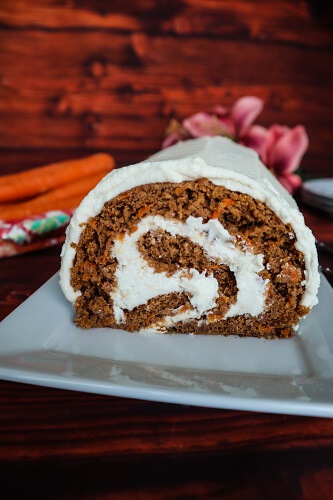
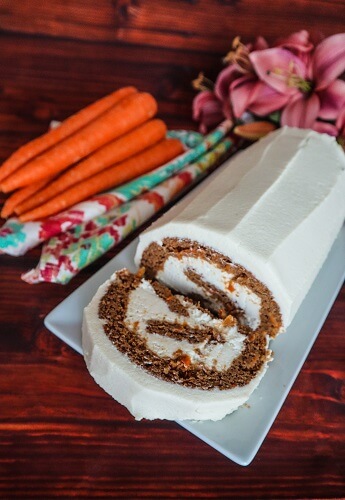
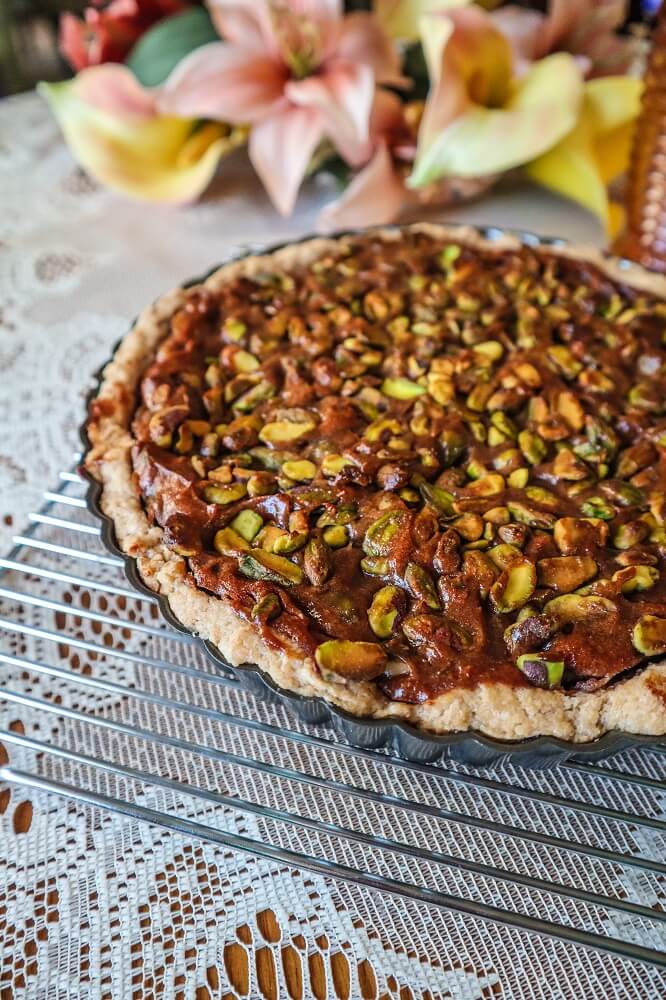
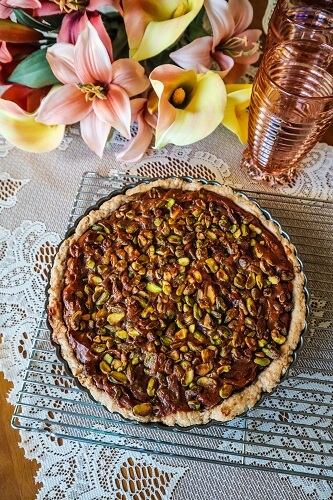
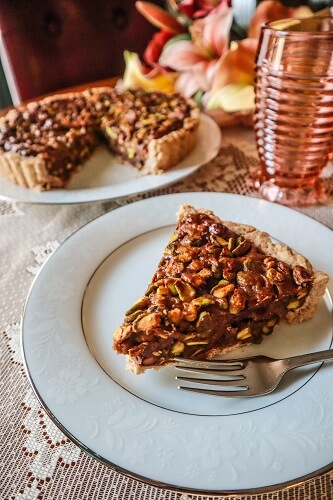
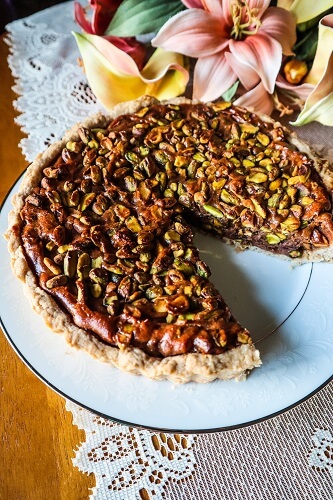
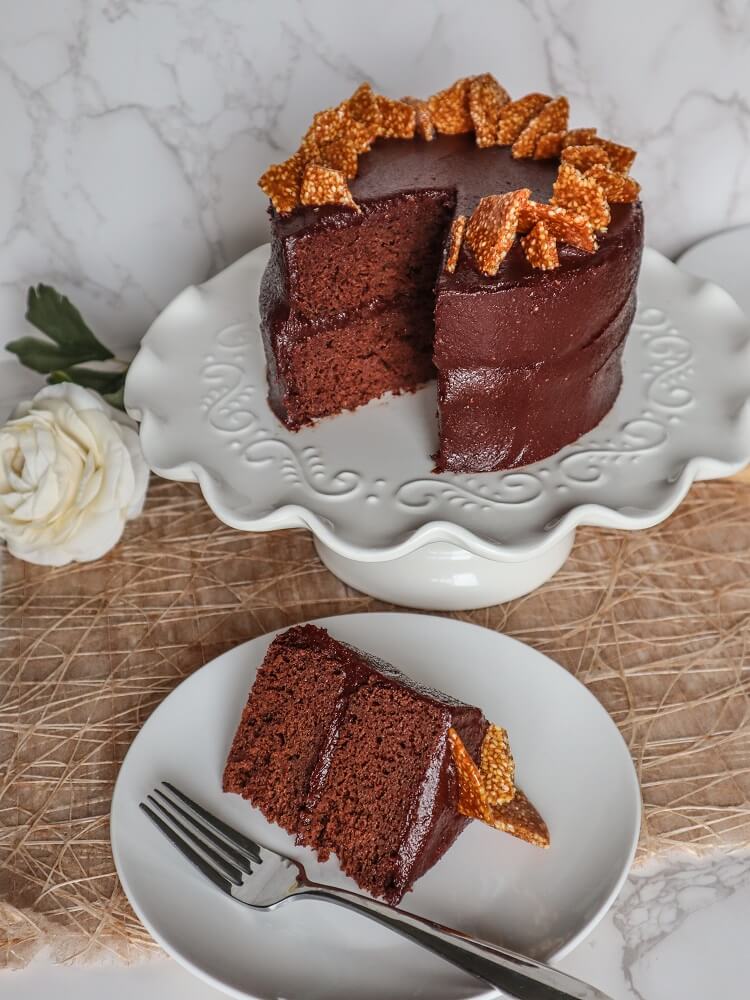
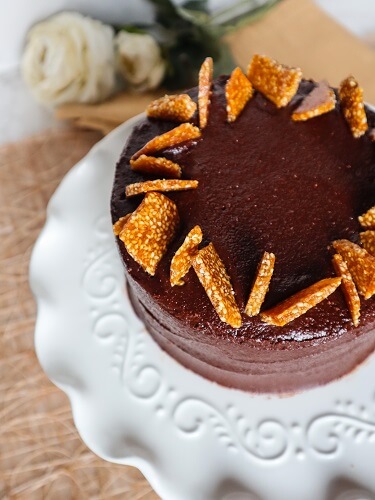
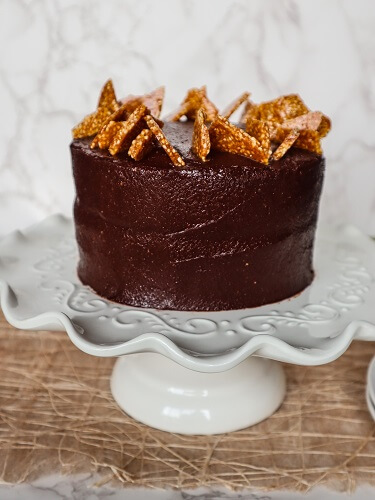
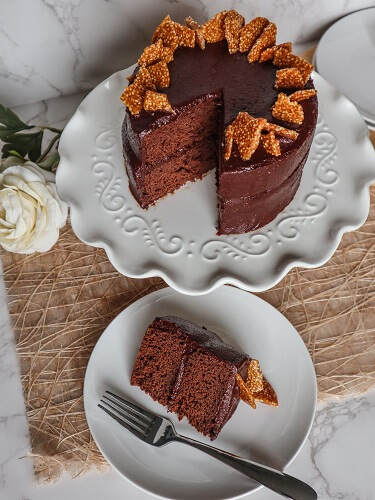
Lastly, I topped the cake off with some home made sesame brittle to make it pretty. I could not wait to try it! It was super delicious, fudgy and rich with intense chocolate flavor and a bit of nuttiness from the tahini. Sooo heavenly! You would never guess it was vegan, gluten free and oil free! I shared some with family and friends and they loved it as well. If you are a chocolate fan, definitely give this Vegan Tahini Chocolate Cake a try!
Vegan Tahini Chocolate Cake
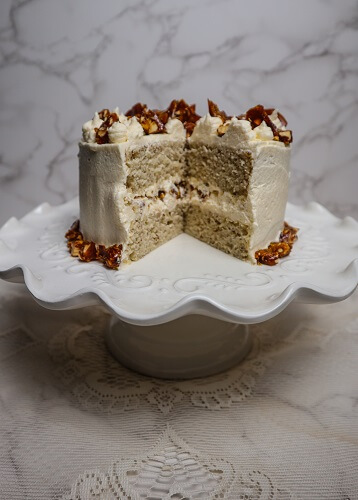
Makes one 2 layer 6 inch cake
Ingredients:
Cake:
- 1 1/2 whole wheat pastry flour*
- 1/4 cup cacao powder or unsweetened cocoa powder
- 1 1/2 tsp baking soda
- 1 tsp baking powder
- 1/2 tsp sea salt
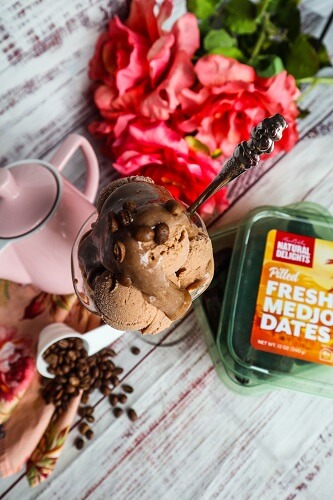
- 1 1/2 cups packed soft medjool dates, pitted, soaked in water for 30 minutes and drained
- 1/4 cup tahini
- 2 tsp pure vanilla extract
- 2 cups filtered water
- 2 Tbsp apple cider vinegar
Frosting:
- 1 1/4 cups tahini
- 1/2 cup maple syrup
- 1/4 cup filtered water (or as needed)
- 3/4 cup cacao powder
- 1/4 tsp sea salt
Sesame Brittle (optional):
- 1/2 cup maple sugar (or granulated sugar)
- 1/3 cup sesame seeds
Directions:
- Preheat the oven to 350F degrees and position rack in center of oven.
- Oil two 6 inch round cake pans with coconut oil and line the bottom with parchment.
- Whisk flour, cocoa powder, baking powder, baking soda, sea salt in a large bowl to blend well.
- Place dates, water, tahini, and vanilla extract into a blender, and blend until smooth, then whisk this blended mixture into the flour mixture until well blended. Whisk in the cider vinegar until bubbles form.
- Pour the cake batter into prepared pans, and place in the oven.
- Bake cakes until set and a toothpick inserted into the center comes out almost clean, about 30 minutes. Remove from oven, let cool completely, then un-mold them onto two plates, cover and set aside.
- To make the frosting, combine tahini, maple syrup, 2 Tbsp of the water, the cacao powder and sea salt in a high speed blender or food processor and blend until completely smooth adding the last 2 Tbsp water if needed to create a spreadable but not runny consistency (the reason I have you add half the water first then add more if needed is because tahini can vary in texture and consistency. Also a side note, if you end up adding too much water just add more cocoa powder to thicken the frosting).
- To assemble, place one cake layer on a plate, and spread about 1/2 cup frosting over it. Place the other cake layer over that, then spread the remaining frosting on the top and down the sides of the cake. Place cake in refrigerator while you make the brittle.
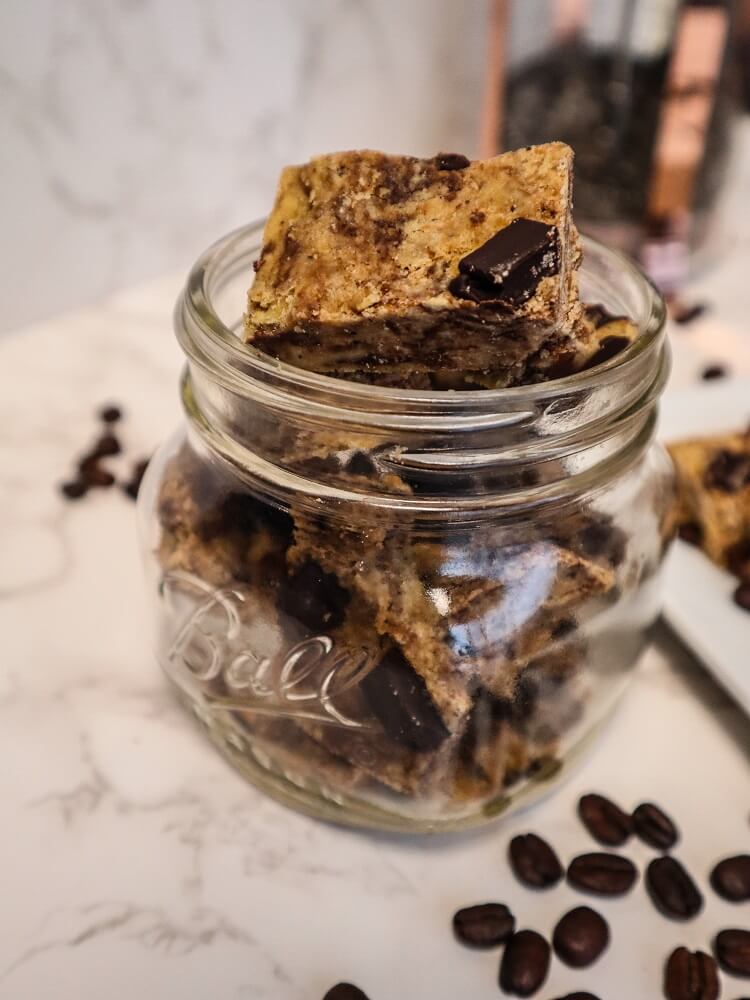
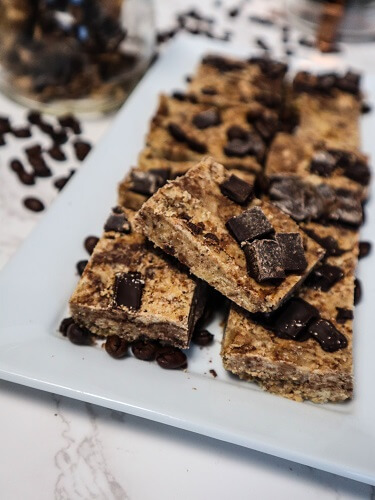
- To make the brittle, in a non-stick pan, melt the sugar until it is completely smooth over medium heat (this should take about 5 minutes), add the sesame seeds, stir until mixed in well, then pour onto a sheet of parchment or foil and allow to cool completely. Once it has cooled, break into pieces and decorate the top of the cake with it.
- Enjoy!
*If you would like to make this cake gluten free, you can use Bob’s Red Mill all purpose baking flour, I have used this flour with good results in my cakes.