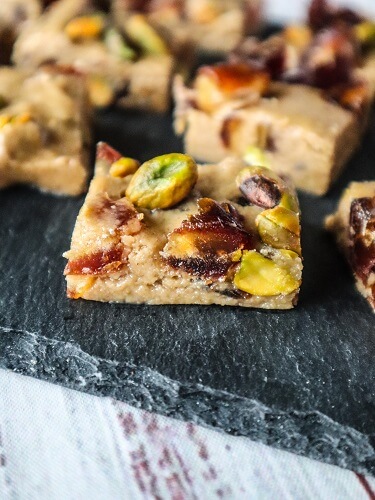
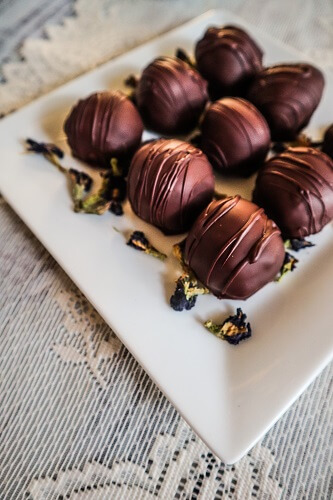
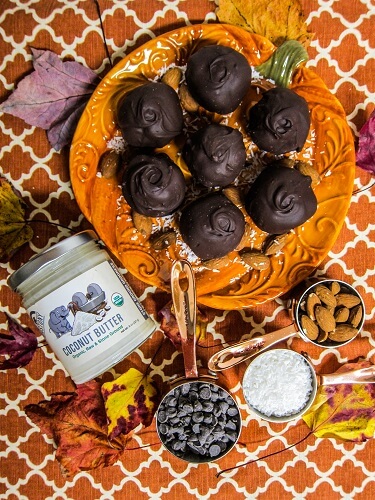
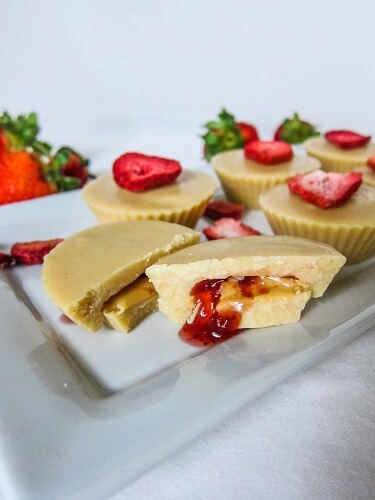
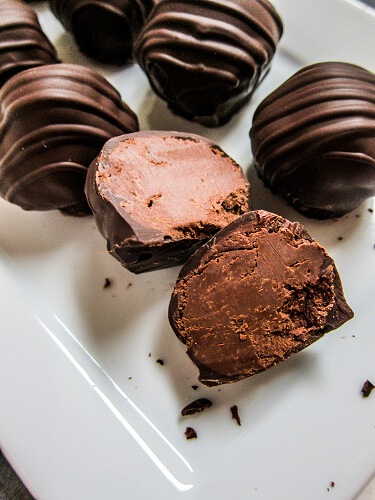
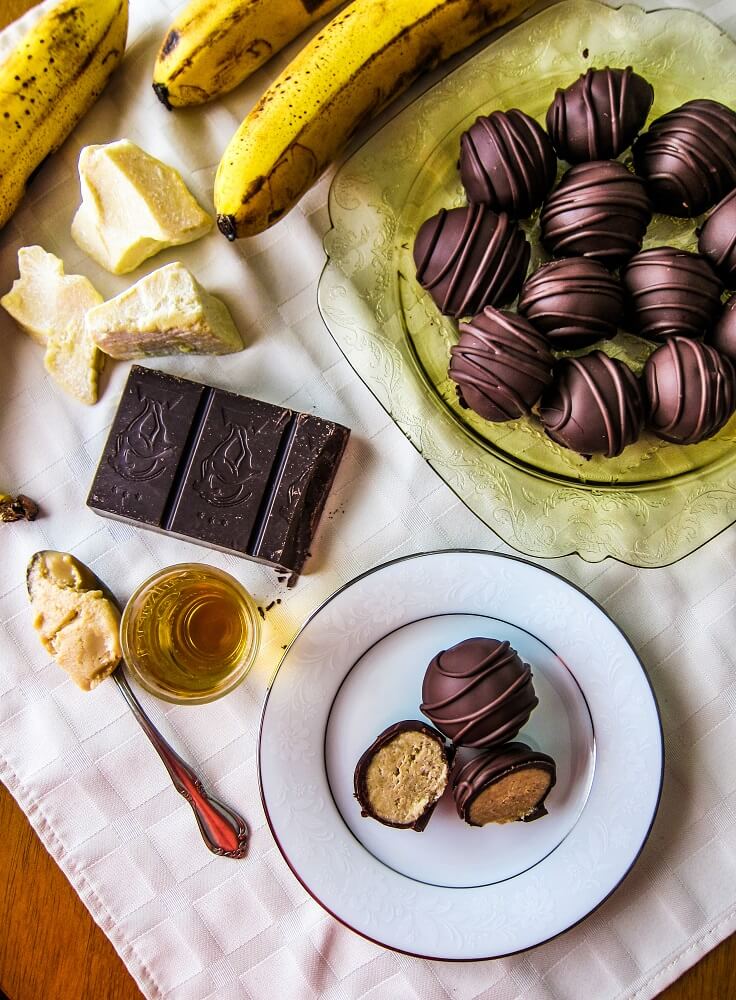
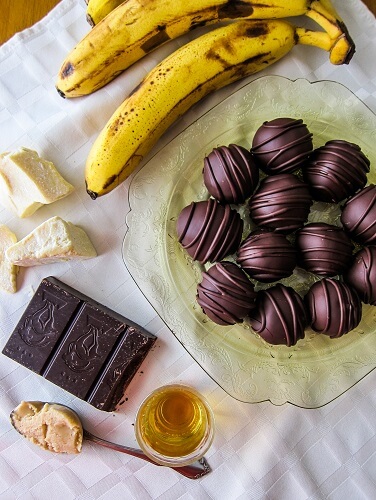
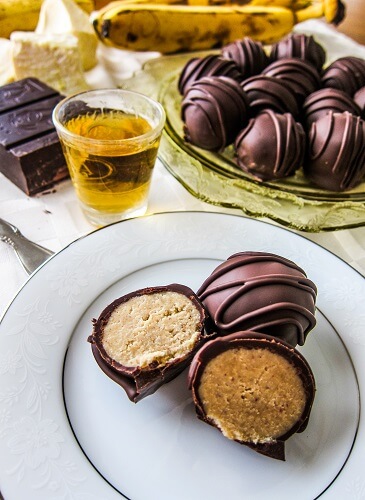
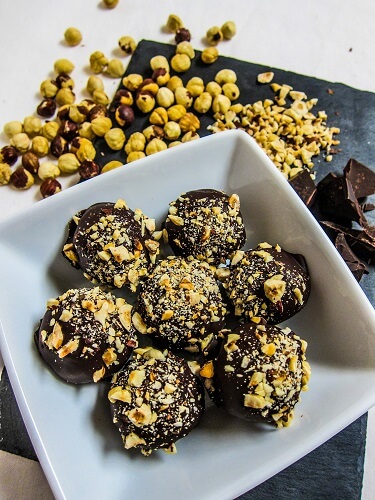
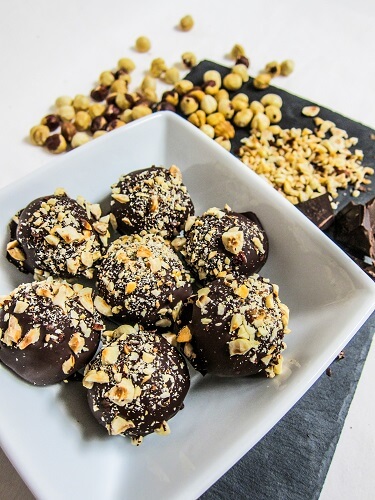
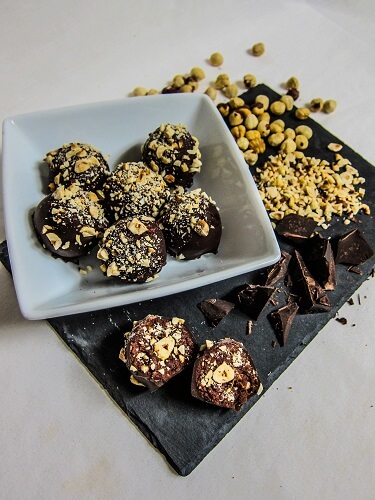
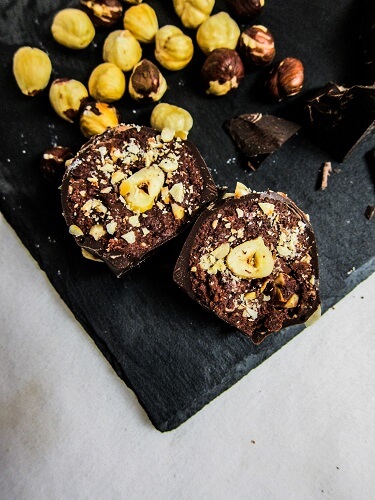
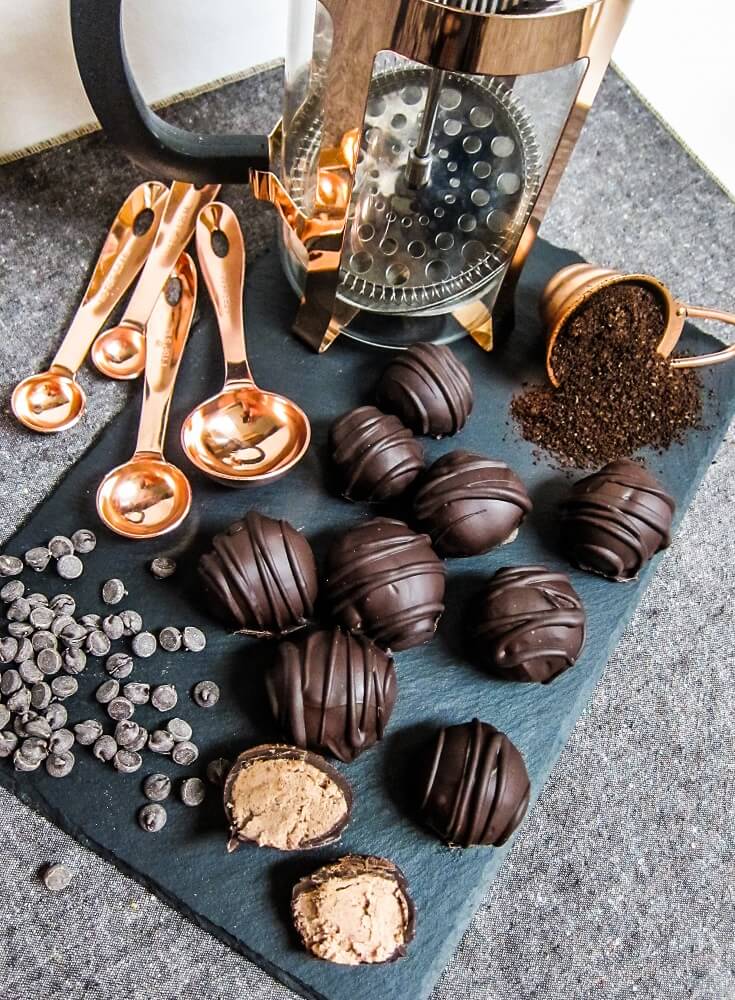
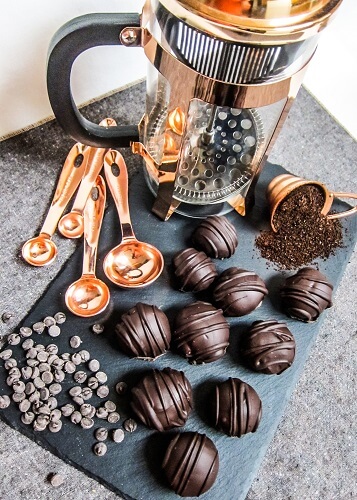
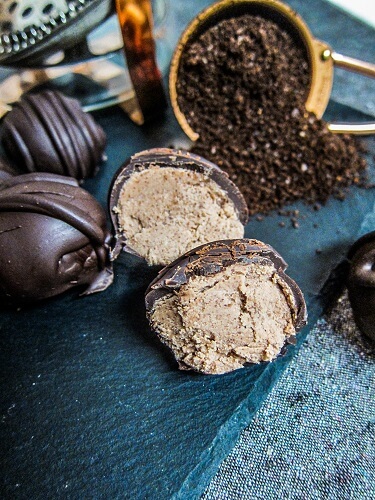
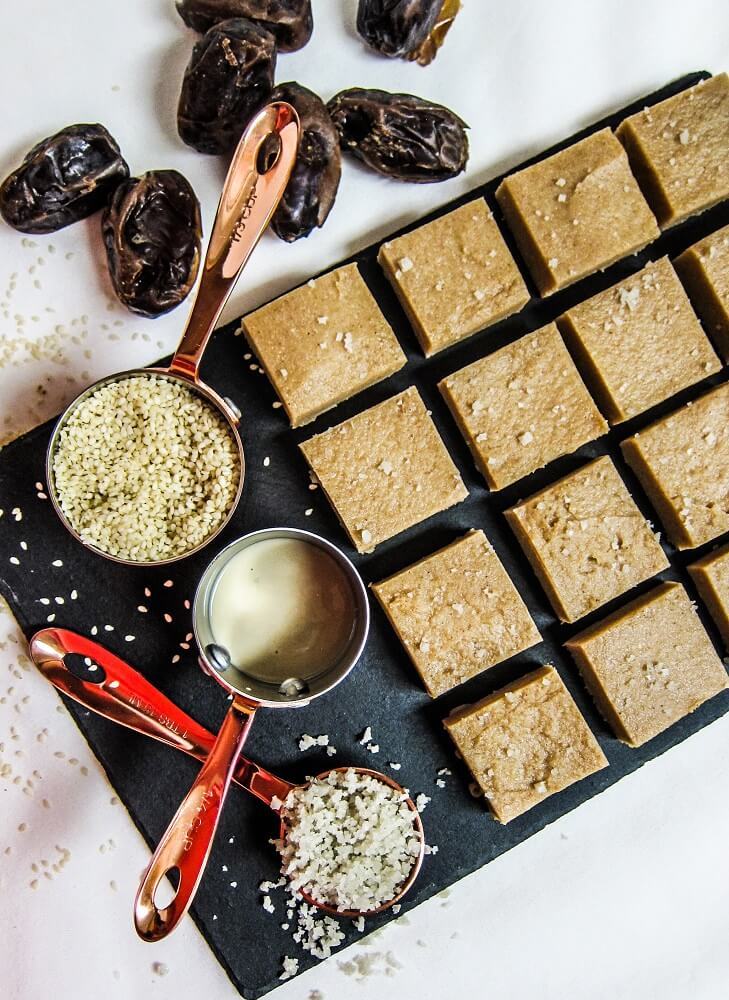
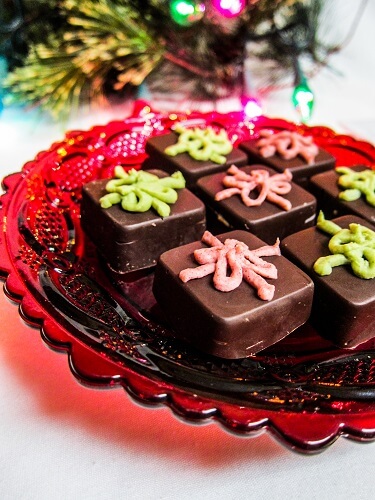
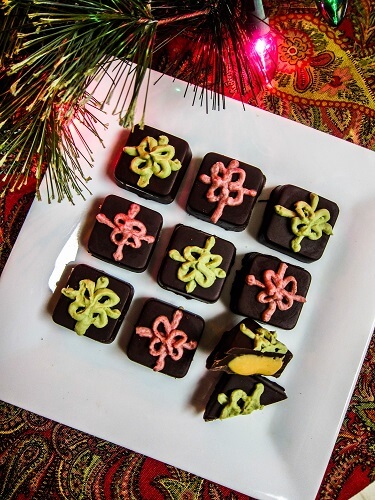
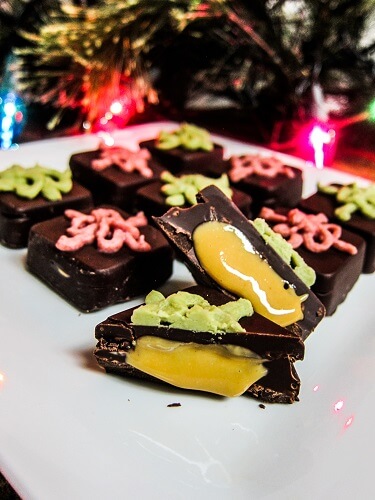
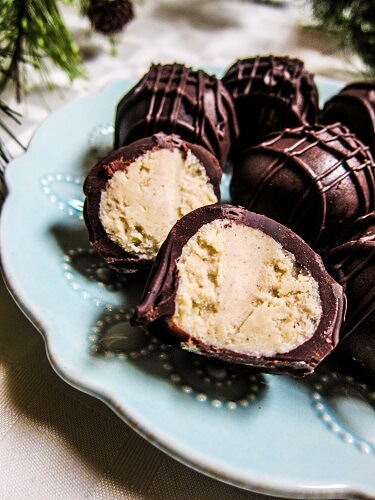
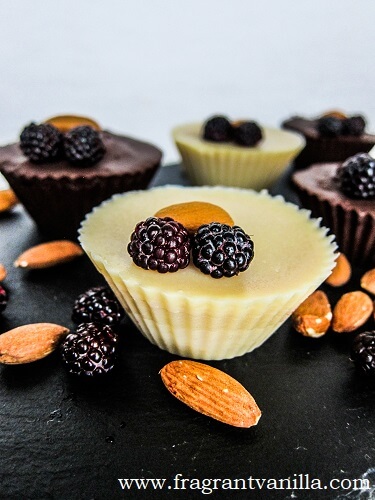
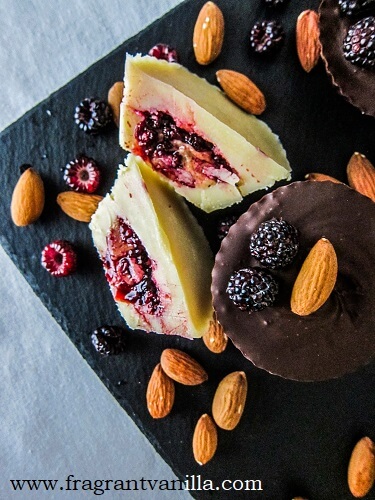
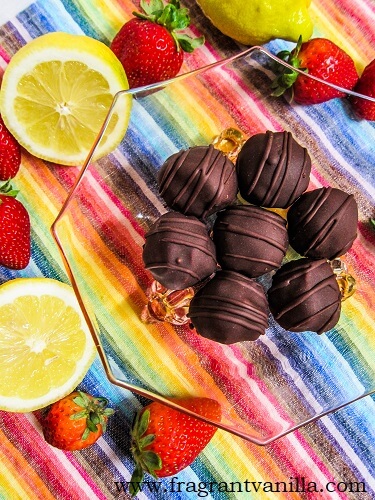
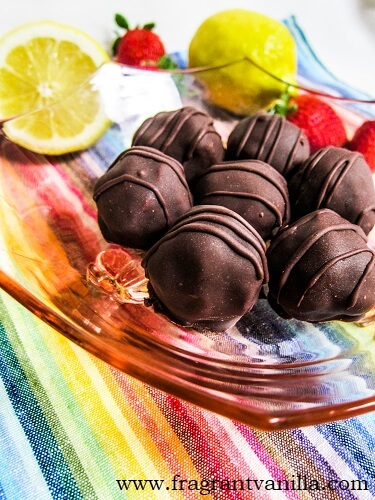
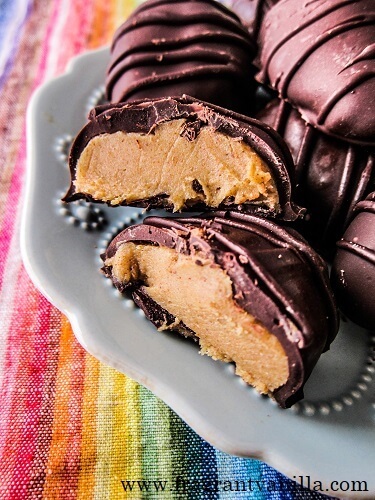
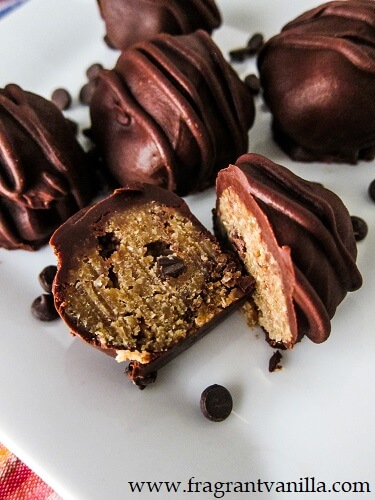
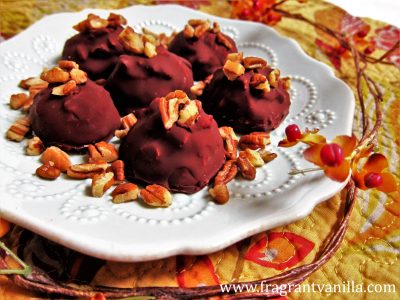
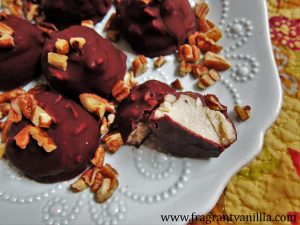
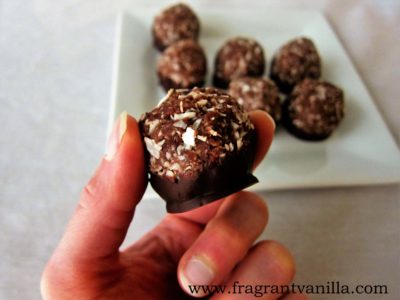
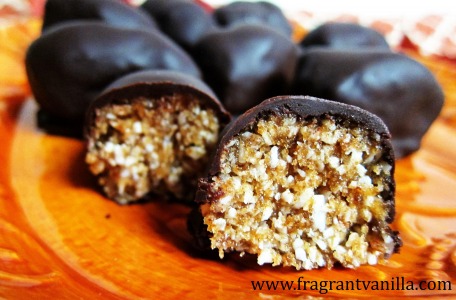
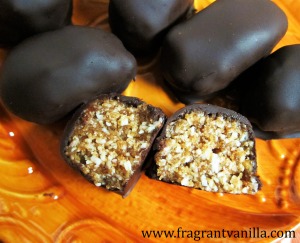
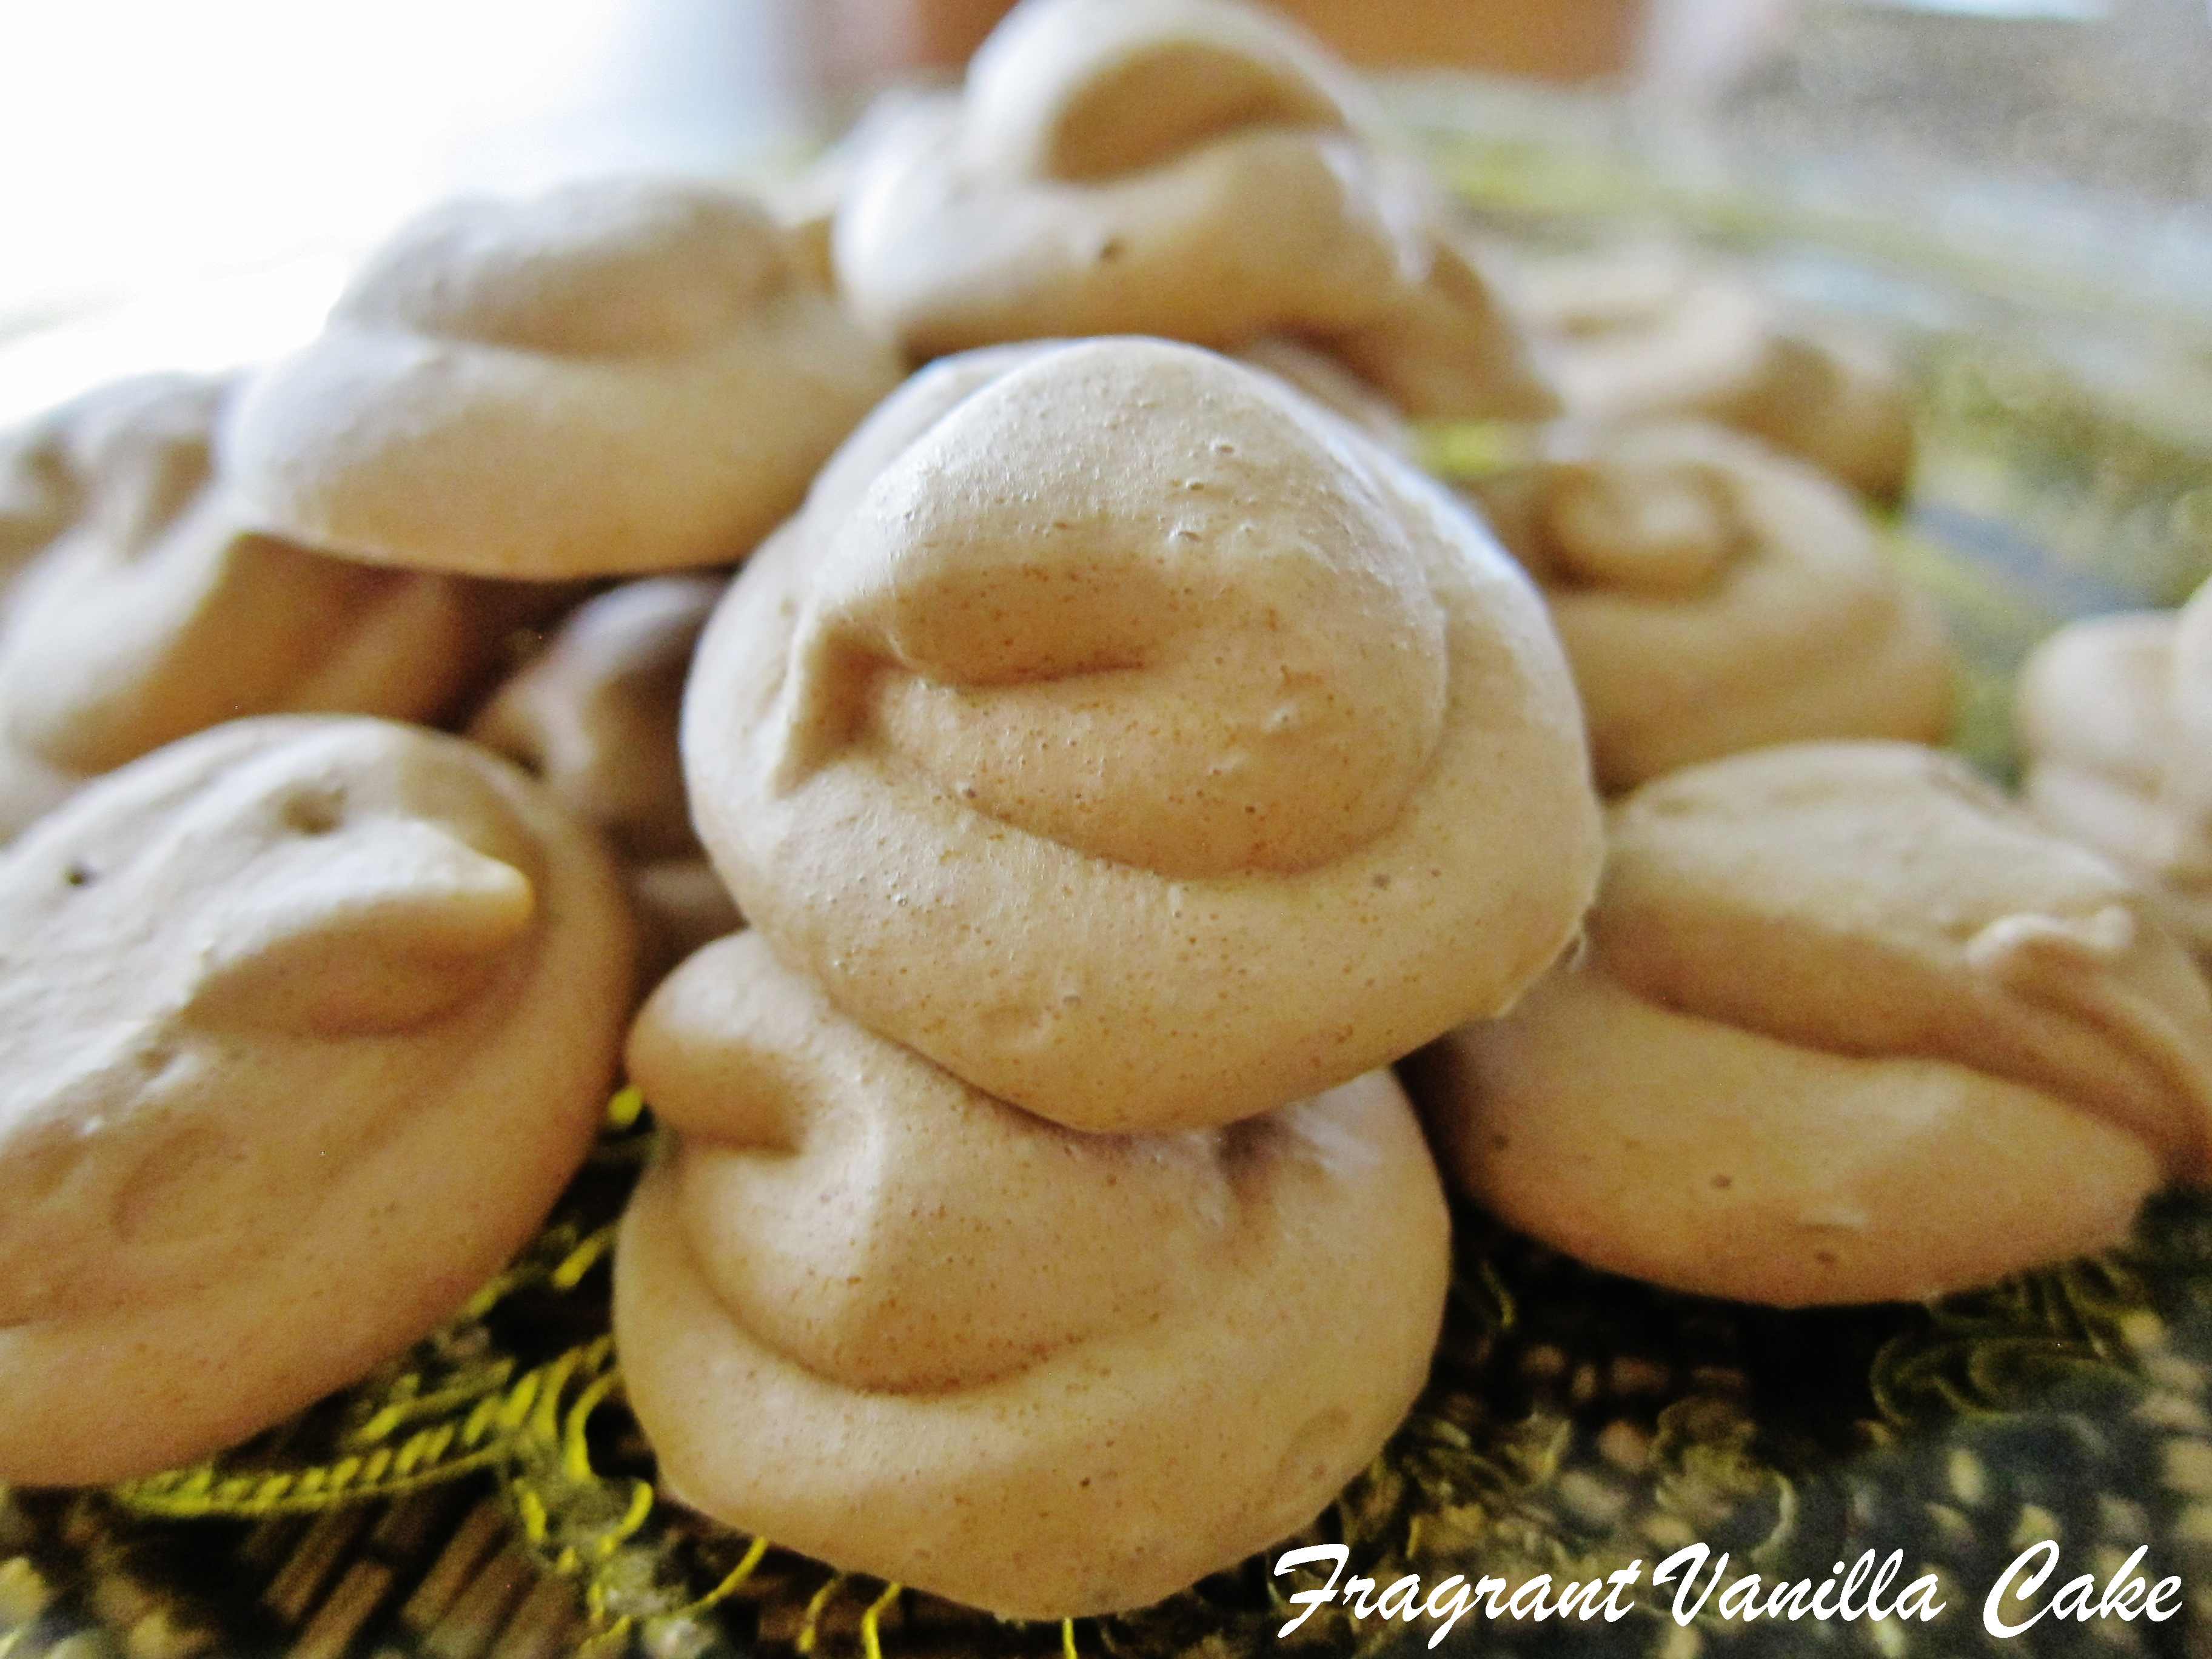
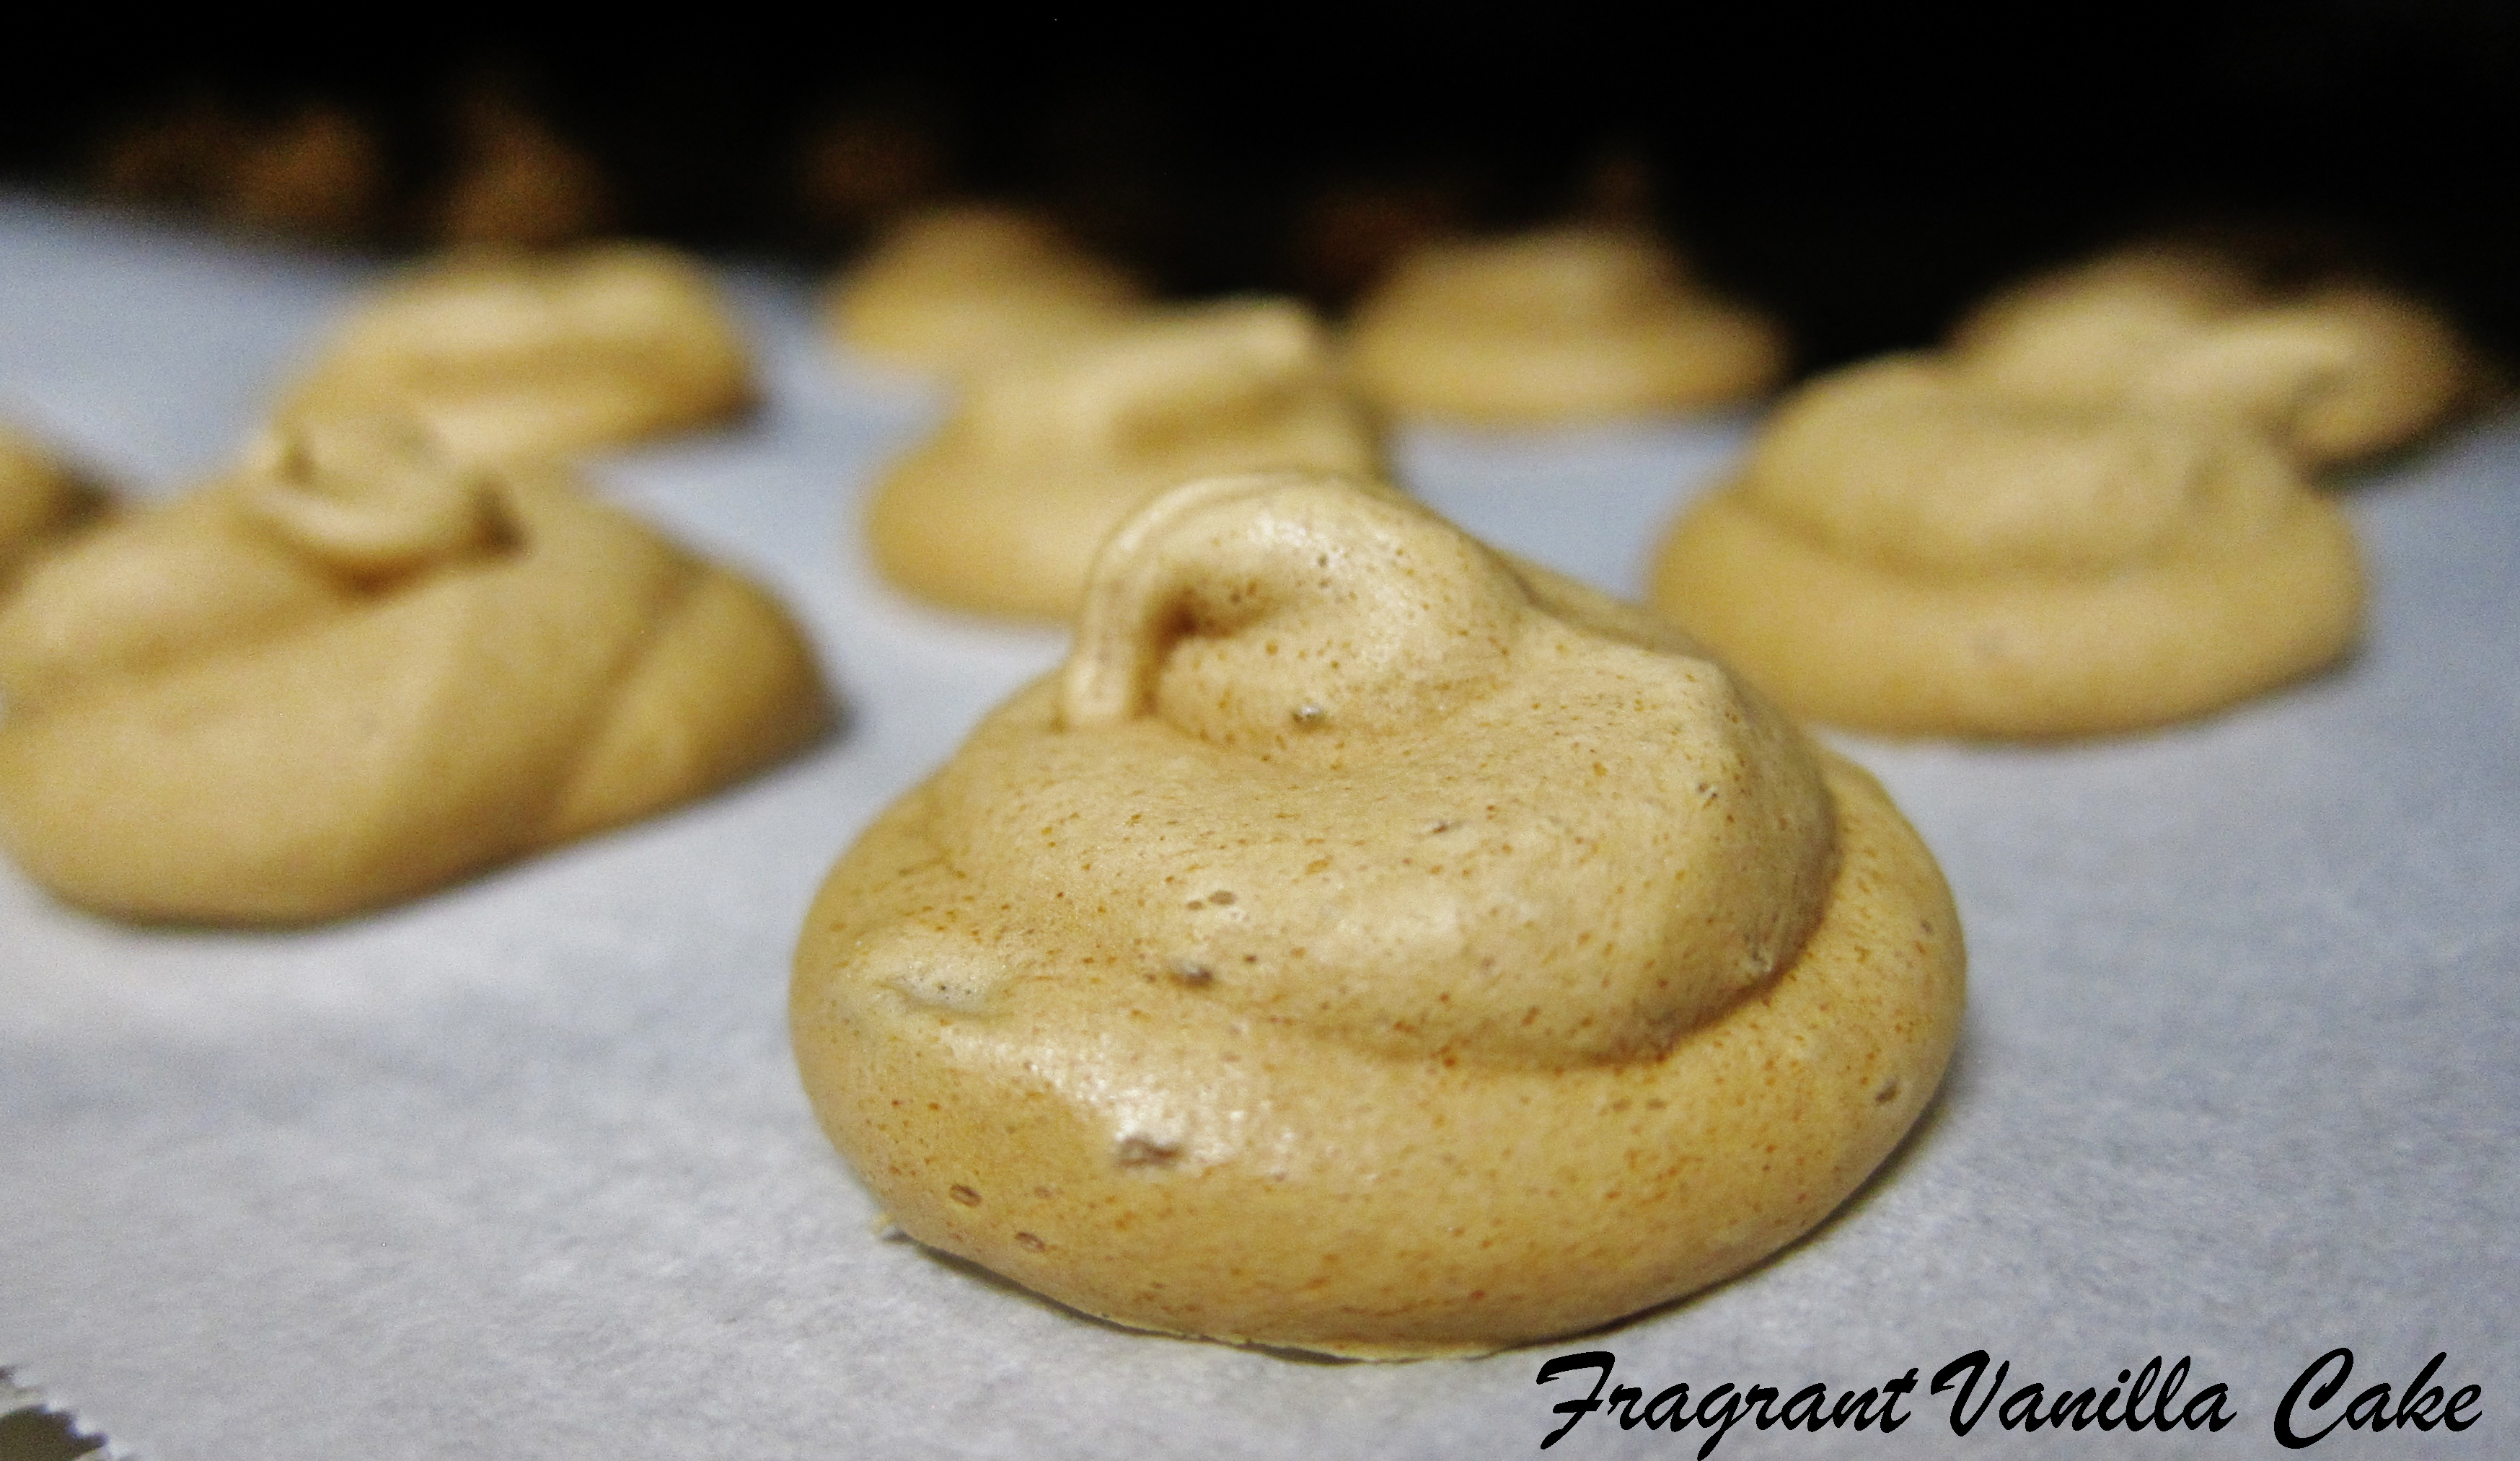
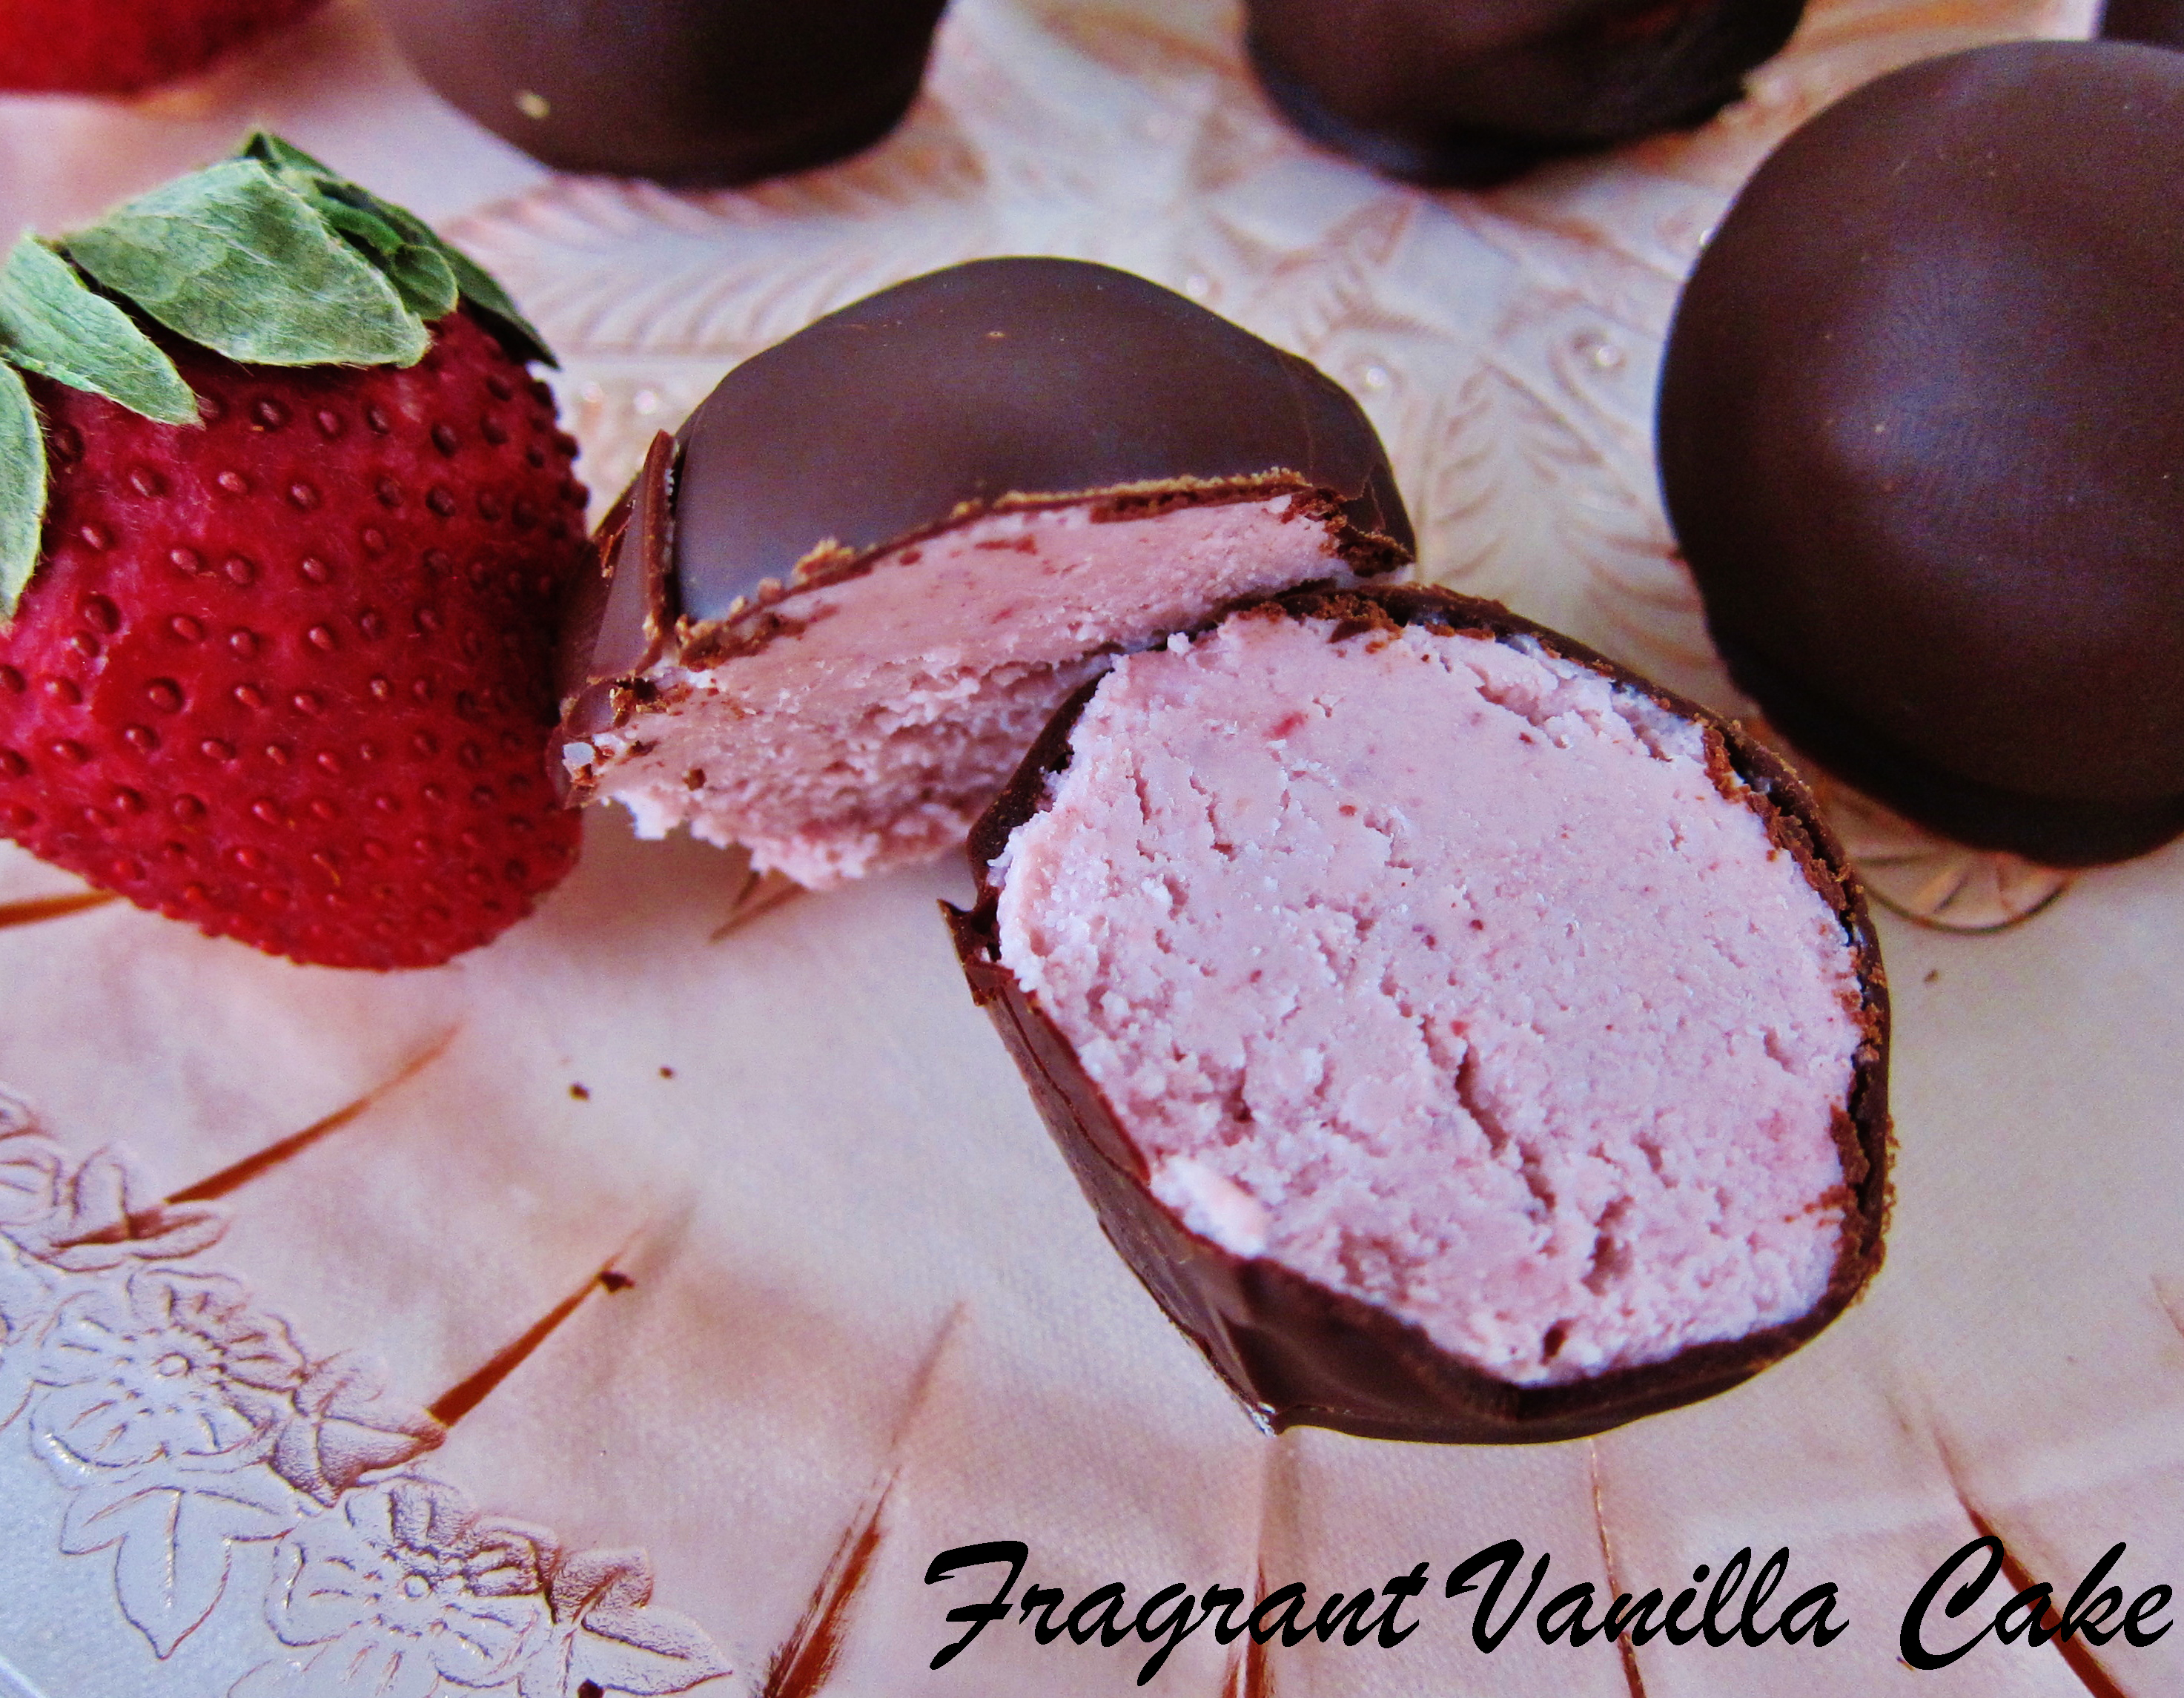
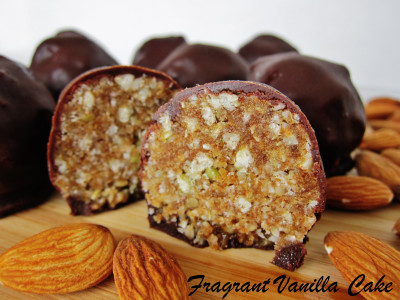
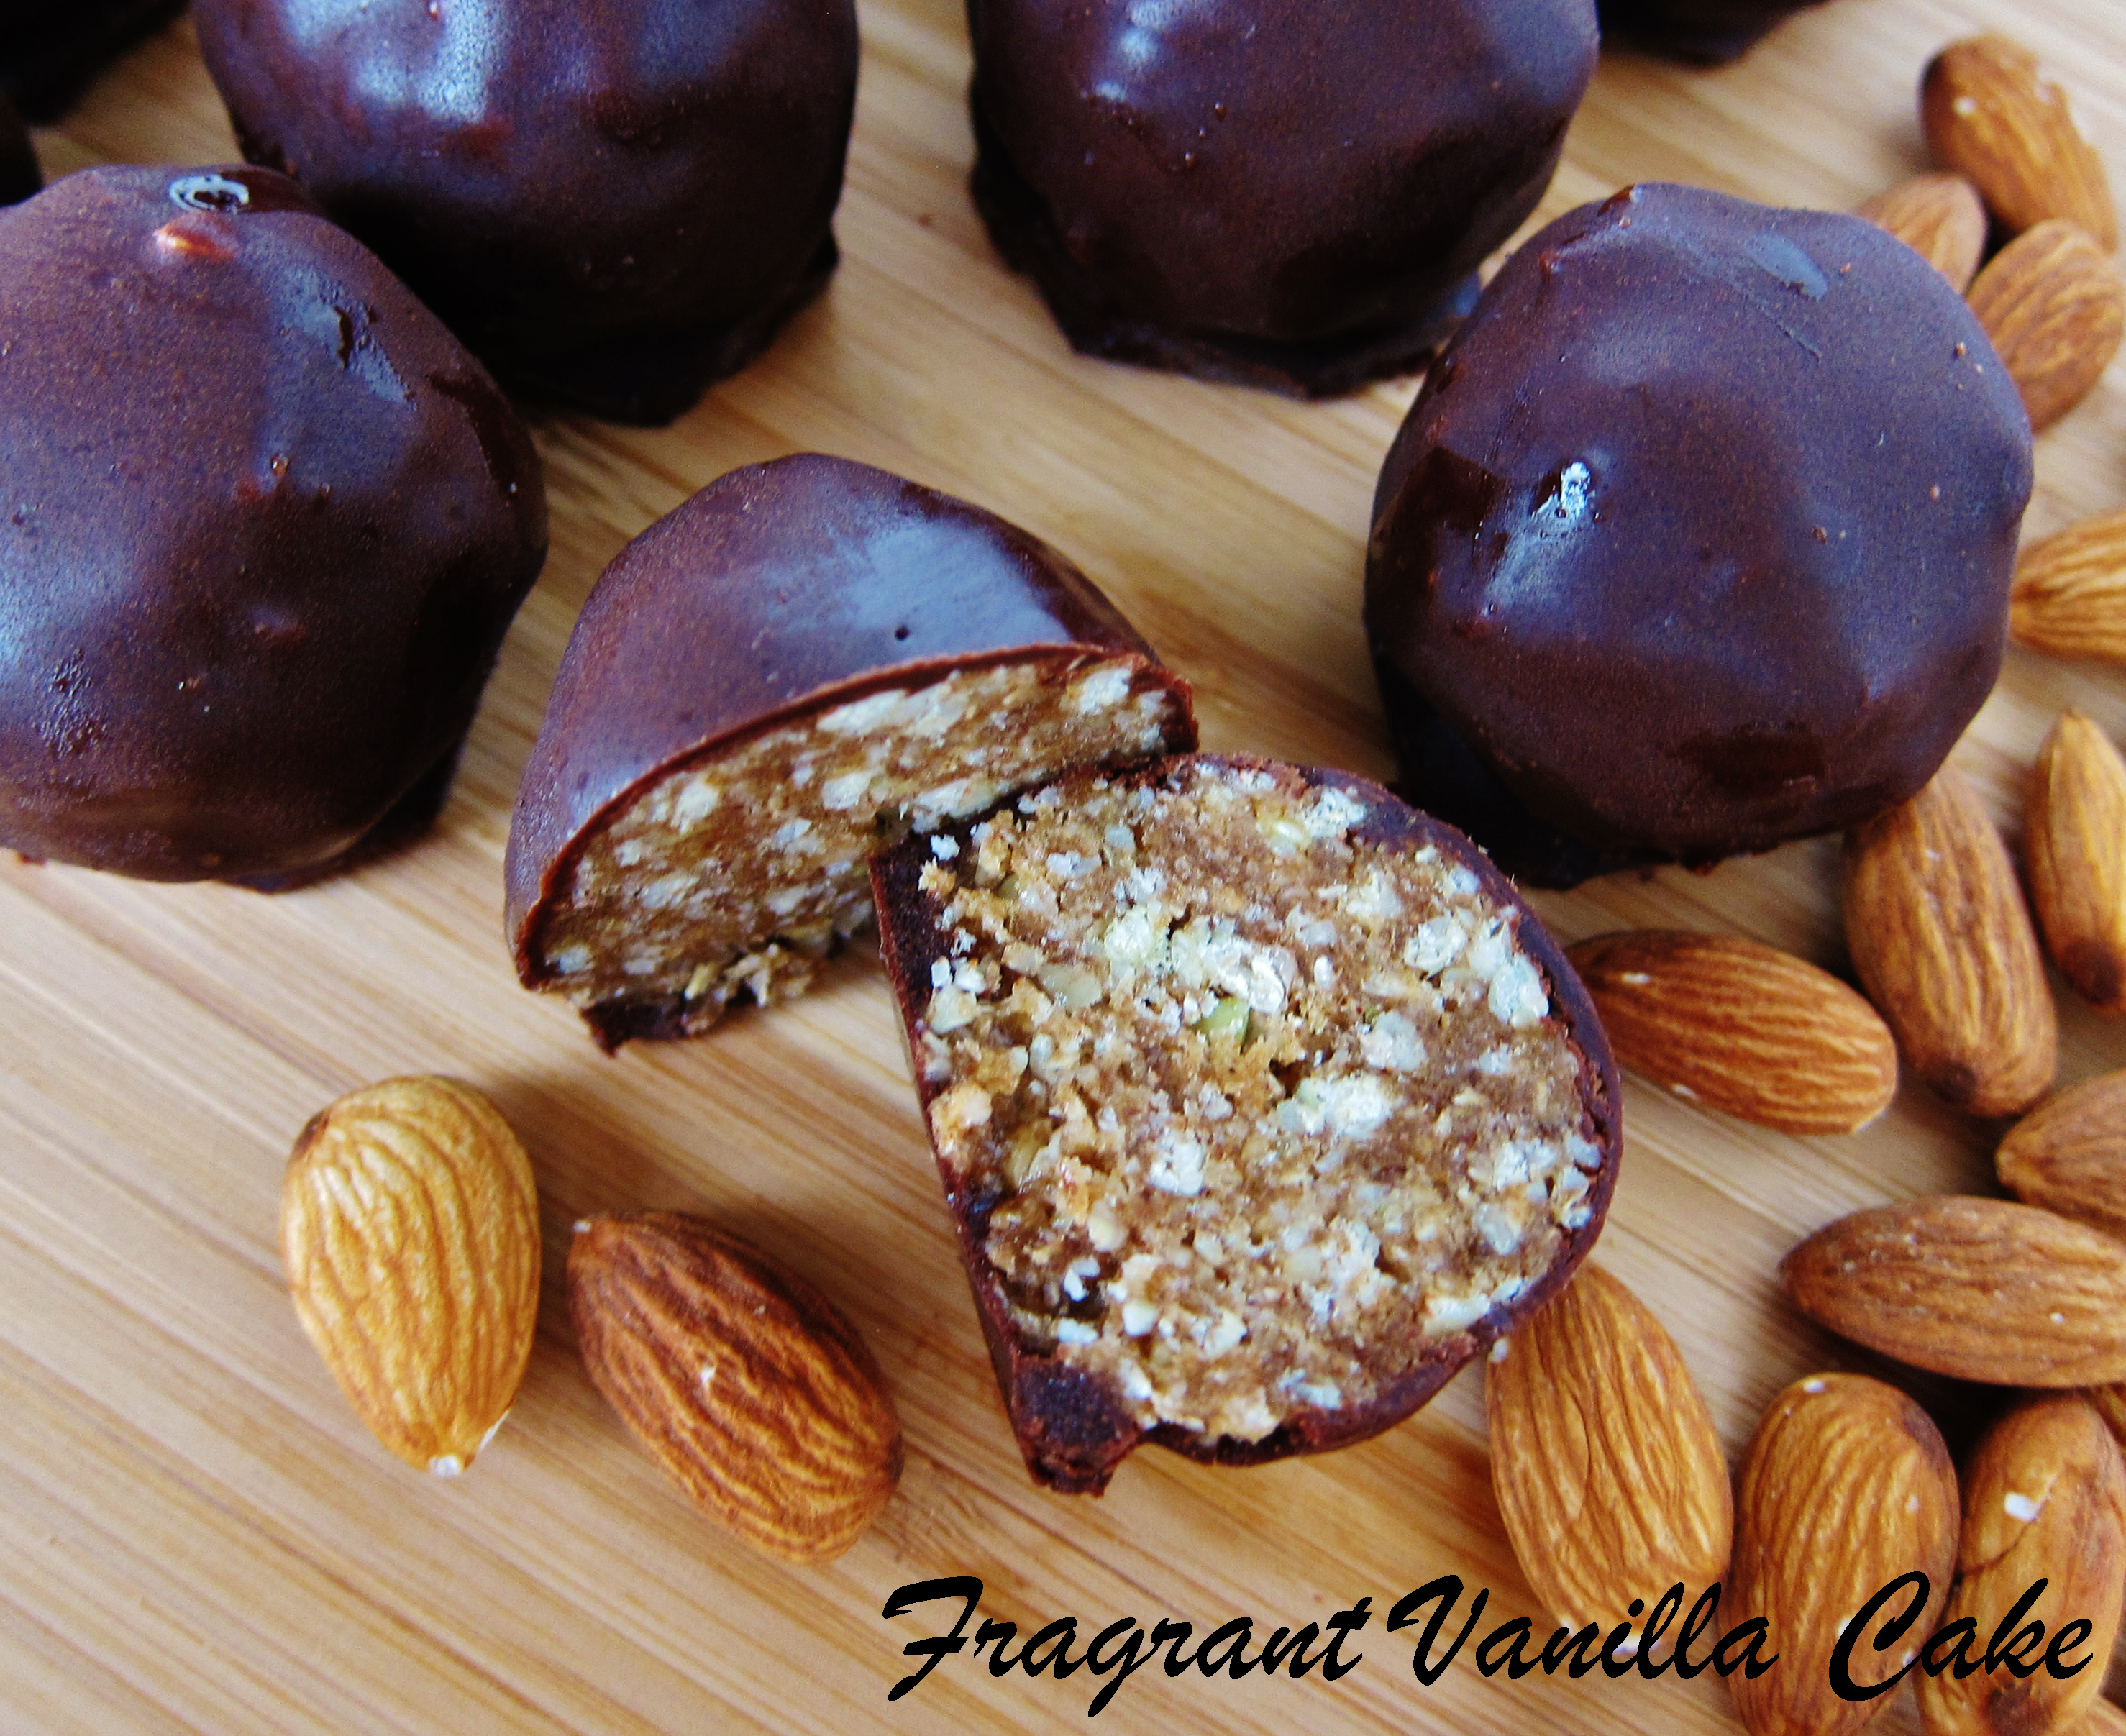
My birthday was last Friday, so this post is a little belated, but I promise you the recipe that accompanies it is well worth the wait. Normally I post my birthday cake recipe on my Birthday but it was a little busier this year and I wanted to relax and not stress myself out last week so I figured it was ok to wait. This year I turned 31, and I feel like I am more mature now that I am in my 30s, but I still also feel like I am 25. I don’t feel old enough to be 30 if that makes sense. When I was younger, I guess I thought I would have everything in my life figured out by the time I was 30 but I am still working on it, and learning valuable lessons. One of which is to take care of yourself first, because if you don’t do that, you will not be able to help out or take care of anyone else. It is not being selfish, it is being smart. Another thing, when I was younger I cared more about what other people thought about me and now, not so much. So what if I am a quiet introvert that likes to spend more time with the cat or just my significant other instead of going out to parties and being social? Also, who cares if someone doesn’t like what I am wearing or how I do my makeup? I wear what I like, and I am comfortable with how I look and who I am. Be who you are, do what you enjoy, dress how you like, what matters is that you are happy.
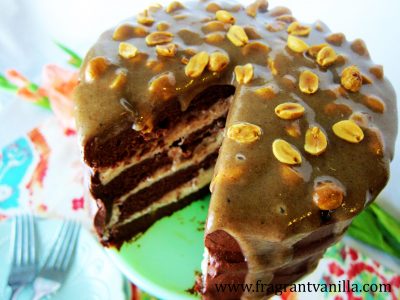
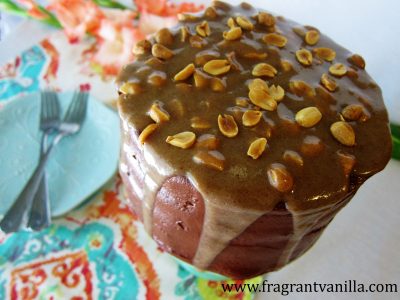
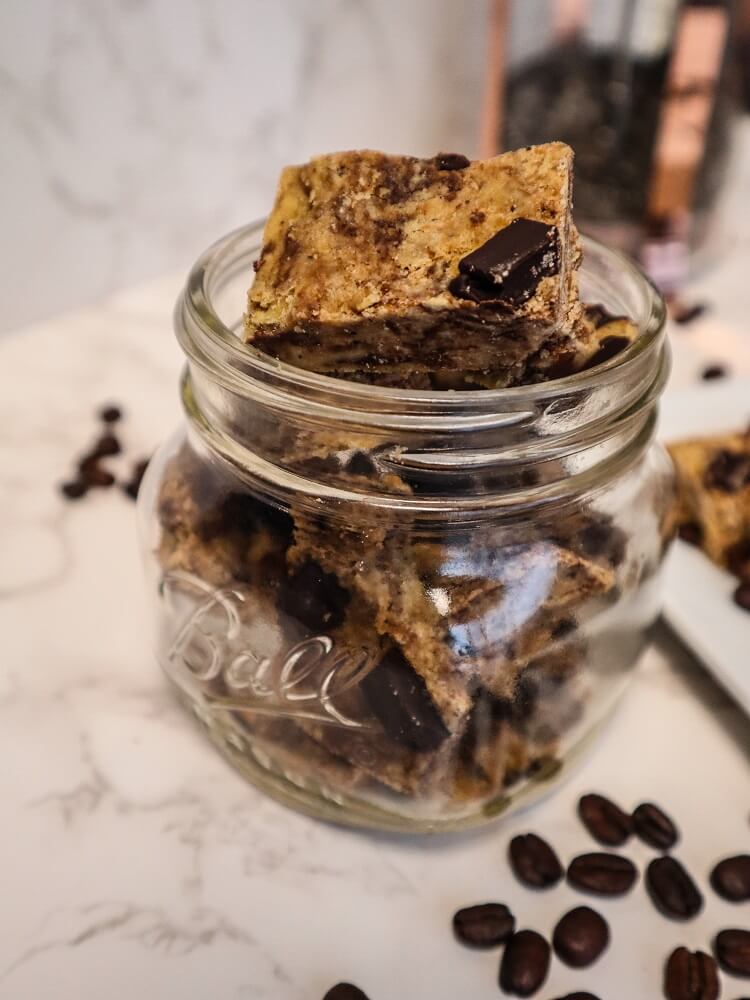
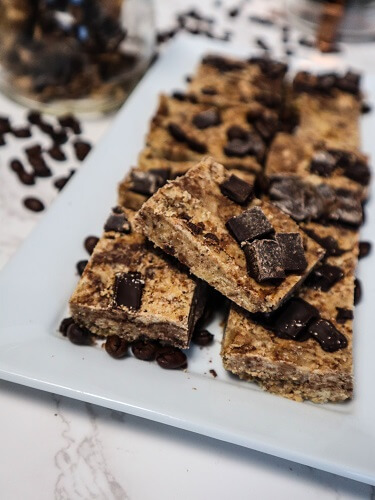
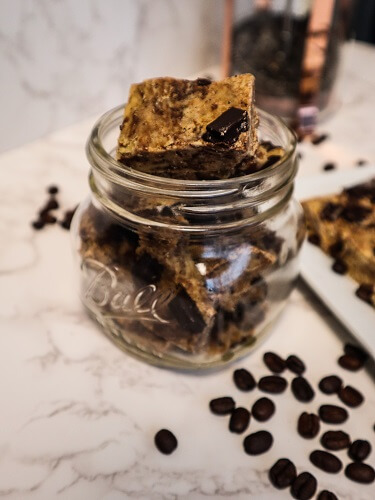
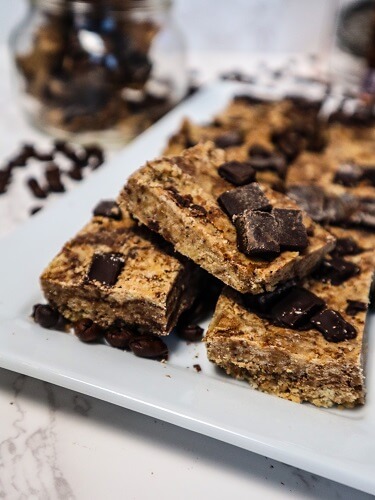
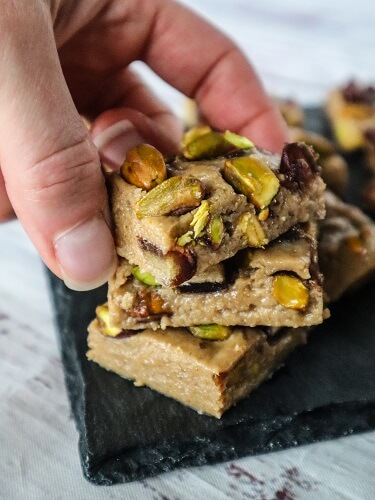
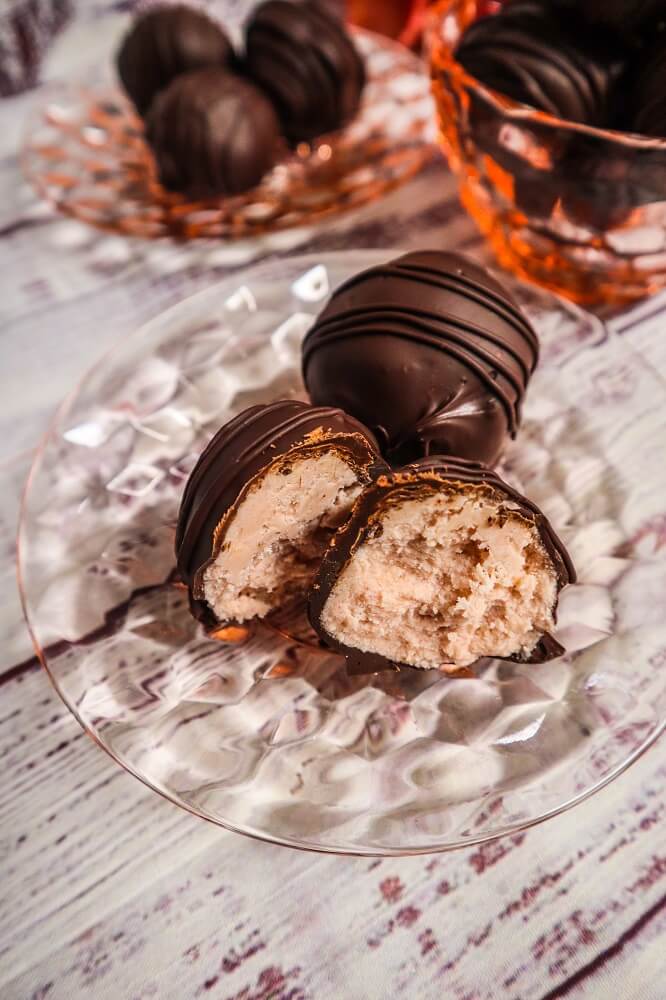
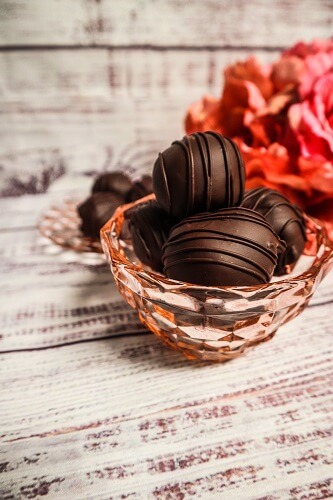
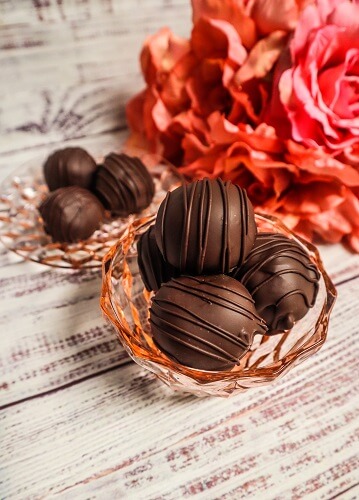
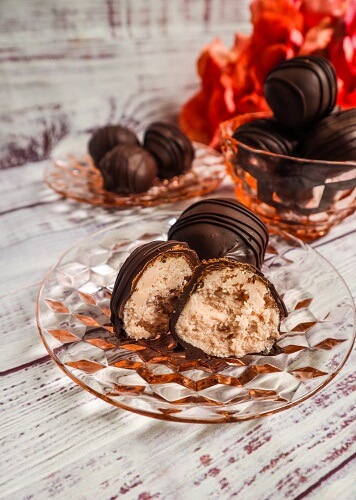
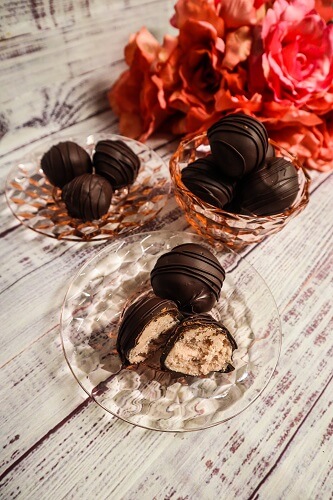
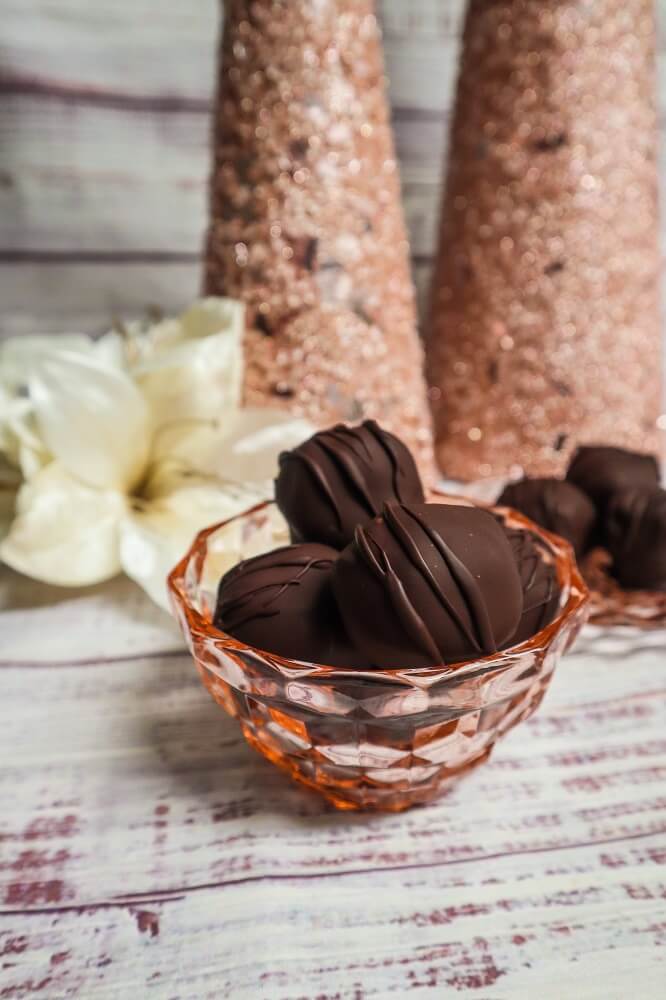
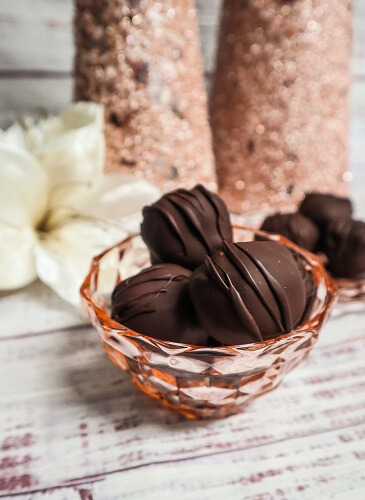
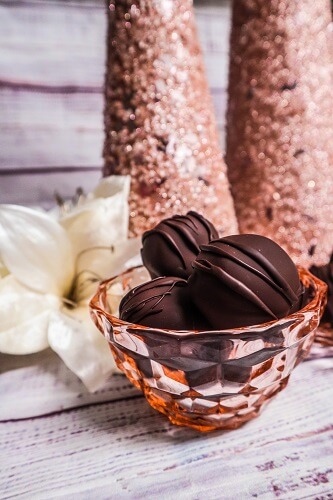
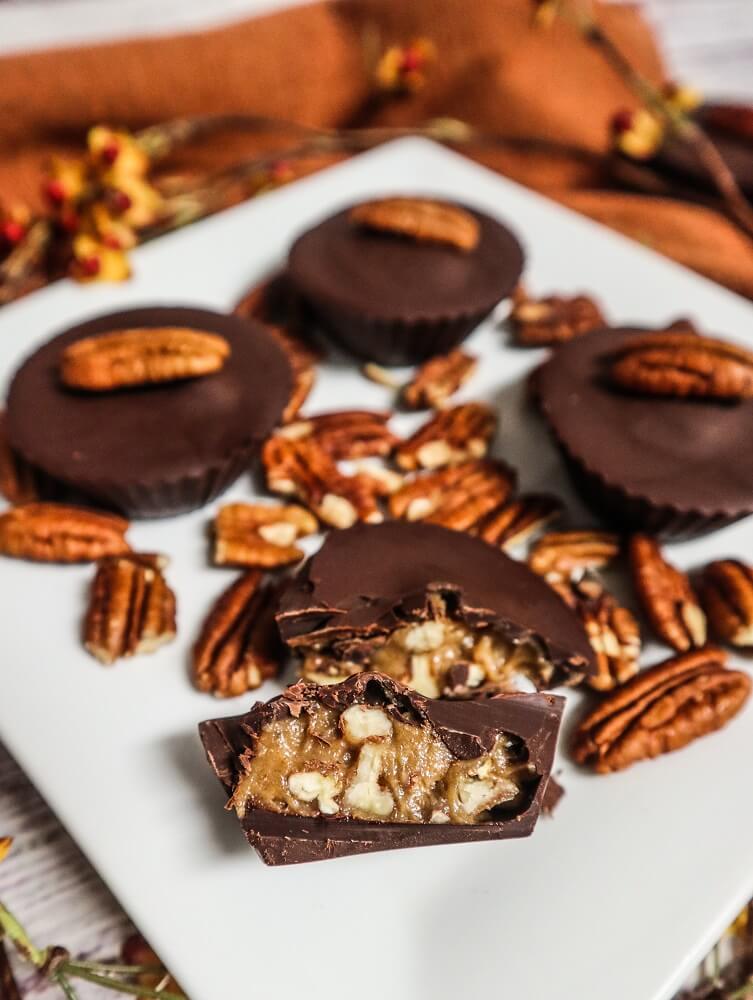
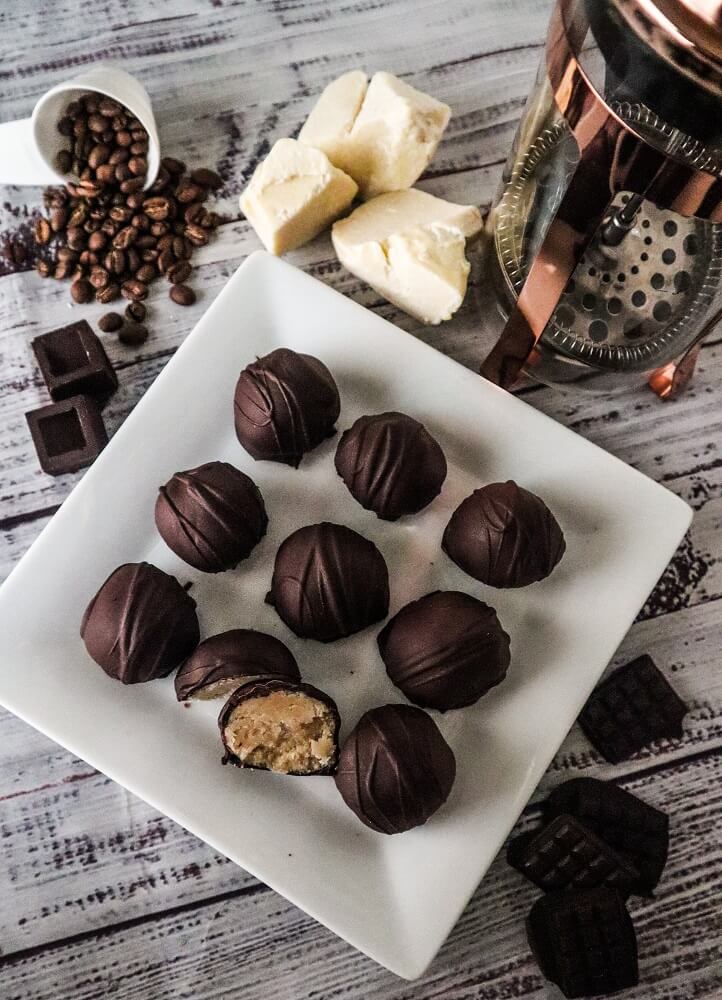
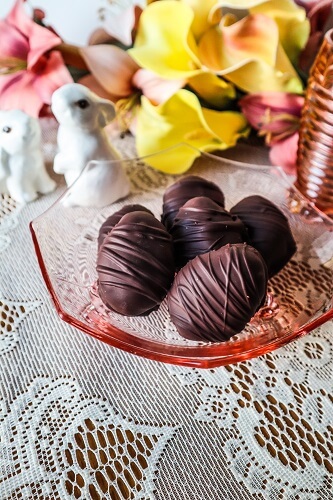
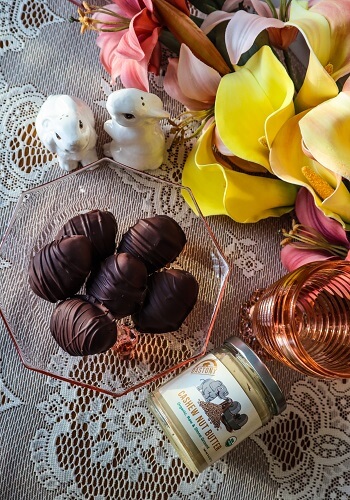
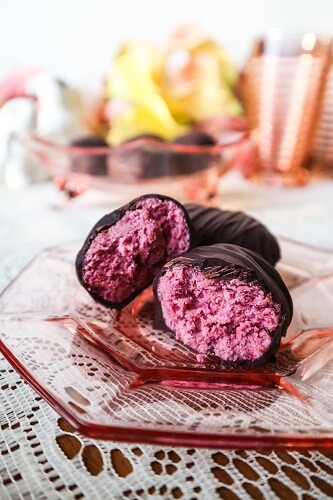
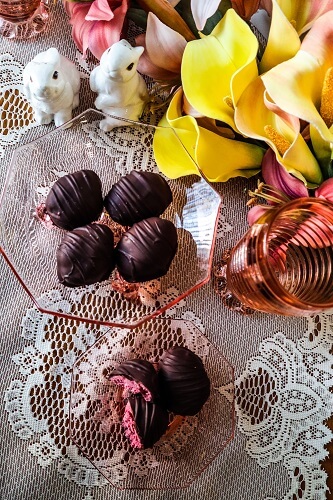
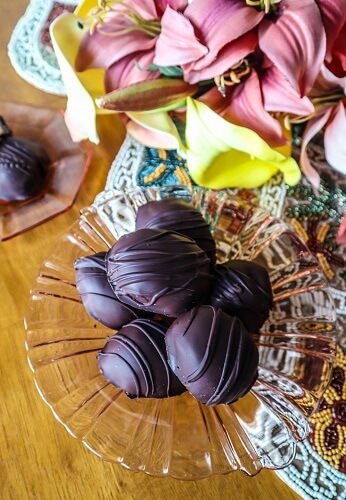
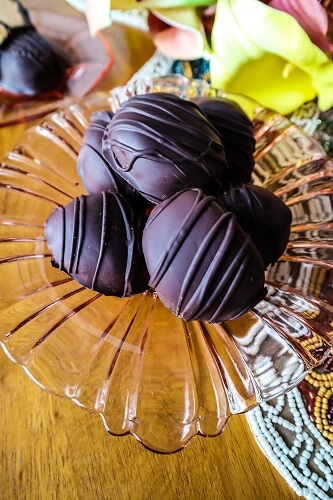
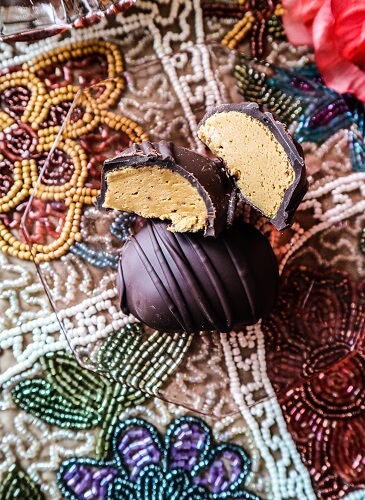
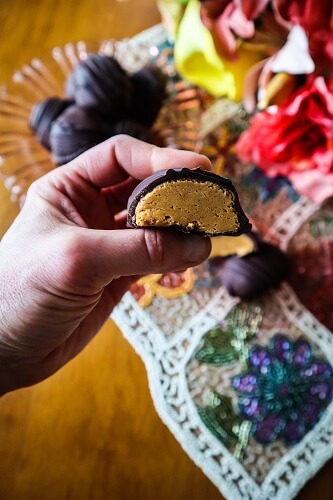
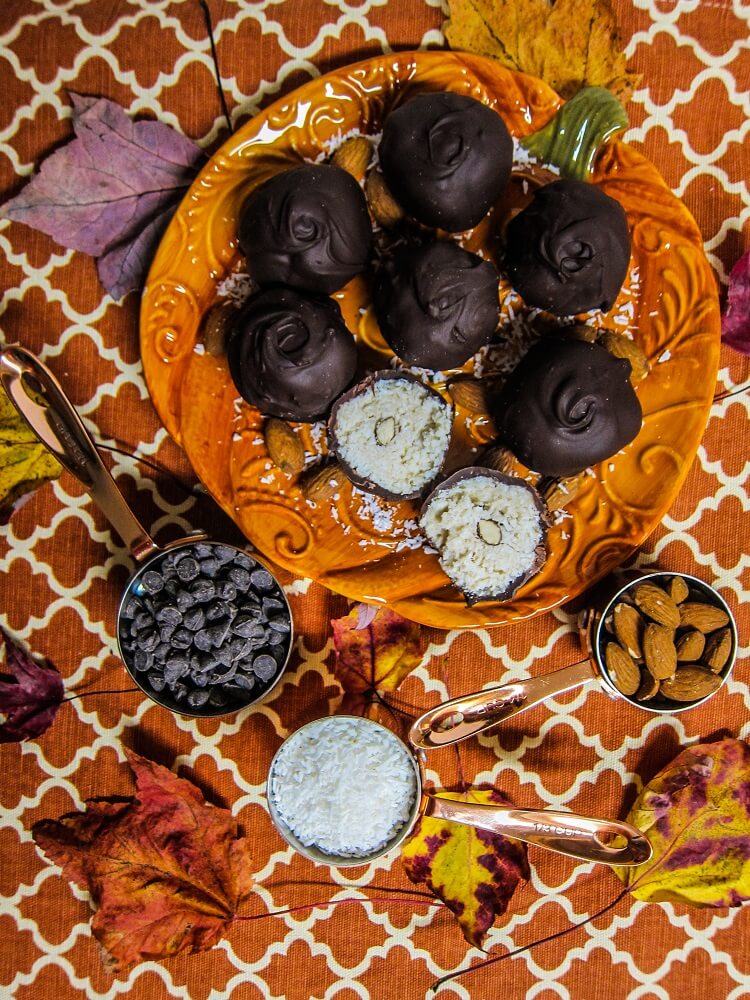
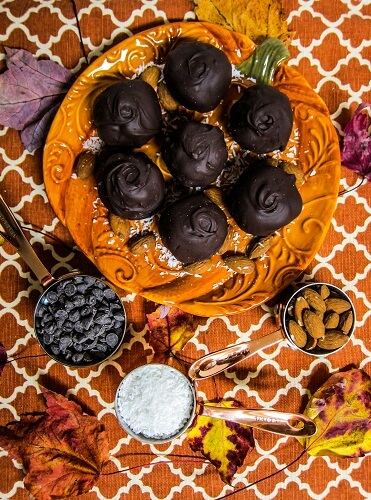
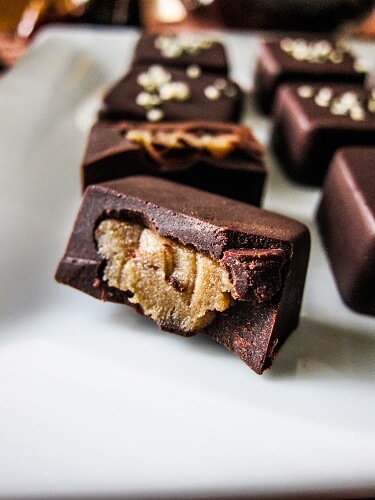
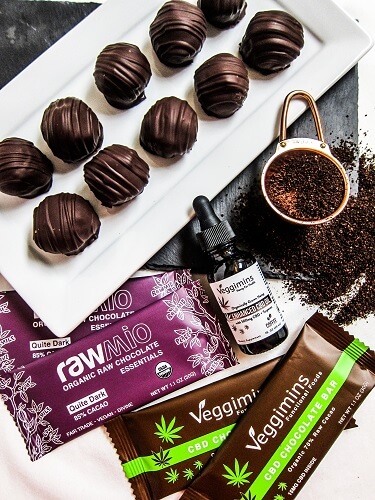
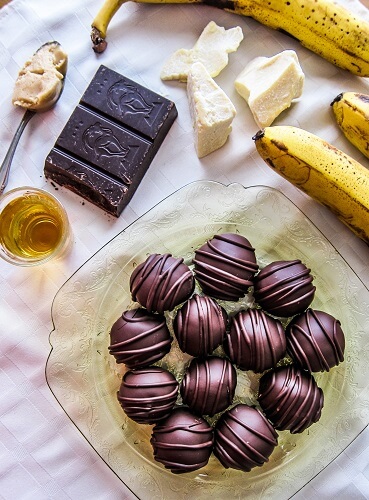
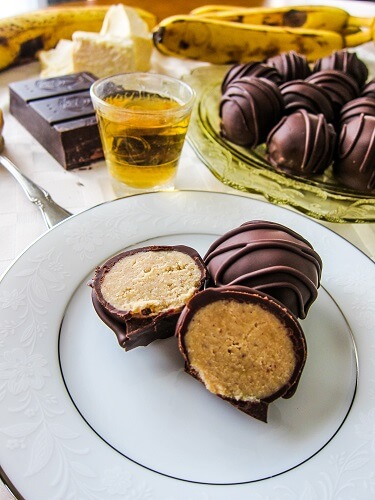
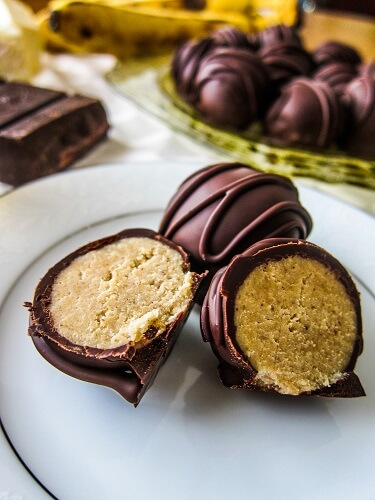
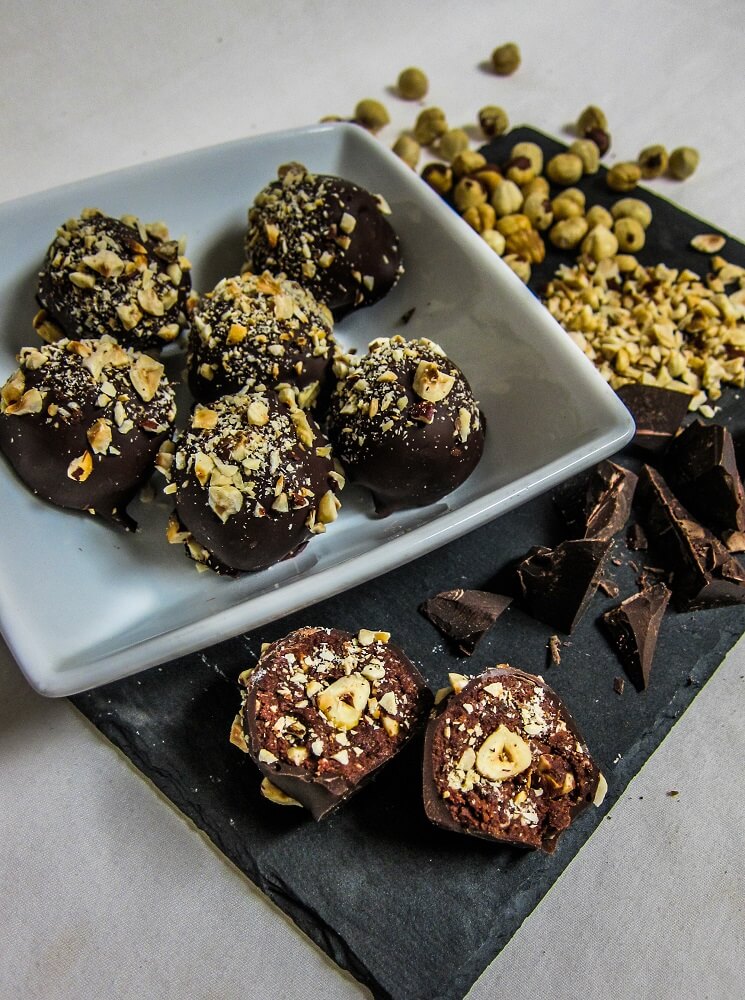
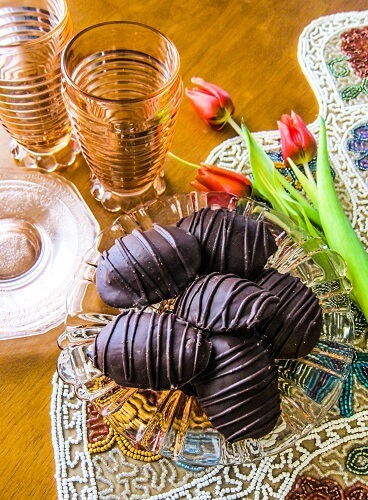
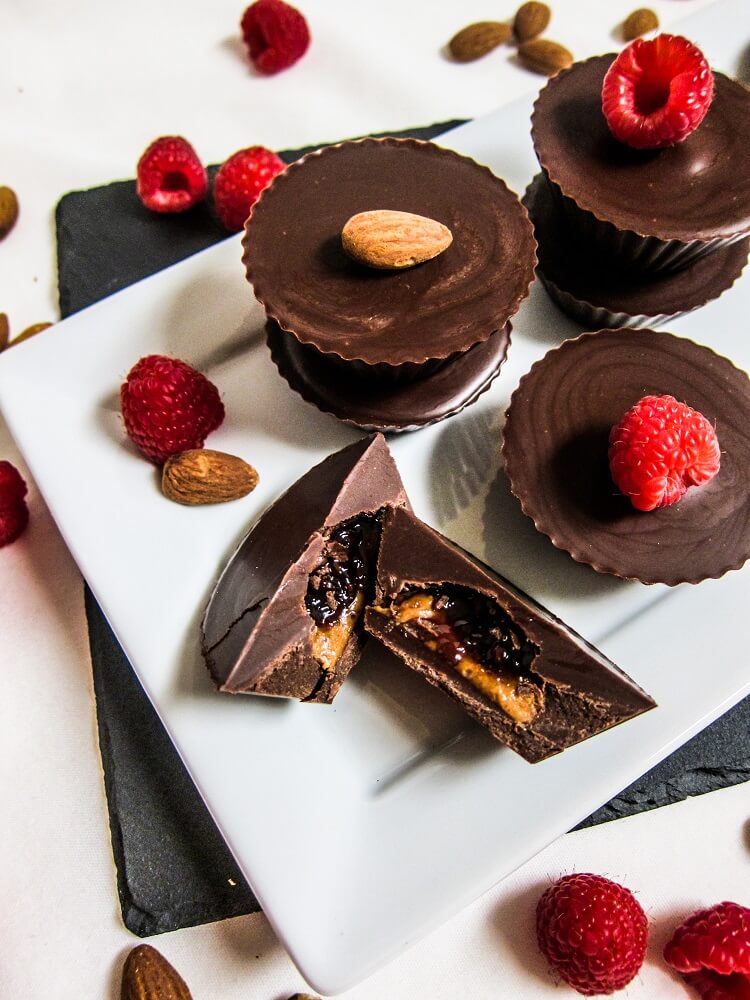
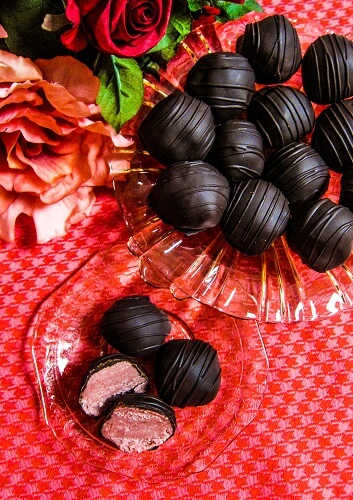
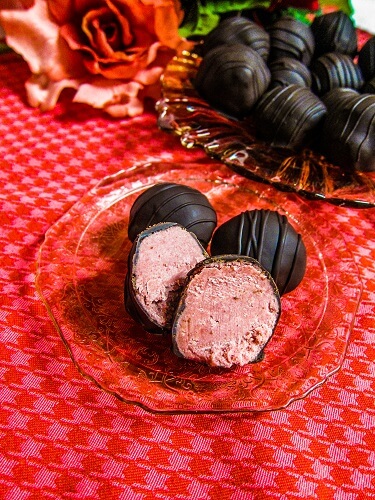
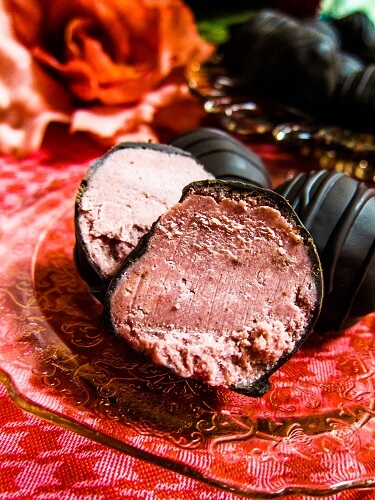
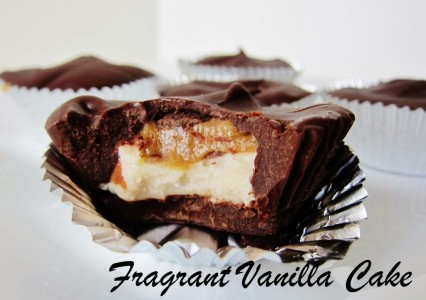
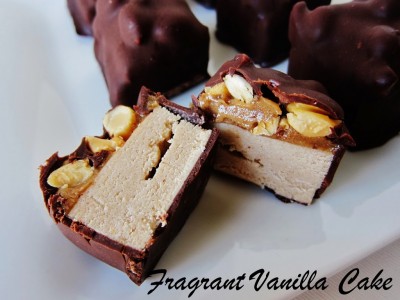
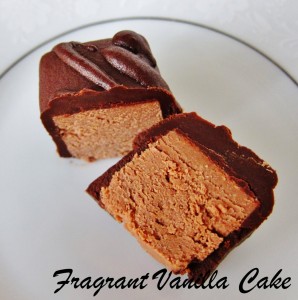
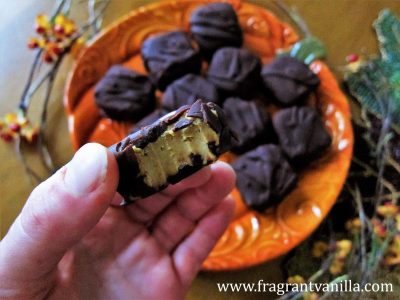
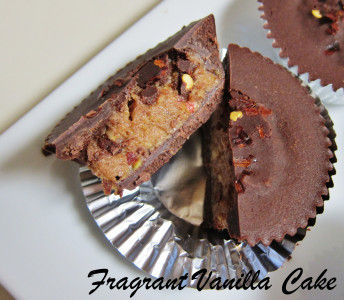
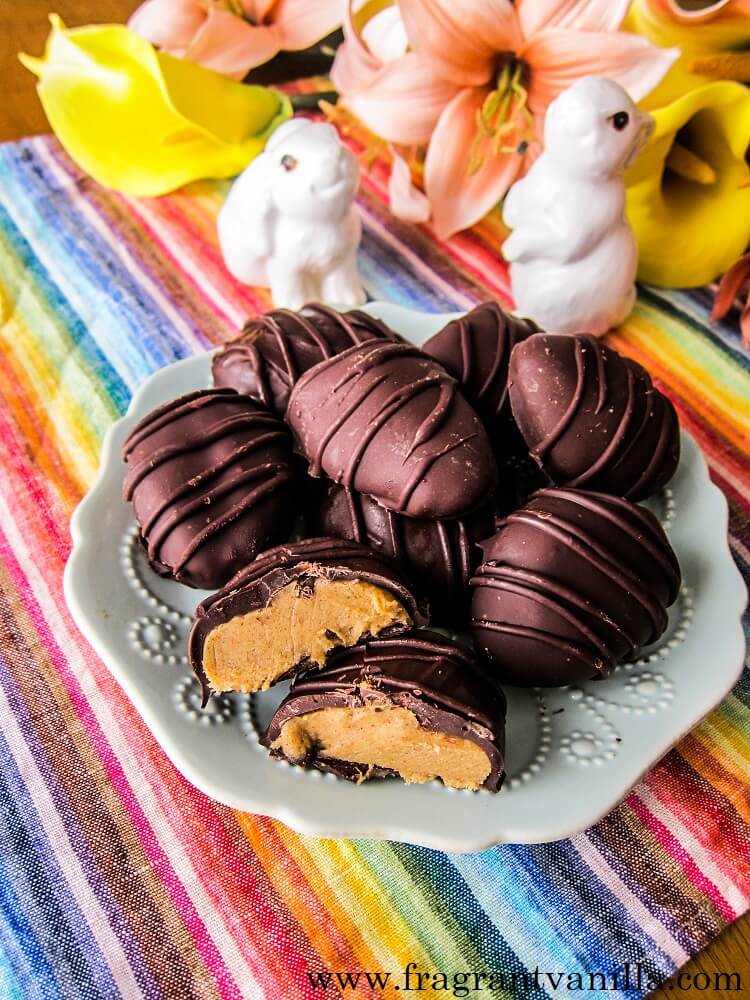
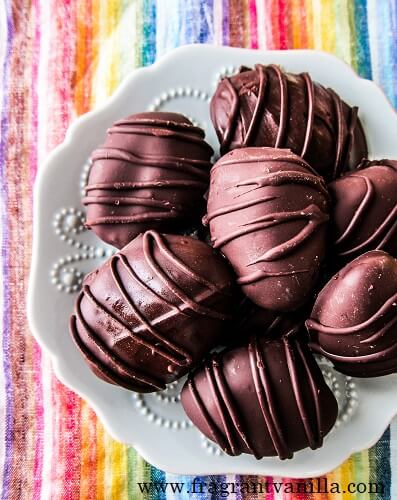
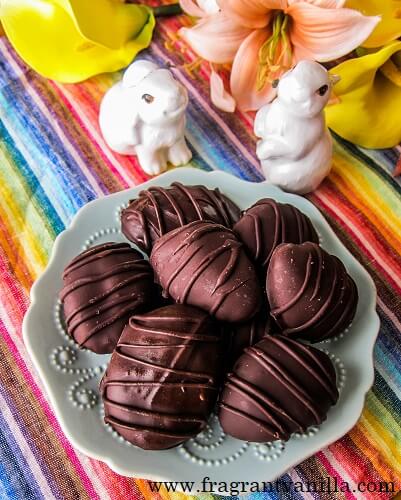
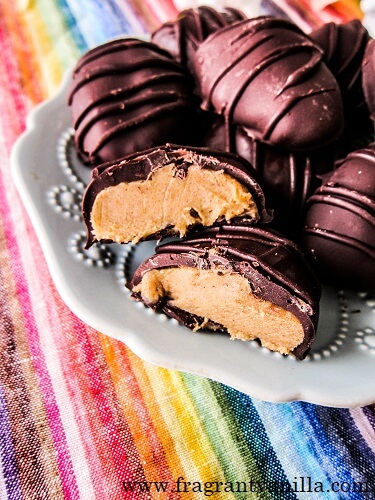
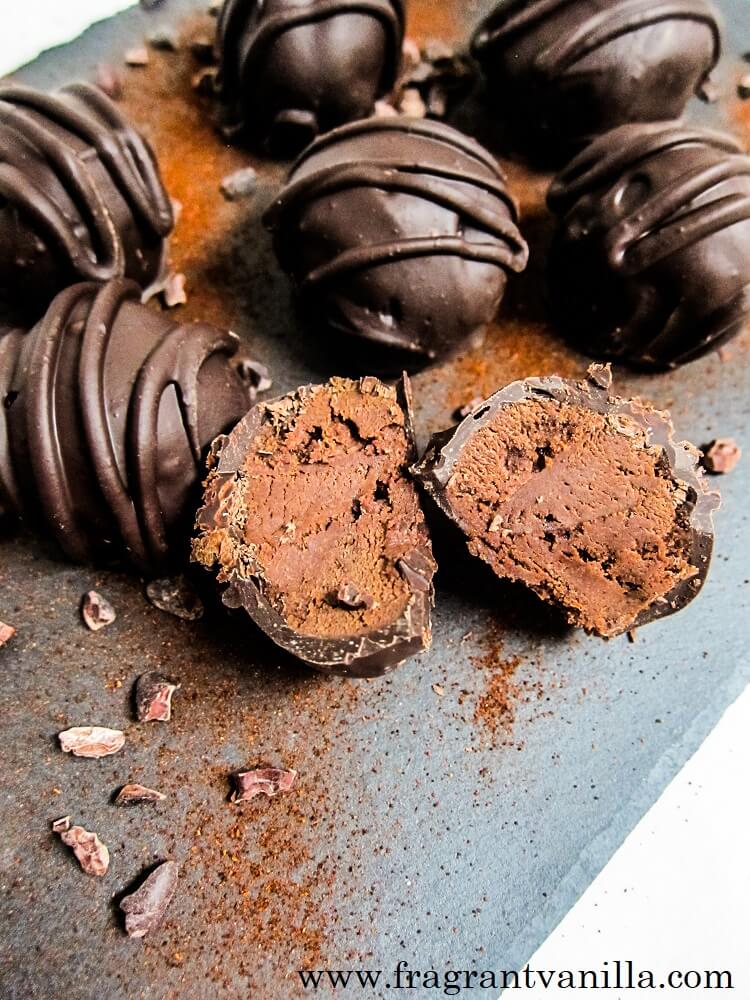
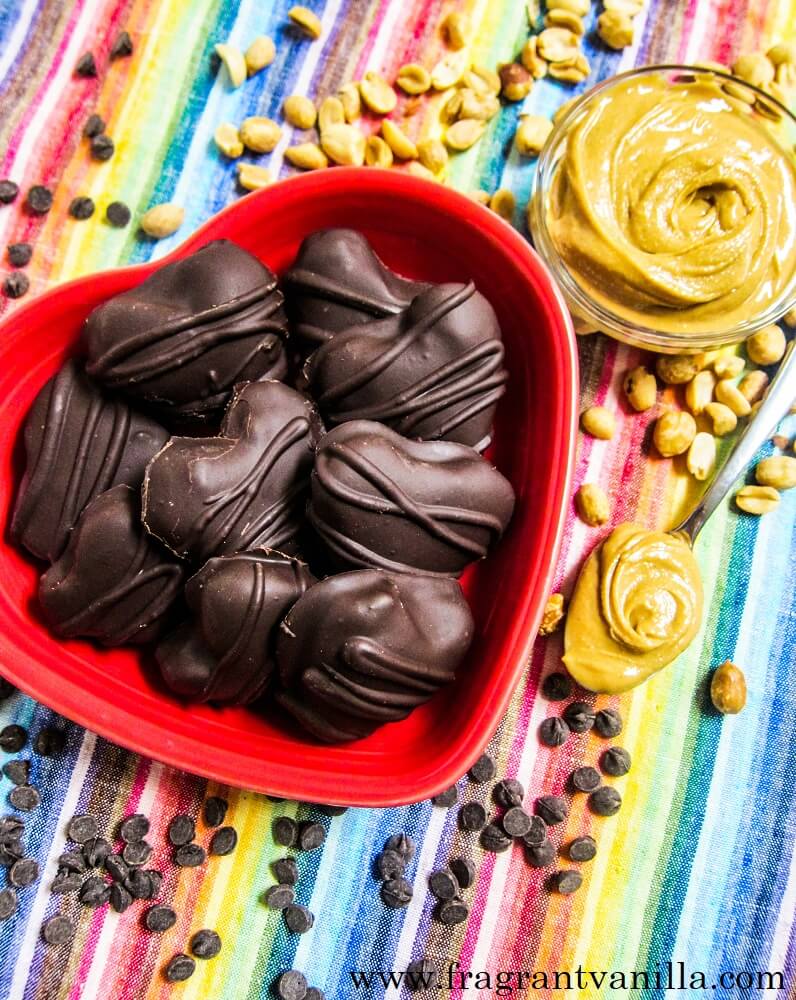
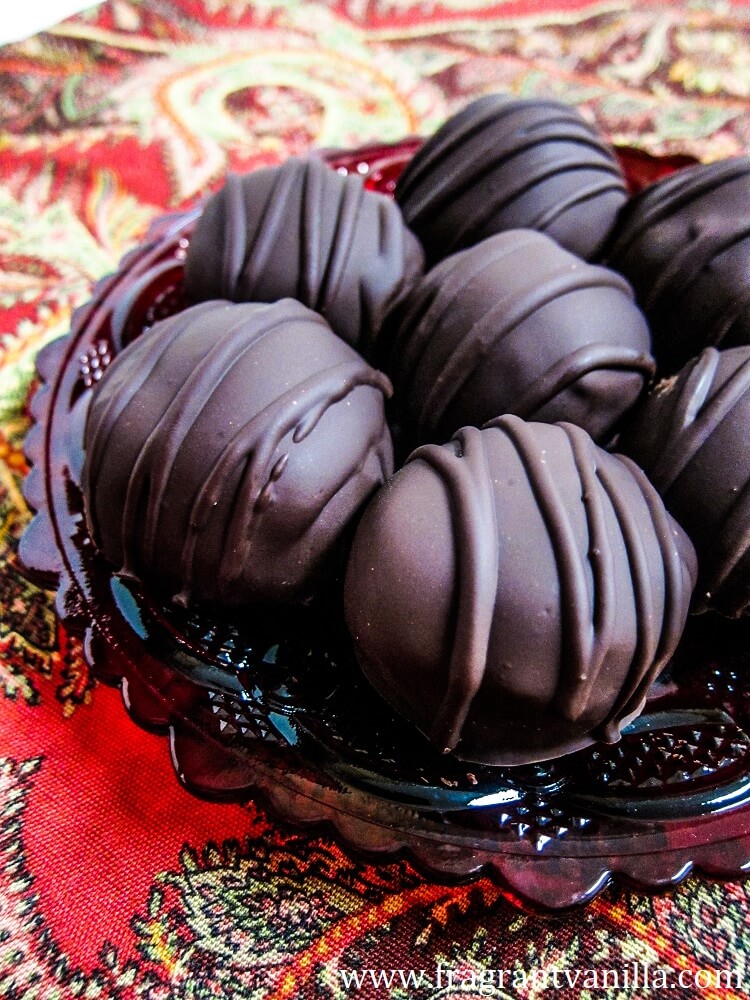
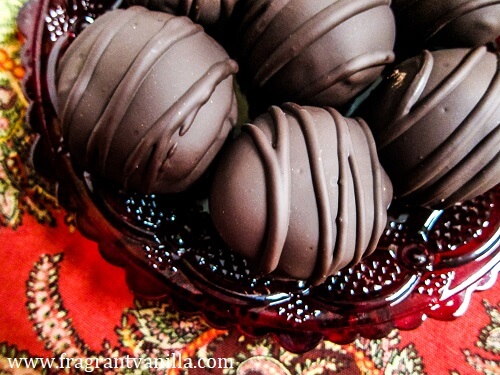
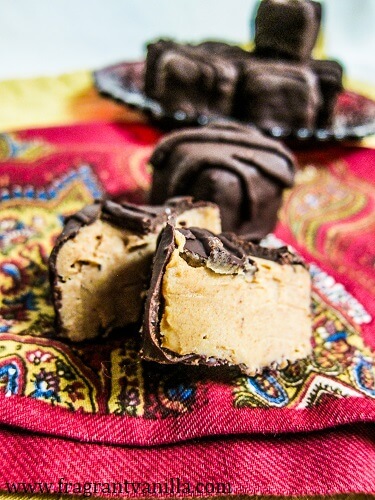
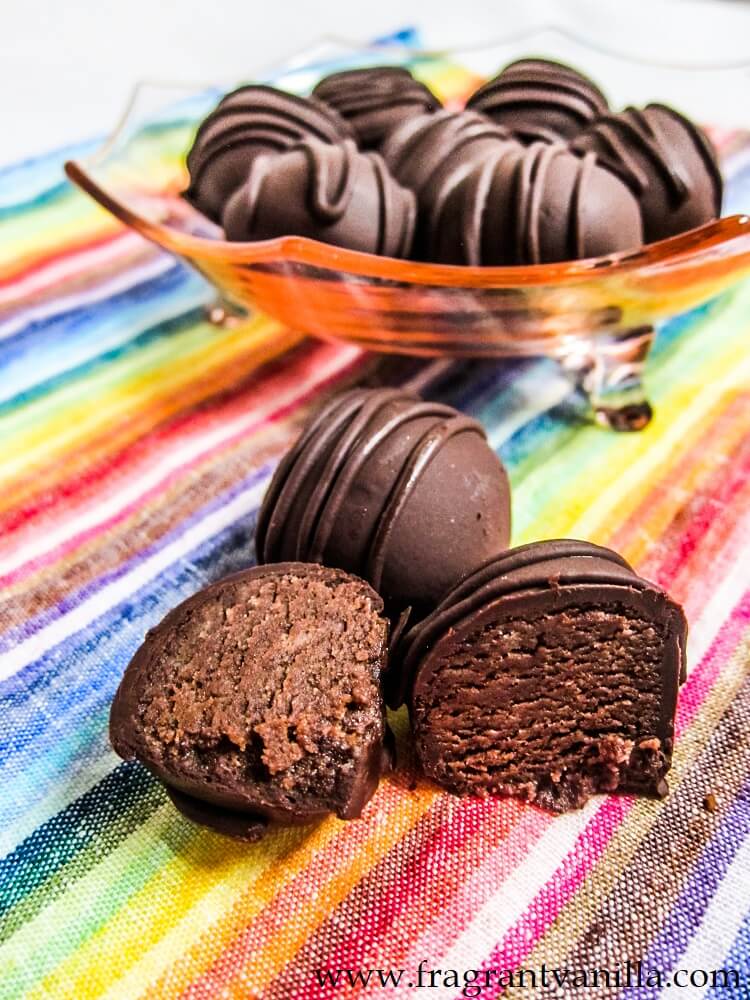
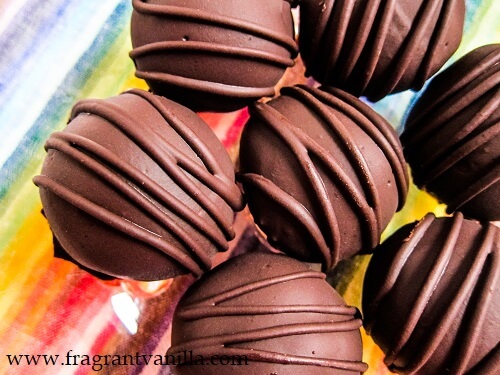
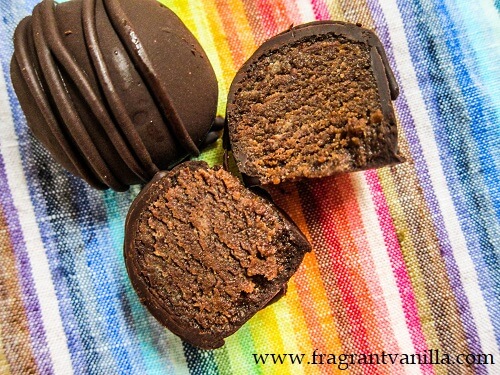
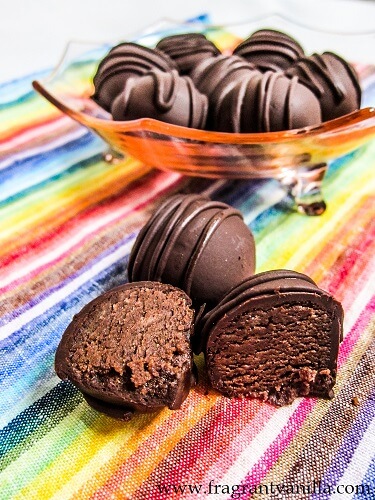
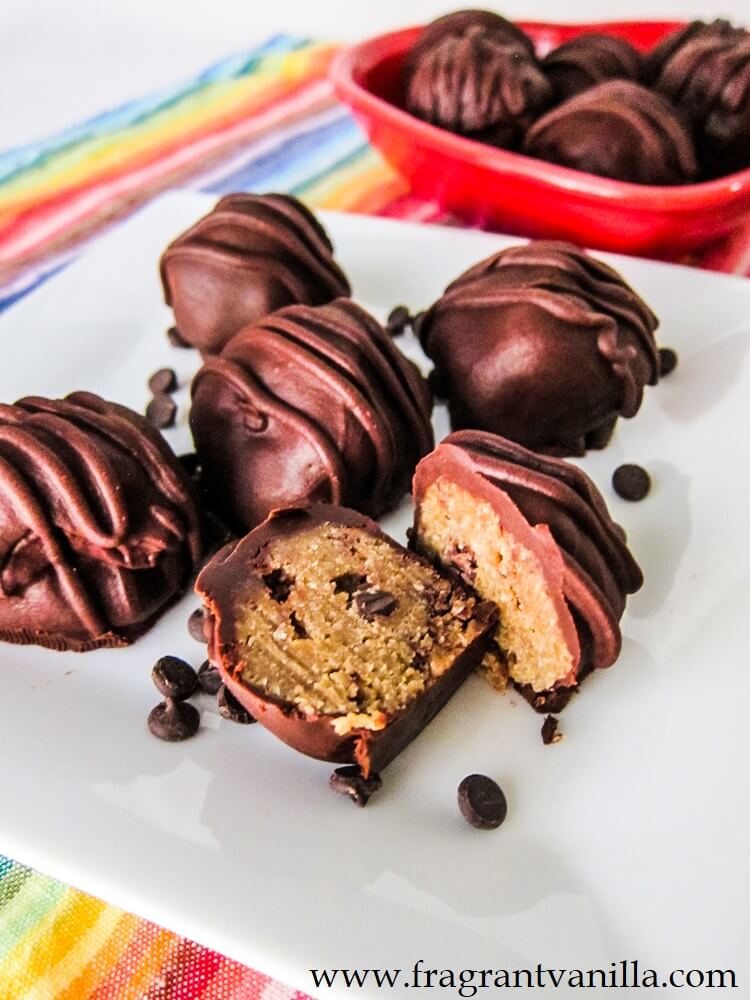
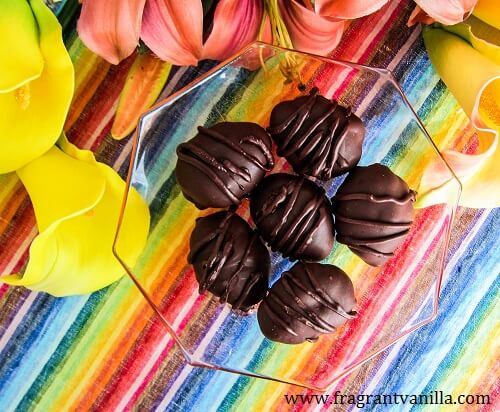
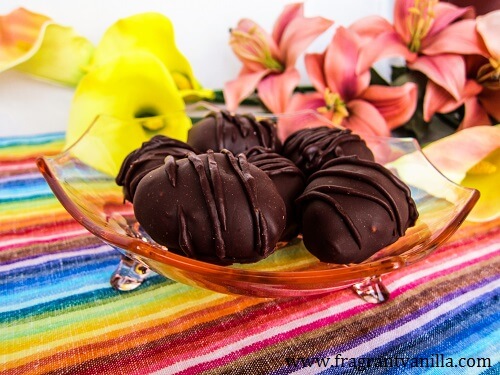
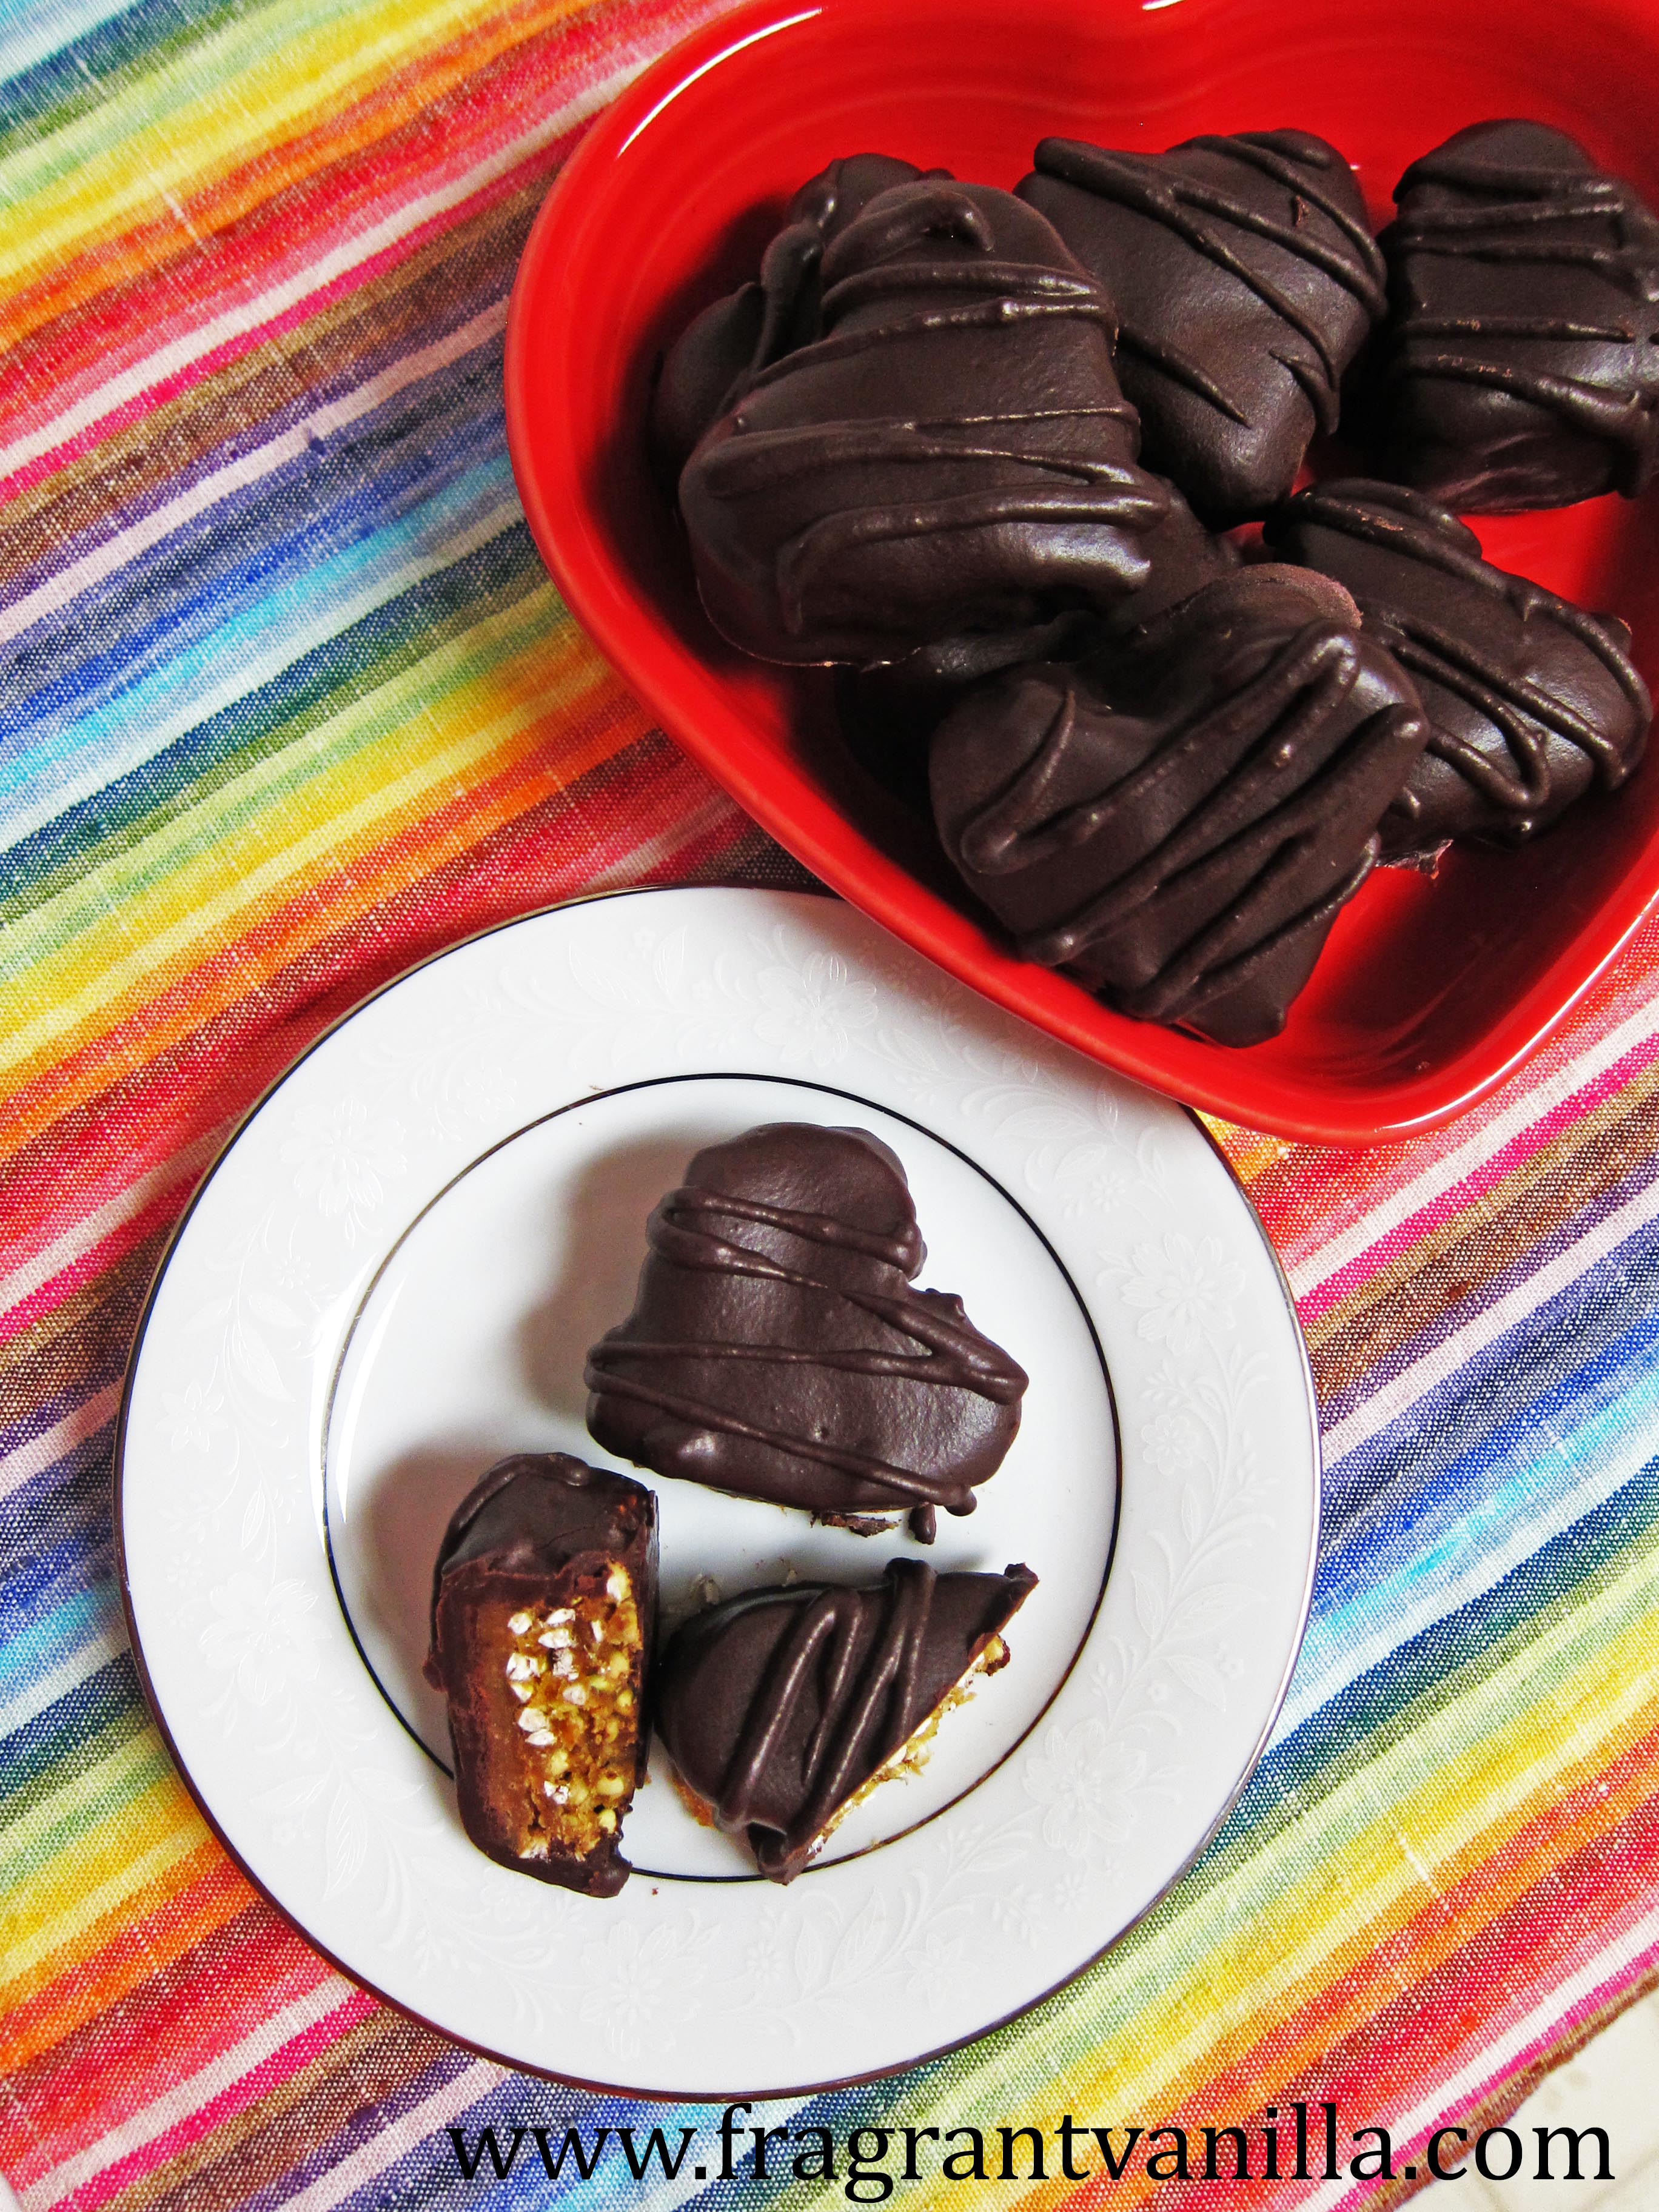
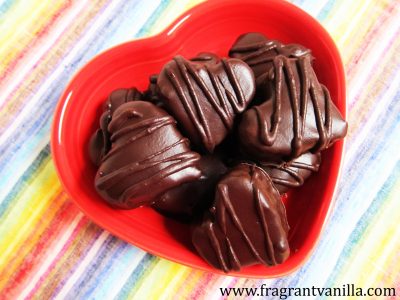
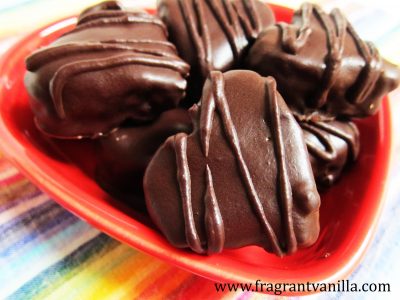
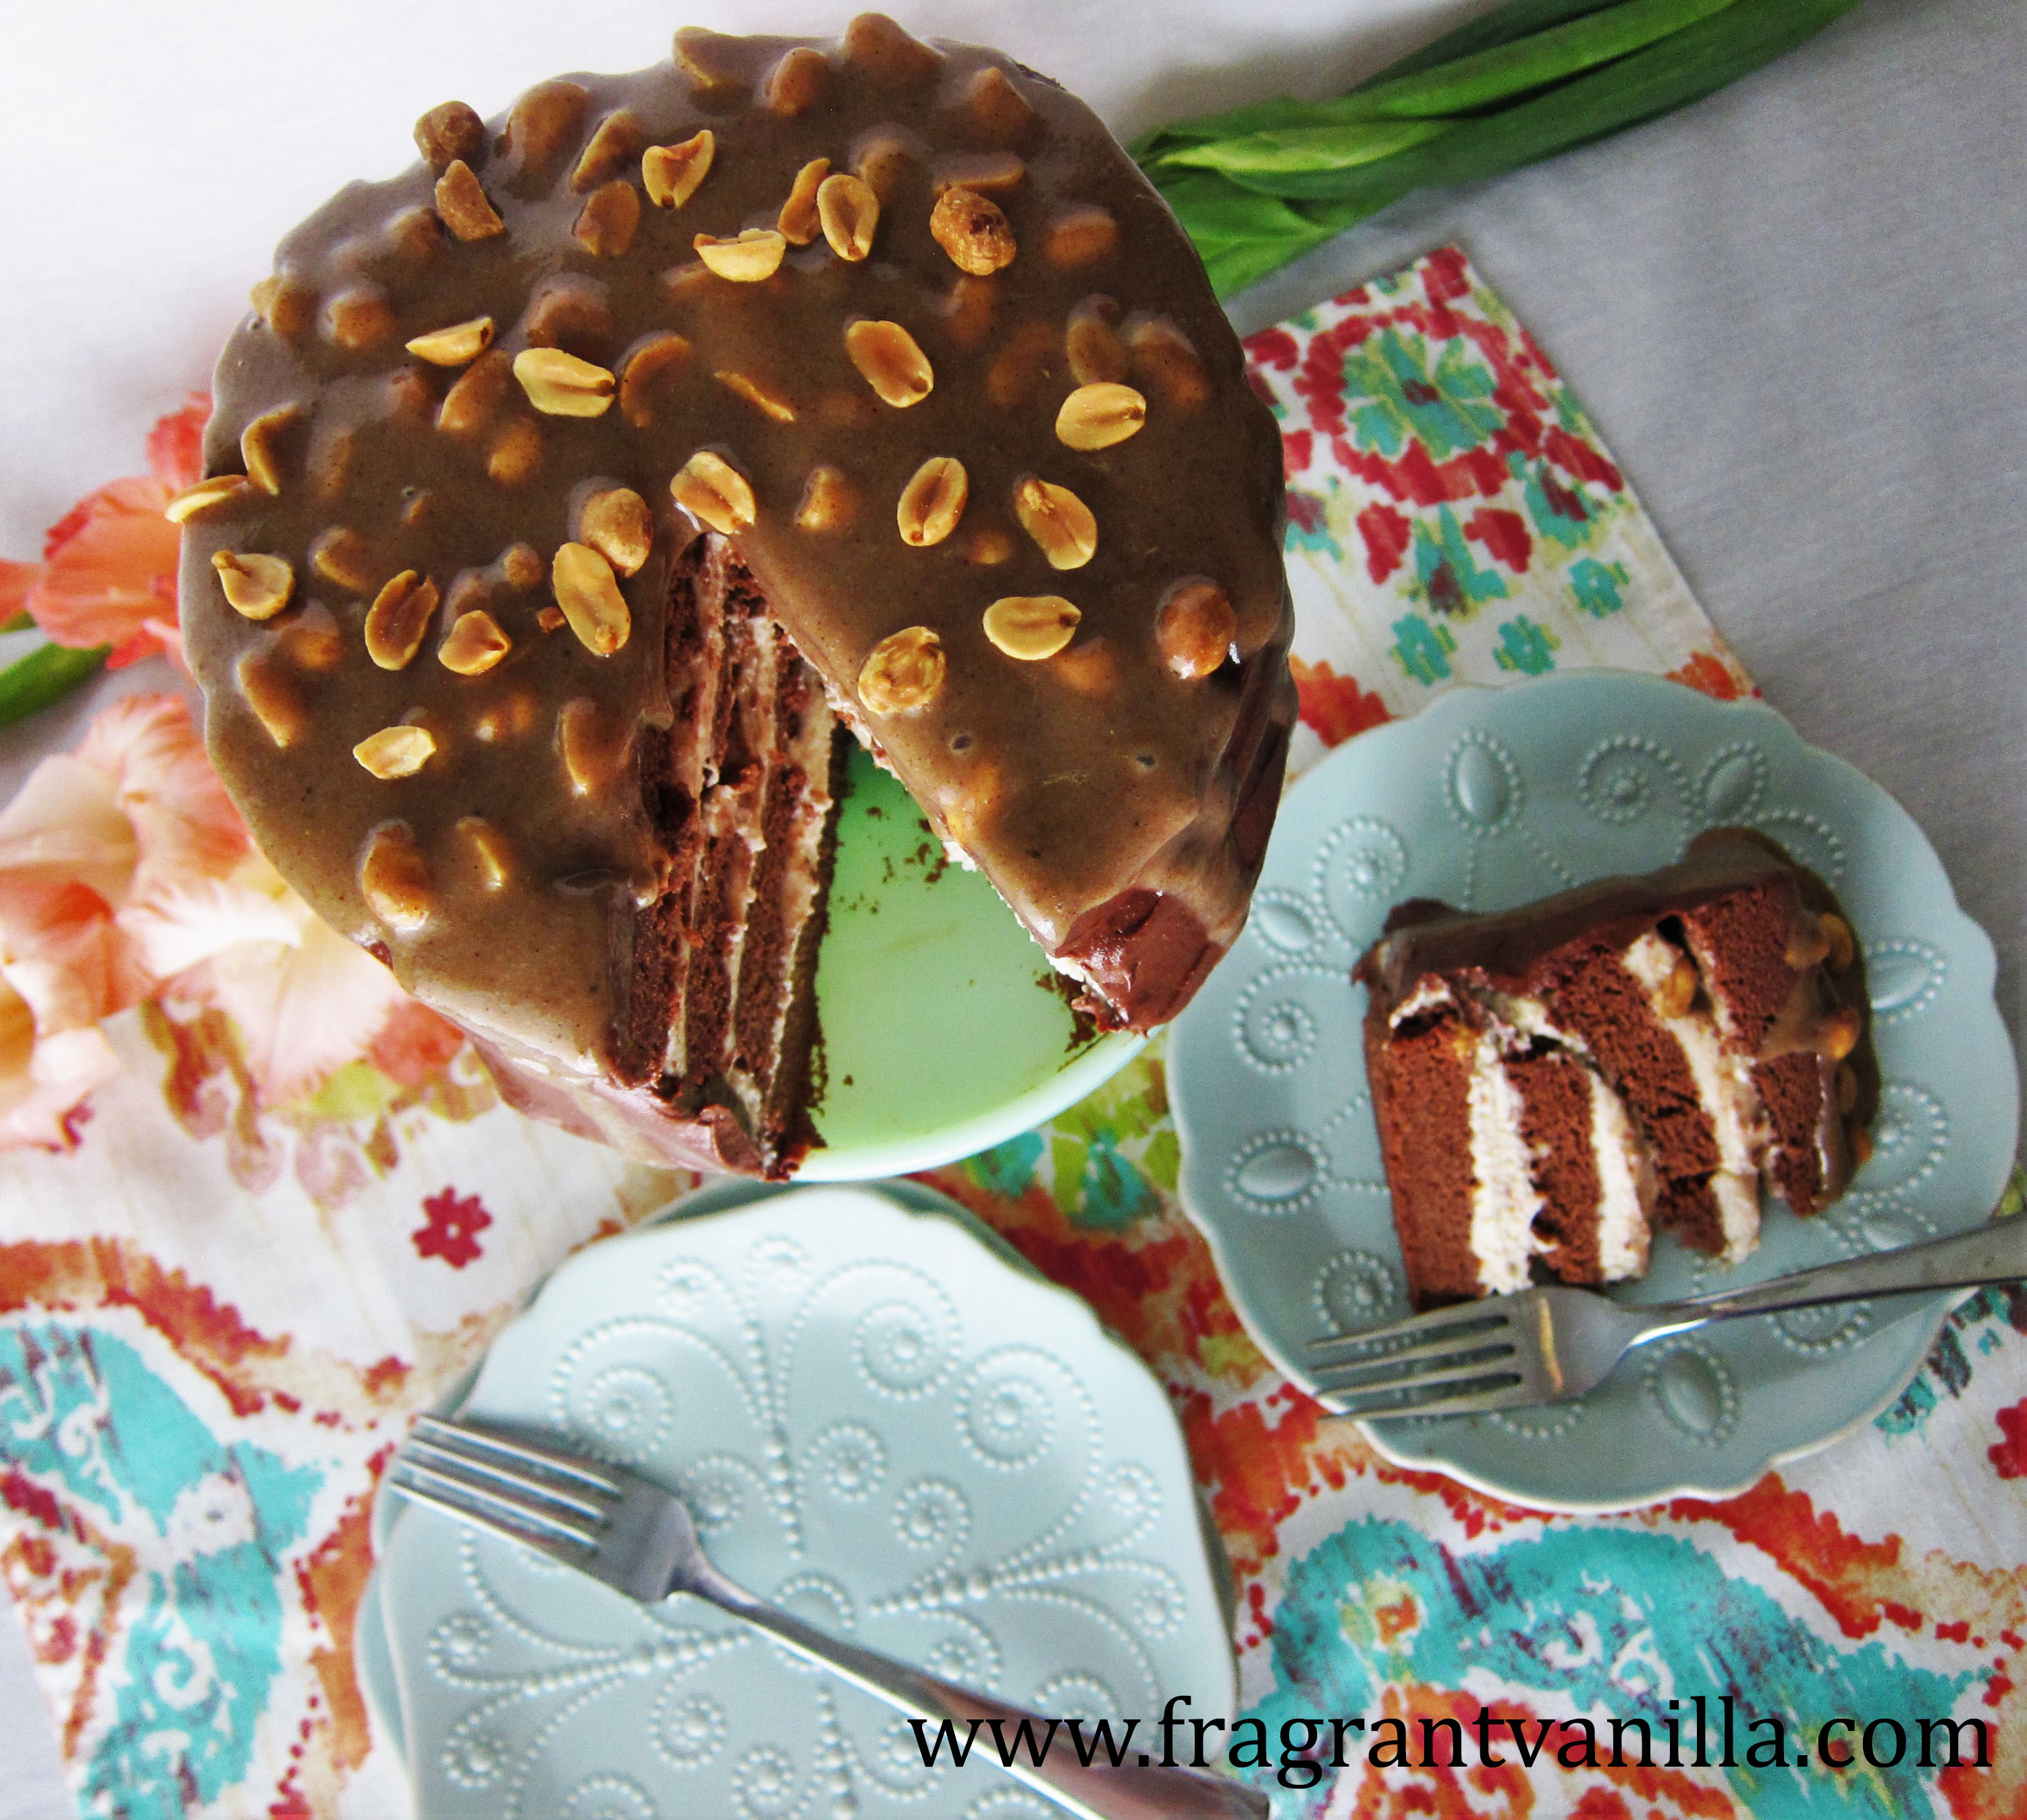
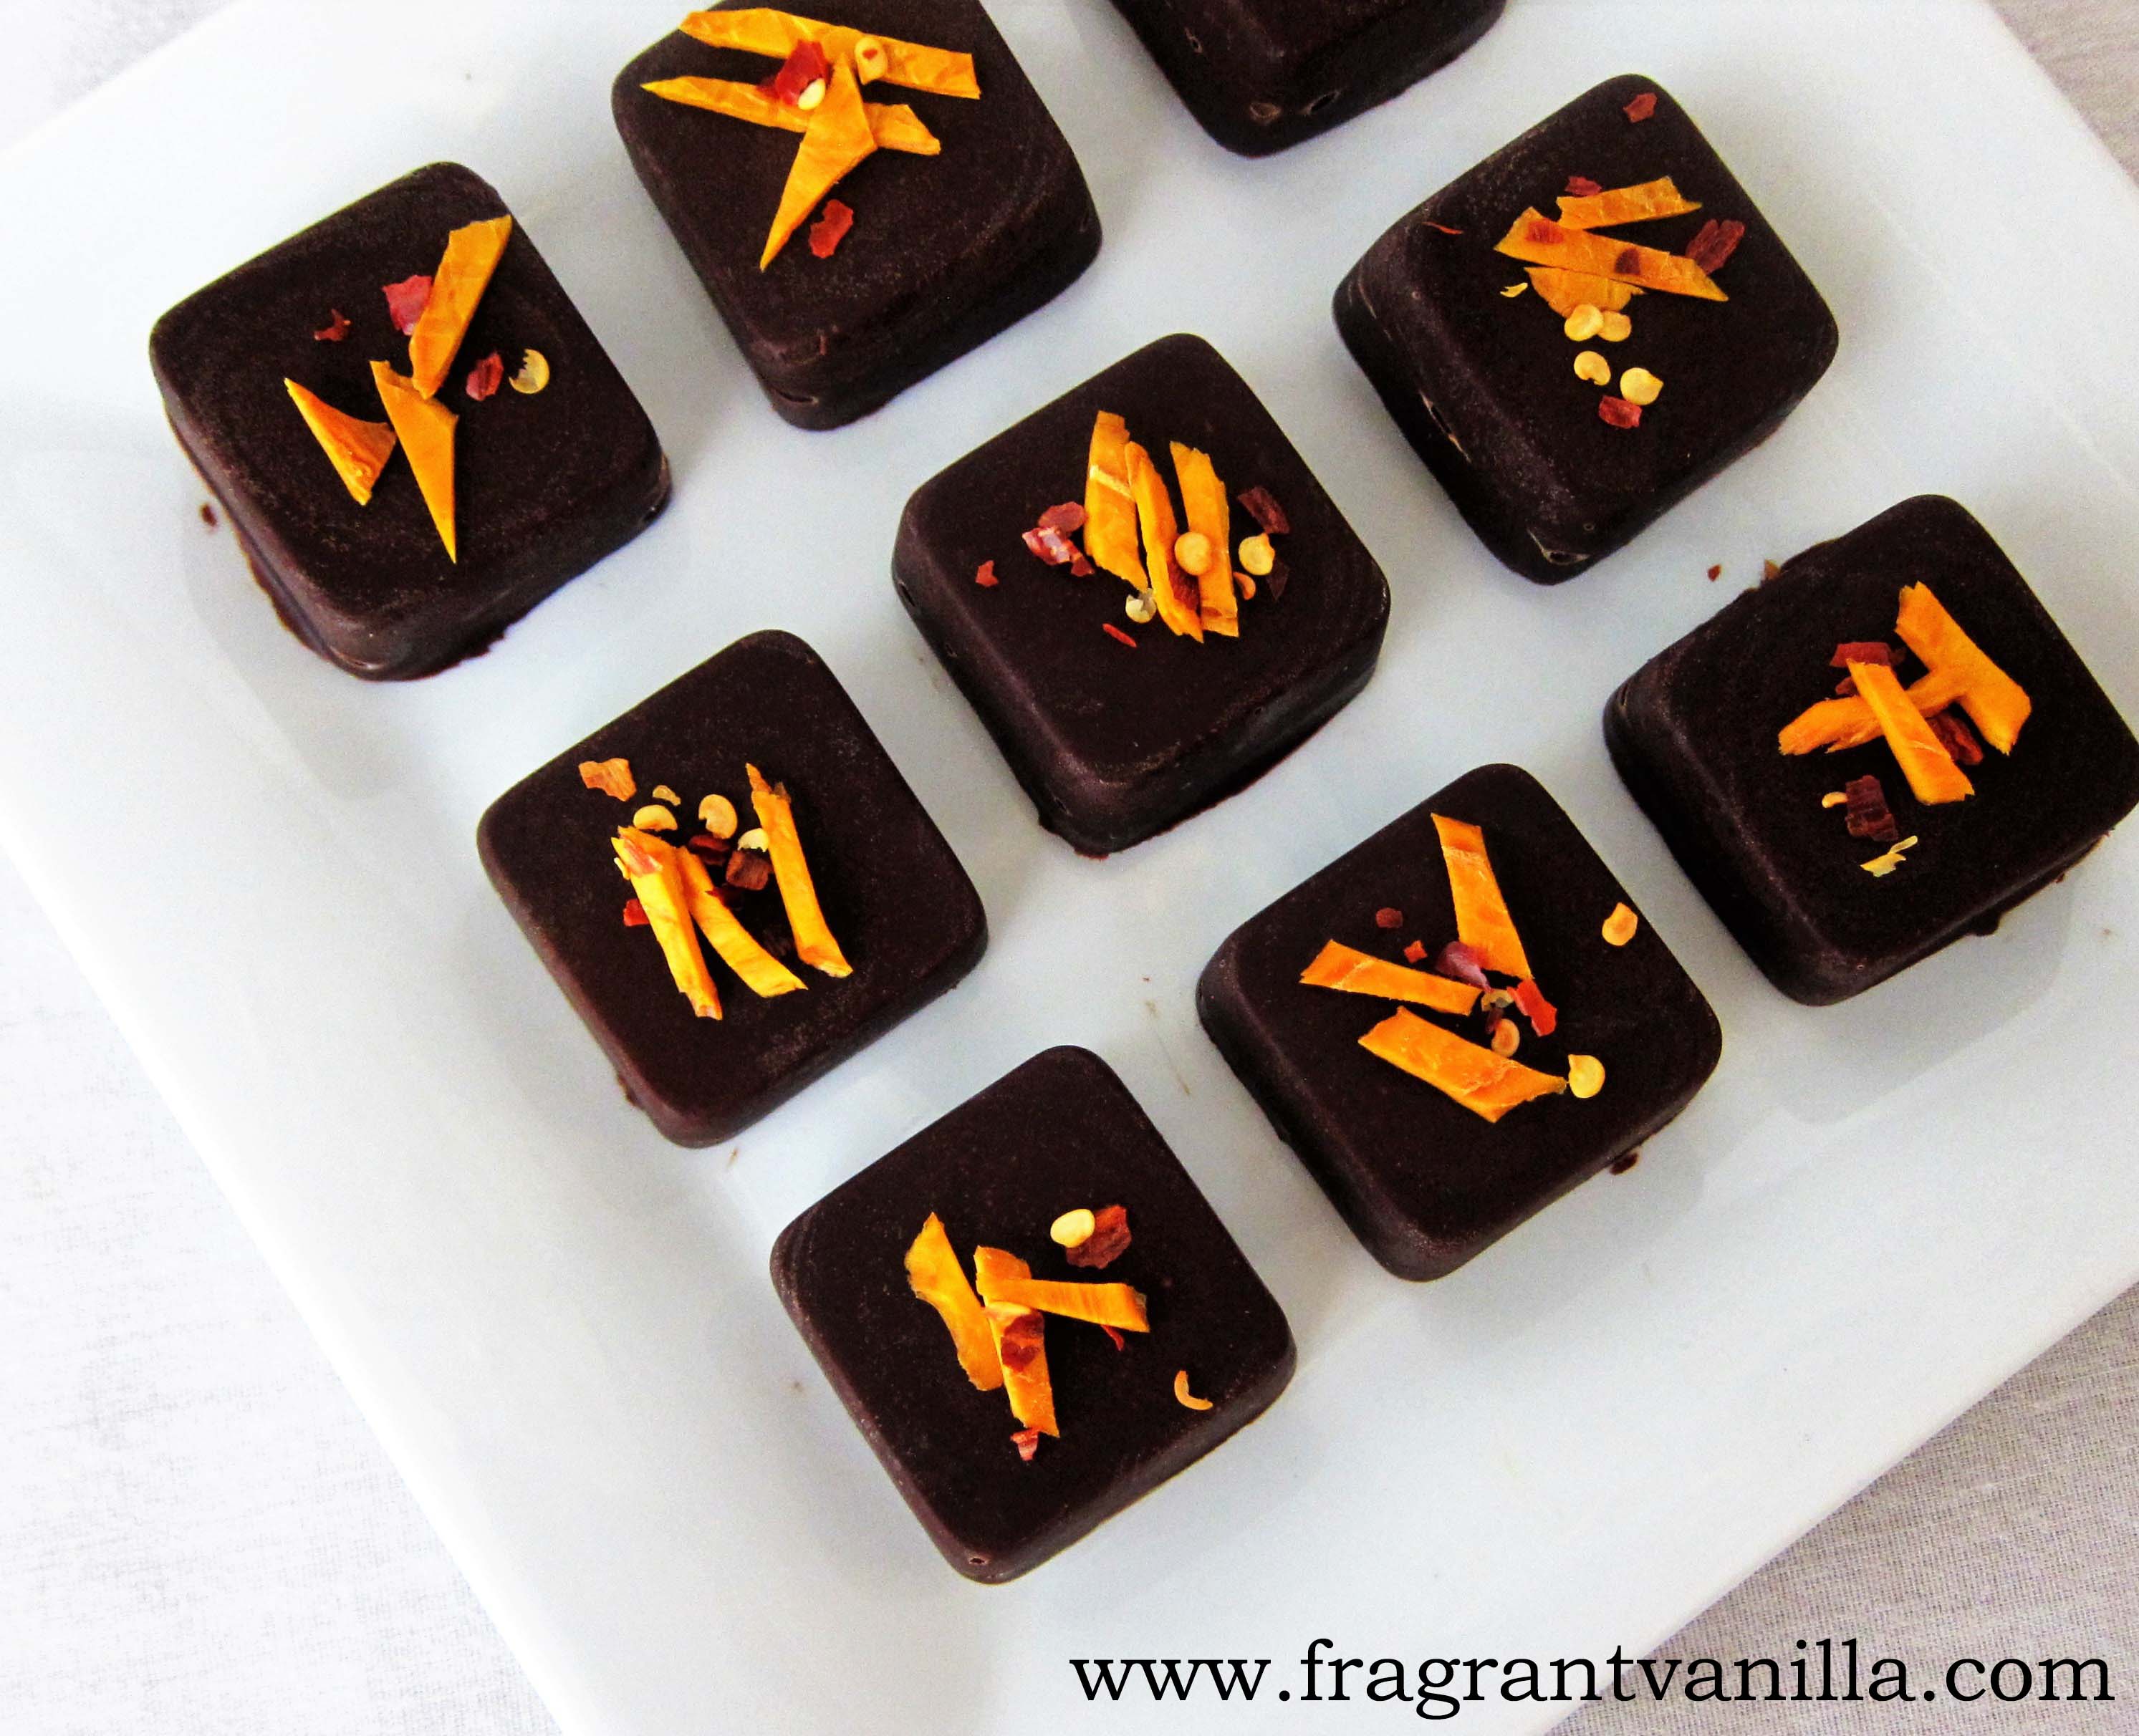
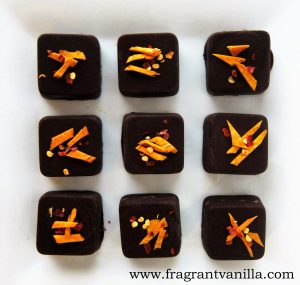
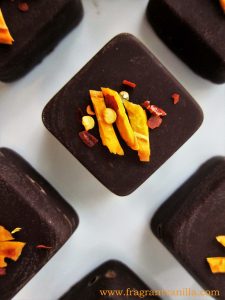
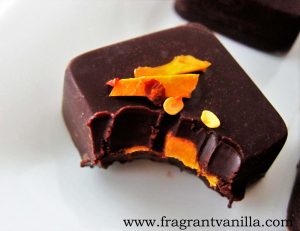
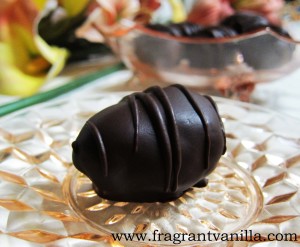
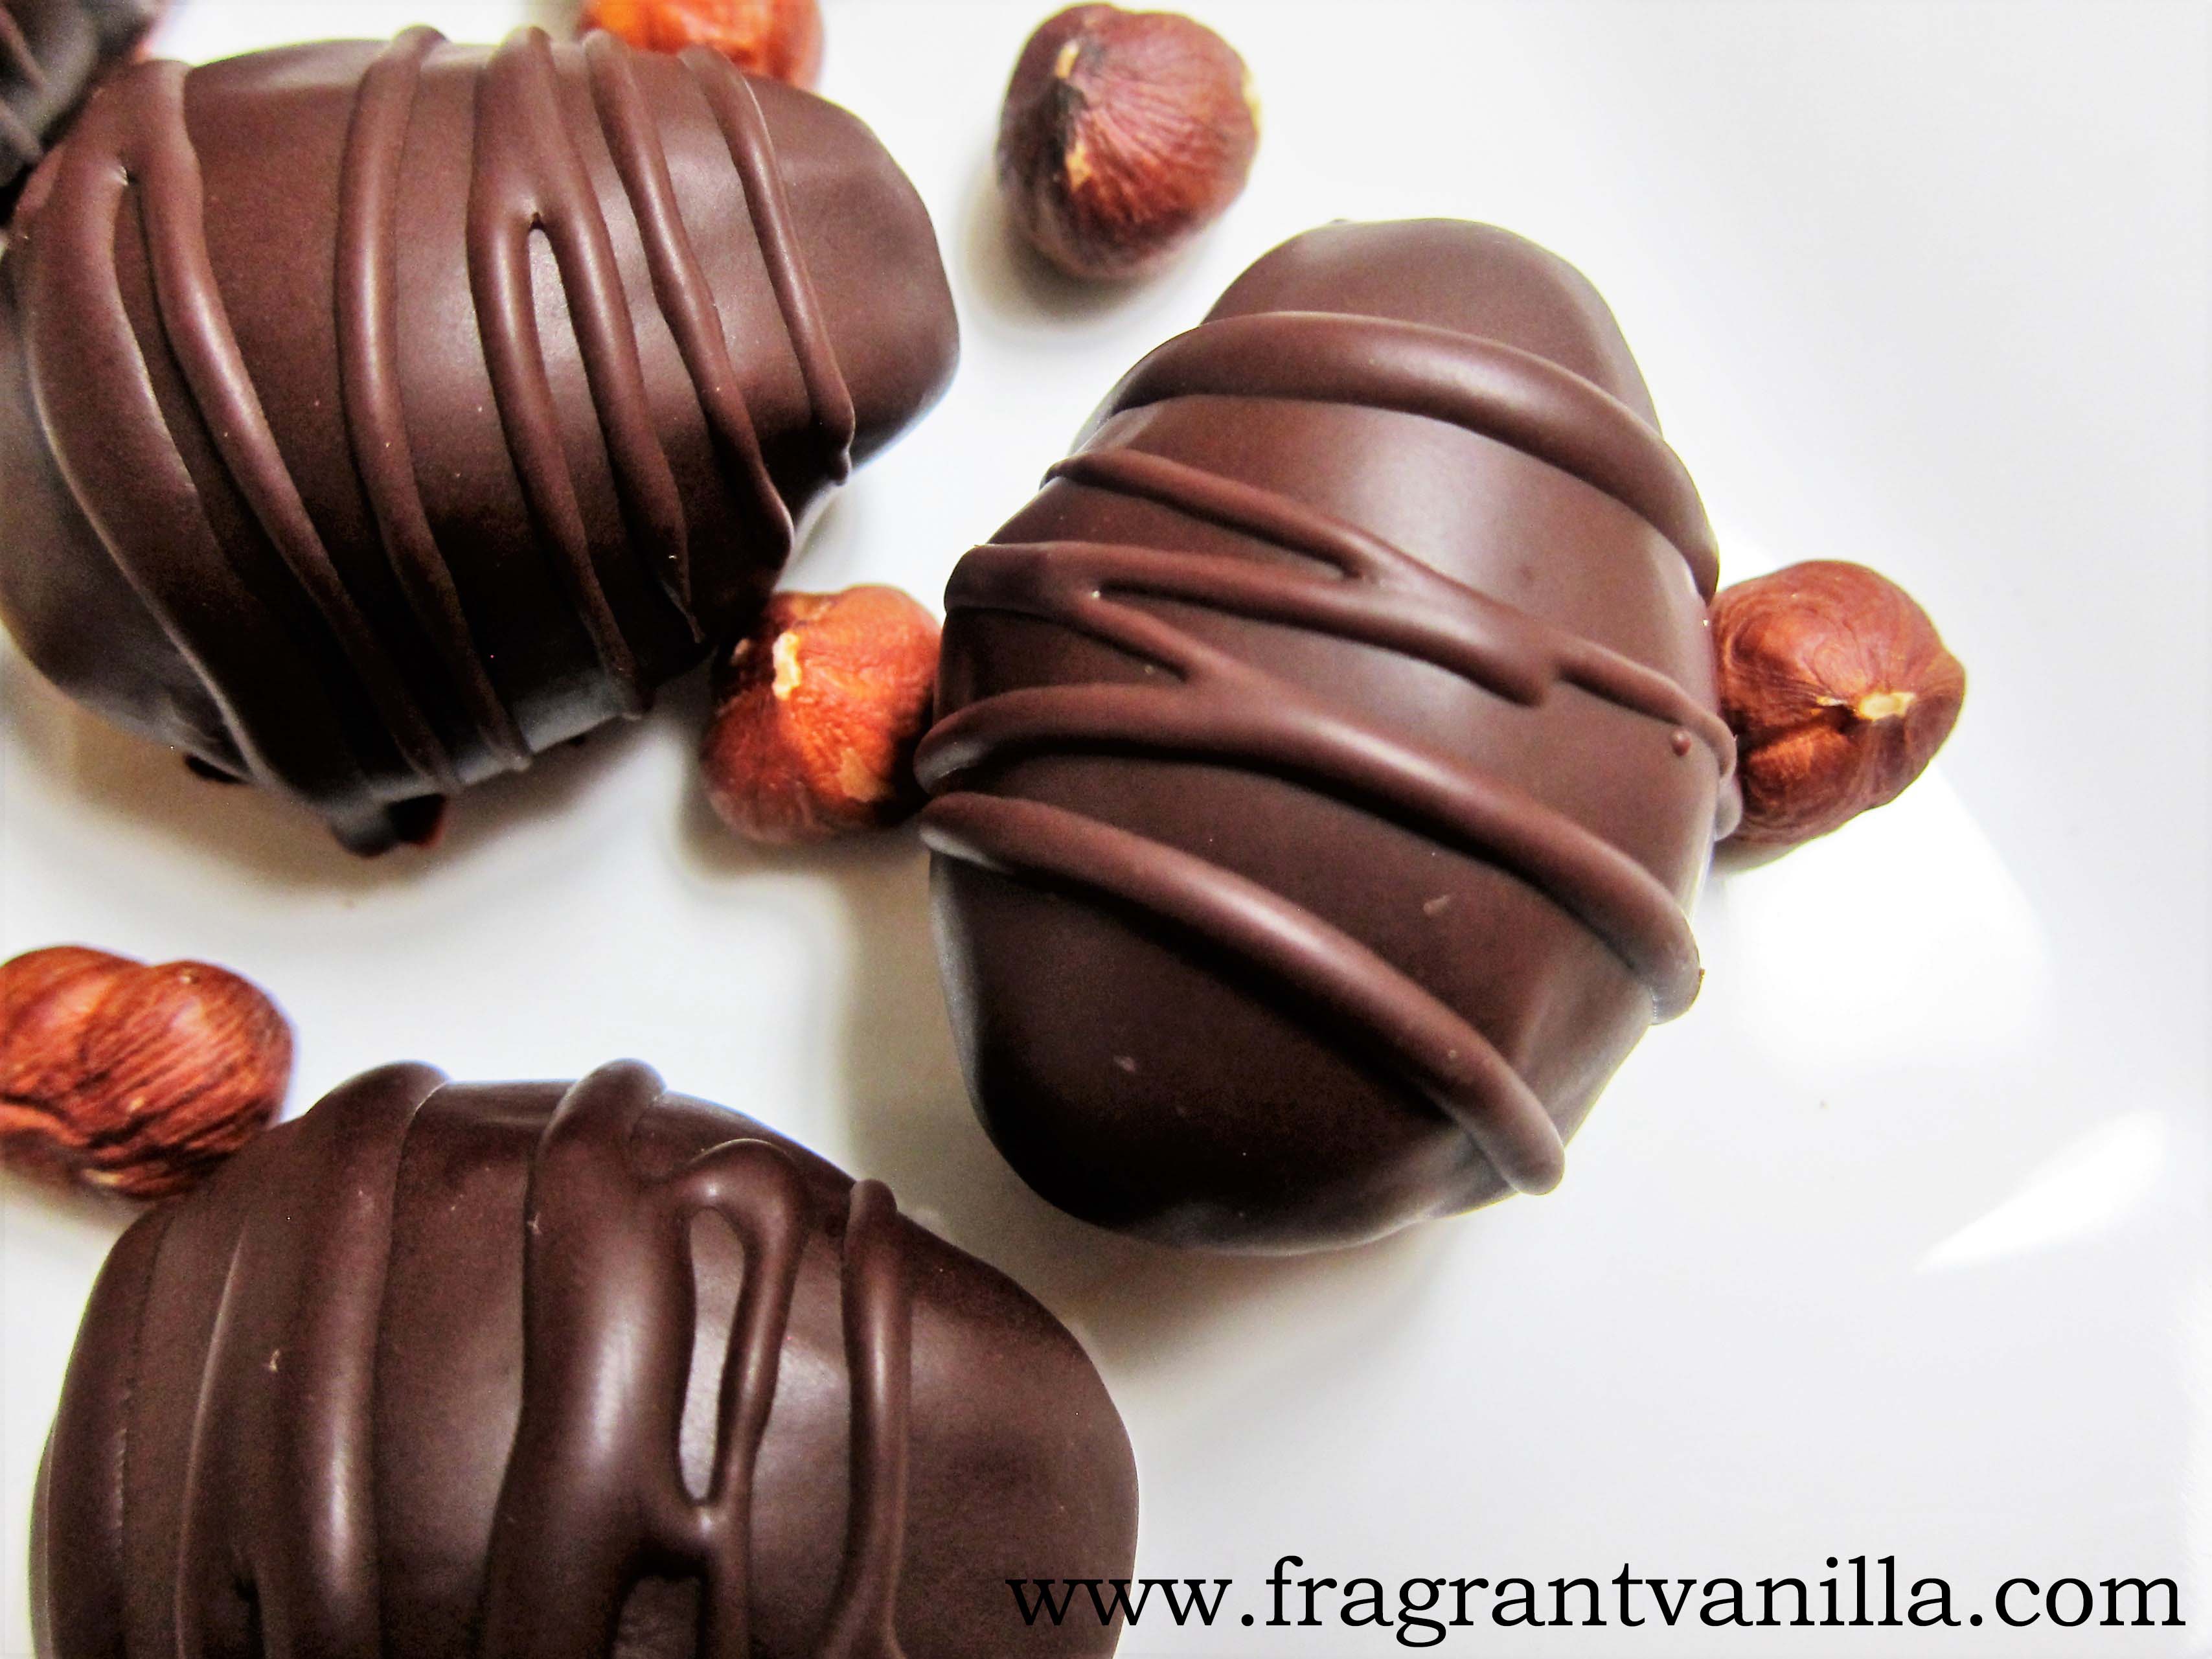
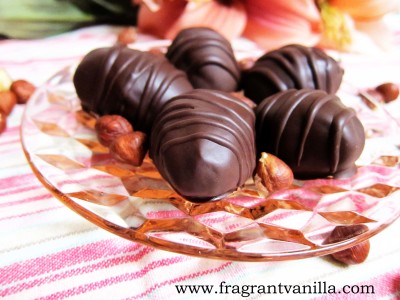
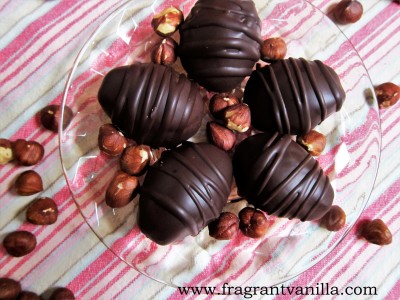
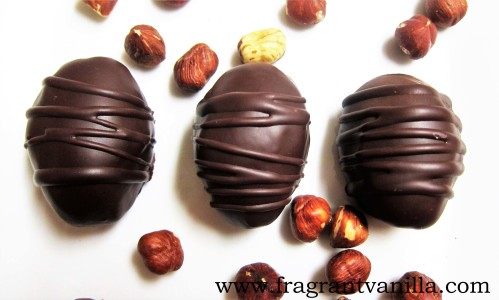
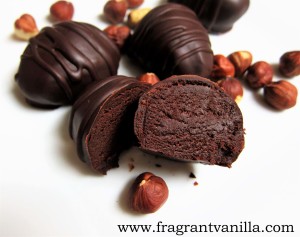
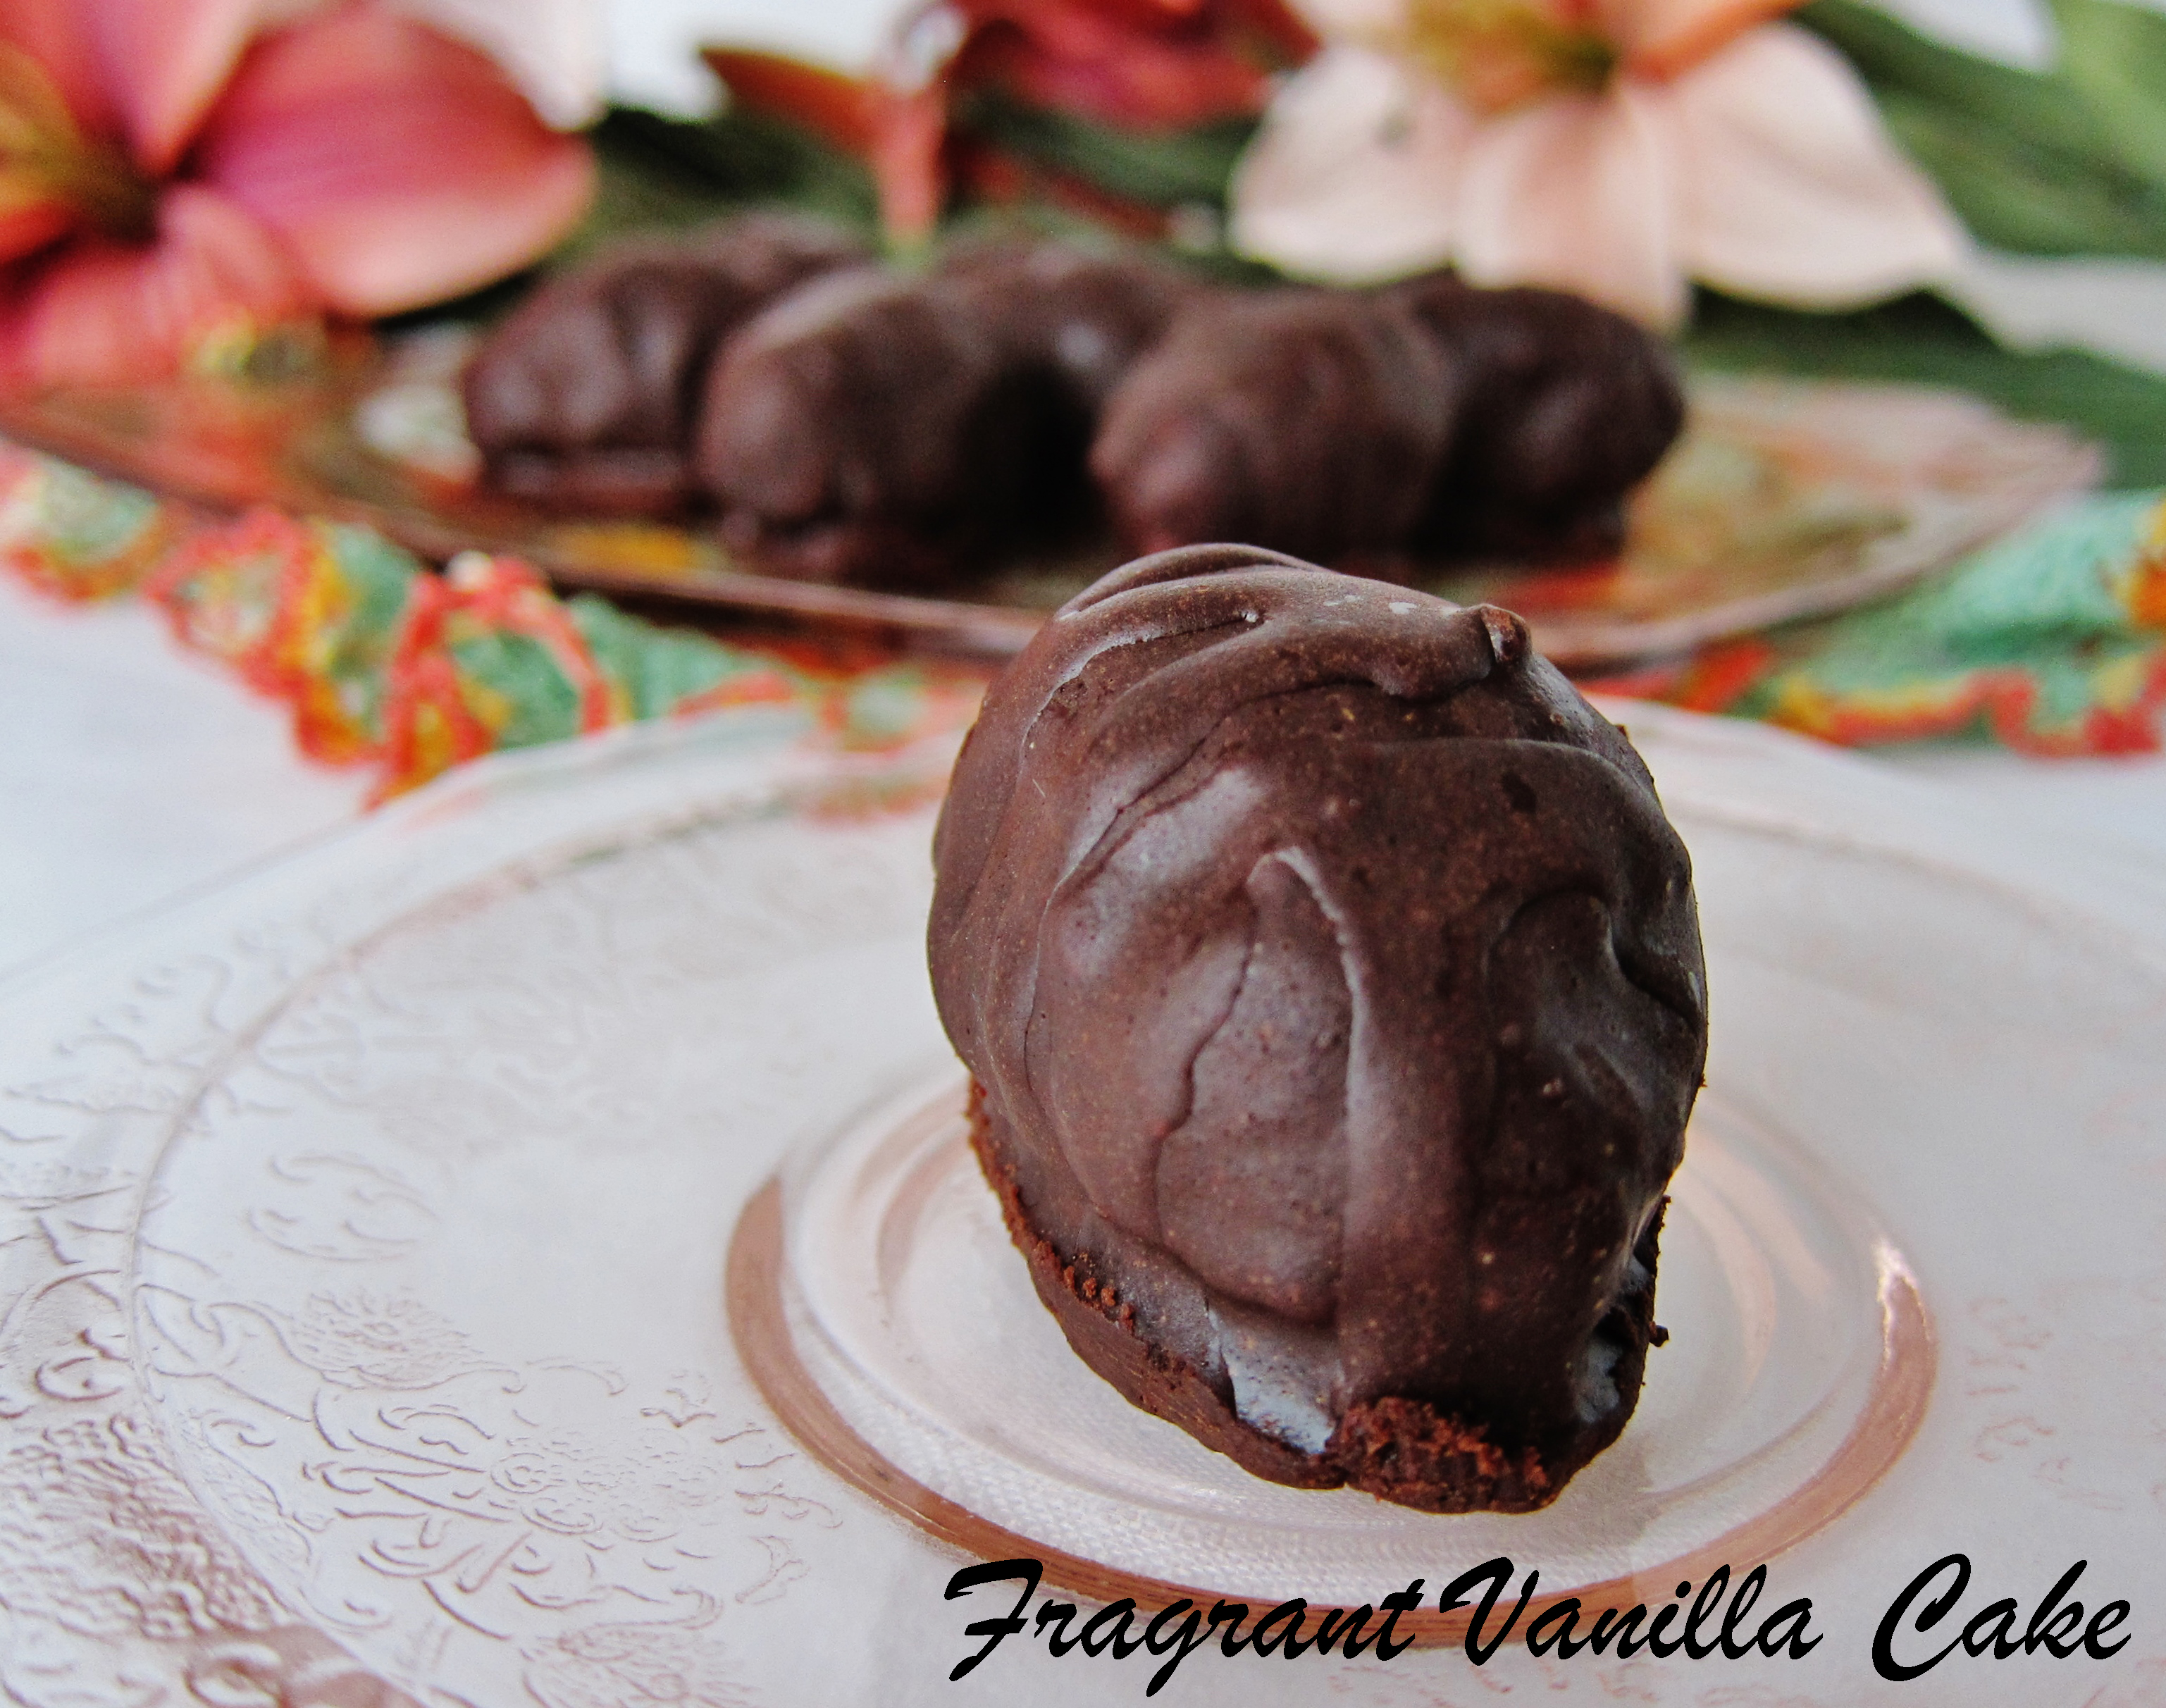
You know what made me really happy? The Snickers layer cake I made for my birthday. I am usually a vanilla girl, but this year I went chocolate with my cake, because that is what I was craving. And after all, I was the one making it so I had full say in what it was. I have always made my own cake, since I got into baking because it is the only way I can get exactly what I want, plus I actually enjoy it! I don’t know anyone around here who would make me a vegan Snickers cake. So, I went for it. I will admit right now, that this cake has quite a few steps to make it. None of them are very difficult, it is just a little more time consuming. But this is after all a special occasion cake so it is worth the time!
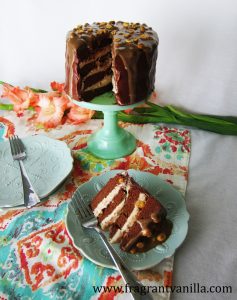
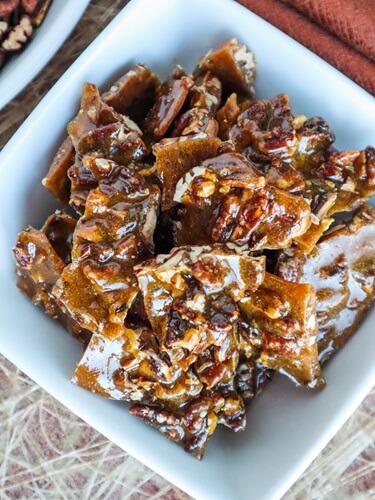
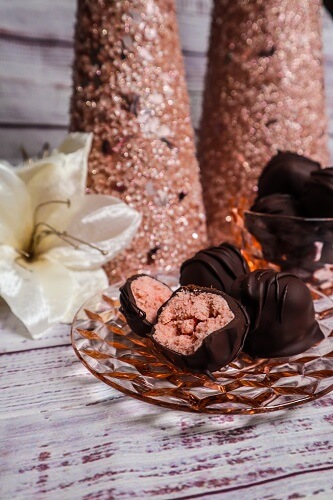
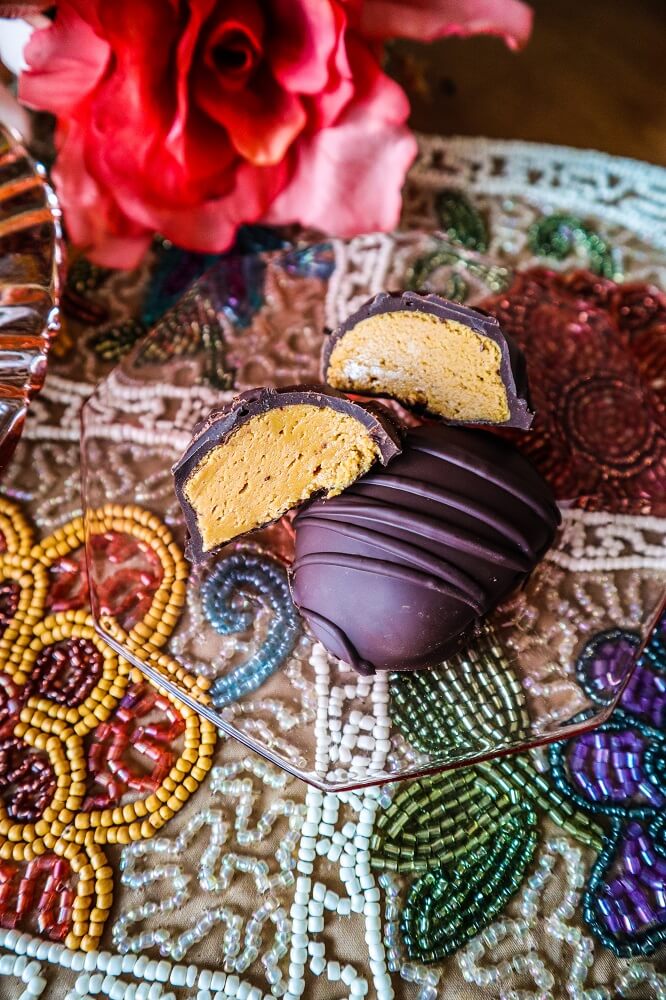
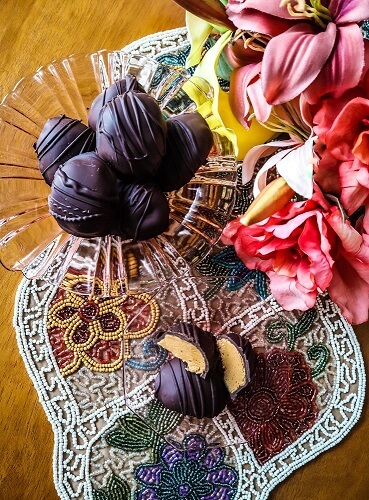
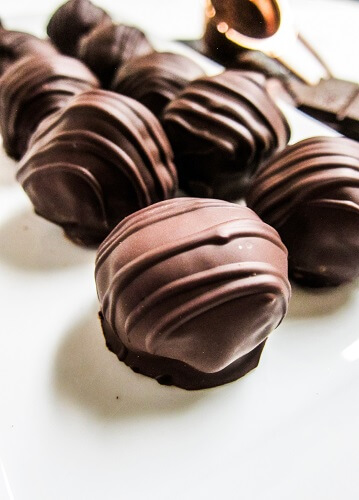
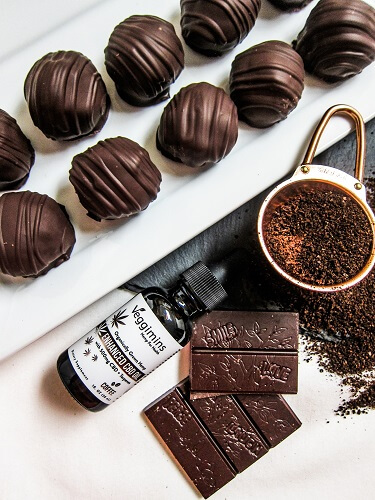
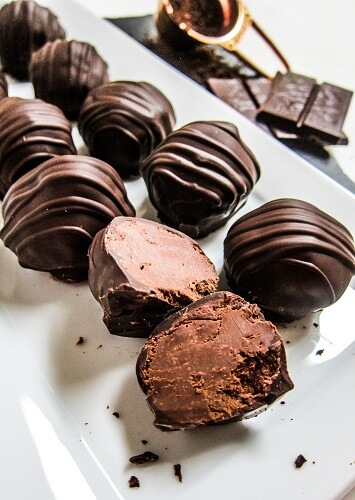
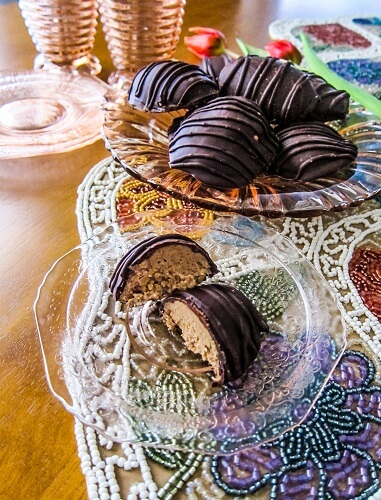
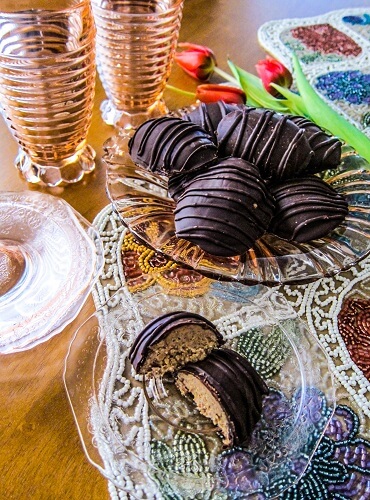
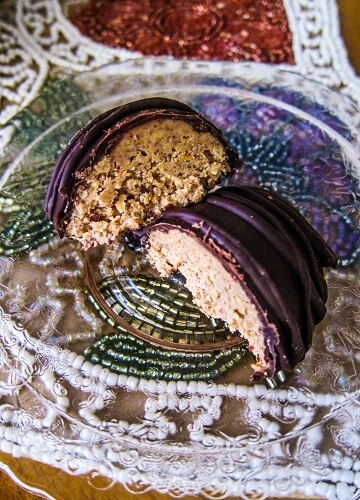
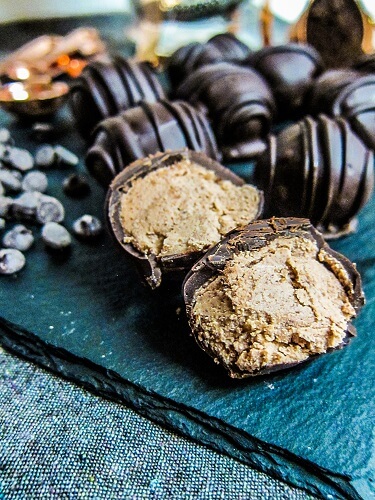
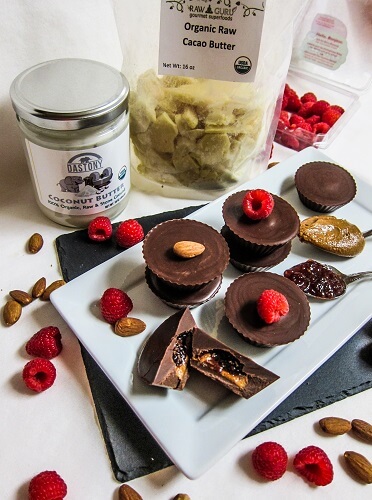
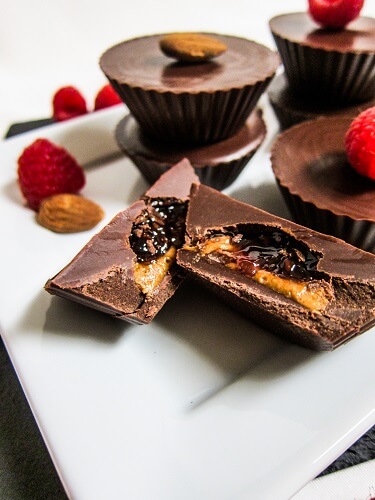
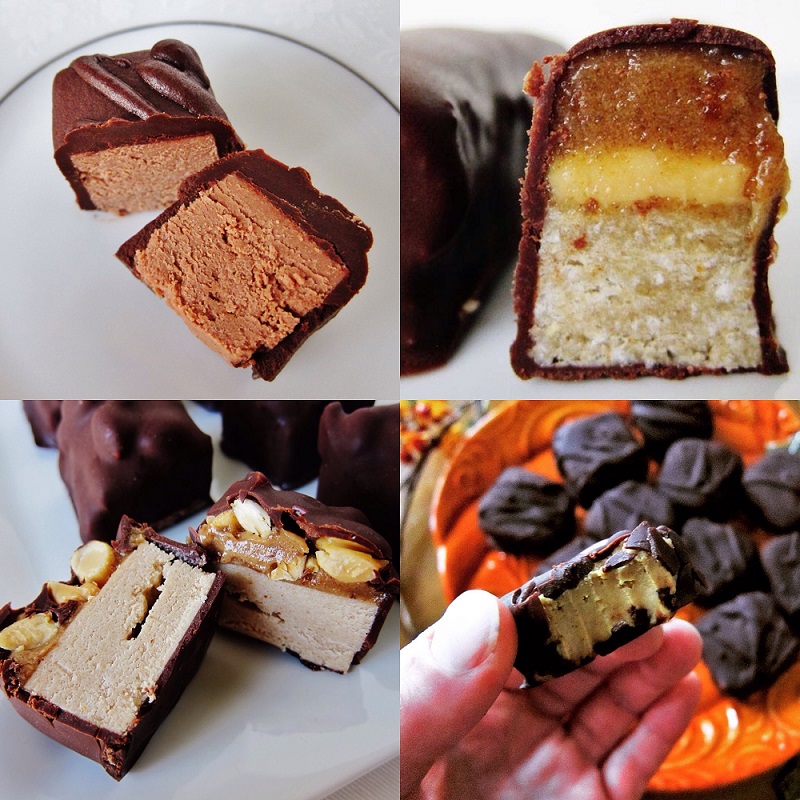
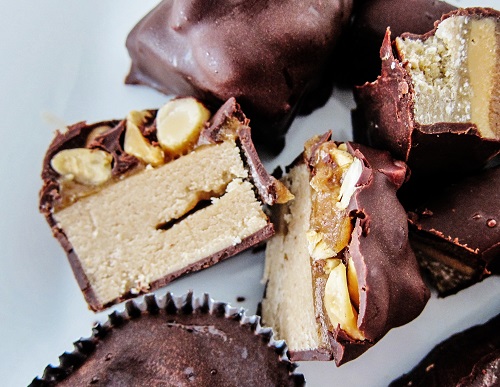
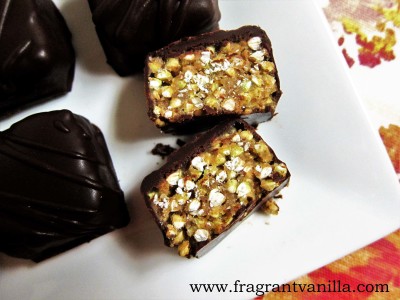
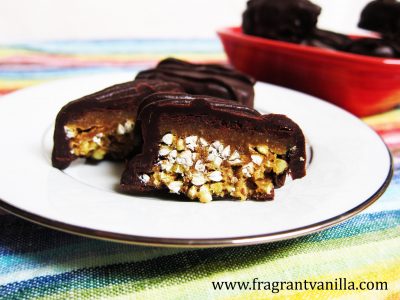
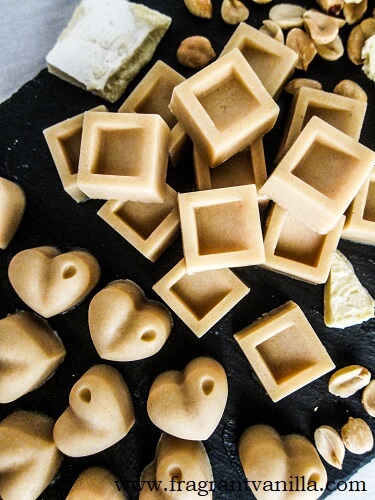
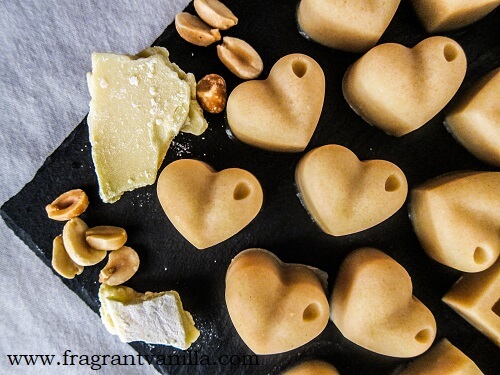
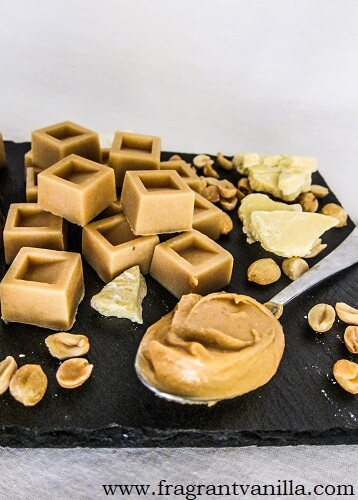
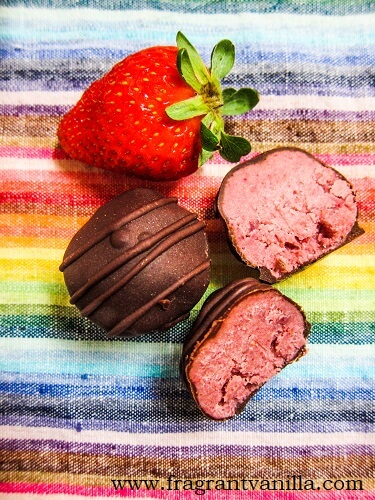
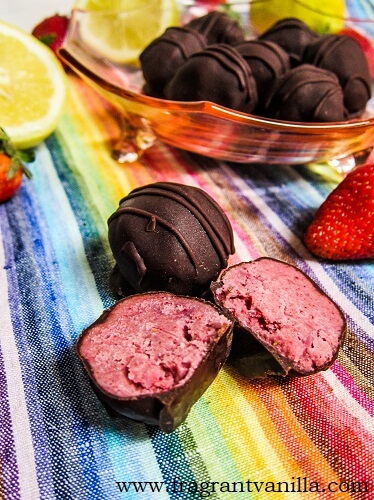
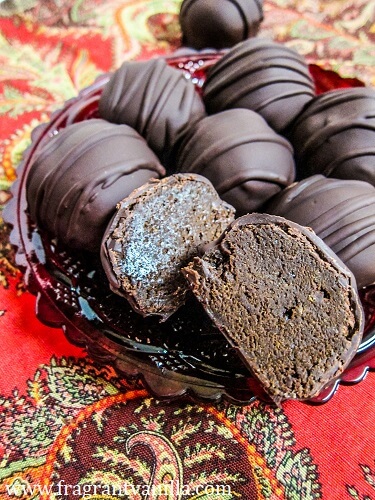
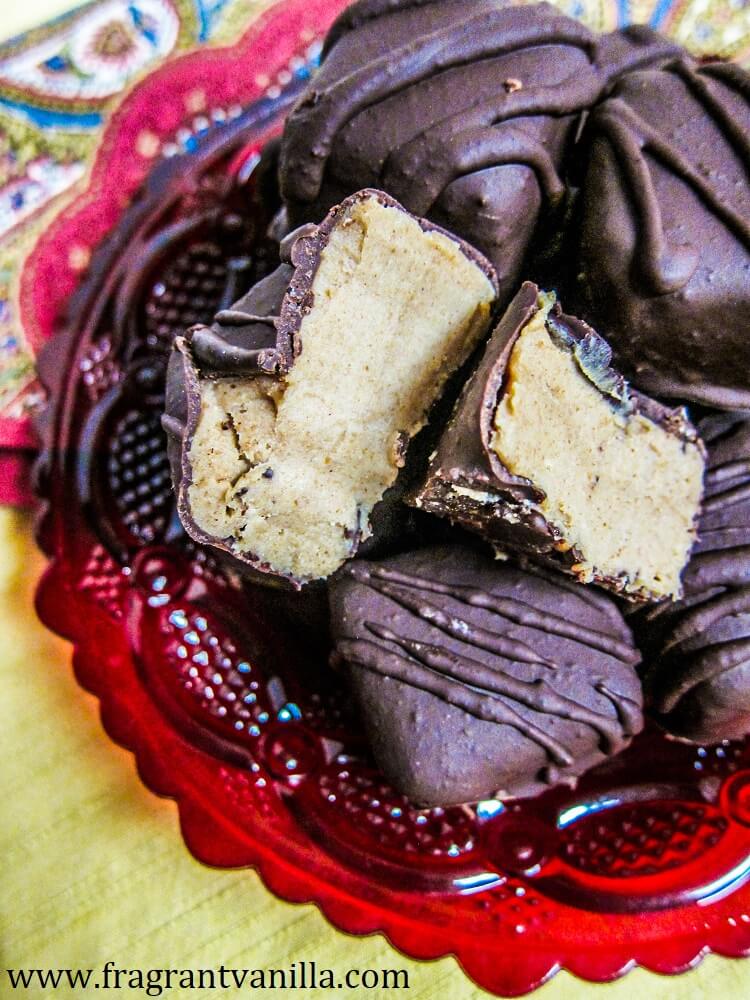
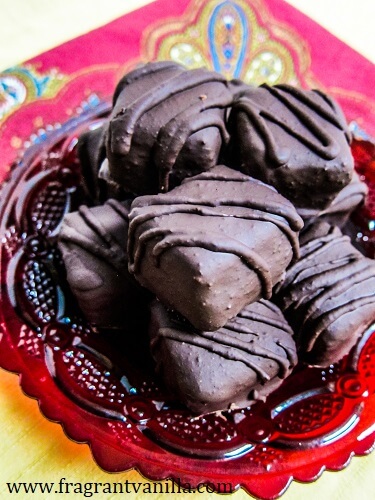
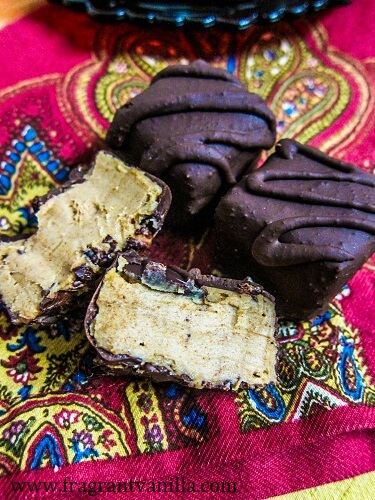
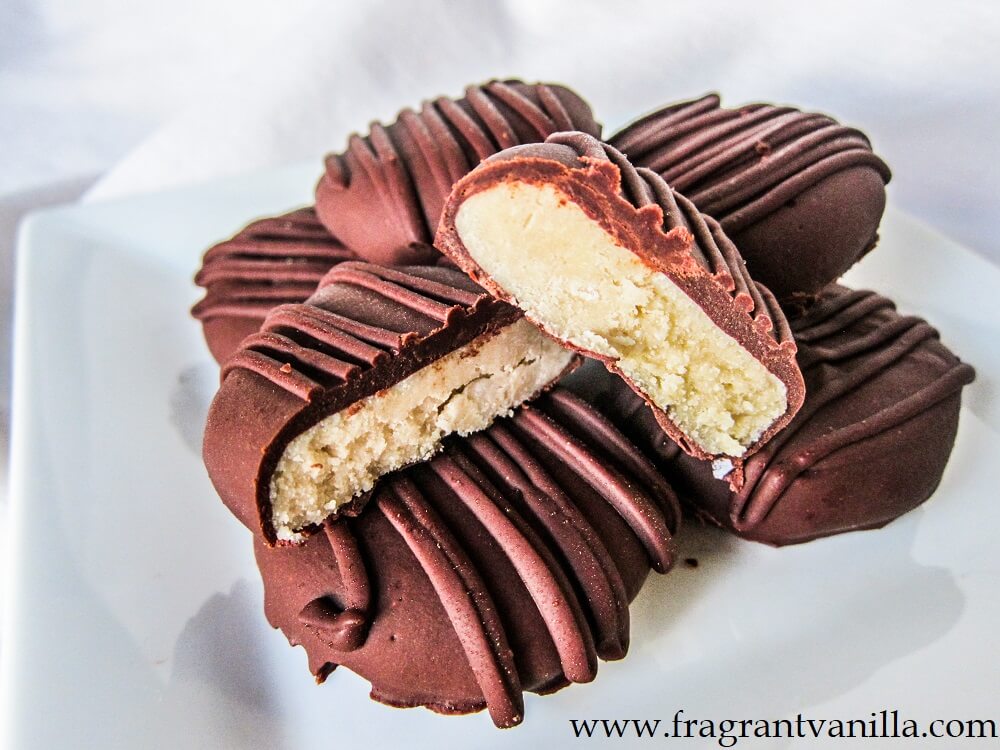
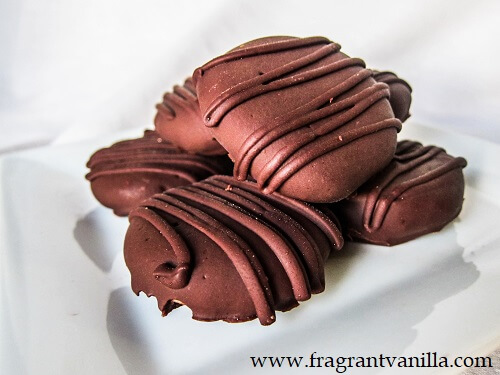
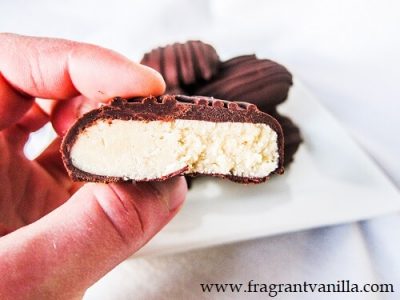
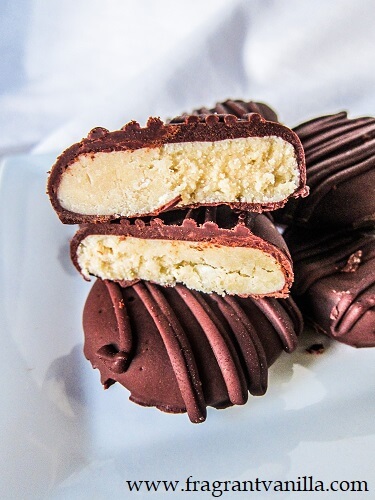
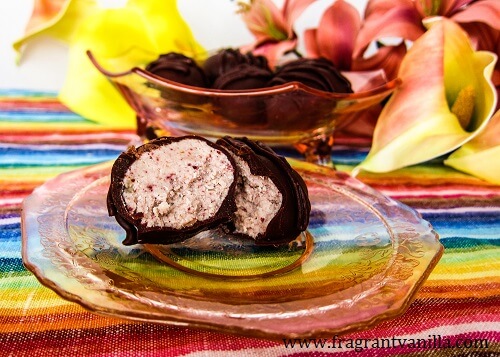
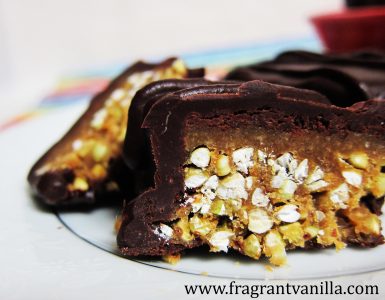
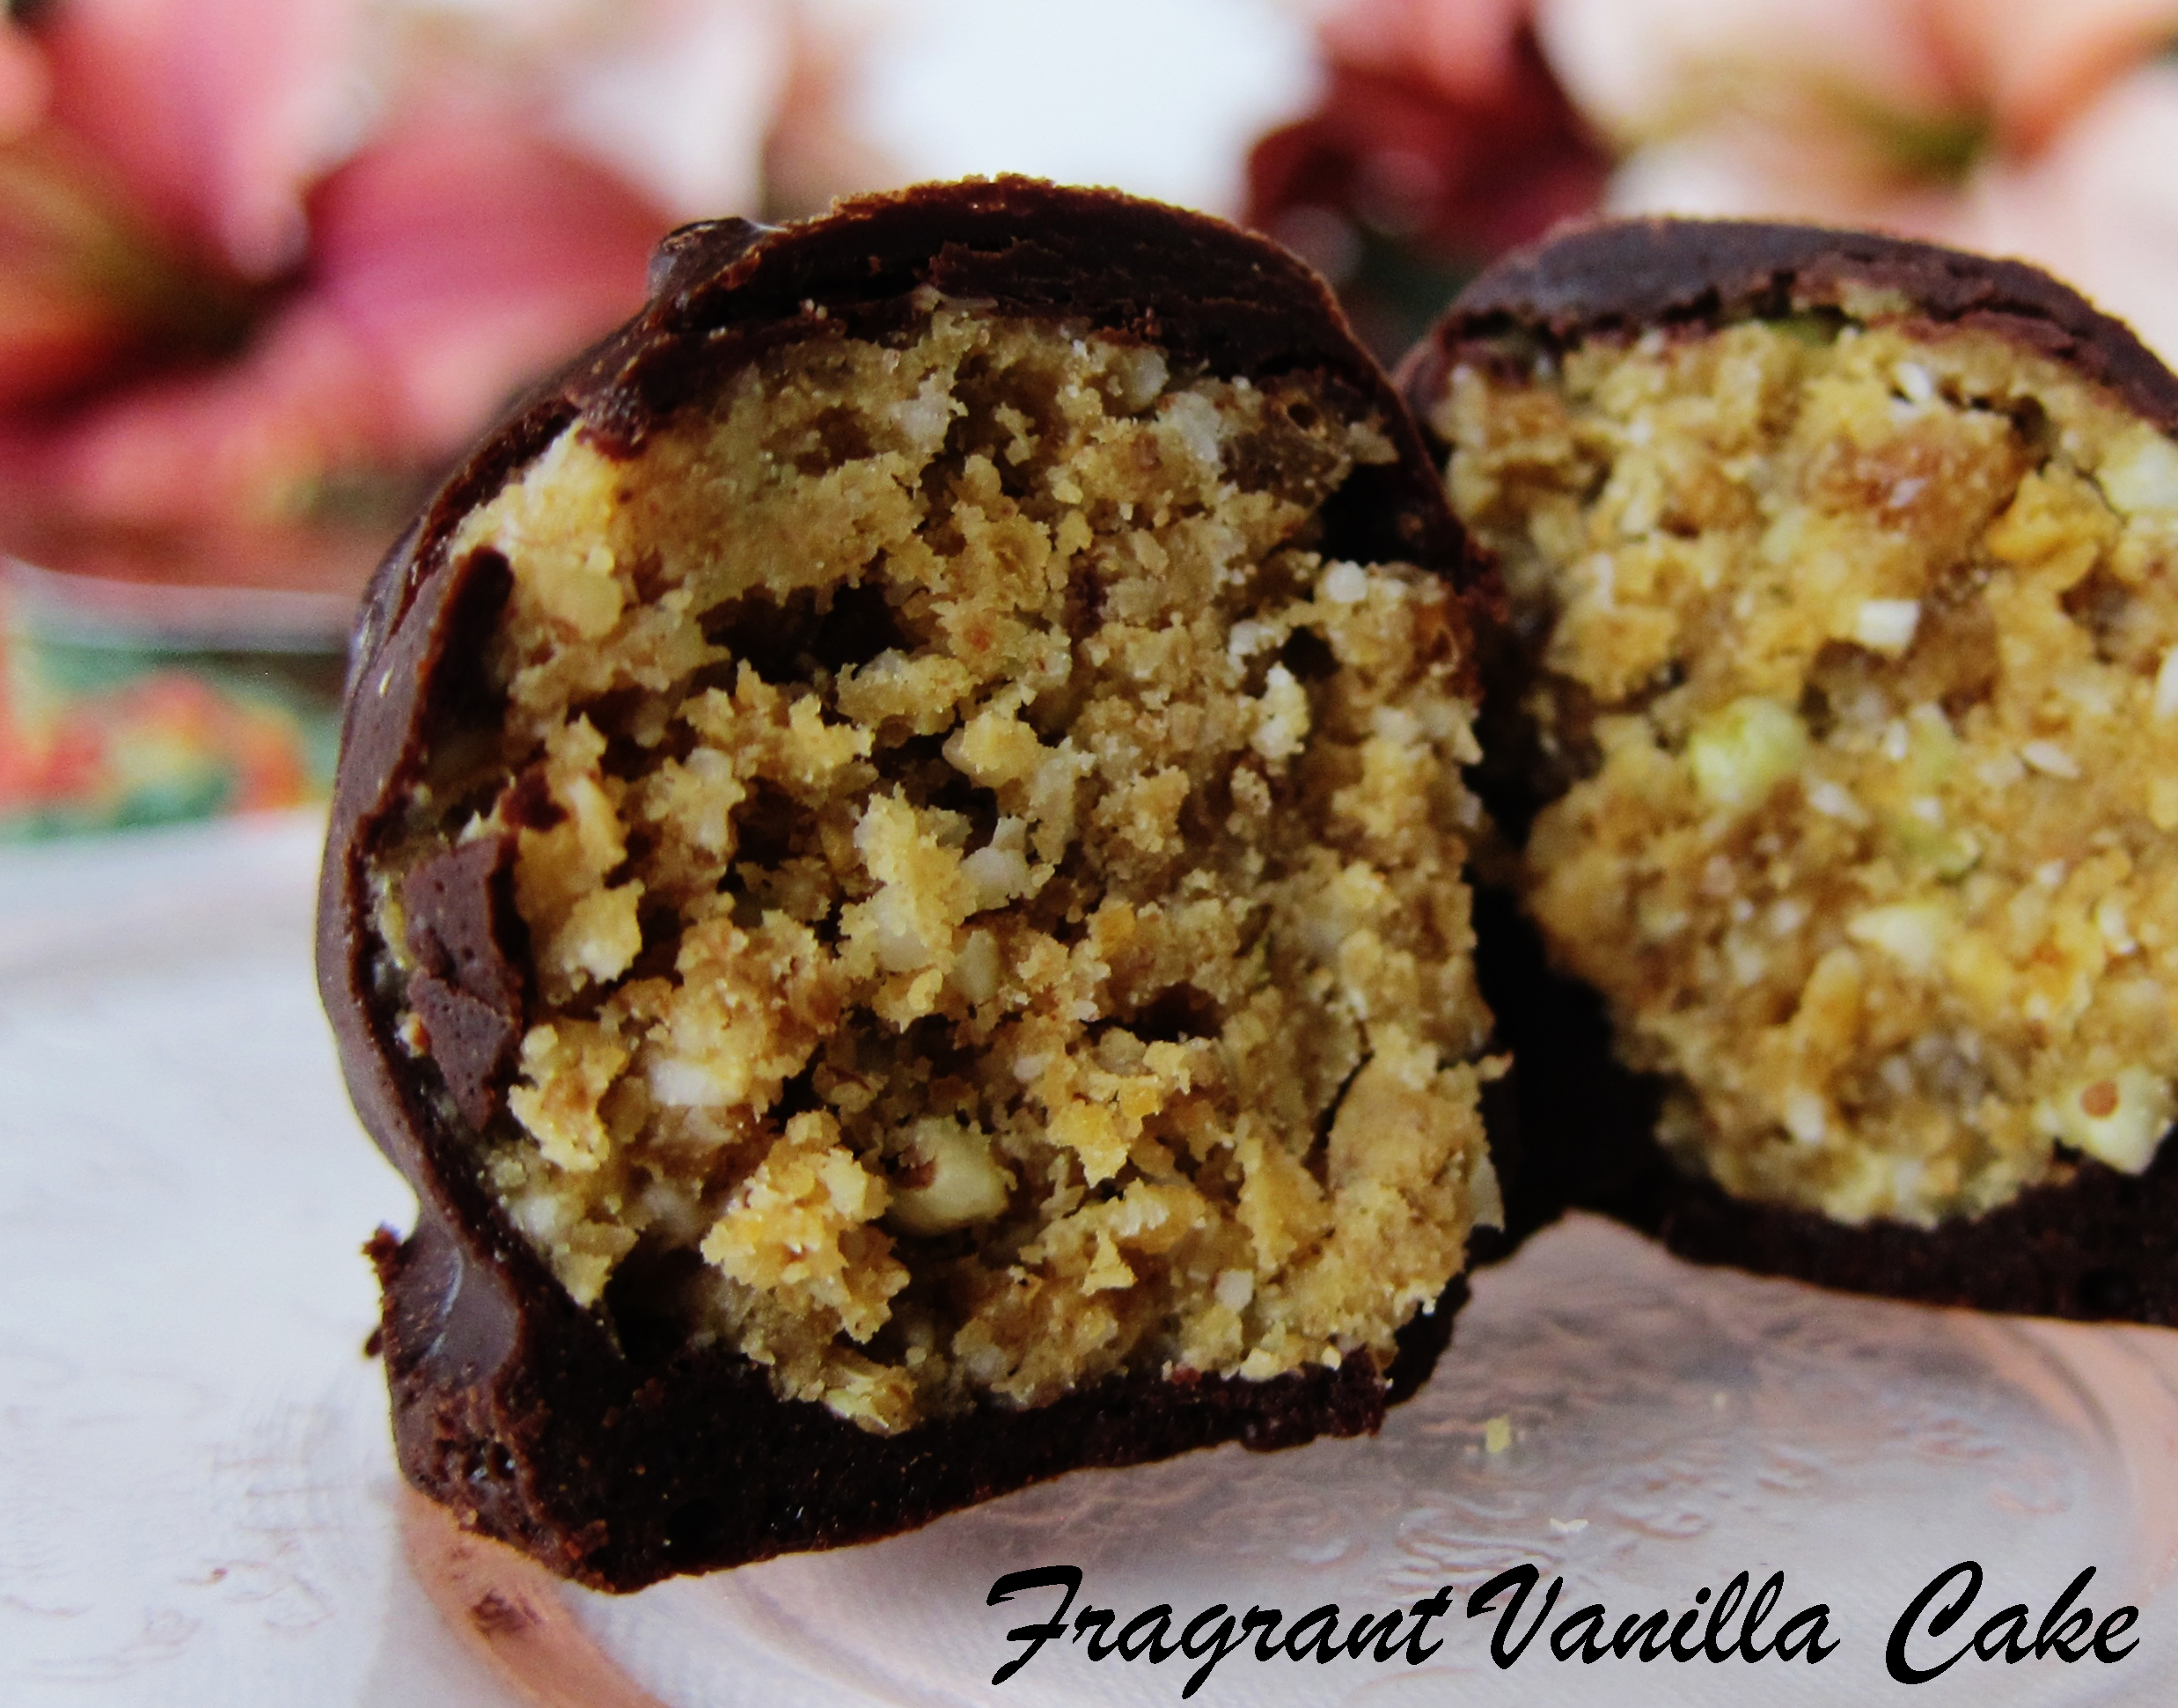
For the cake layers, I made a rich chocolate cake with dates to sweeten it. I find that dates give the cake the perfect amount of sweetness and moisture when baked for the proper amount of time. You can not taste the dates, they just give it a brown sugar like note of flavor. This cake batter recipe has been called the most delicious by my omnivore family and friends. So naturally I had to use it for this cake. I made a mousse filling topped off with peanuts that tasted like the nougat inside a snickers, as well as date caramel to top it and the cake off. For the outside of the cake, I made the most luscious peanut butter fudge frosting. It is only 4 ingredients, and simple to make, but it is sooo good.
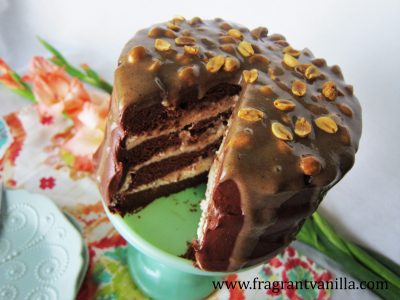
Once this cake was assembled it was pretty marvelous to behold. But most importantly, it met my standards for taste. It tasted amazing. Way better than any snickers bar because cake was involved. Dare I say it one of the best cakes I have made lately (which is not to say the other cakes weren’t really good, this one just was out of this world good). It was the perfect birthday cake. I was very happy with it, it was fun to make on my day off, and it was a really good birthday present to myself. Don’t worry, I did not eat it all myself, I am not selfish, I shared. But it is something that you will want to go back for seconds for. Just sayin’ when your Birthday comes around take note of this cake.
Vegan Snickers Layer Cake
Makes 1 6 inch 2 layer cake
2 6 inch cake pans
Cake:
1 1/2 cups quinoa flour (or all purpose gluten free flour works also)
1/4 cup cacao powder or unsweetened cocoa powder
1 1/2 tsp baking soda
1 tsp baking powder
1/2 tsp sea salt
1 cup packed soft medjool dates, pitted, soaked in water for 30 minutes and 1/2 cup of the water reserved
1/4 cup organic peanut butter (smooth)
1 Tbsp pure vanilla extract
1 cup filtered water
2 Tbsp apple cider vinegar
Peanut Butter Caramel:
1 cup pitted medjool dates
3 Tbsp organic peanut butter
1/3 cup filtered water (or as needed)
1 tsp pure vanilla extract
1/8 tsp sea salt
Filling:
1 15 oz can organic full fat coconut milk
1/2 cup organic peanut butter
1/4 cup maple syrup
1 tsp pure vanilla extract
1/4 tsp sea salt
1/2 cup plus 2 Tbsp coconut butter, warmed to liquid
Frosting
3/4 cup pitted medjool dates, soaked in water for 30 minutes, and 3/4 cup of the water reserved
1 cup organic peanut butter (smooth)
1/2 Tbsp cacao powder
pinch sea salt
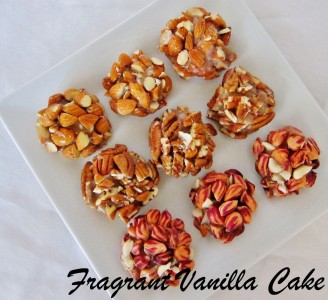
about 1 cup organic peanuts
Preheat the oven to 375F degrees and position rack in center of oven. Line the bottoms of two six-inch-diameter cake pans with 2-inch-high sides with parchment paper. Coat parchment paper and pan sides lightly with coconut oil so that the cake doesn’t stick. Whisk flour, cacao powder, baking powder, baking soda, sea salt in a large bowl to blend well. Place dates, reserved water, peanut butter, water, and vanilla extract into a blender, and blend until smooth, then whisk this blended mixture into the flour mixture until well blended. Whisk in the cider vinegar until bubbles form. Transfer cake batter to prepared pans and bake cakes until tester inserted into center comes out clean, about 23-25 minutes. Cool cakes completely in pan on rack, about 1 hour. Cut around sides of pan to loosen. Turn cakes out onto platter; peel off parchment paper. Cut cakes in half horizontally with a serrated knife, or very sharp long knife (being very careful so that they don’t break) cover (so that they don’t dry out, you may stack them with parchment in between) and set aside.
For the caramel, combine all ingredients in a high speed blender and blend until smooth (adding a little more water if needed to create a caramel that is not super runny but thin enough to almost pour). Set aside in the refrigerator.
To make the filling, combine all ingredients in a high speed blender and blend until smooth, then pour into a bowl and place in the freezer until it is the consistency of whipped cream (it takes about 30-45 minutes depending on how warm it has gotten). Set aside in the refrigerator until ready to frost.
To make the frosting, combine all ingredients in a high speed blender or food processor and blend until smooth (since hazelnut butters and dates can vary, if the frosting is too thin, add a little more cacao powder, too thick, add a little more water). Set aside in the refrigerator.
To assemble the cake, place one layer on a plate, spread 1/3 of the filling over it, then some of the caramel and sprinkle with about 1/4 cup of the peanuts. Repeat with another layer and another, then ending with a cake layer on the top. Place the cake in the freezer for about half an hour to 45 minutes to firm up the filling so it stays put when you frost the cake. Spread the chocolate frosting over the top and down the sides of the cake. Top off with more peanuts, and pour remaining caramel carefully over the top allowing it to drip down the sides (if the caramel is not runny enough to drip down the sides of the cake add a little water to it first). Enjoy! Store leftover cake in the refrigerator.

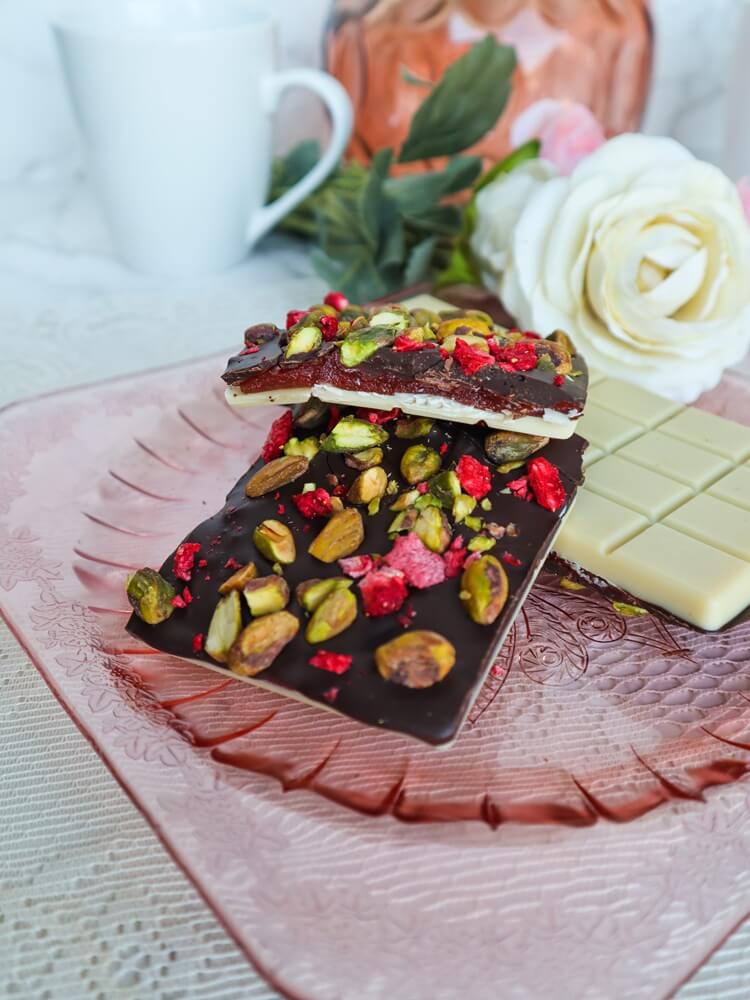
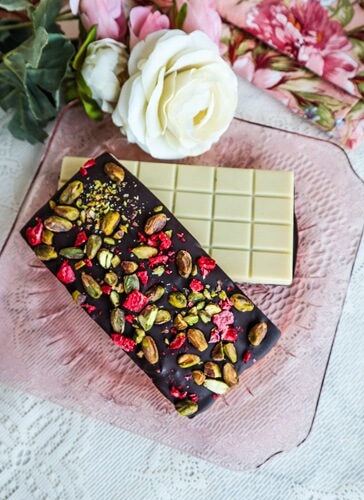


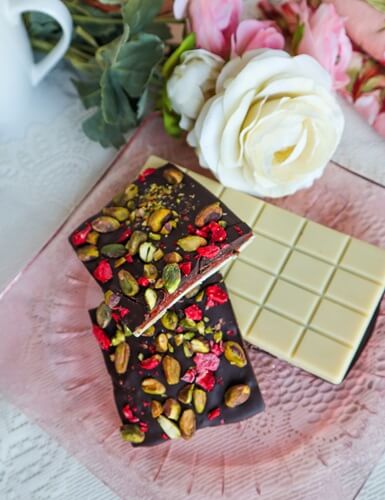
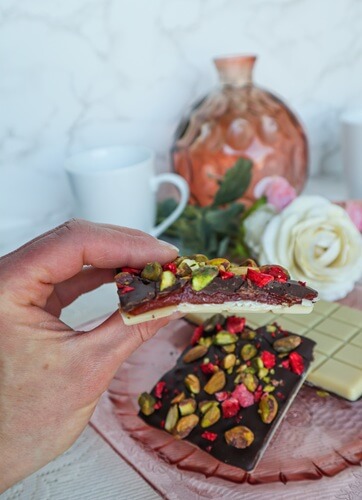

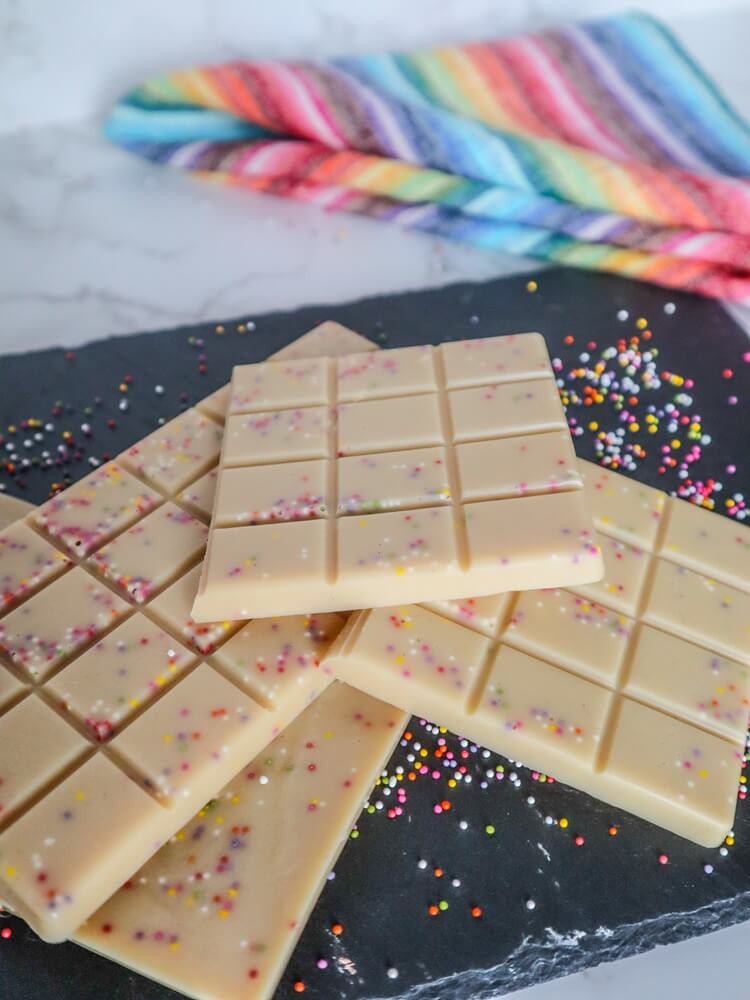
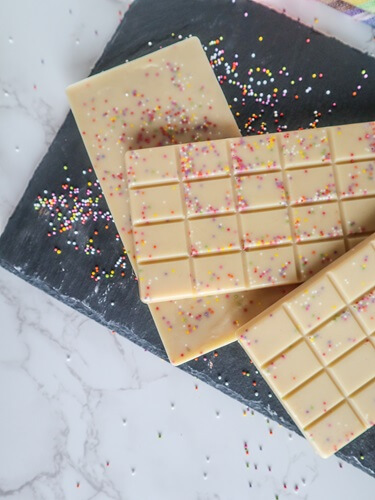
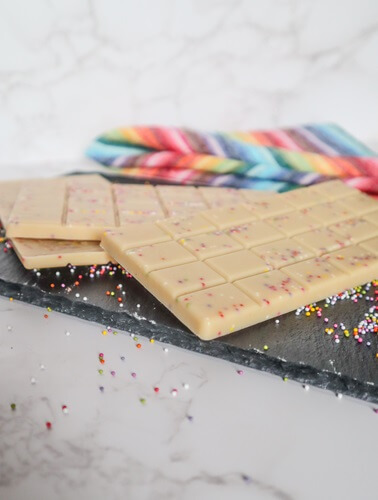
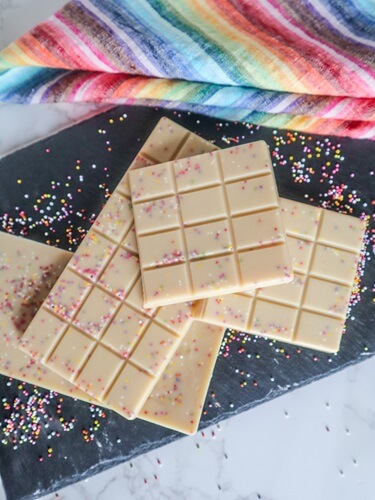
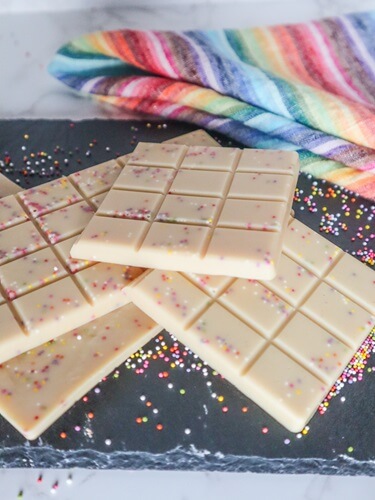
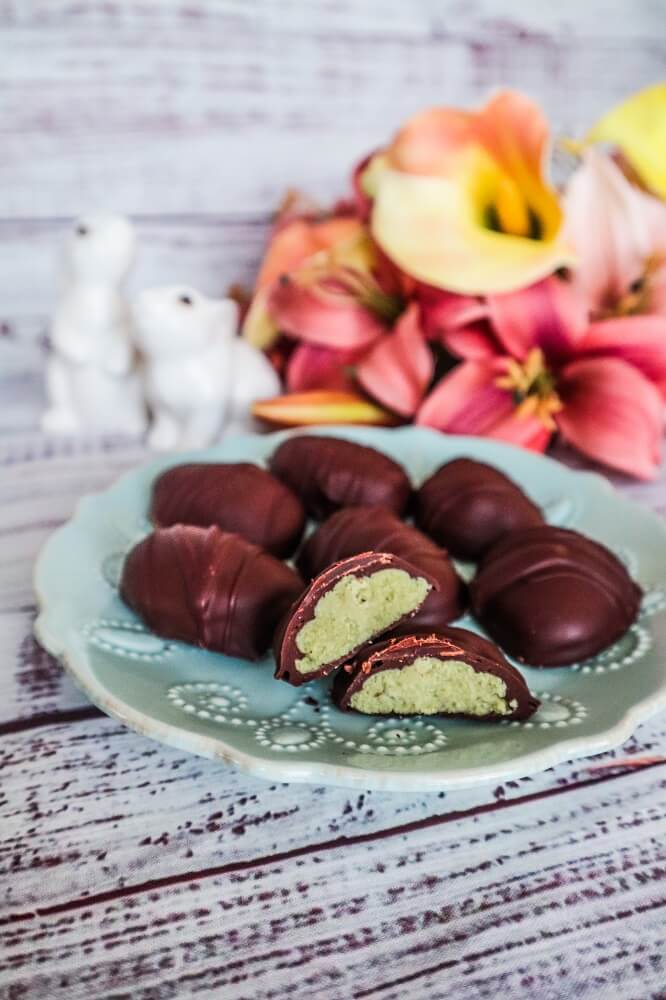
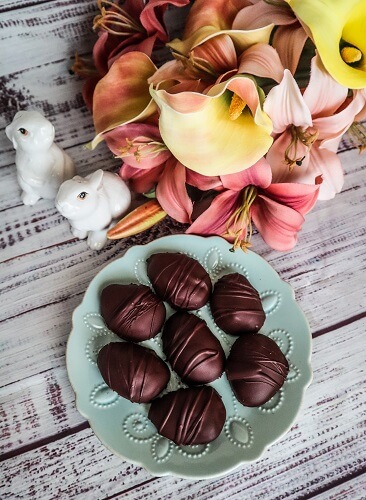
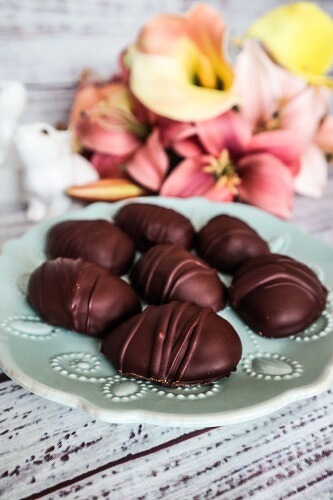
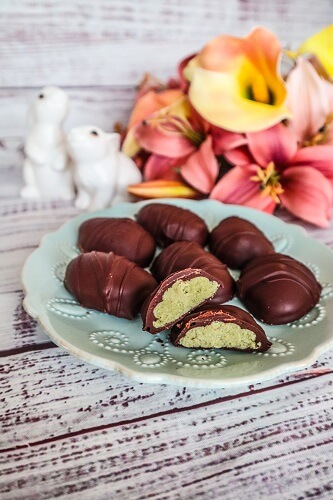
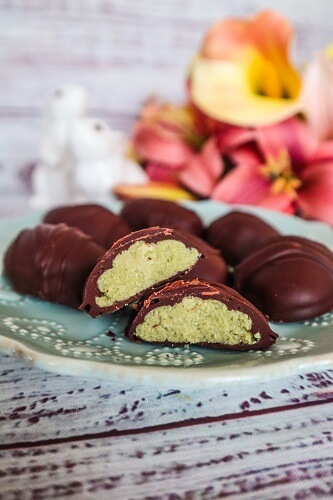
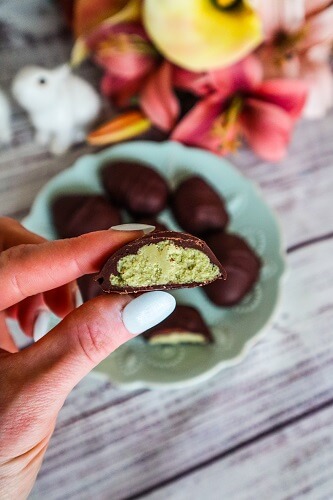
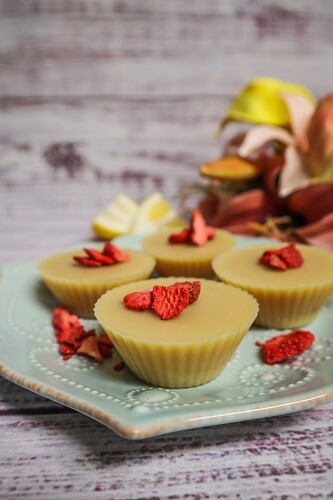

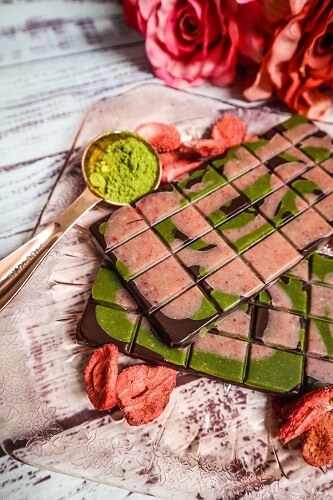
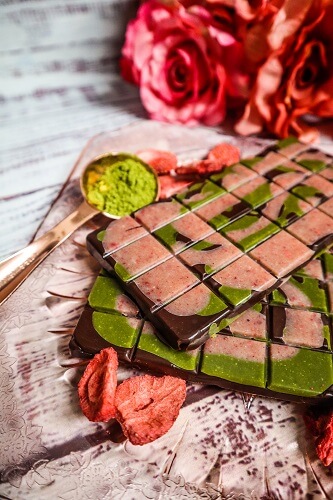

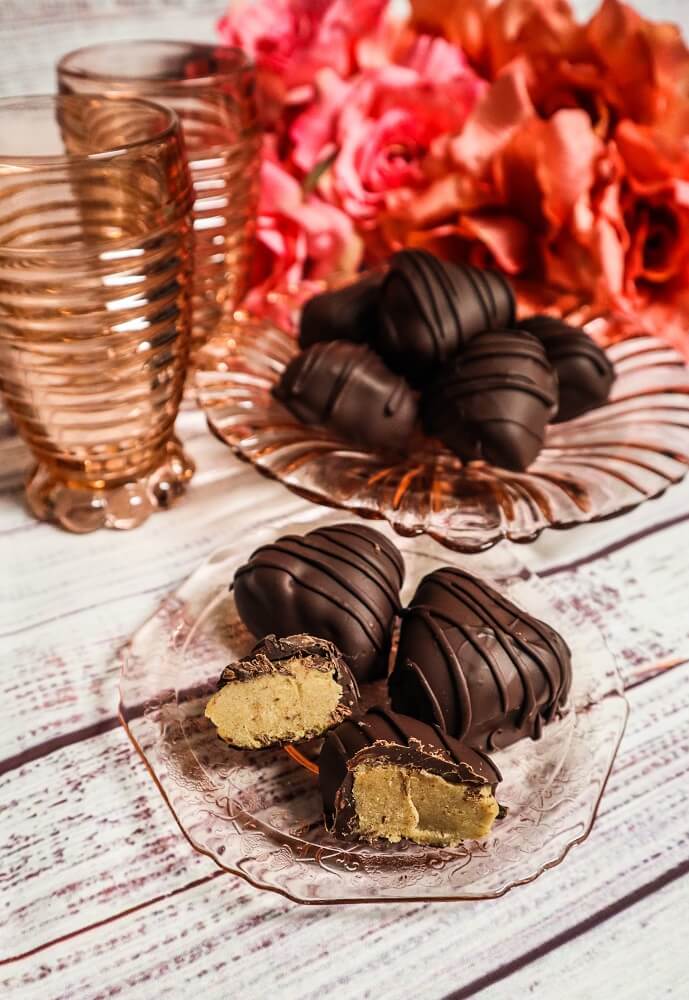
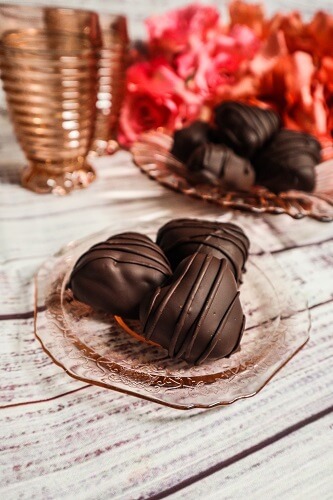


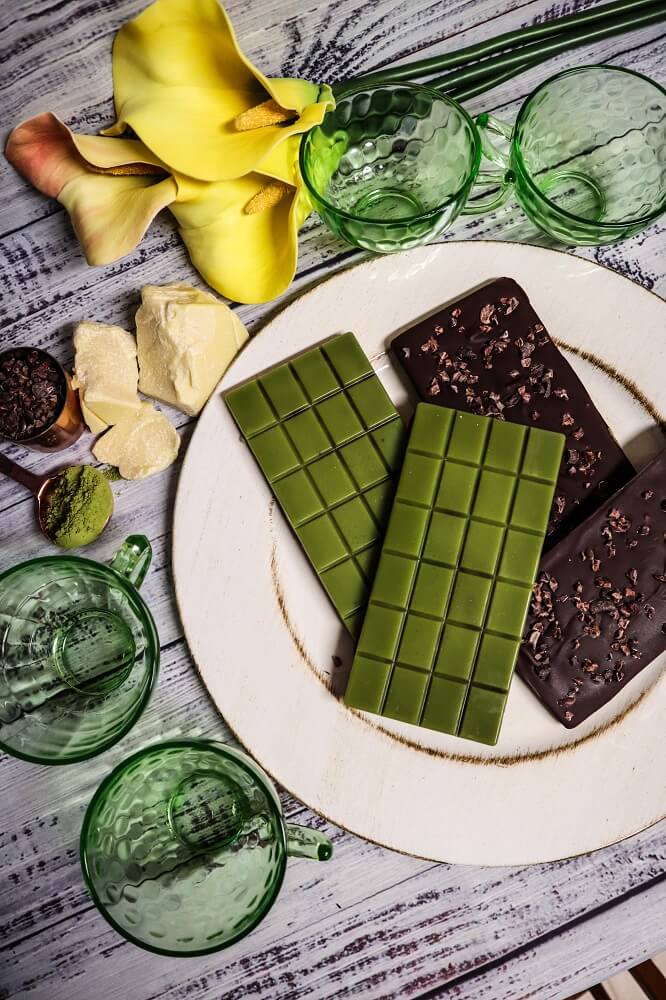
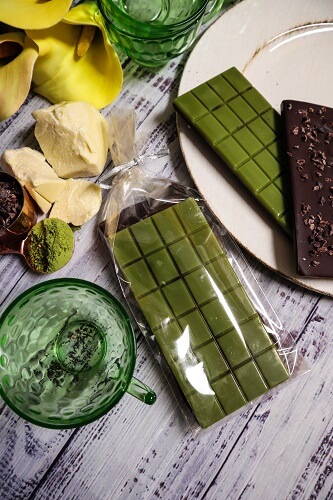
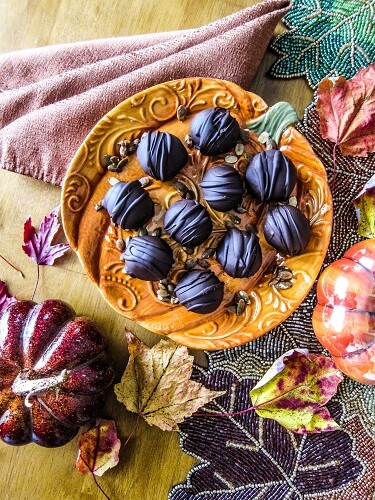
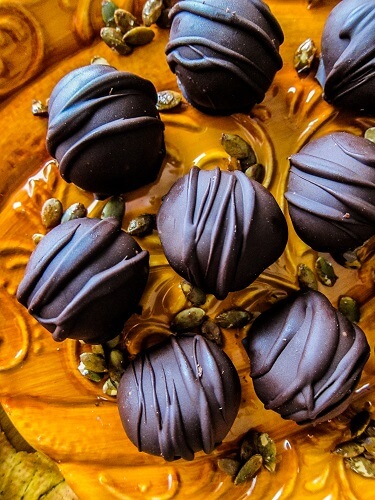
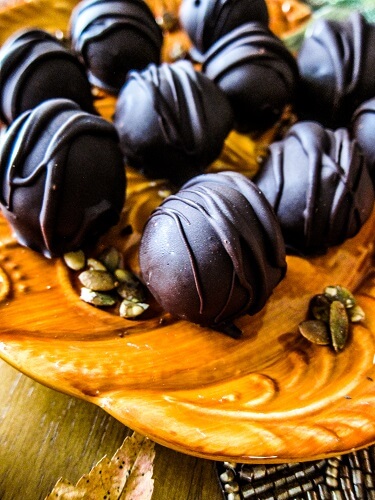
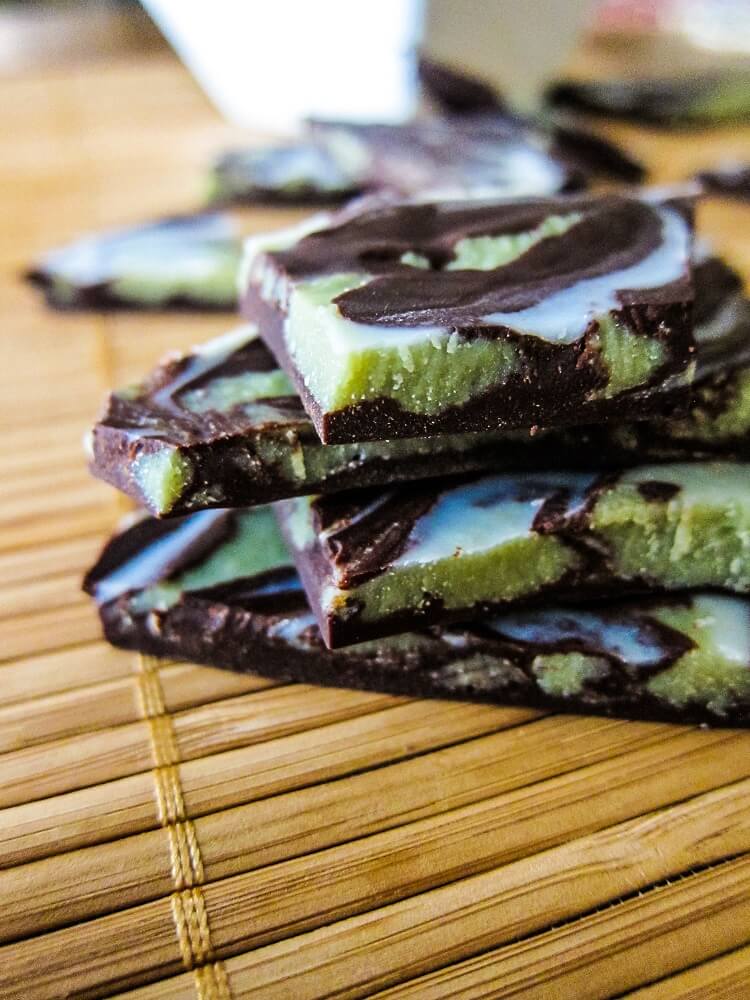
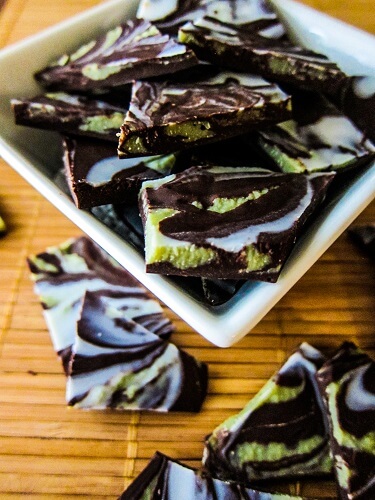
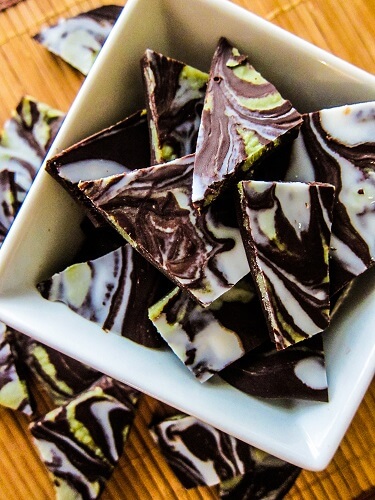
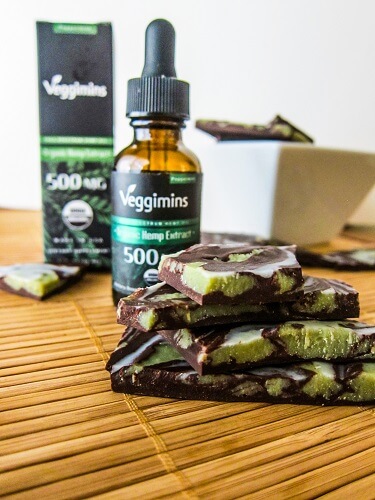
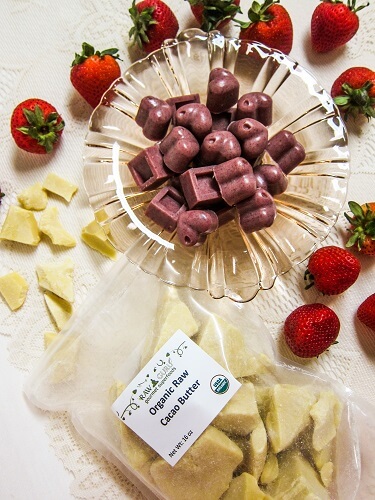
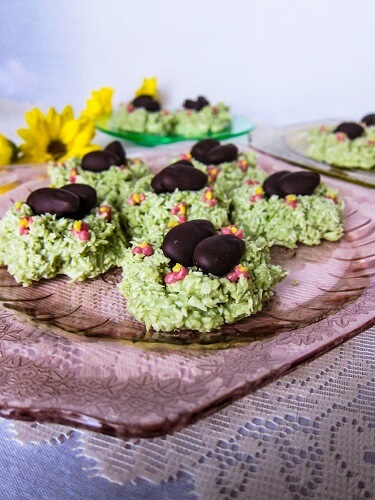
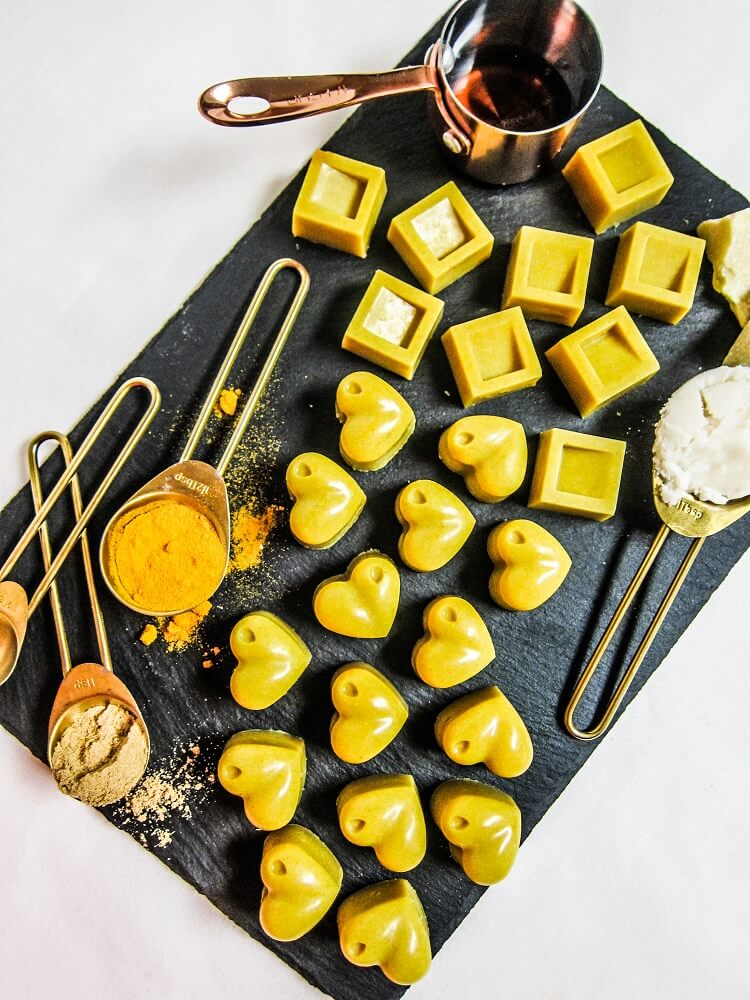
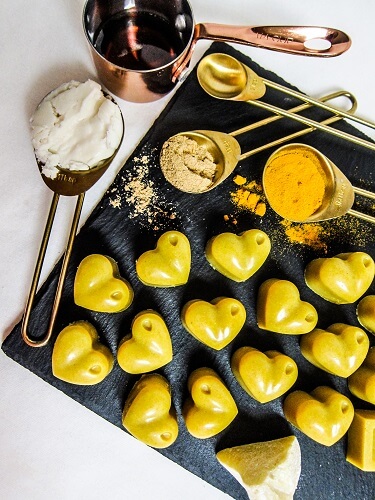
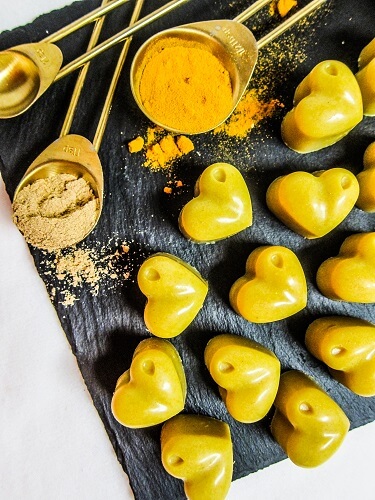
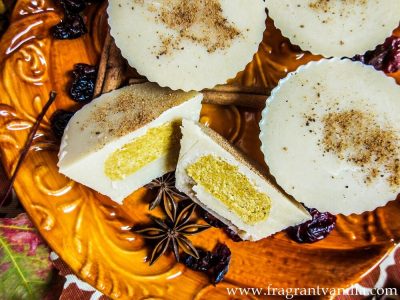
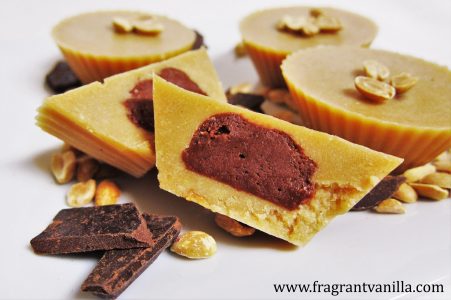
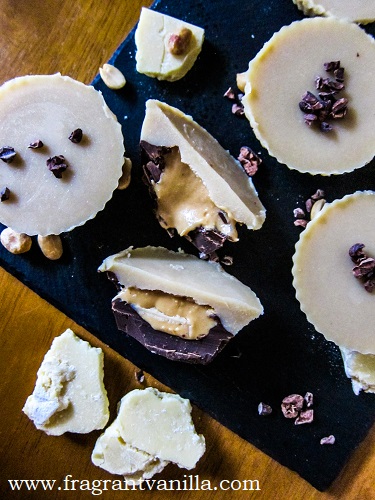
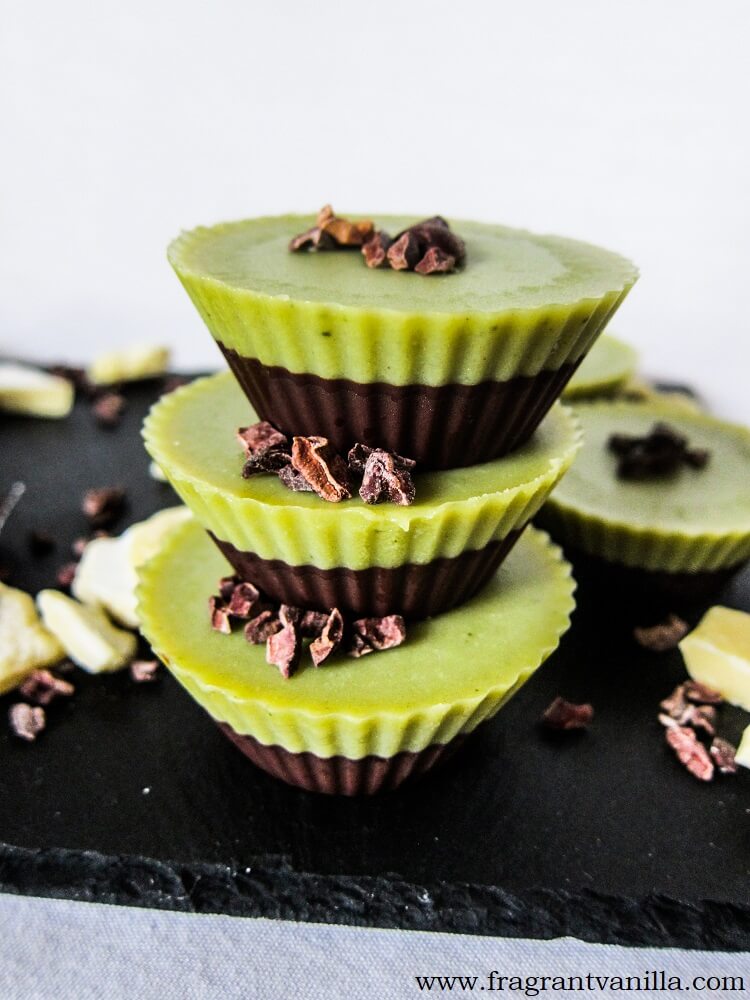
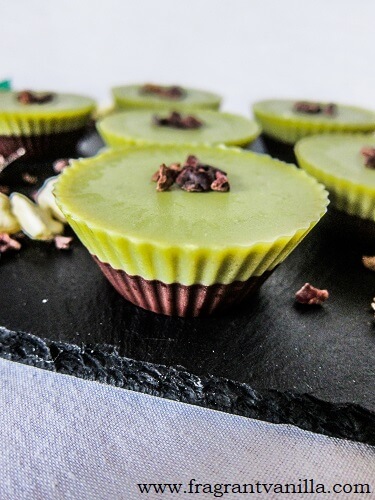
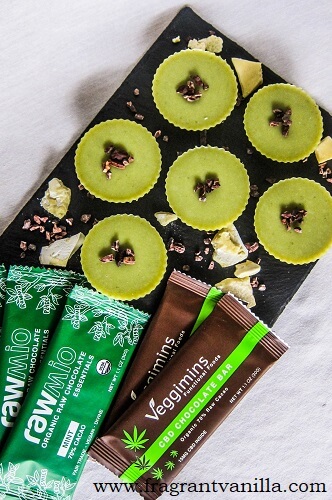
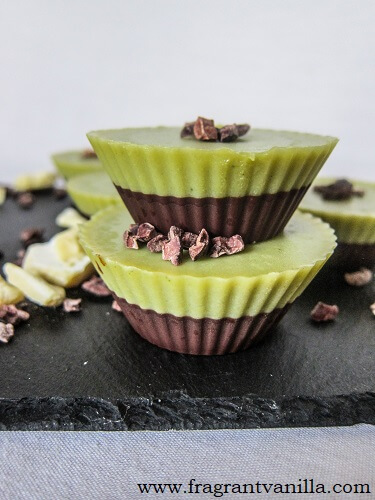
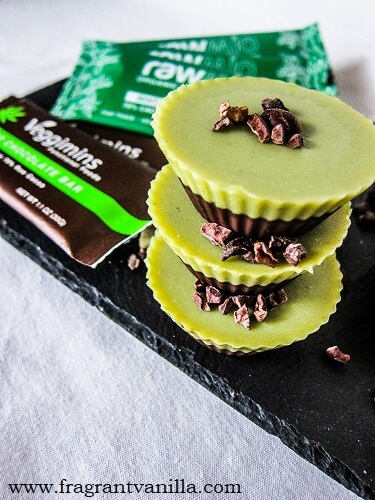
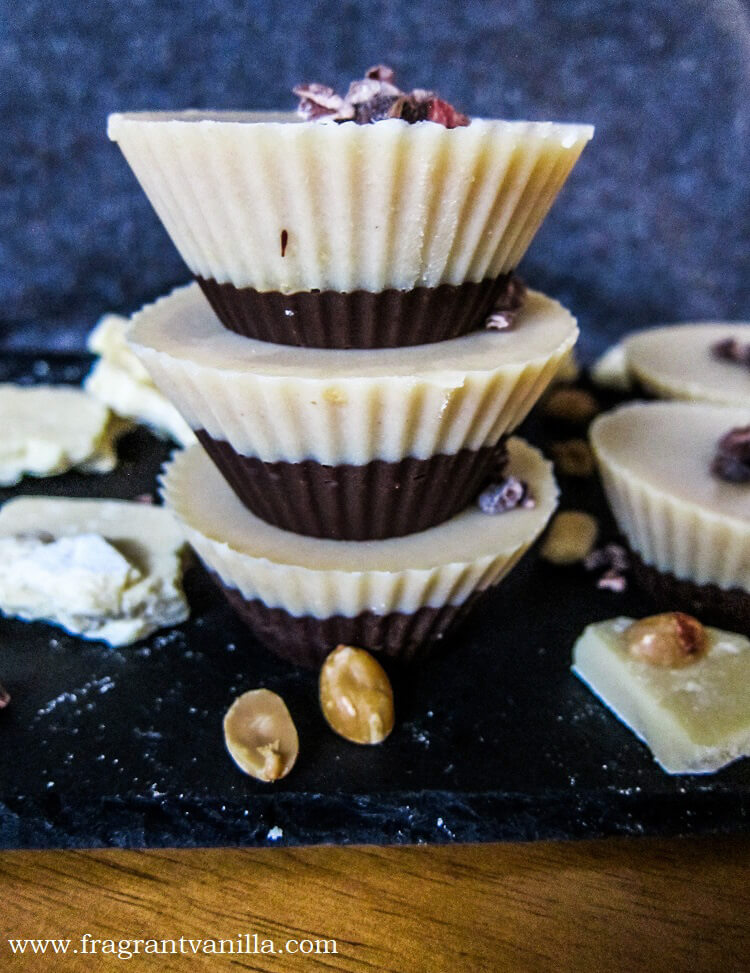
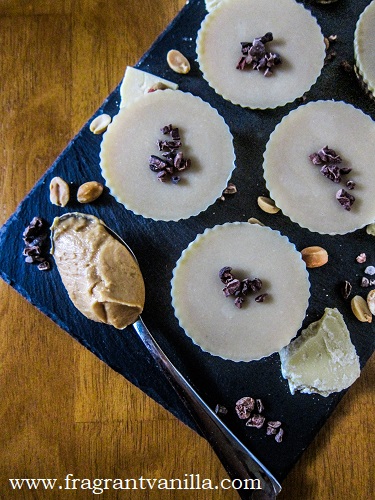
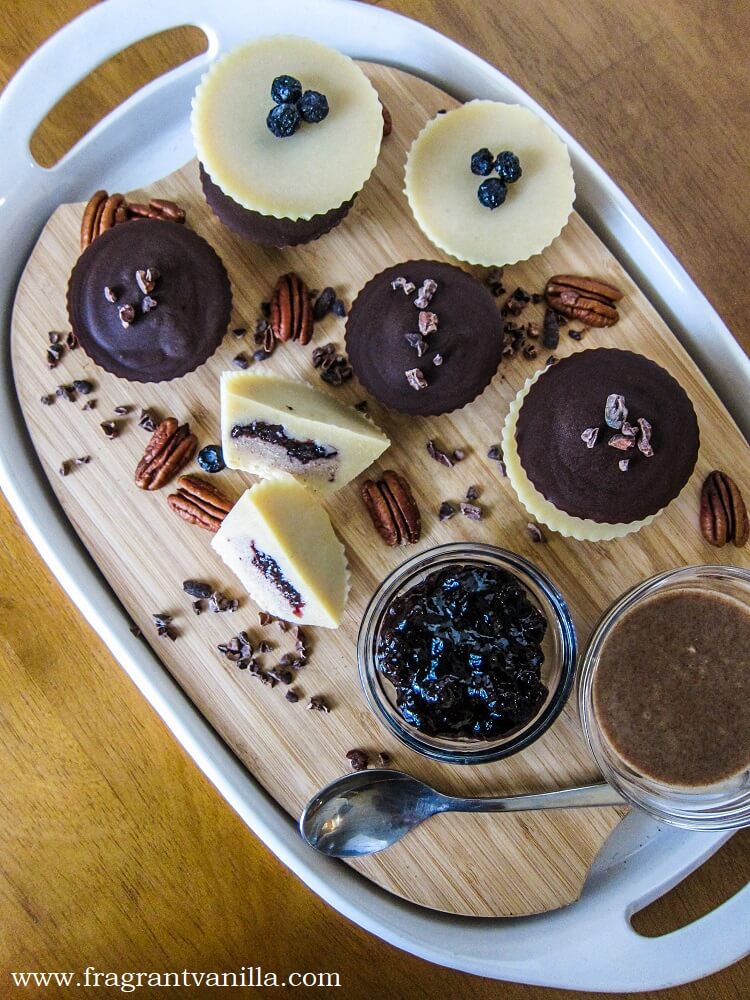
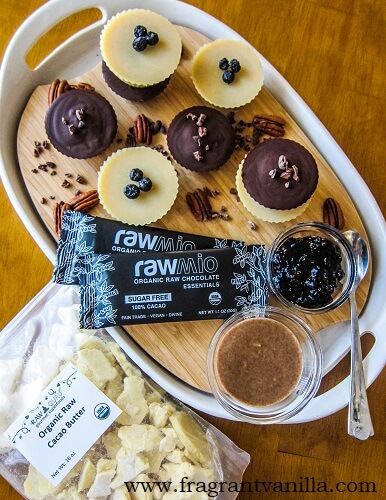
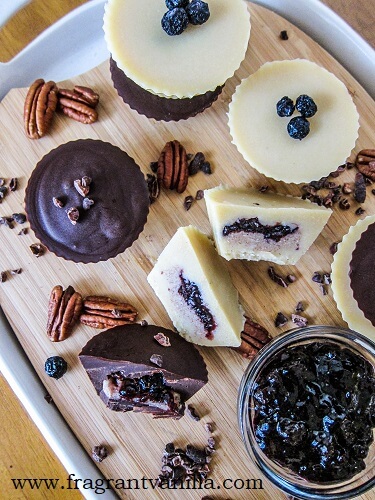
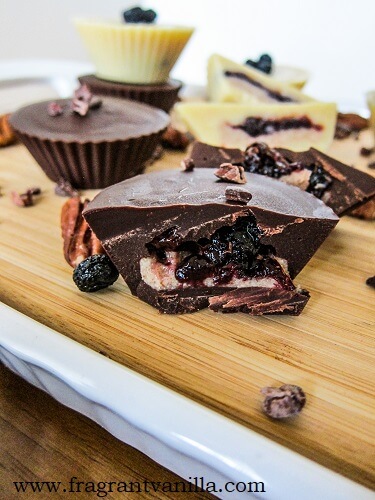
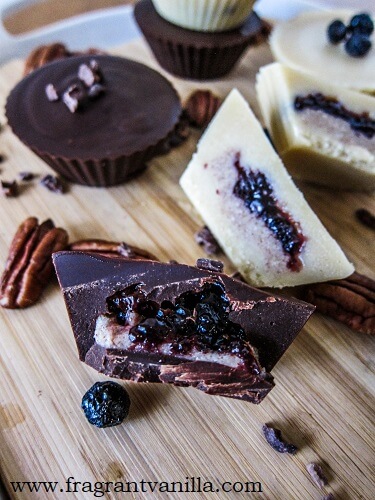
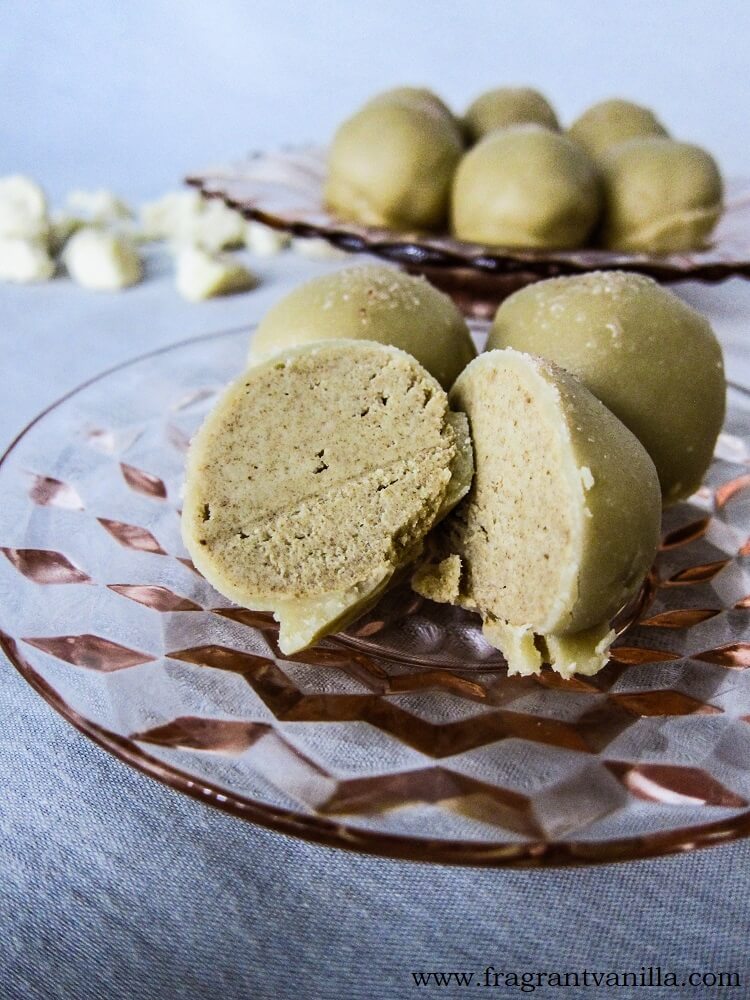
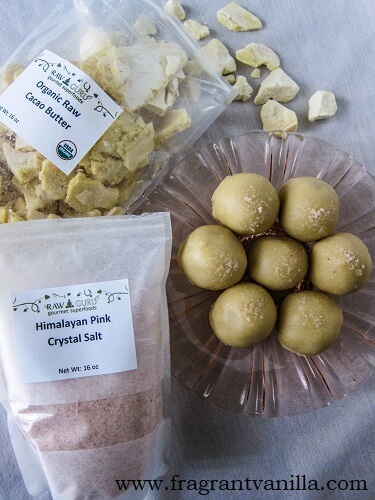
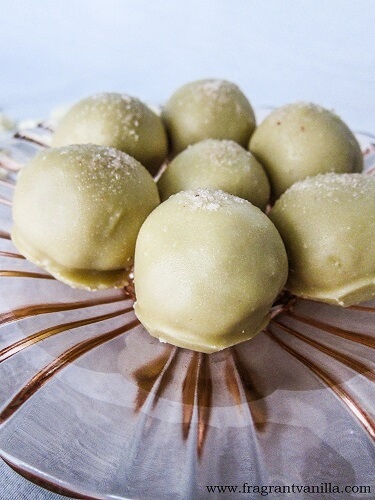
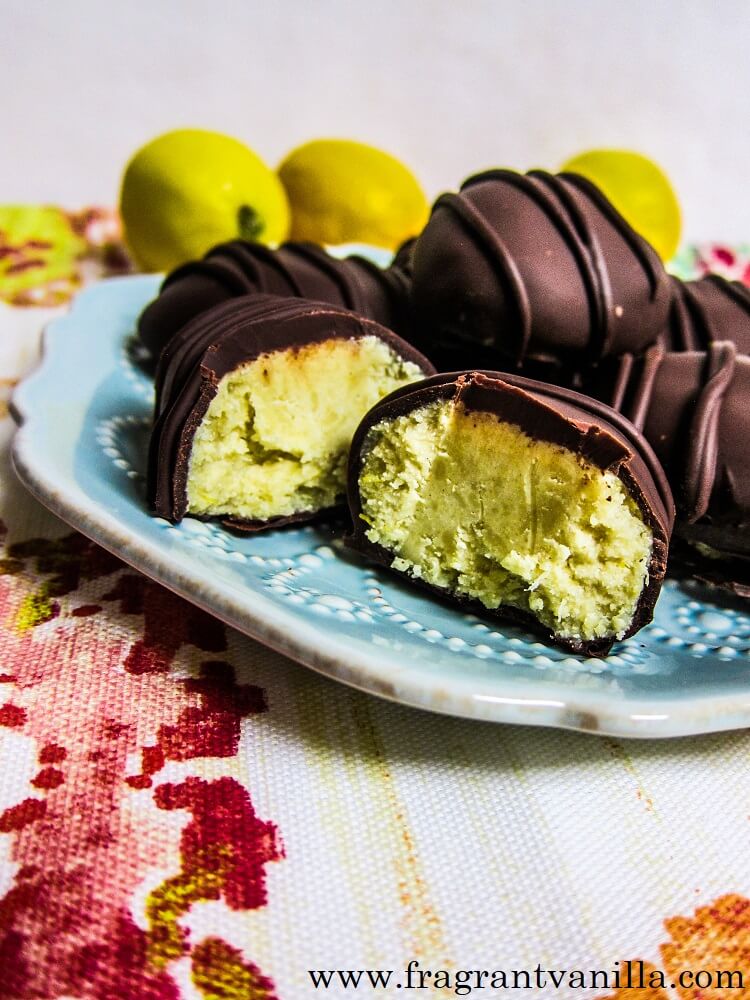
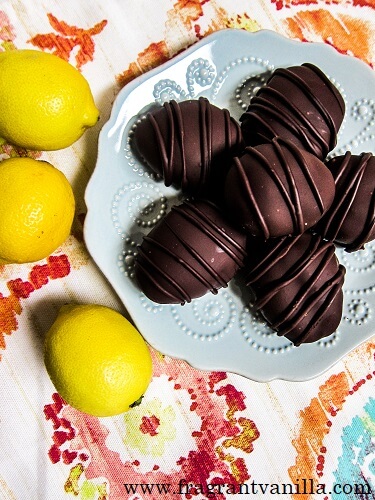
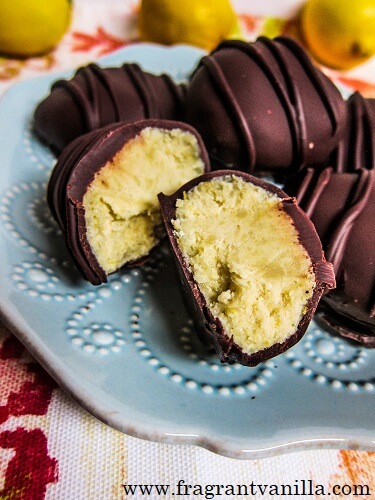
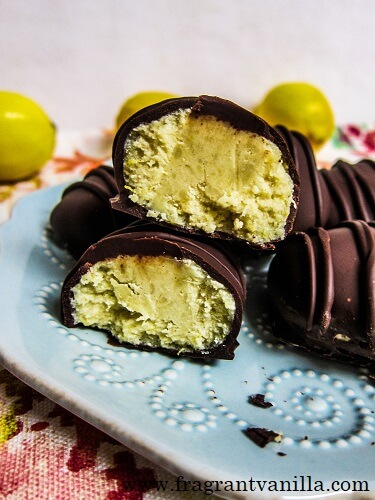
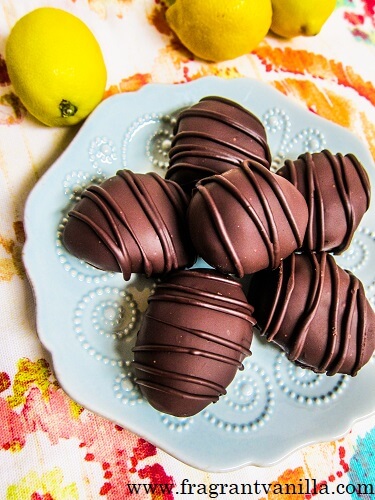
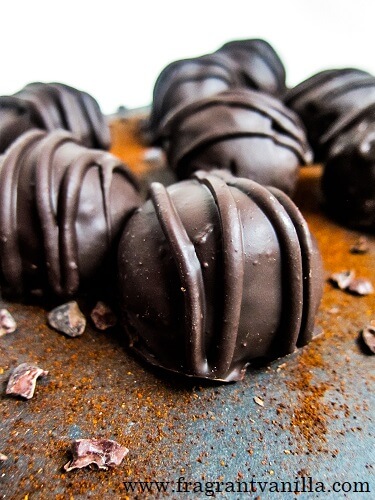
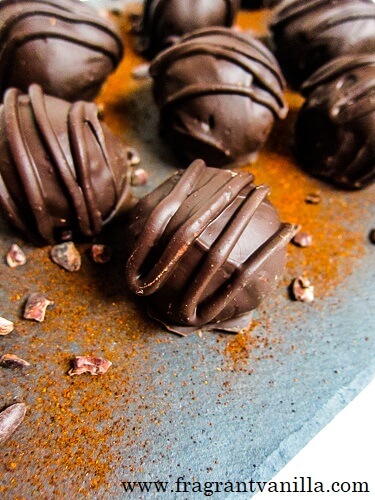
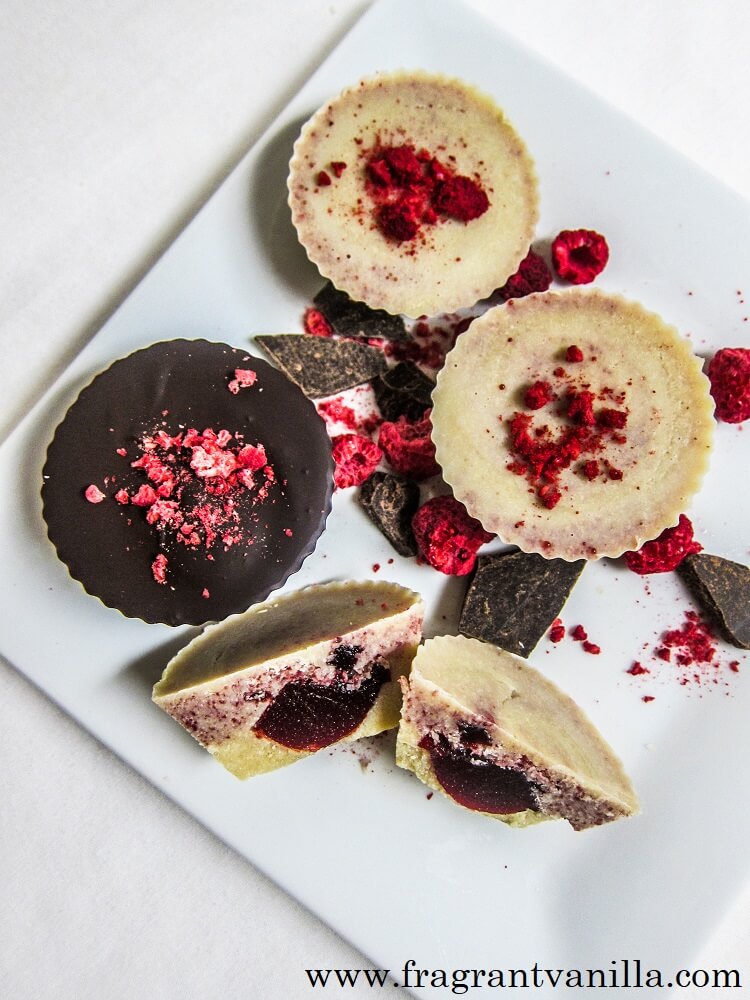
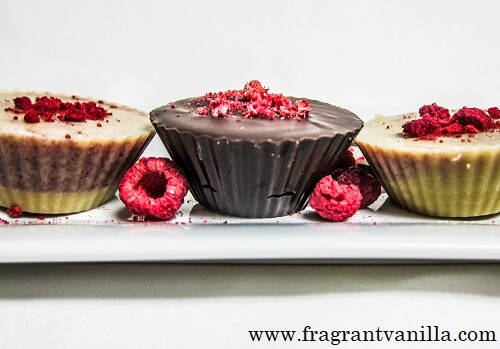
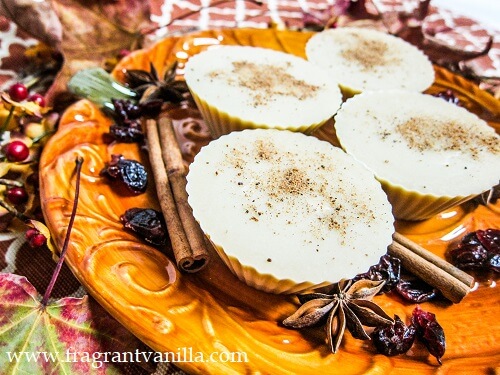
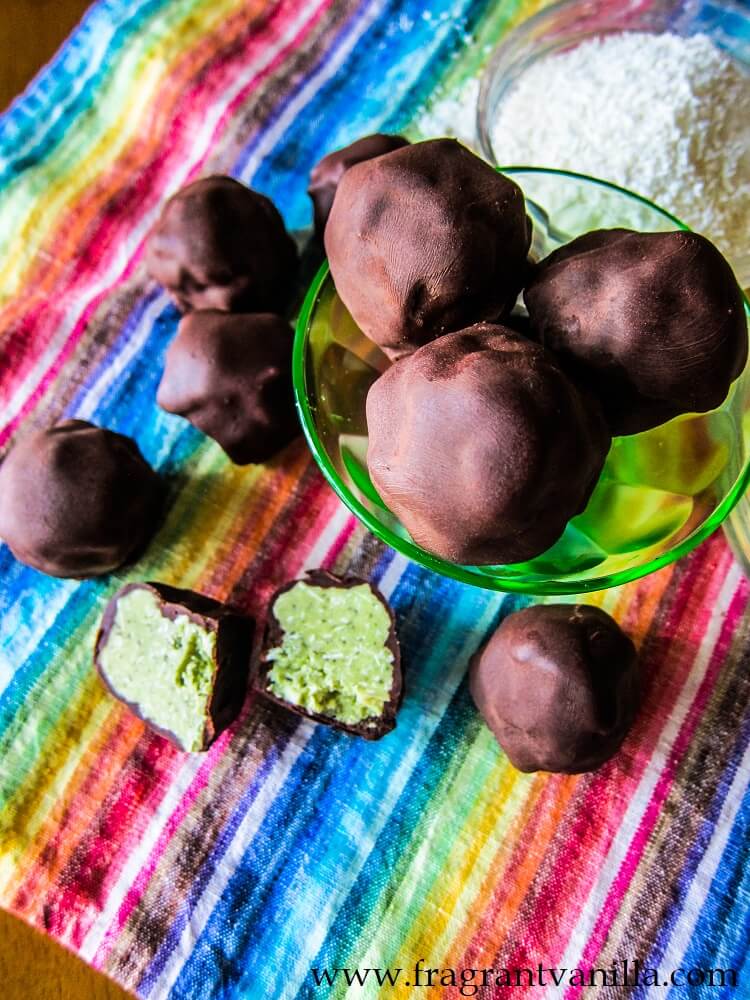
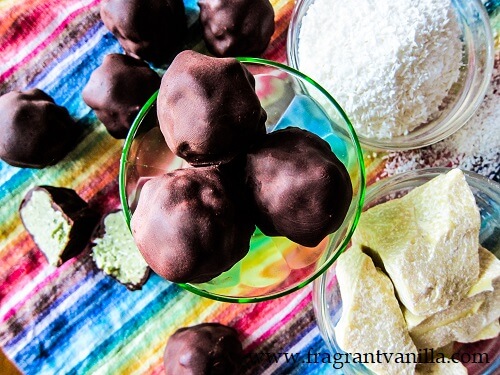
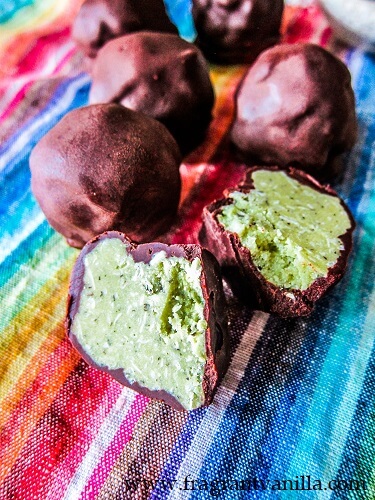
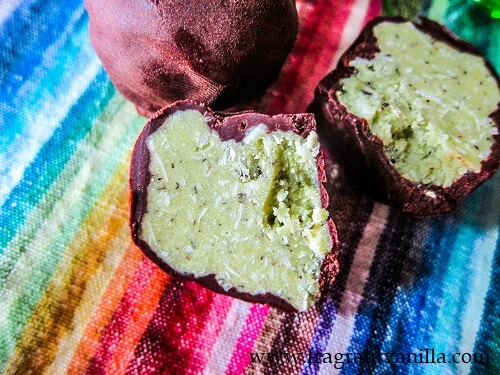
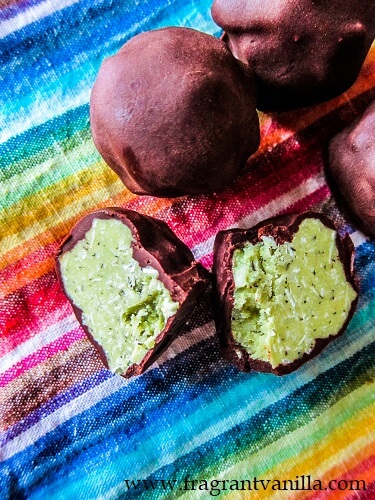
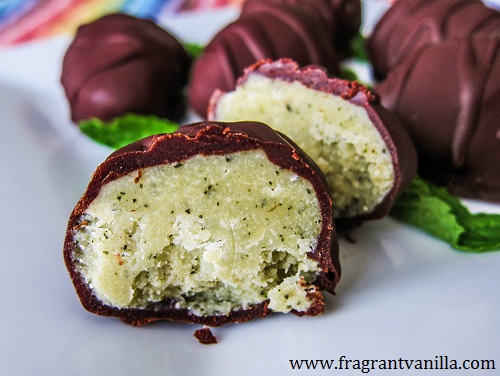
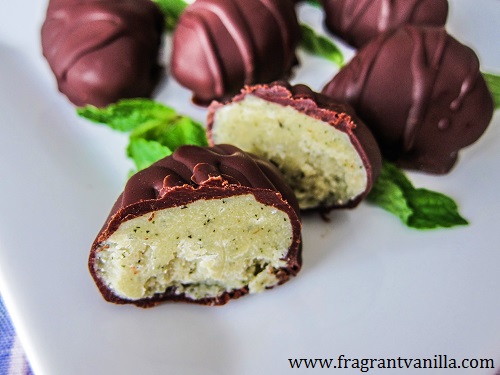
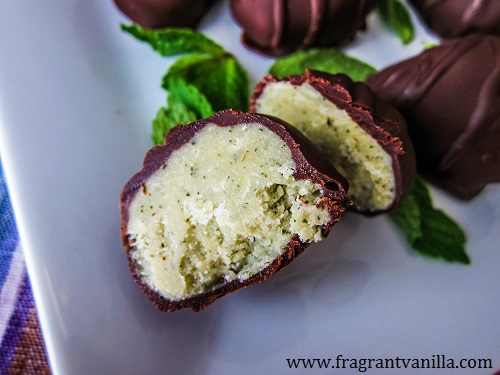
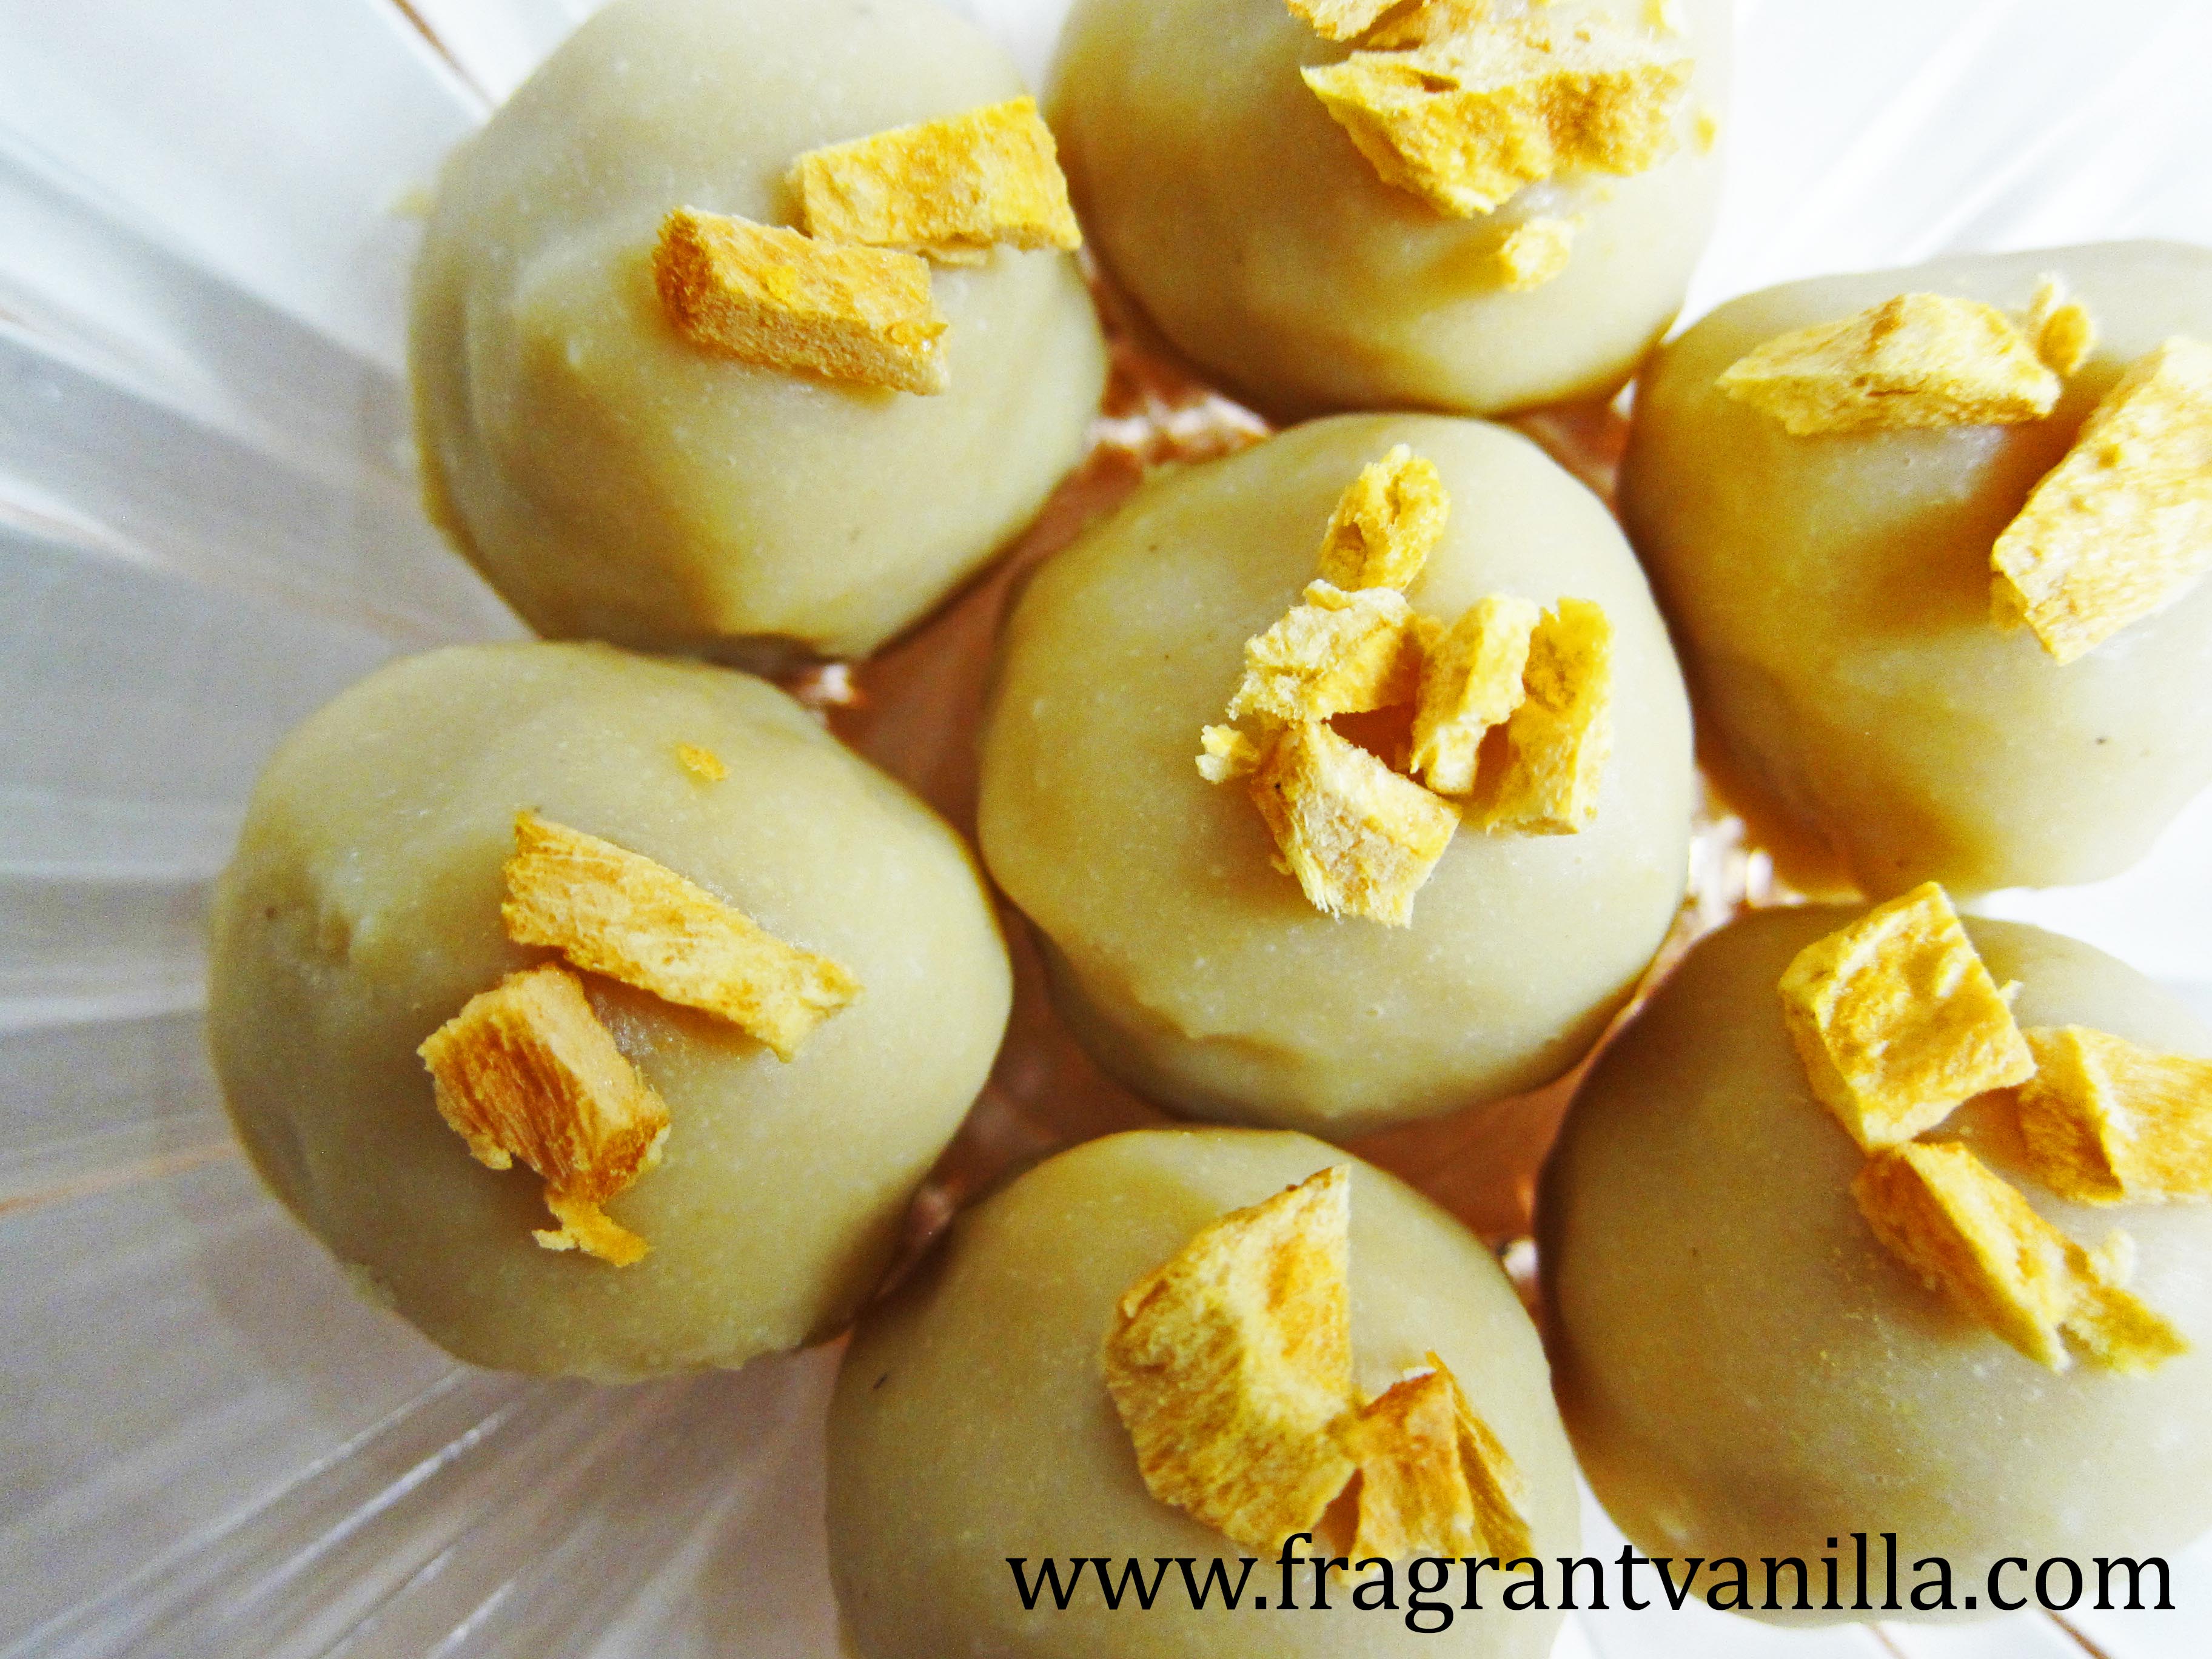
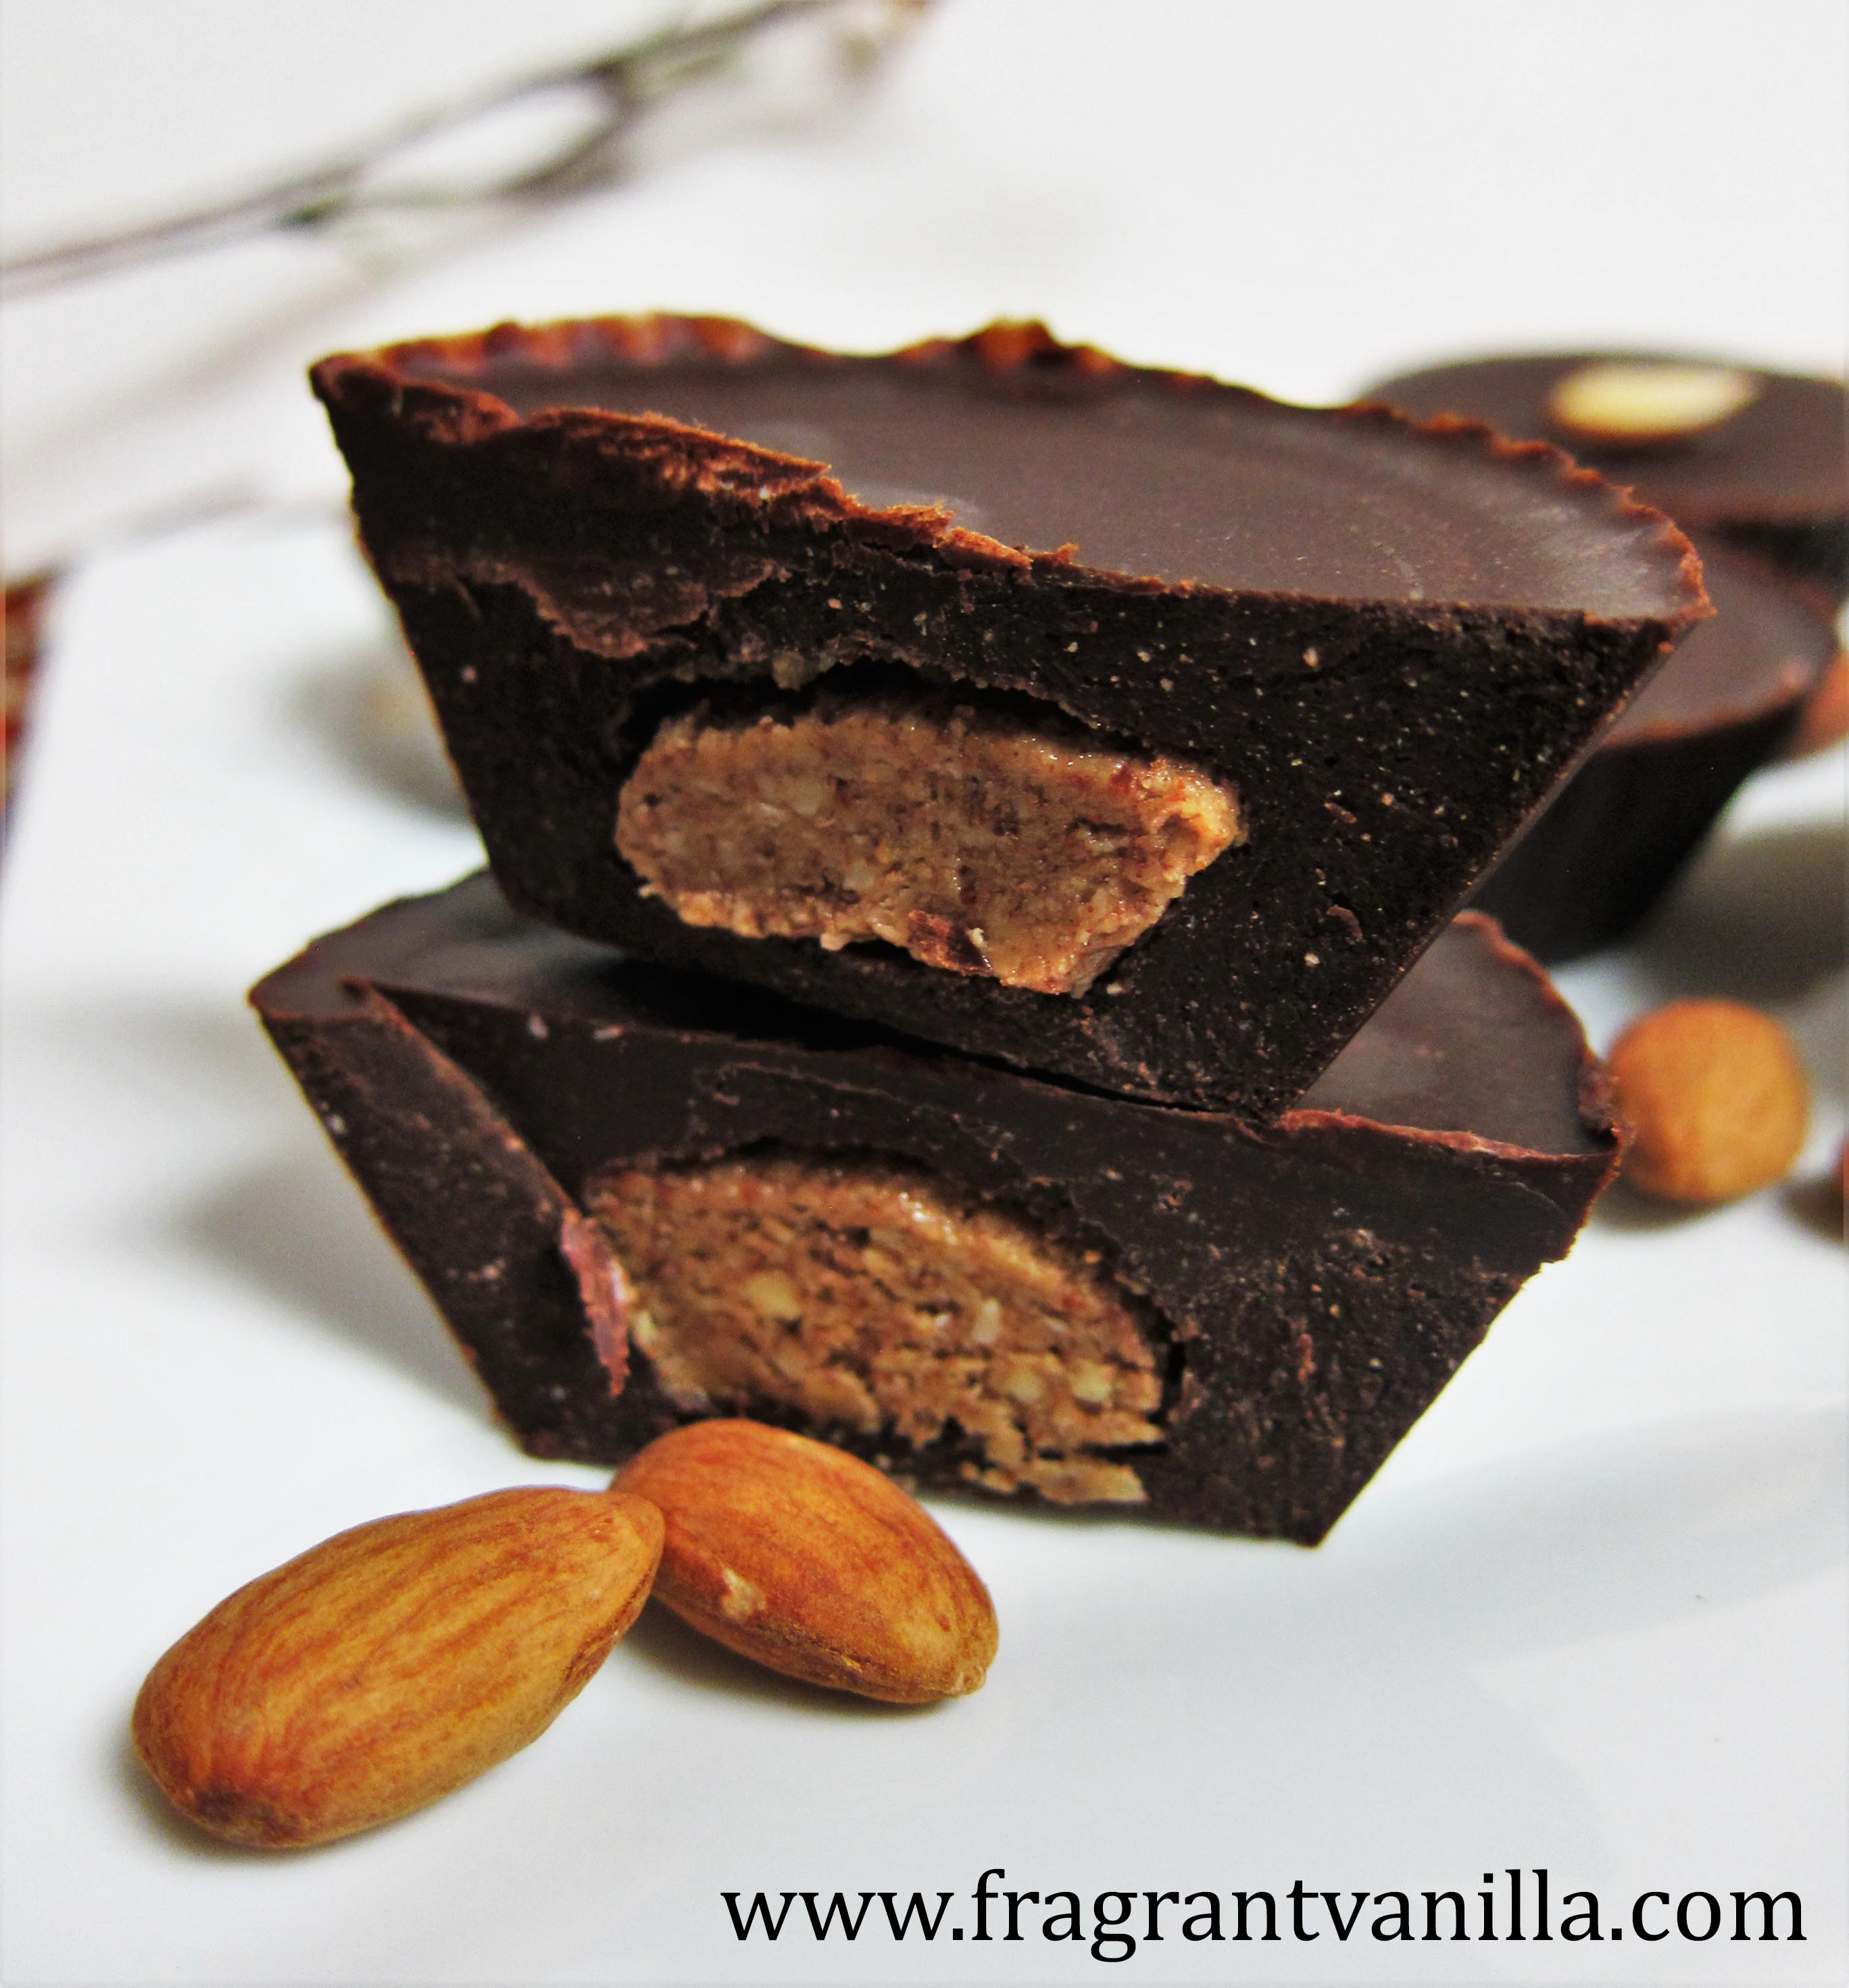
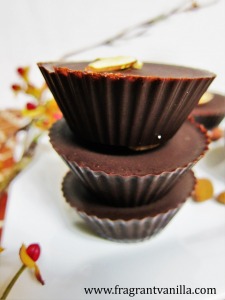
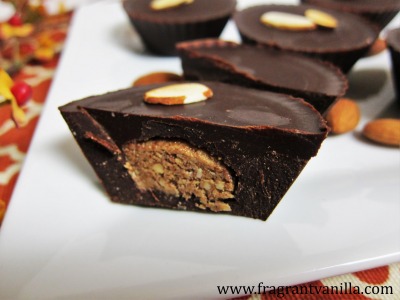
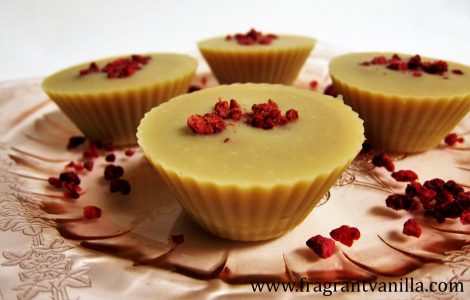
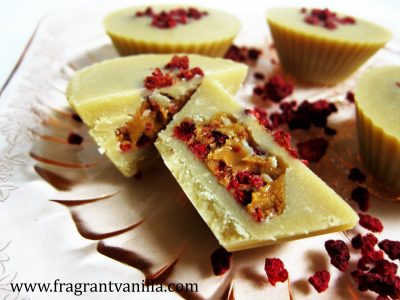
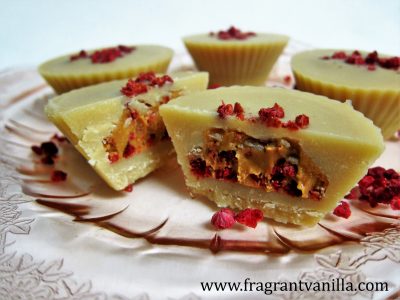
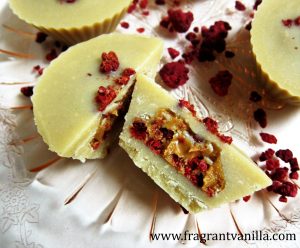
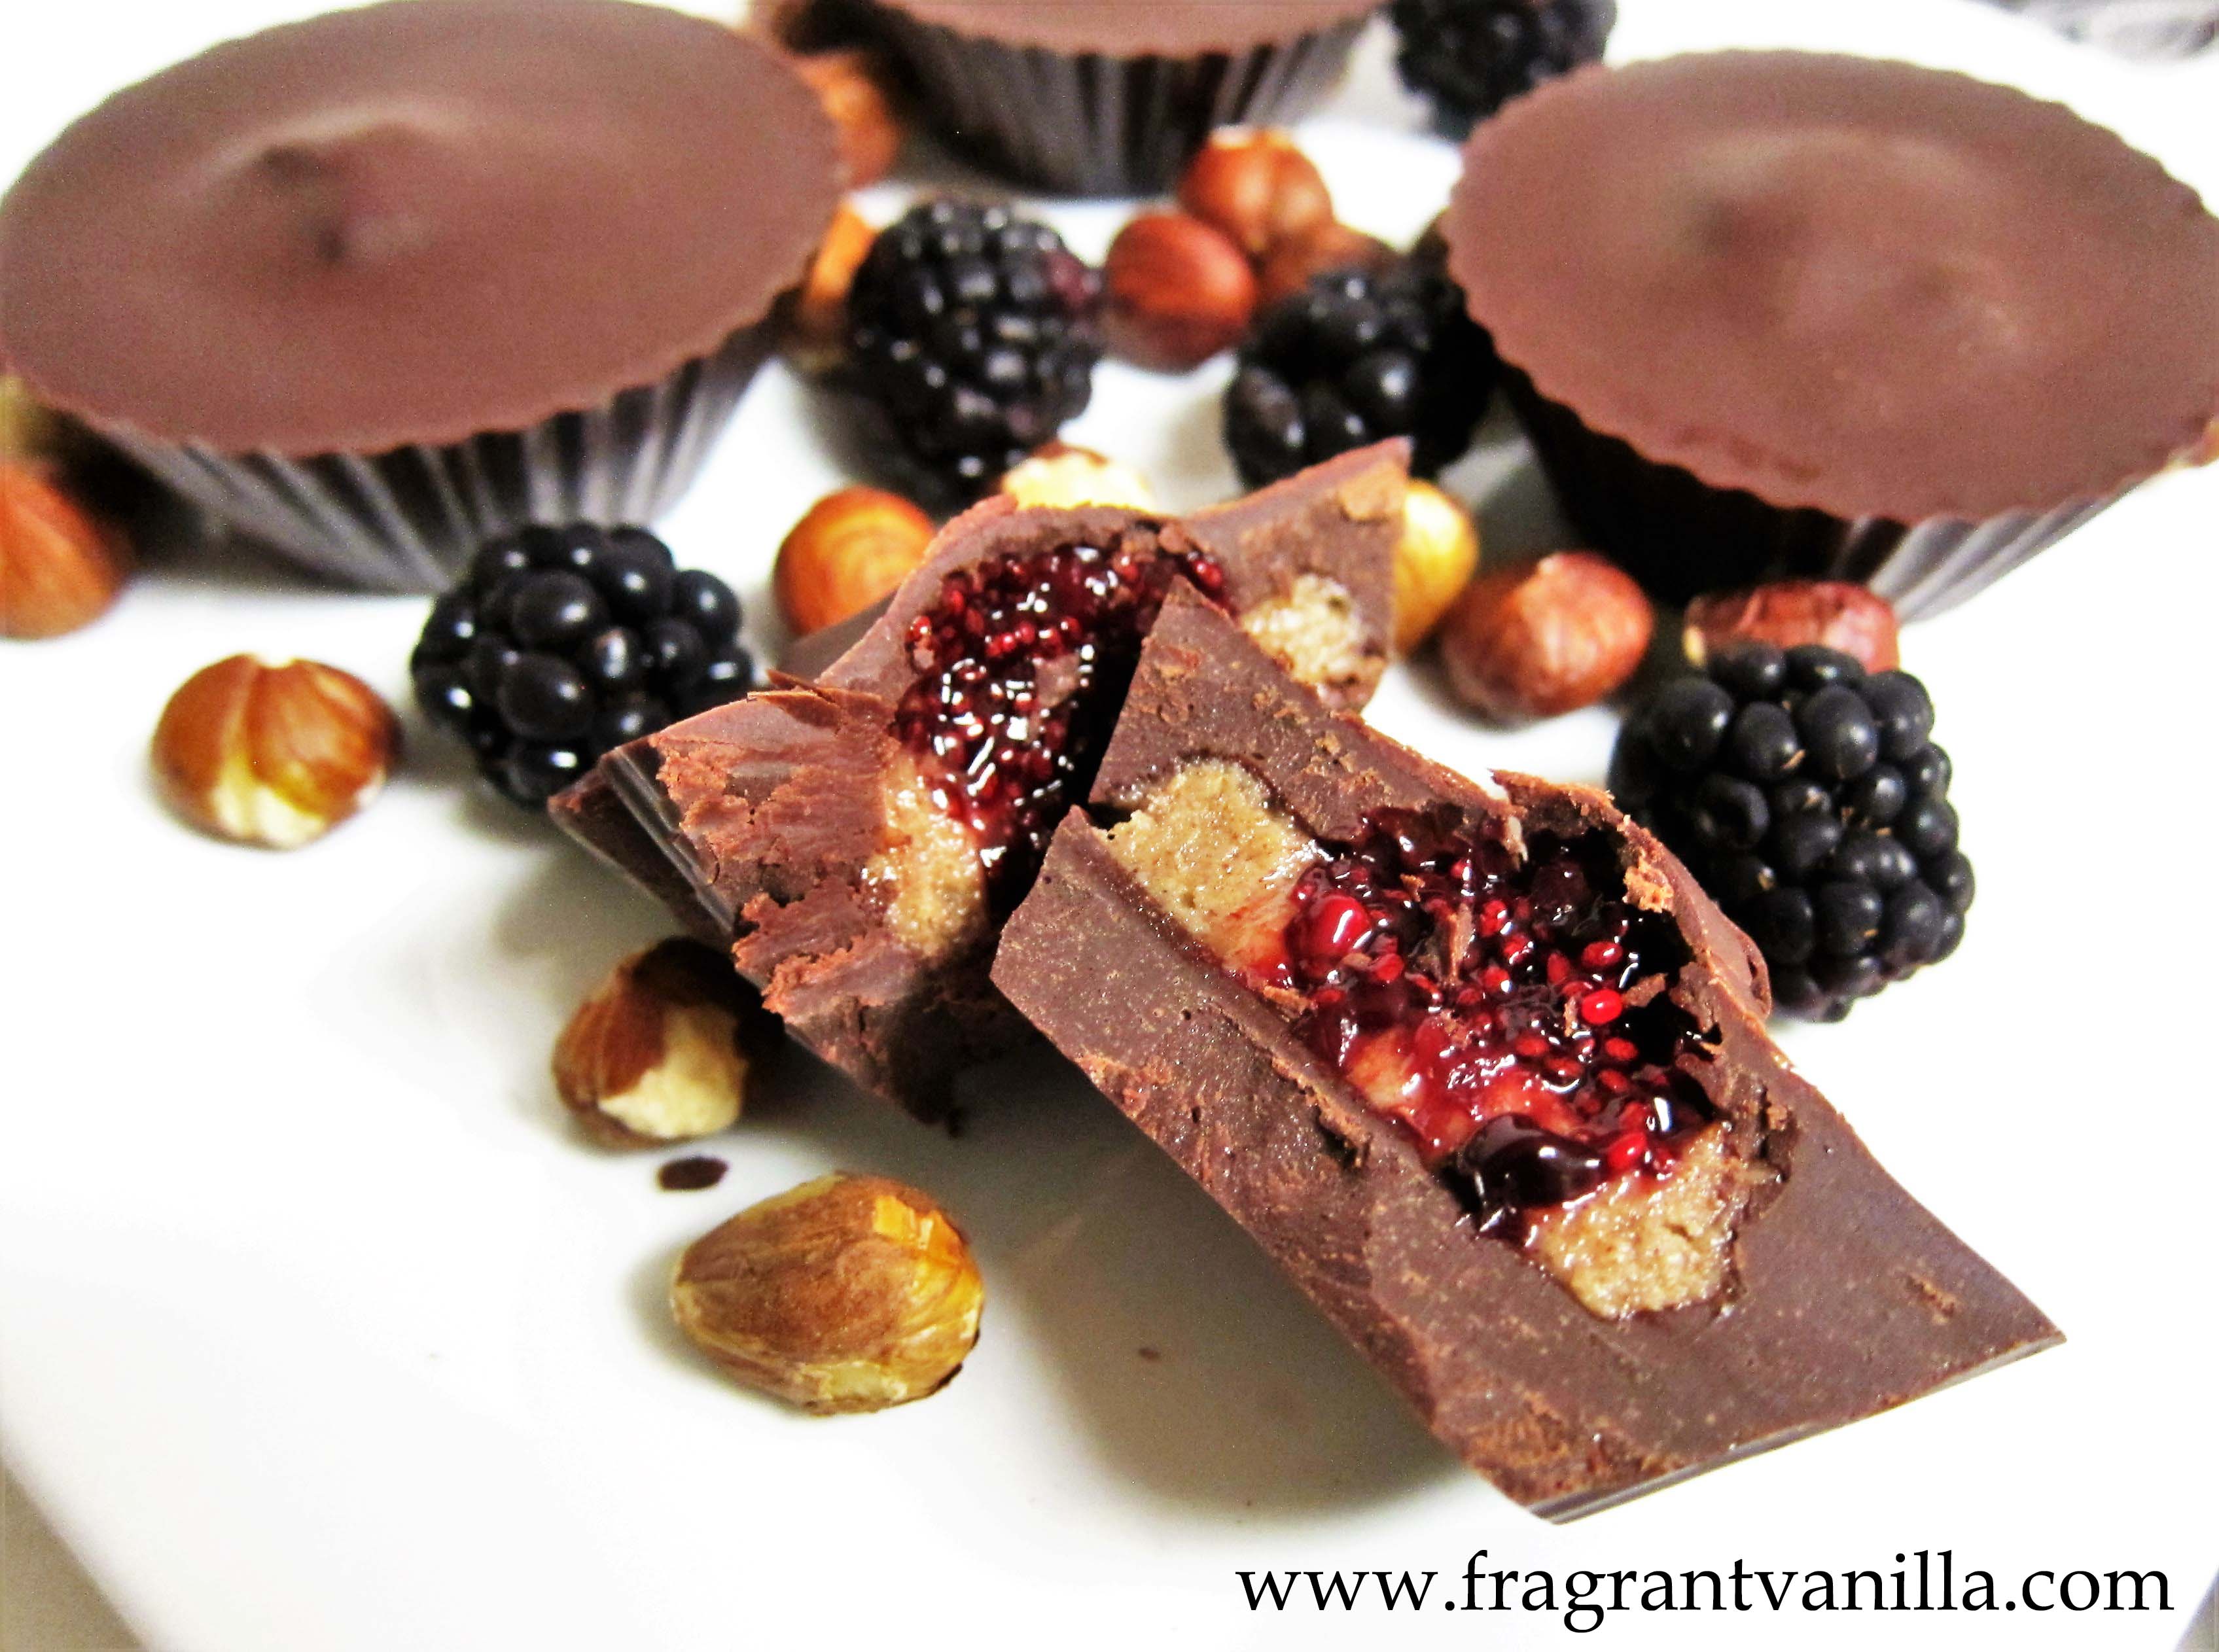
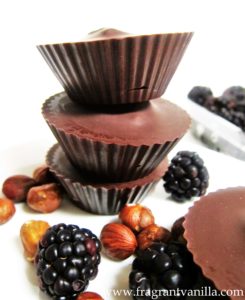
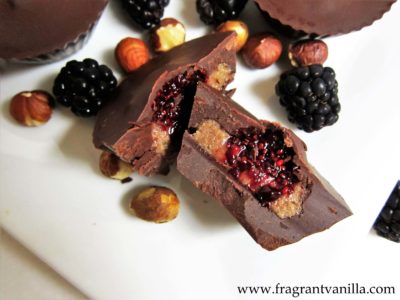
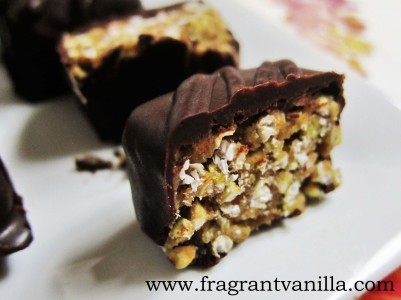
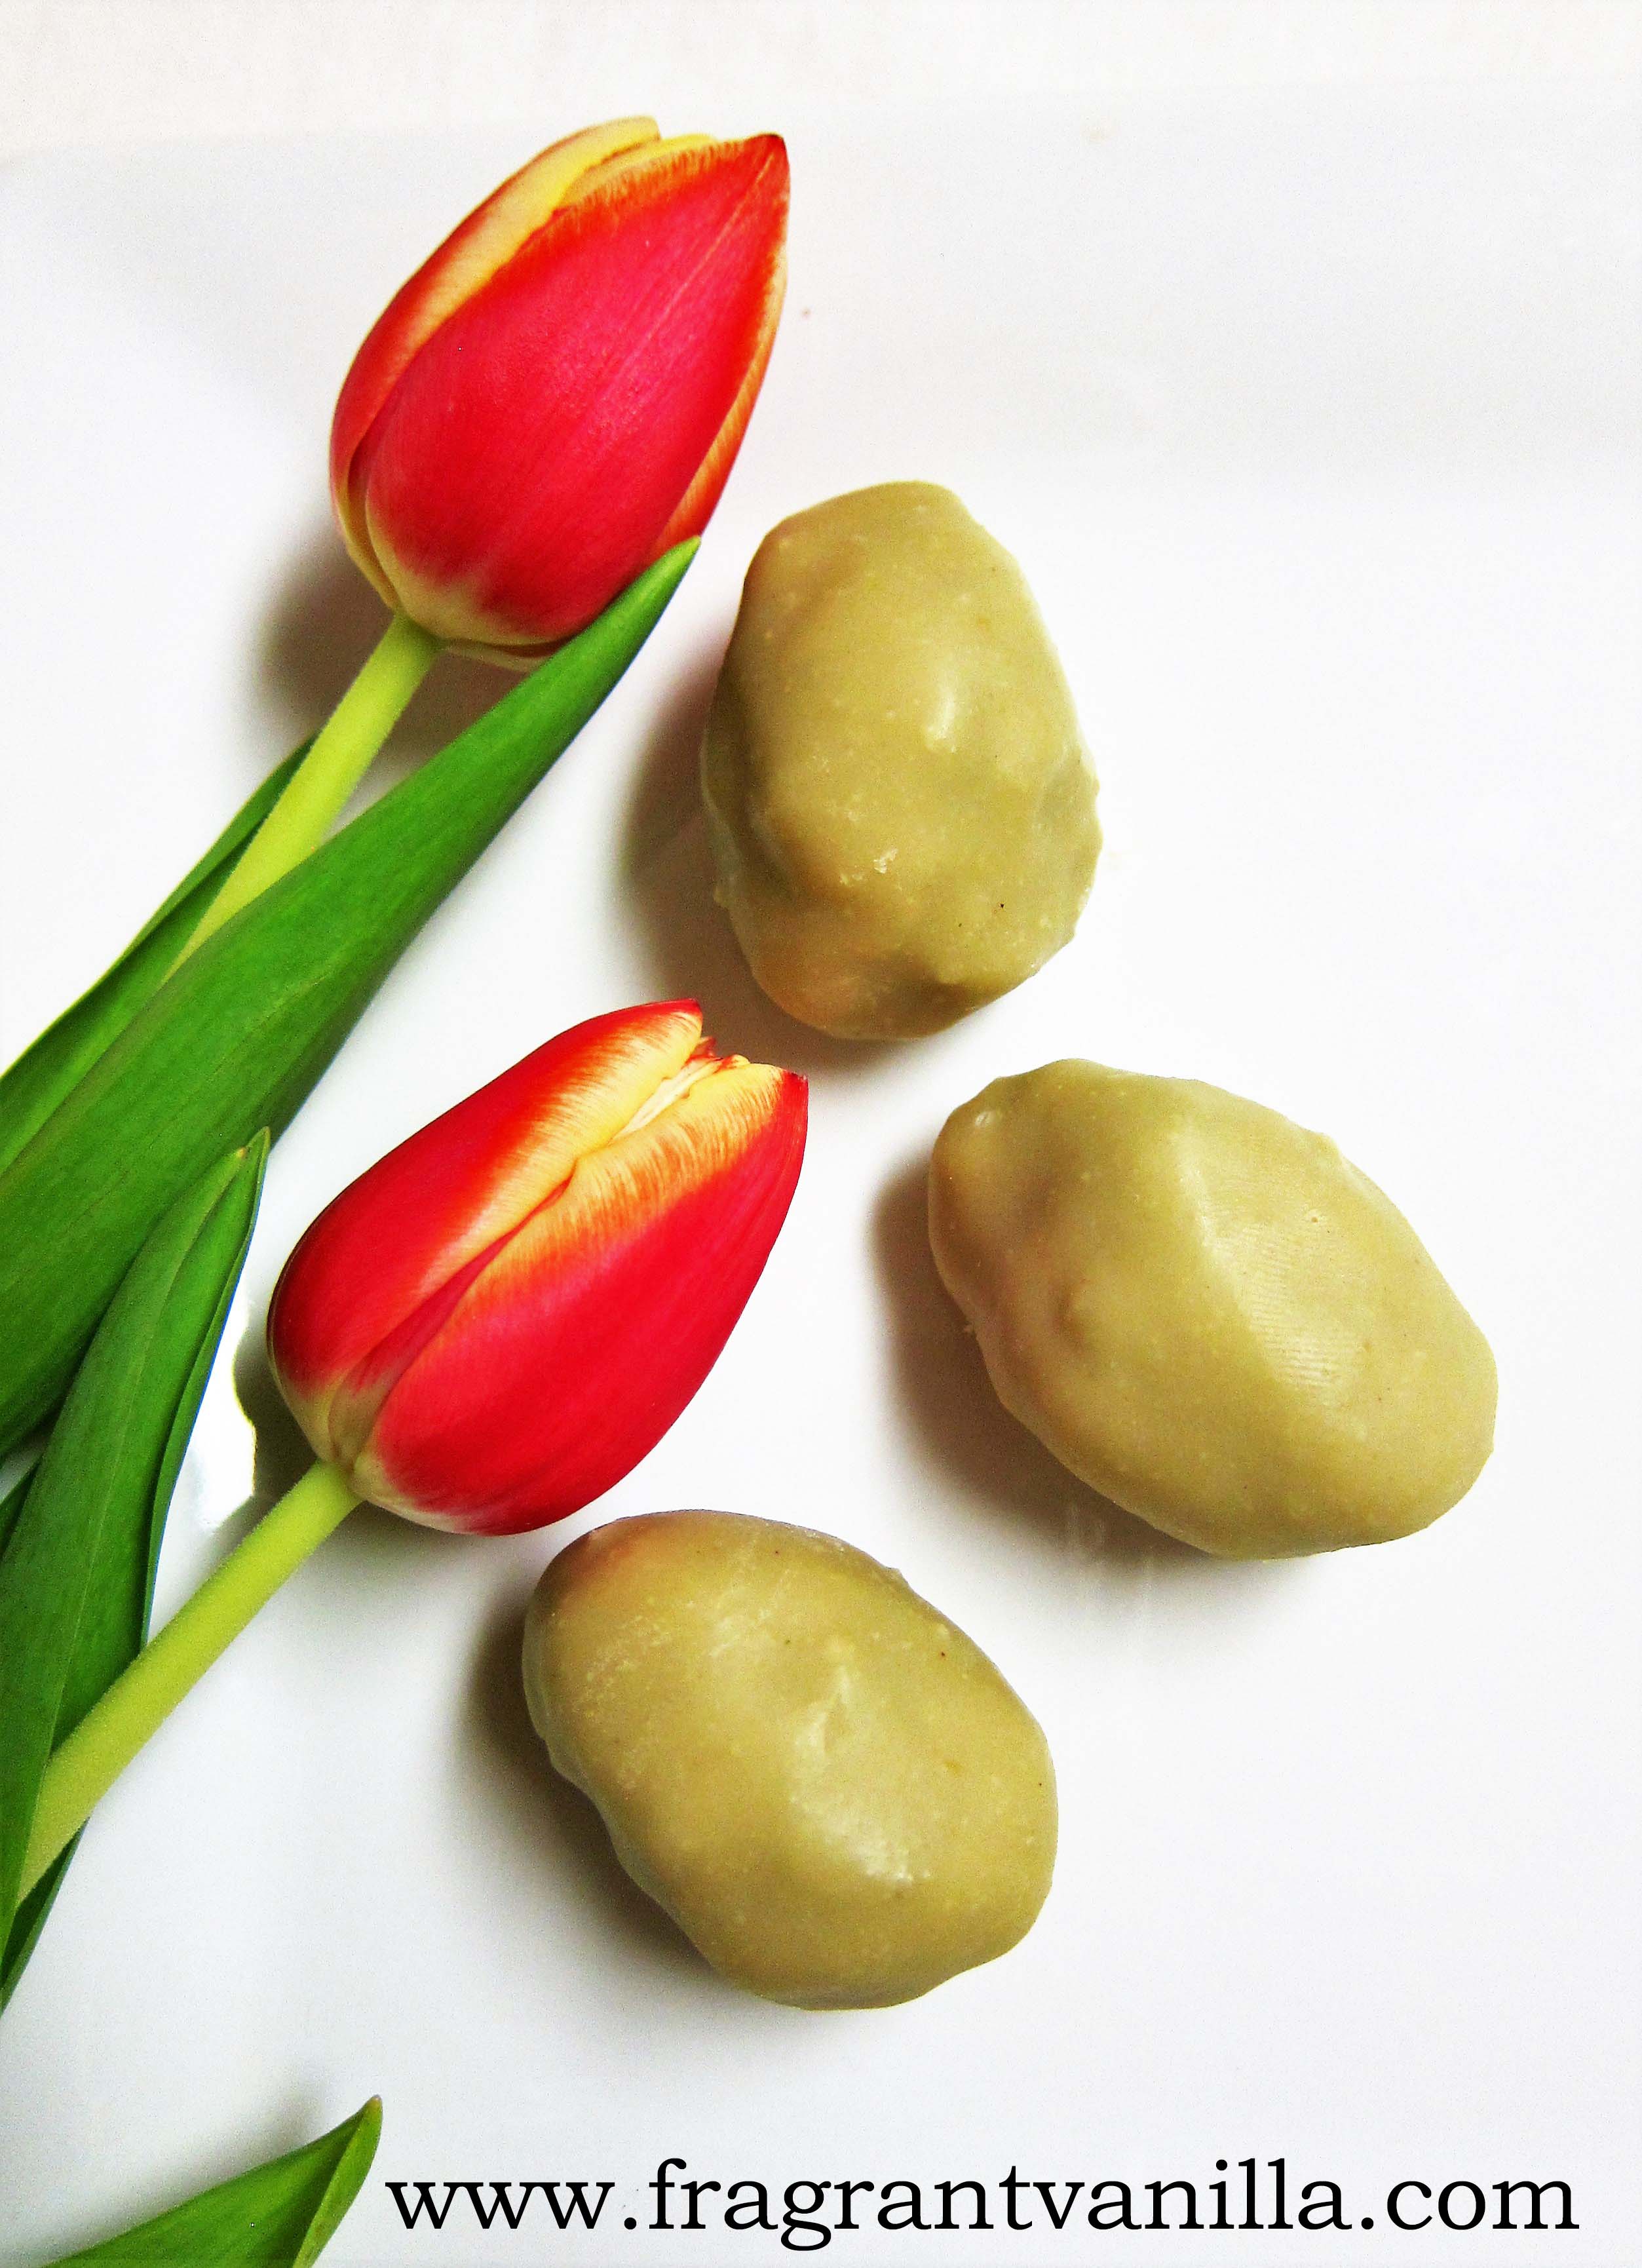
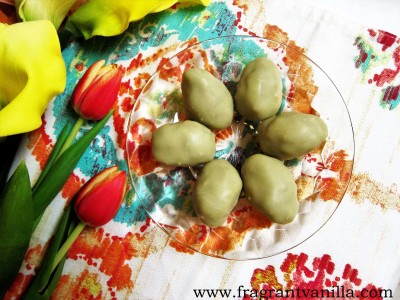
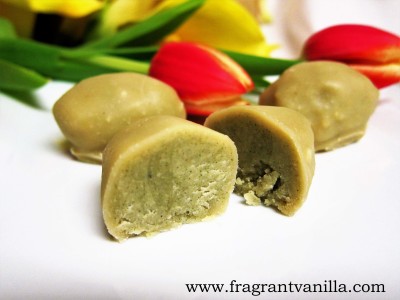
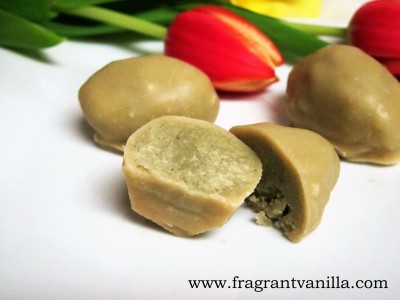
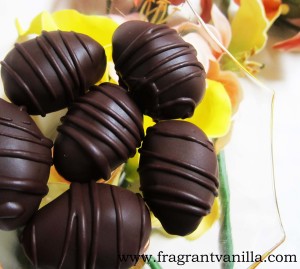
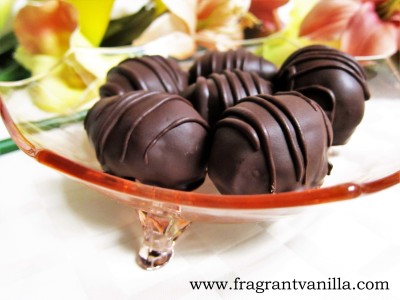
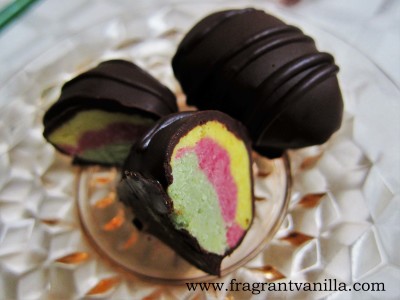
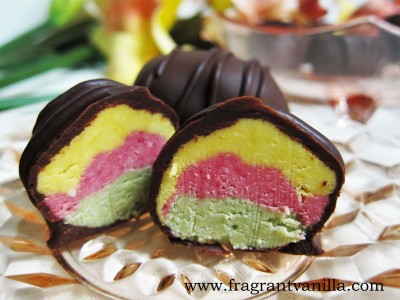
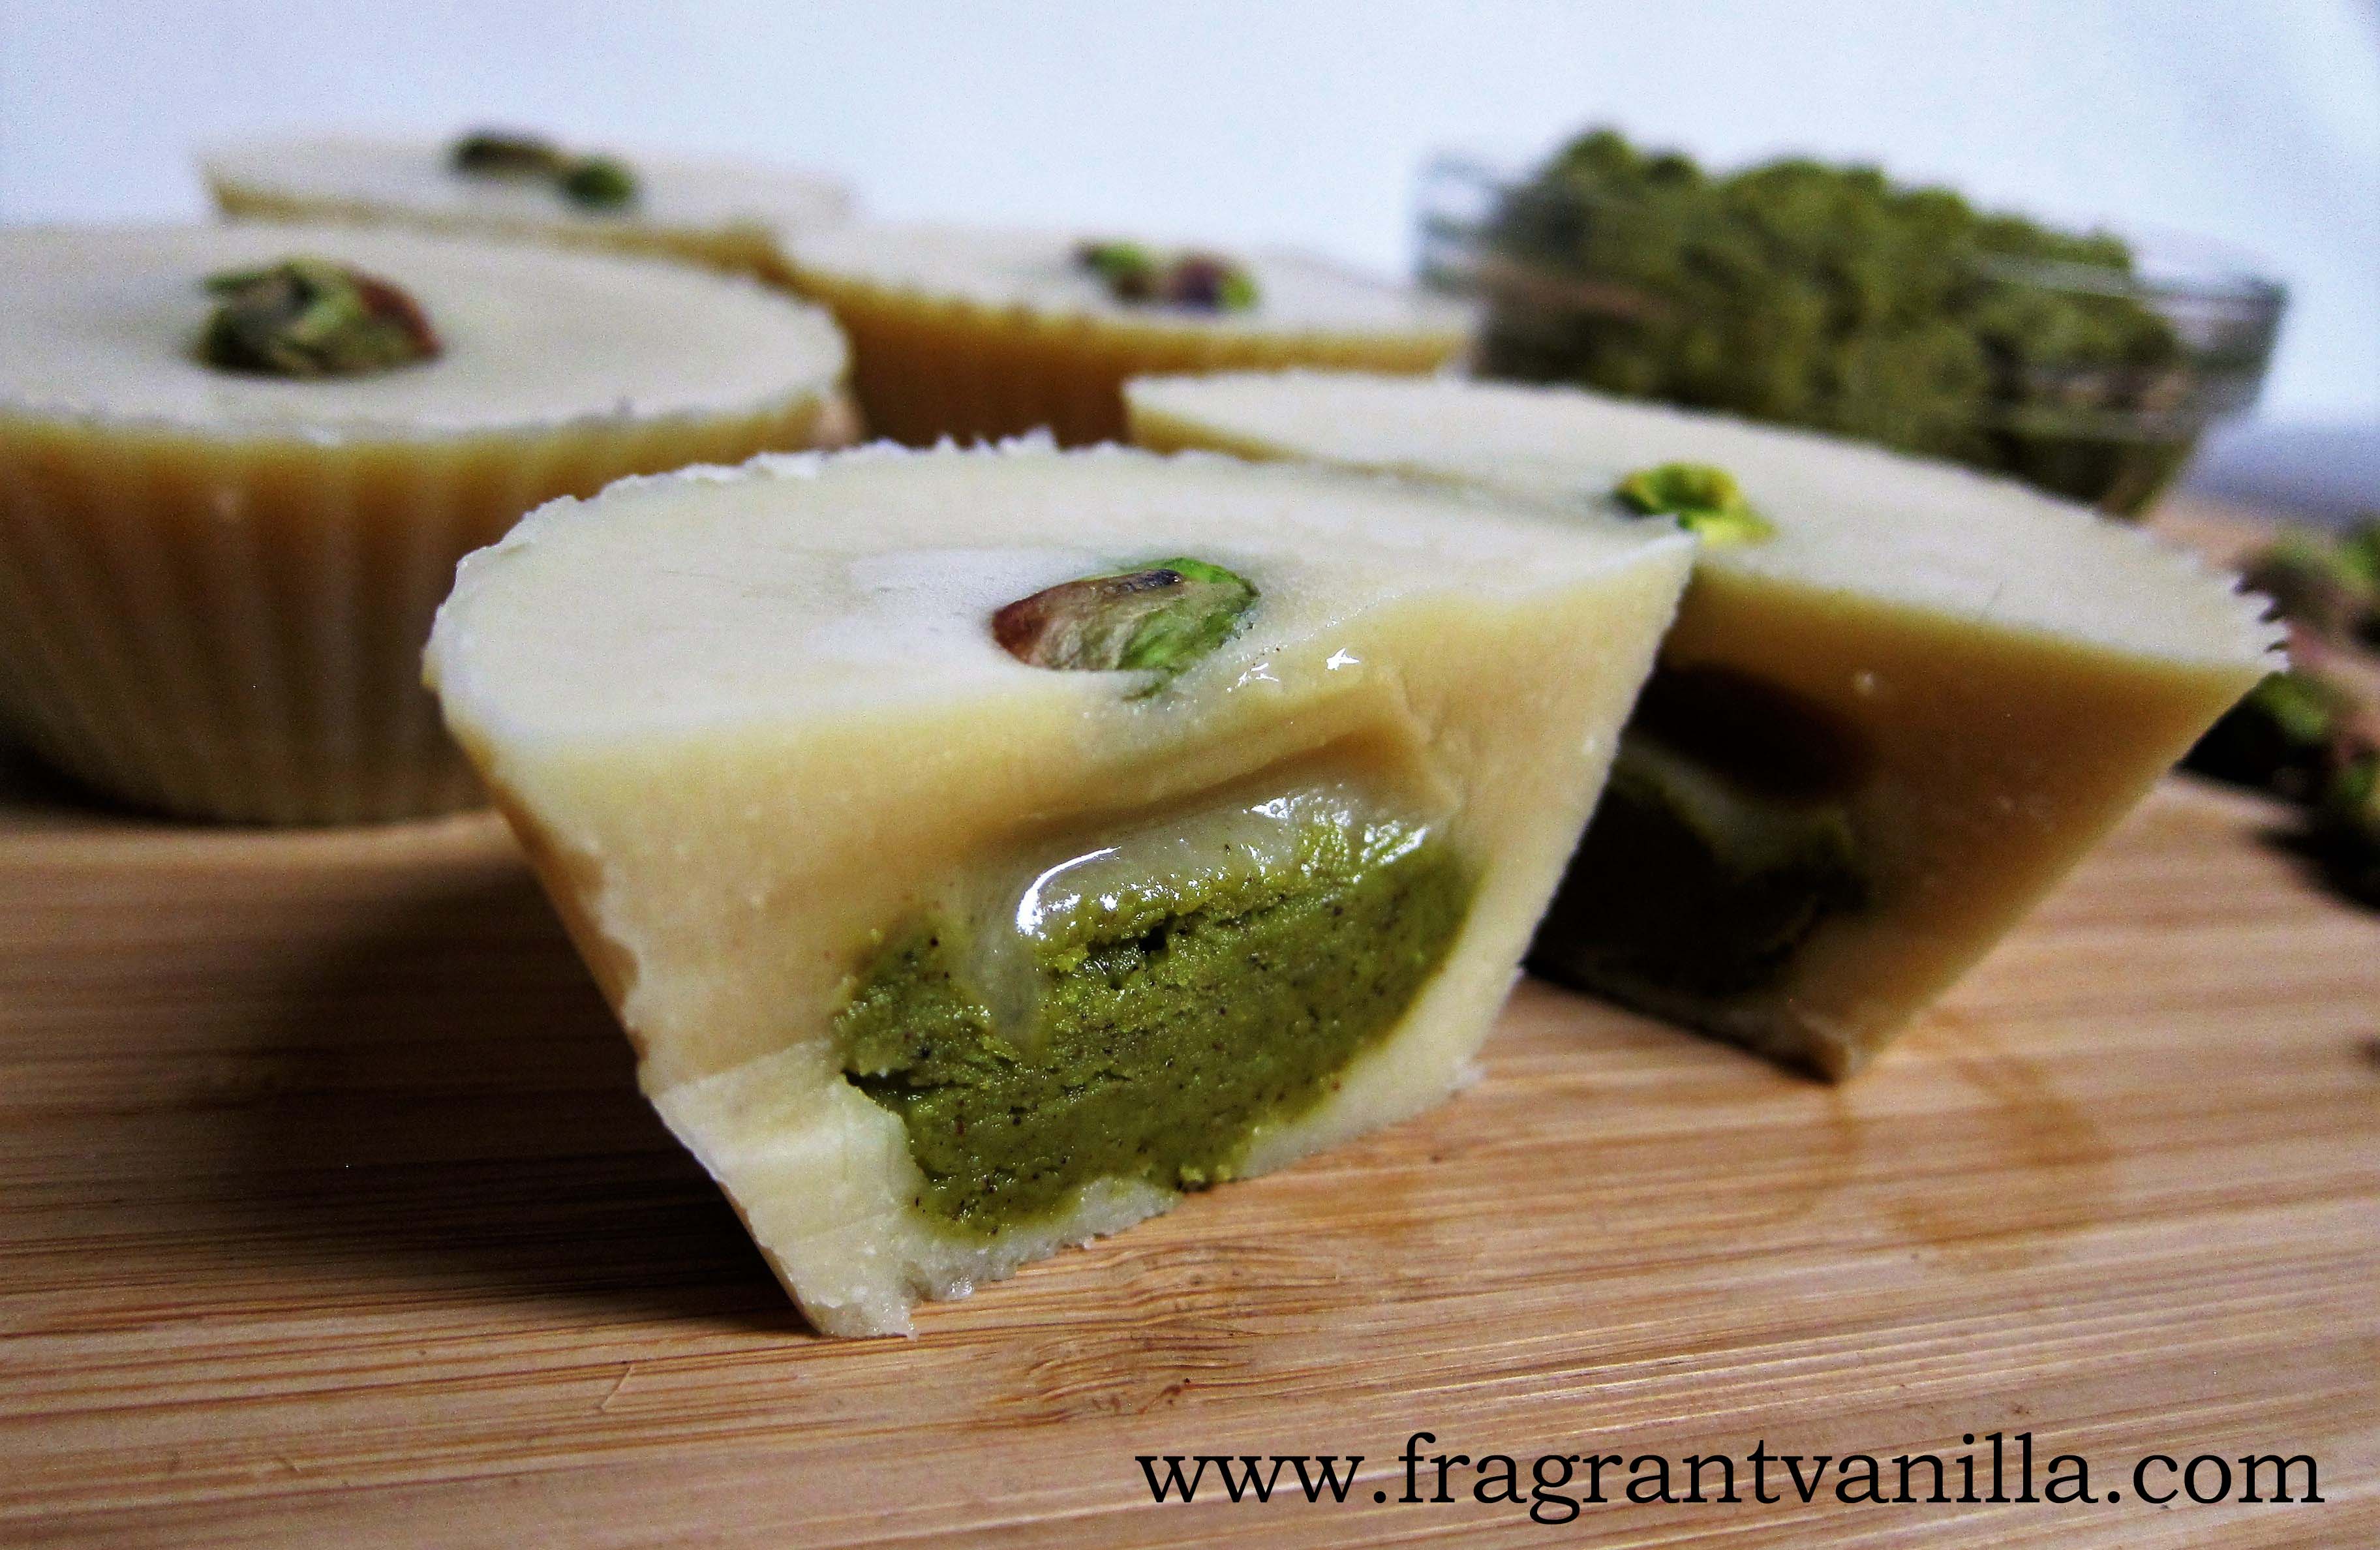
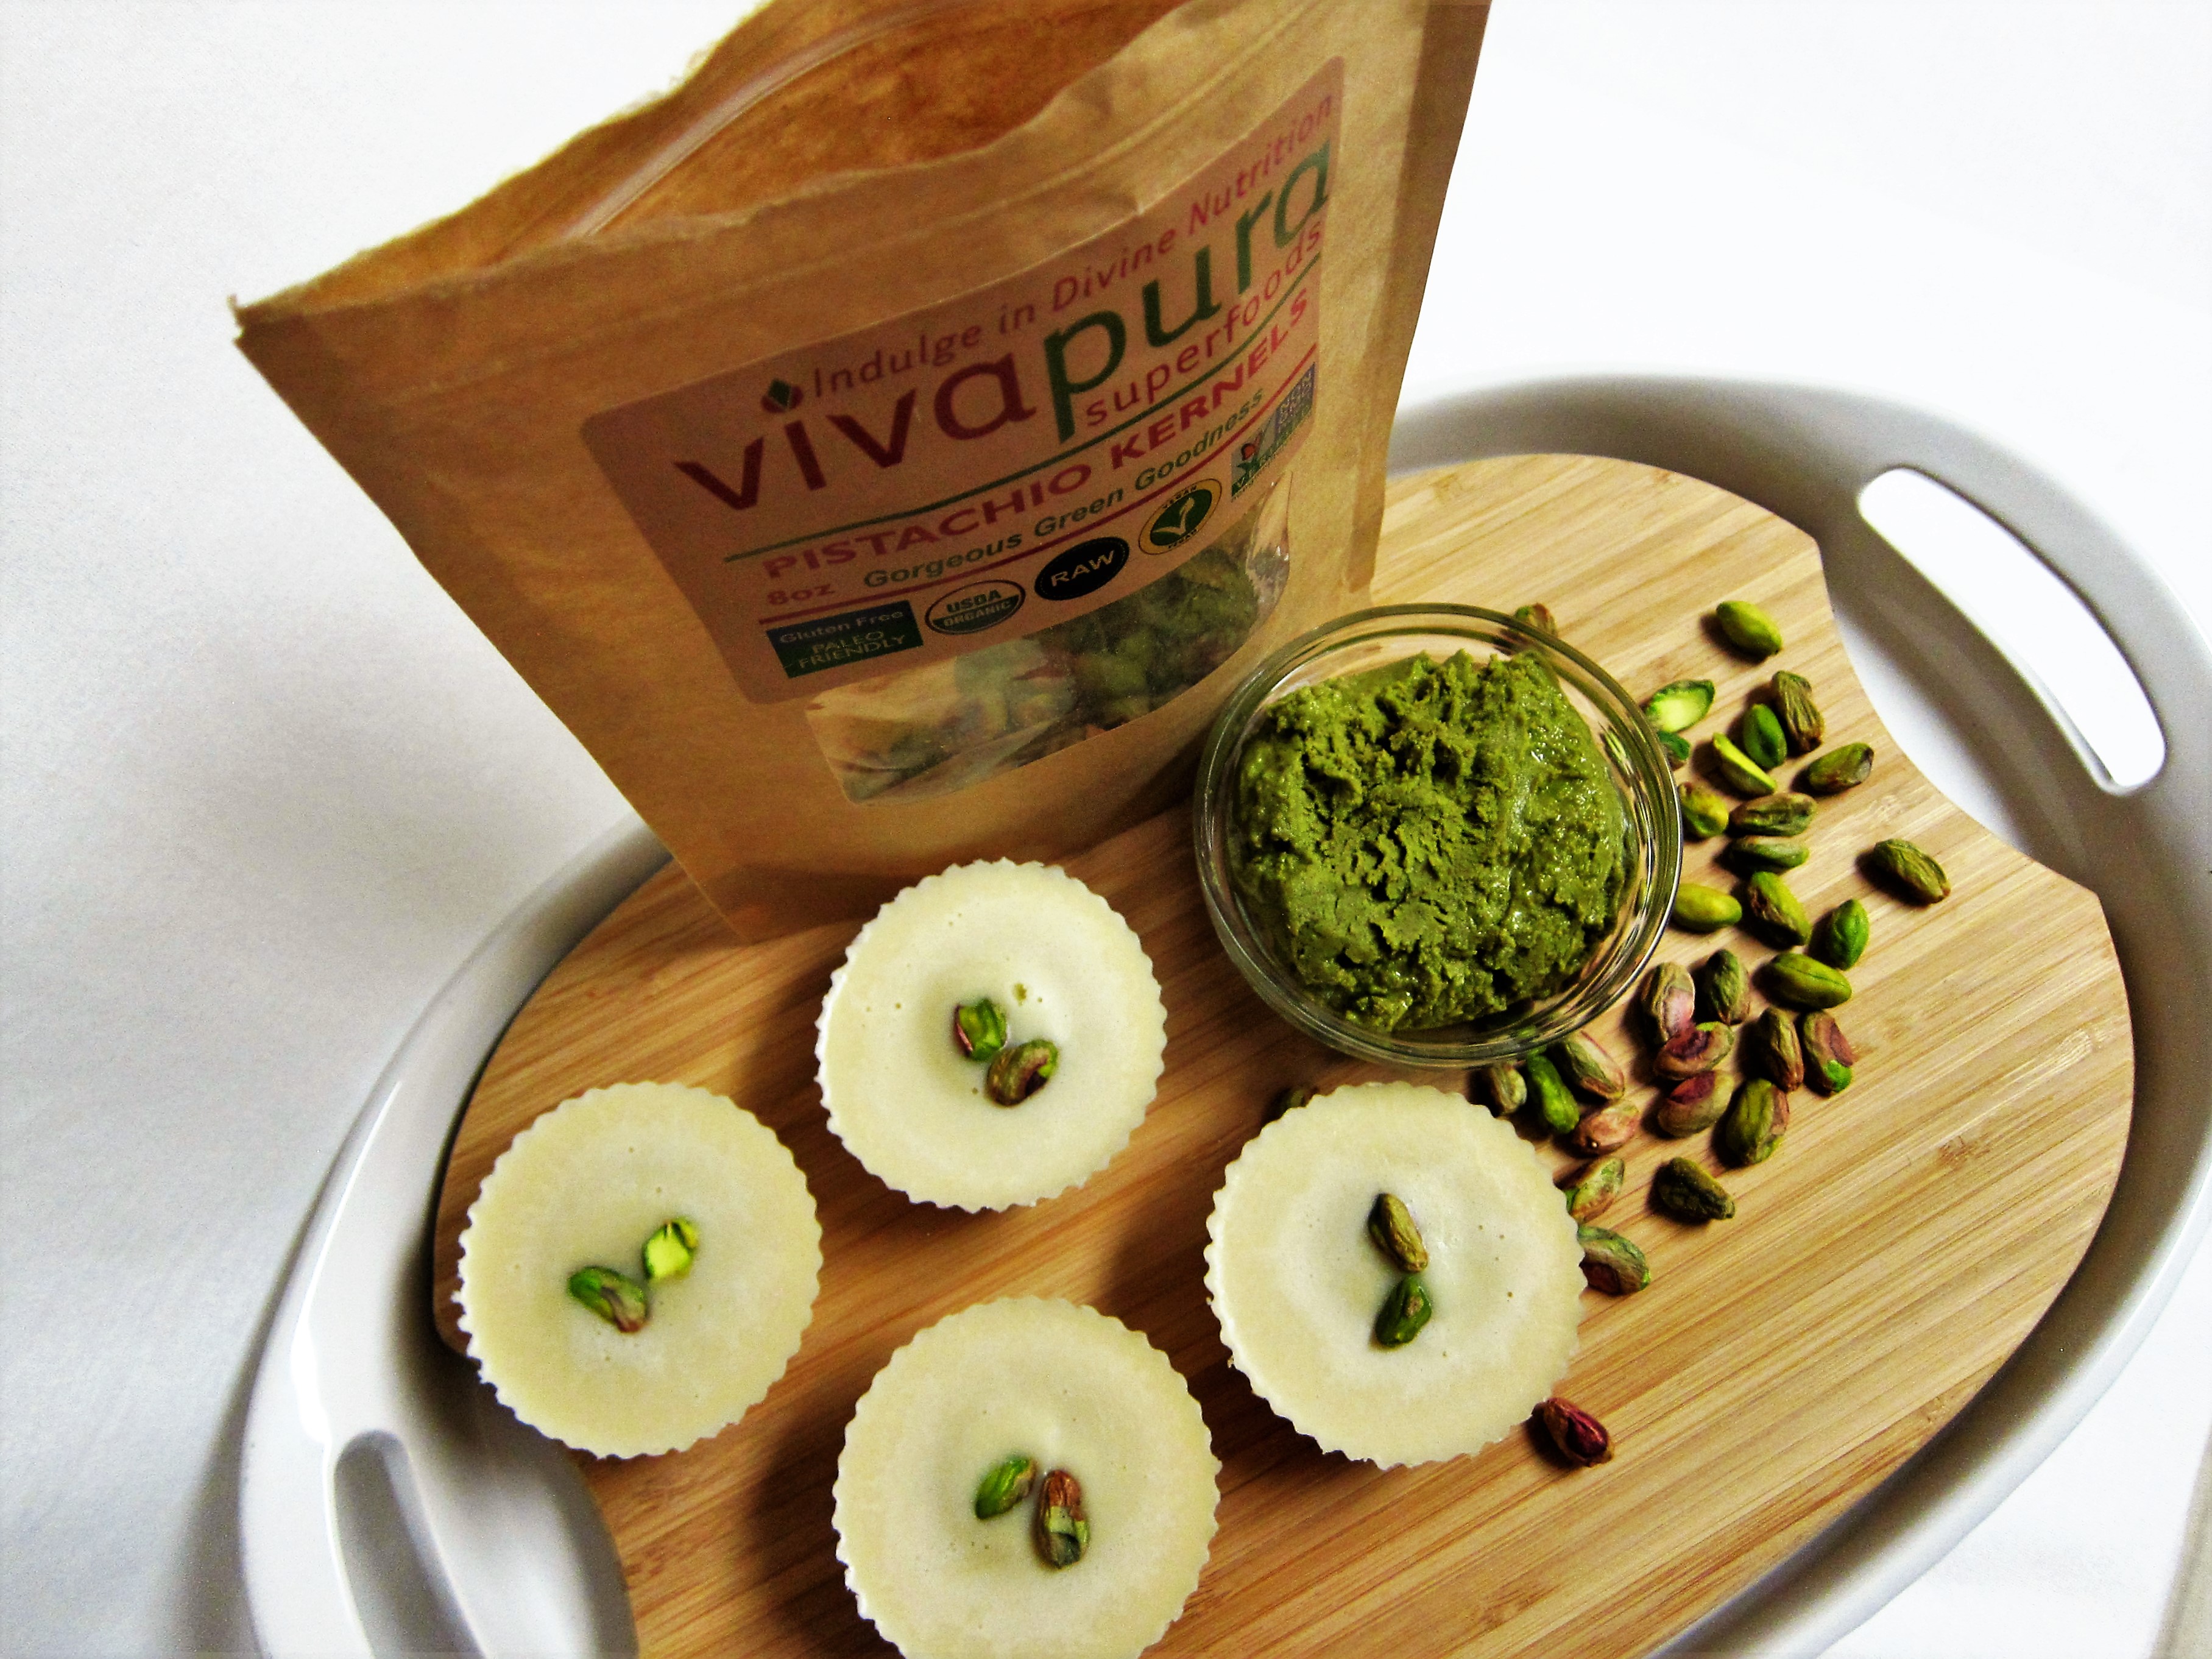
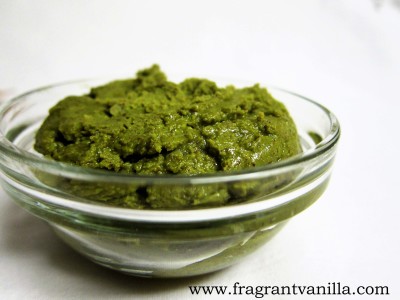
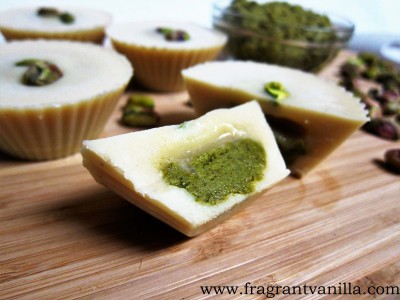
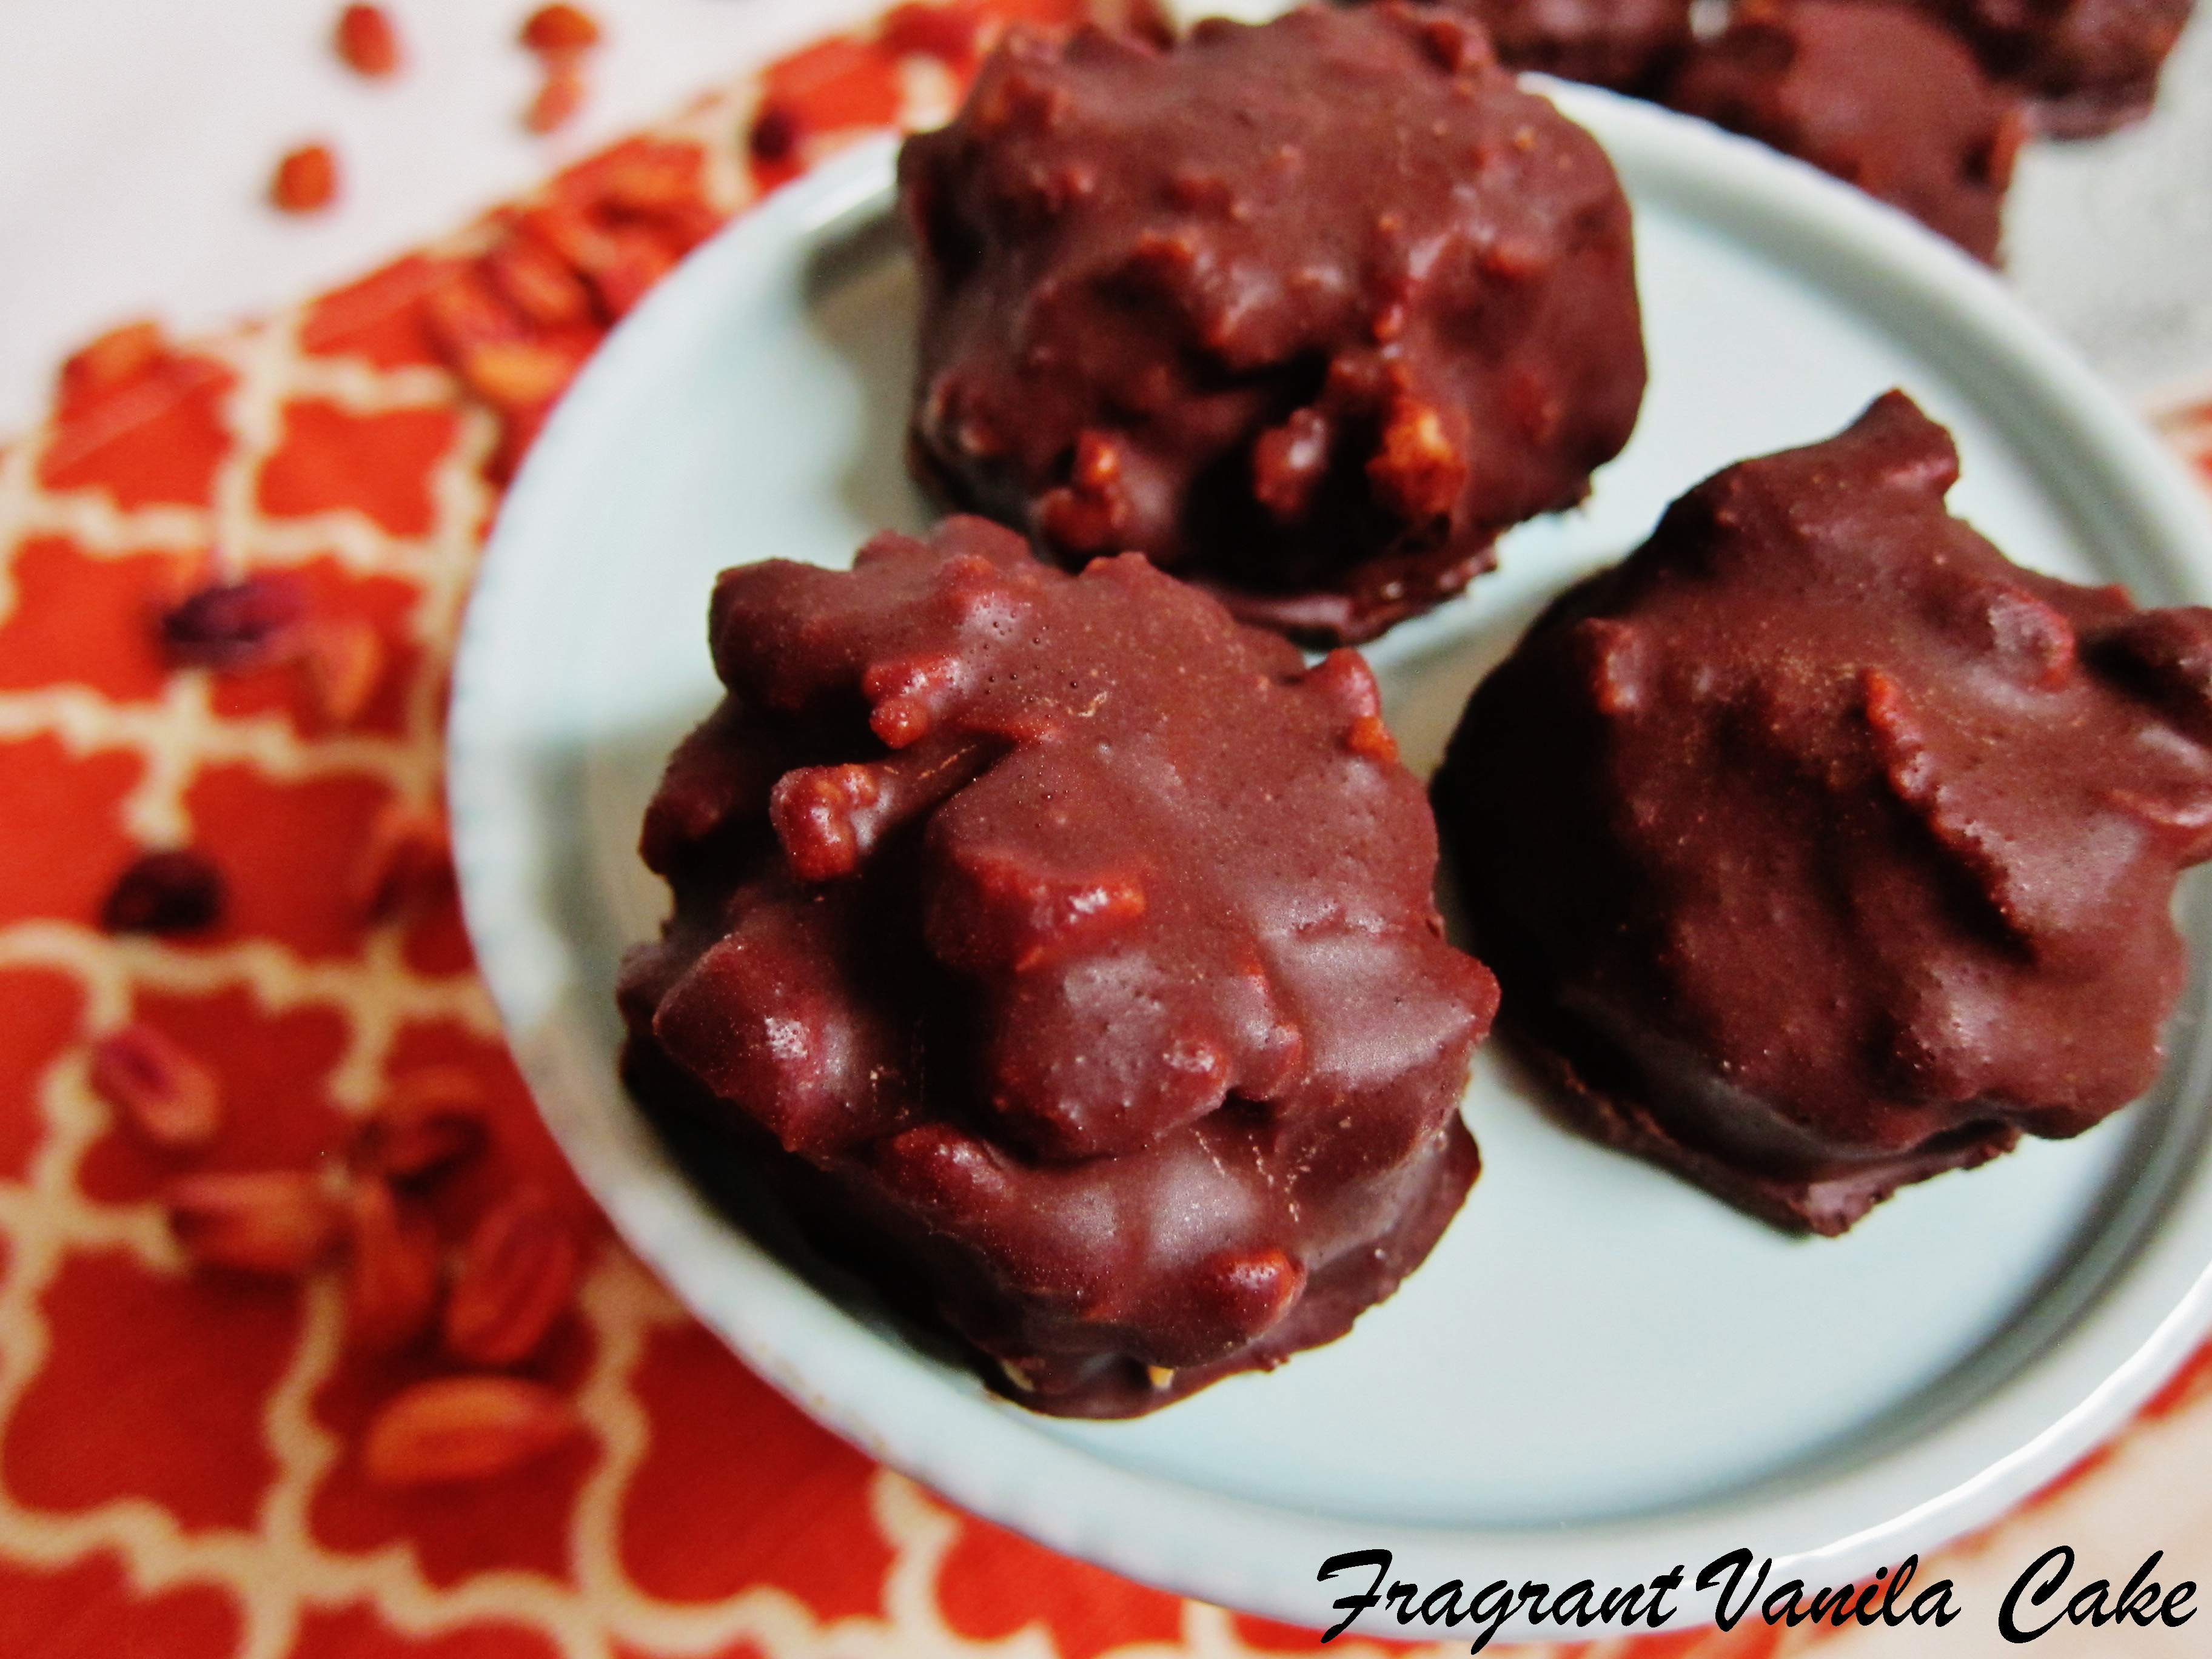
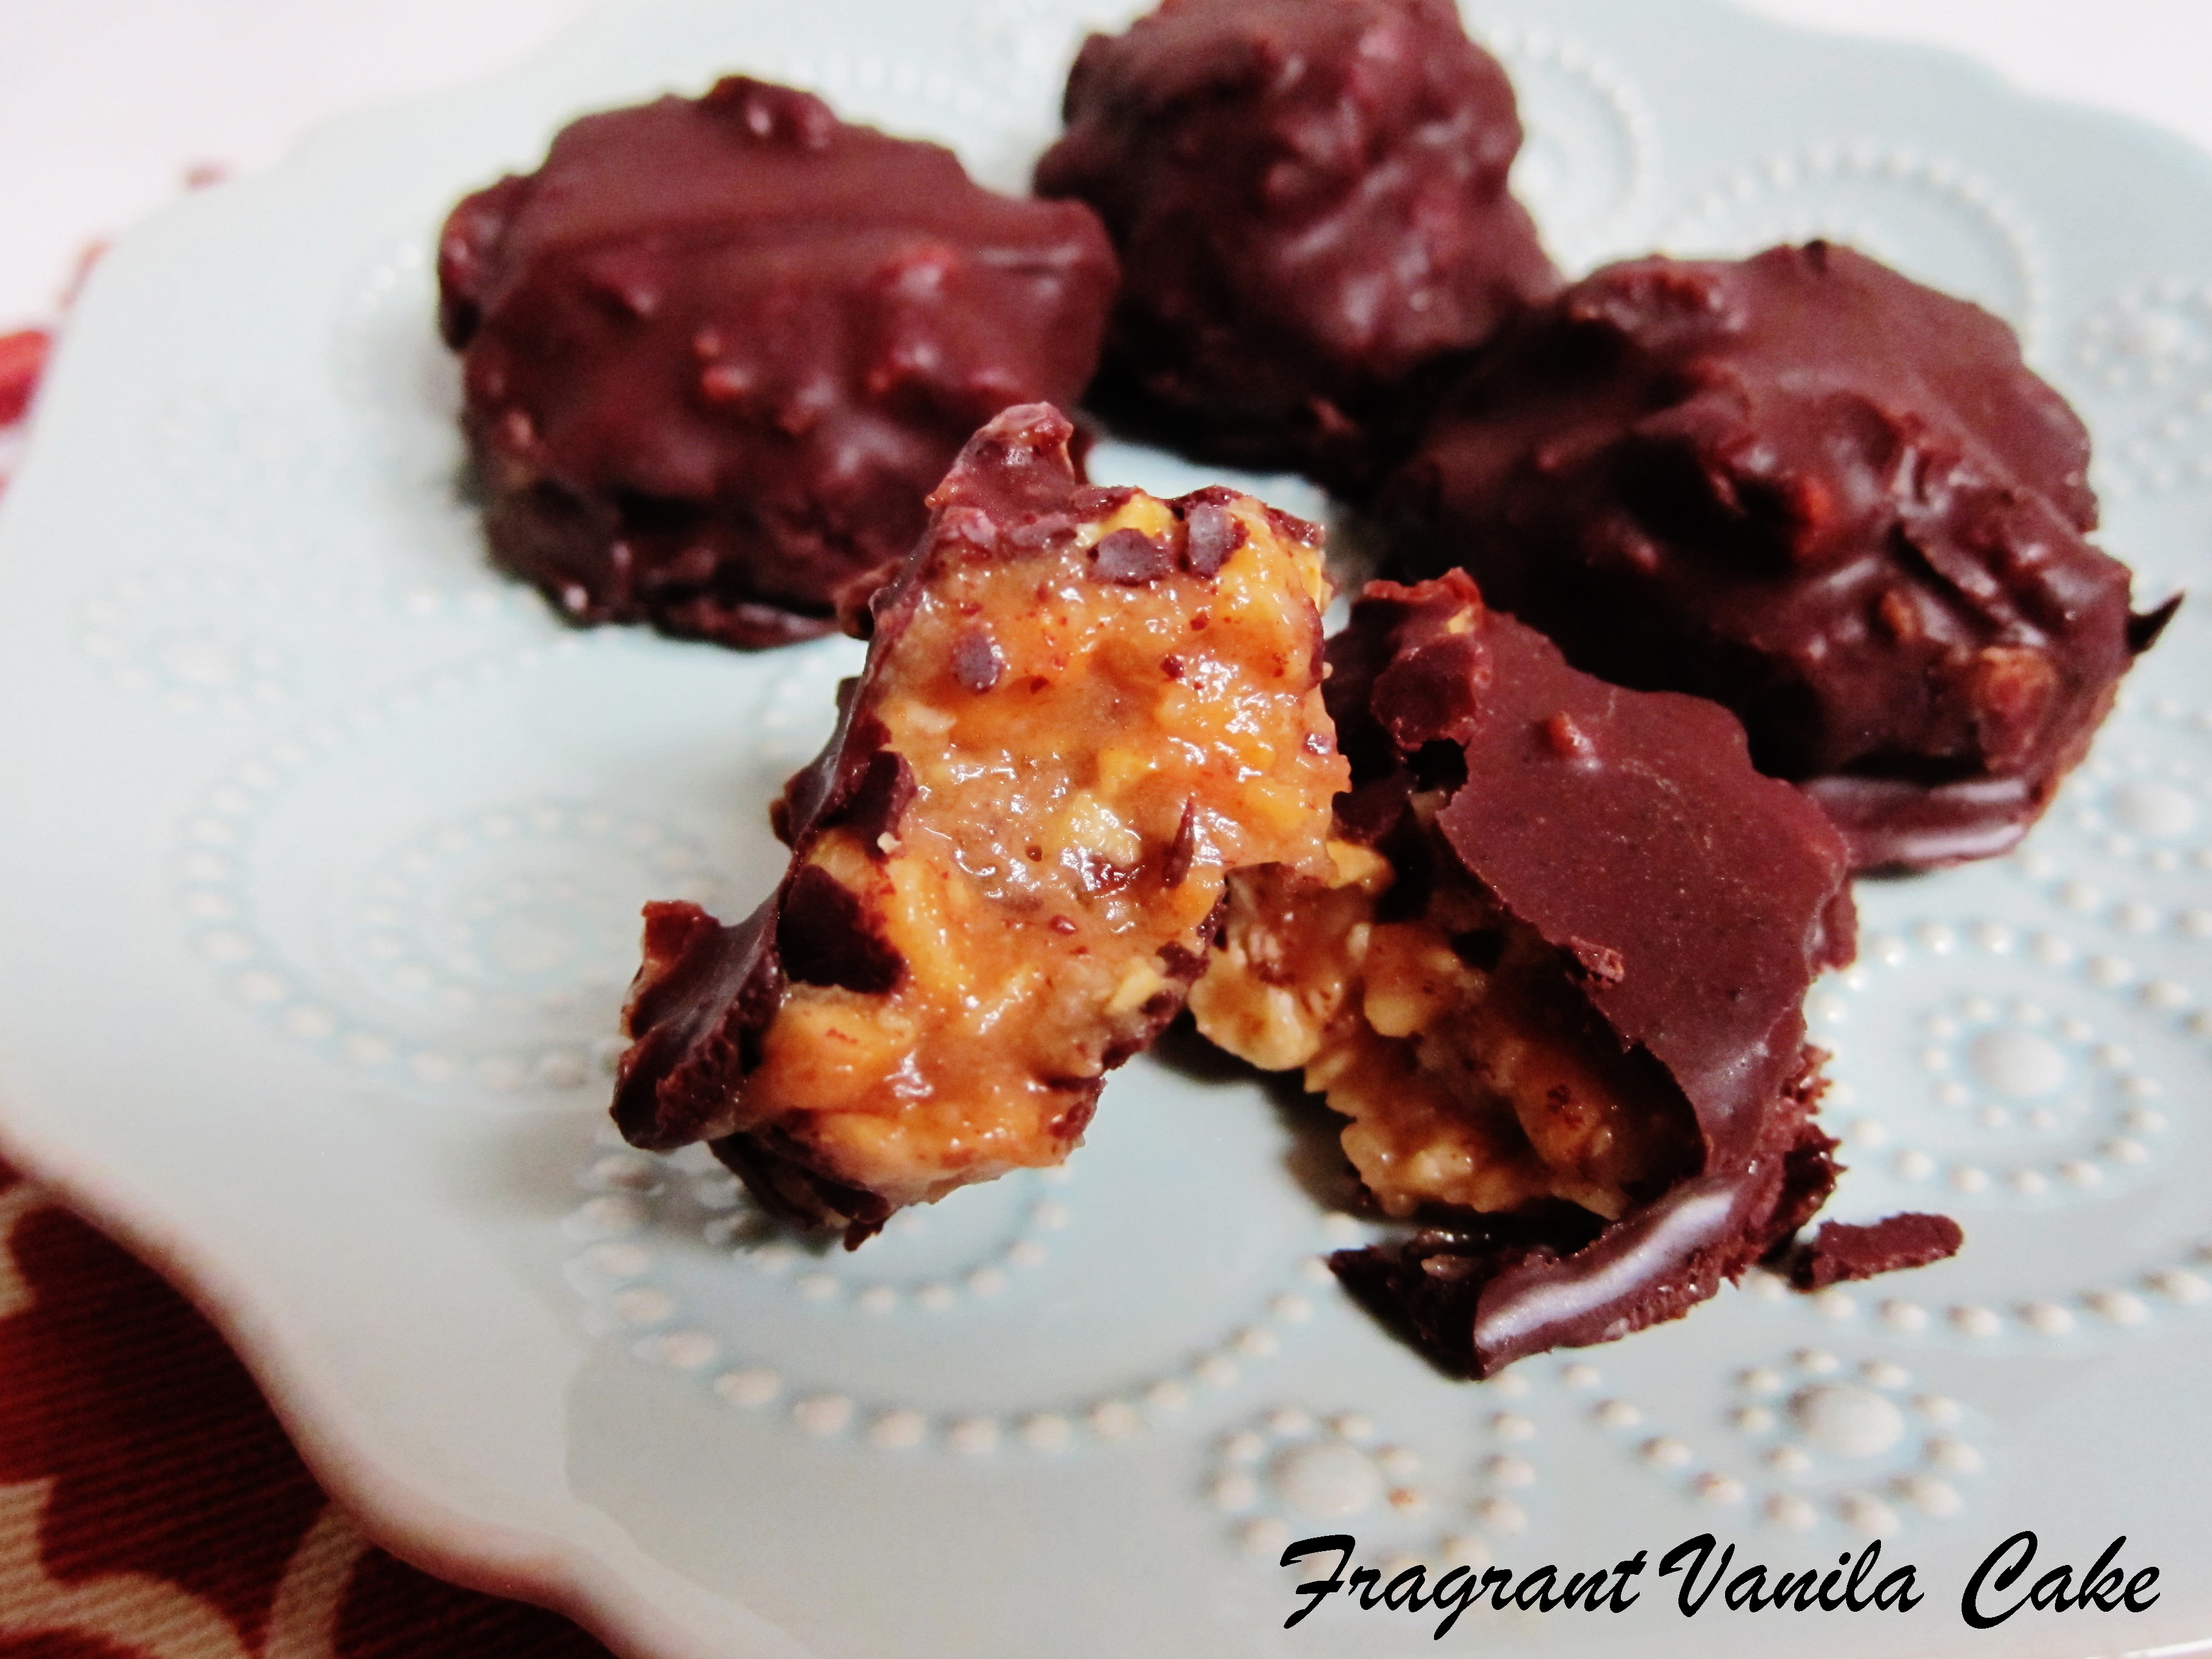
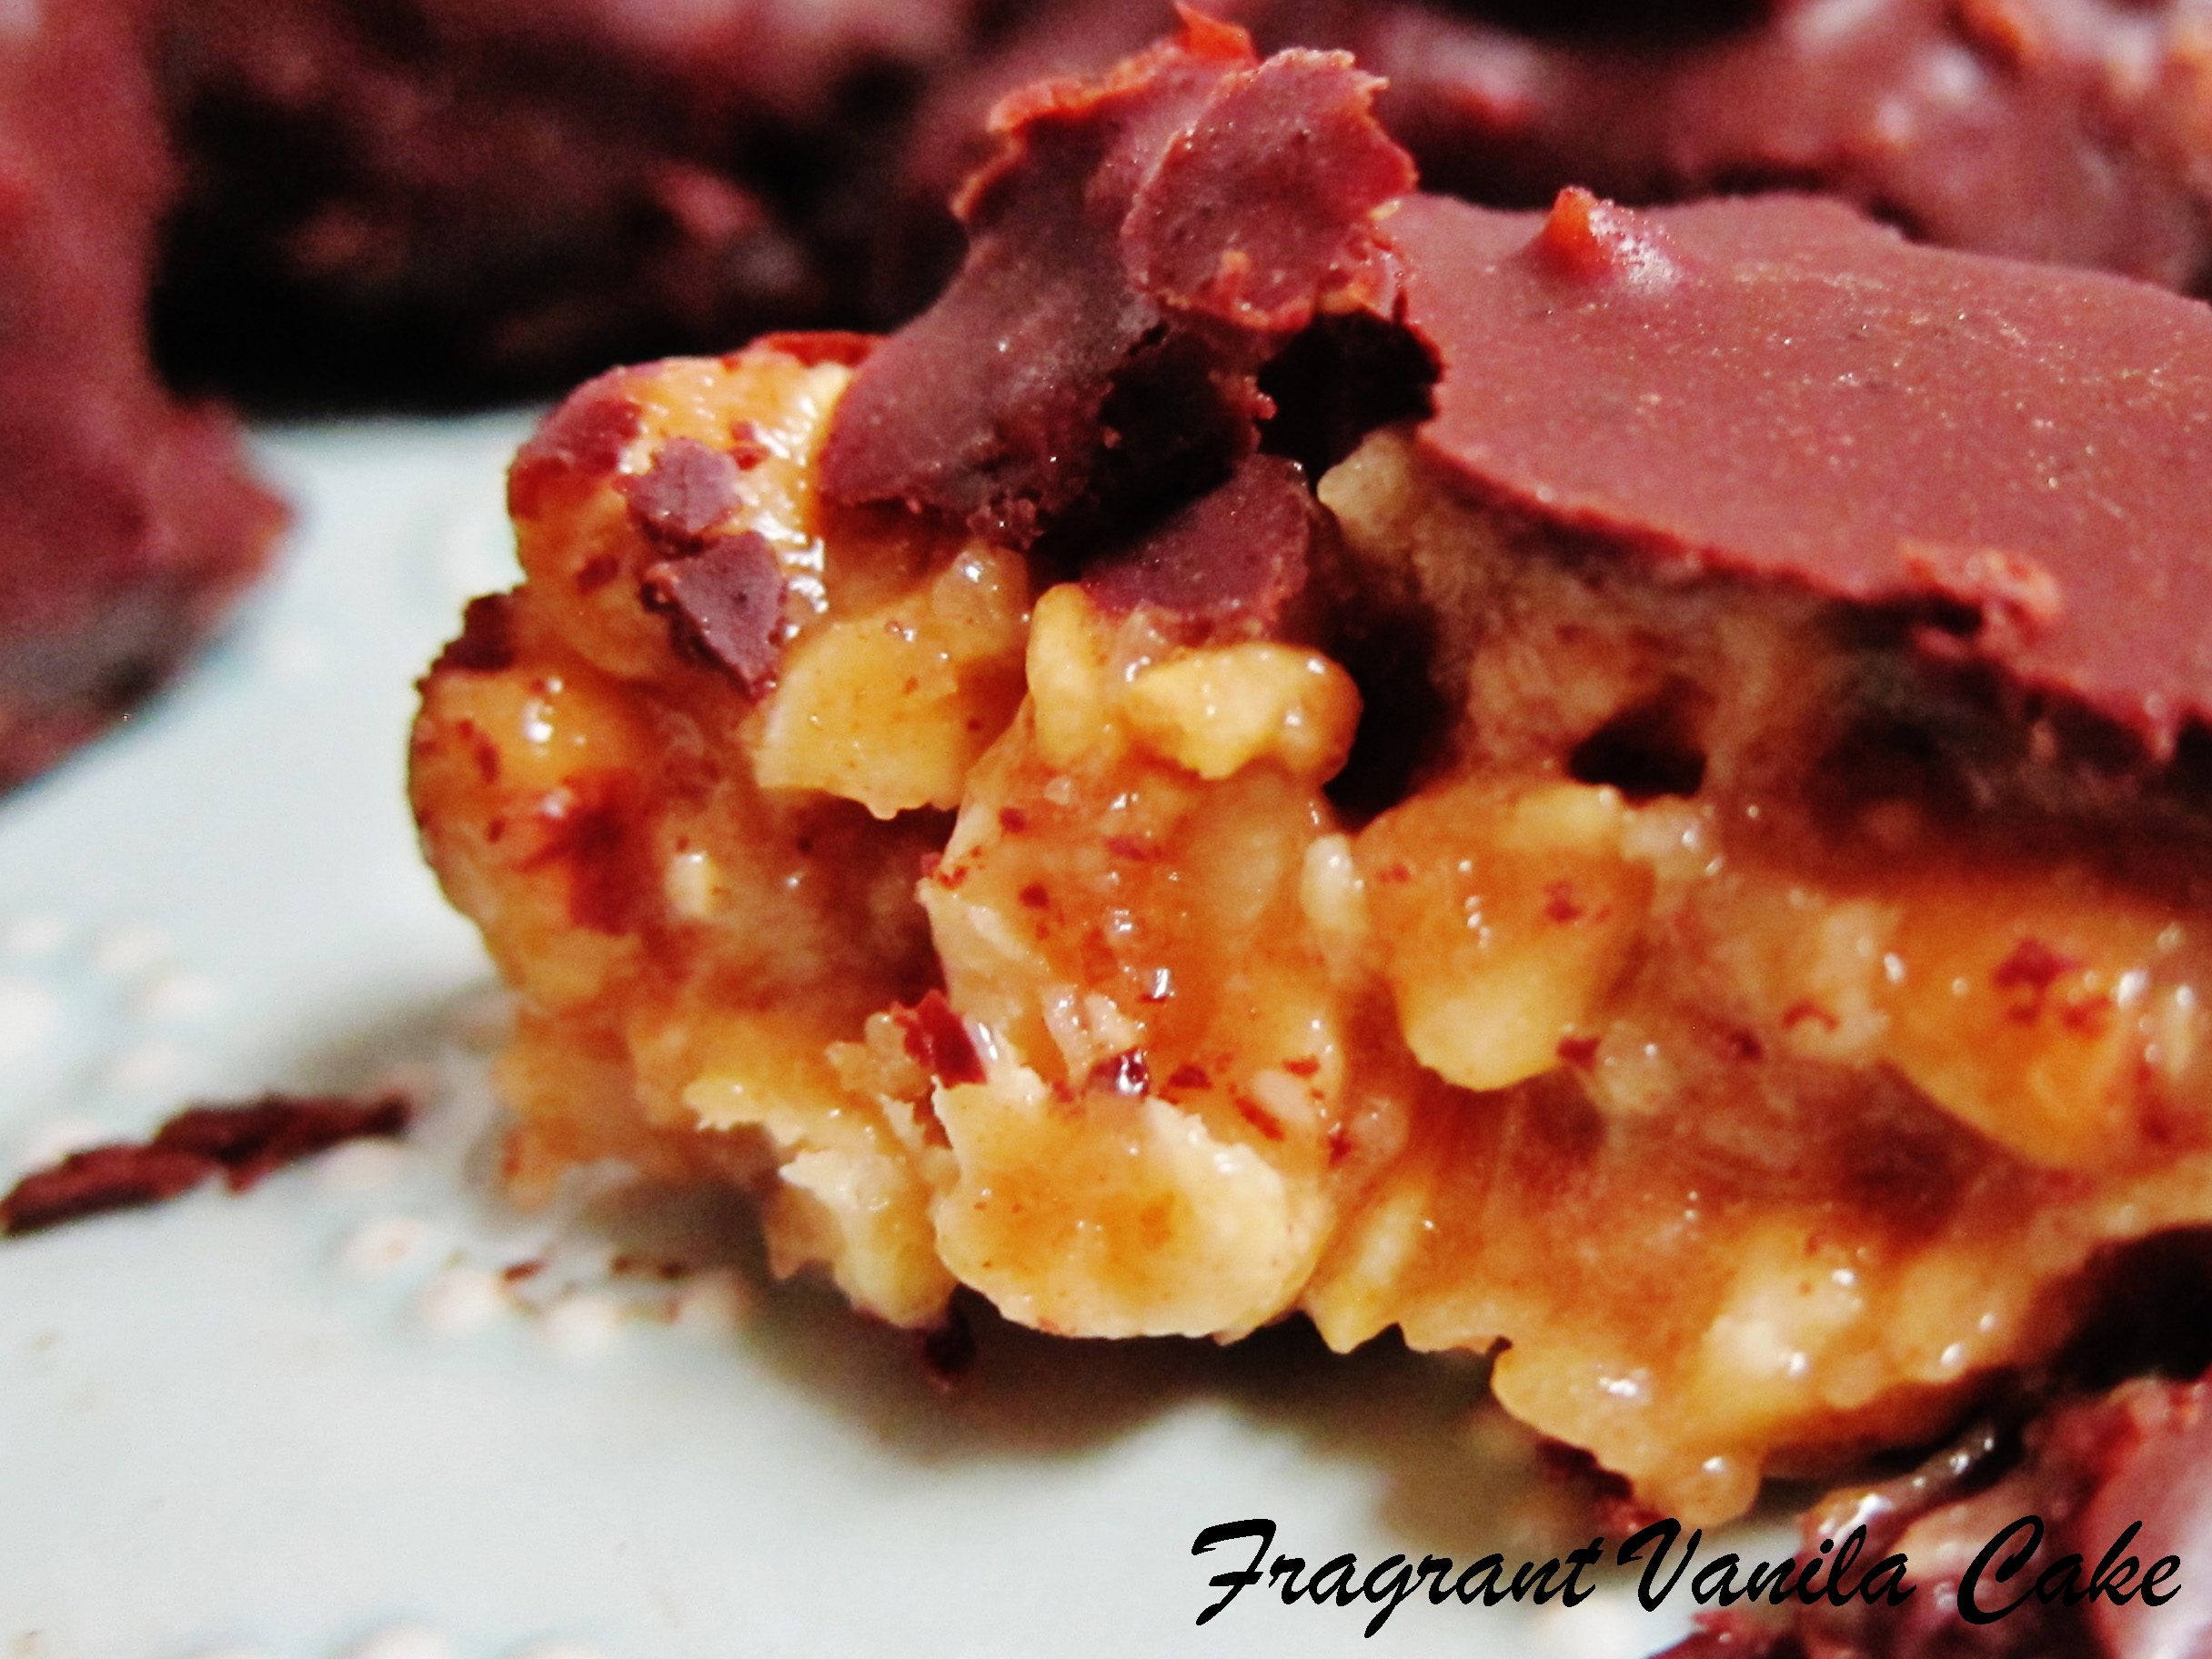
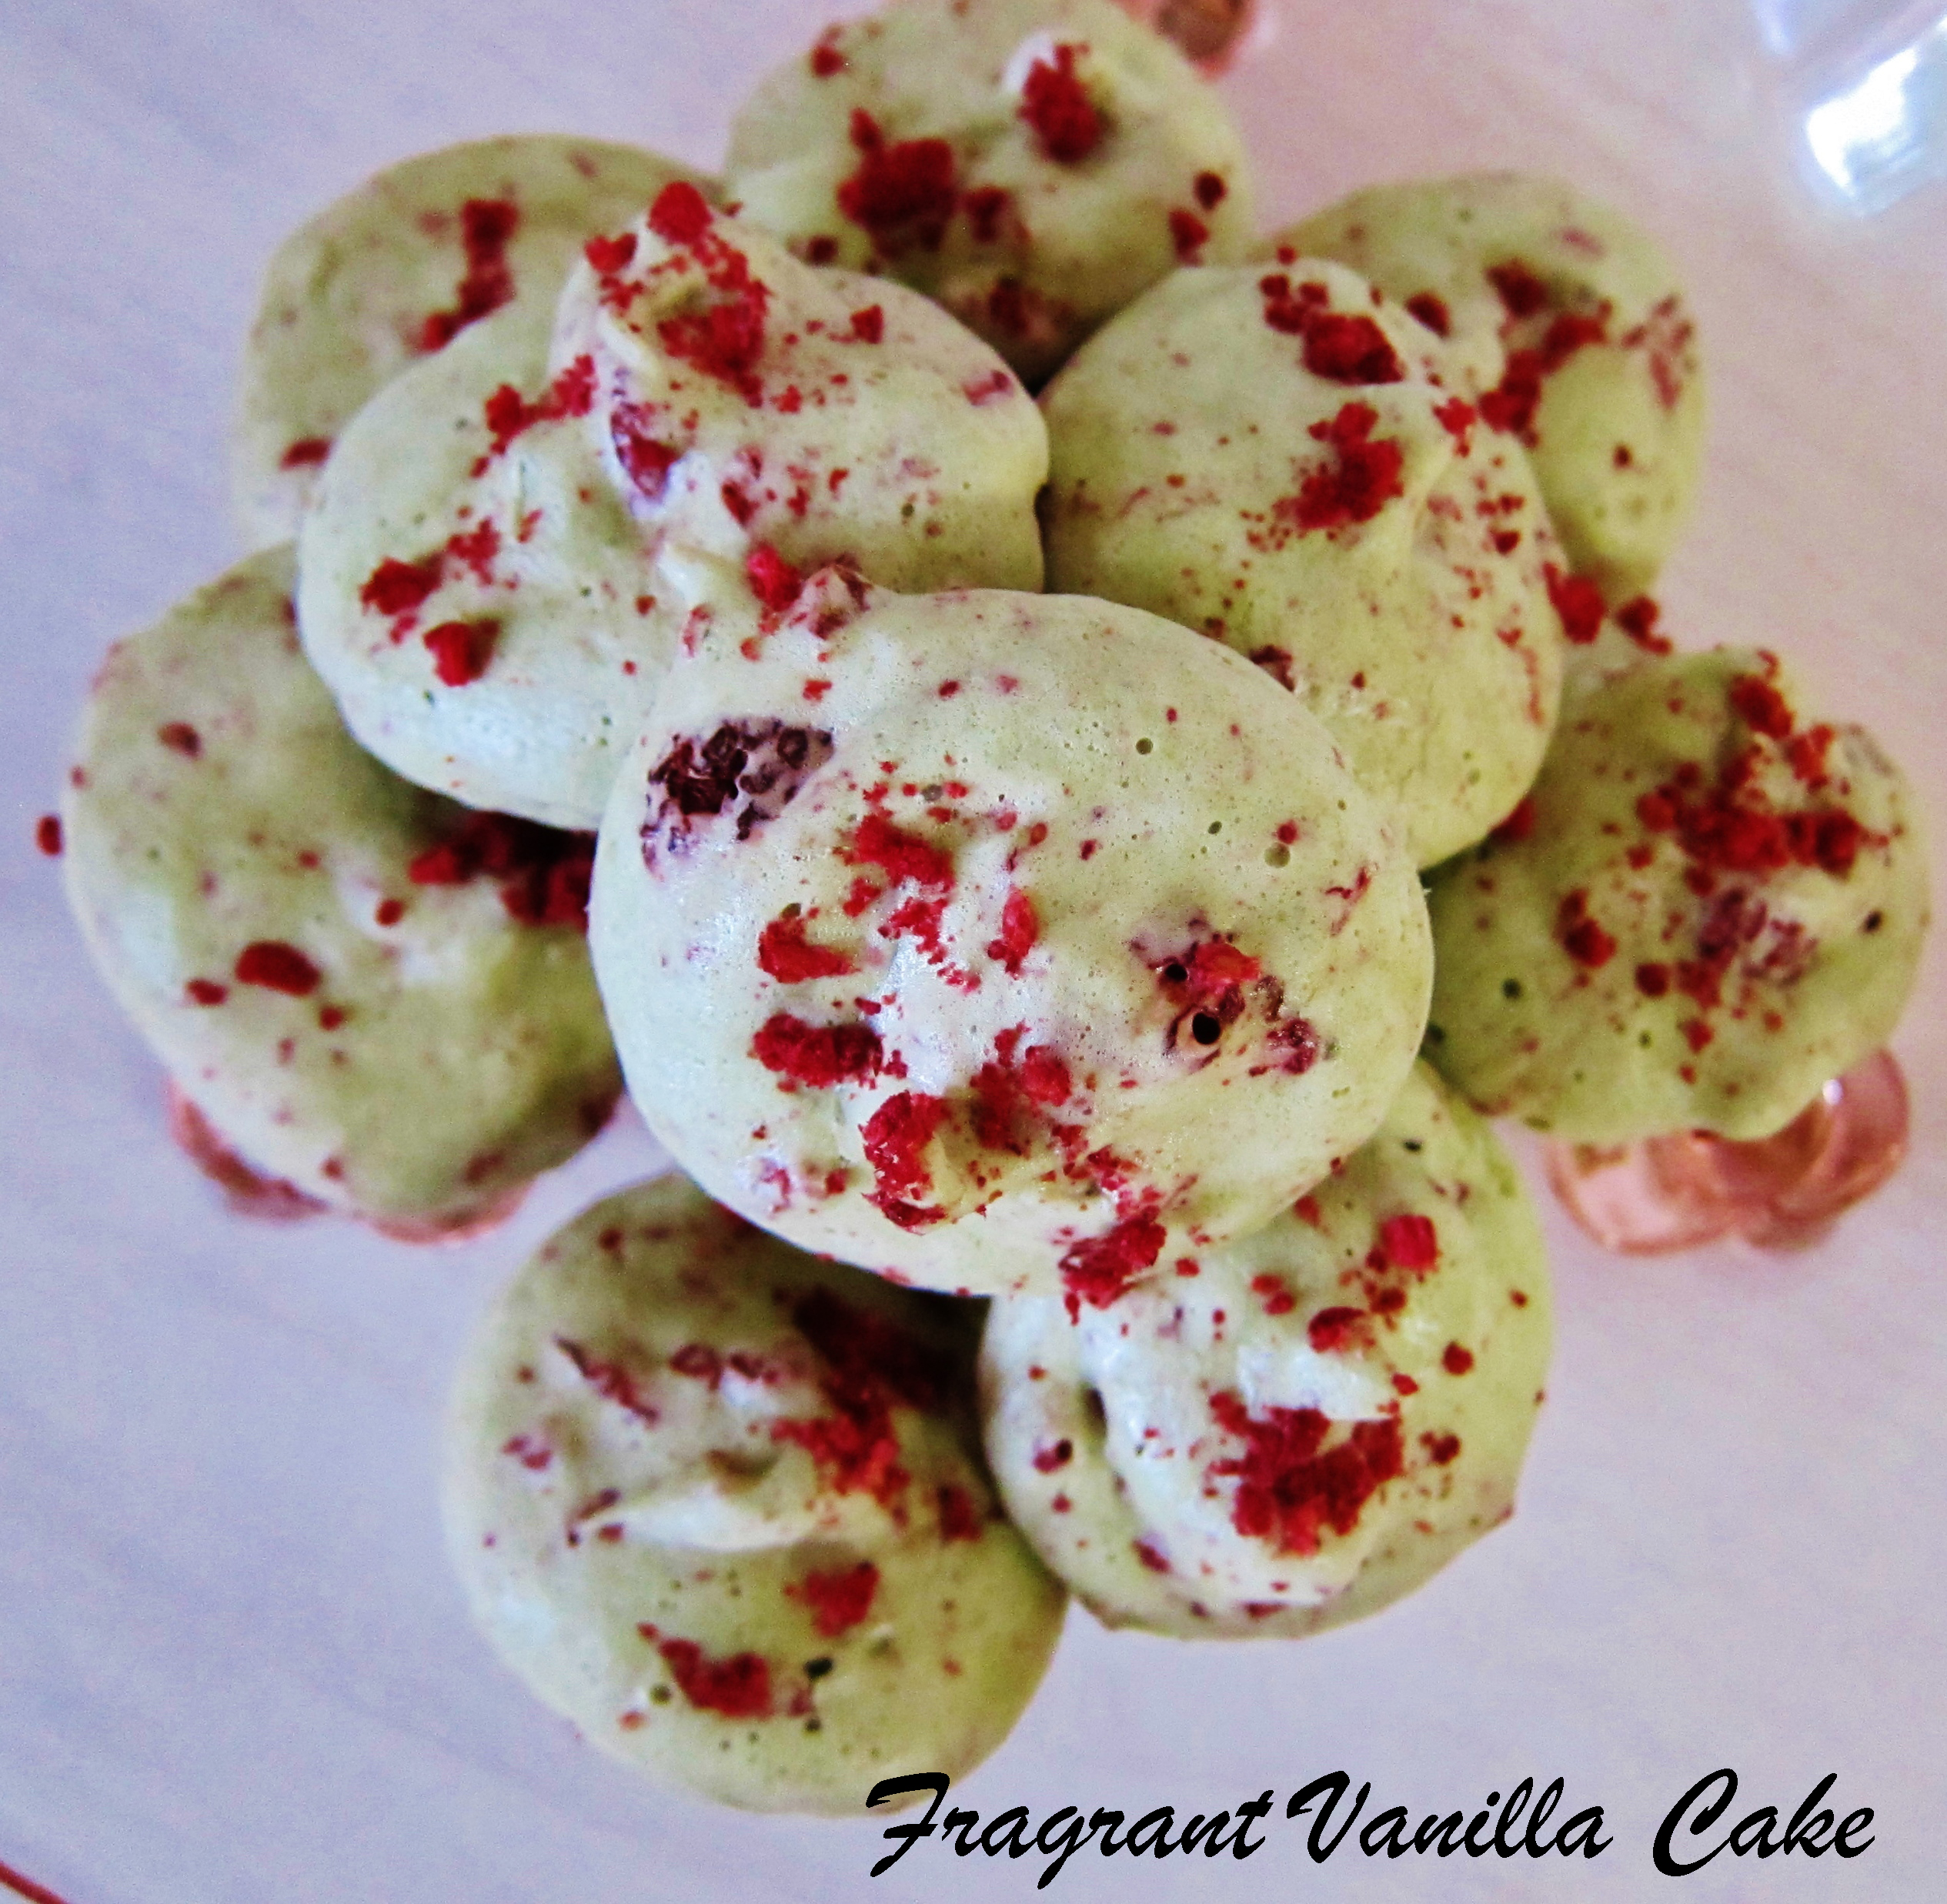
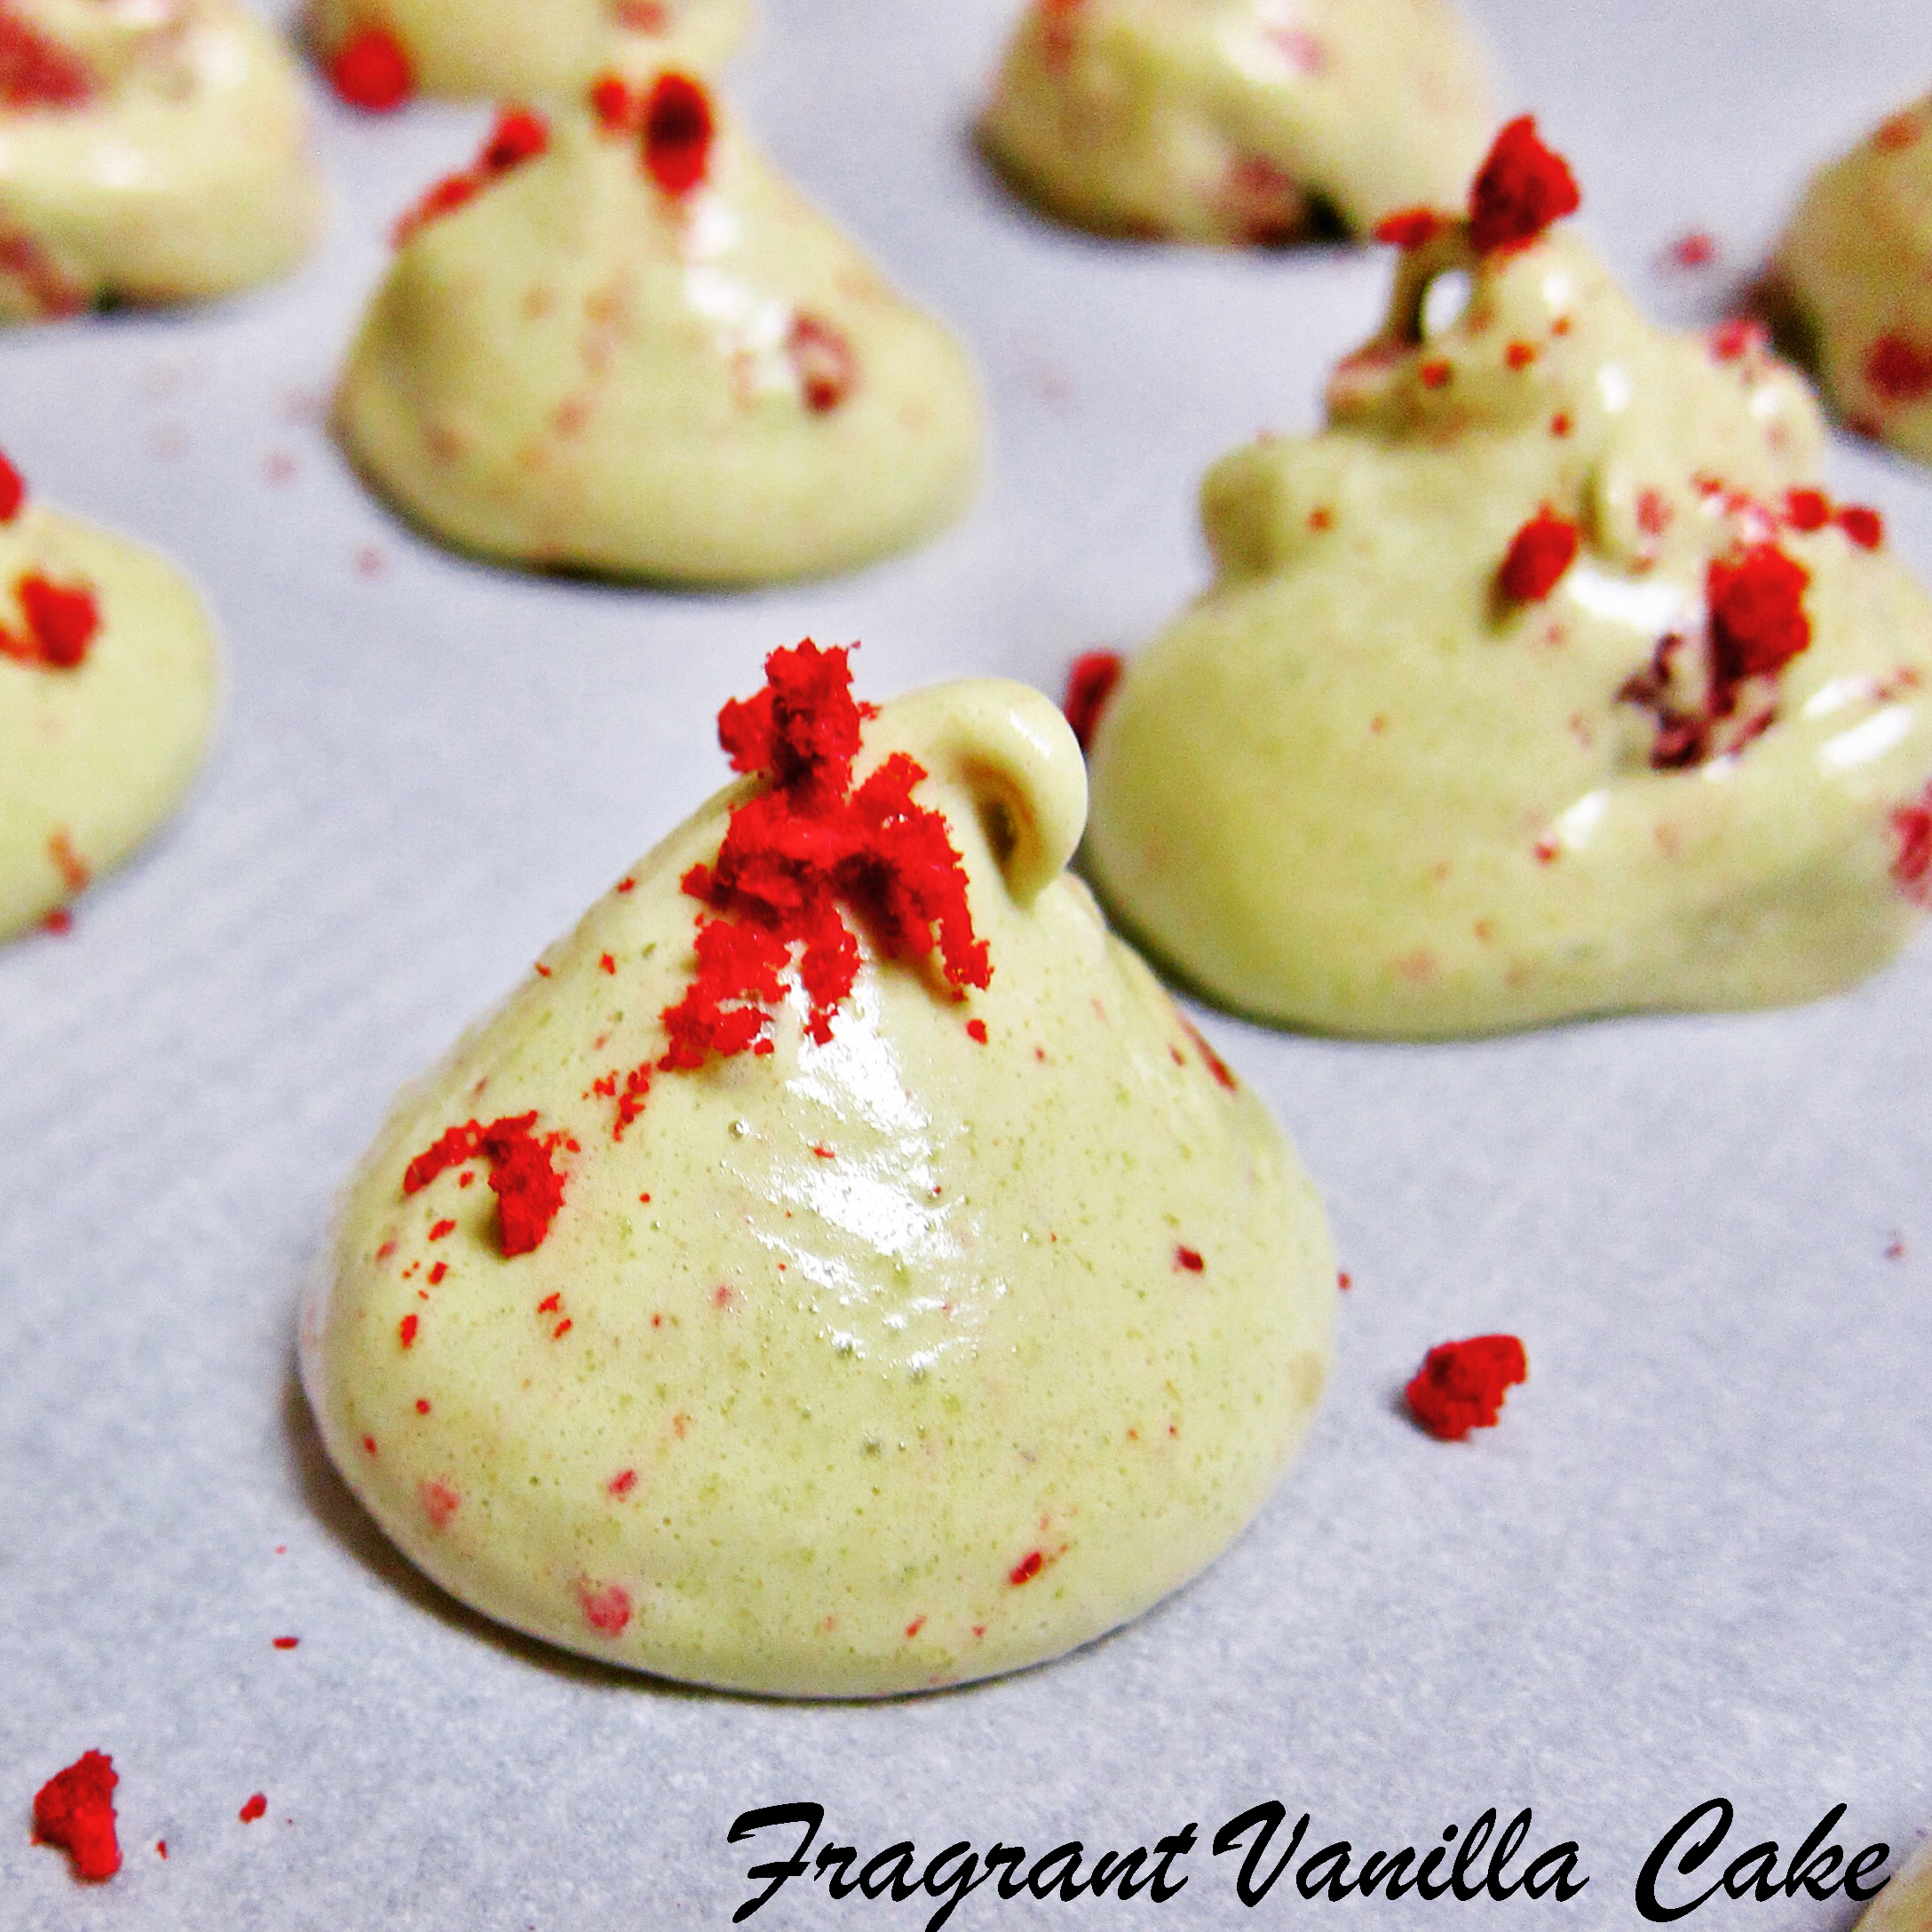
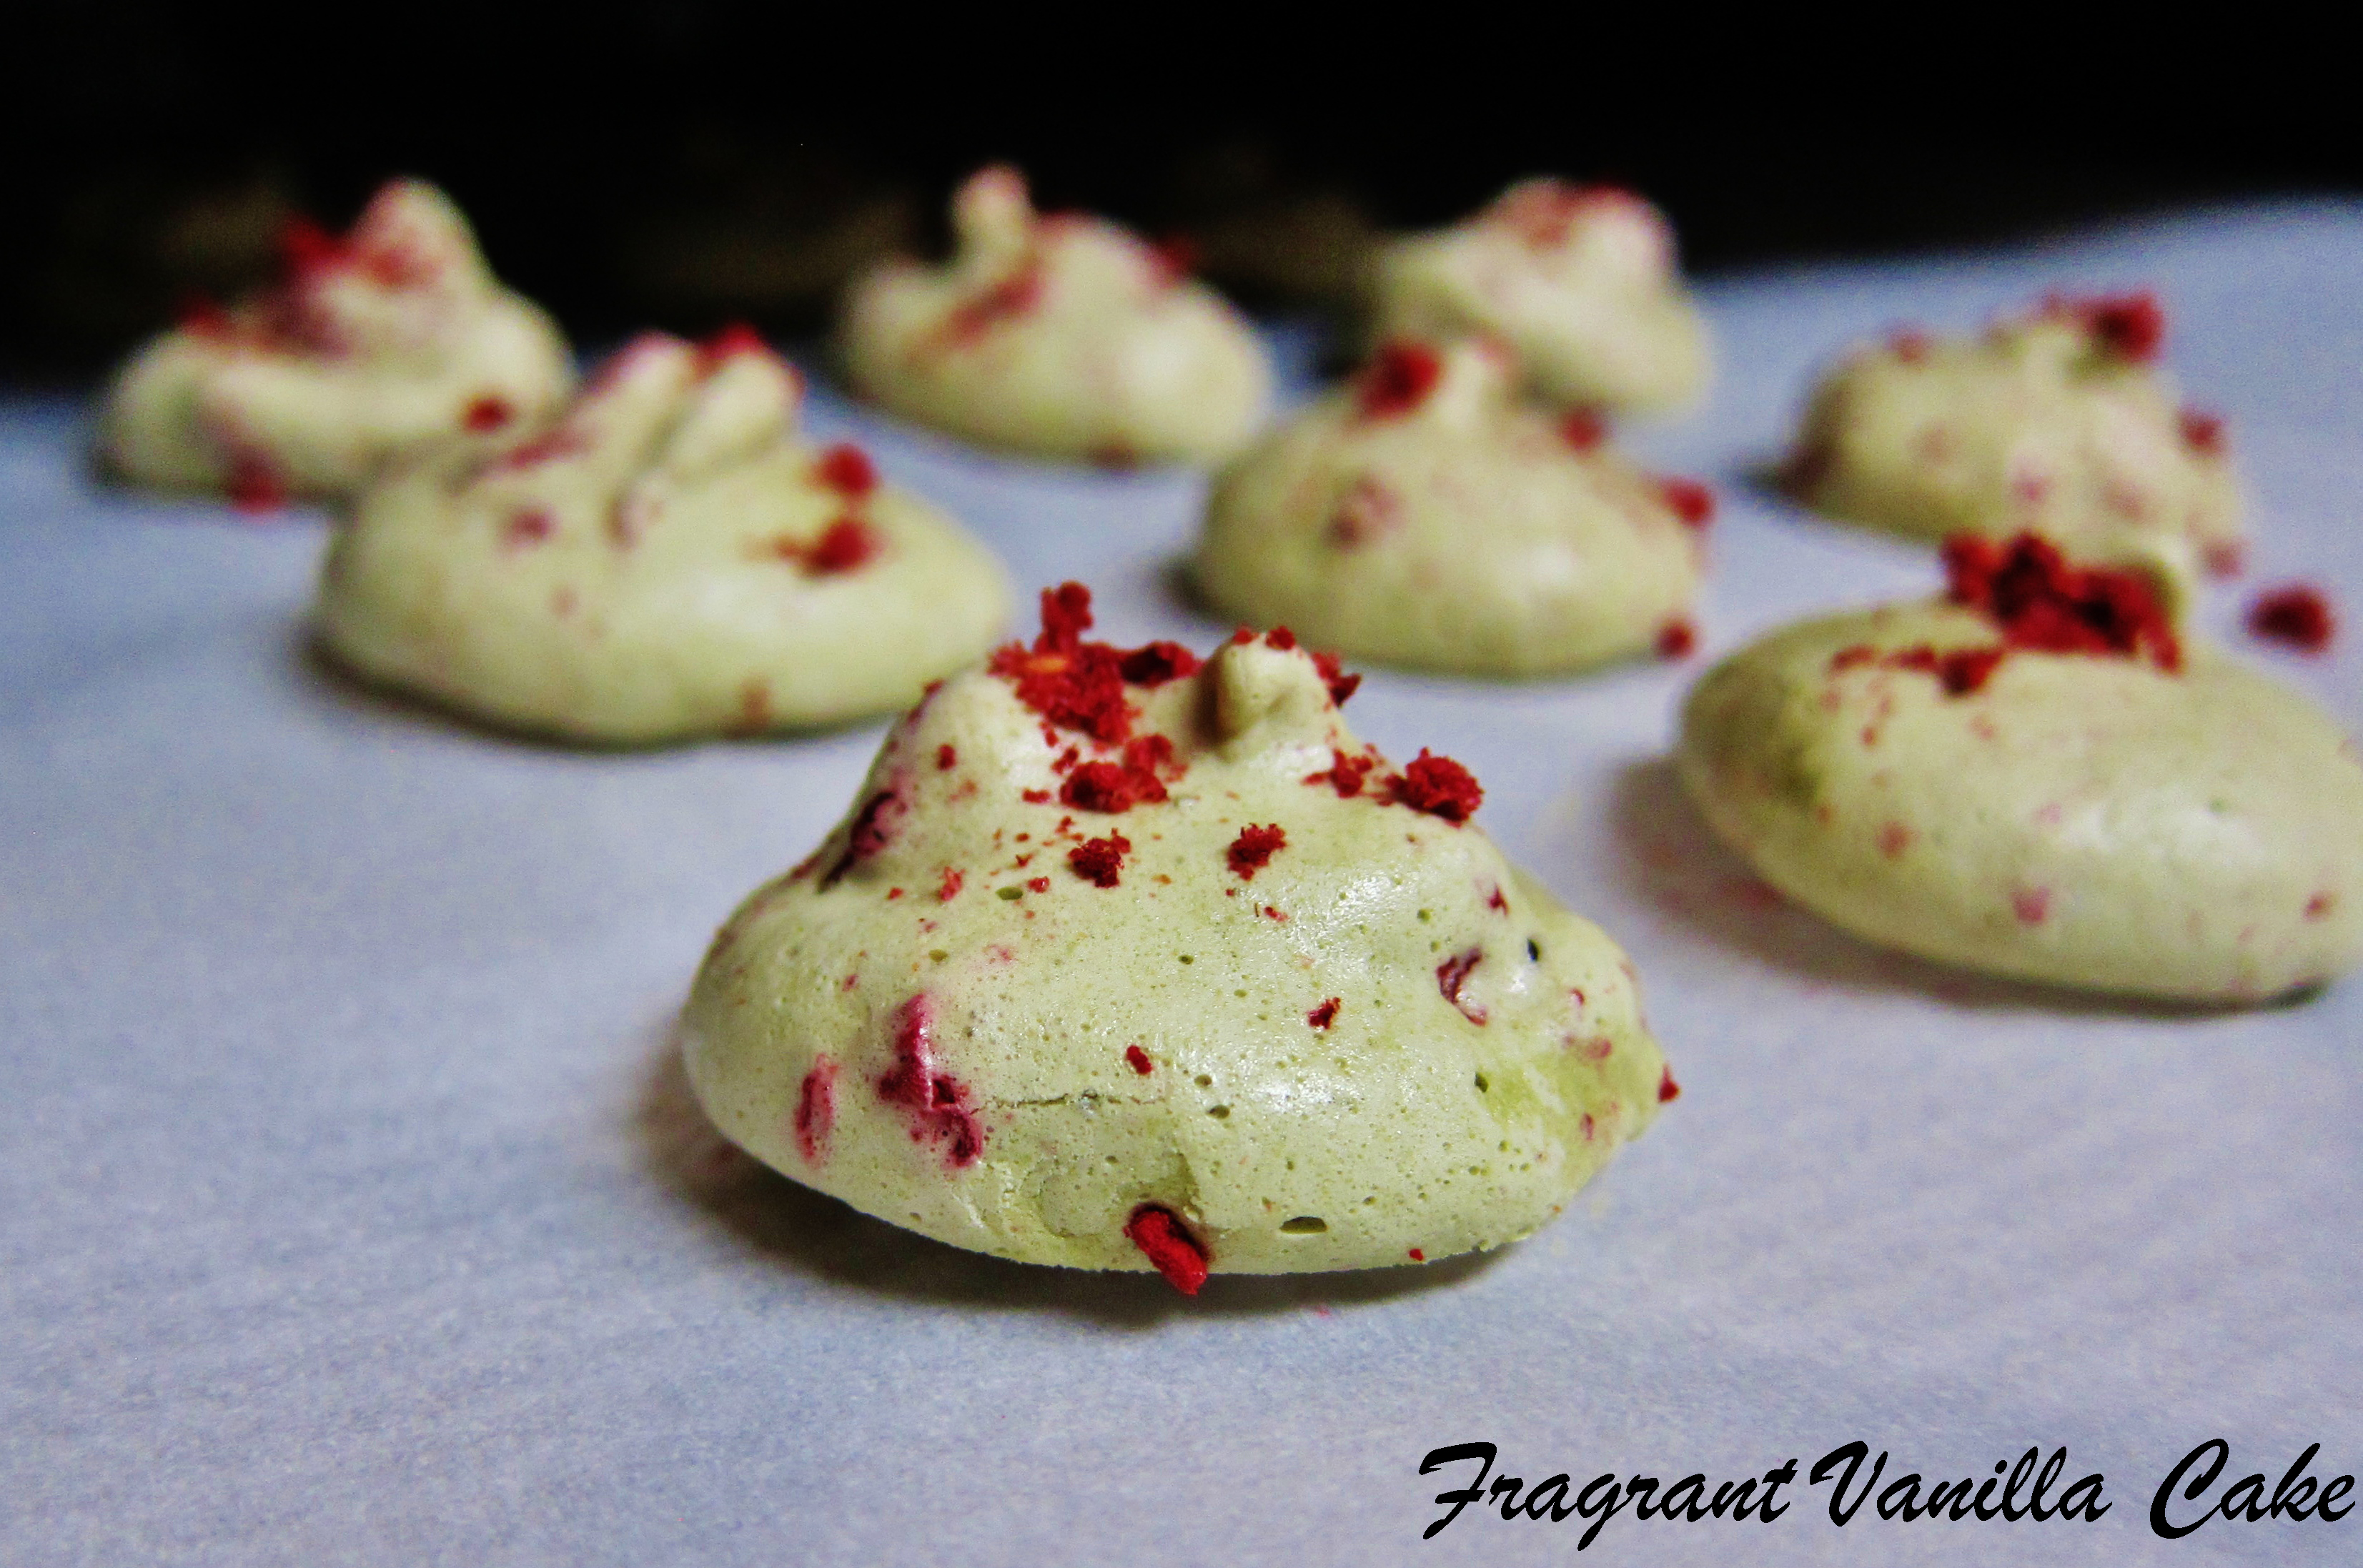
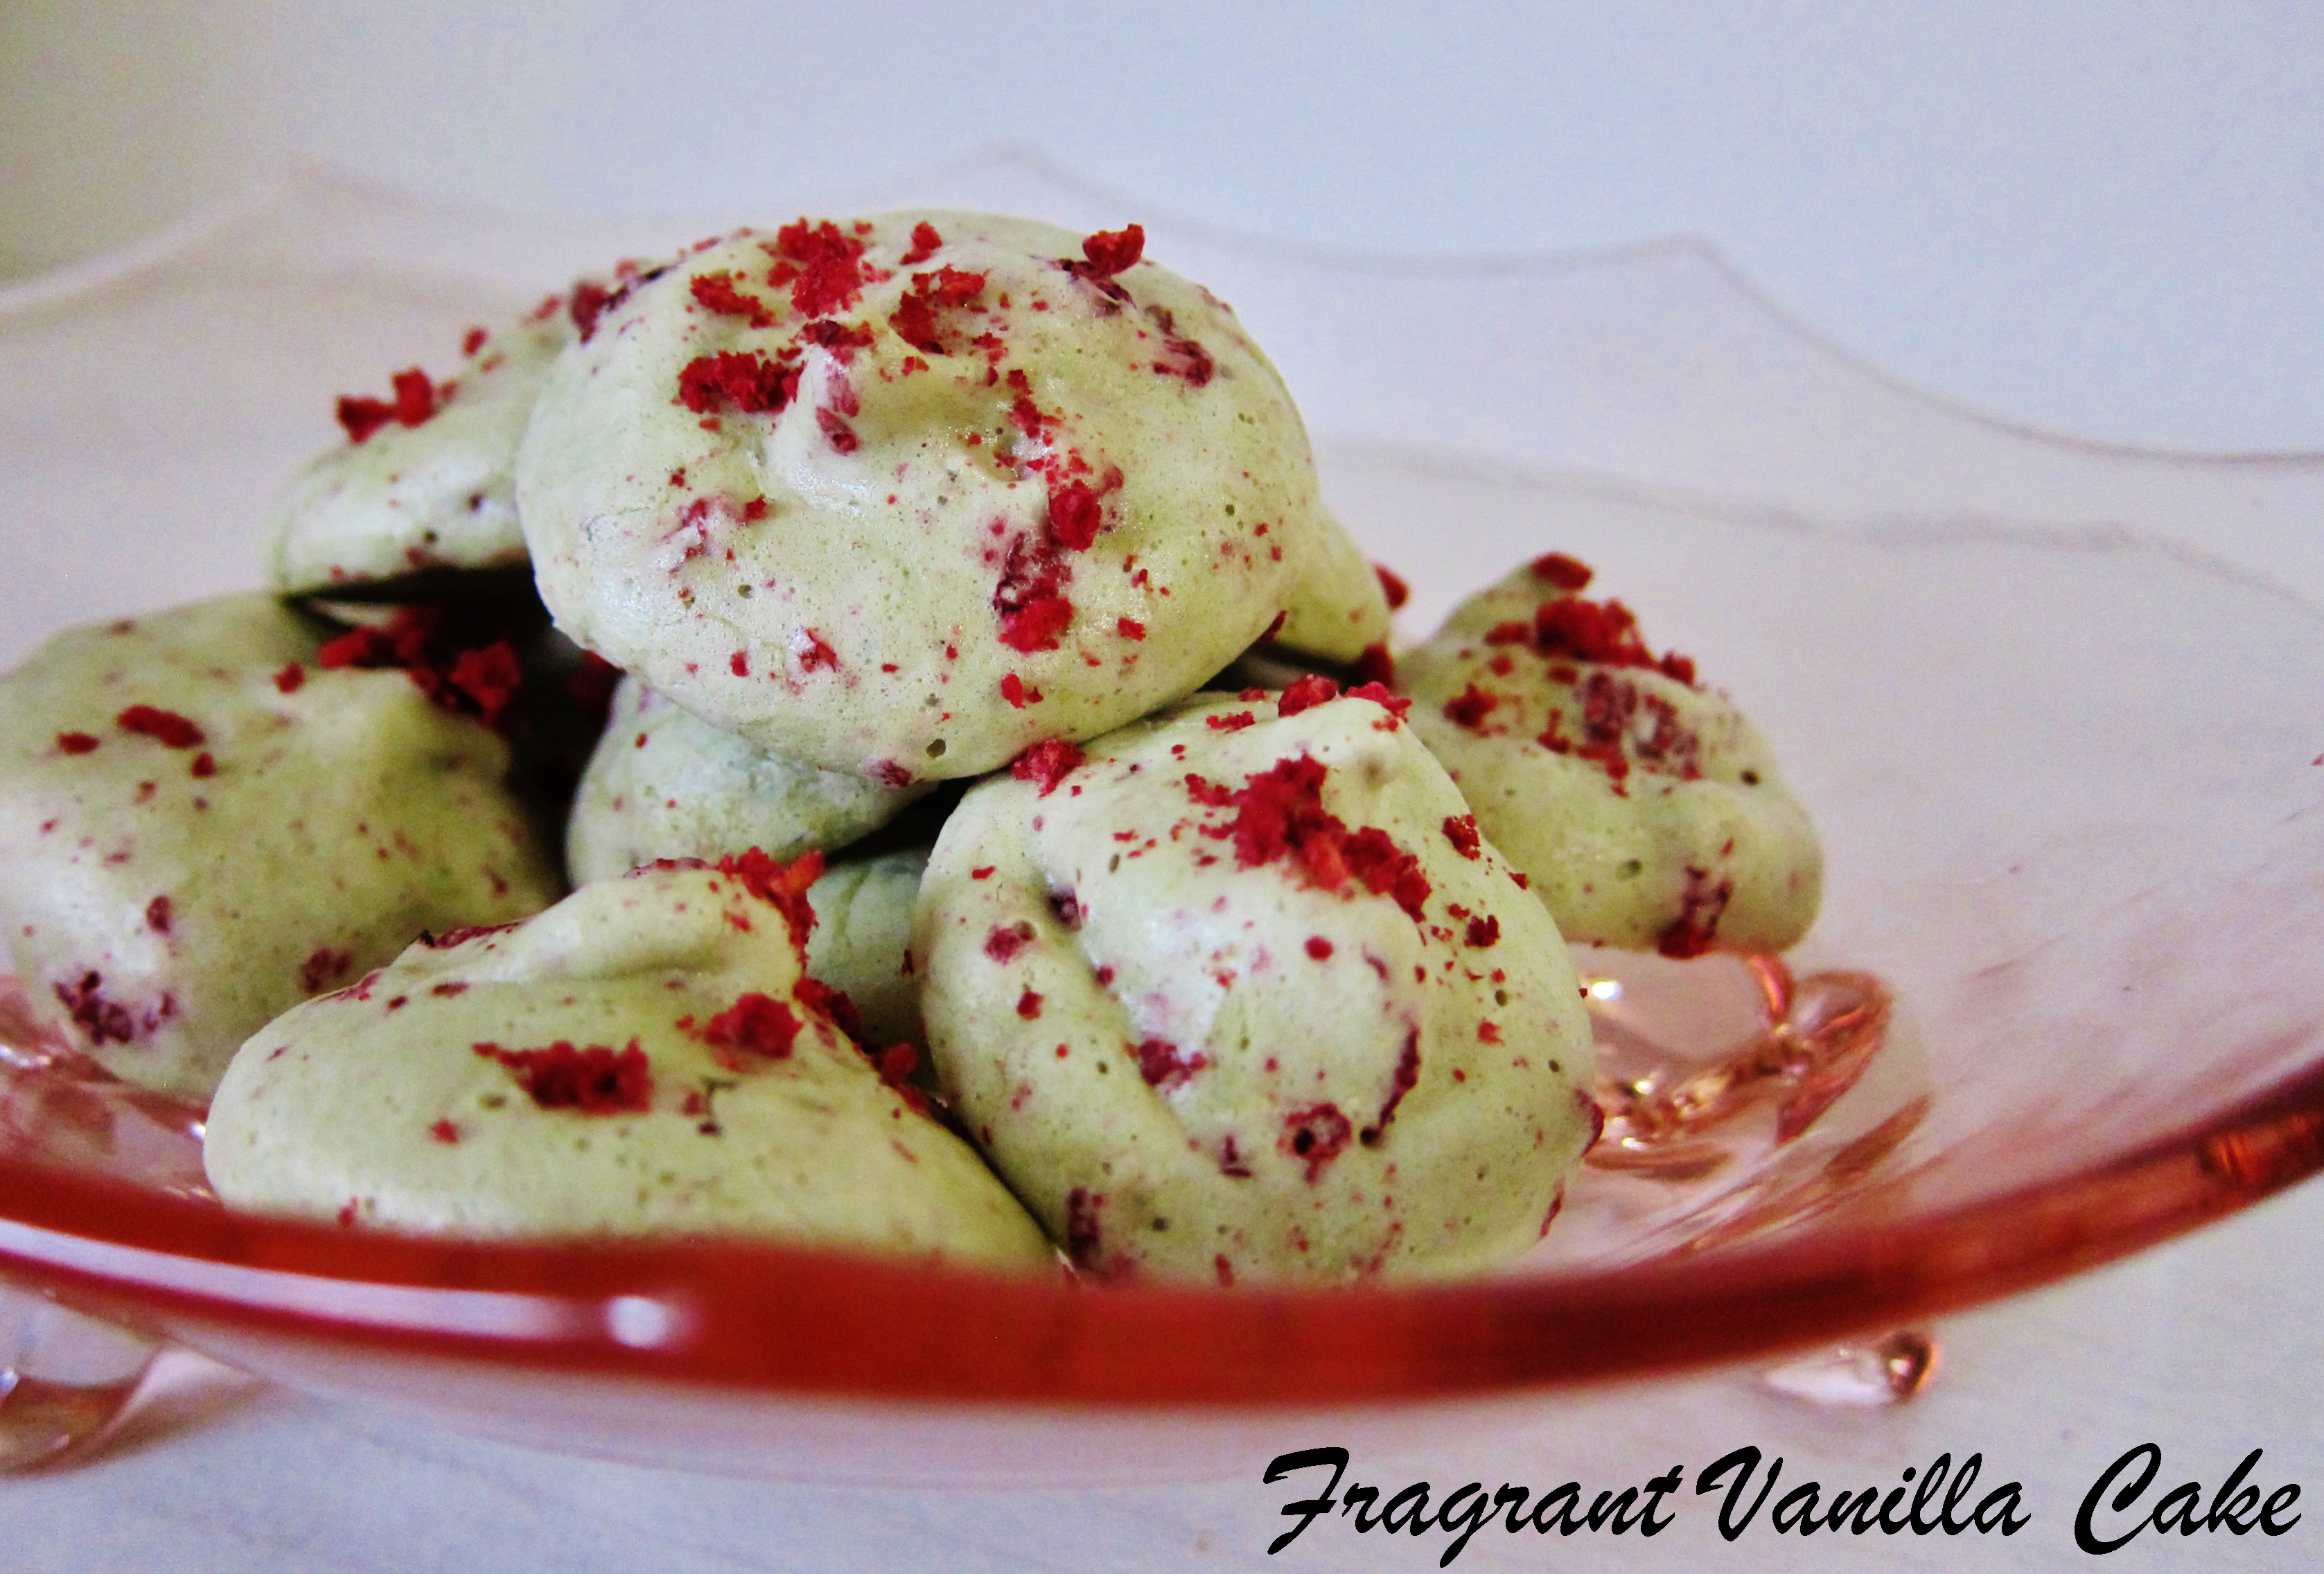
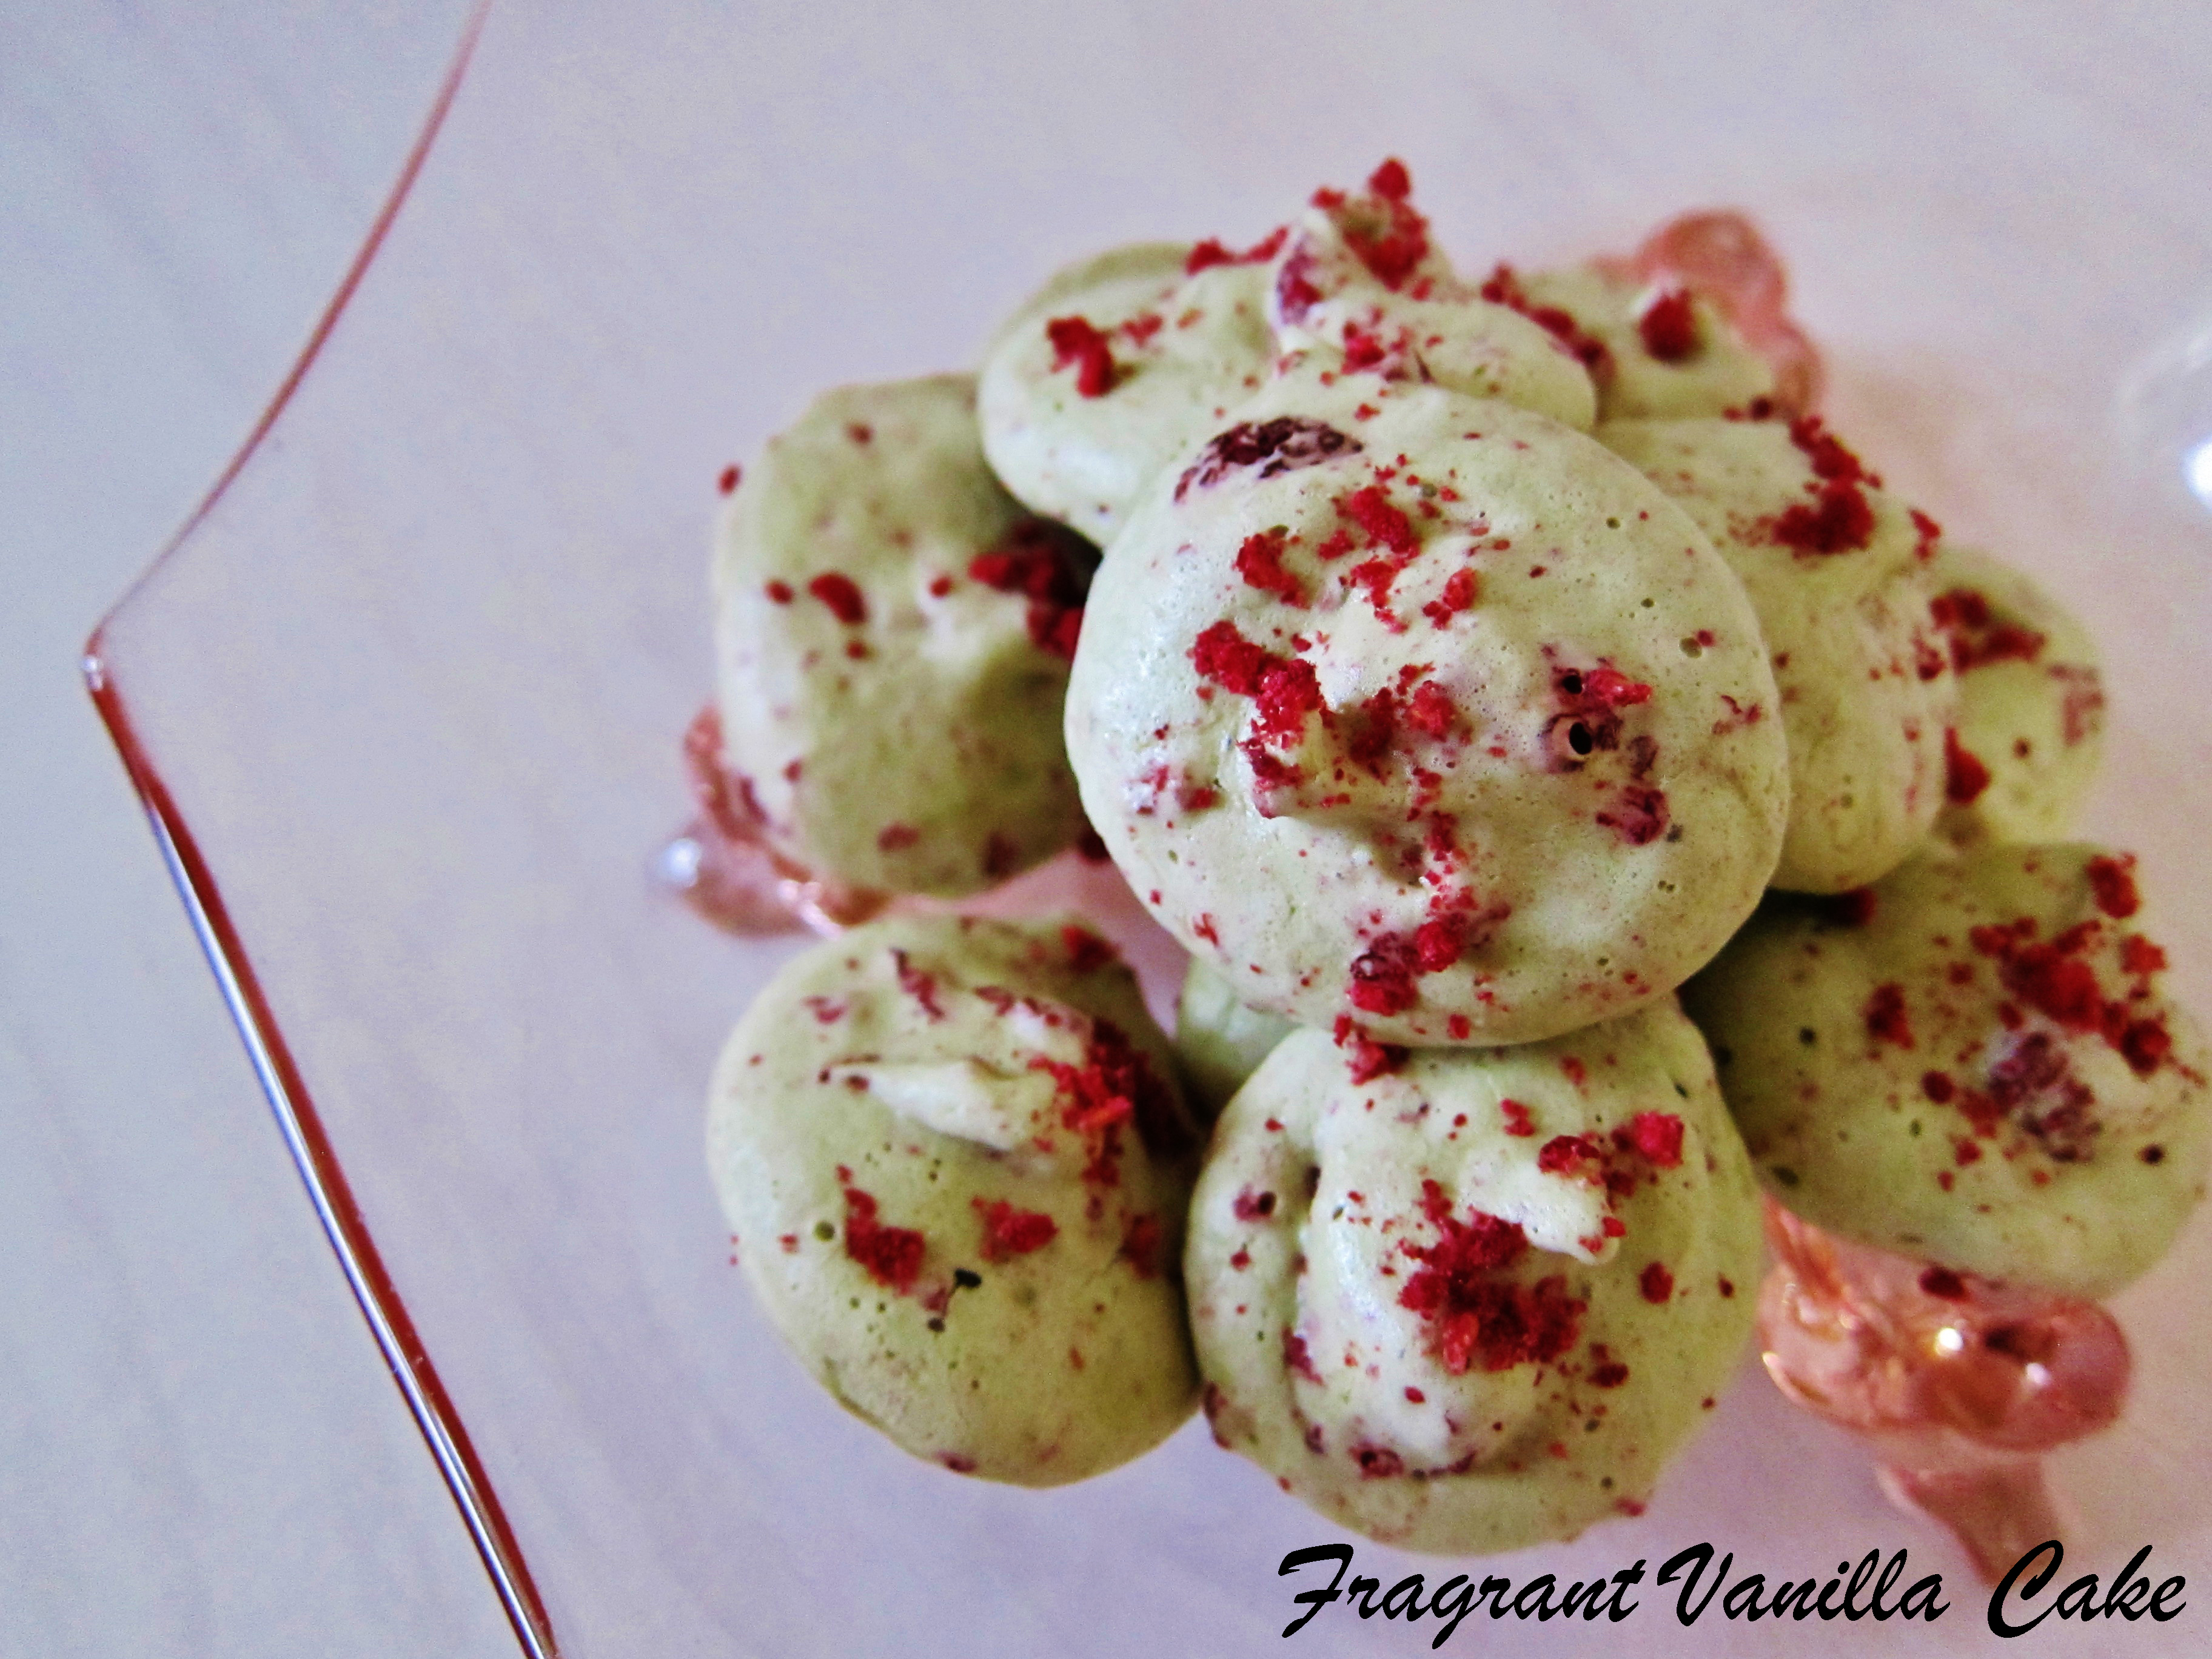
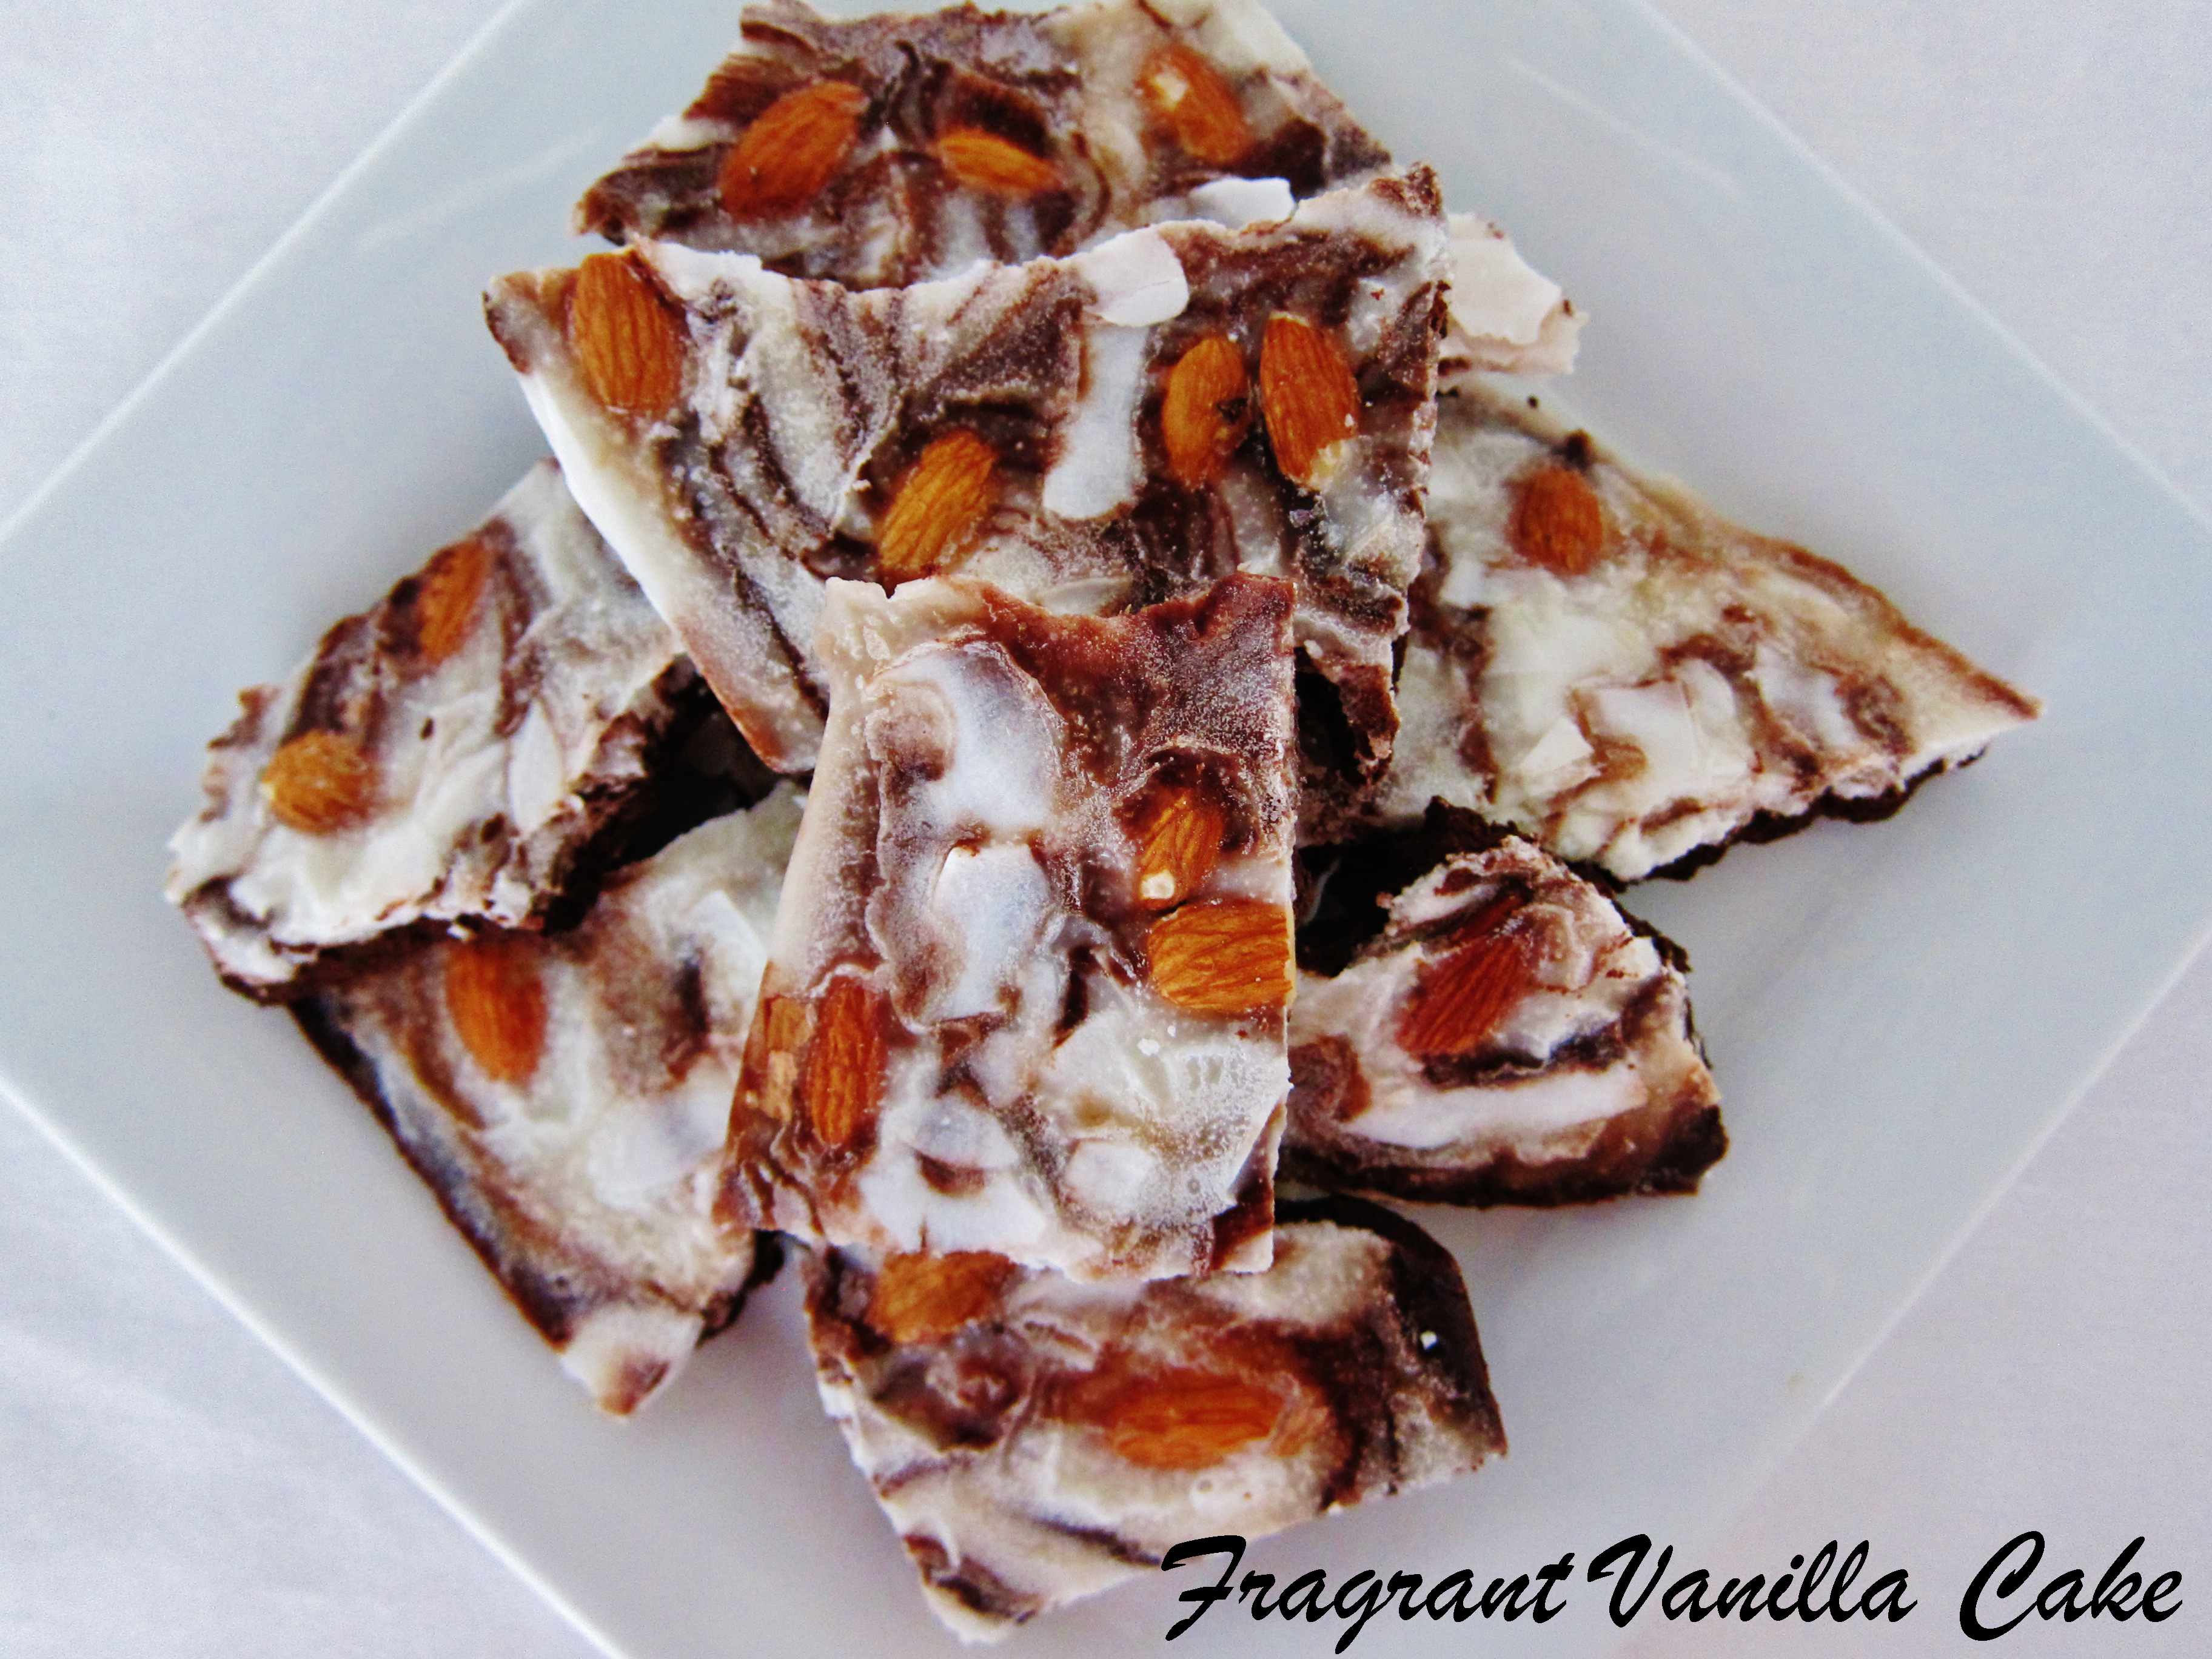
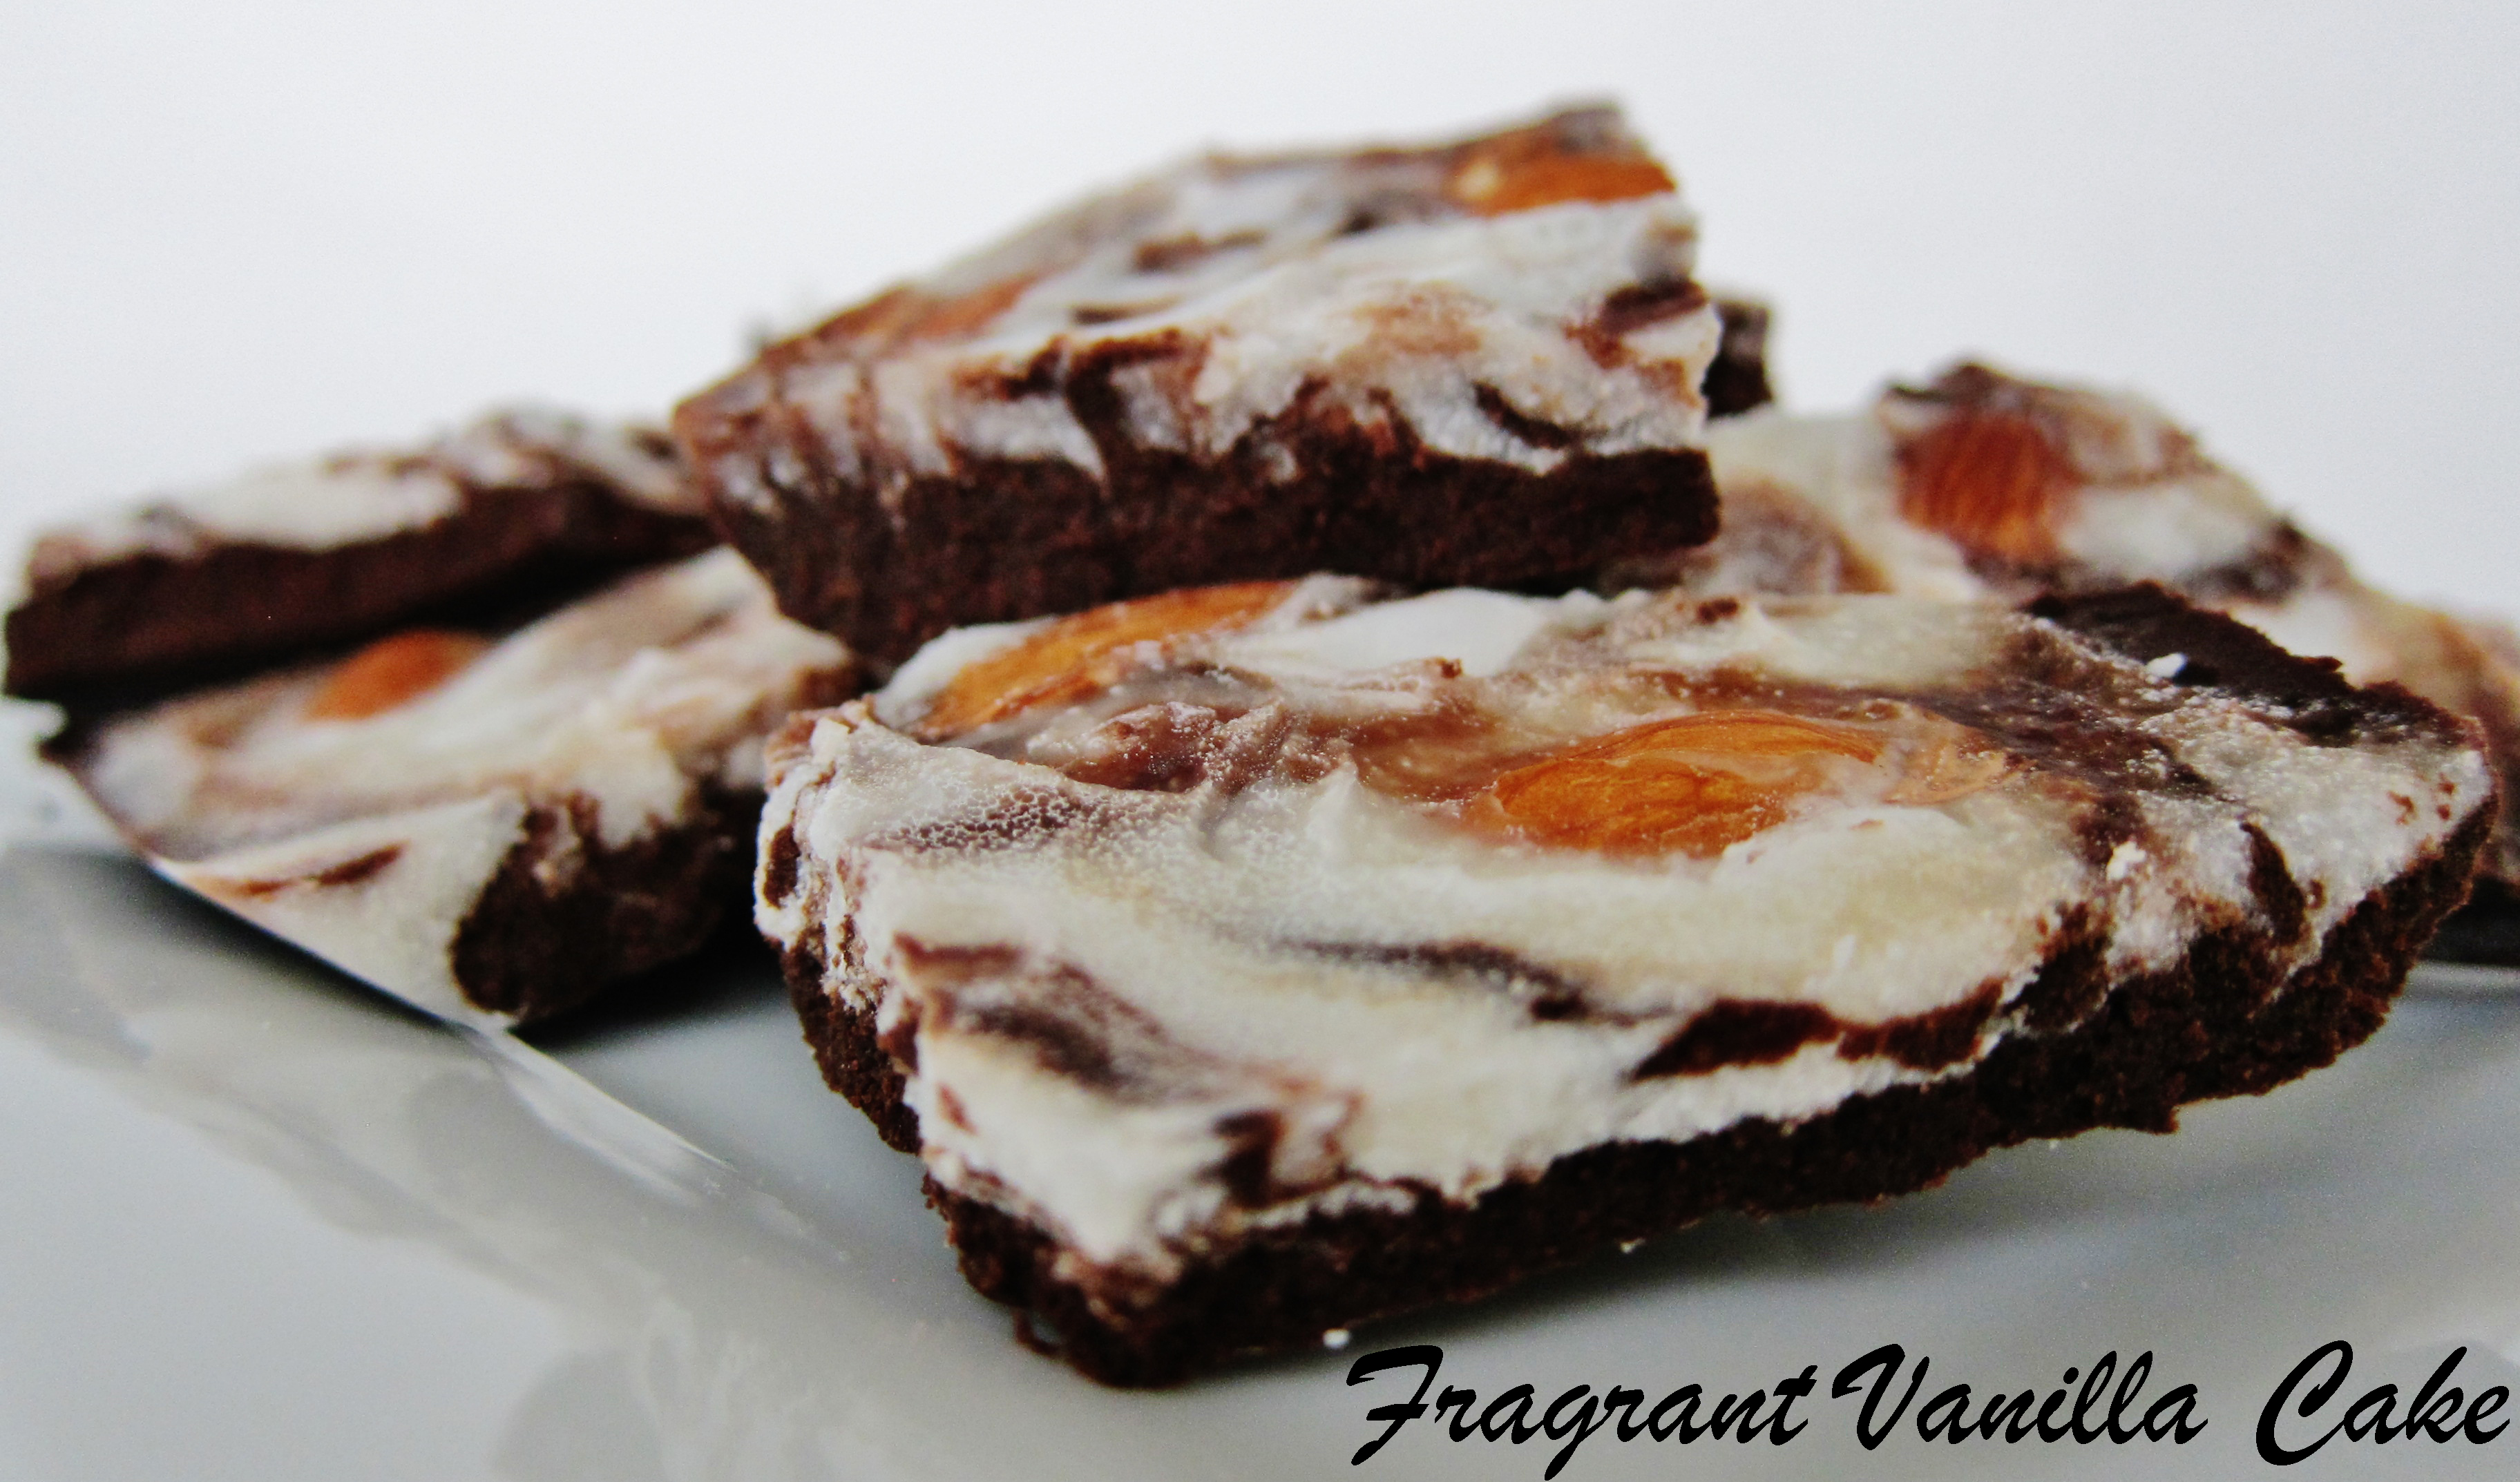
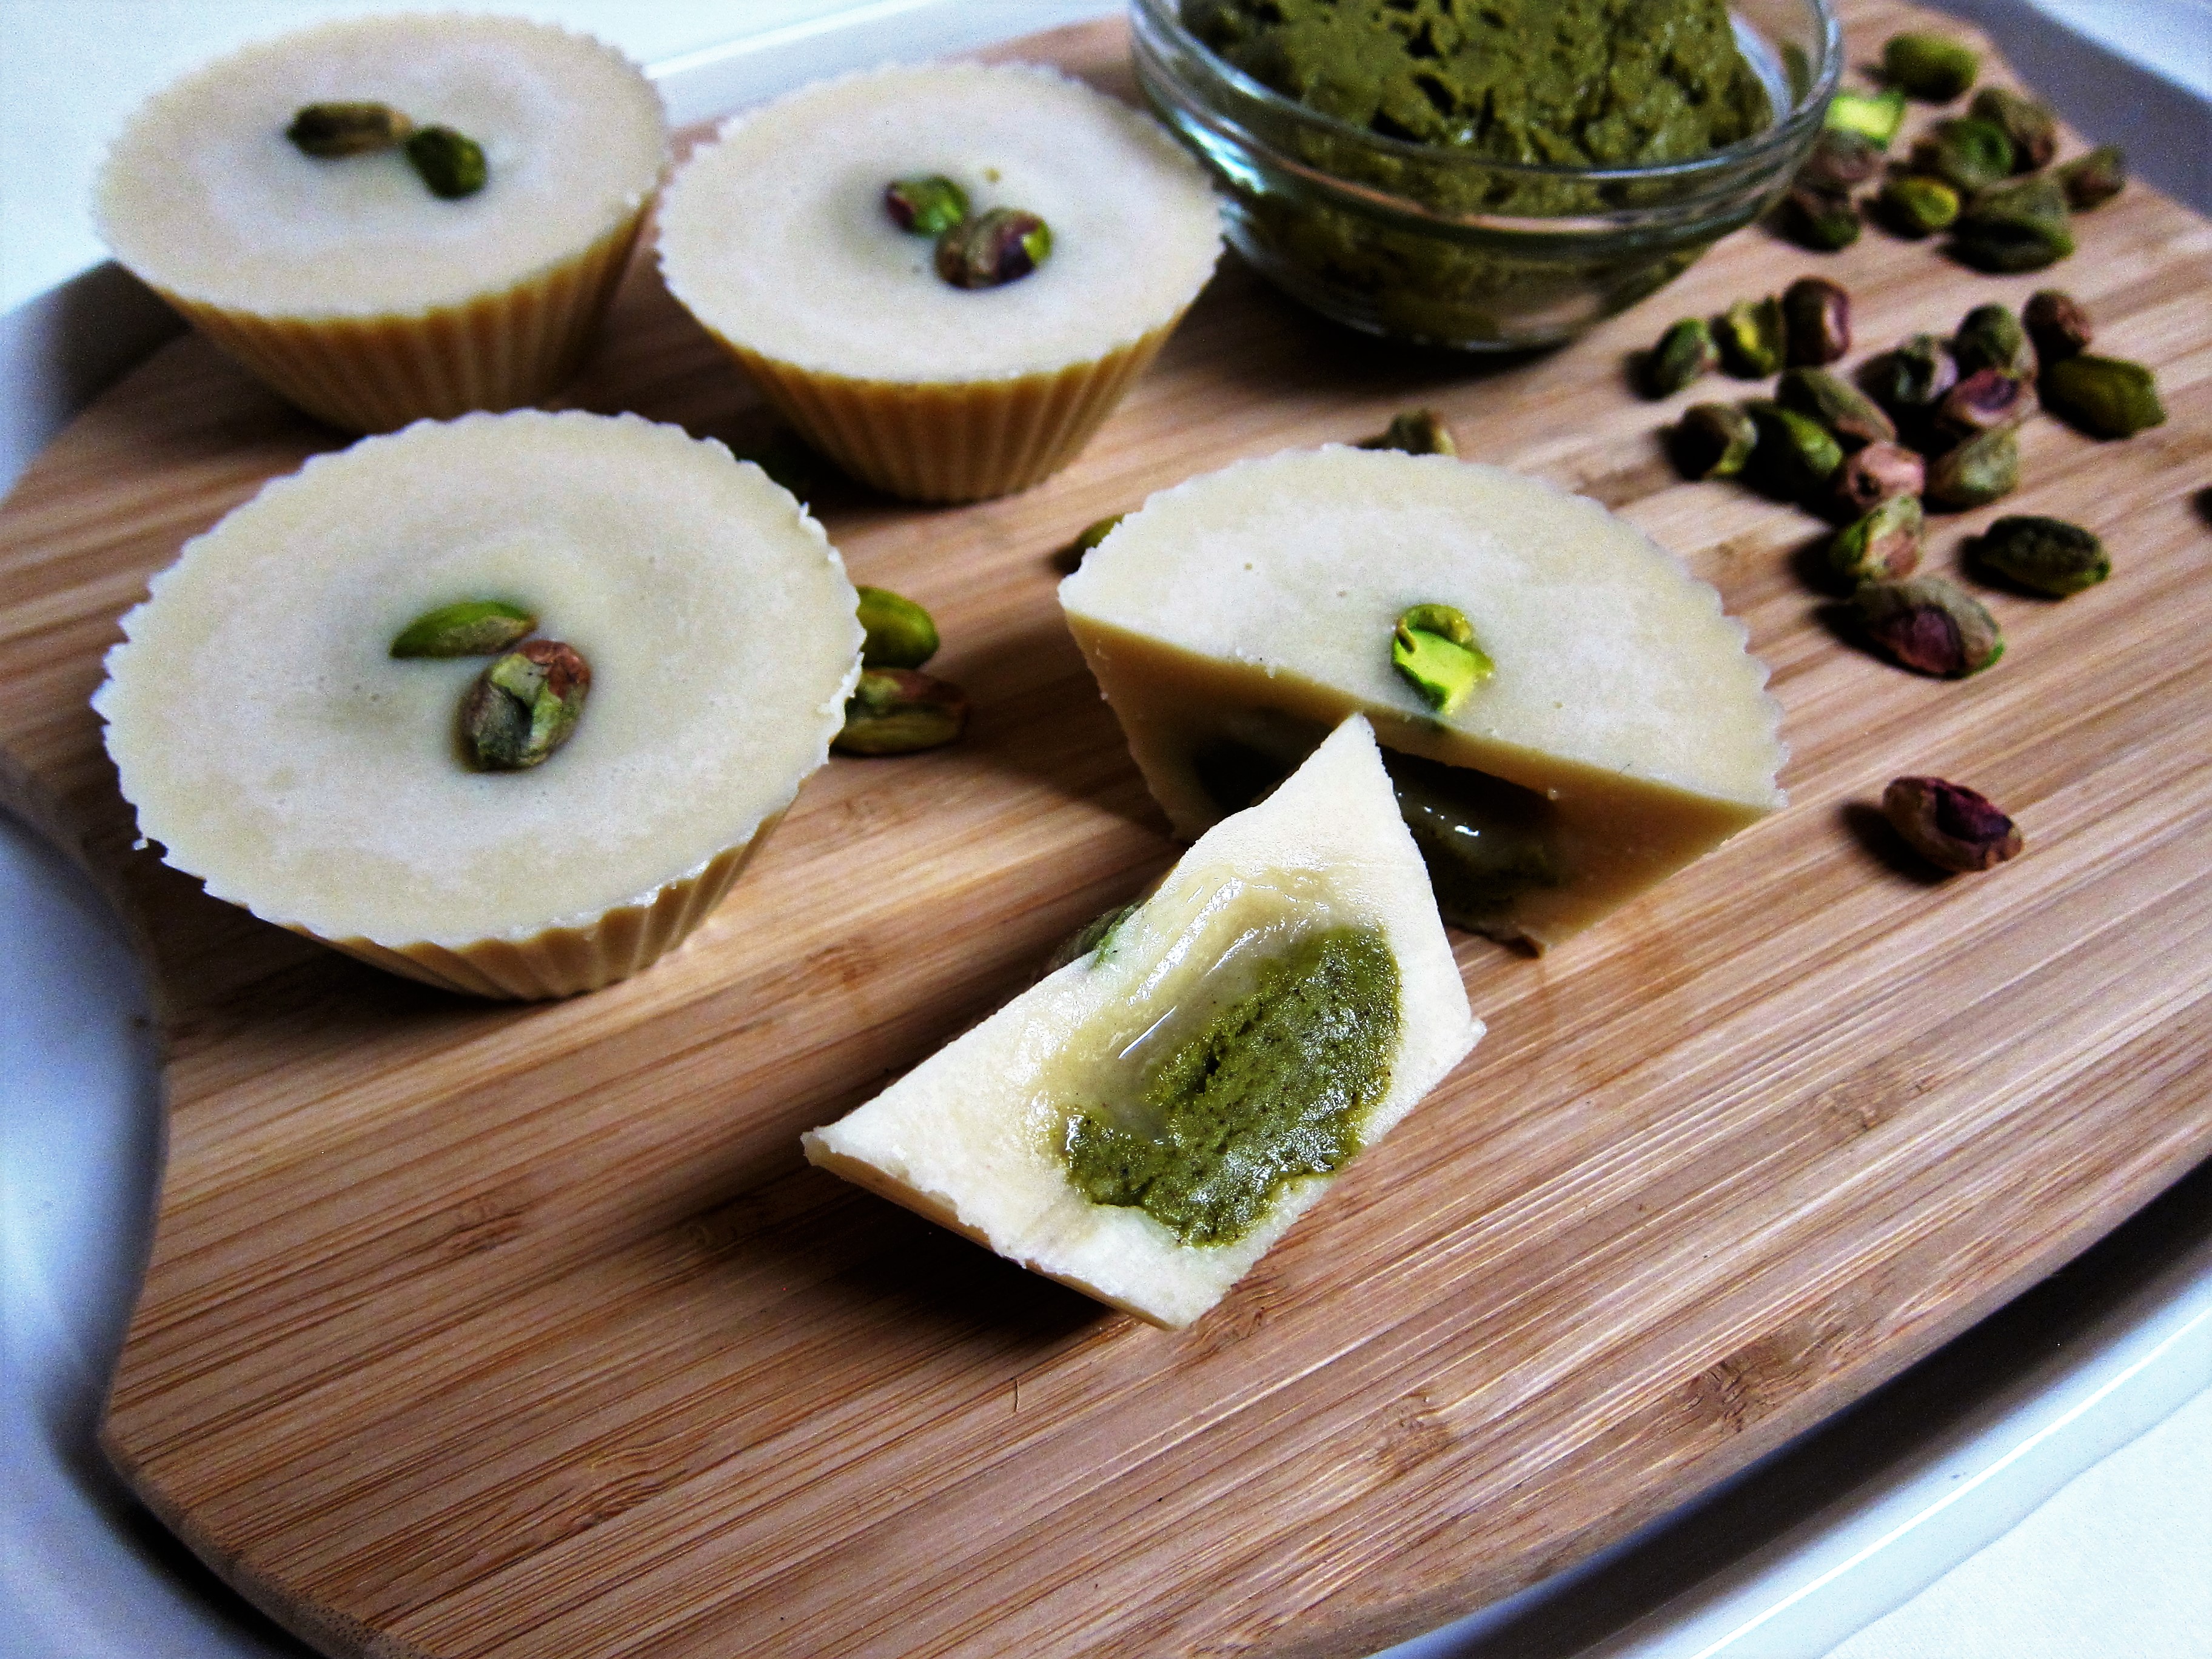
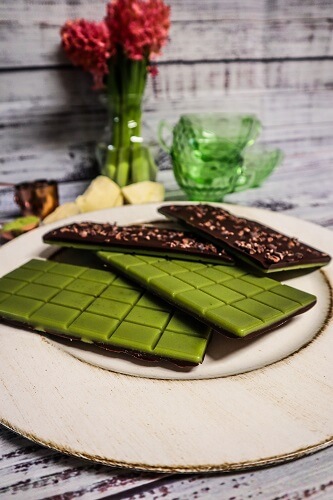 St. Patrick’s Day is tomorrow, and although it doesn’t feel so much like it this year due to the virus going around and events being cancelled, I still like to enjoy some festive stuff at home so I made some green chocolate bars! I like to try to stay positive. And even if we can’t all go out and do the things we usually do, or would like to do why now enjoy yourself at home? I was going to make some chocolate anyway because I had run out of my stash, and I wanted something cheery and fancy so I made some Matcha Chocolate Bars with crunchy cacao nibs. I have been making a lot of mint stuff for St. Patrick’s Day because it is festive and green, but matcha has that lovely green hue as well and I have been in love with it since I first tried it!
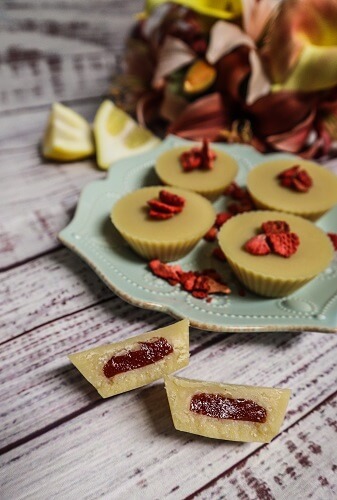
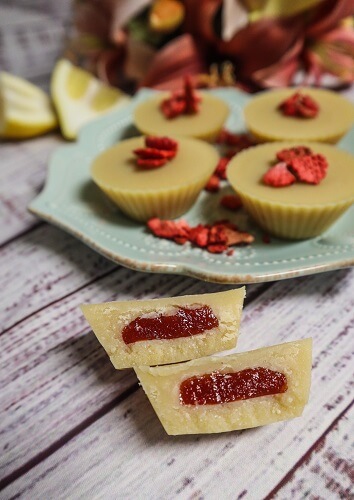
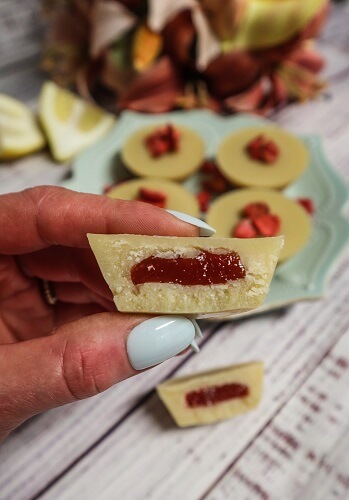
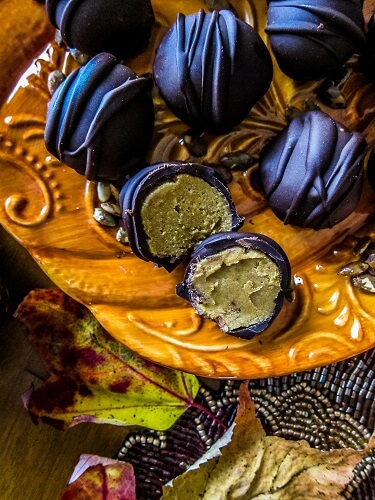
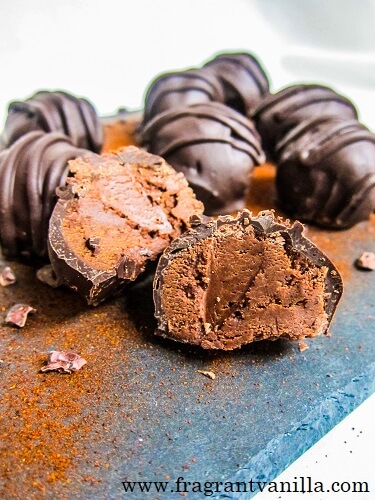
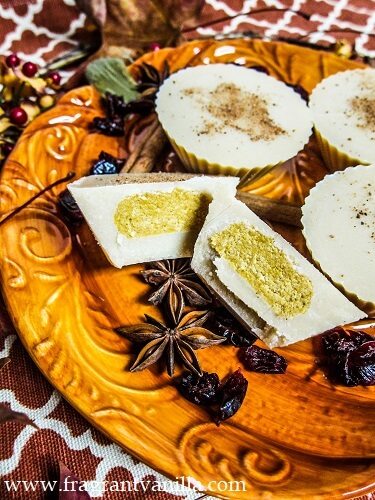
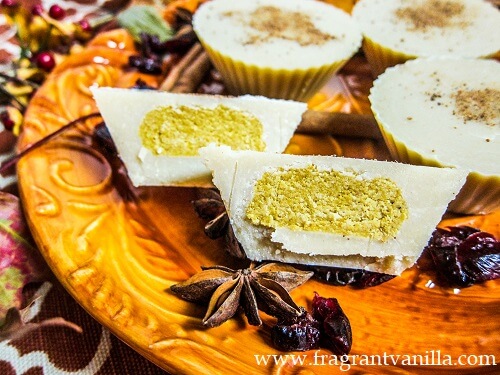
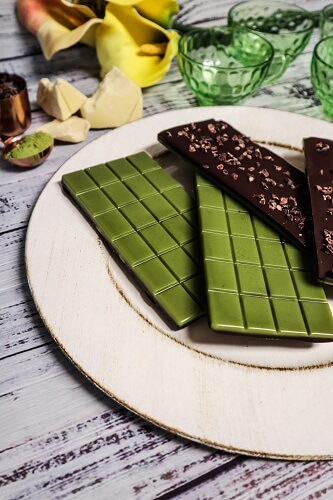 I drink matcha tea every morning at work, and I like my matcha lattes on the weekends when I have more time, but I especially love matcha in sweet desserts. It is amazing in white chocolate. I have made some plain matcha white chocolate before but I wanted some dark chocolate in there as well, so I was thinking a two layer bar. Before I went vegan I thought that white chocolate would be a thing of the past, since milk seems like it is a big part of it, but luckily I was wrong. I have been able to make super delicious white chocolate! It may take a few more ingredients, but that’s alright. I like it even better than the stuff I ate growing up, which probably had some artificial stuff in it.
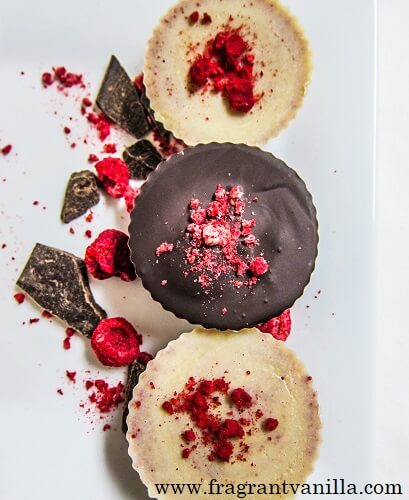
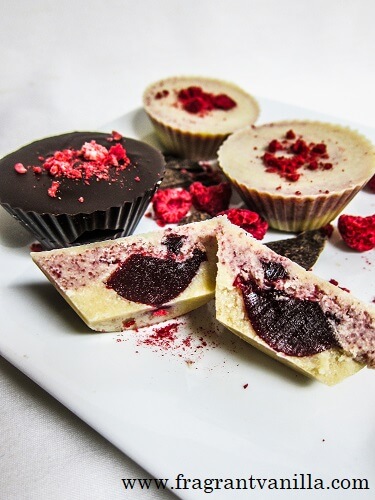
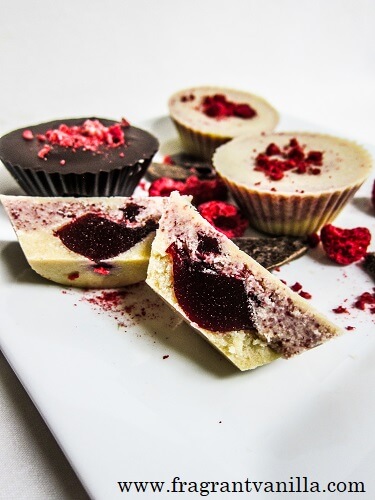
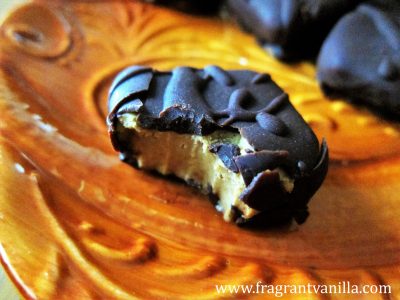
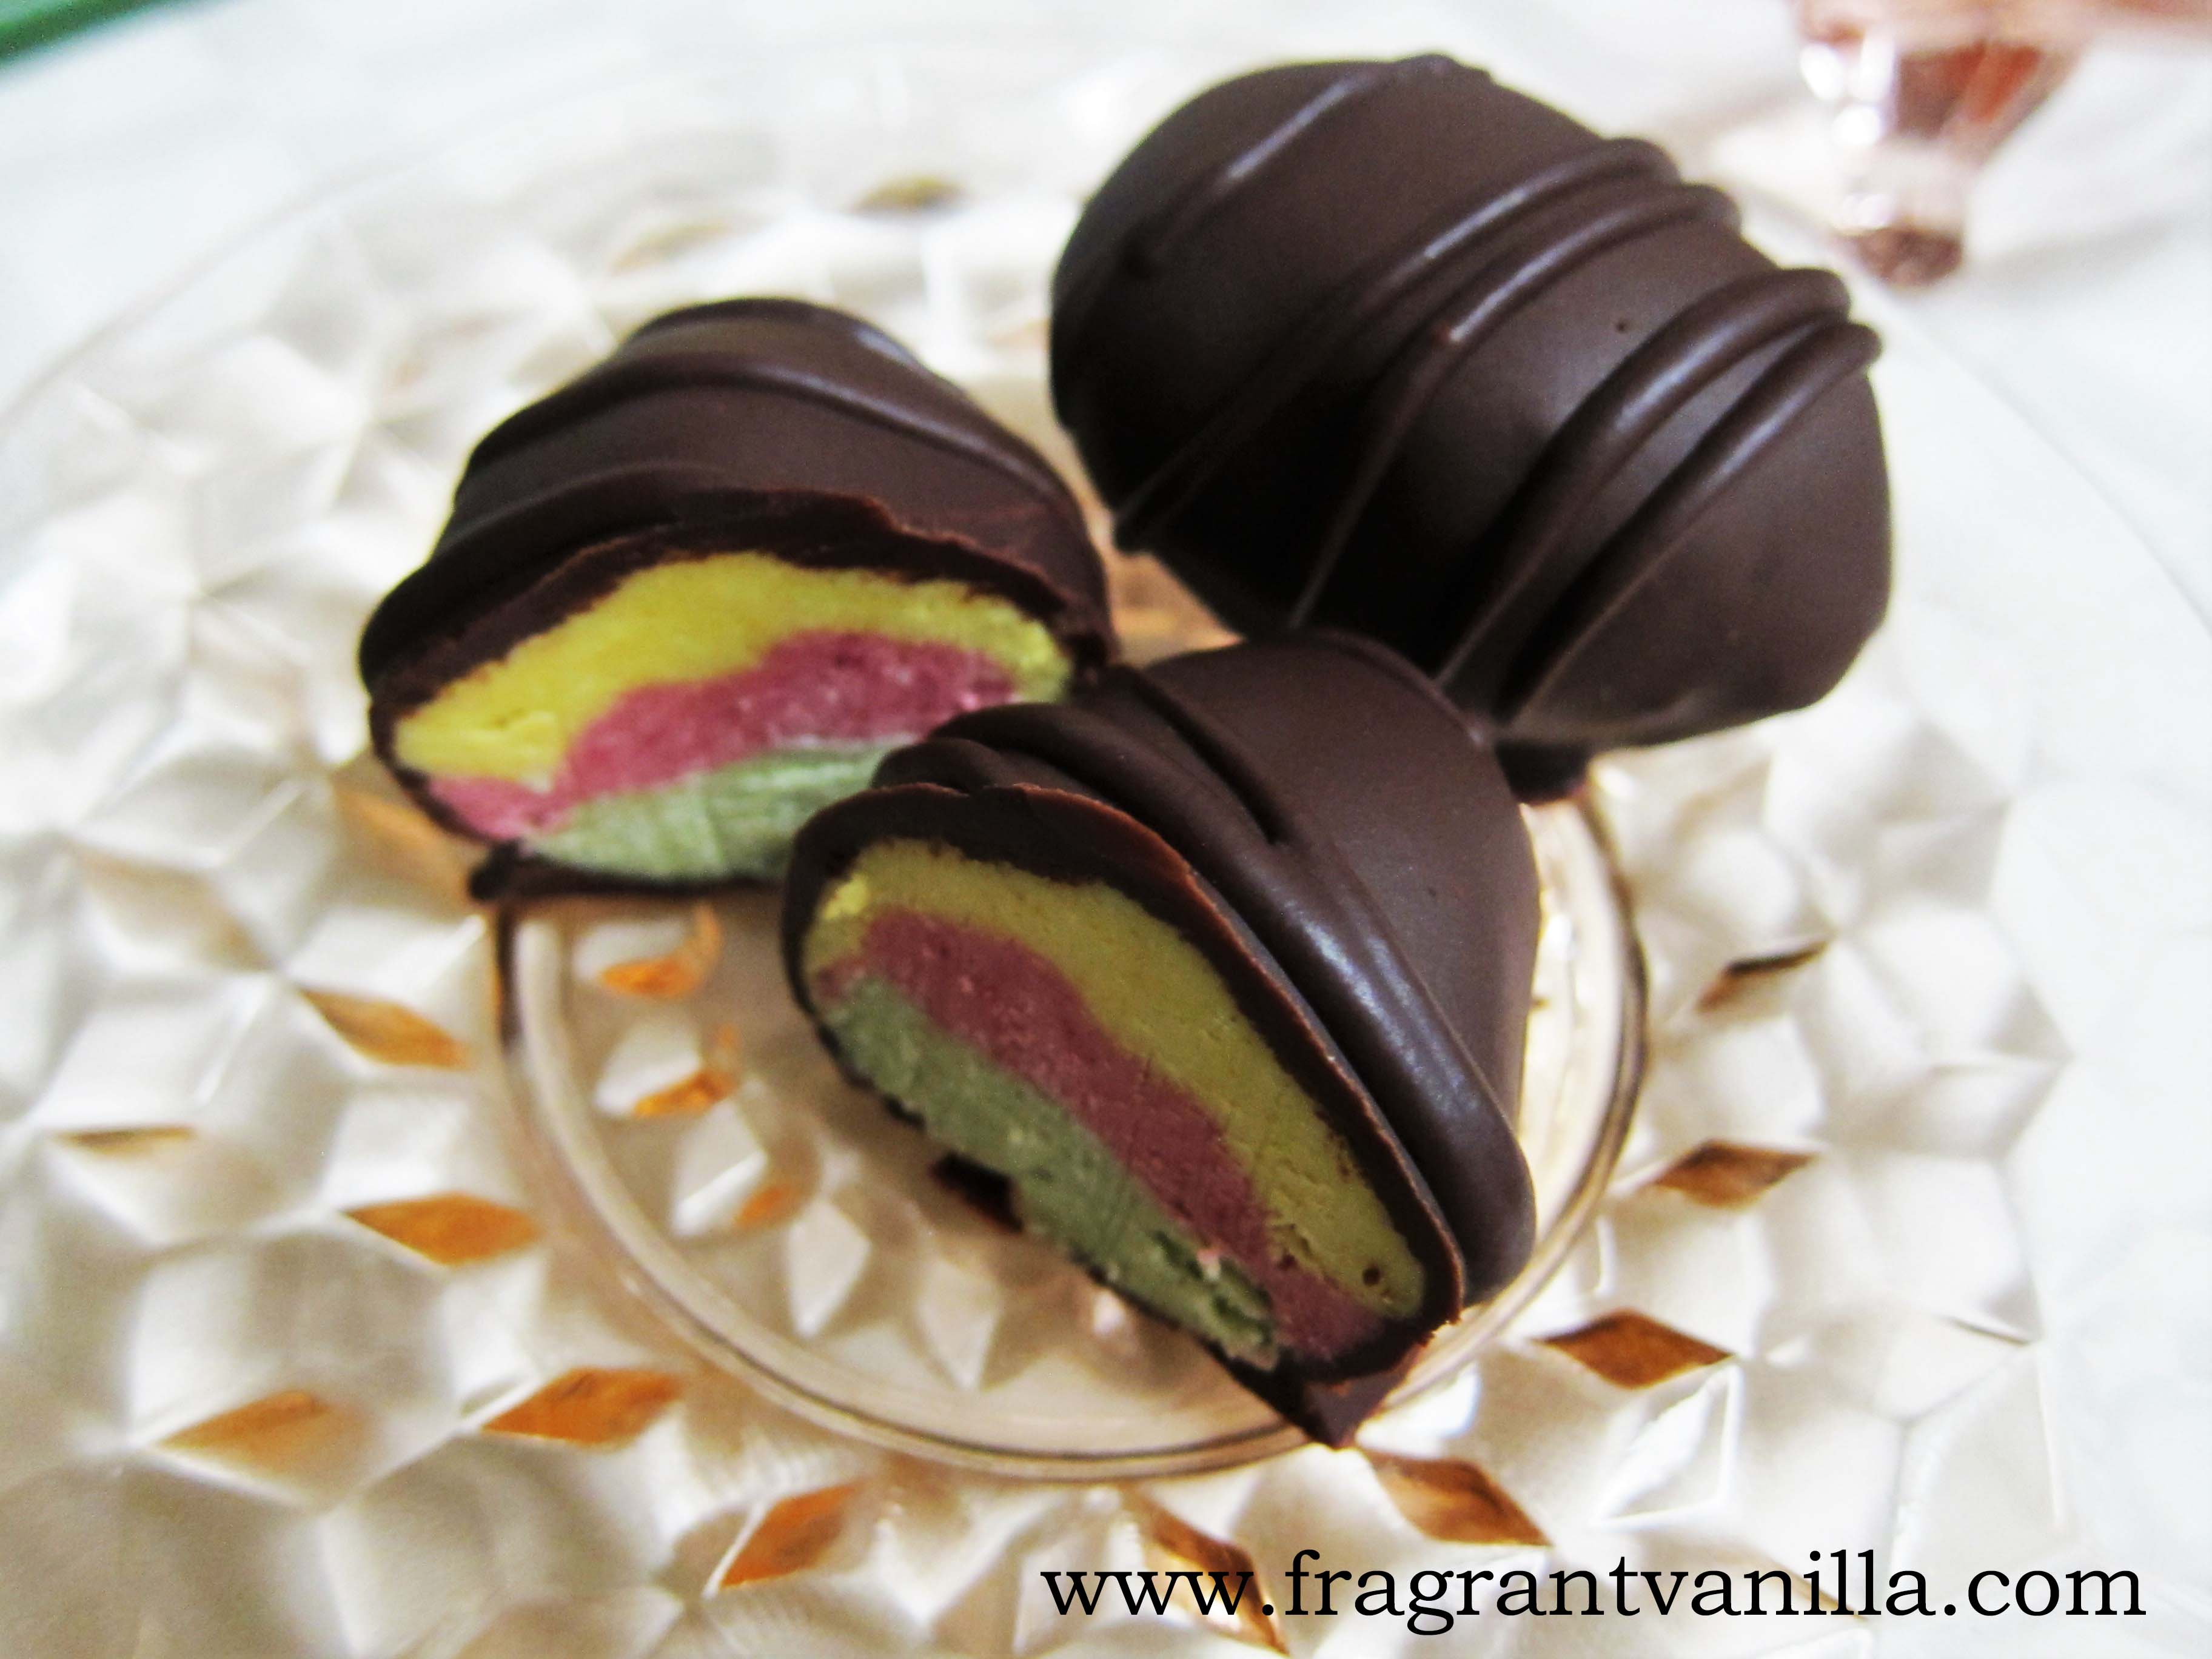
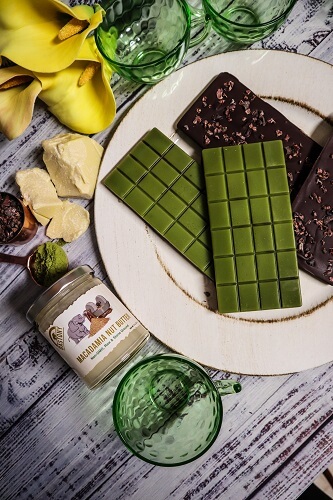 For mine, I use a cacao butter base, with a bit of coconut b\utter and macadamia nut butter sweetened with maple syrup and a bit of vanilla.
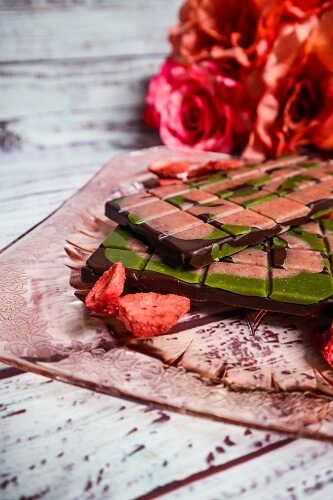
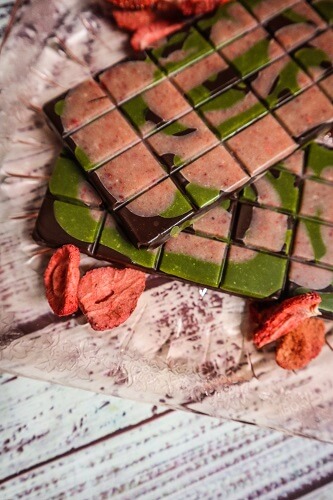
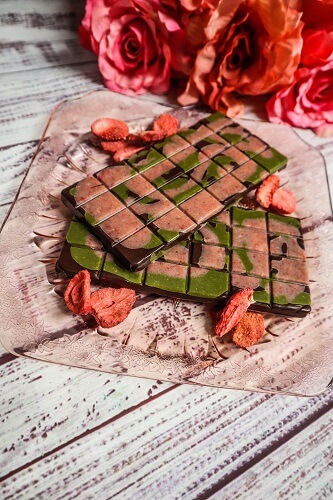
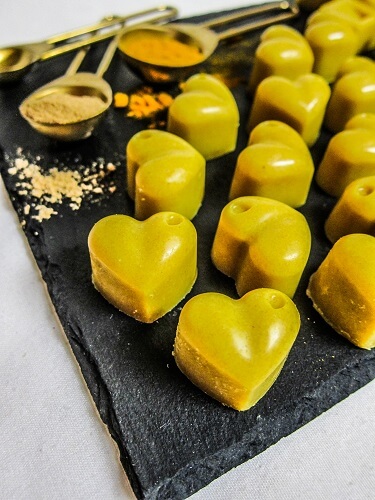
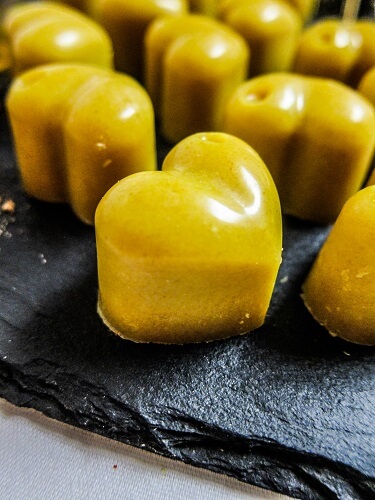
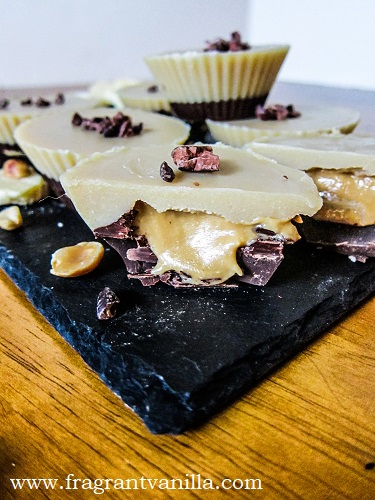
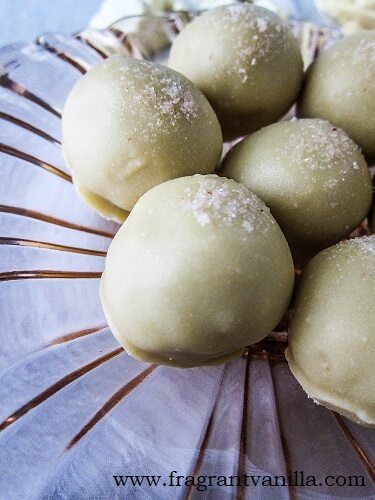
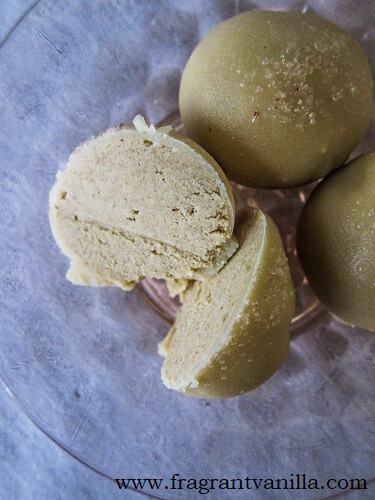
 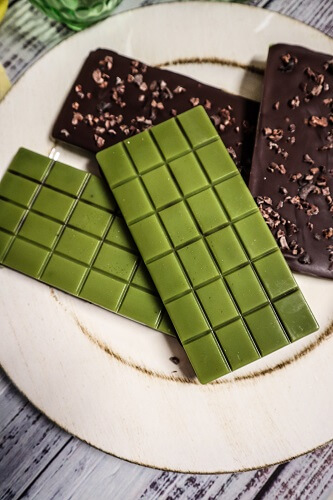 Once it was all hardened in the molds, I added a layer of dark chocolate over it and some cacao nibs for crunch! I could not wait to try them! I had to have a big chunk when they were finally ready. They were super delicious! That white chocolate mixed with the dark was almost a milk chocolate like flavor and it was so good with that earthy hint of matcha and crunchy cacao nibs. If you have to stay home, why not make a delicious treat for yourself like these?!
 Vegan Matcha Chocolate Bars with Cacao Nibs
Makes 4
Matcha White Chocolate:
Vegan Matcha Chocolate Bars with Cacao Nibs
Makes 4
Matcha White Chocolate:


