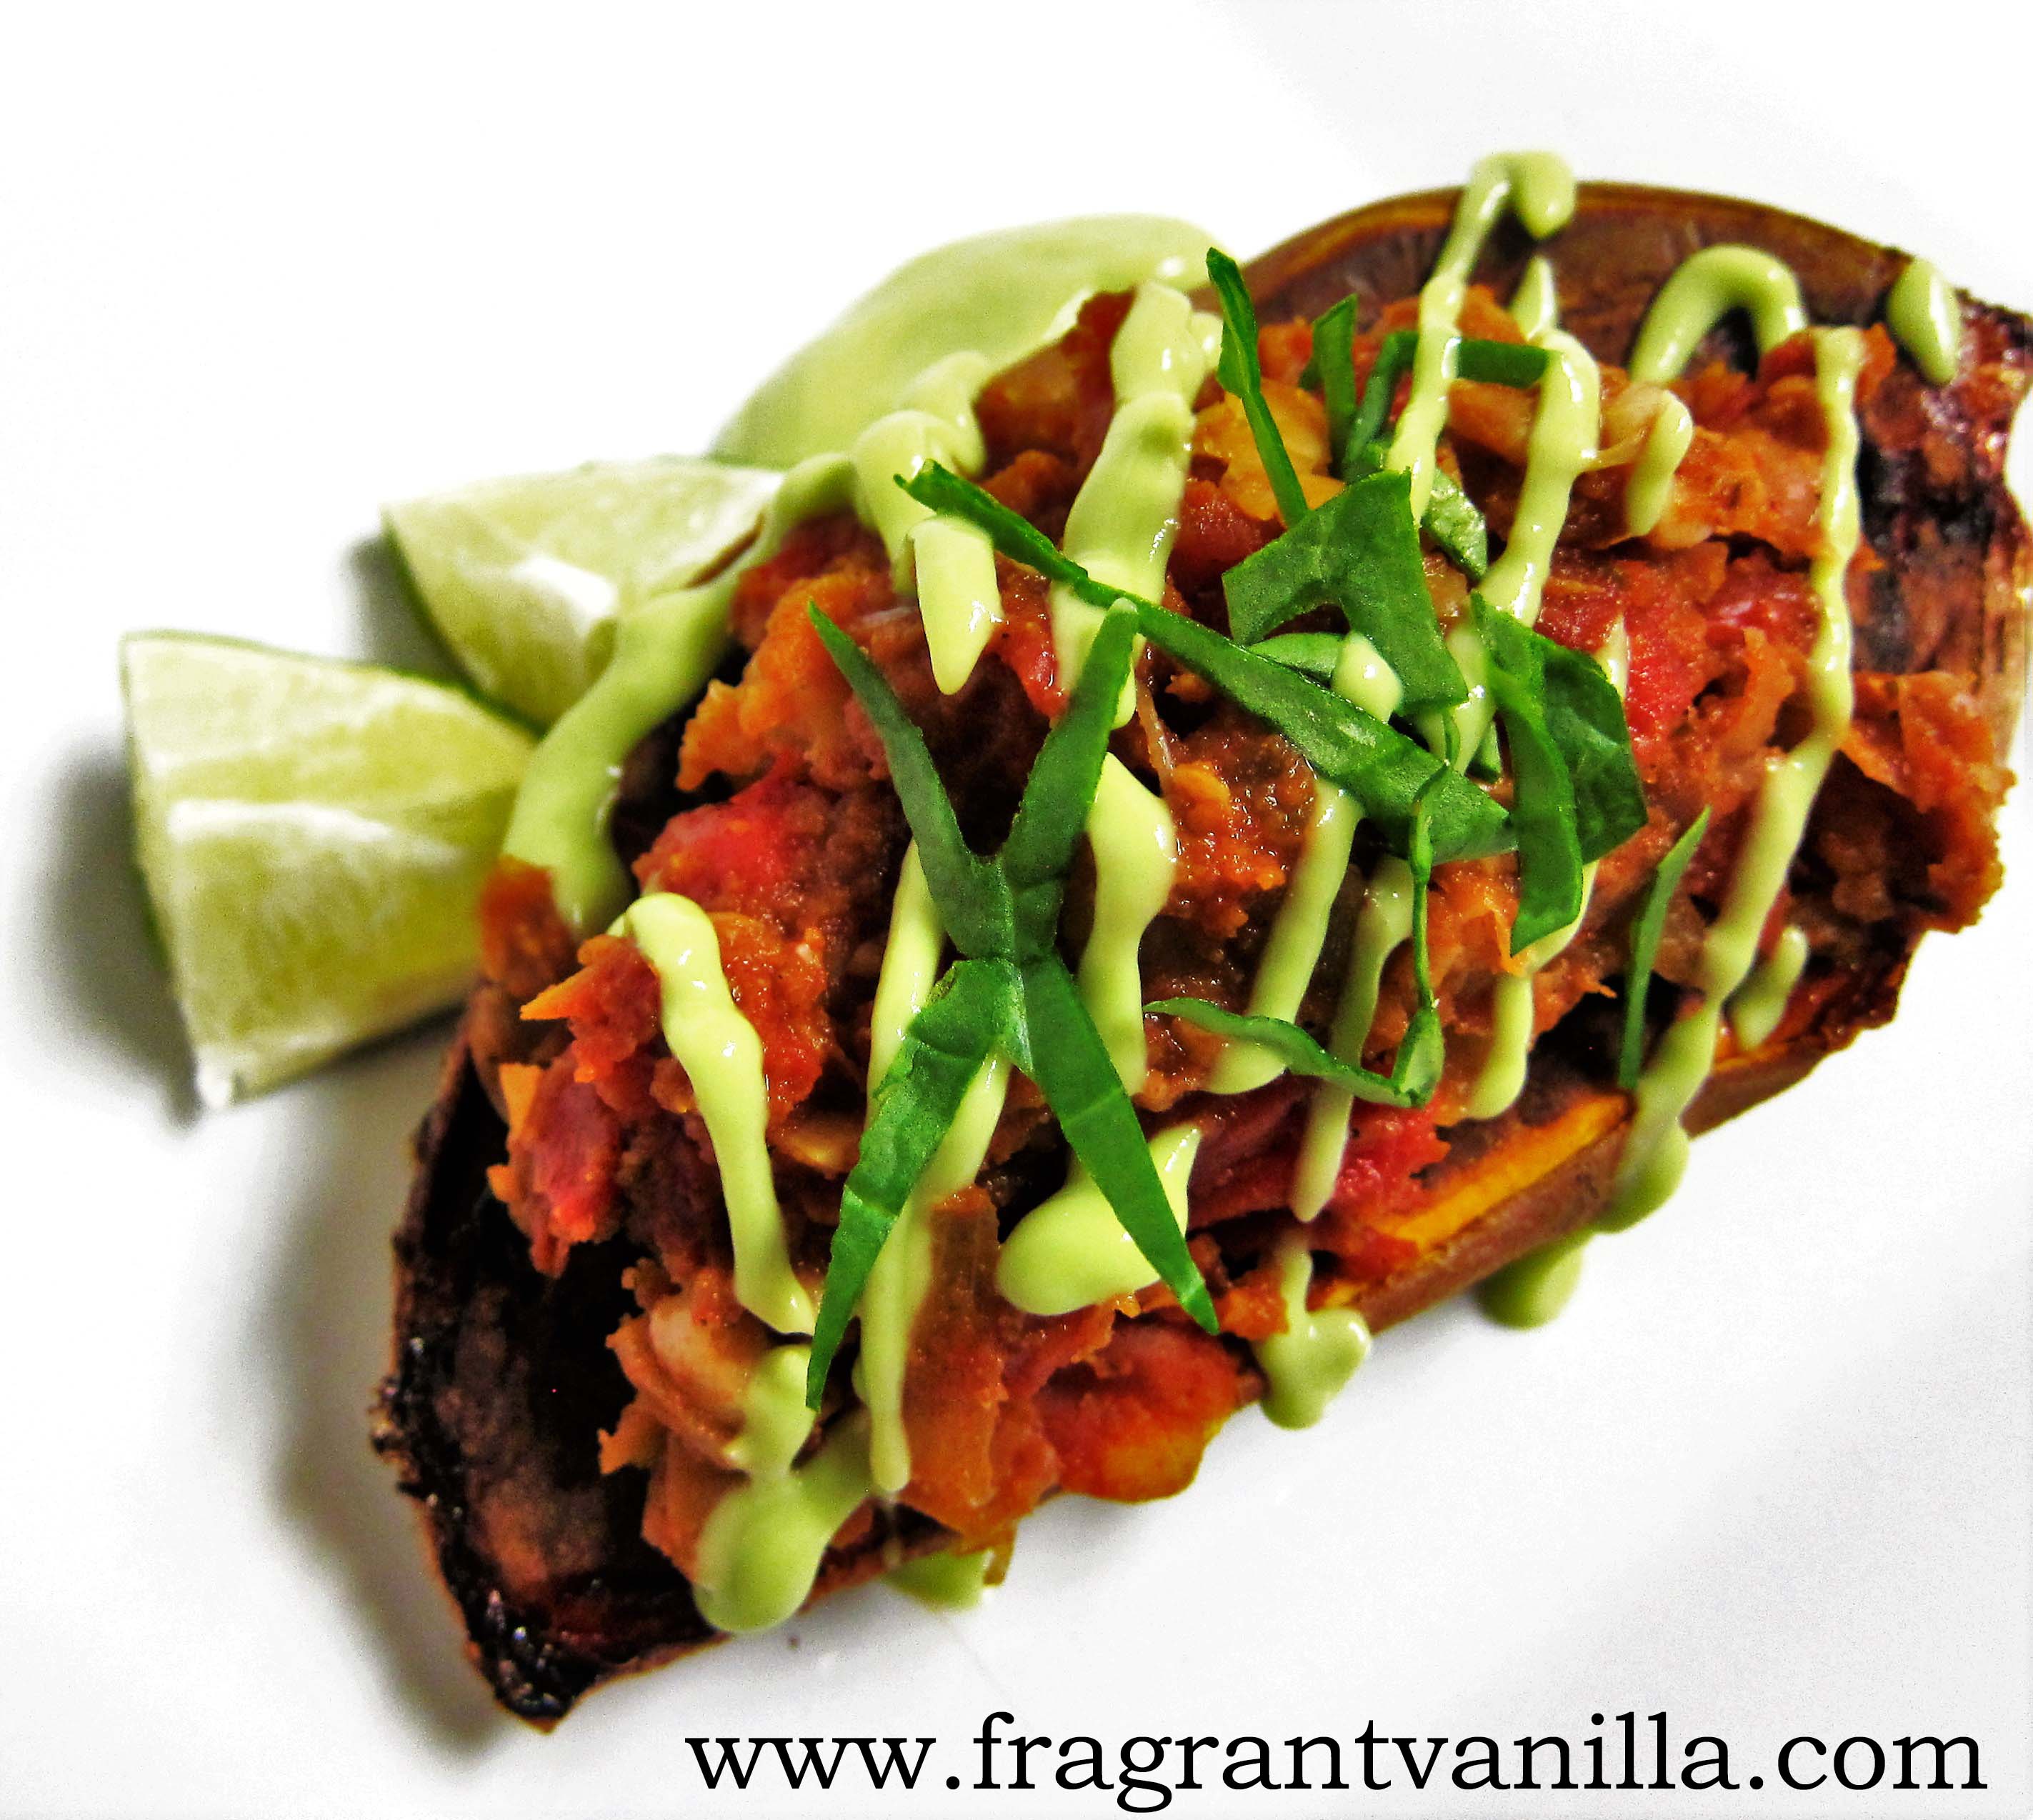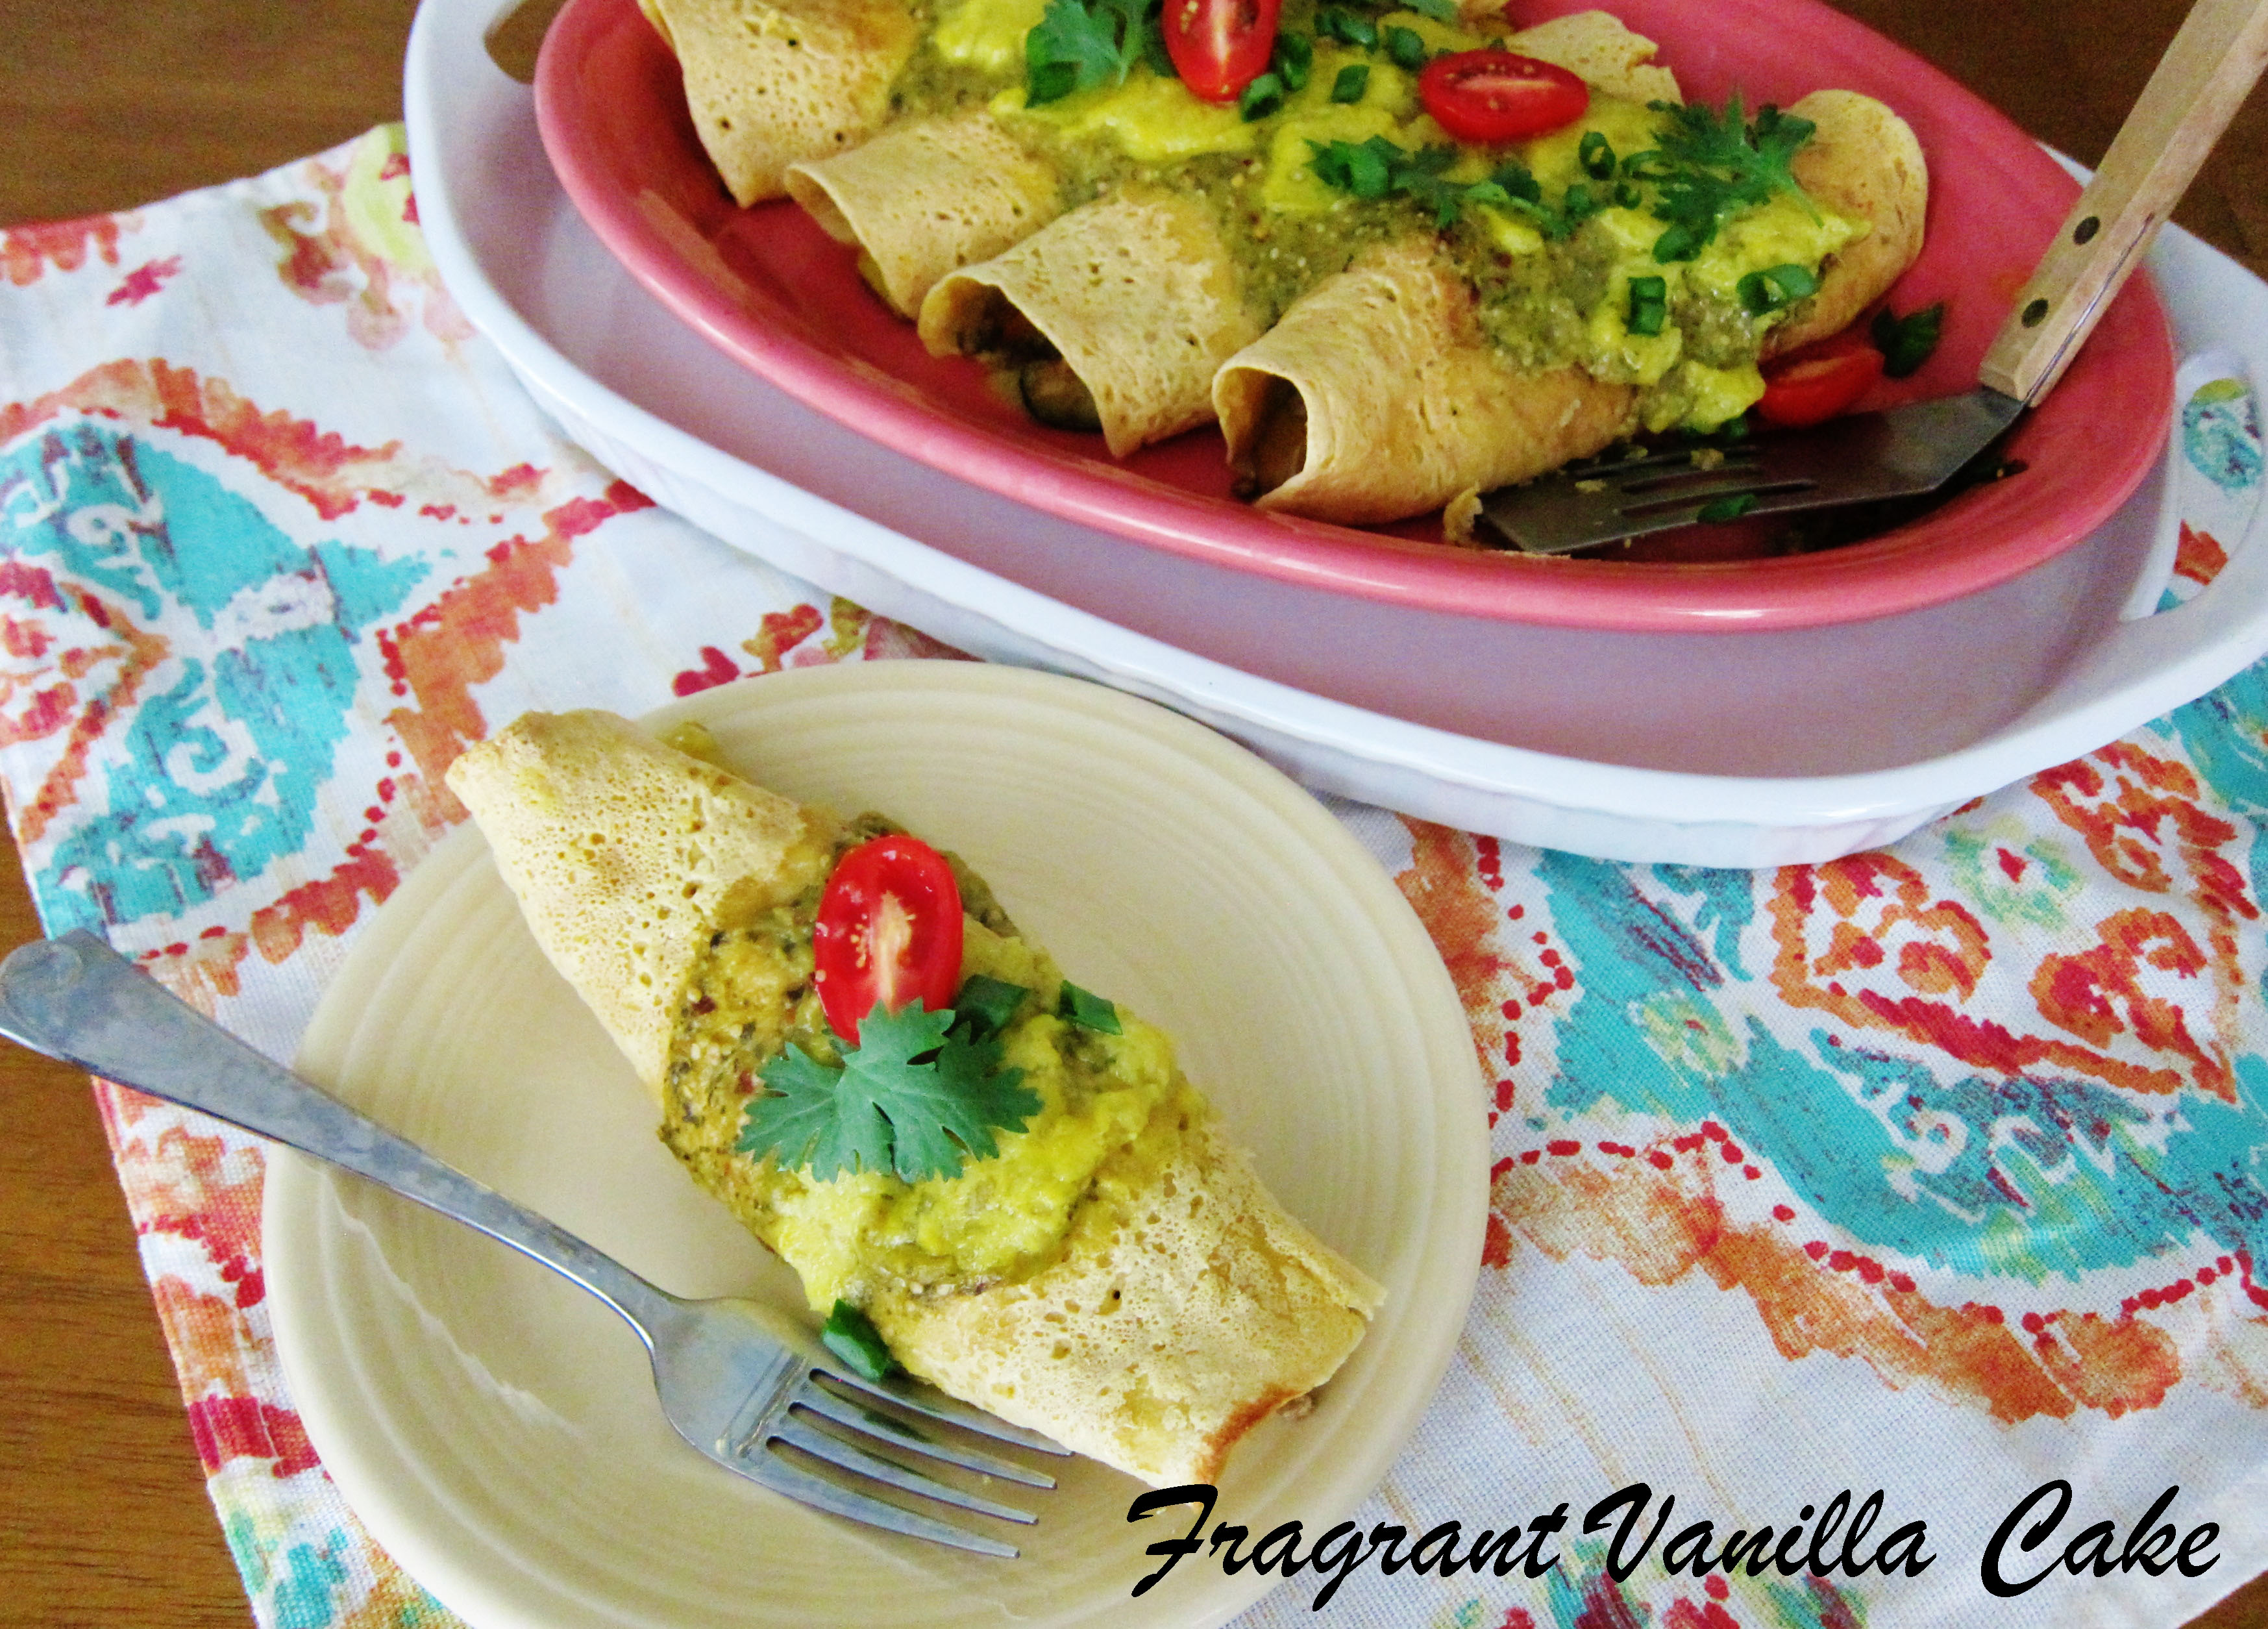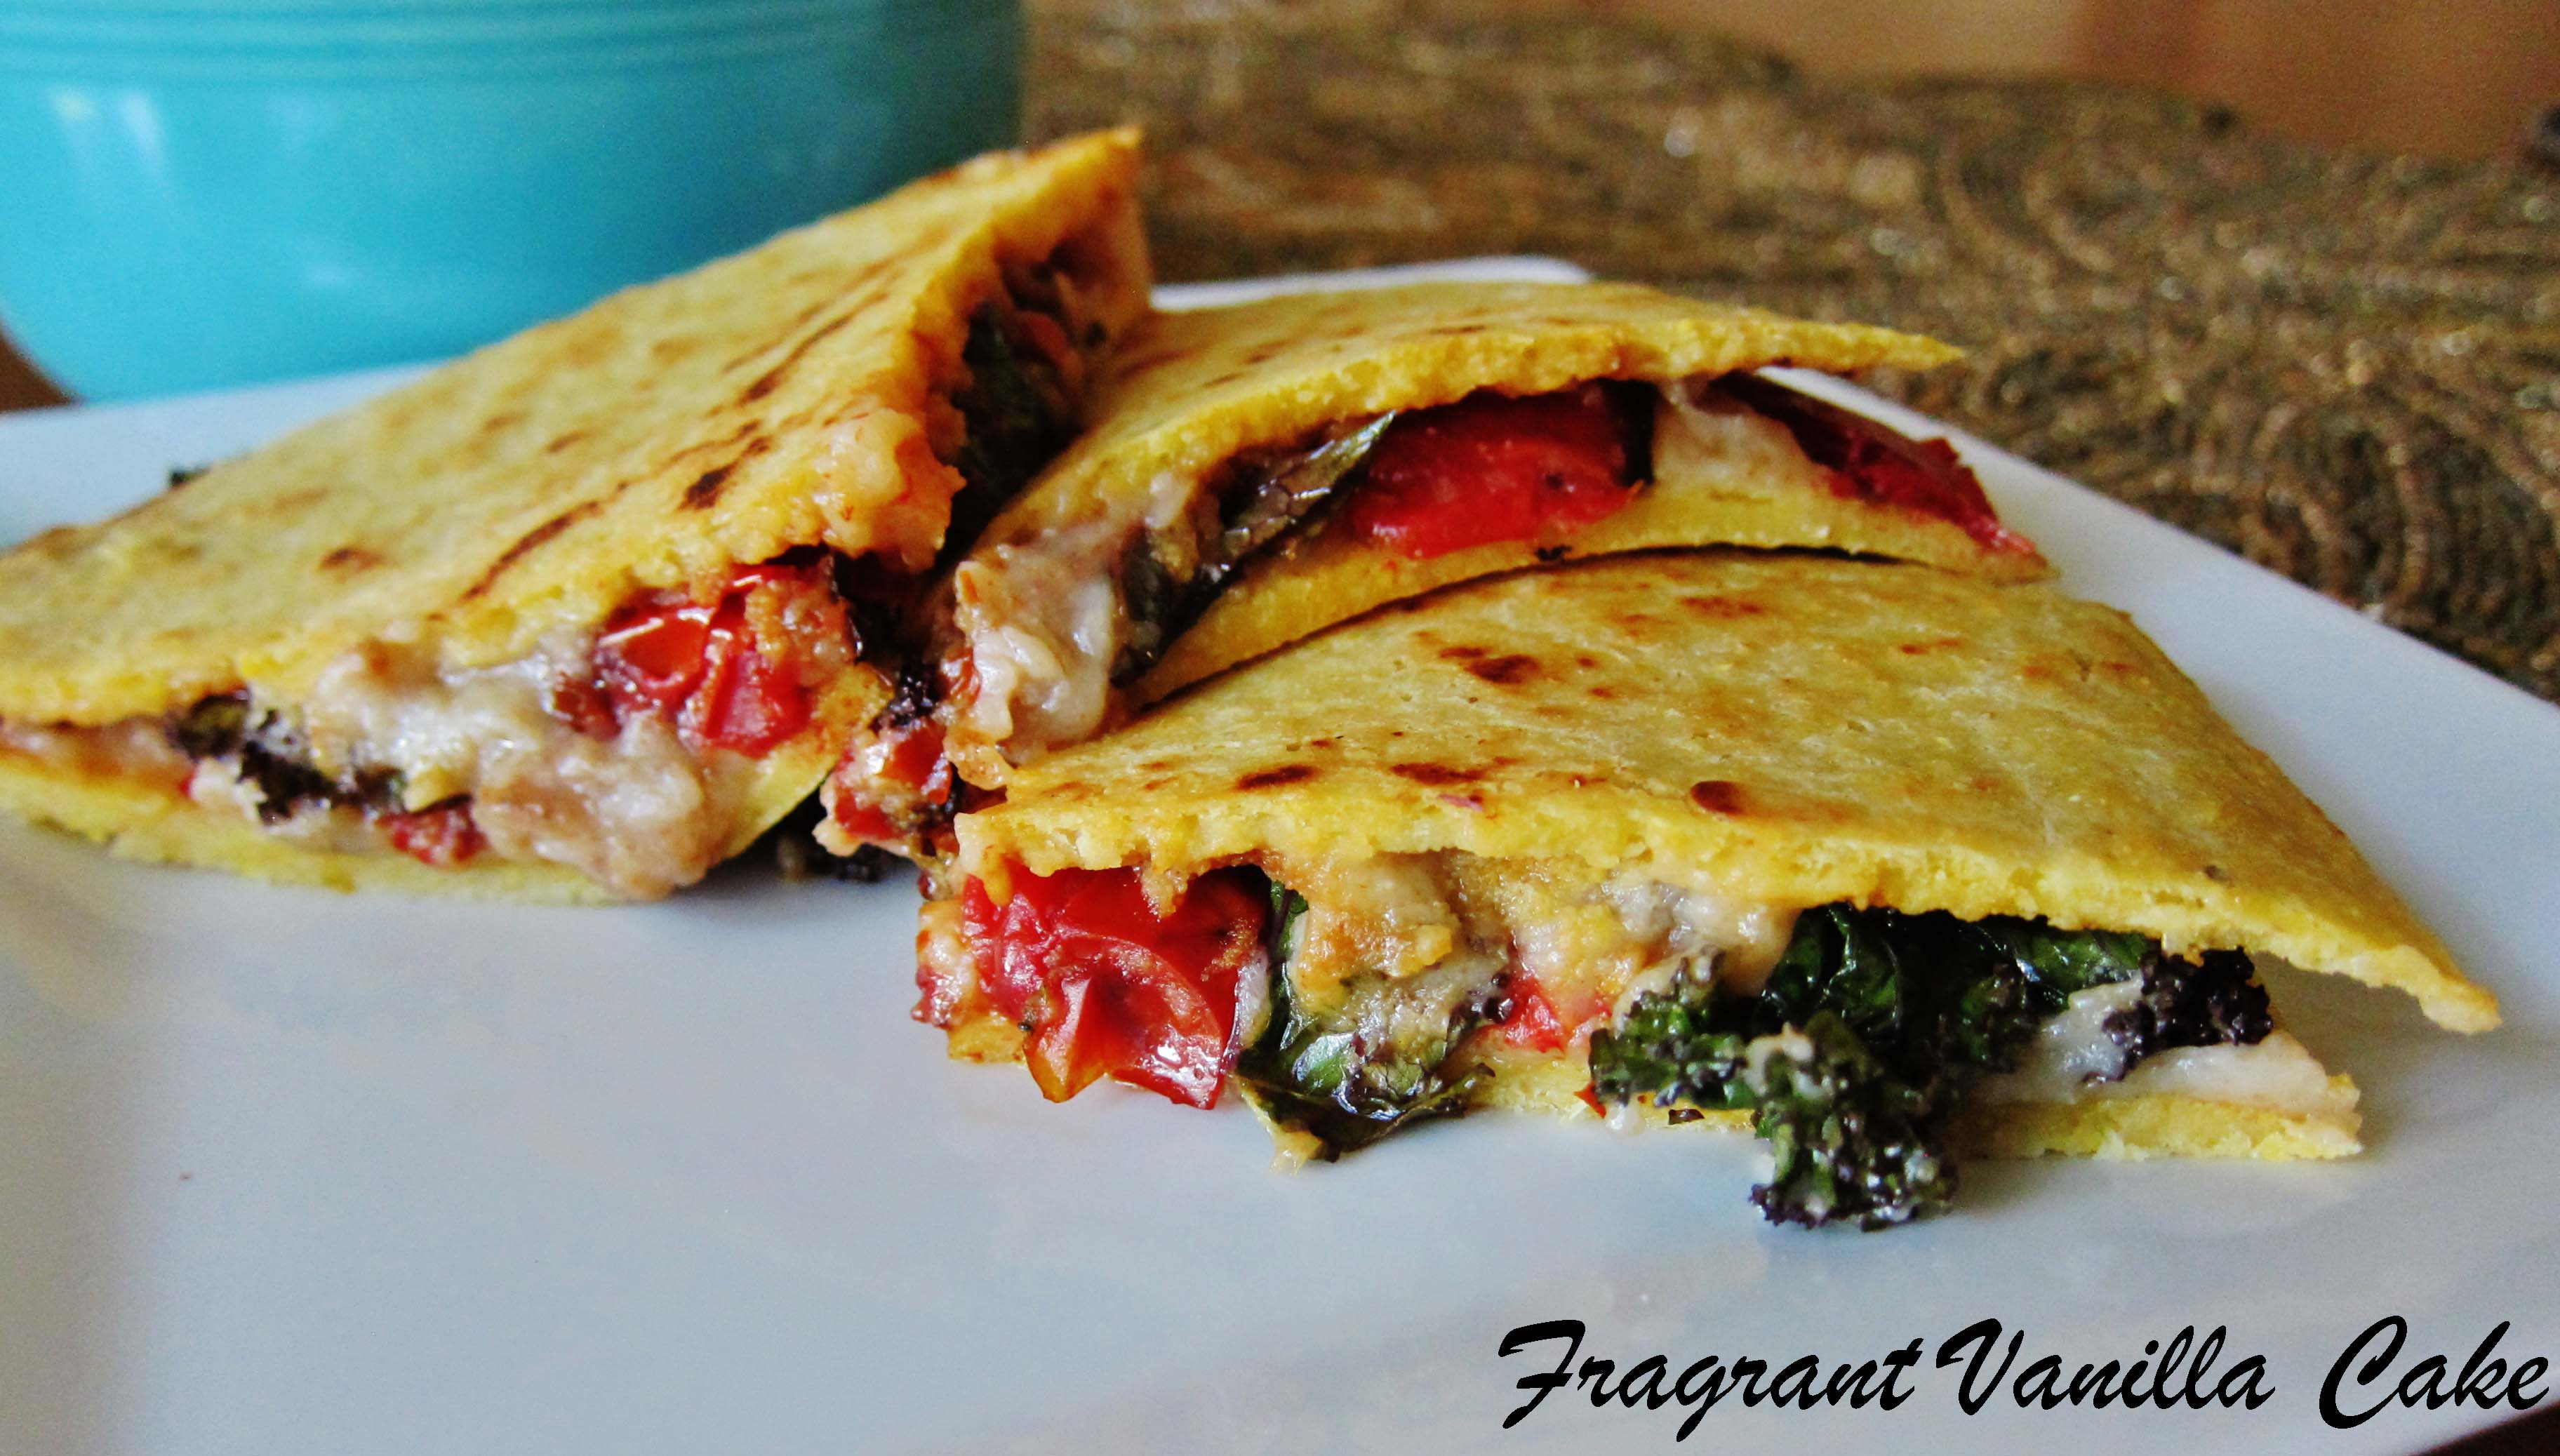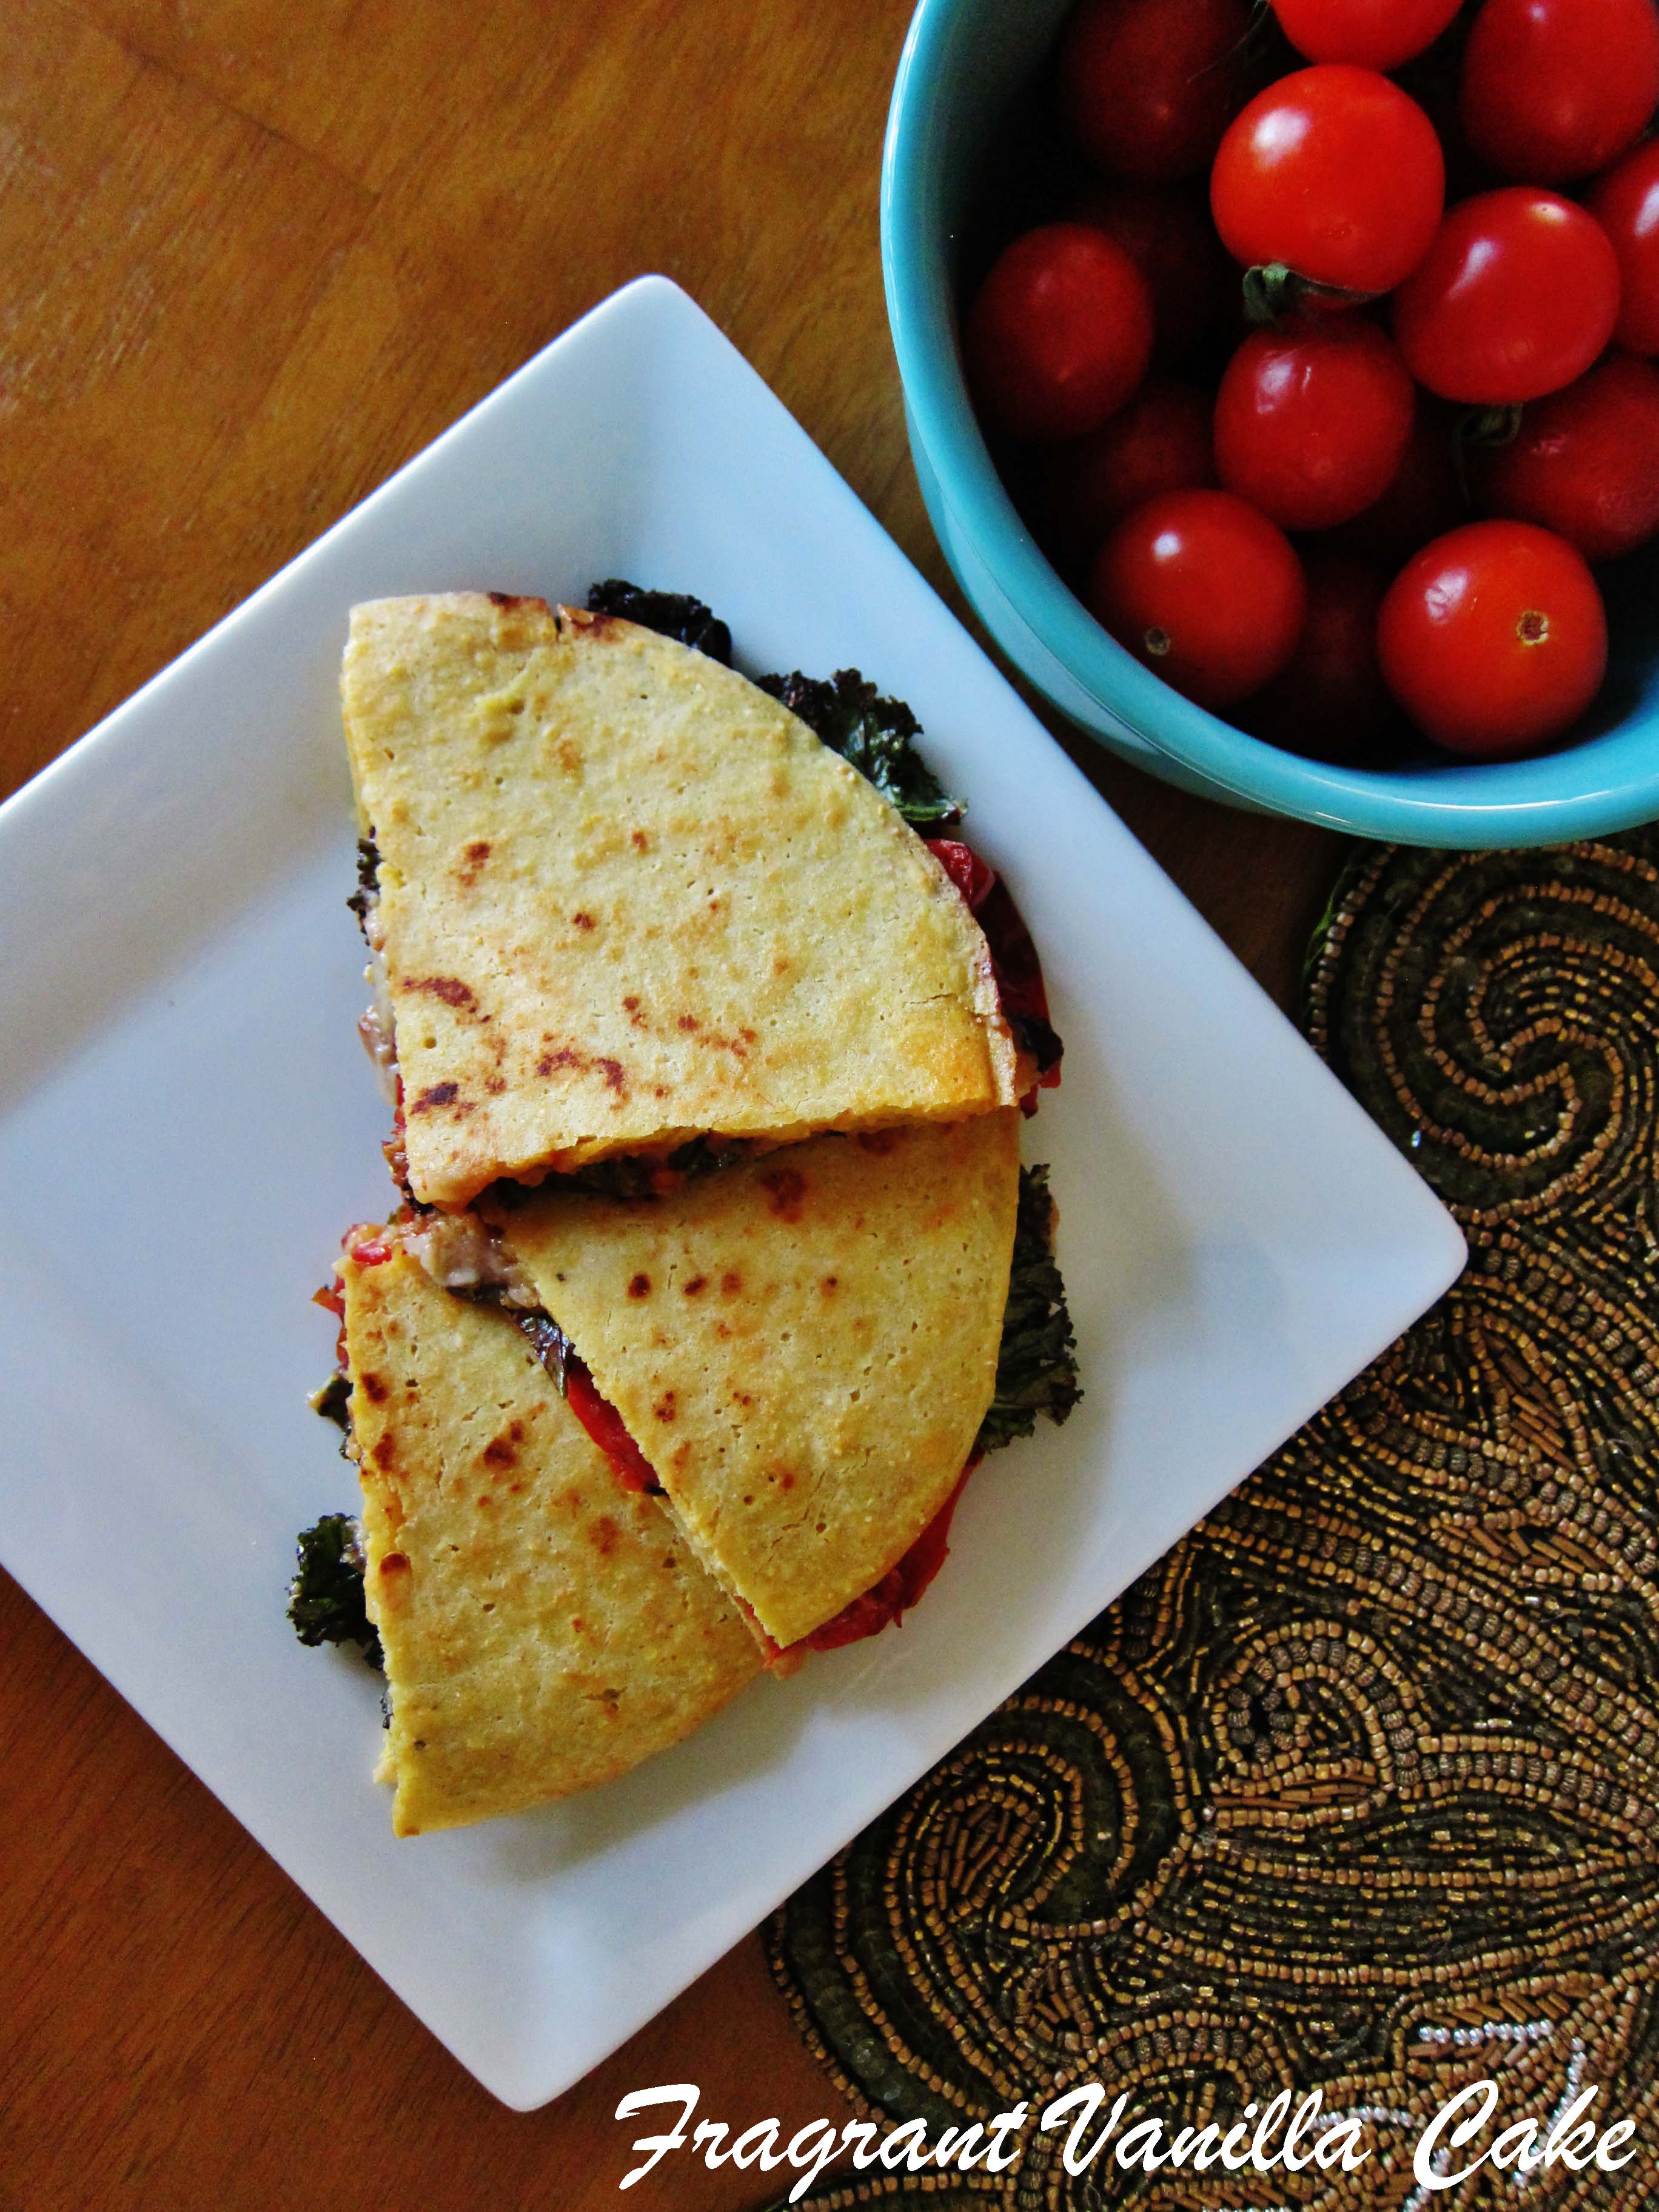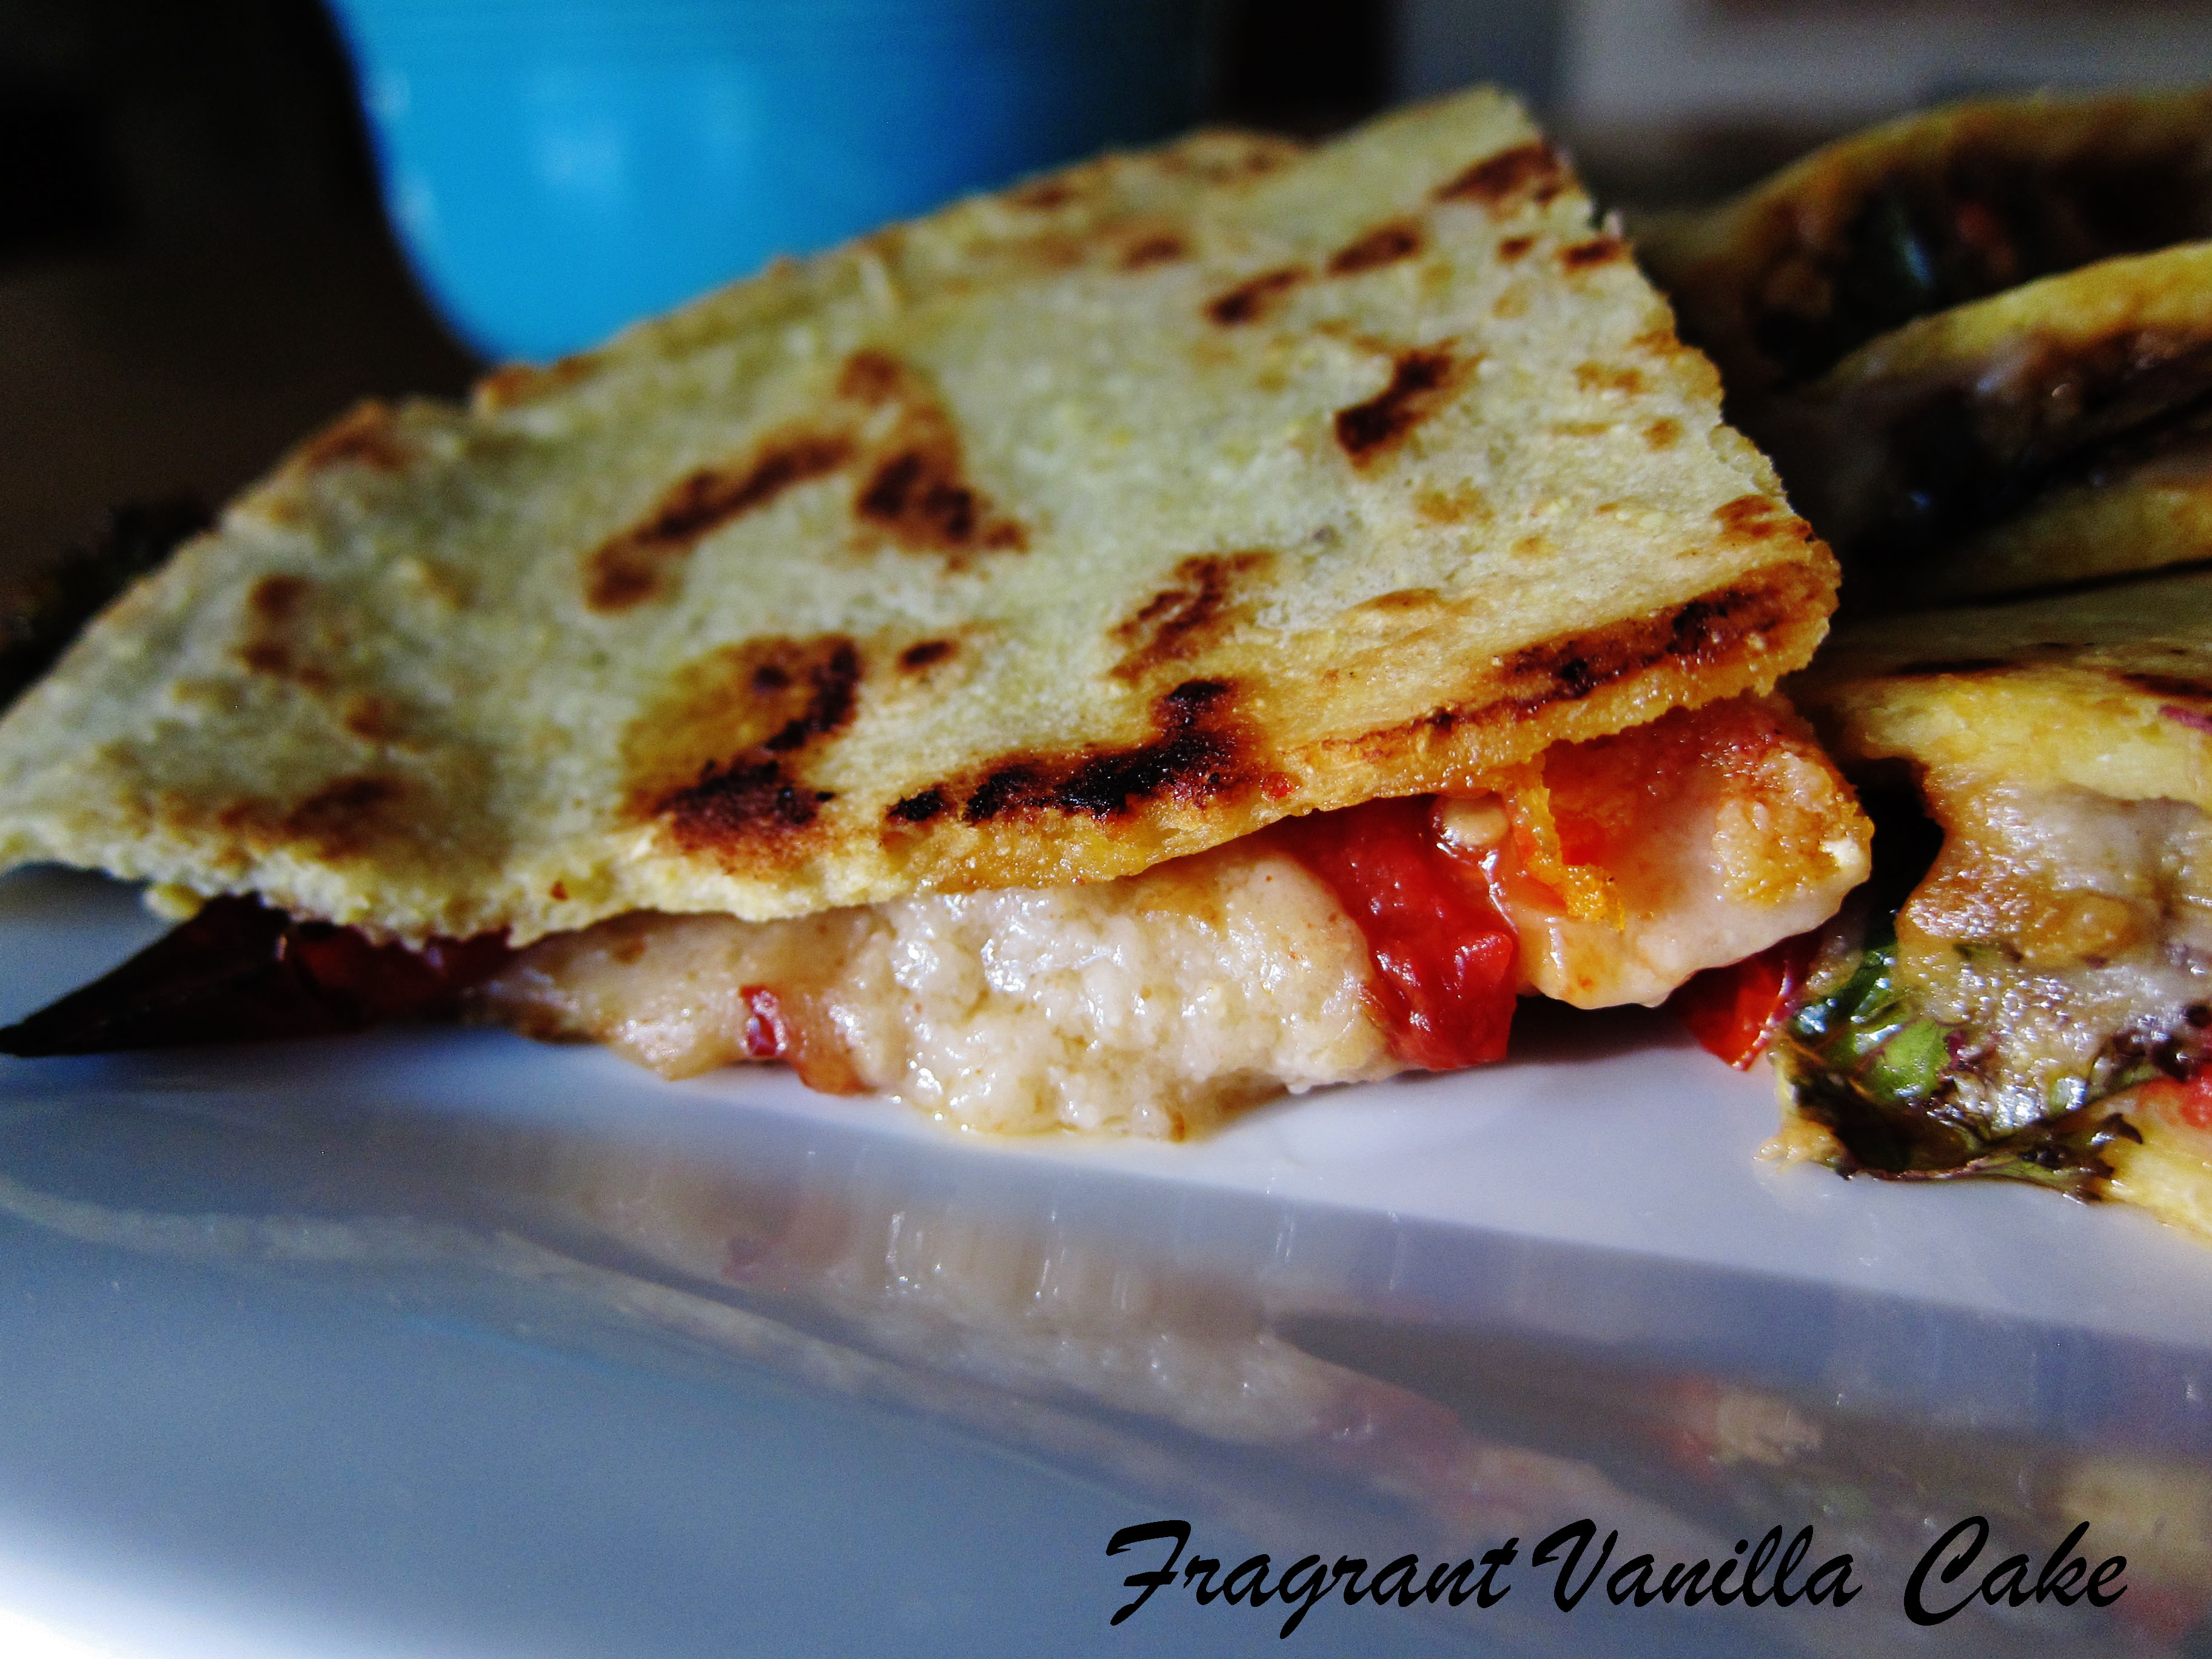
I had made some vegan pepperjack cheese last week, and I used some for quesadillas, but I wanted to make a pizza out of the rest of it. Some sort of spicy Mexican pizza because I haven’t had a pizza like that in a while with melty cheese. I thought long and hard all day while I was at work about what I wanted to put on it. First, I thought lentils, but then by the time I got home I didn’t even feel like cooking those, so I ended up using the chickpeas I had cooked off in the fridge. Not just chickpeas though thrown onto the pizza. That would be boring and not spicy enough. So I made chickpea chorizo. It was sooo good! I enjoyed it so much I am going to use it on taco salad in the future. But anyways, it was wonderful on the pizza.

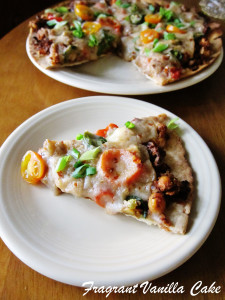
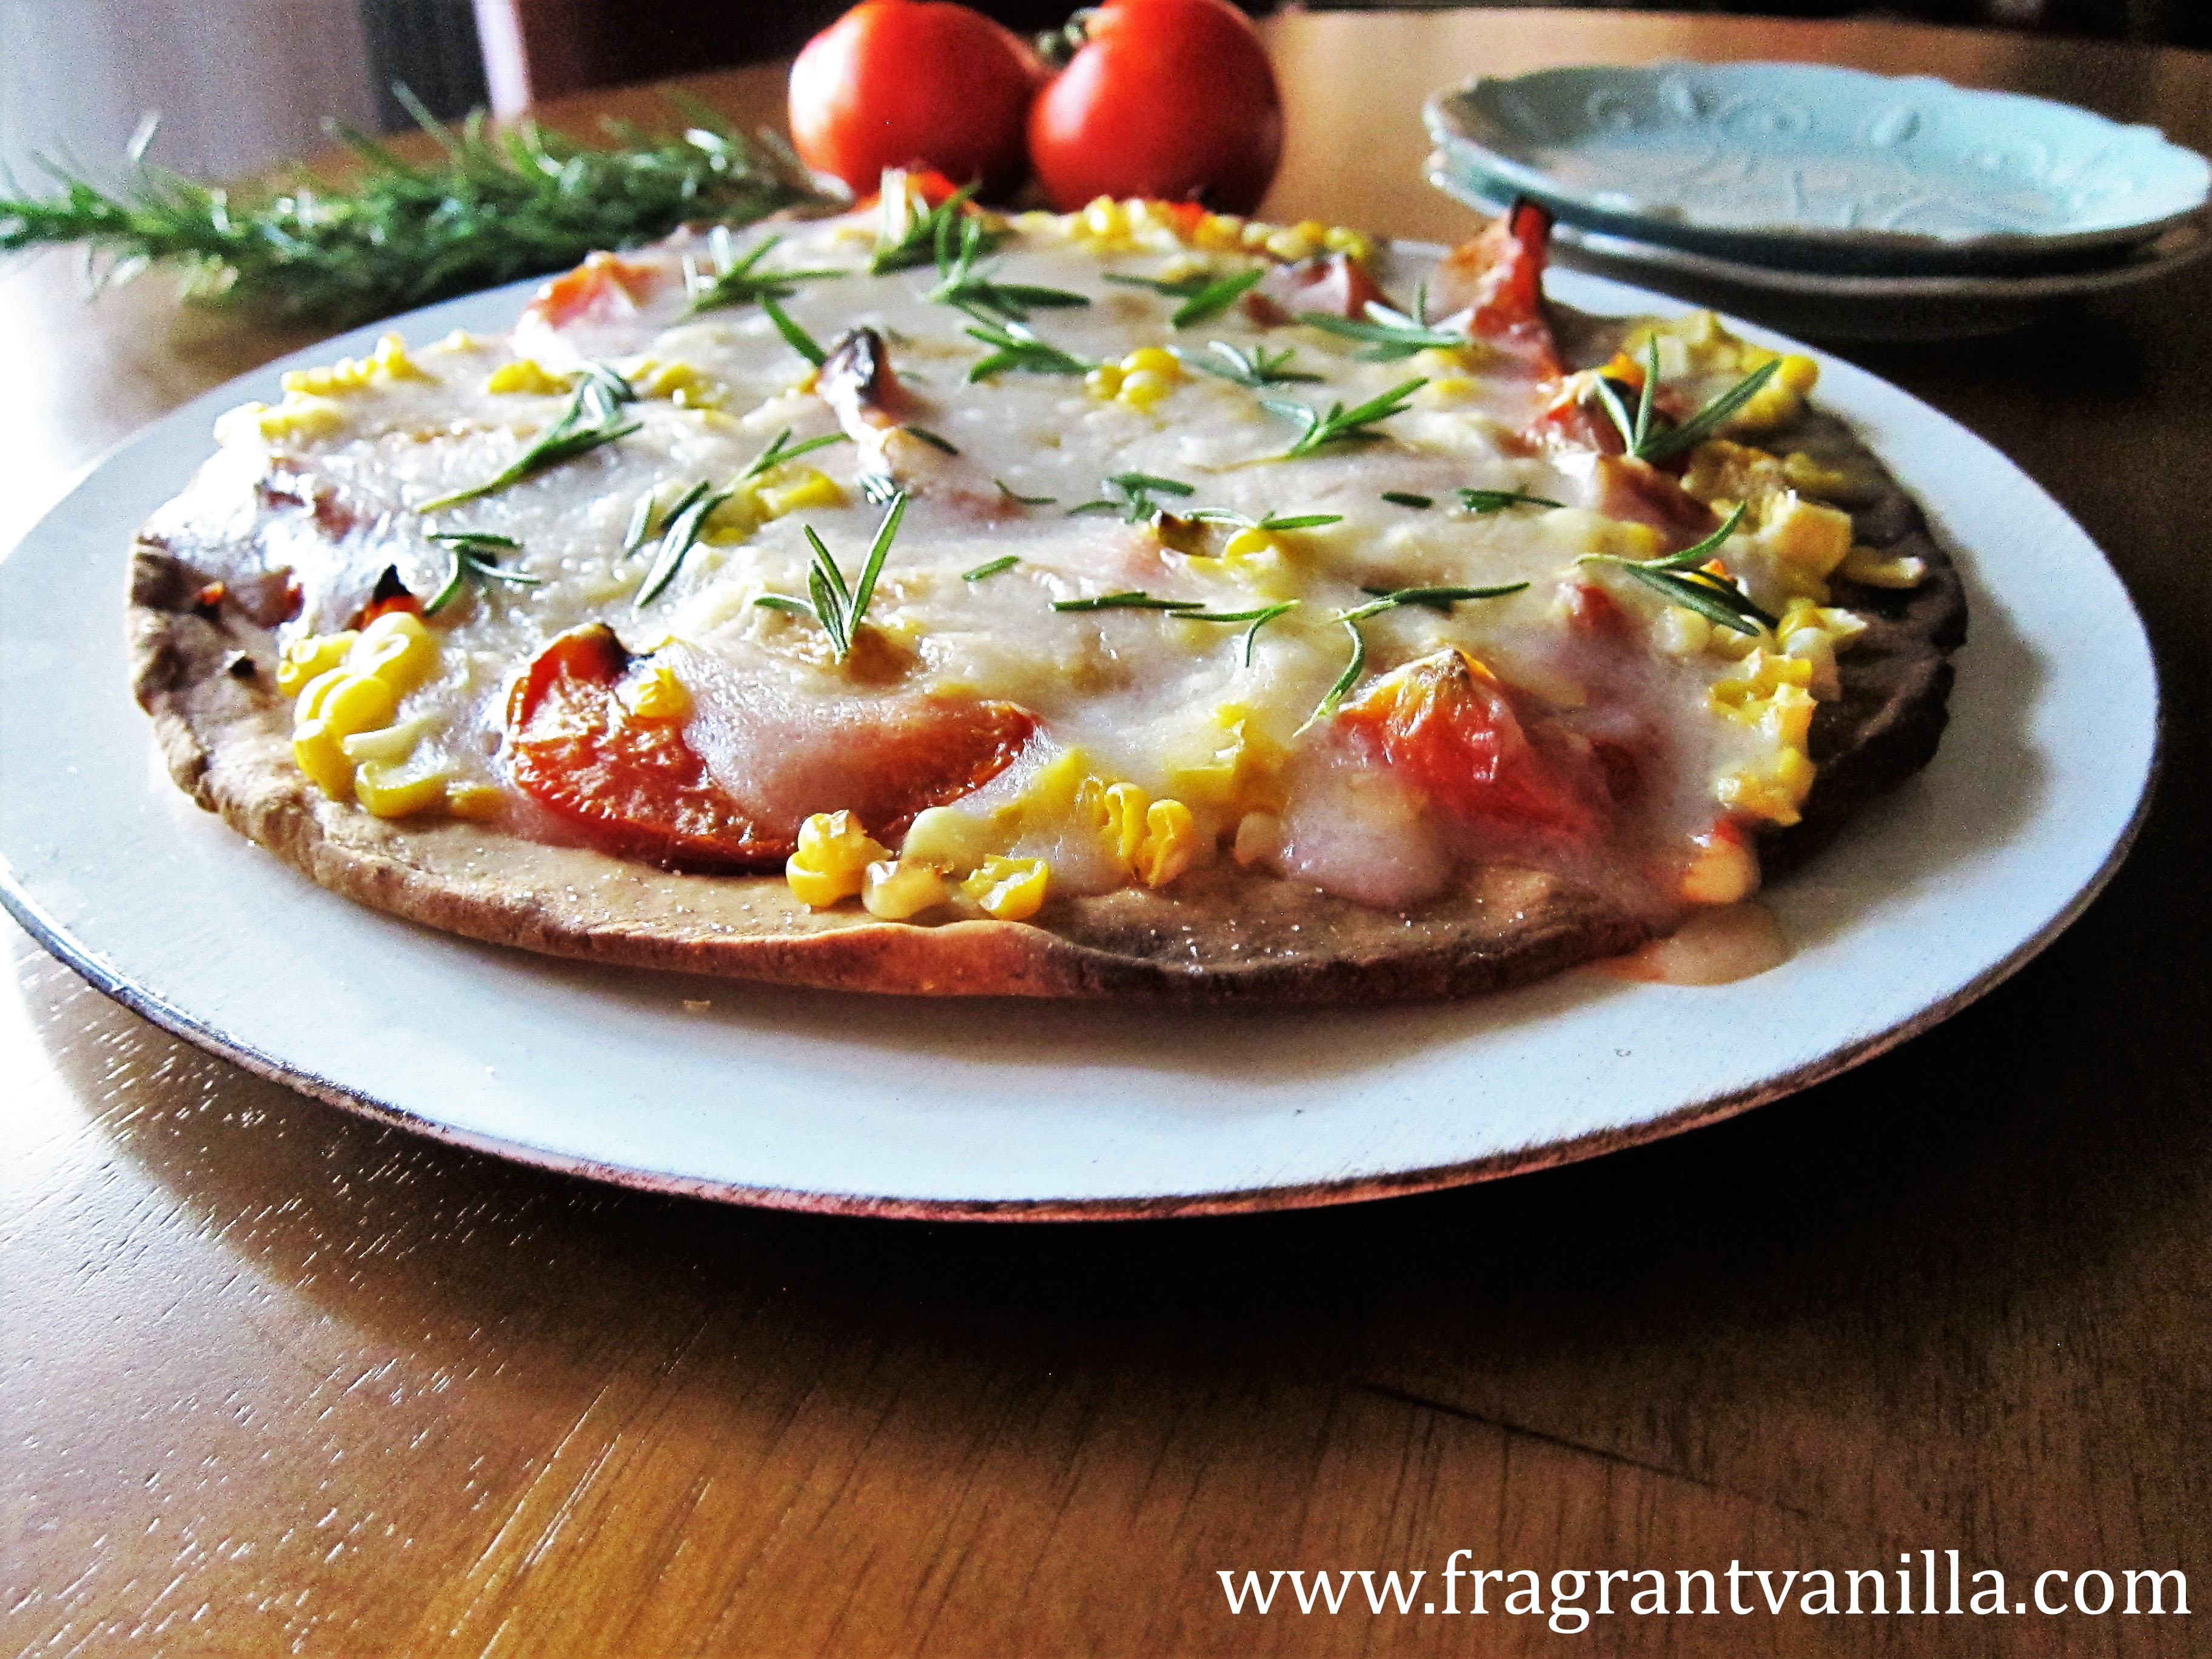
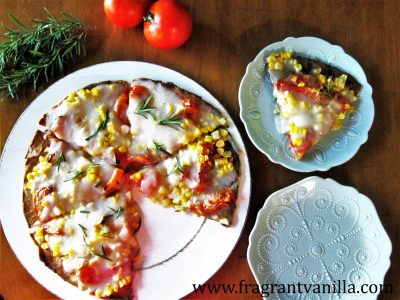
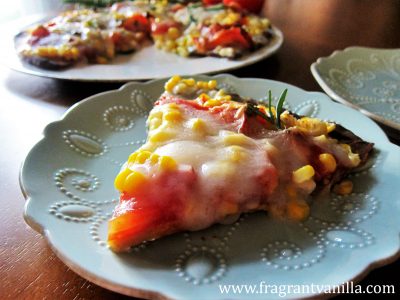
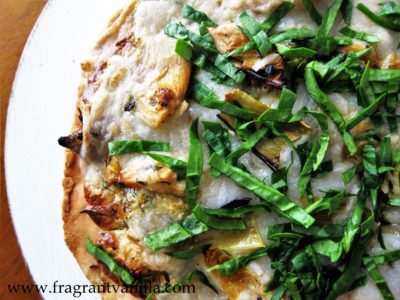
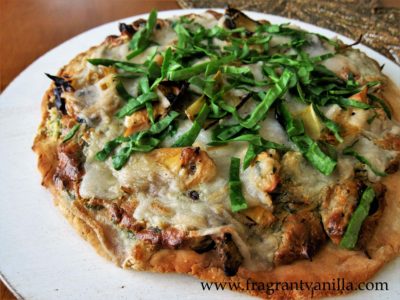
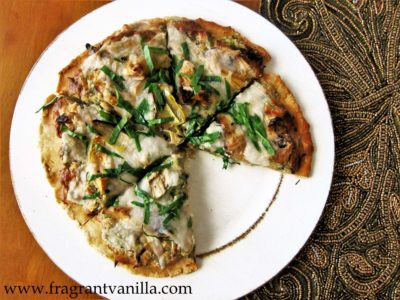
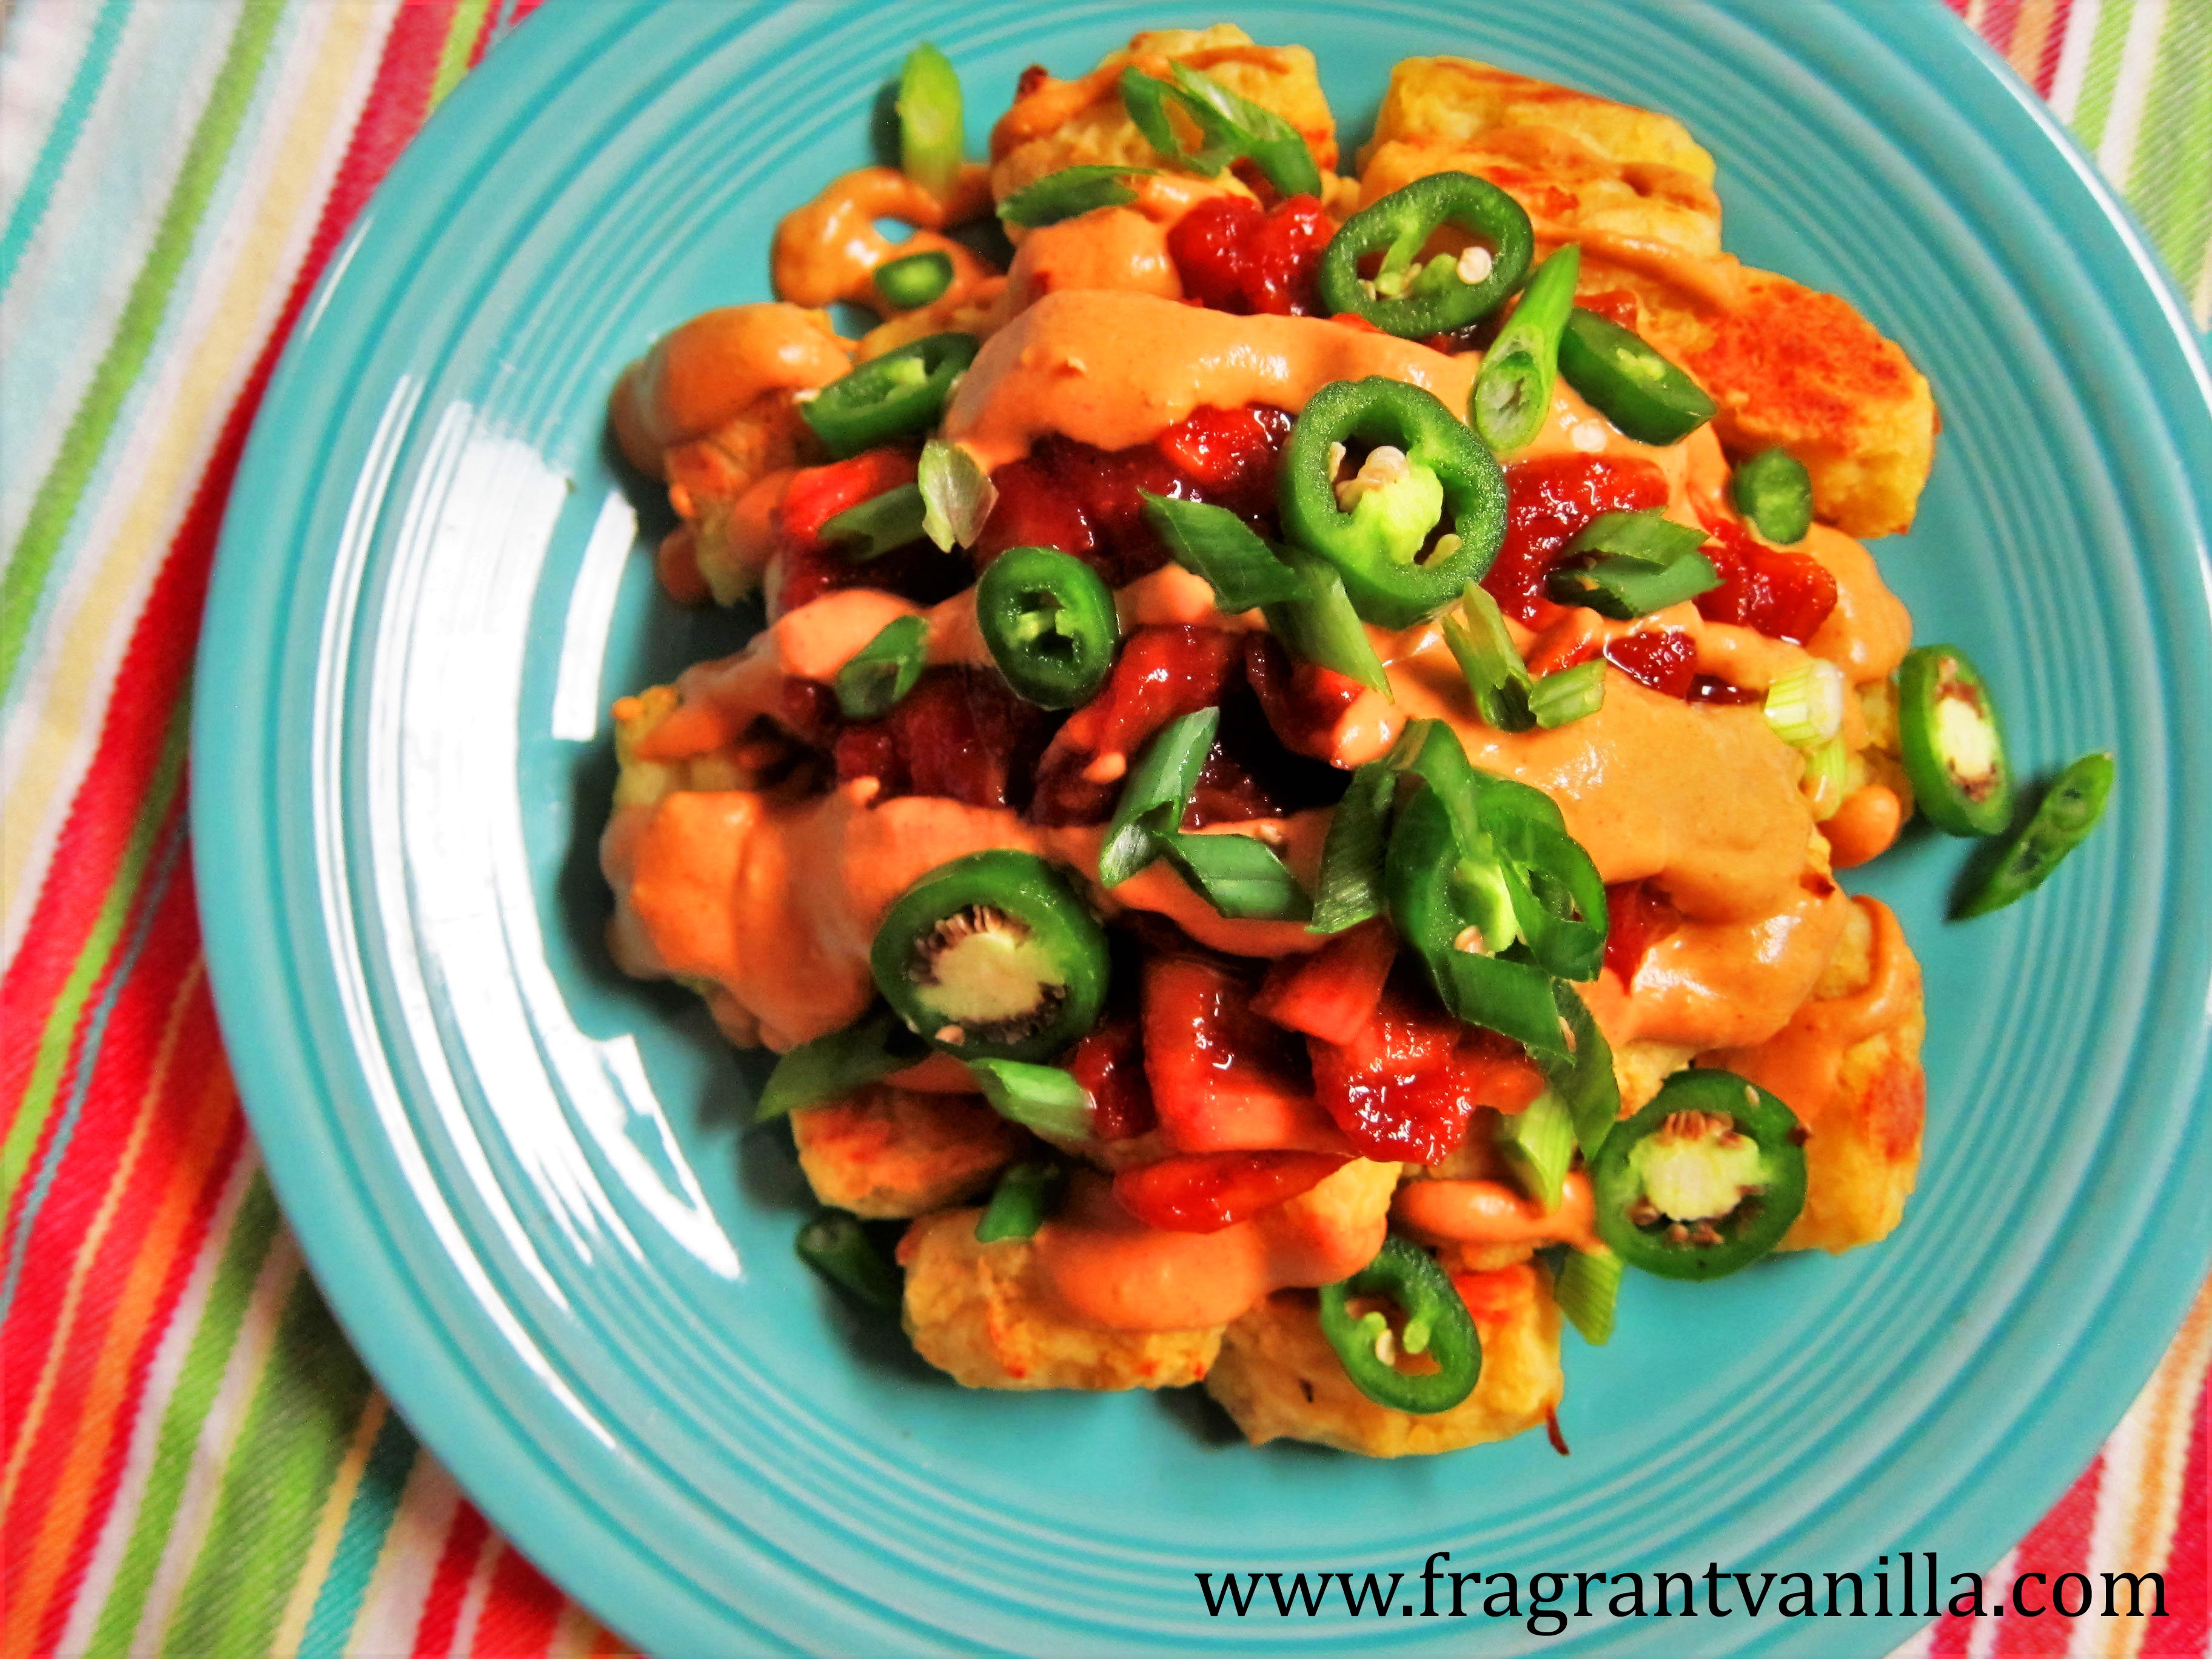
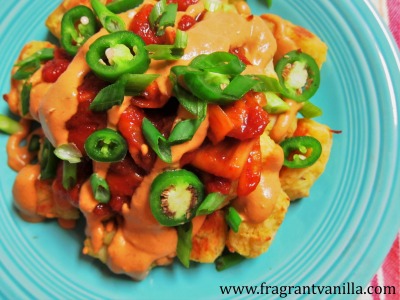
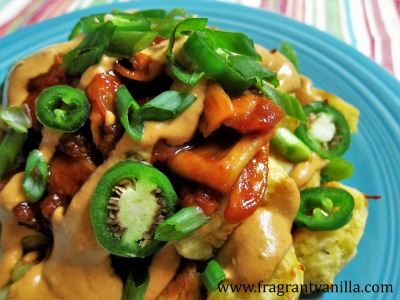
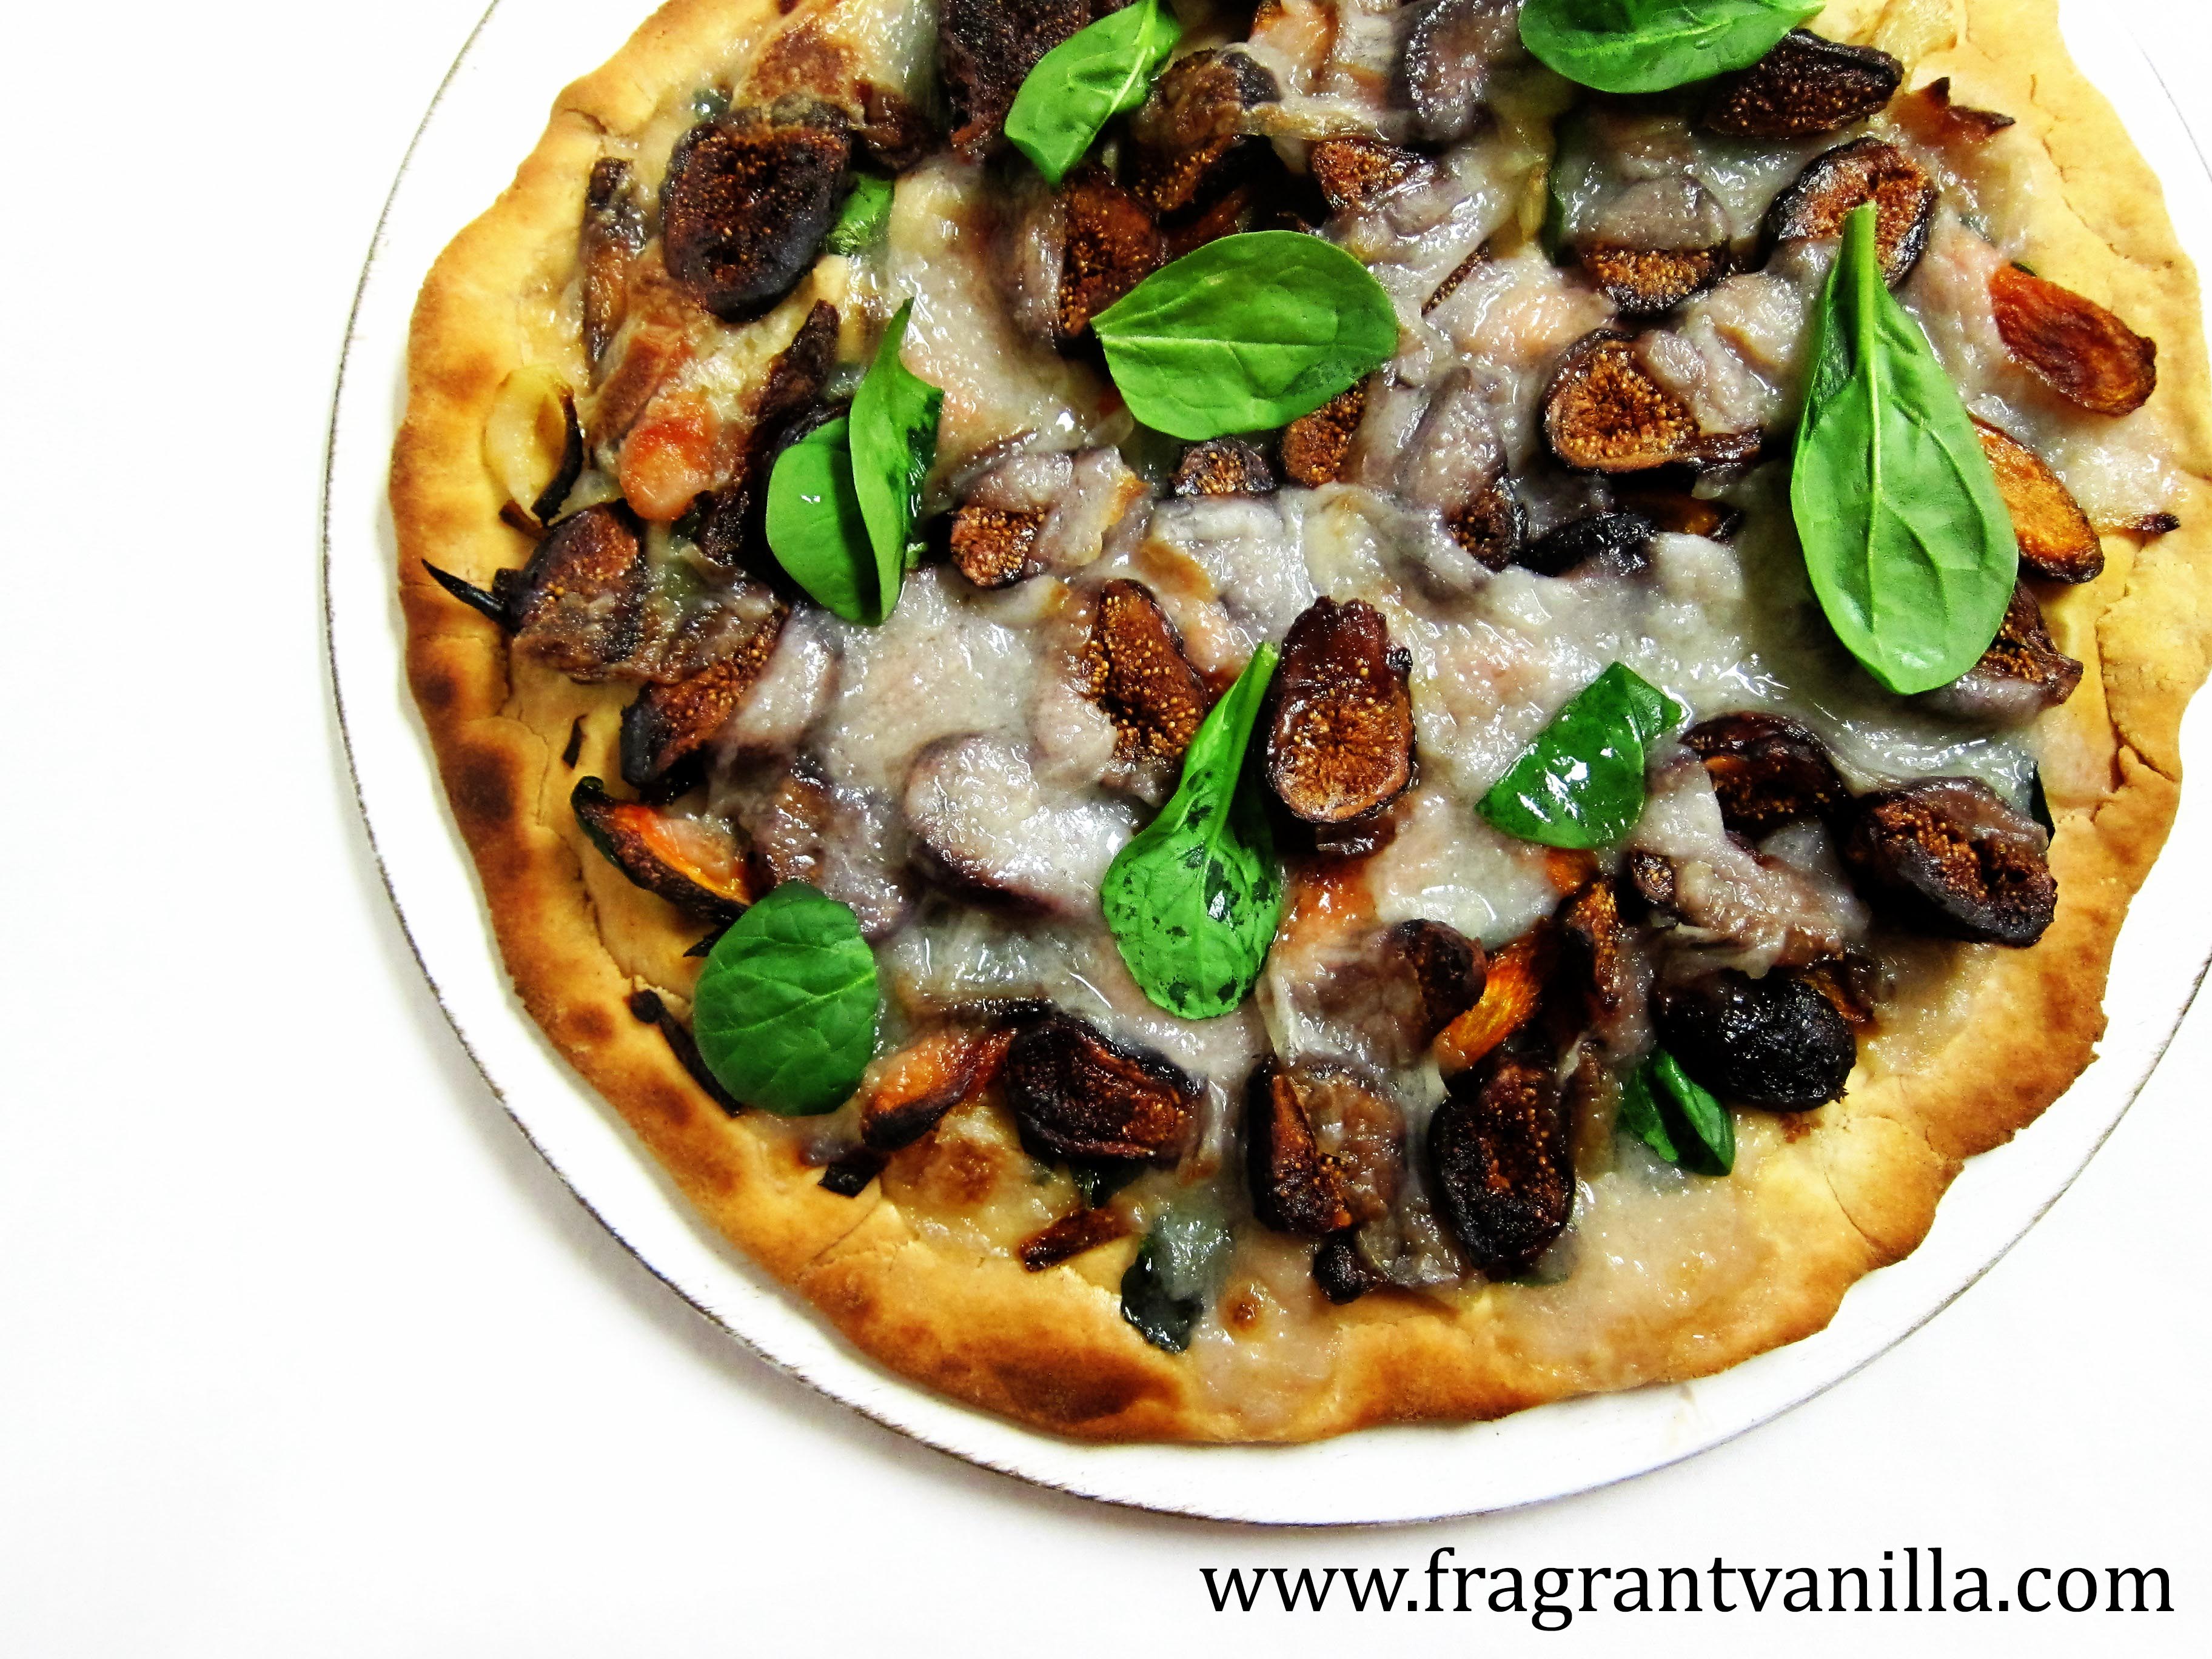
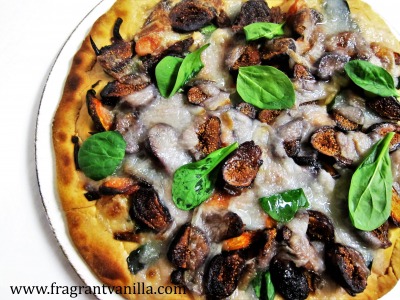
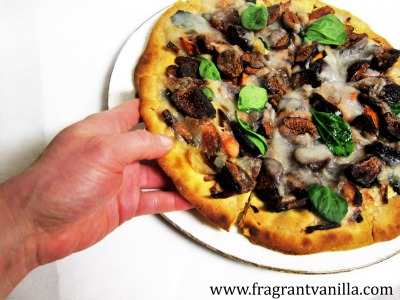
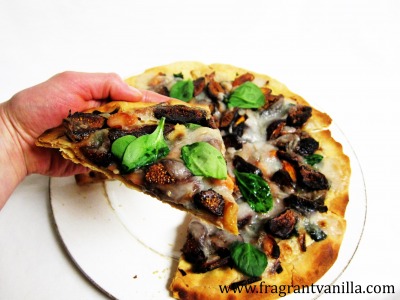
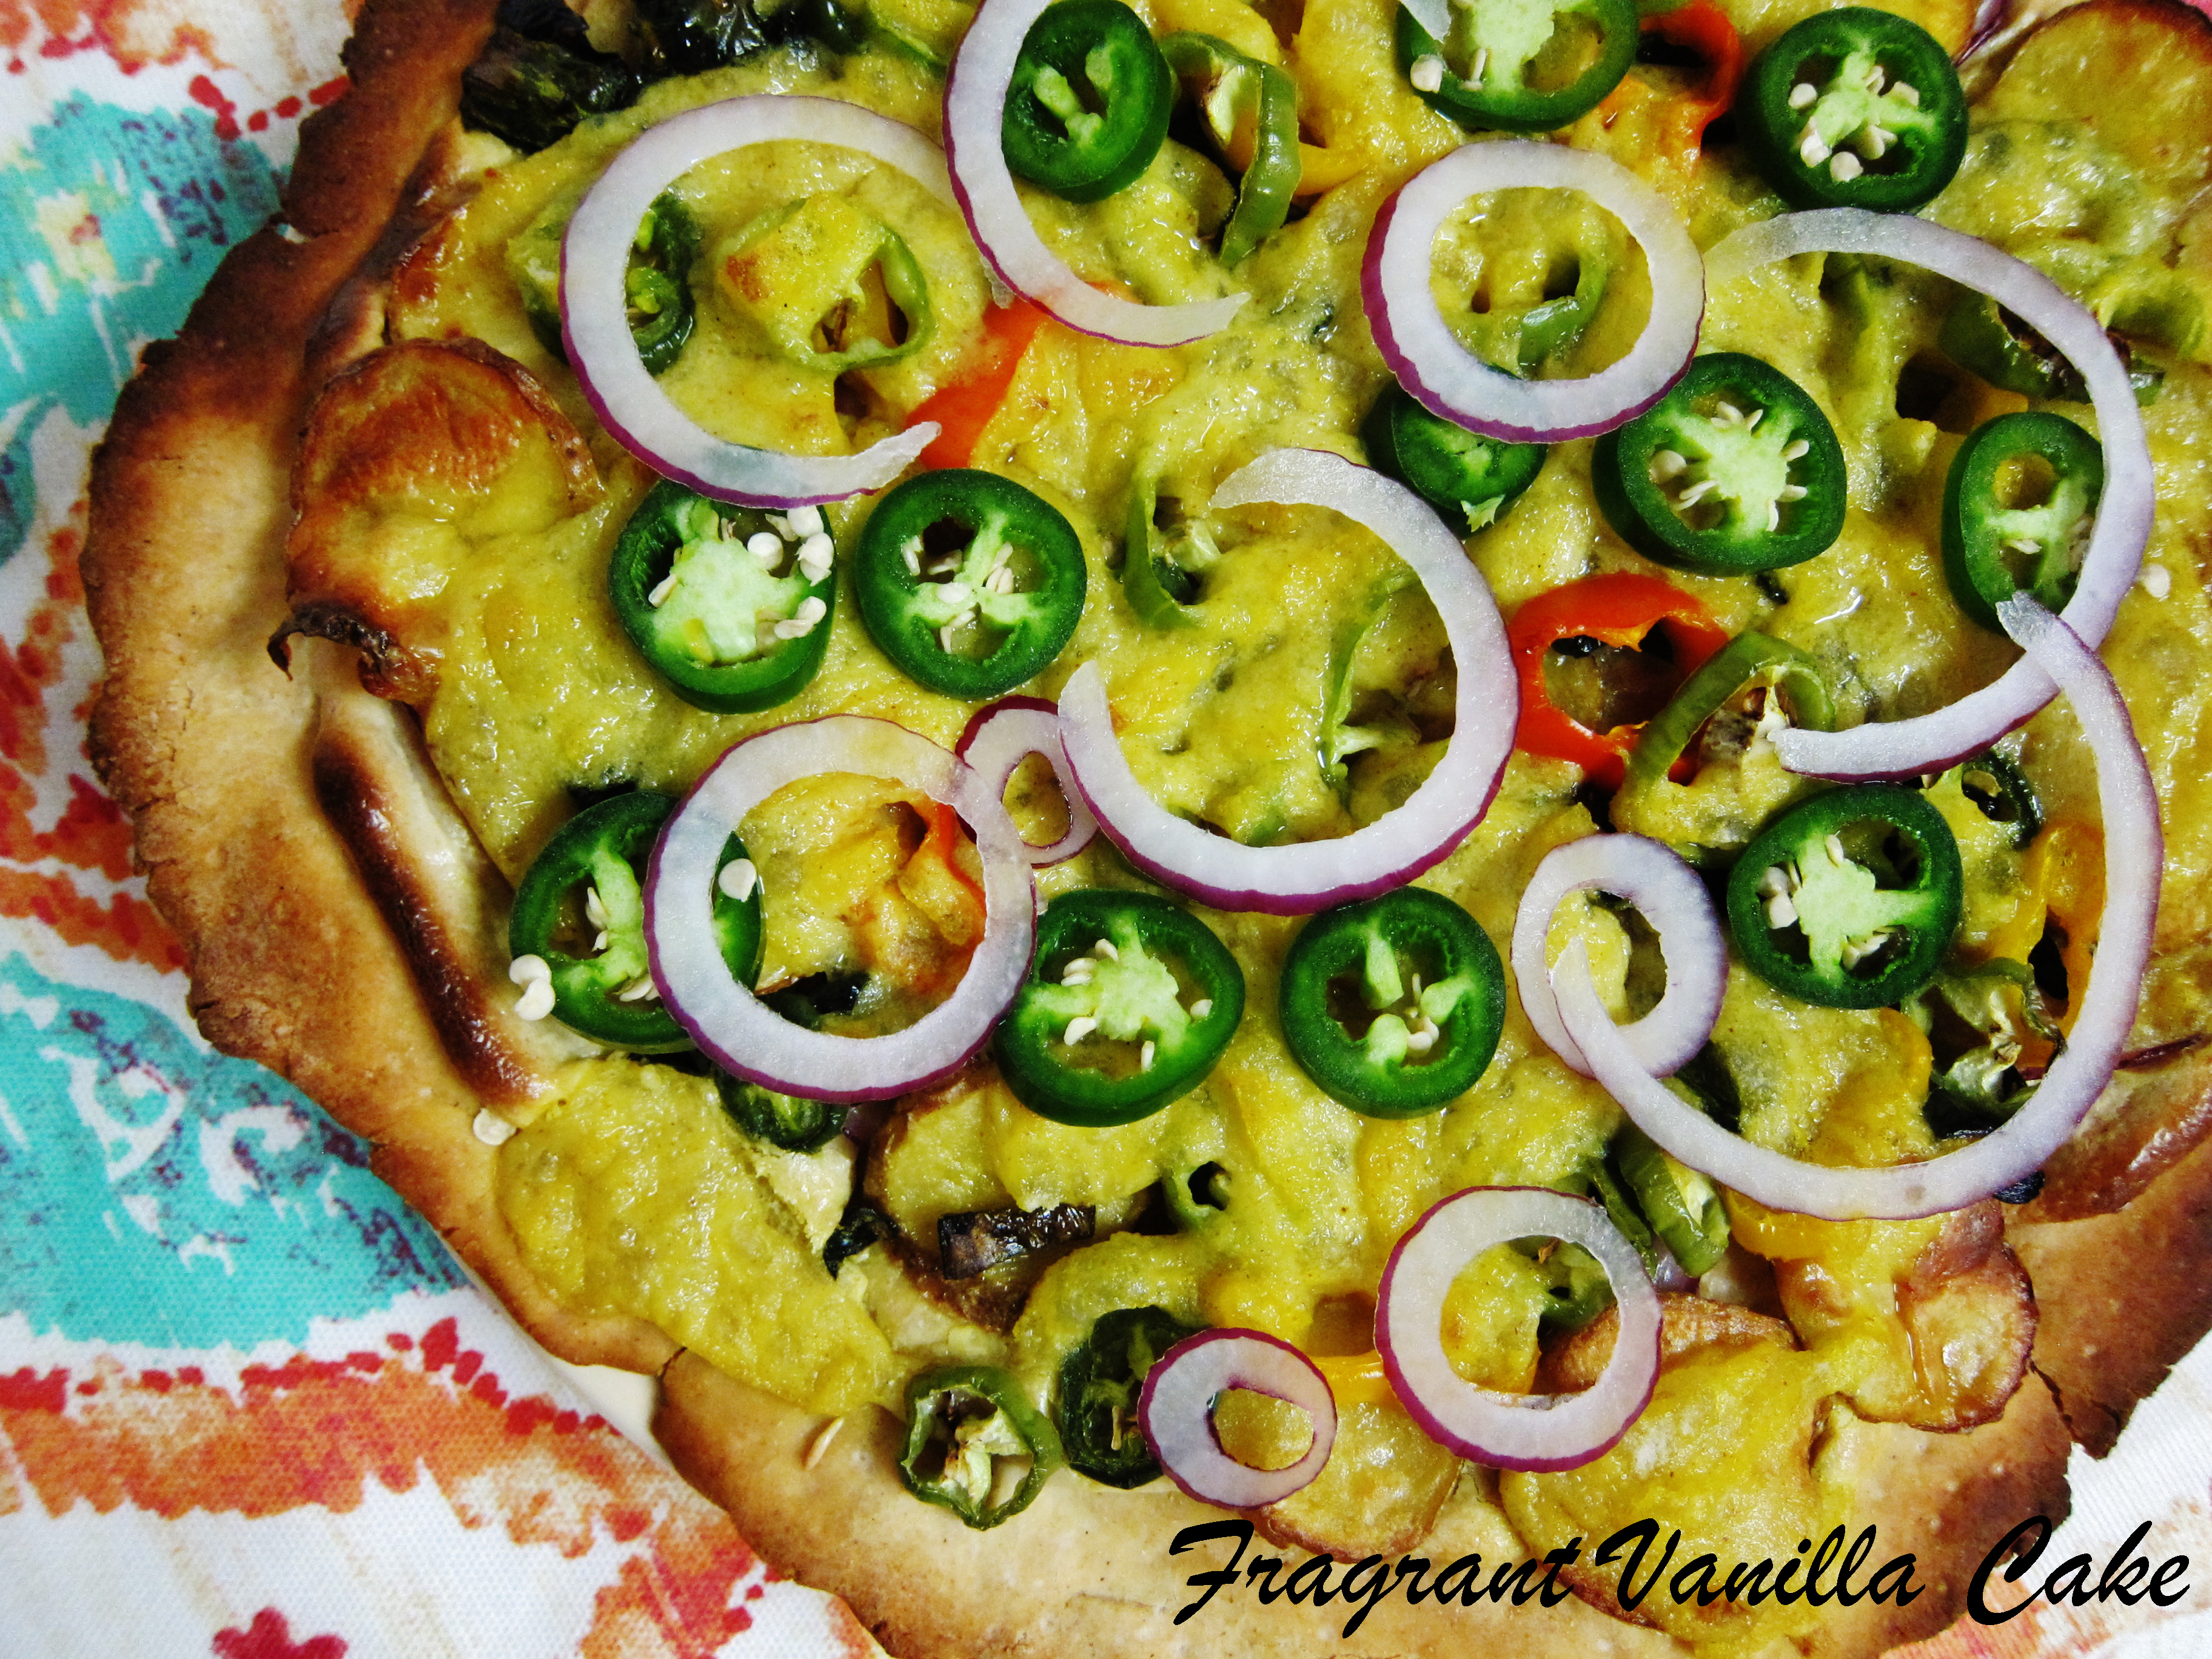
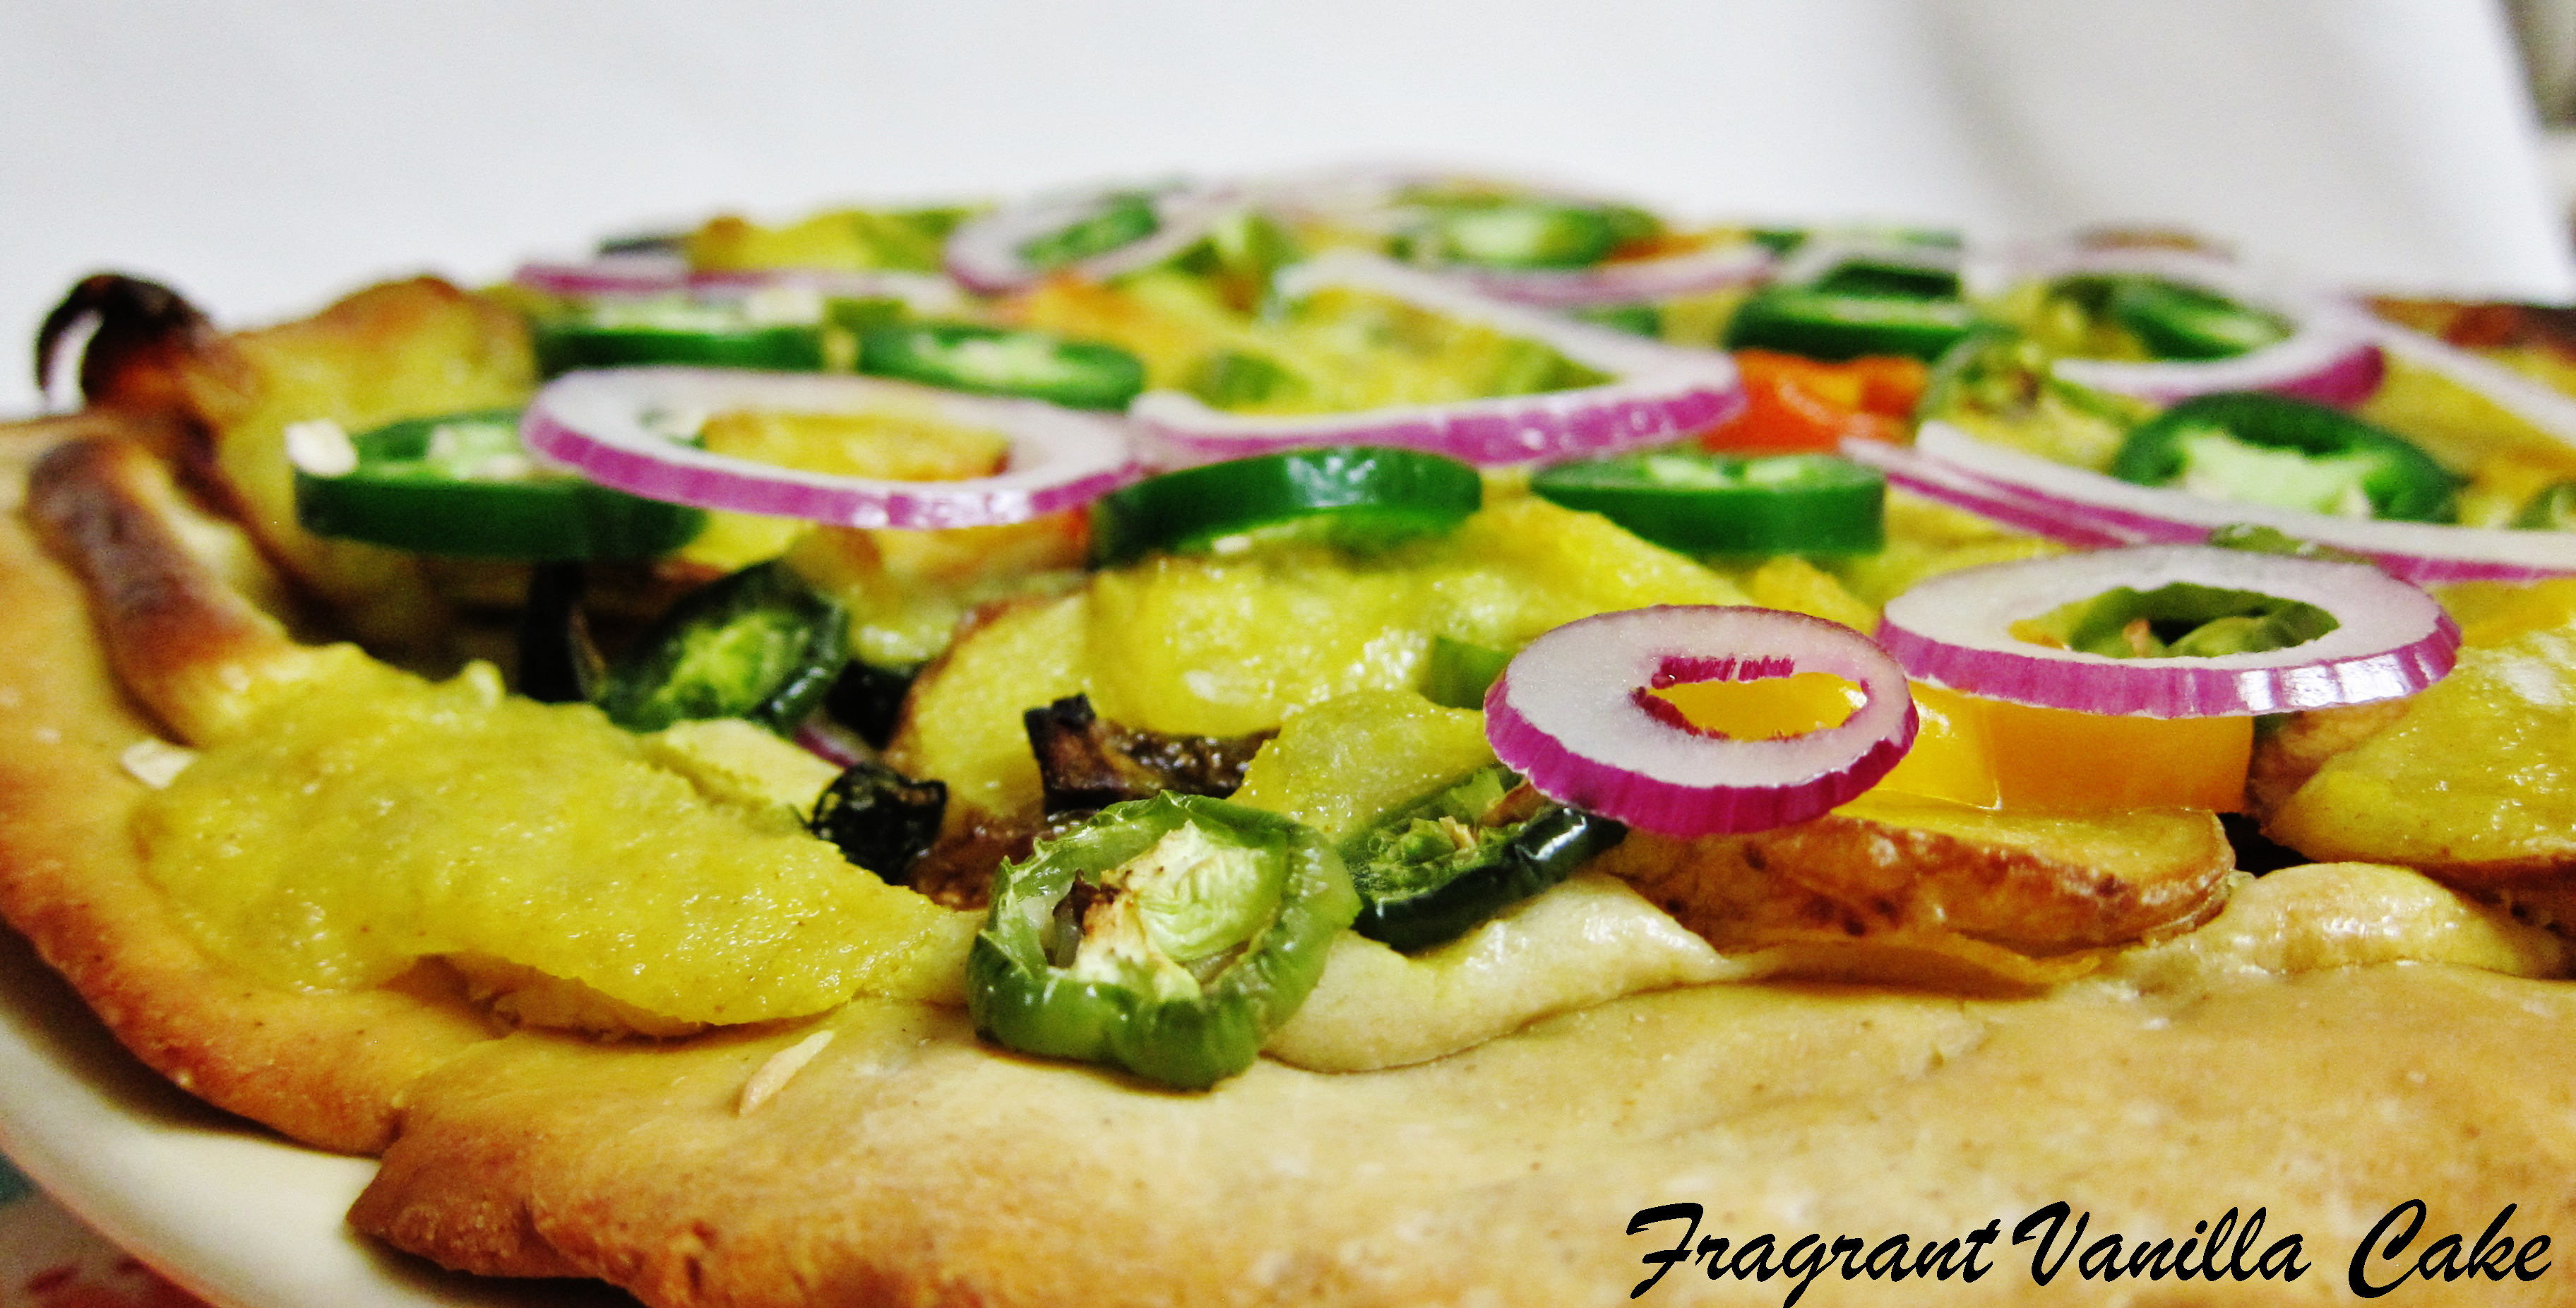
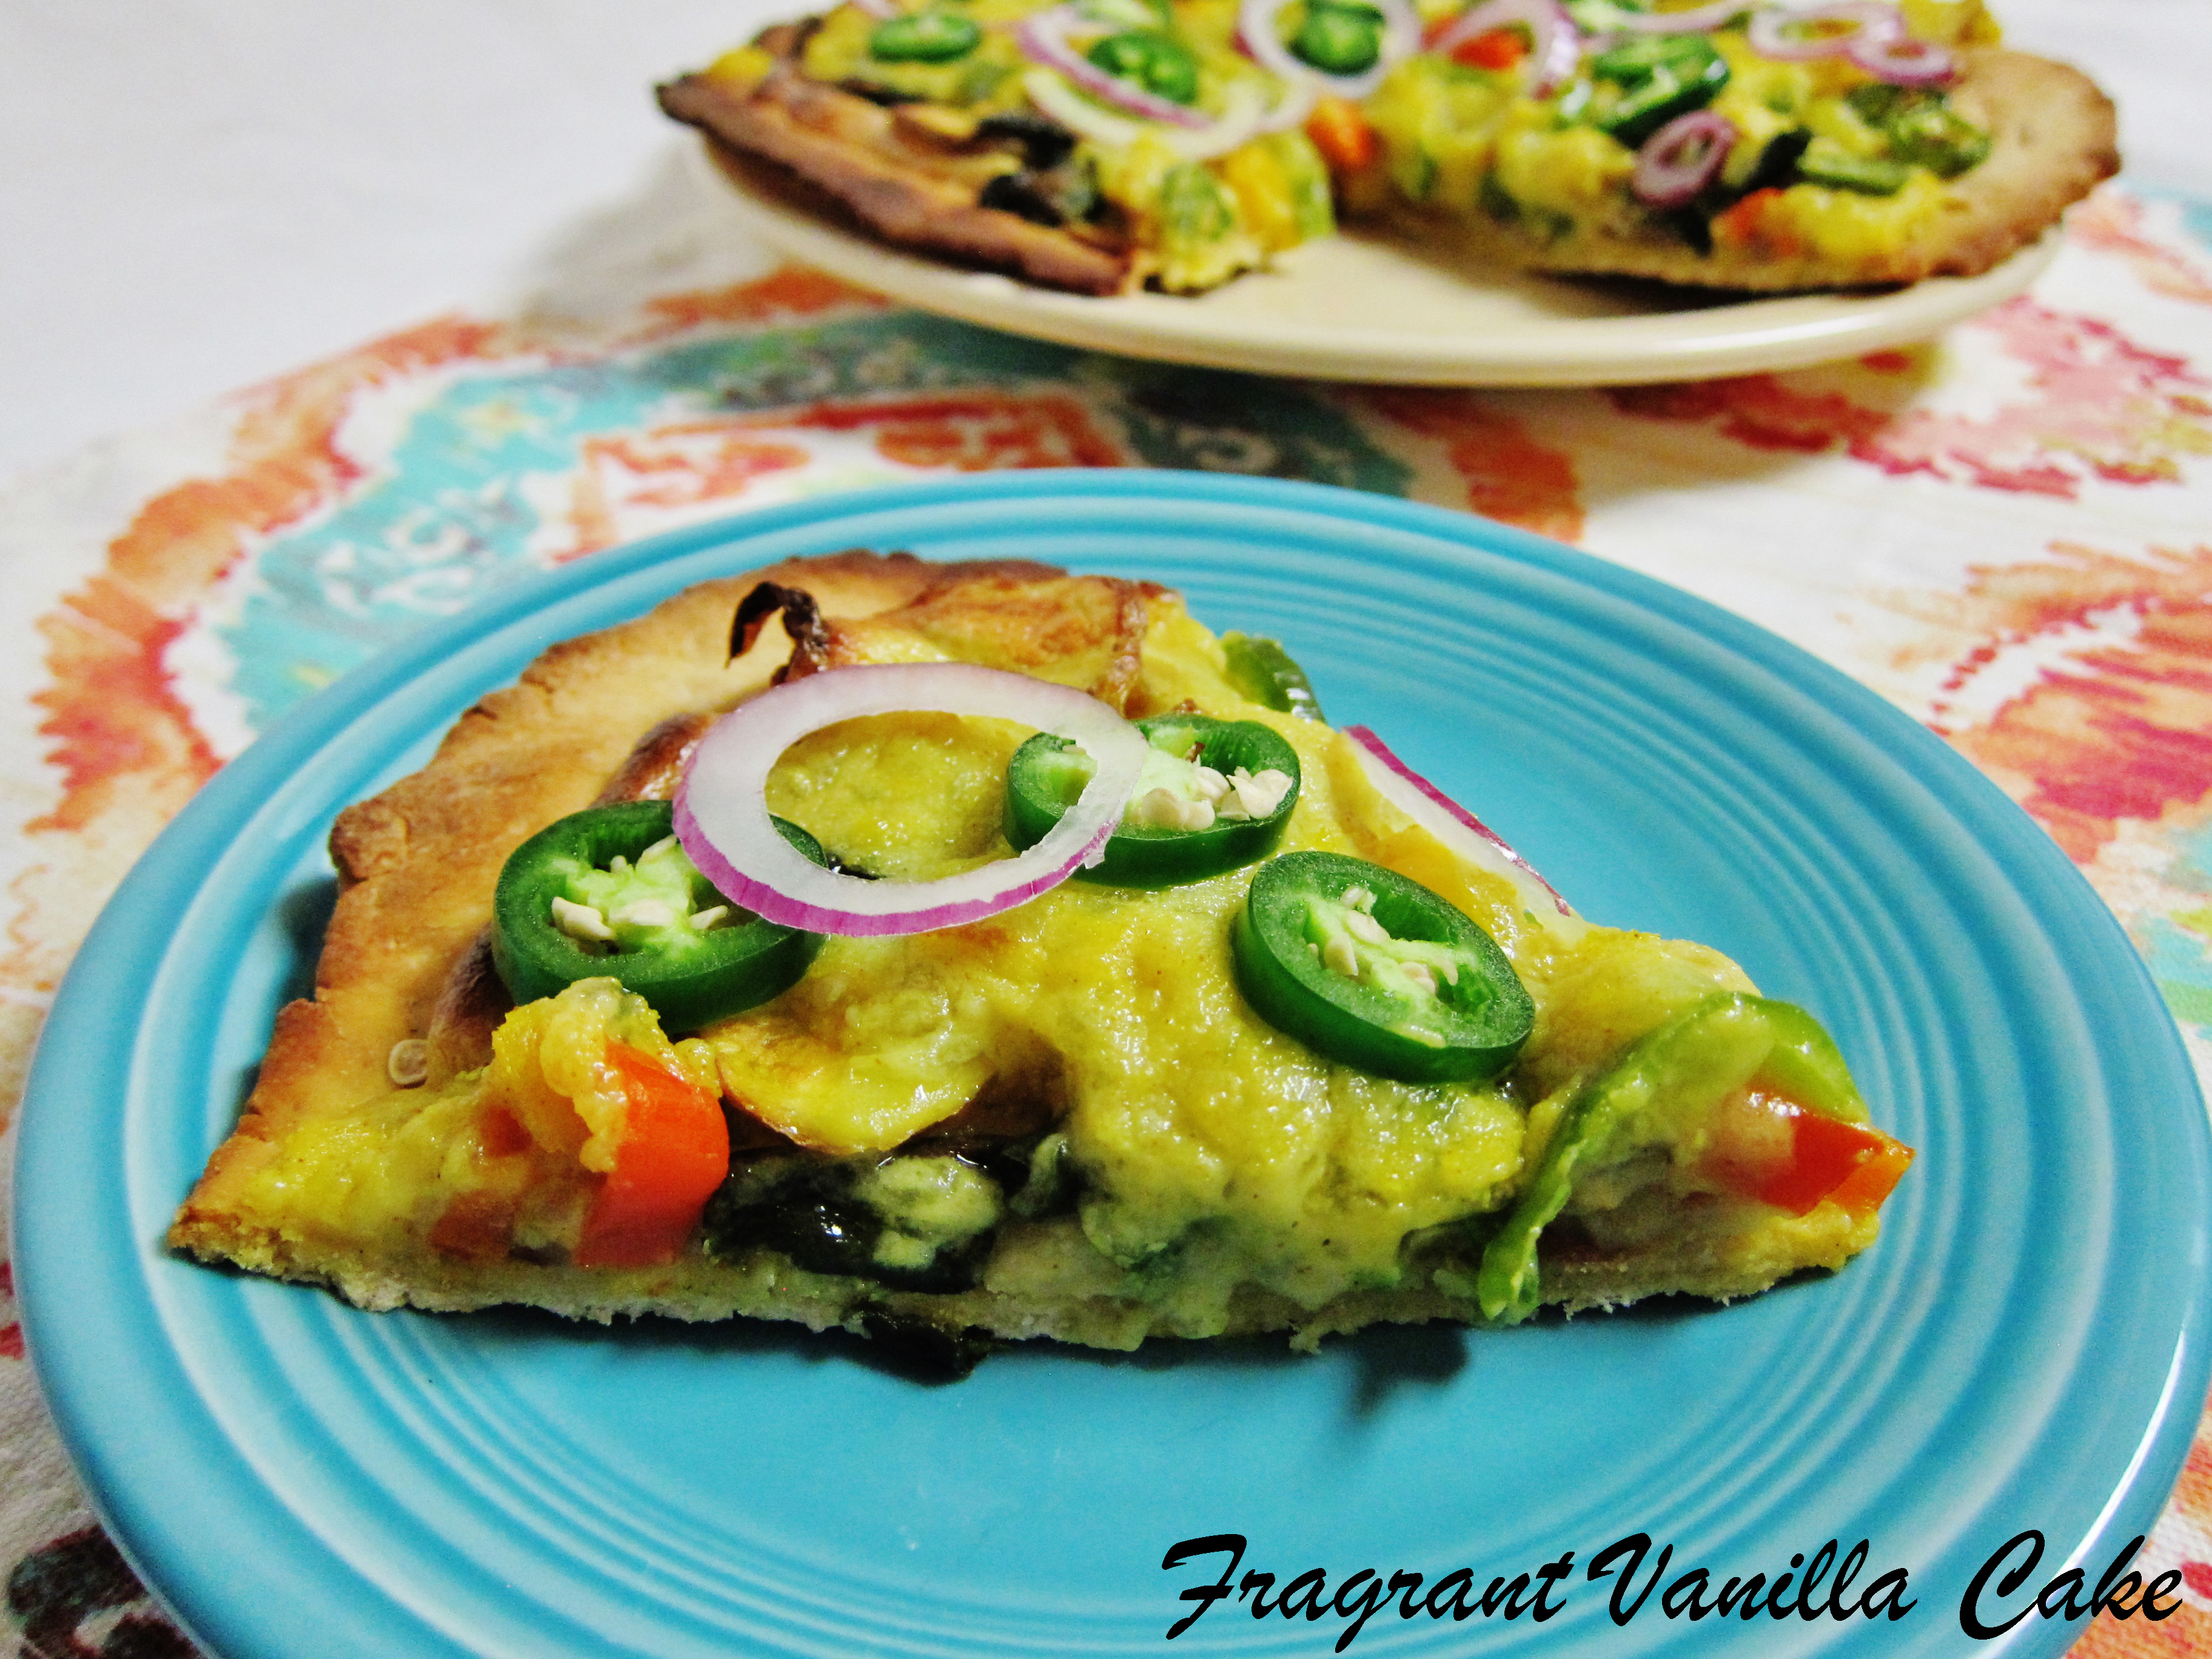
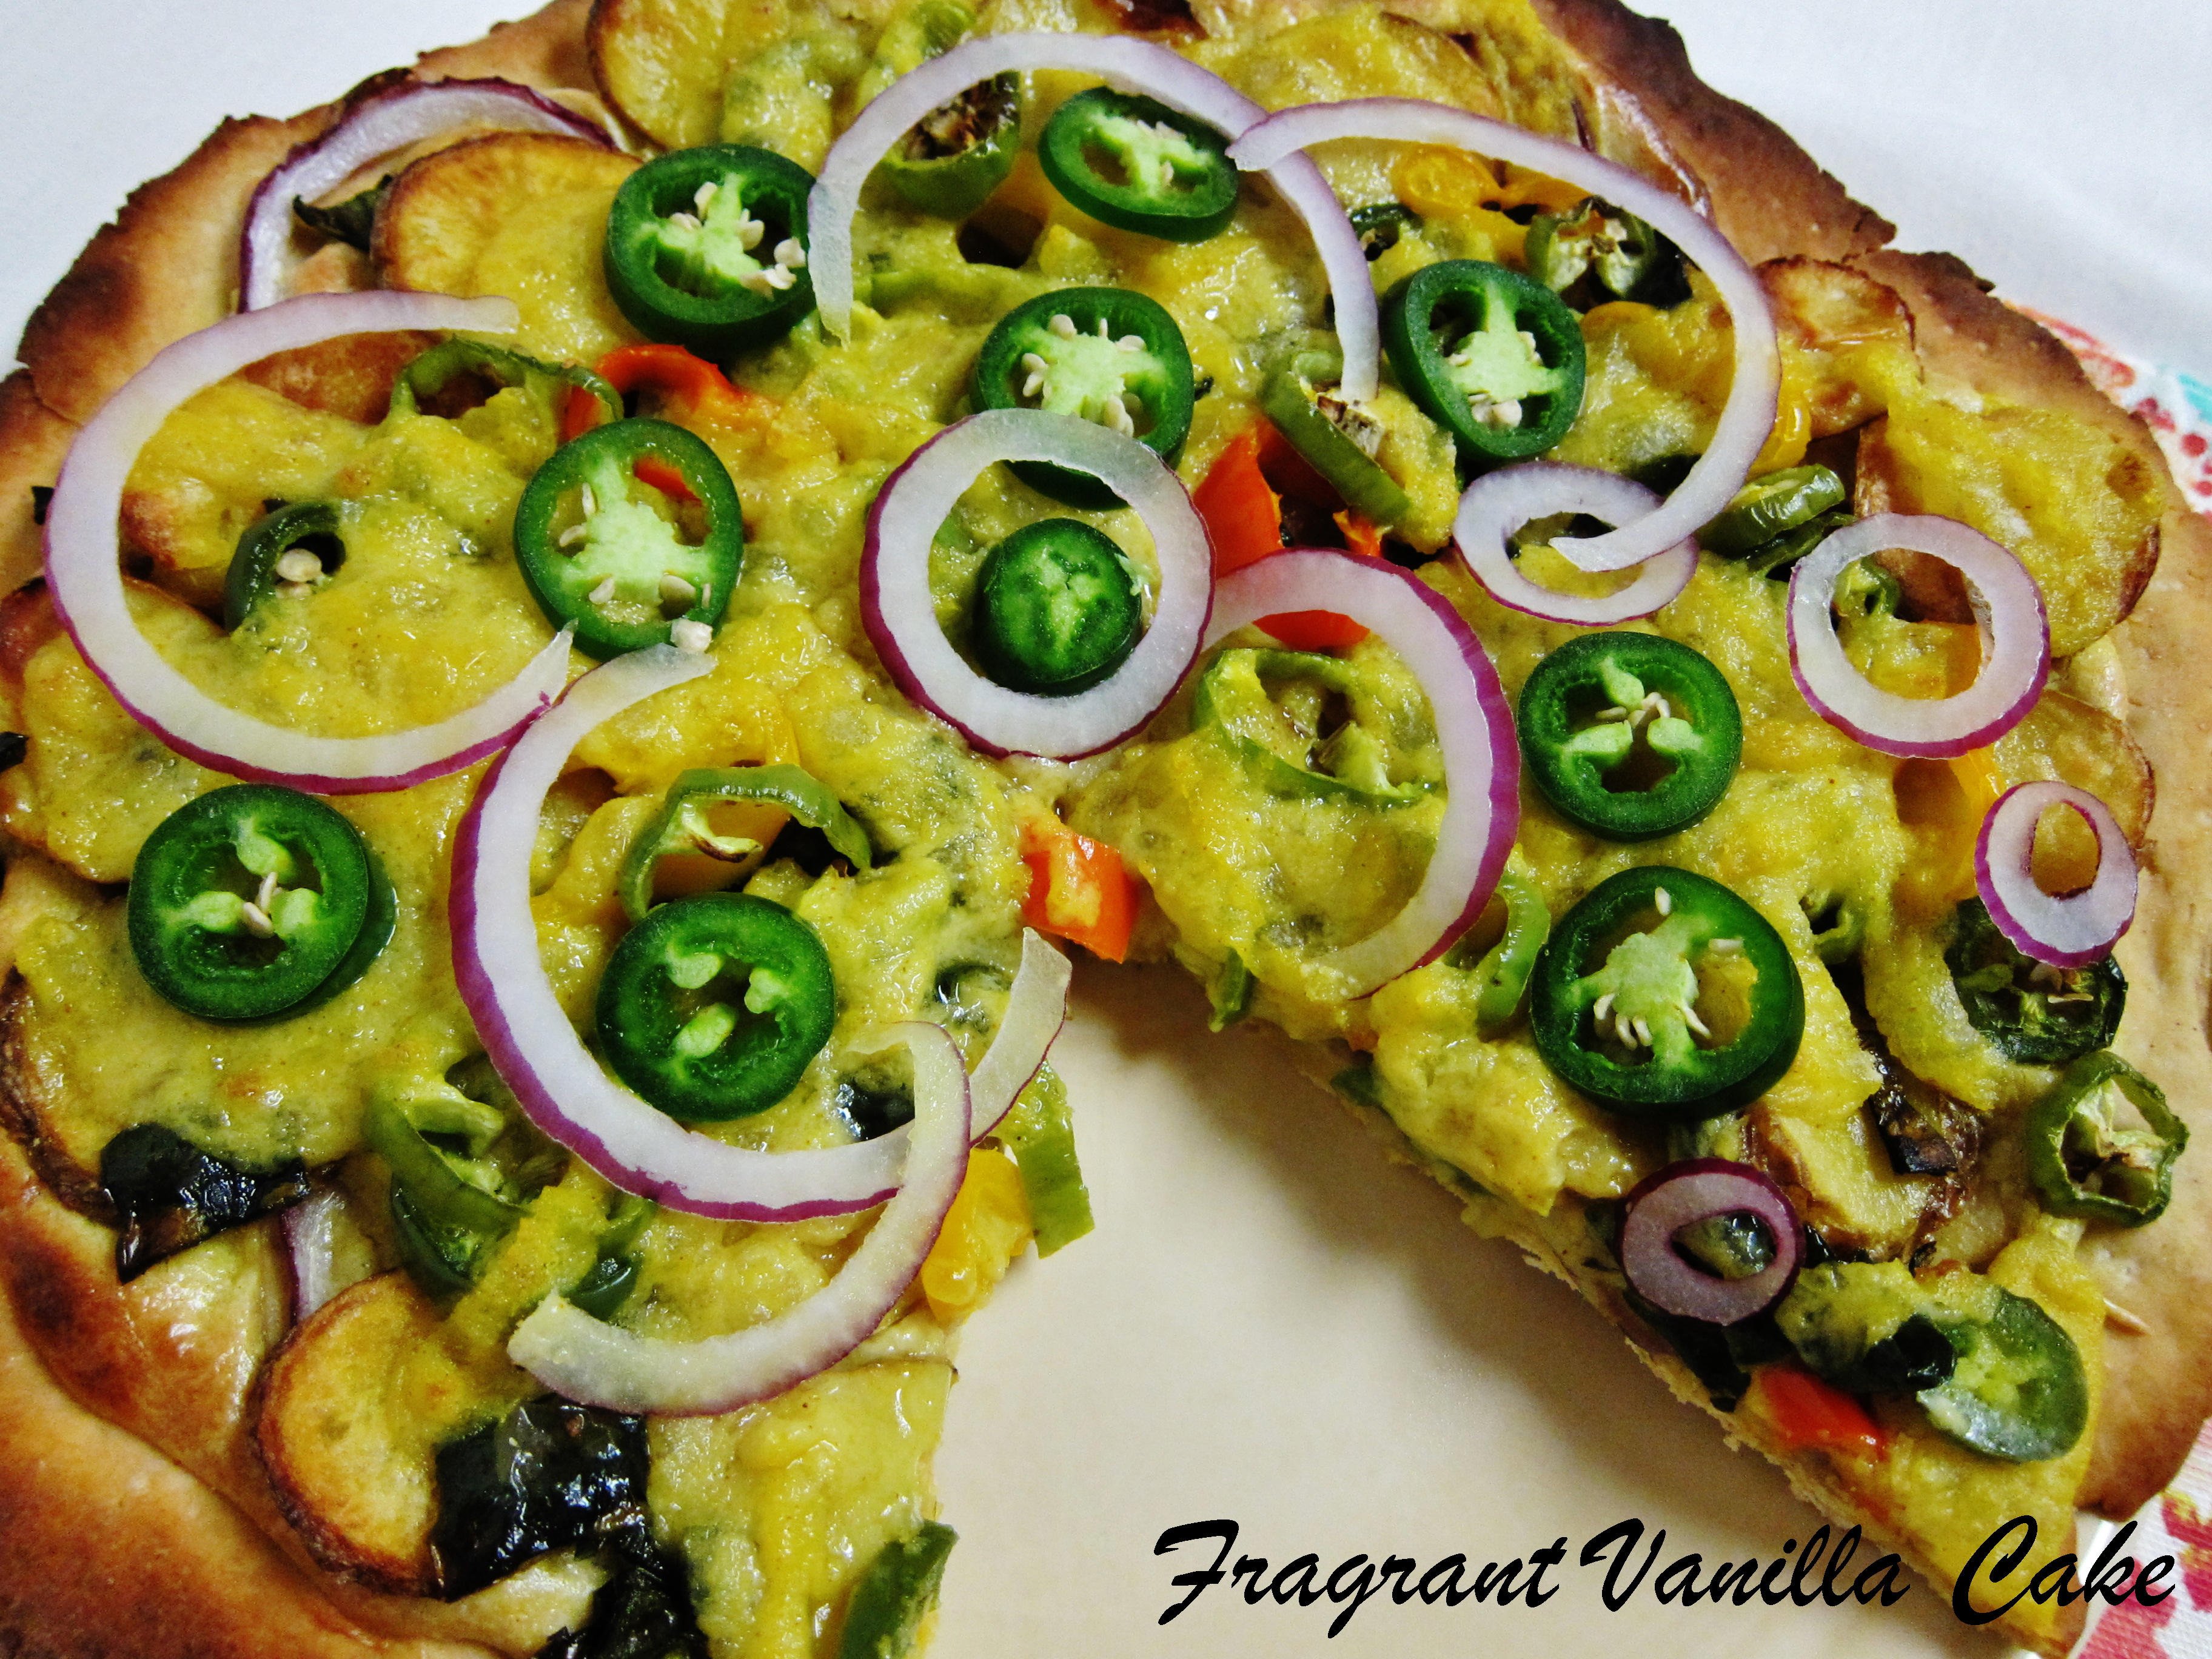
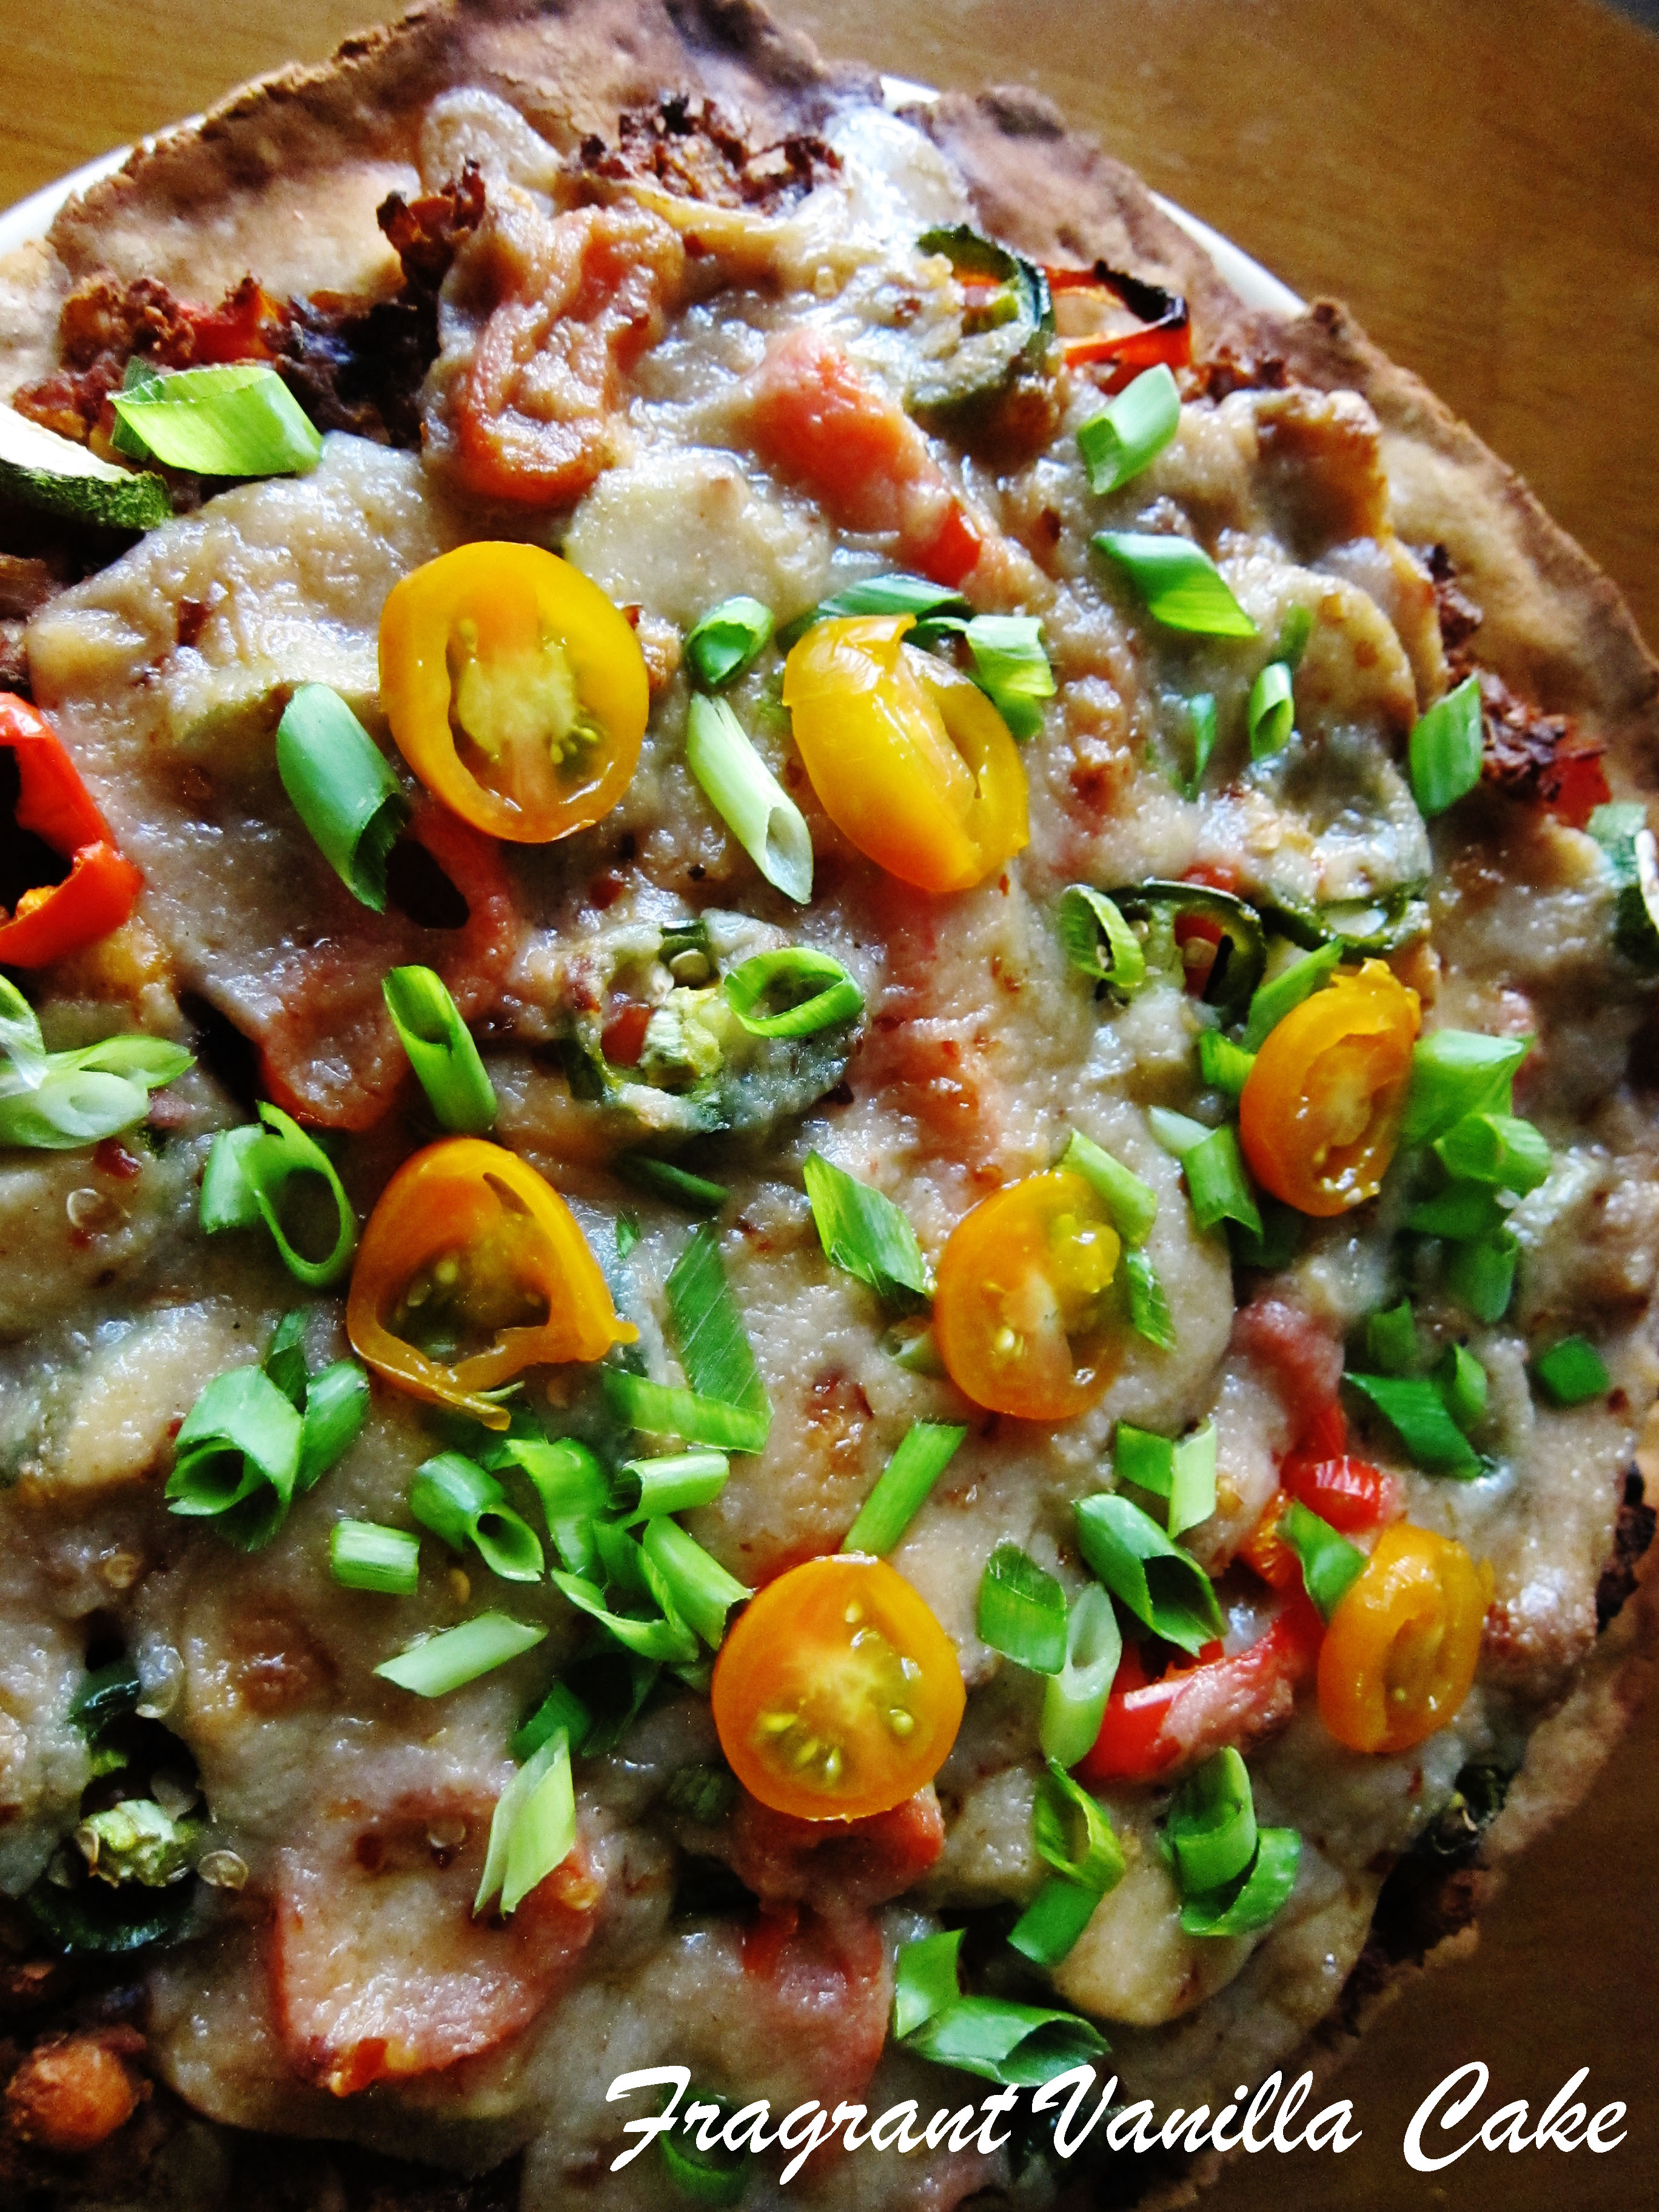
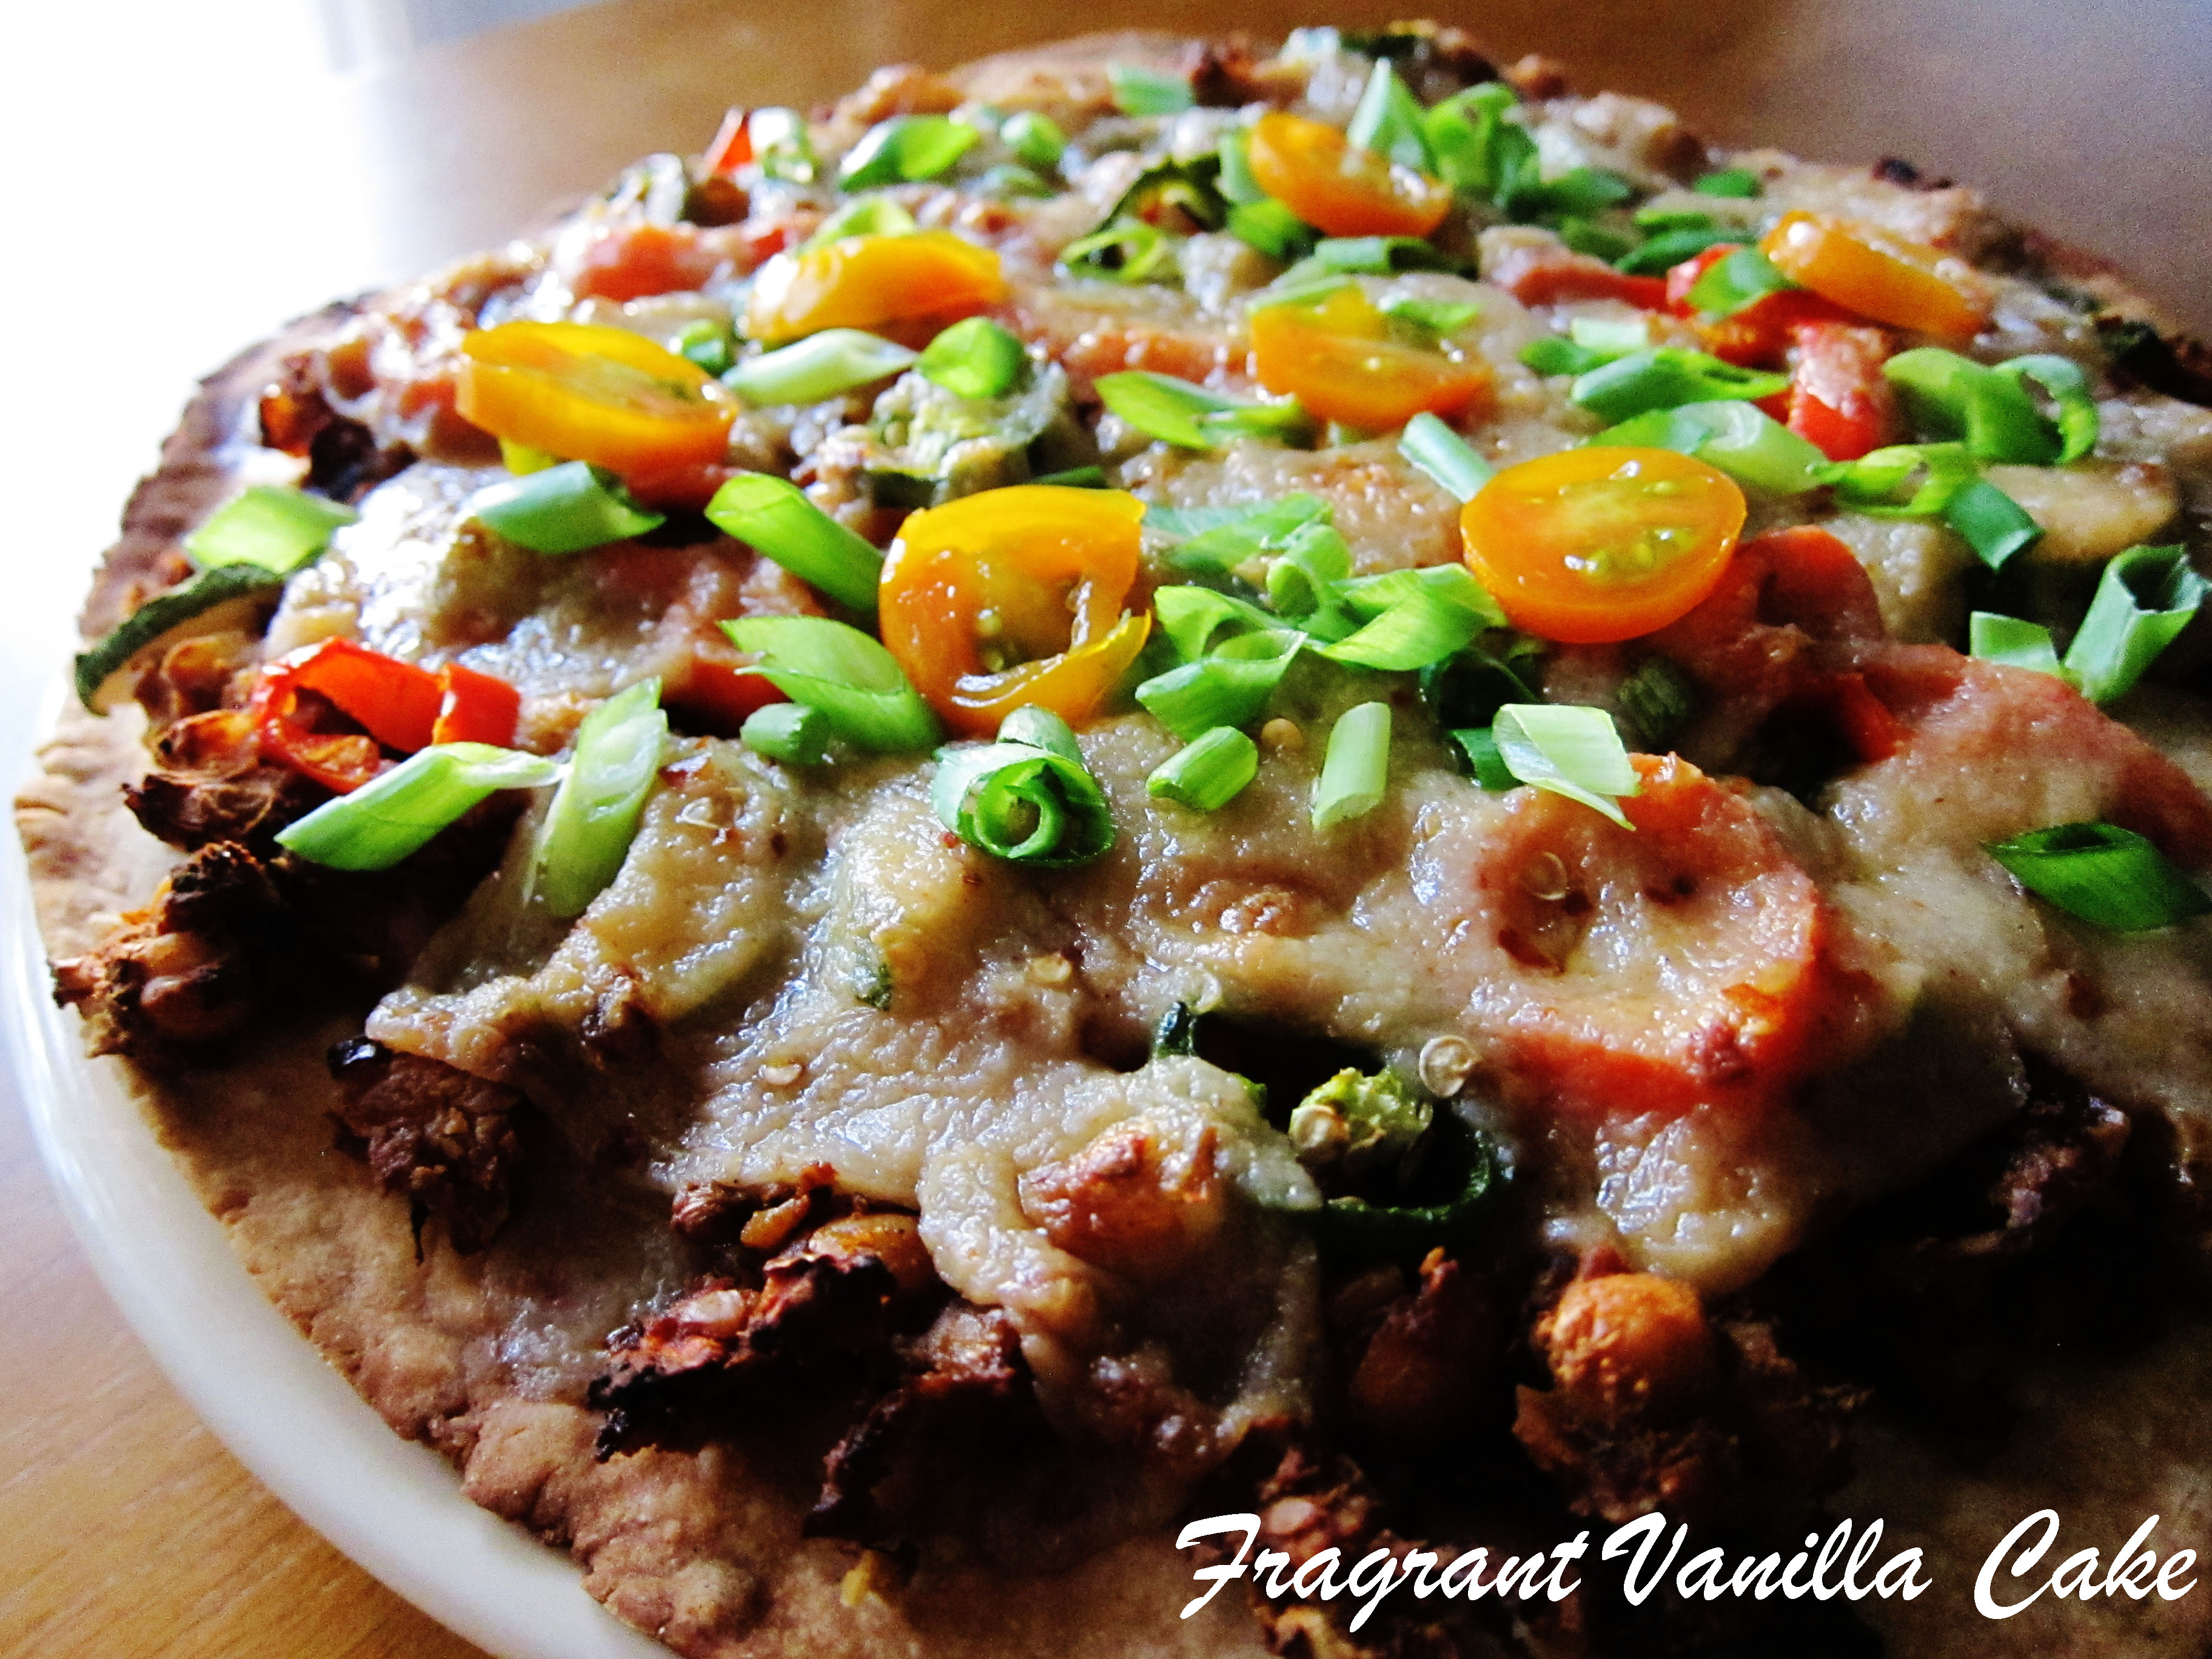
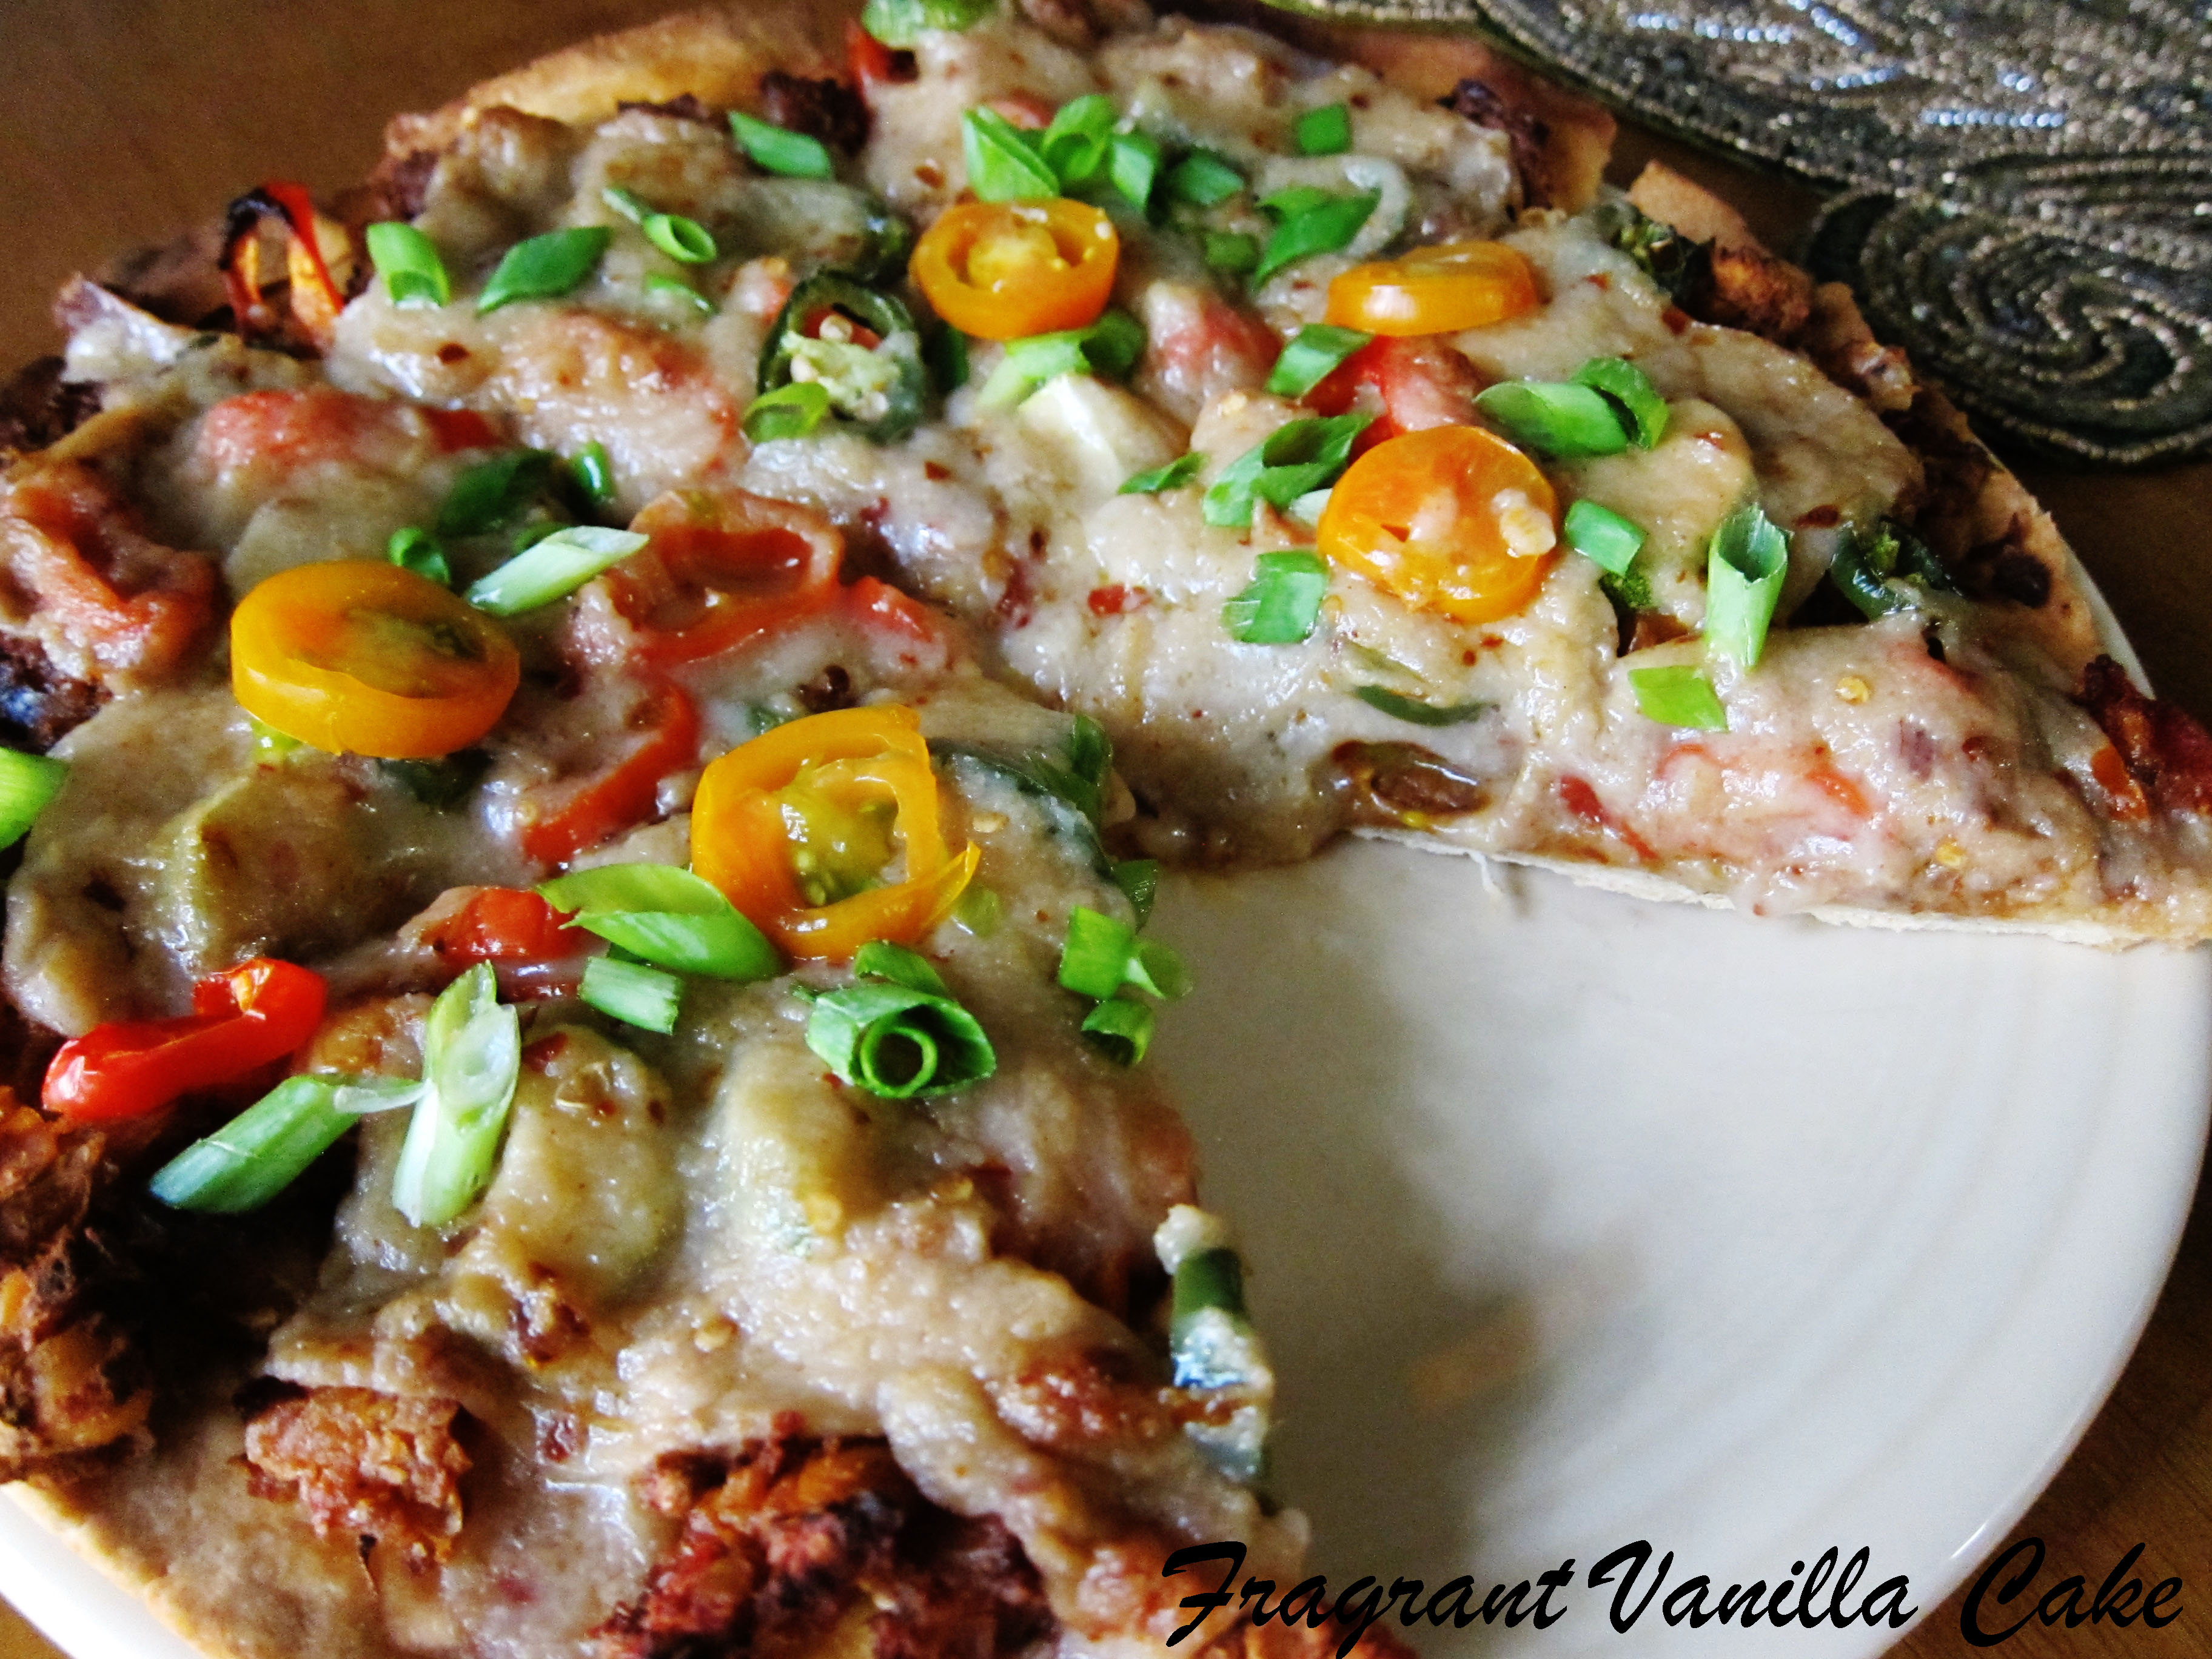
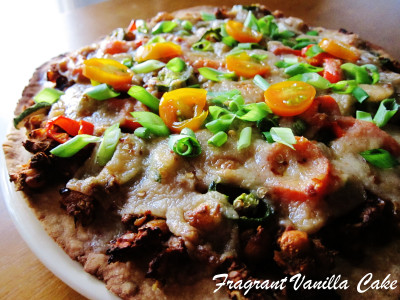
I made a gluten free crust as the base, then scattered the chorizo about. Then I topped it off with veggies as well, some zucchini, peppers, jalapeno, and tomatoes. Lastly the cheese. Oooh it melted so perfectly over that pizza! I have never had vegan cheese this good. The pizza was nice and spicy thanks to all the different peppers I used in the chorizo and the jalepenos and the spicy cheese. But that was what I was going for. I am a sucker for spicy. I shared some with Eric, because he shares my love of all things hot. I am sure he would have loved it even better had I had ghost peppers to put on it. Anyways, this is delicious!
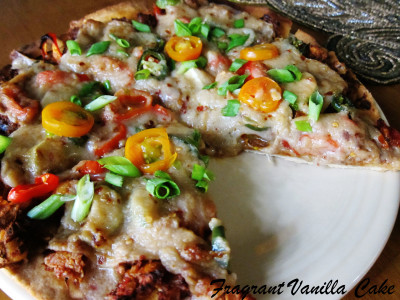
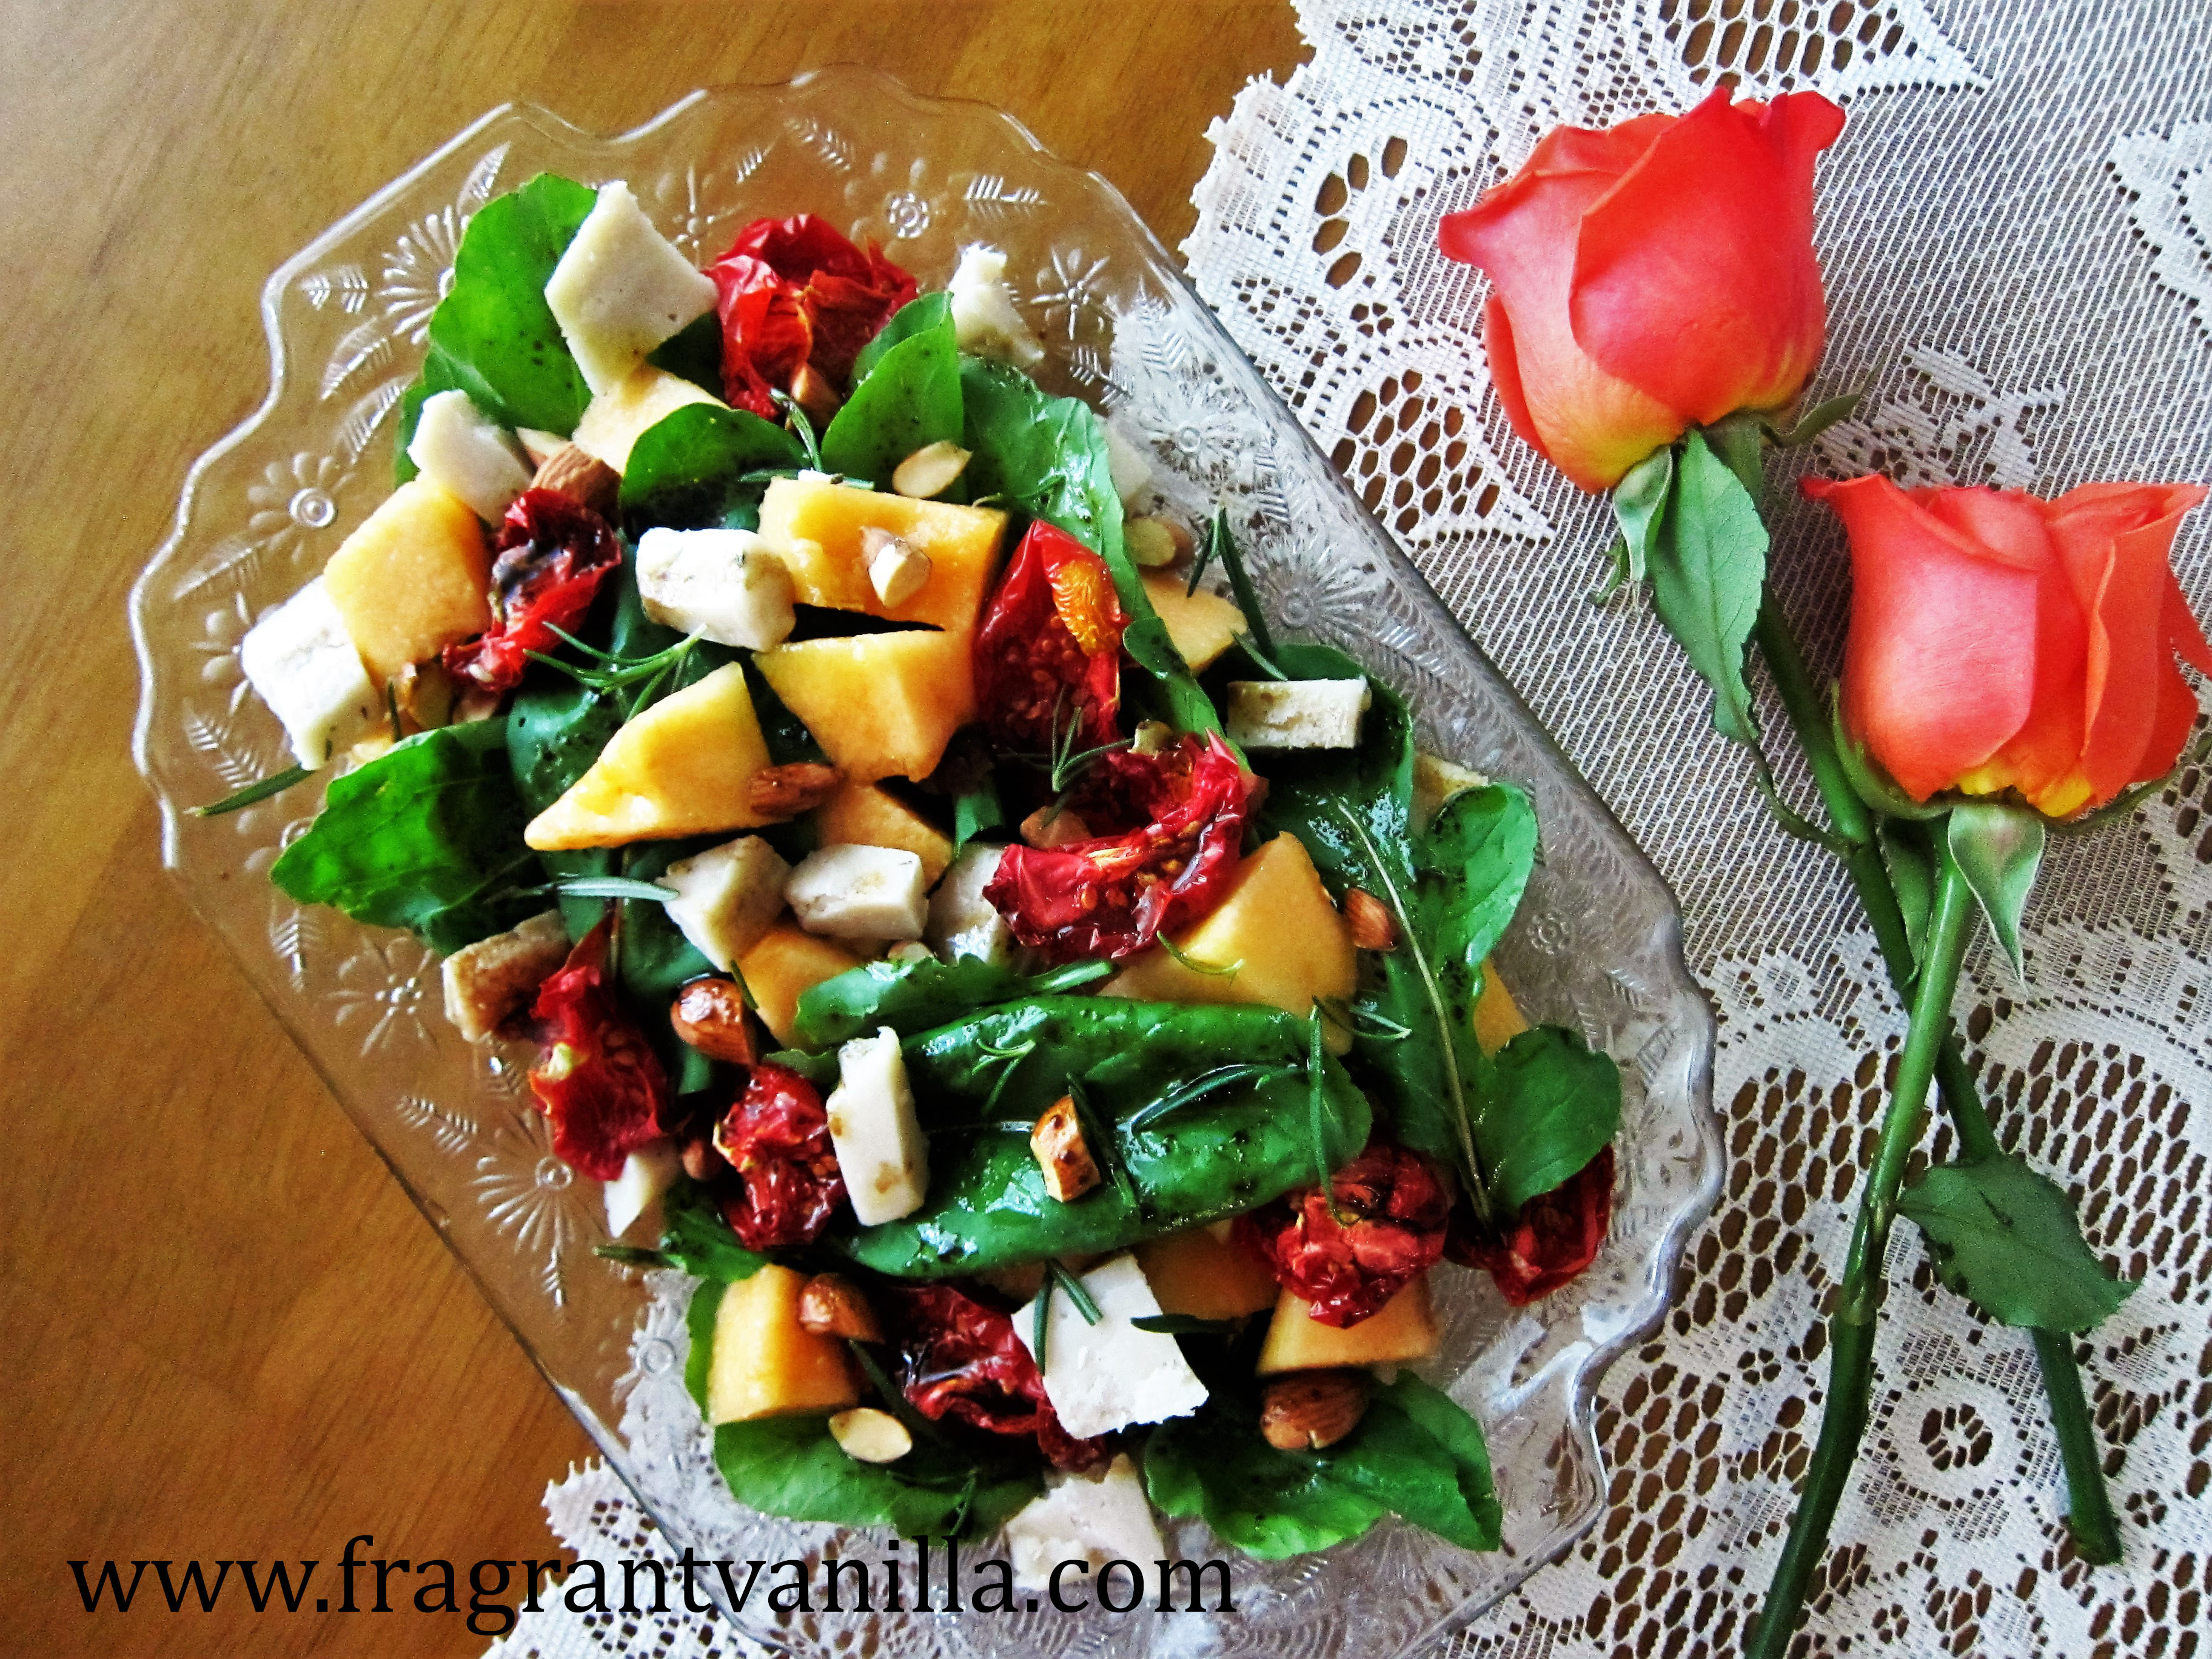
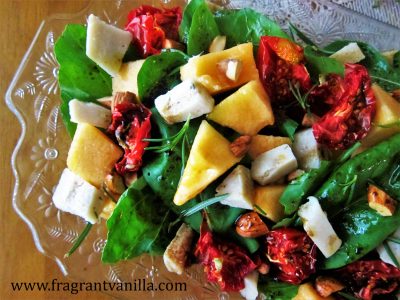
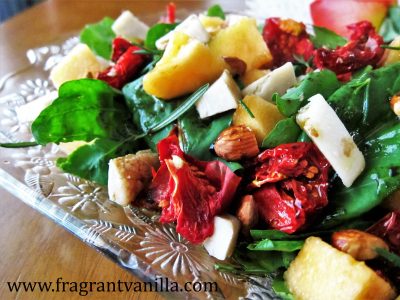
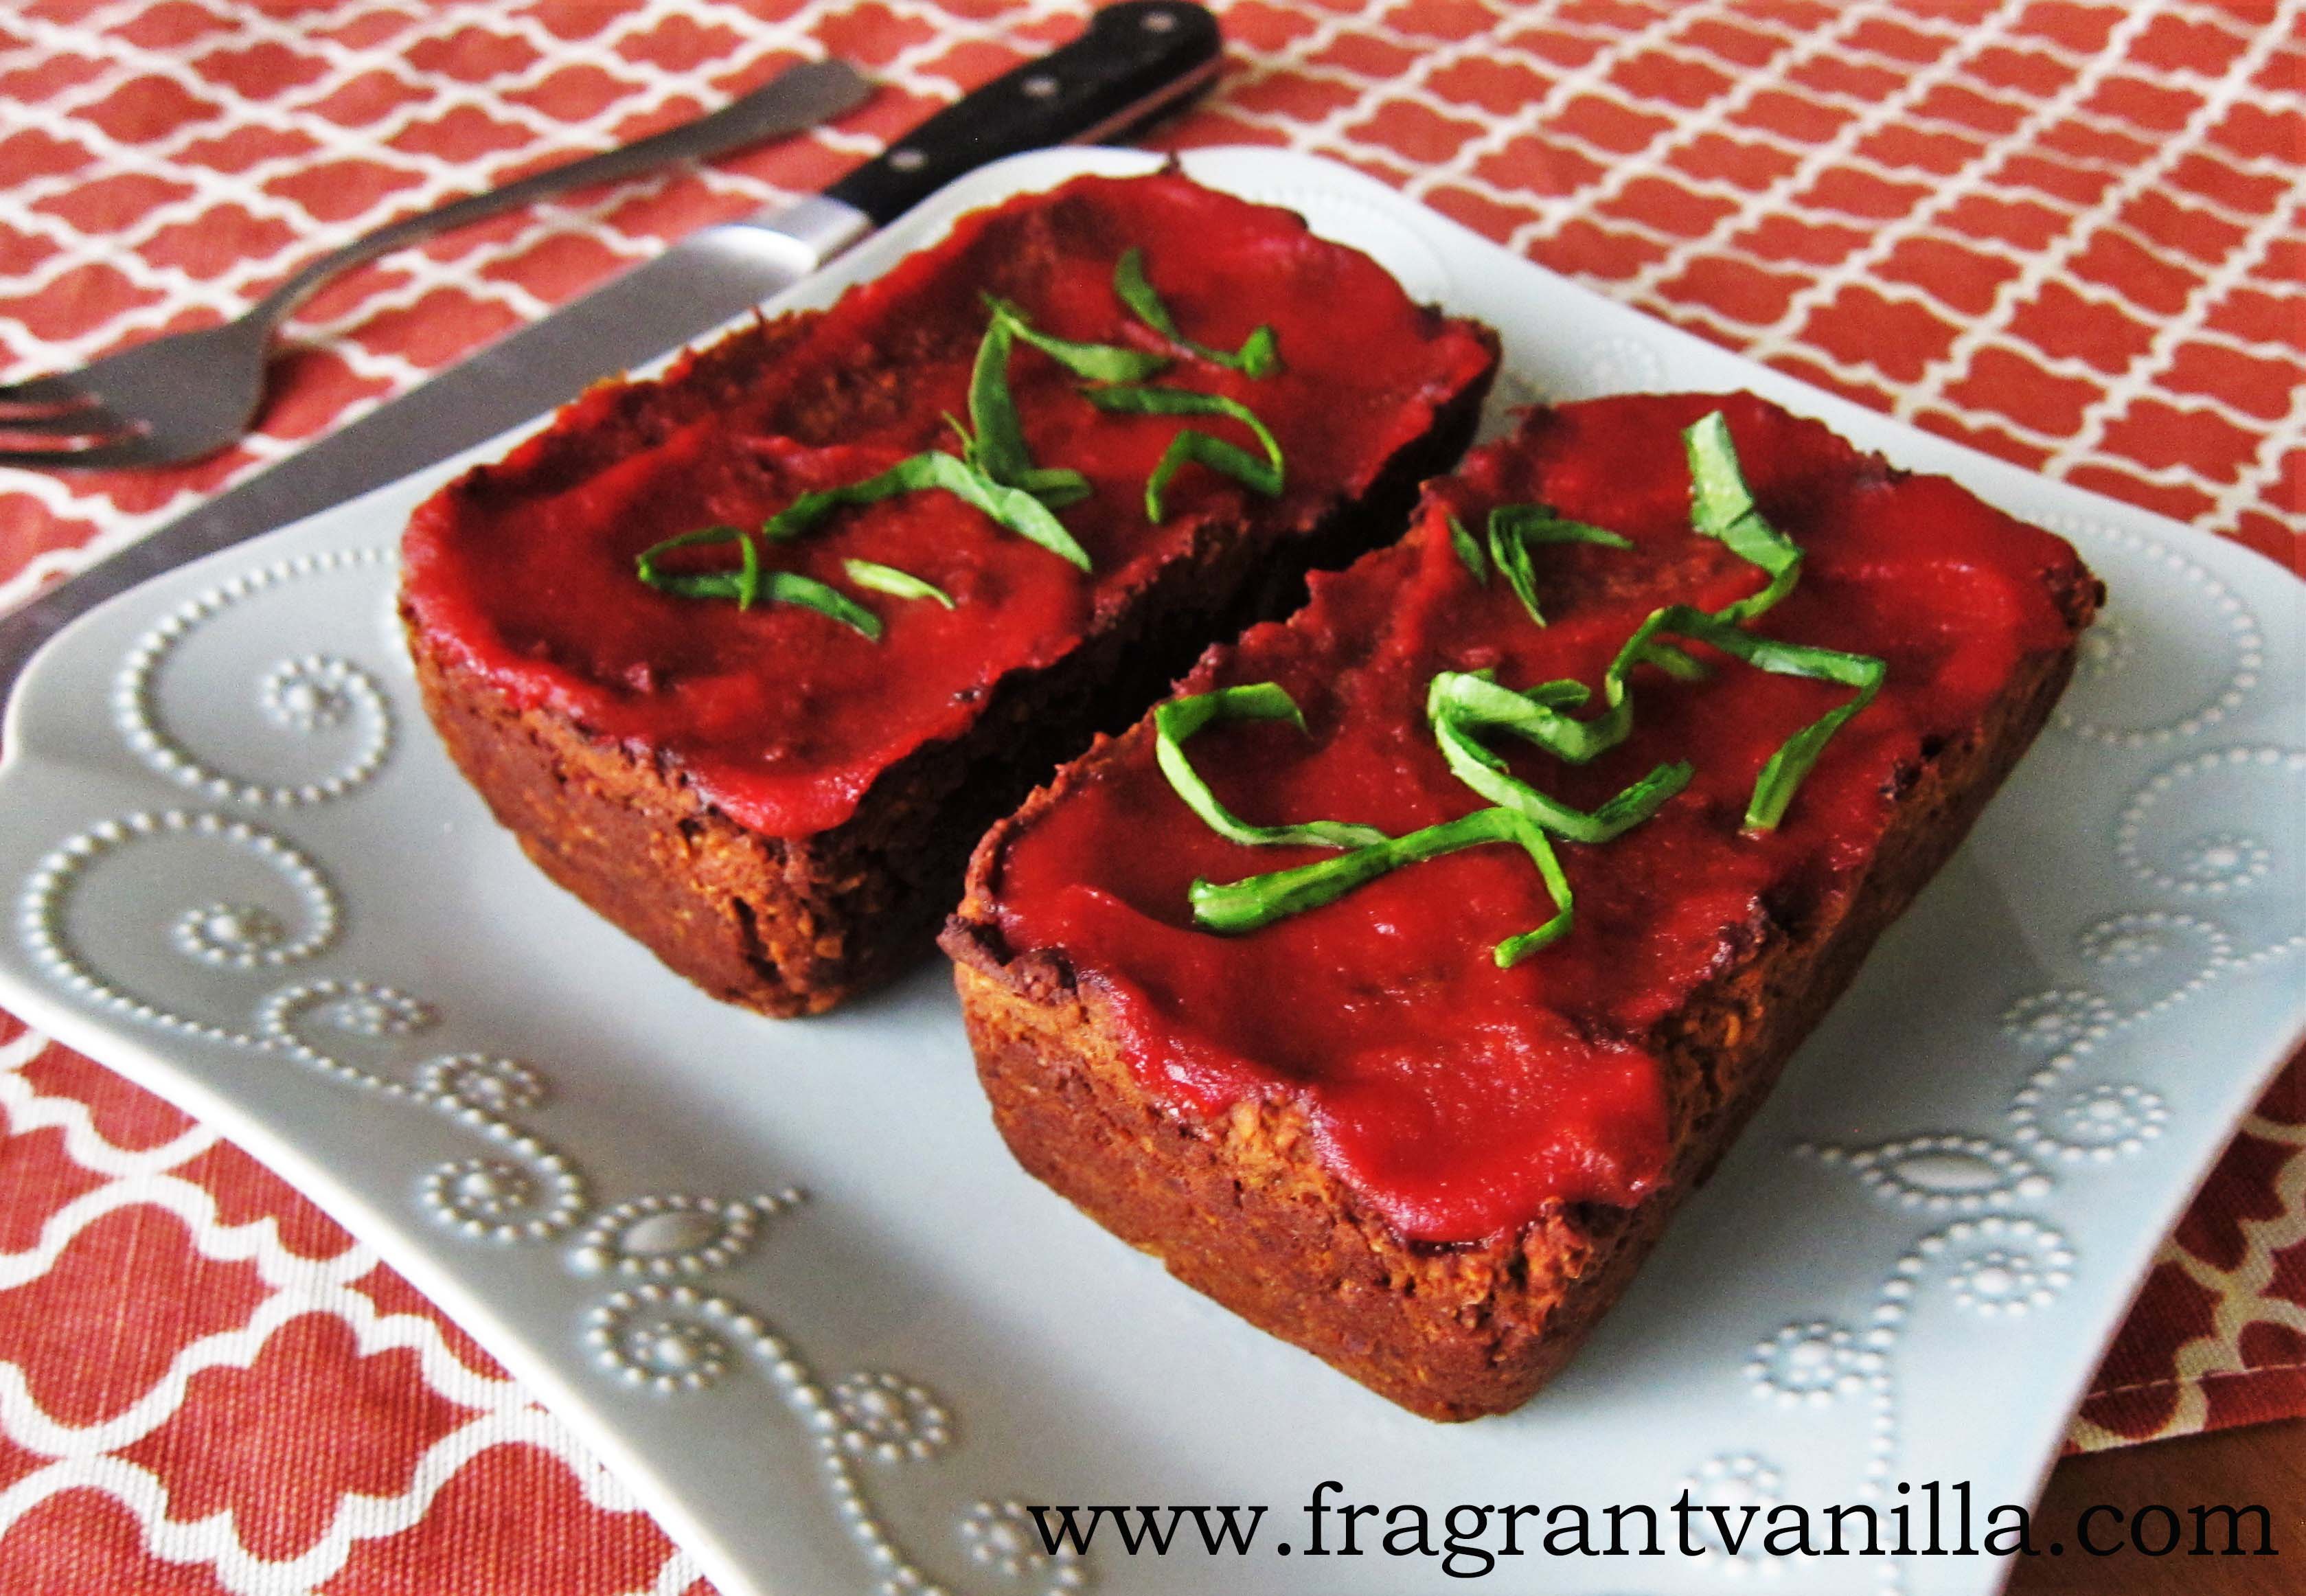
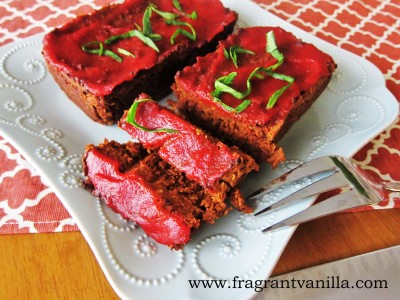
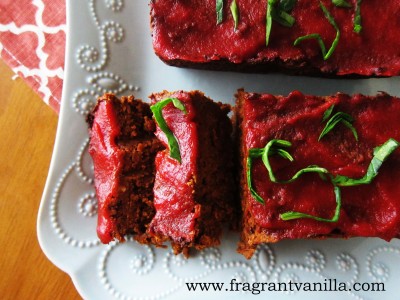
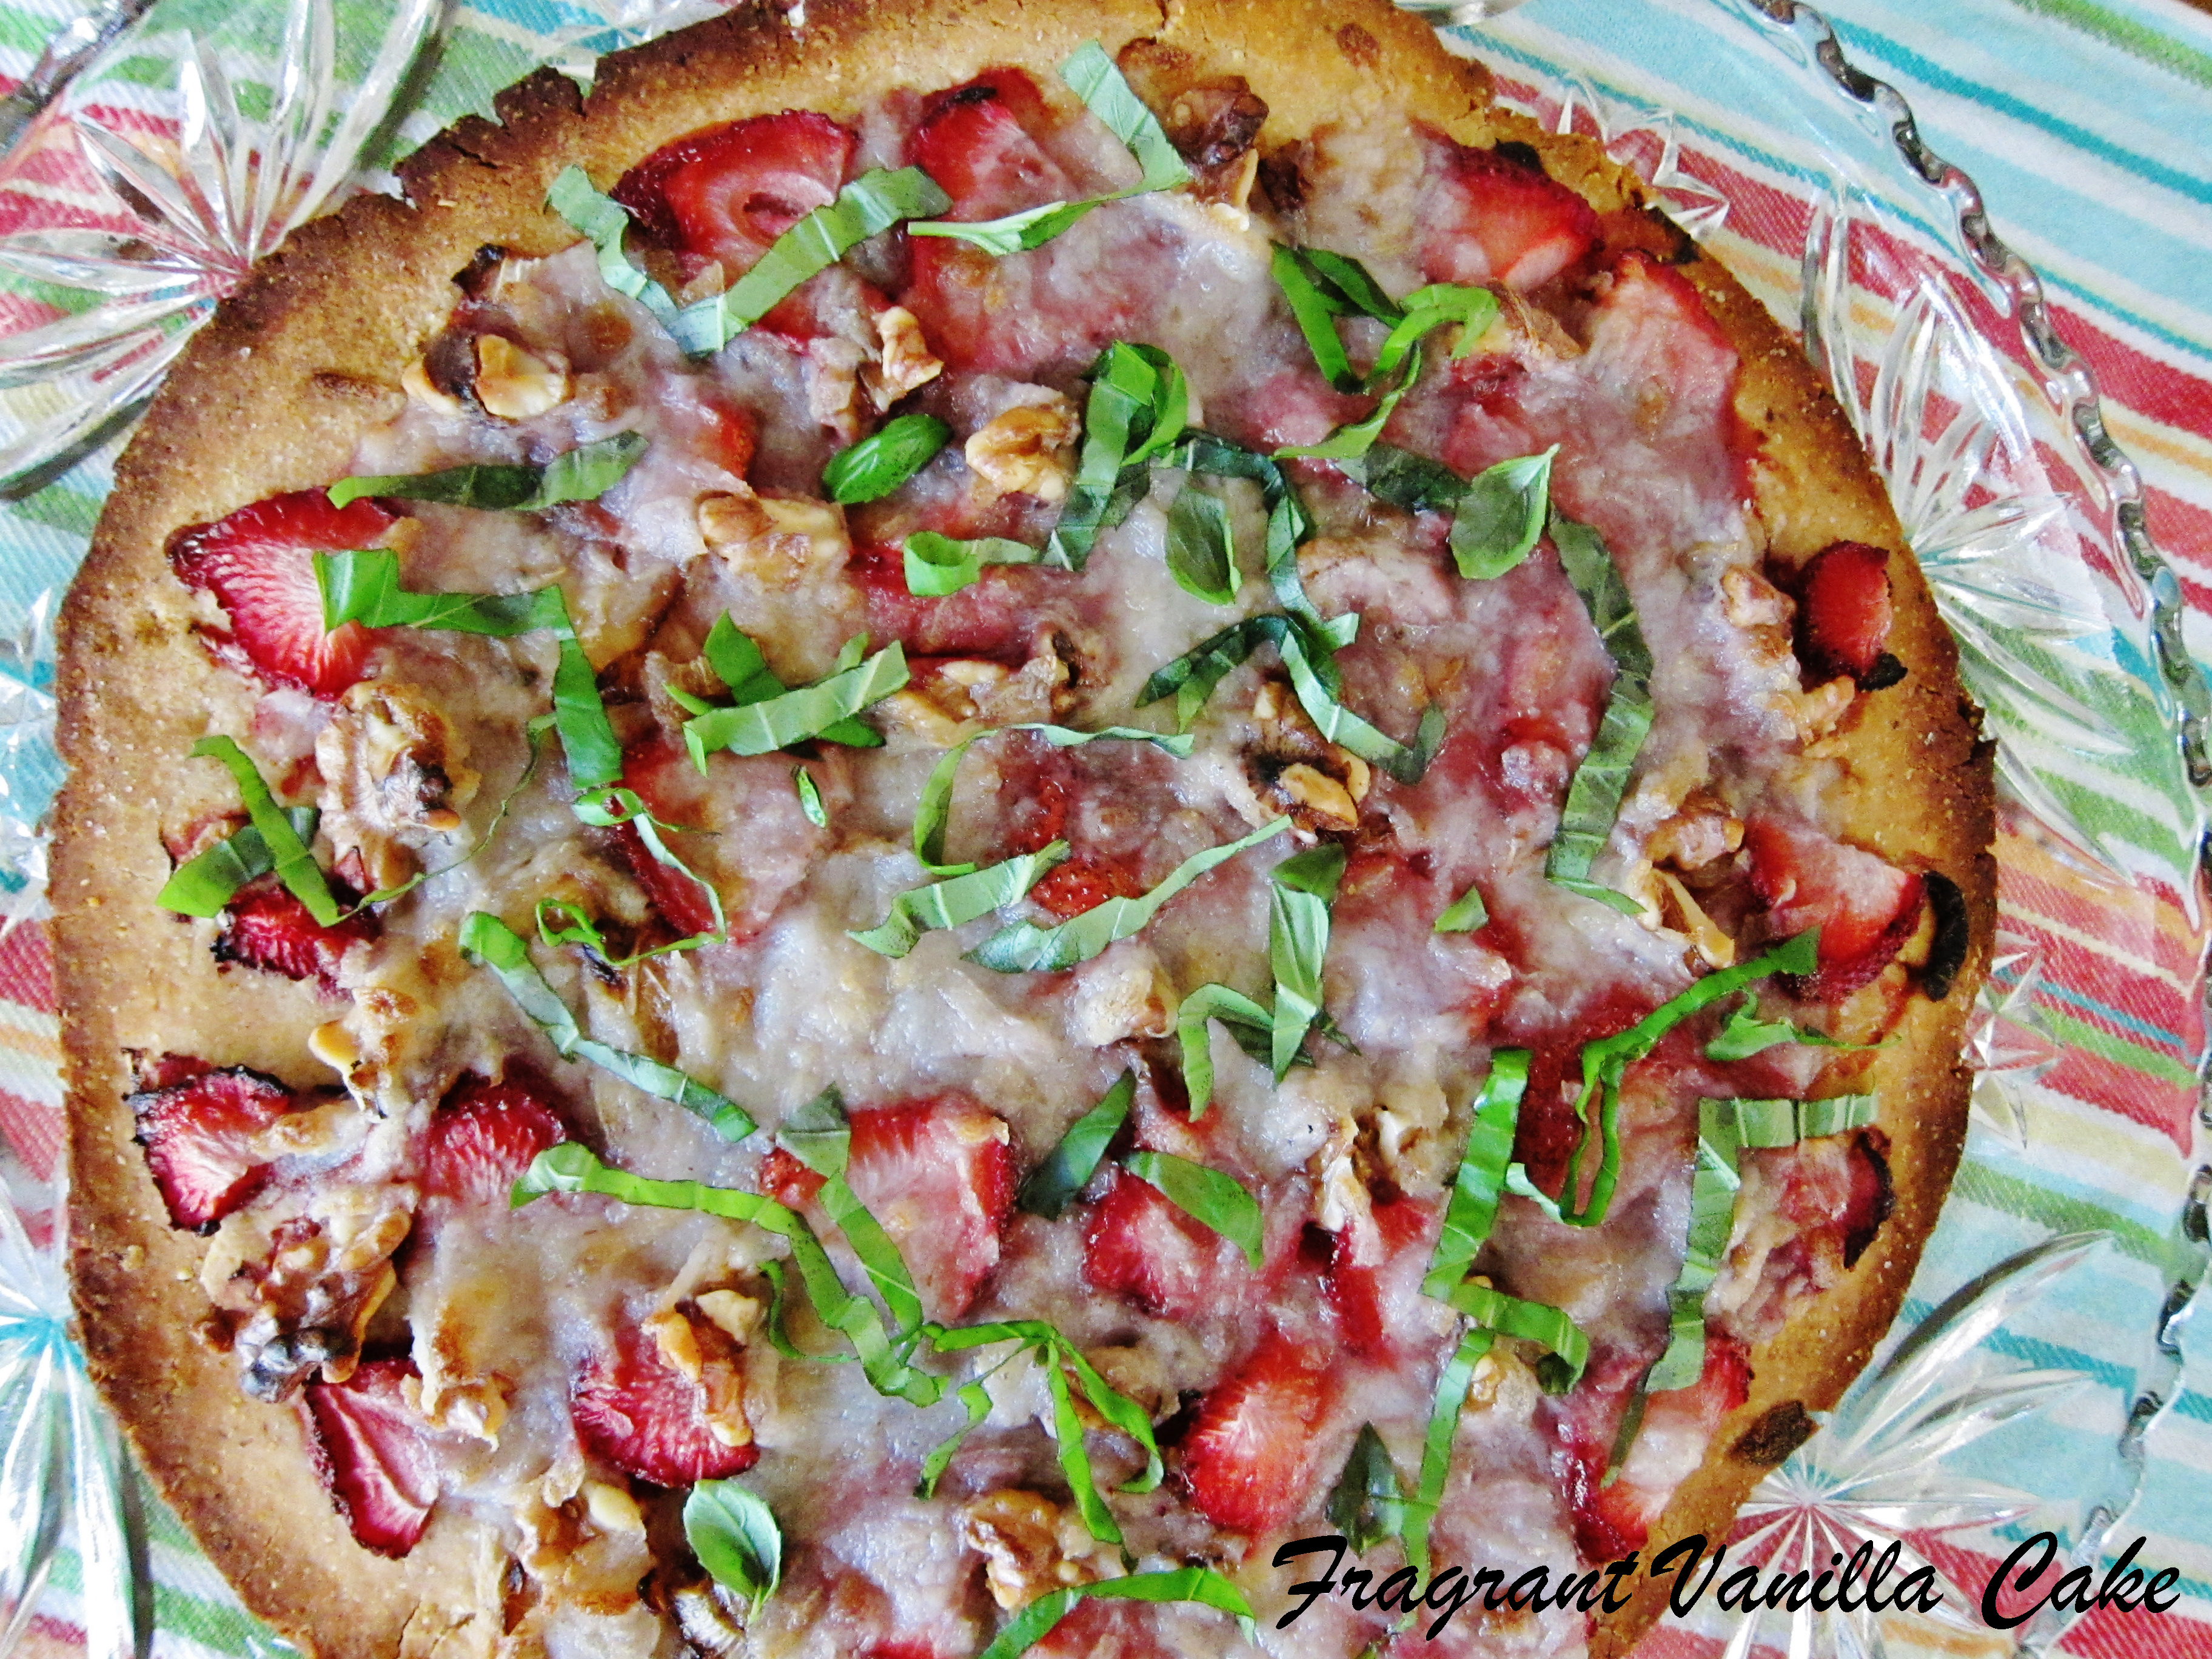
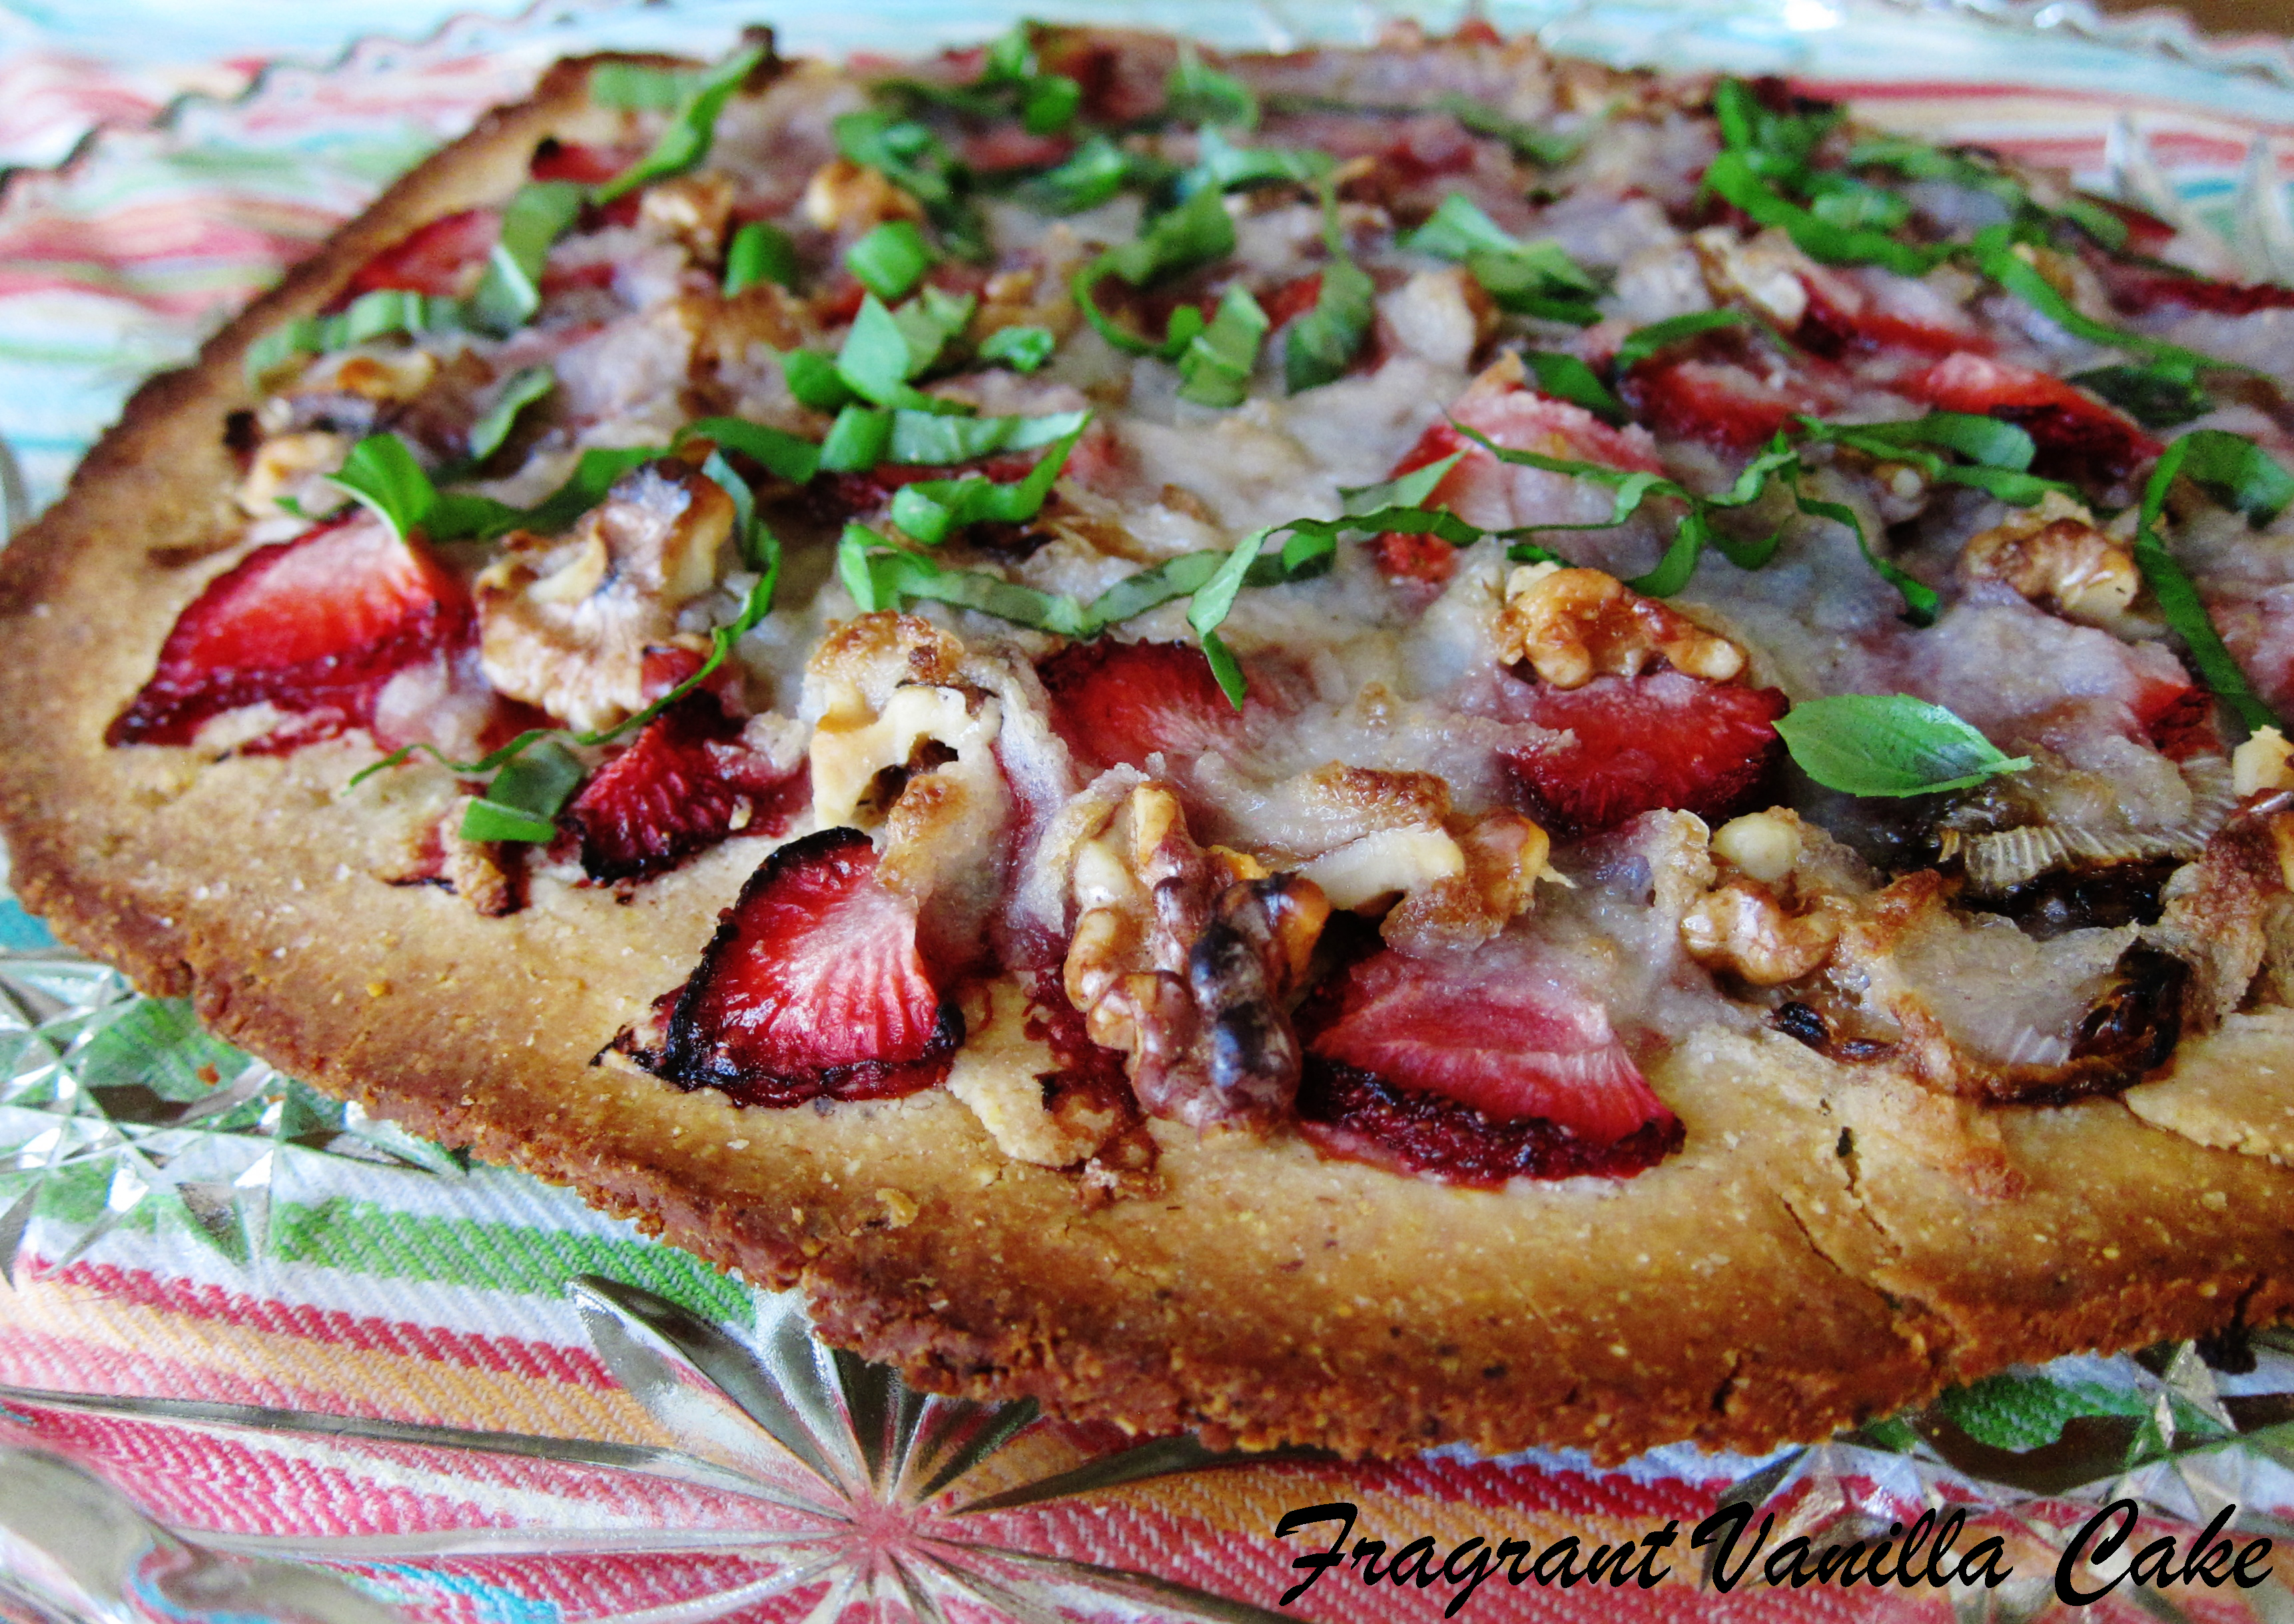
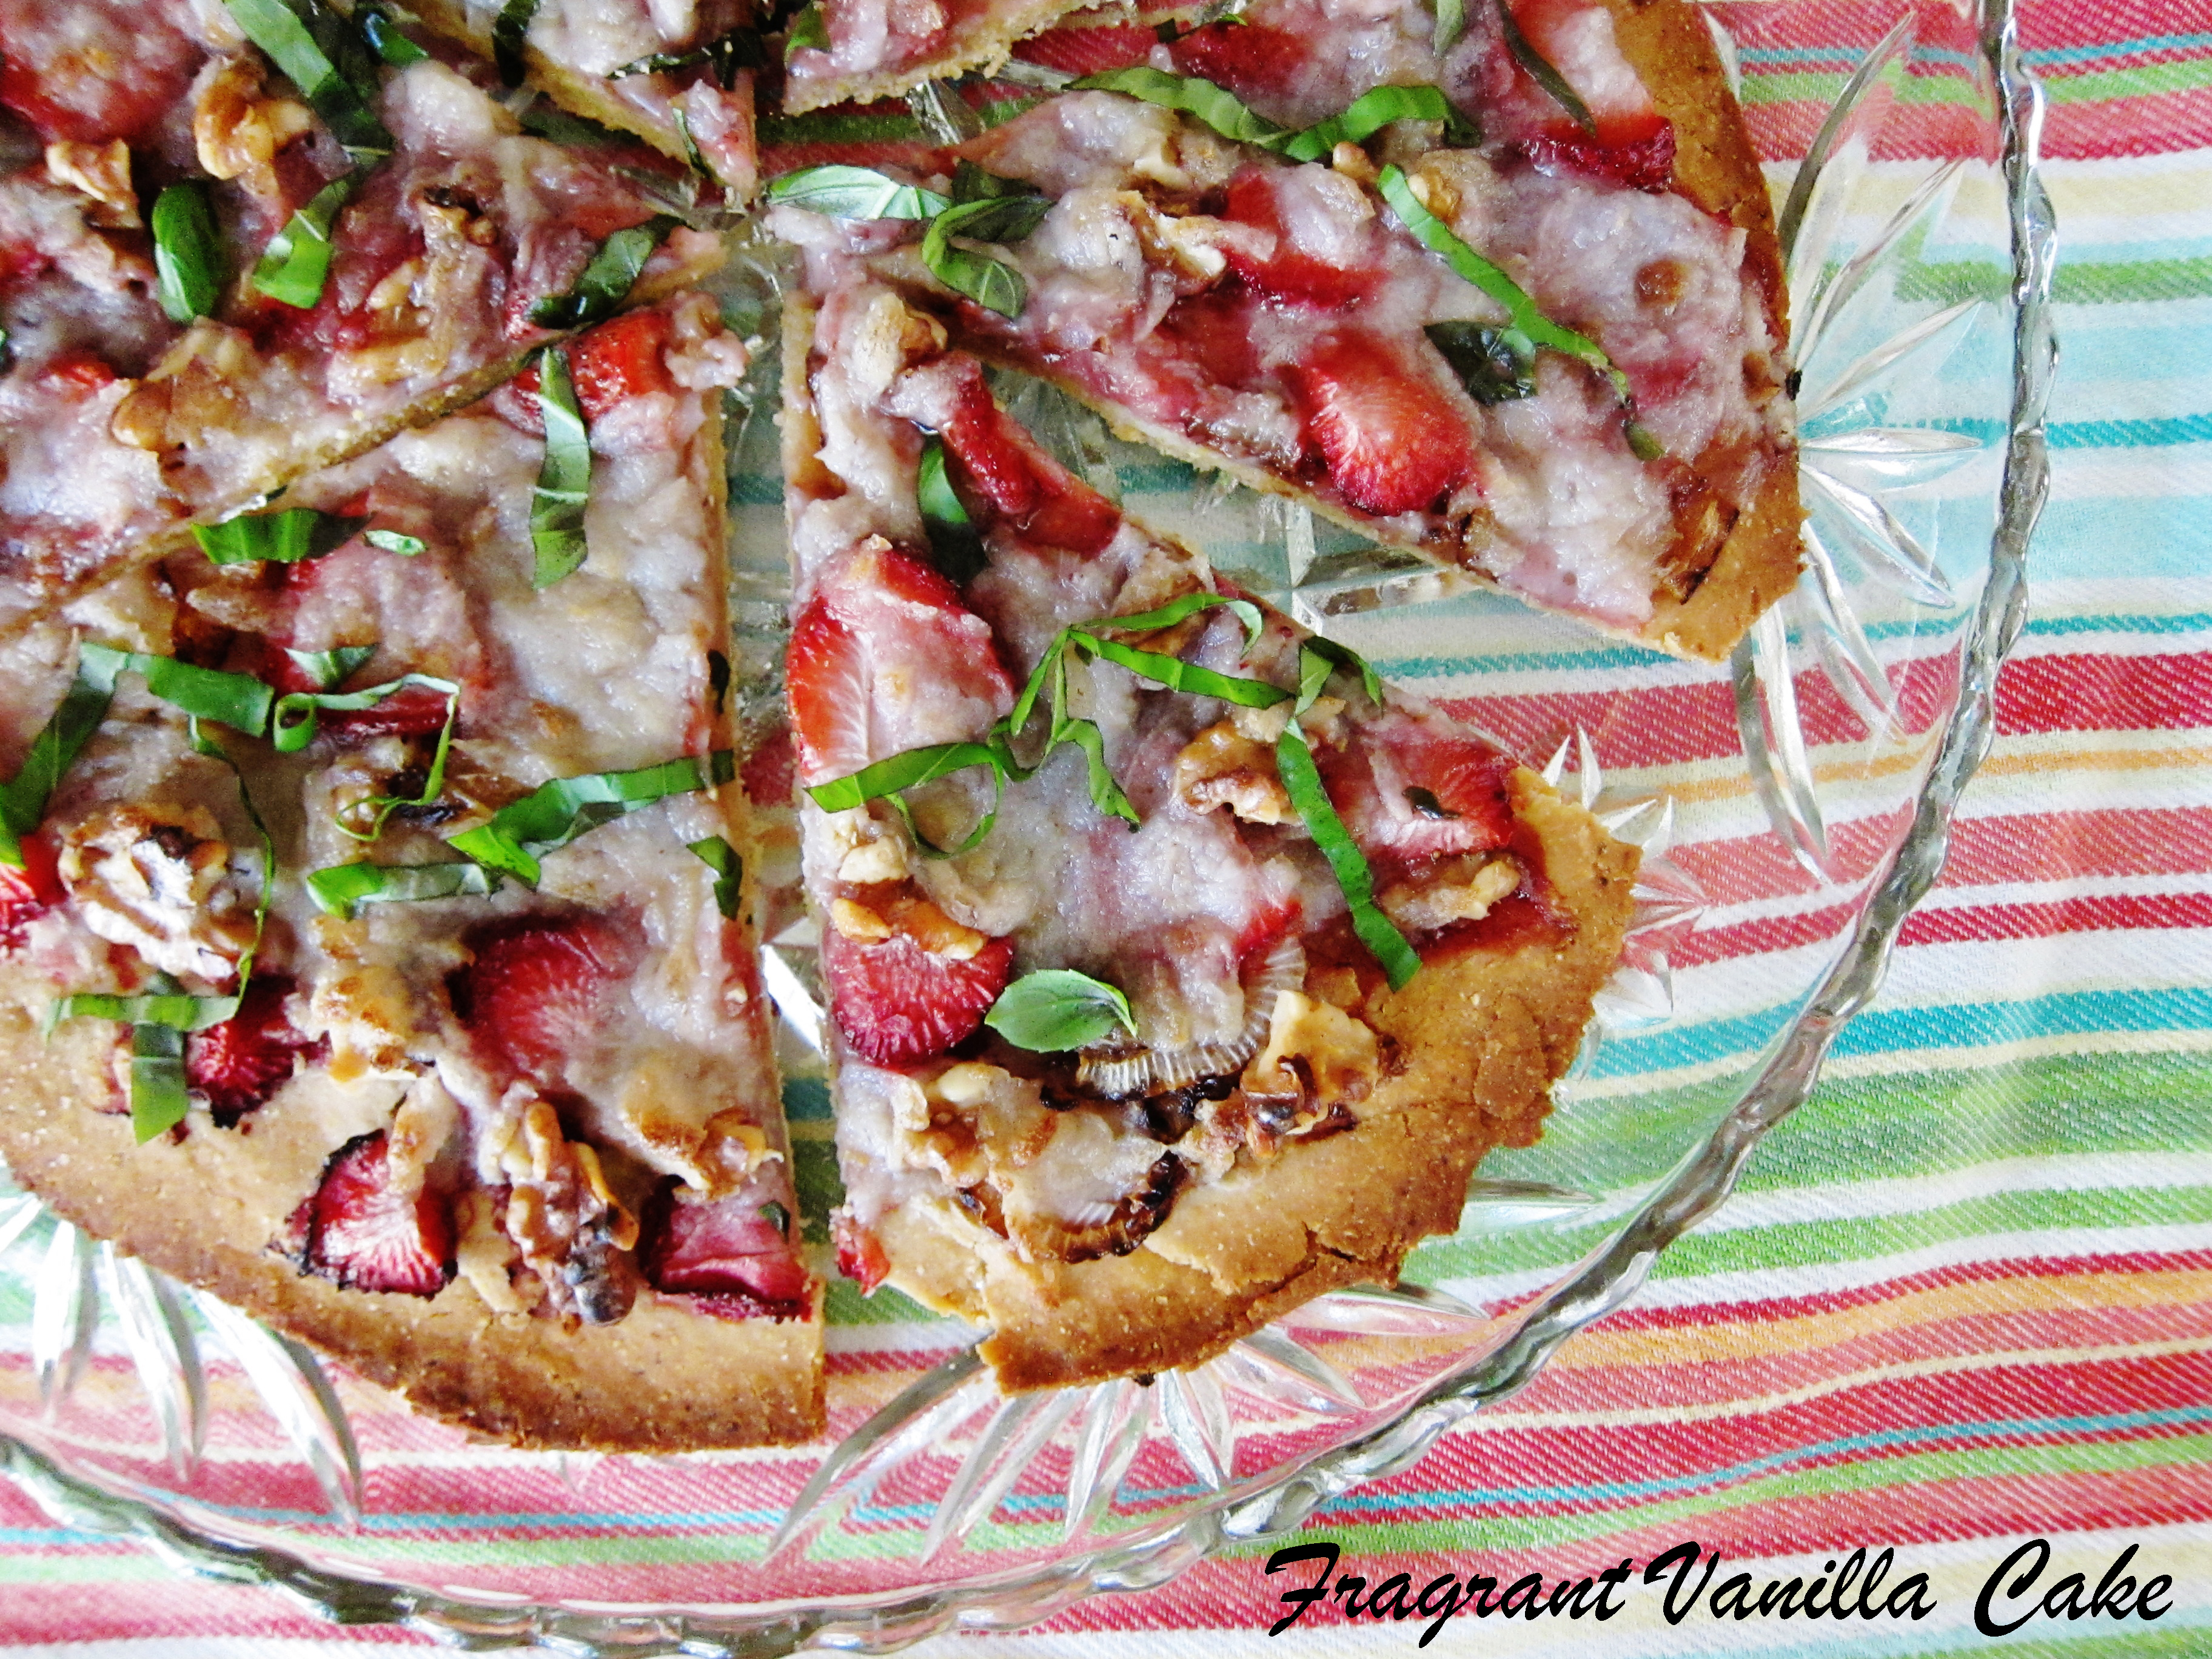
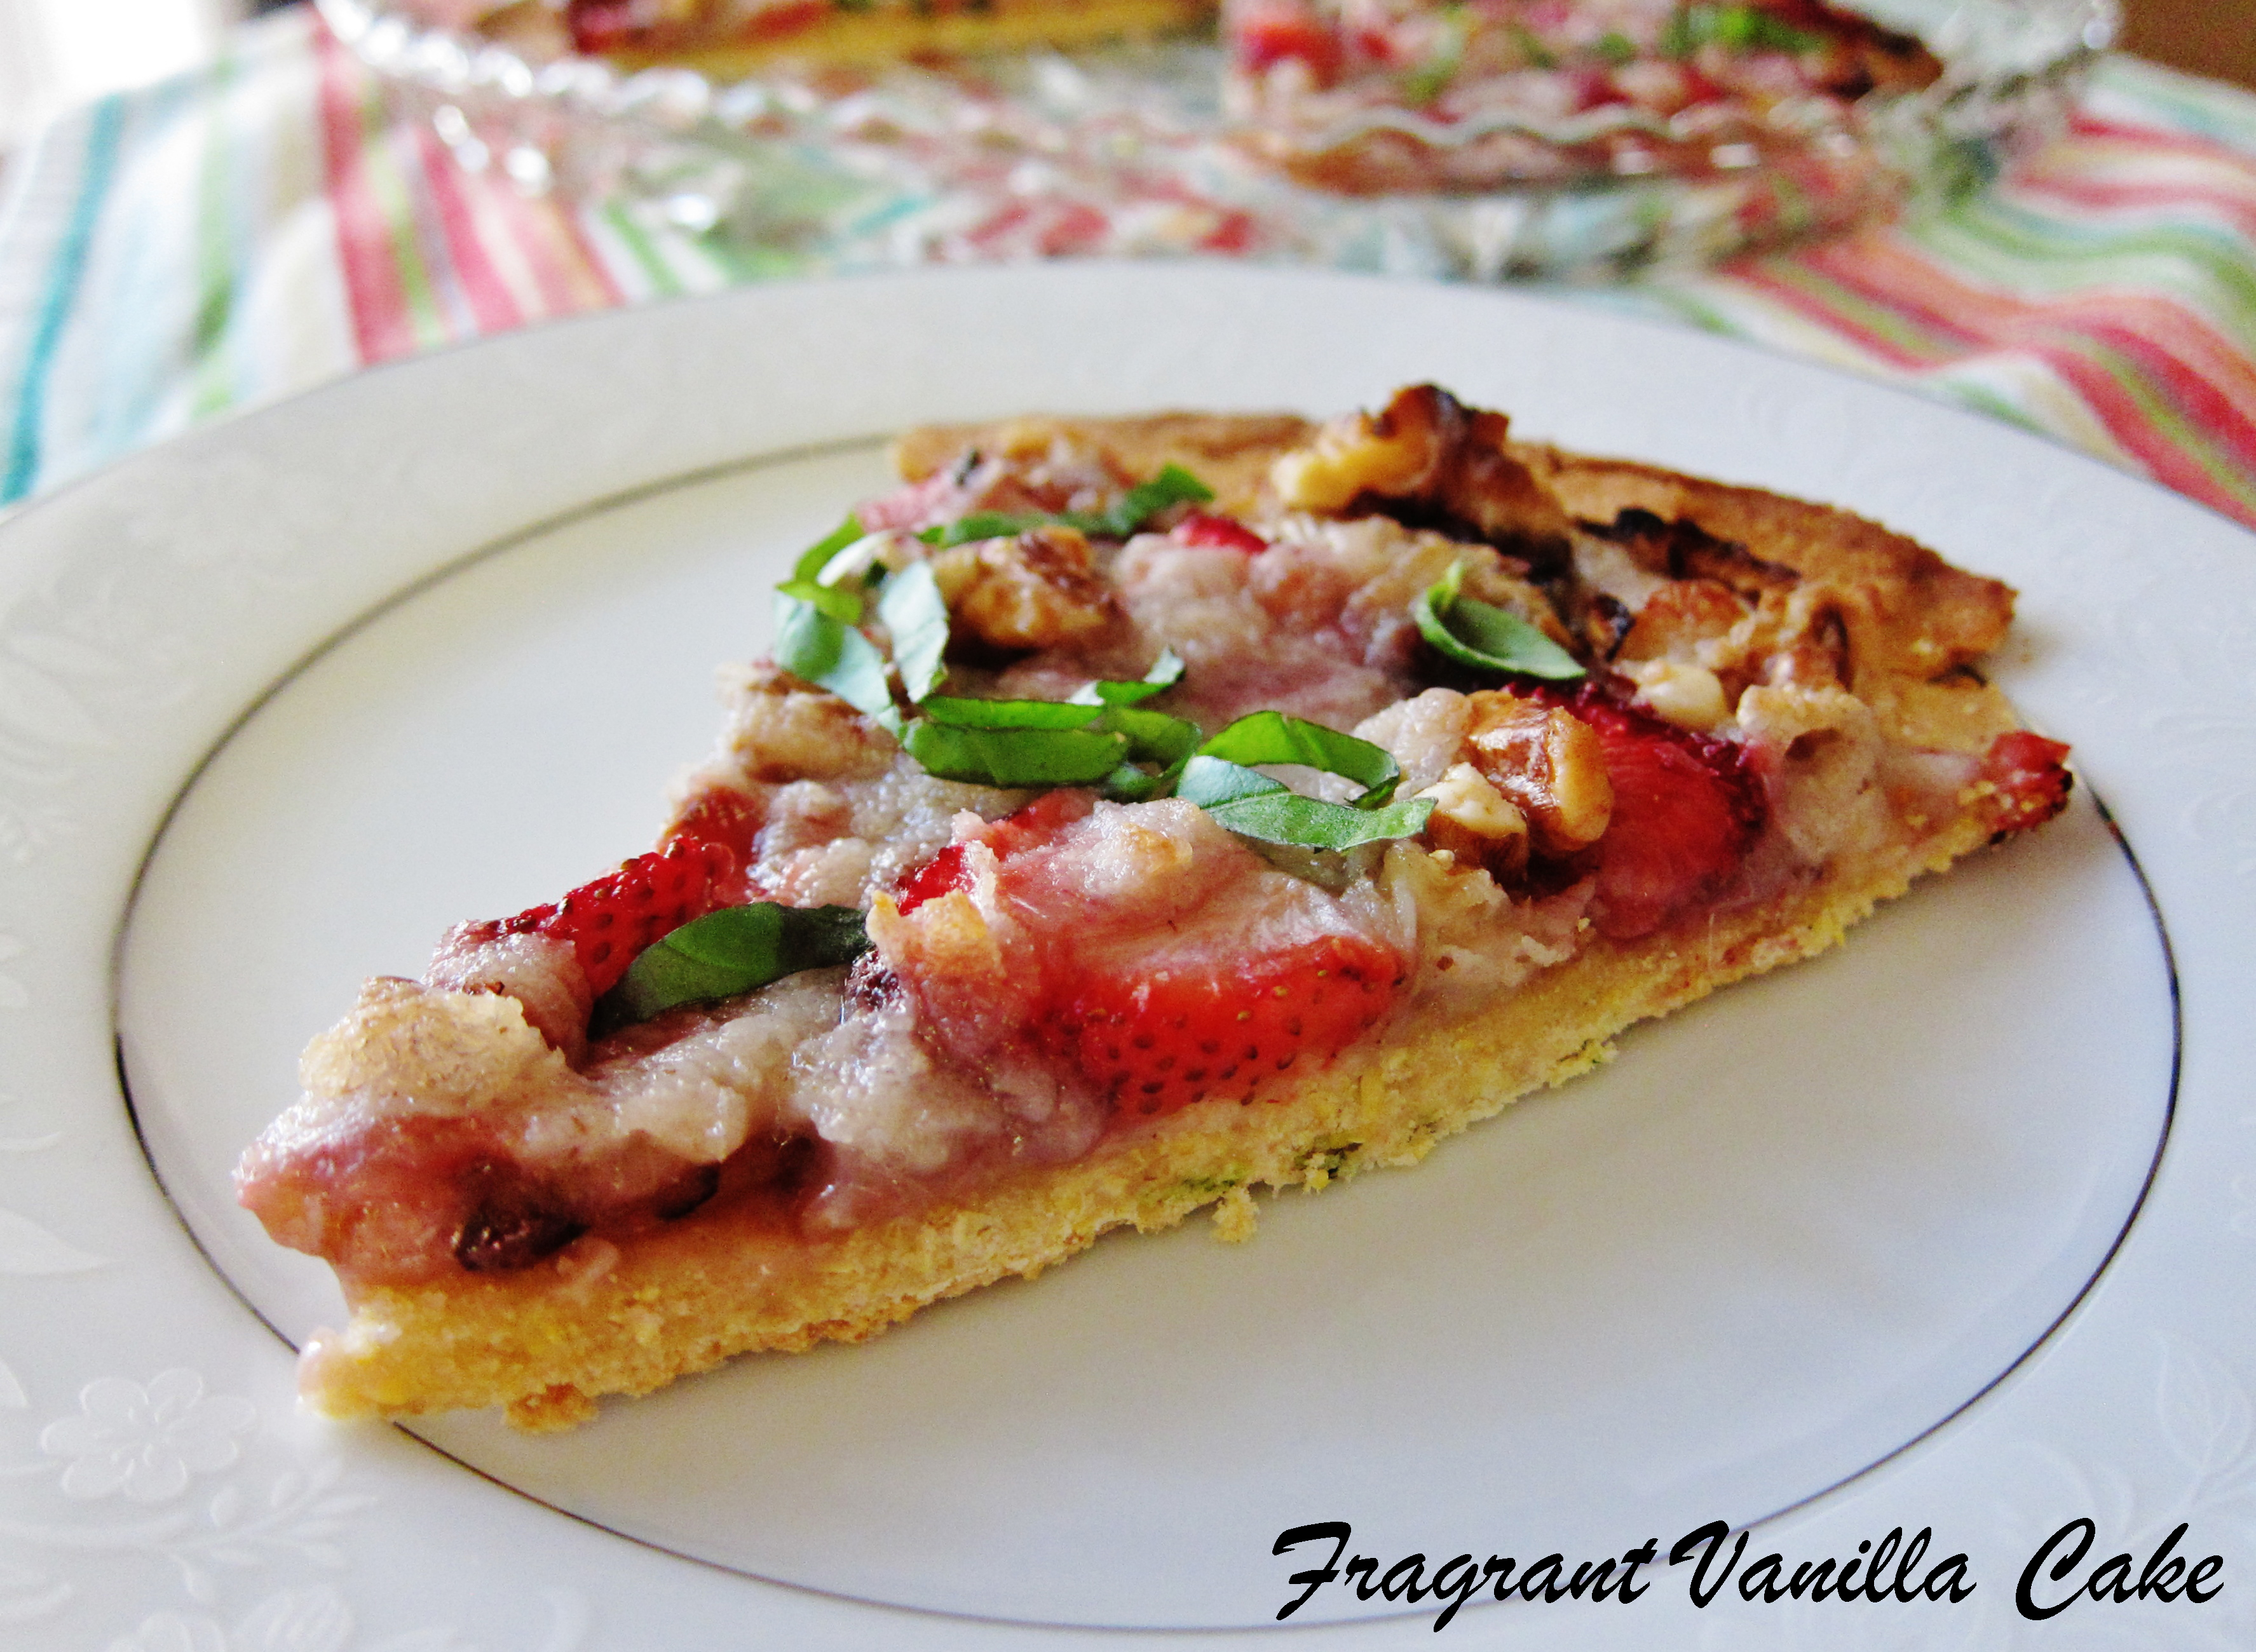
Vegan Chorizo Veggie Pizza
Makes one 14 inch pizza
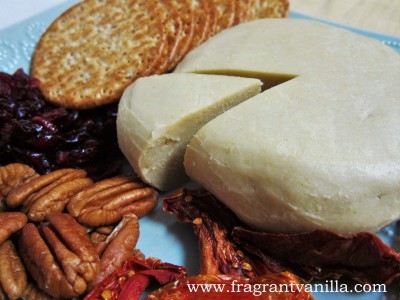
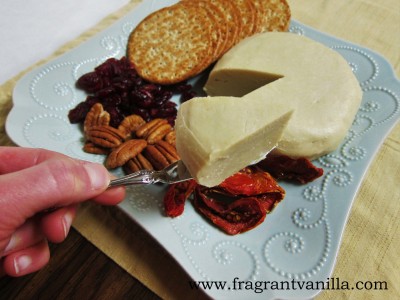
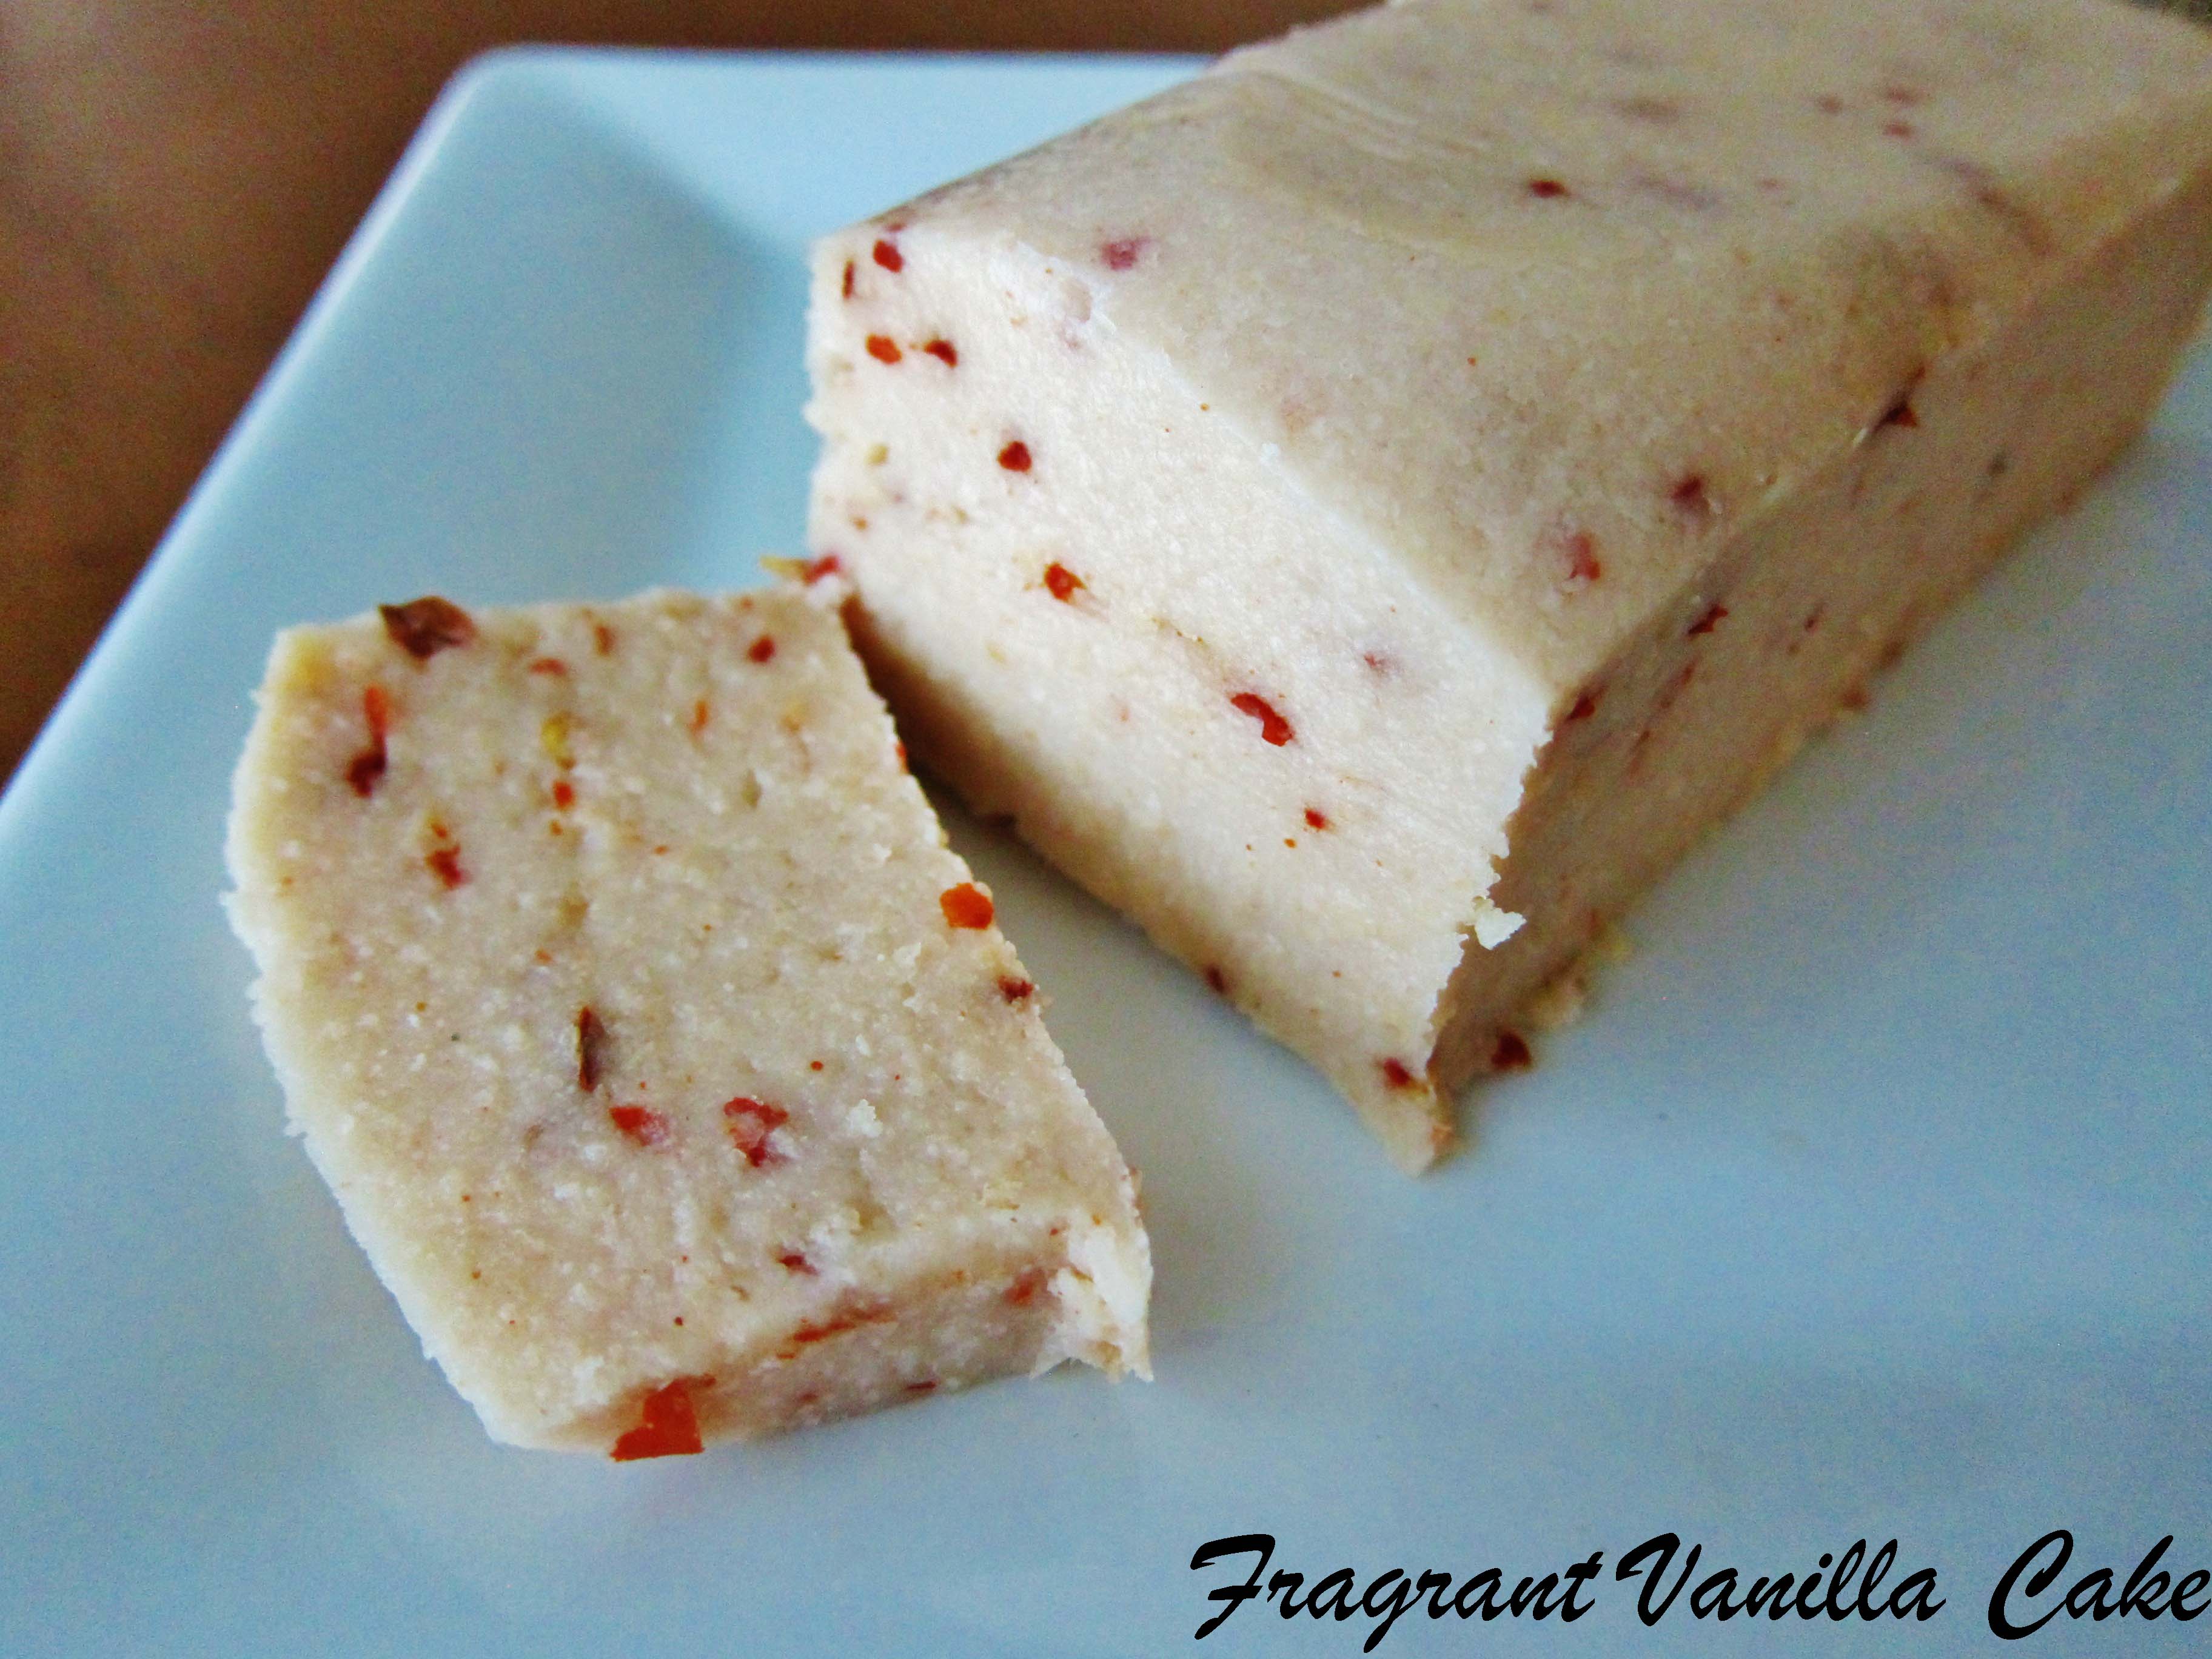
Vegan Pepperjack Cheese:
1 15 oz can full fat organic coconut milk
1 clove garlic, minced
1 Tbsp red pepper flakes
1/4 tsp ground chipotle powder
2 Tbsp arrowroot starch
1/4 cup plus 1 Tbsp filtered water
3 Tbsp agar flakes or 1 Tbsp agar powder
2 tsp lemon juice
1 tsp sea salt or Himalayan salt
1 Tbsp virgin coconut oil
1 tsp guar gum
To make the cheese, heat the coconut milk in a saucepan with the garlic and peppers, until it comes to a simmer.
Meanwhile, dissolve the arrowroot starch in the water and set aside.
Once the coconut milk has come to a simmer, add the agar flakes, and heat until they are dissolved (mine took about 8 minutes, if you are using the powder, it should dissolve within one minute).
Next, add the lemon juice and sea salt to the coconut milk.
Mix the coconut oil with the guar gum so that the guar gum does not clump up.
Turn off the heat and add the arrowroot mixture, guar gum and coconut oil. Whisk for about 30 seconds, then pour into a silicone mold (I used a loaf pan, but if you had another shape you would like to use go ahead). Refrigerate for a few hours until firm, then pop out of the mold. You will need half the cheese for this recipe, reserve the other half for another use in the fridge, wrapped in an airtight container. Shred the half you will be using into a bowl, and keep in the refrigerator until ready to use.
Pizza Dough:
1 1/2 cups gluten free all purpose flour
1 Tbsp olive oil
1/2 tsp sea salt
1/2 tsp xanthan gum
1/2 cup plus 1 Tbsp filtered water
To make the pizza crust, combine the flour, xanthan gum and sea salt in a bowl, and whisk until well blended. Add the oil and water, and mix in until you have a soft dough.
Turn out onto a sheet of parchment paper with a light dusting of flour, and roll out into a 14 inch circle. Set aside.
Chorizo:
1 medium red onion, diced
1 tsp olive oil
1 15 oz can chickpeas
1 garlic clove, minced
1 Tbsp smokey paprika
1 tsp red pepper flakes
1/4 tsp chipotle powder
1 tsp cumin
1/2 tsp ground coriander
1/4 tsp cinnamon
1 tsp oregano
sea salt to taste
1 medium organic tomato, diced
To make the chorizo, heat the oil in a pan, and add the onions. Cook, stirring often until the onions are very soft and starting to brown. Add the chickpeas, garlic, spices and tomatoes and continue to cook, stirring the whole time to prevent burning. Mash the chickpeas up with the back of a spoon and cook until heated through and tomatoes have become mush. Set aside.
For Pizza Assembly:
olive oil
1/2 cup sliced small zucchini
1/2 cup sliced mini red peppers or diced bell peppers
1 jalapeno, sliced
2 scallions, sliced
Pre-heat the oven to 400F degrees. Set a pan on the center rack with an upside down sheet pan, or a pizza stone set on it. Brush the crust with olive oil, sprinkle with sea salt, and slide the parchment with the crust on it onto the stone.
Bake crust for 10 minutes, then remove the crust from the oven (still on the parchment). Top the crust with the chorizo spreading around evenly. Then the veggies, then the cheese, making sure it is all evenly distributed.
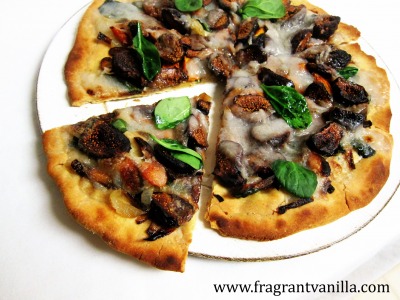
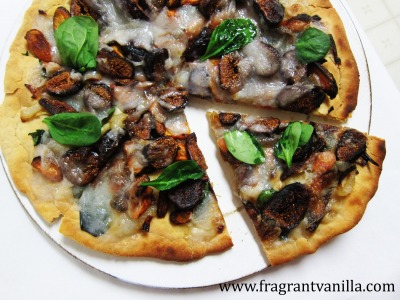
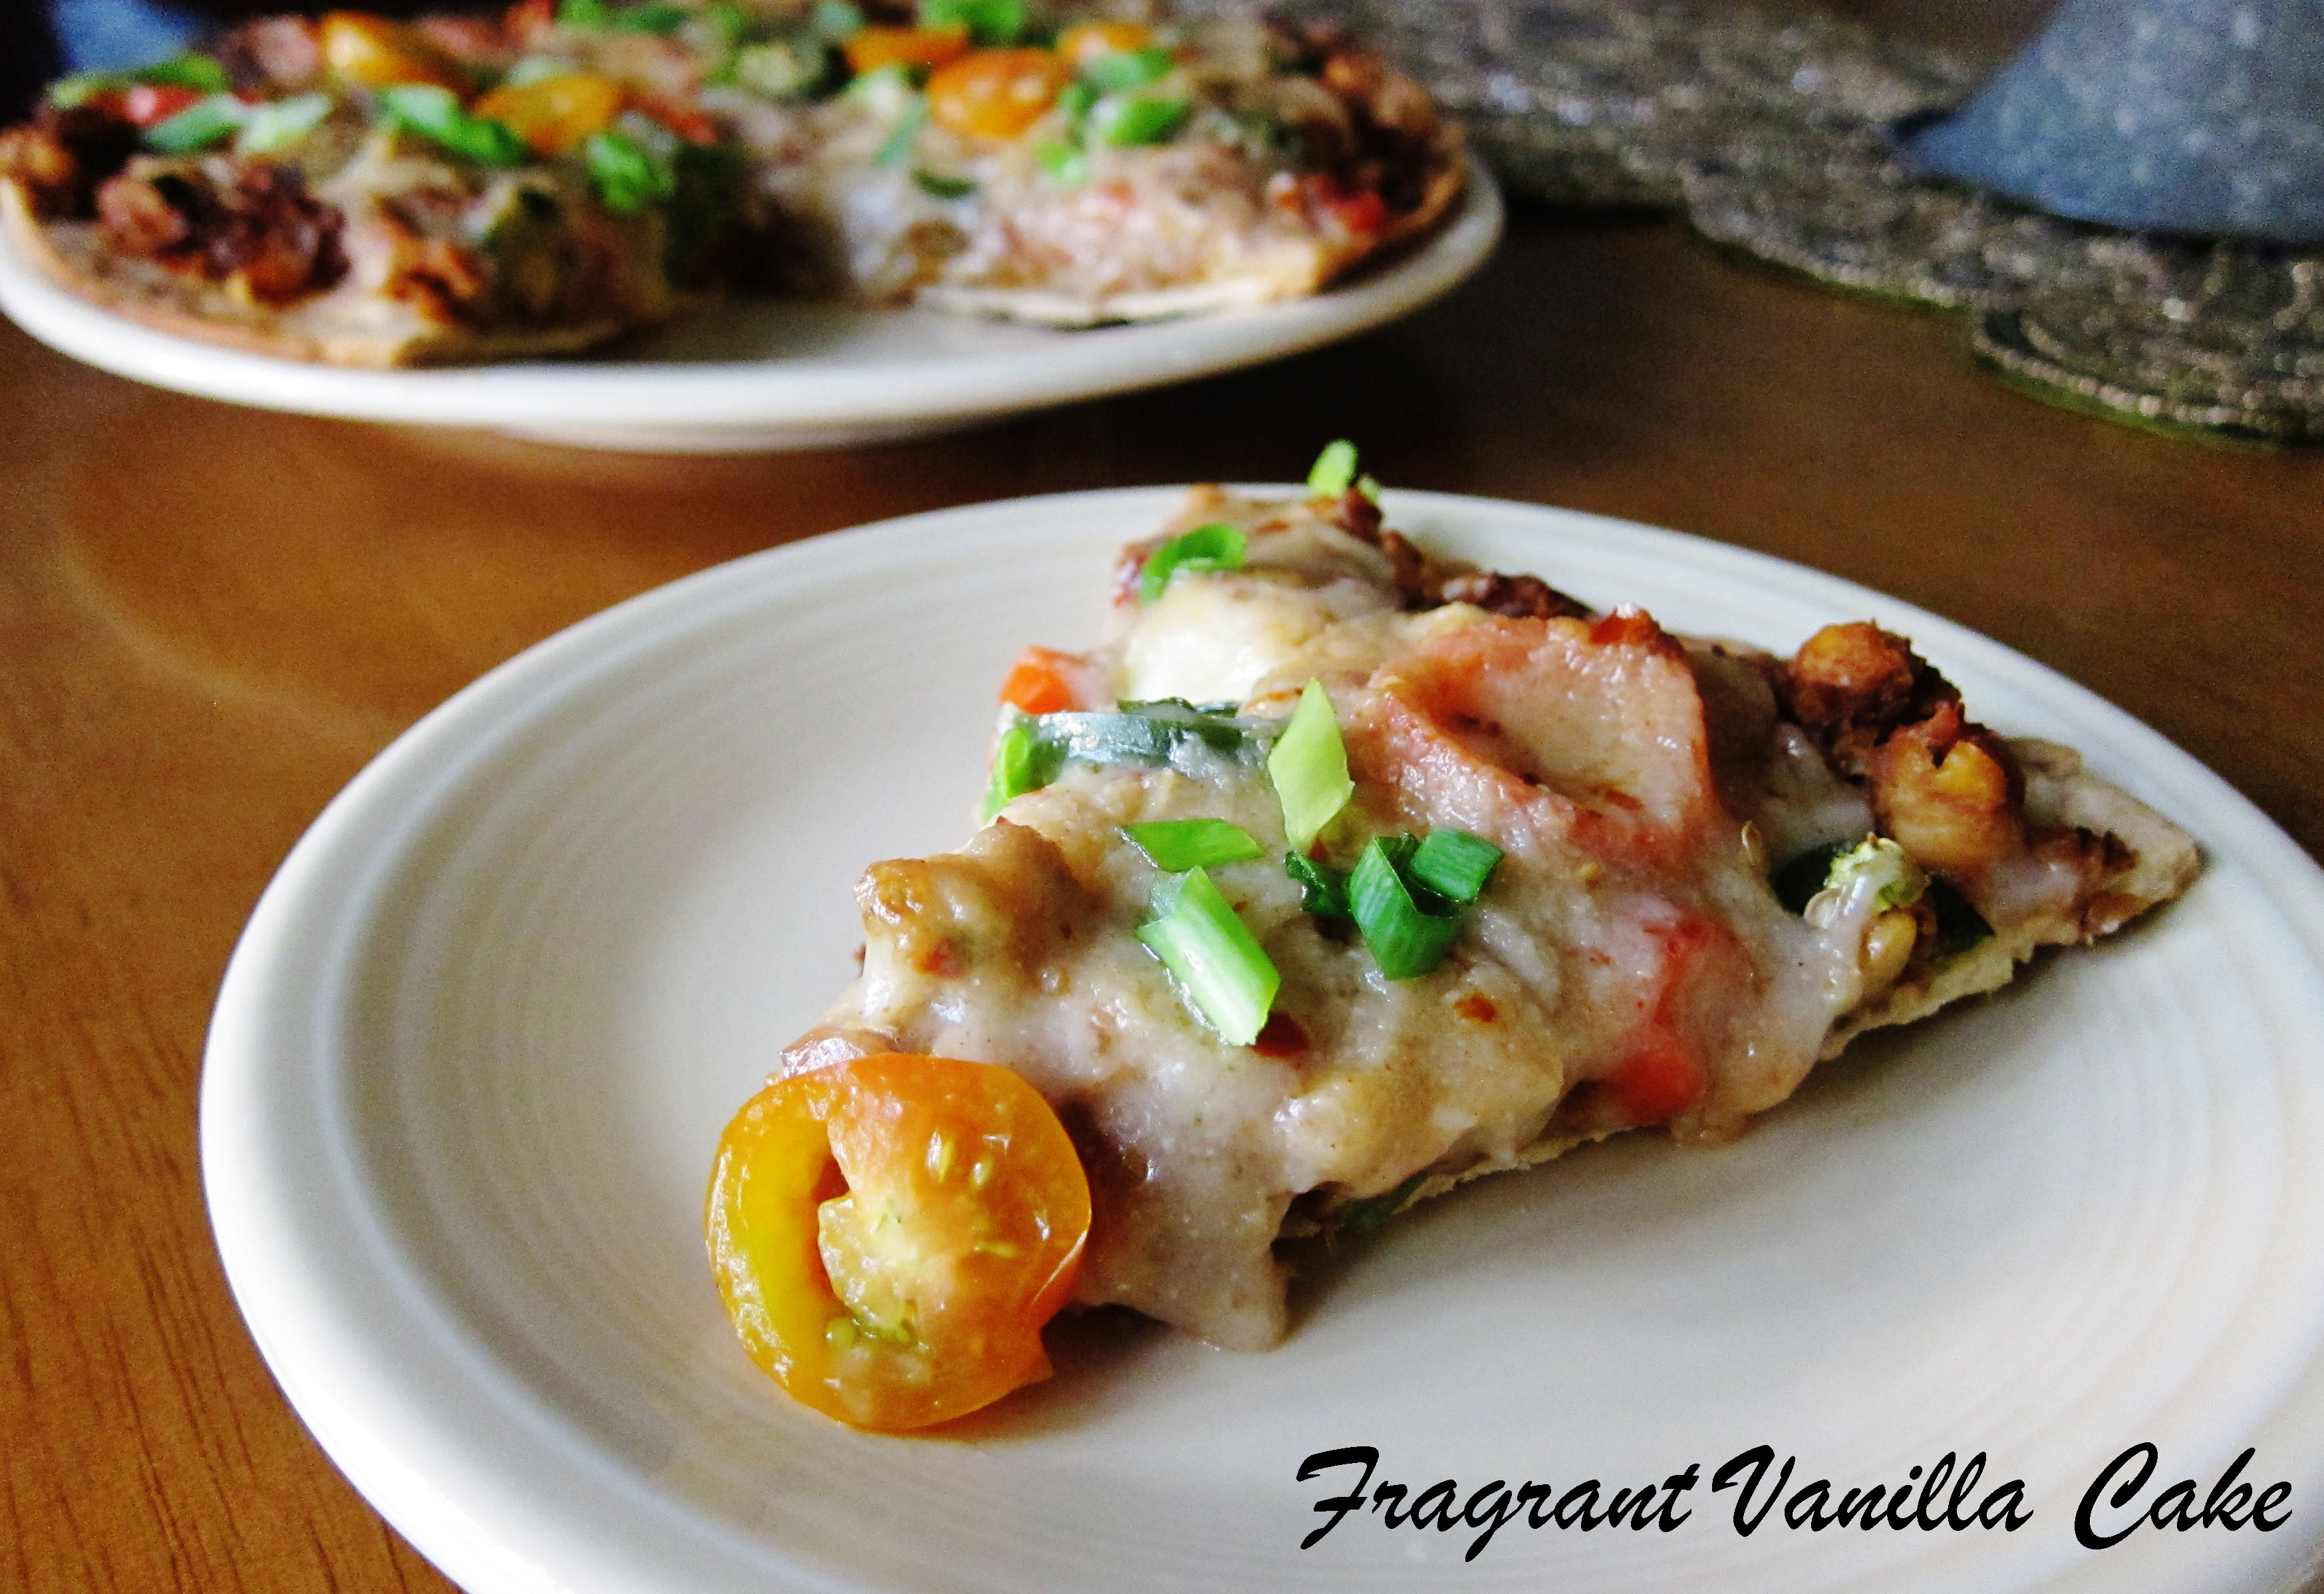
Place the pizza in the oven, turn up the temperature to 475F and bake for 20-25 minutes until the cheese is bubbling and starting to brown (keep an eye on it after 15 as some ovens cook faster than others). Remove the pizza and parchment from the oven, slide pizza onto a cutting board or plate, scatter scallions over the top, slice and enjoy!