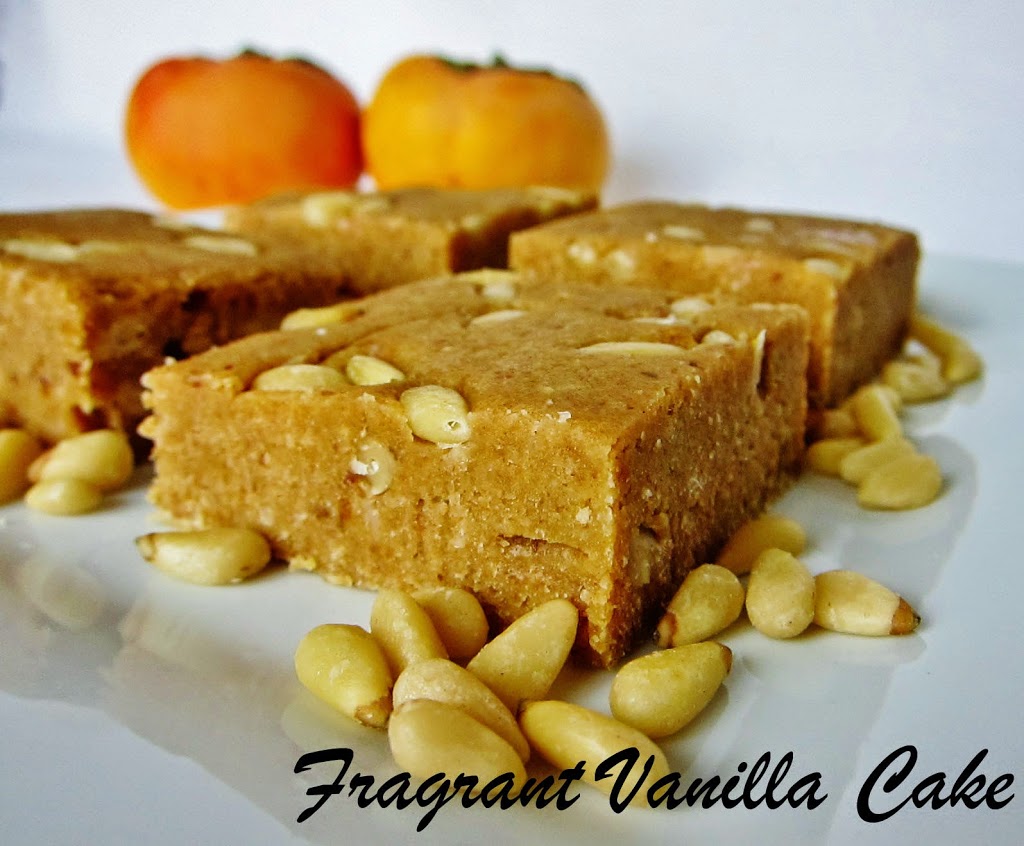
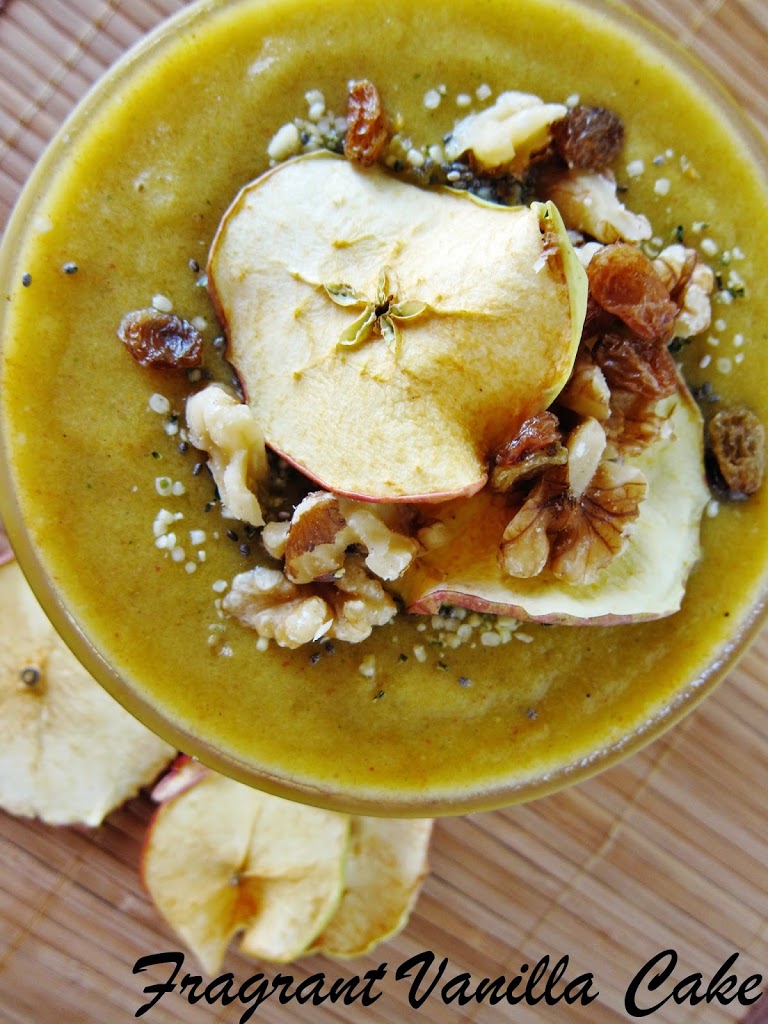
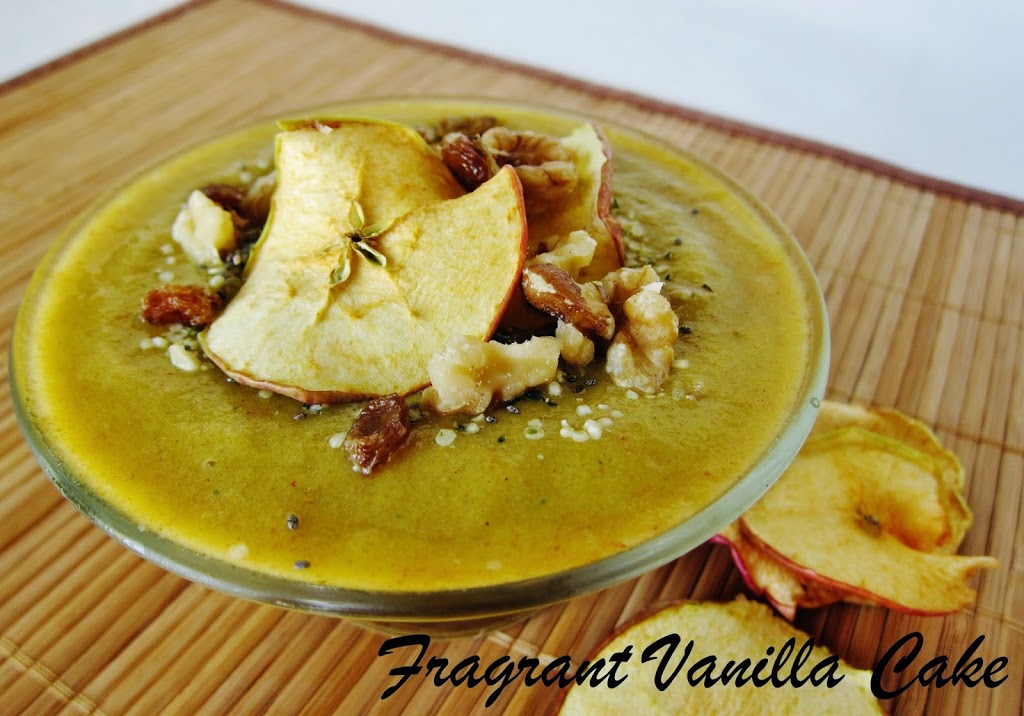
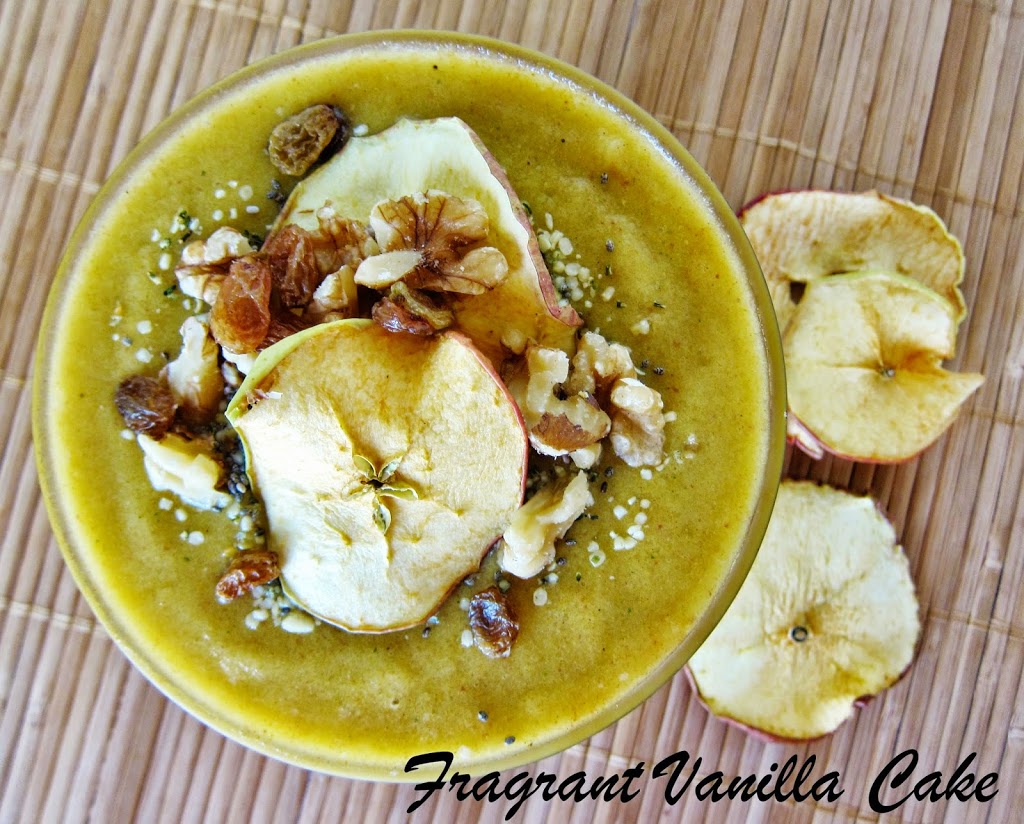
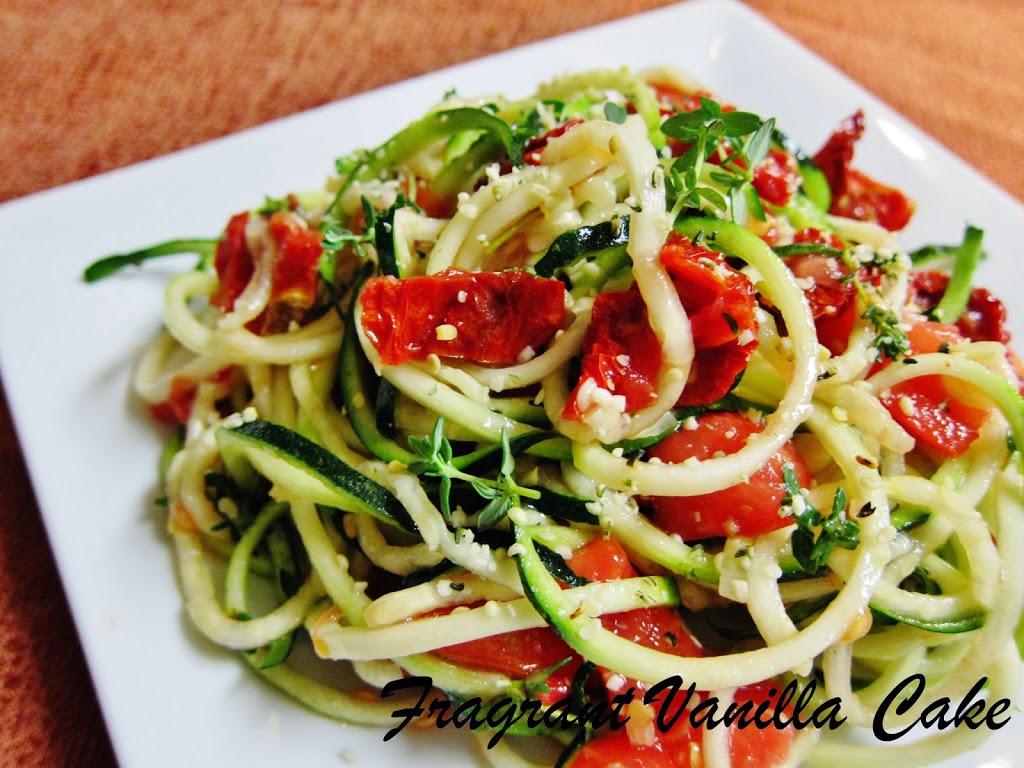
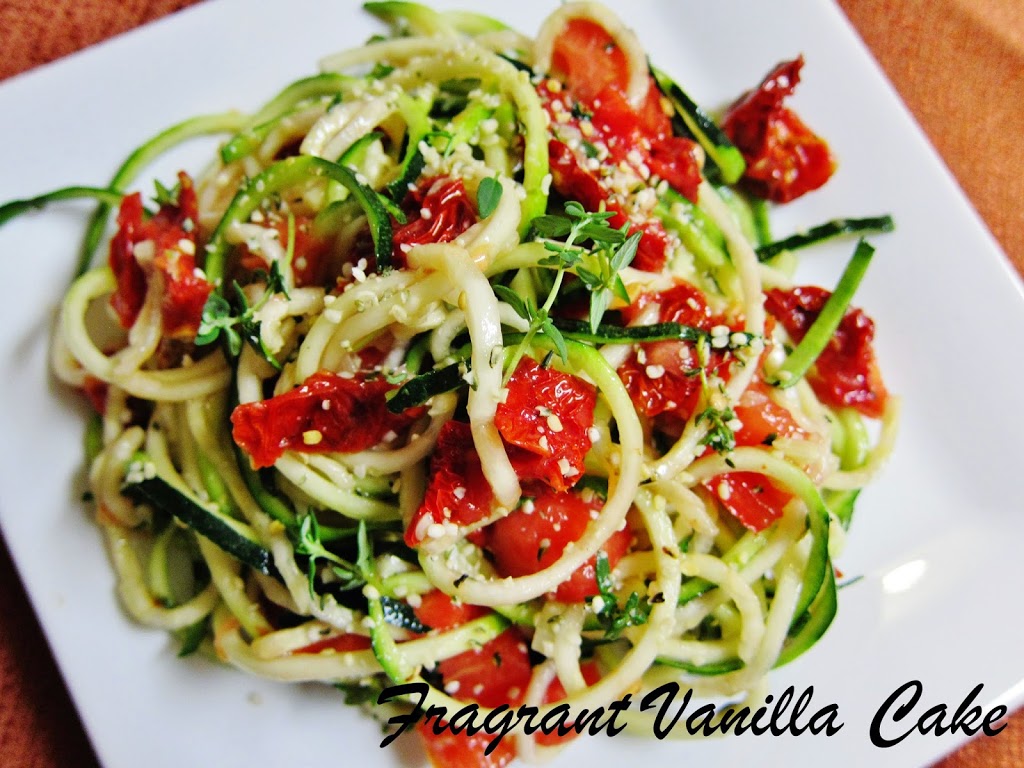
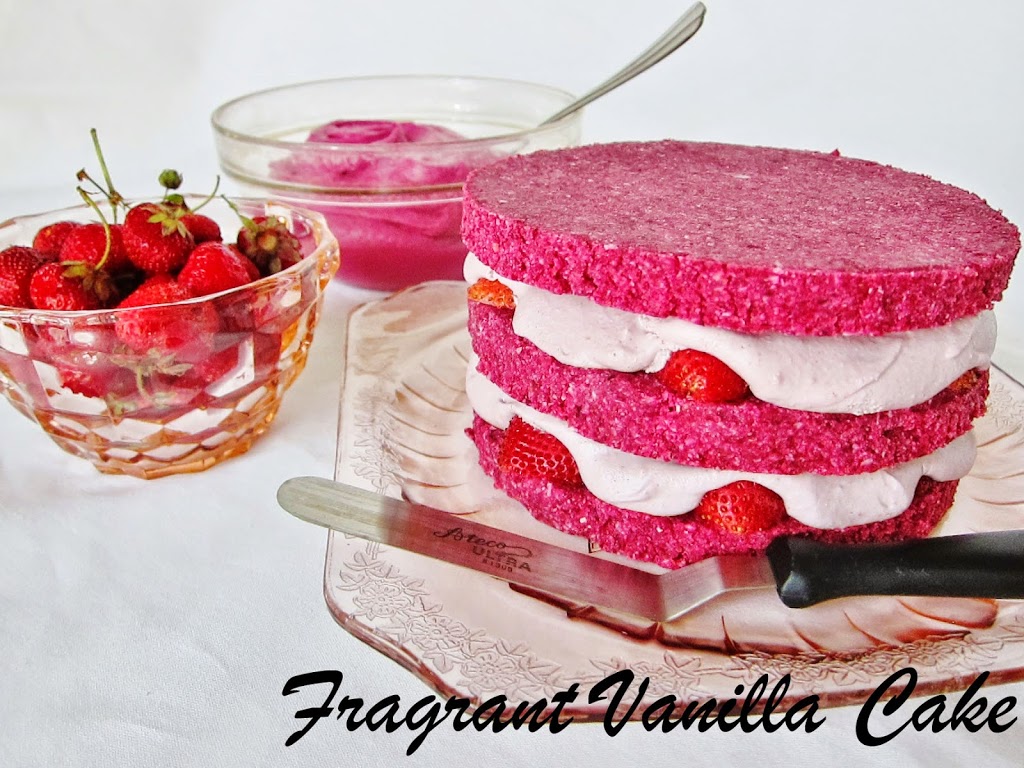
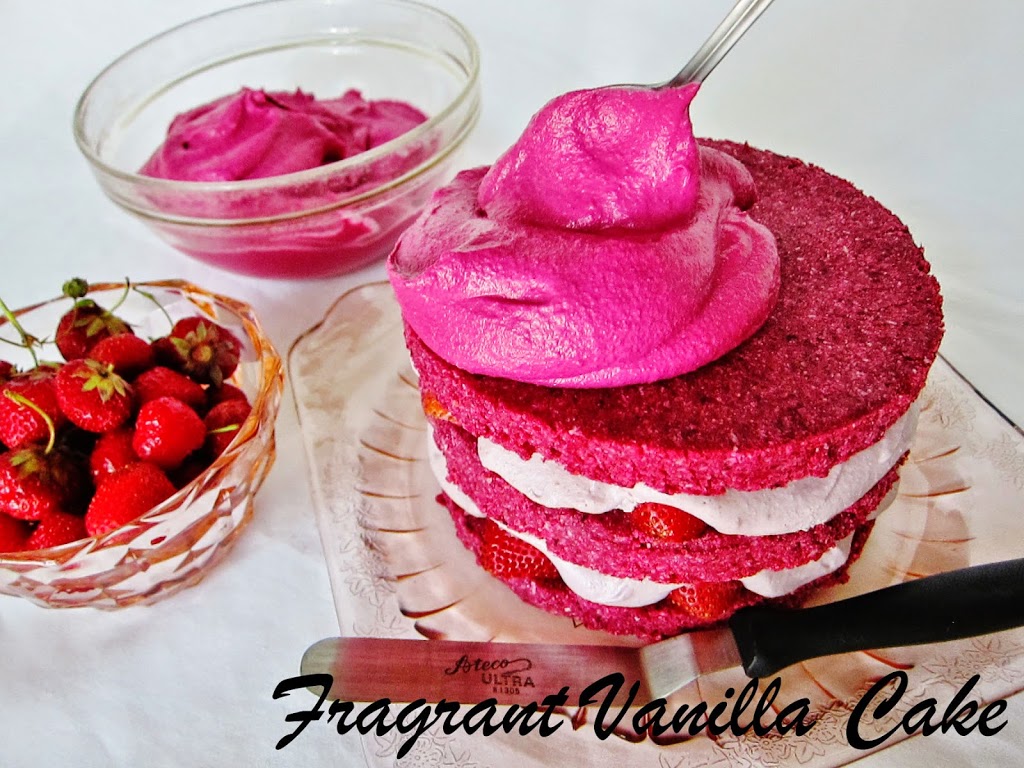
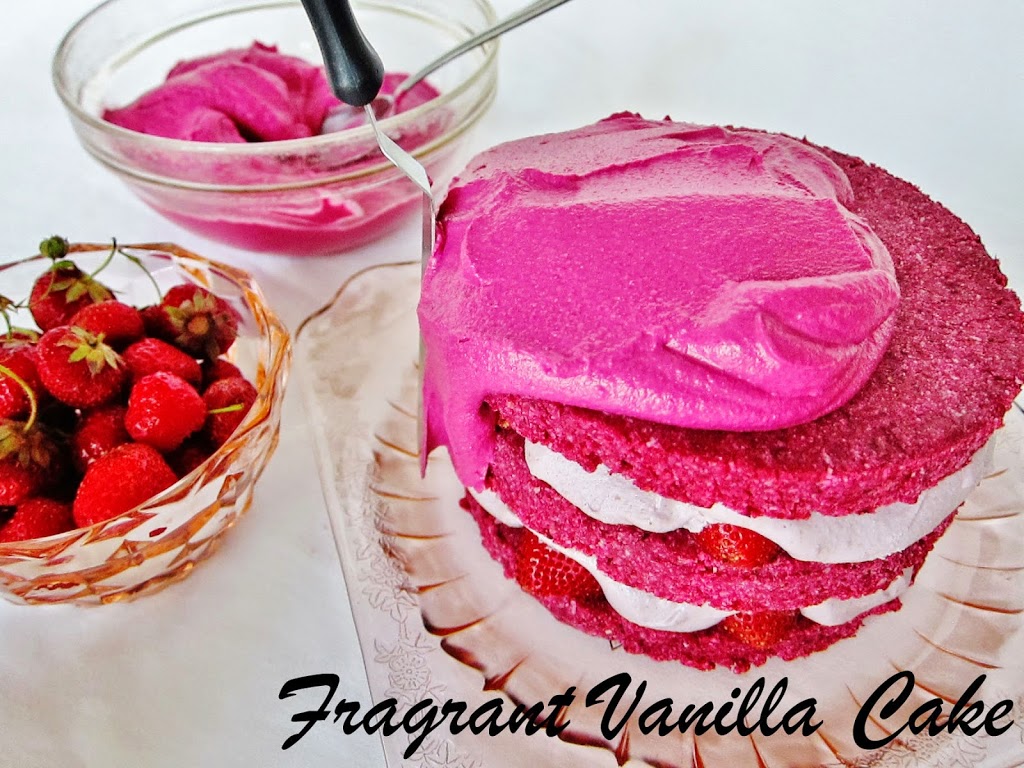
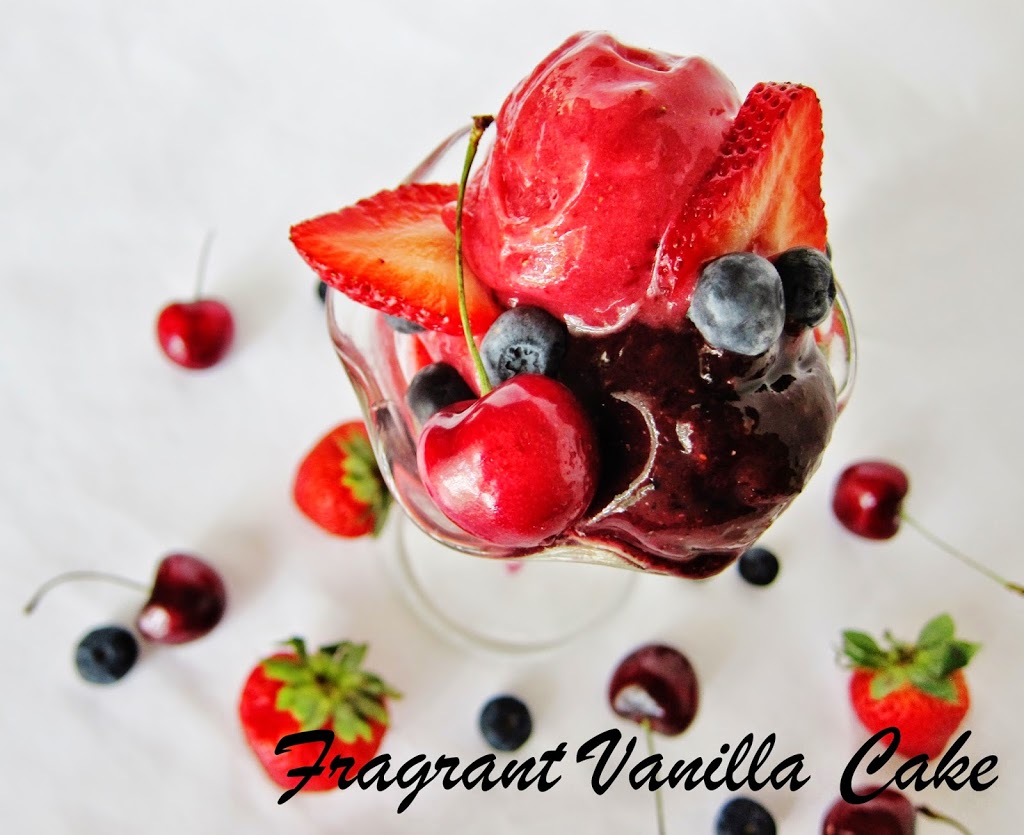
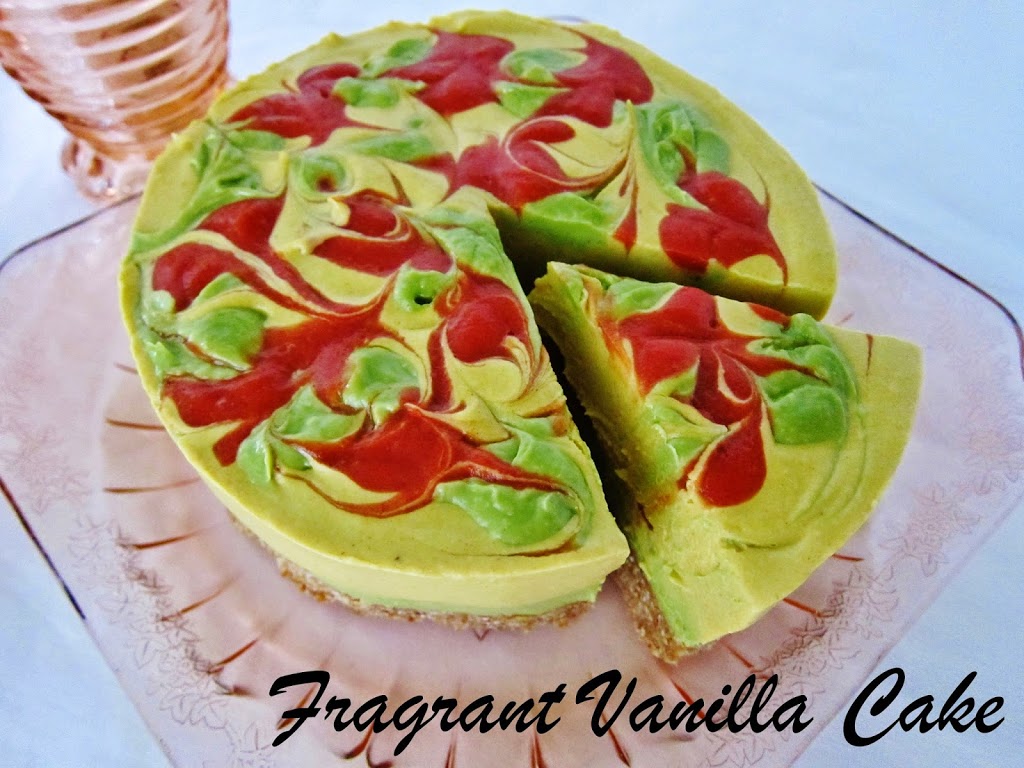
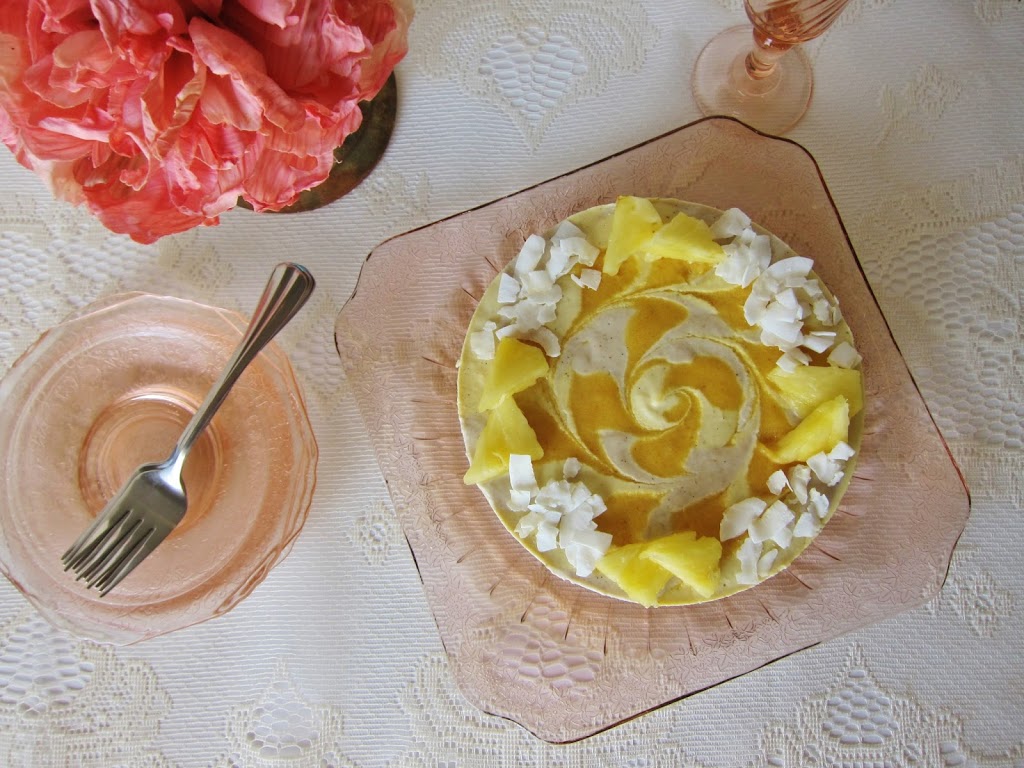
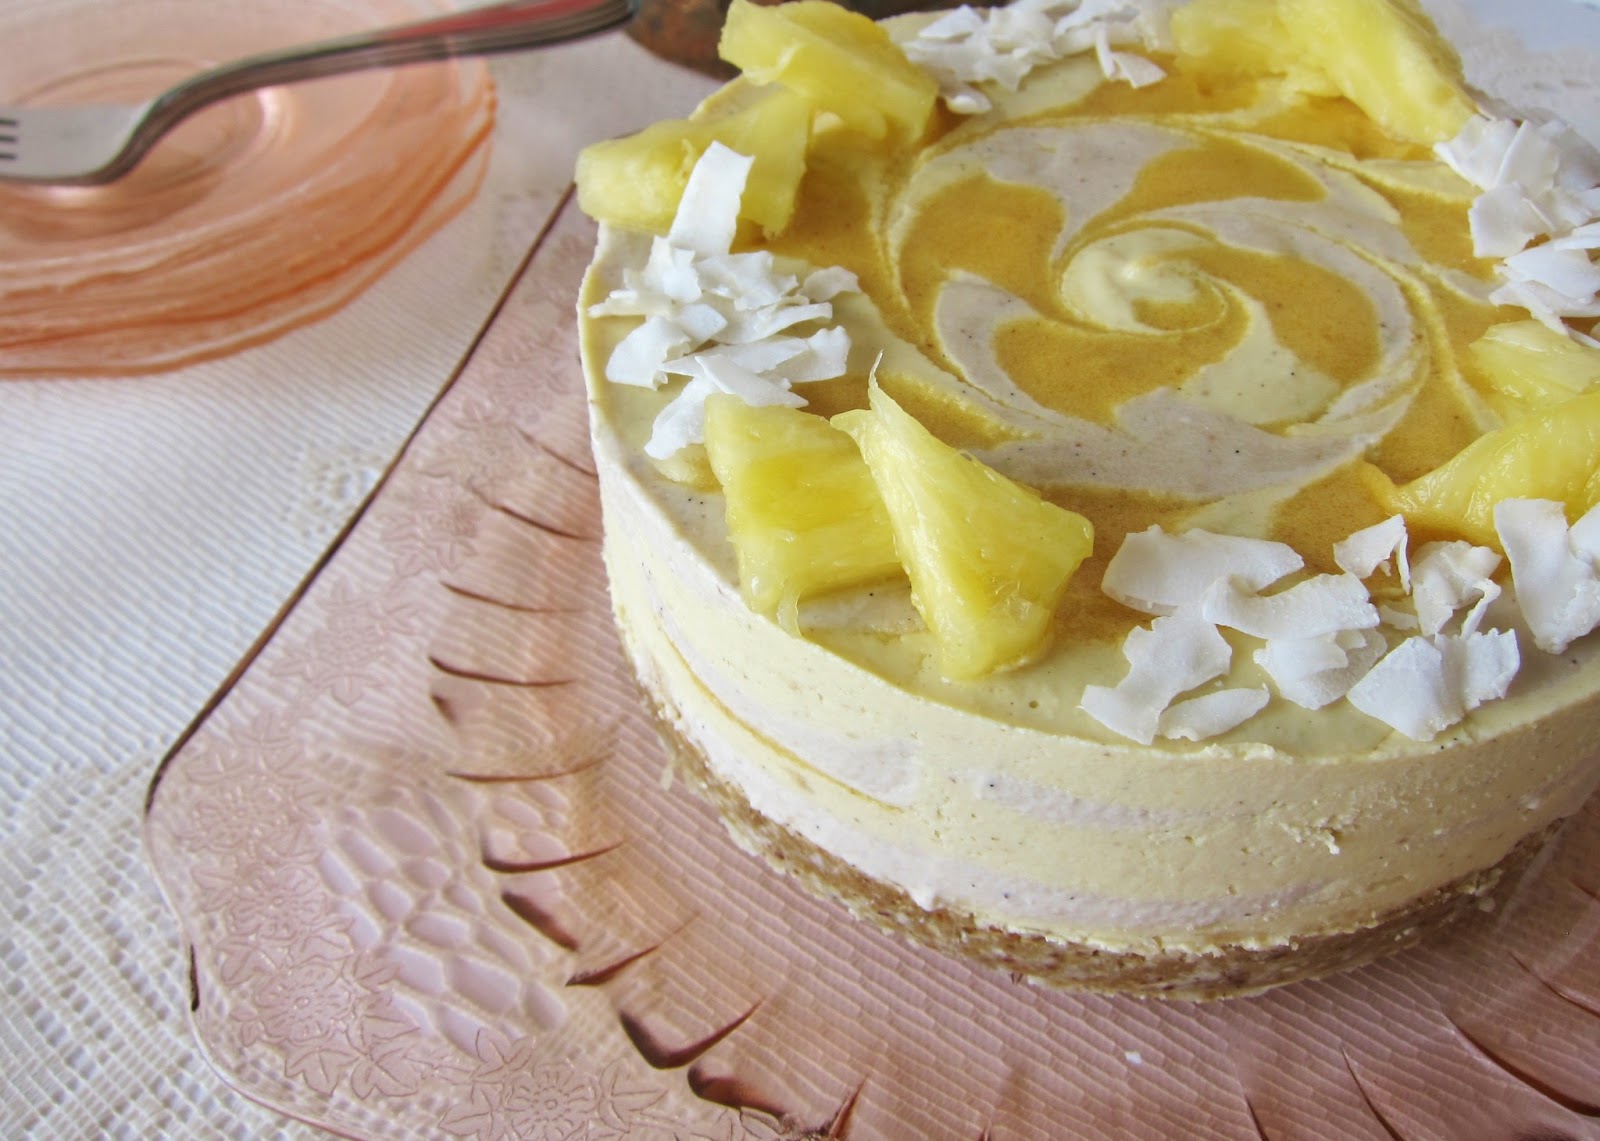
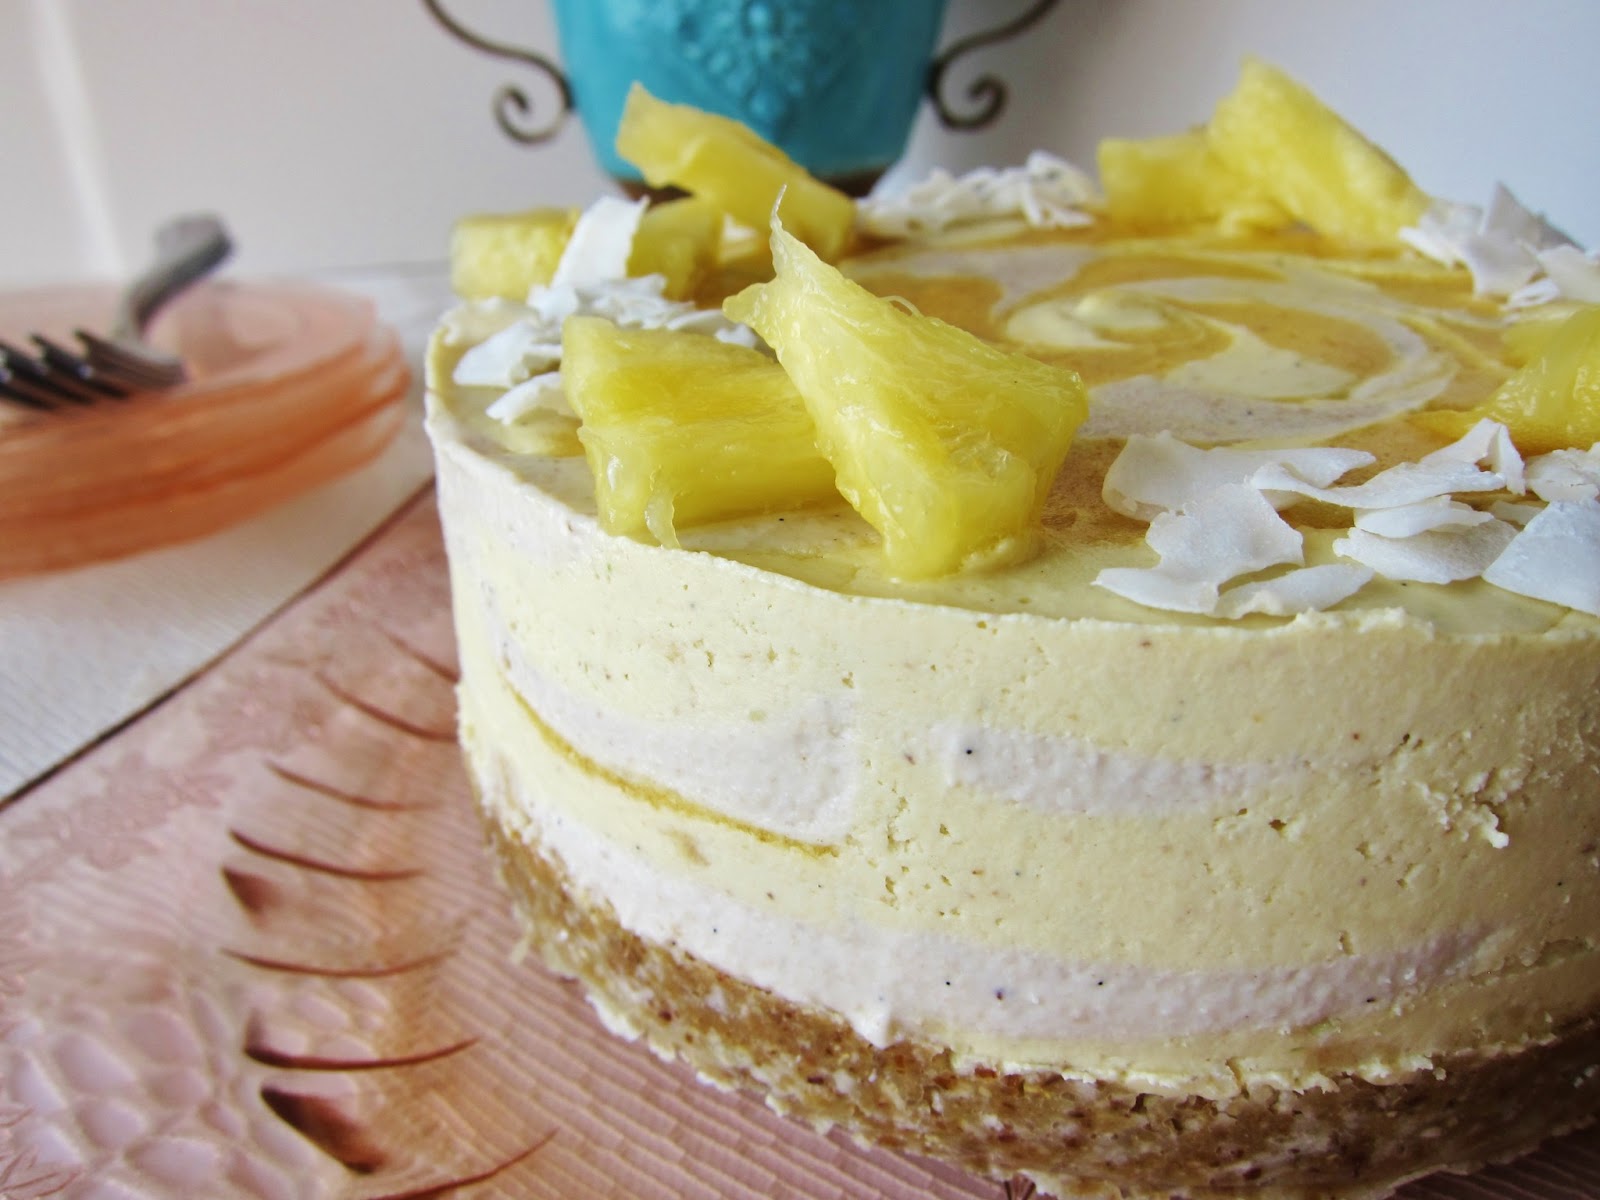
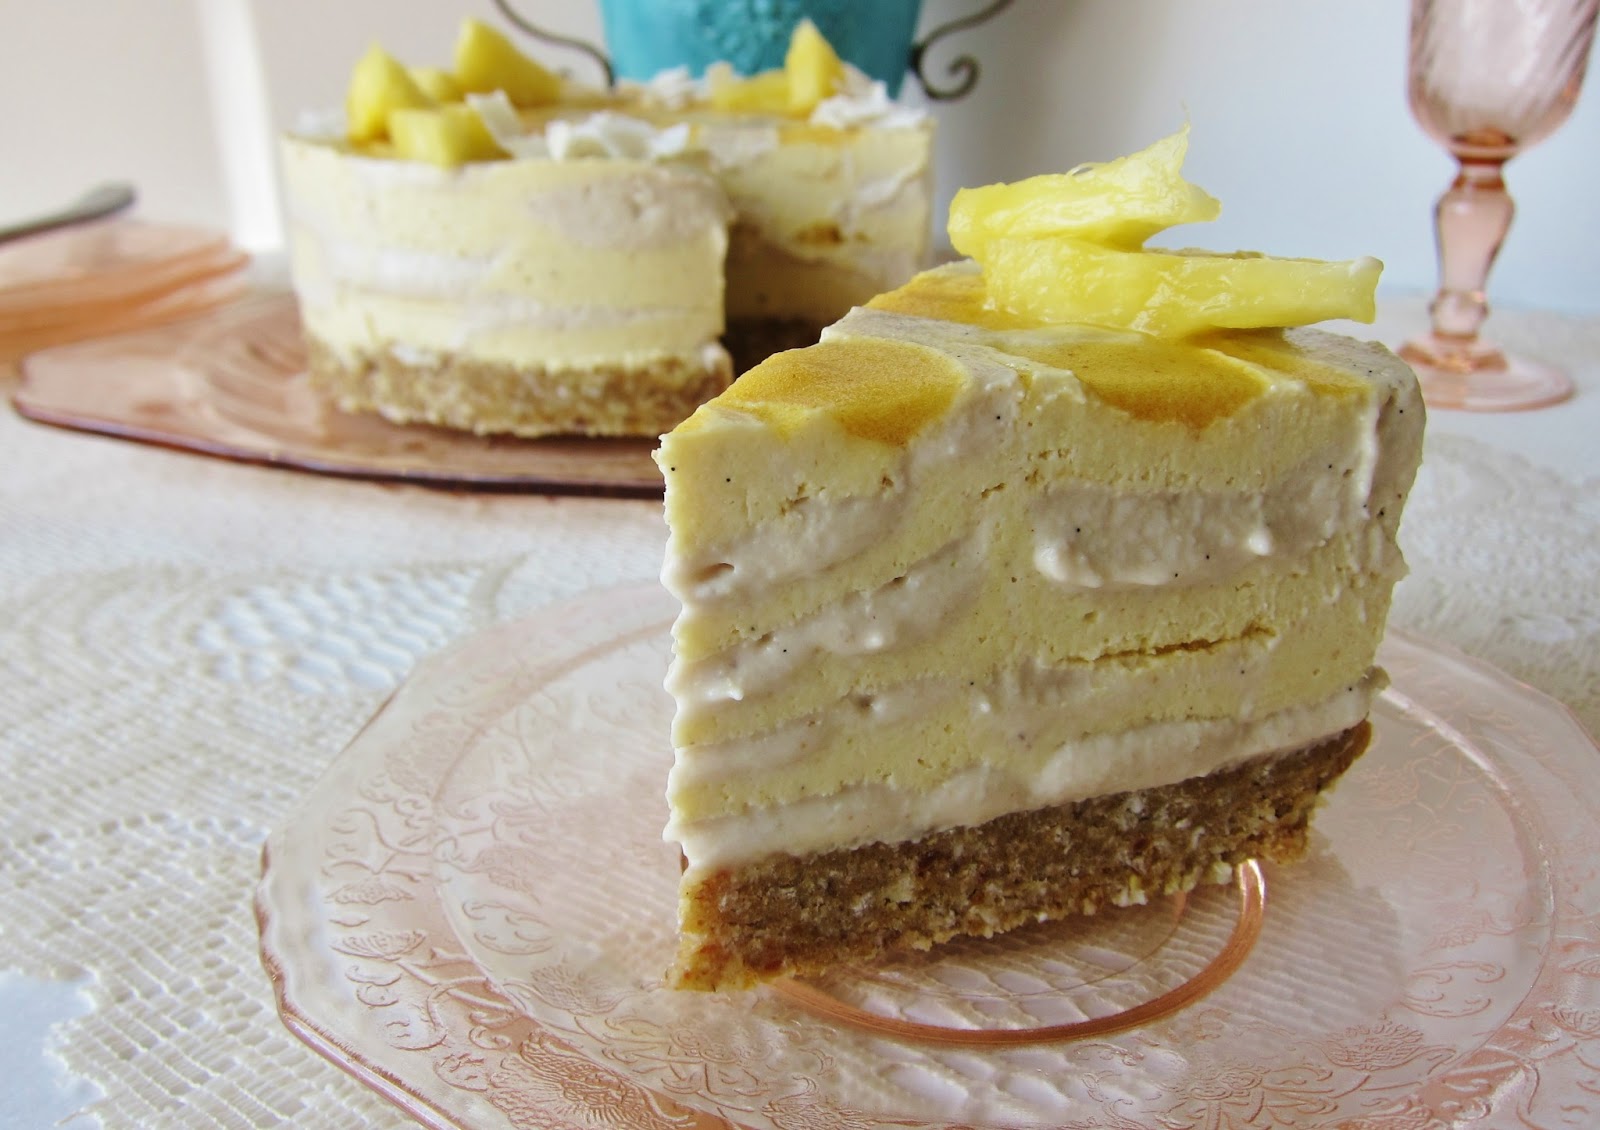
When Eric and I were at the Asian market the other day picking up my cases of young coconuts, something caught my eye…bright orange beautiful fruit. Not oranges, although I love them, persimmons! I love them. To me they taste sort of like sweet marshmallows in fruit form. Plus my favorite color happens to be orange so that is a plus as well. Anyways, I had to buy some. It was not an option!
I had bought a bunch, and some of them were simply eaten, but I decided to use some in desserts as well, the first of which was blondies. It may sound like an odd combination, but let me tell you how it came to be.
I wanted to make pine nut blondies, because I had some pine nut butter and I had originally intended to use apples in them to keep them soft and moist and give them a fall flair, but then I saw the persimmons and decided that I wanted to use those instead. After all, they are naturally sweet so it would be perfect!
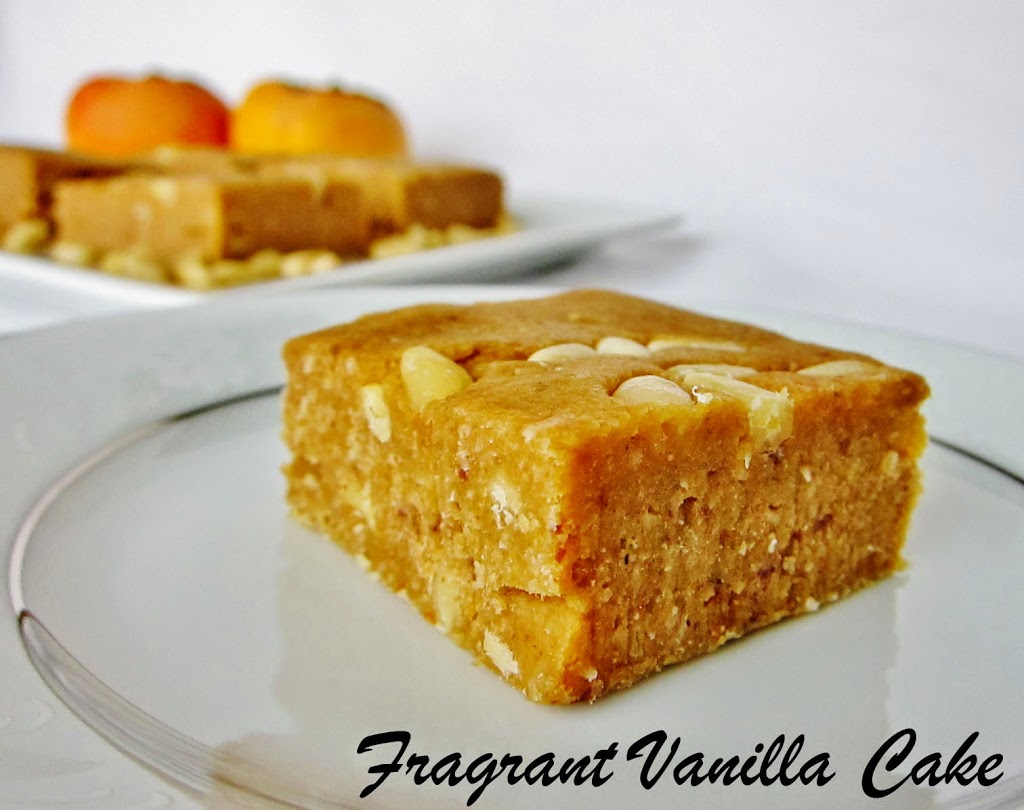
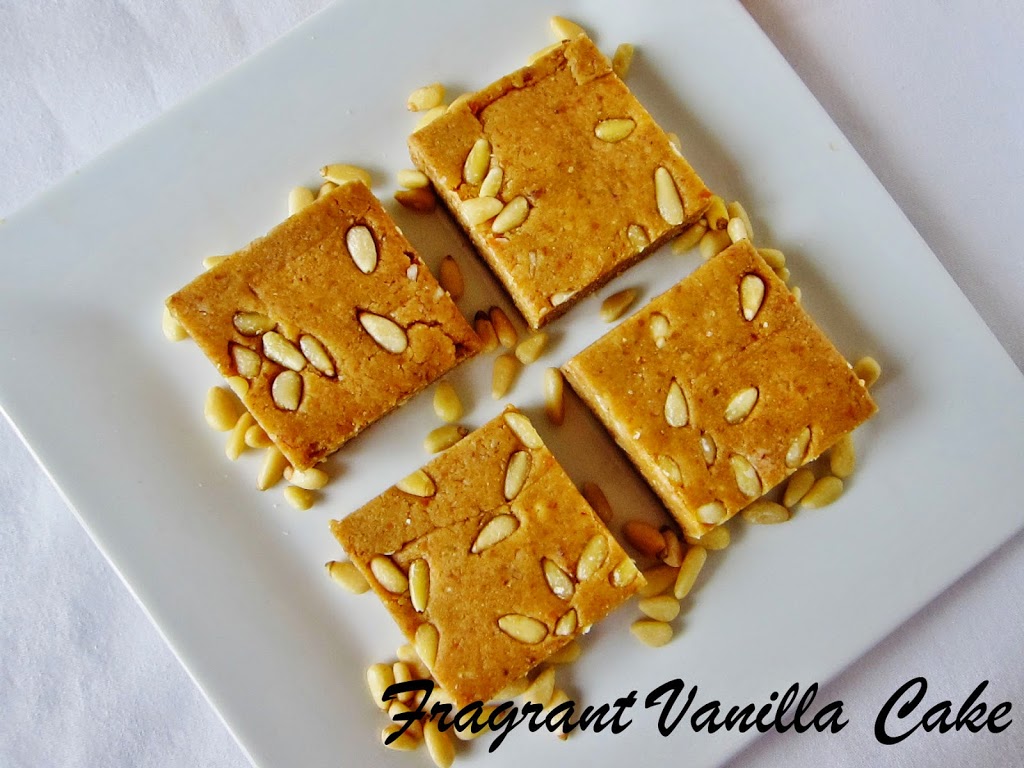
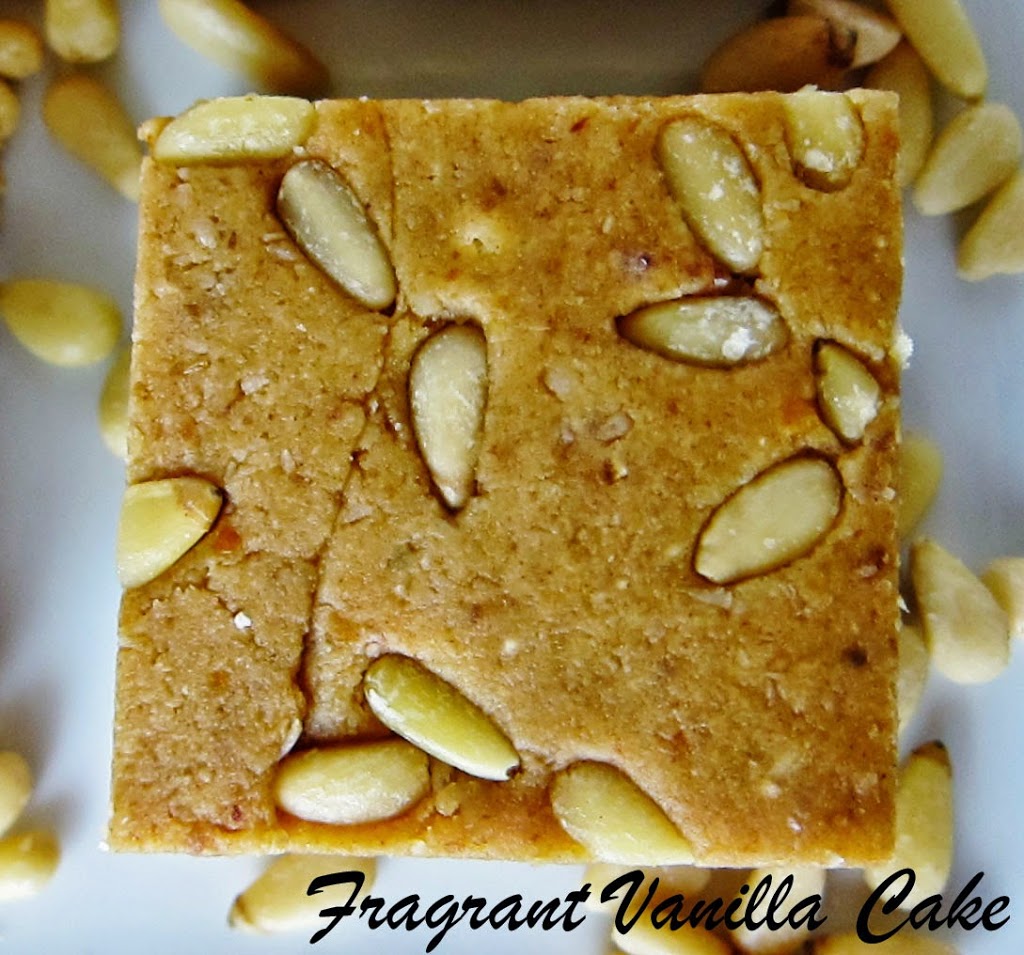
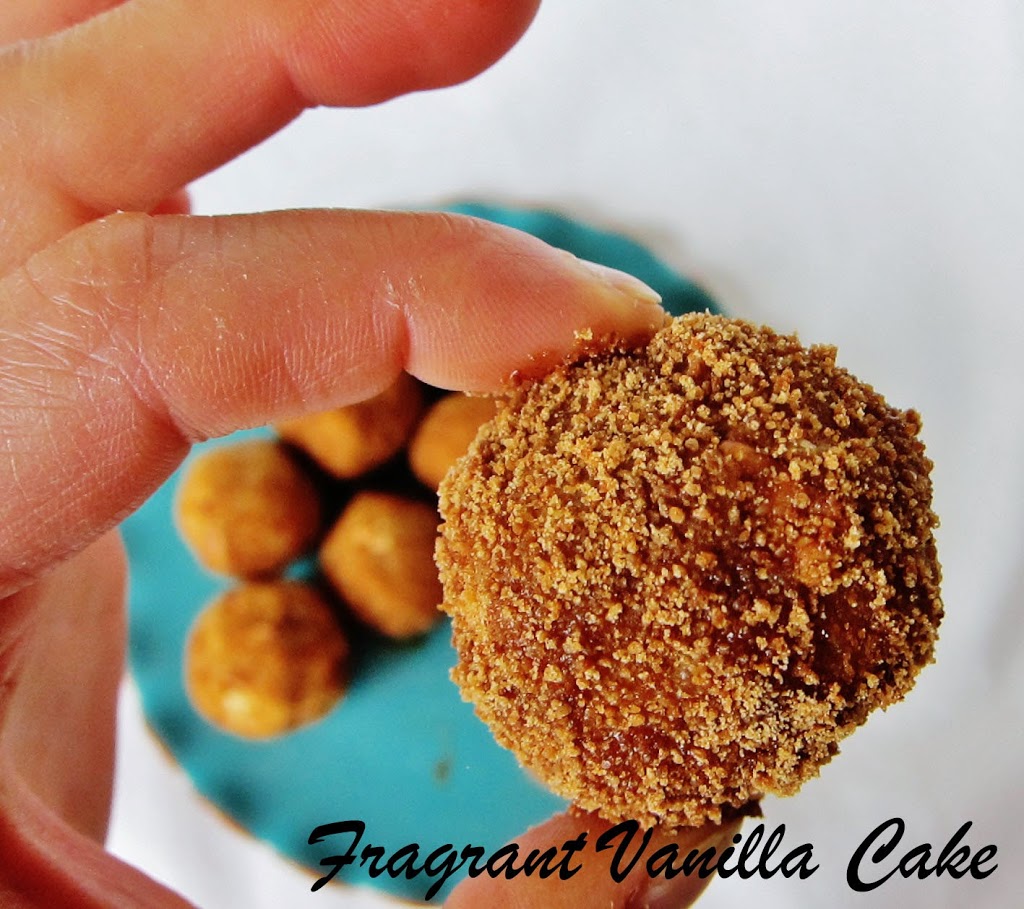
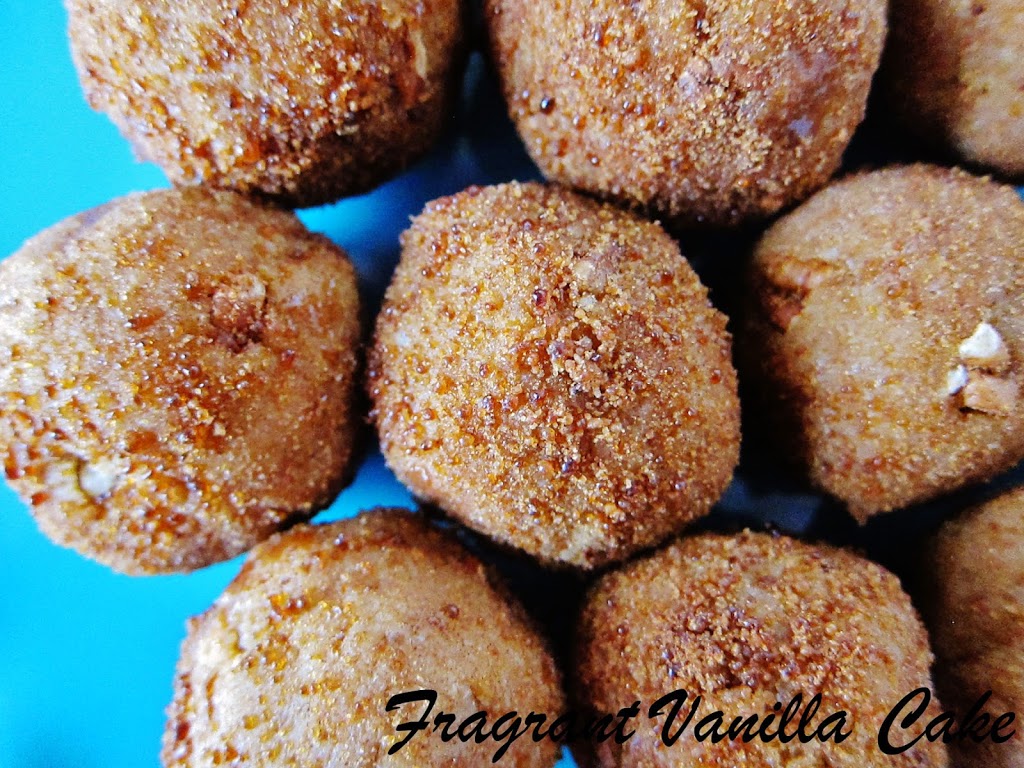
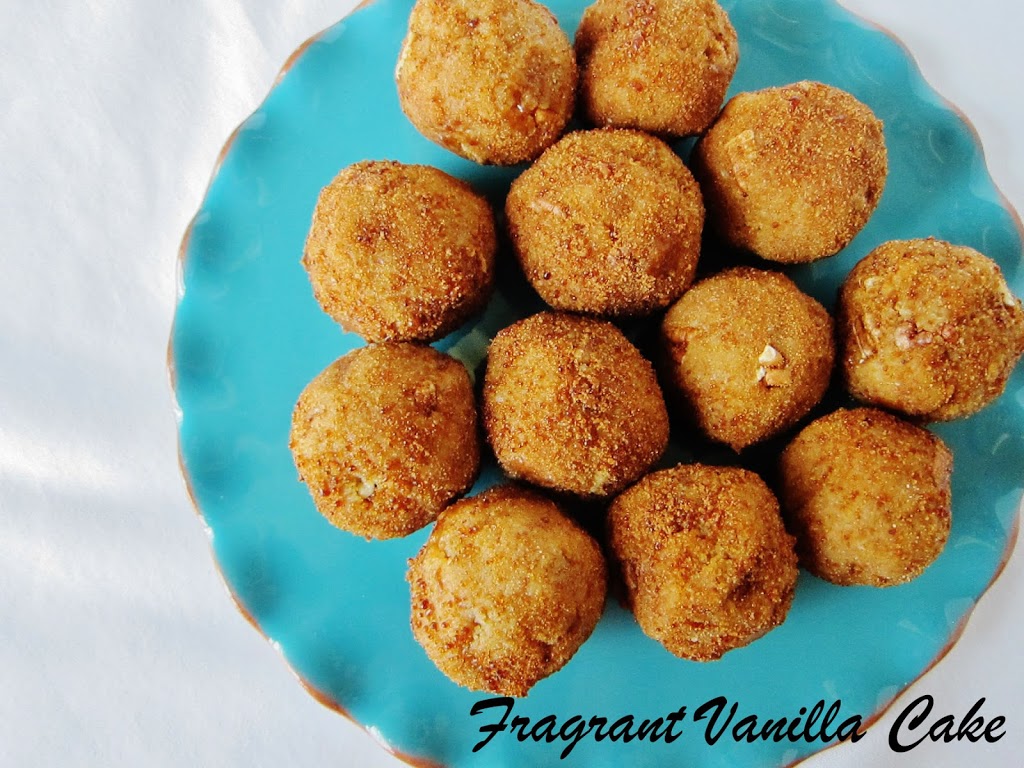
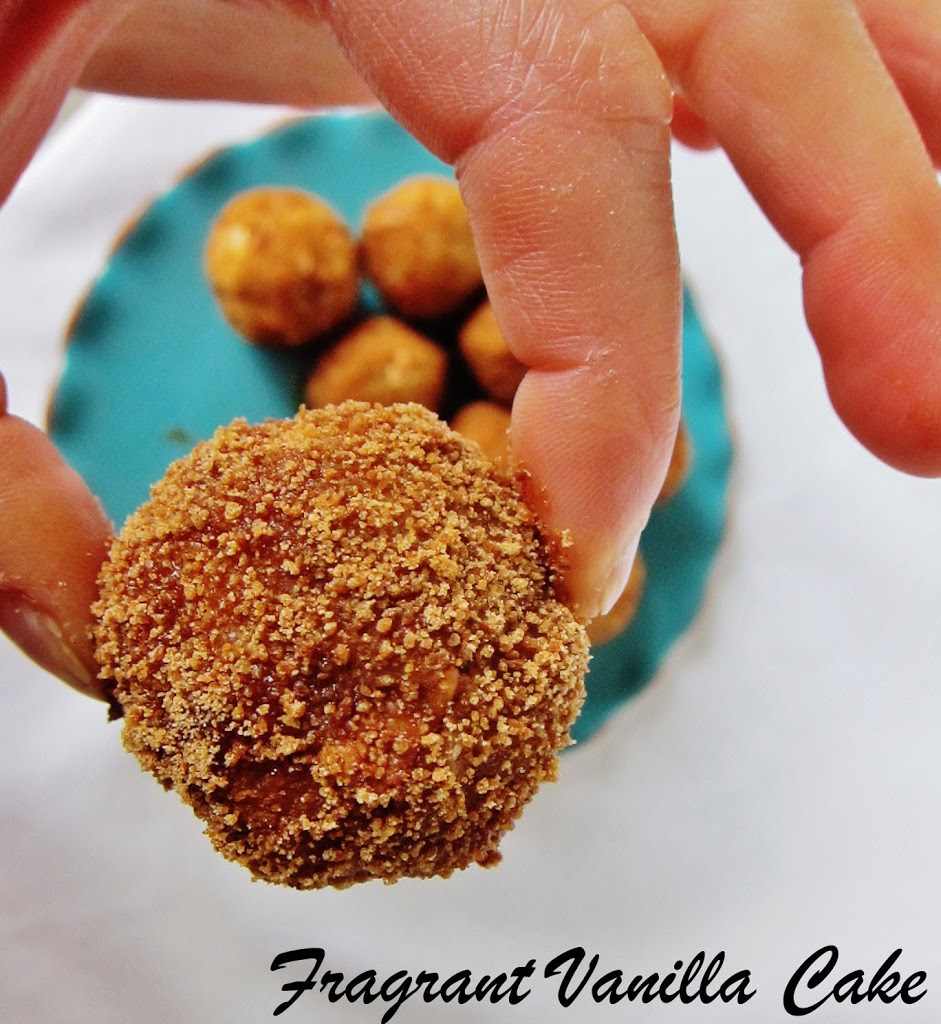
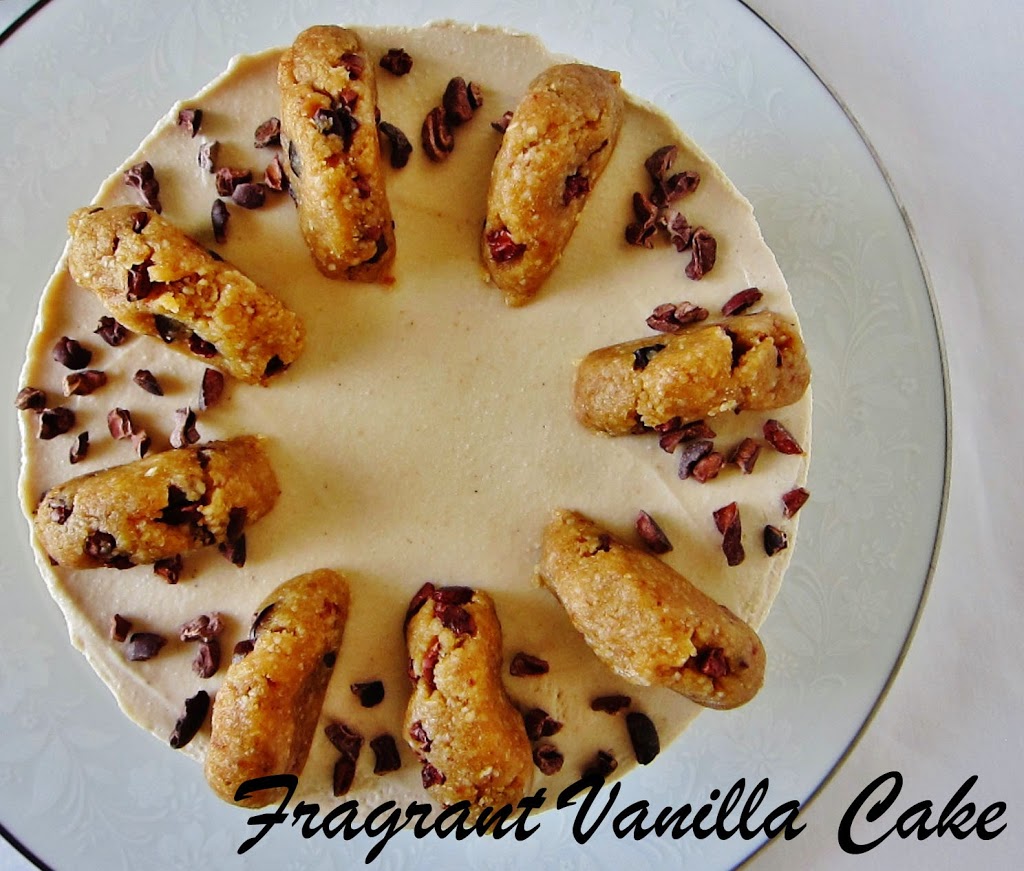
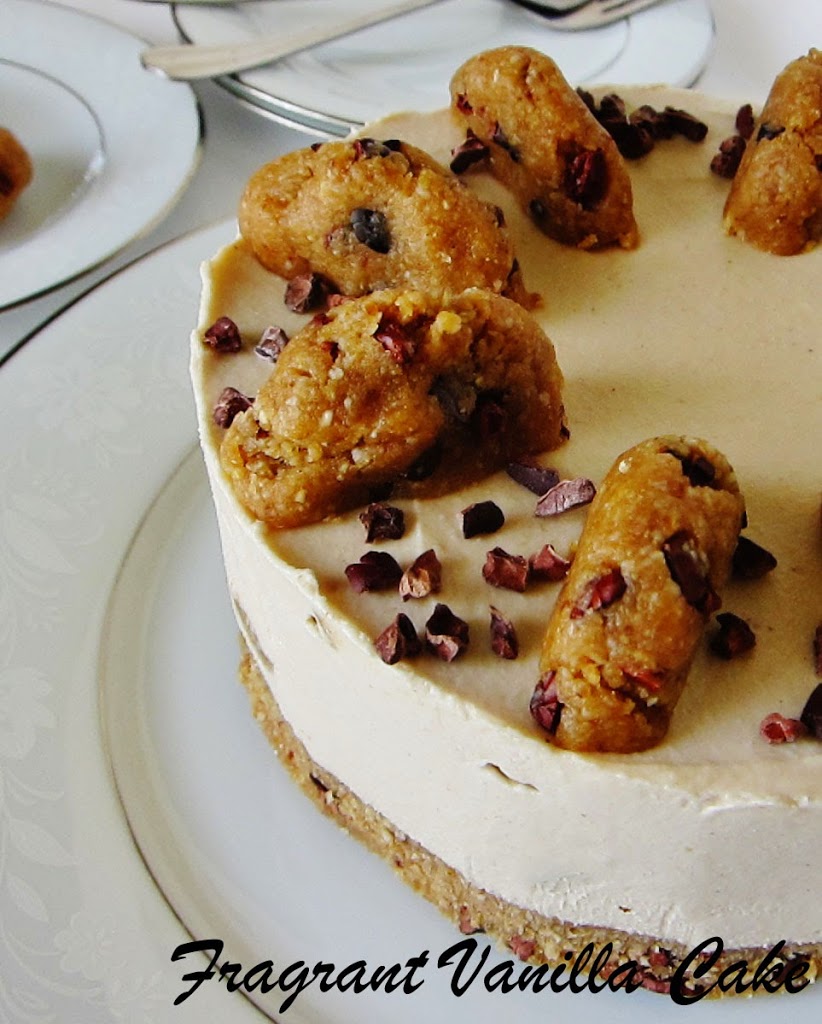
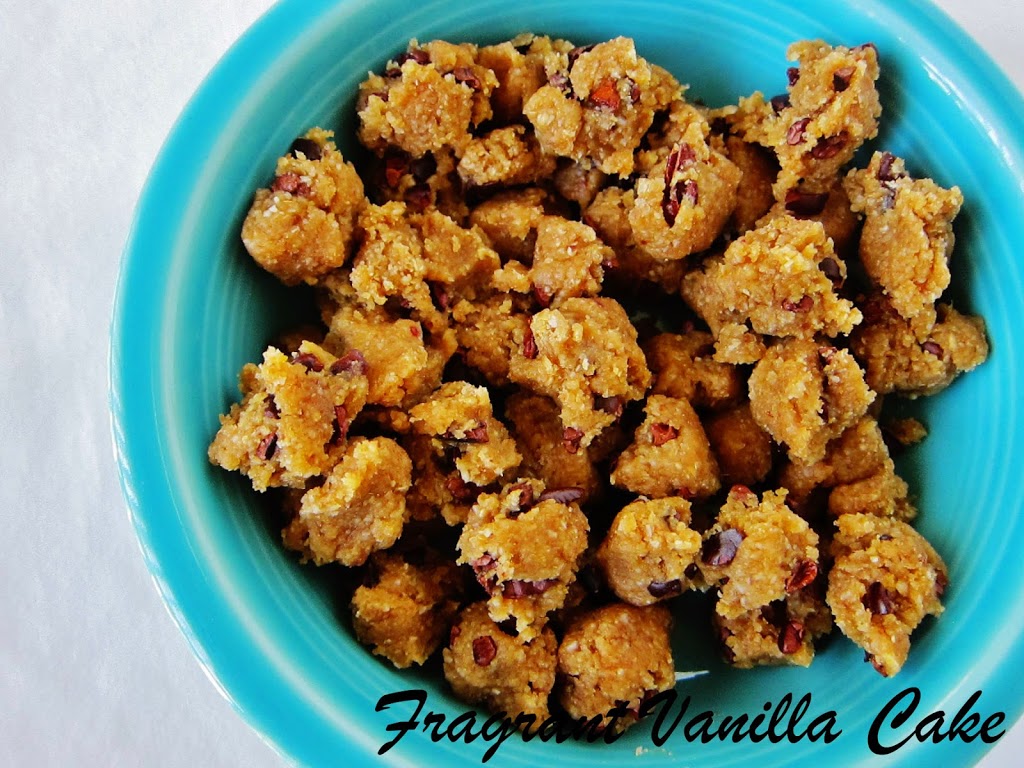
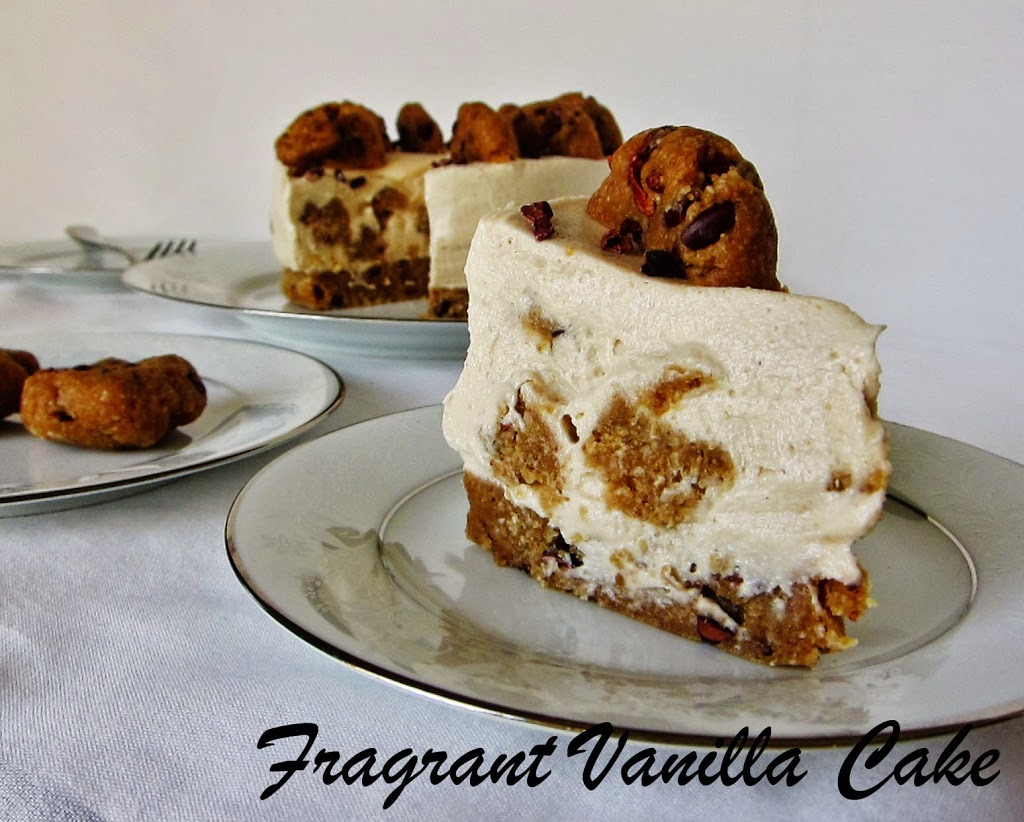
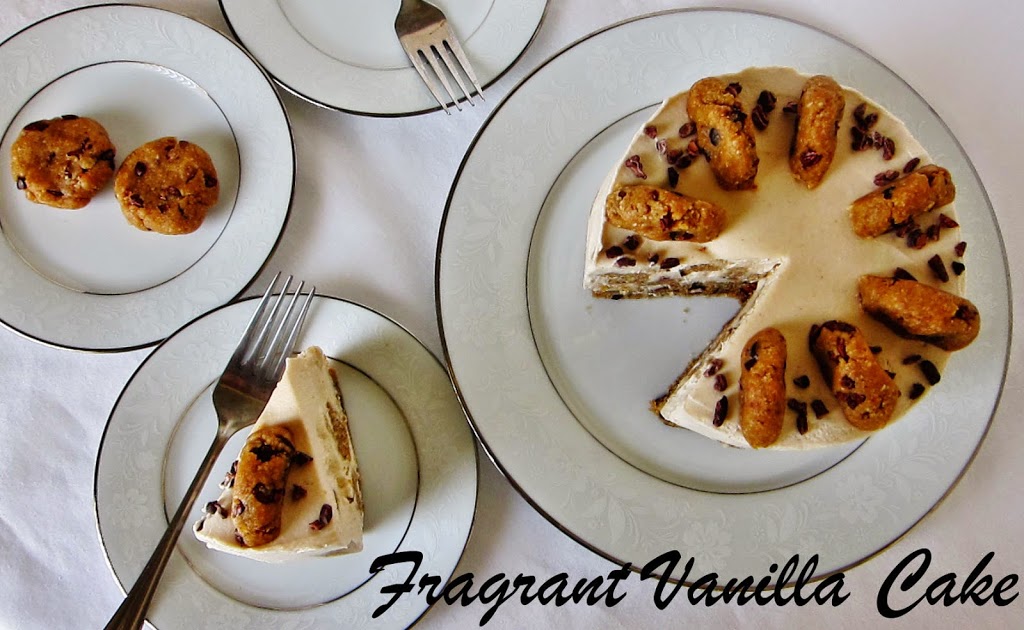
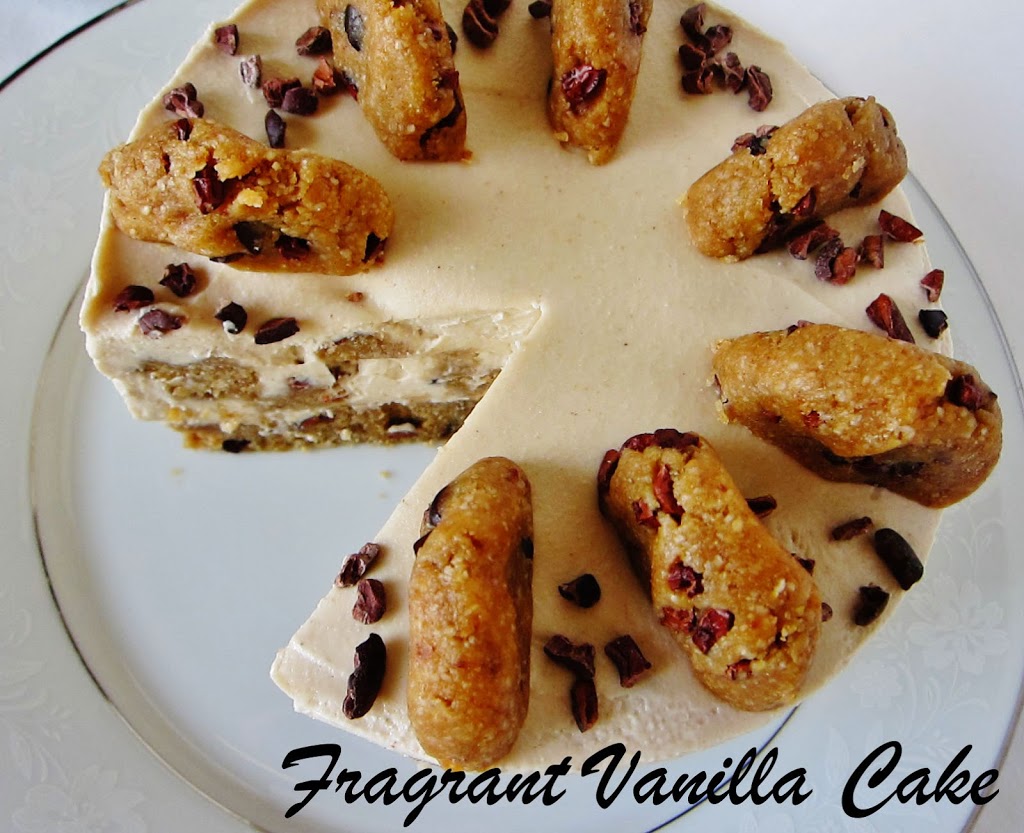
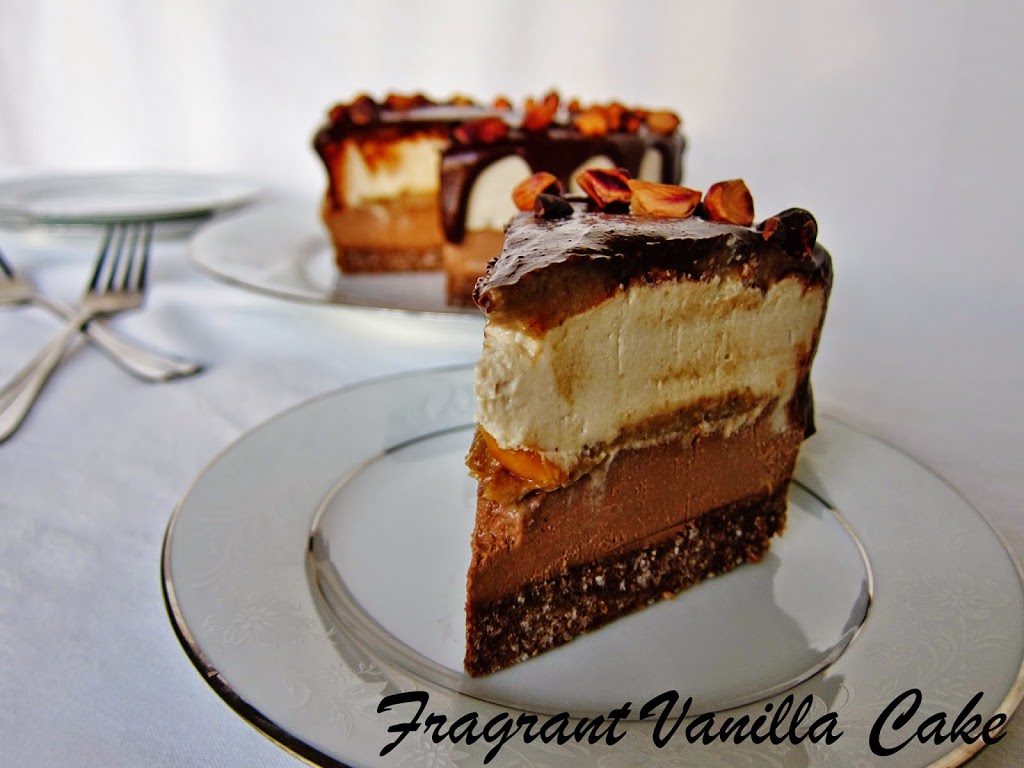
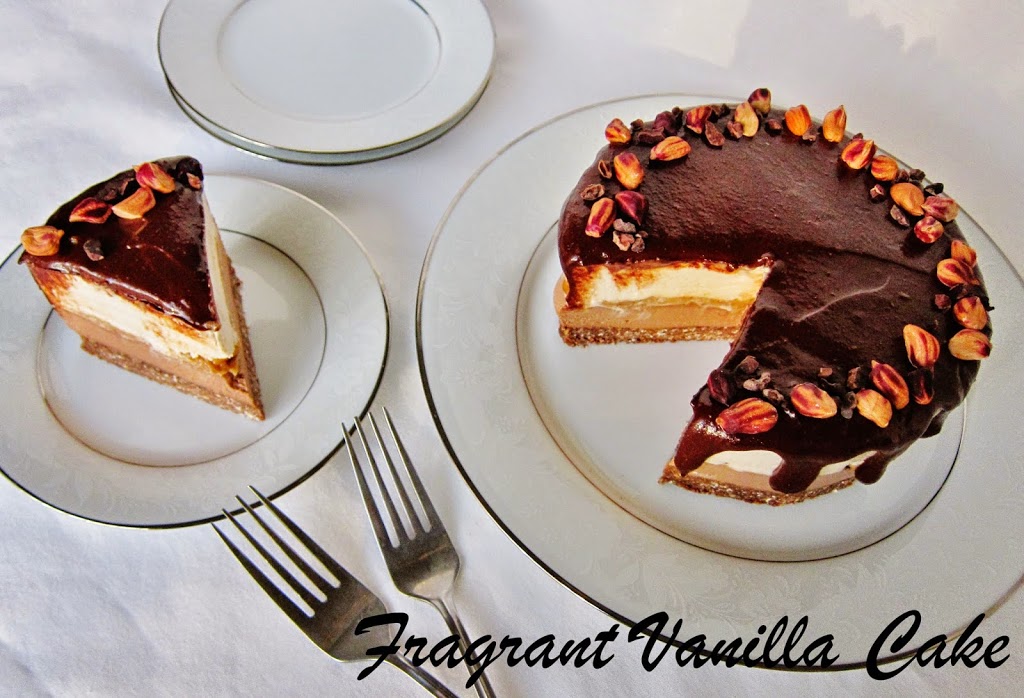
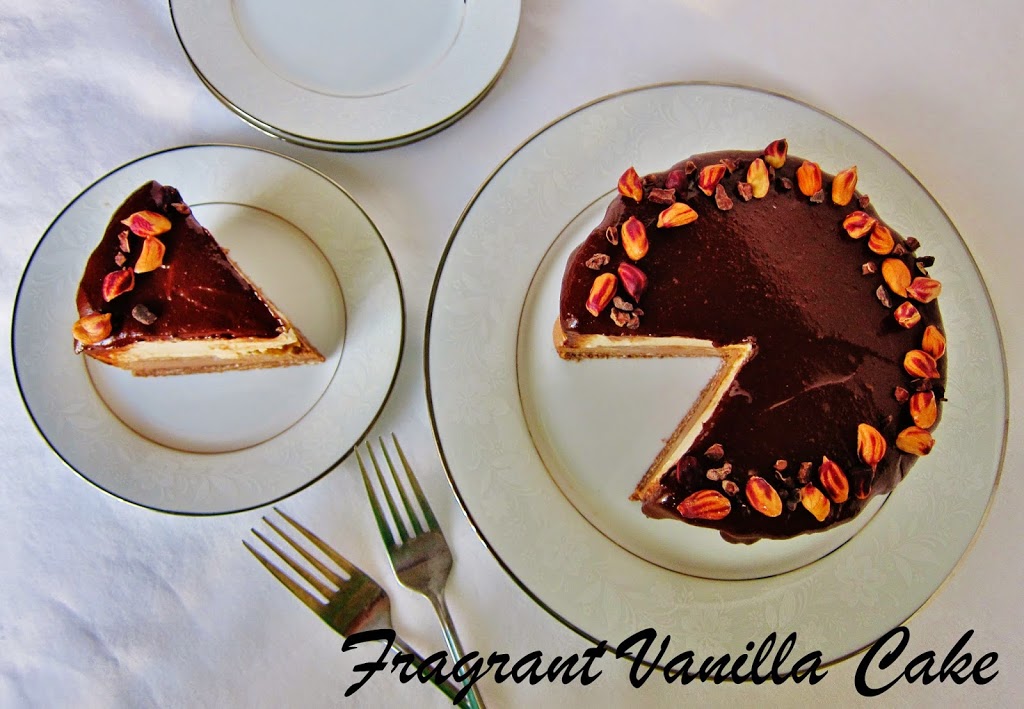
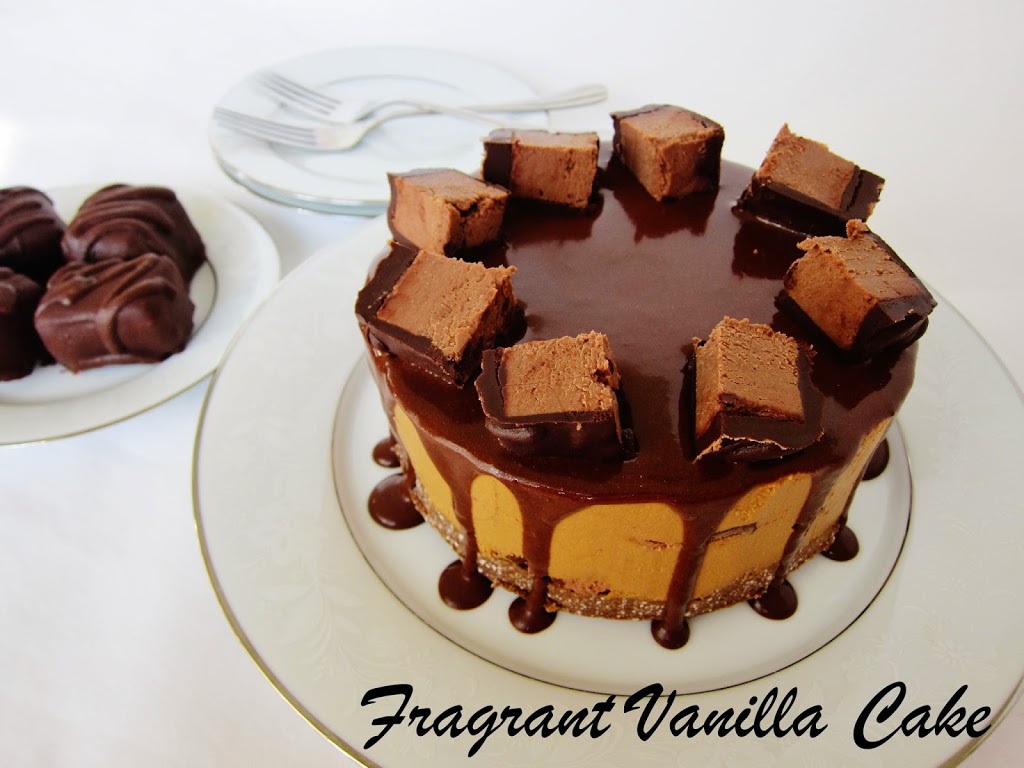
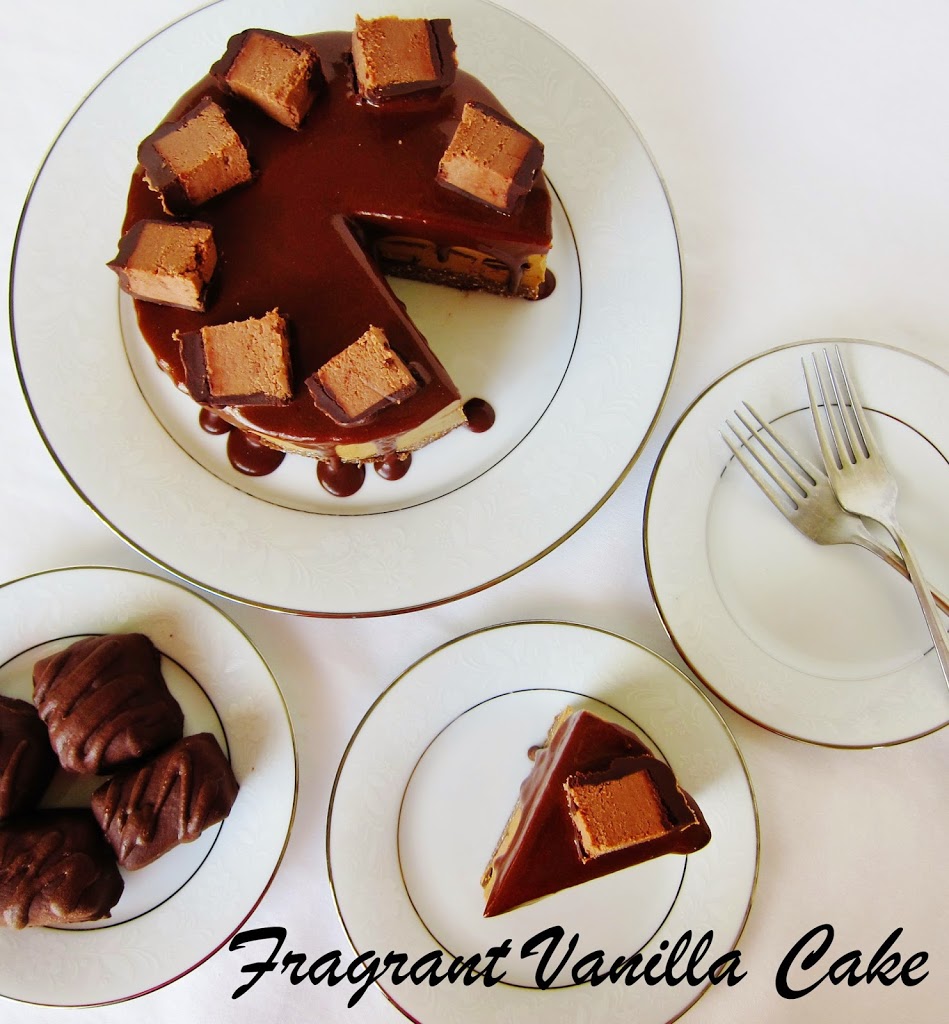
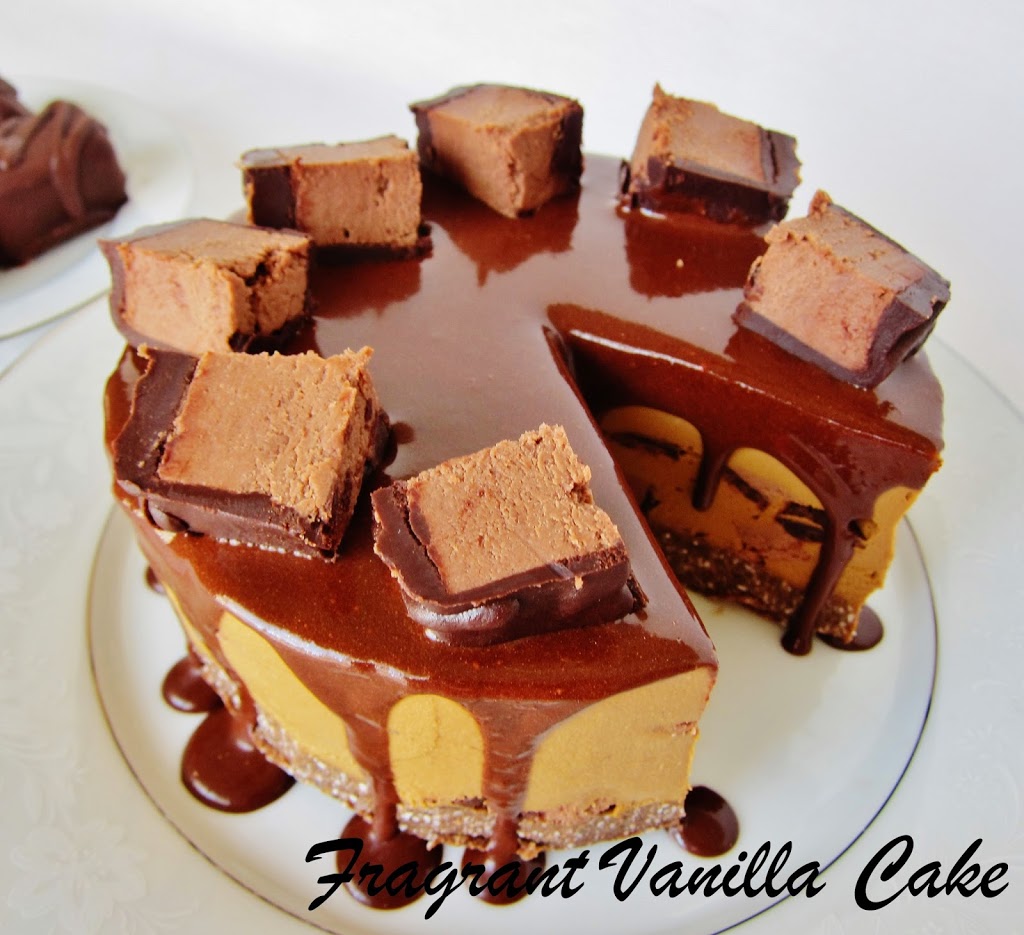
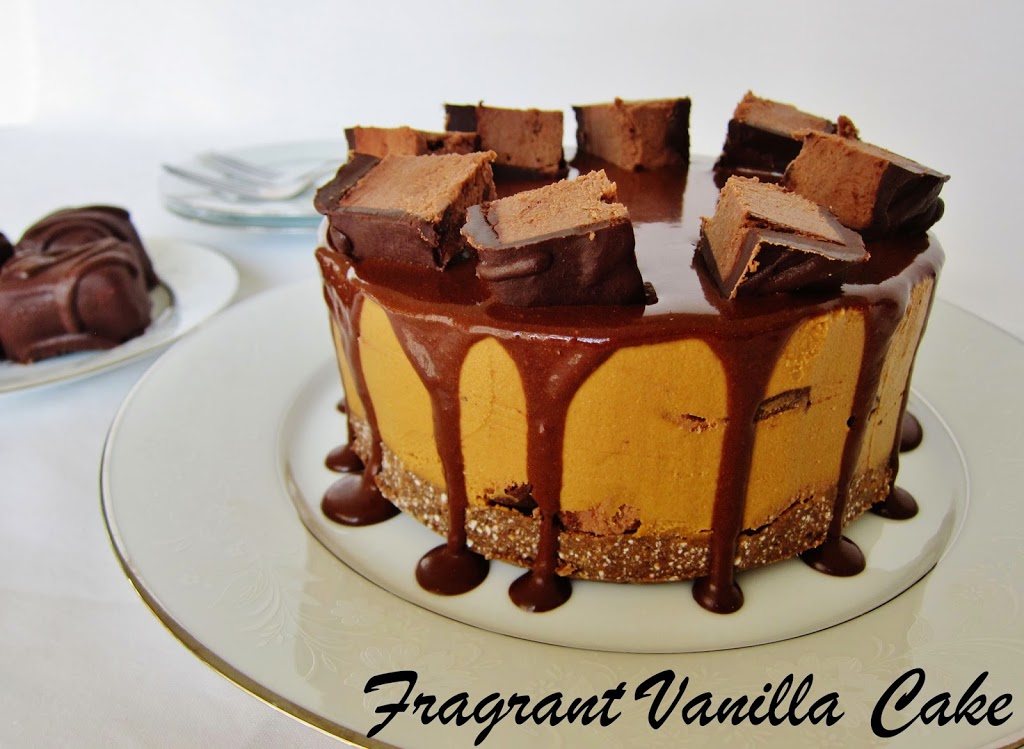
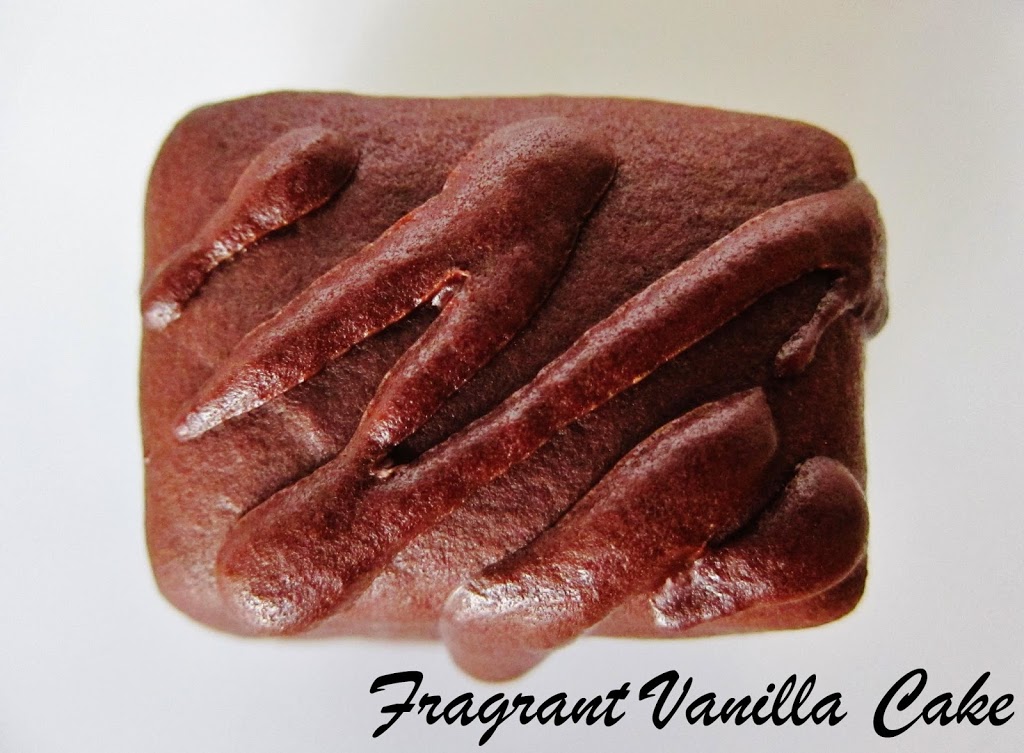
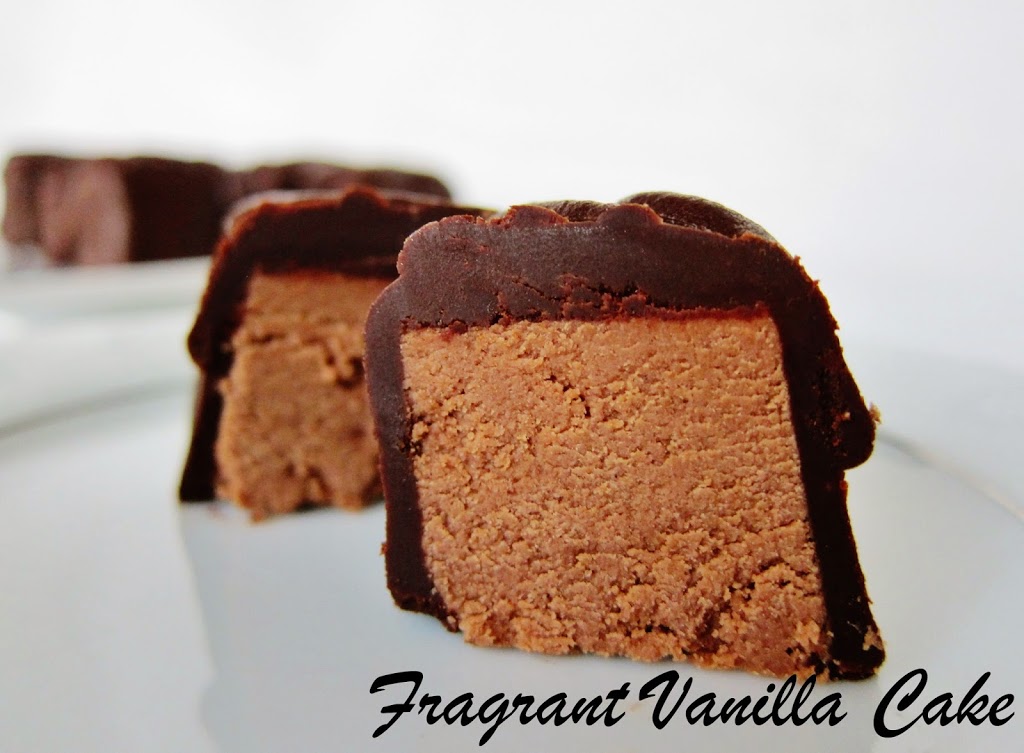
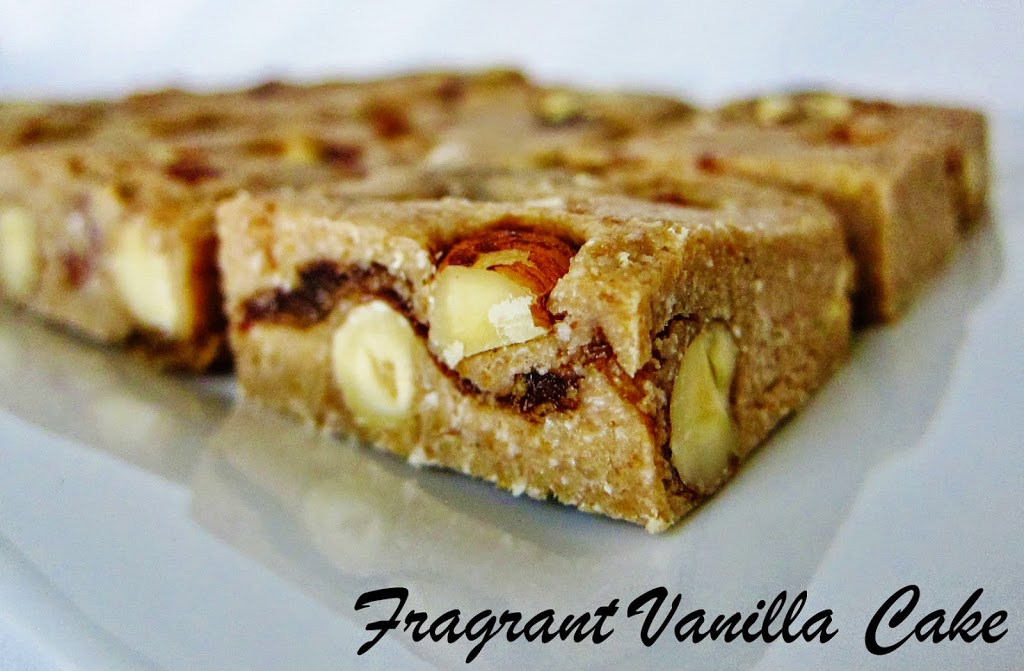
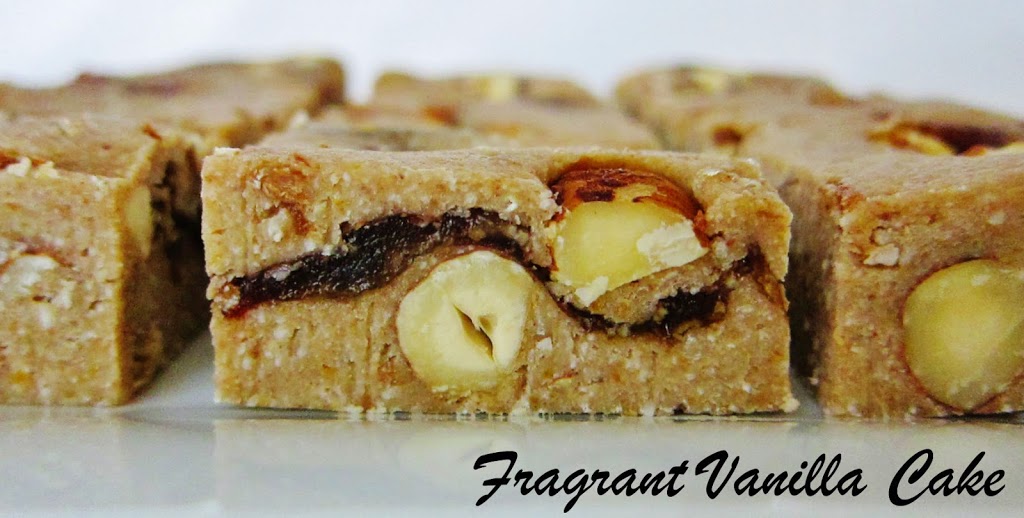
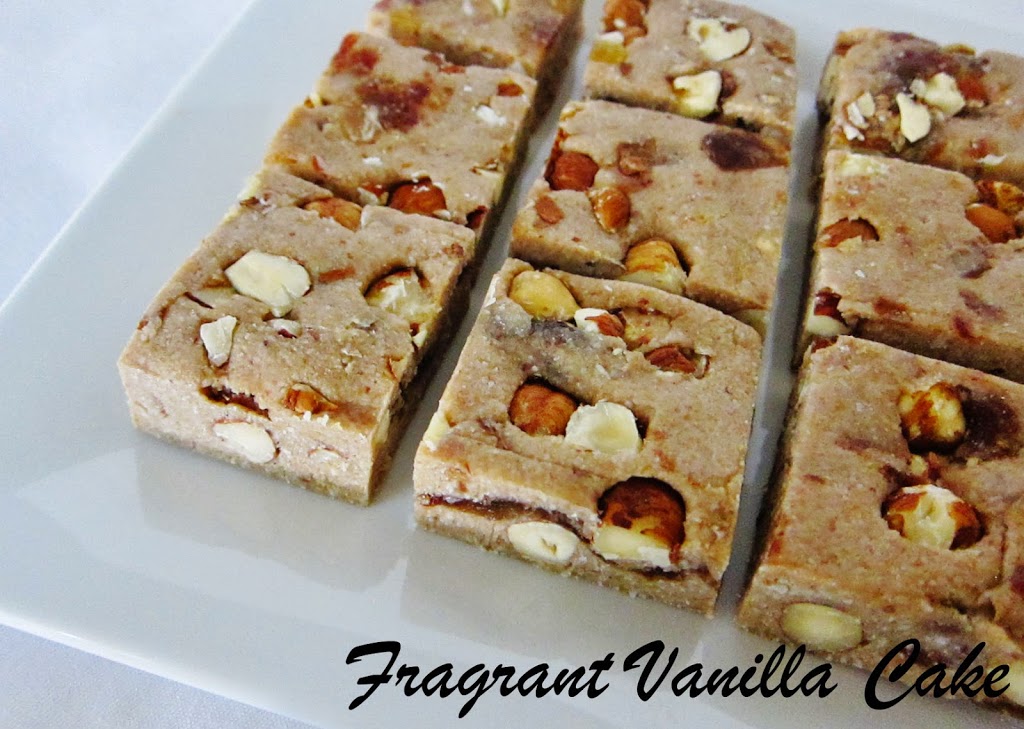
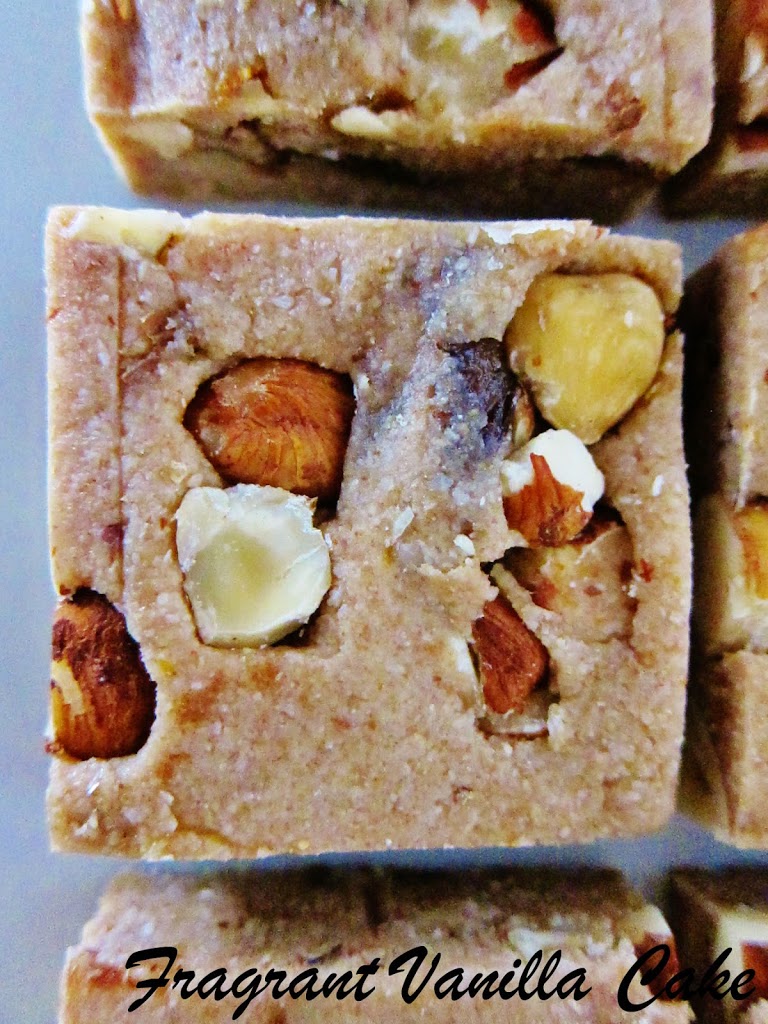
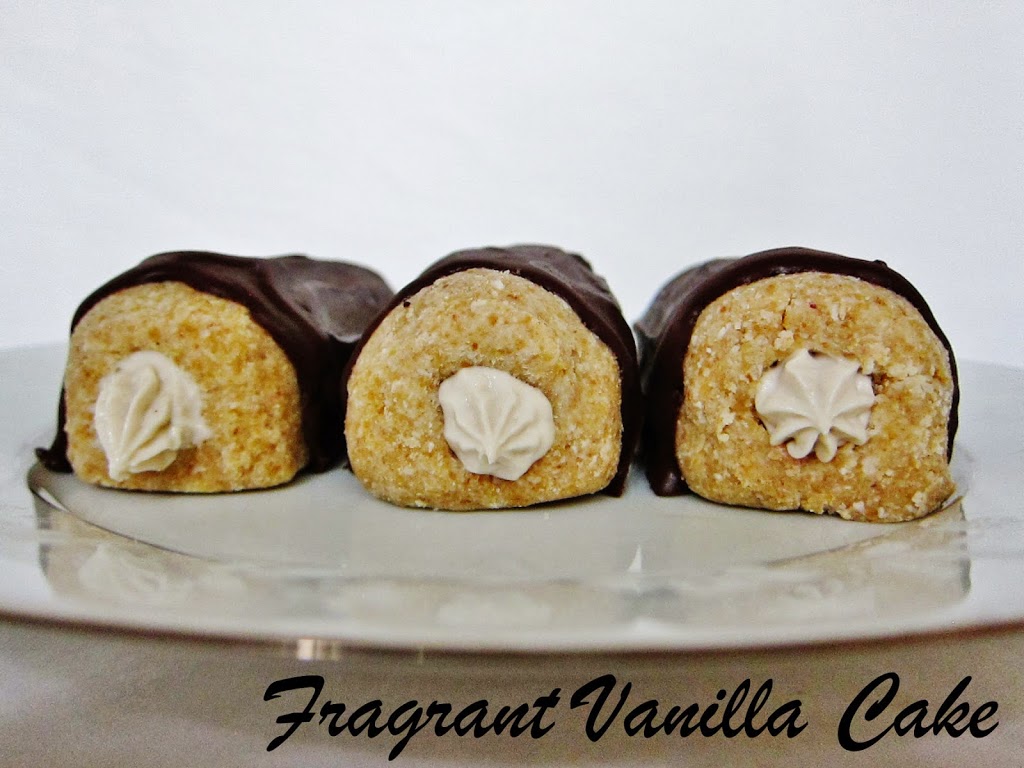
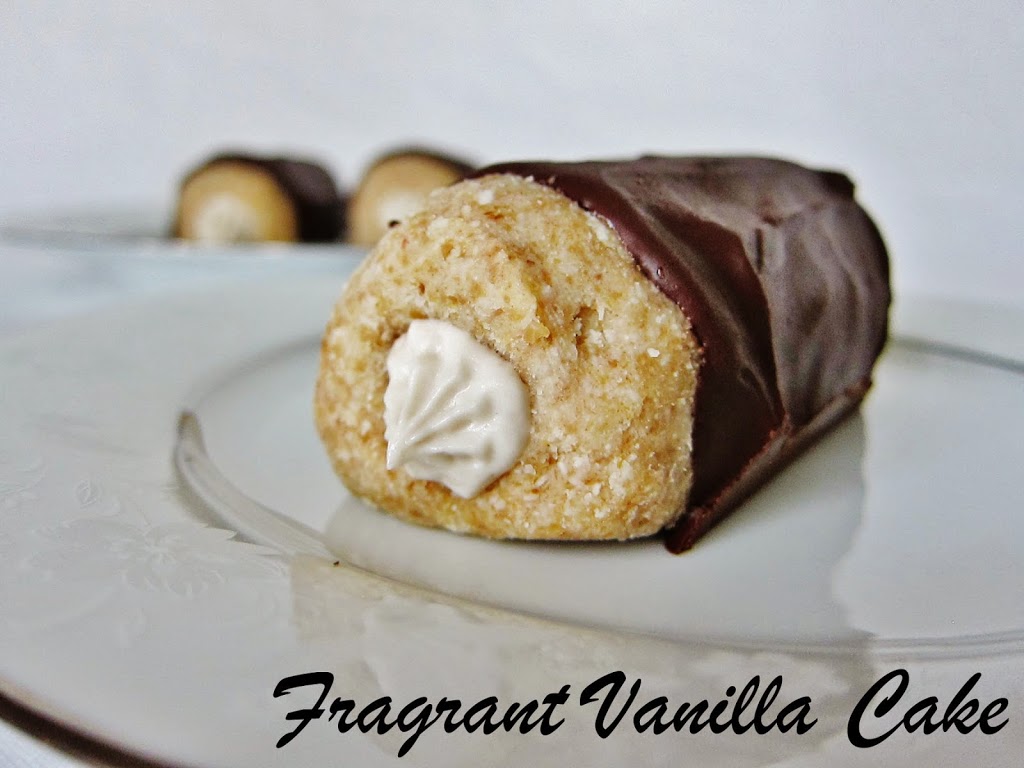
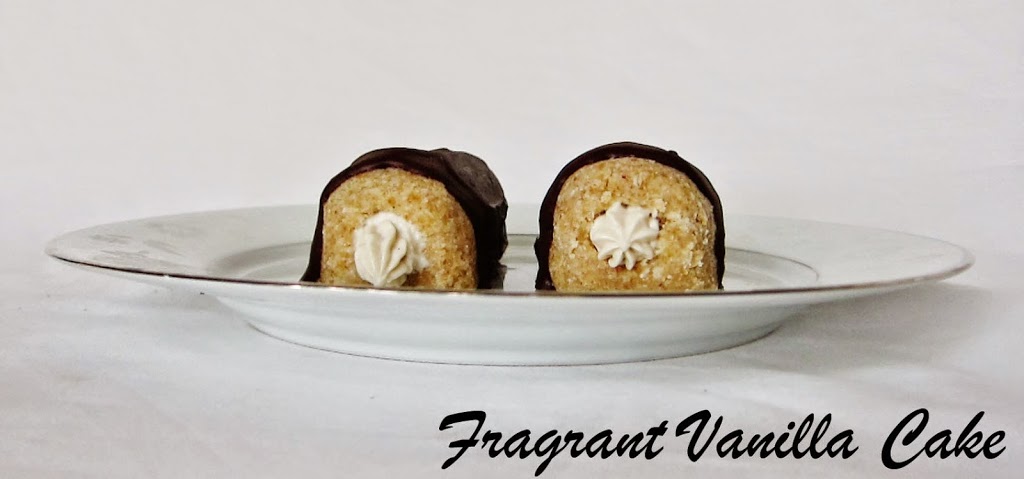
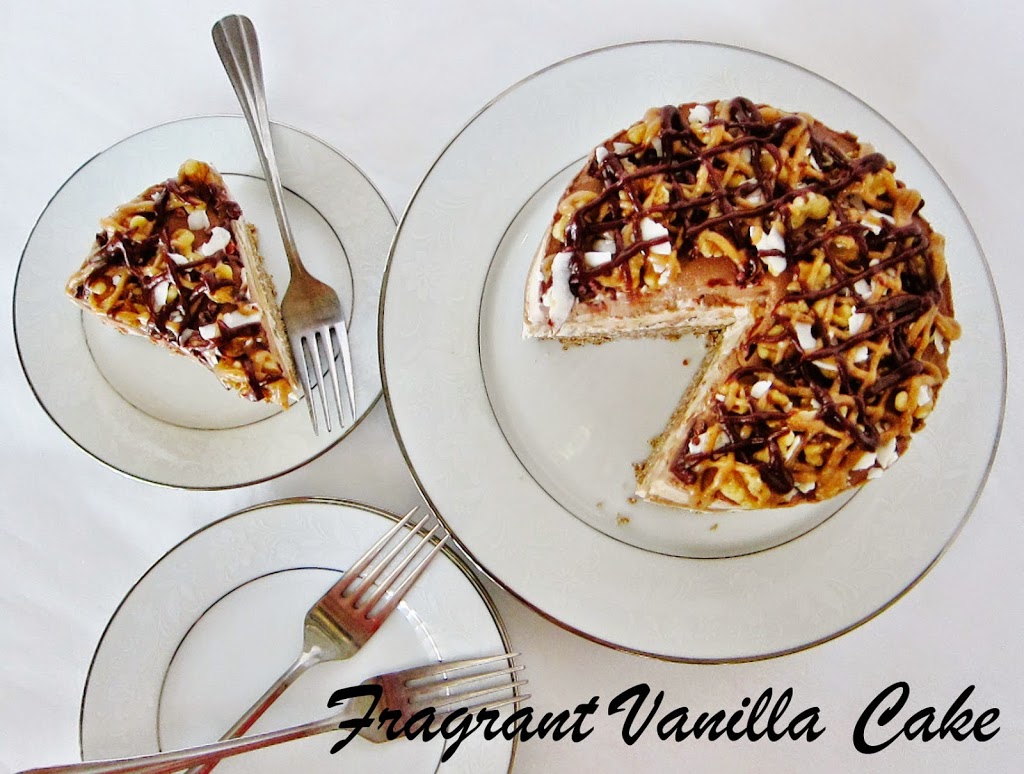
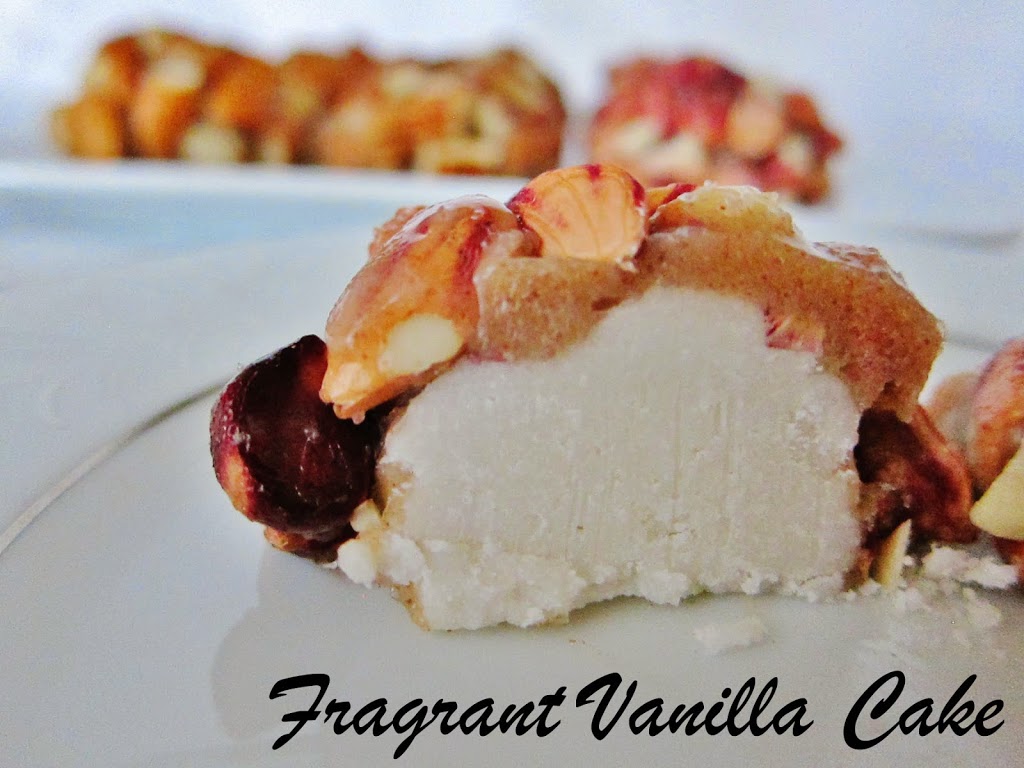
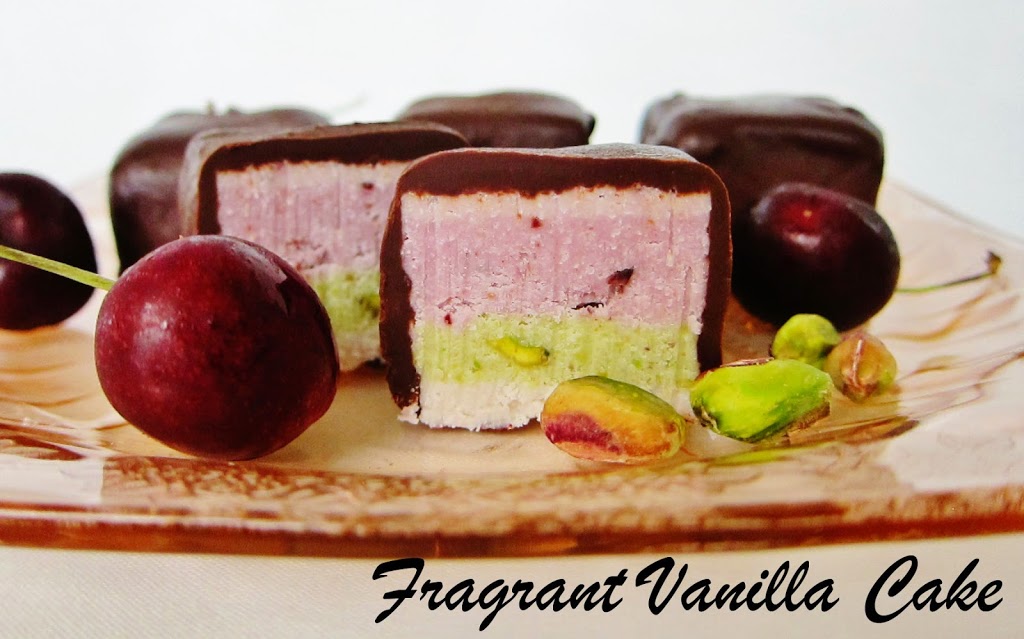
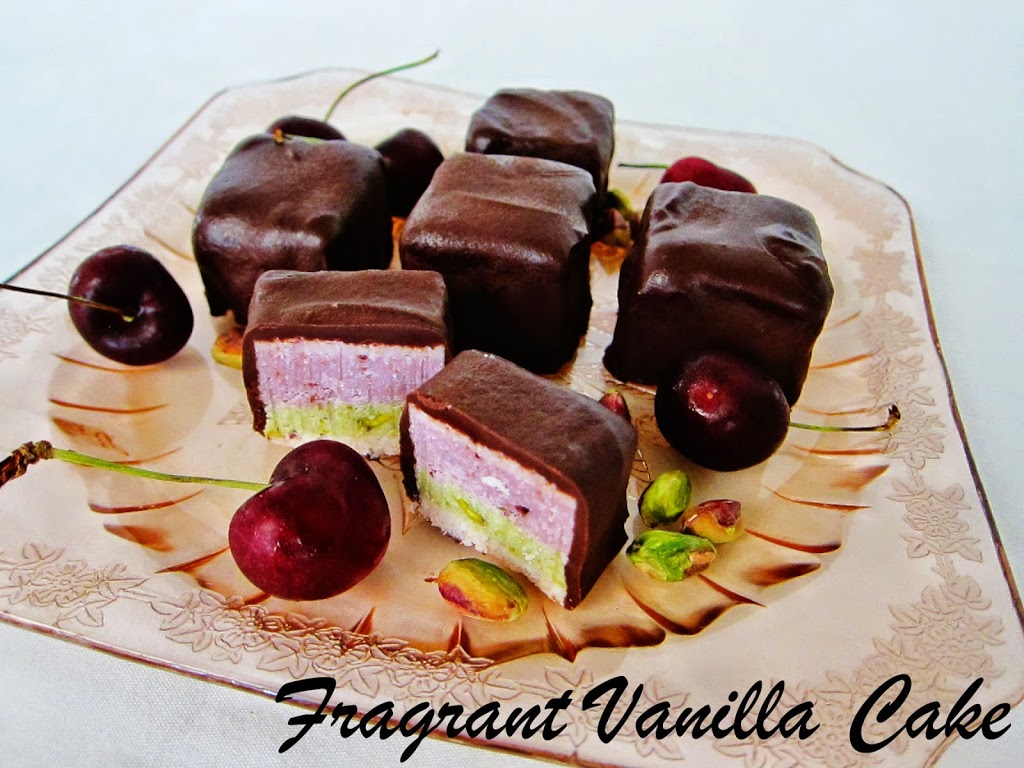
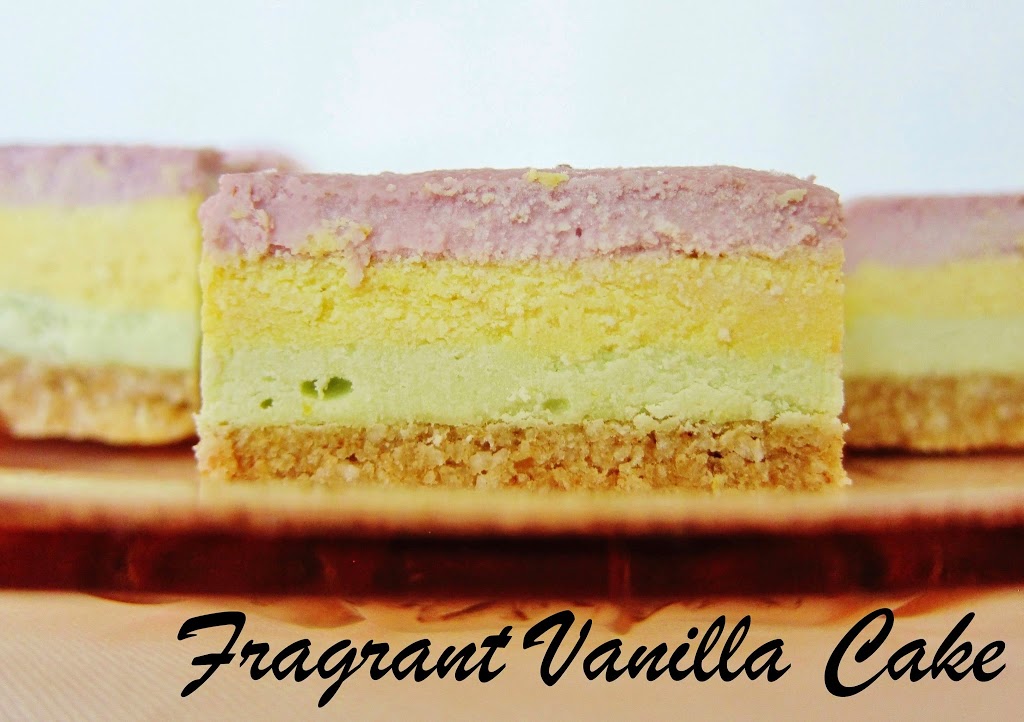
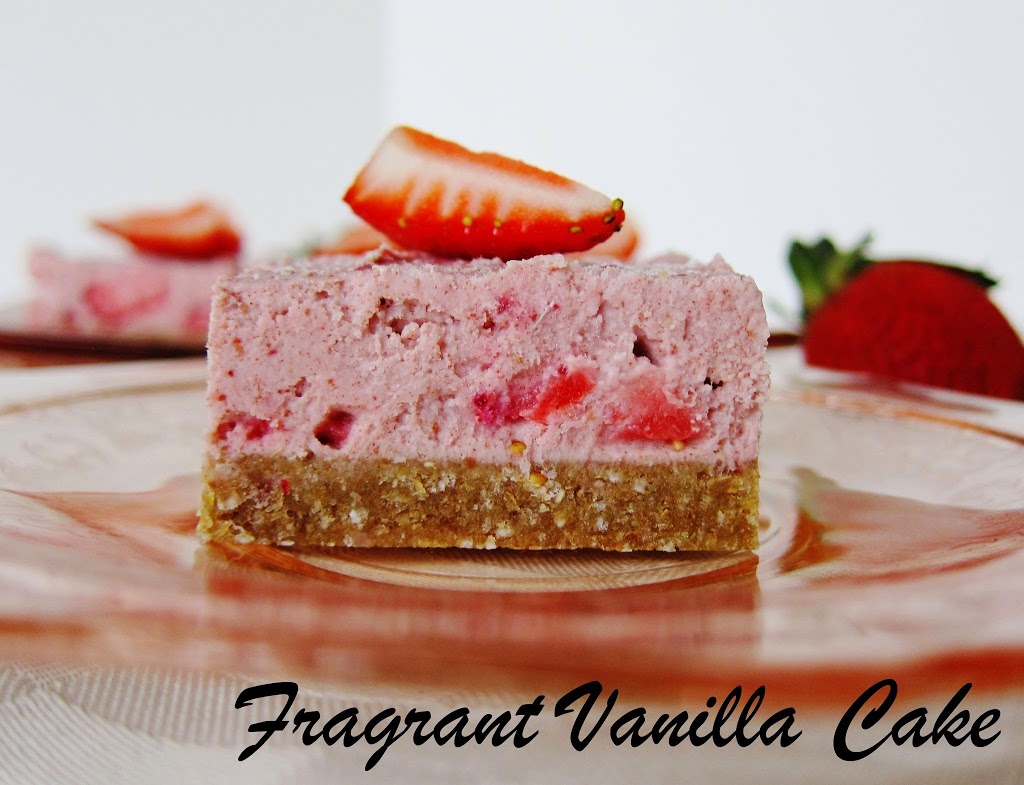
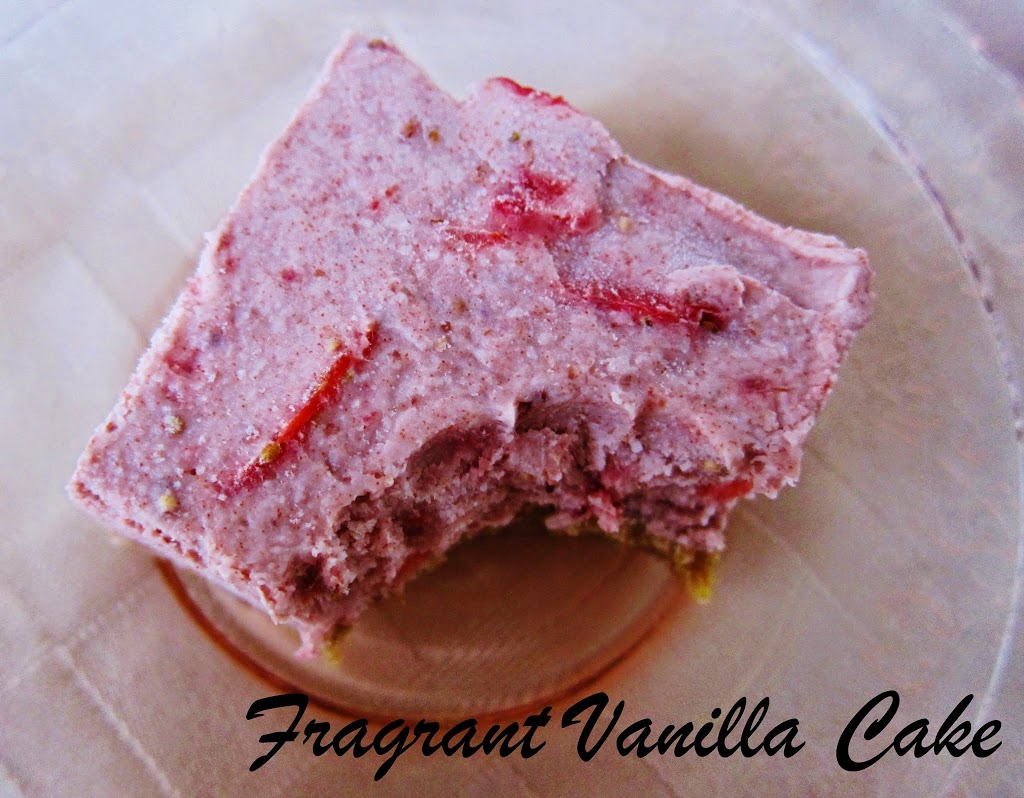
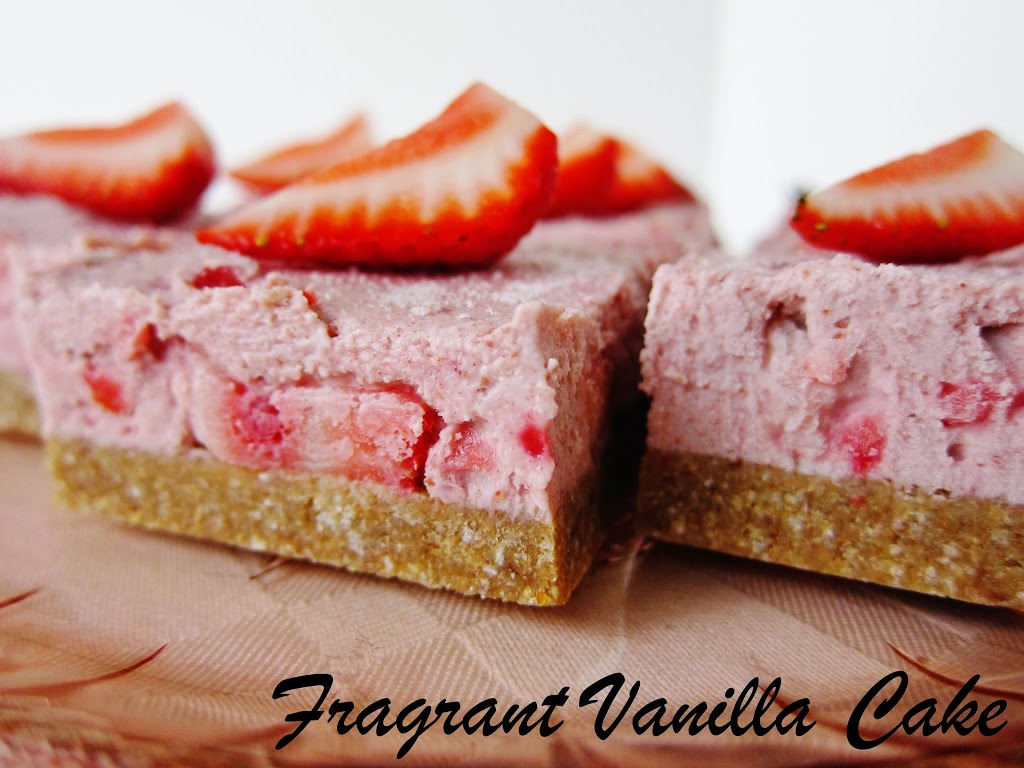
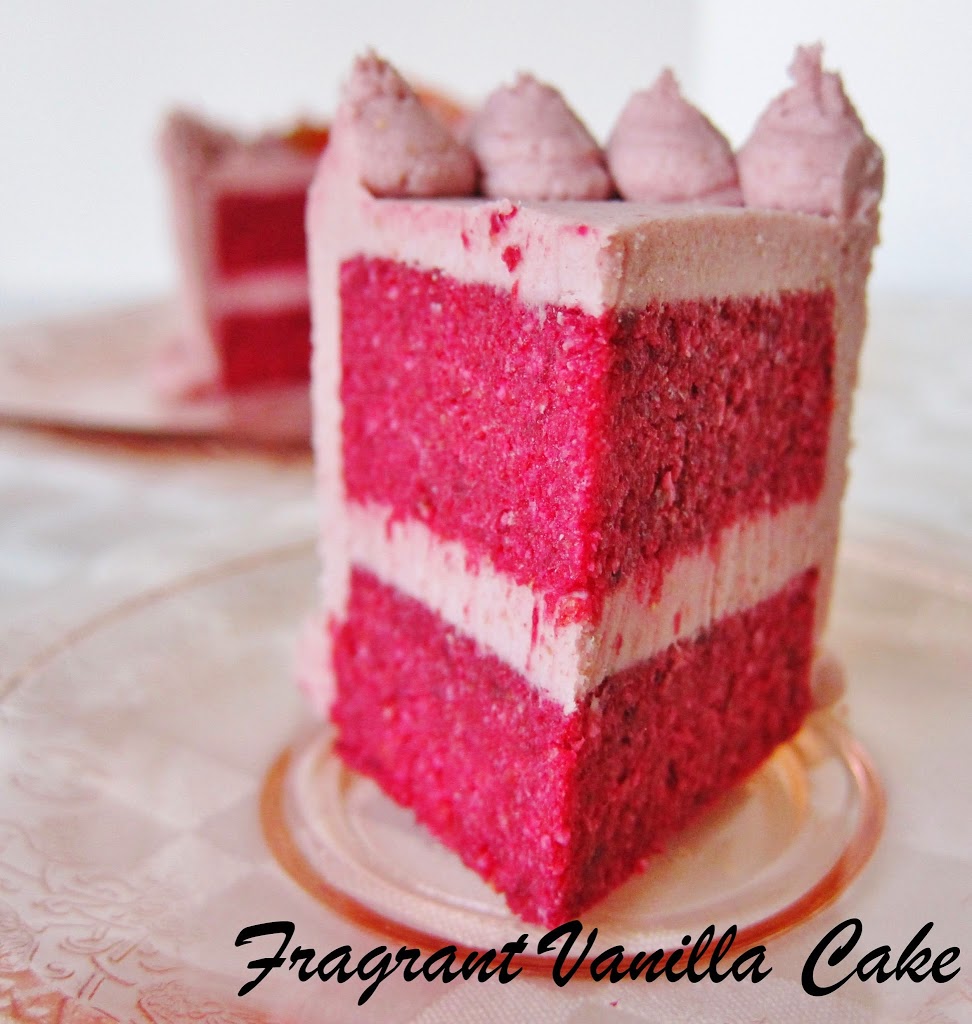
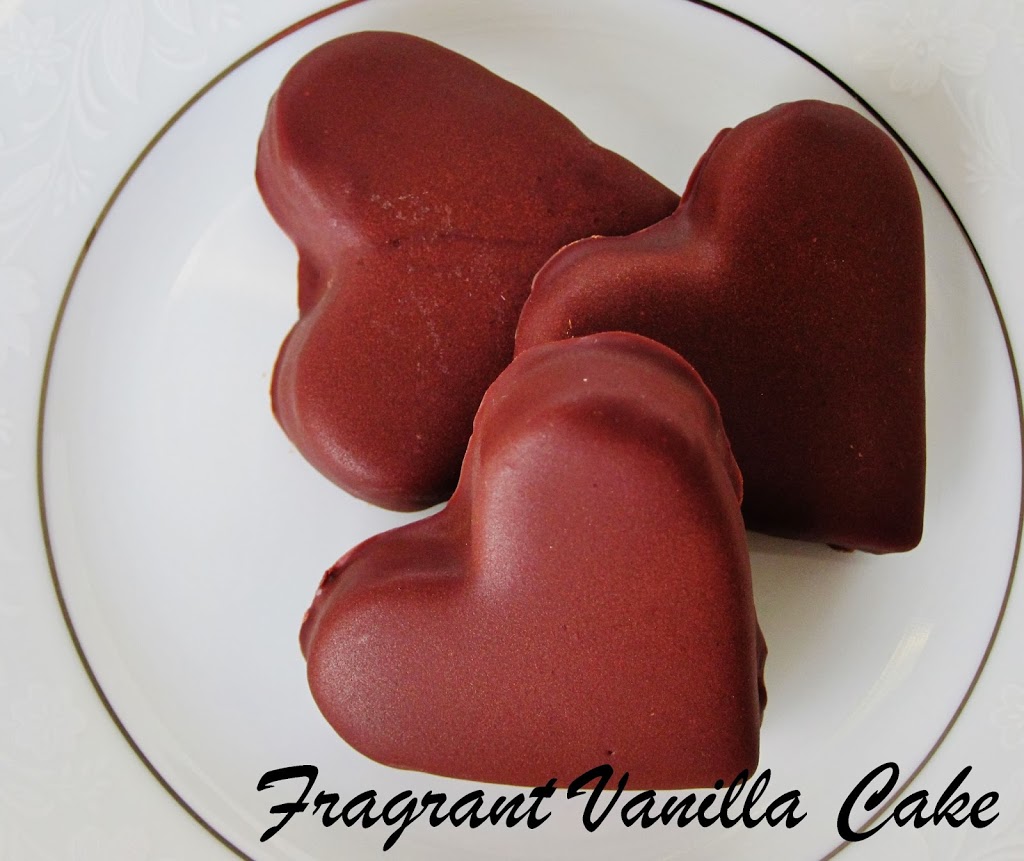
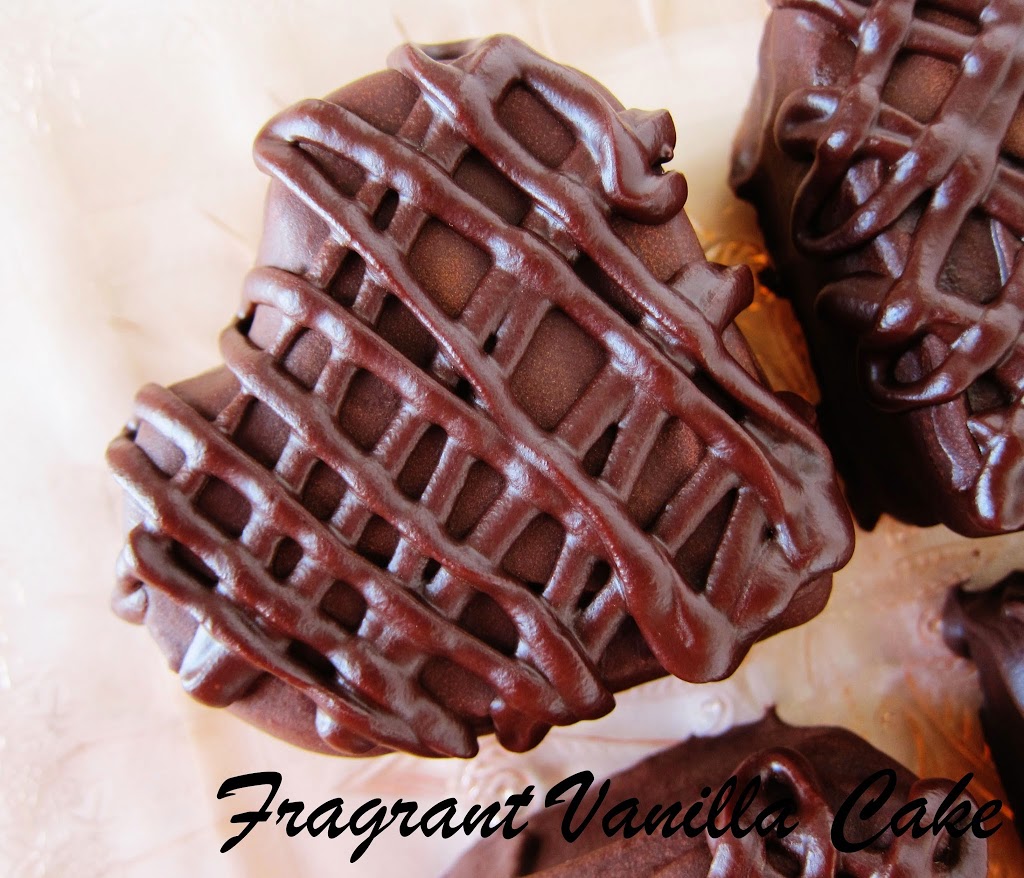
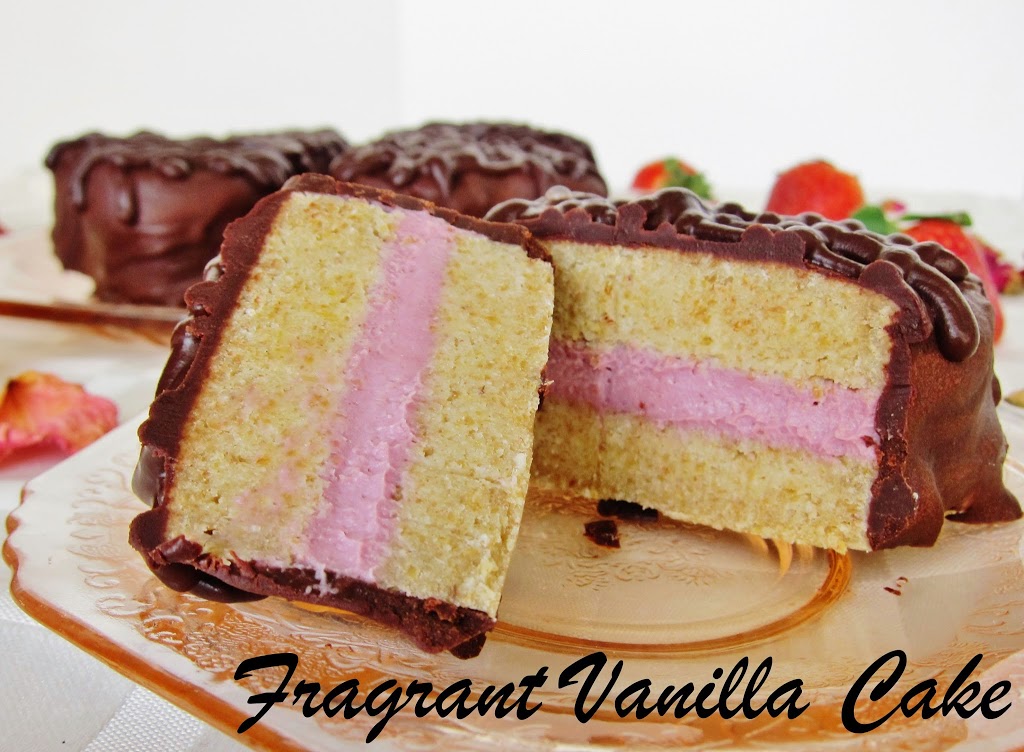
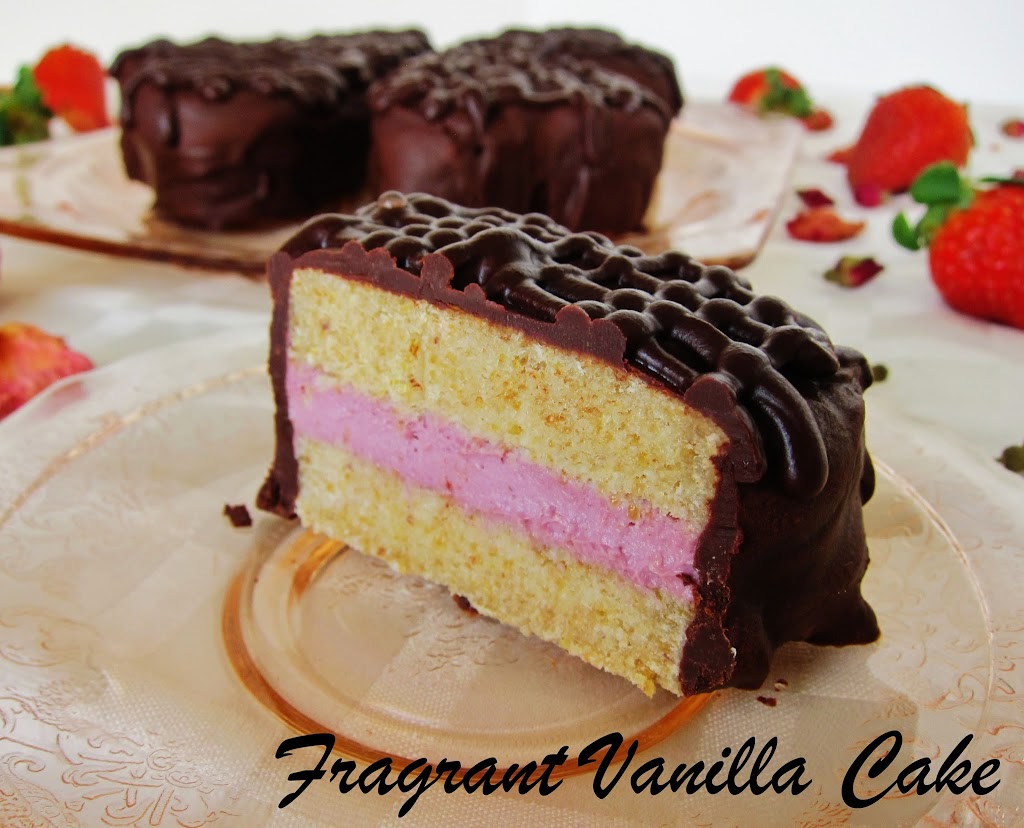
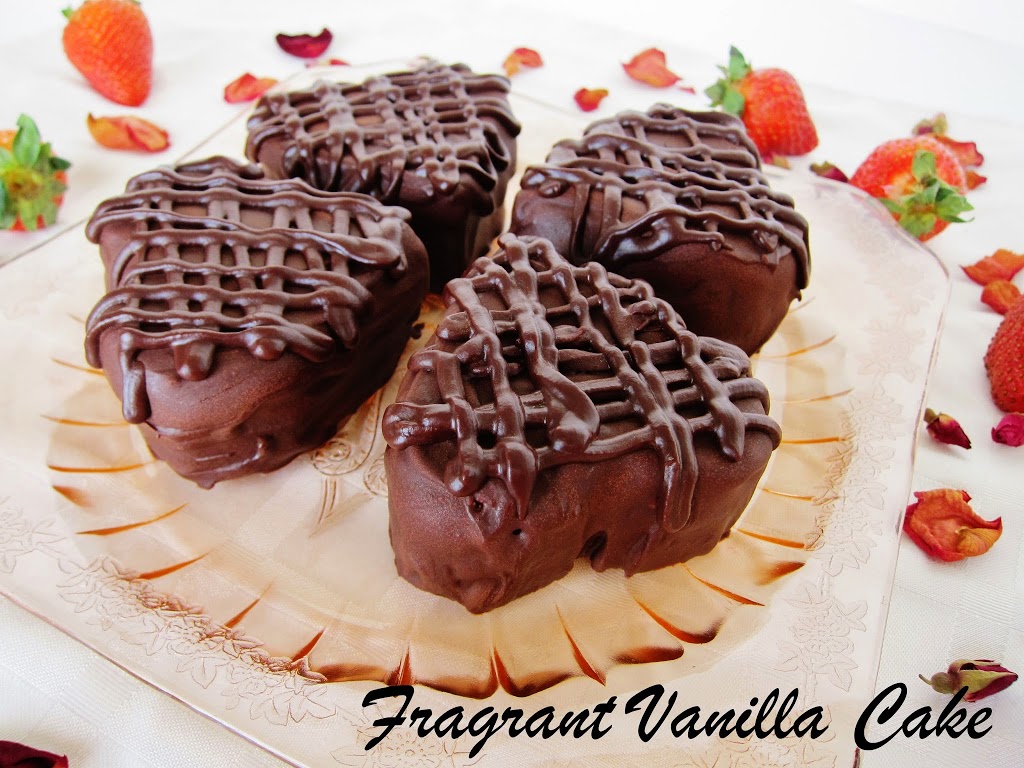
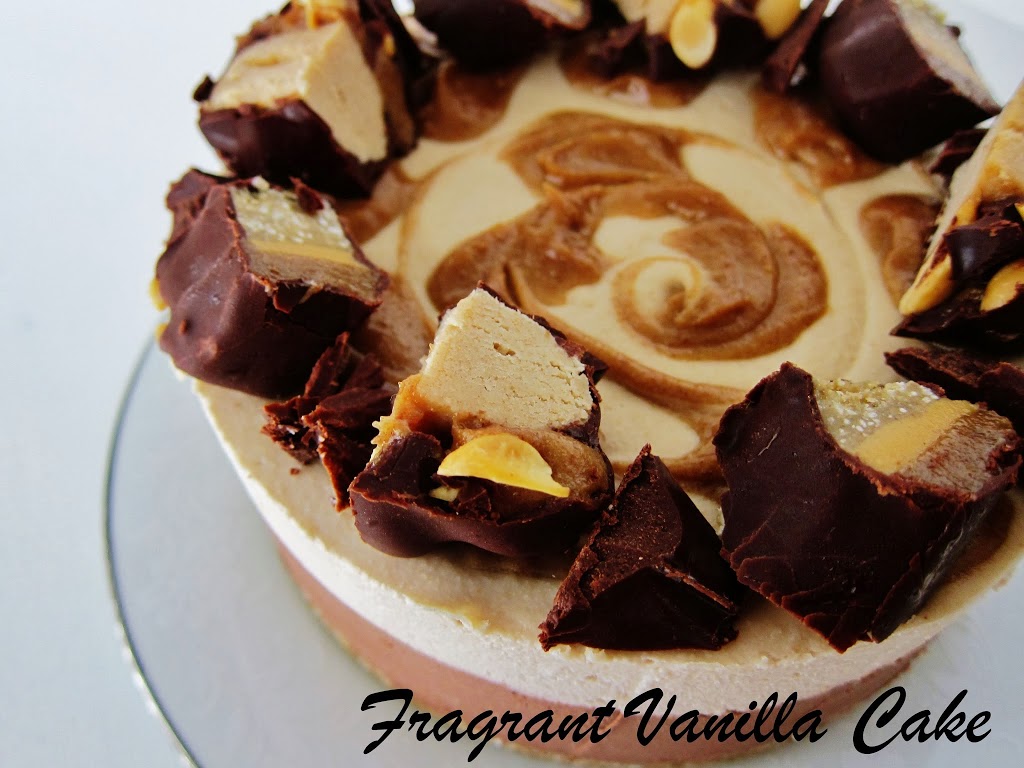
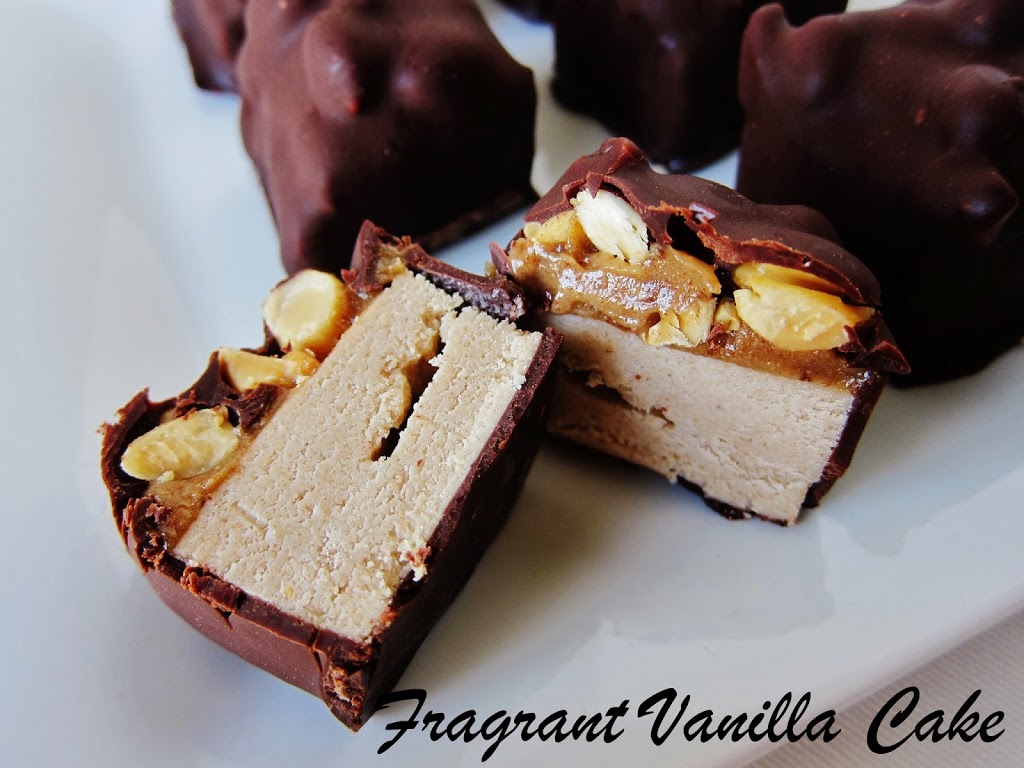
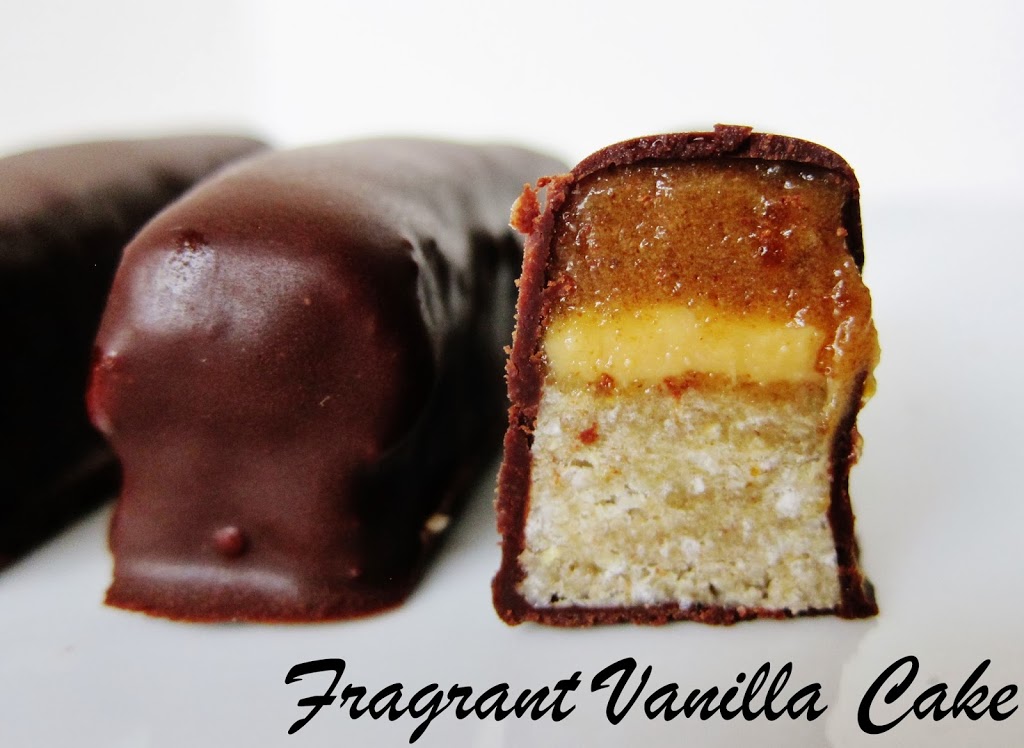
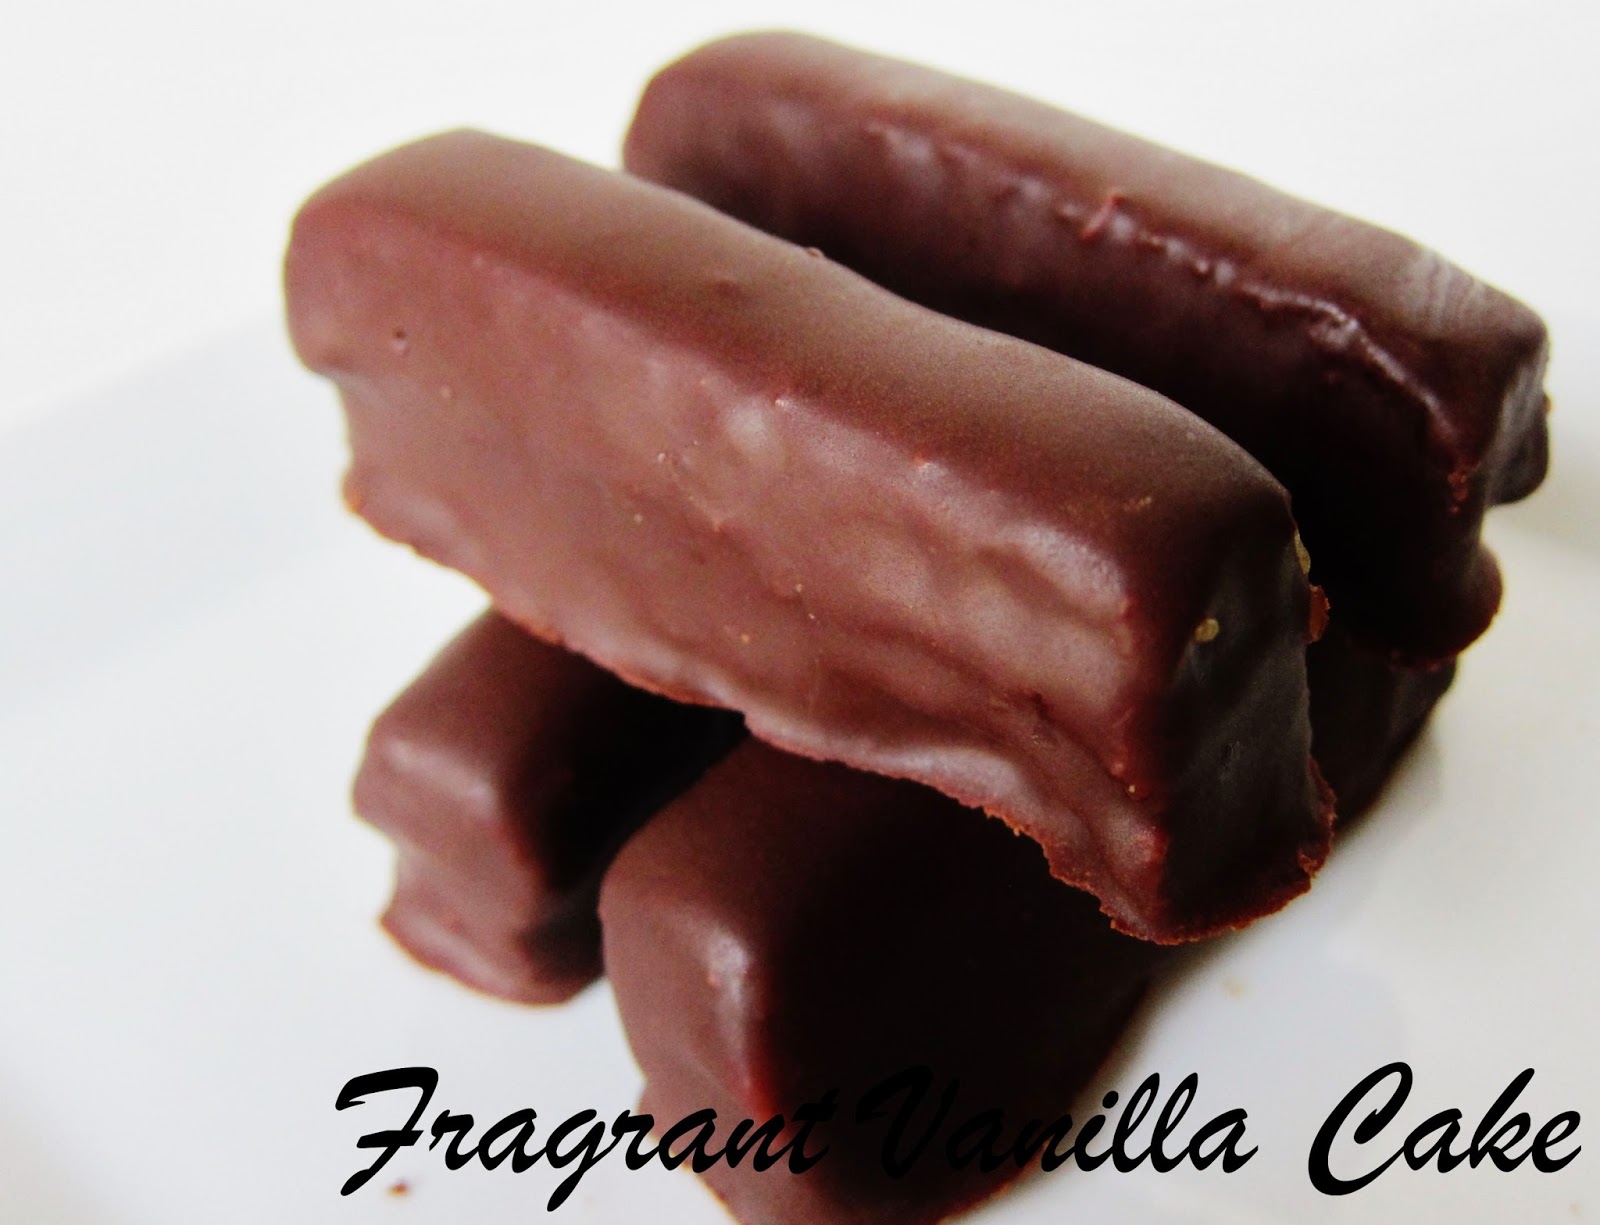
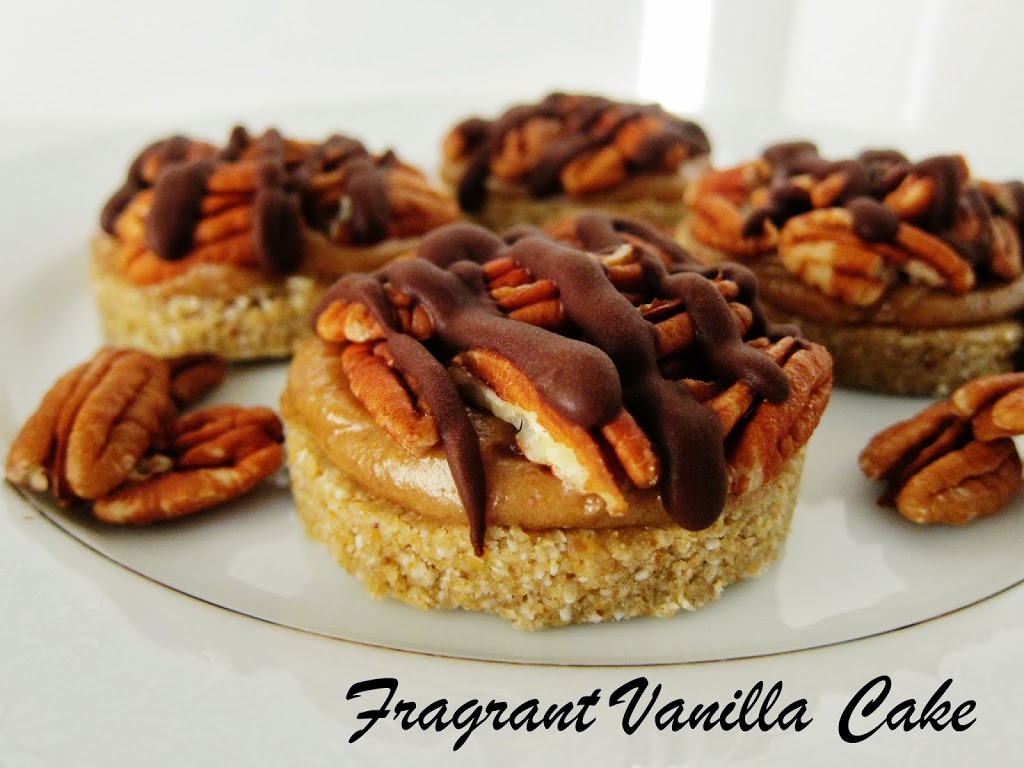
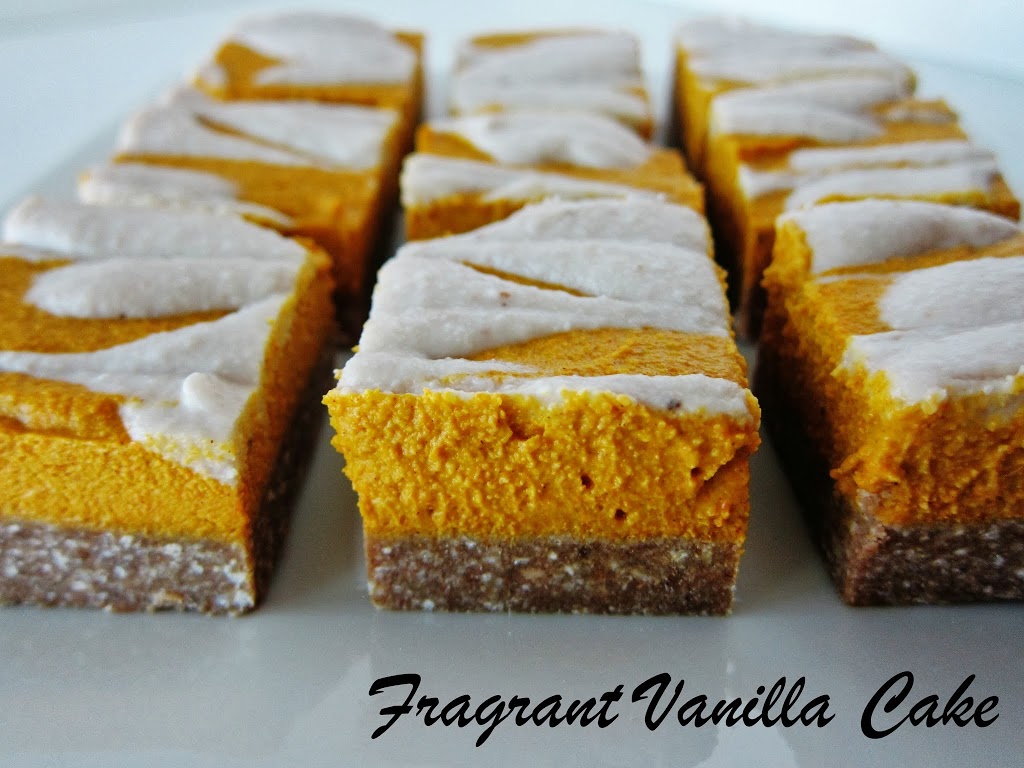
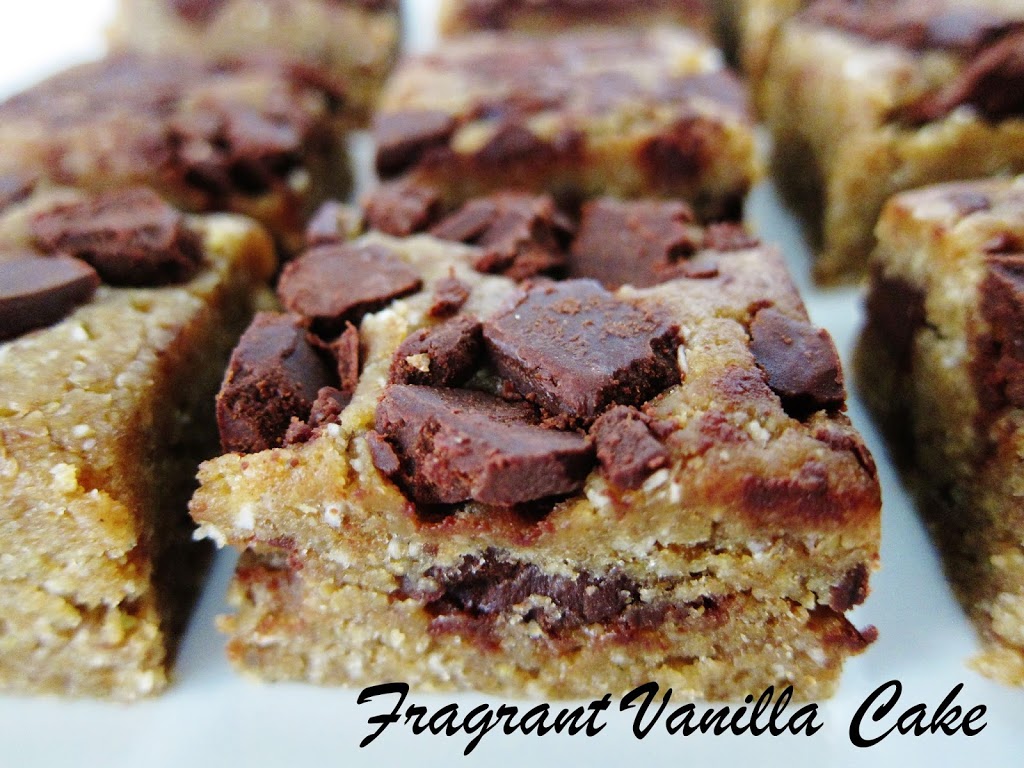
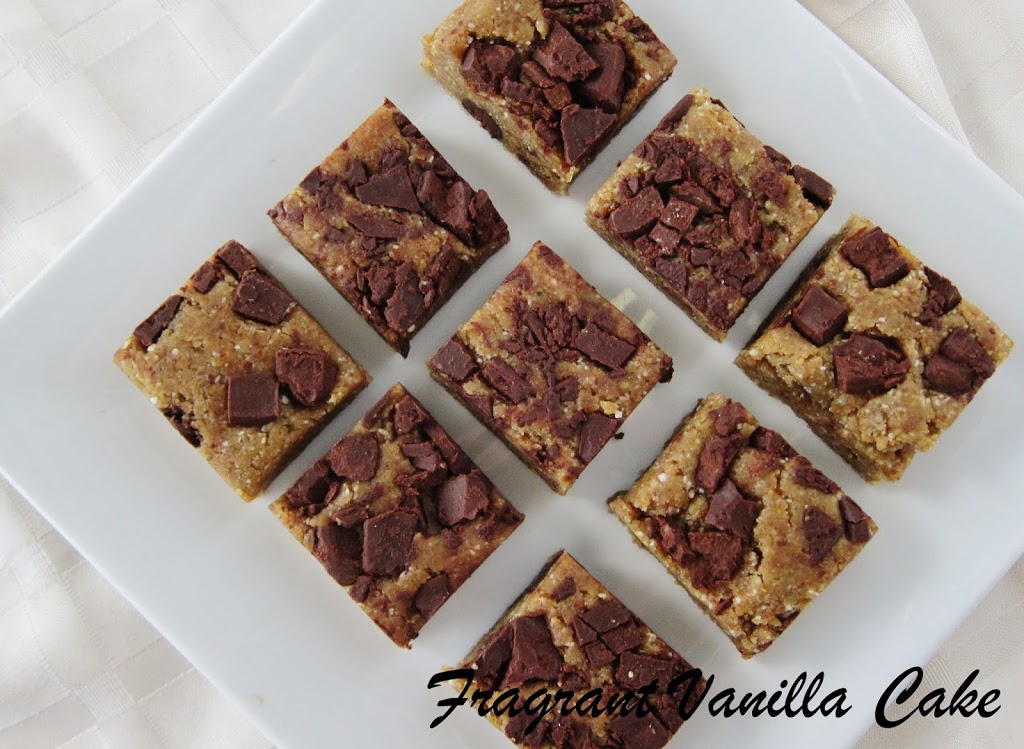
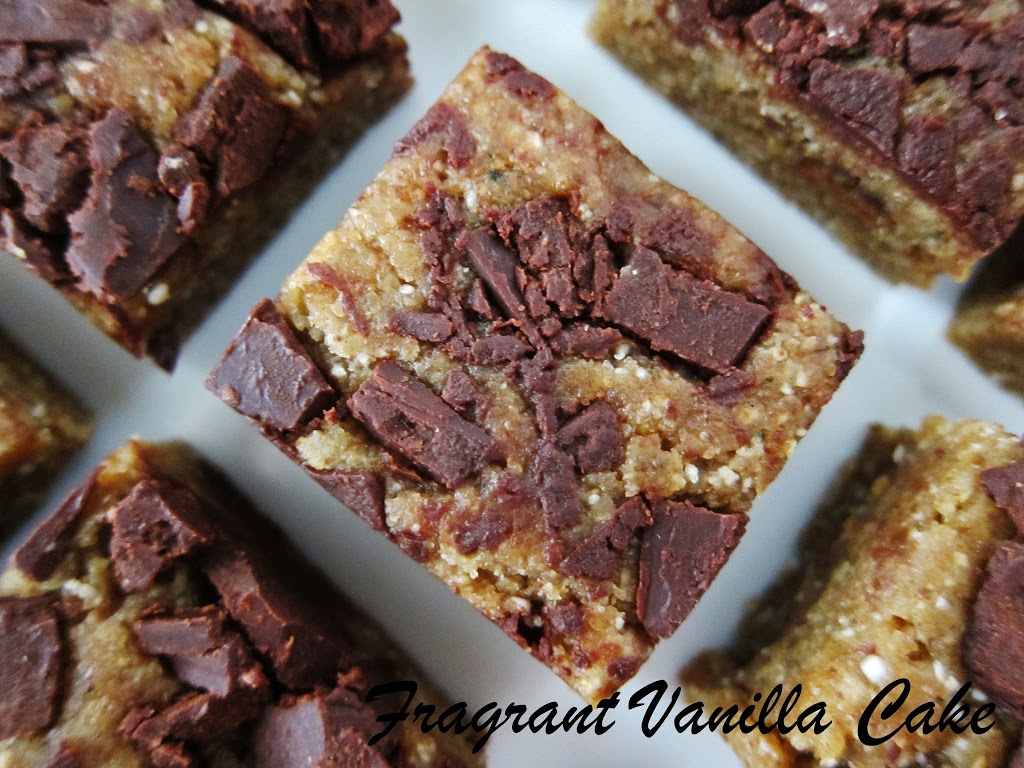
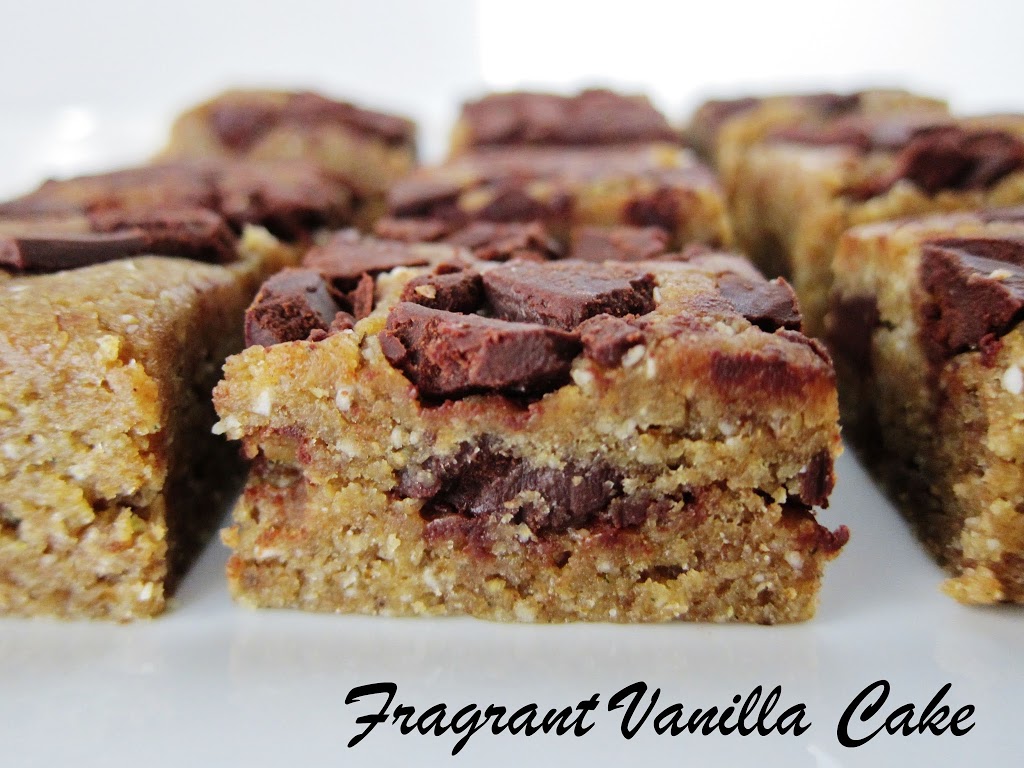
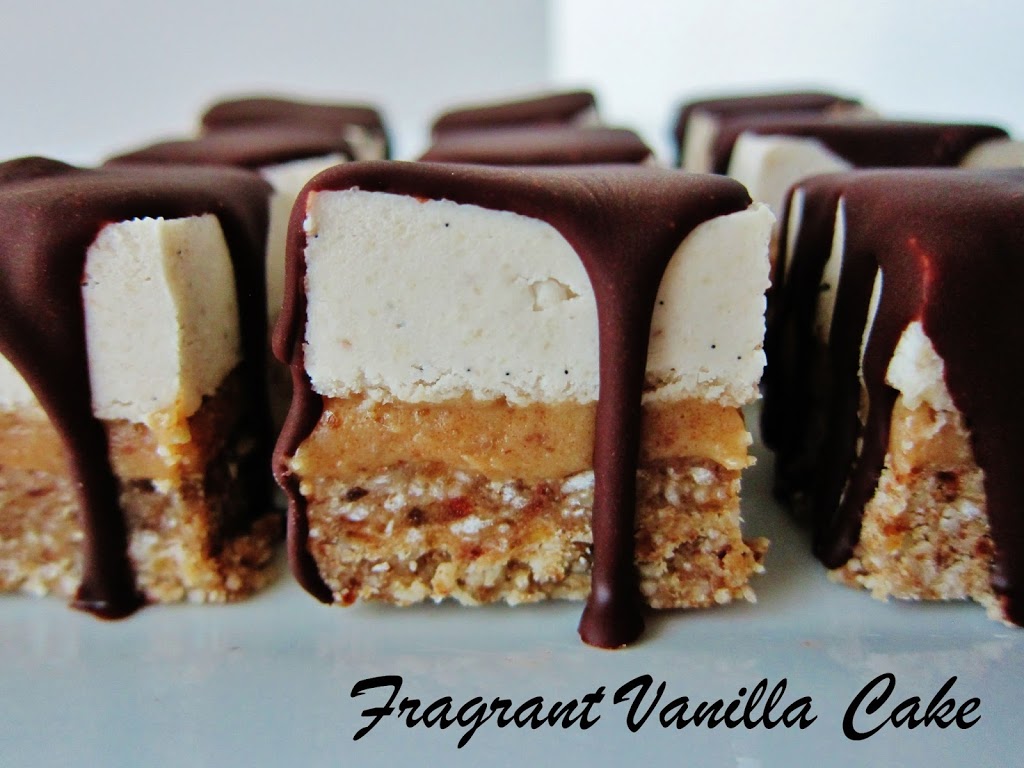
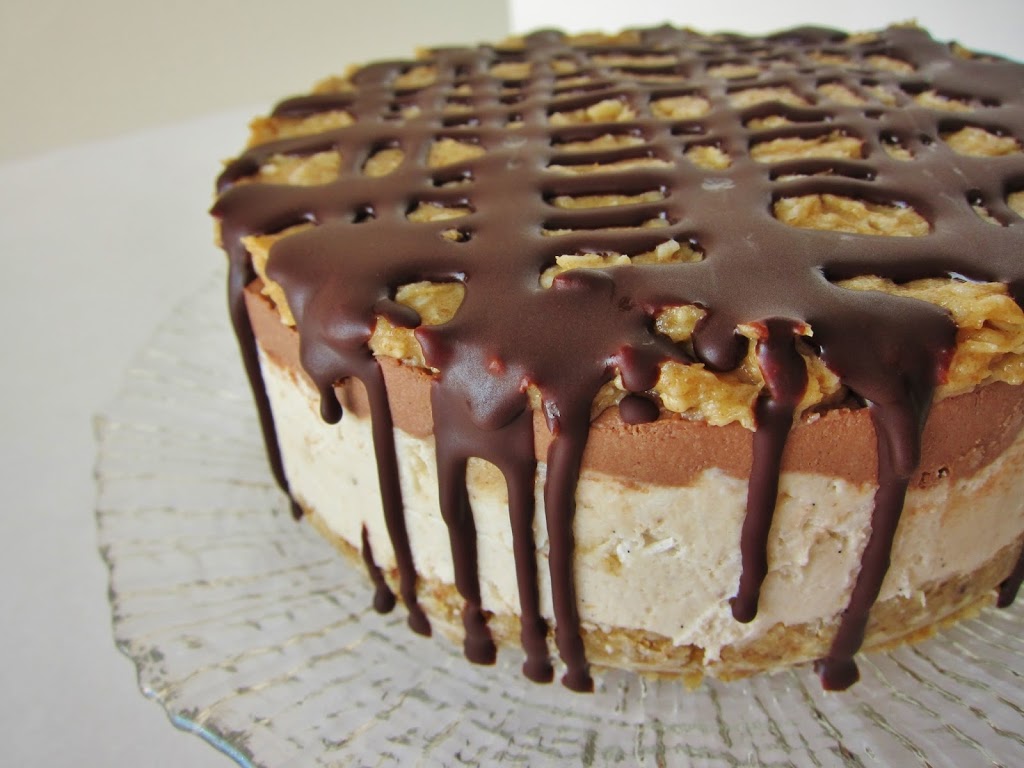
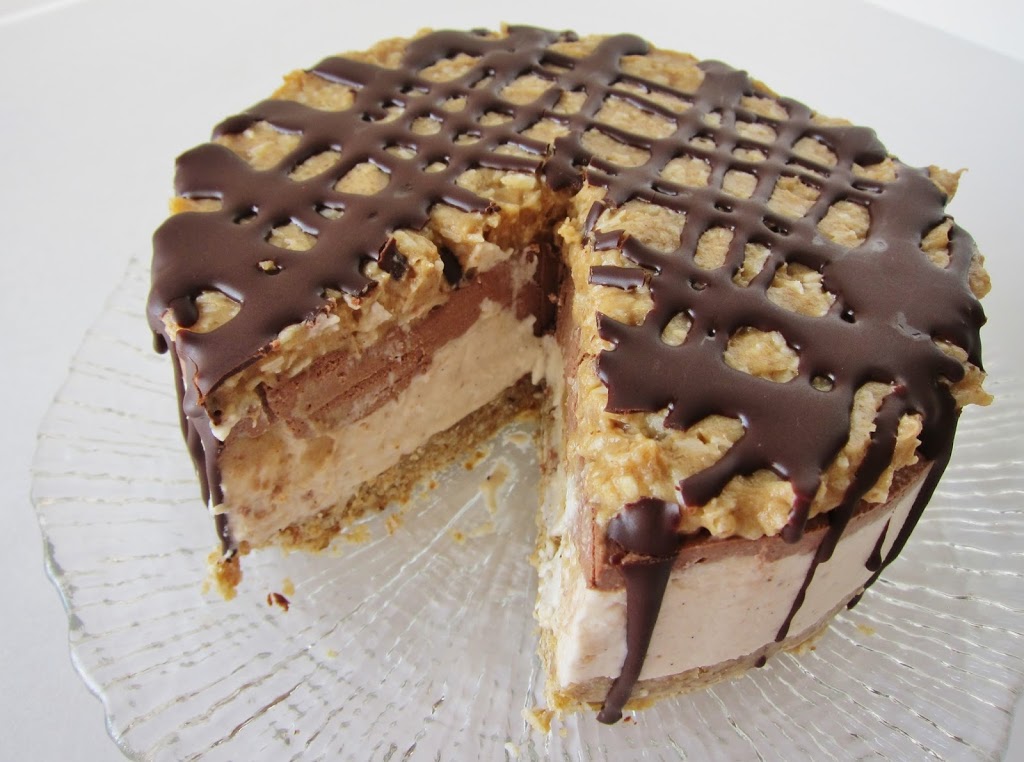
Trust me these were simply heavenly. Crave worthy, like the best cookie dough turned into a bar. They were almost caramelly tasting thanks to the sweet persimmons, lucuma powder and dates, and the pine nut butter made them so rich and delicious. Trust me you need these in your life!

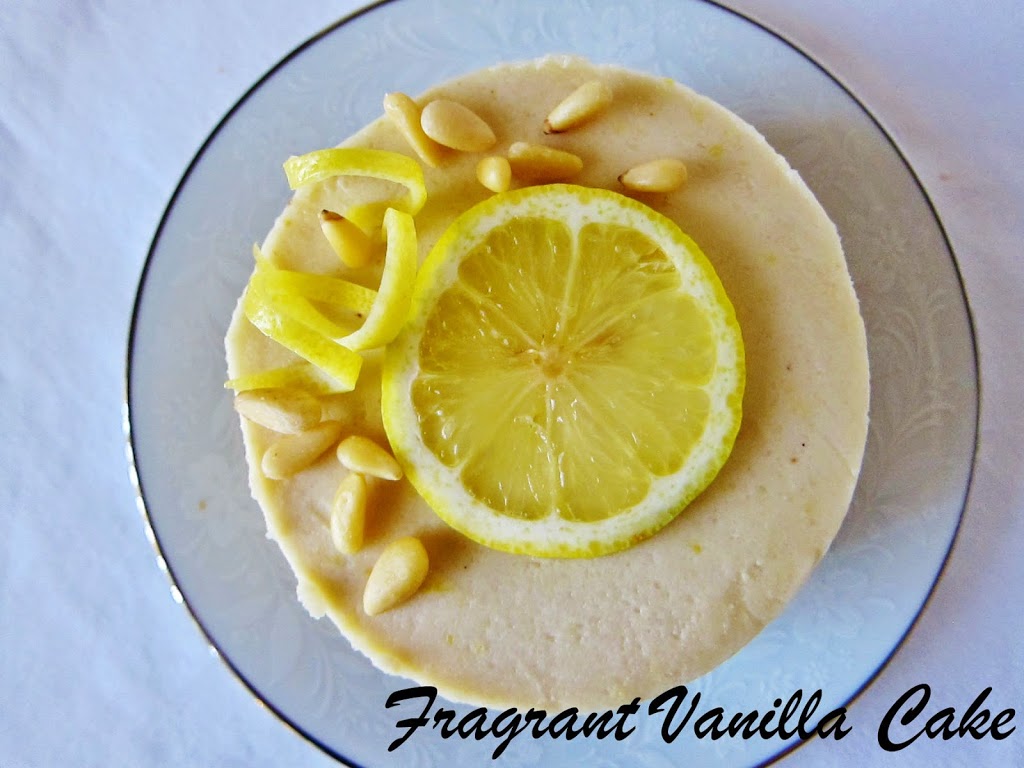
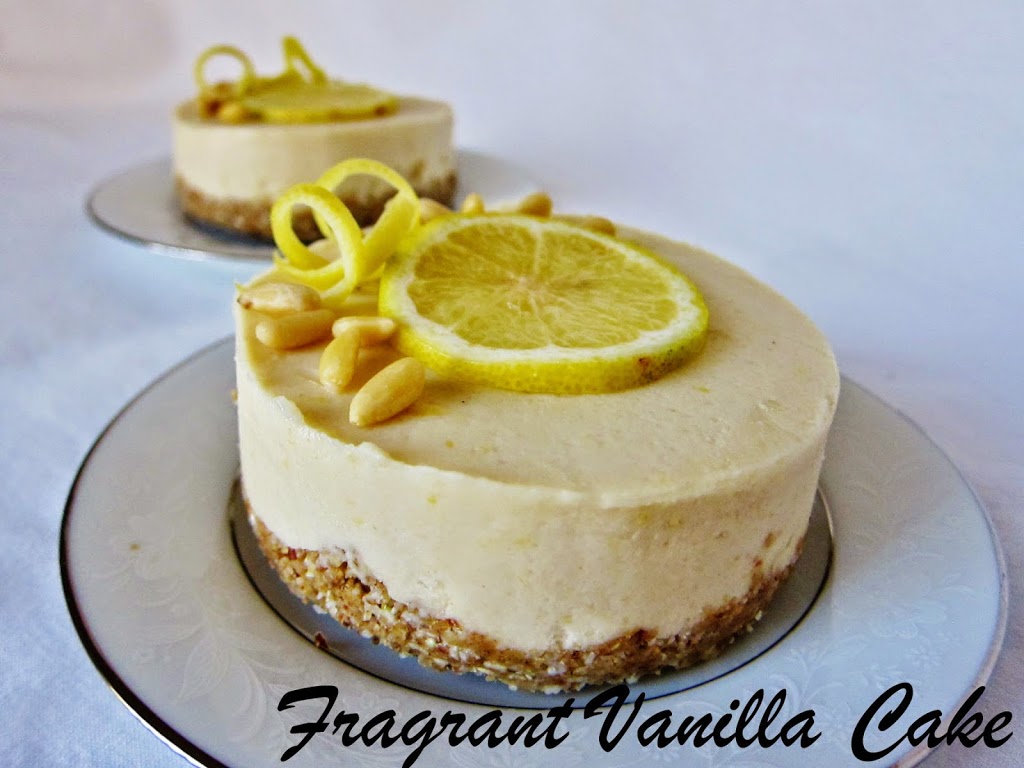
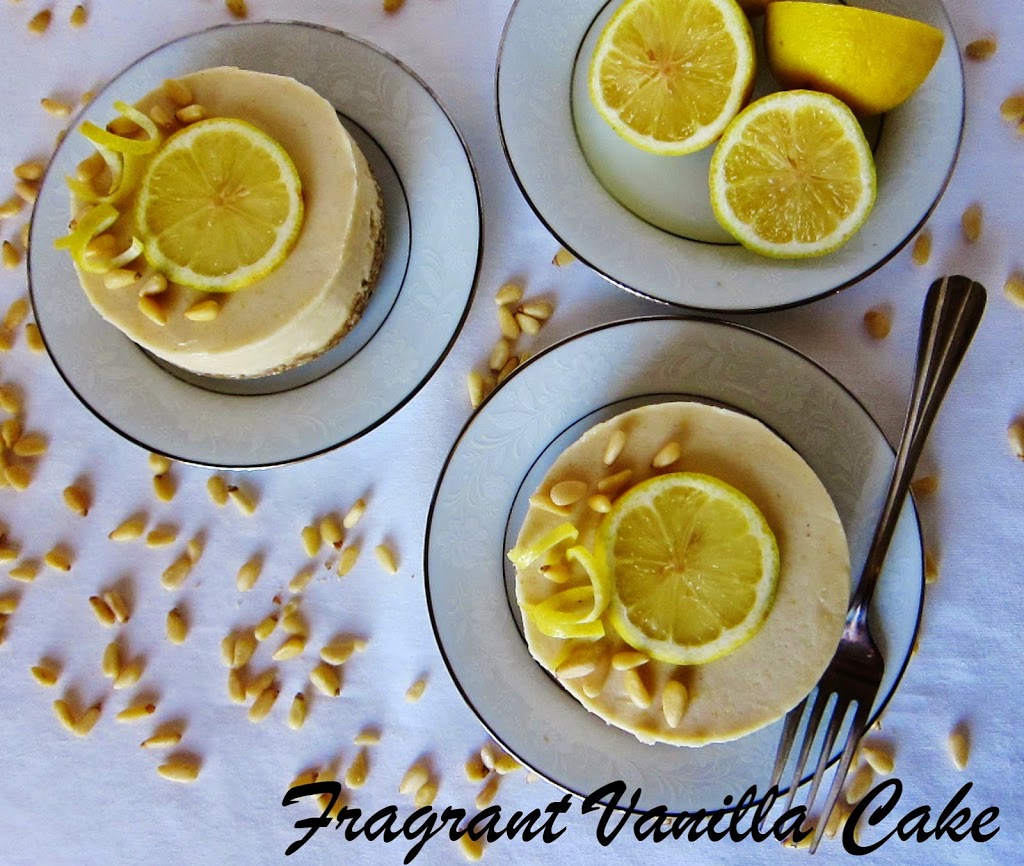
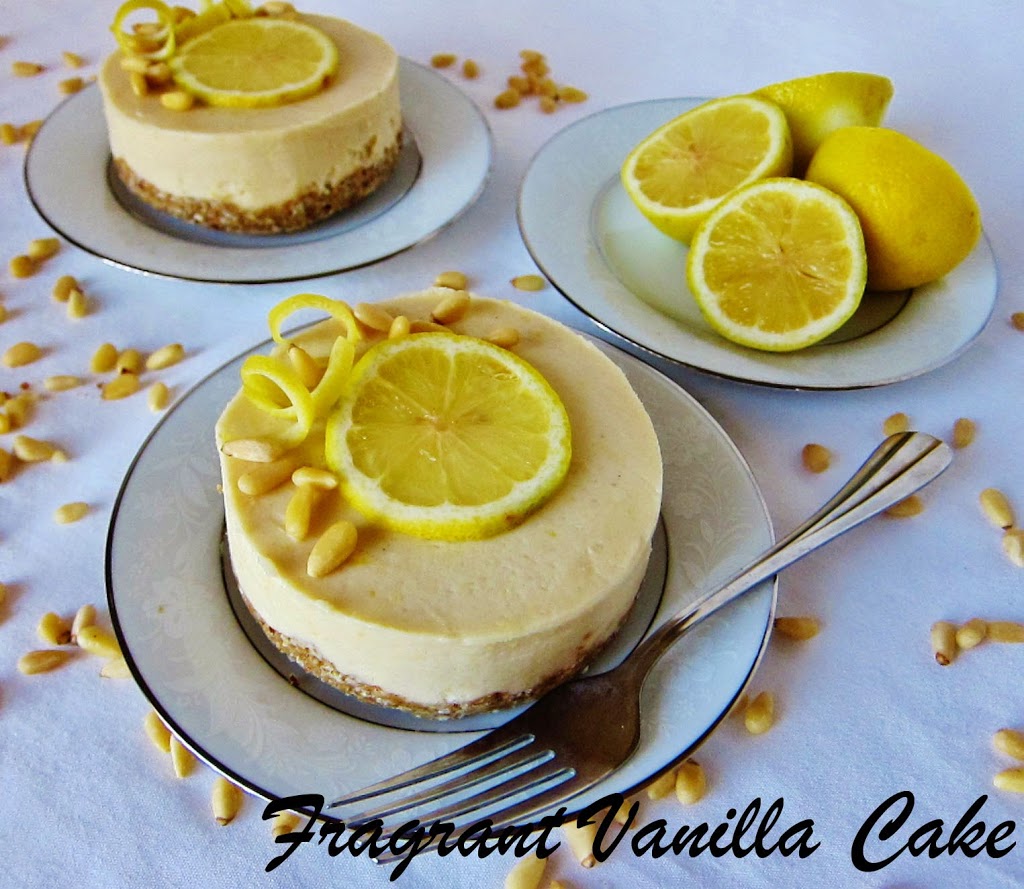
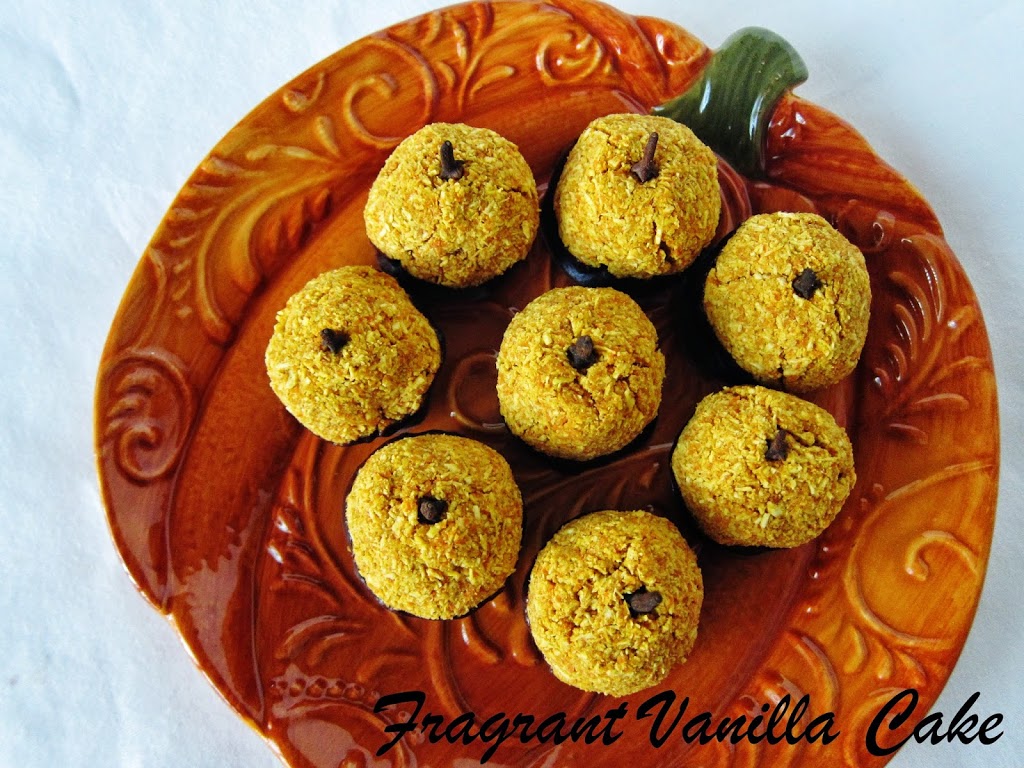
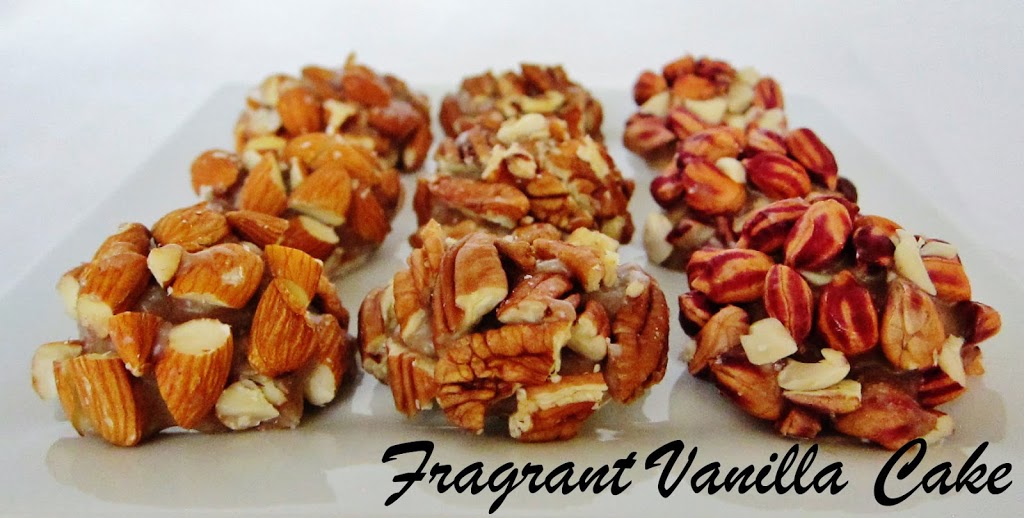
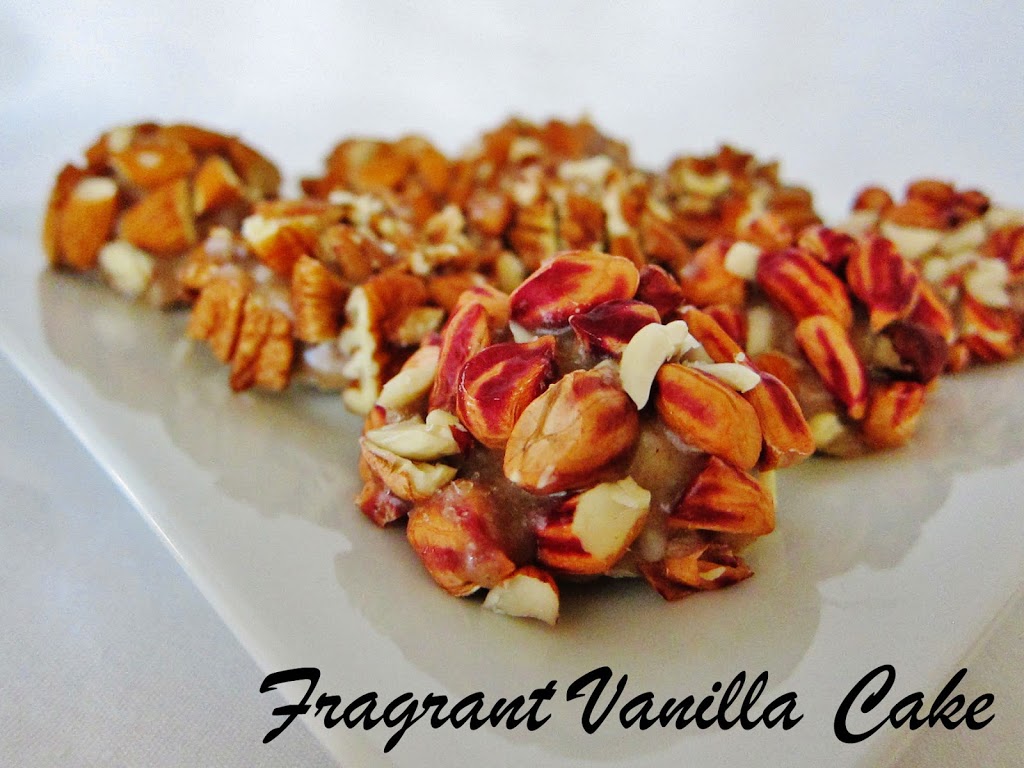
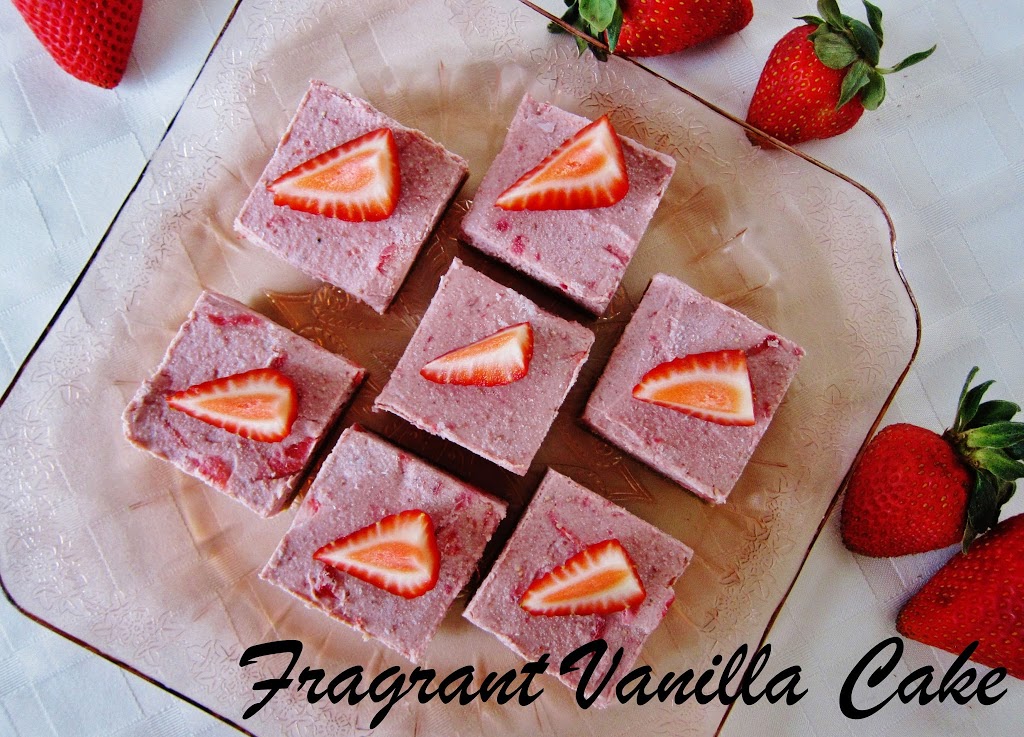
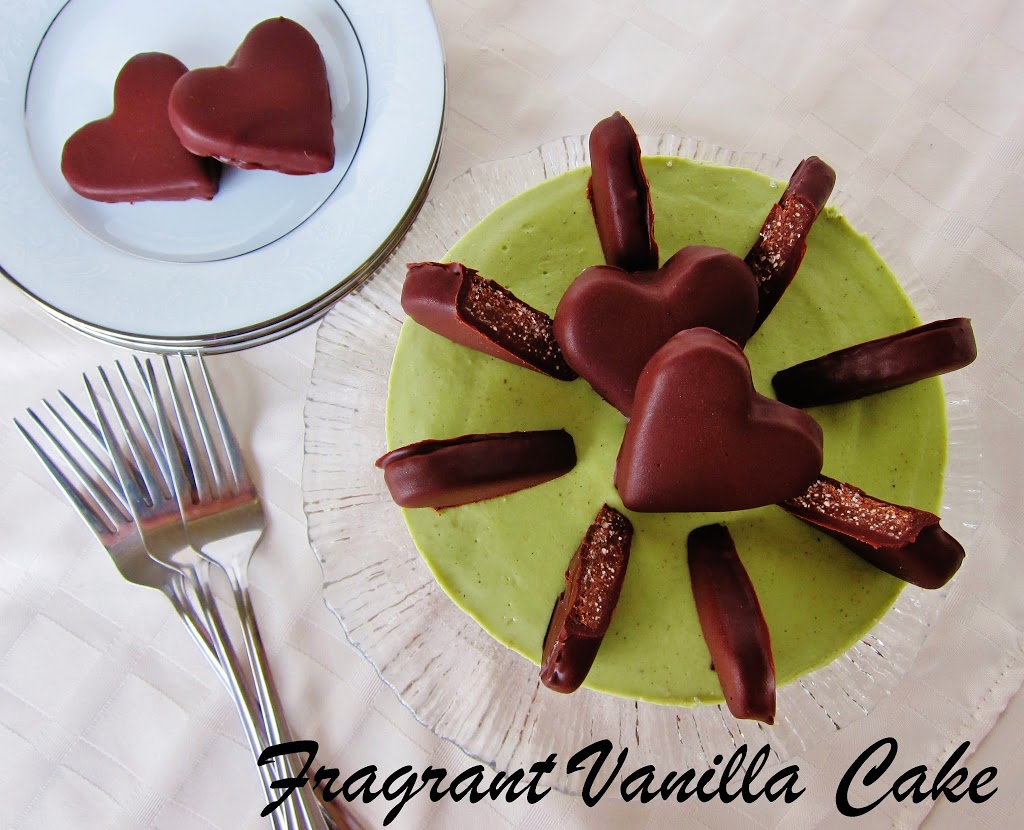
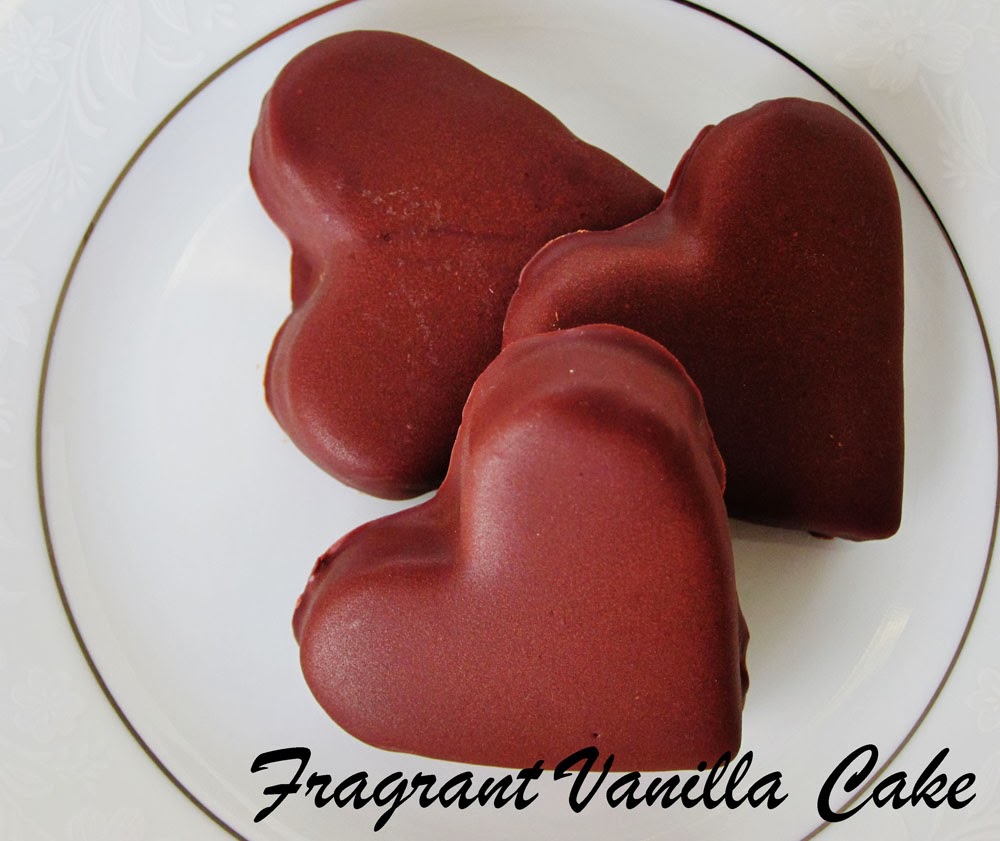
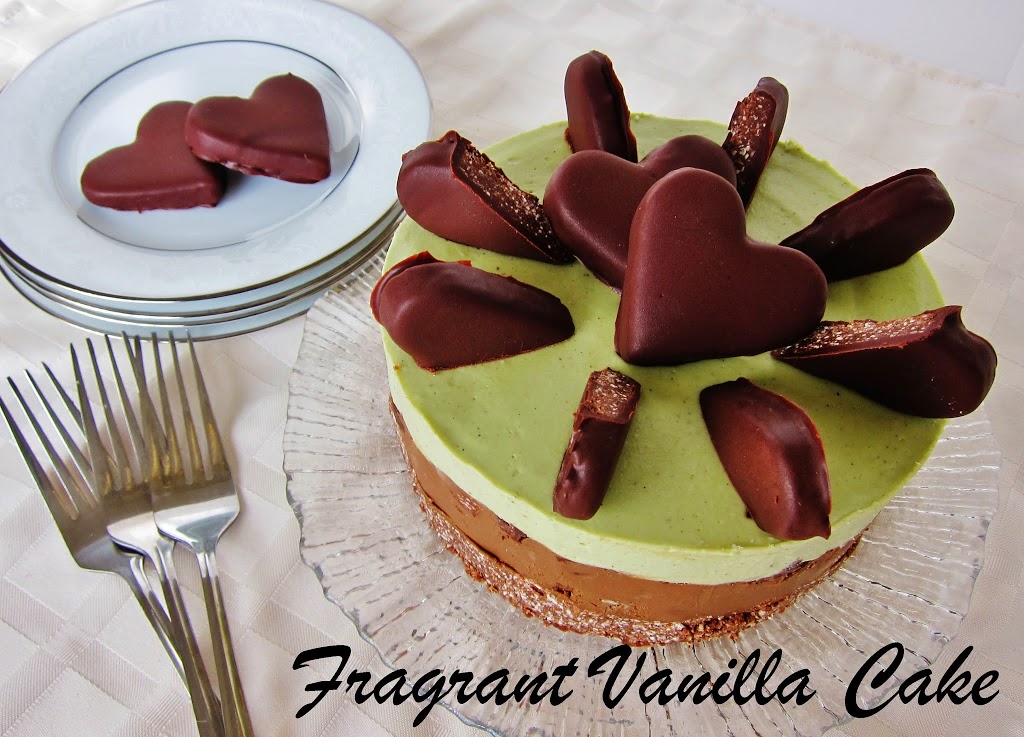
Raw Persimmon Pine Nut Blondies
Makes 12
Dough:
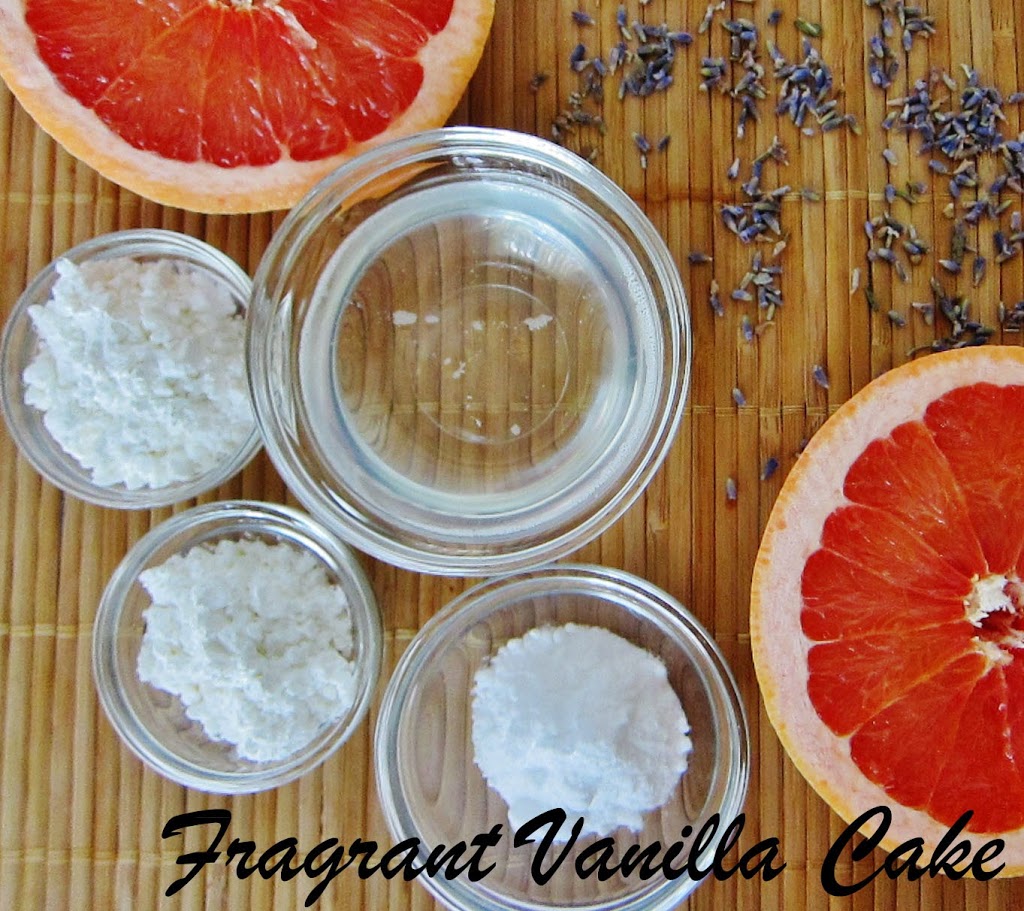
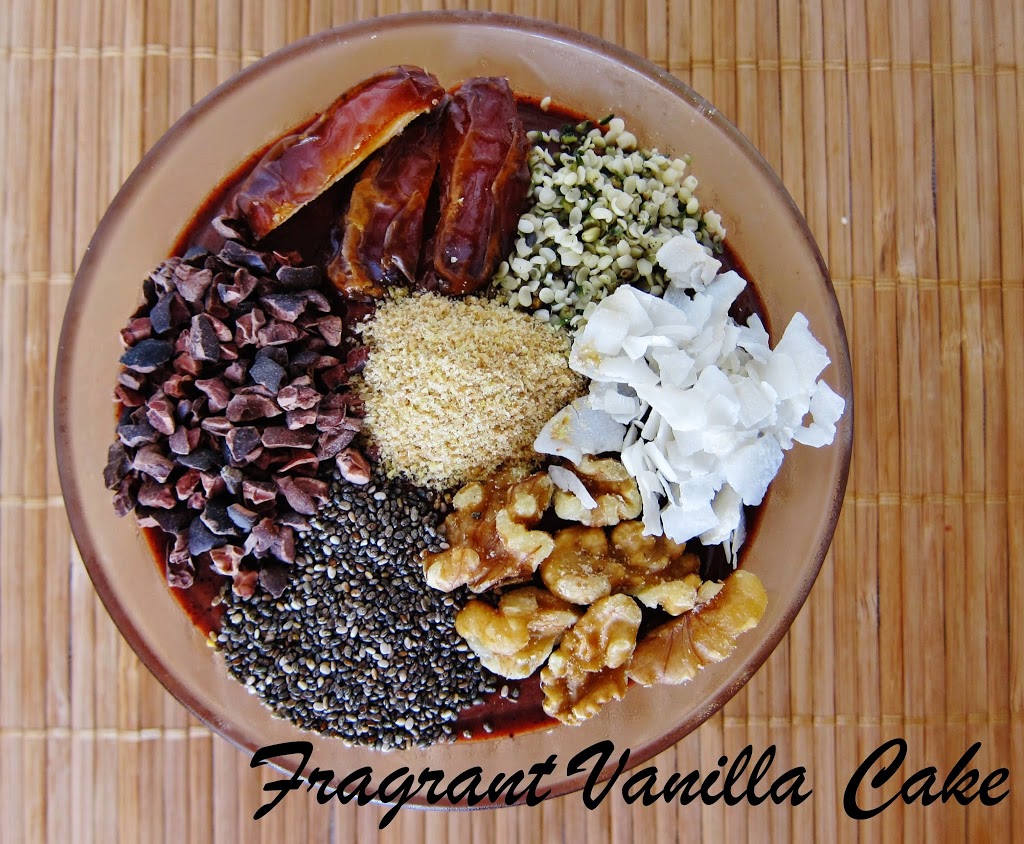
4 1/2 cups raw coconut flour (home made is preferred because store bought is too dry)*
1 1/2 cup sprouted buckwheat flour (or additional coconut flour)
3/4 cup ground flax seed
1 Tbsp ground psyllium husk
1/4 cup lucuma powder
1 cup soft medjool dates, pitted
1/4 tsp sea salt
1 tsp pure vanilla extract
1 tsp maple extract
1 3/4 cups chopped persimmons*
2 Tbsp raw coconut nectar (or your choice liquid raw sweetener)
1/2 cup raw pine nut butter
1/4 cup raw coconut butter (NOT oil), warmed to liquid
3/4 cup raw pine nuts
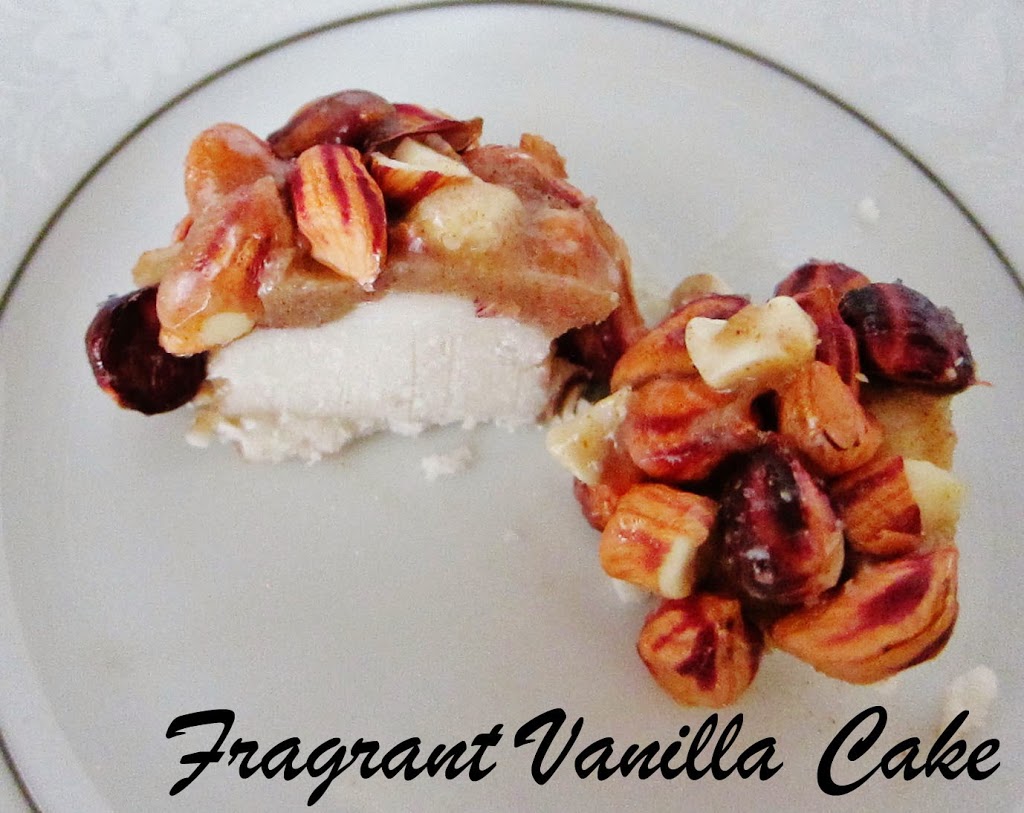
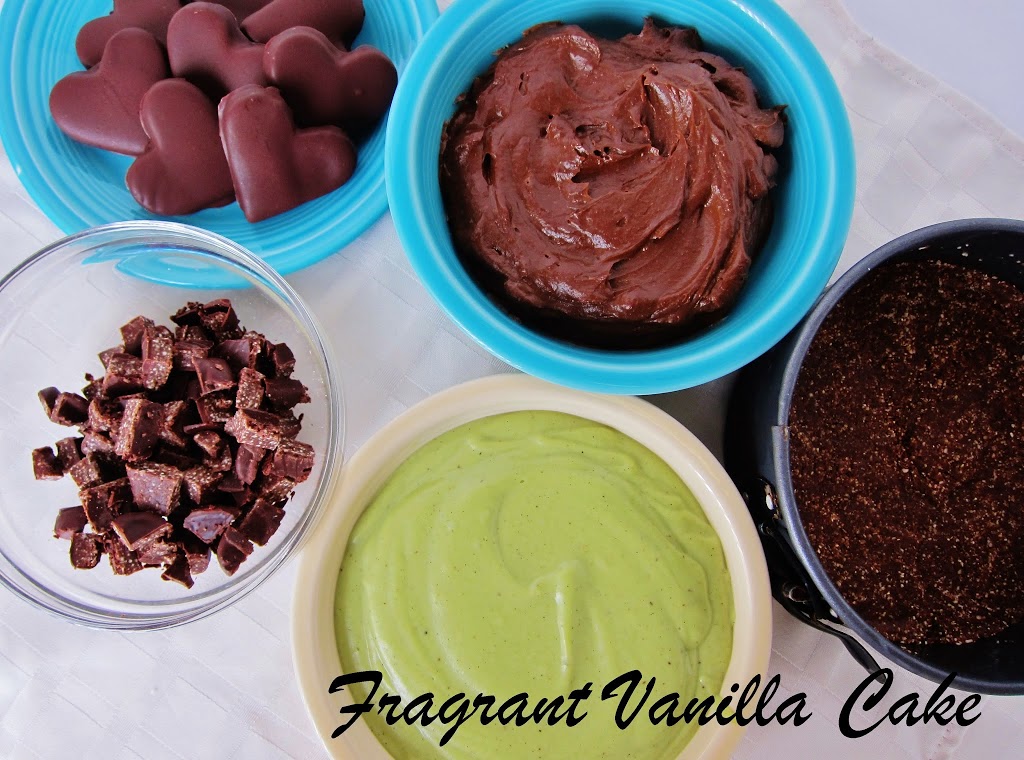
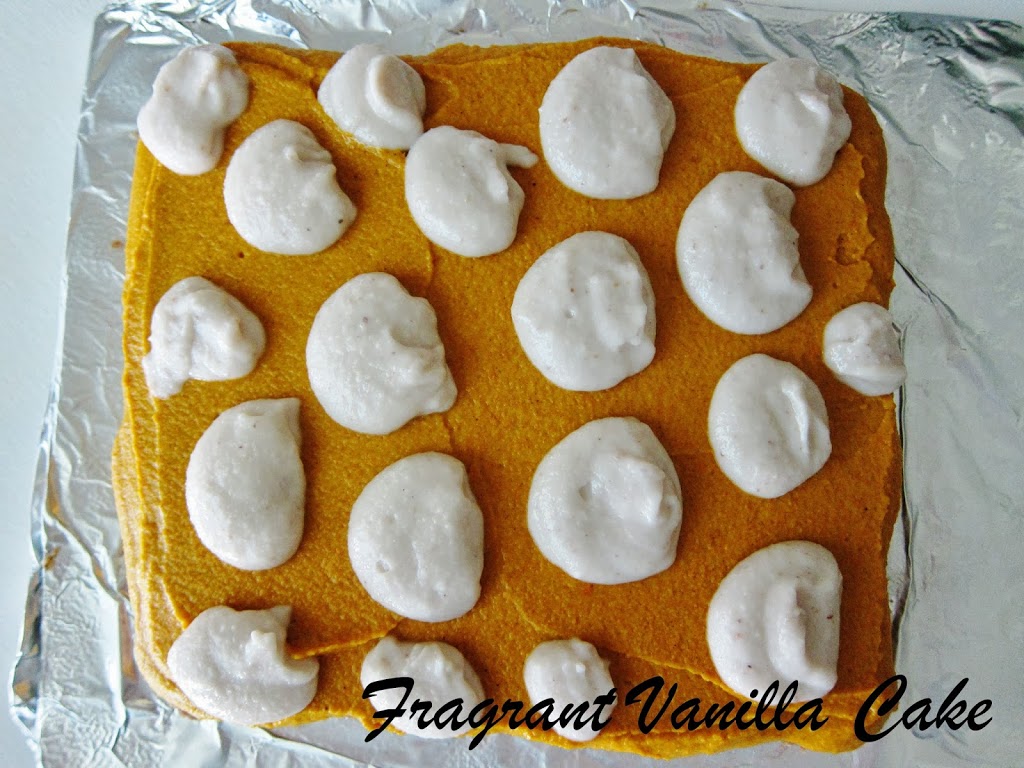
For the dough, in a food processor, combine the coconut flour, buckwheat flour, flax seed, psyllium husk, lucuma, dates and salt, and process until the dates are very finely chopped and it is all well combined. Add the vanilla, persimmons, coconut nectar, pine nut butter, and coconut butter and process until smooth like dough (if it is too dry add a touch of water). Mix in the pine nuts. Then press the blondies into a 1 1/2 inch square on a foil lined sheet pan. Place in the freezer until set (about an hour), then cut into 12 squares and enjoy! Store in the fridge.
*Store bought conut flour dries out the blondies which is why I suggest home made. See how to make it here: https://www.fragrantvanilla.com/helpful-tips-tools-and-basics/


