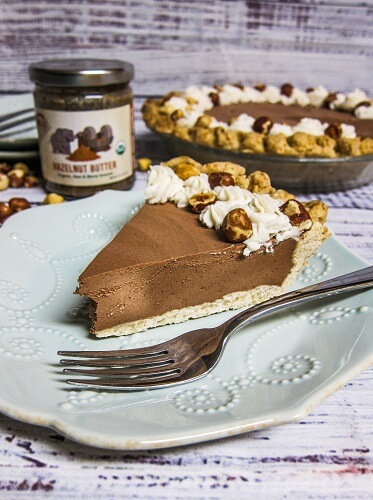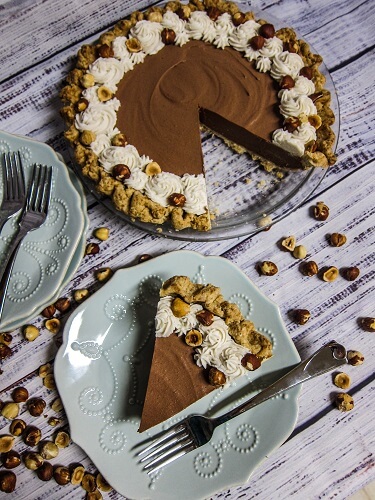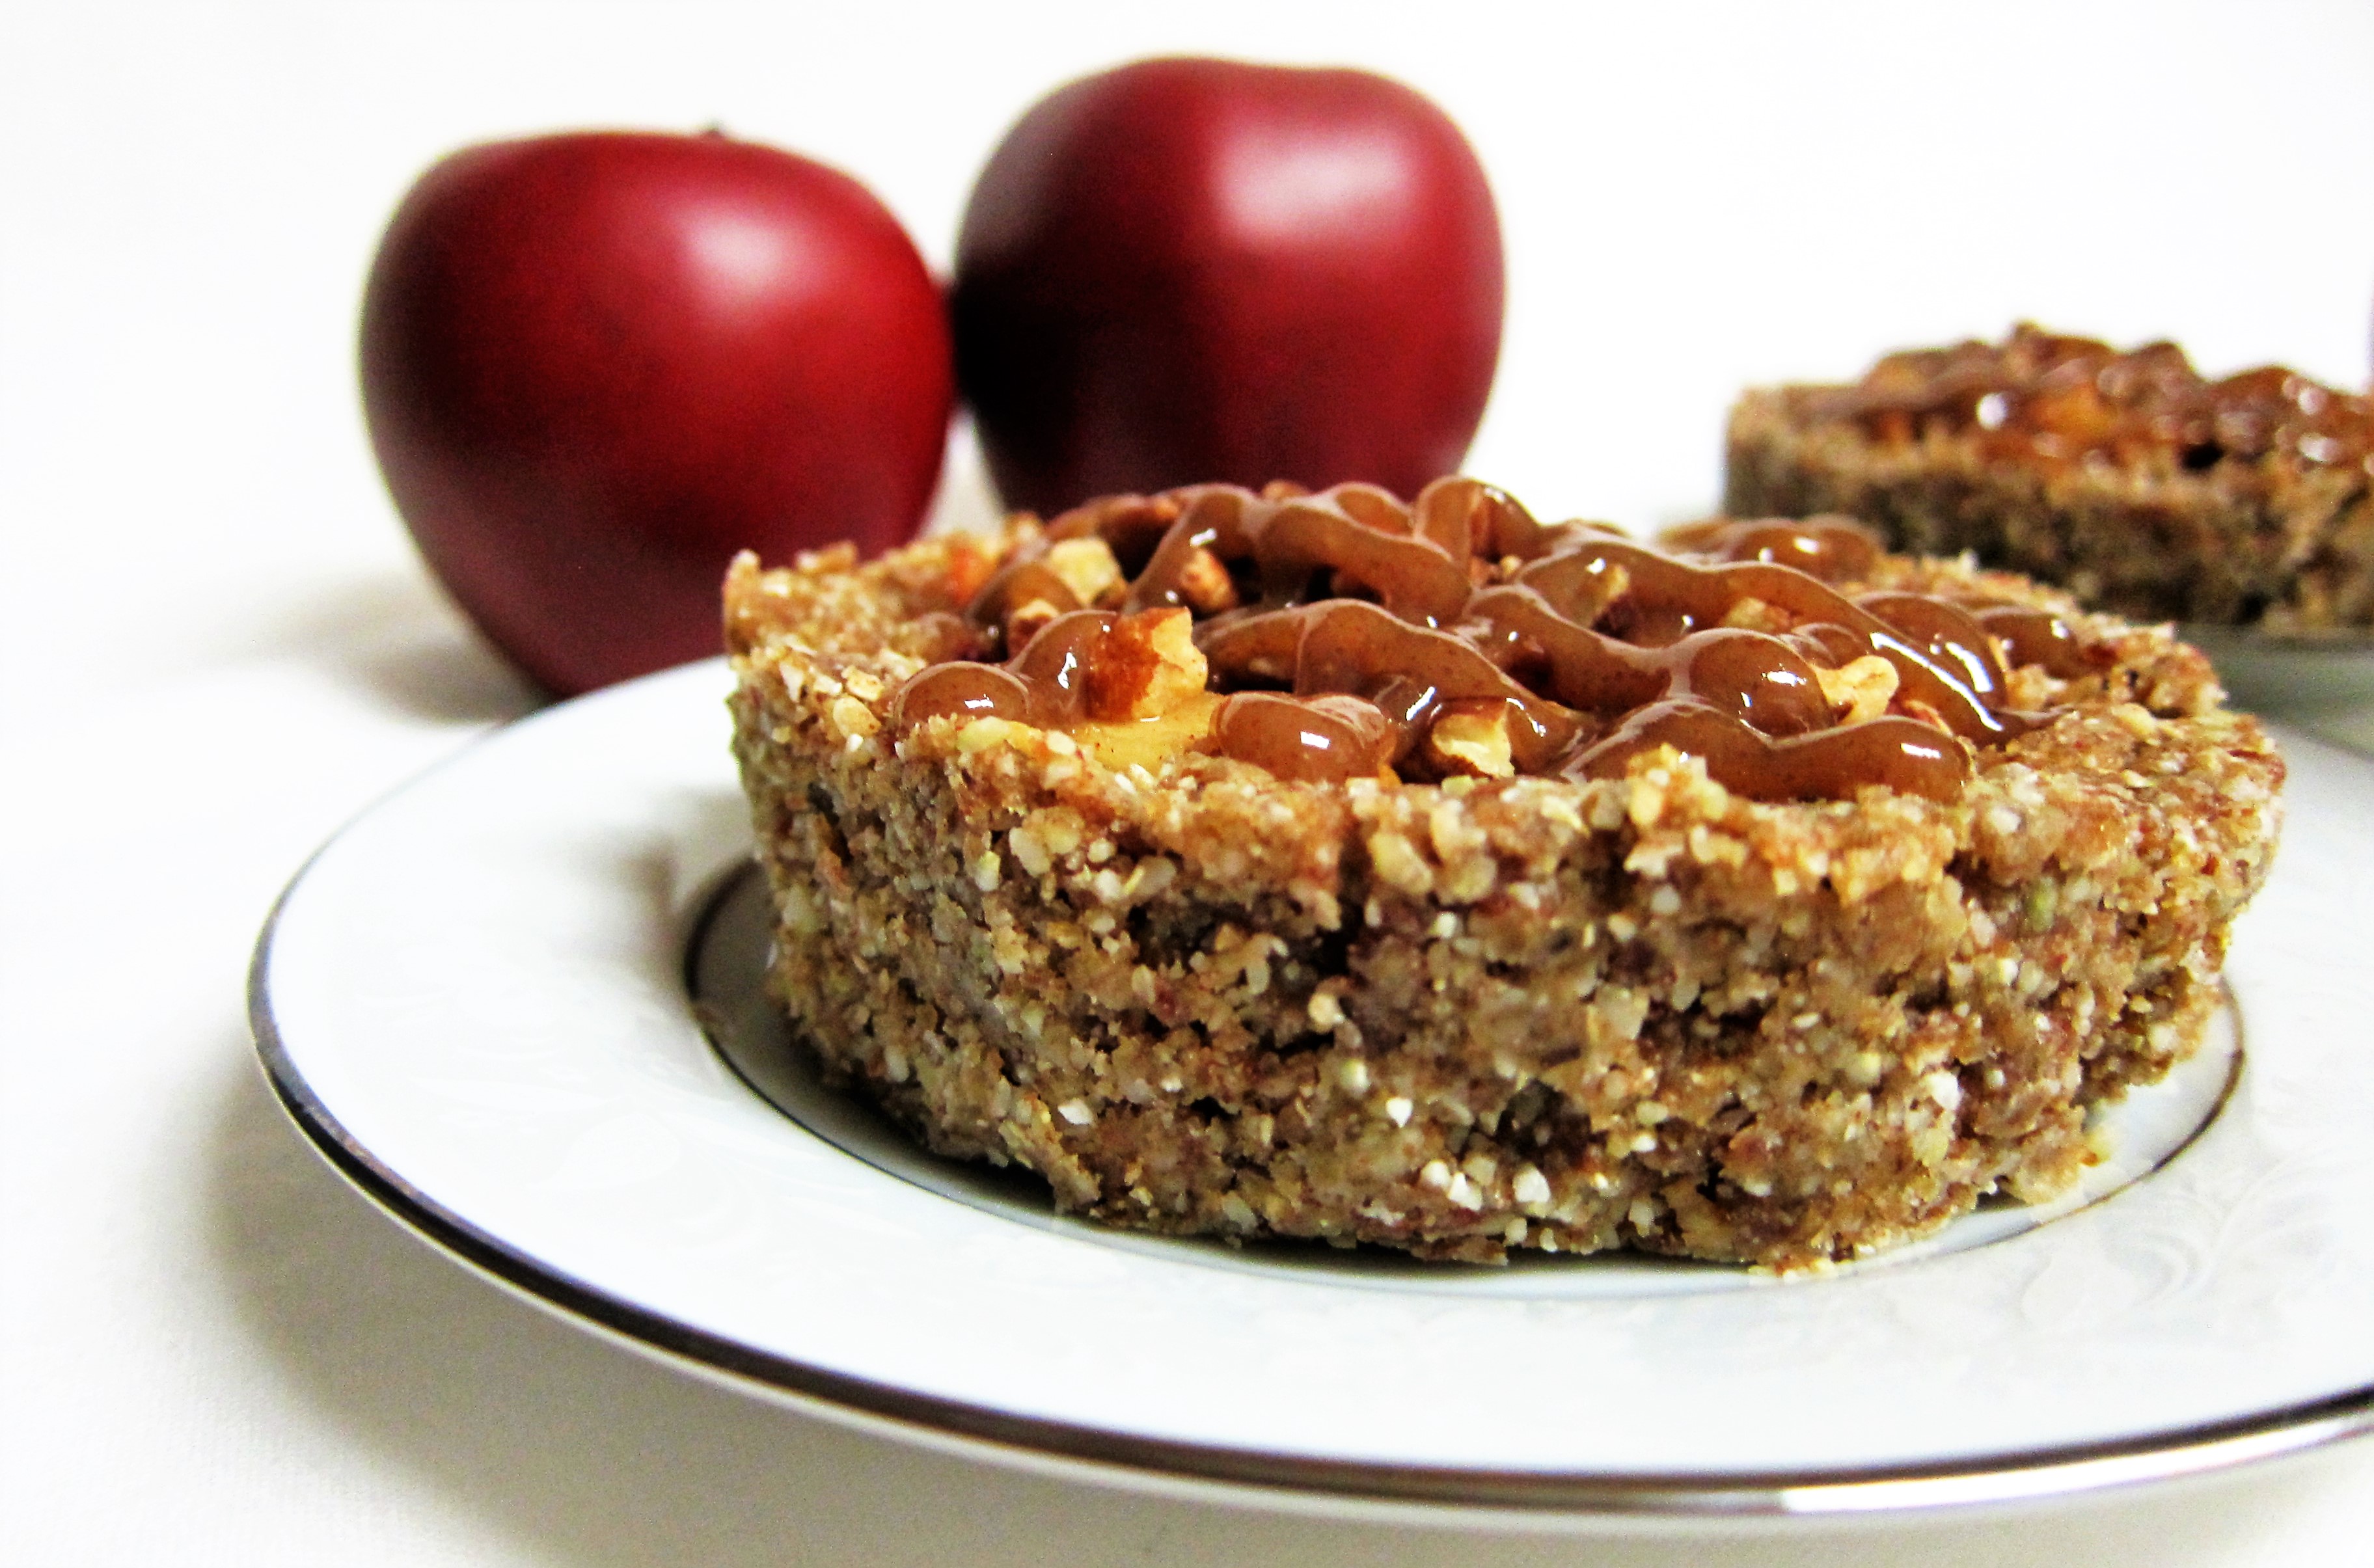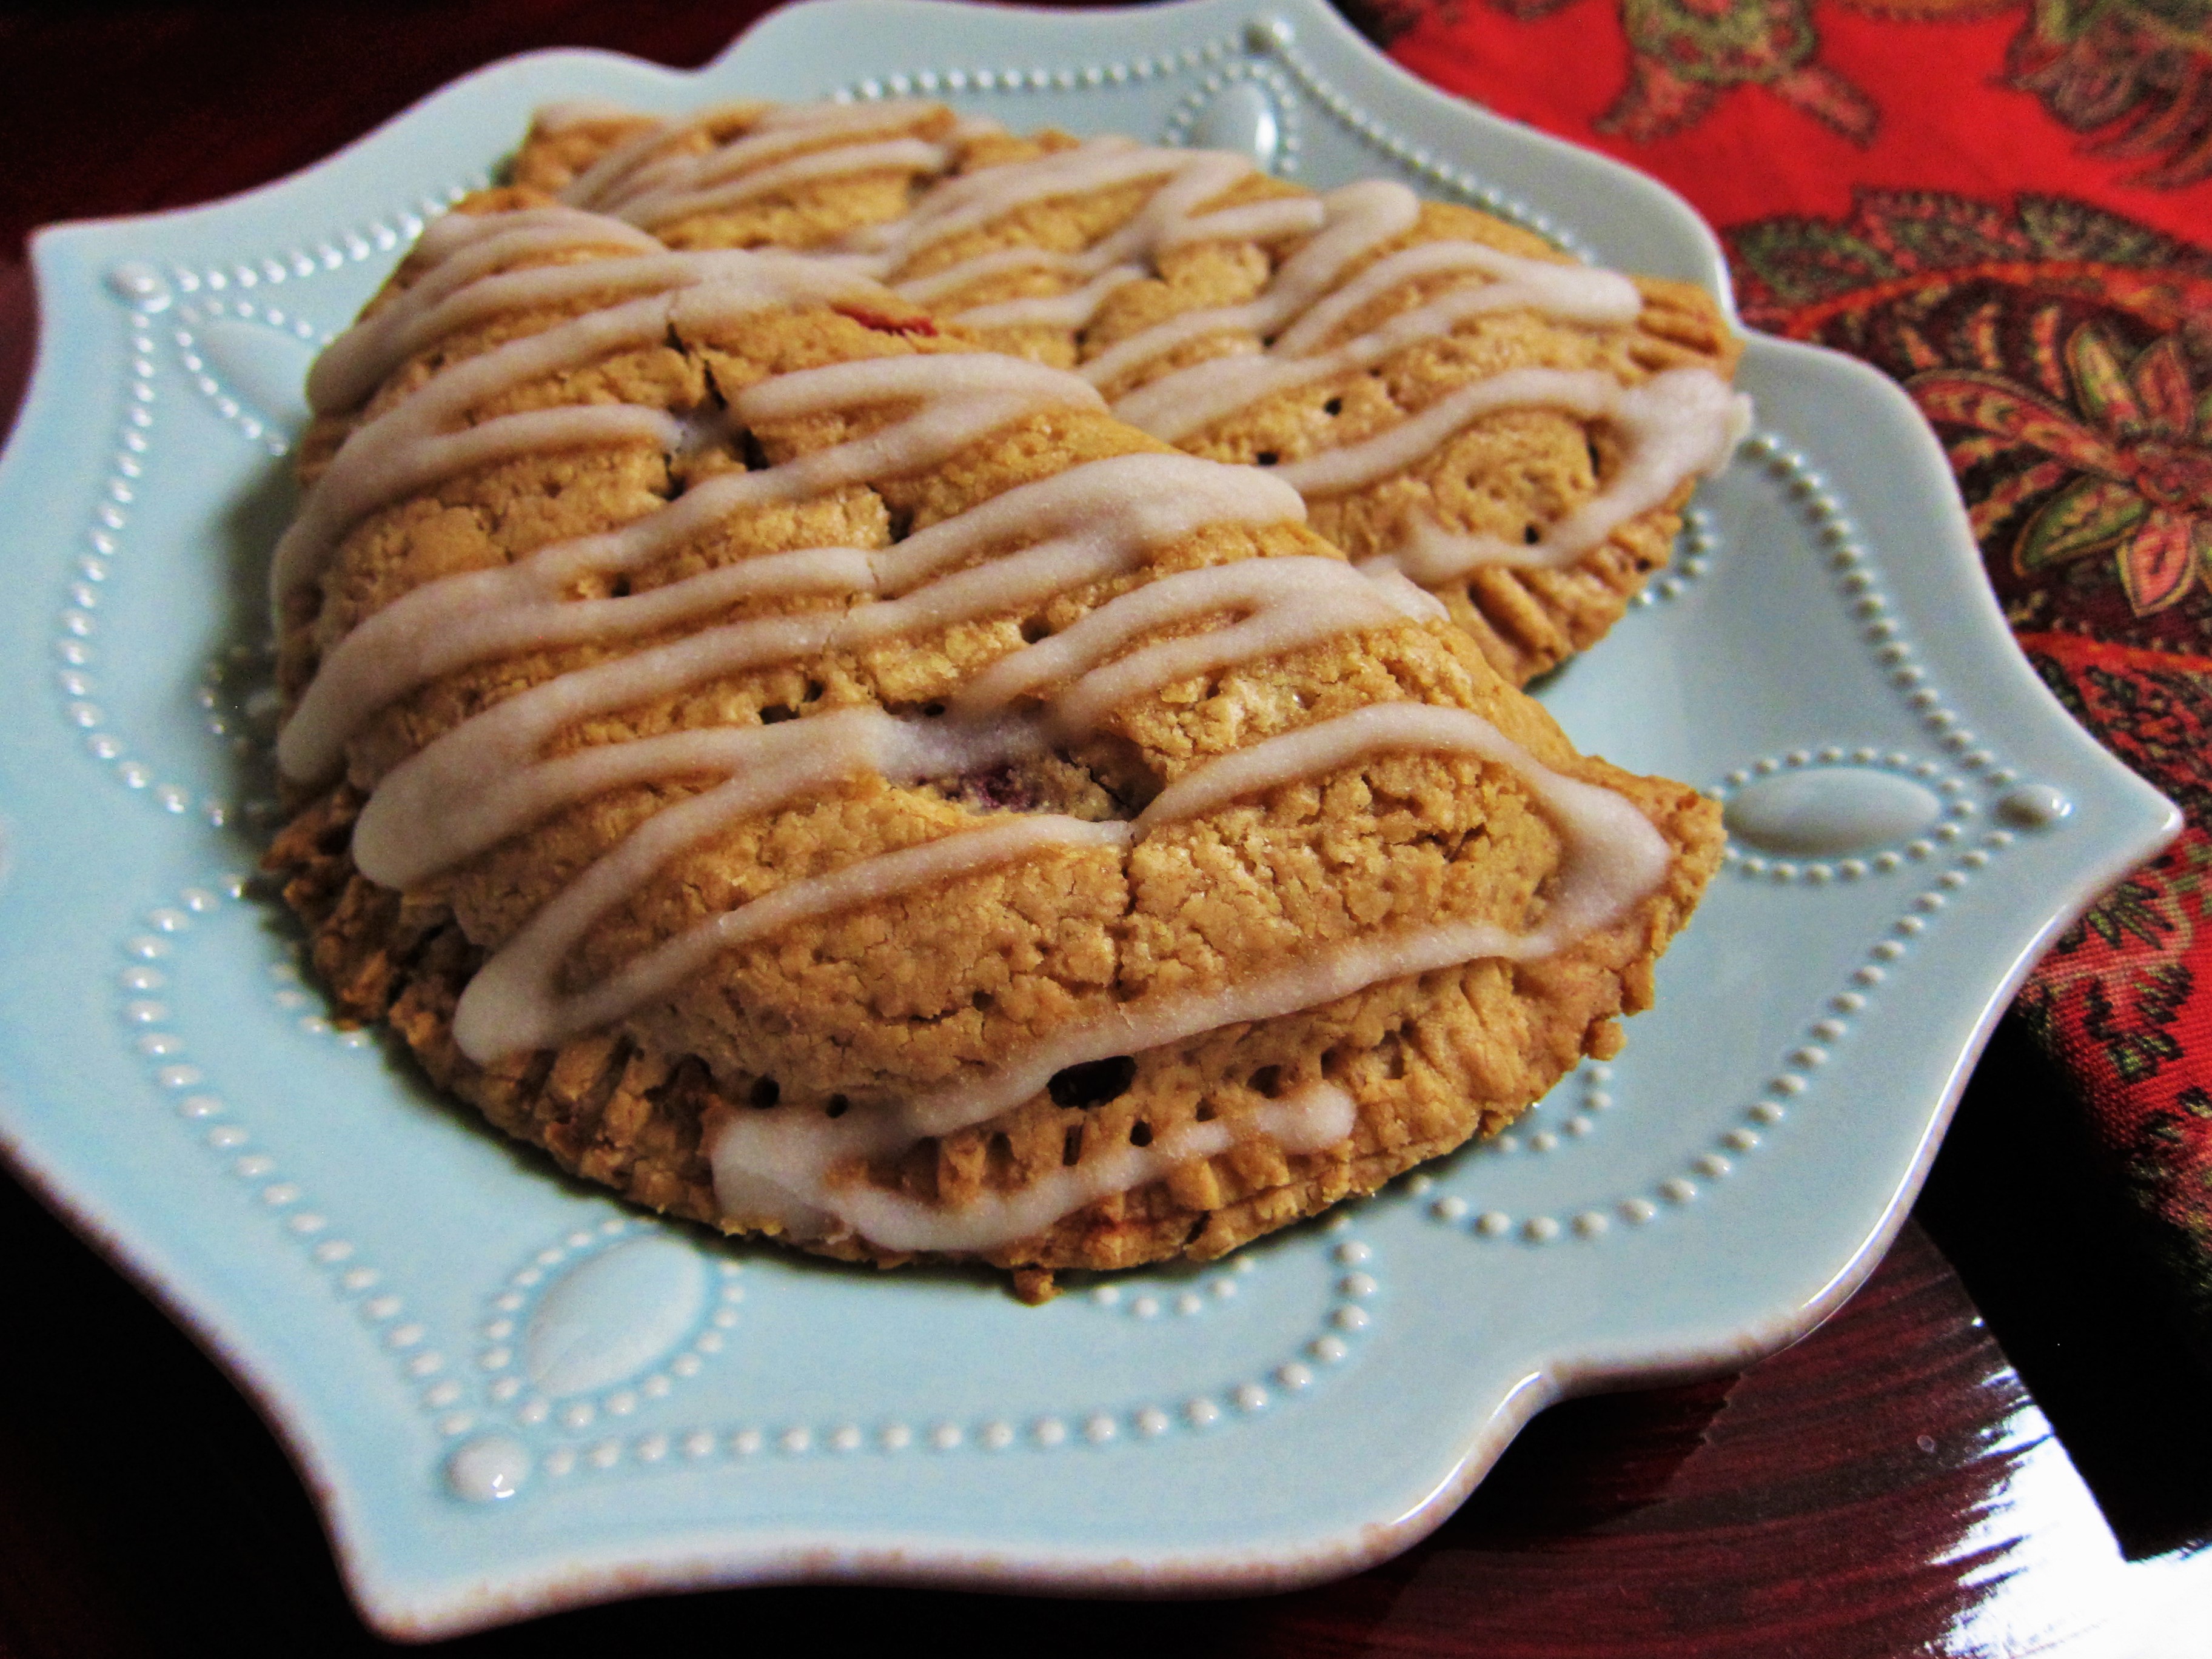
My Mom asked me if I could make a Vegan Cherry Almond Pie around Christmas, and so I was happy to come up with one! Cherries are kind of festive after all with their pretty red color and I can’t even remember the last time I made cherry pie so it sounded really good. Also I am loving fruit pies lately, mainly apple but frozen cherries are available, so why not make one with them?!

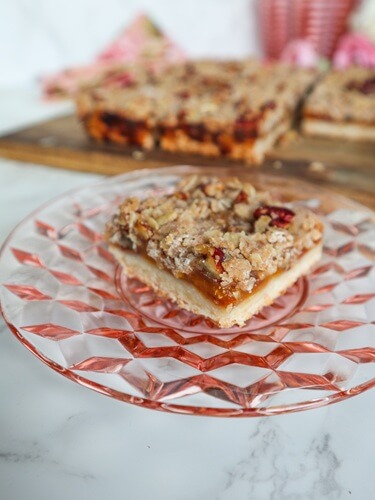
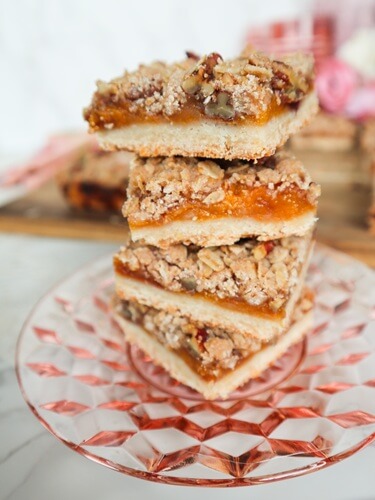
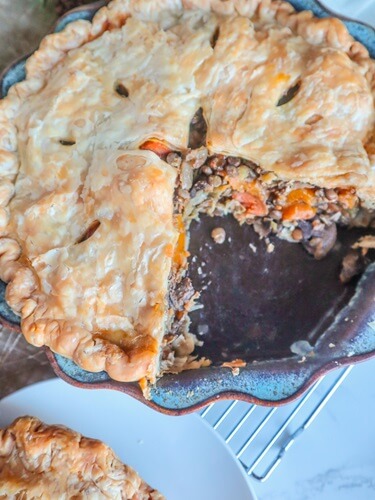
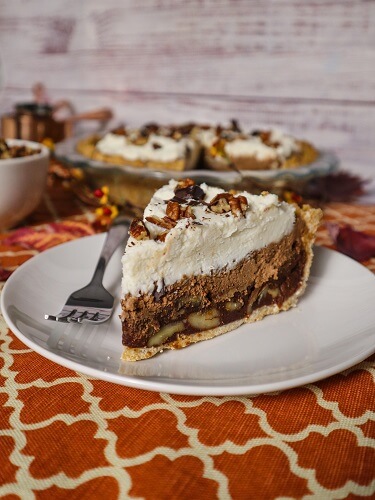
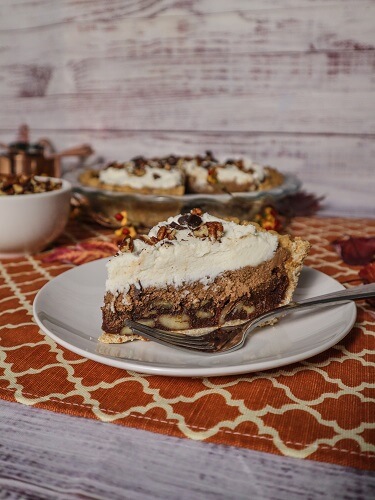
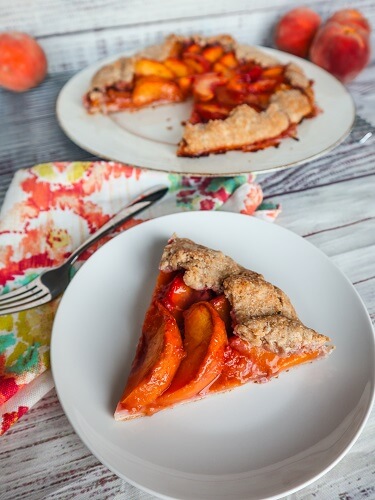
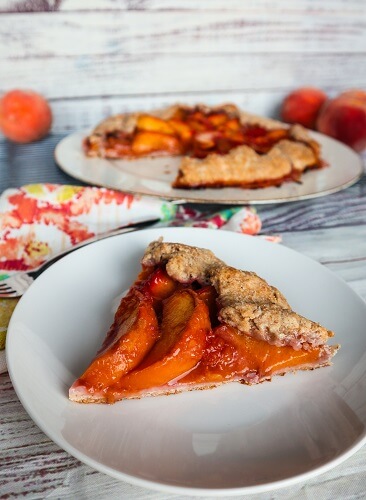
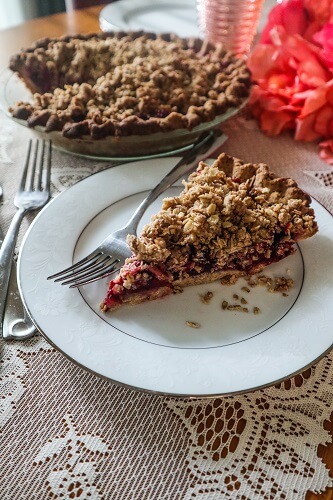
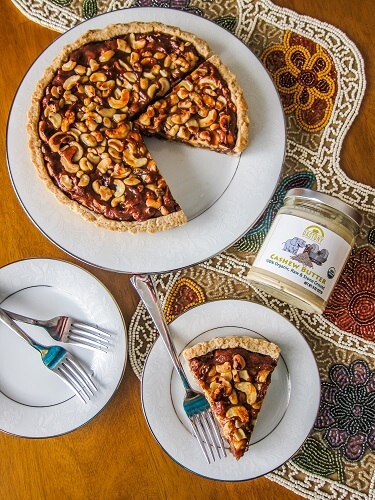
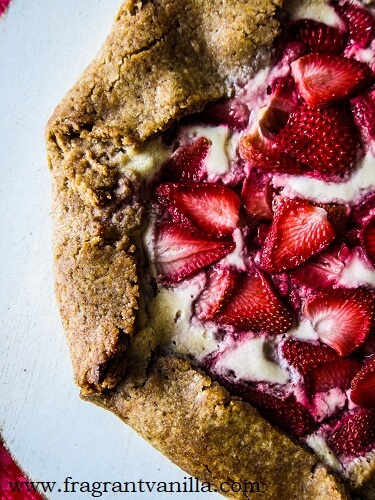
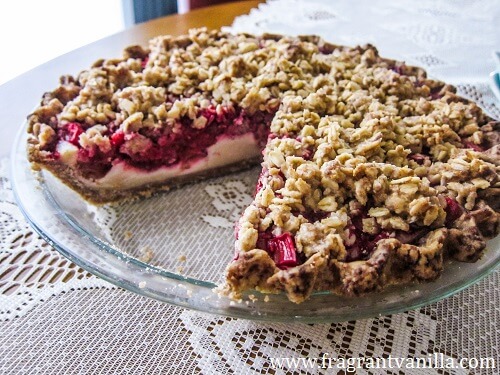
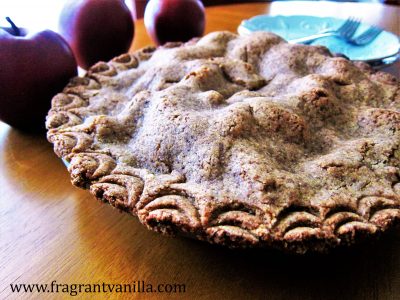
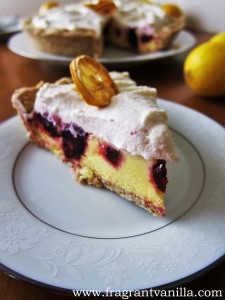
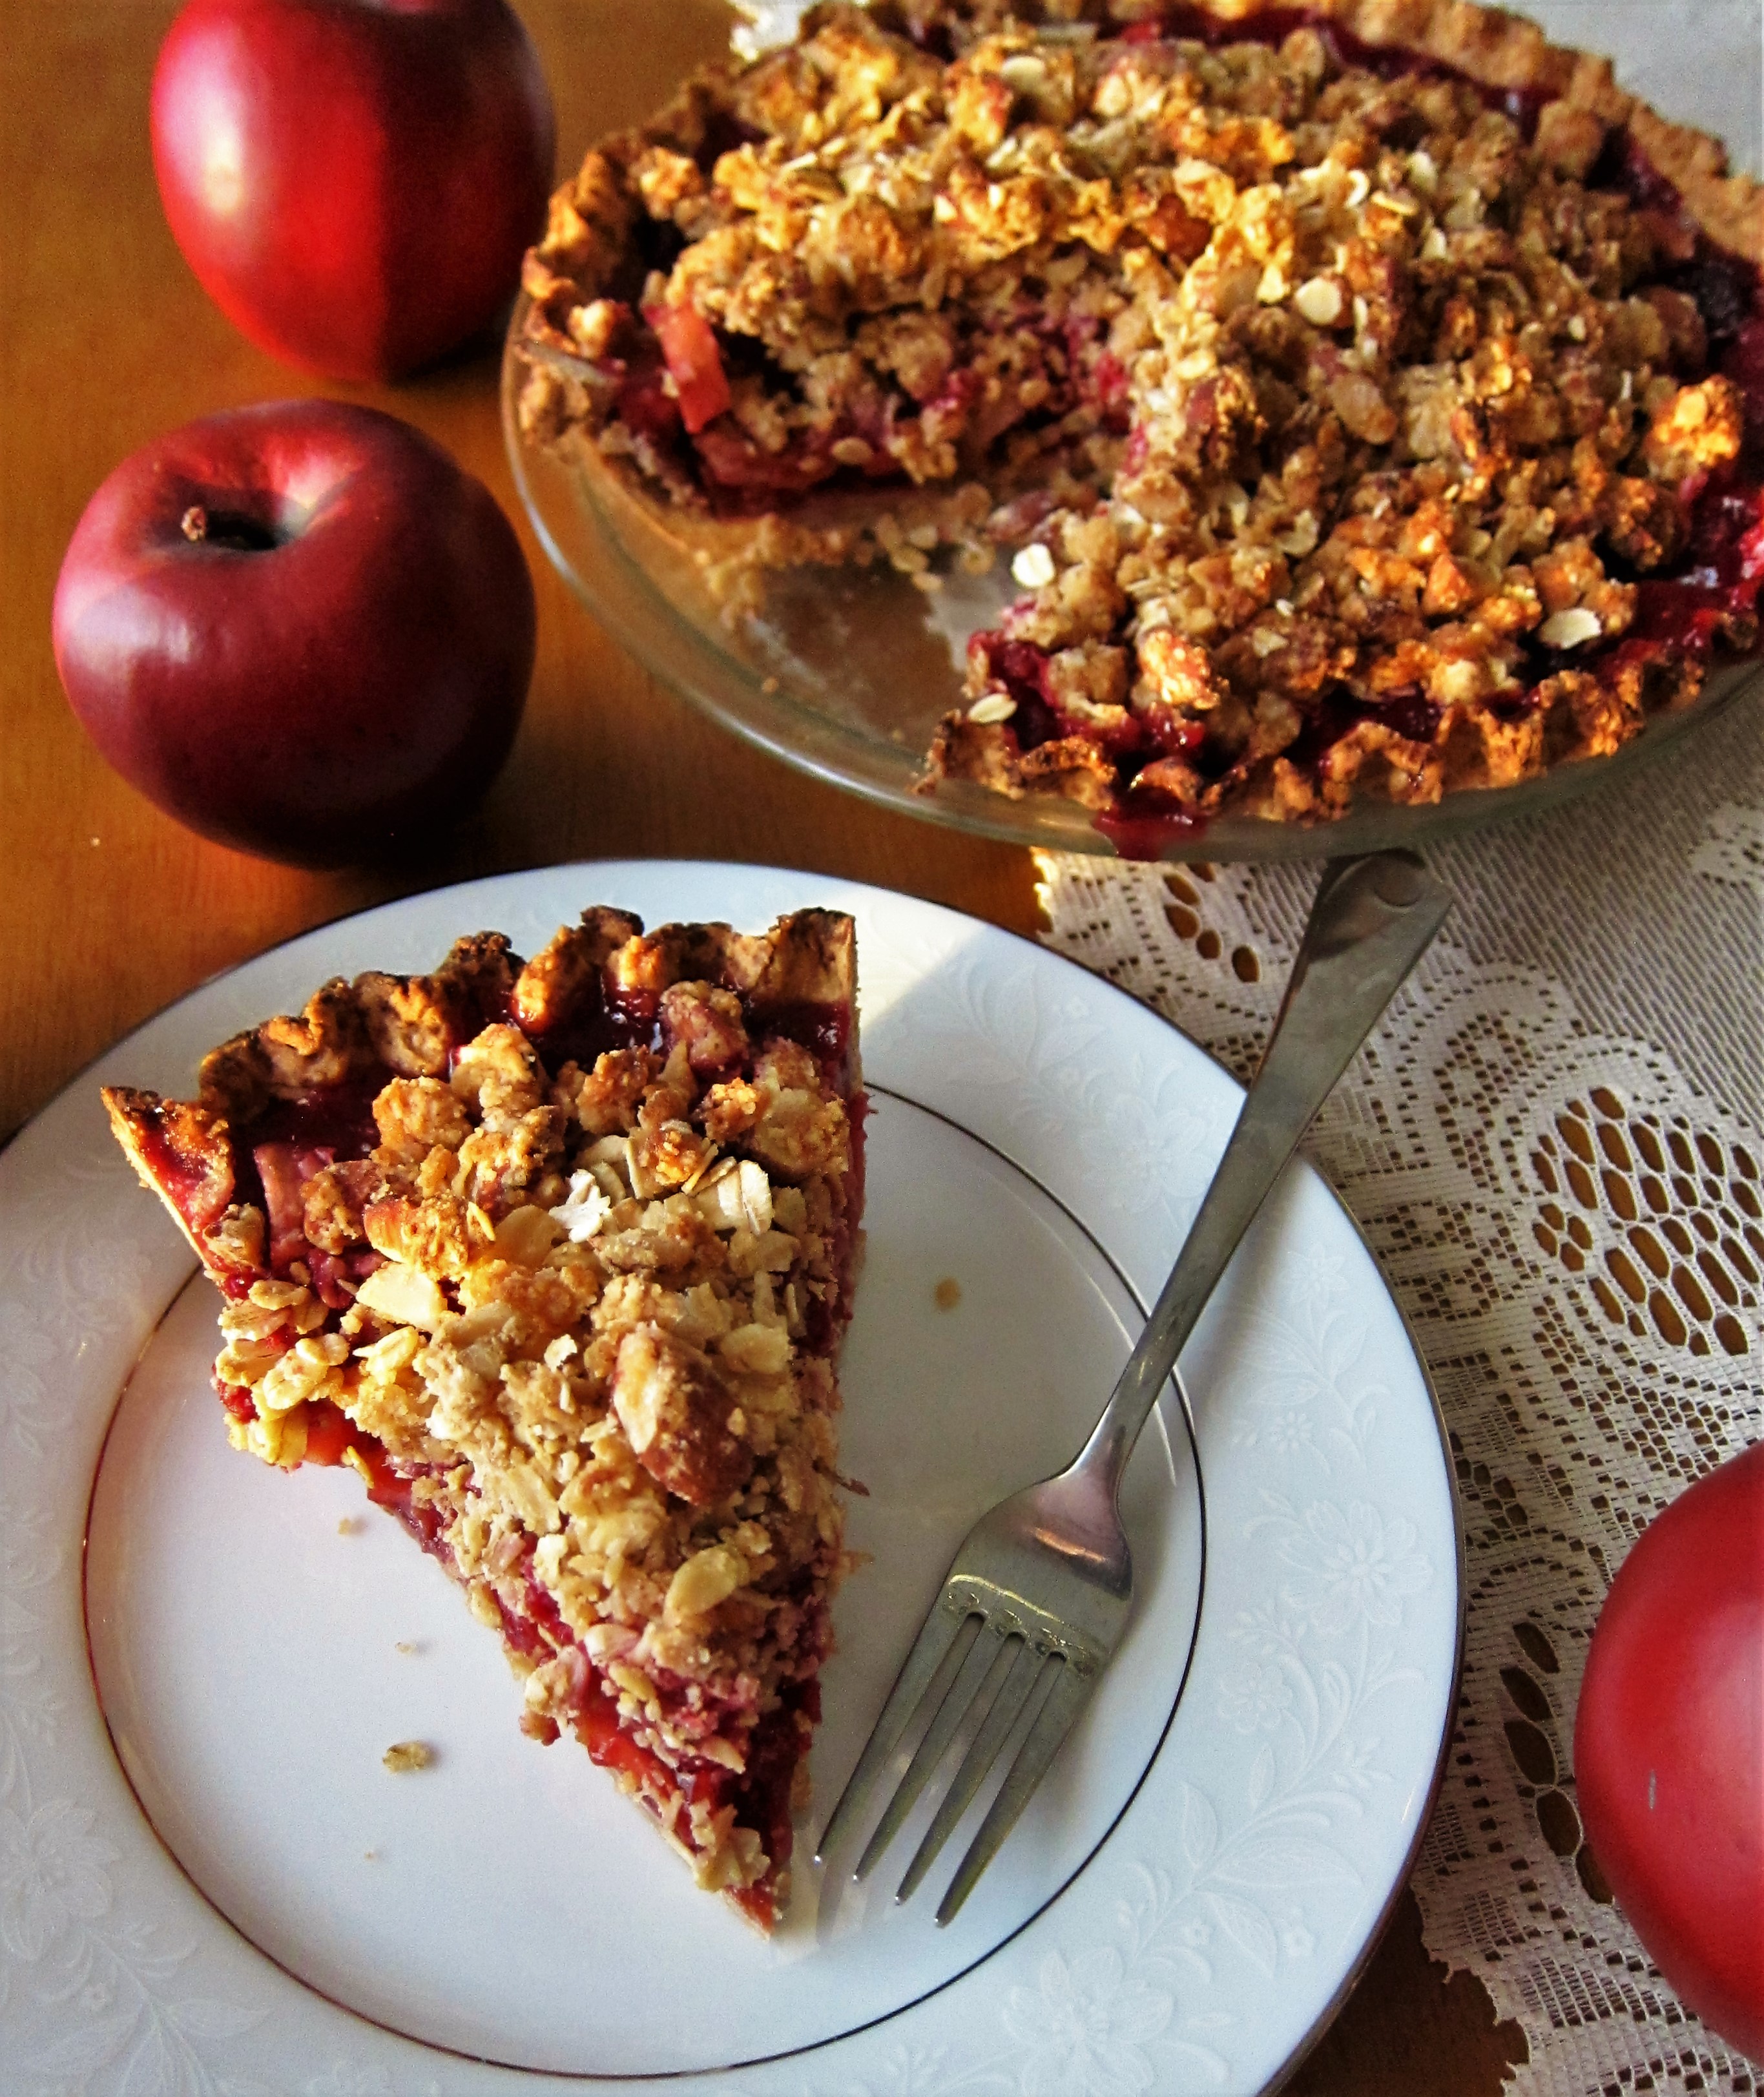
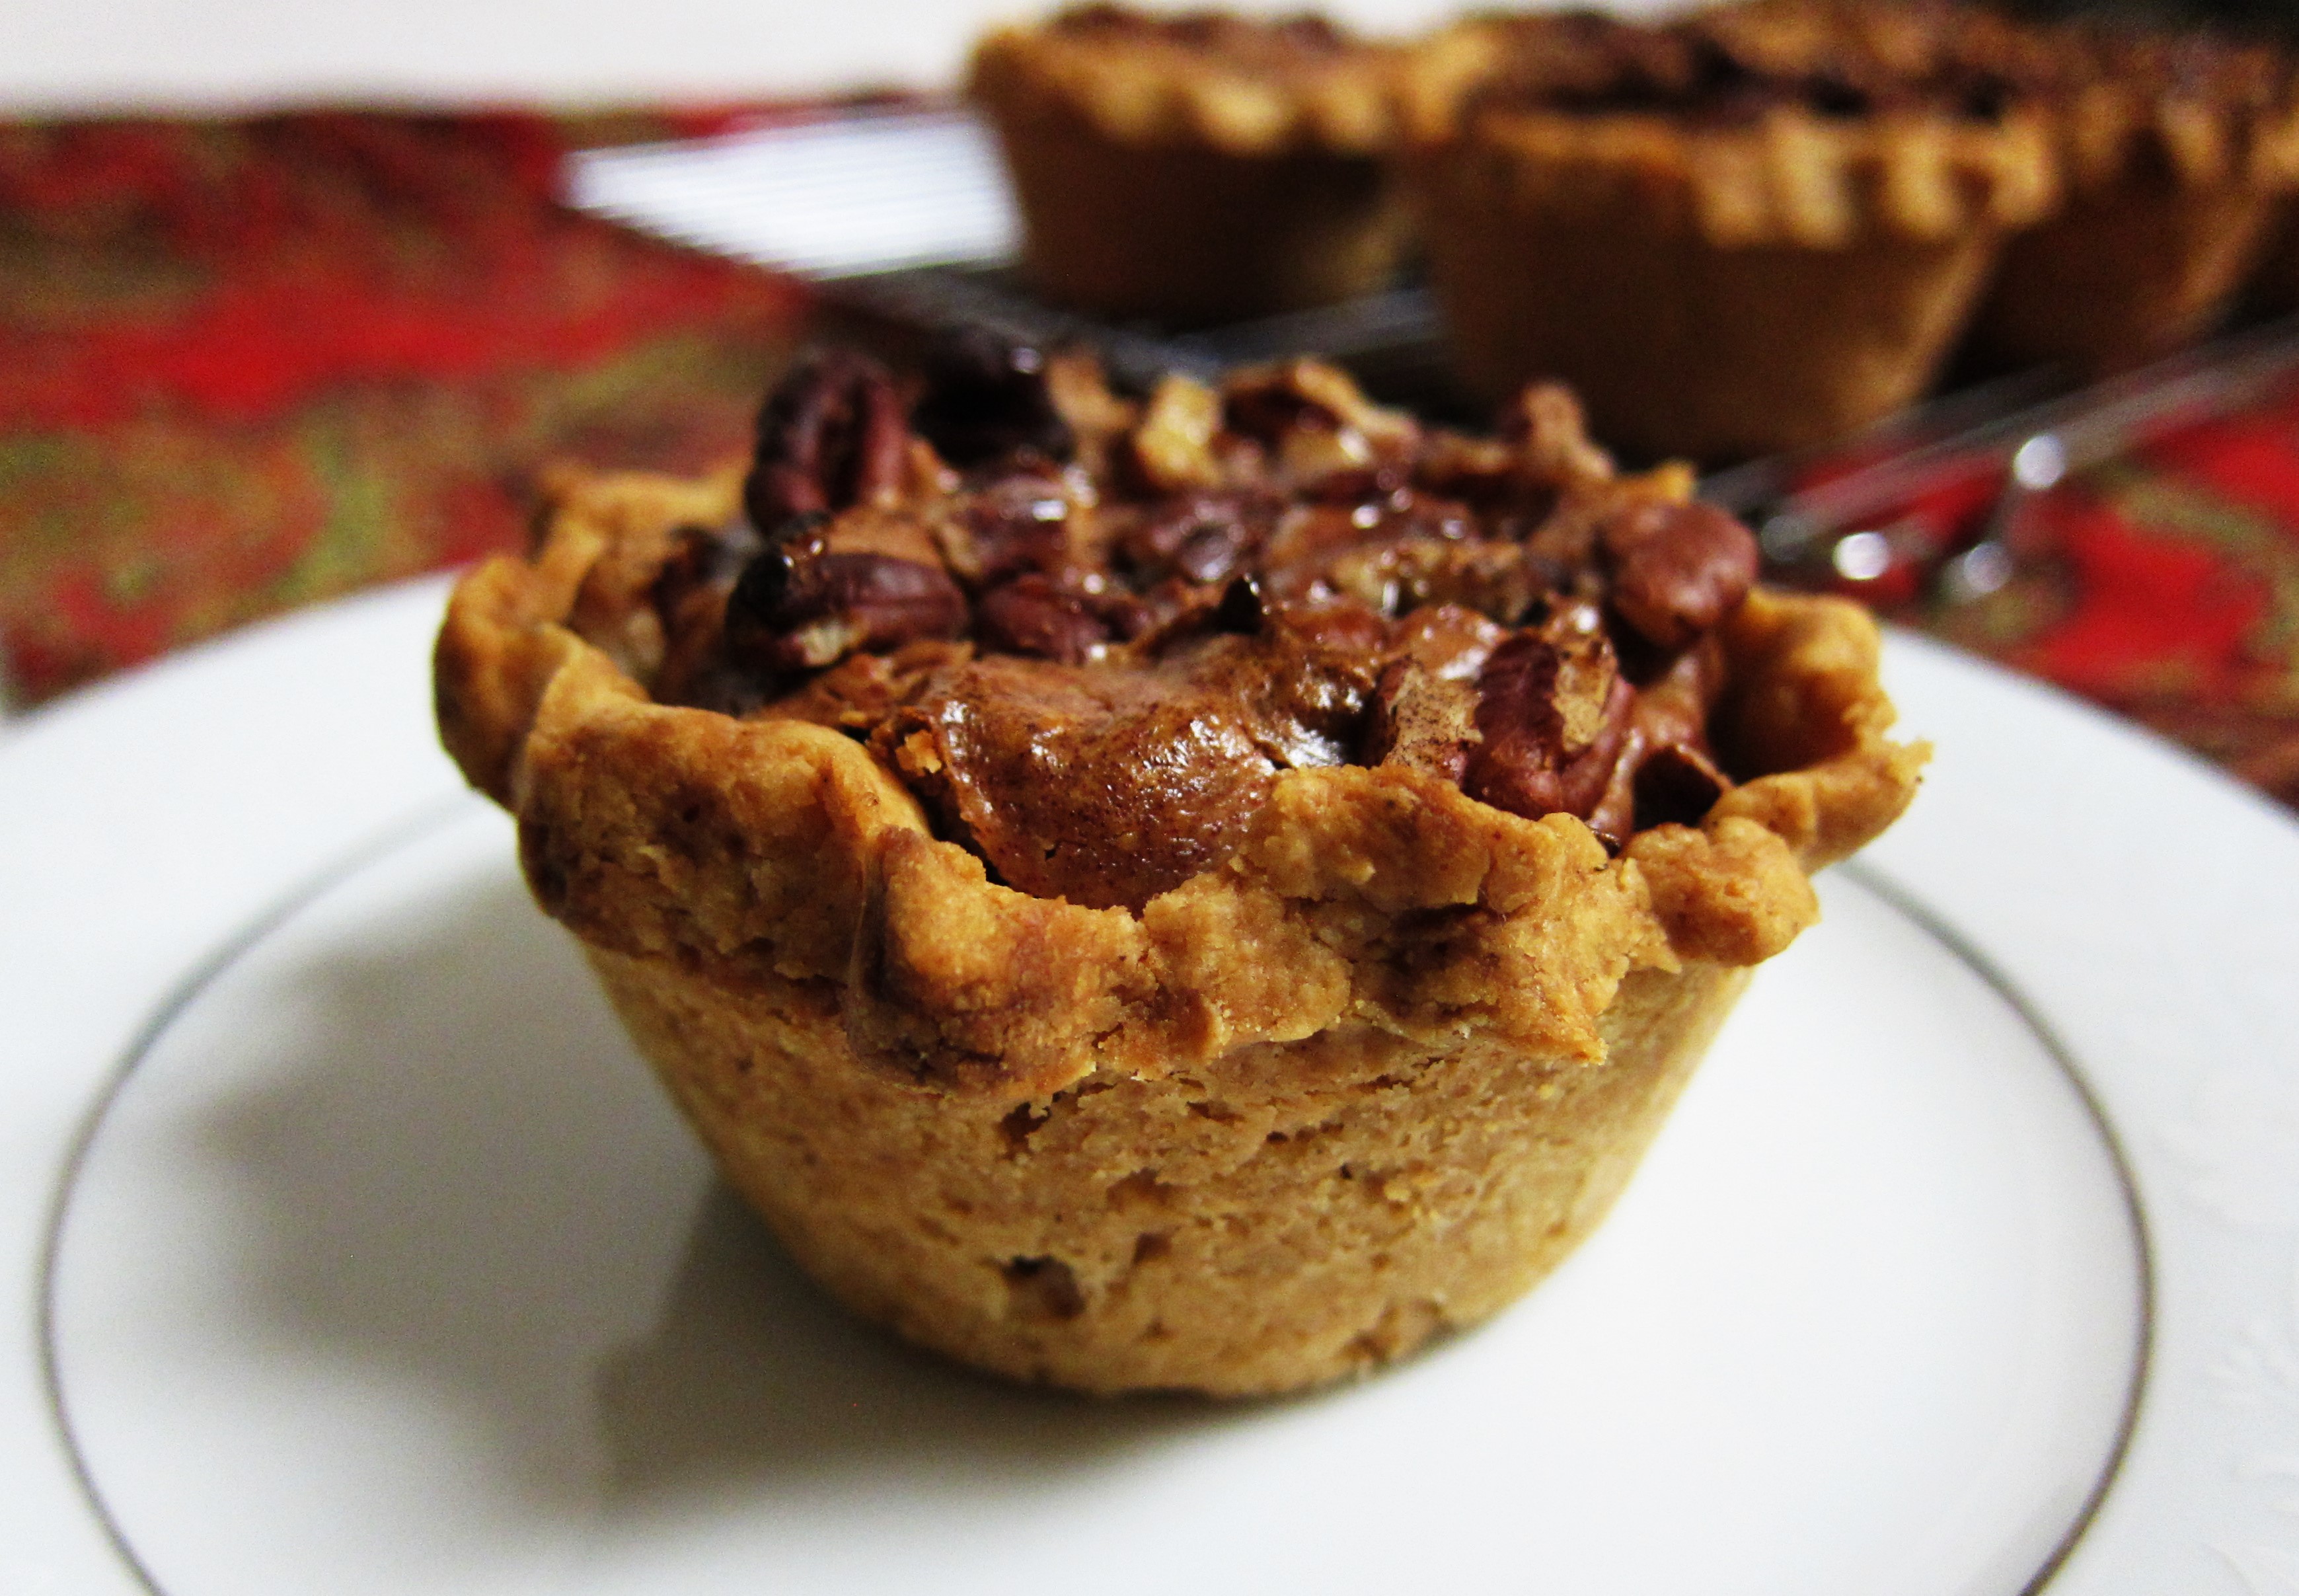
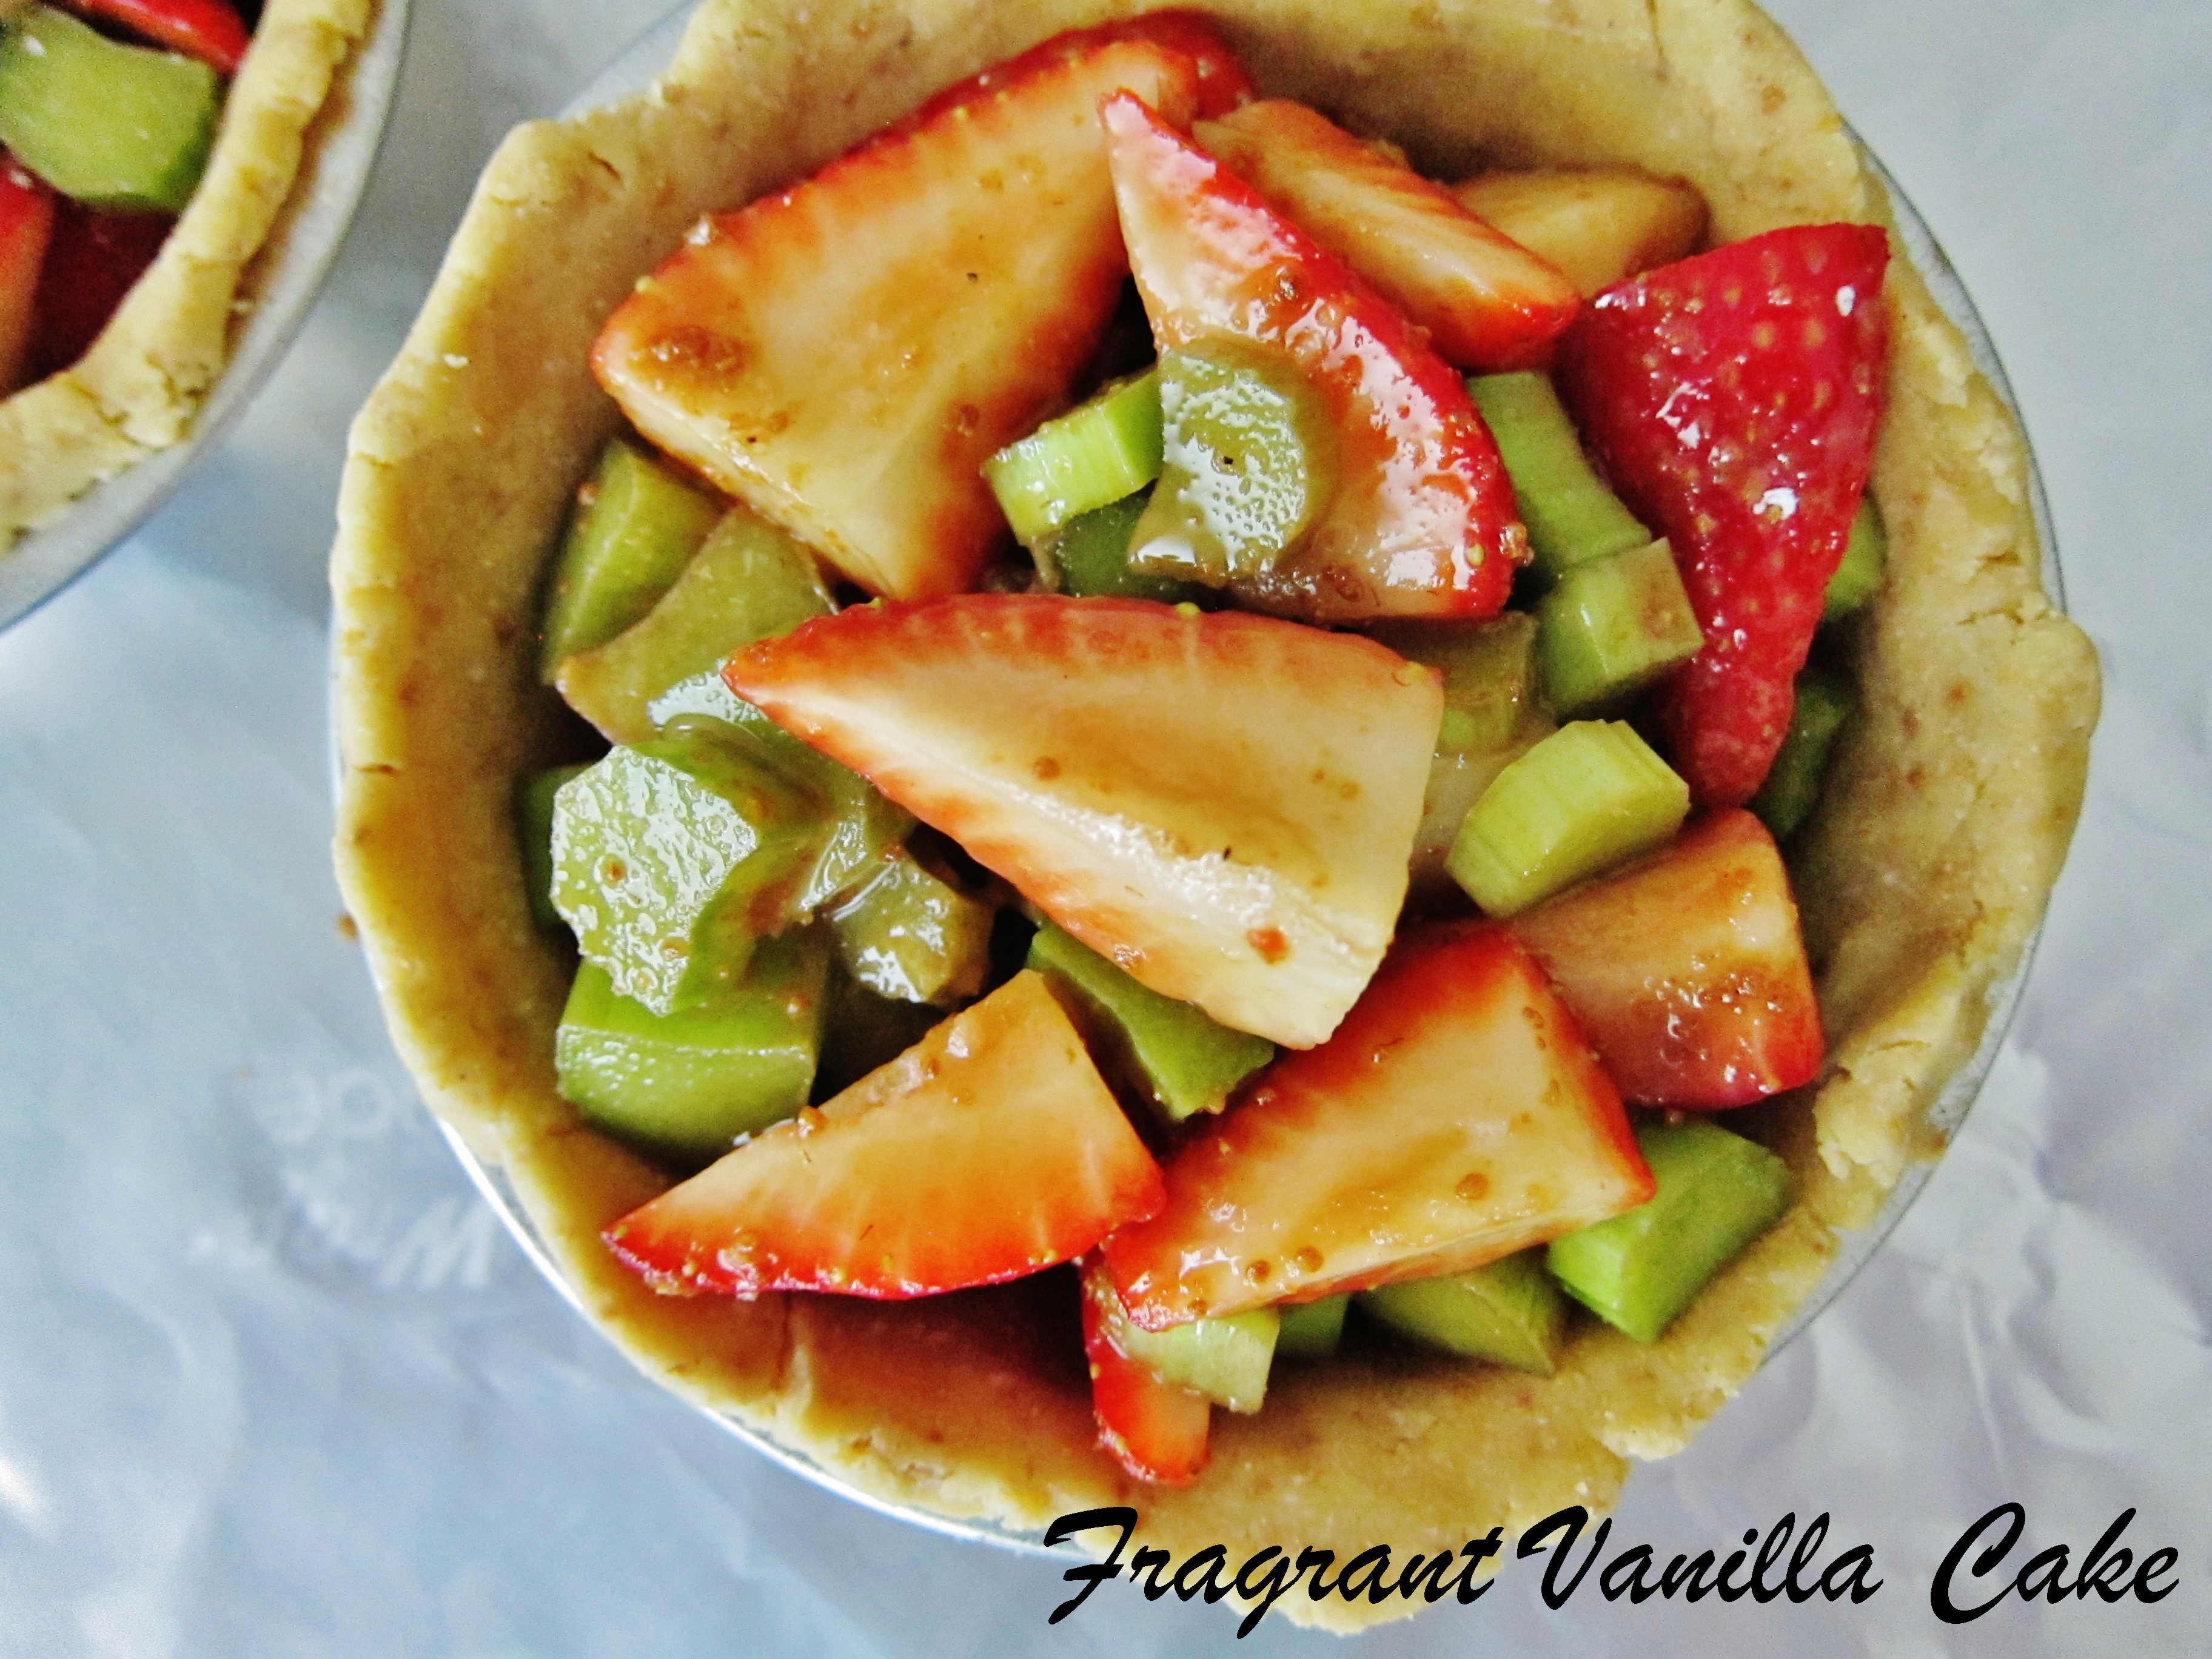
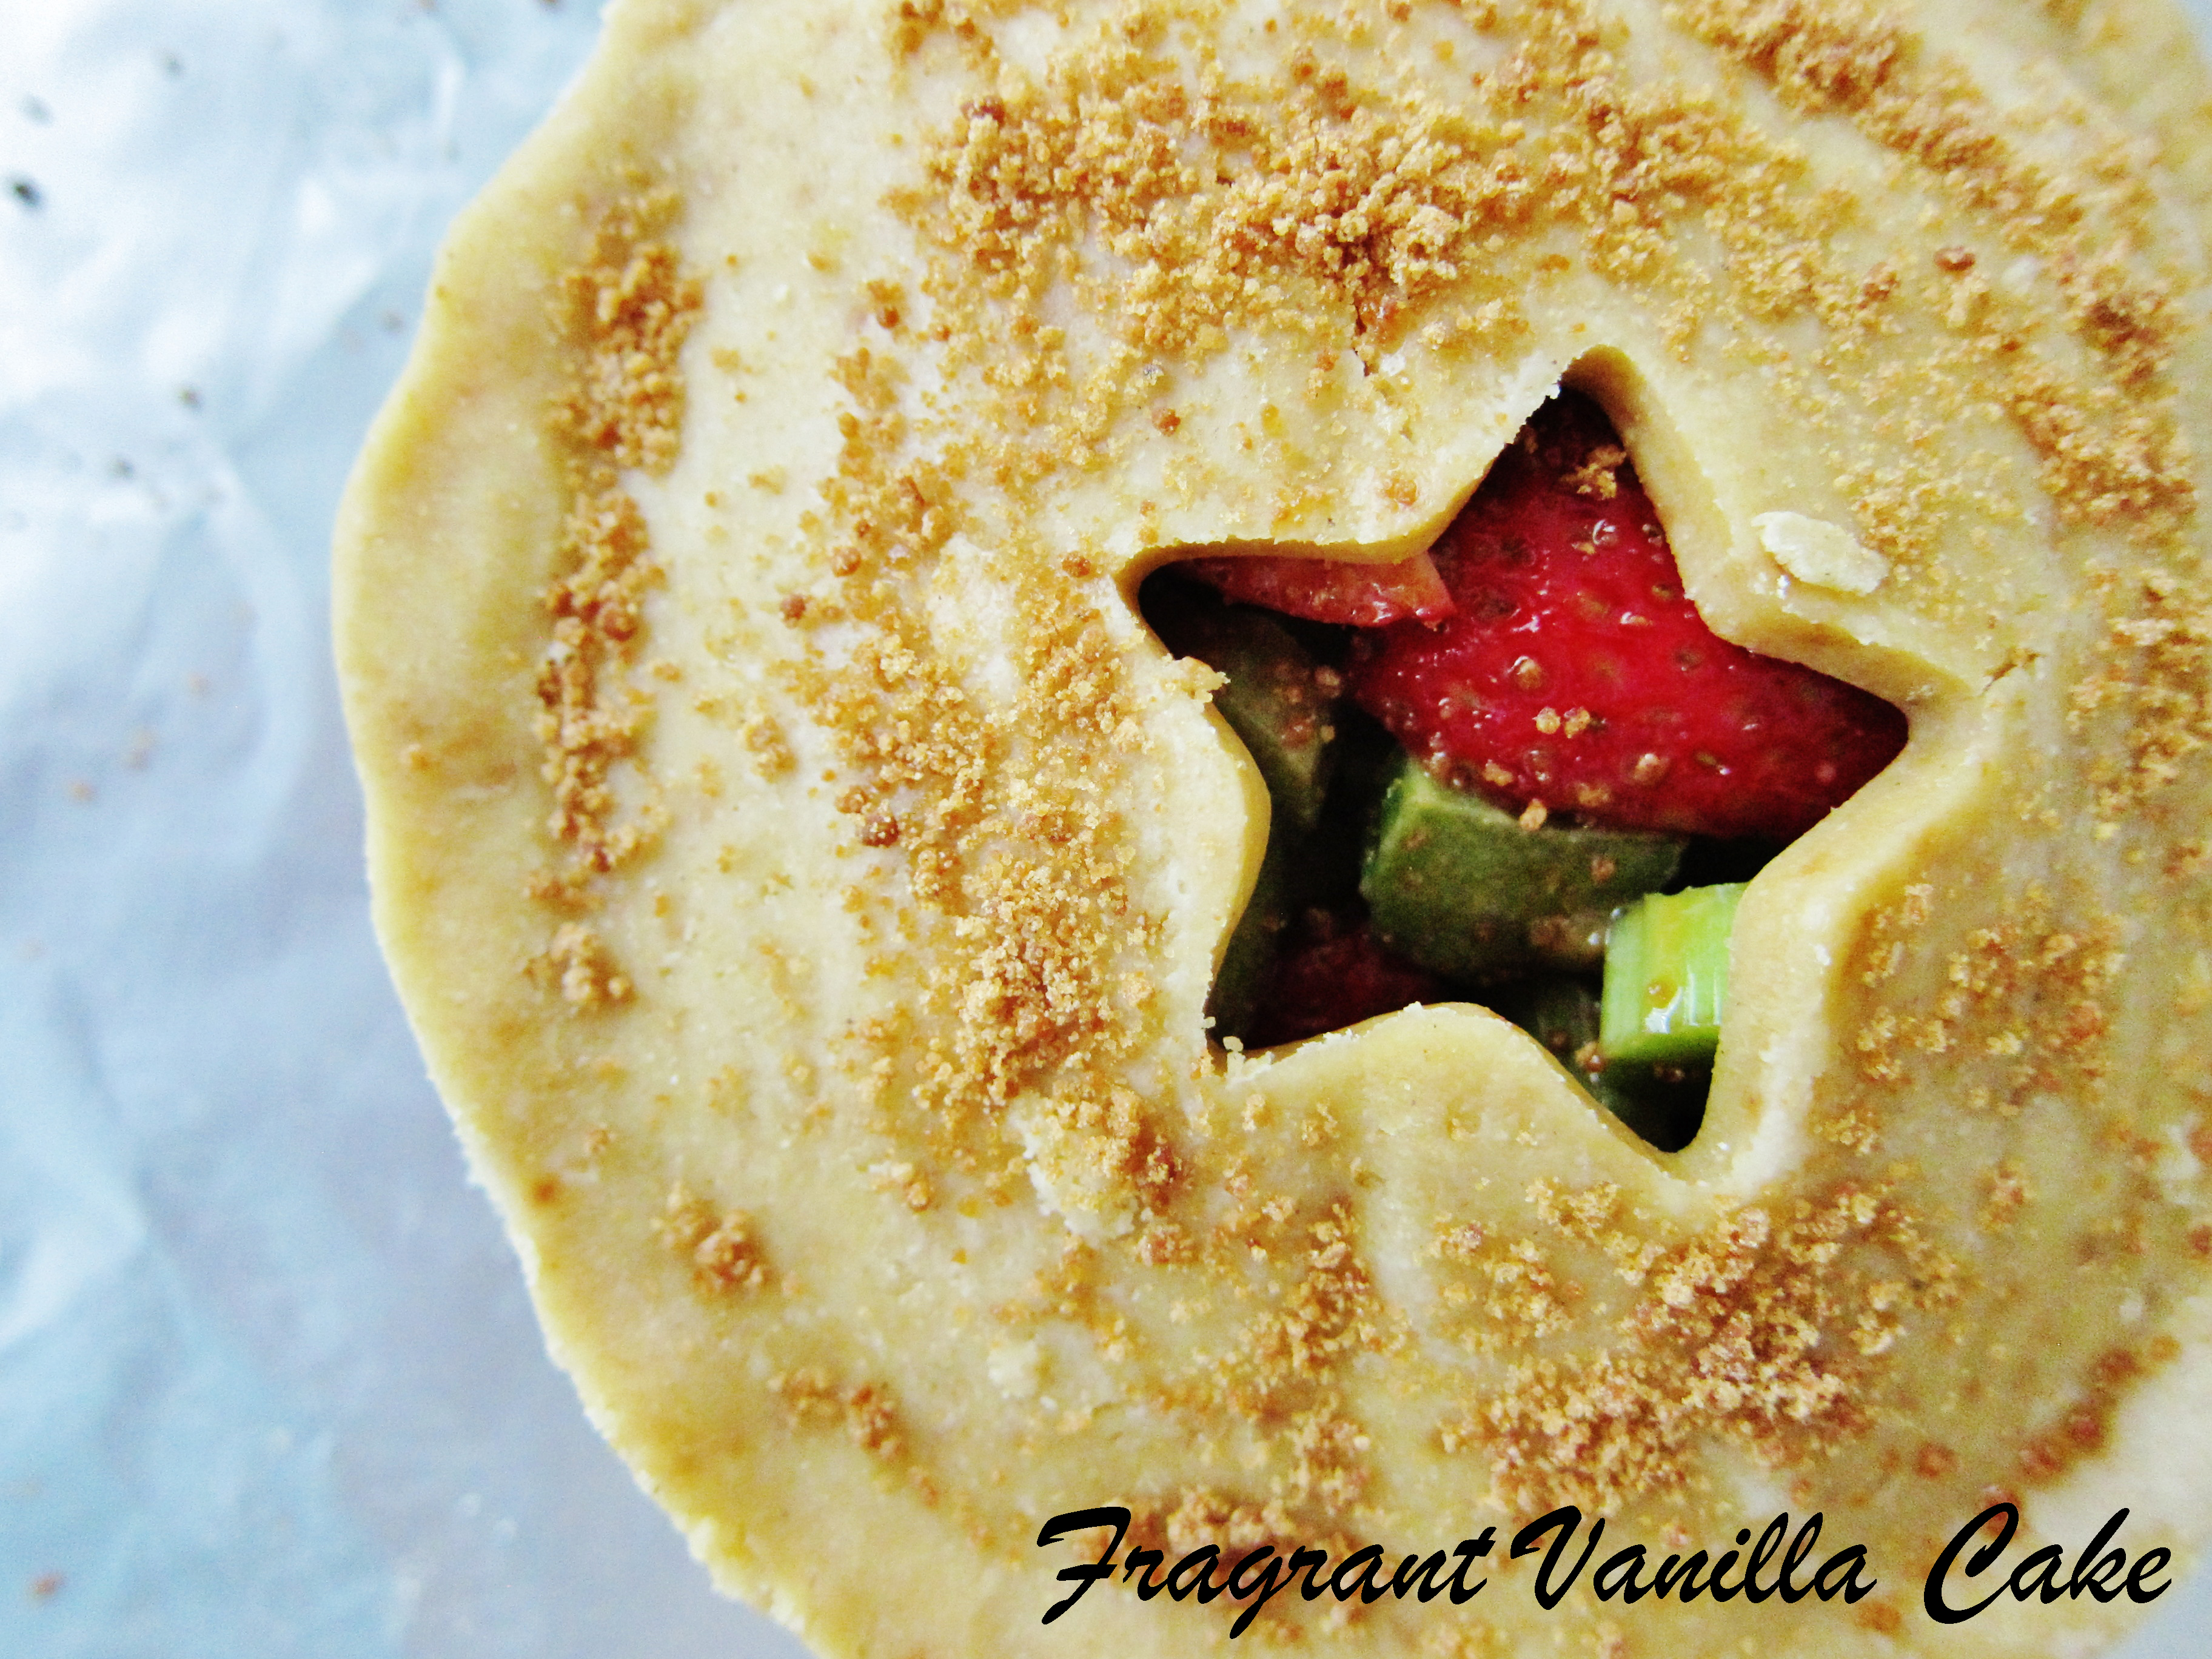
I made my classic vegan butter pie crust for the base, and then to make this even more of a cherry almond pie, I added a layer of vegan marzipan under the filling in the crust. My Mom used to make her apple pies like this sometimes when I was little and it was always such a delicious addition! I make my pies a little different than just throwing them in the oven all assembled to bake a really long time. I sometimes like to cook the filling first, which is what I did here. I cooked the cherry filling on the stove, adding just enough maple syrup and a little sugar to sweeten, and I added vanilla and almond extract at the end. It was so delicious, I could not wait to add it to the pie!
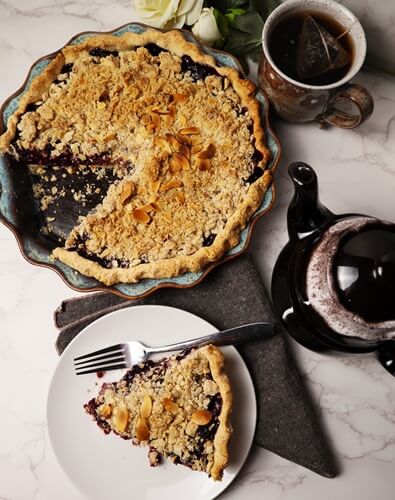
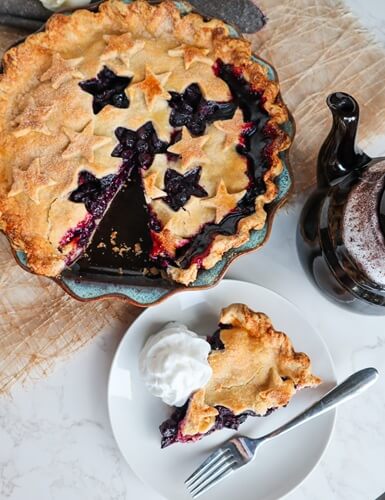
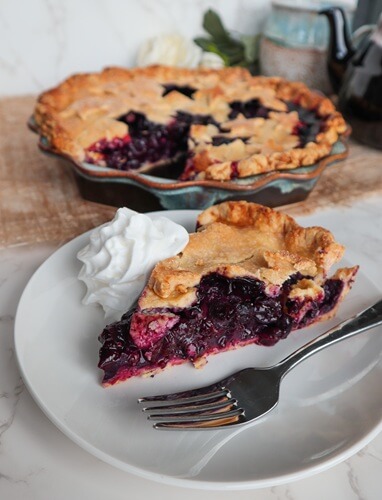
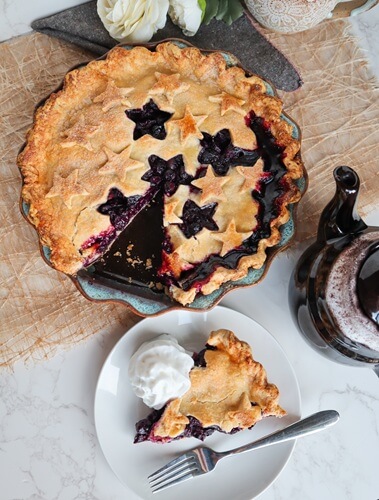
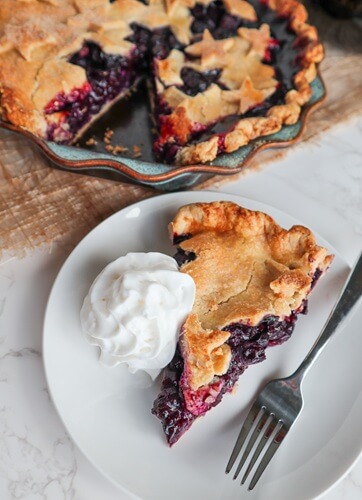
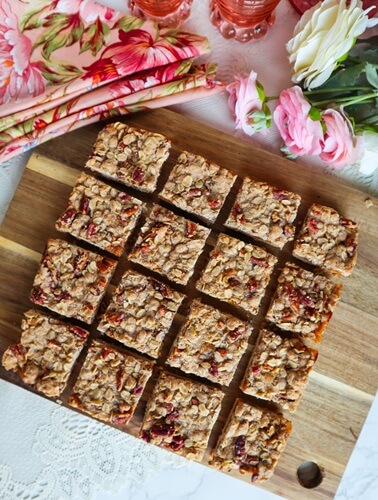
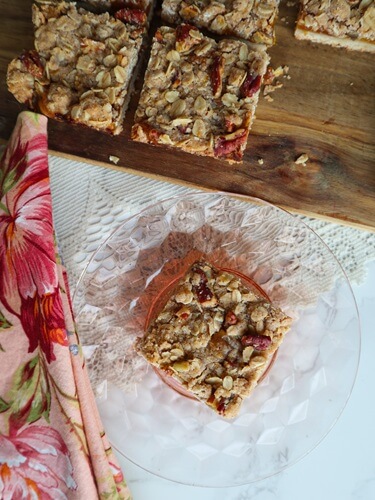
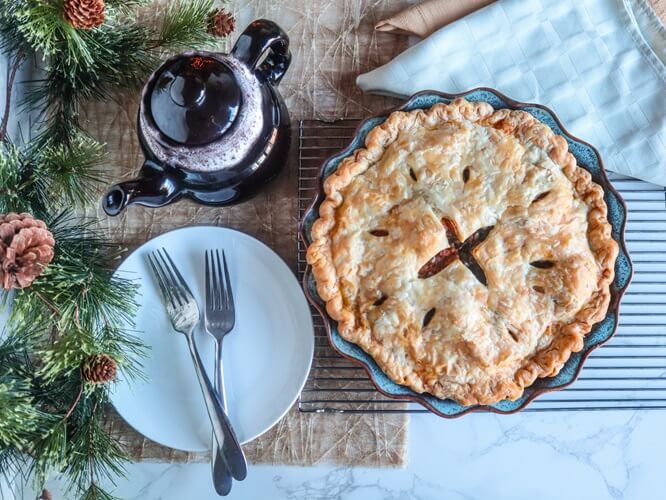
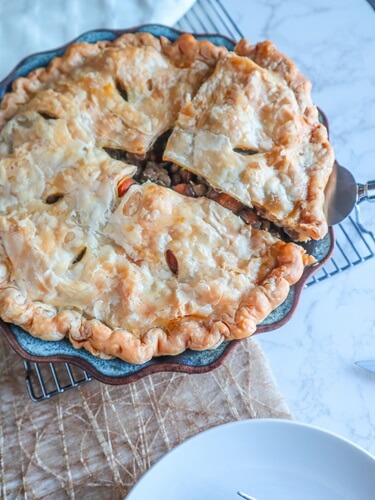
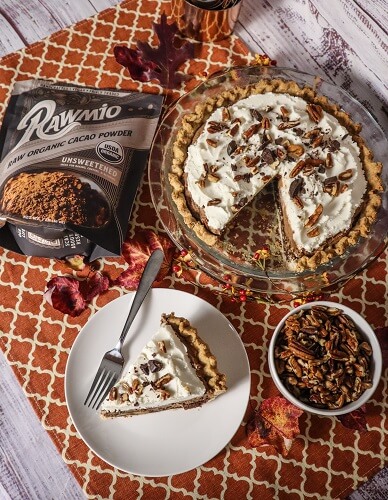
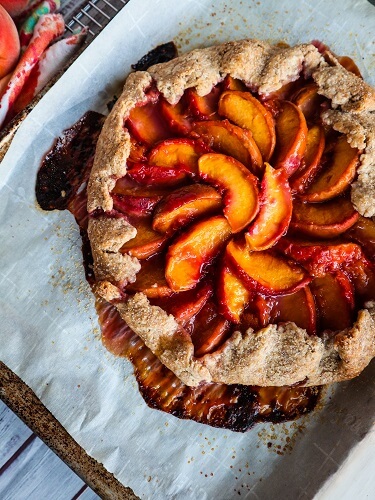
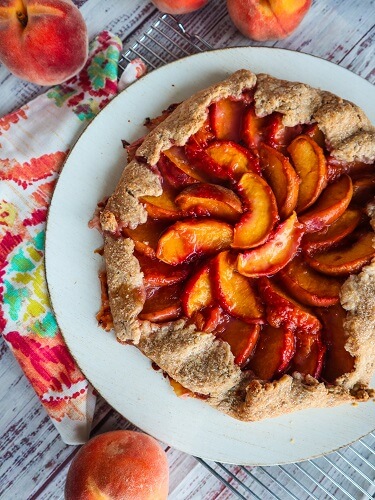
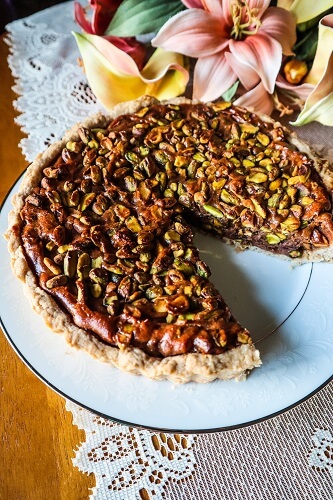
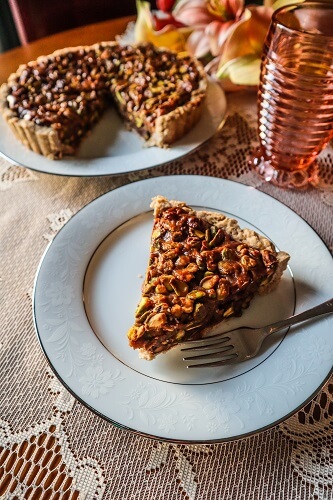
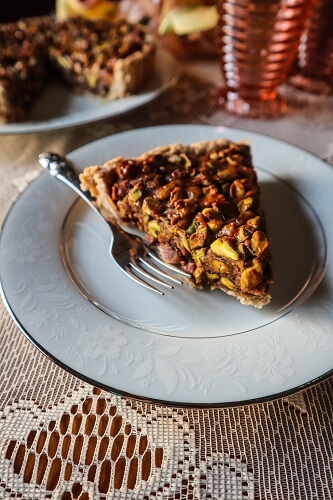
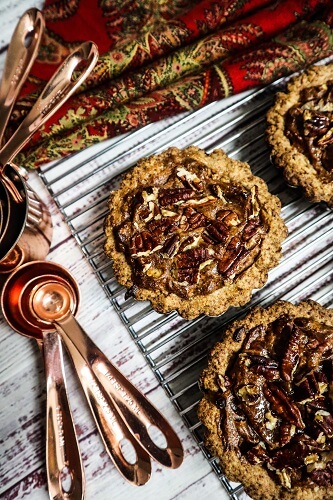
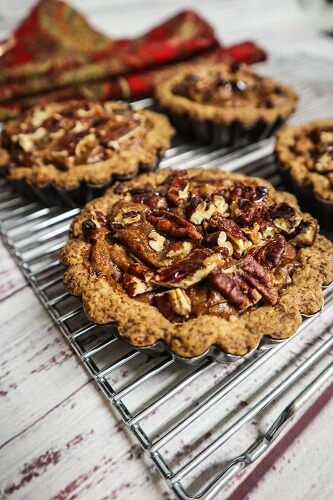
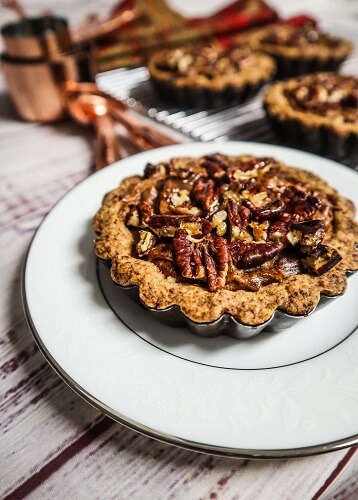
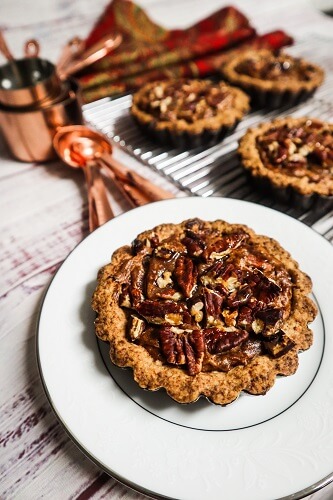
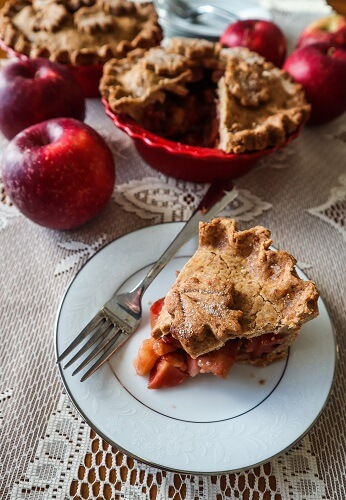
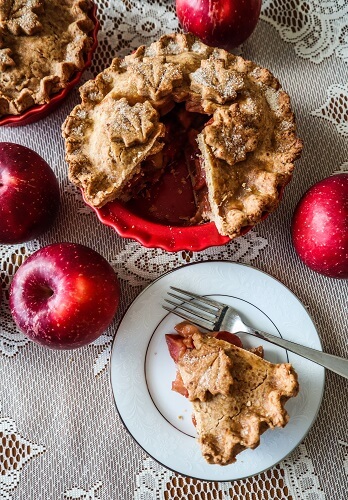
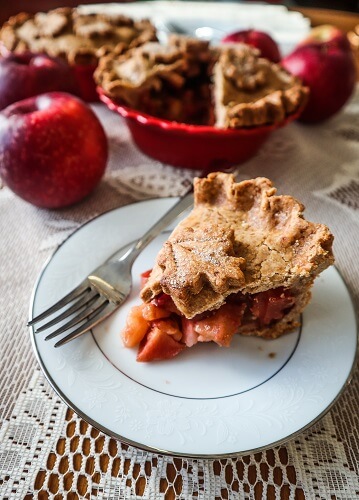
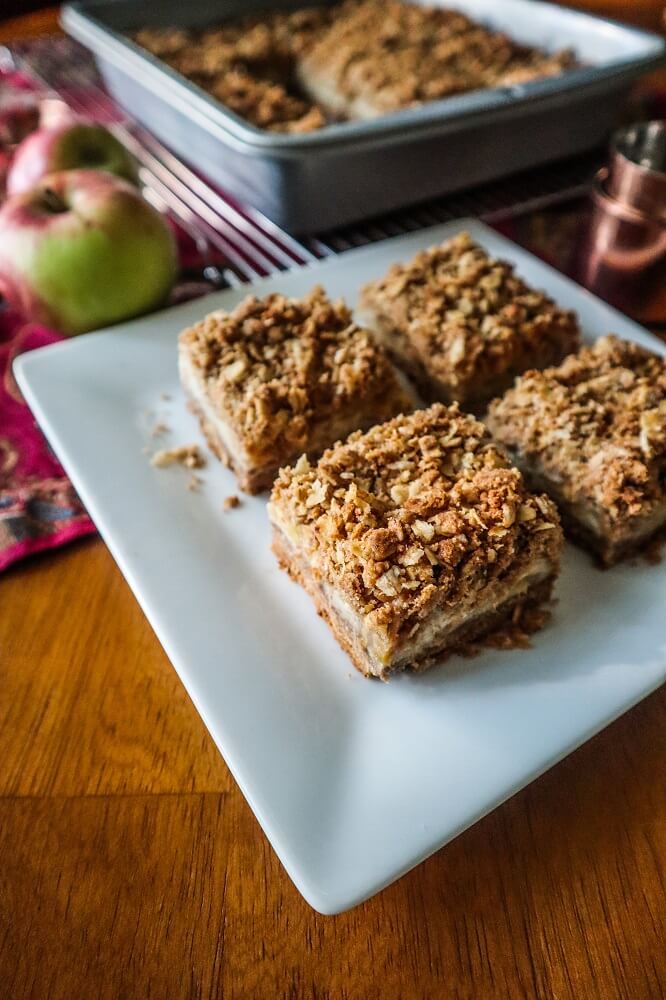
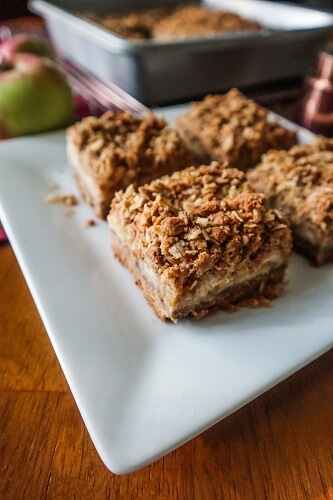
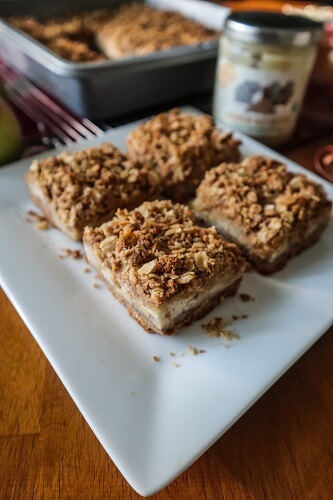
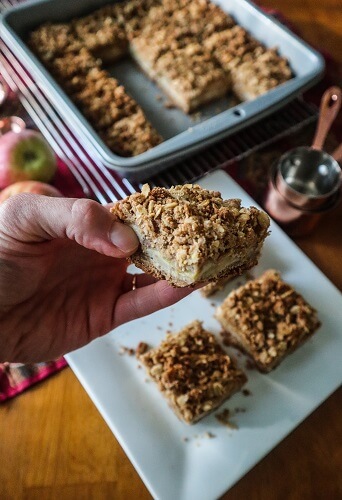
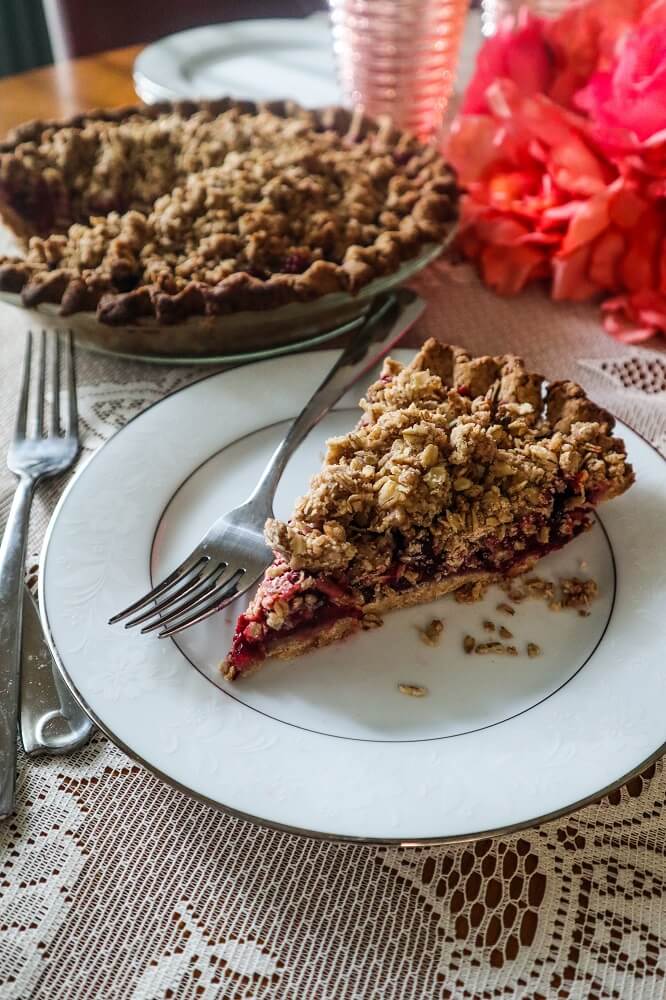
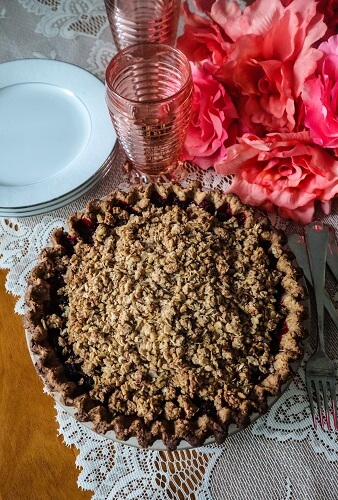
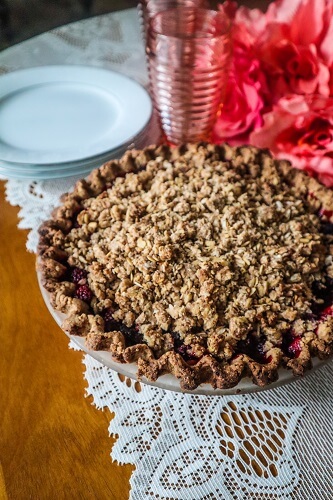
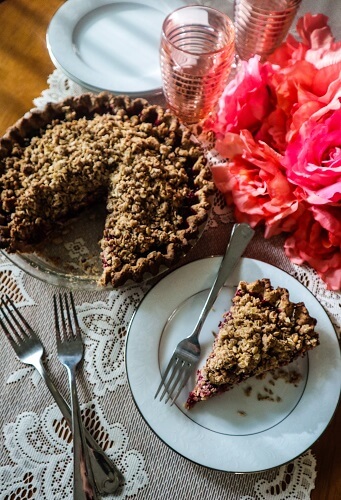
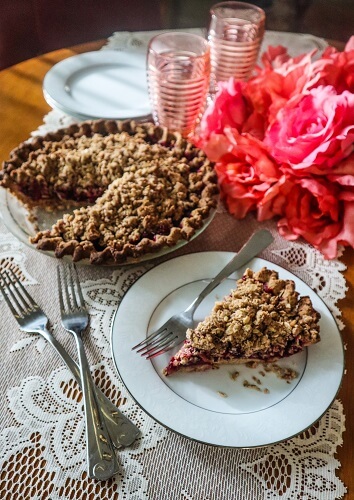
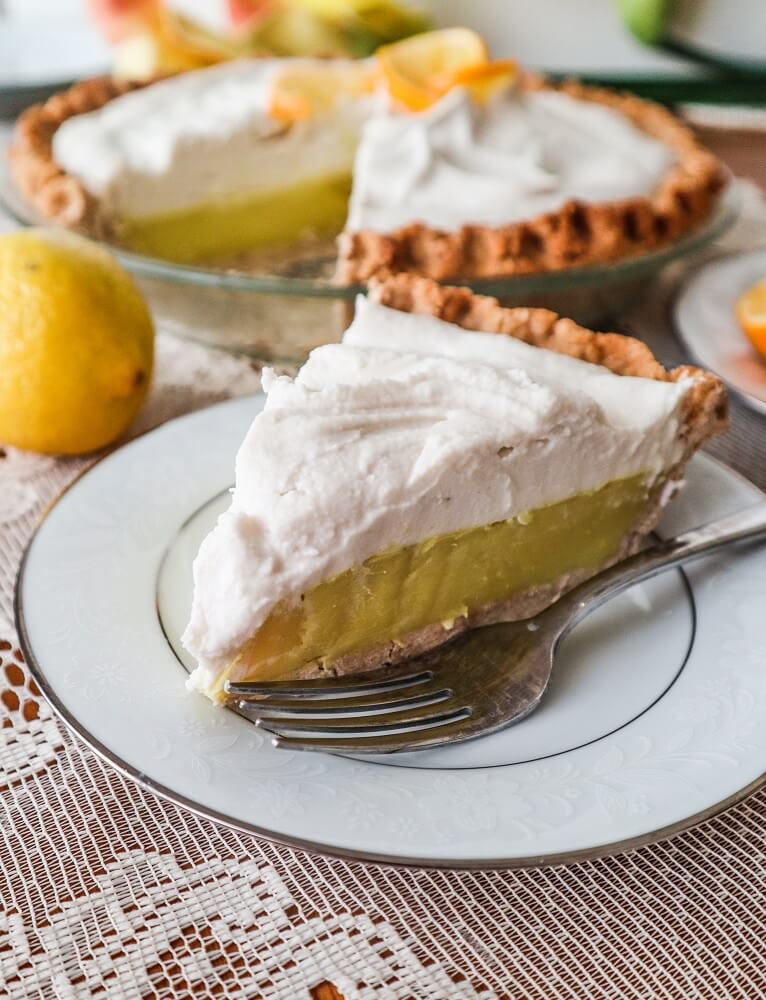
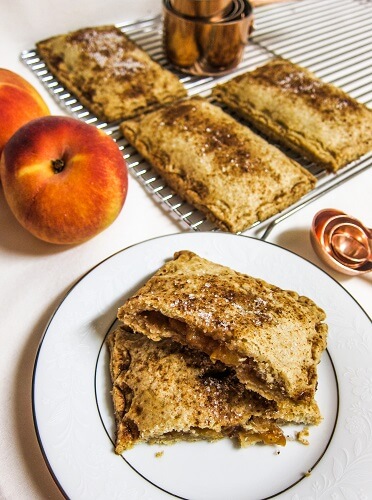
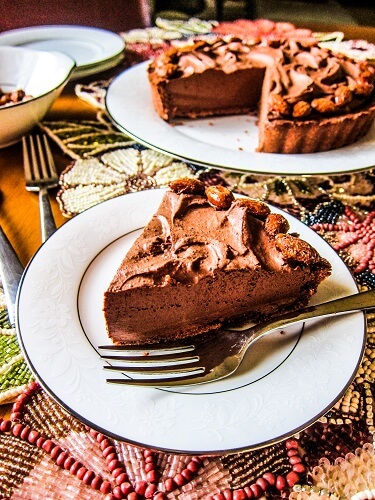
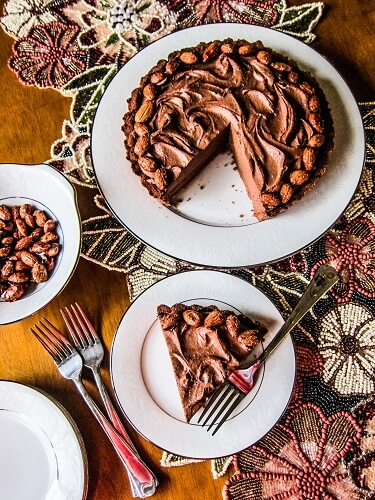
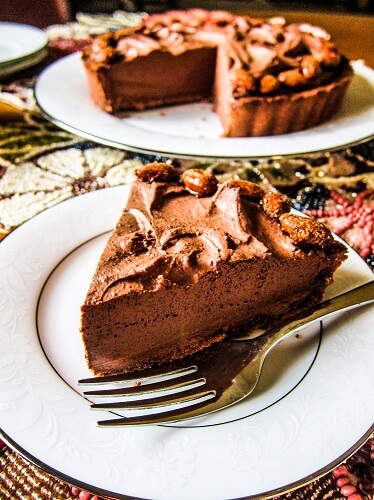
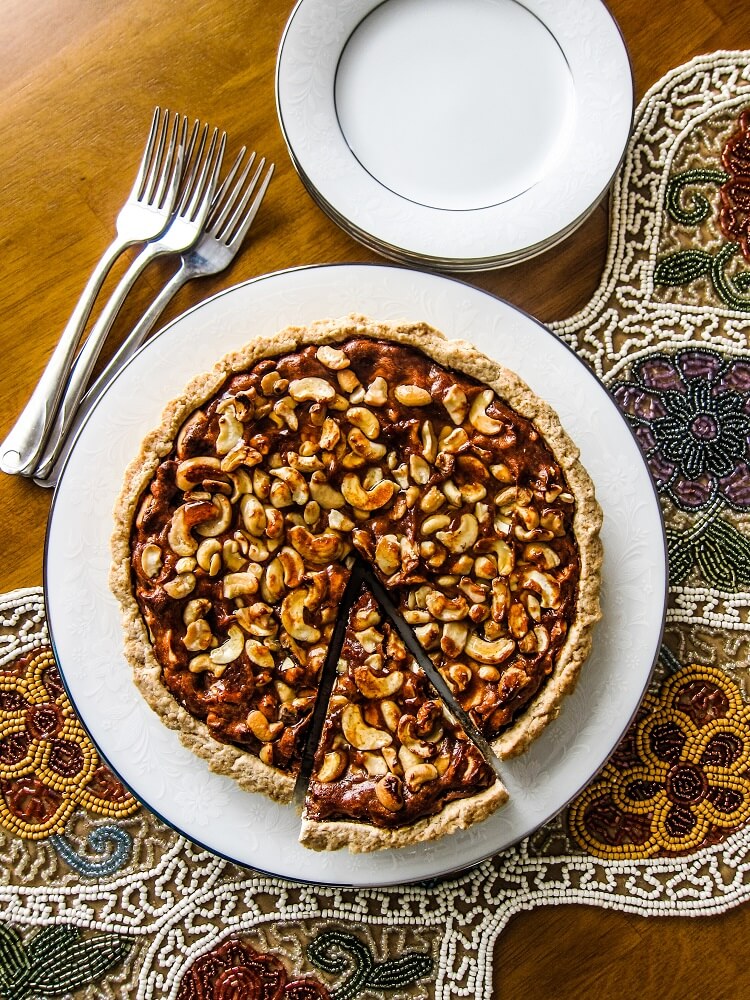
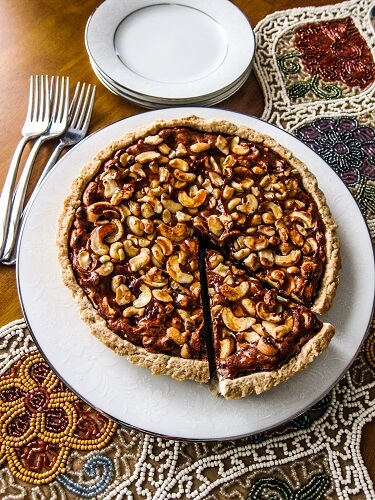
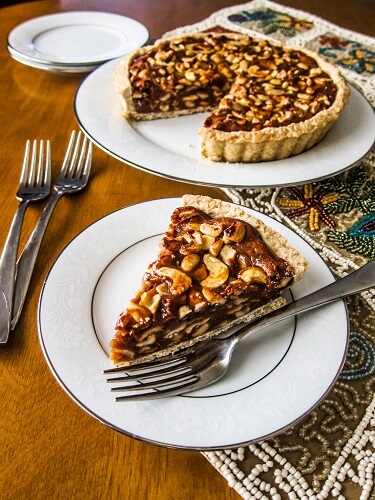
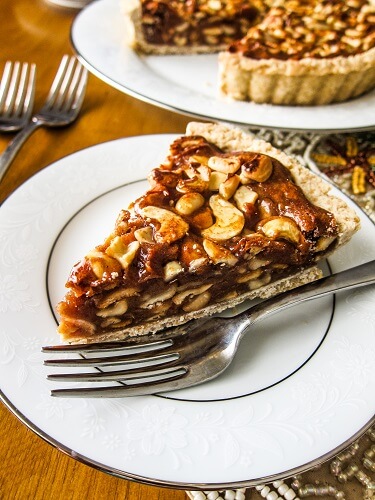
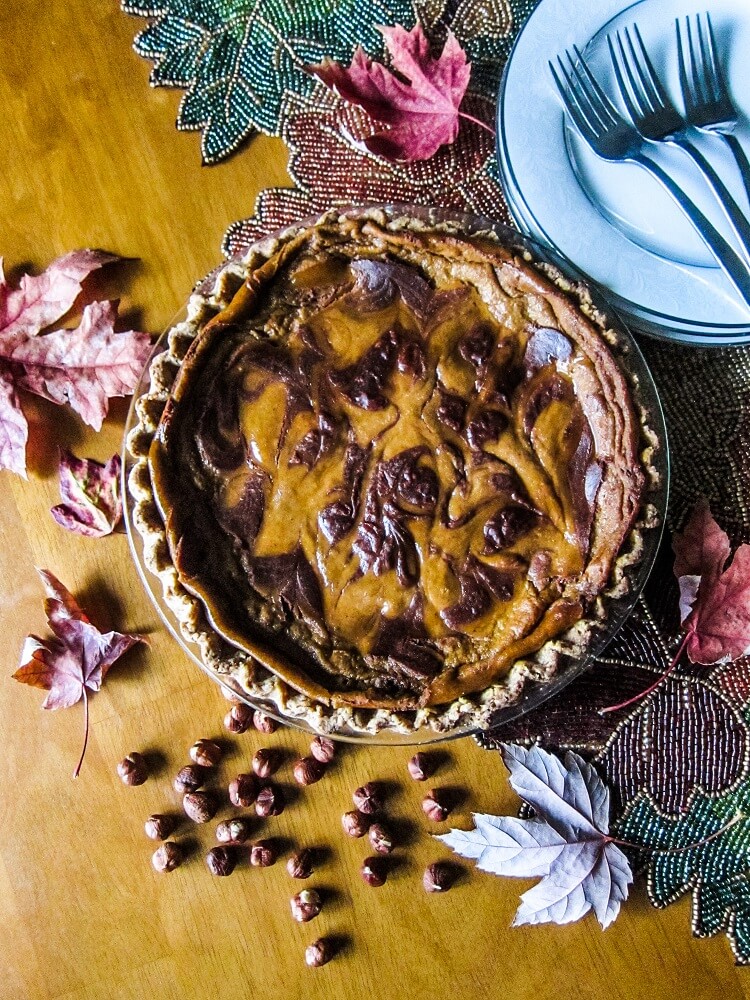
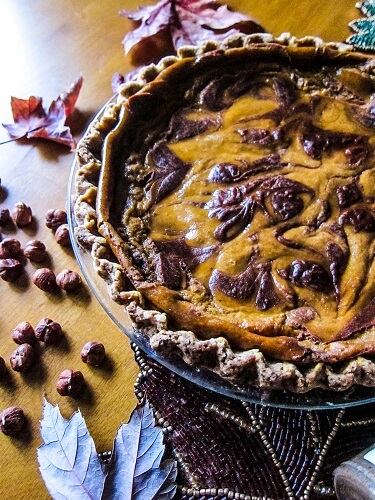
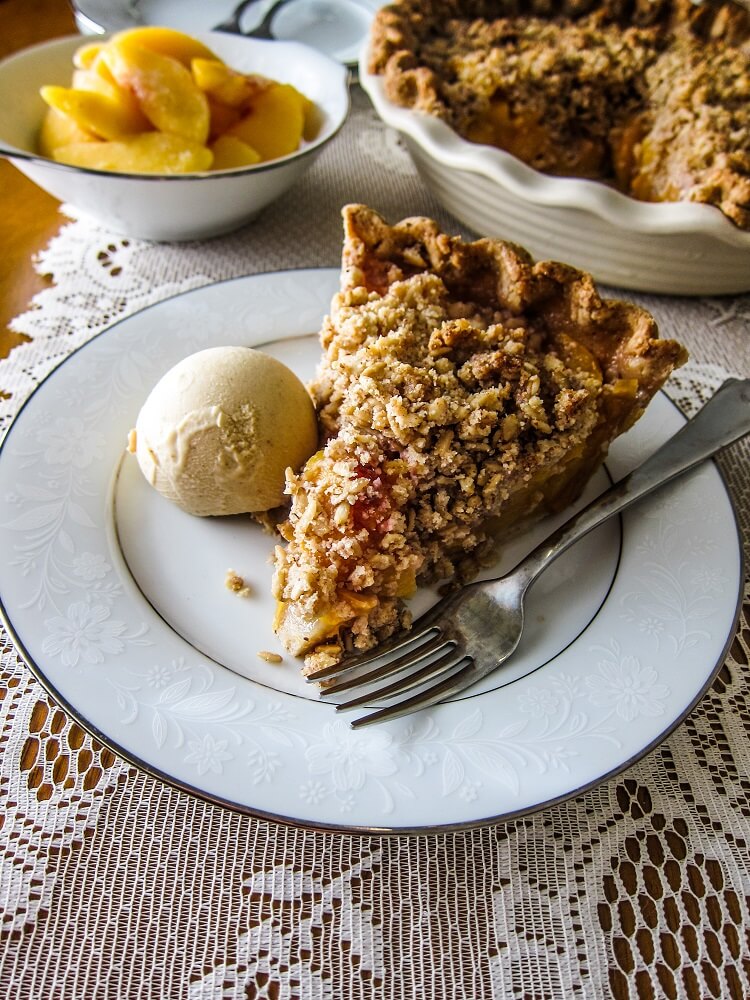
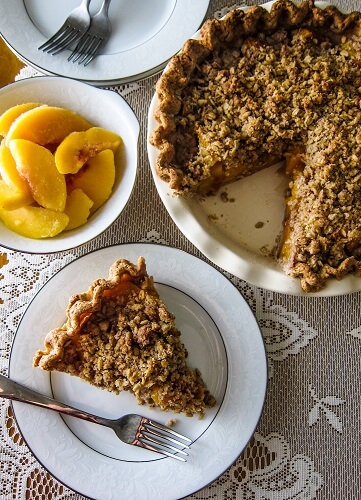
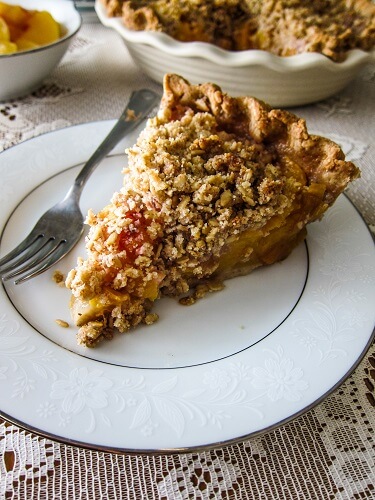
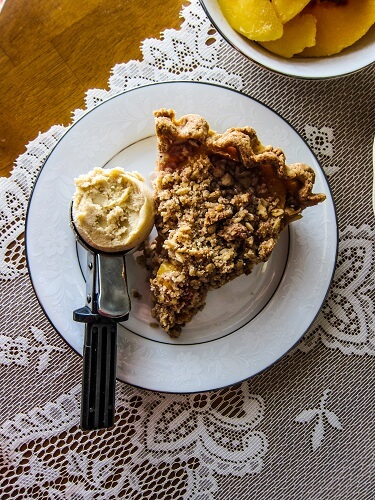
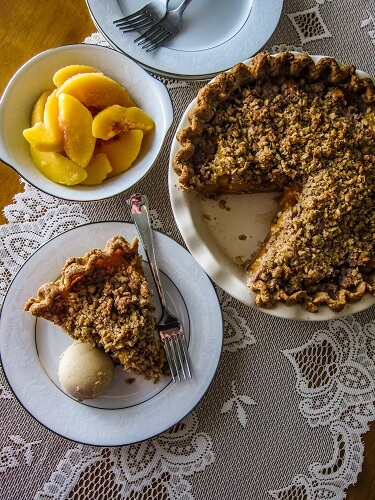
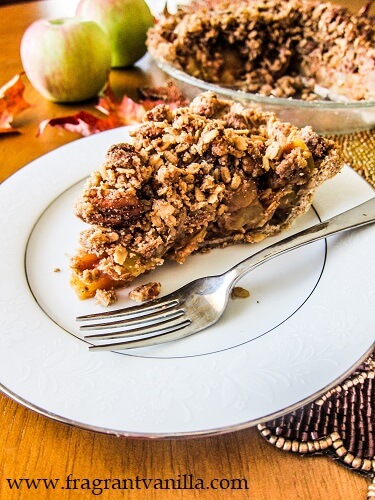
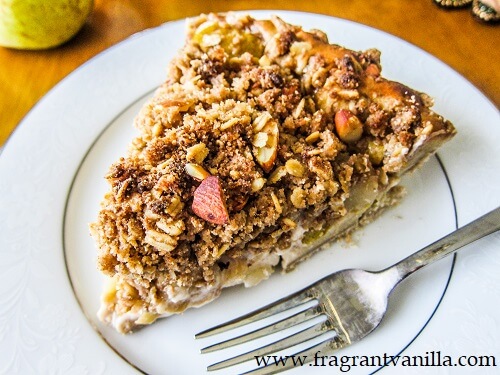
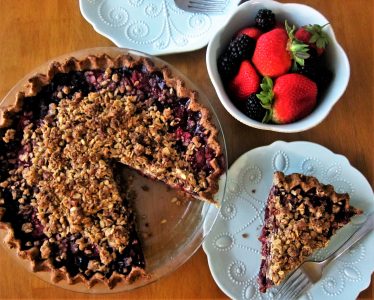
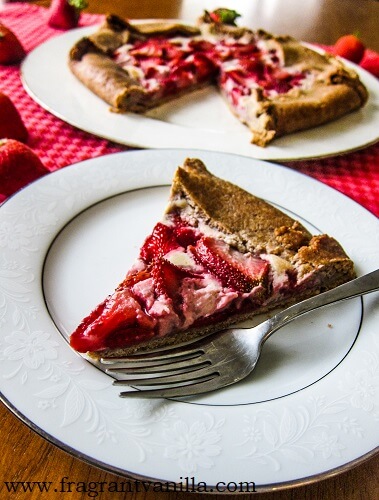
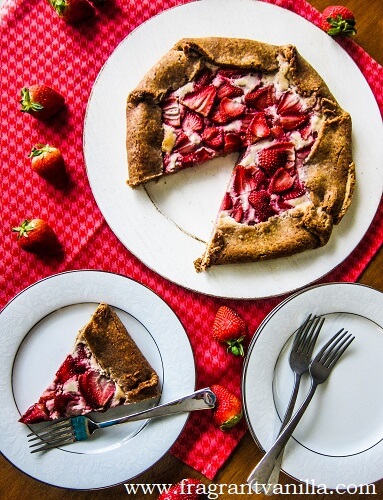
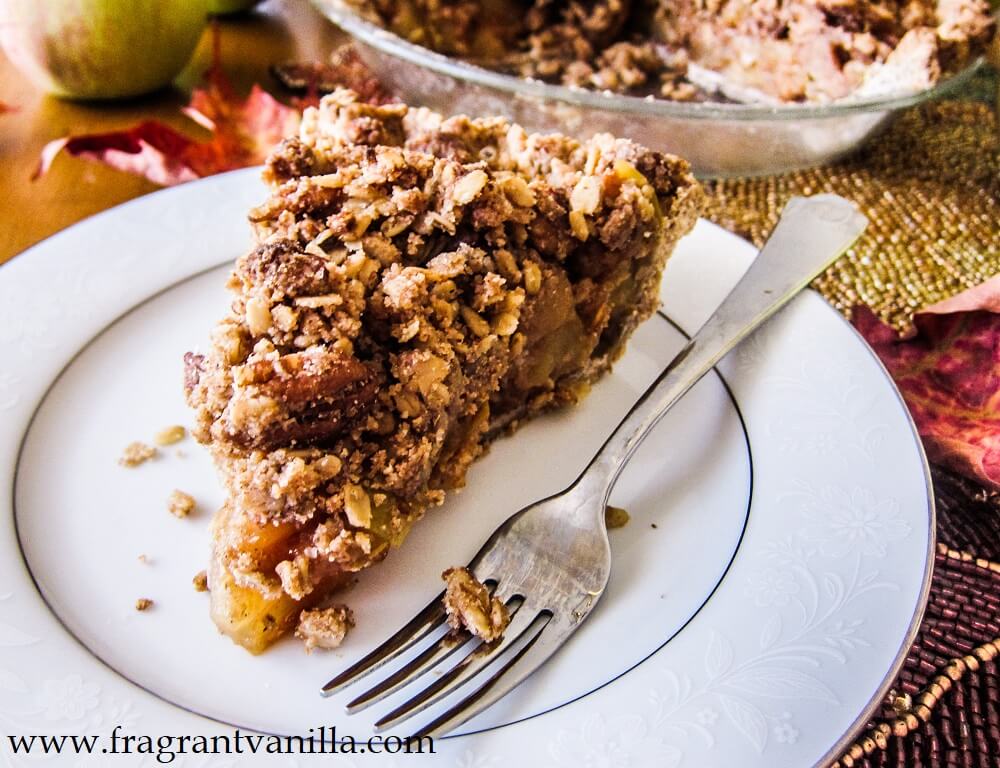
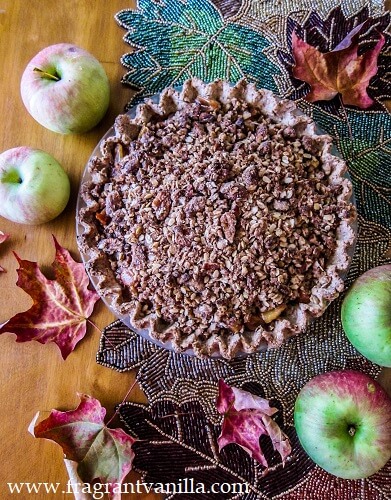
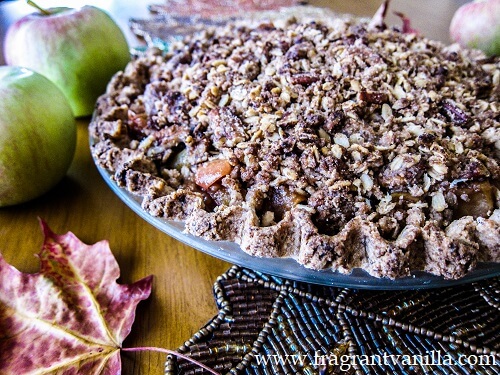
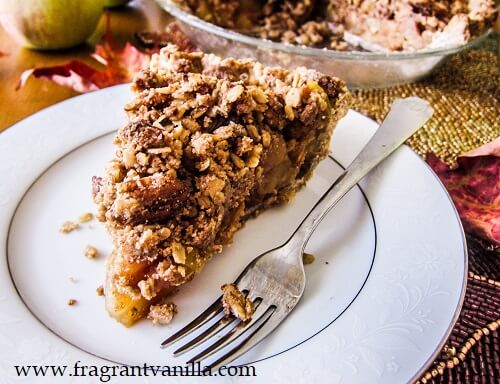
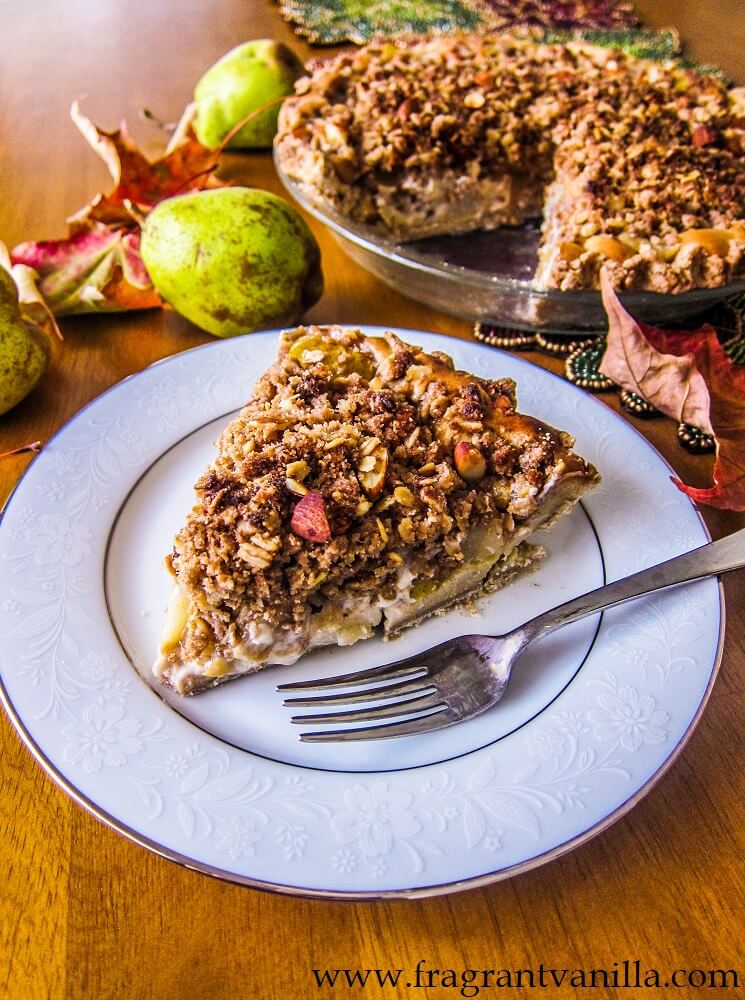
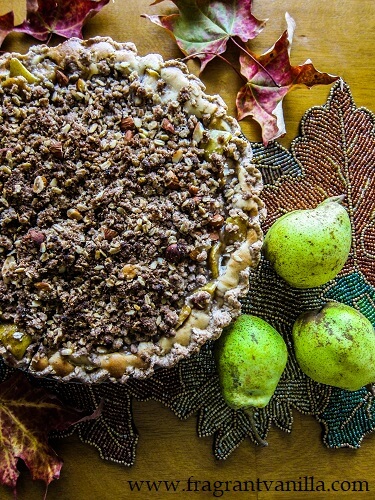
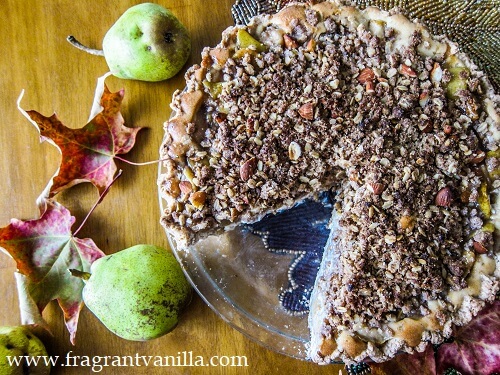
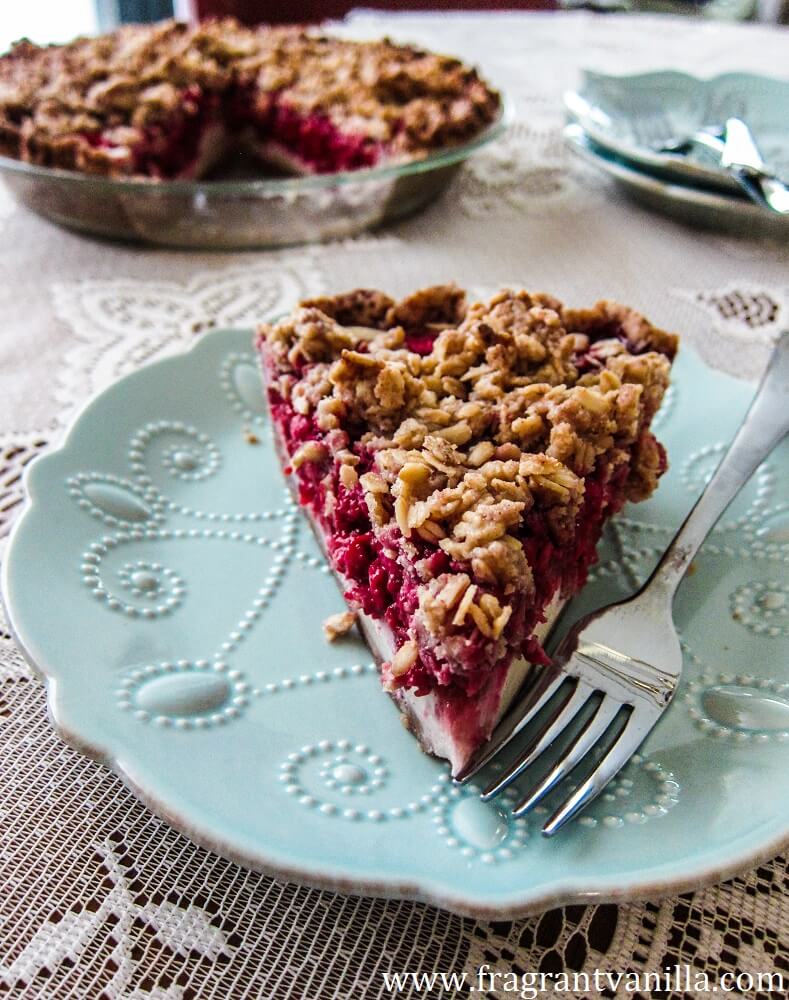
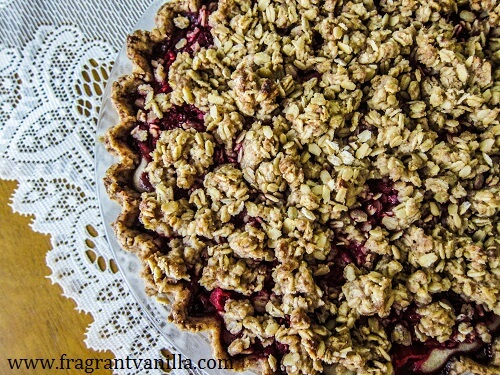
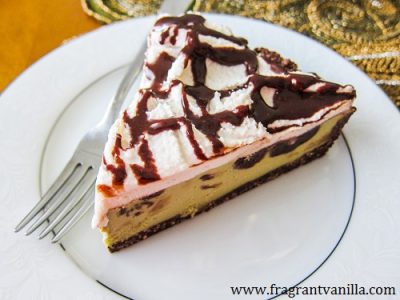
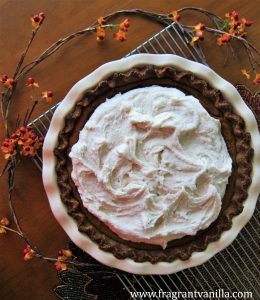
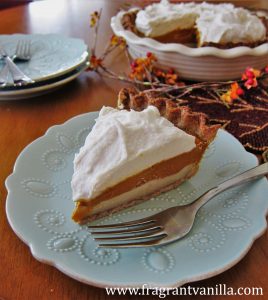
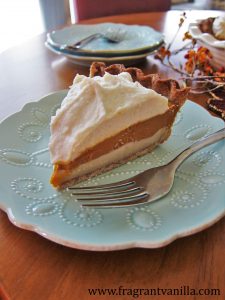
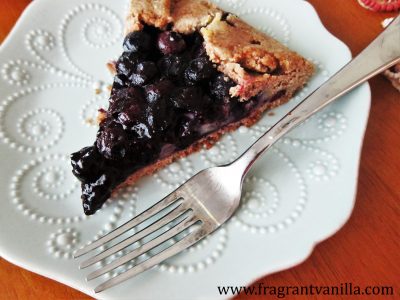
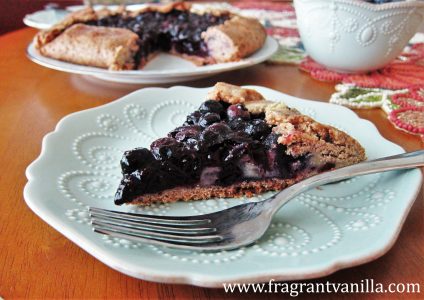
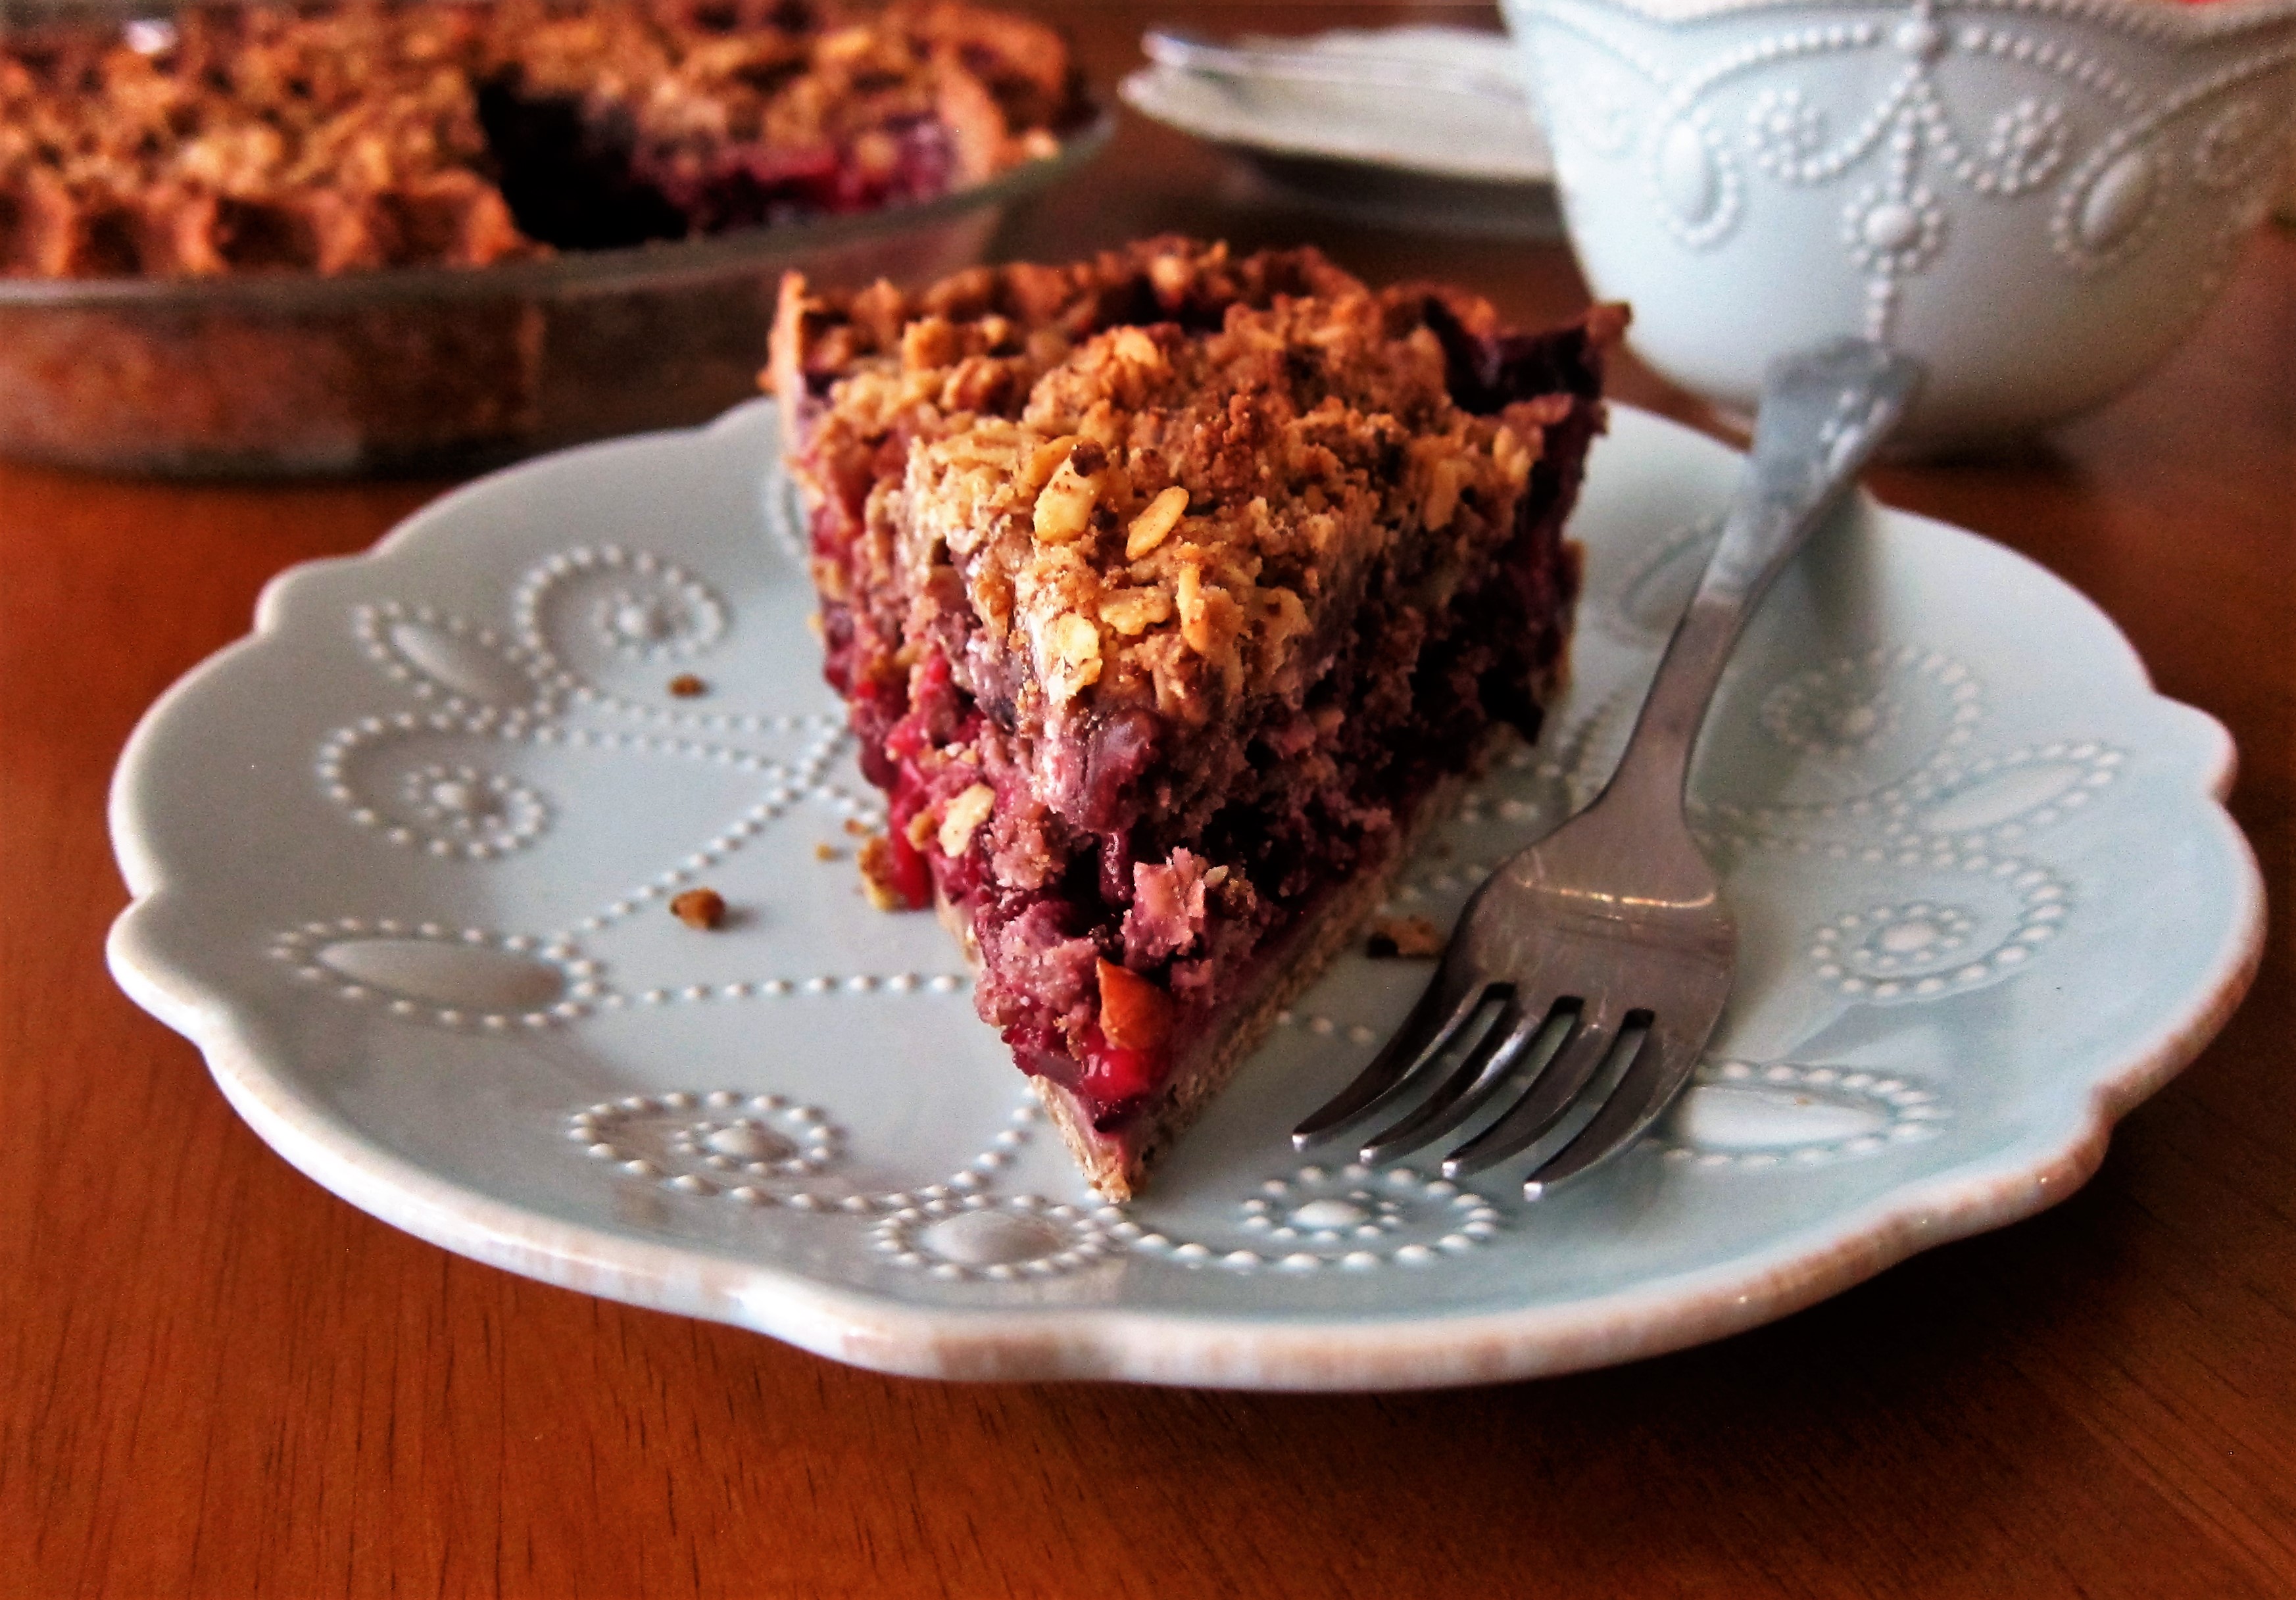
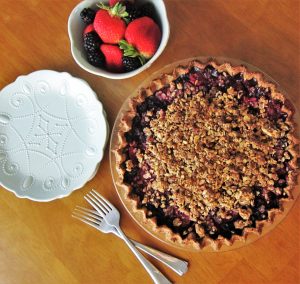
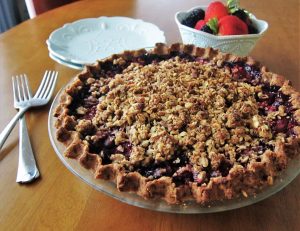
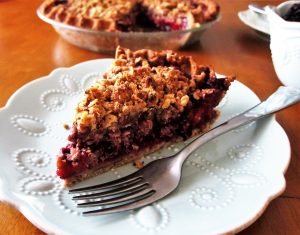
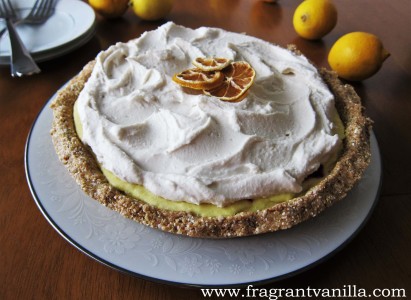
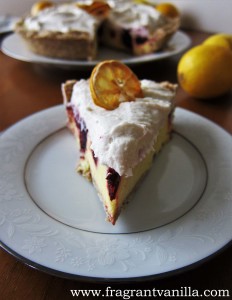
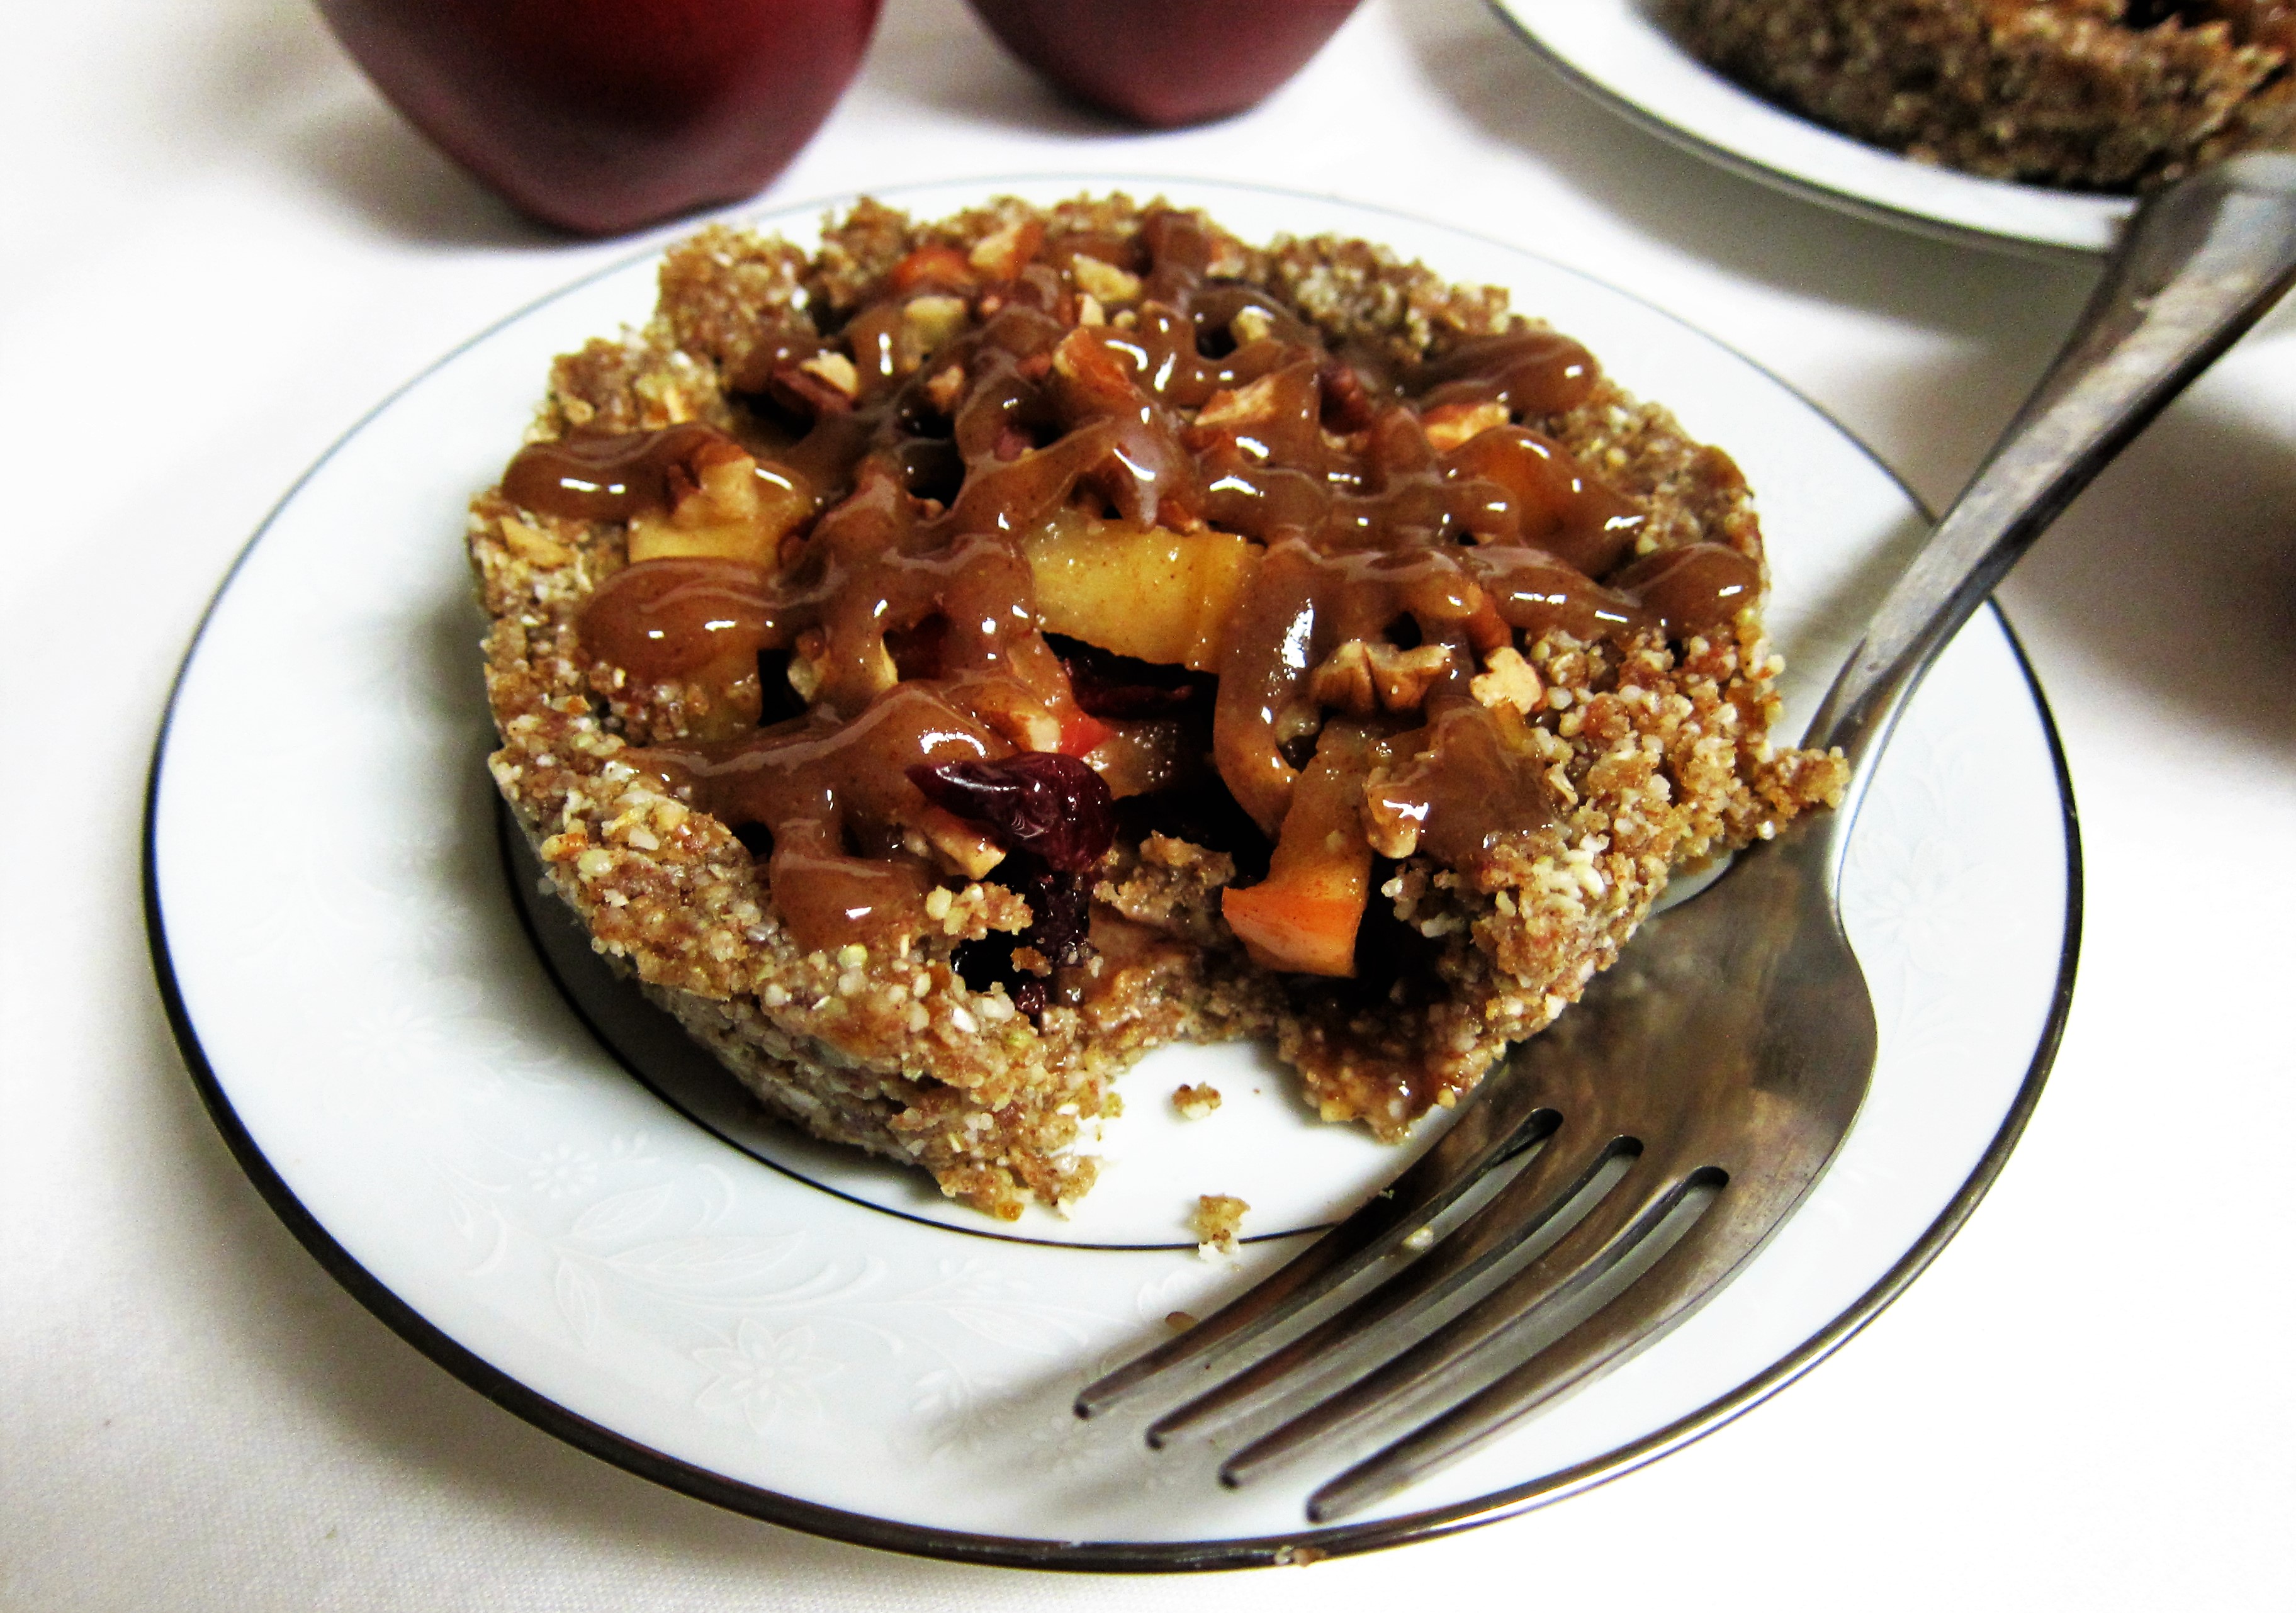
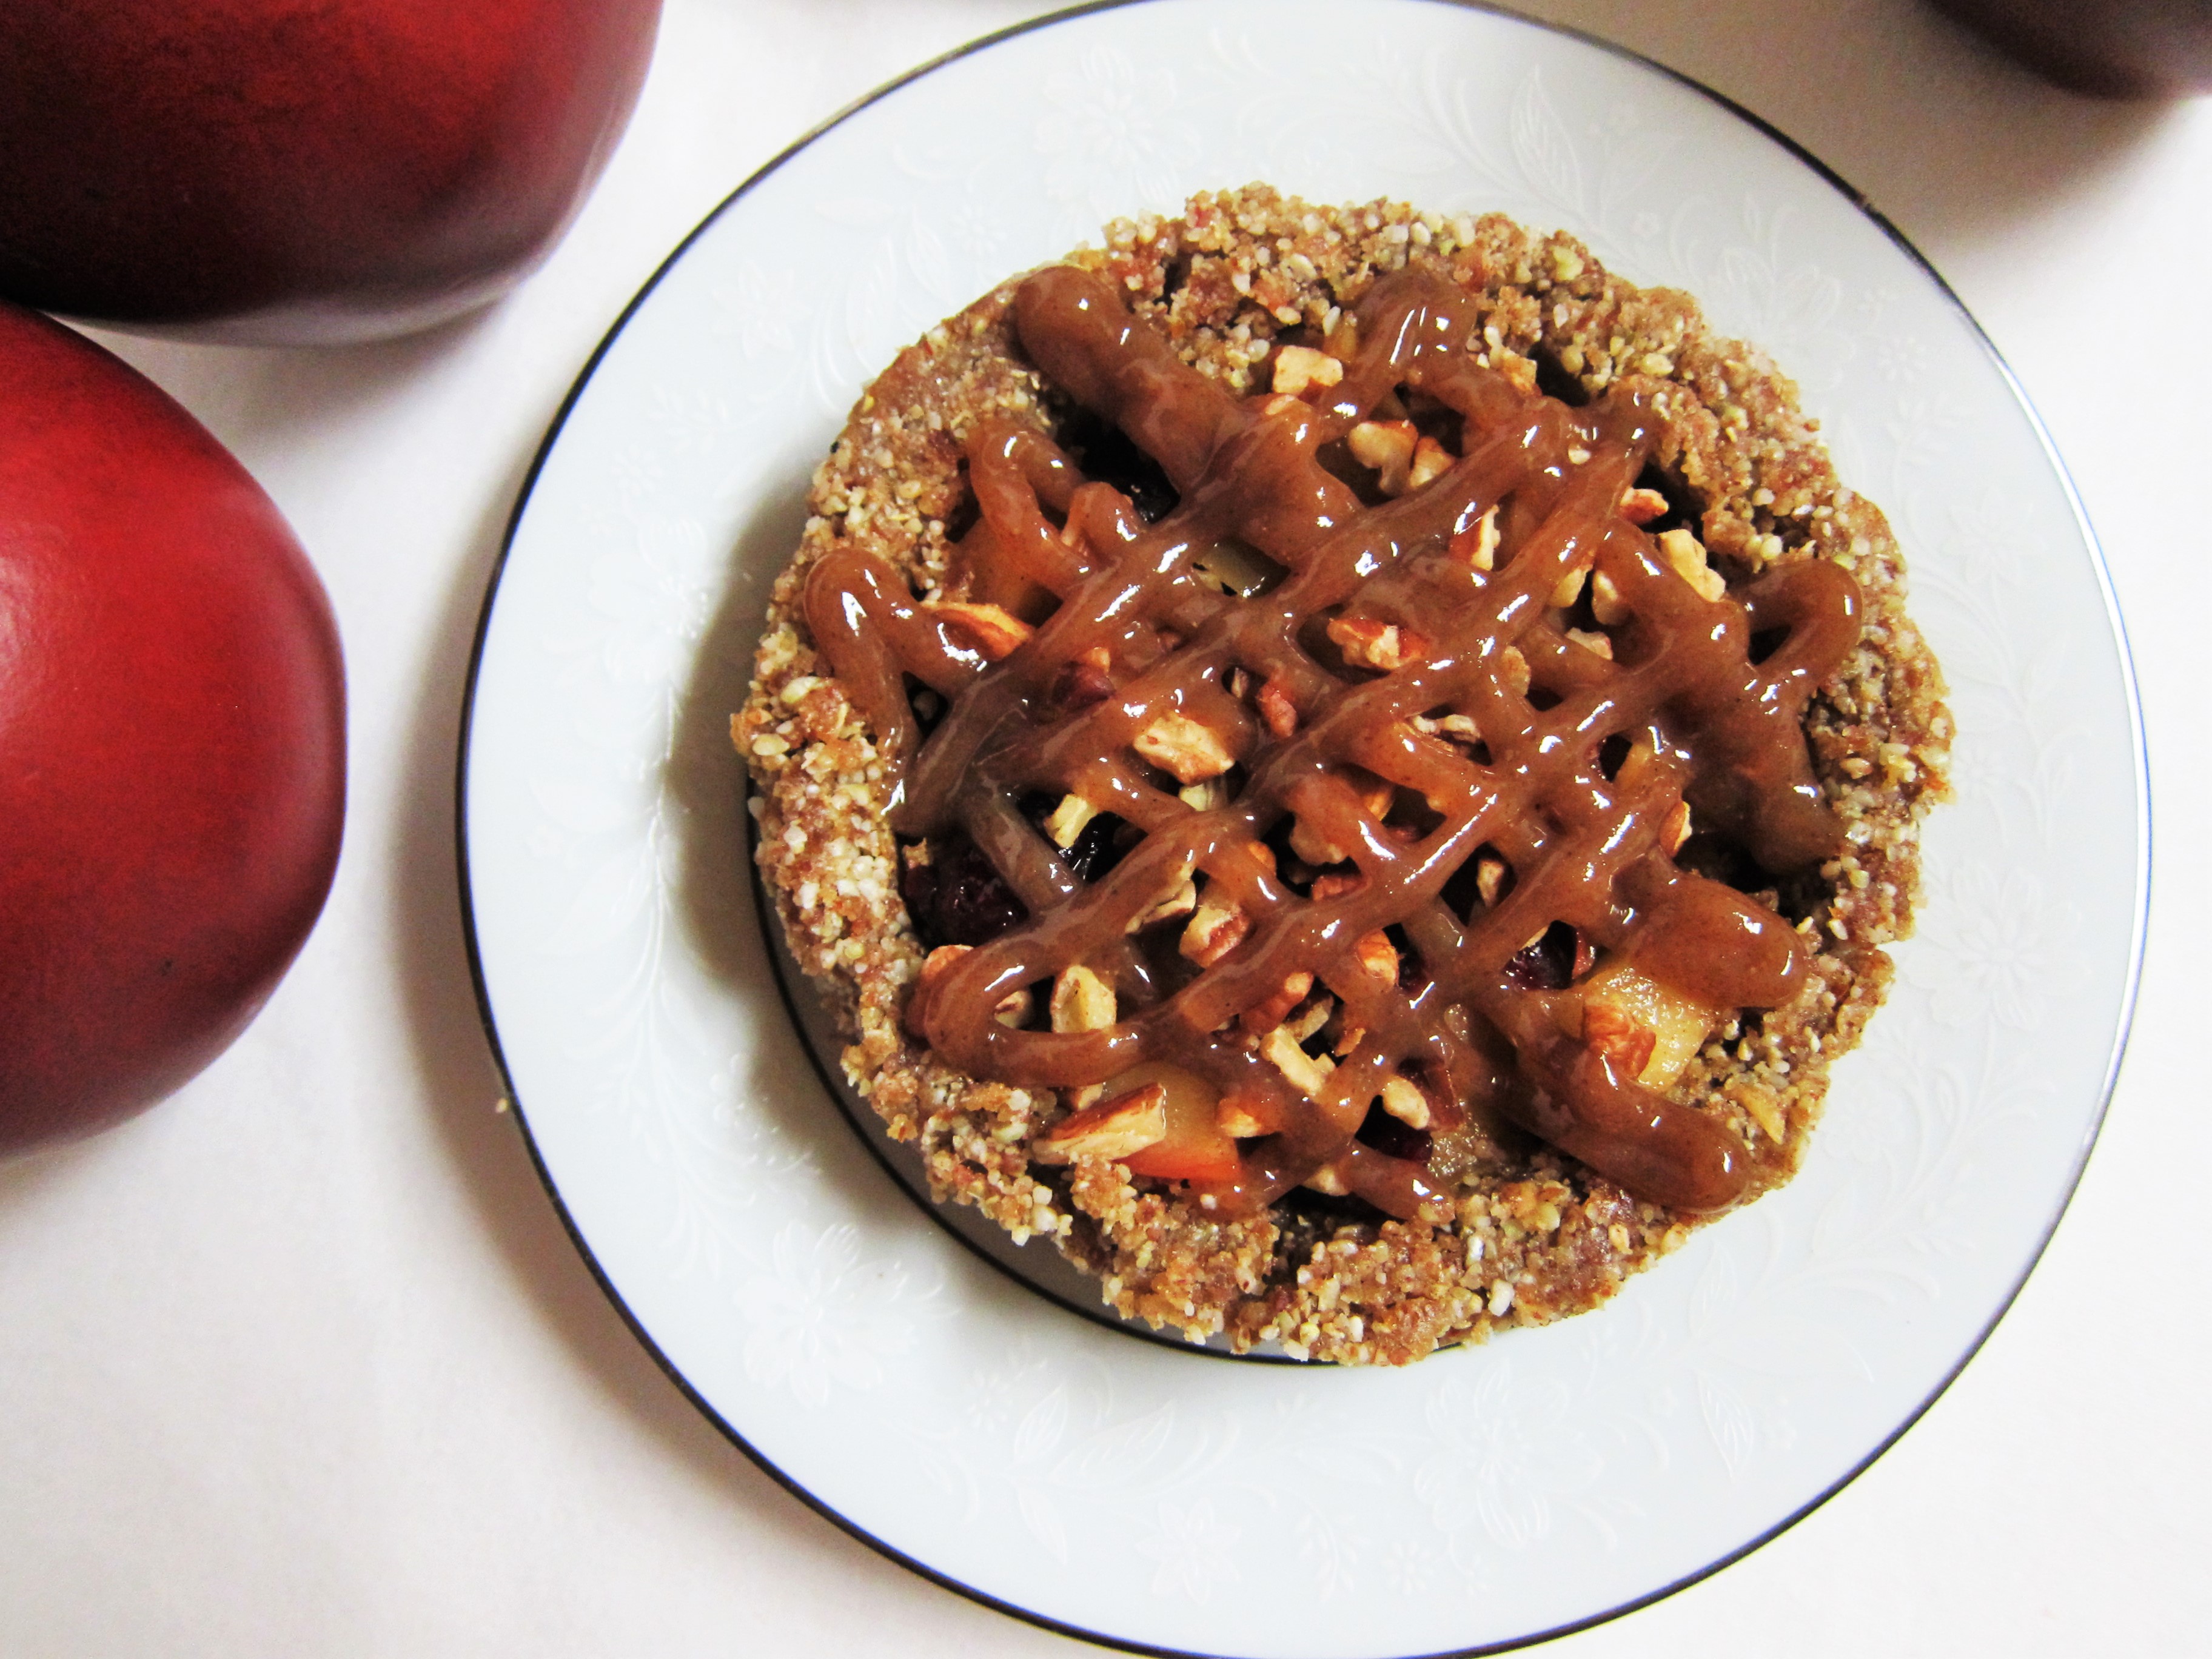
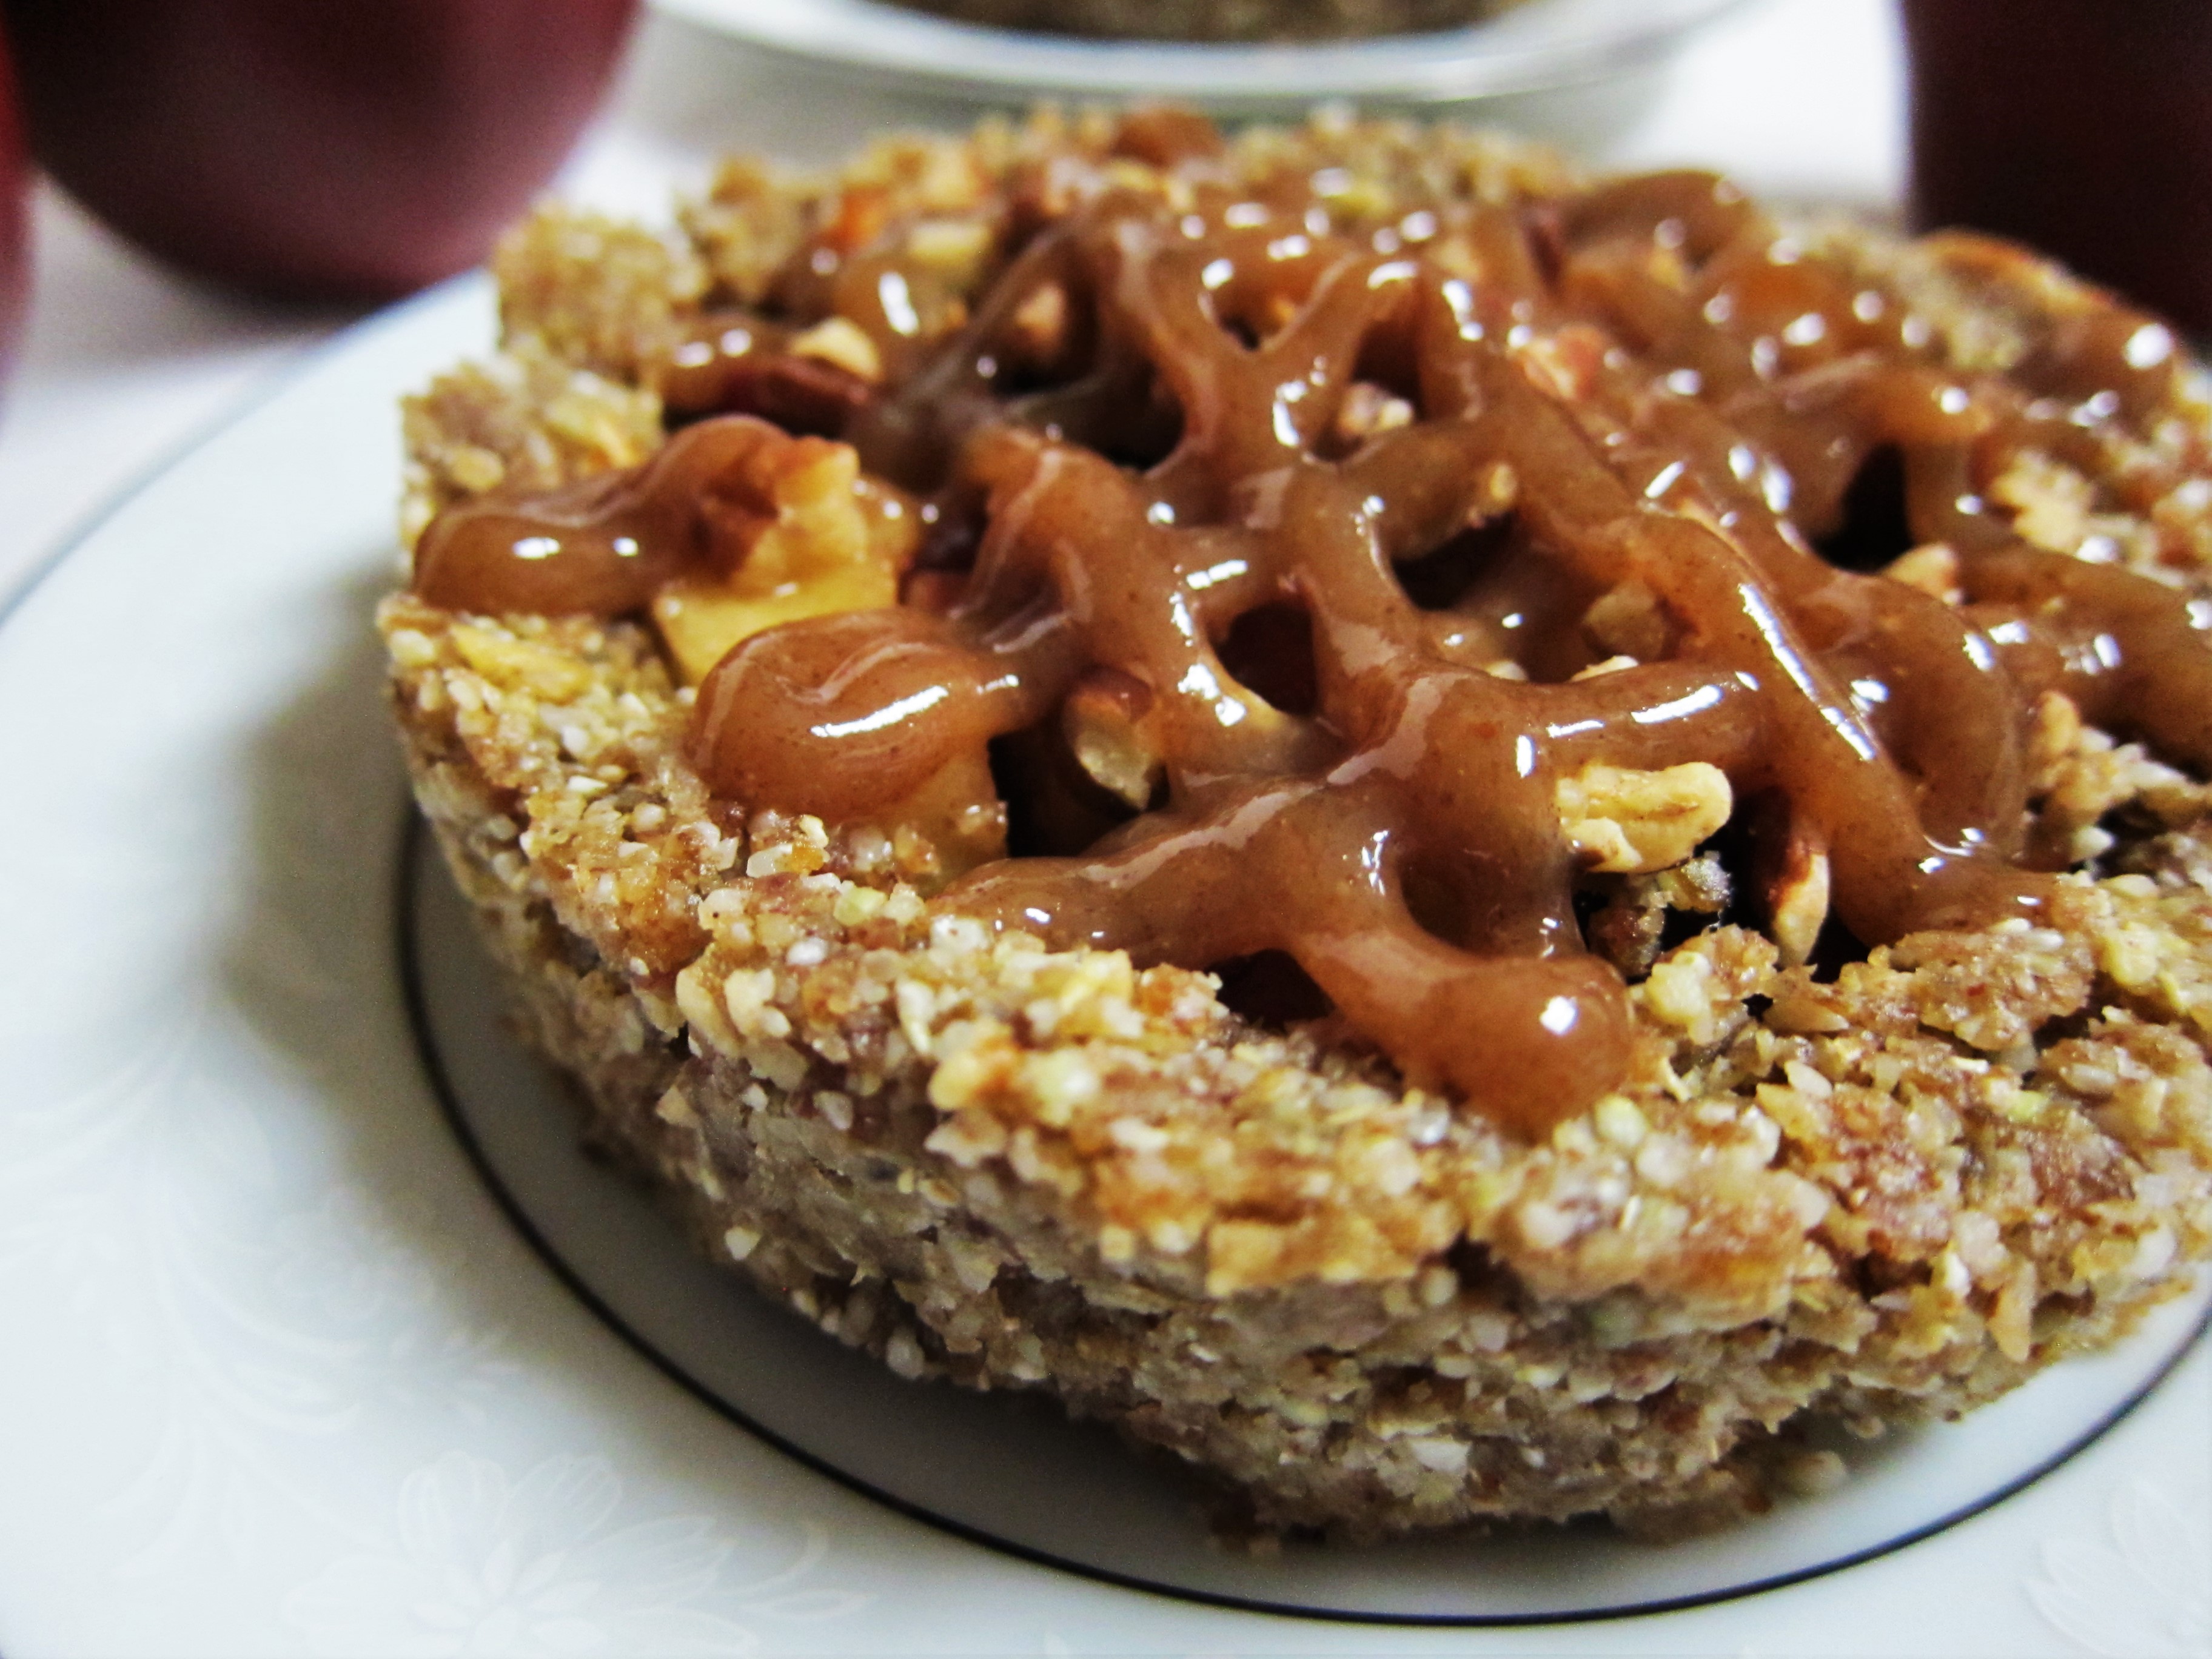
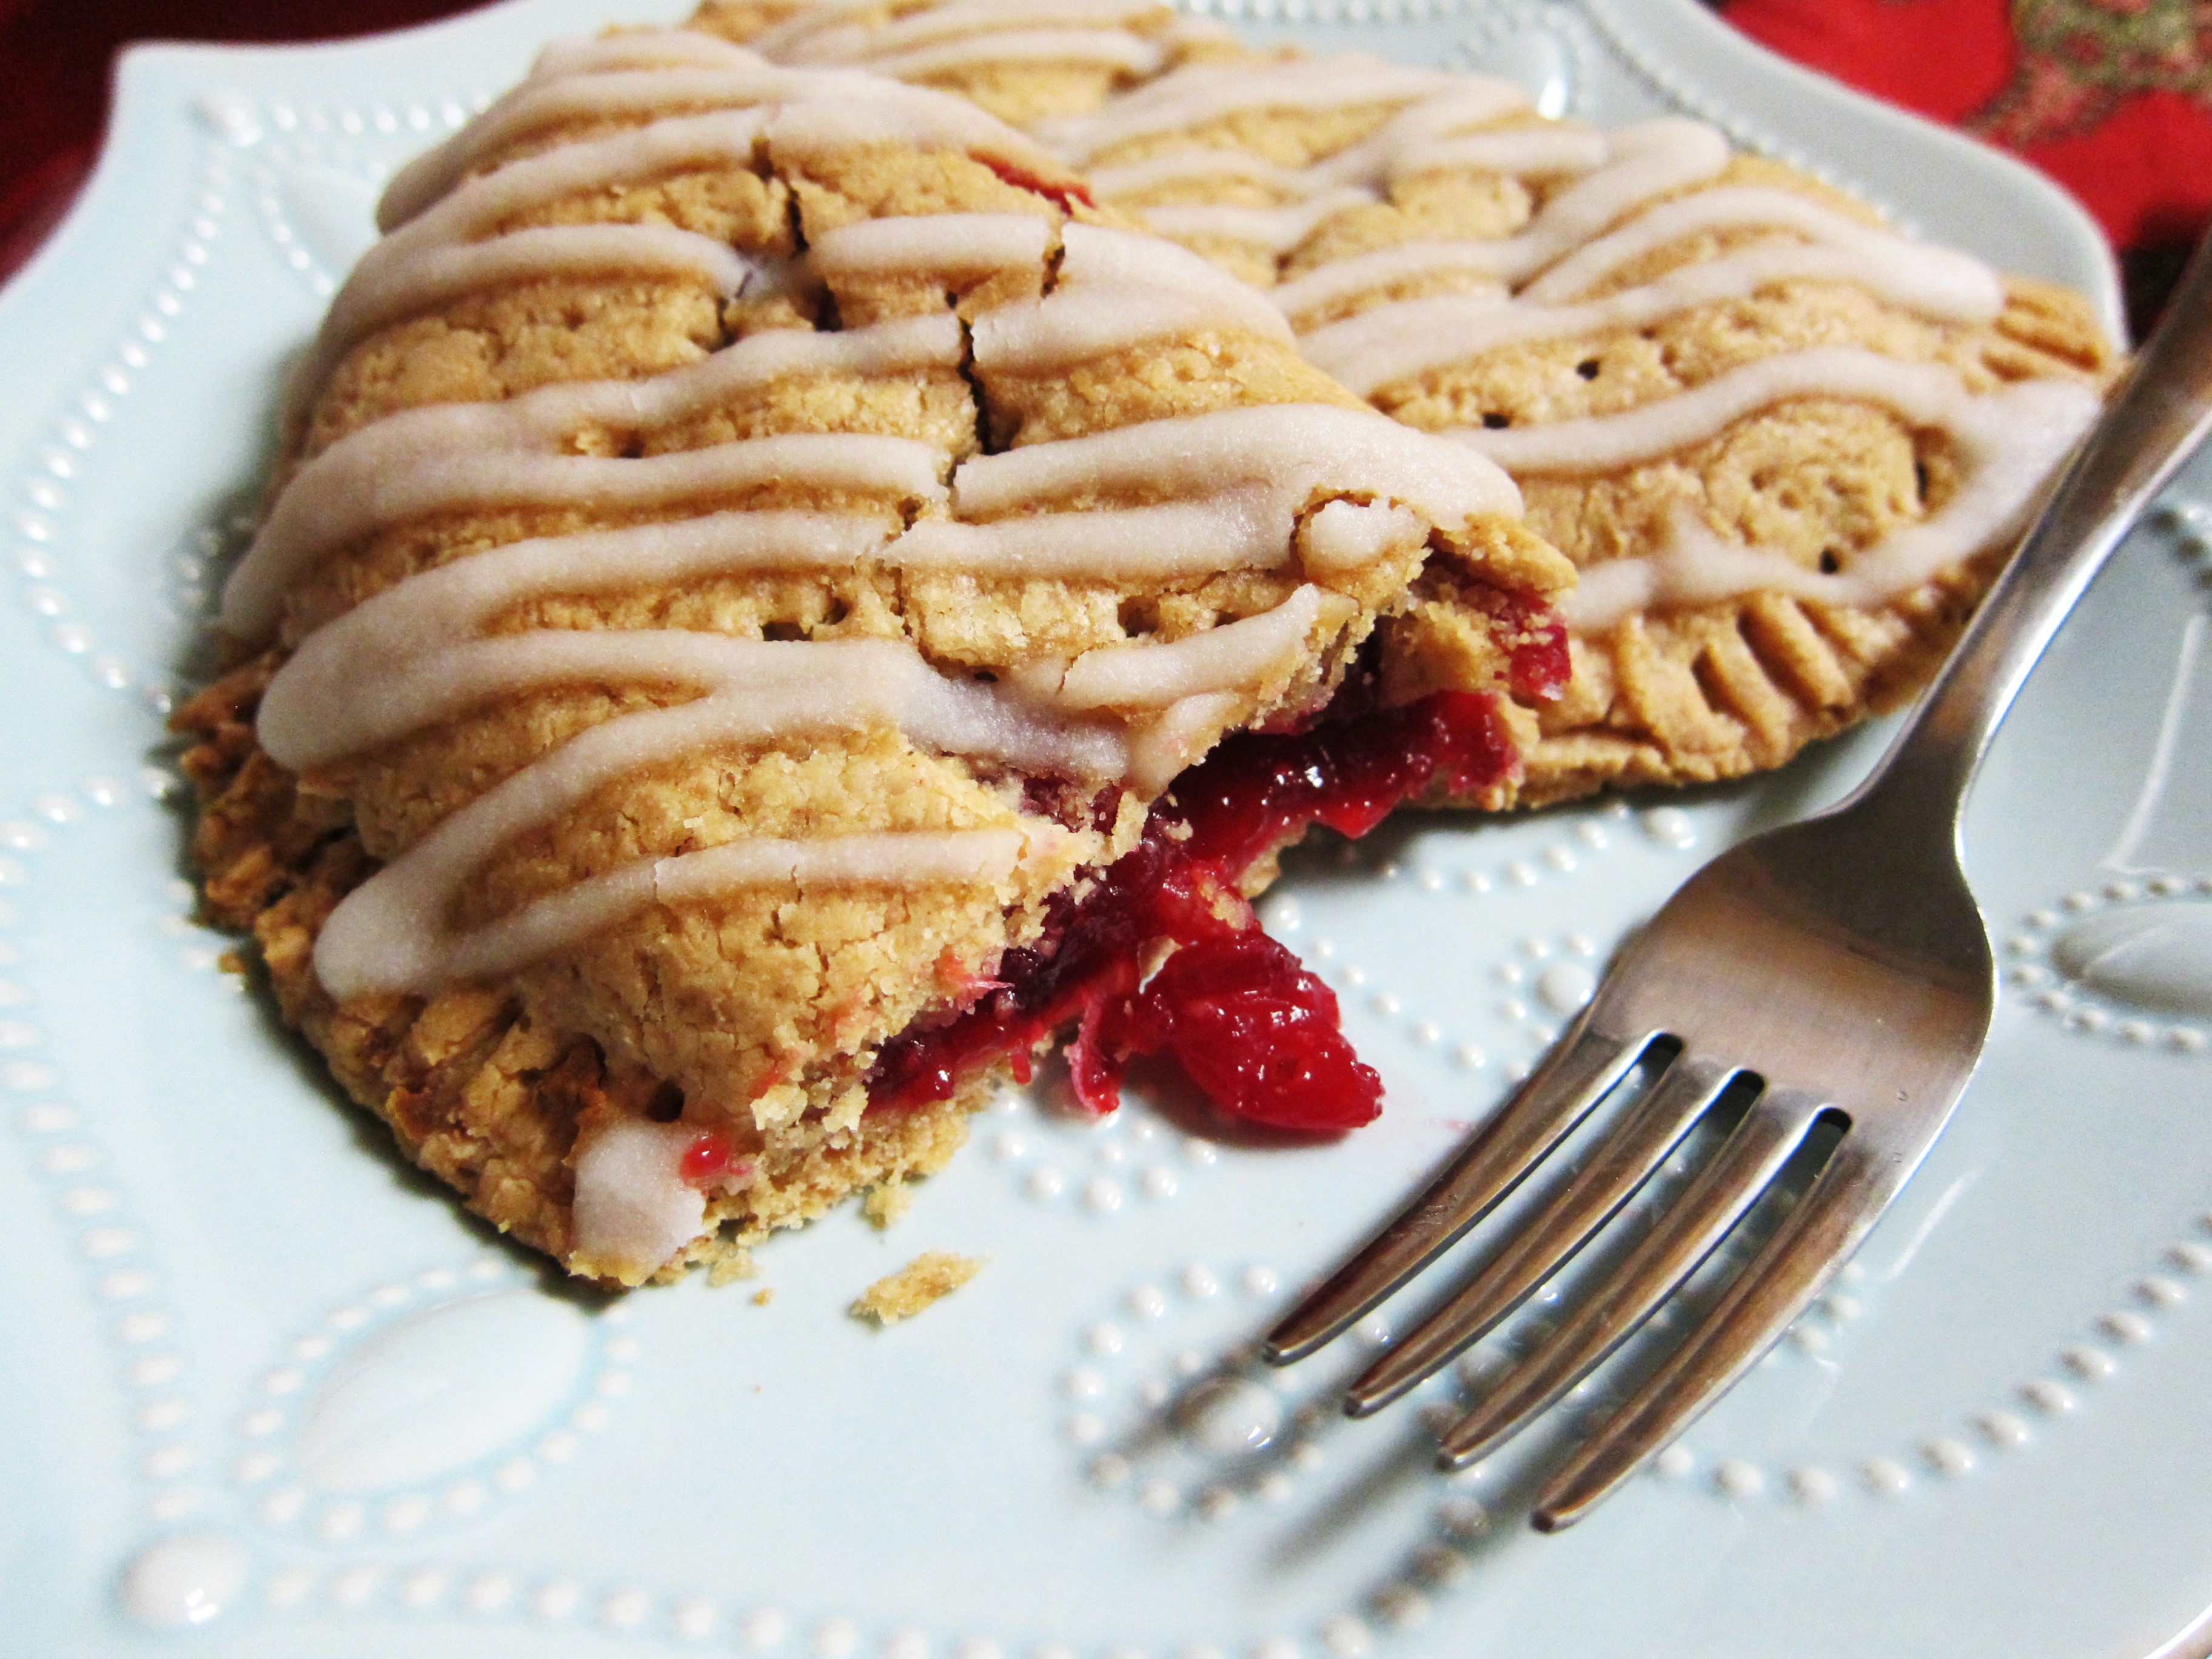
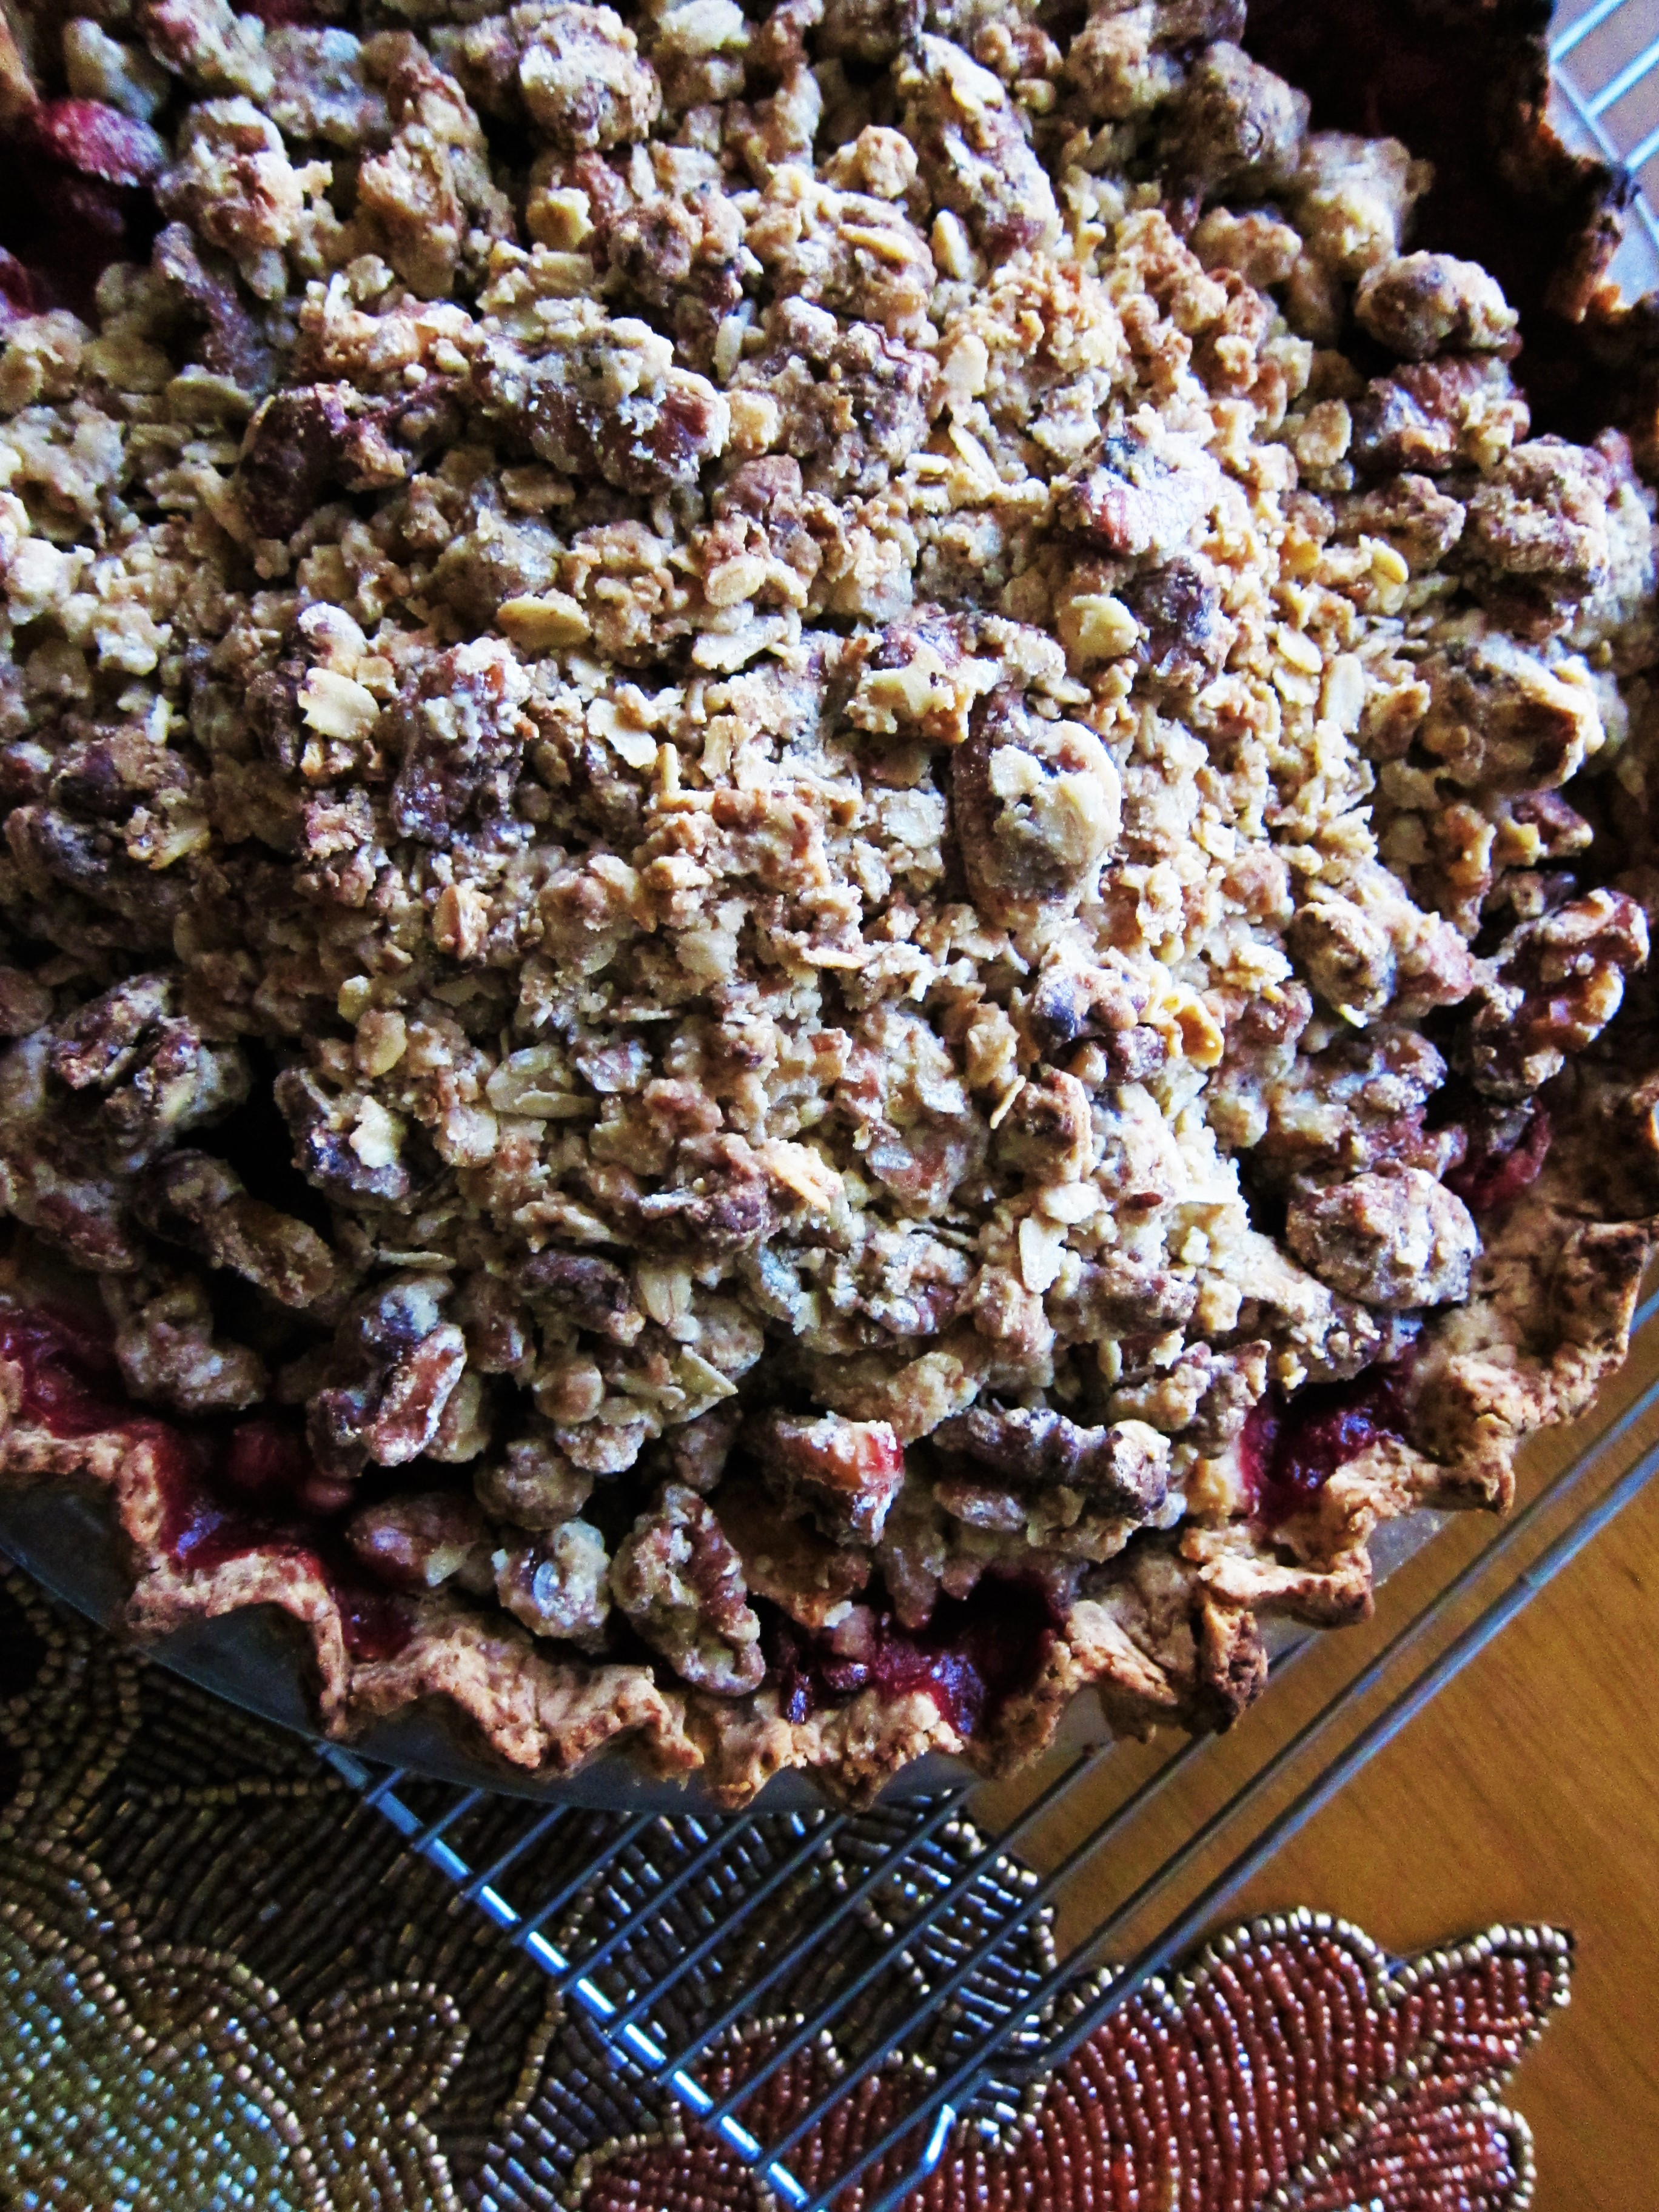
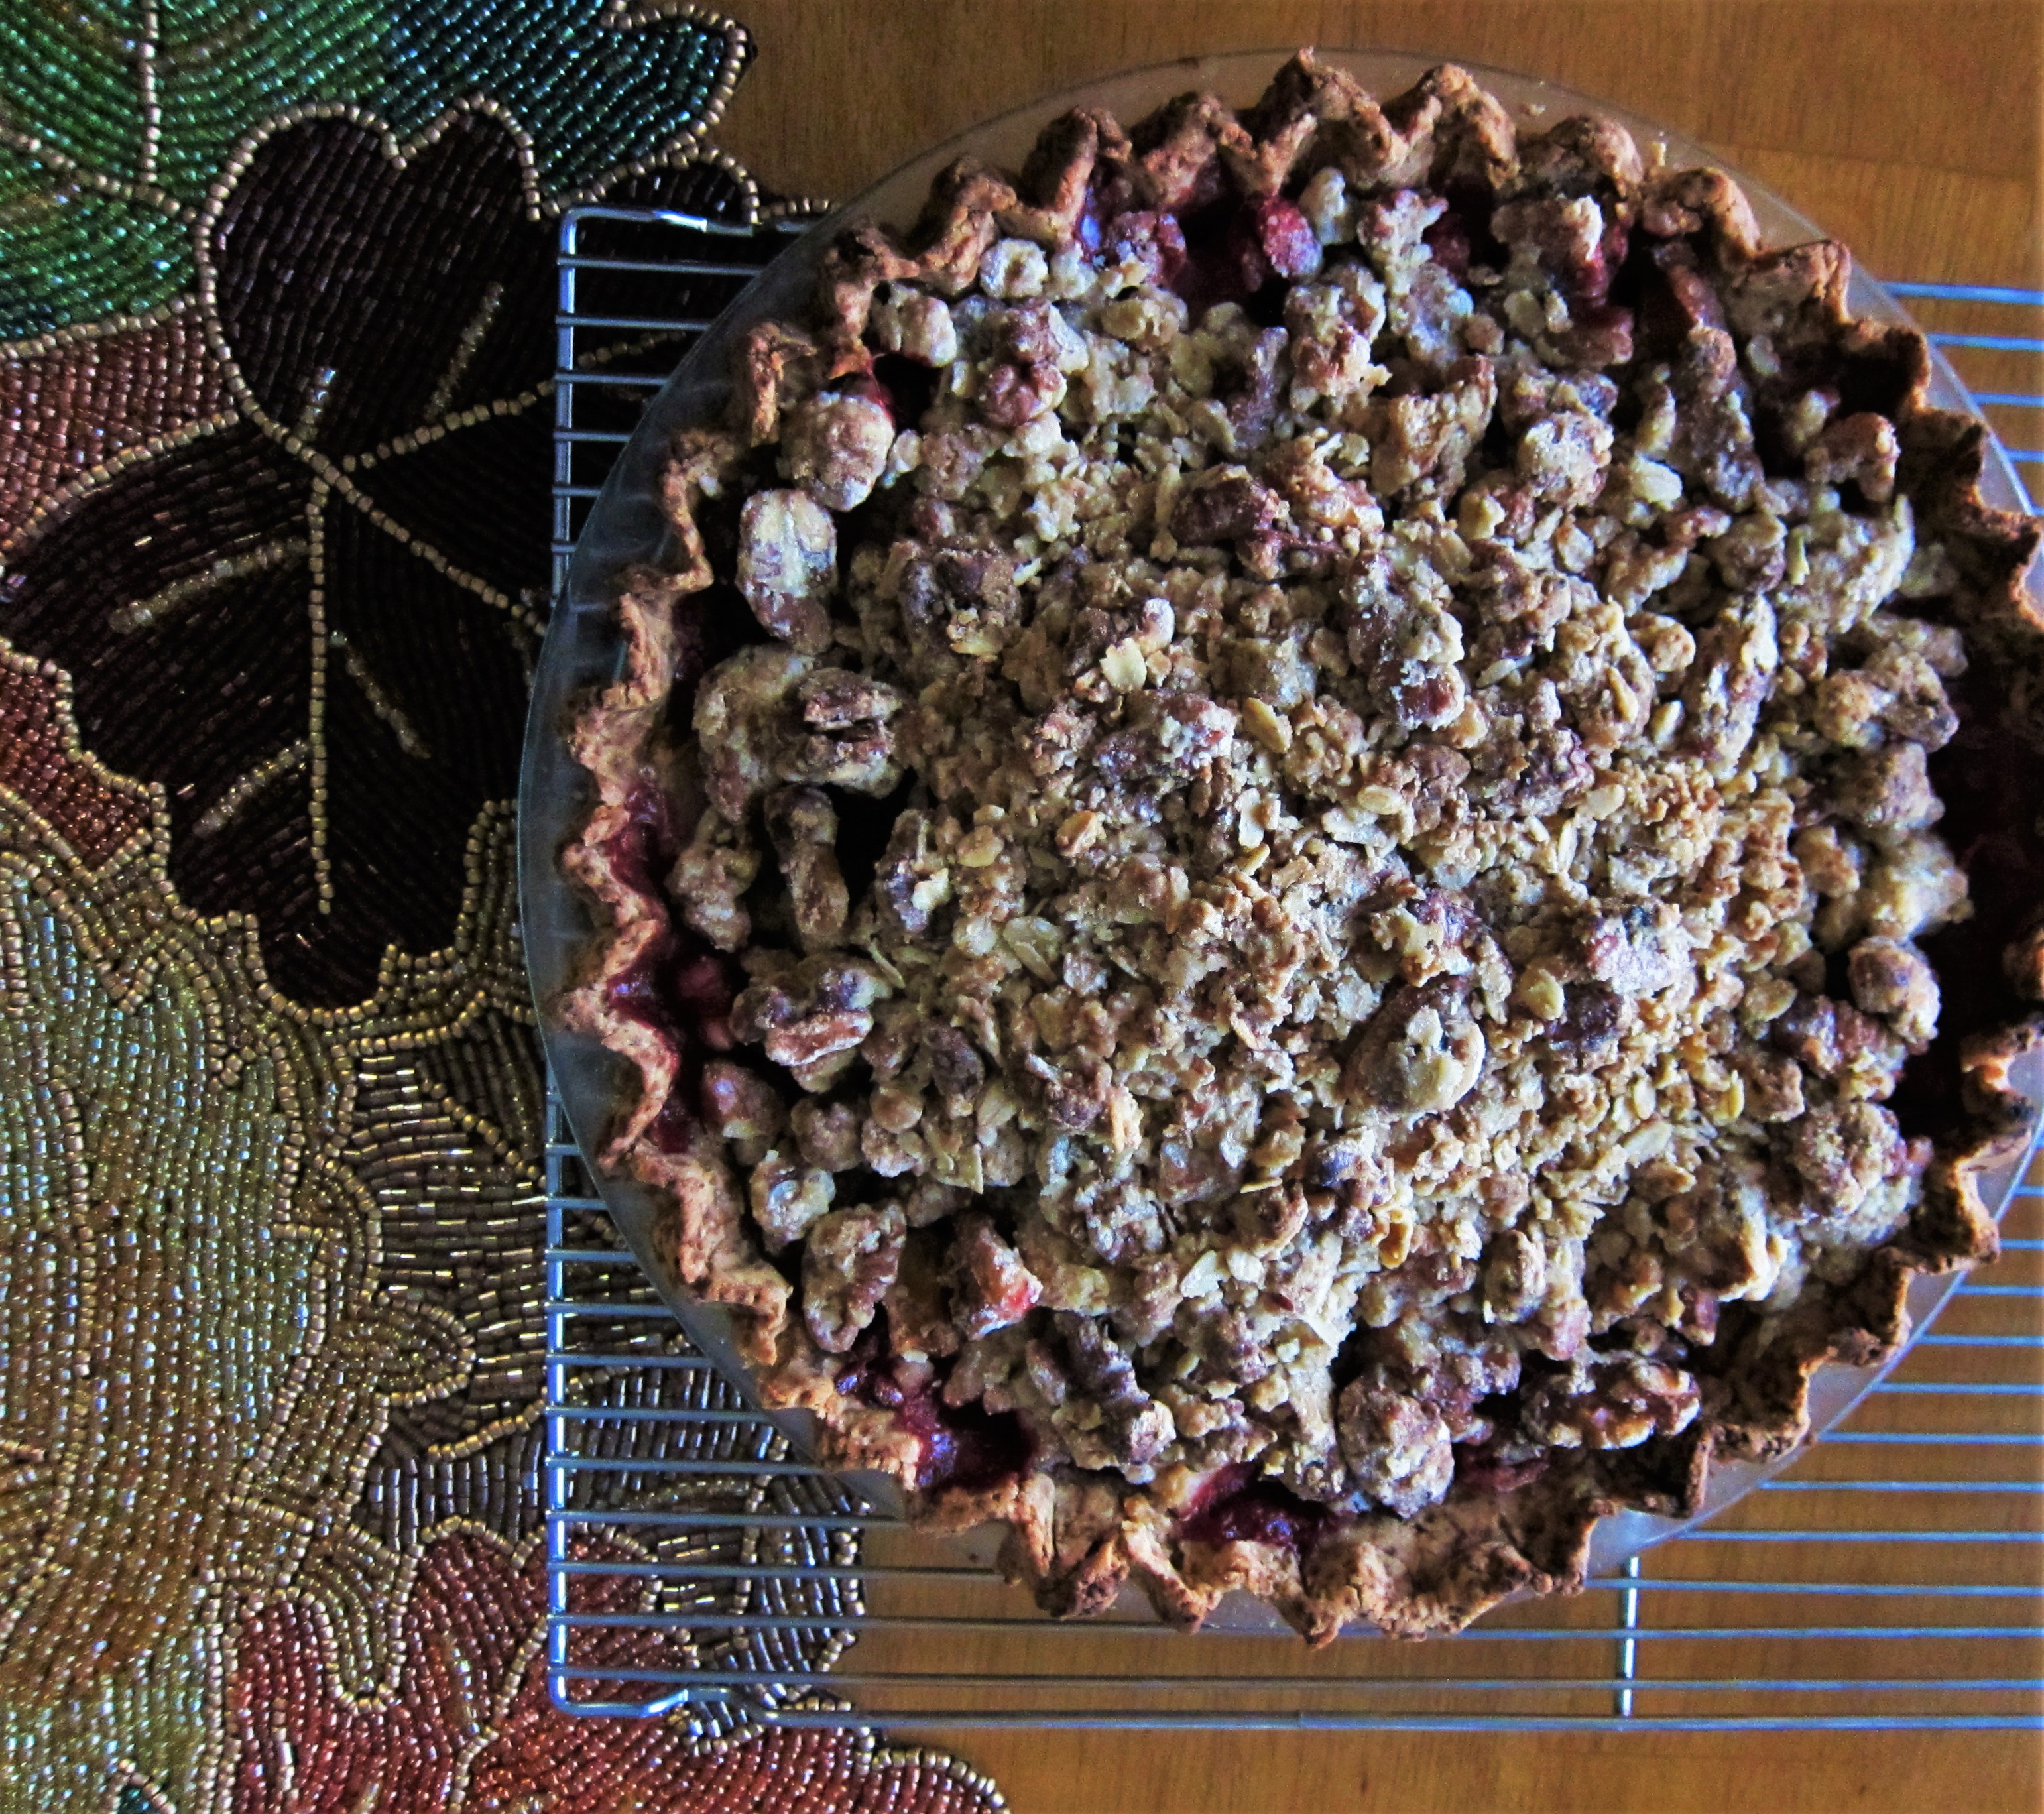
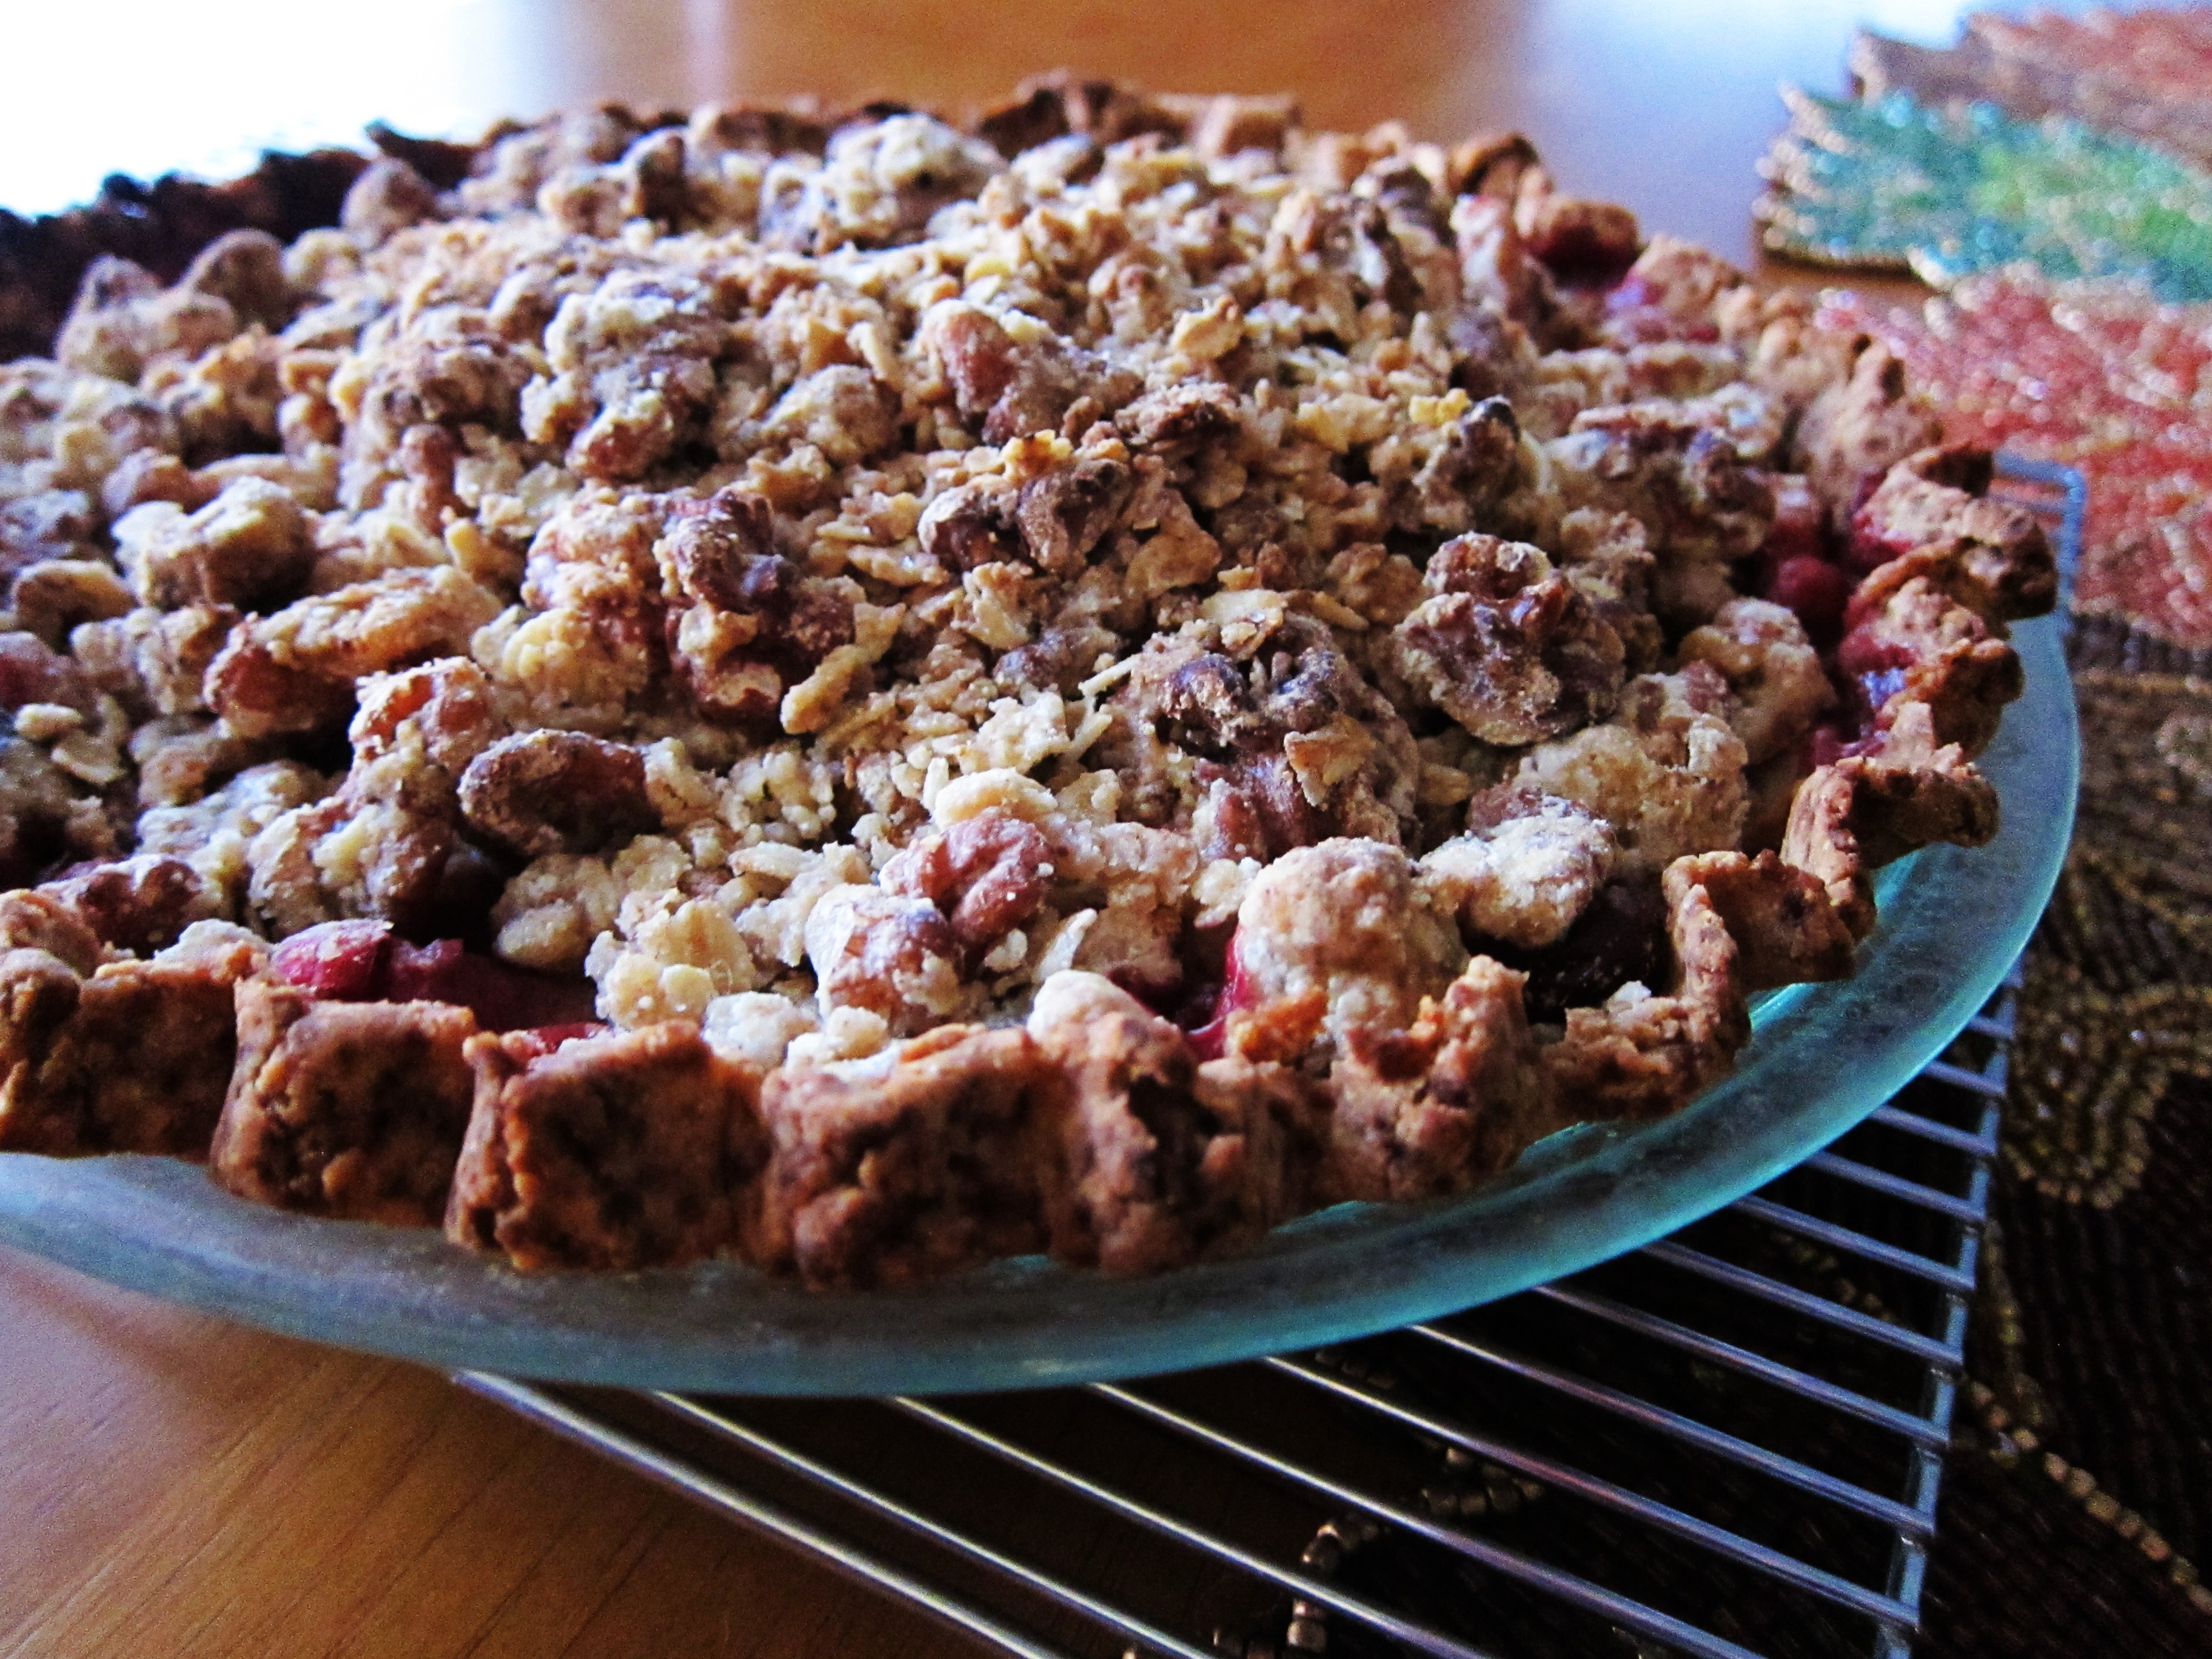
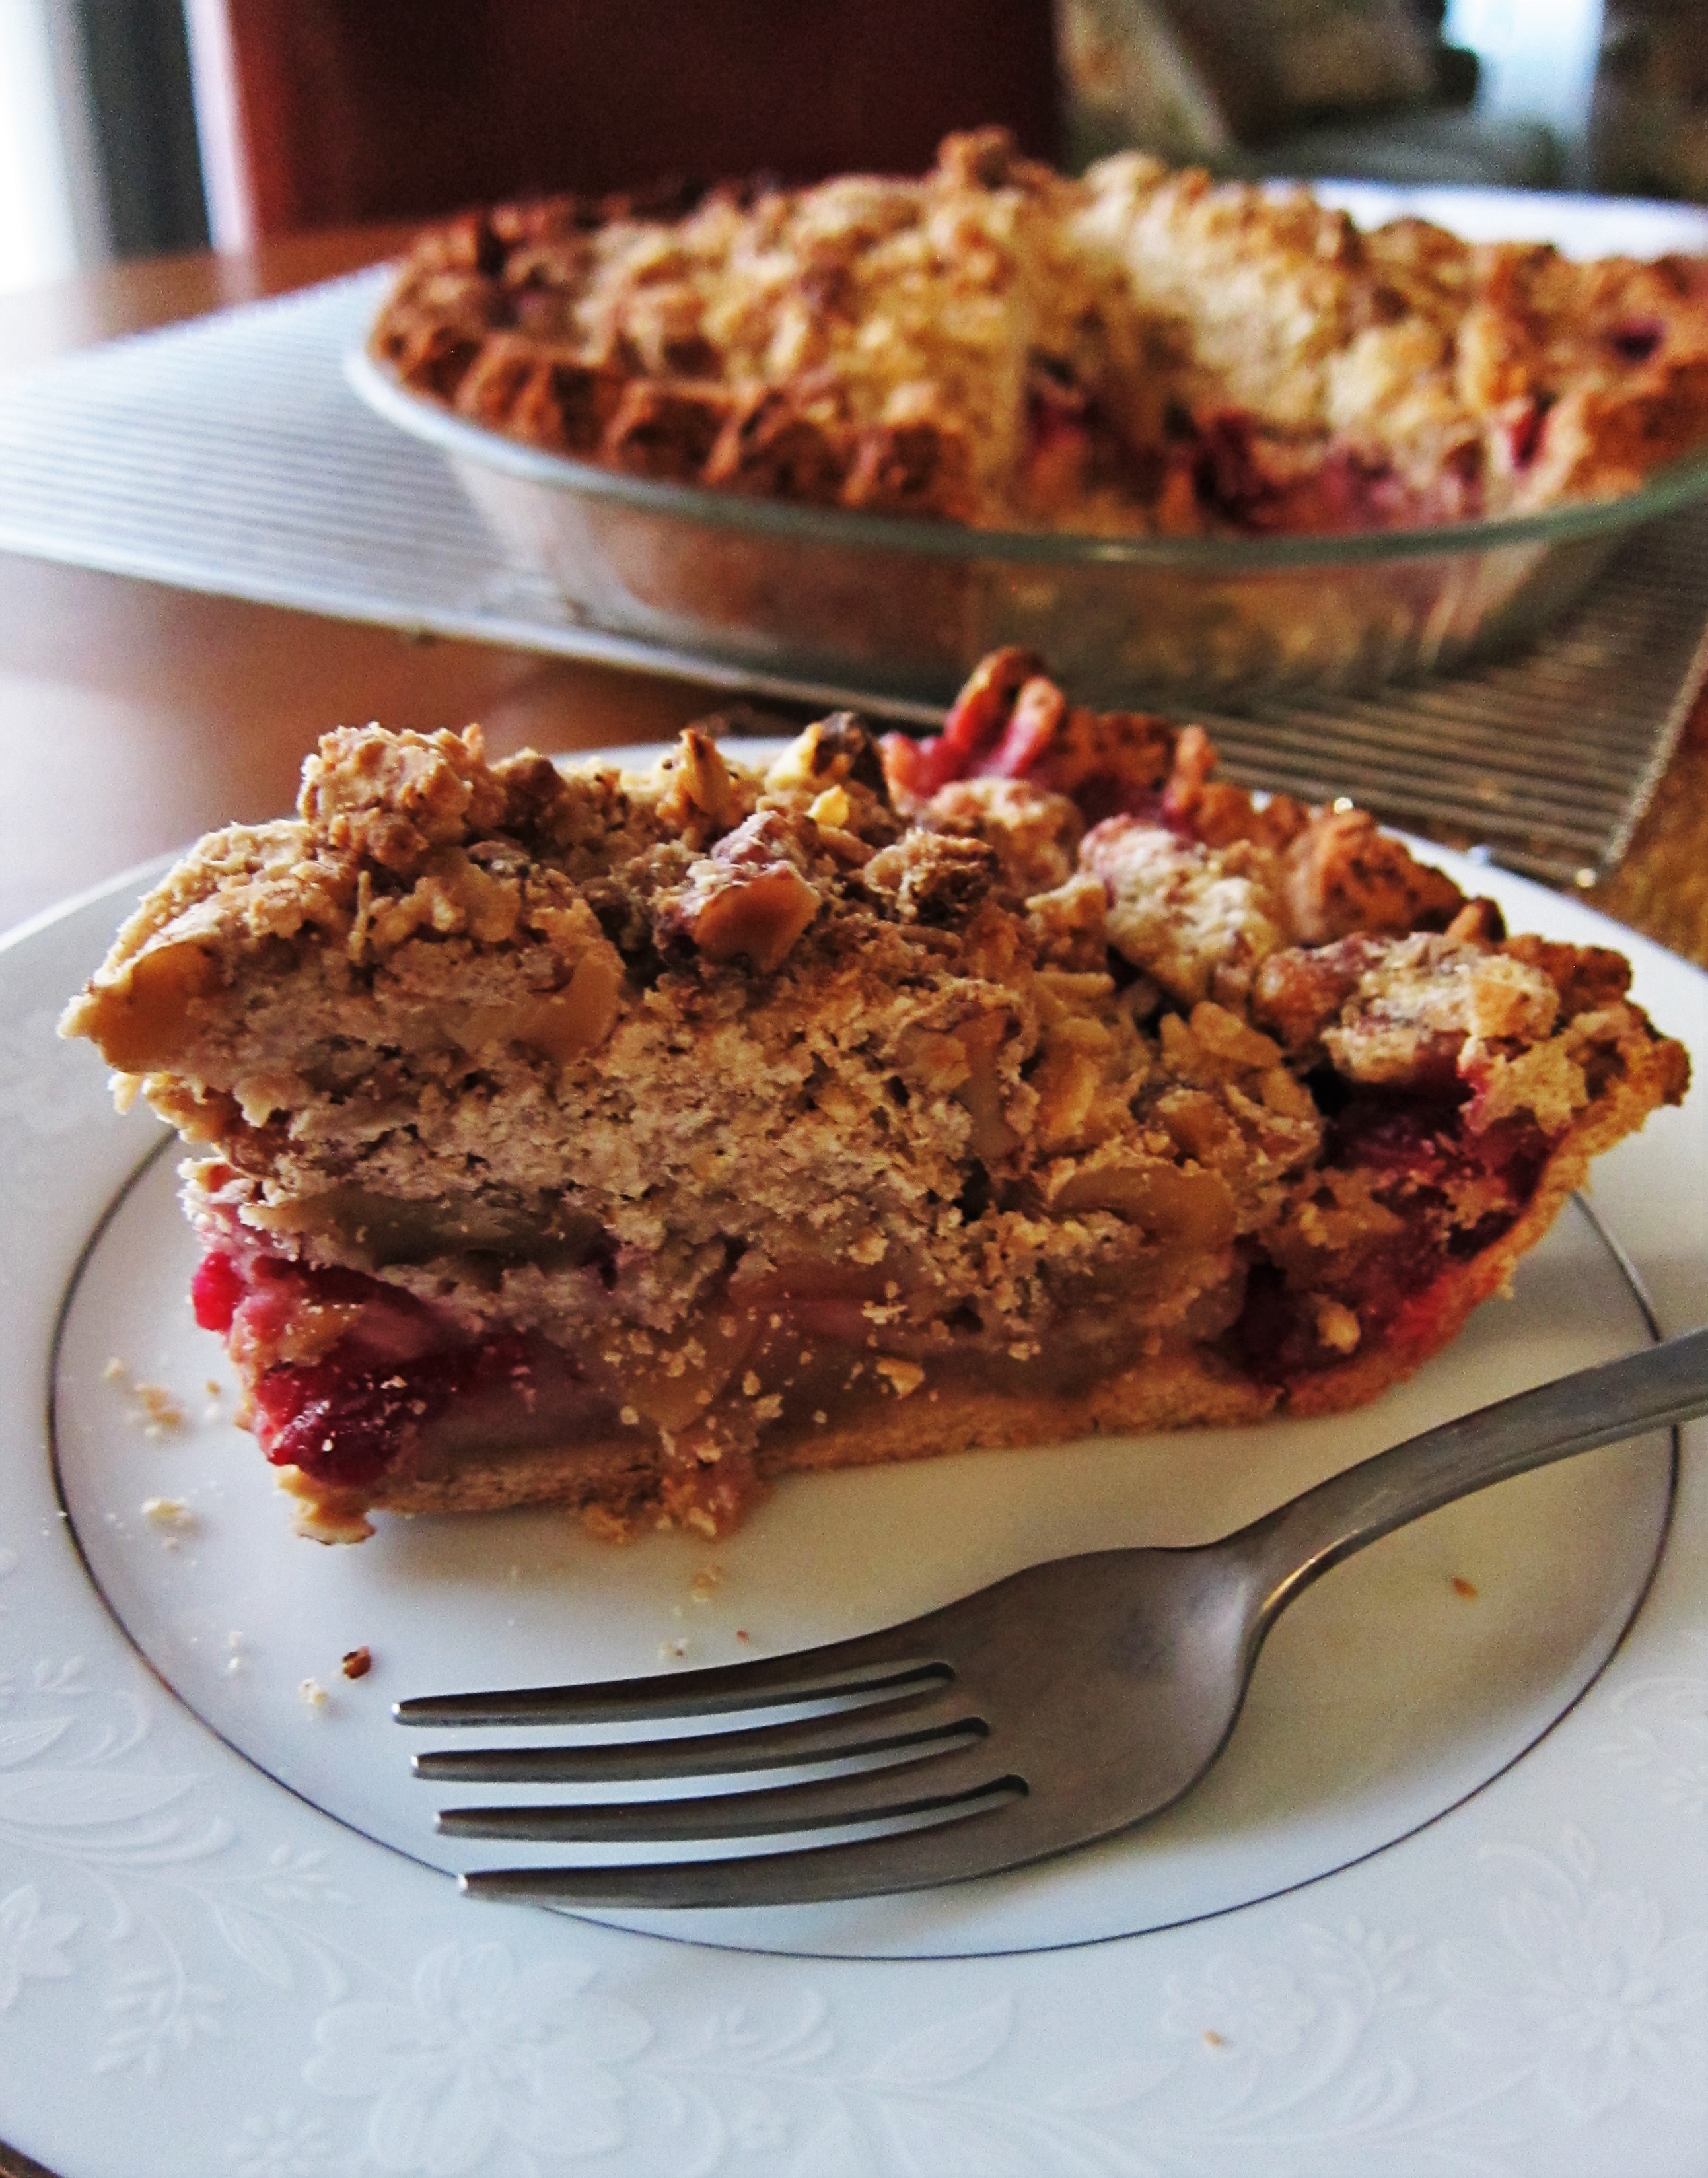
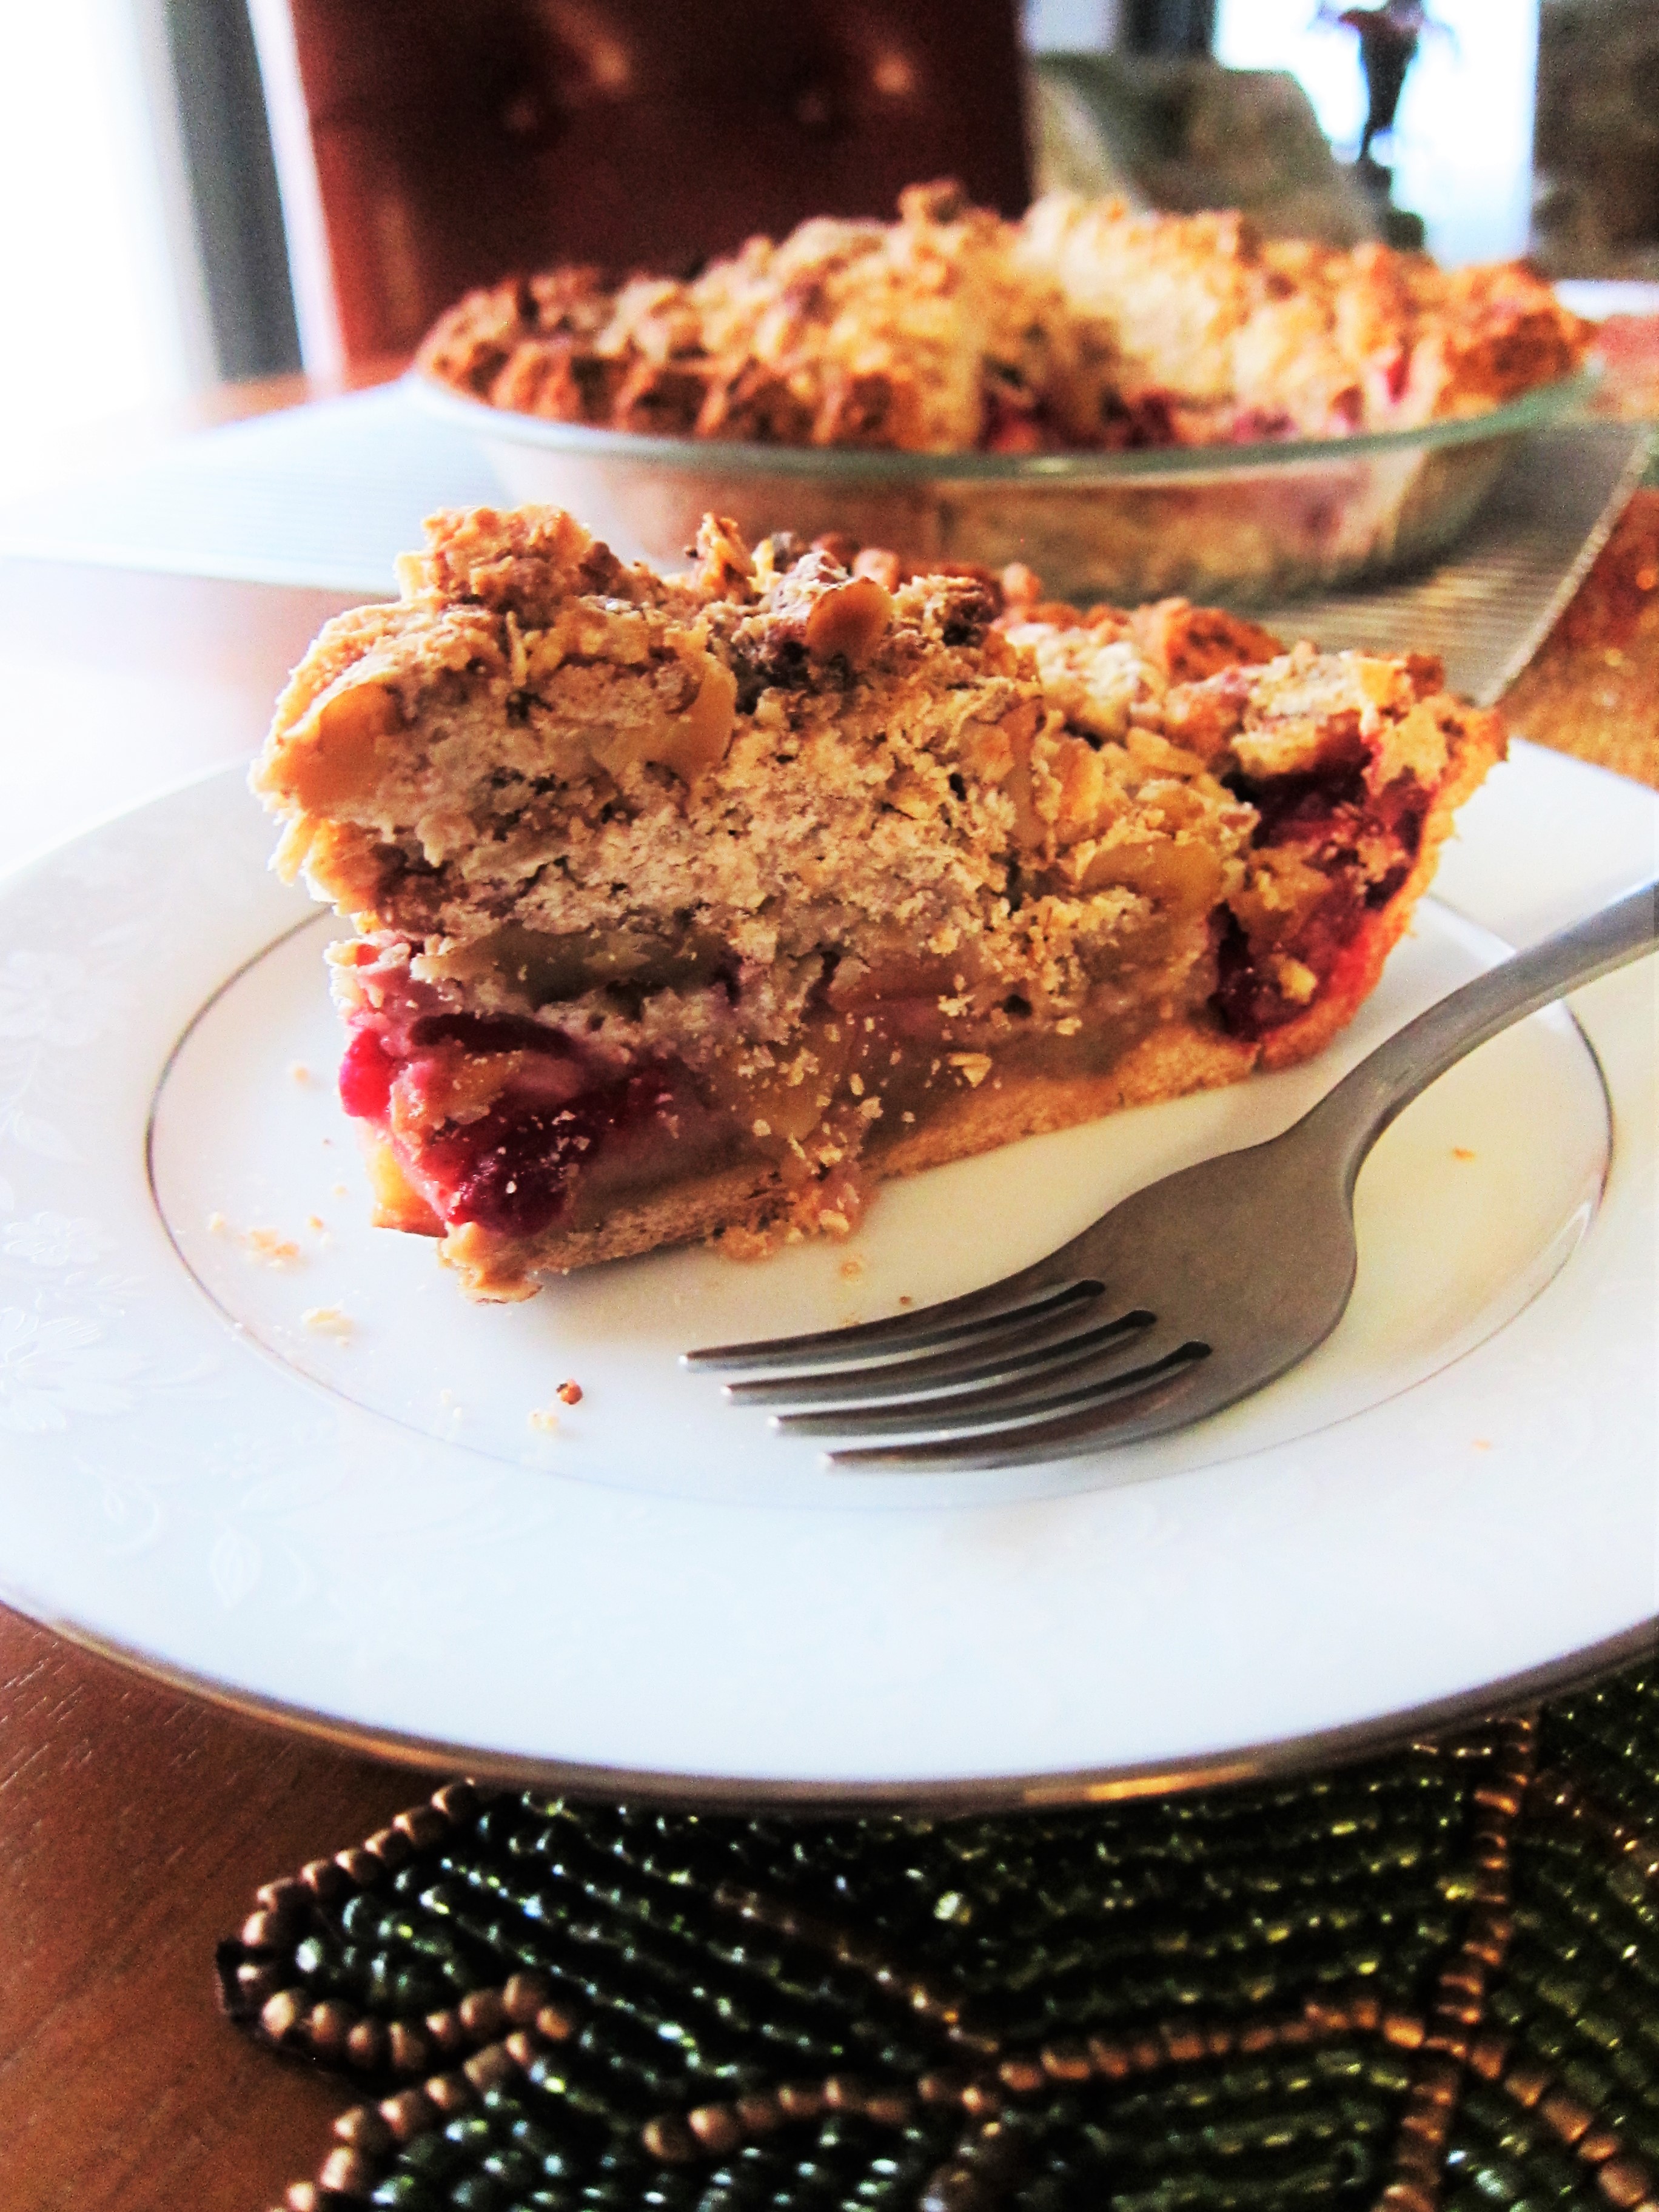
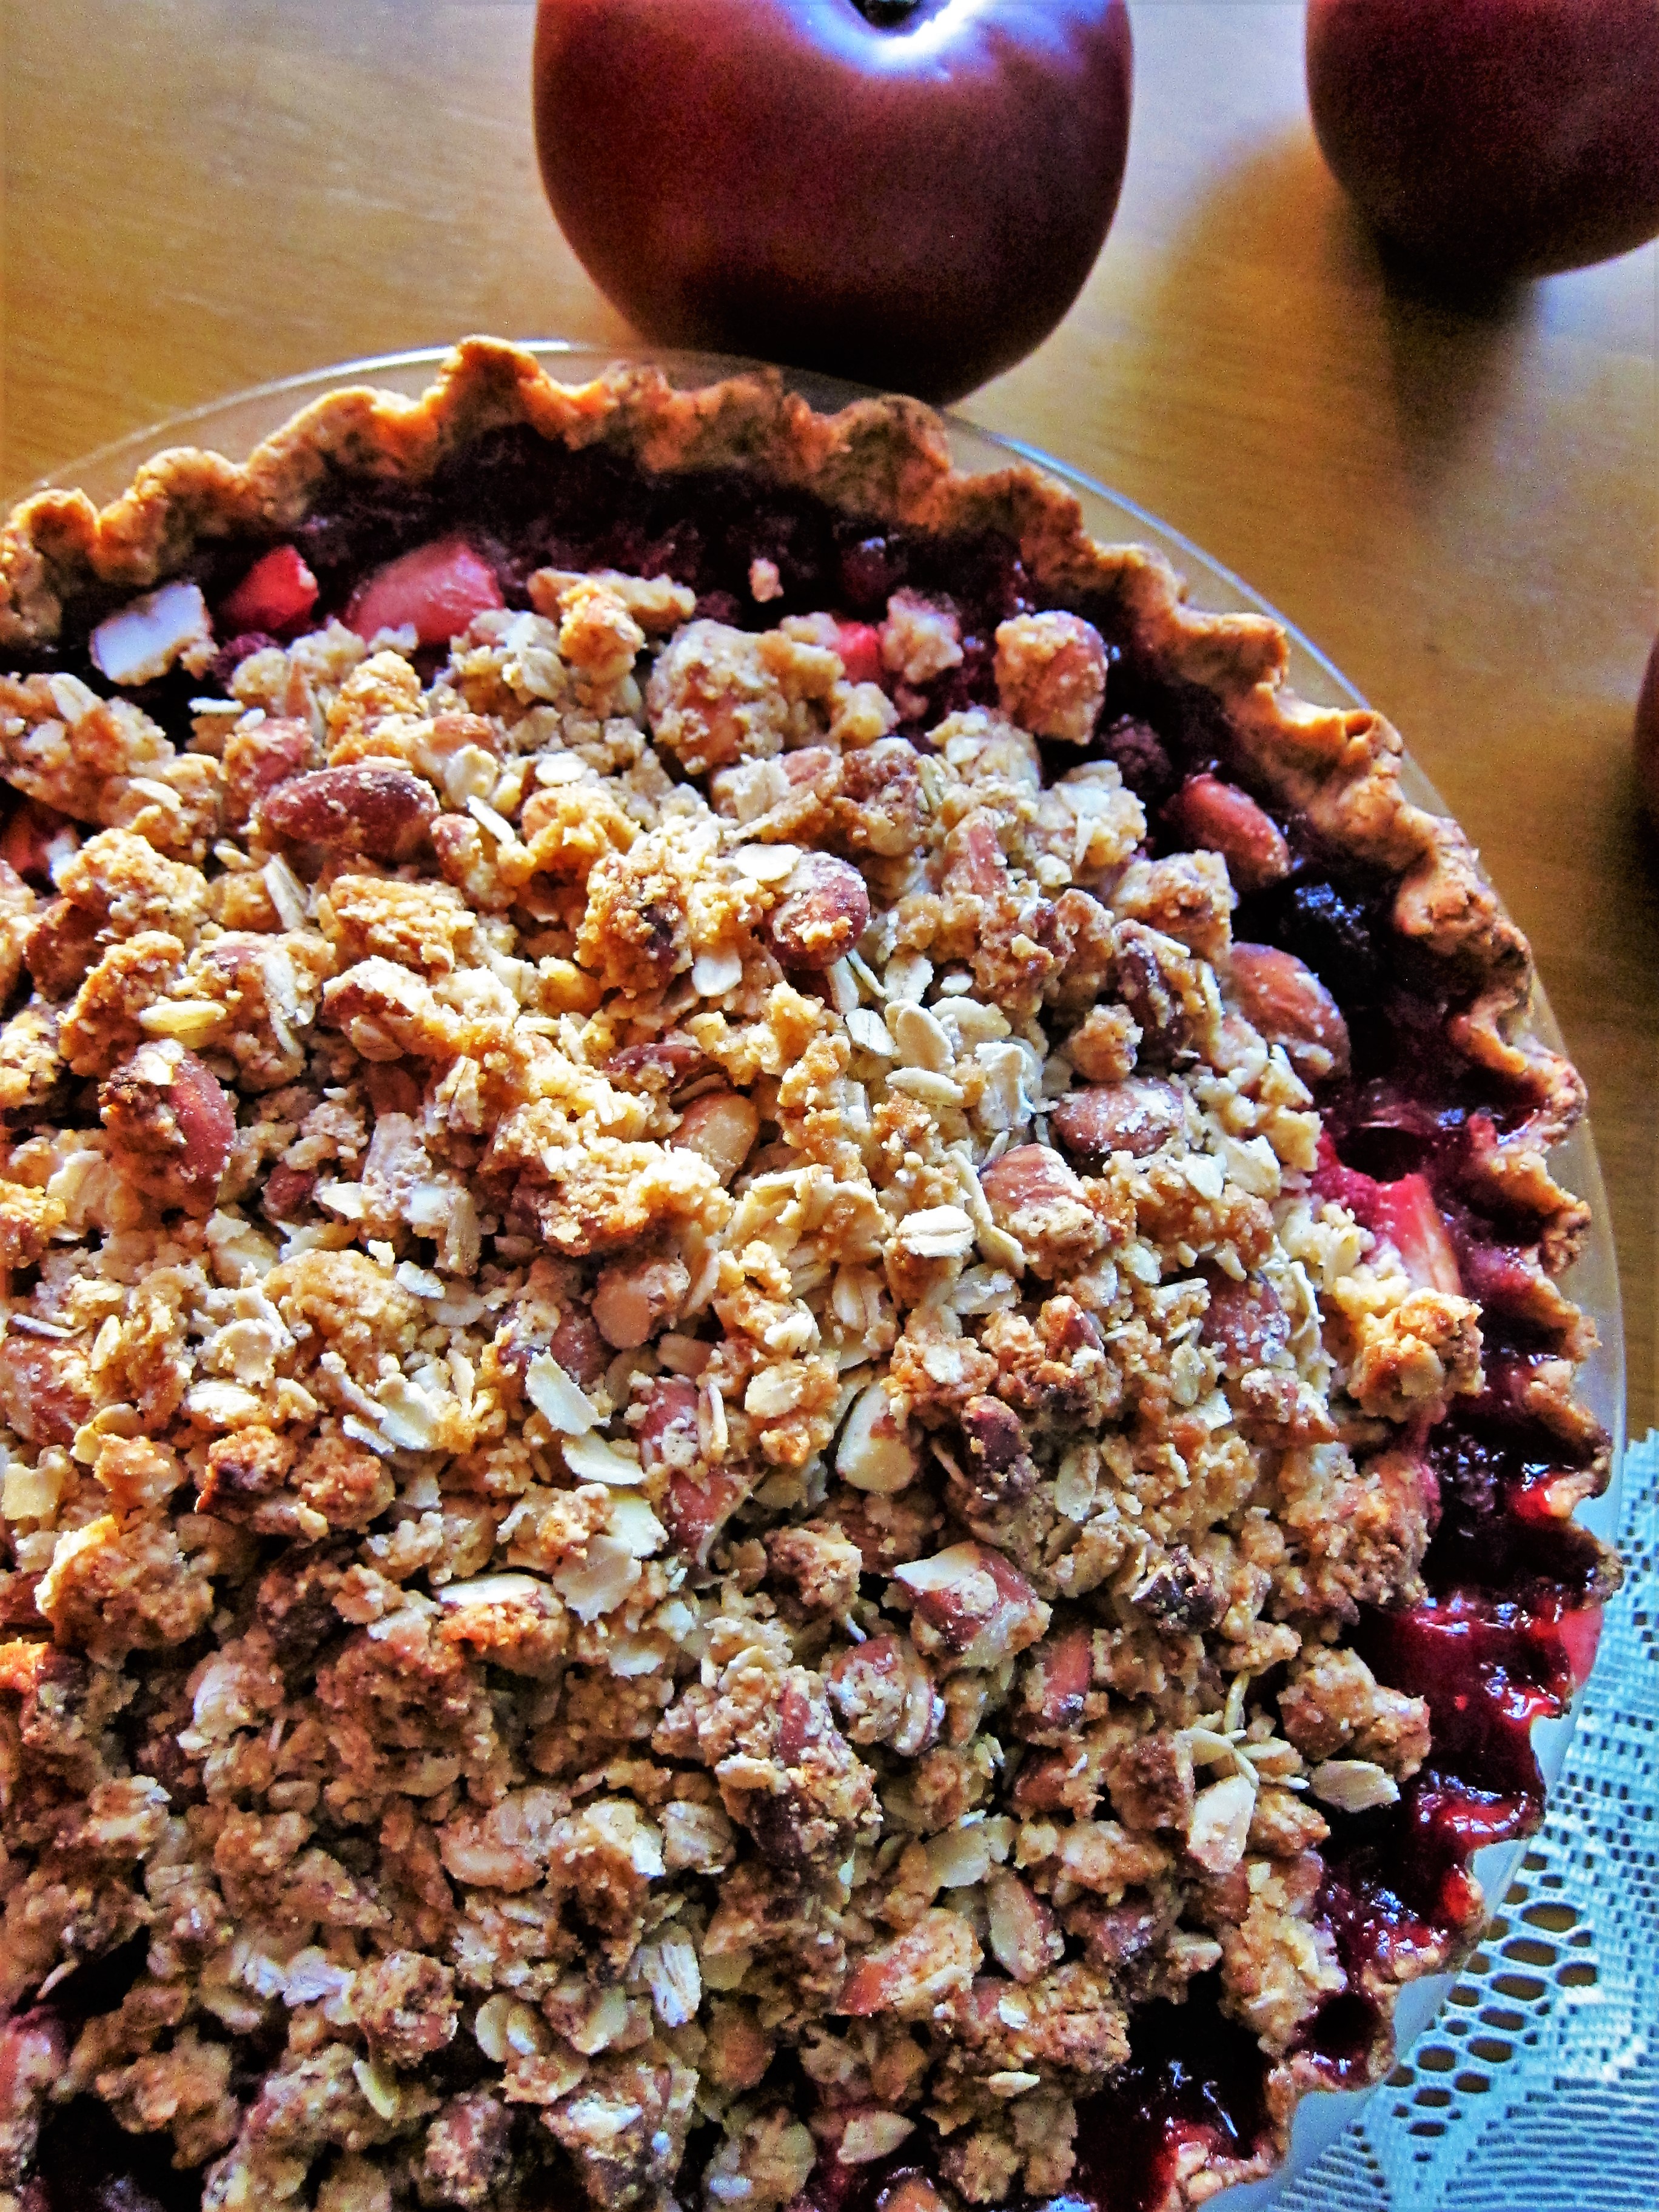
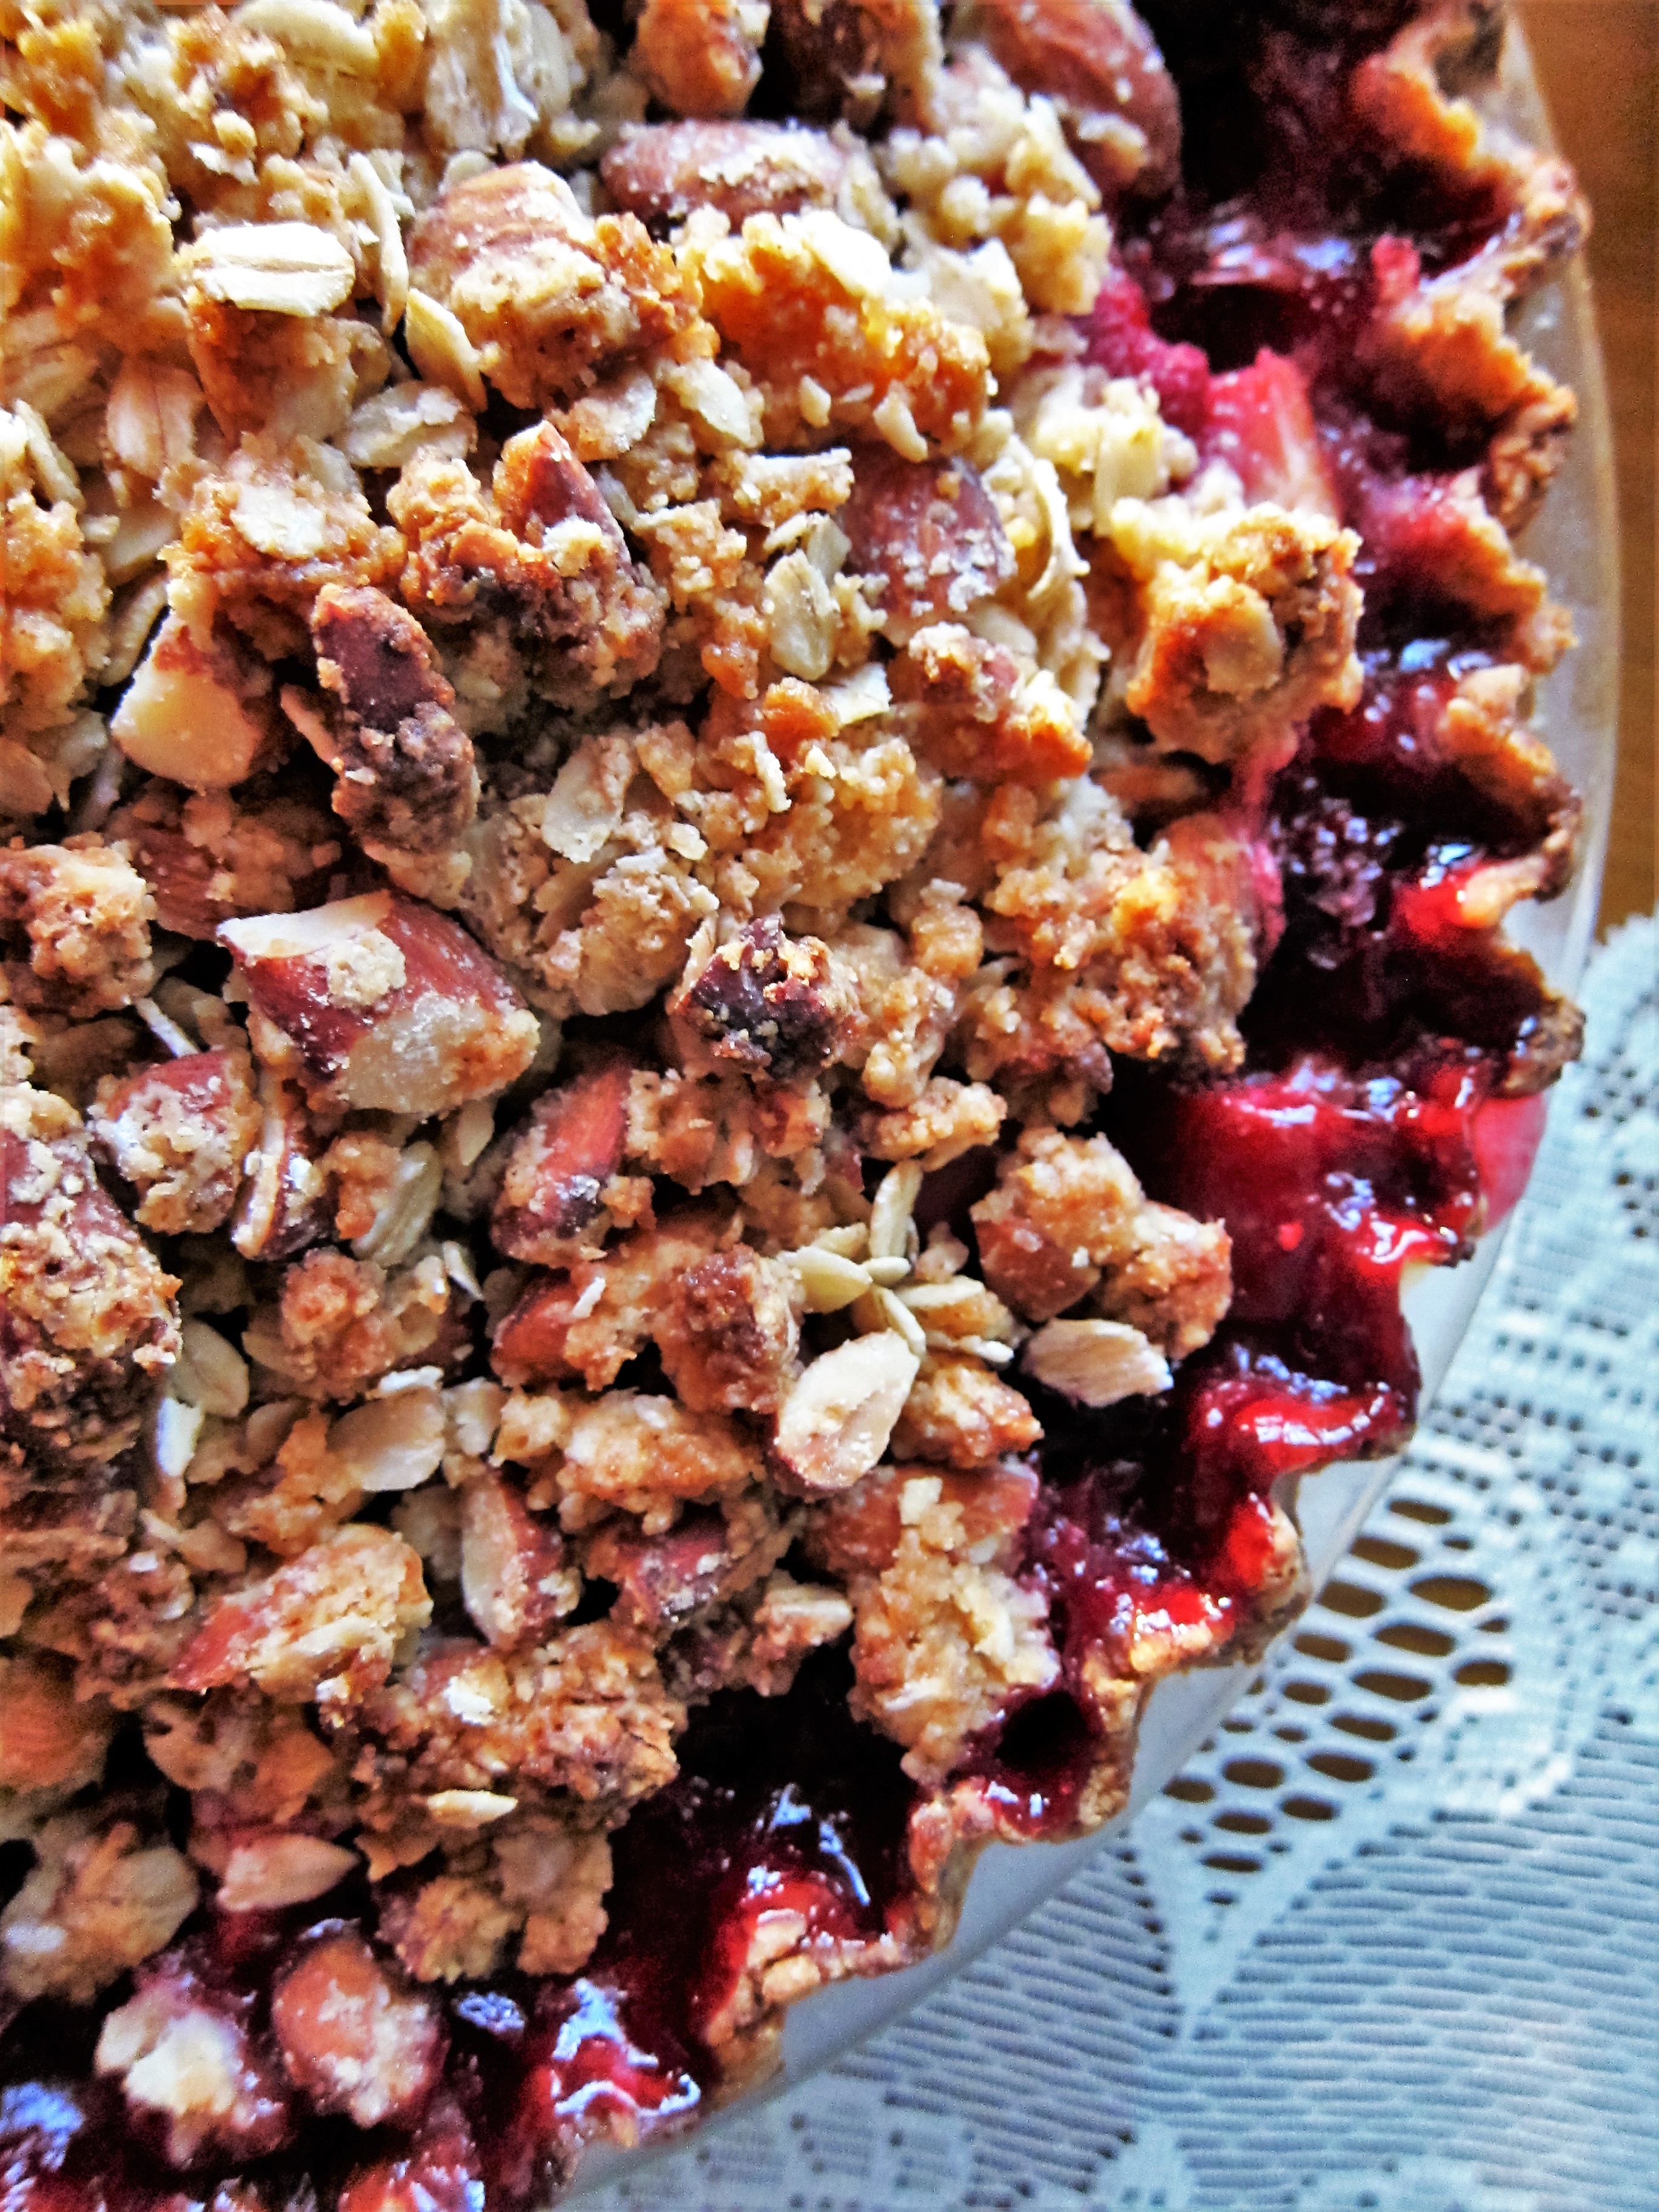
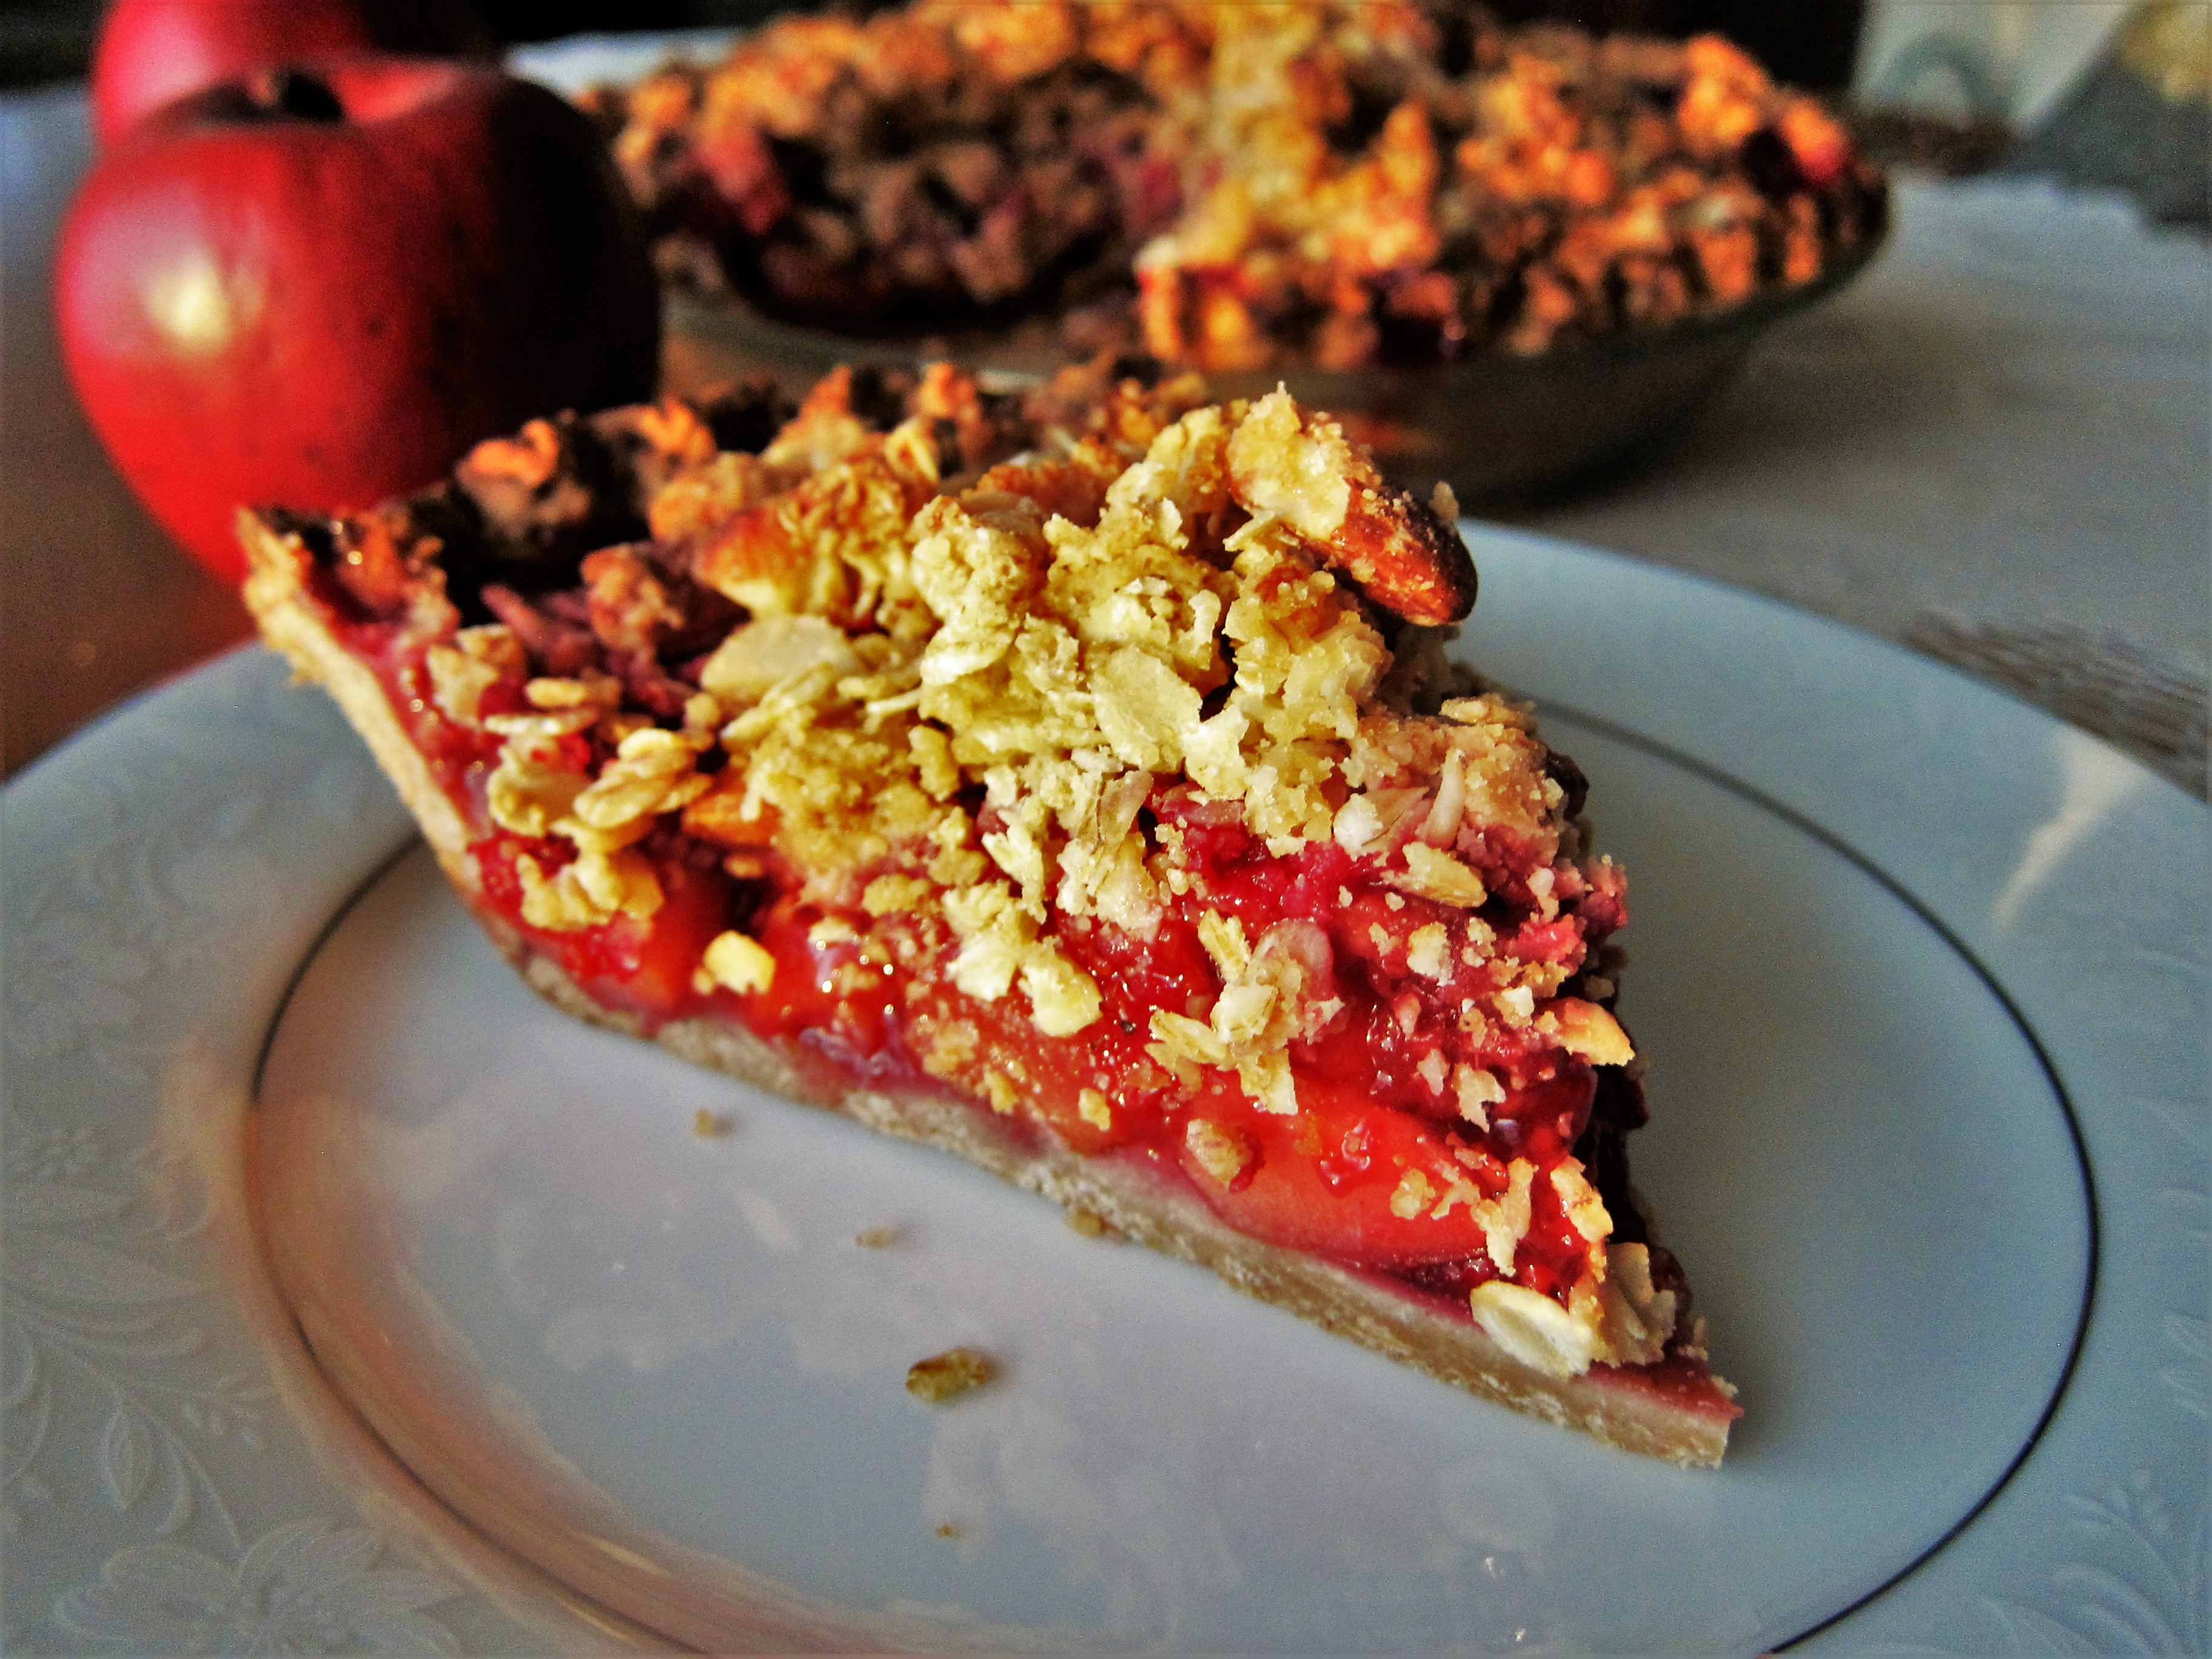
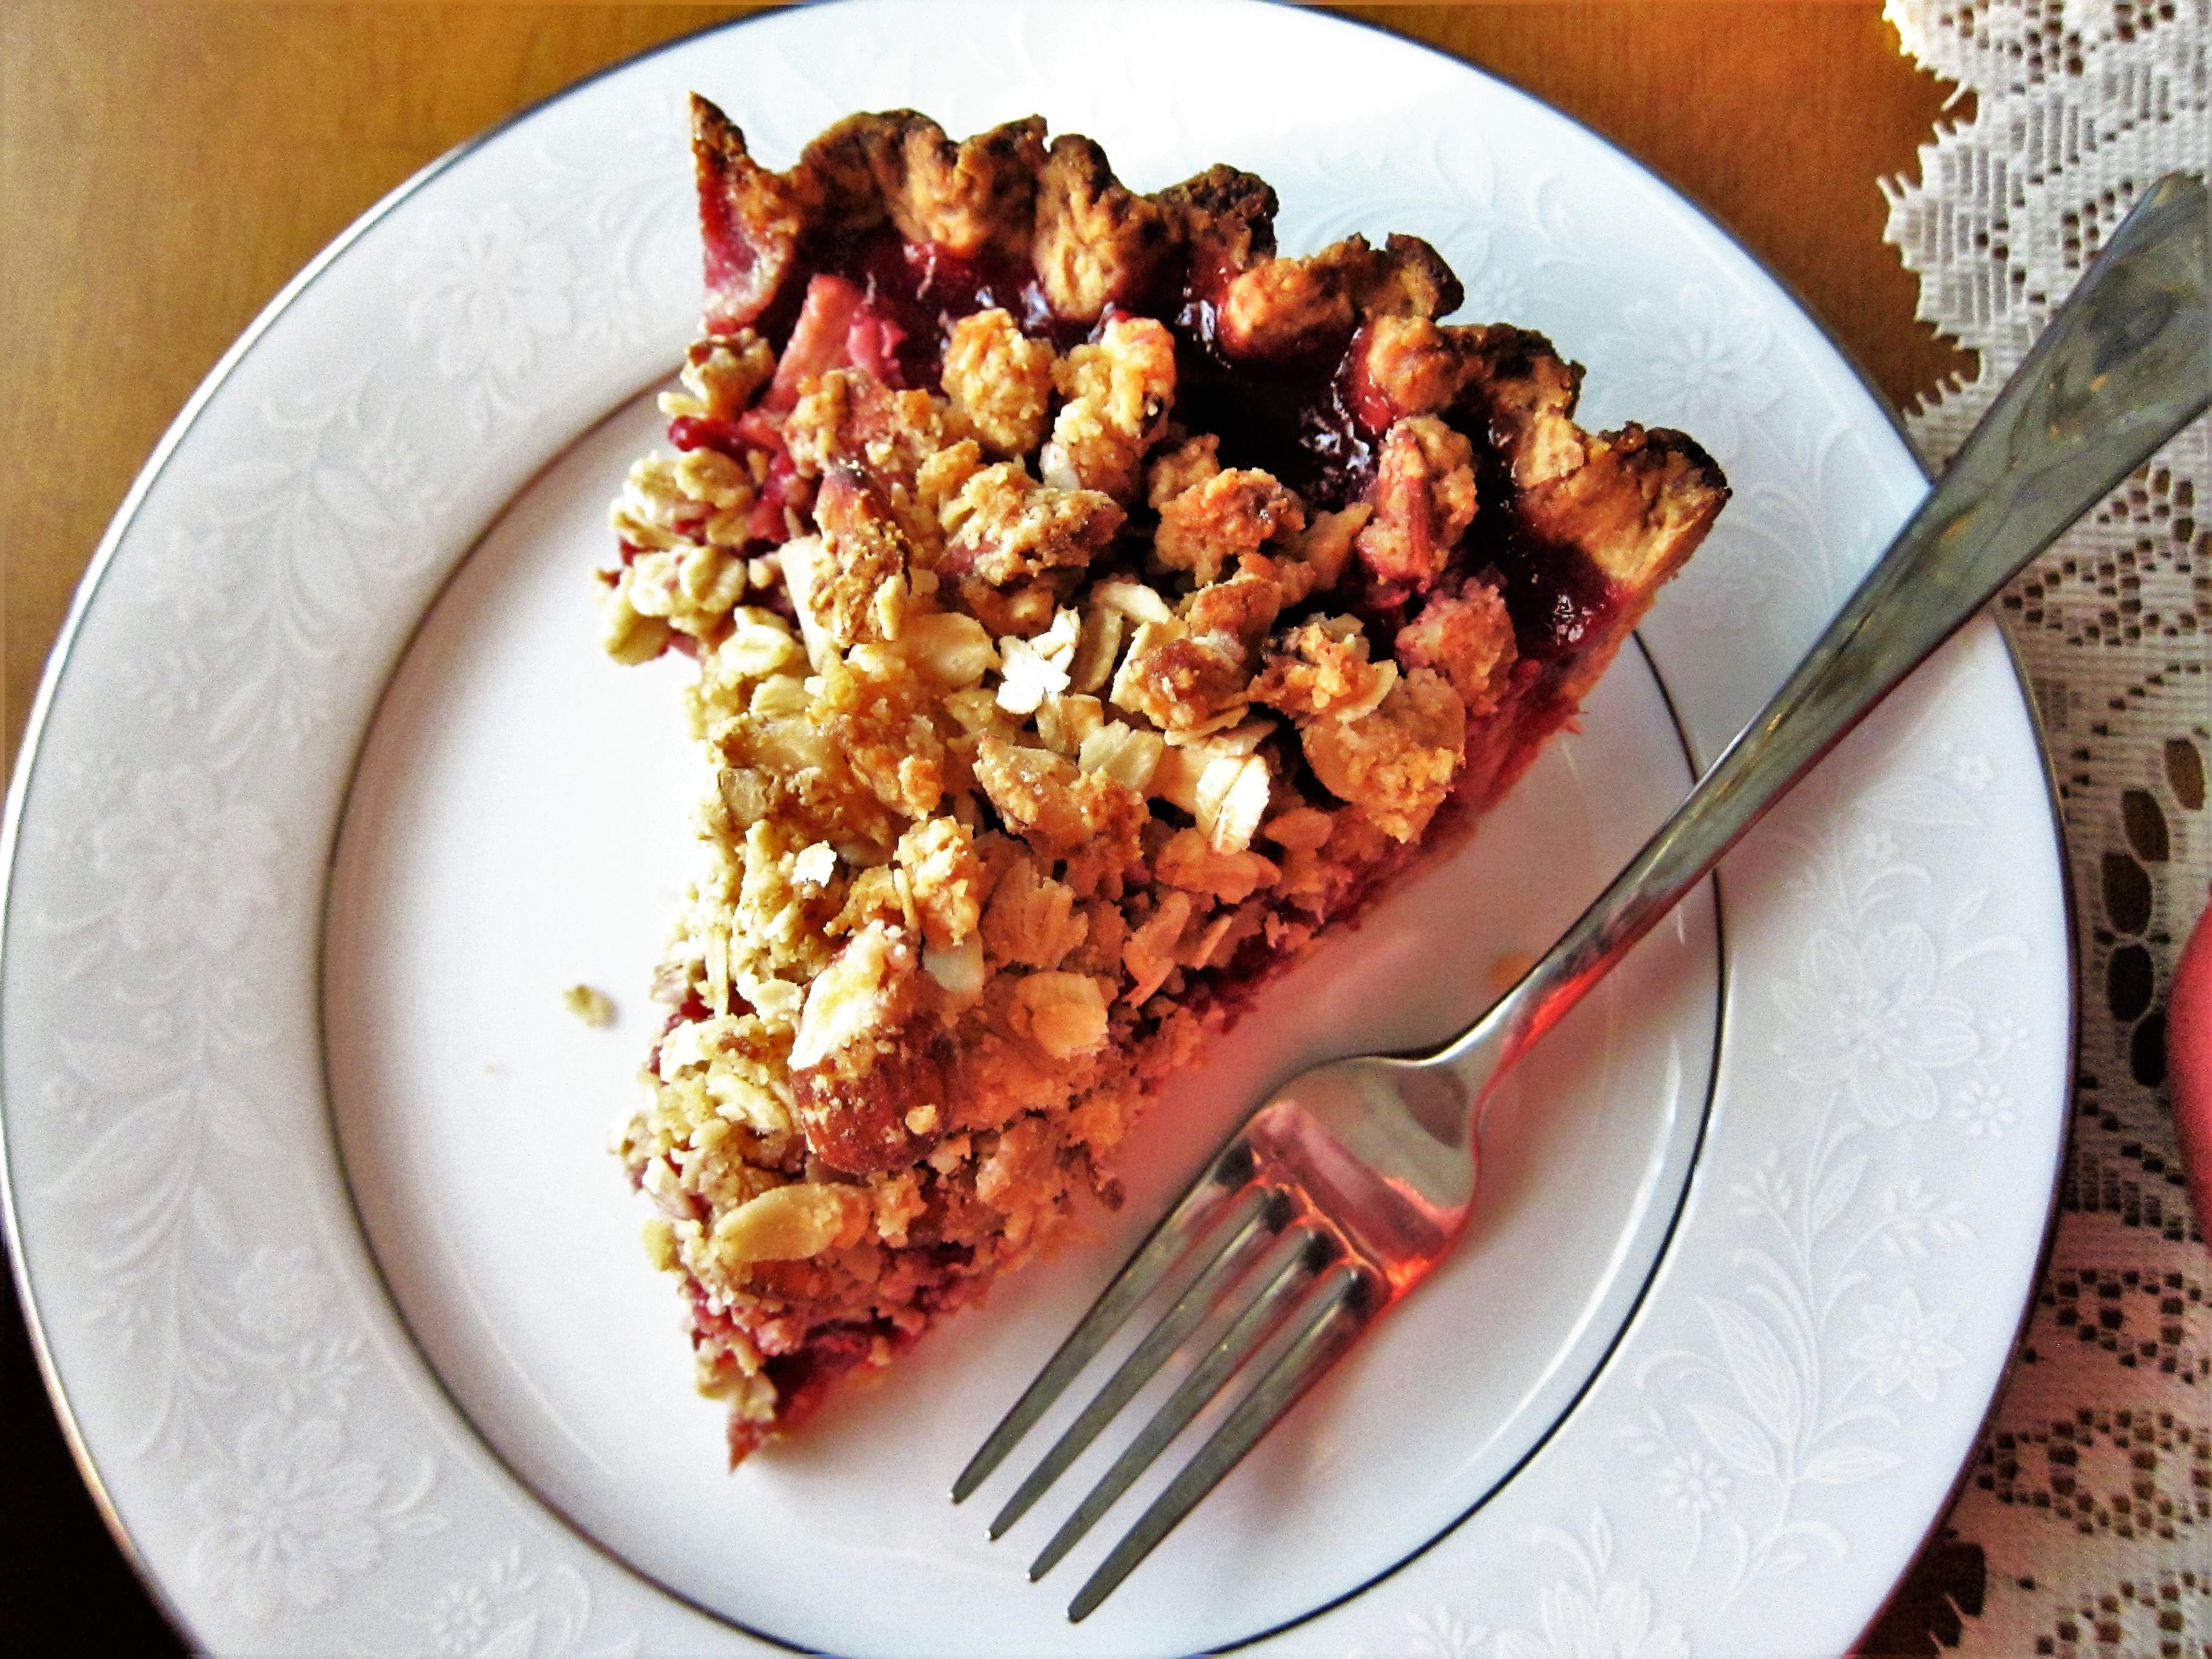
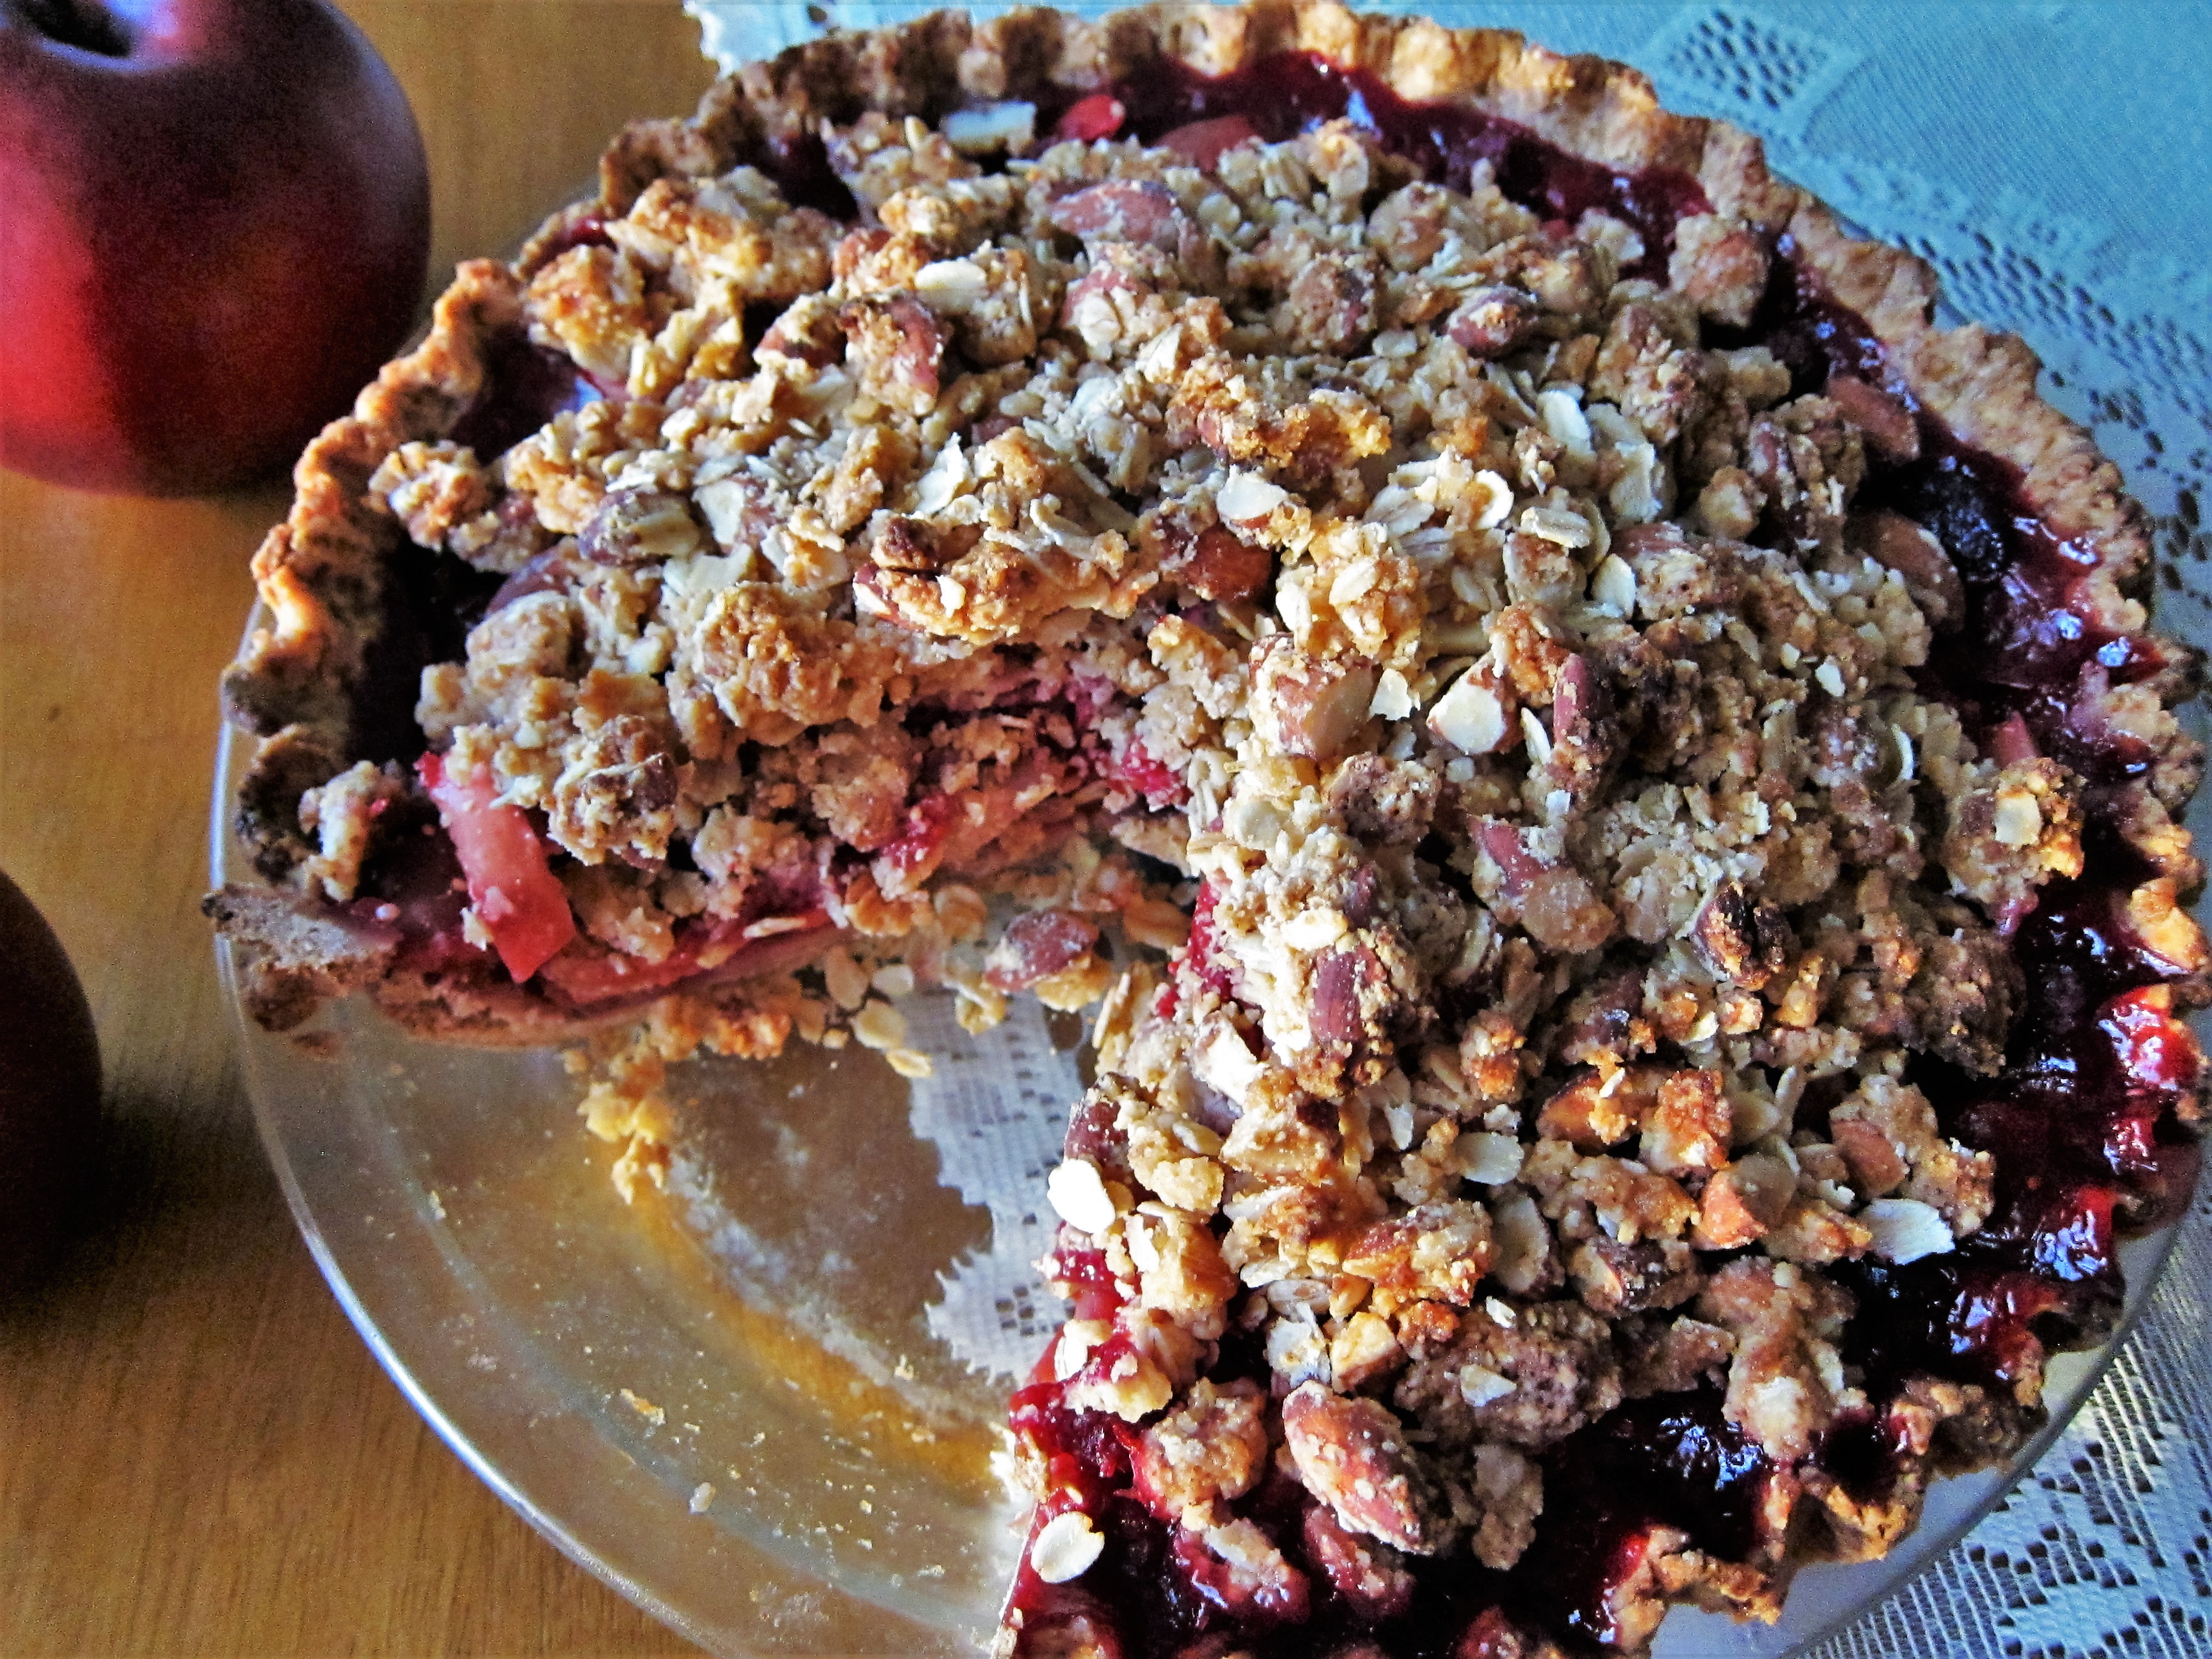
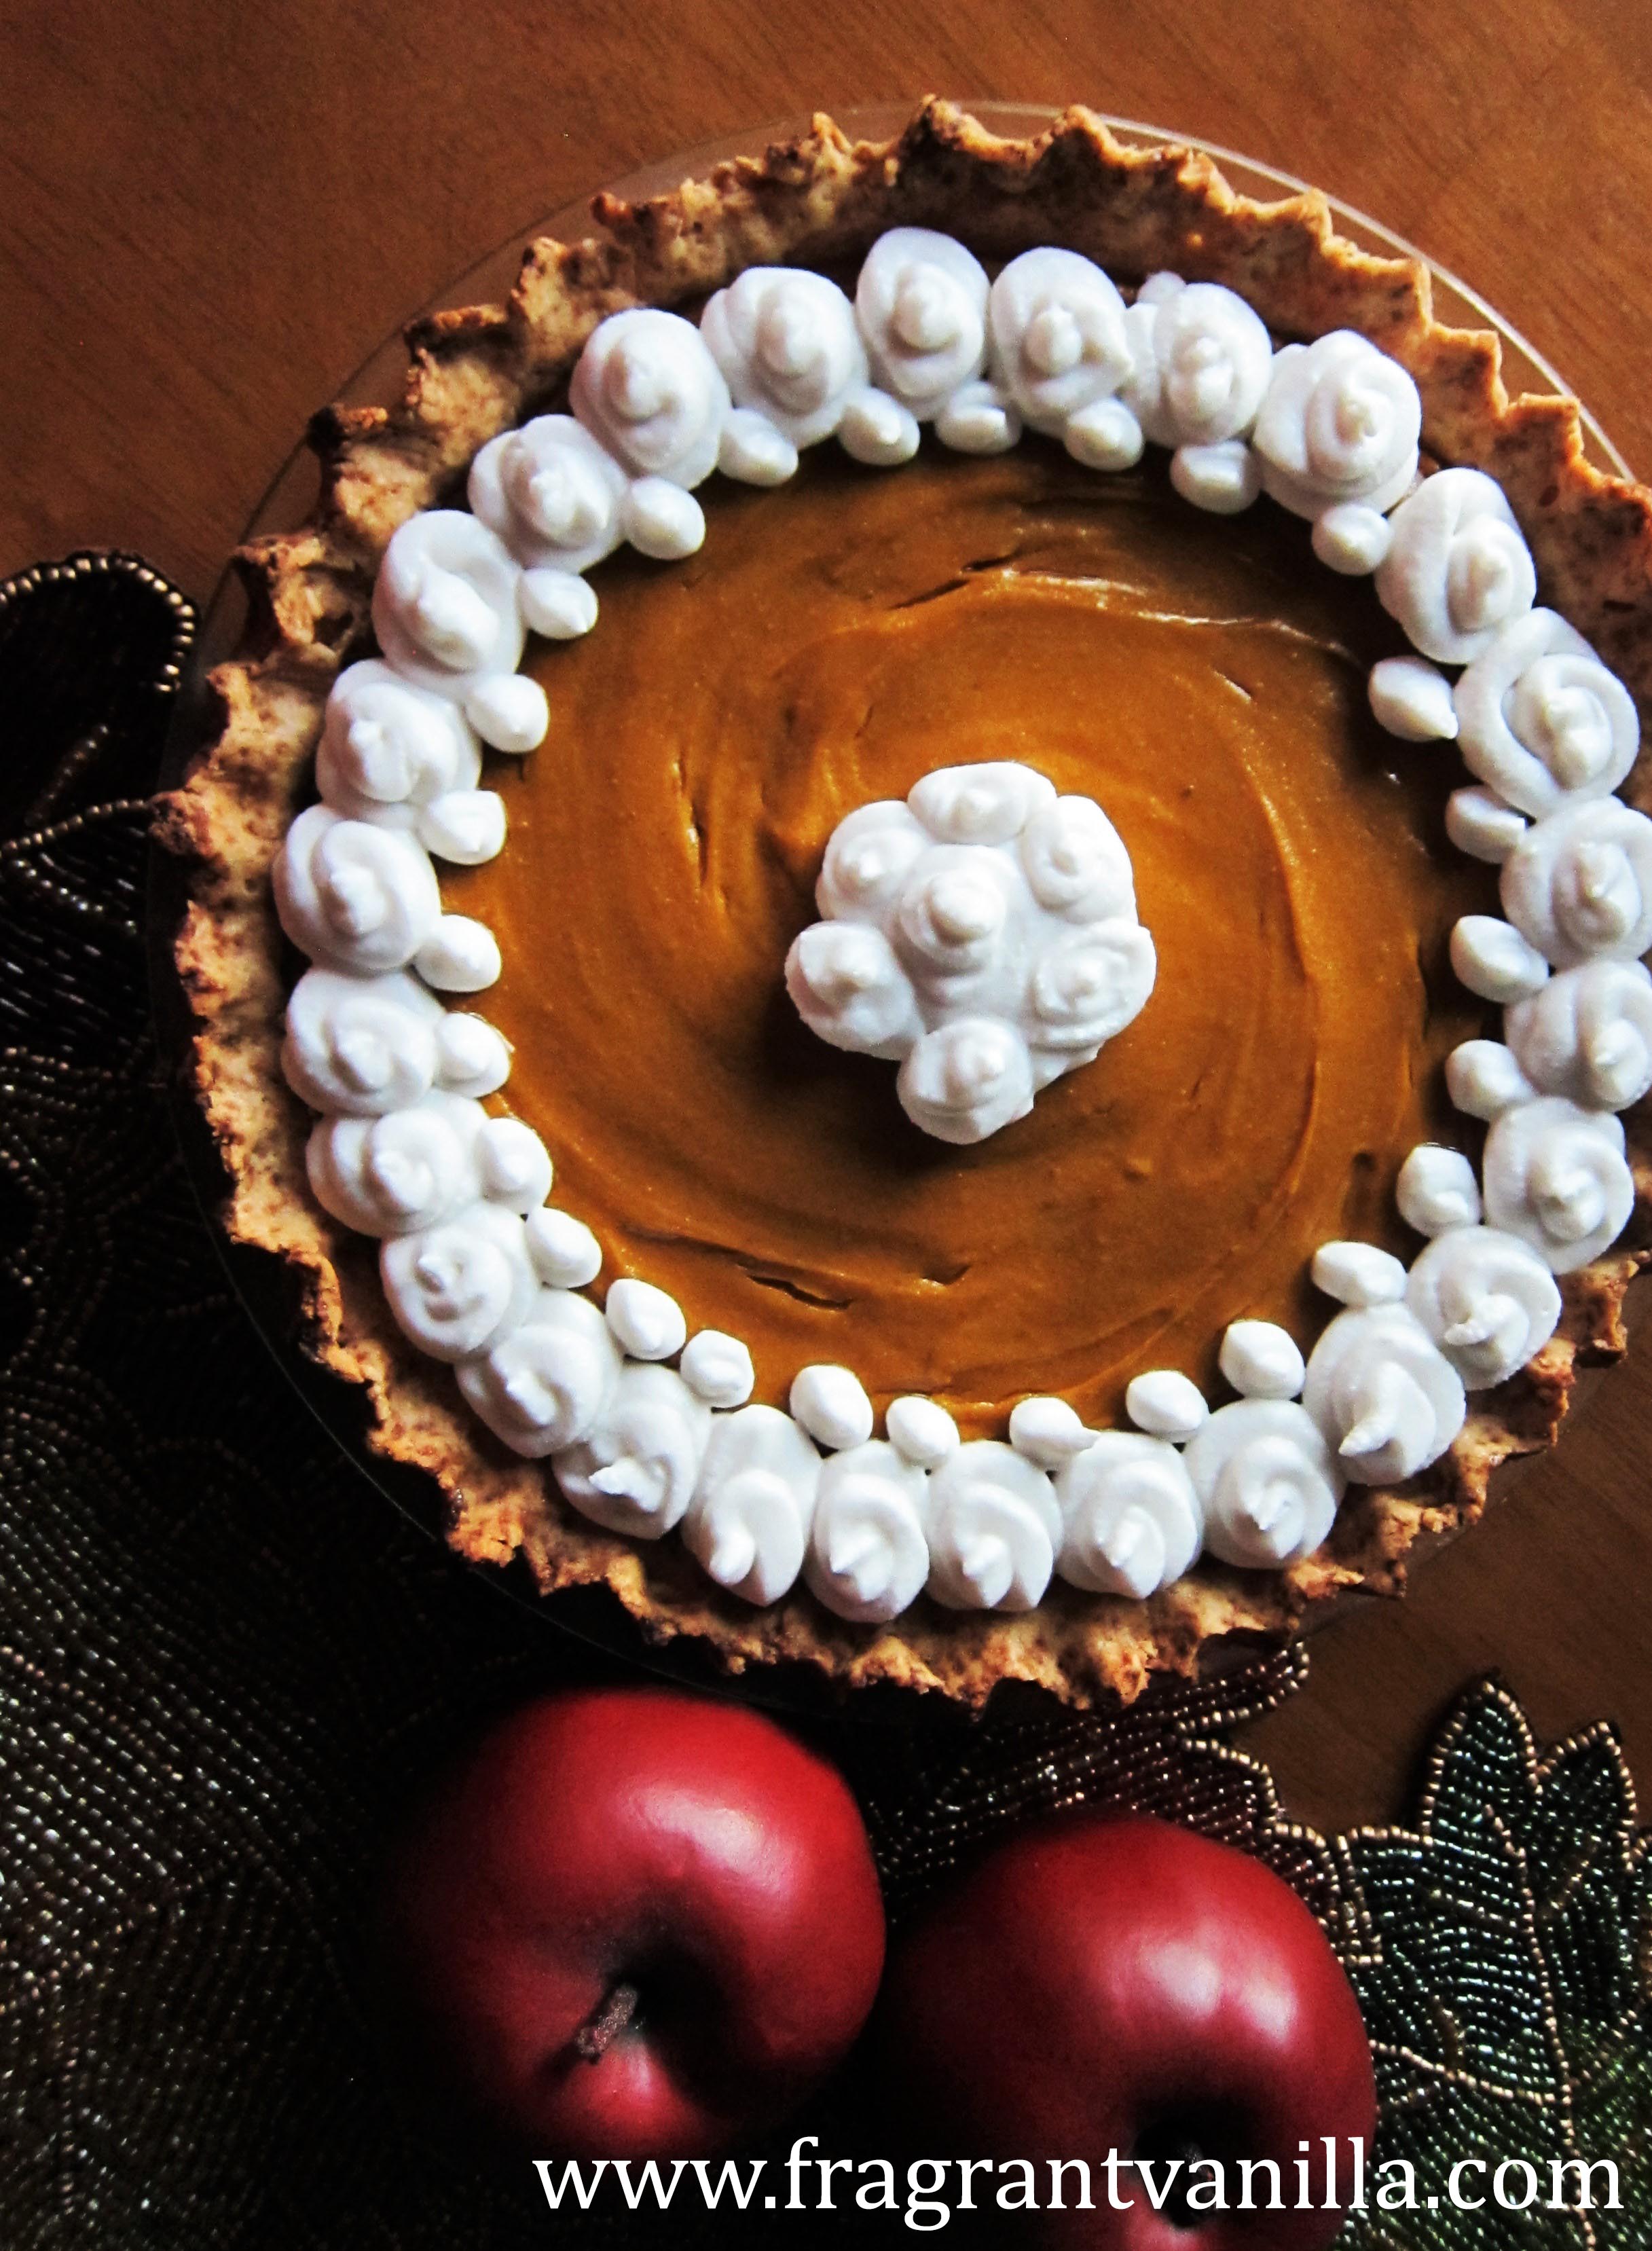
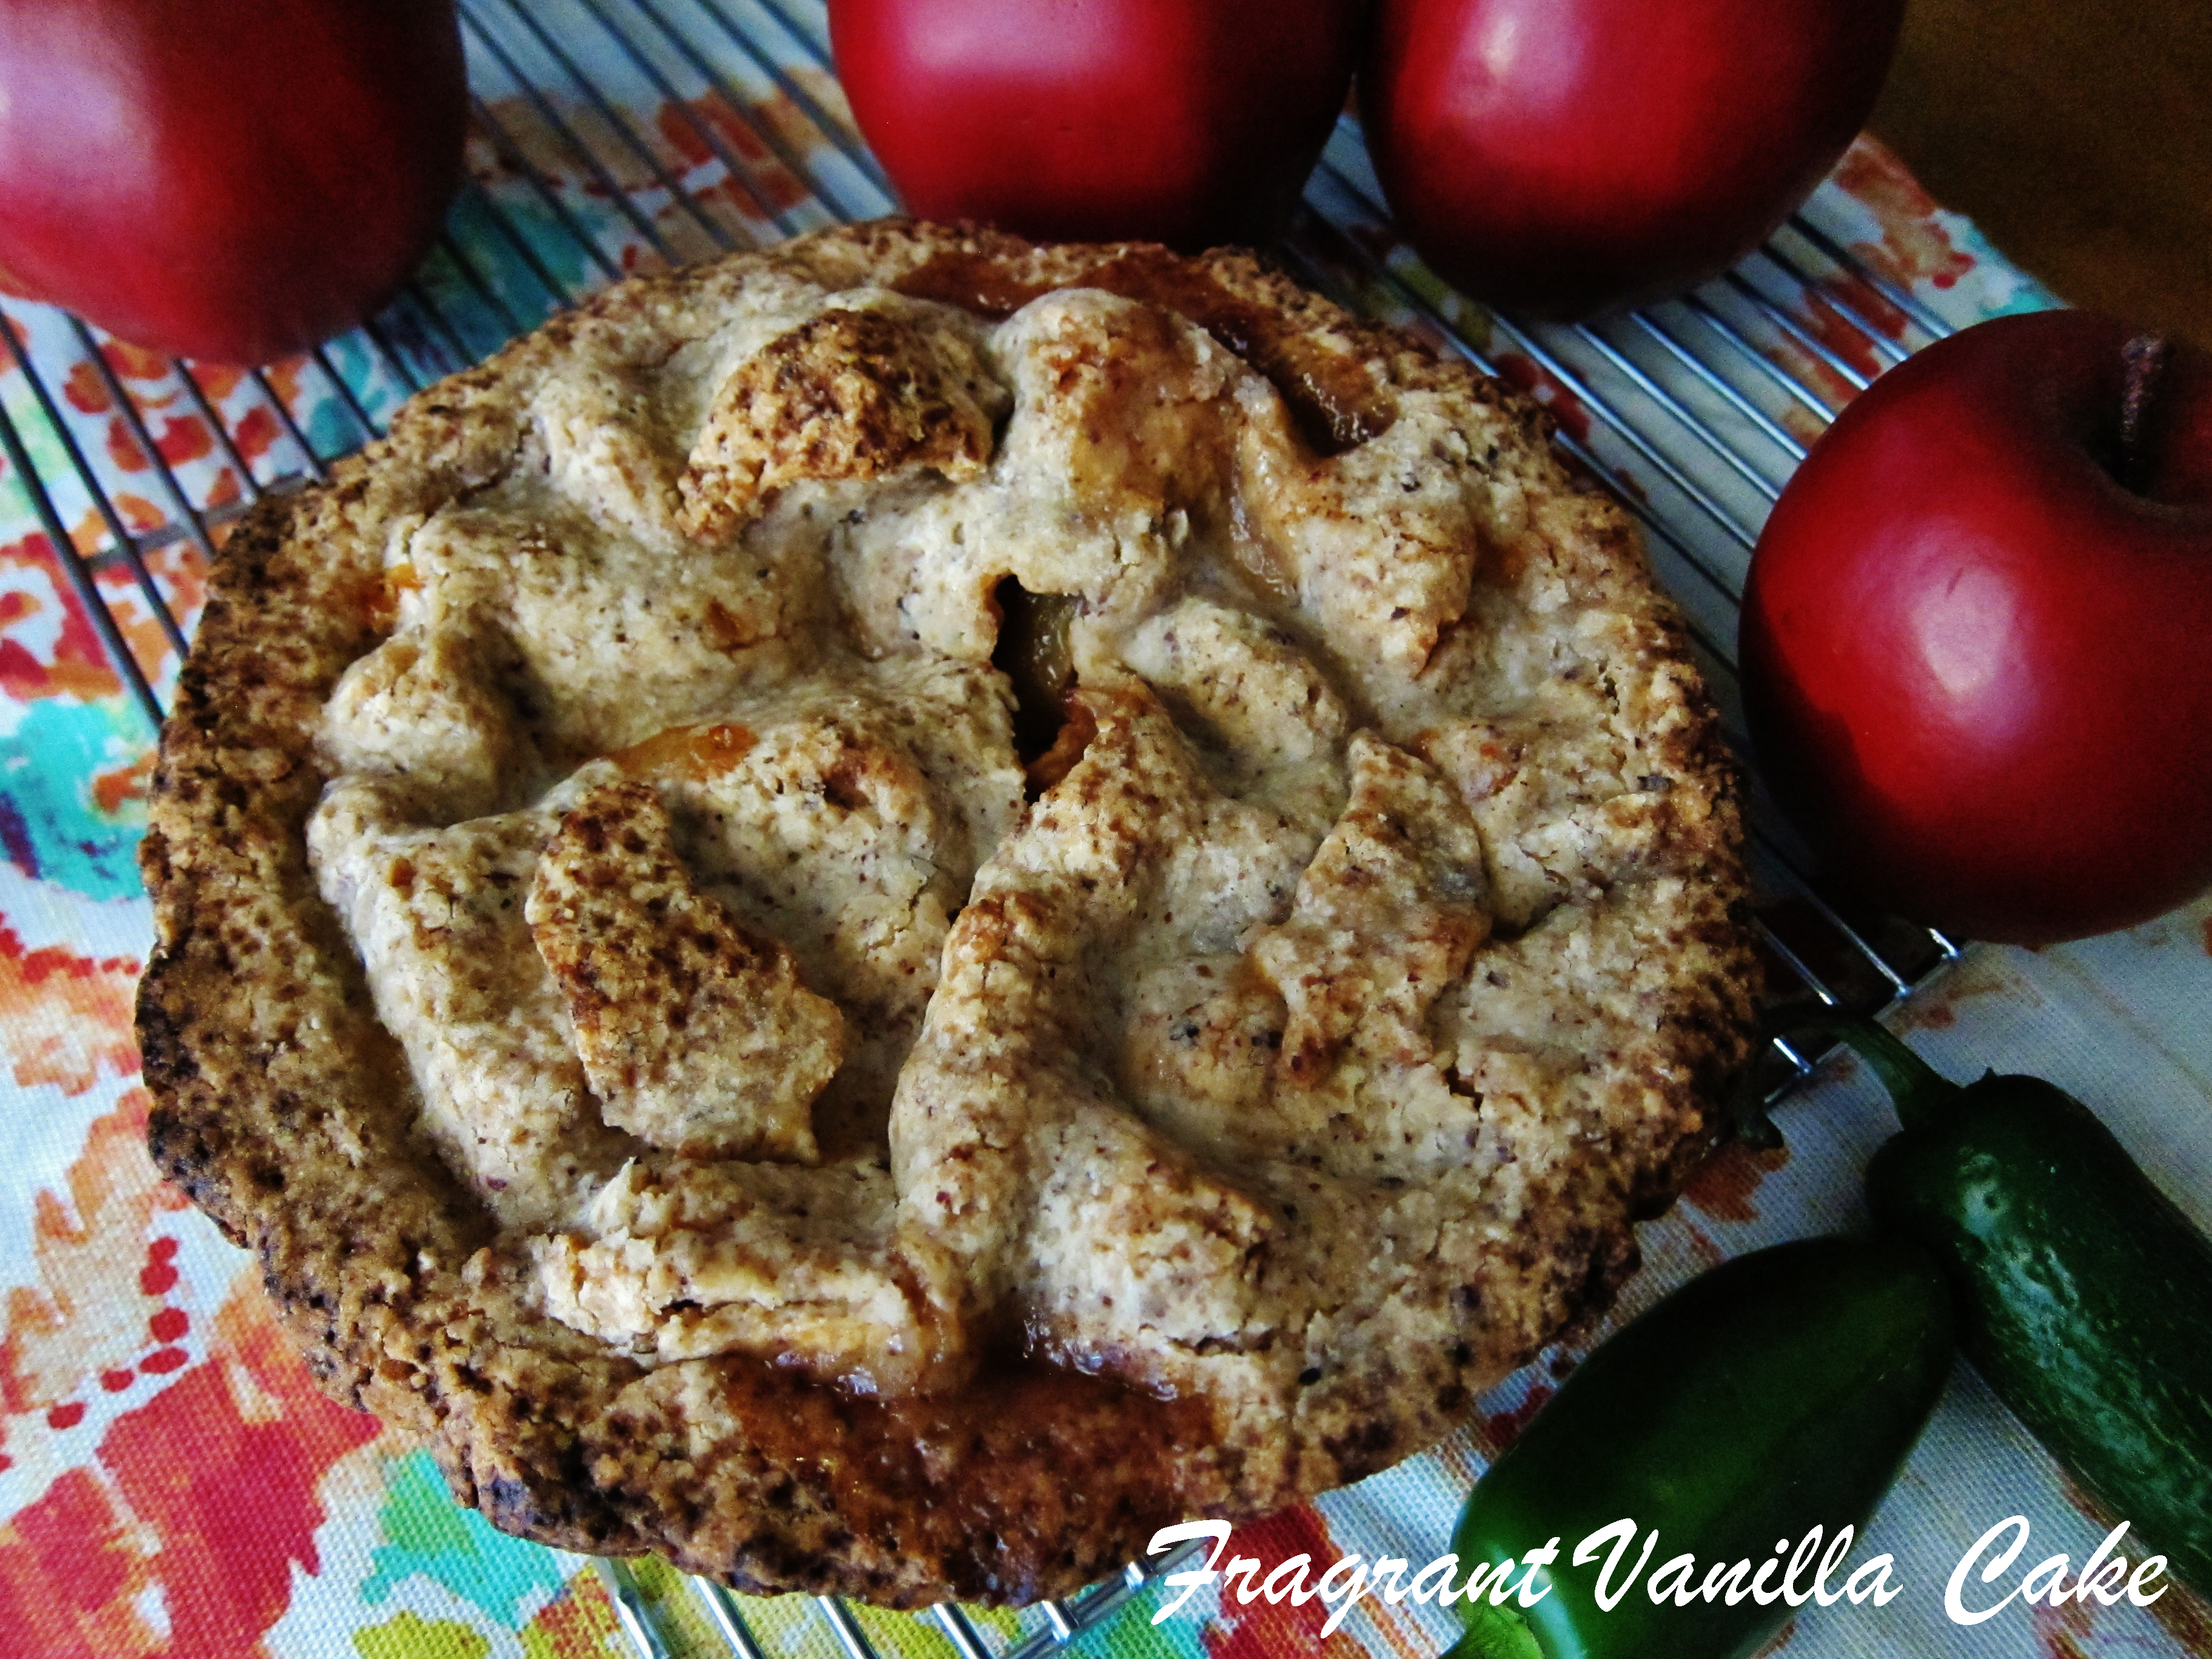
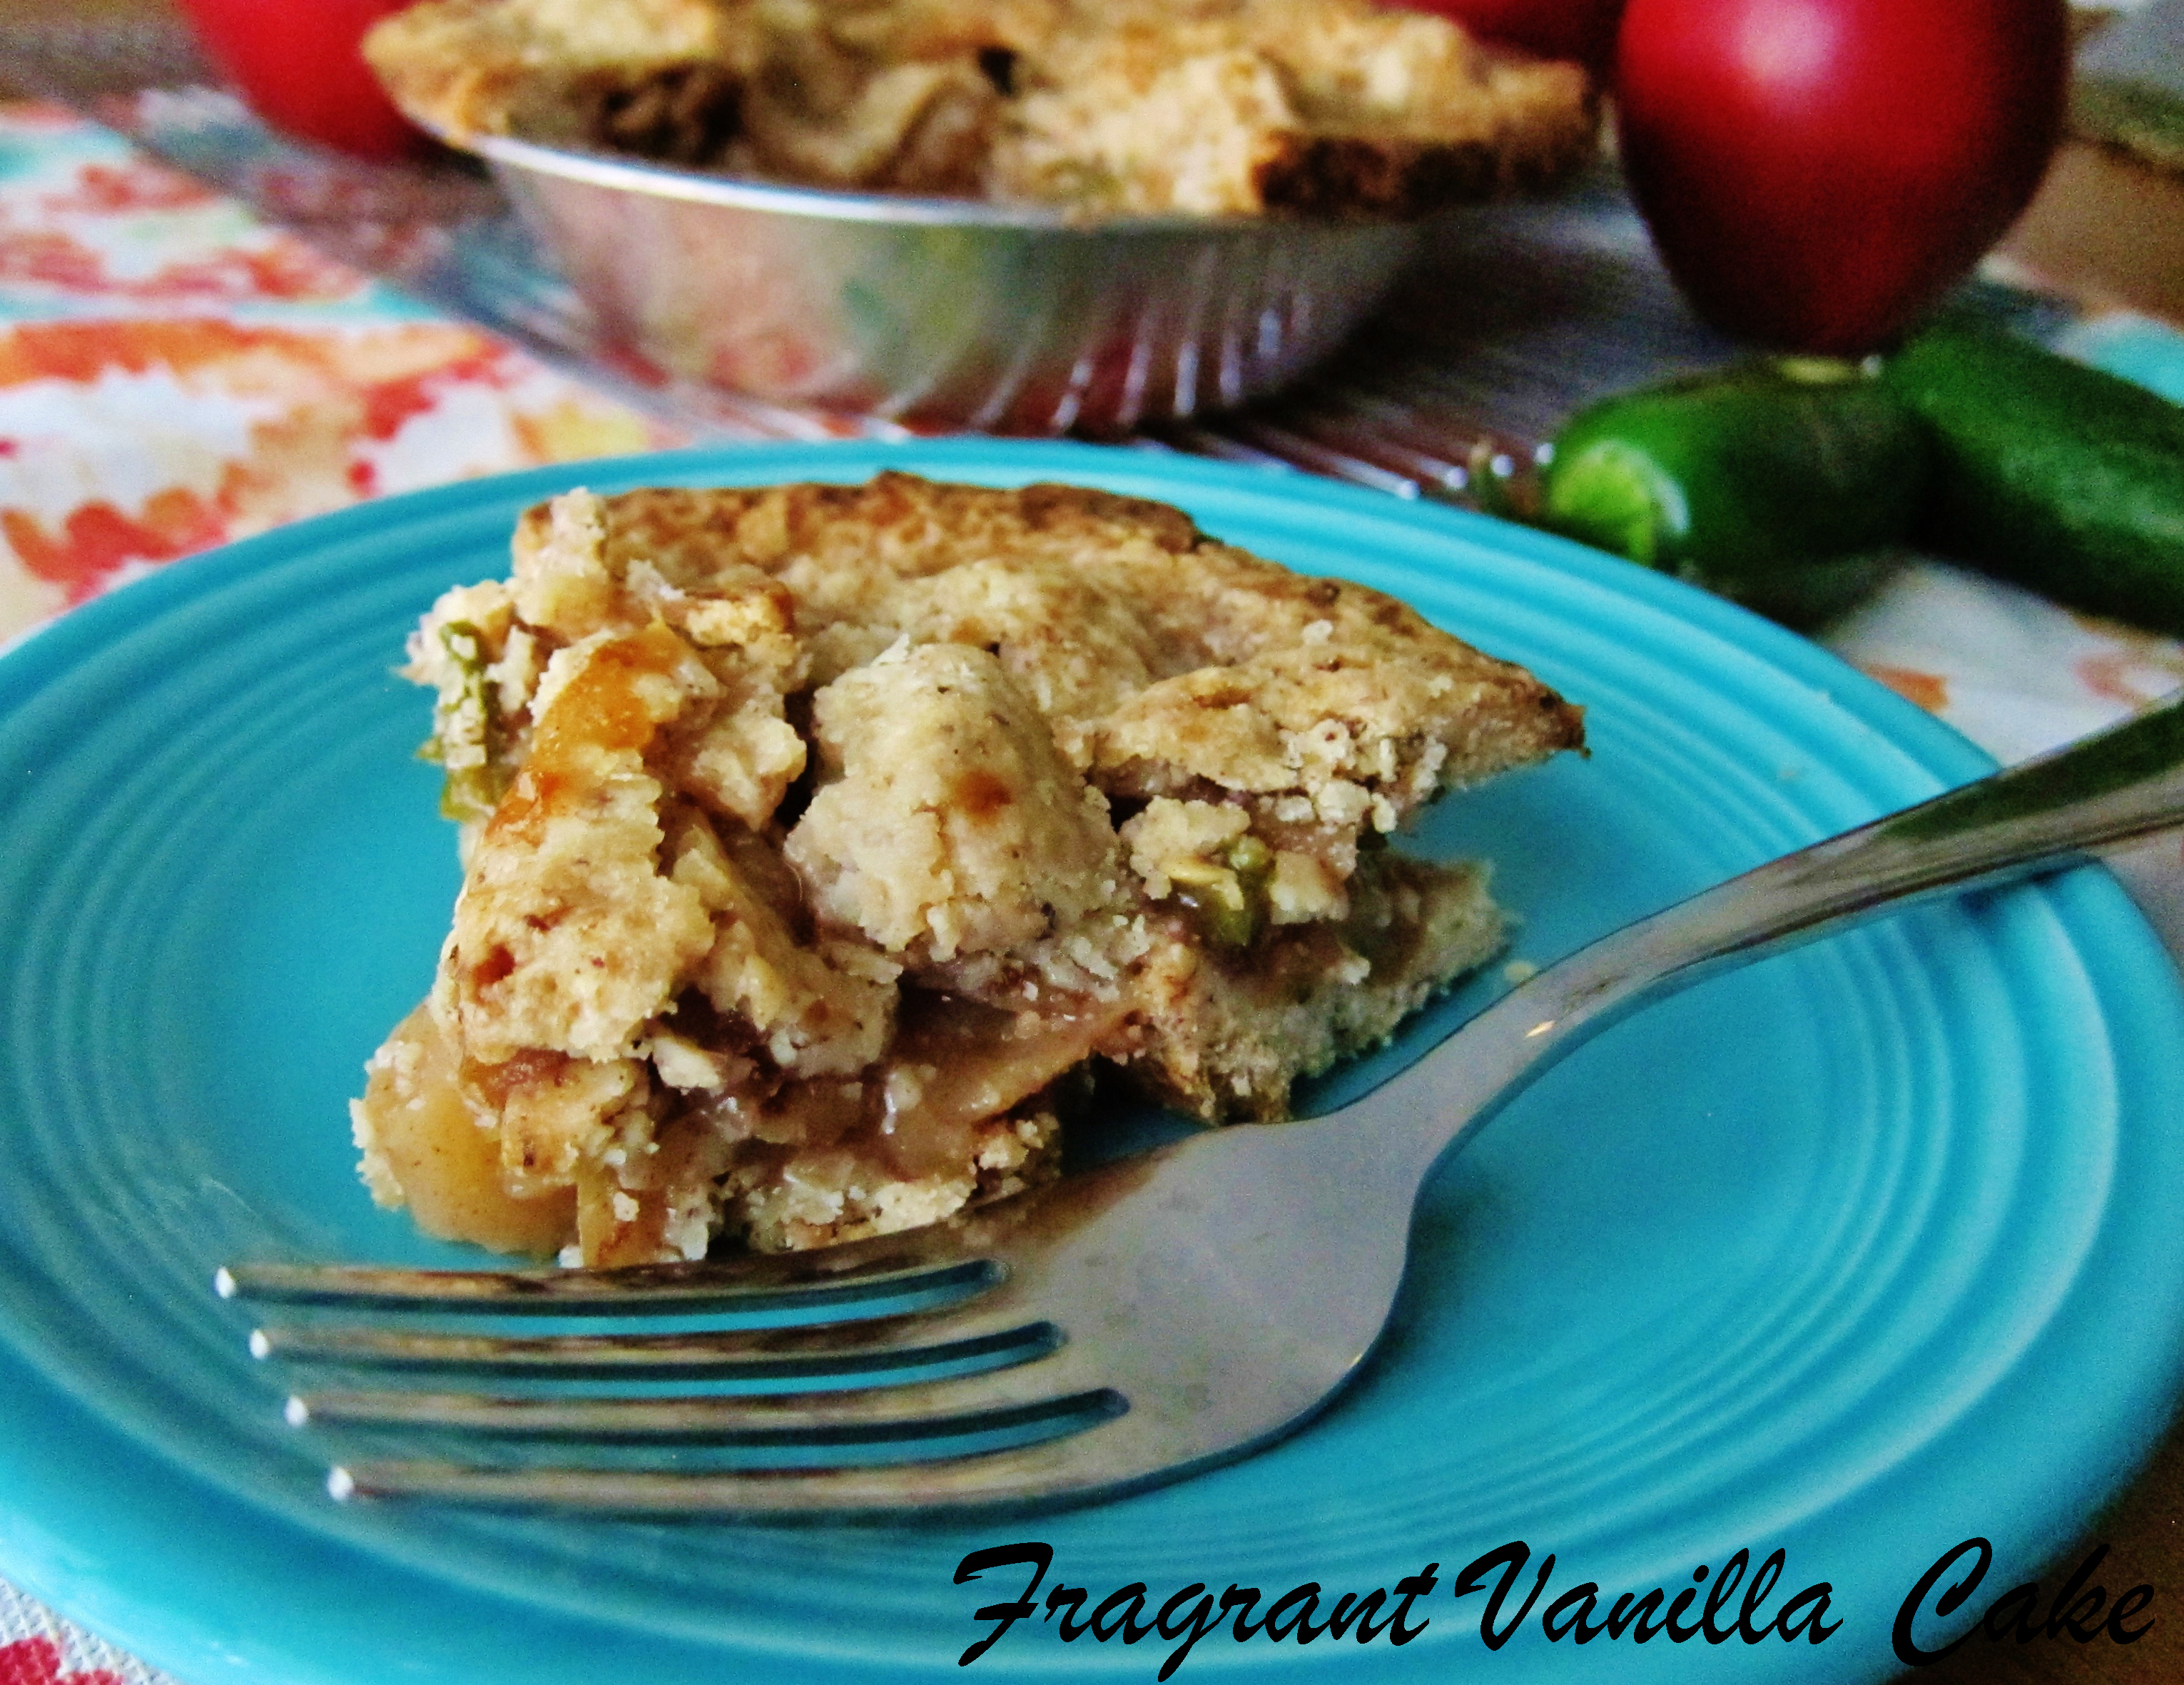
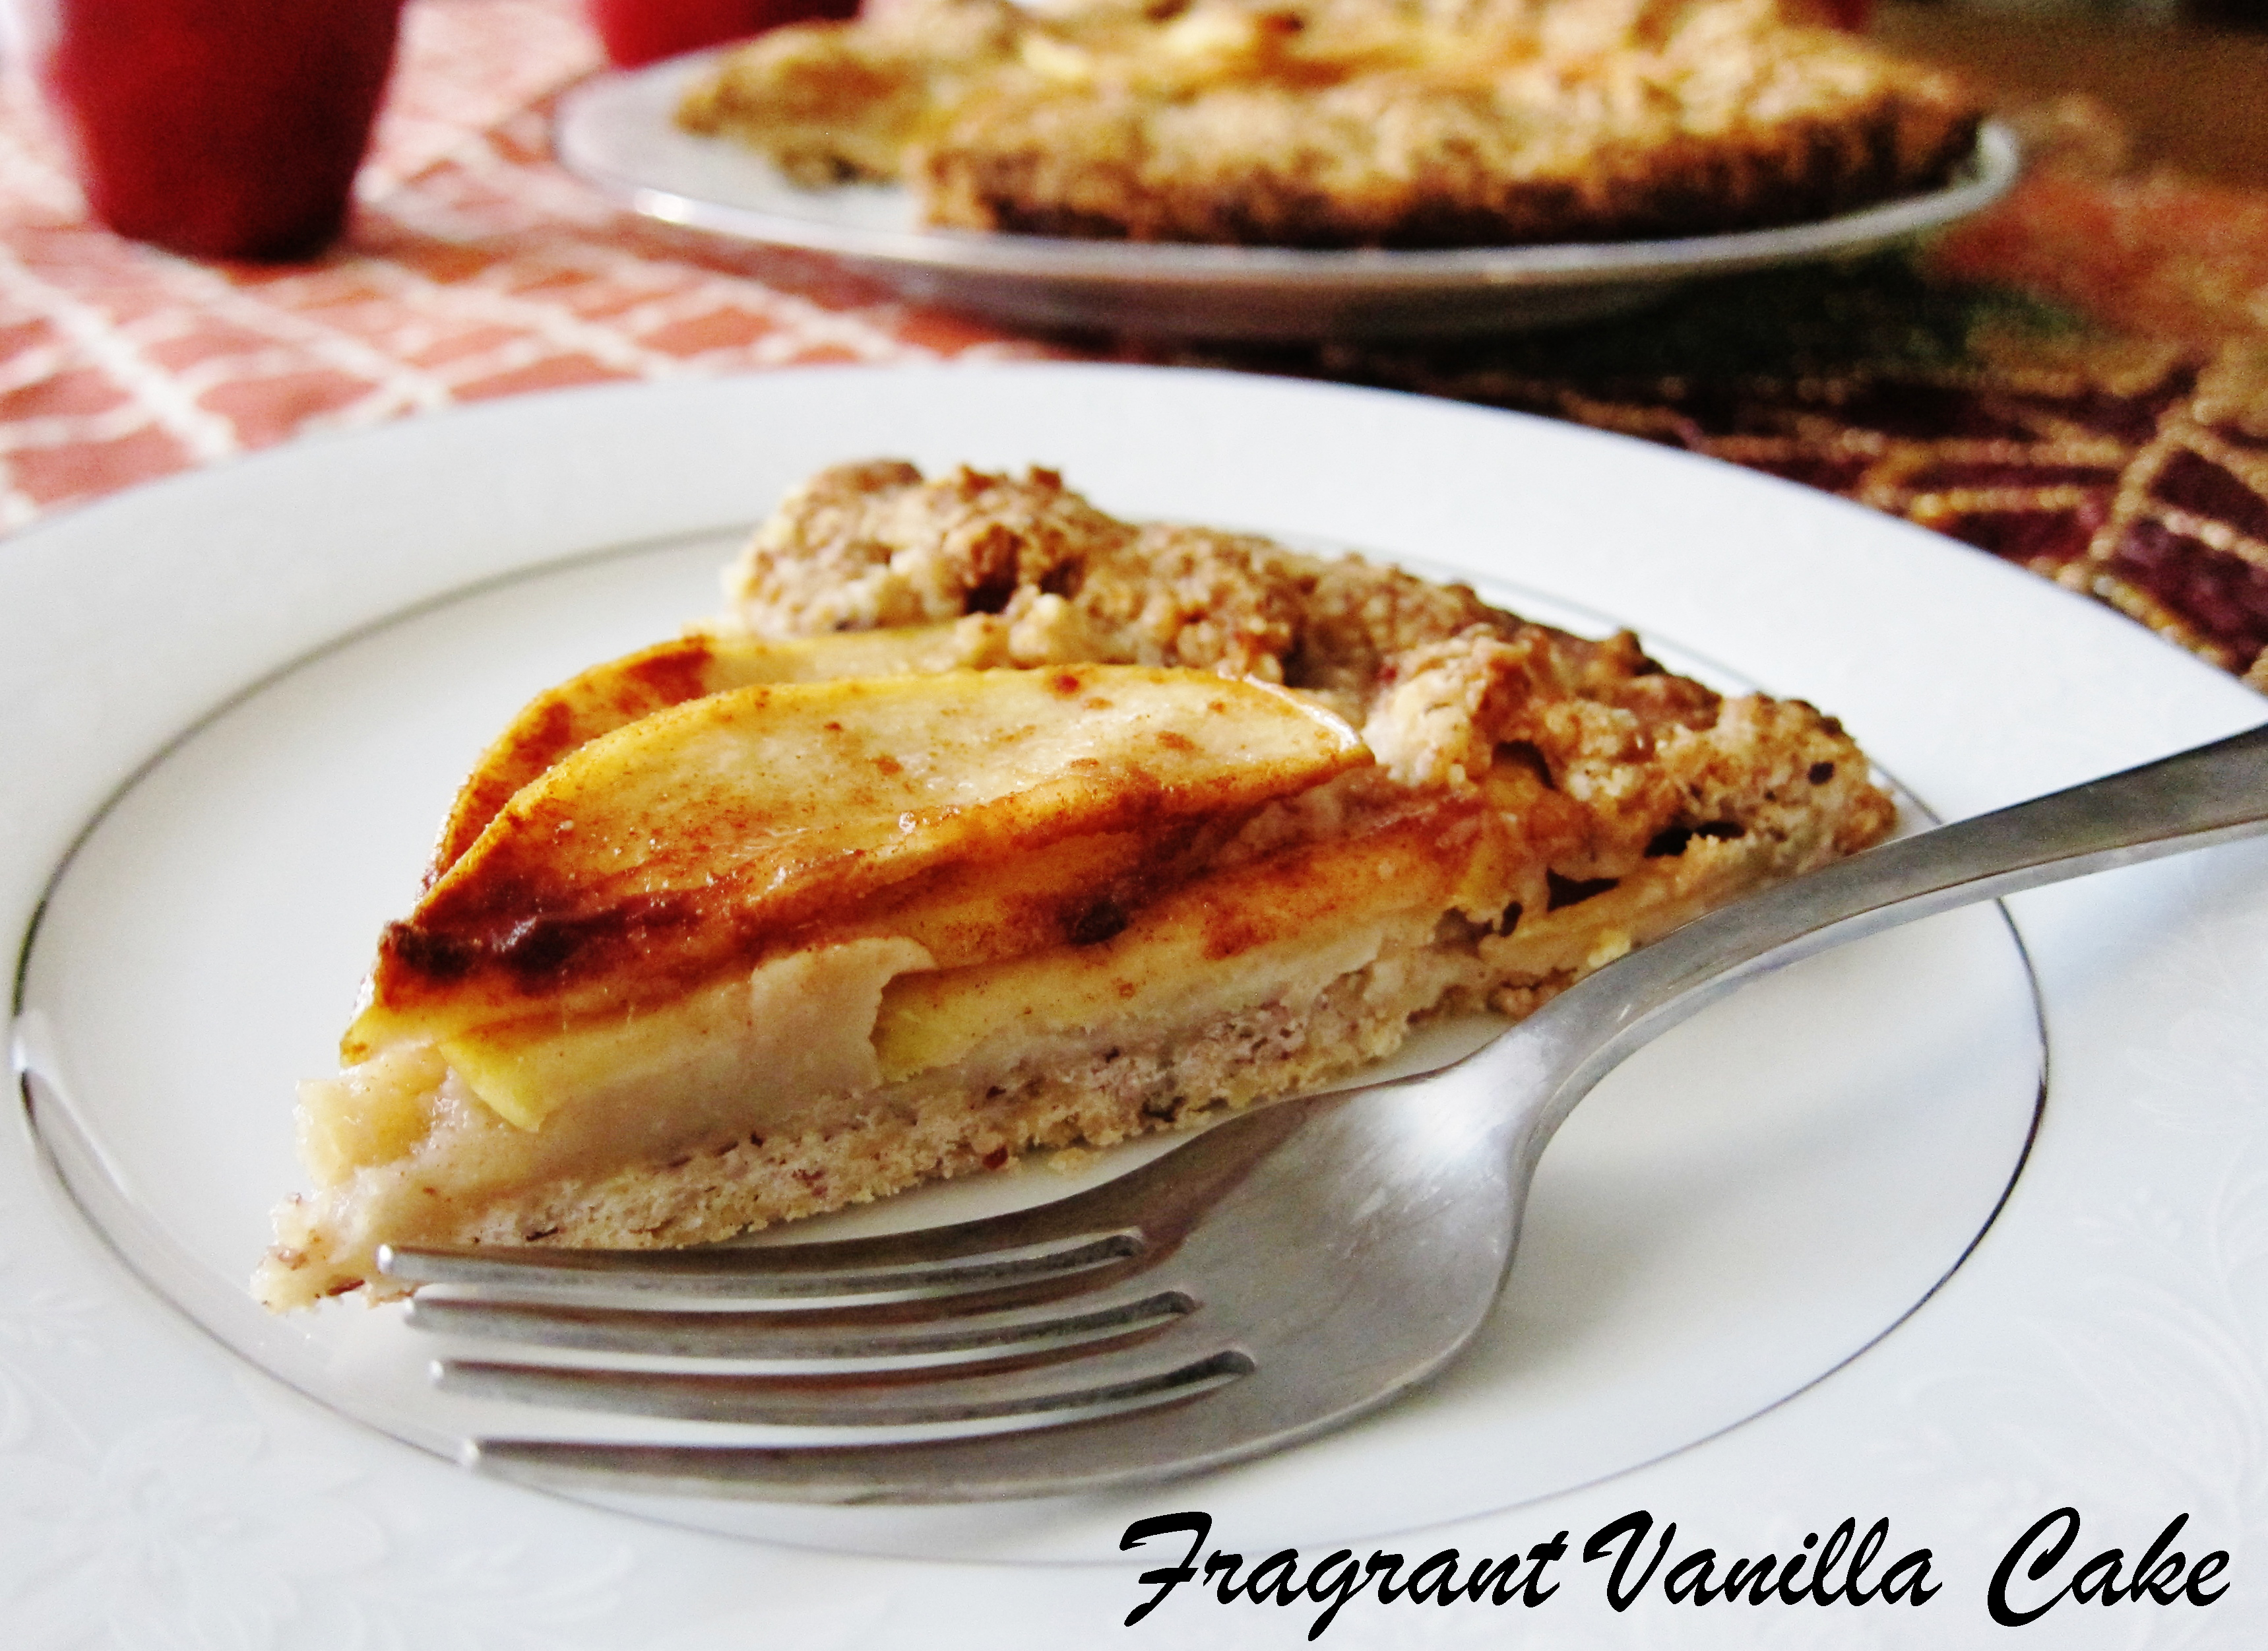
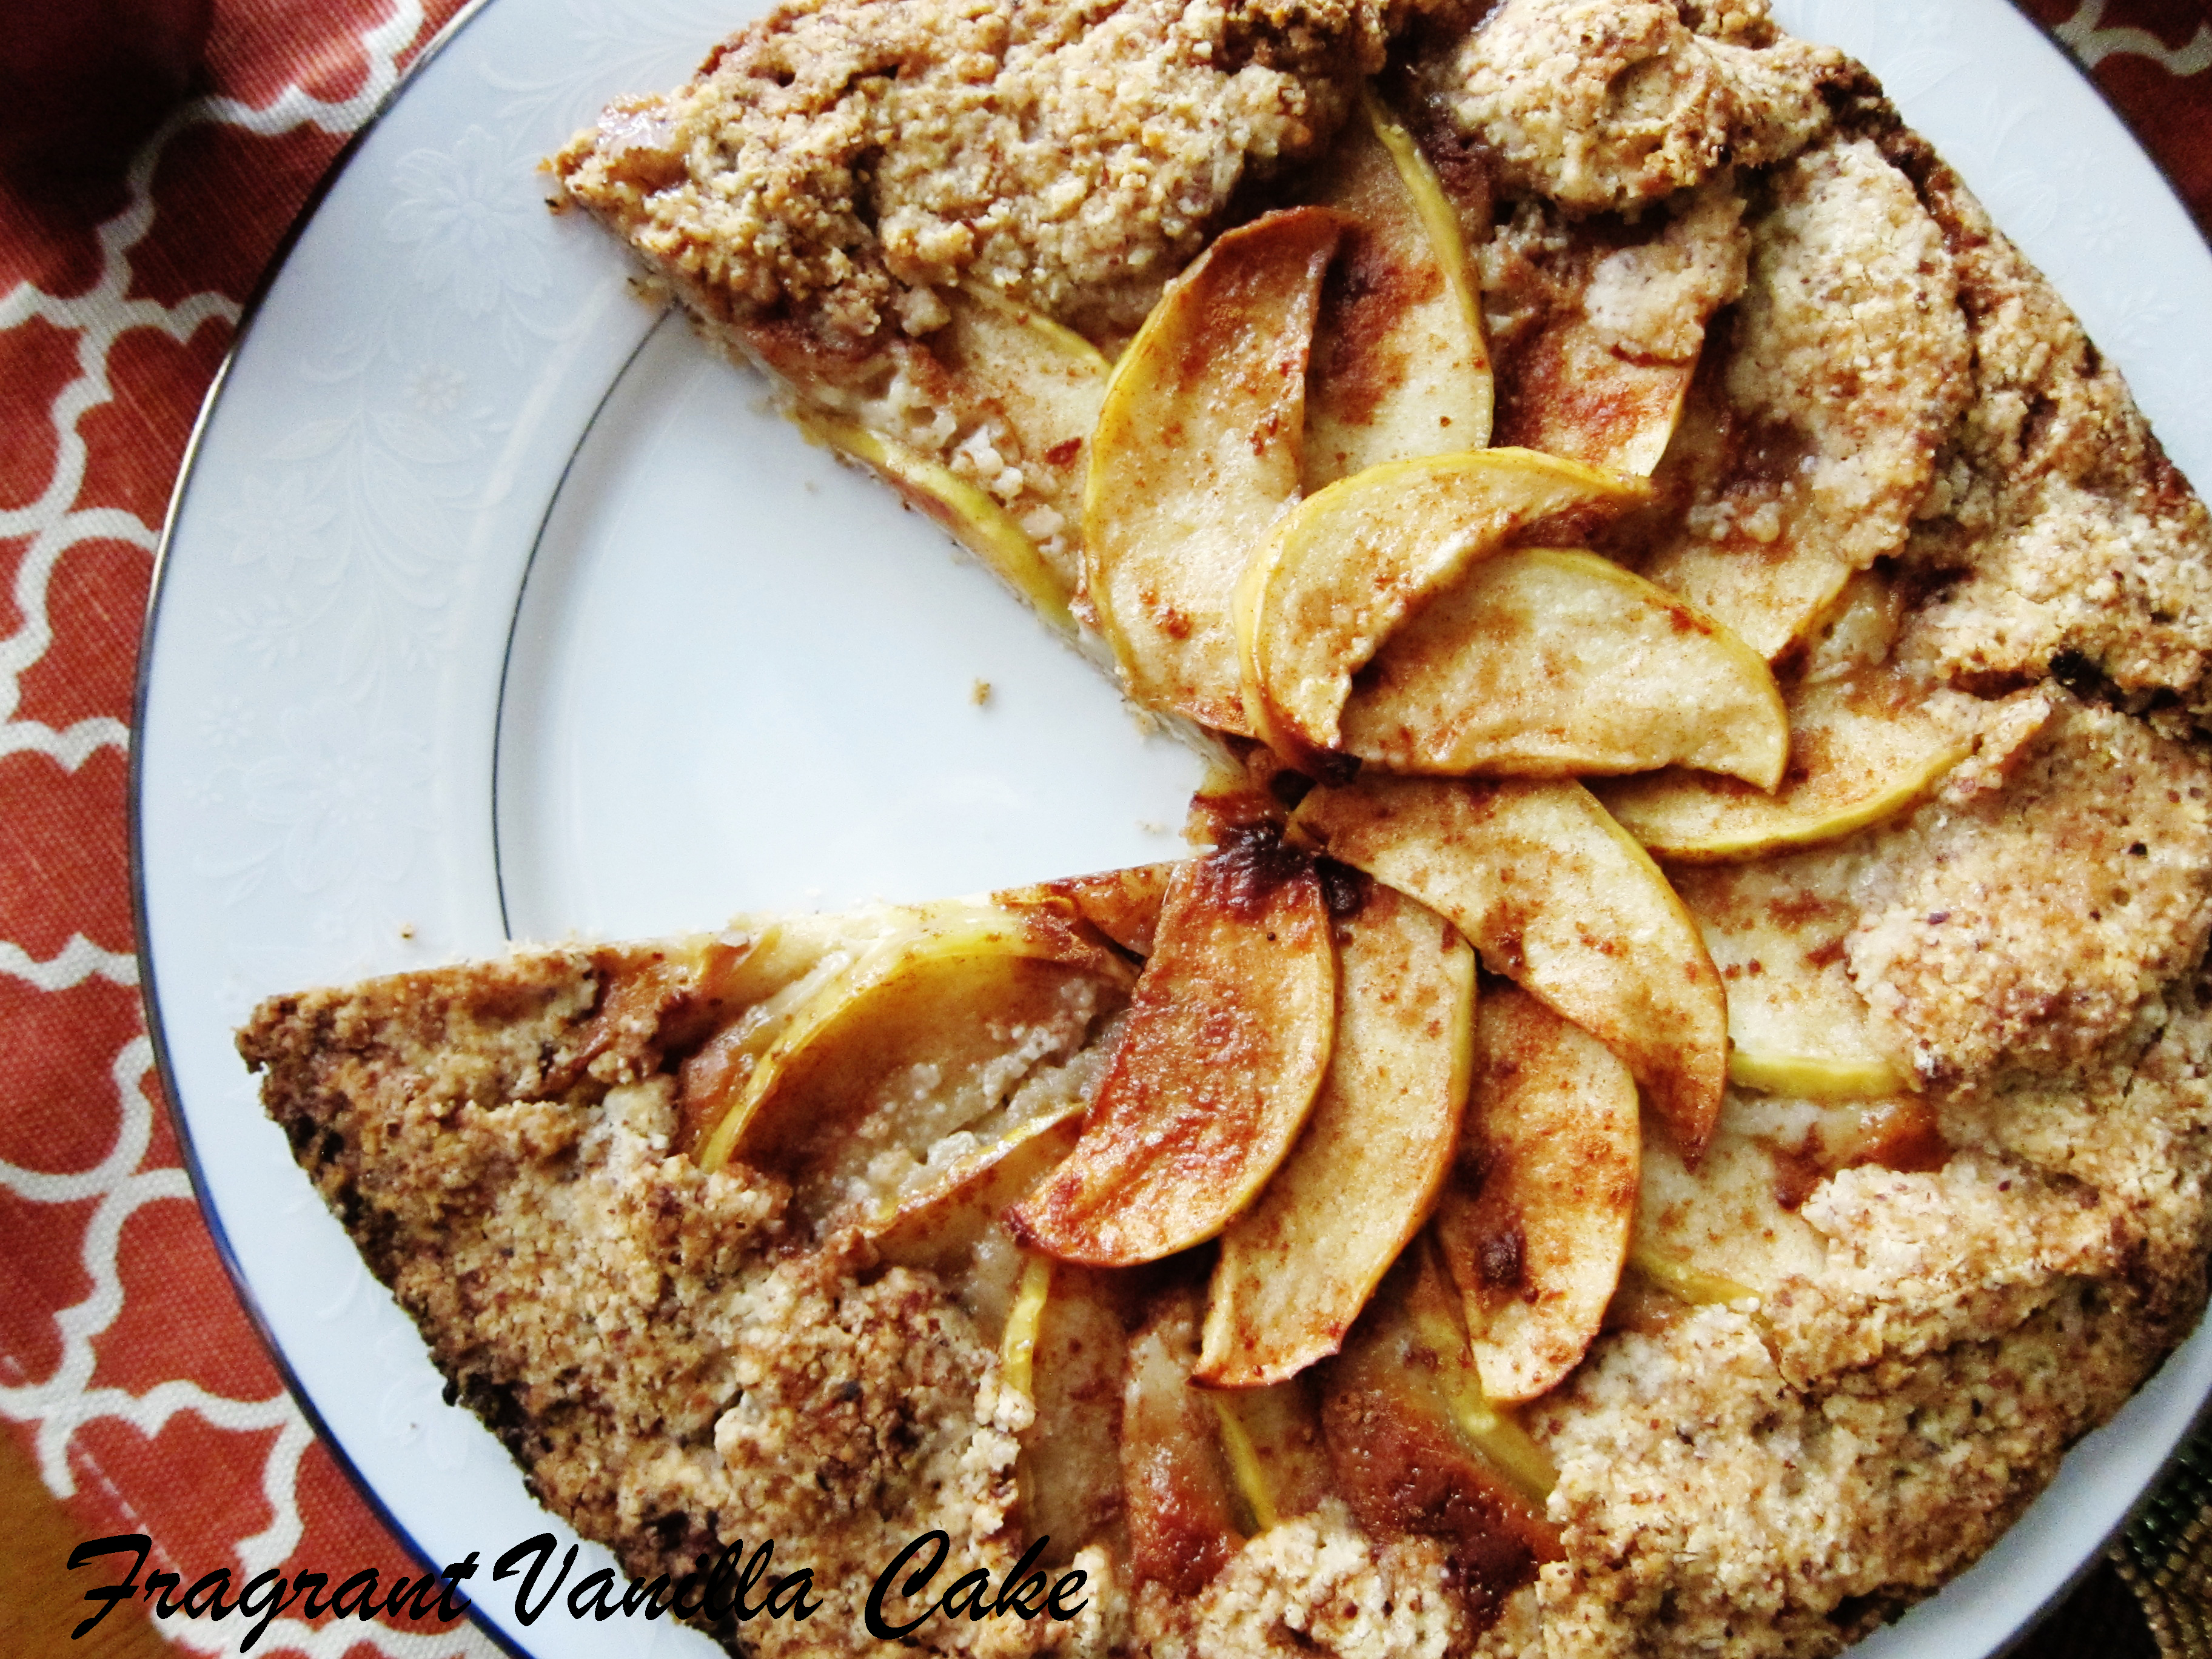
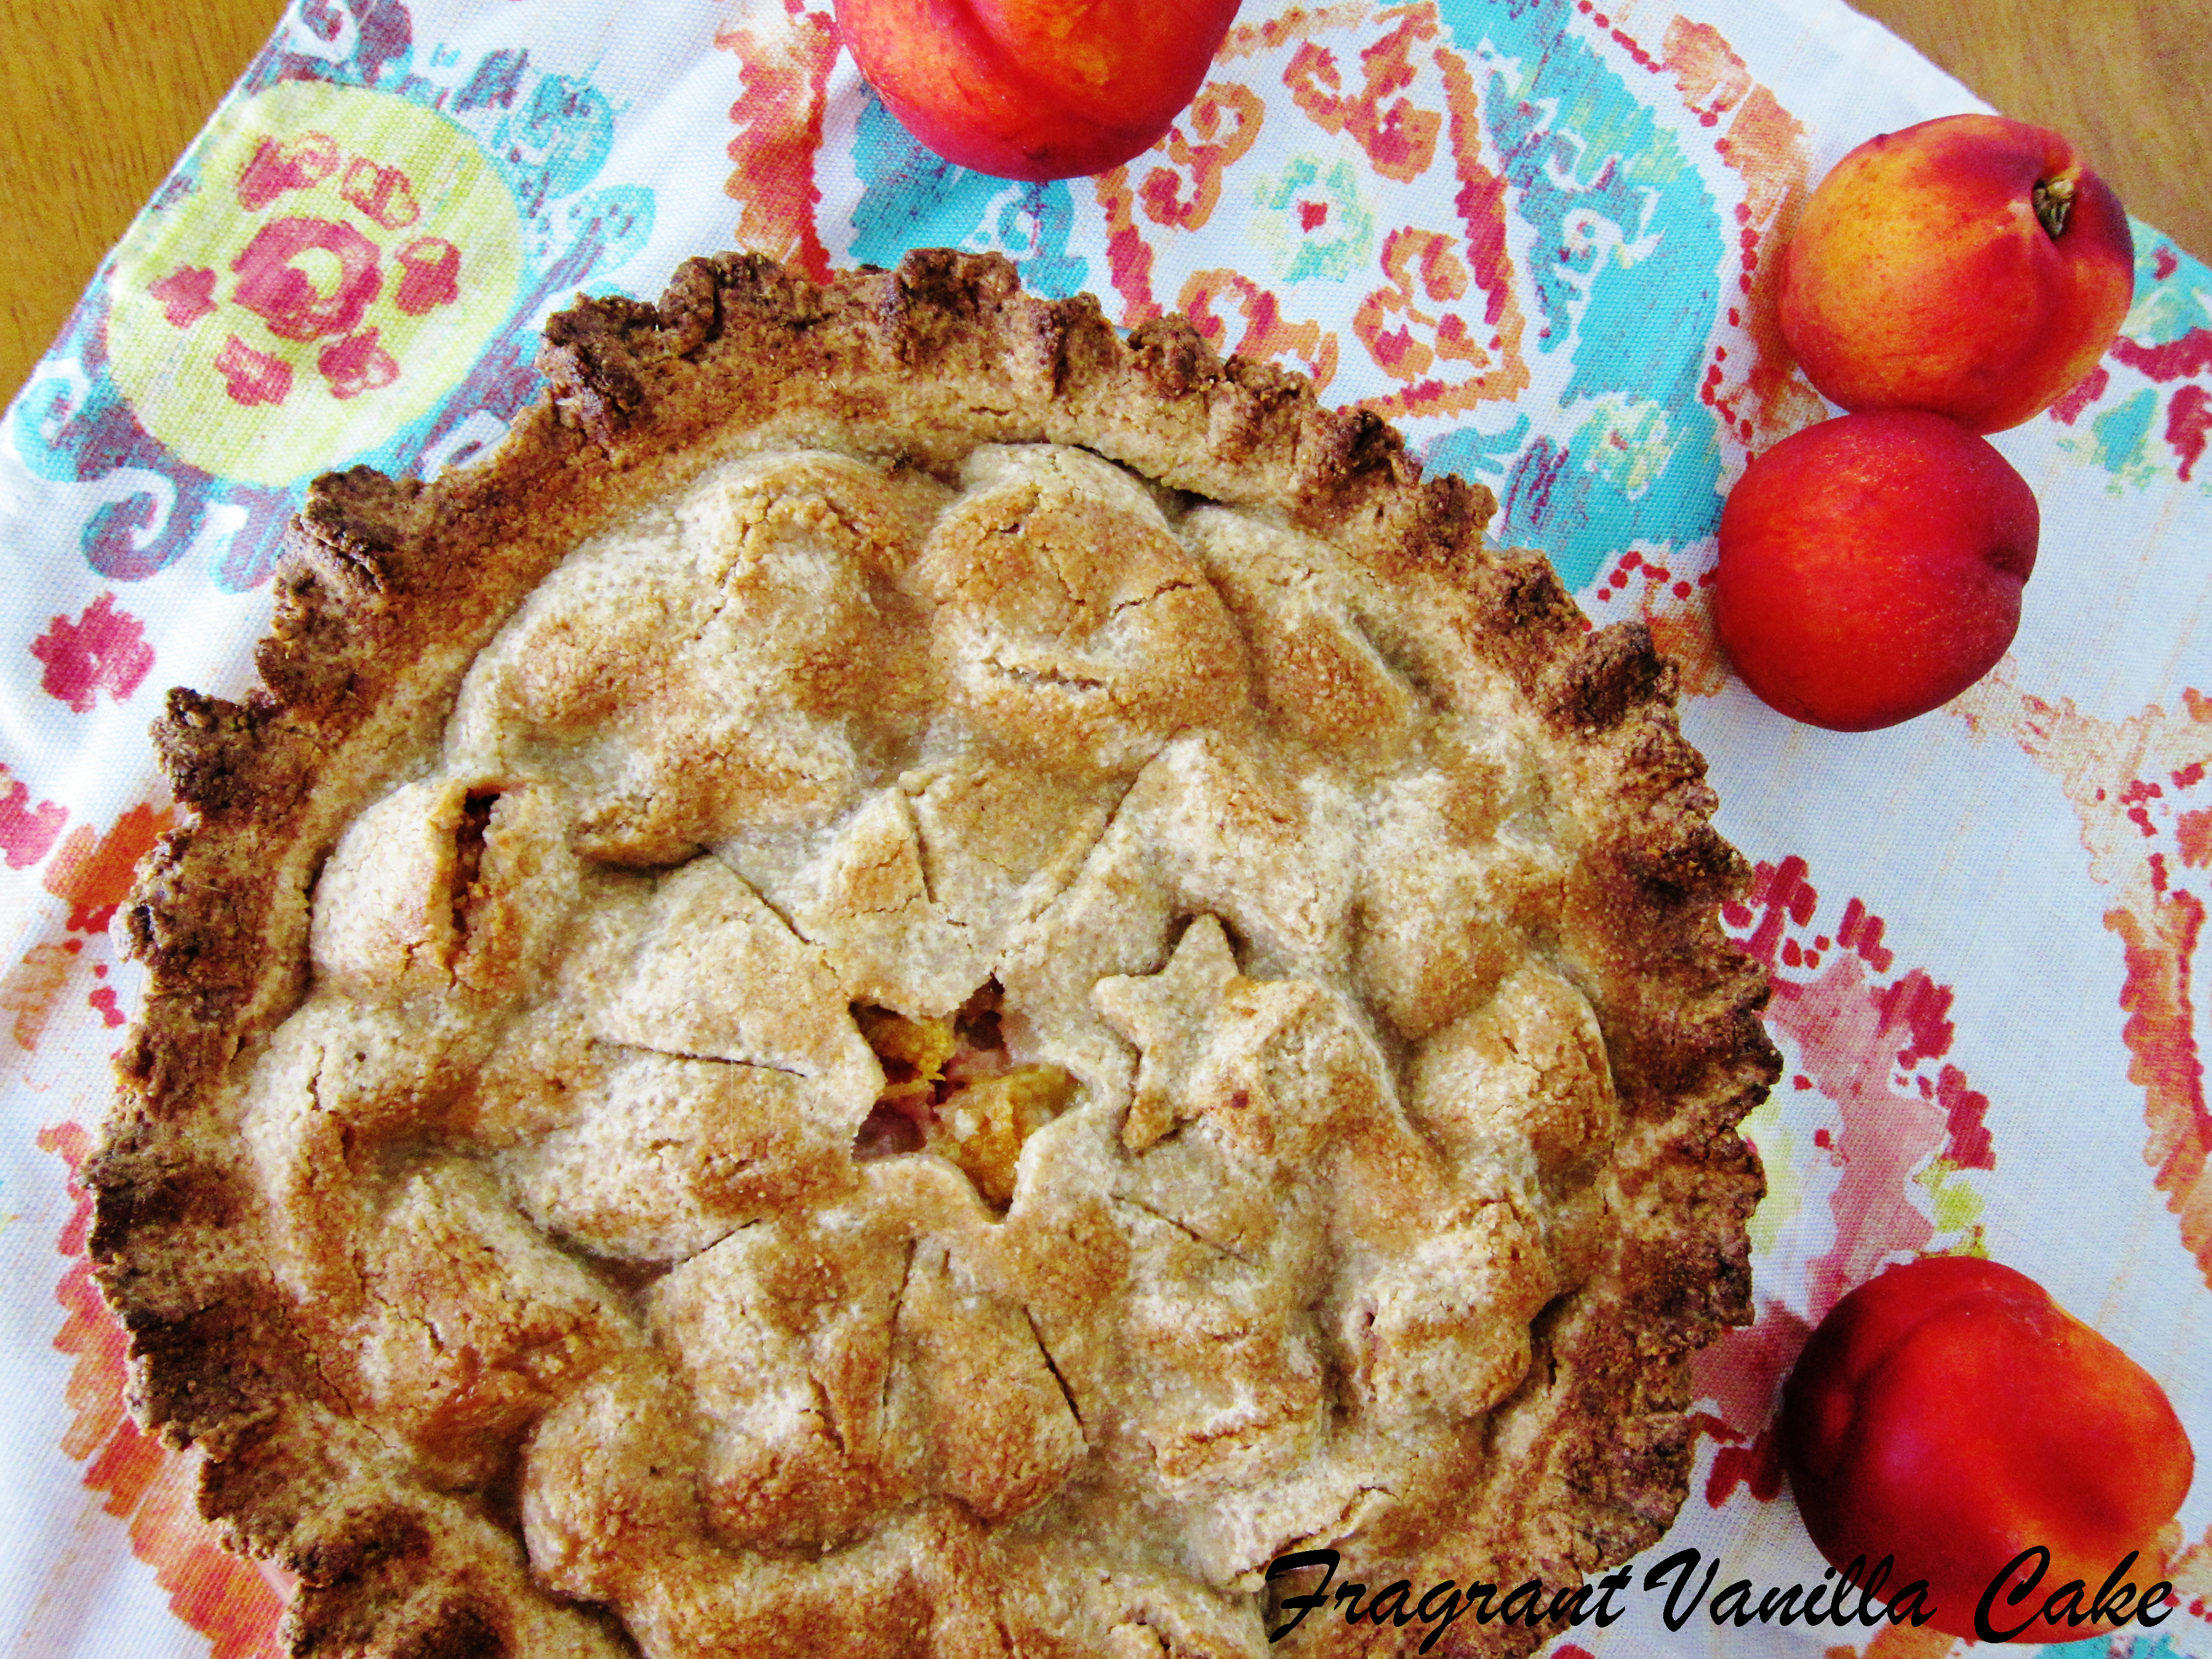
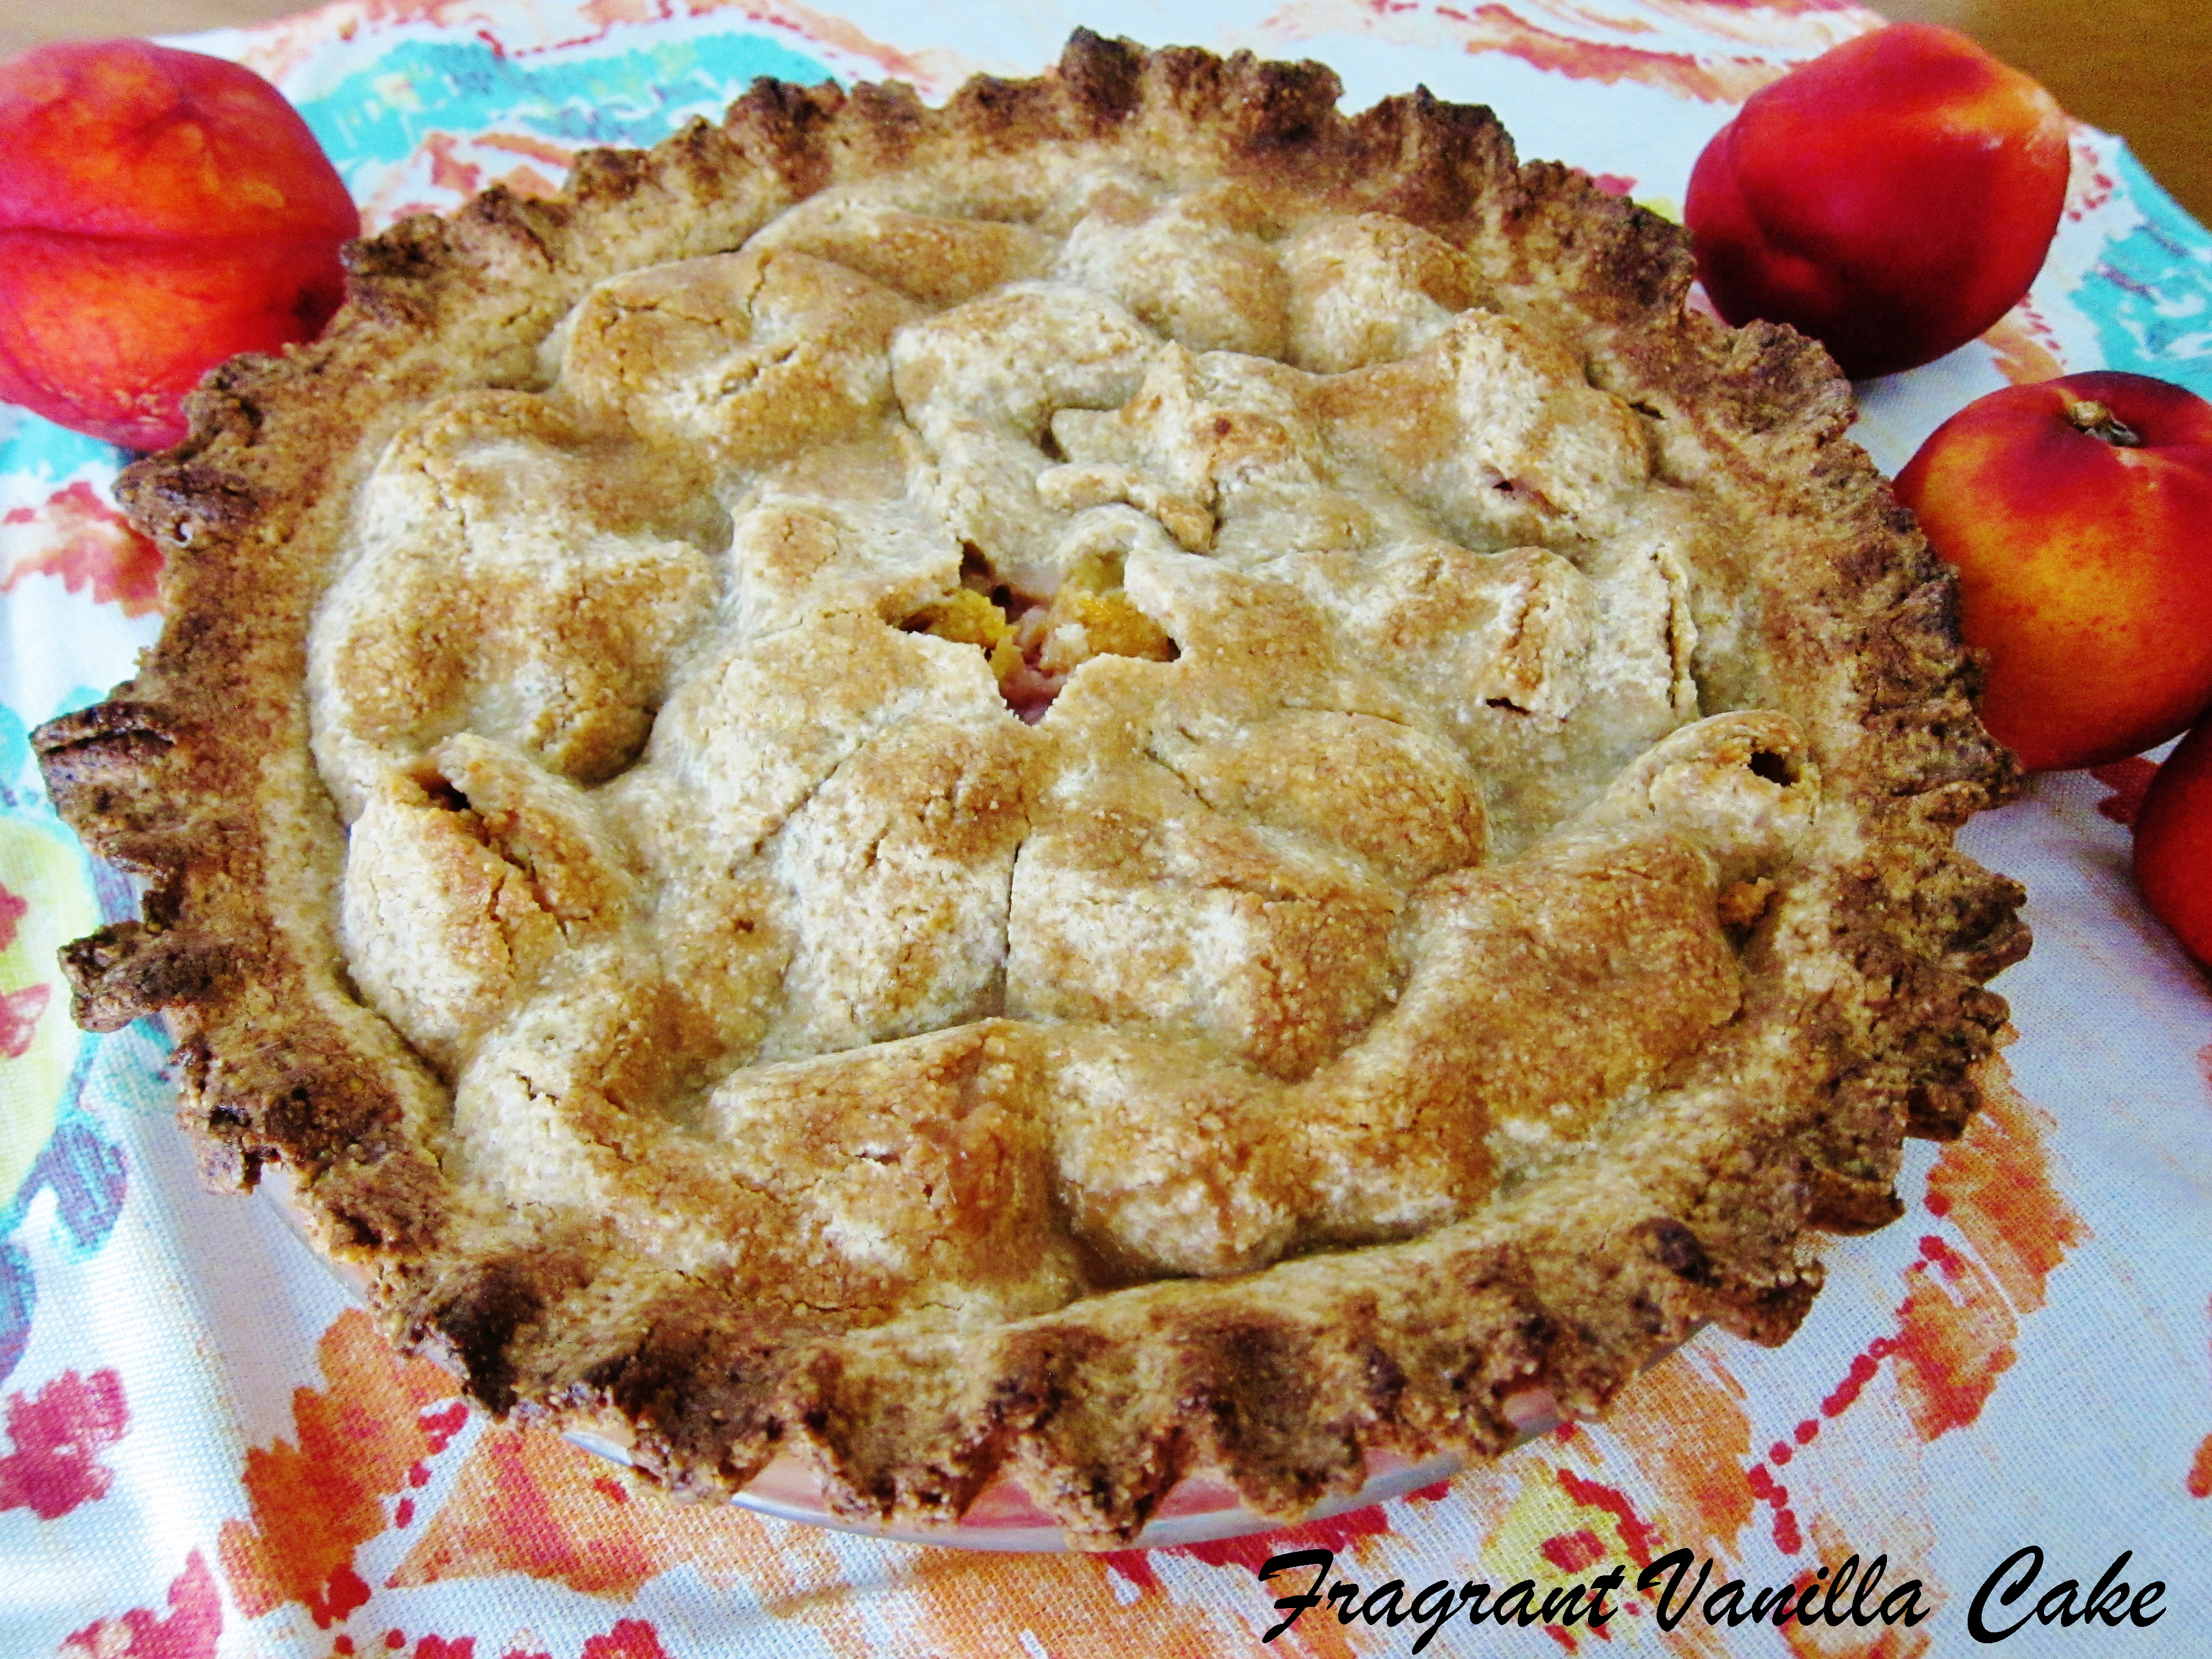
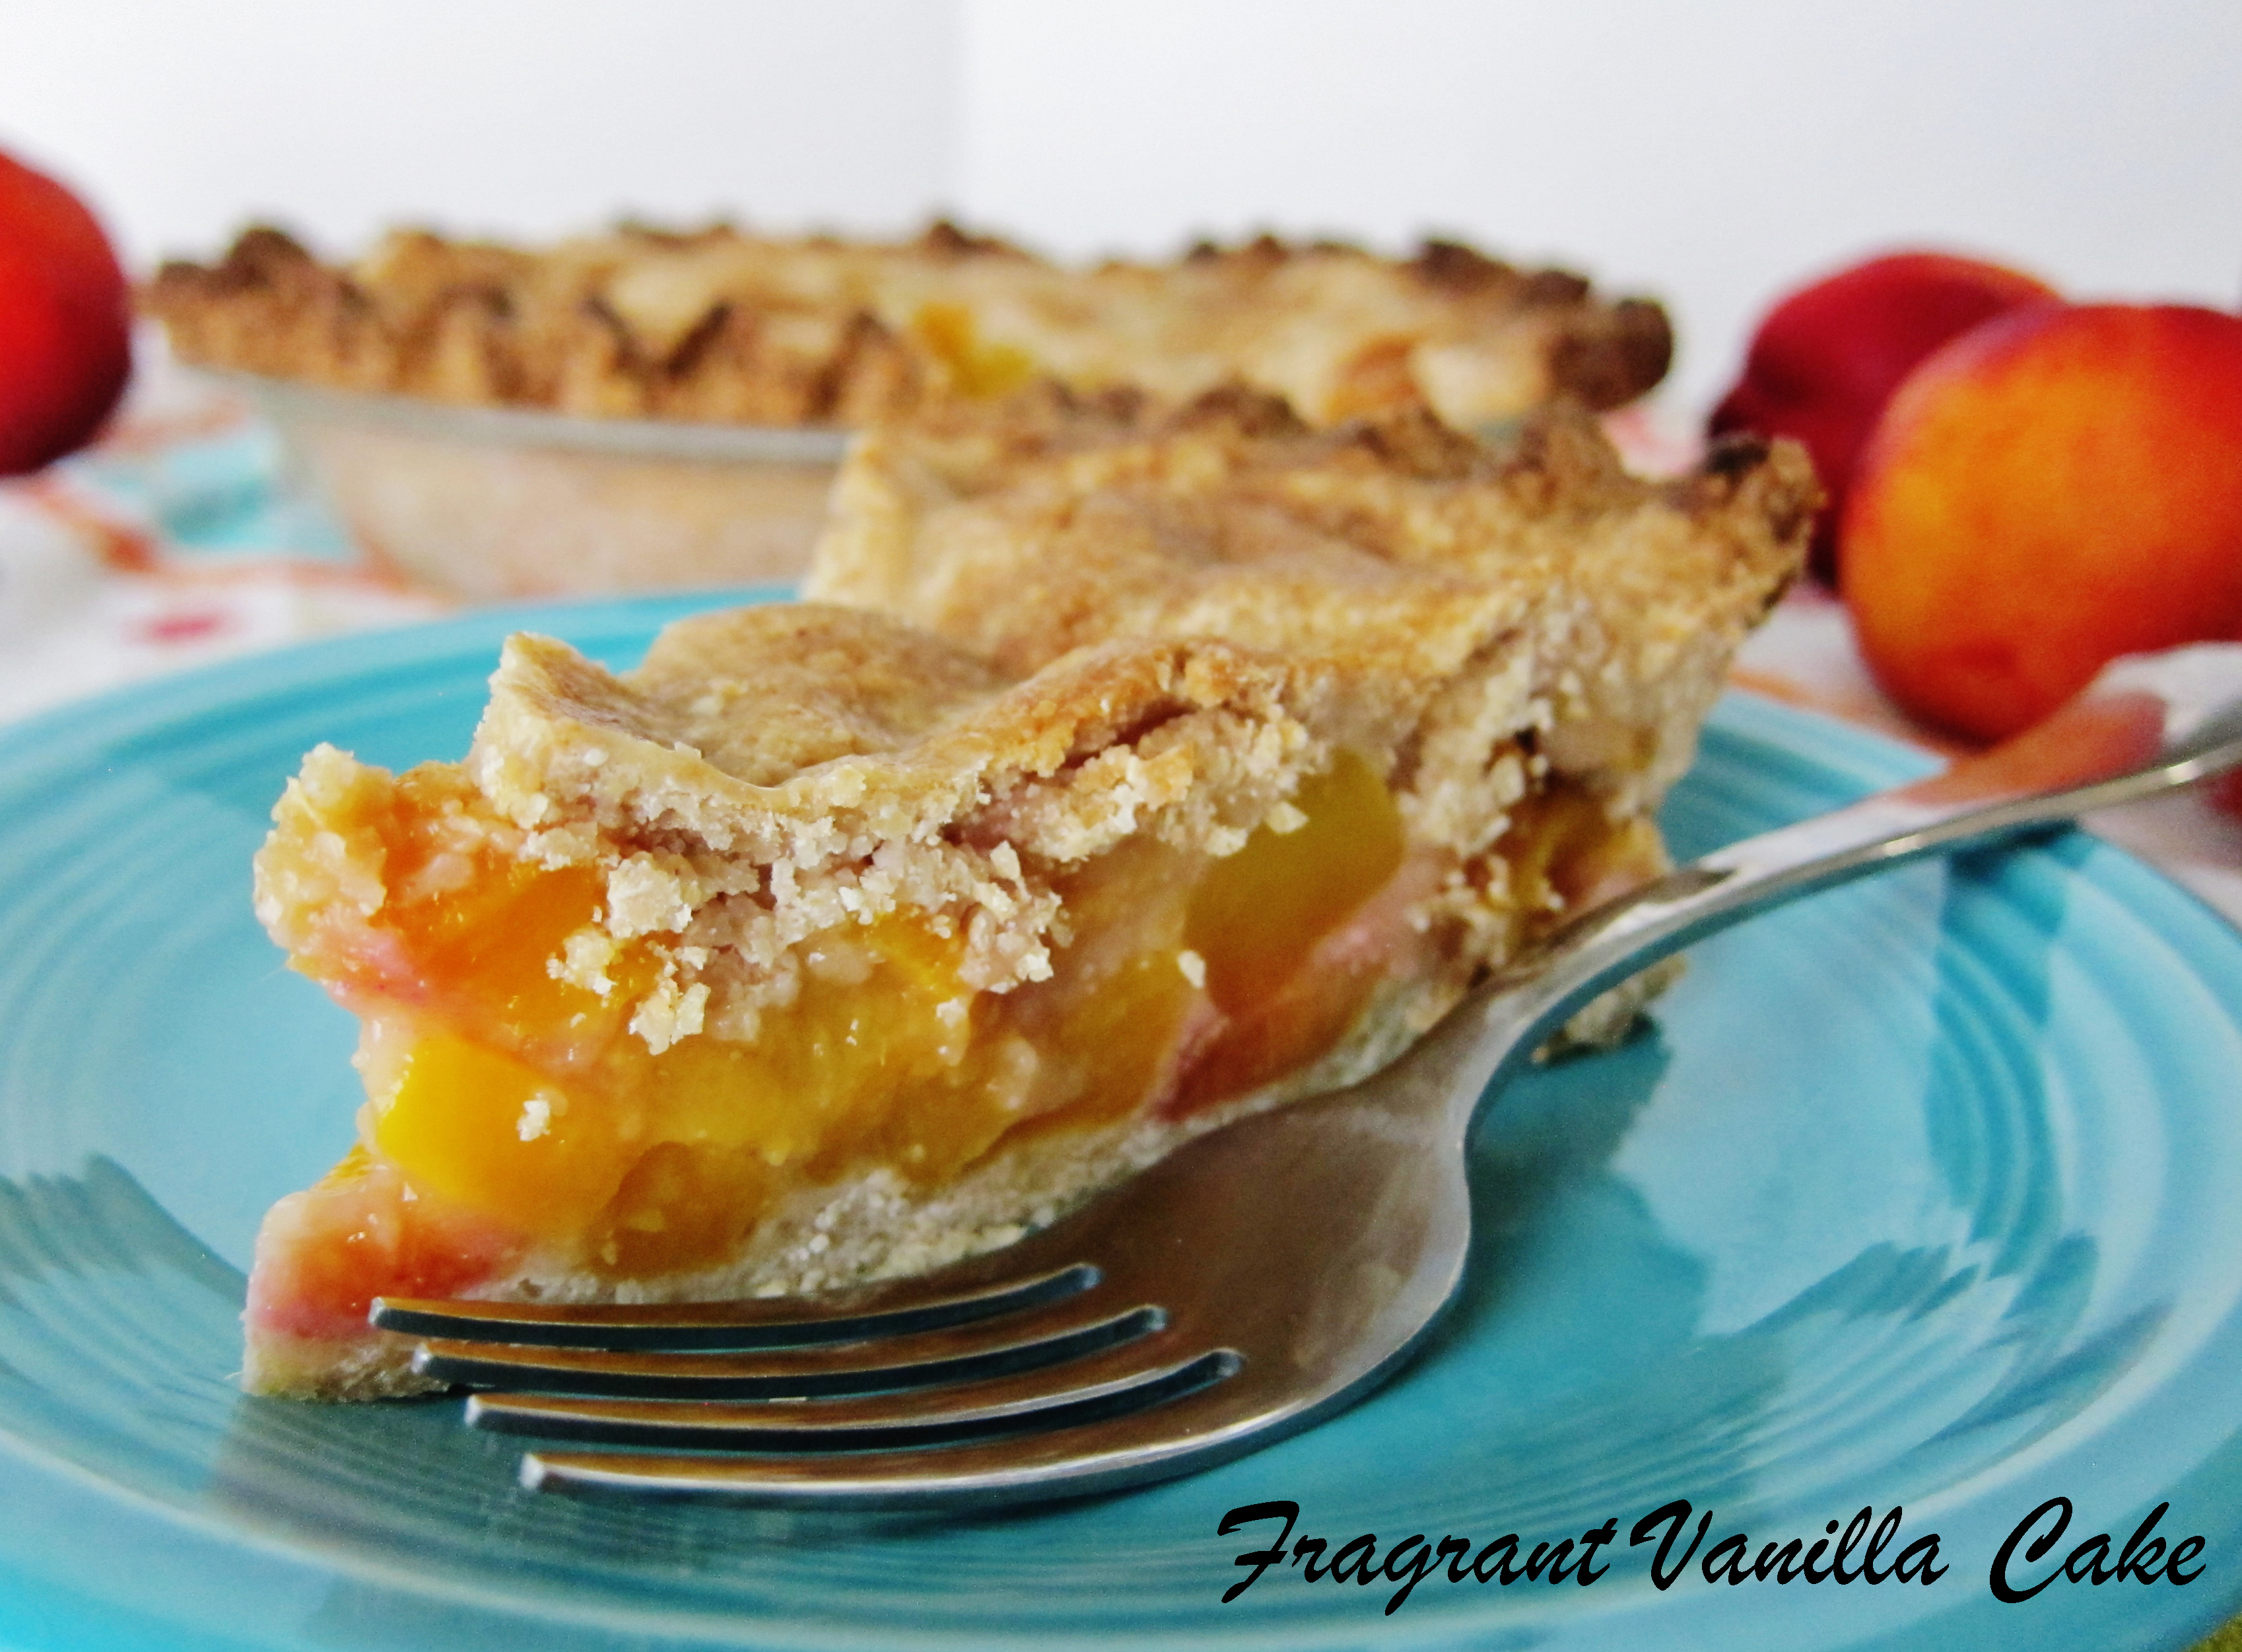
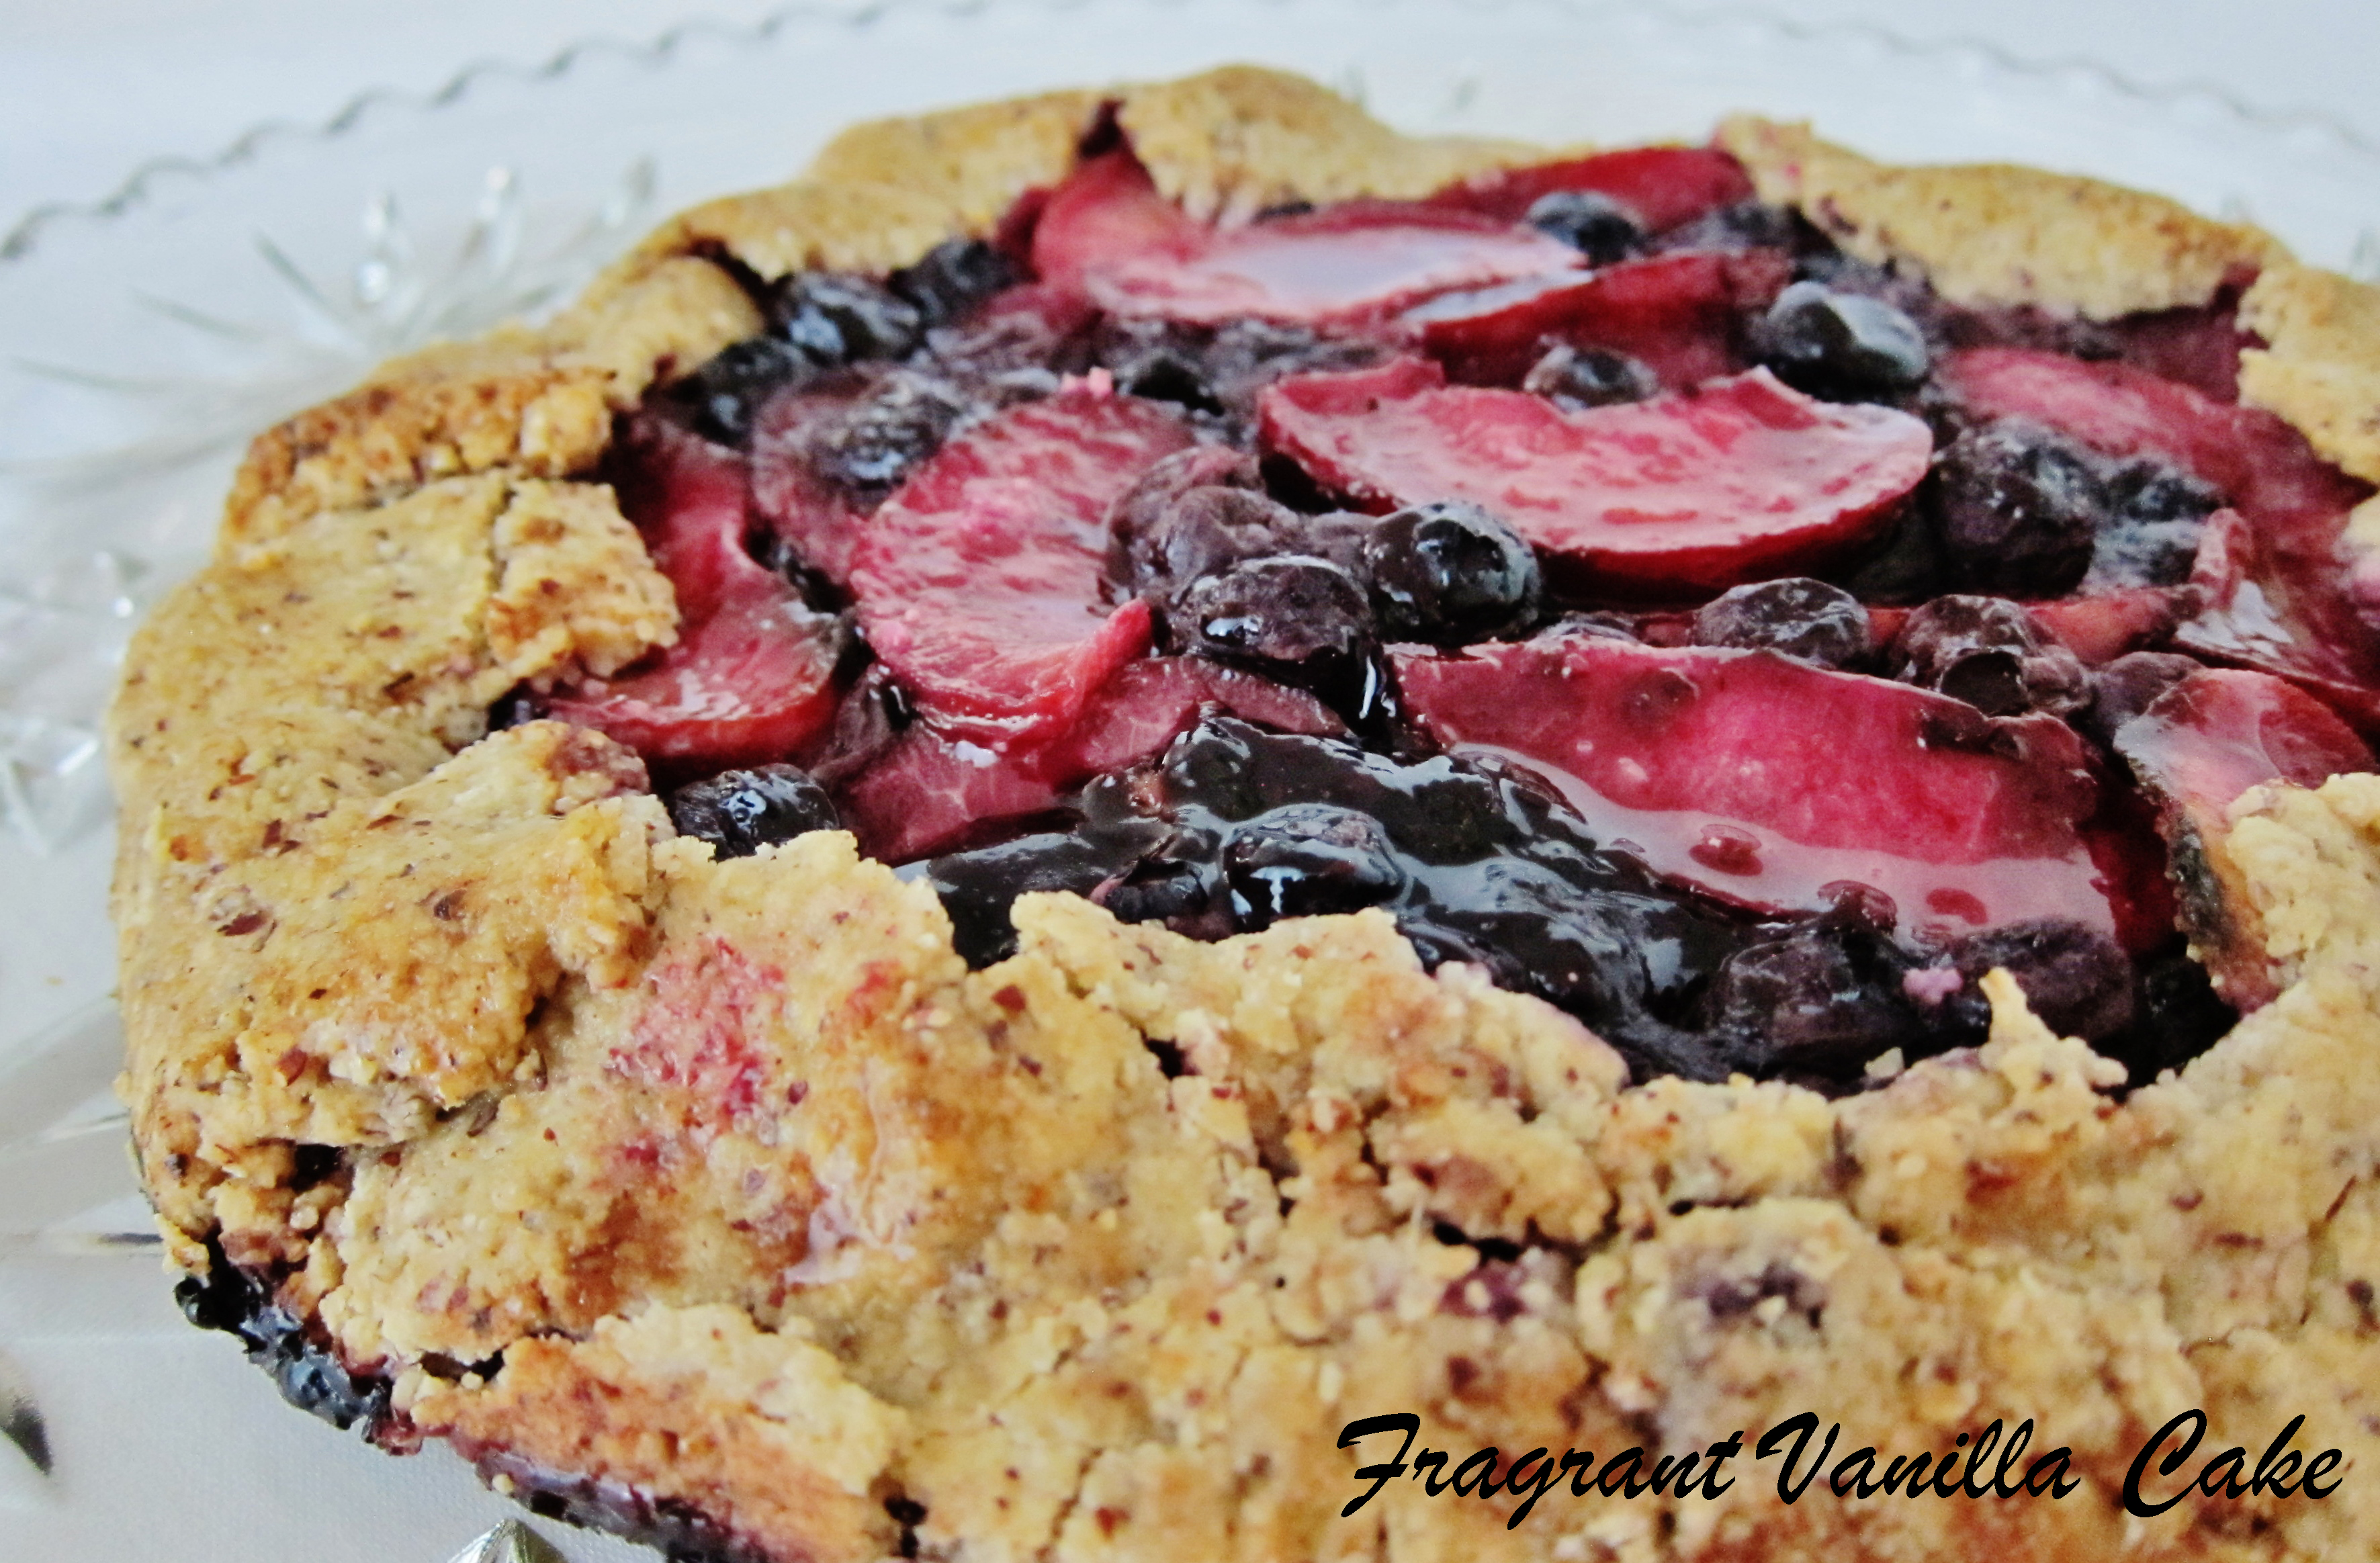
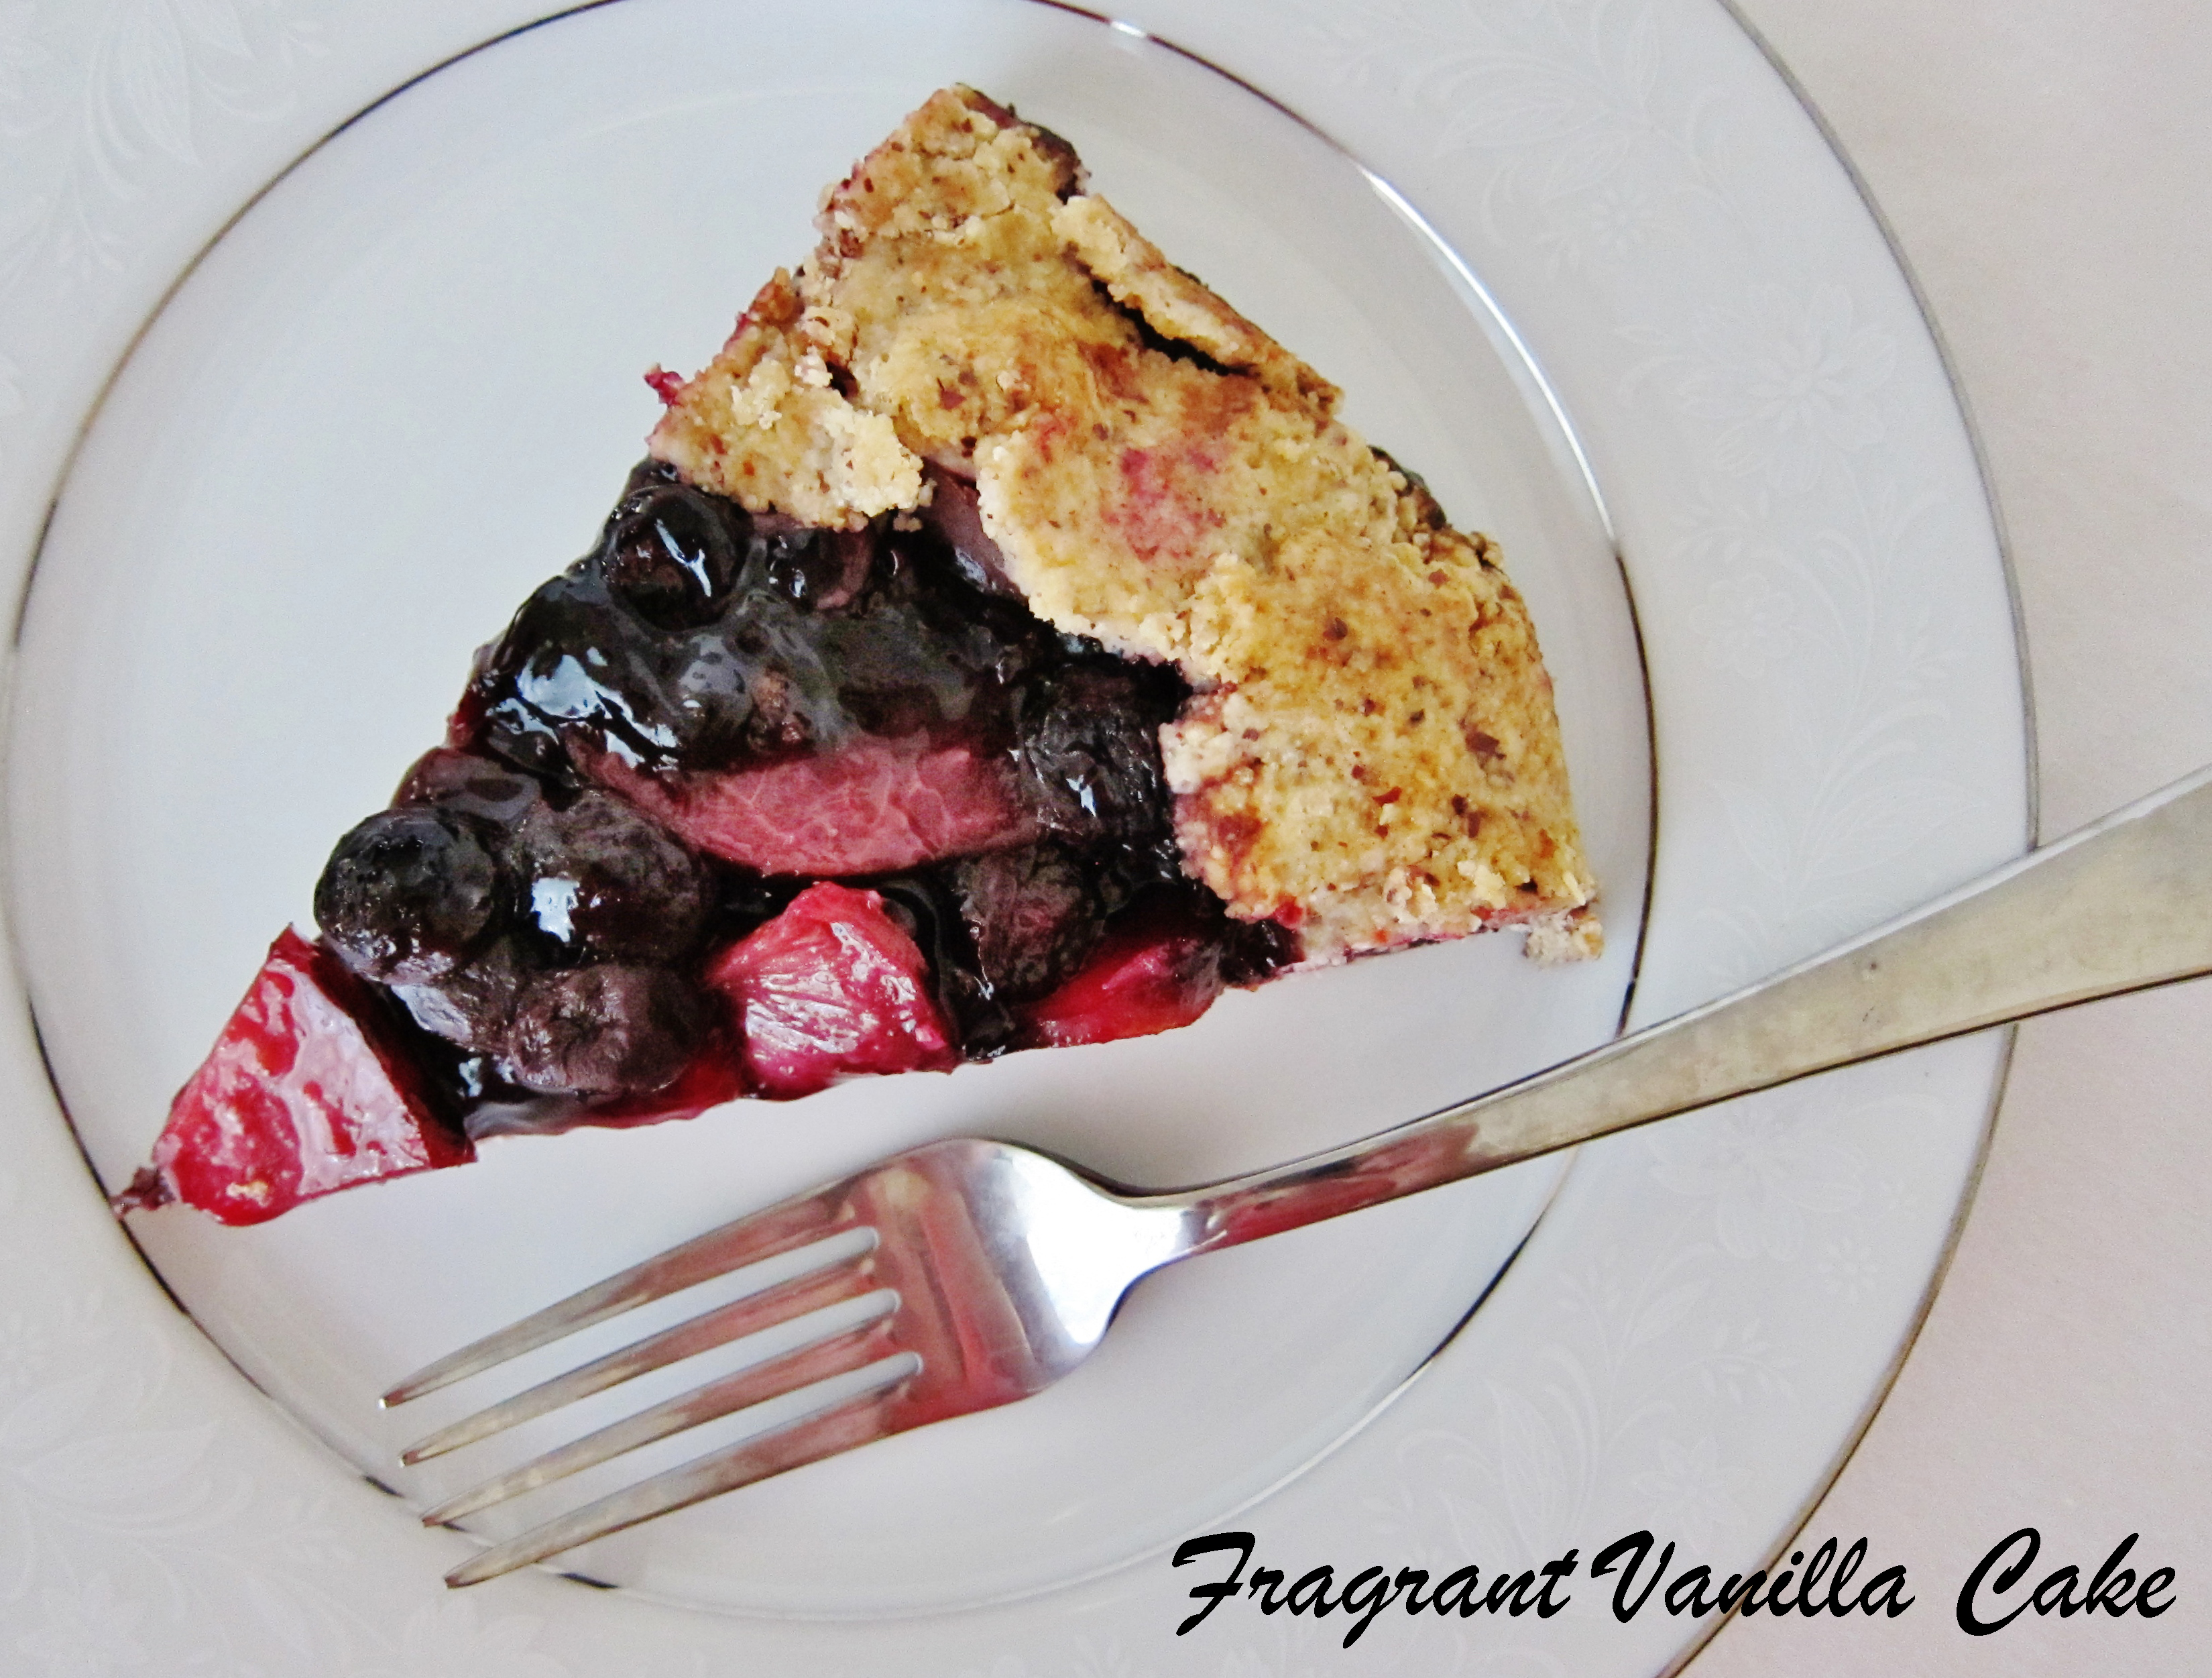
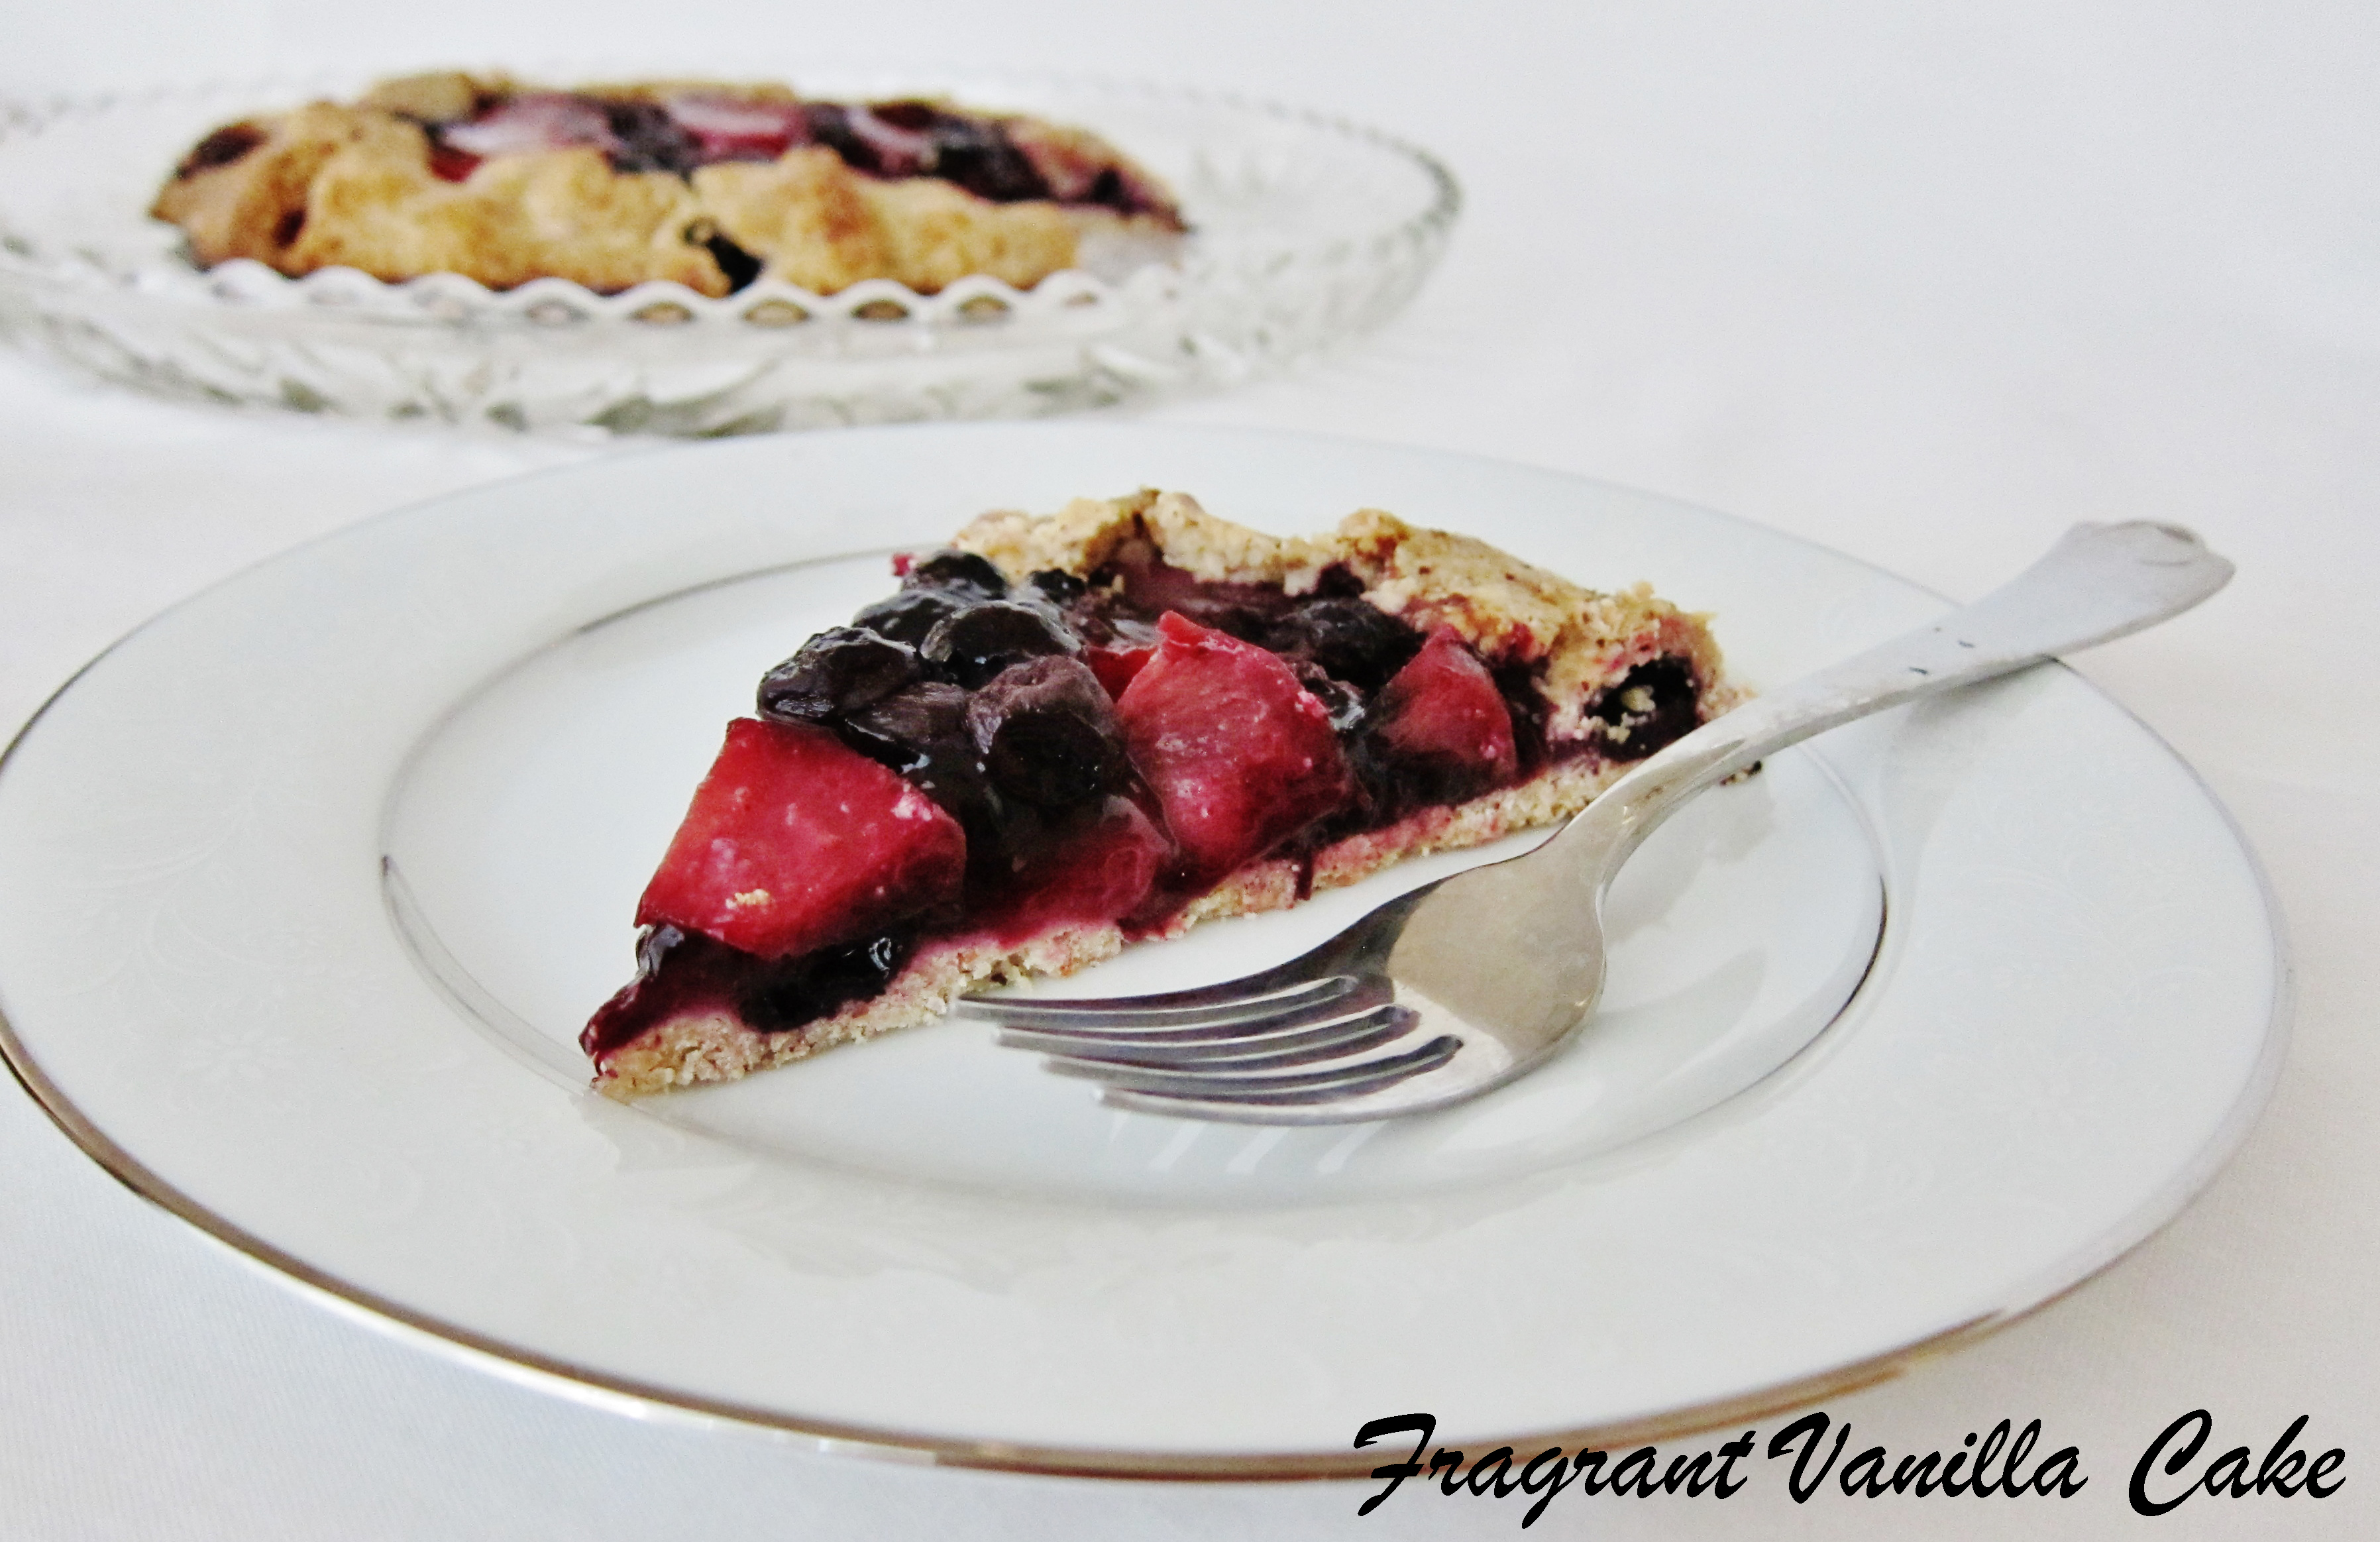
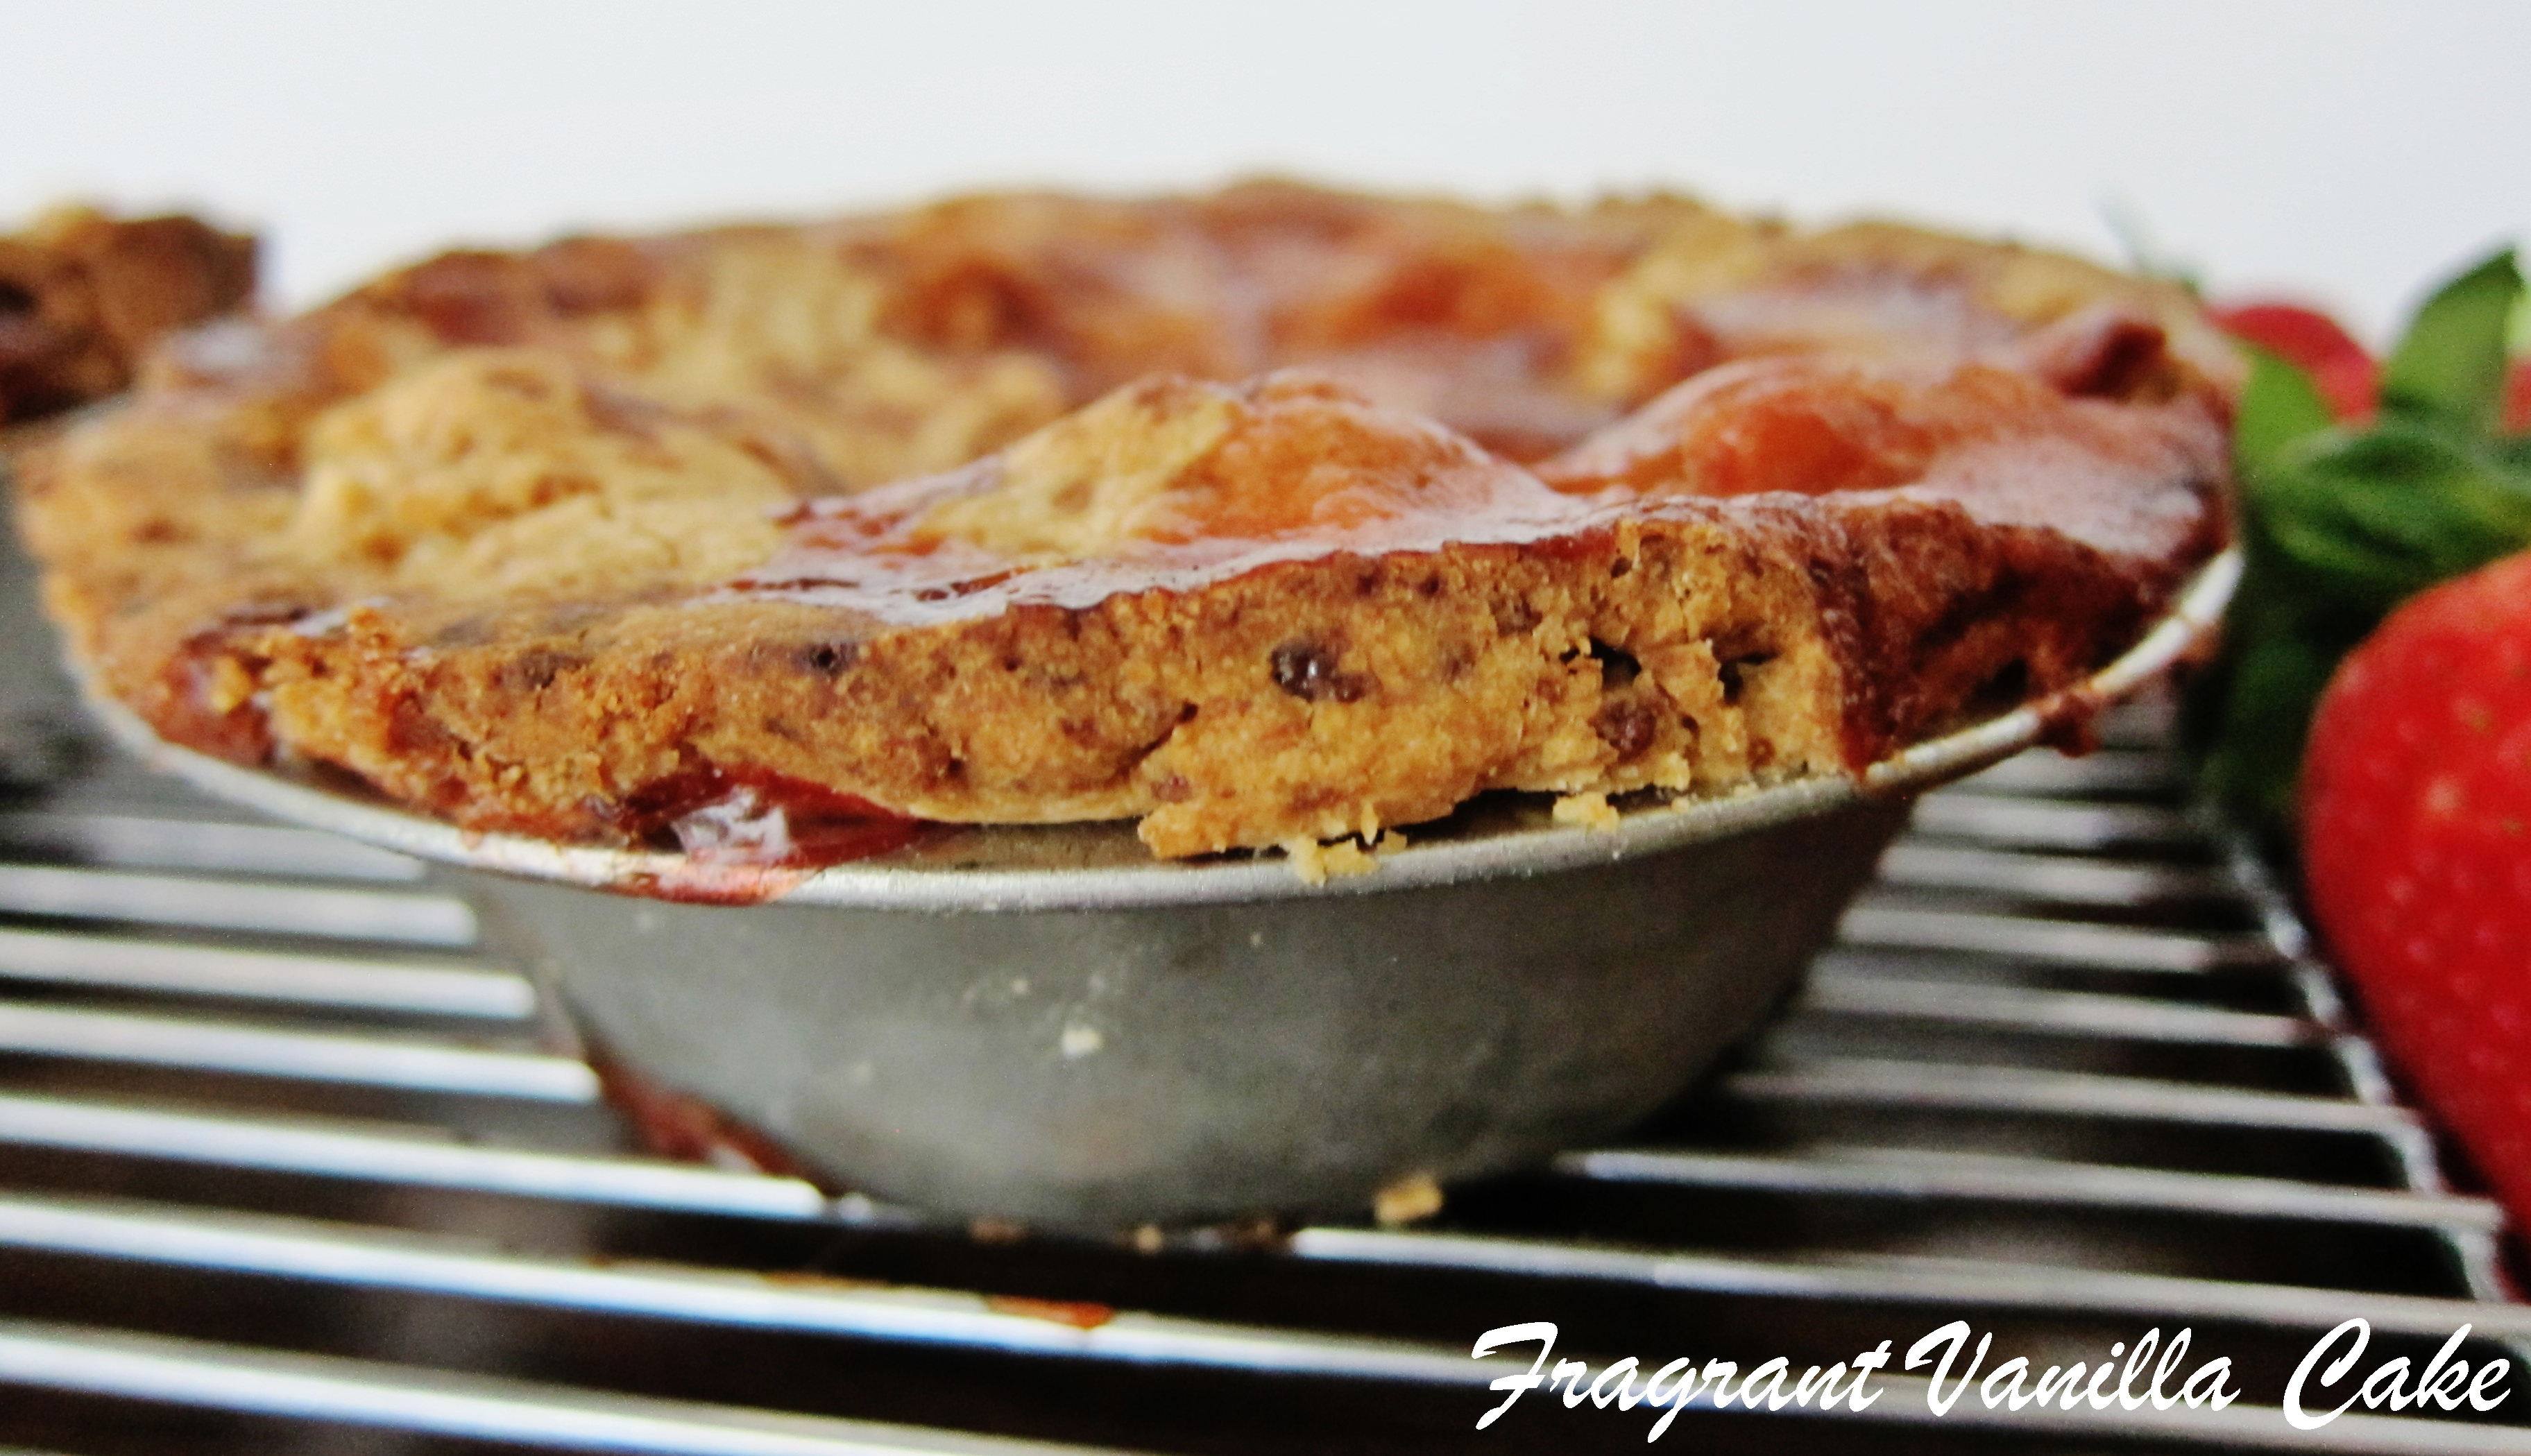
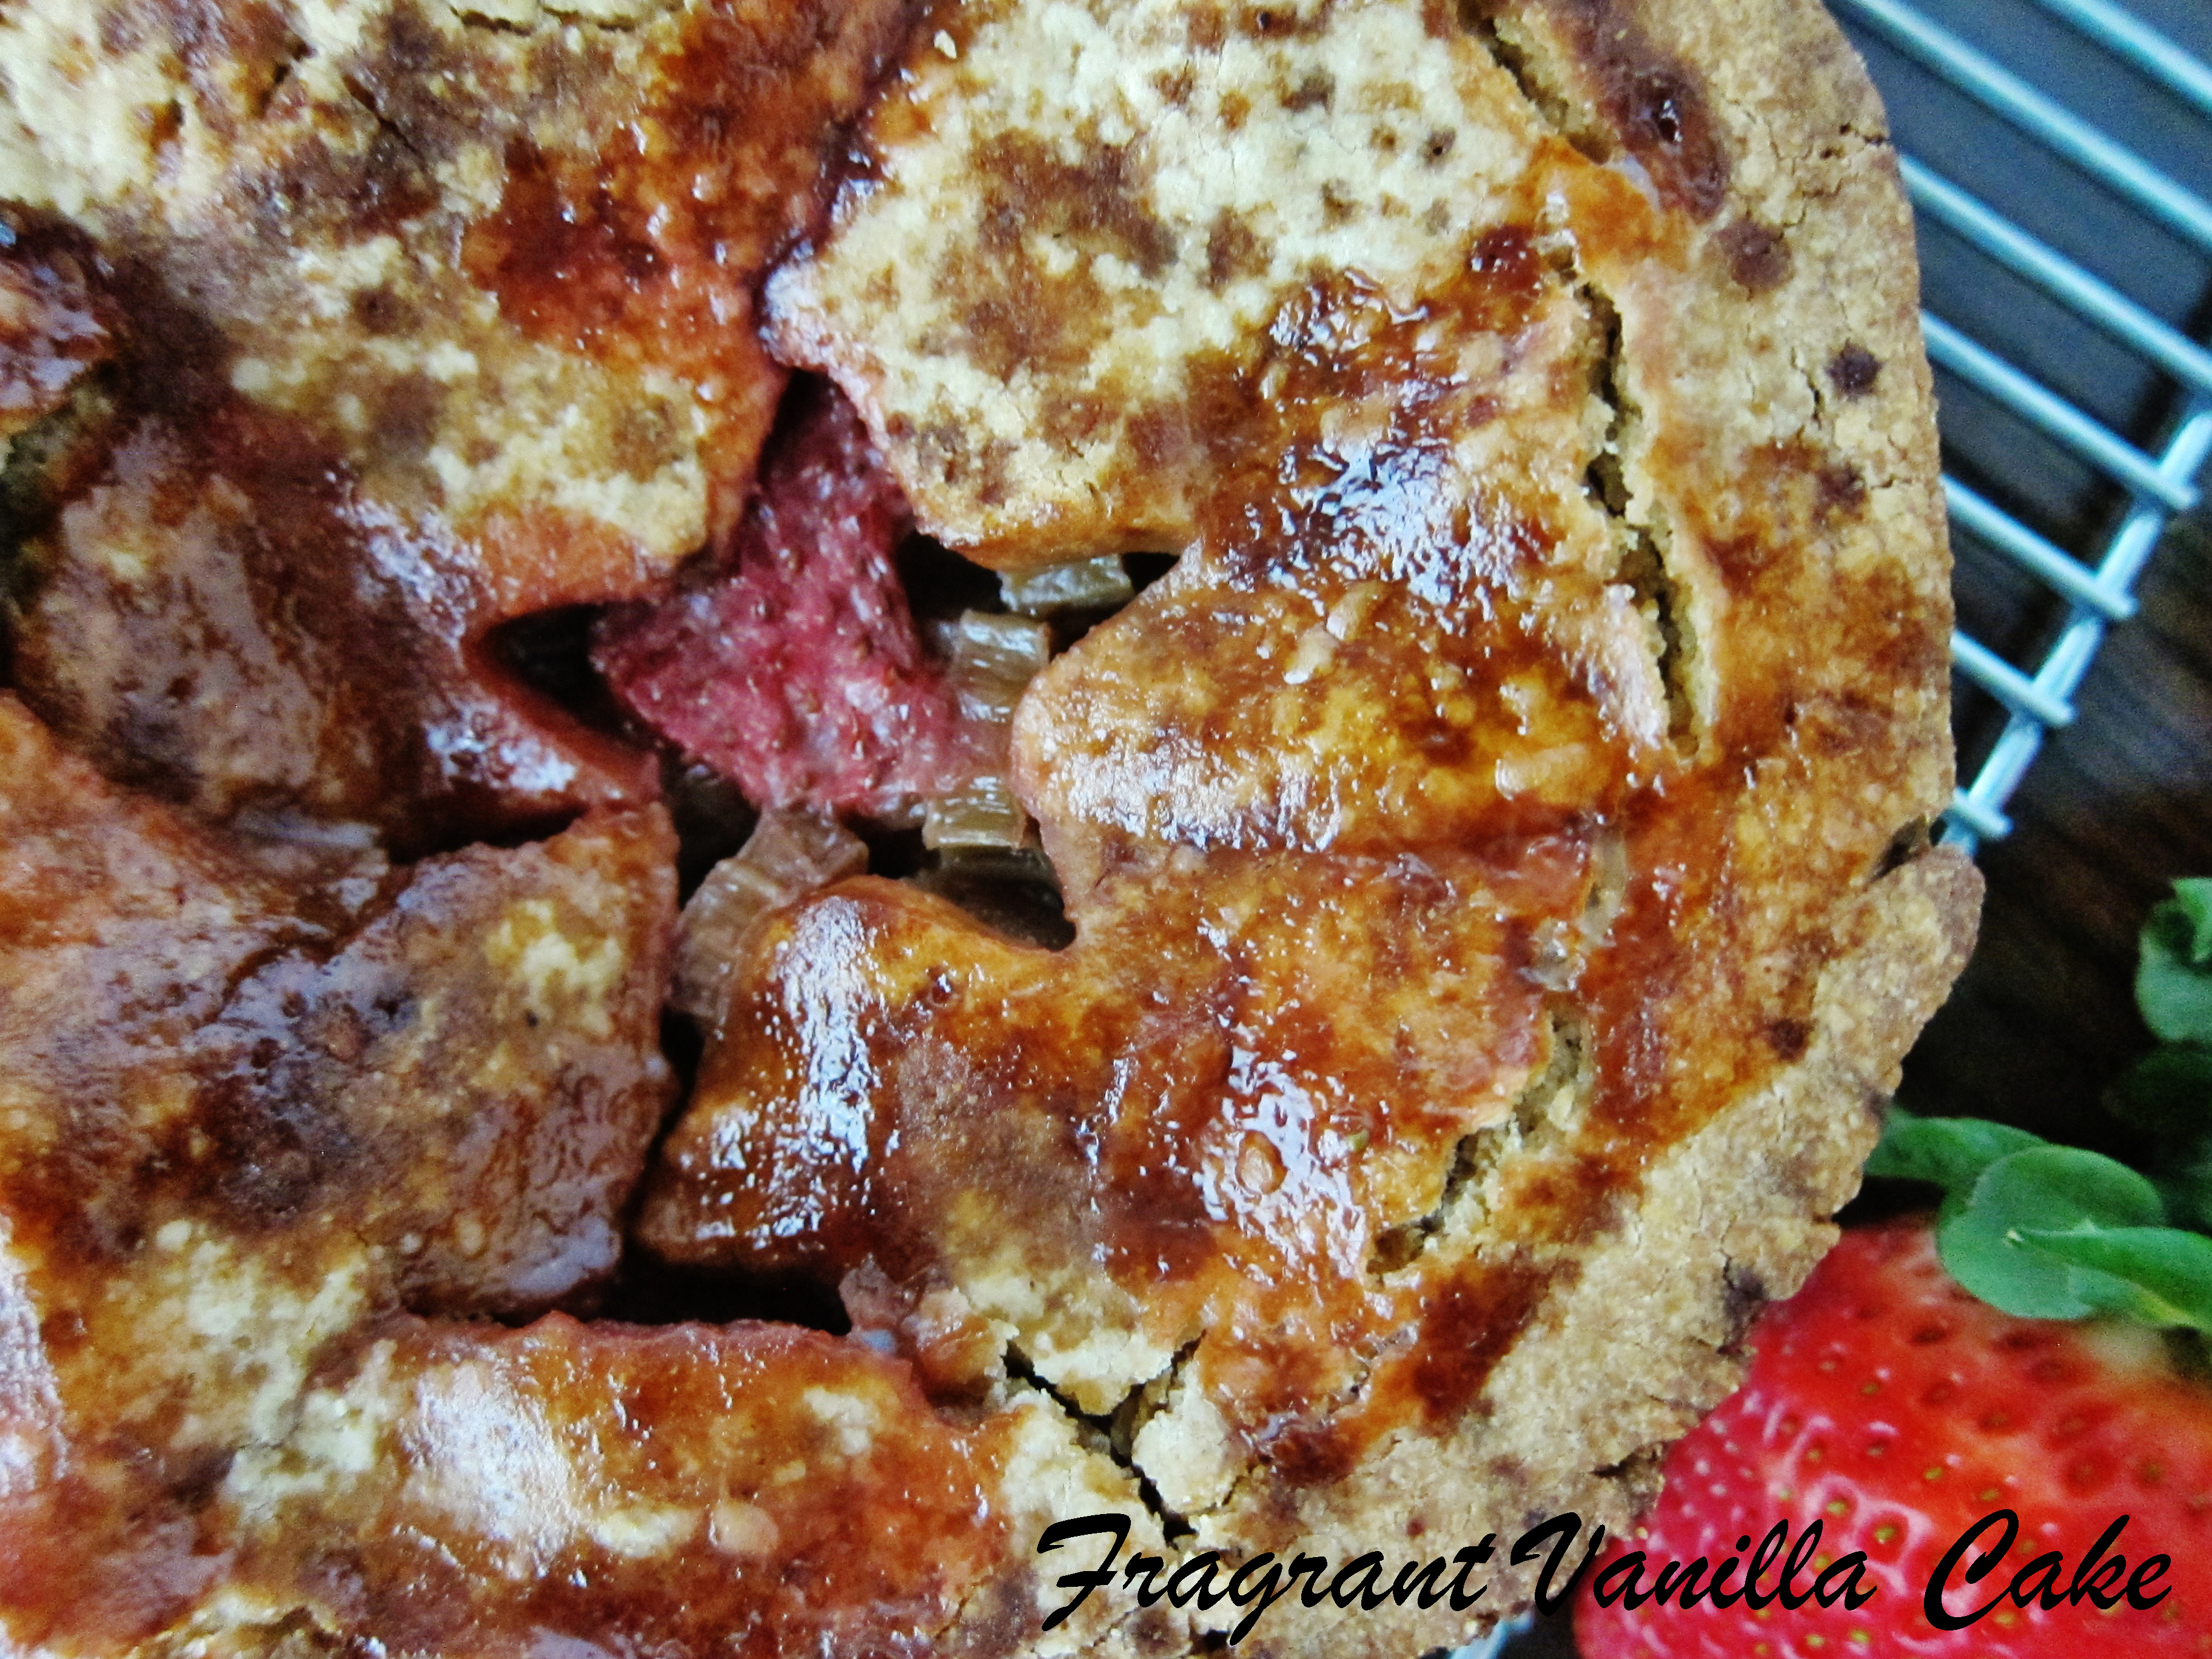
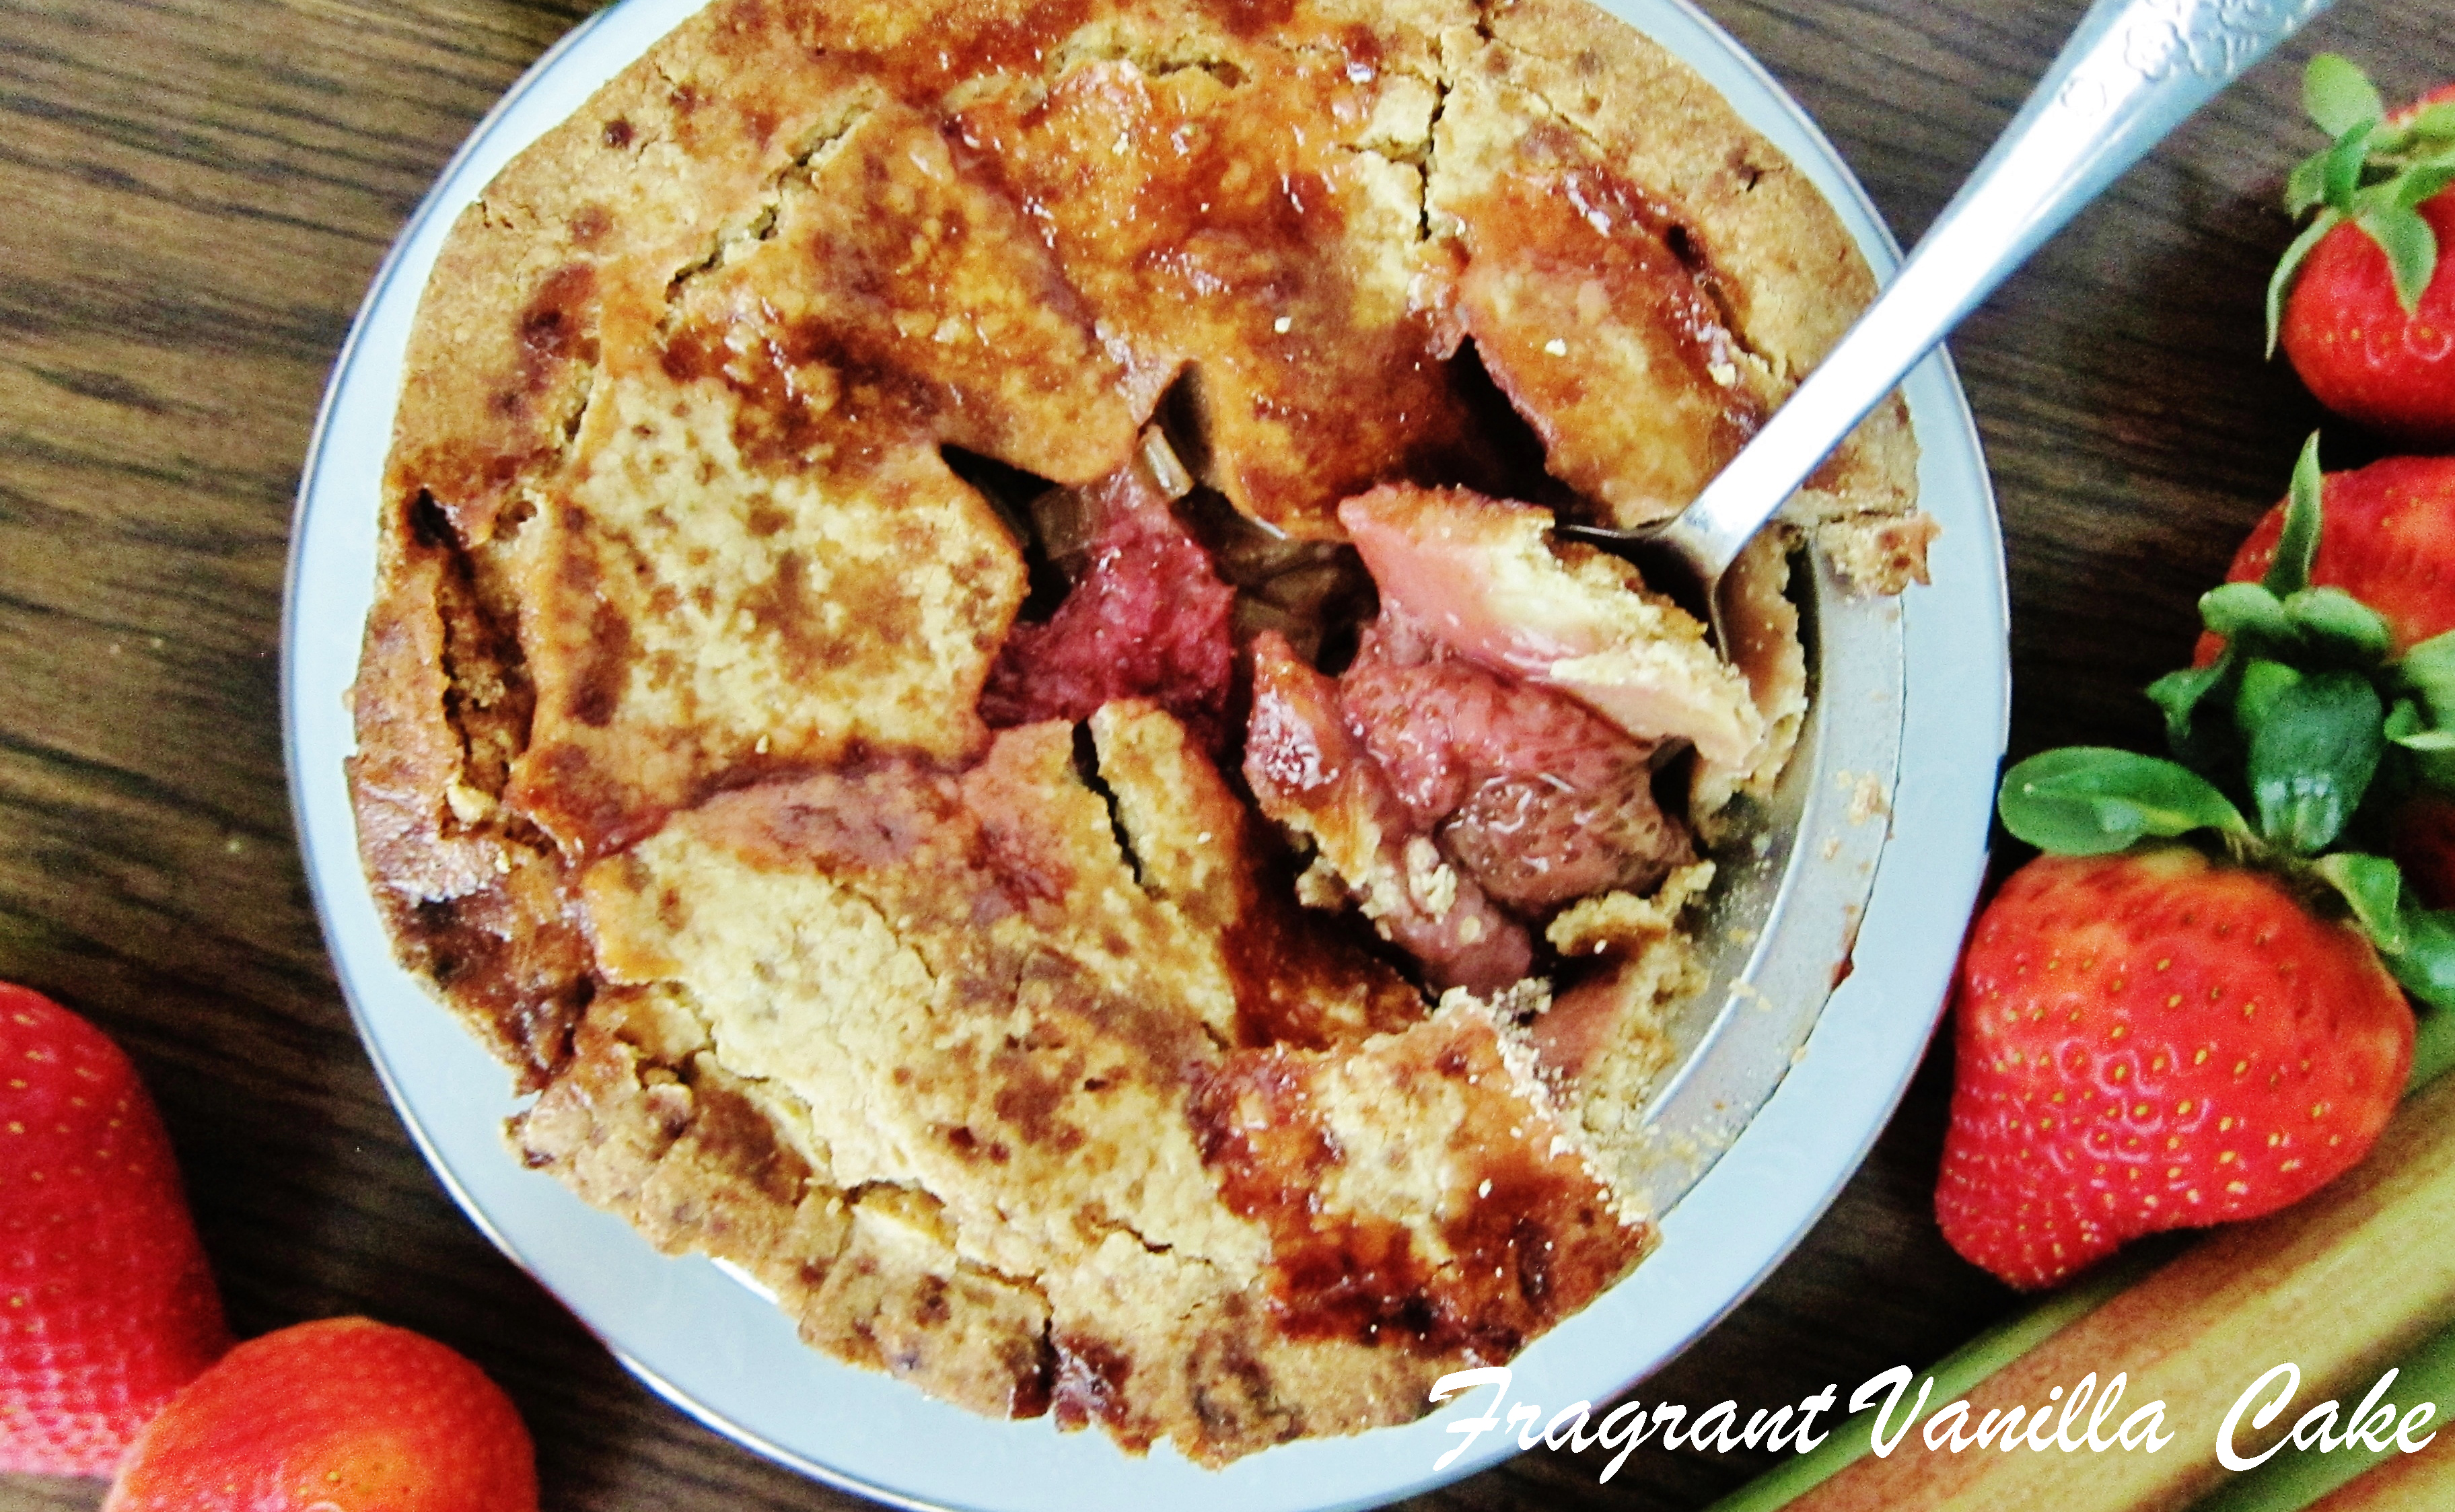
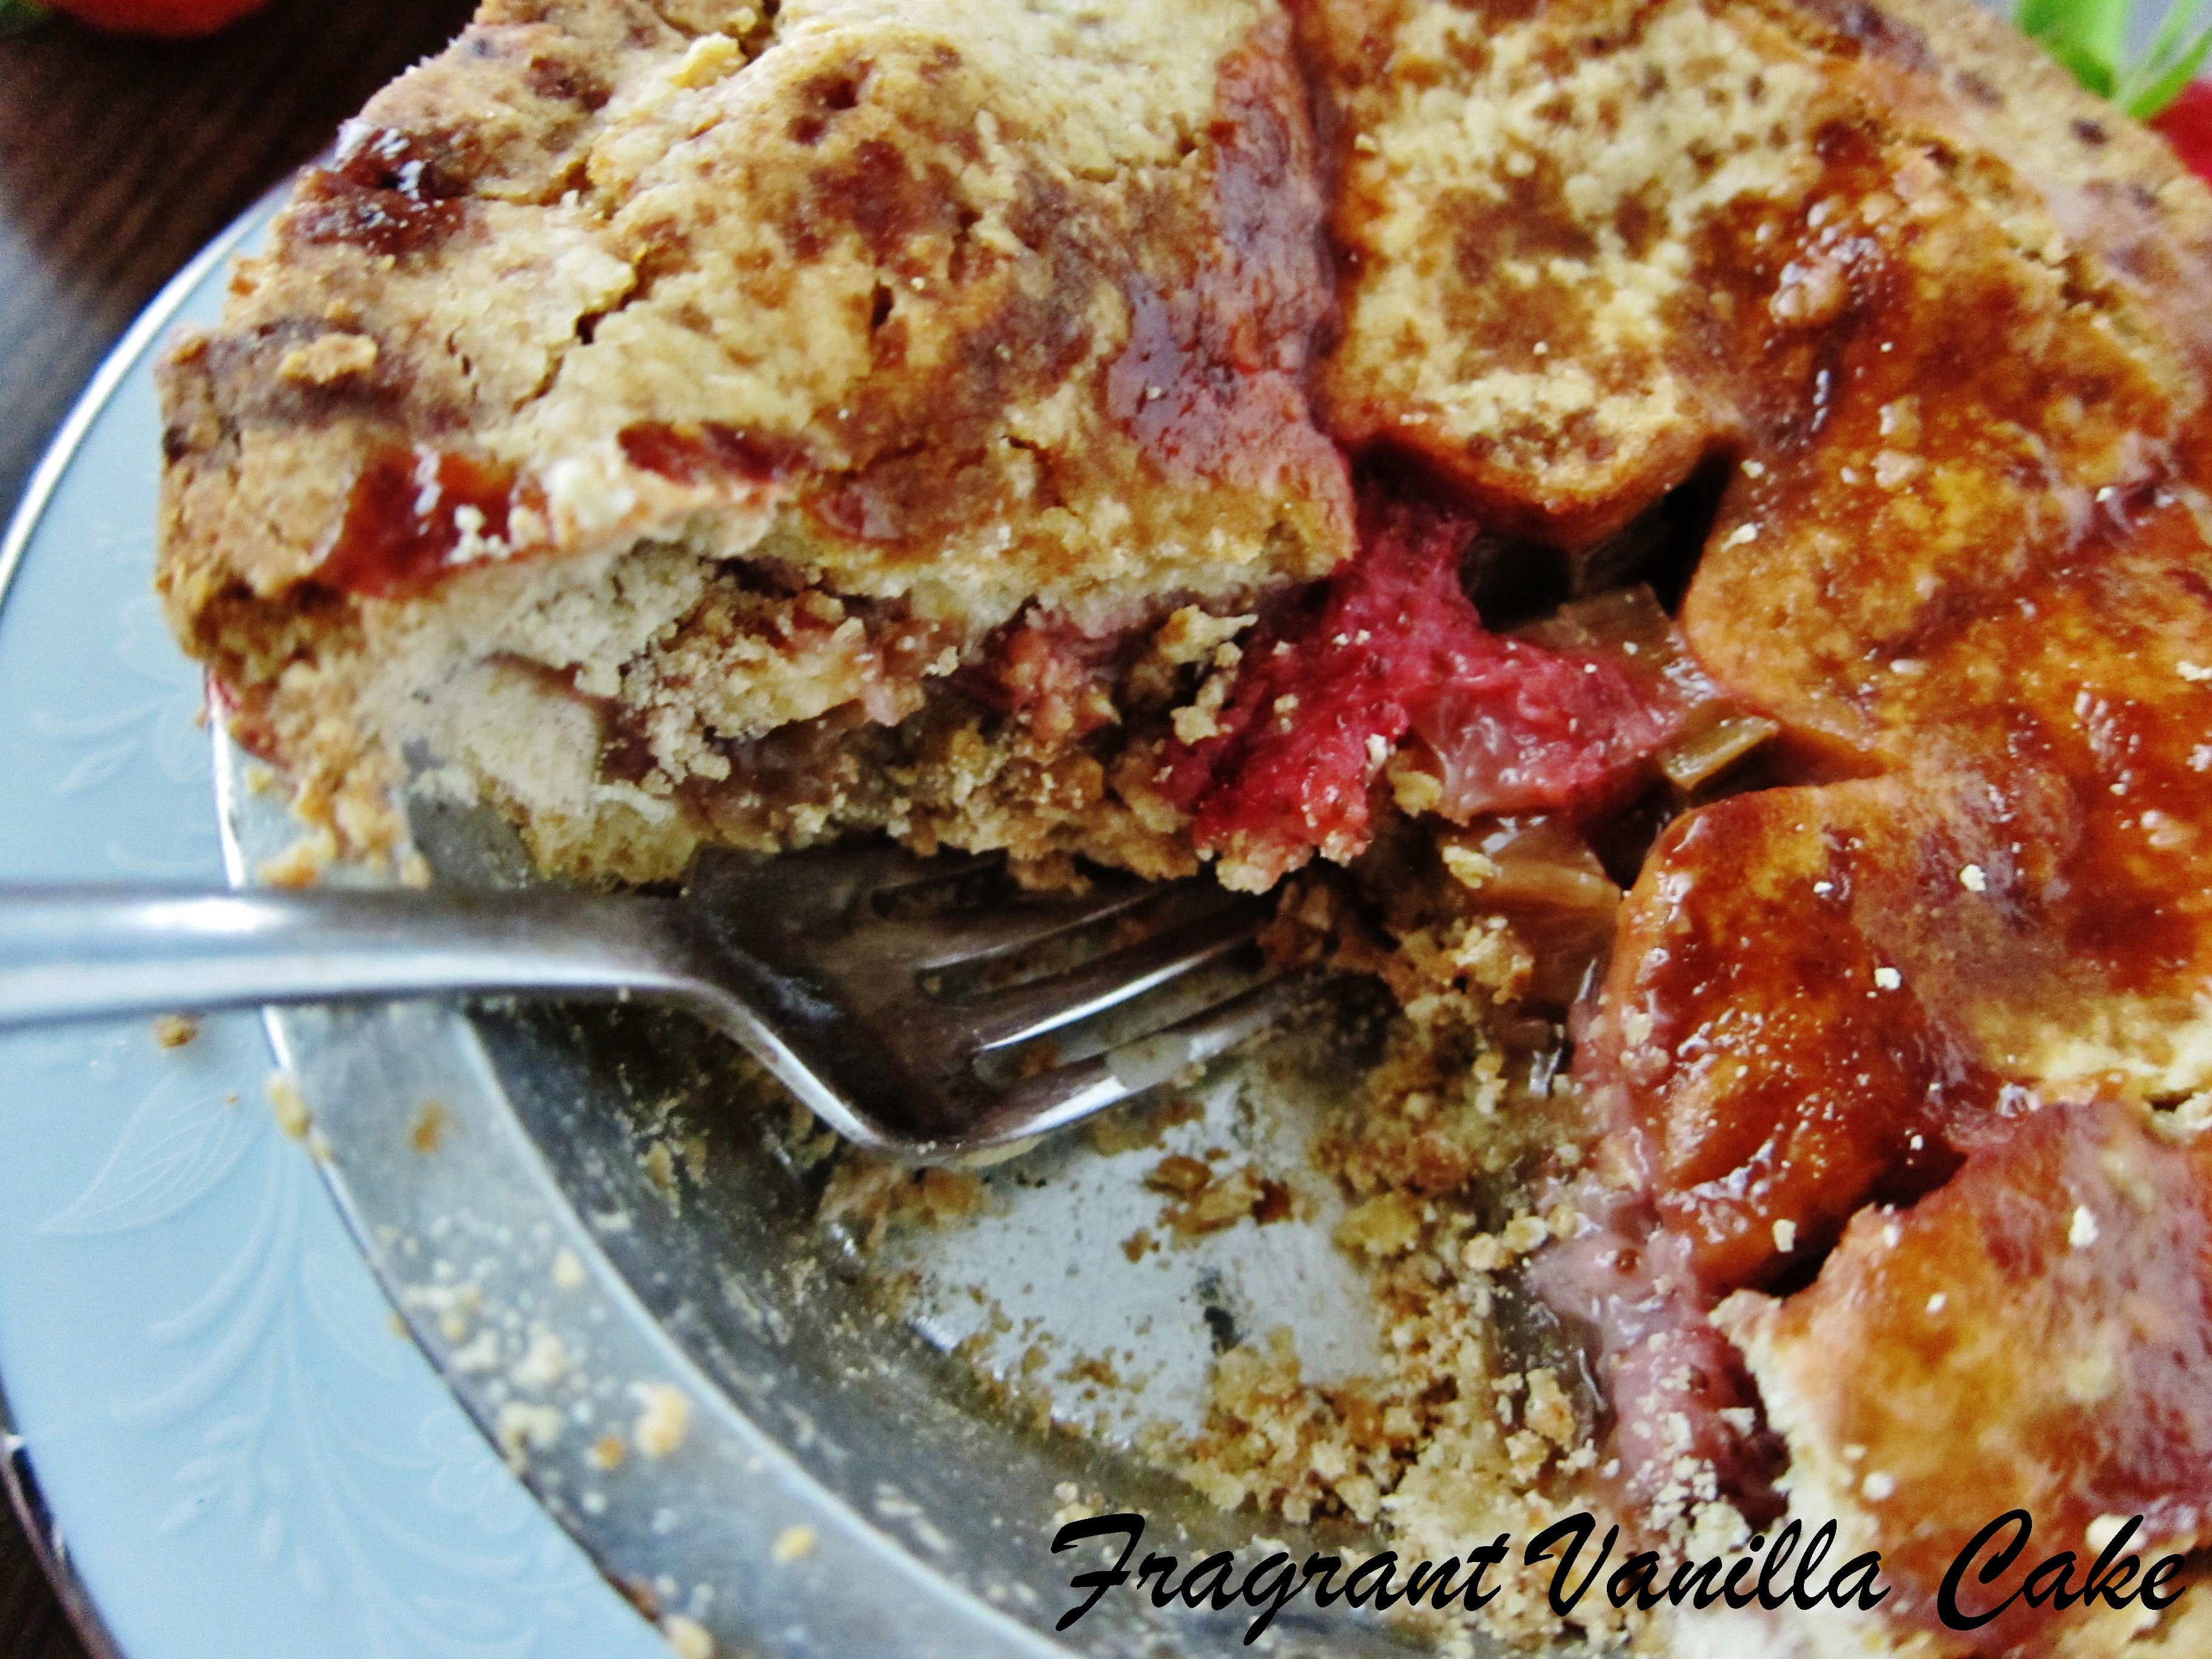
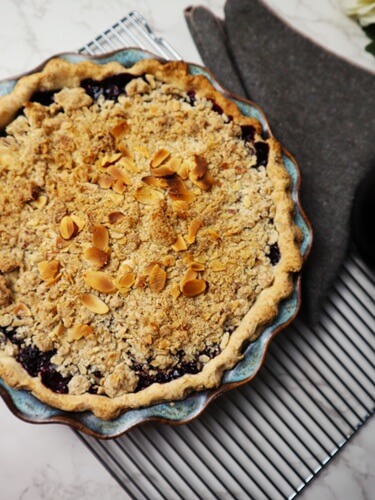
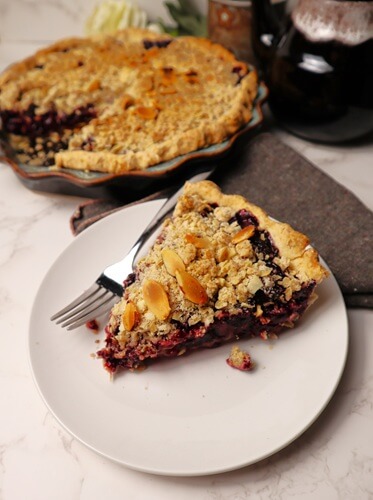
For the topping, I made a crunchy sweet almond streusel, because that it my favorite thing to top a pie with! It smelled amazing while baking! I could not wait to sample it! It turned out sooo good! the filling was sweet, scented with vanilla and almond, packed with cherry flavor, the perfect match with the rich marzipan and crunchy almond topping! This pie is so heavenly! If you love cherry pie, definitely give making this Vegan Cherry Almond Pie a try!
Vegan Cherry Almond Pie
Makes one 9 inch pie
Crust:
- 1 1/2 cups organic whole wheat pastry flour
- 2 Tbsp granulated sugar
- 1/4 tsp sea salt
- 1/2 cup plus 2 Tbsp vegan butter (I used Earth Balance), chilled in its solid state cut into chunks
- about 3-4 Tbsp cold water
Filling:
- 6 cups fresh or frozen pitted sweet cherries*
- 1/4 cup maple syrup
- 2 Tbsp granulated sugar
- 1/4 cup cornstarch
- 1 tsp pure vanilla extract
- 1/2 tsp almond extract
- 1/8 tsp sea salt
- 8 oz vegan marzipan
Topping:
- 2/3 cup organic whole wheat pastry flour
- 3 Tbsp granulated sugar
- 1/2 cup vegan butter, cut into chunks (I used Earth Balance)
- 3/4 cup rolled oats
- 1/4 cup sliced almonds
- 1/4 tsp sea salt
Instructions:
- Pre-heat the oven to 425F degrees.
- To make the crust, in a large bowl, mix together flour, sugar, and sea salt. Cut in vegan butter with a pastry blender or 2 knives until it is in pea sized pieces. Mix in just enough water to create a smooth dough that holds together but isn’t too sticky. Add more water if needed, and knead slightly until a smooth dough is created. Roll out into a 10 inch circle on a sheet of slightly floured parchment paper, then use the paper to help you transfer one to an 9 inch pie dish. Fit crust into the dish and set aside.
- To make the filling, place the cherries and maple syrup in a large pot. Cook over medium heat, until they are bubbling and softening. Sprinkle in the cornstarch while mixing and cook until it thickens. Add the vanilla, almond and sea salt and stir until combined. Set aside.
- Roll out the marzipan into a 9 inch circle, and place on top of the pie crust at the bottom.
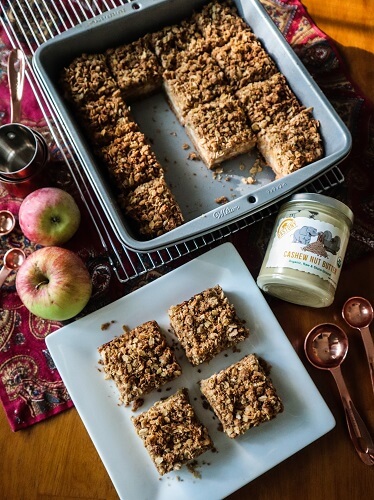
- To make the topping, mix all ingredients together with hands in a bowl until small clumps form.
- Pour the cherry filling over the marzipan in the pie crust, then sprinkle the streusel over the top of that.
- Place in the oven on a tray, and bake for 40-45 minutes, until the cherries are bubbling and the topping and crust are lightly browned.
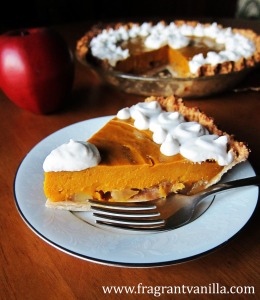
- Remove from the oven and let cool completely before cutting.