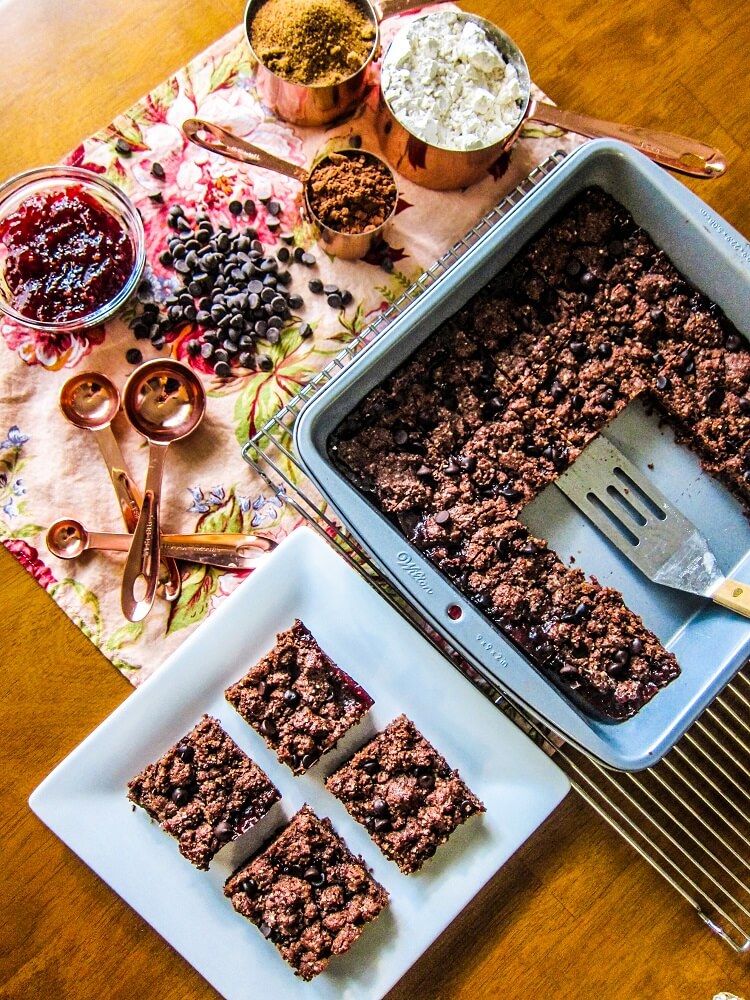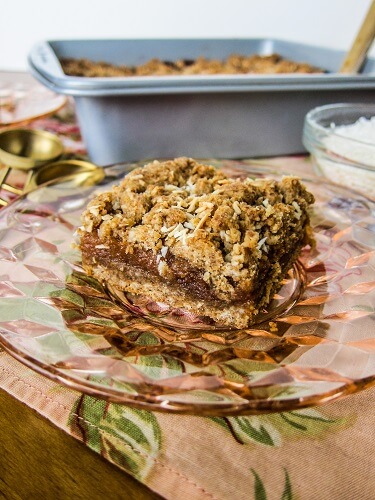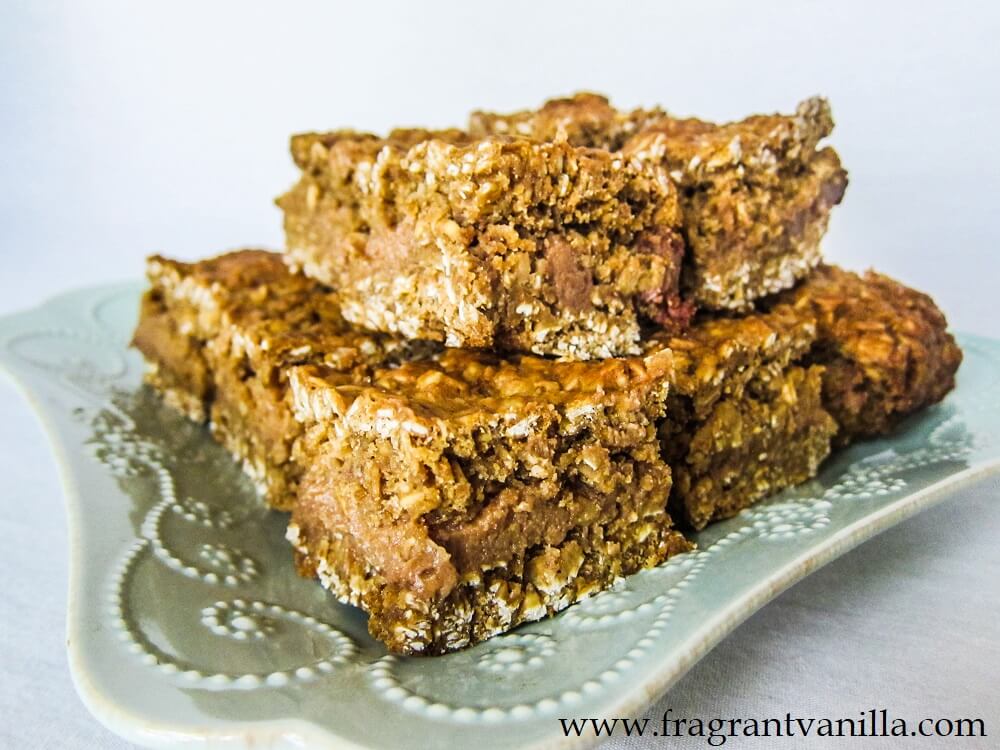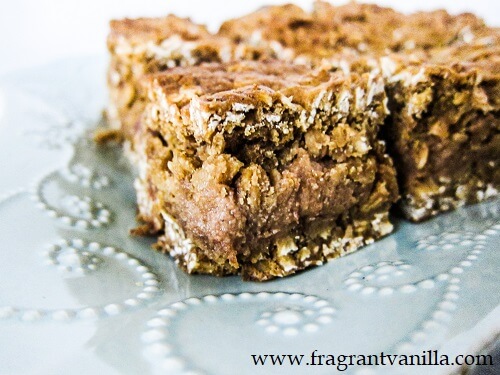
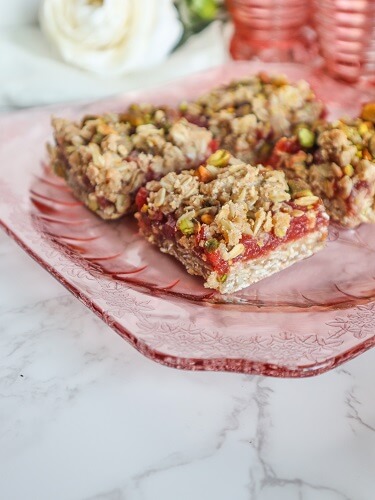
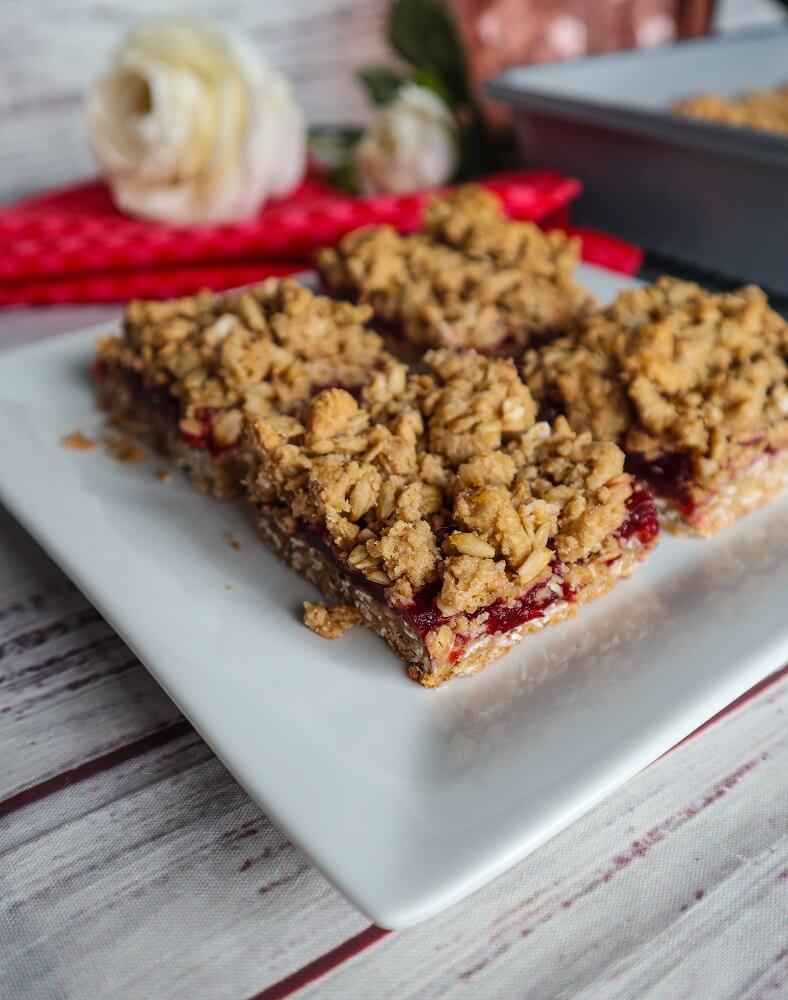
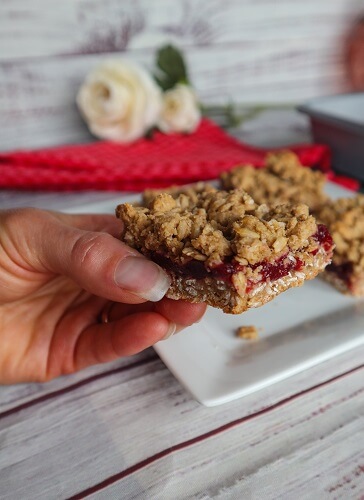
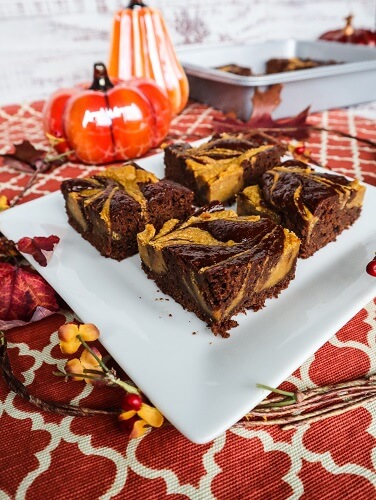
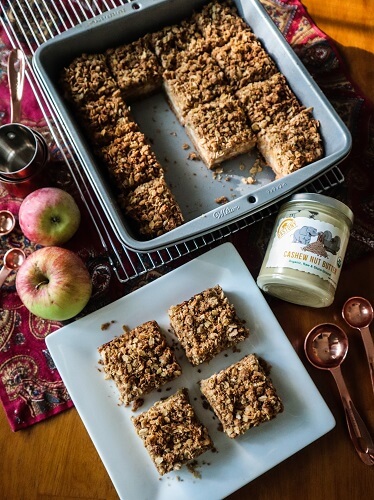
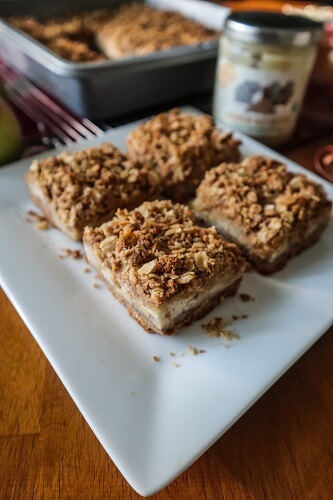
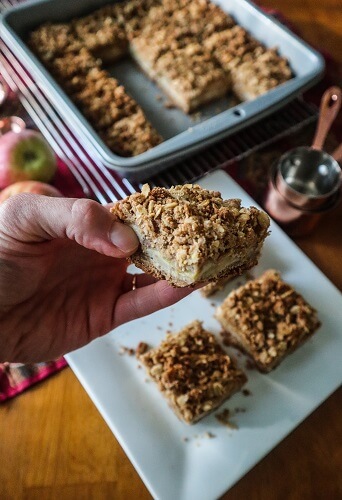
I had a bunch of peaches that I needed to use up and peach pie sounded good, but I wanted something that was more easily shareable so I decided on Vegan Peach Pie Bars instead!

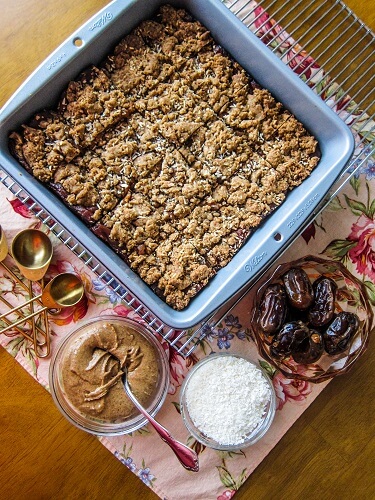
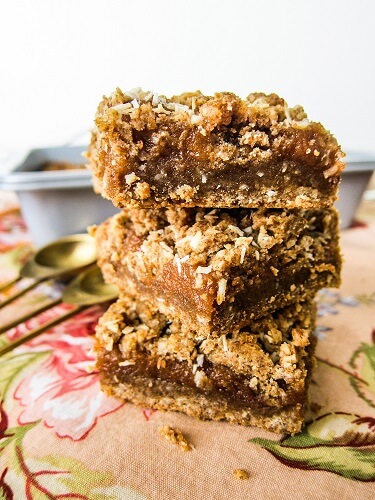
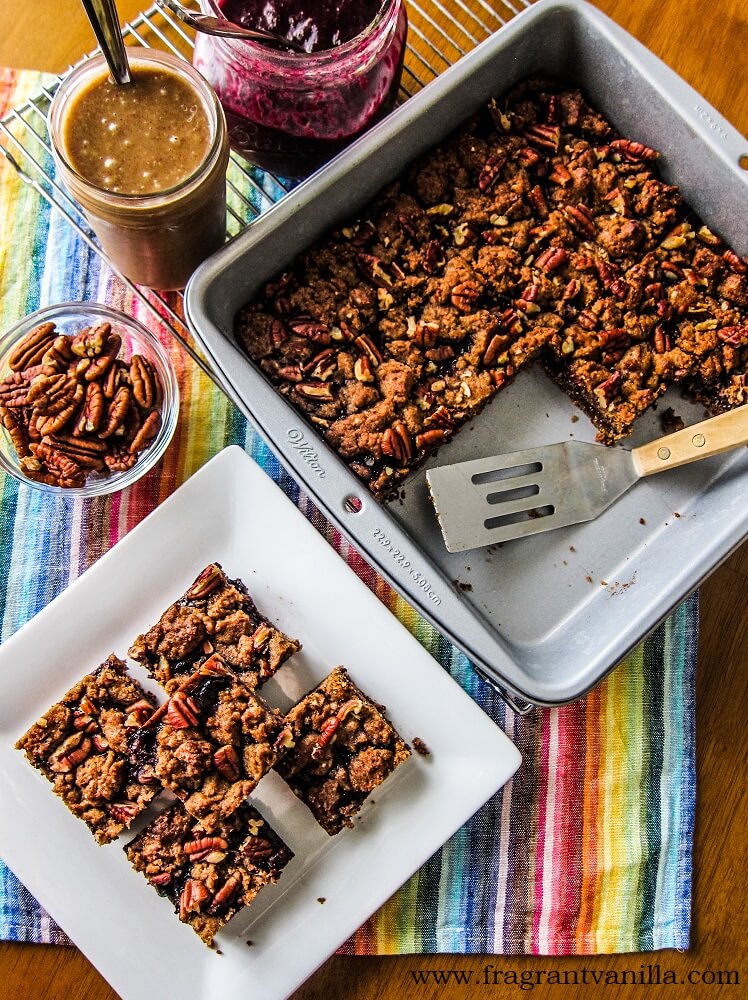
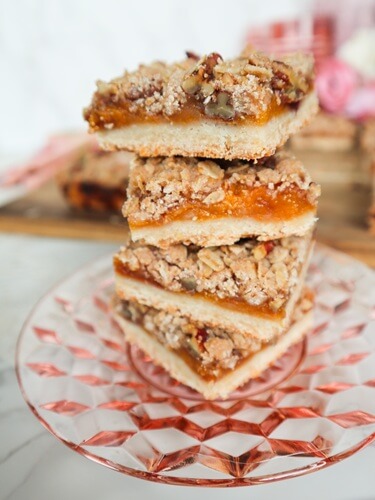
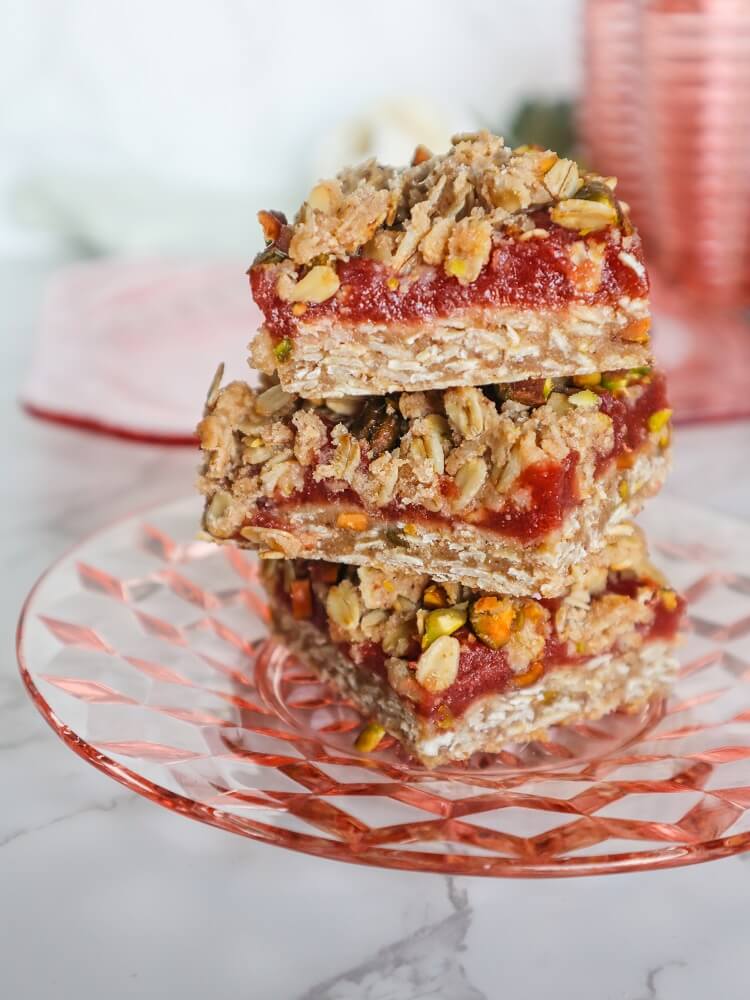
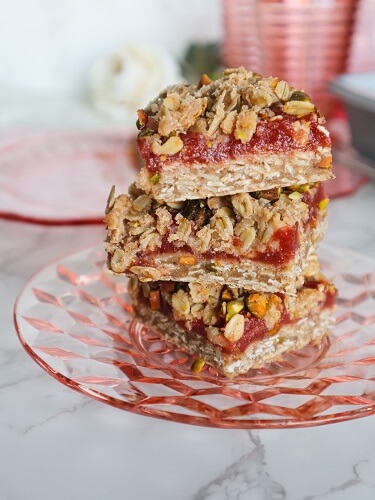
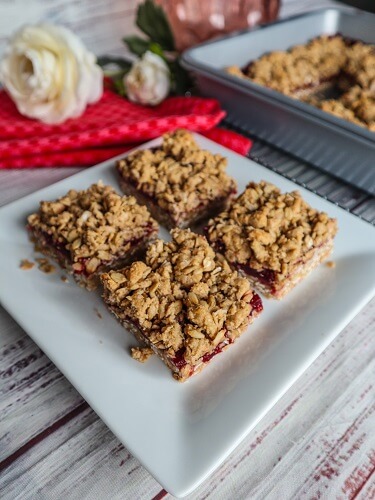
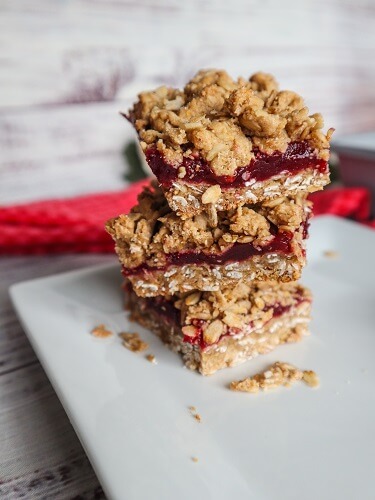
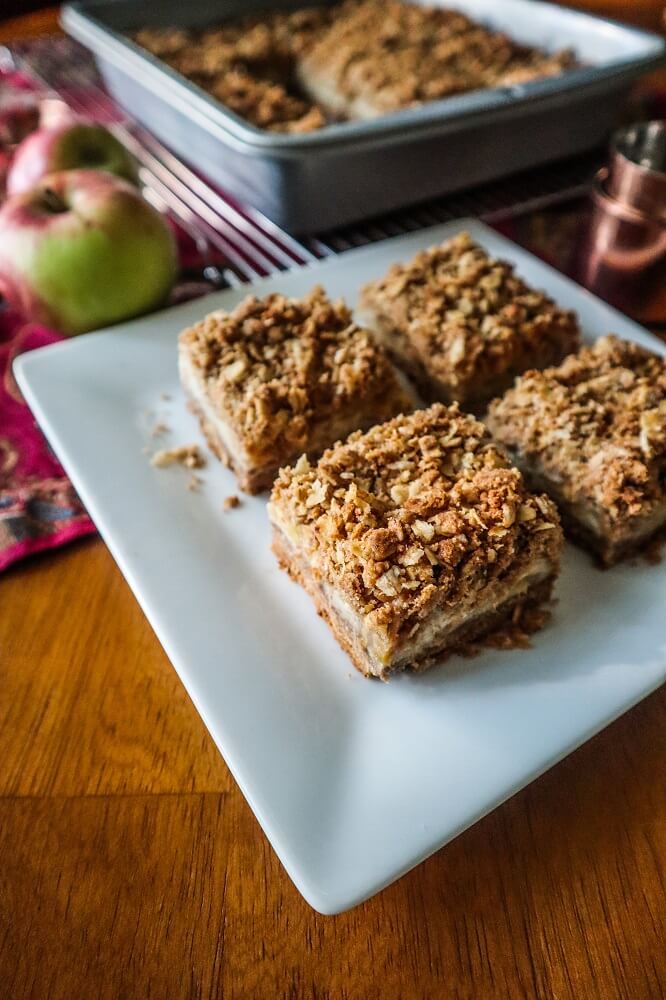
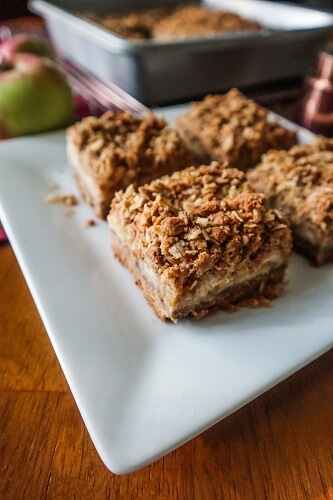
Peach pie is so good in the summer! When I make it, I like to give it a crumble topping so I did the same for these bars! For the crust I made a classic butter pie crust made with vegan butter. I used whole wheat pastry flour in these, but if you wanted to use all purpose flour or even gluten free all purpose flour that would work as well for a gluten free option (I have used Bob’s Red Mill gluten free all purpose baking flour and it works well).
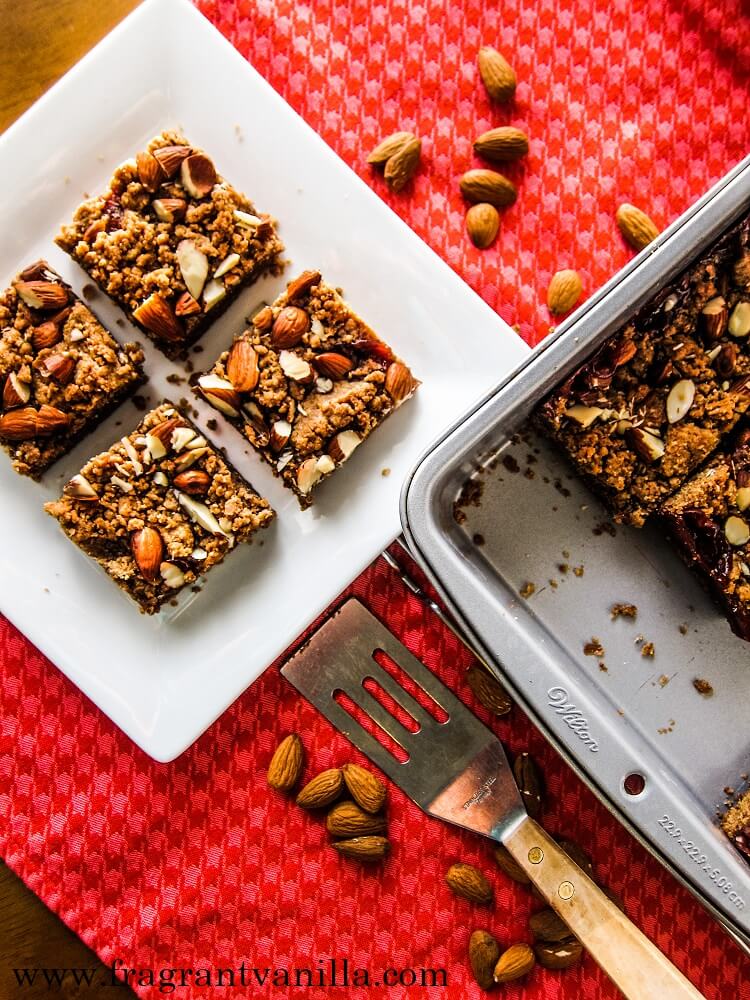
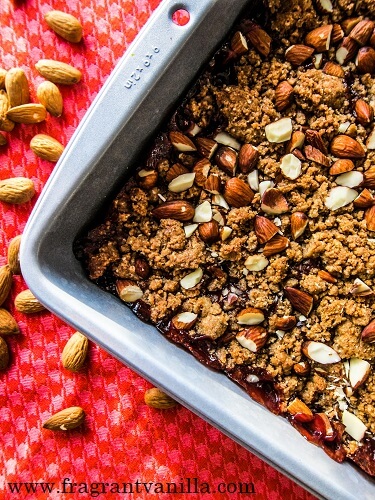
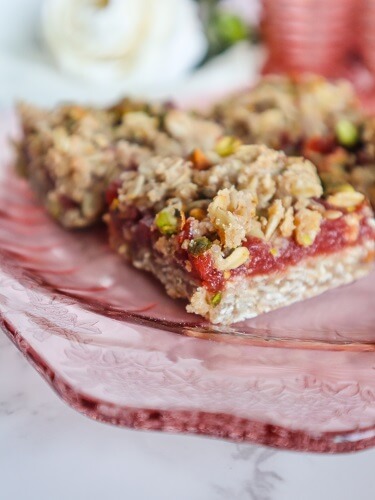
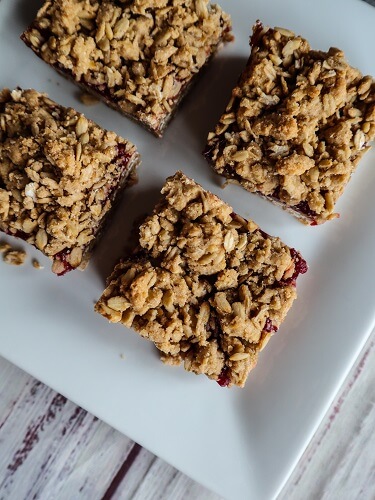
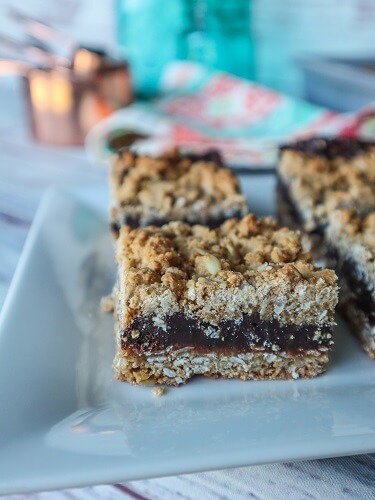
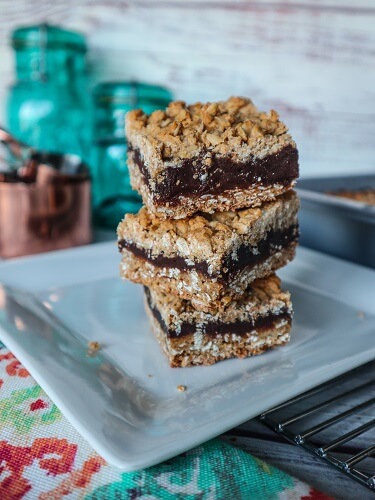
I kept the filling simple with peaches and a minimal amount of sugar to sweeten, and a touch of vanilla and cinnamon to make them extra delicious! I used oats in my crumble topping because my Mom always did and I love the texture they give.
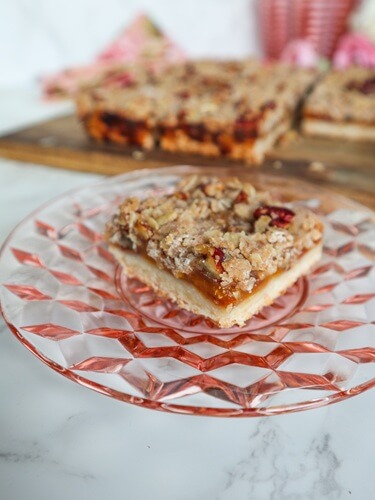
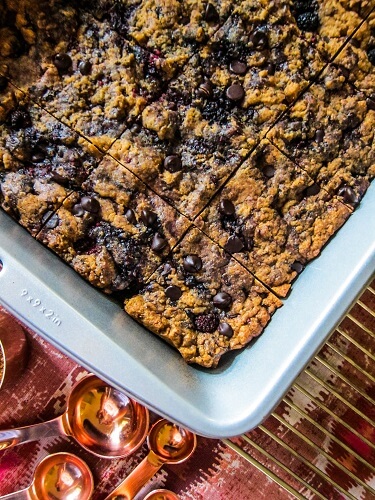
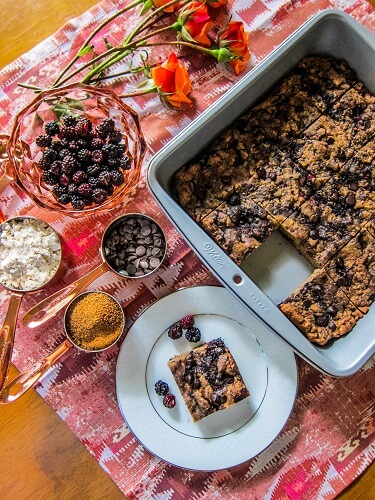
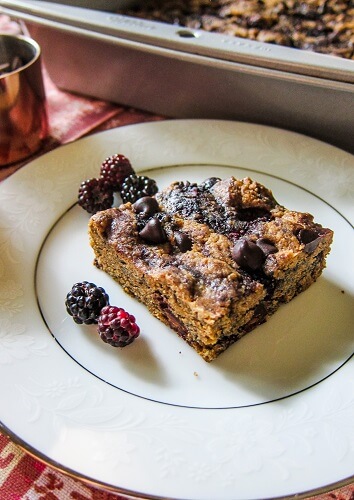
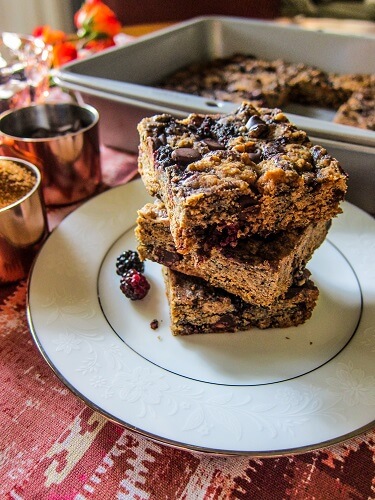
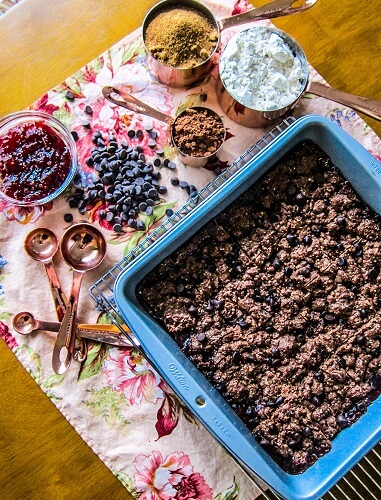
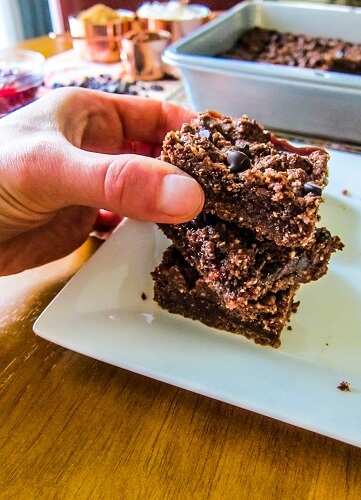
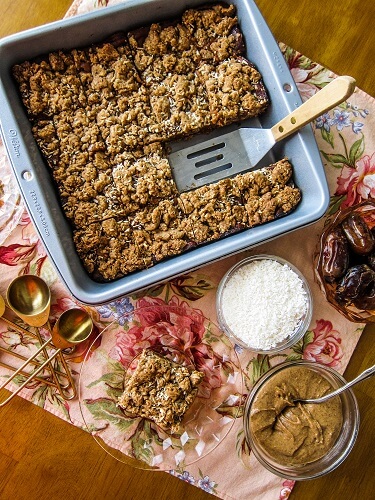
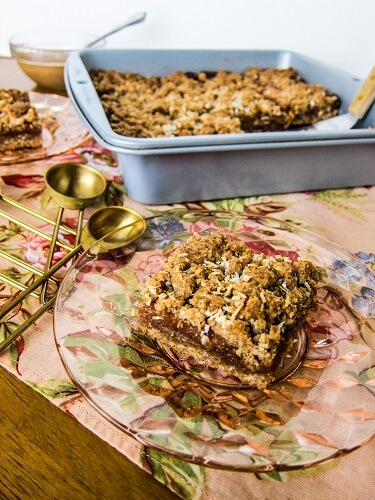
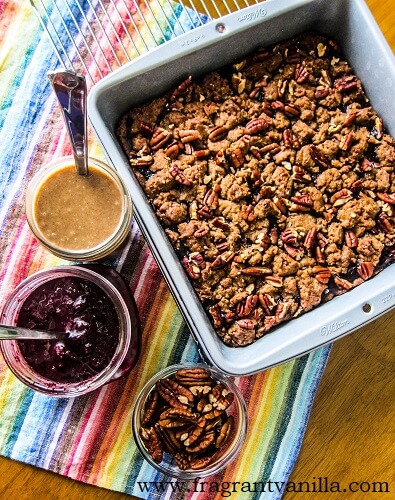
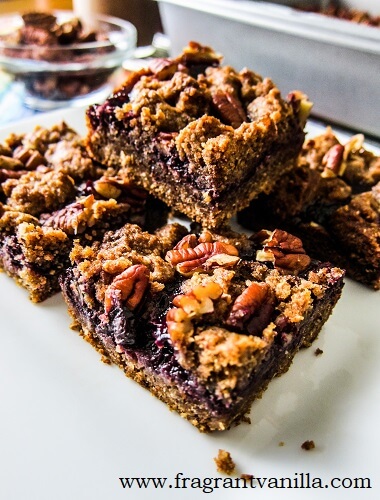
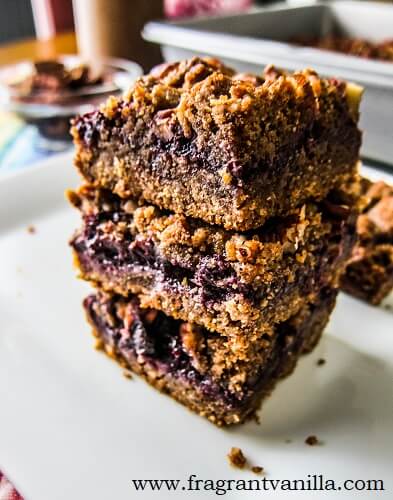
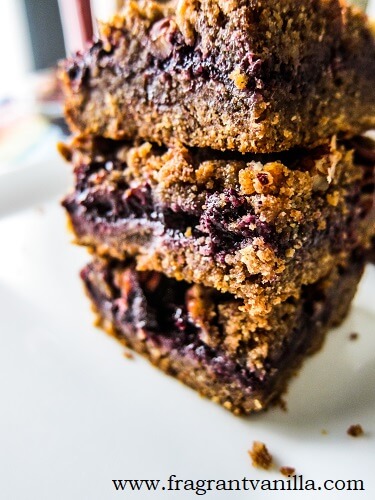
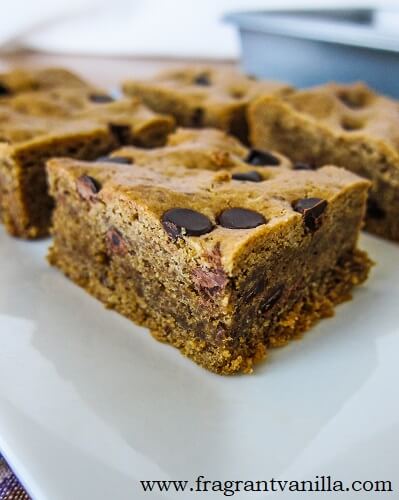
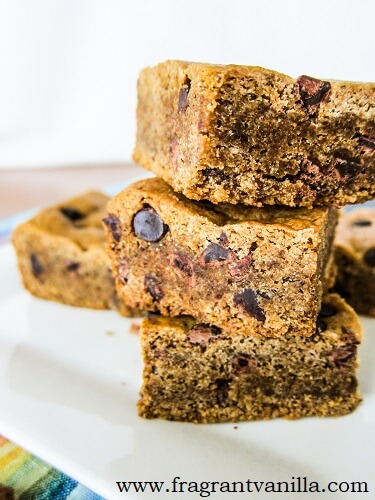
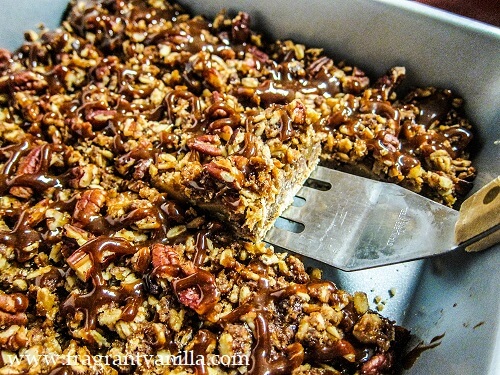
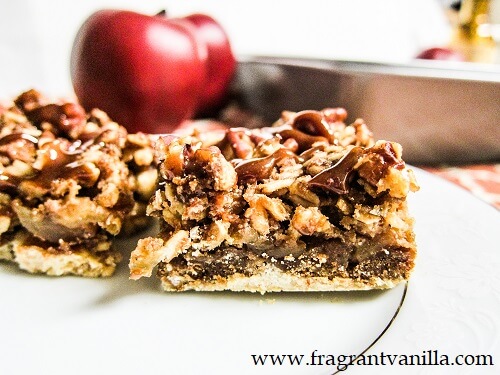
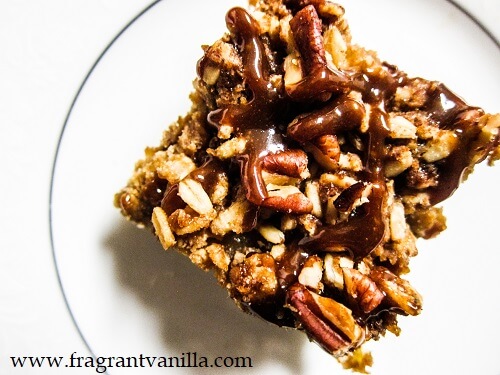
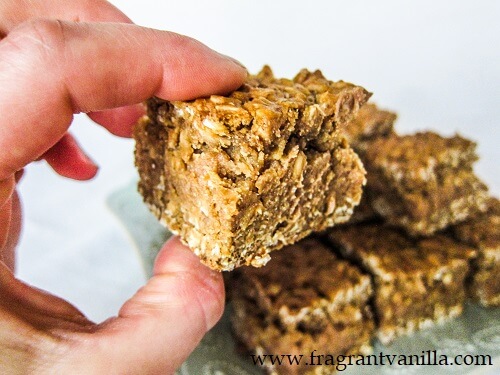
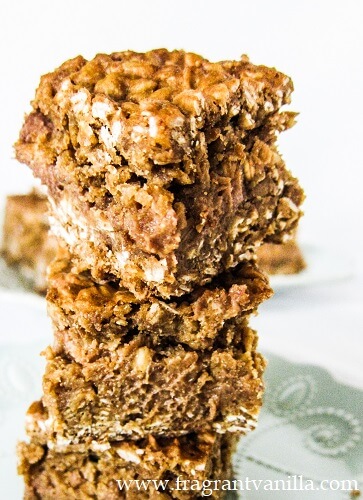
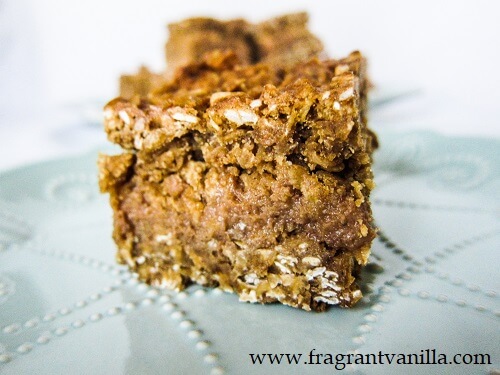
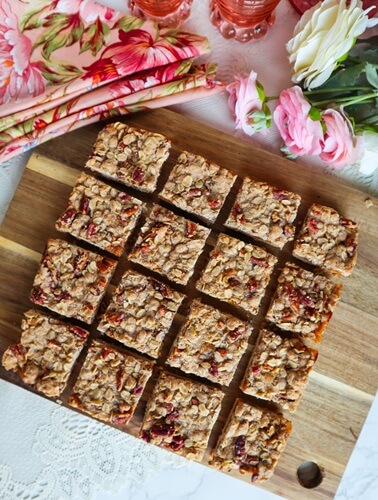
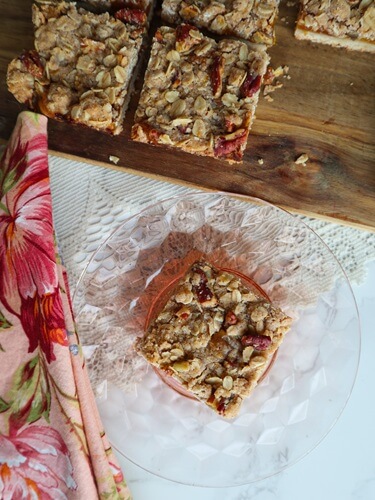
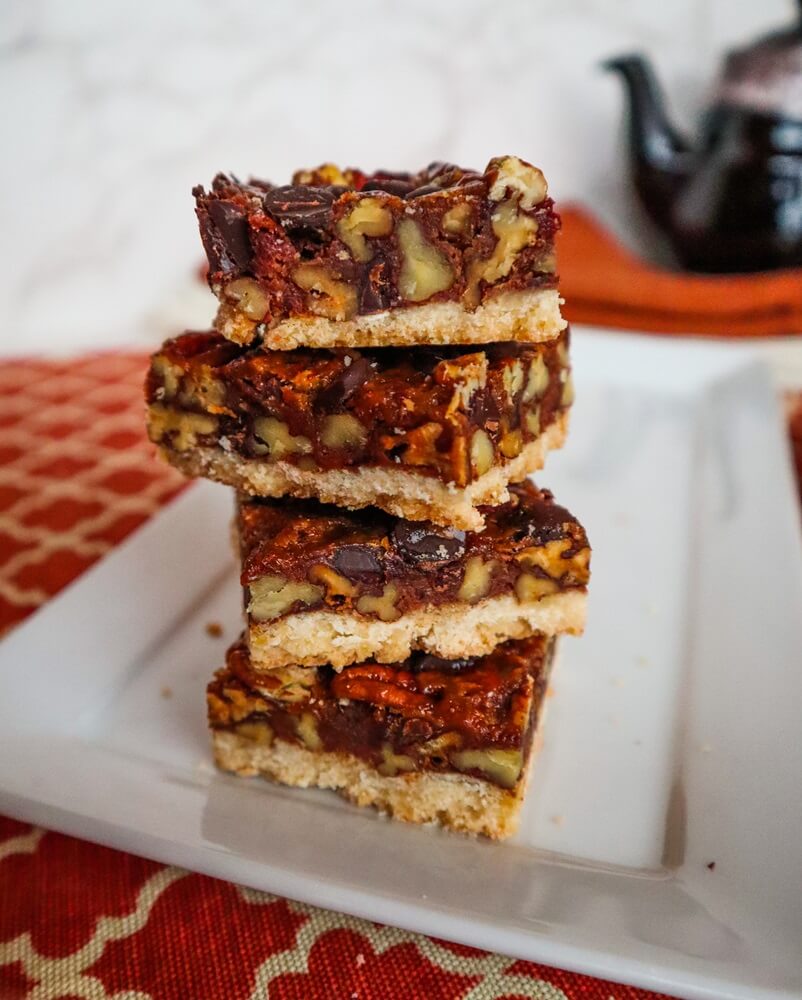
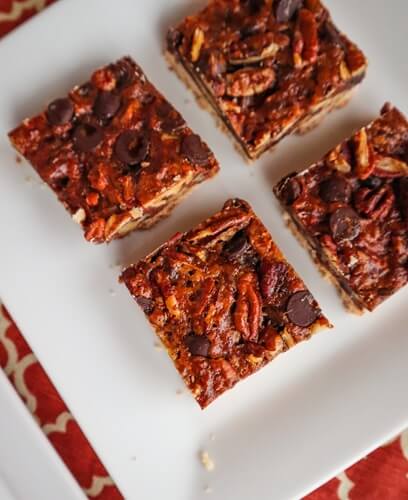
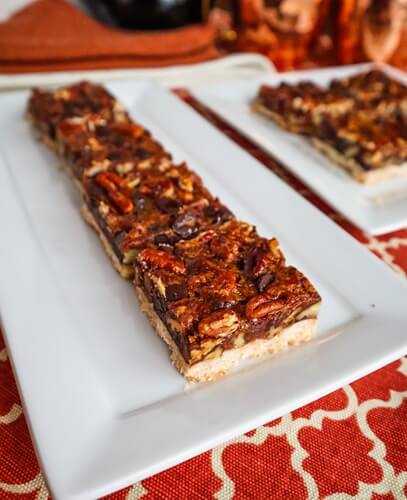
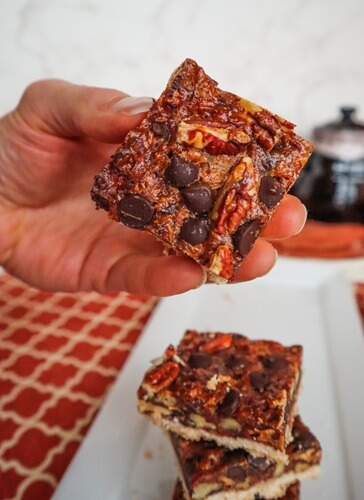
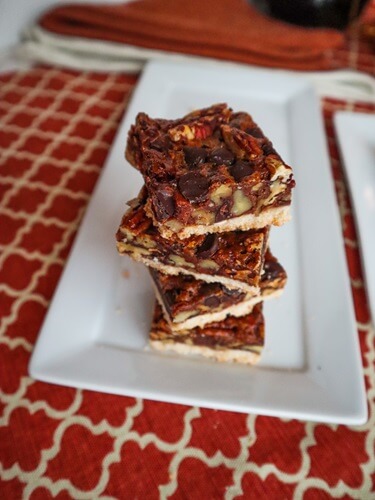
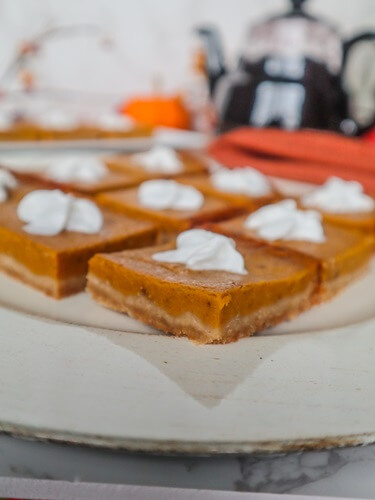
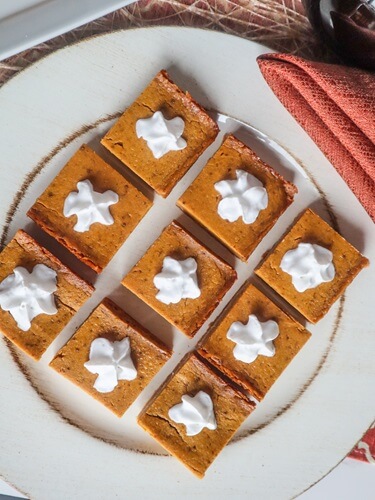
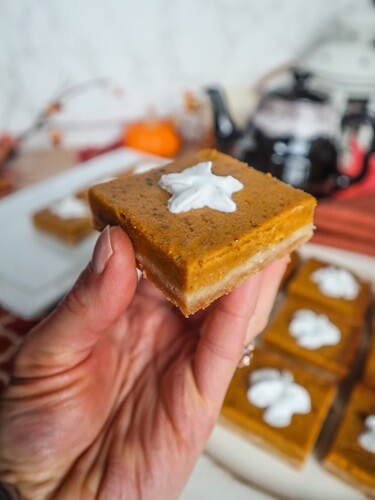
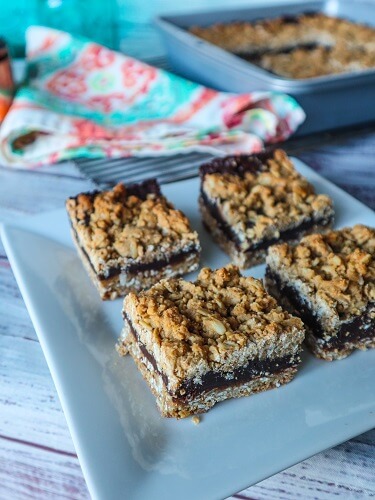
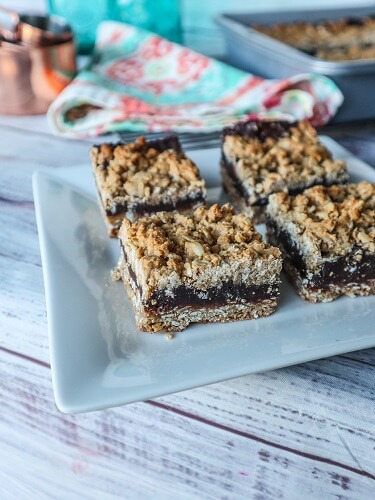
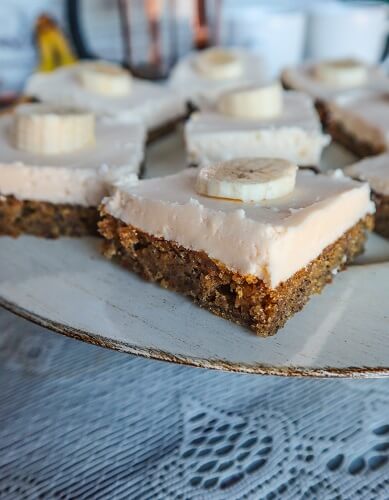
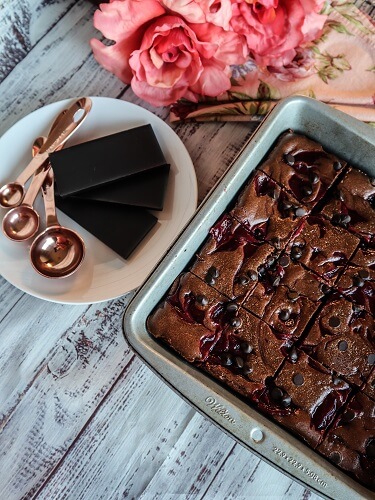
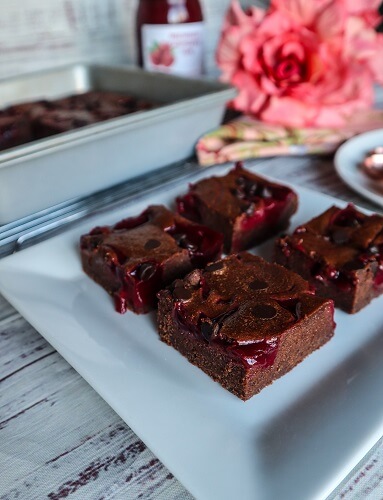
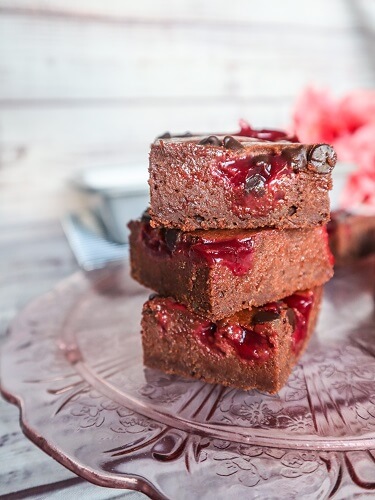
These baked up nicely and smelled so amazing when I pulled them from the oven! I could not wait to sample one! They are so delicious with sweet jammy peaches on a buttery crust and crunchy cinnamon oat topping! If you have peaches on hand, definitely give these Vegan Peach Pie Bars a try!
Vegan Peach Pie Bars
Makes 16
Crust:
- 1/2 cup vegan butter
- 1/4 cup brown sugar
- 1/4 tsp sea salt
- 1 cup whole wheat pastry flour
Filling:
- 3 medium or 4 small peaches, sliced 1/4 inch thick
- 1/4 cup whole wheat pastry flour
- 1/4 cup brown sugar
- 1 tsp cinnamon
- 1 tsp lemon juice
- 1/8 tsp sea salt
Topping:
- 1/2 cup old fashioned oats
- 1/2 cup chopped pecans
- 1/4 cup brown sugar
- 1/4 tsp ground cinnamon
- 1/4 cup gluten free all purpose baking flour
- 3 Tbsp vegan butter
- 1/4 tsp sea salt
Instructions:
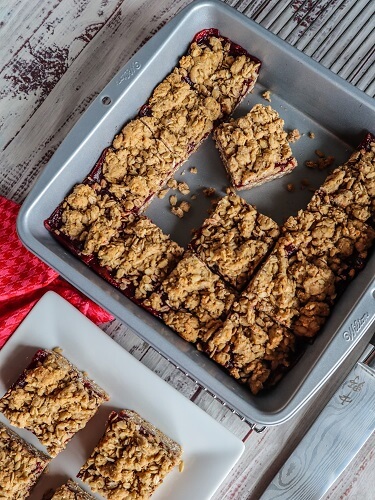
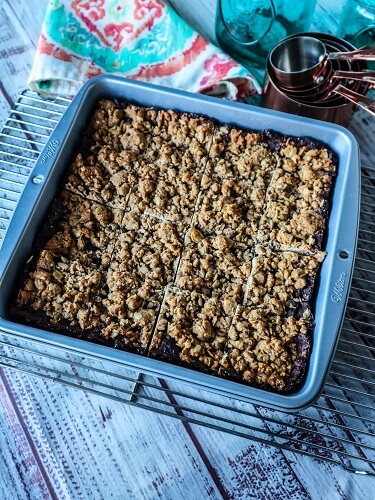
- Preheat the oven to 350F degrees, and line a 9×9 inch square pan with parchment.
- Mix together the crust ingredients, and press into the bottom of the prepared pan. Place in the oven and bake for 15 minutes until set.
- Meanwhile, mix together the peach filling and set aside.
- Mix together the streusel filling in a bowl, and scrunch together with hands until it clumps up. Set aside until crust is done.
- Remove the crust from the oven and spread the peach filling out over it (making sure it is all flat and evenly distributed), then sprinkle with the streusel. Place back in the oven and bake for about 45 minutes until the streusel is lightly browned and peaches are tender.
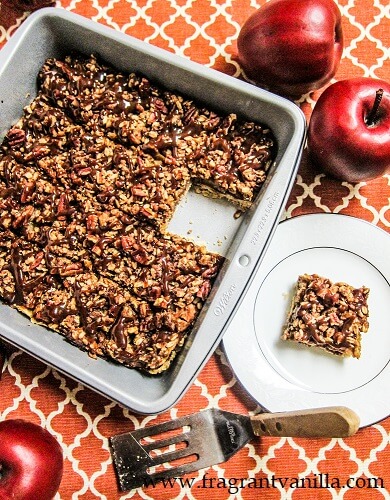
- Once the bars have finished baking, remove them from the oven and allow to cool completely.
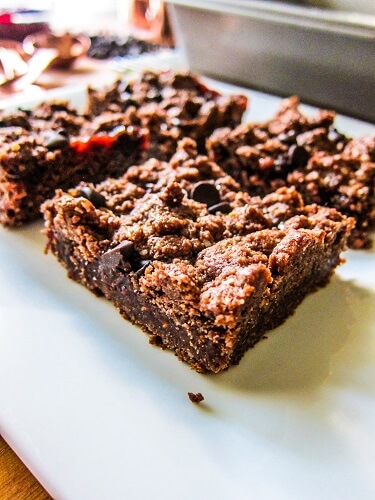
- Cut into 16 bars, and enjoy!


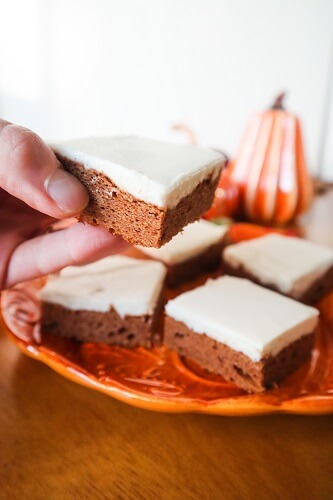
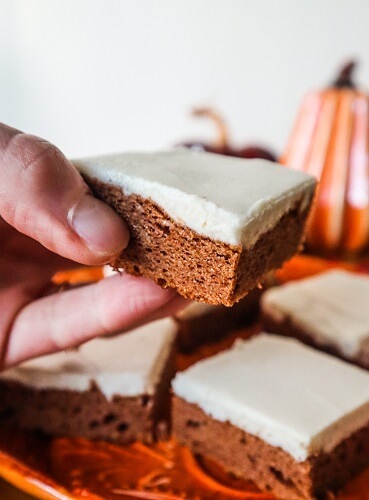


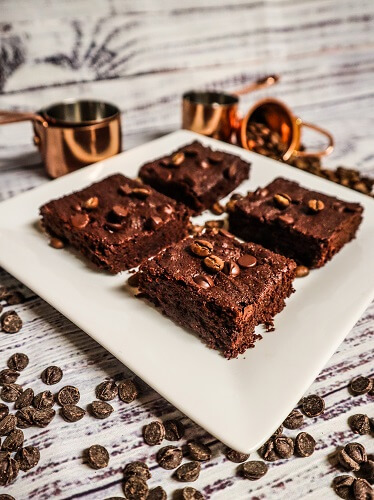
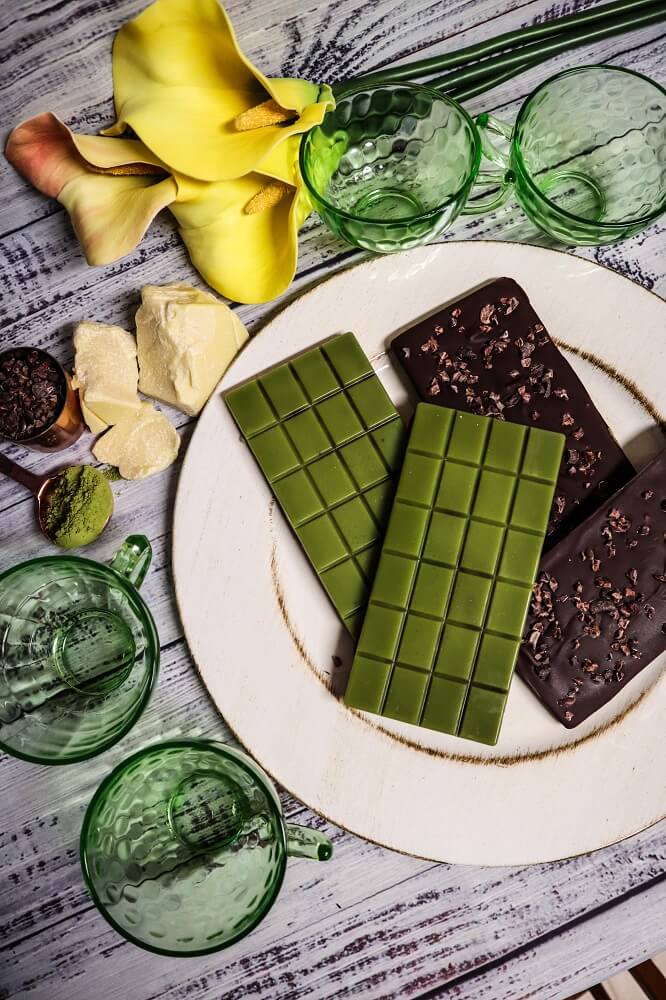
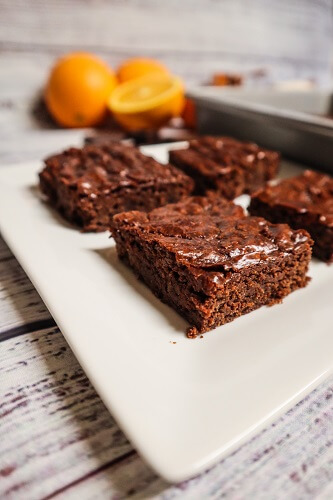
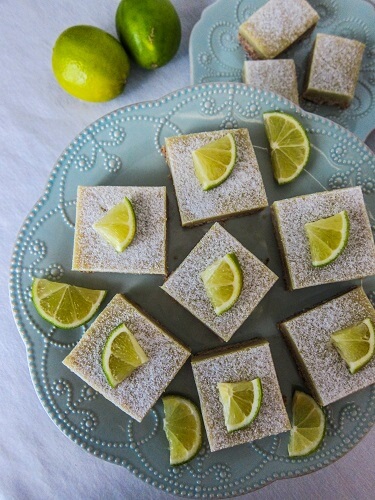
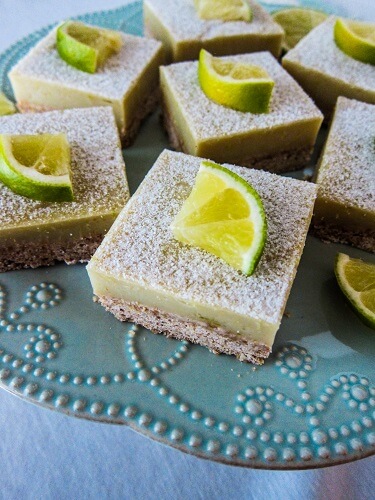
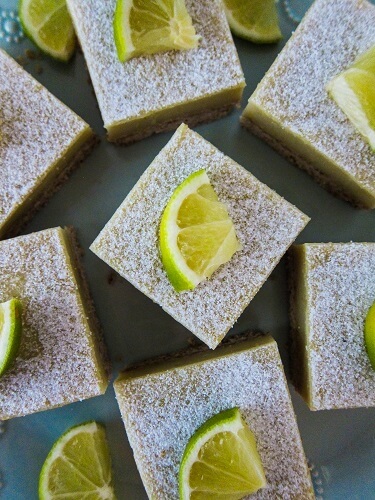
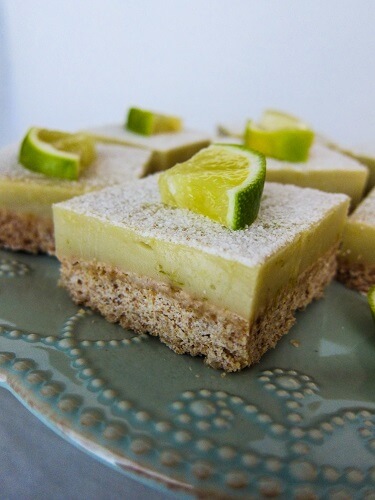
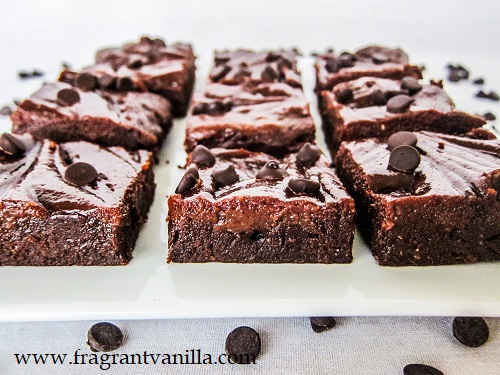
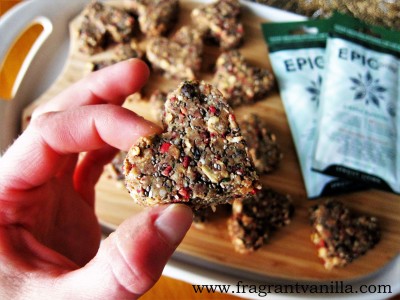
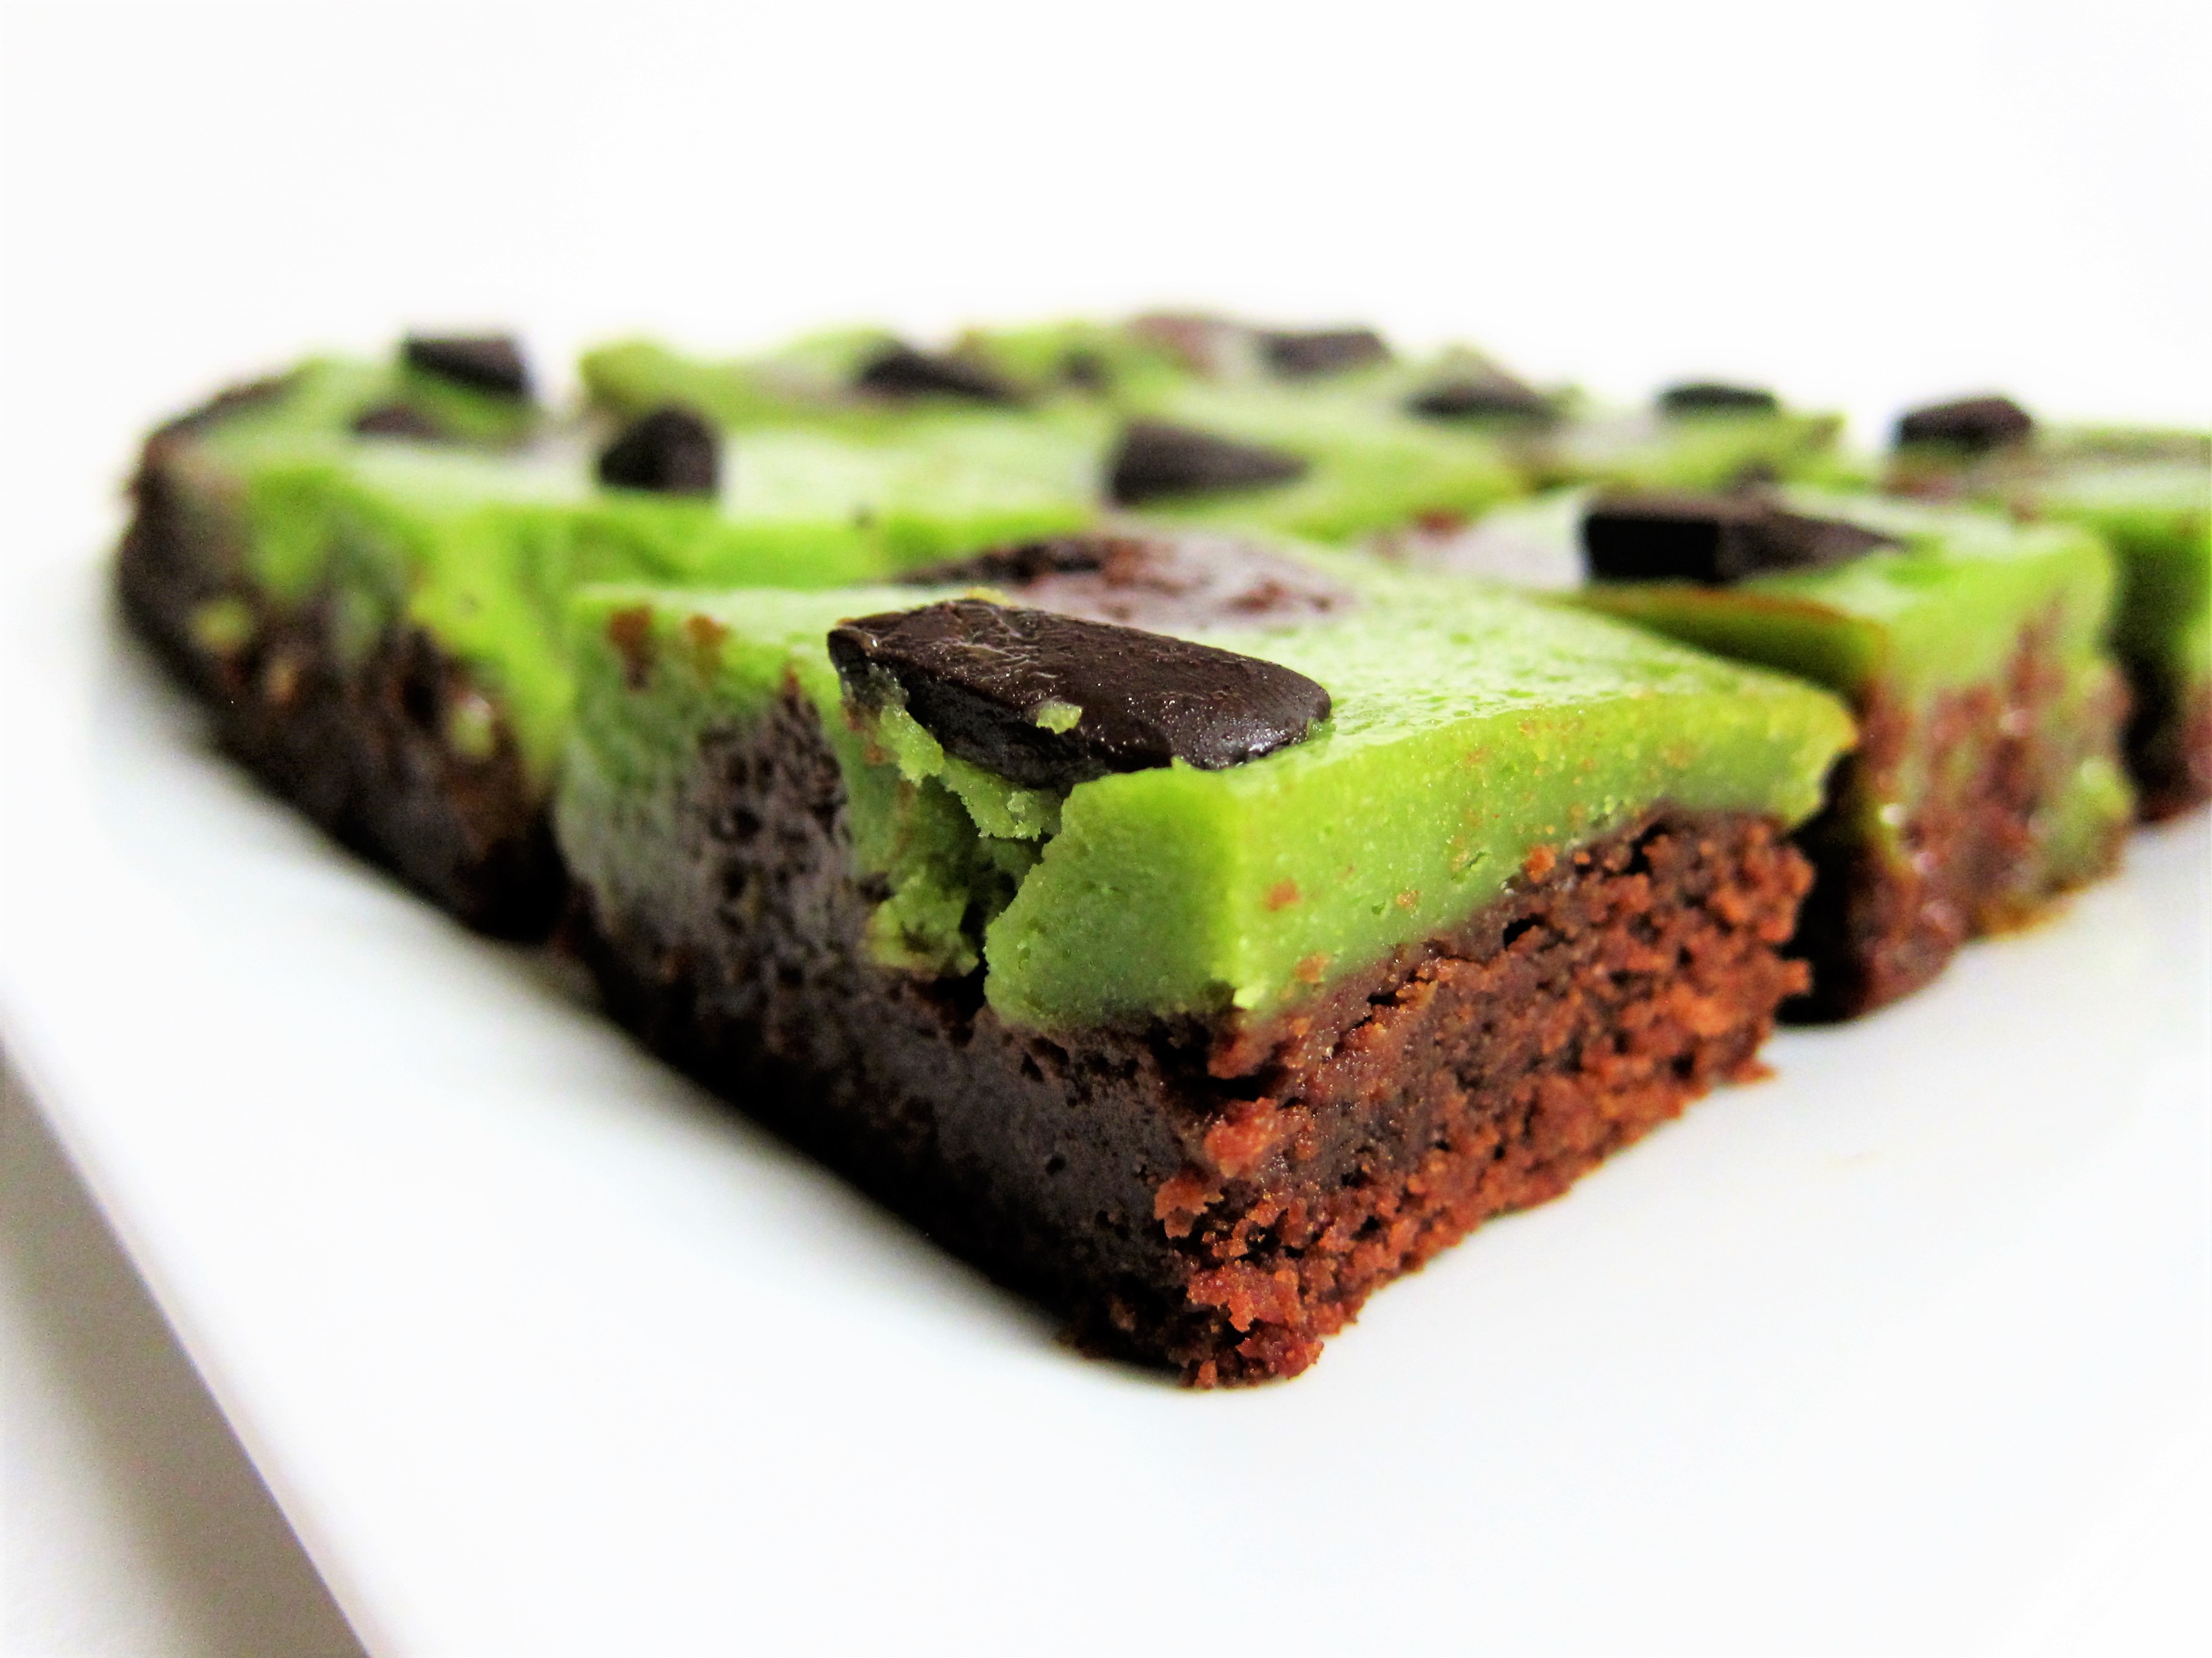
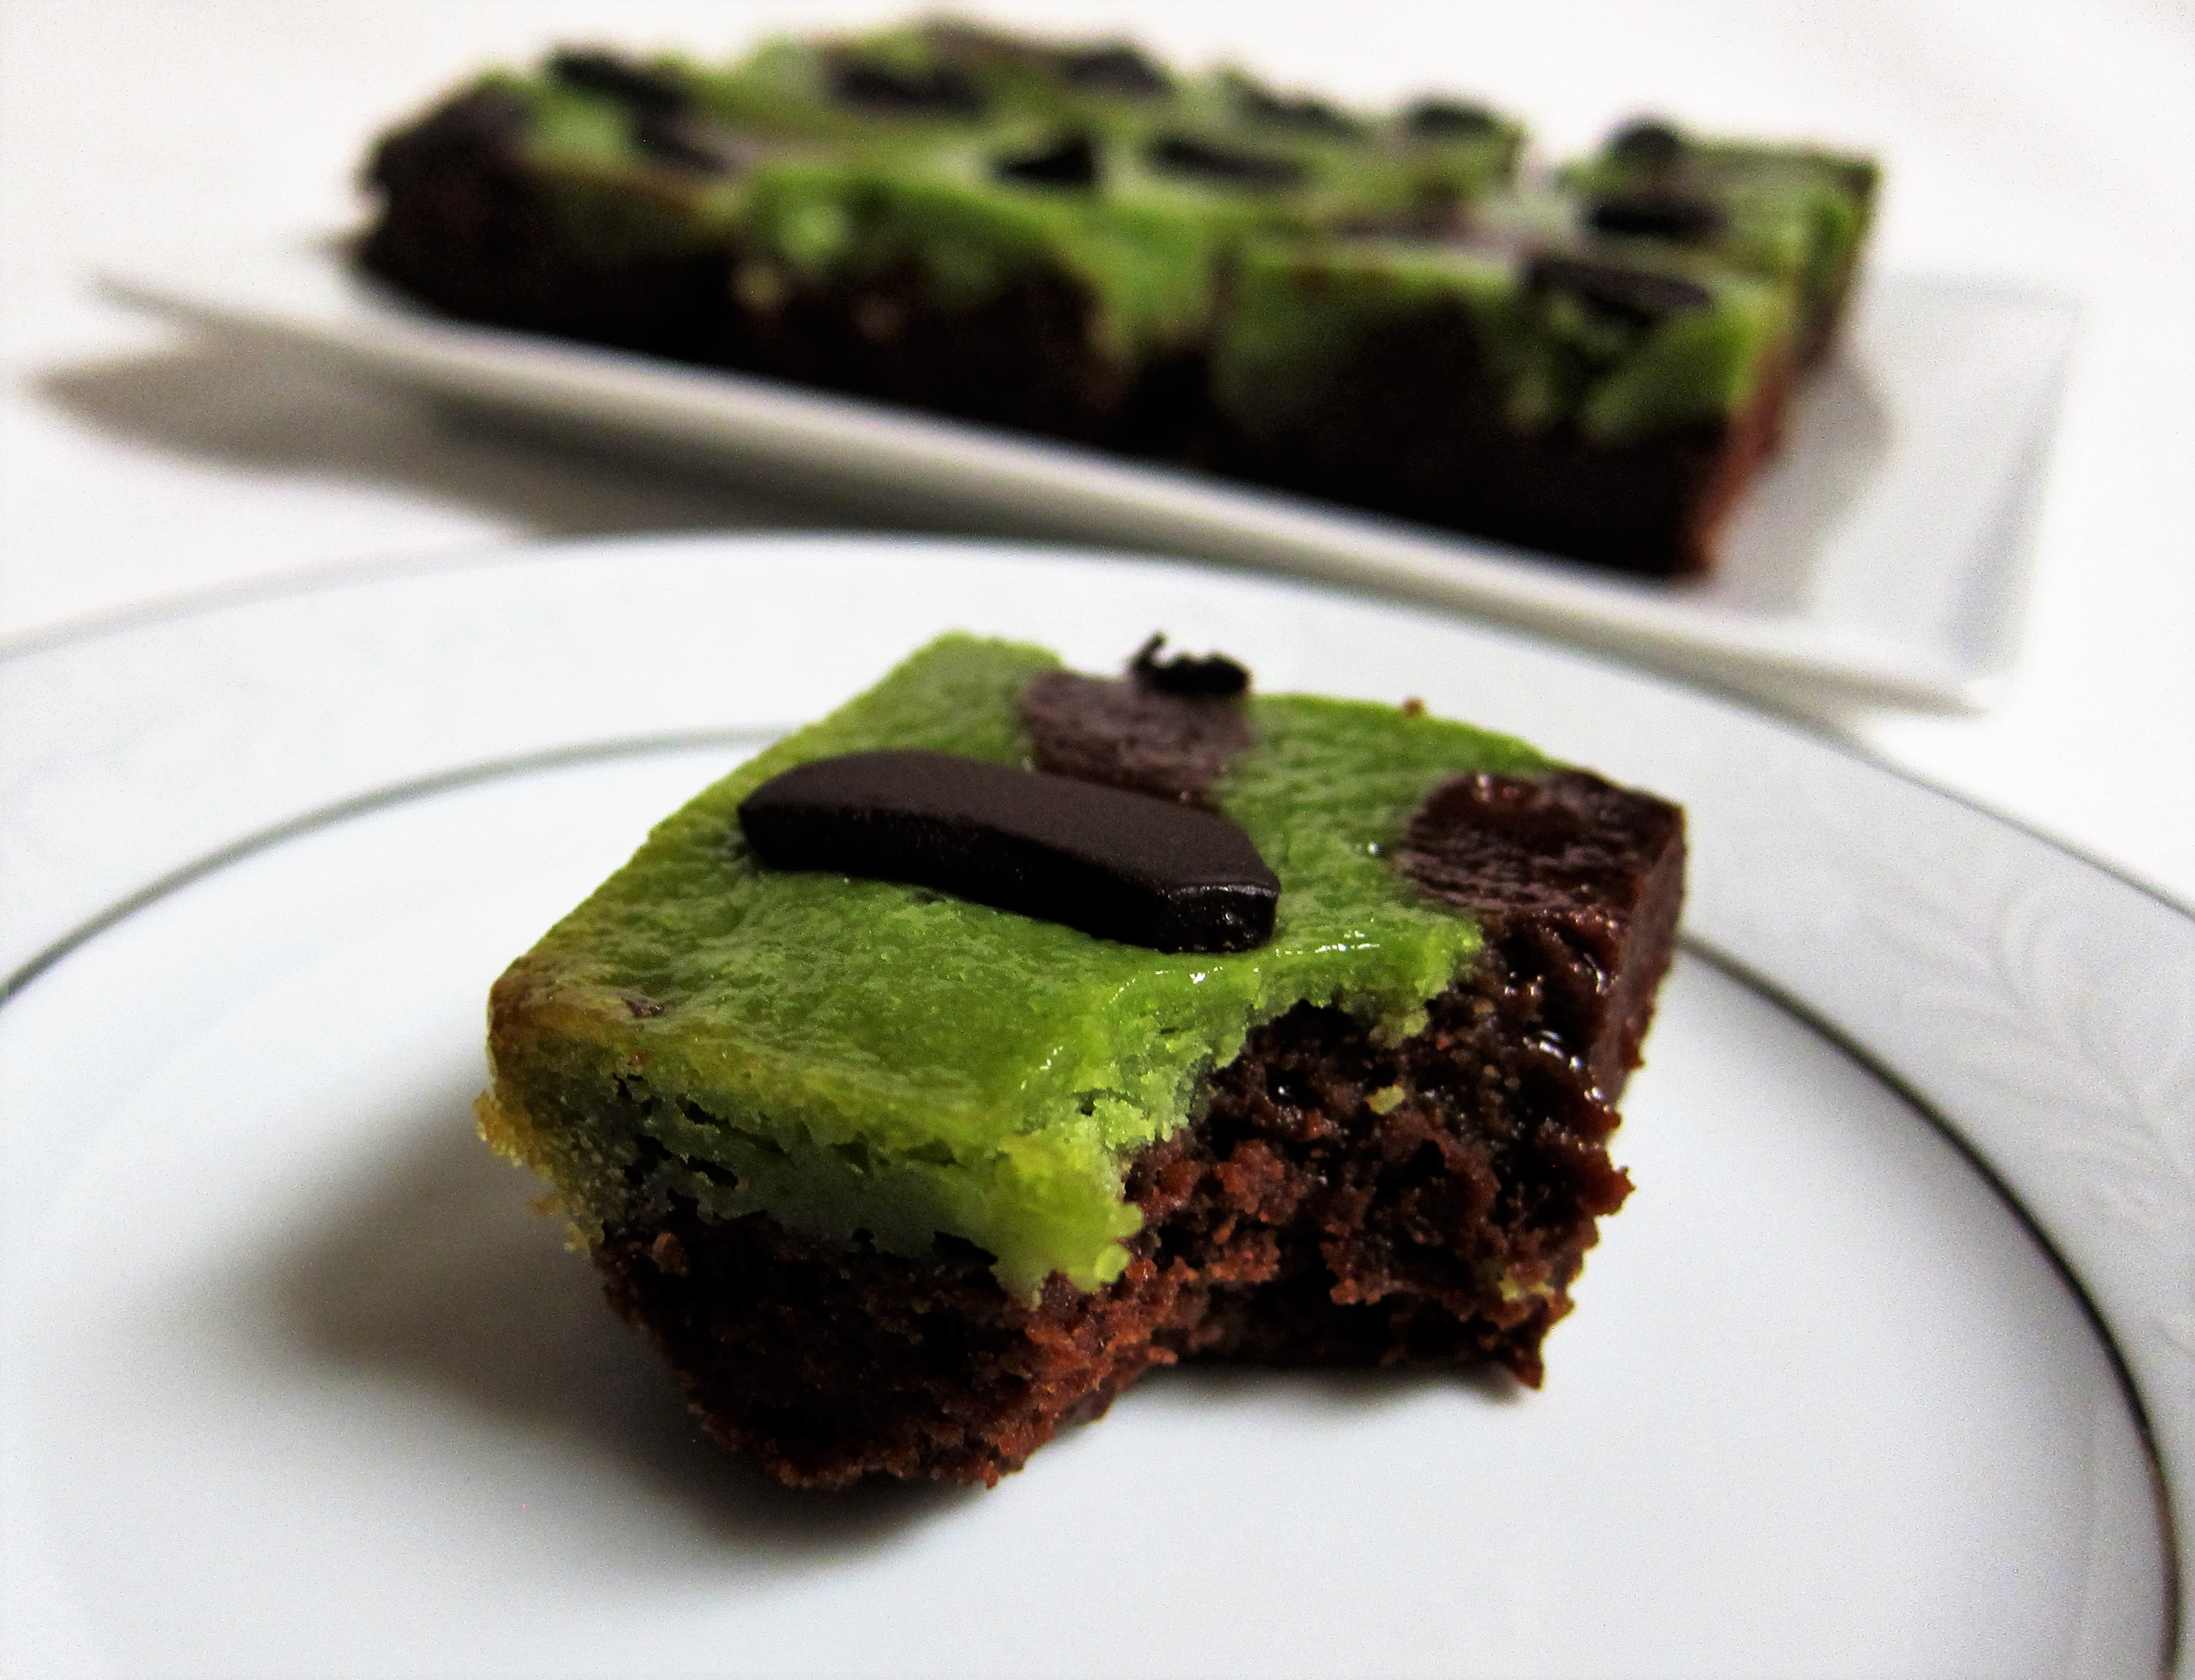
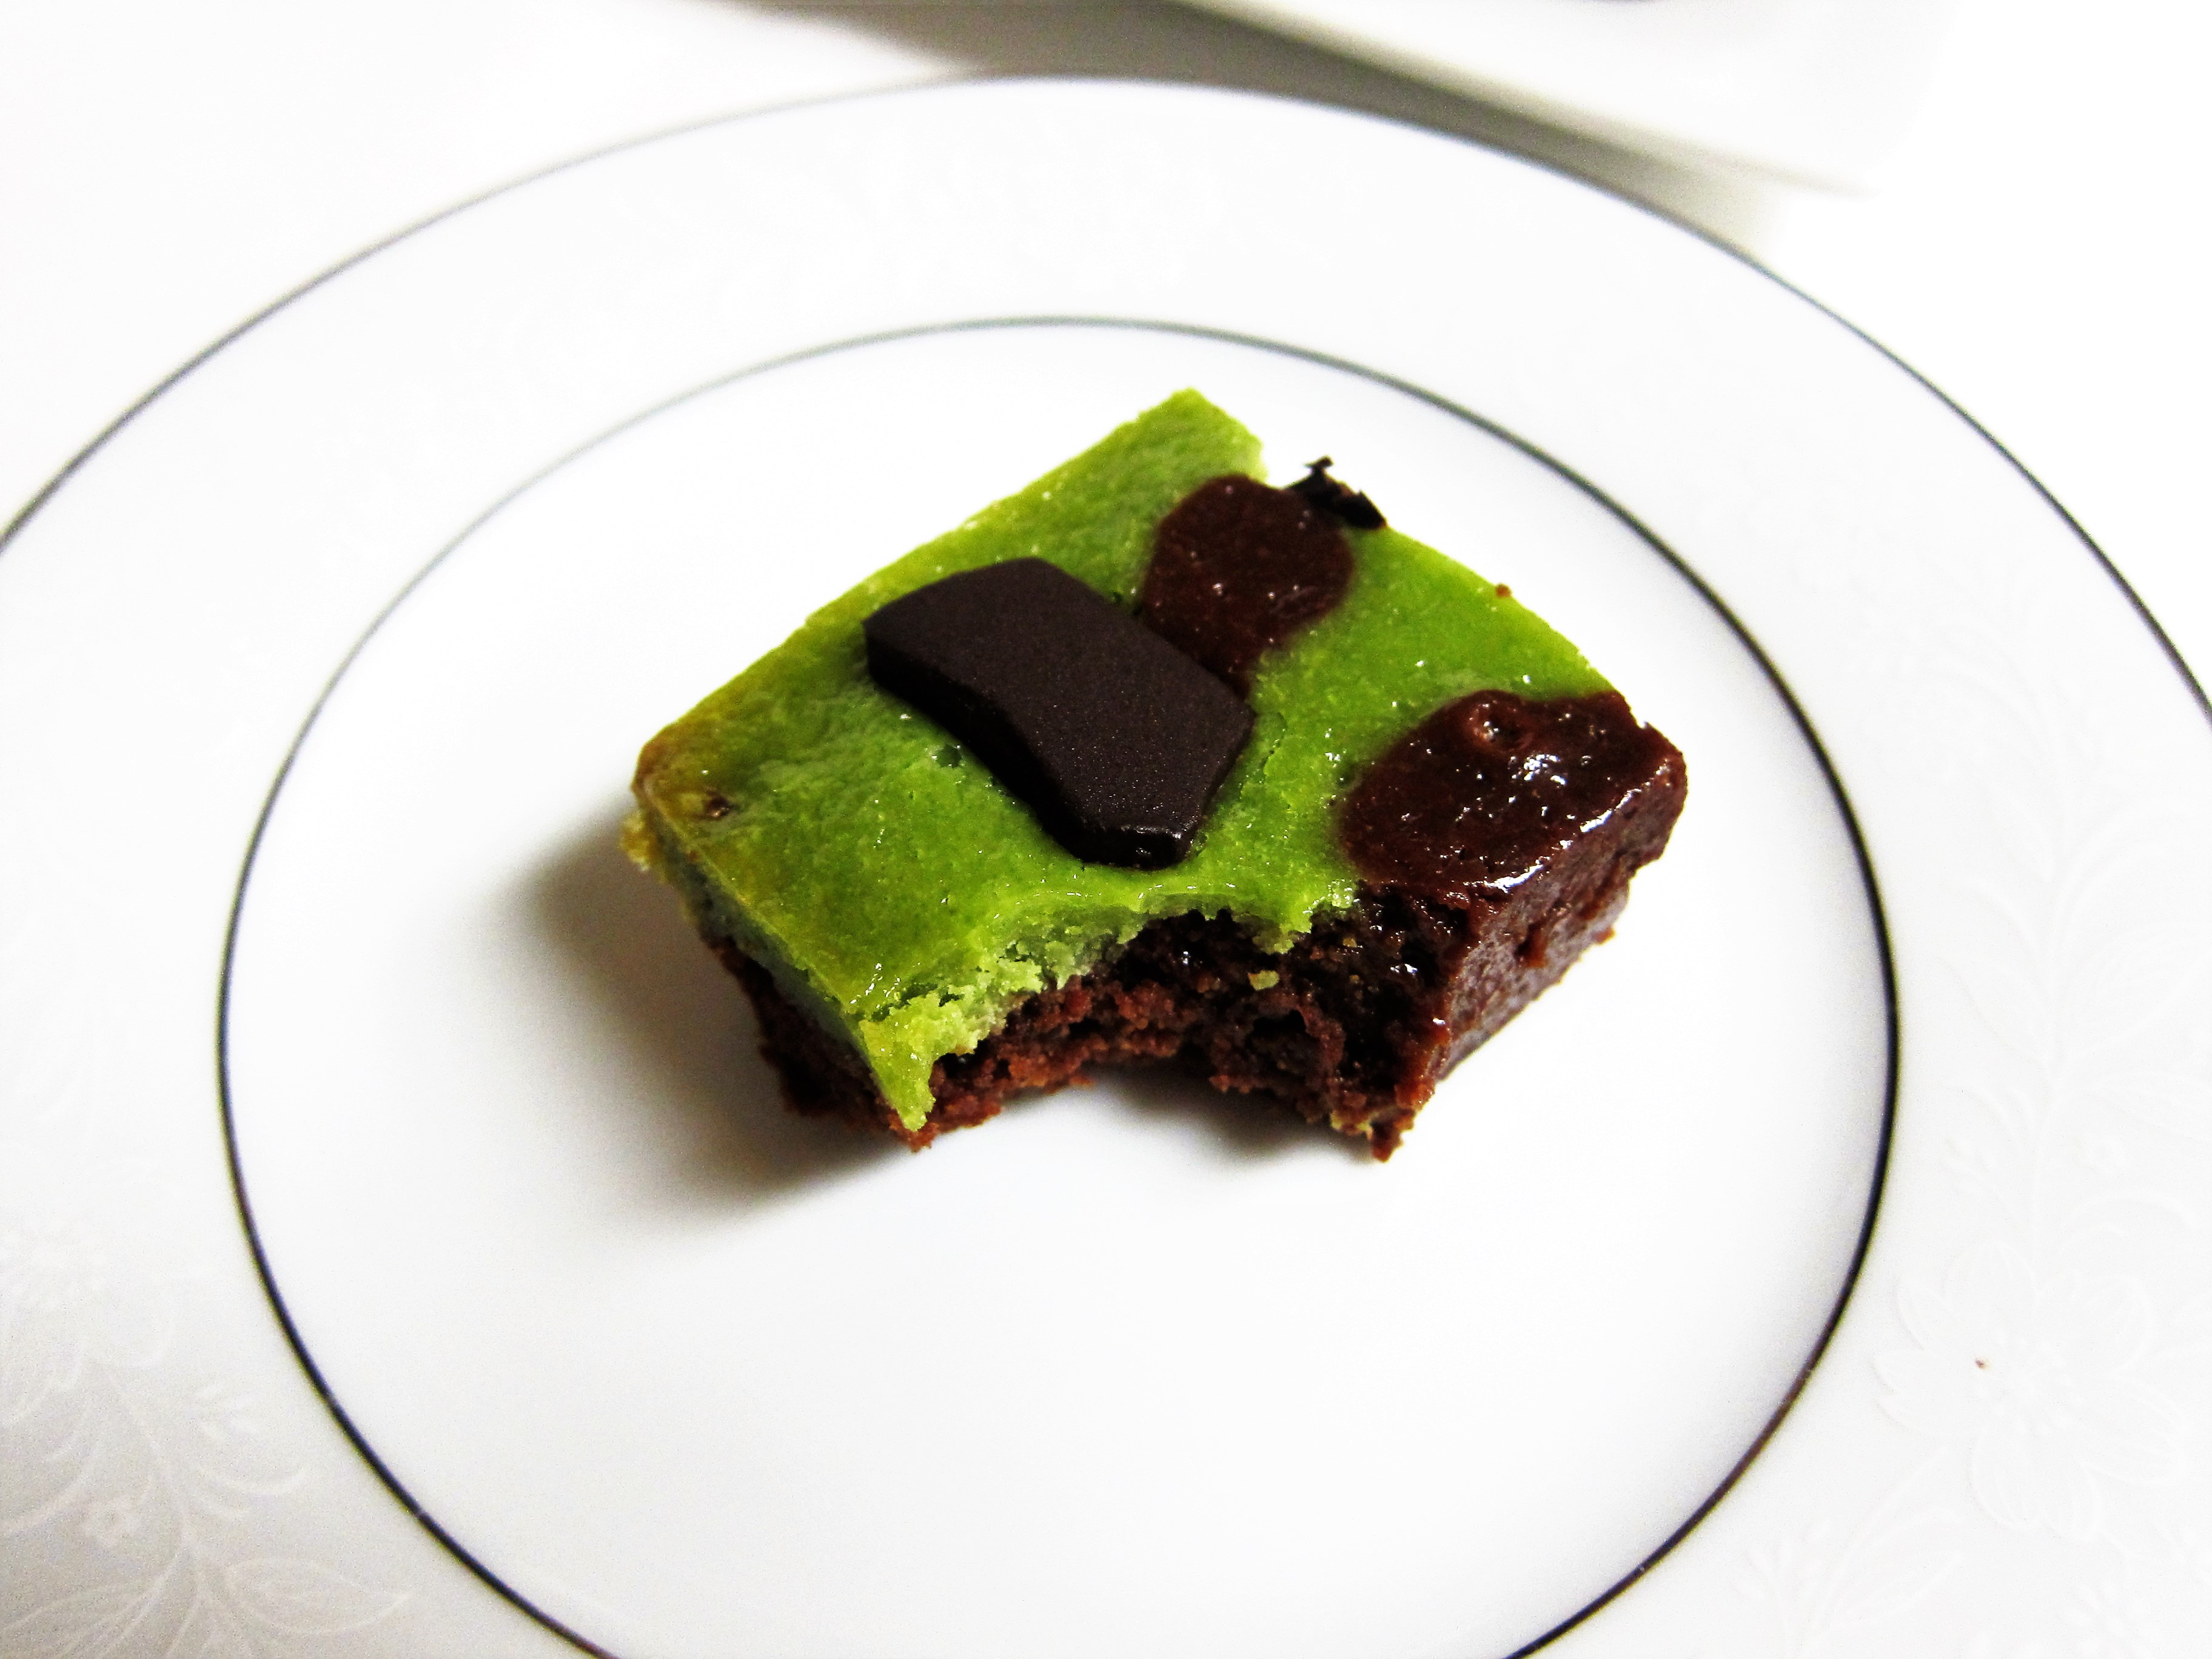
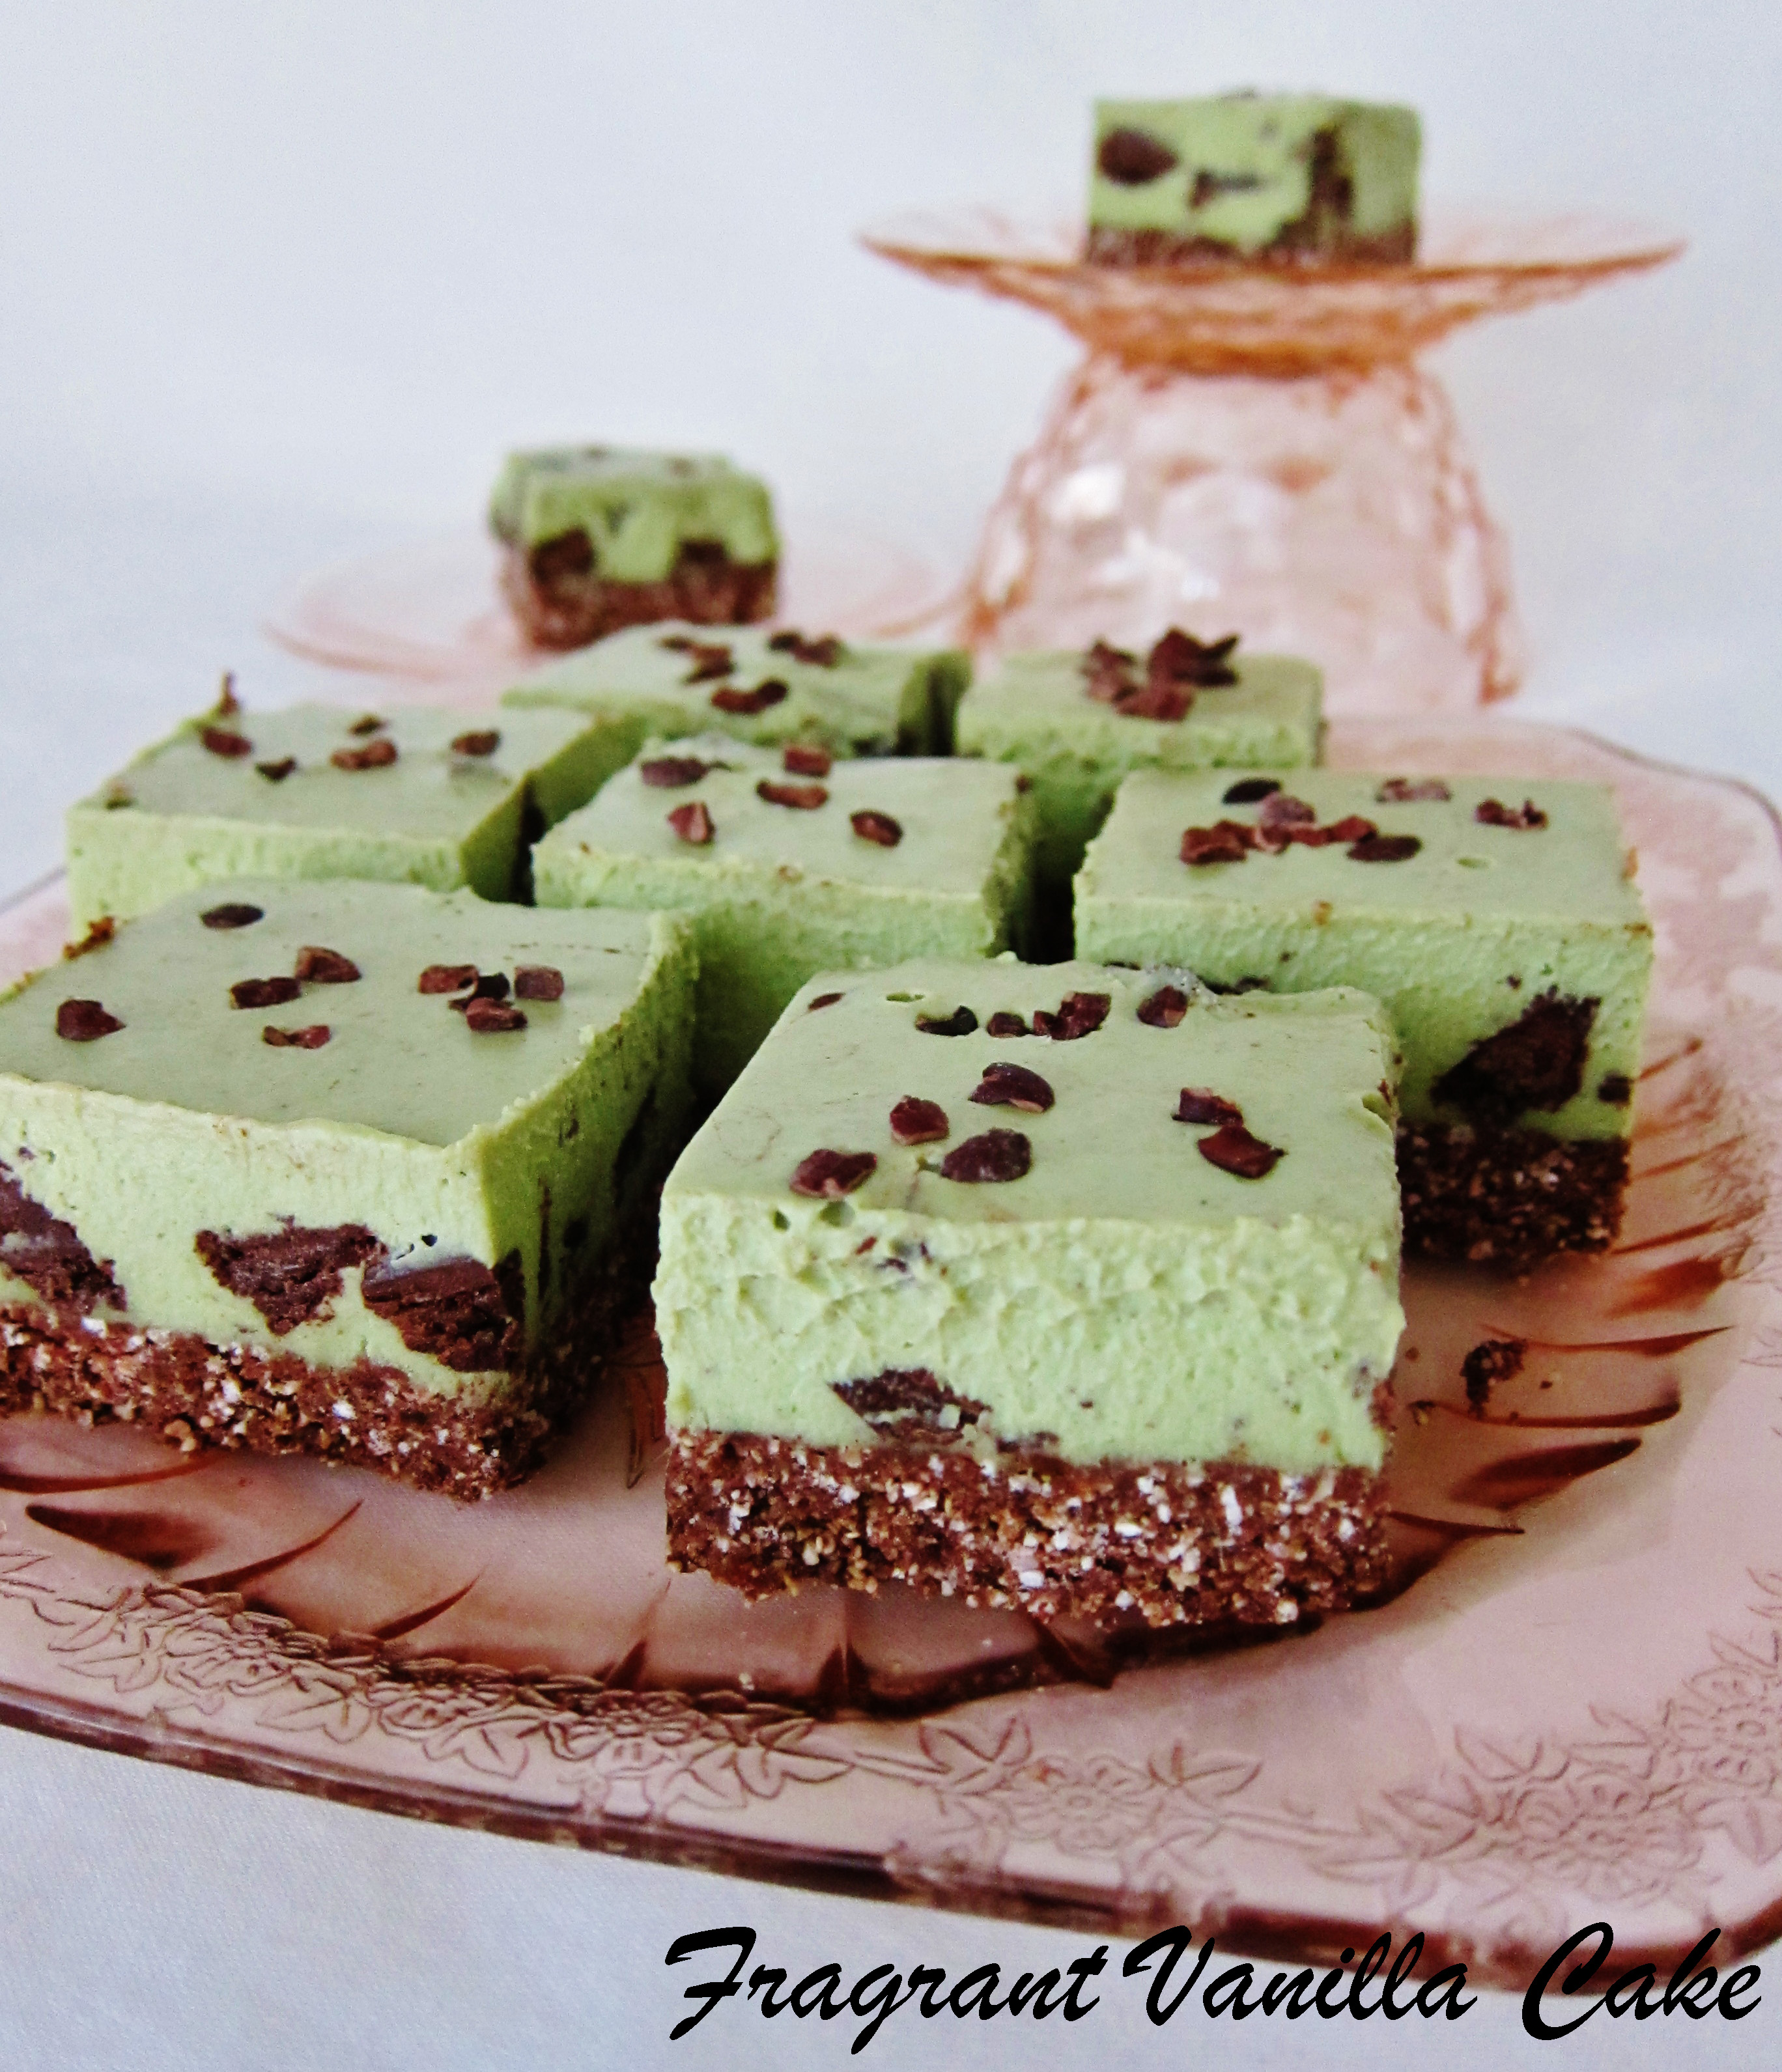
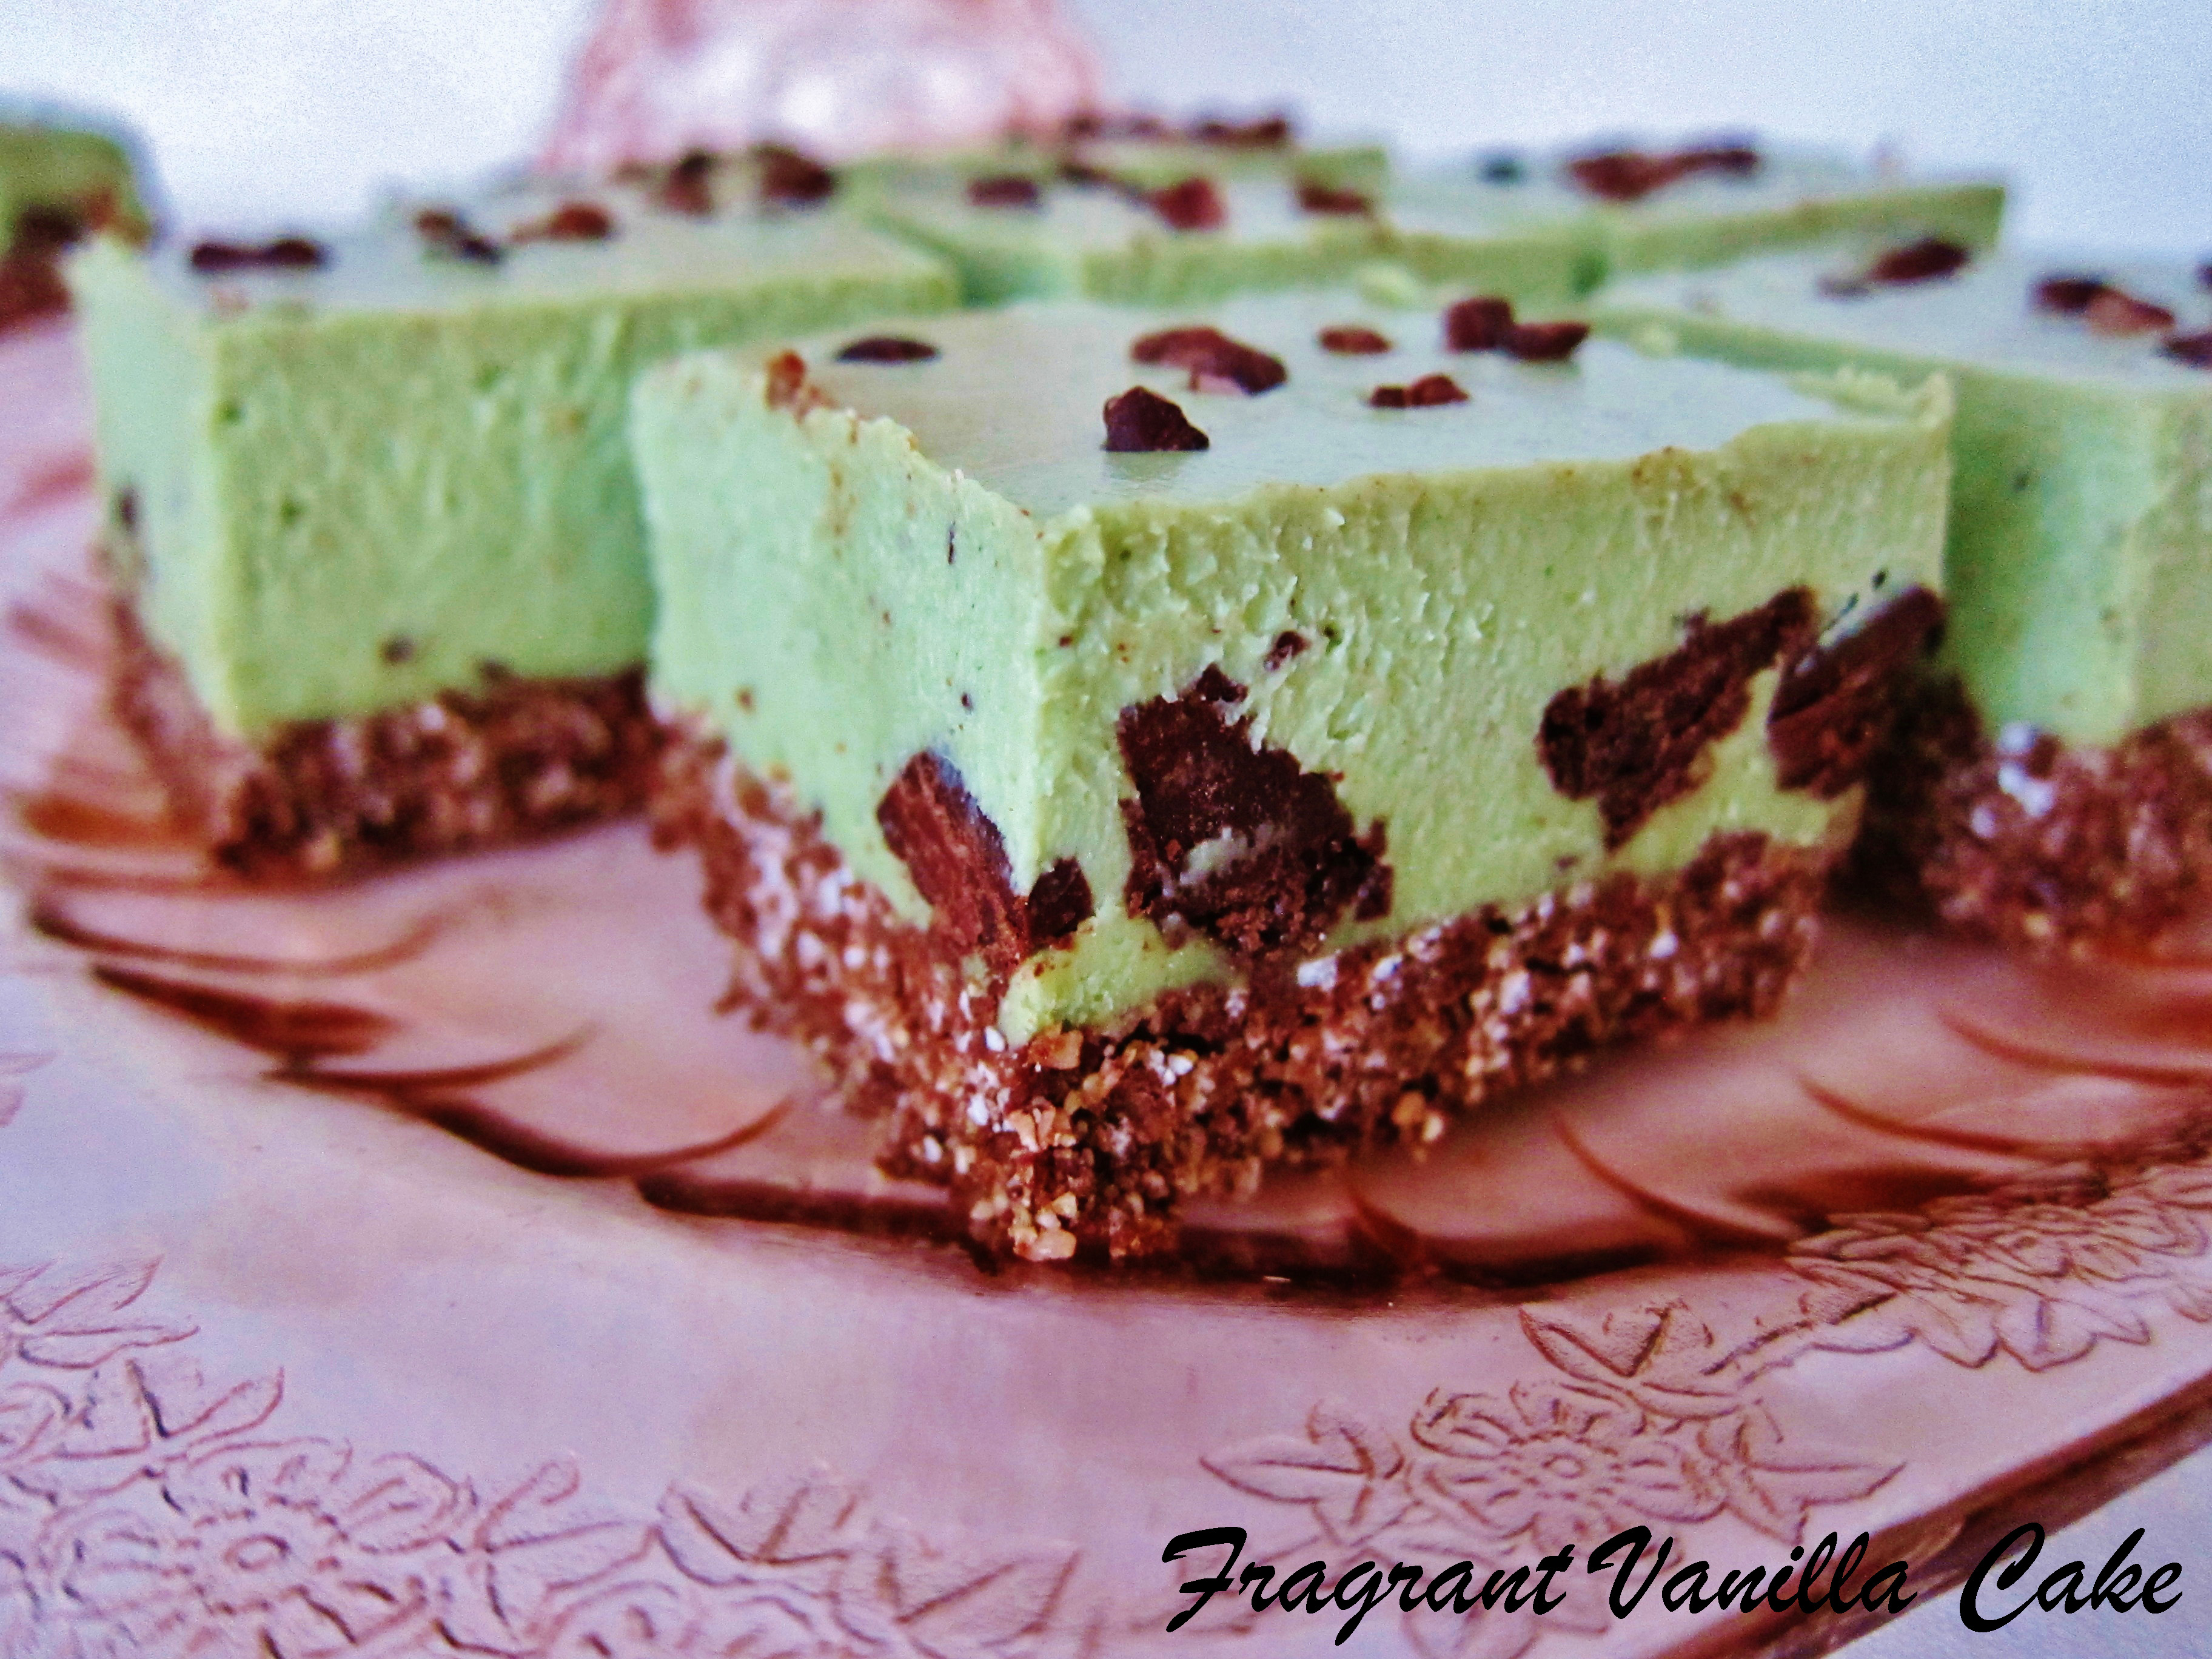
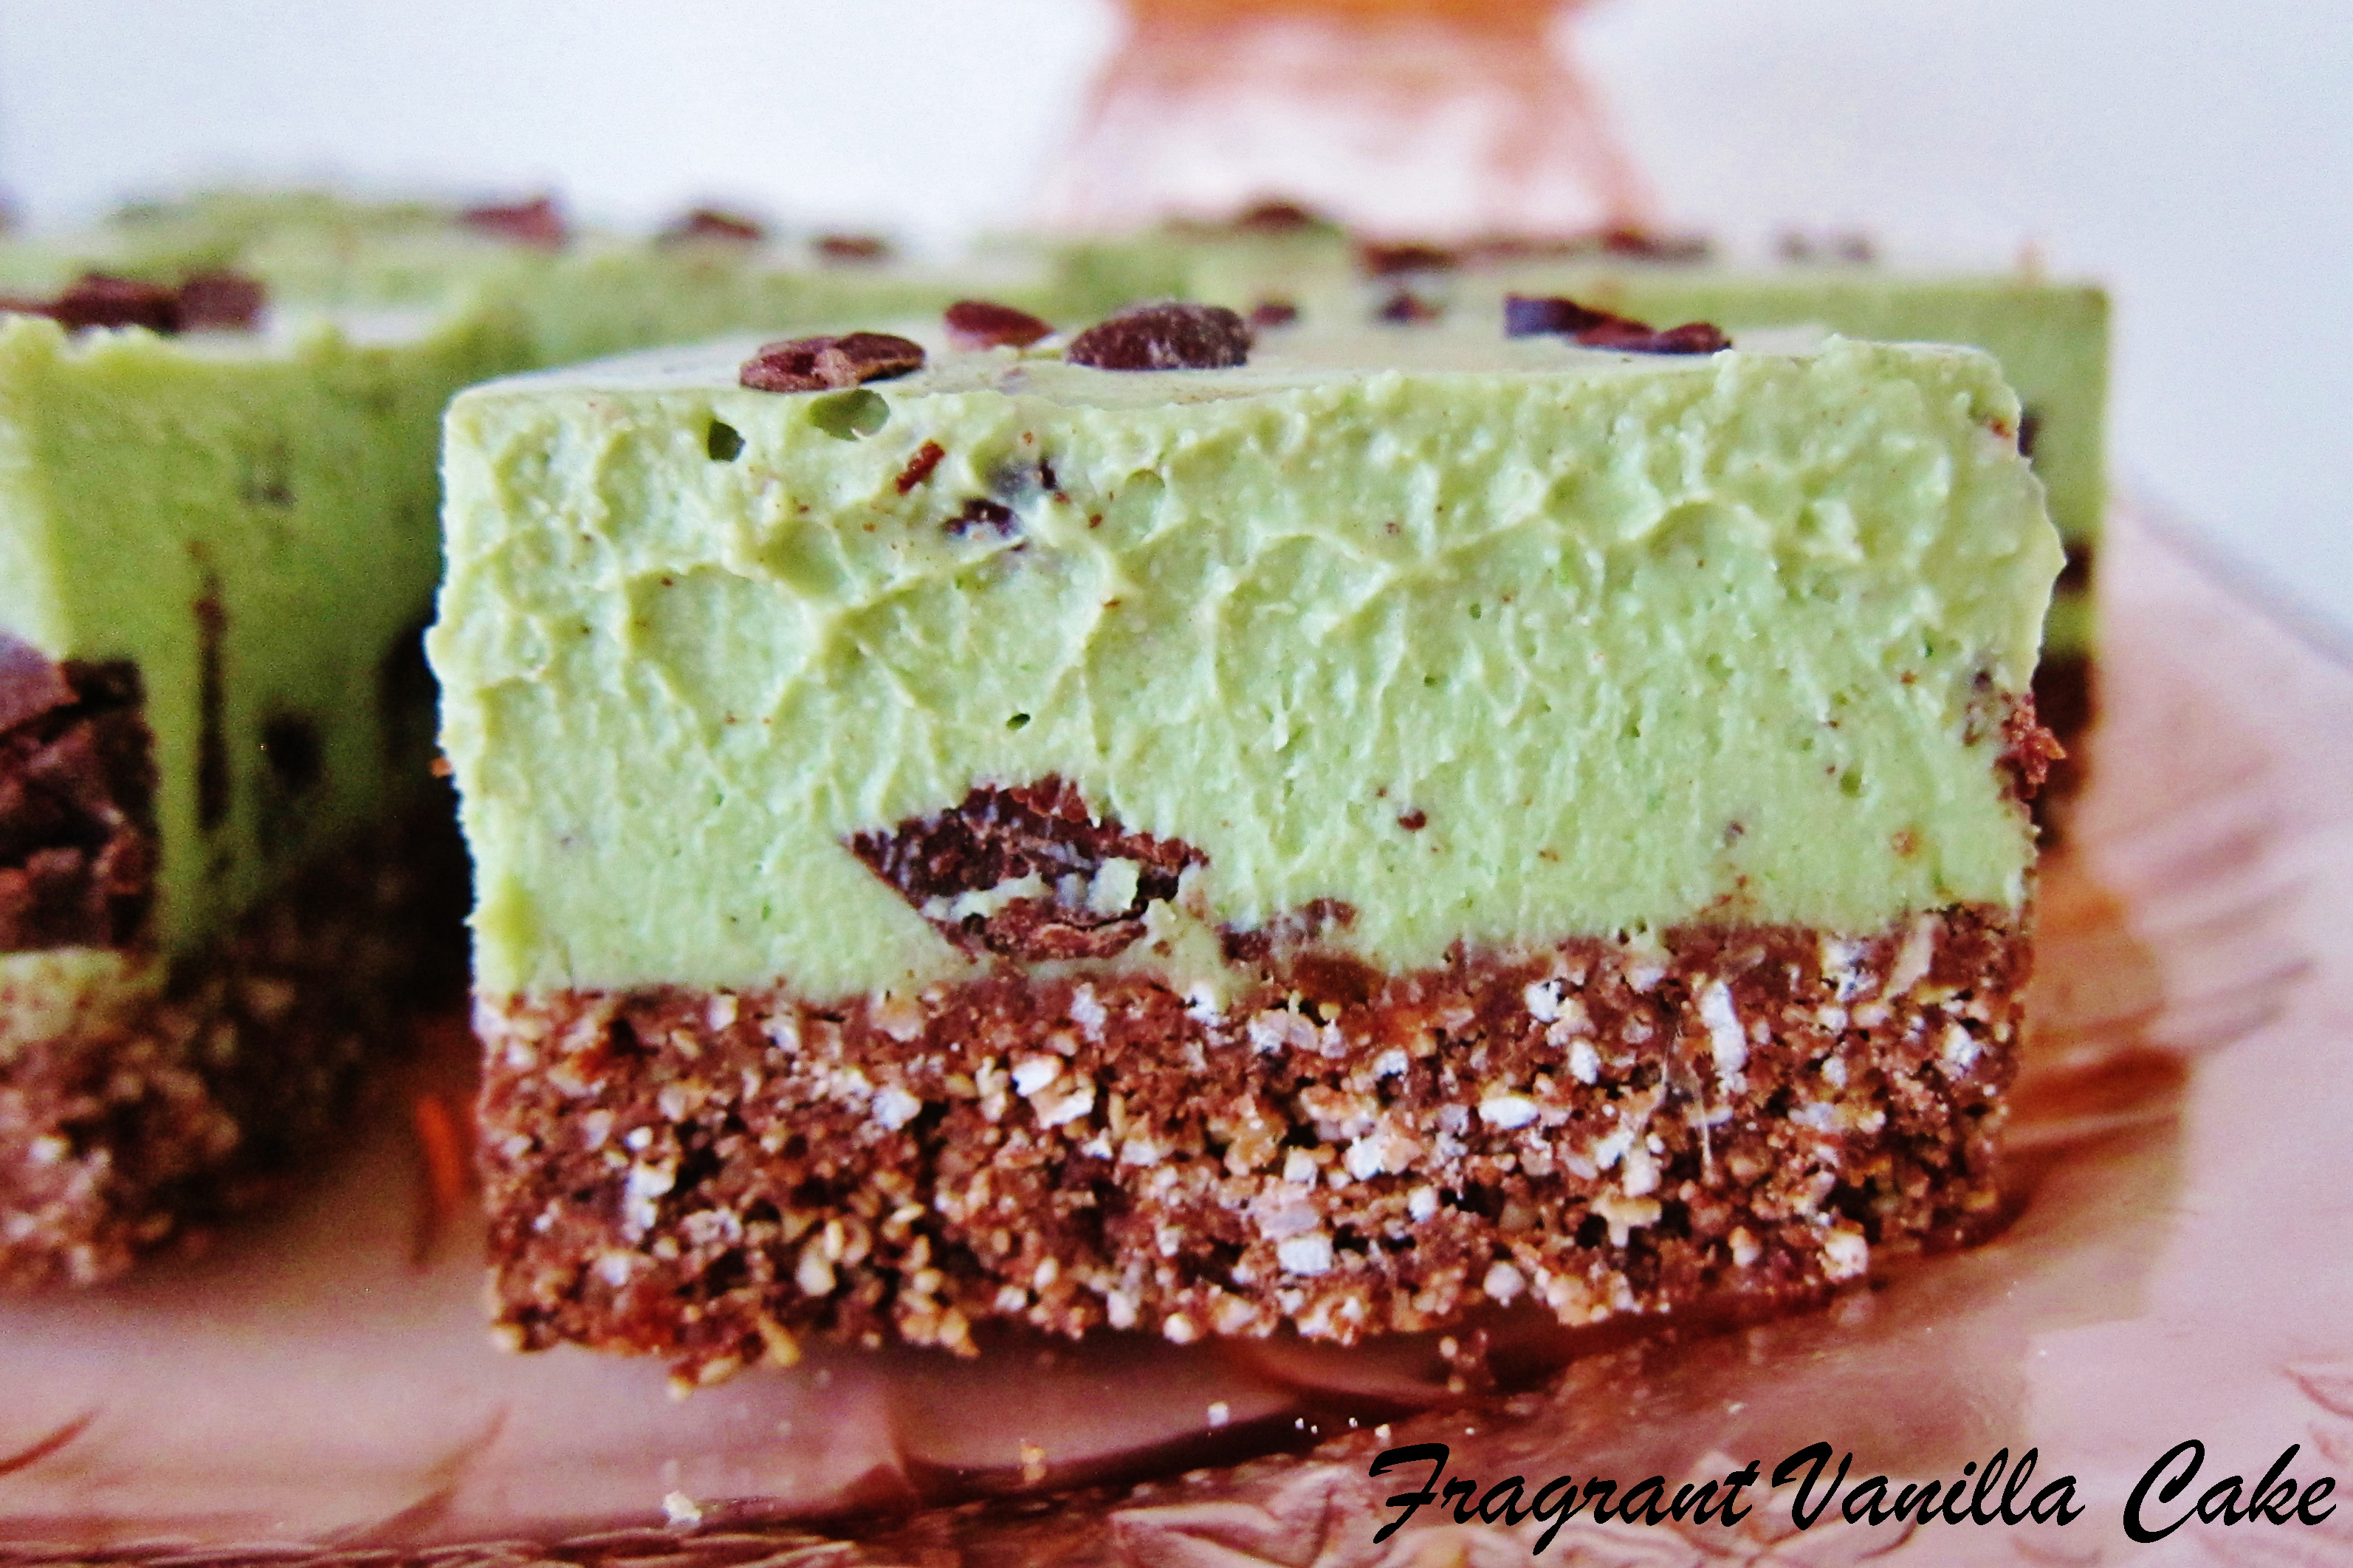
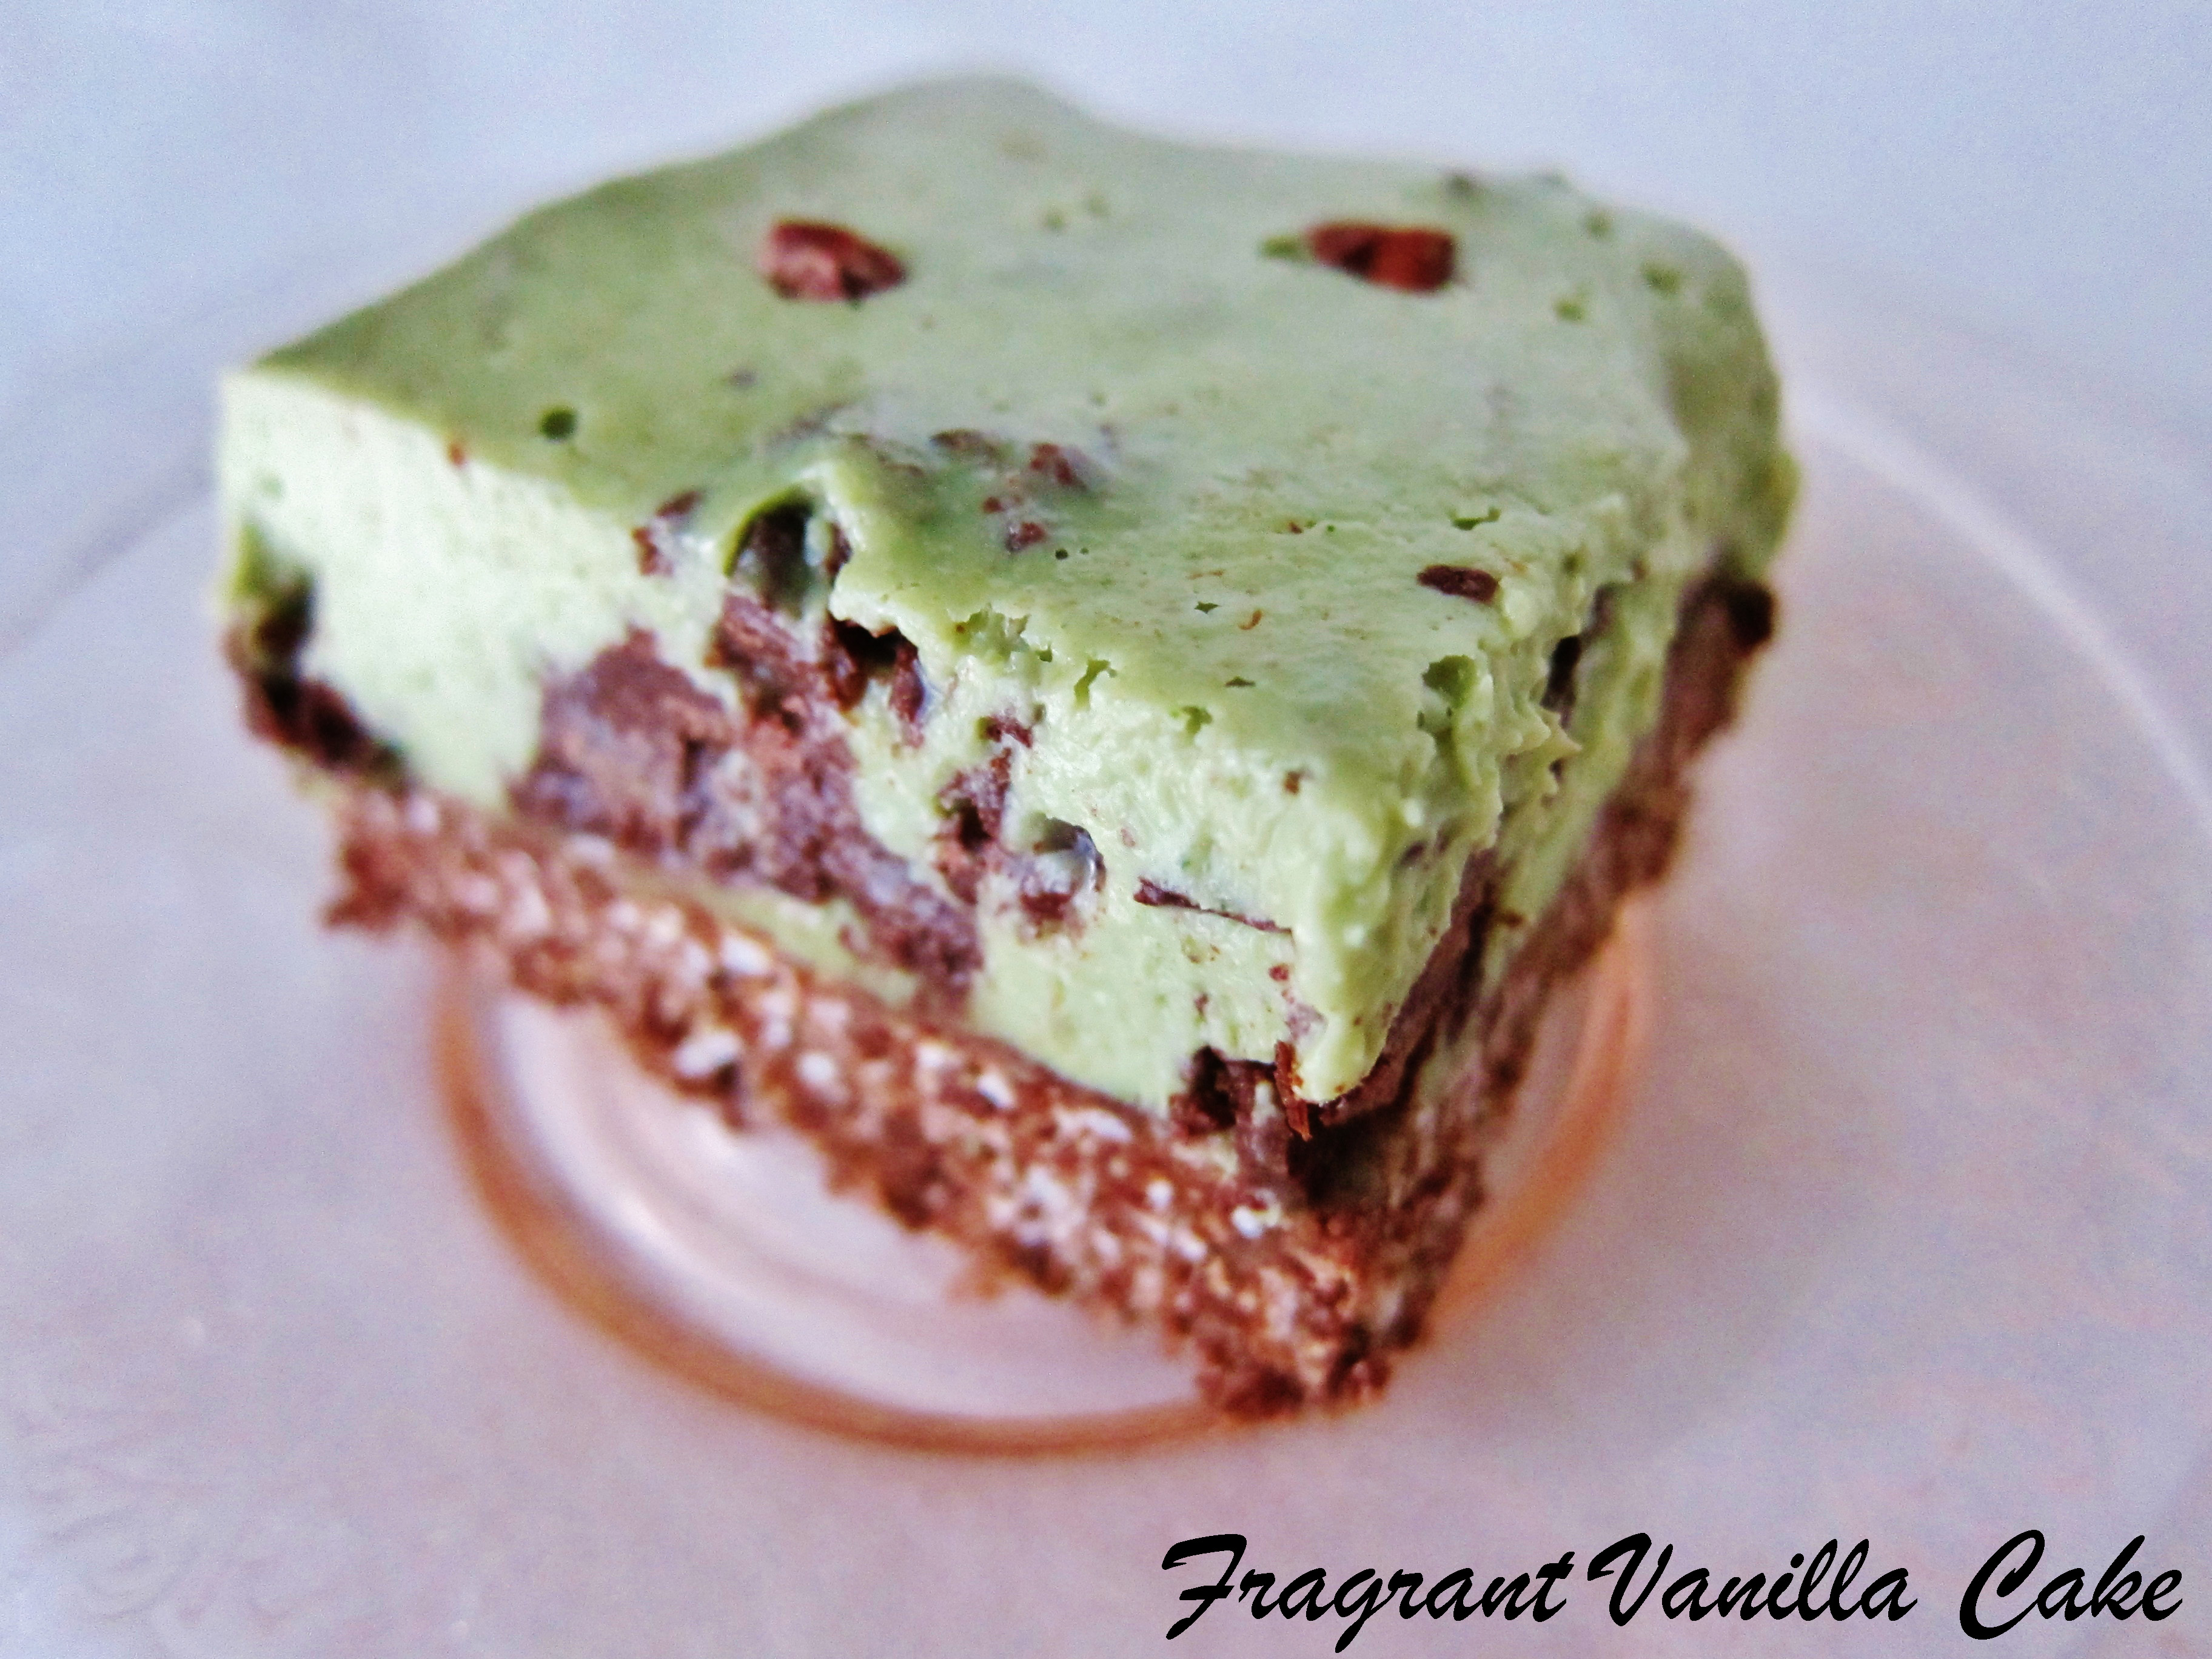
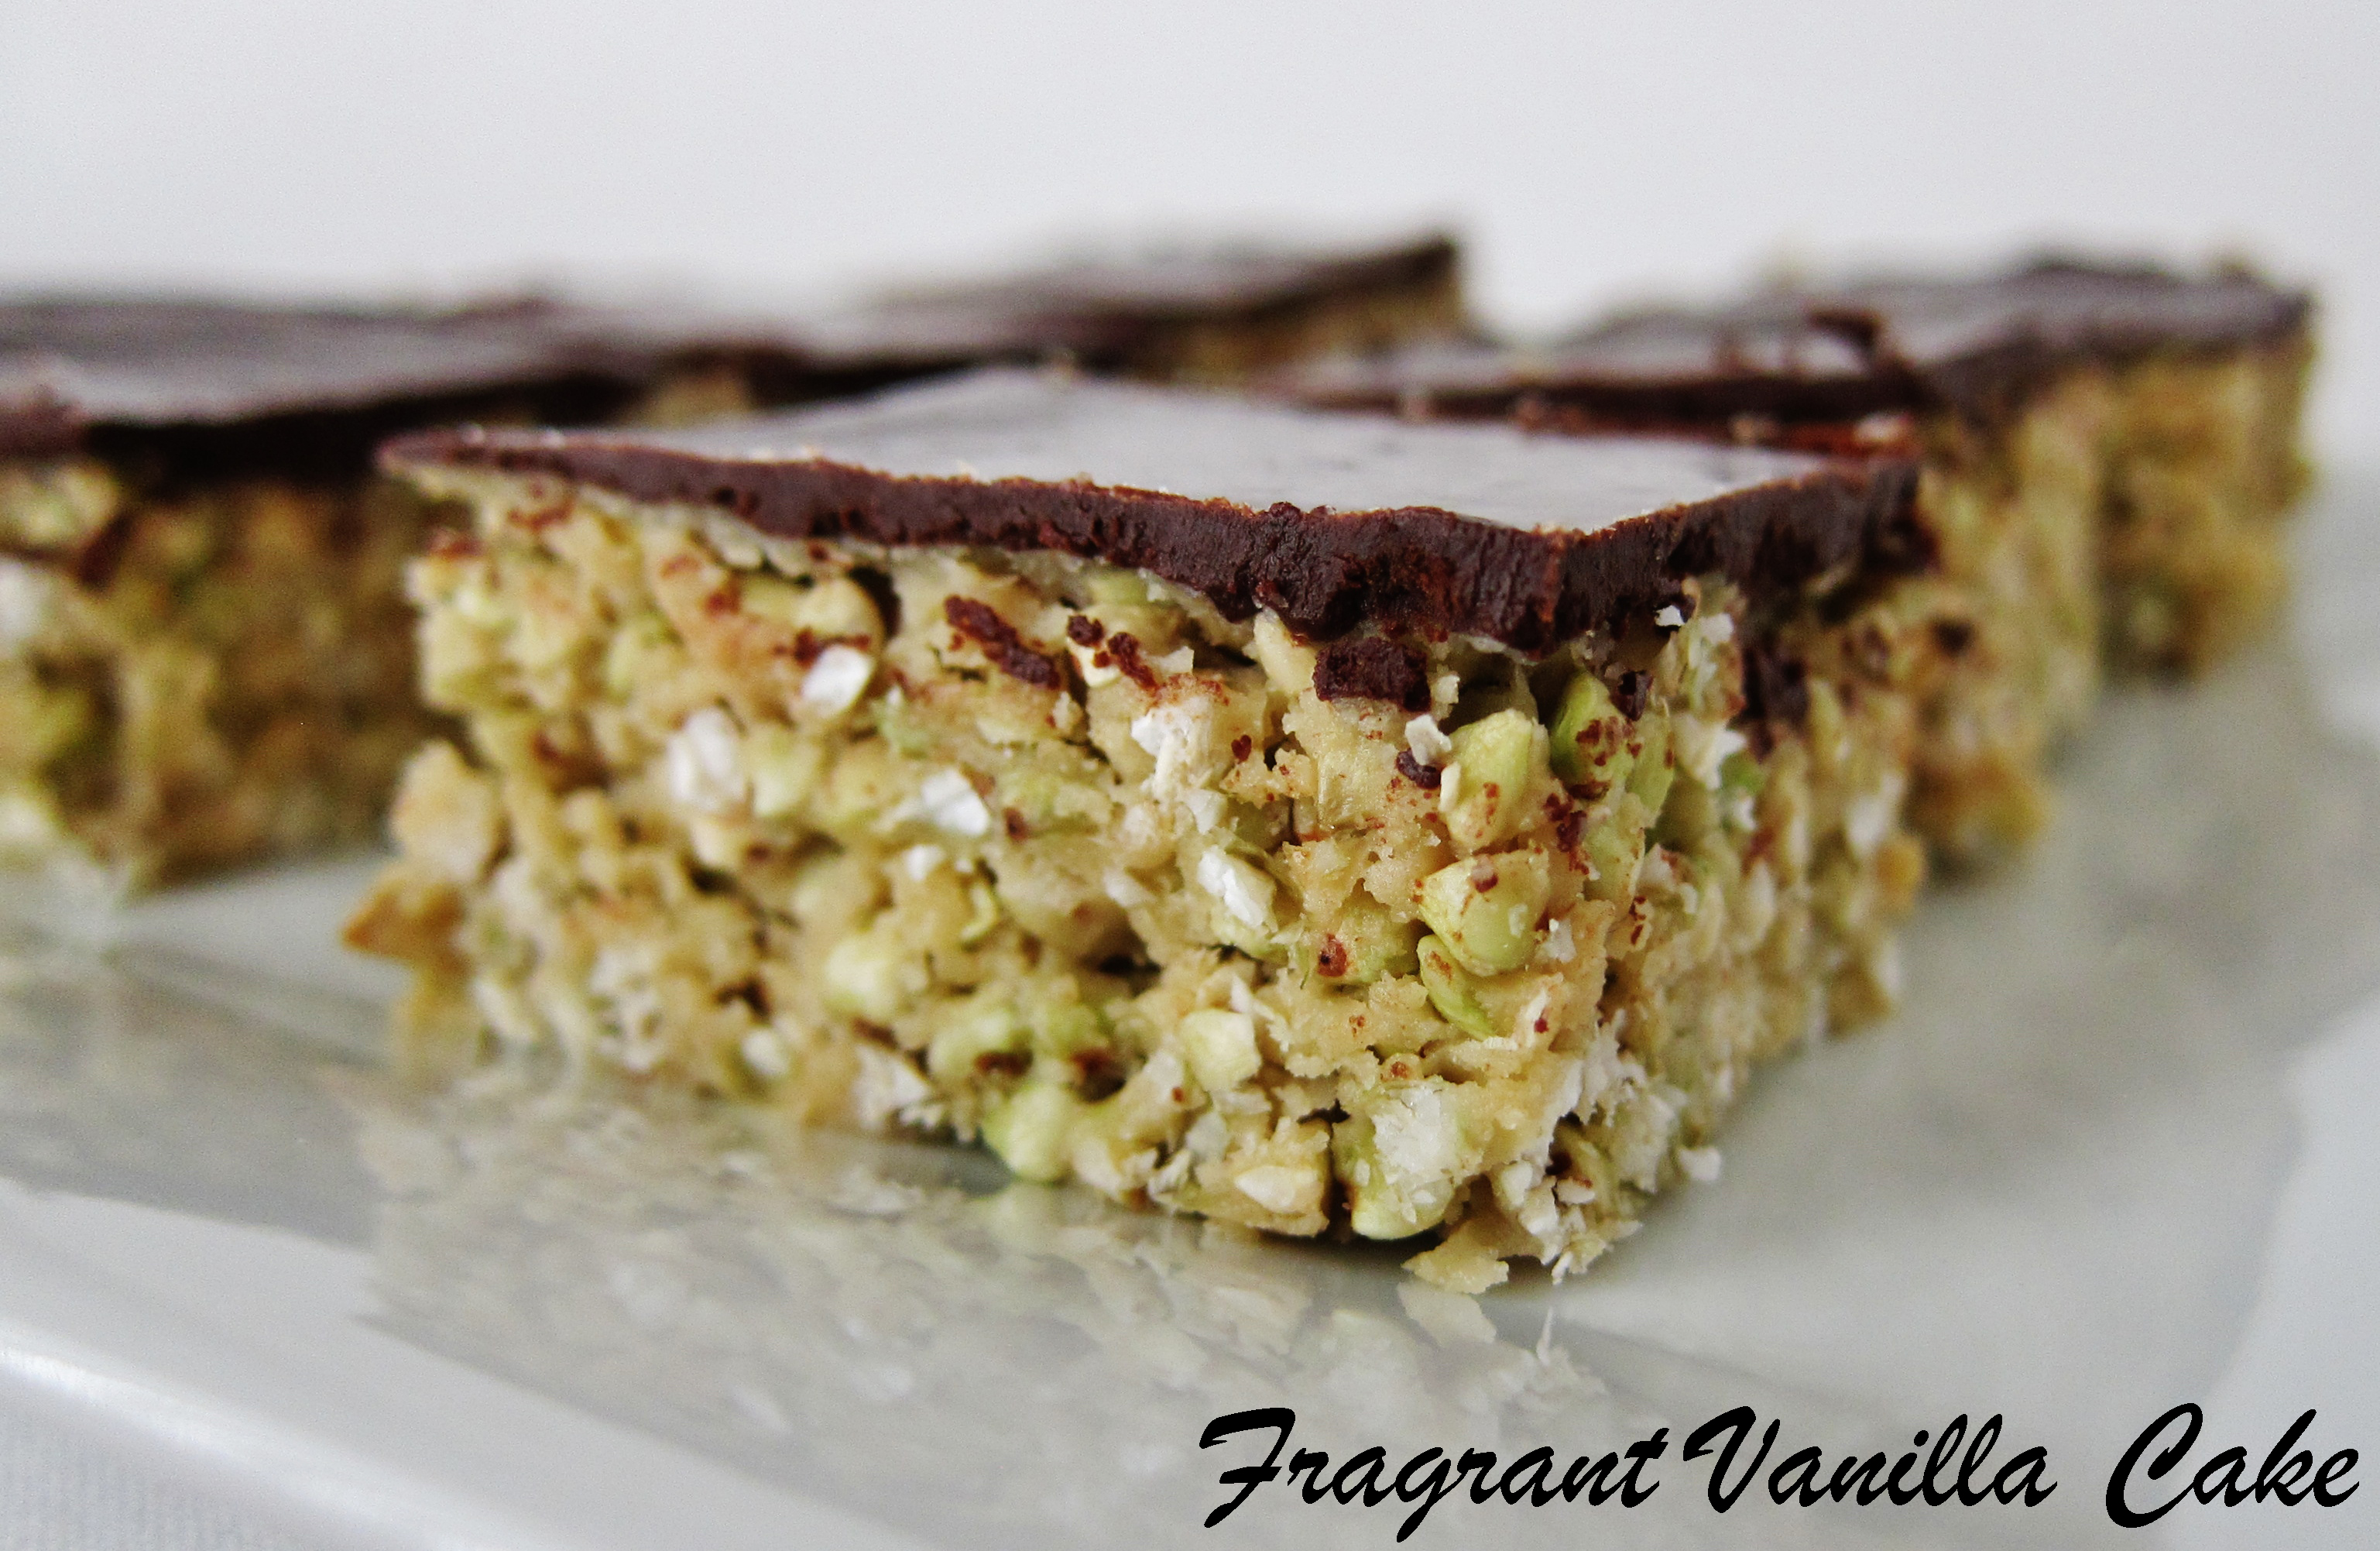
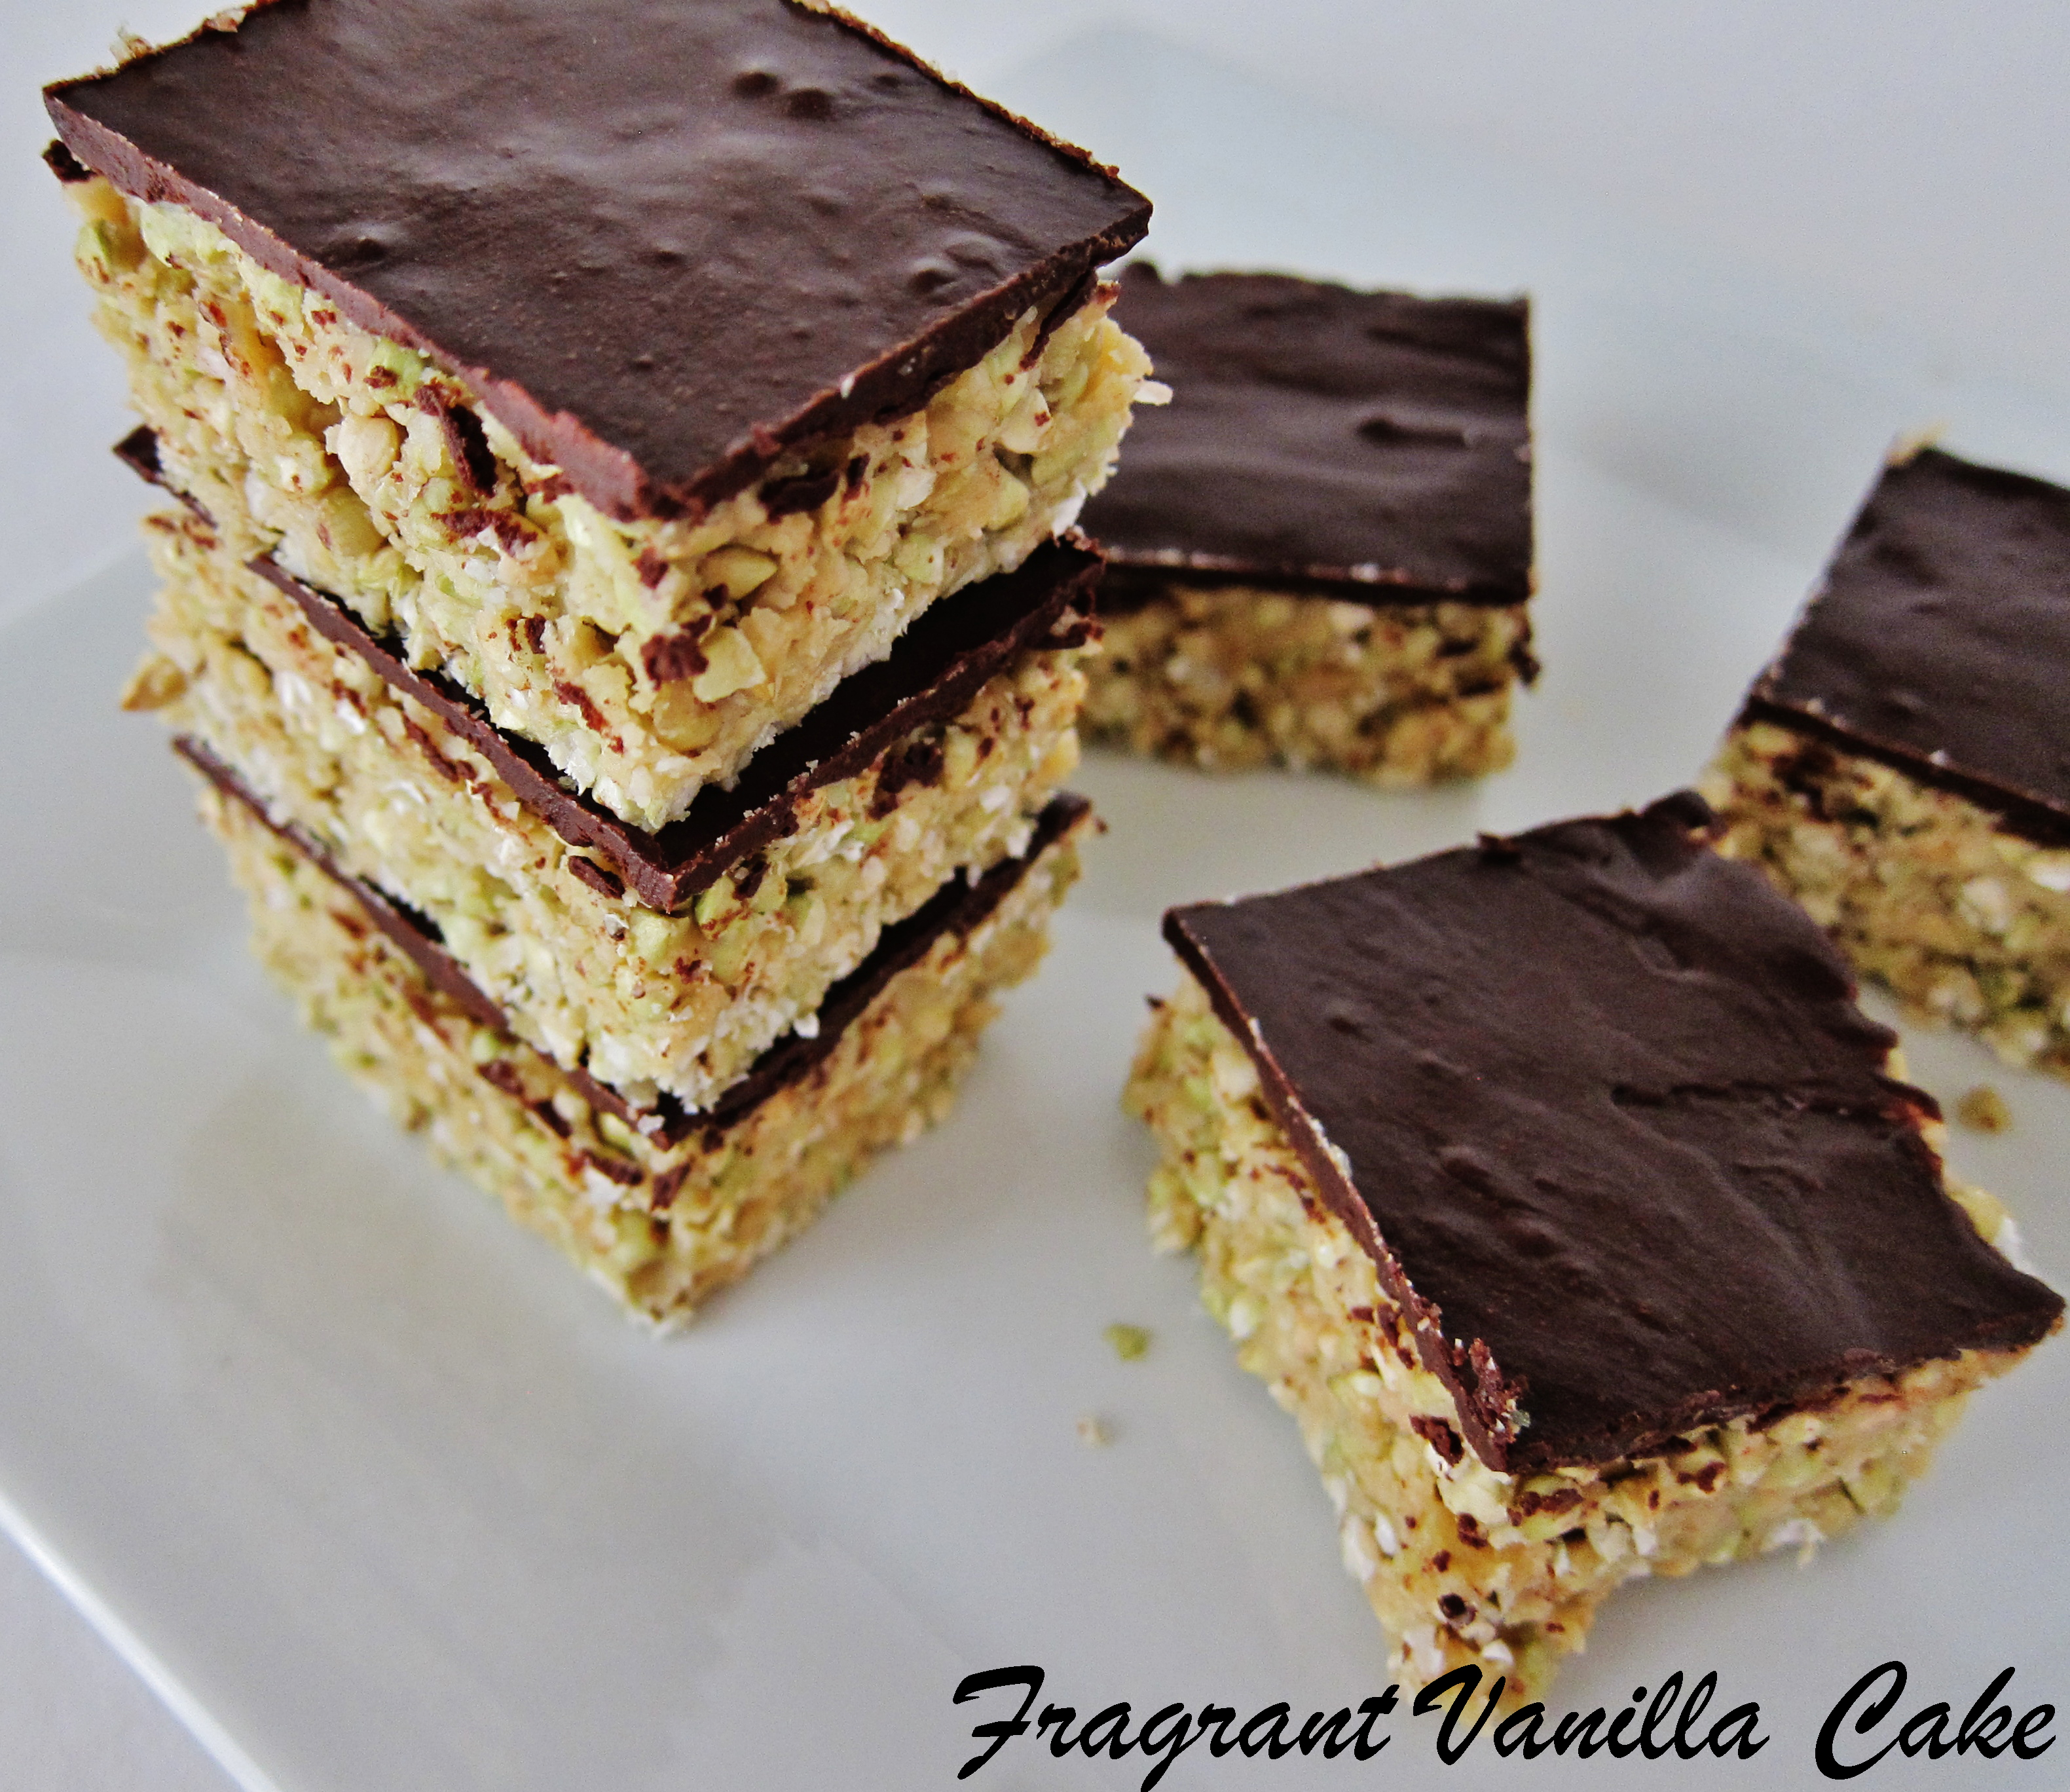
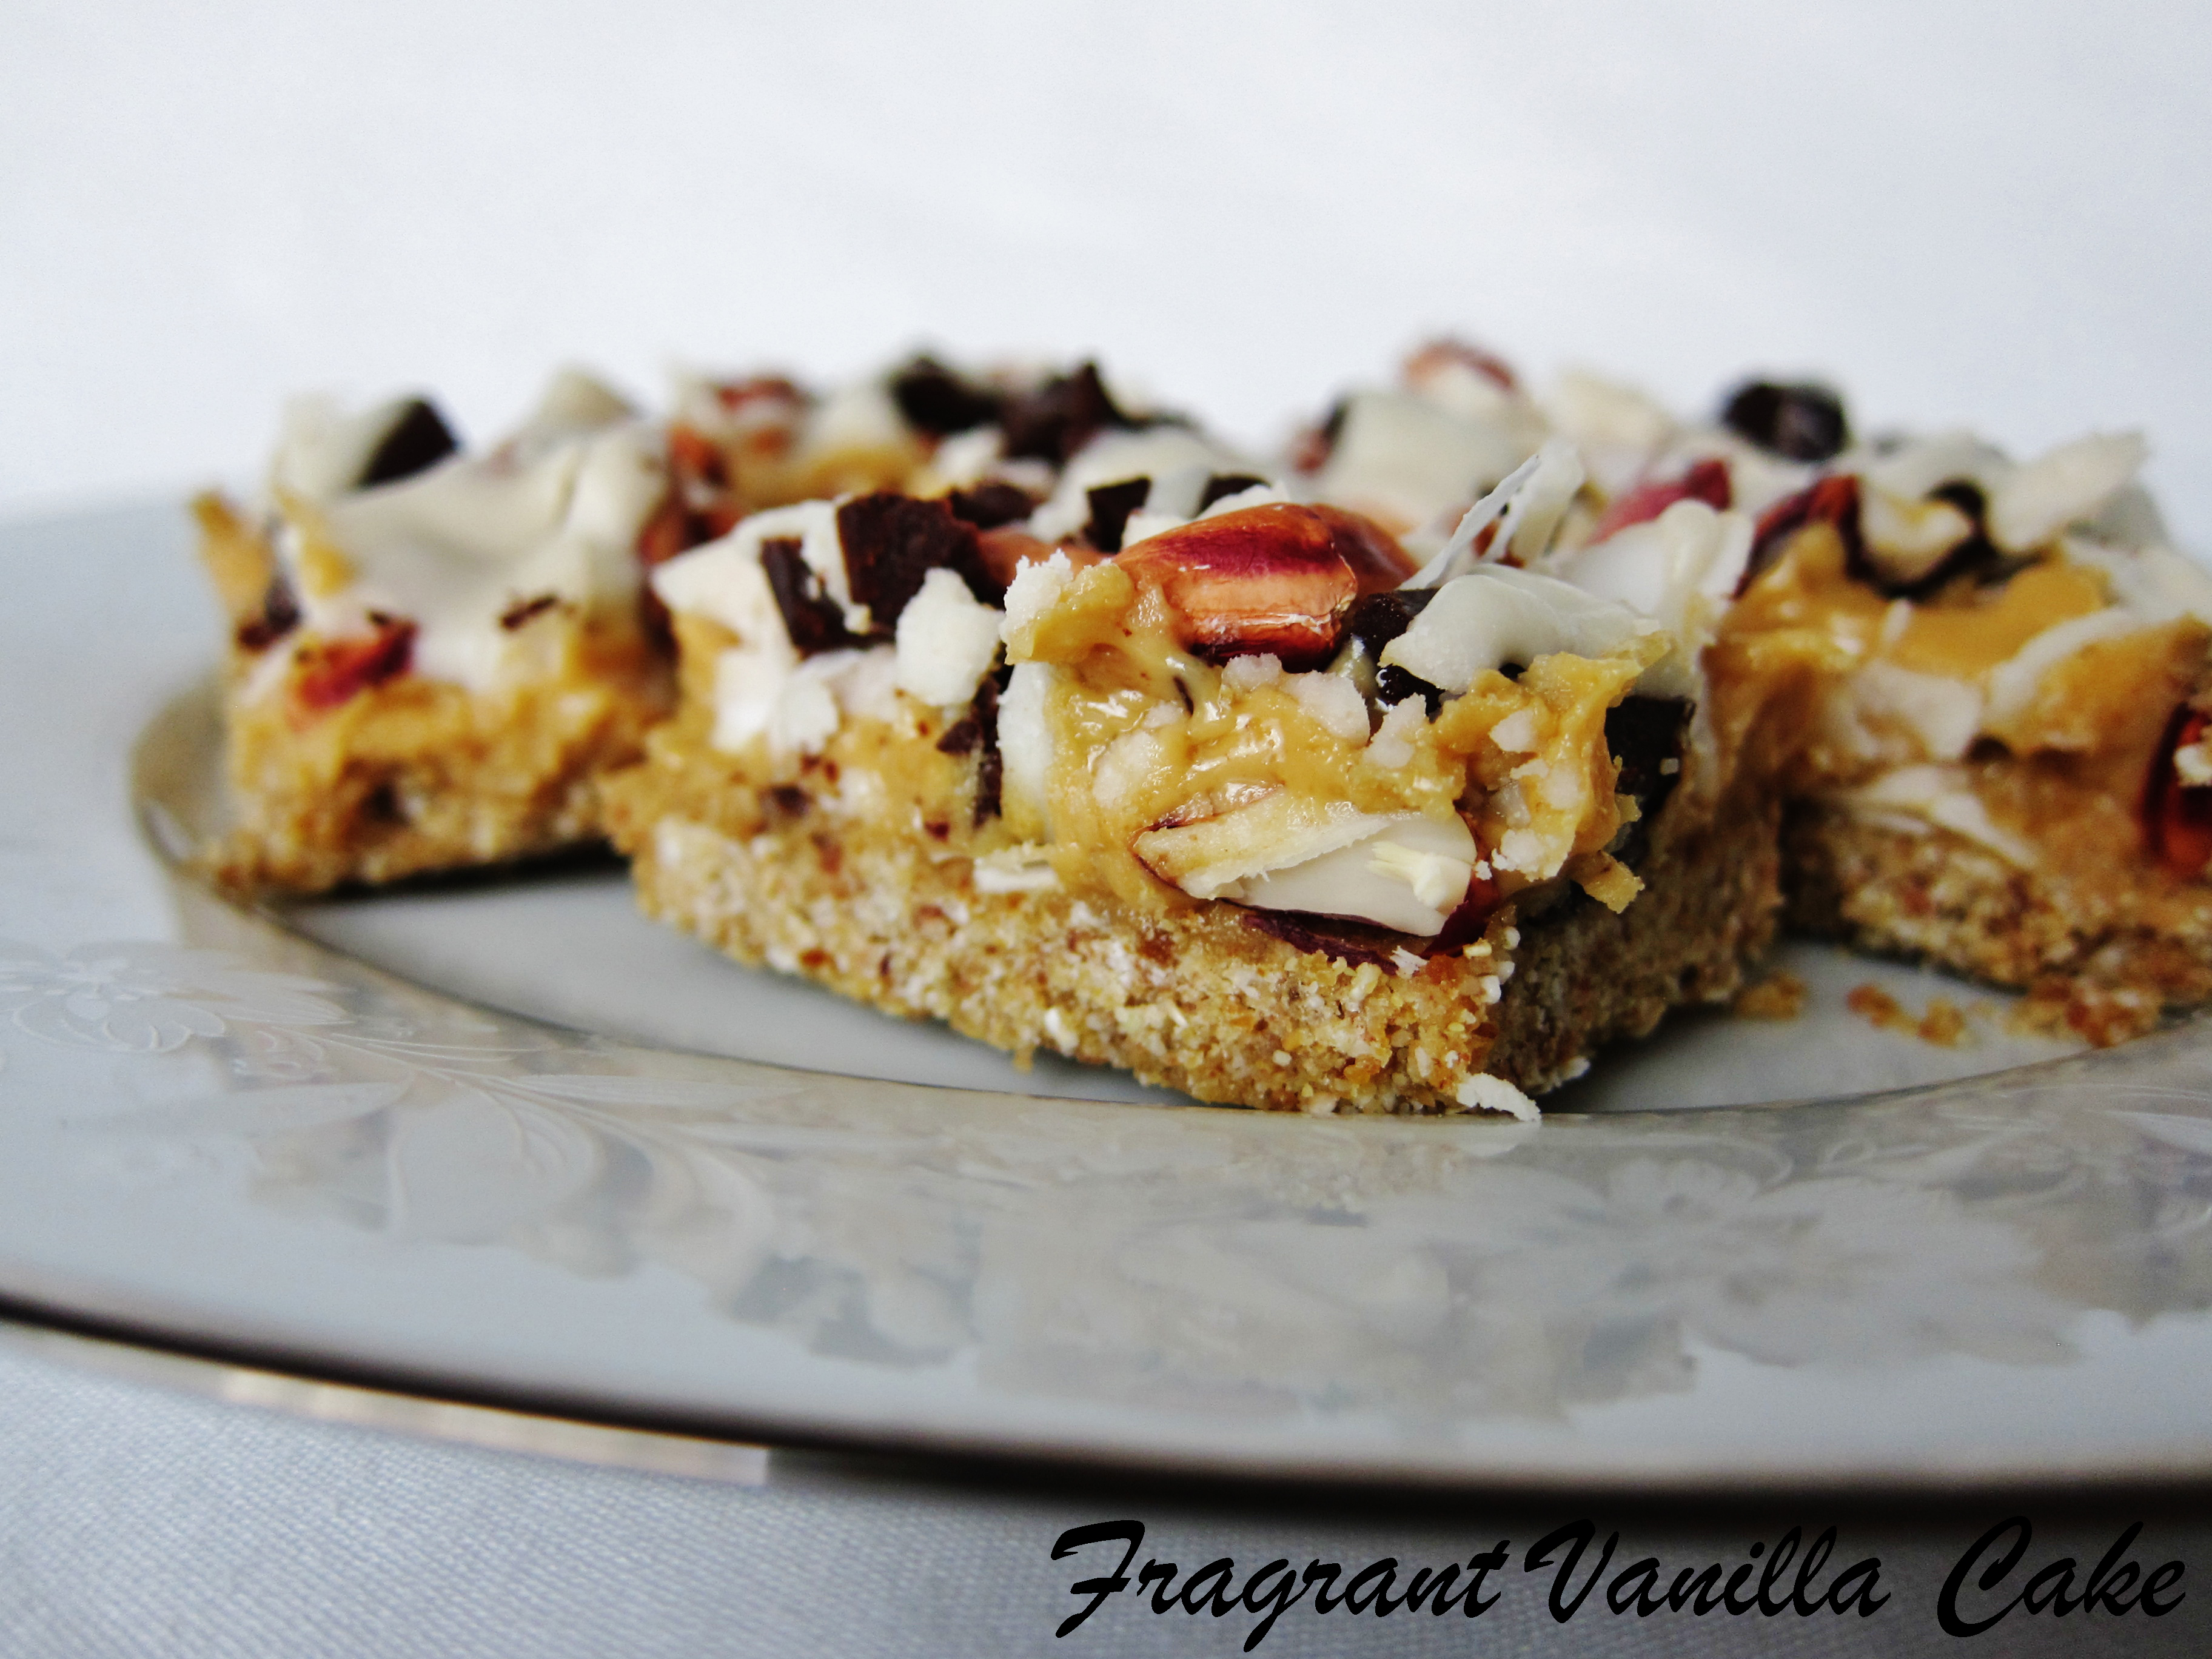
 St. Patrick’s Day is tomorrow, and although it doesn’t feel so much like it this year due to the virus going around and events being cancelled, I still like to enjoy some festive stuff at home so I made some green chocolate bars! I like to try to stay positive. And even if we can’t all go out and do the things we usually do, or would like to do why now enjoy yourself at home? I was going to make some chocolate anyway because I had run out of my stash, and I wanted something cheery and fancy so I made some Matcha Chocolate Bars with crunchy cacao nibs. I have been making a lot of mint stuff for St. Patrick’s Day because it is festive and green, but matcha has that lovely green hue as well and I have been in love with it since I first tried it!
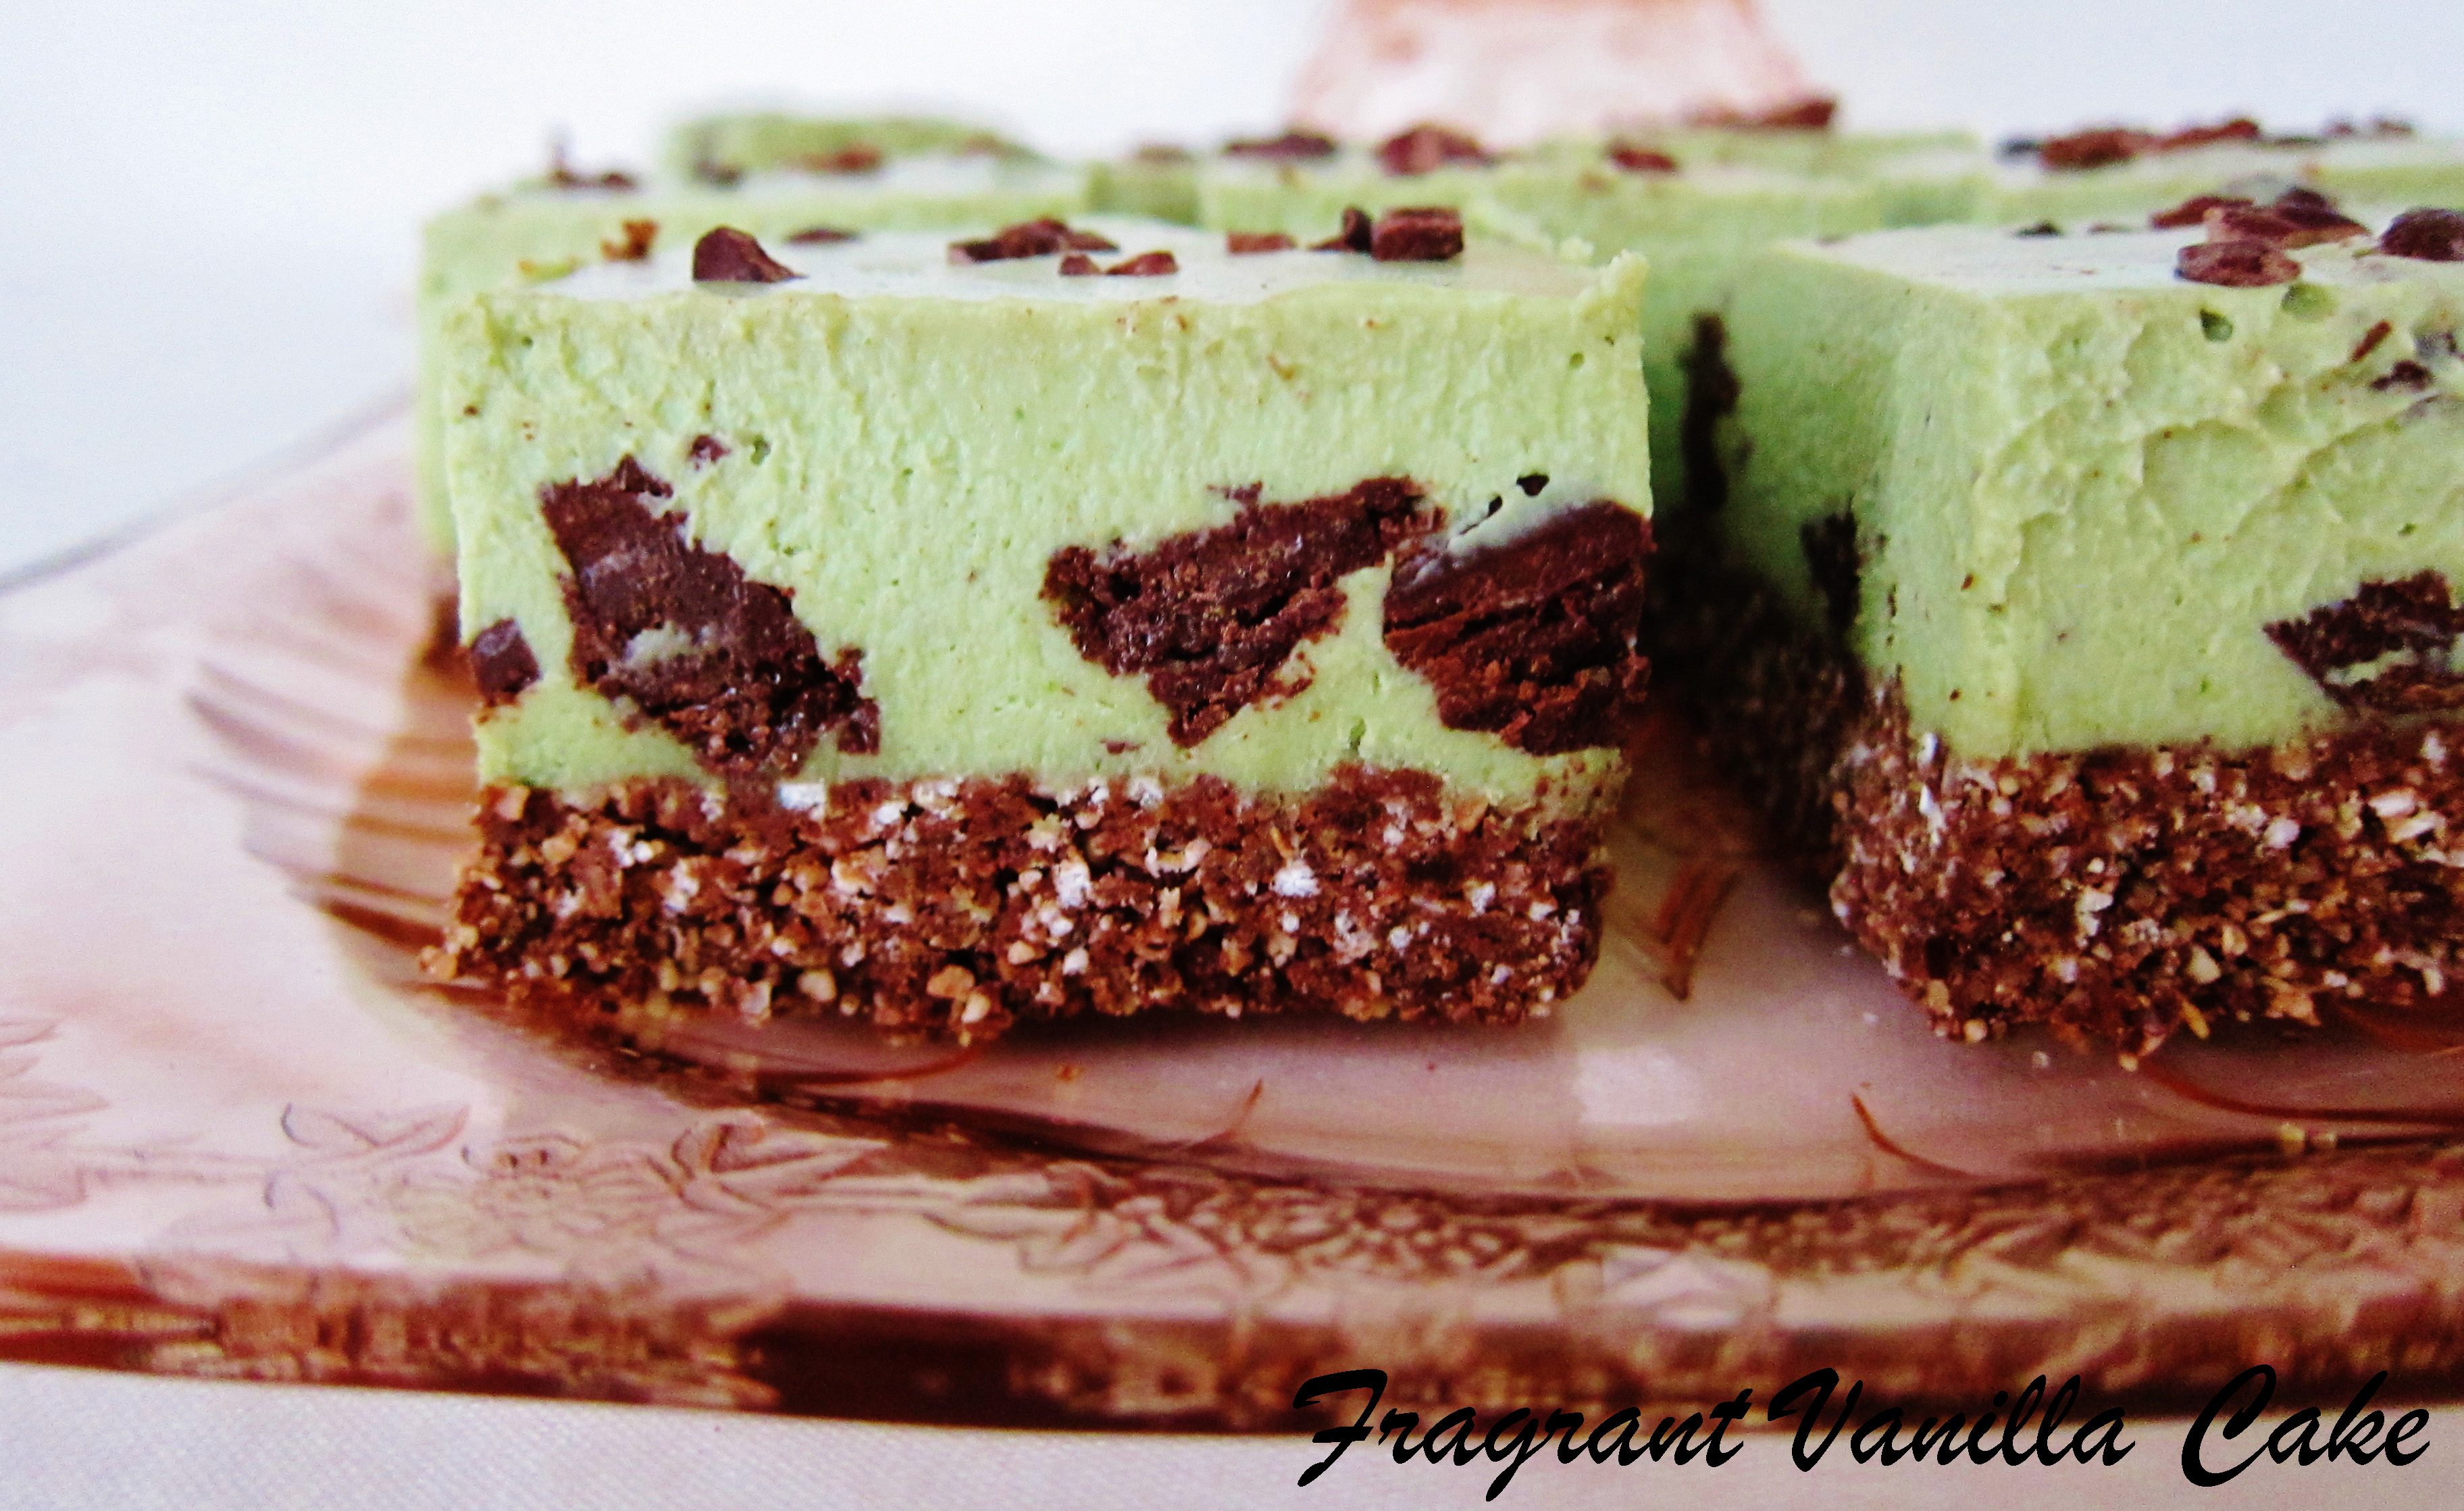
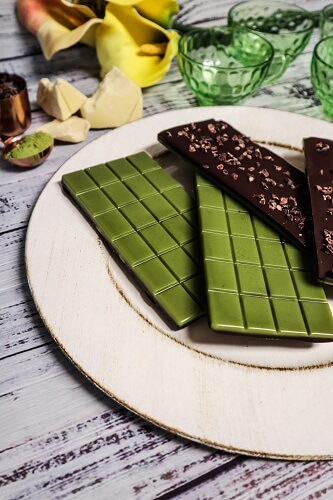 I drink matcha tea every morning at work, and I like my matcha lattes on the weekends when I have more time, but I especially love matcha in sweet desserts. It is amazing in white chocolate. I have made some plain matcha white chocolate before but I wanted some dark chocolate in there as well, so I was thinking a two layer bar. Before I went vegan I thought that white chocolate would be a thing of the past, since milk seems like it is a big part of it, but luckily I was wrong. I have been able to make super delicious white chocolate! It may take a few more ingredients, but that’s alright. I like it even better than the stuff I ate growing up, which probably had some artificial stuff in it.
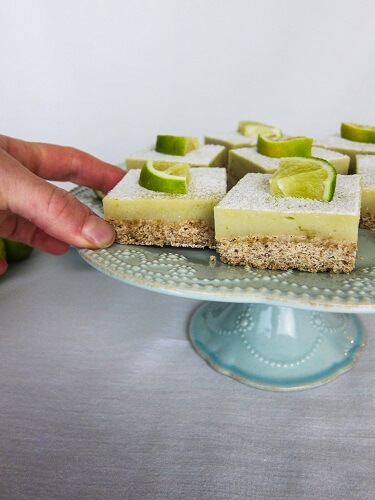
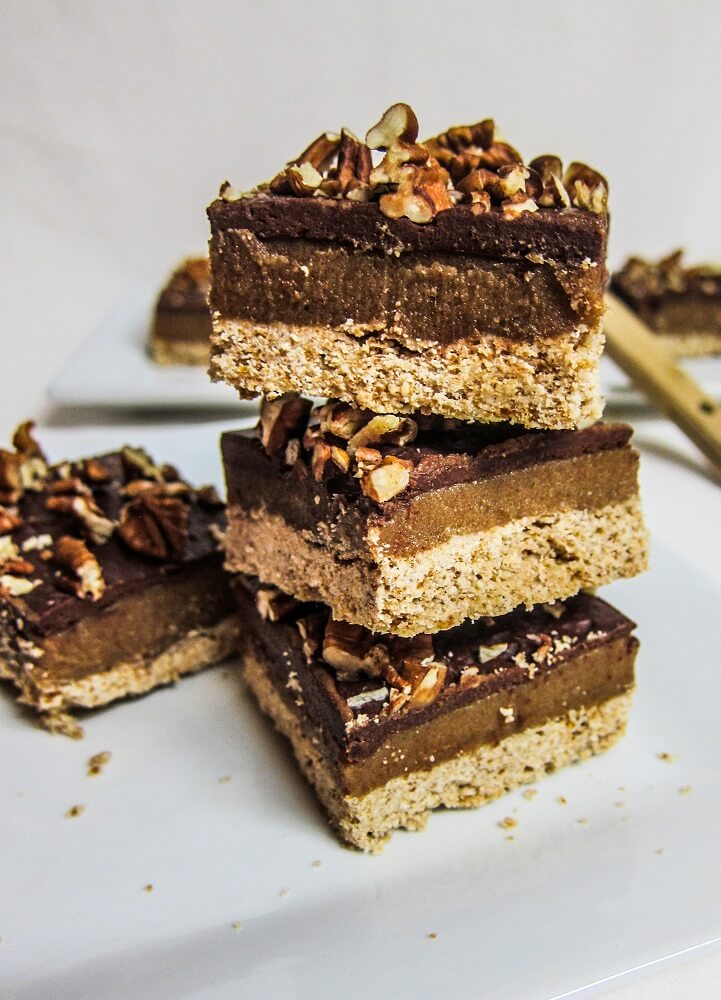
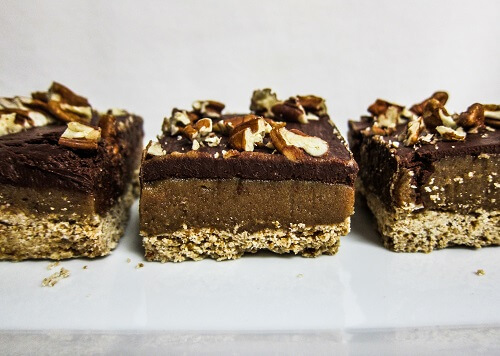
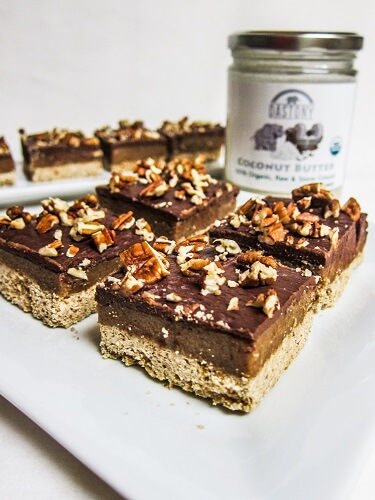
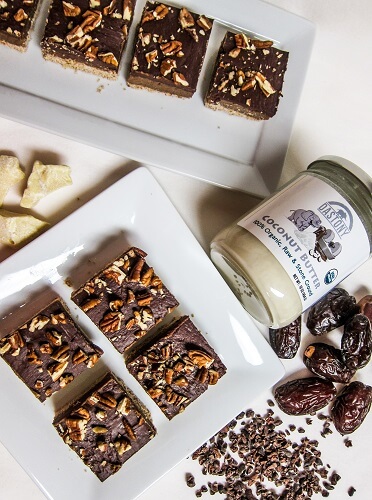
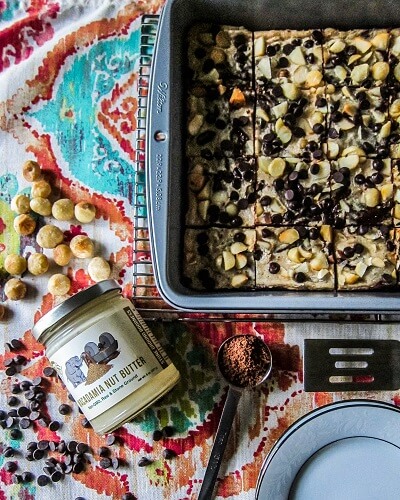
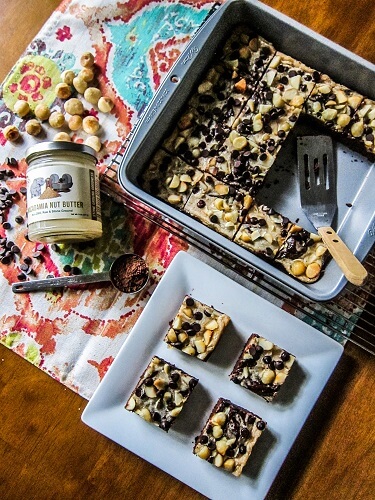
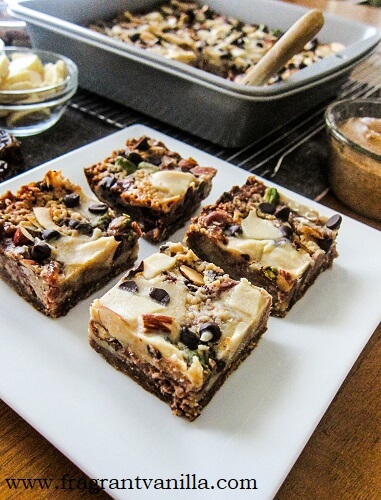
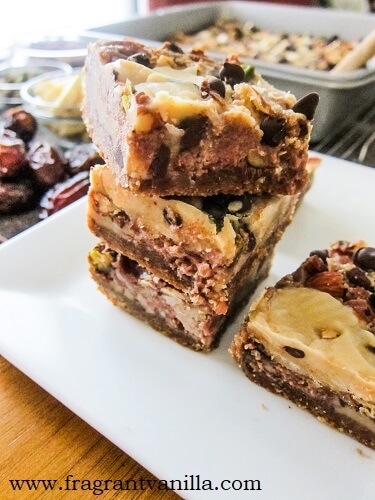
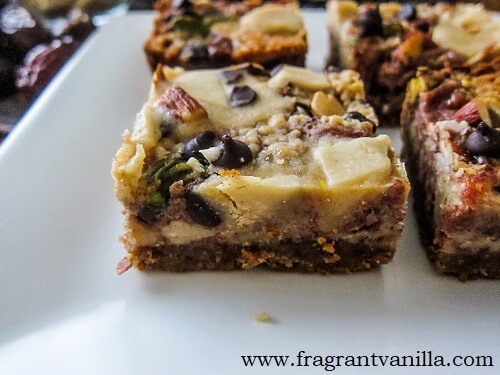
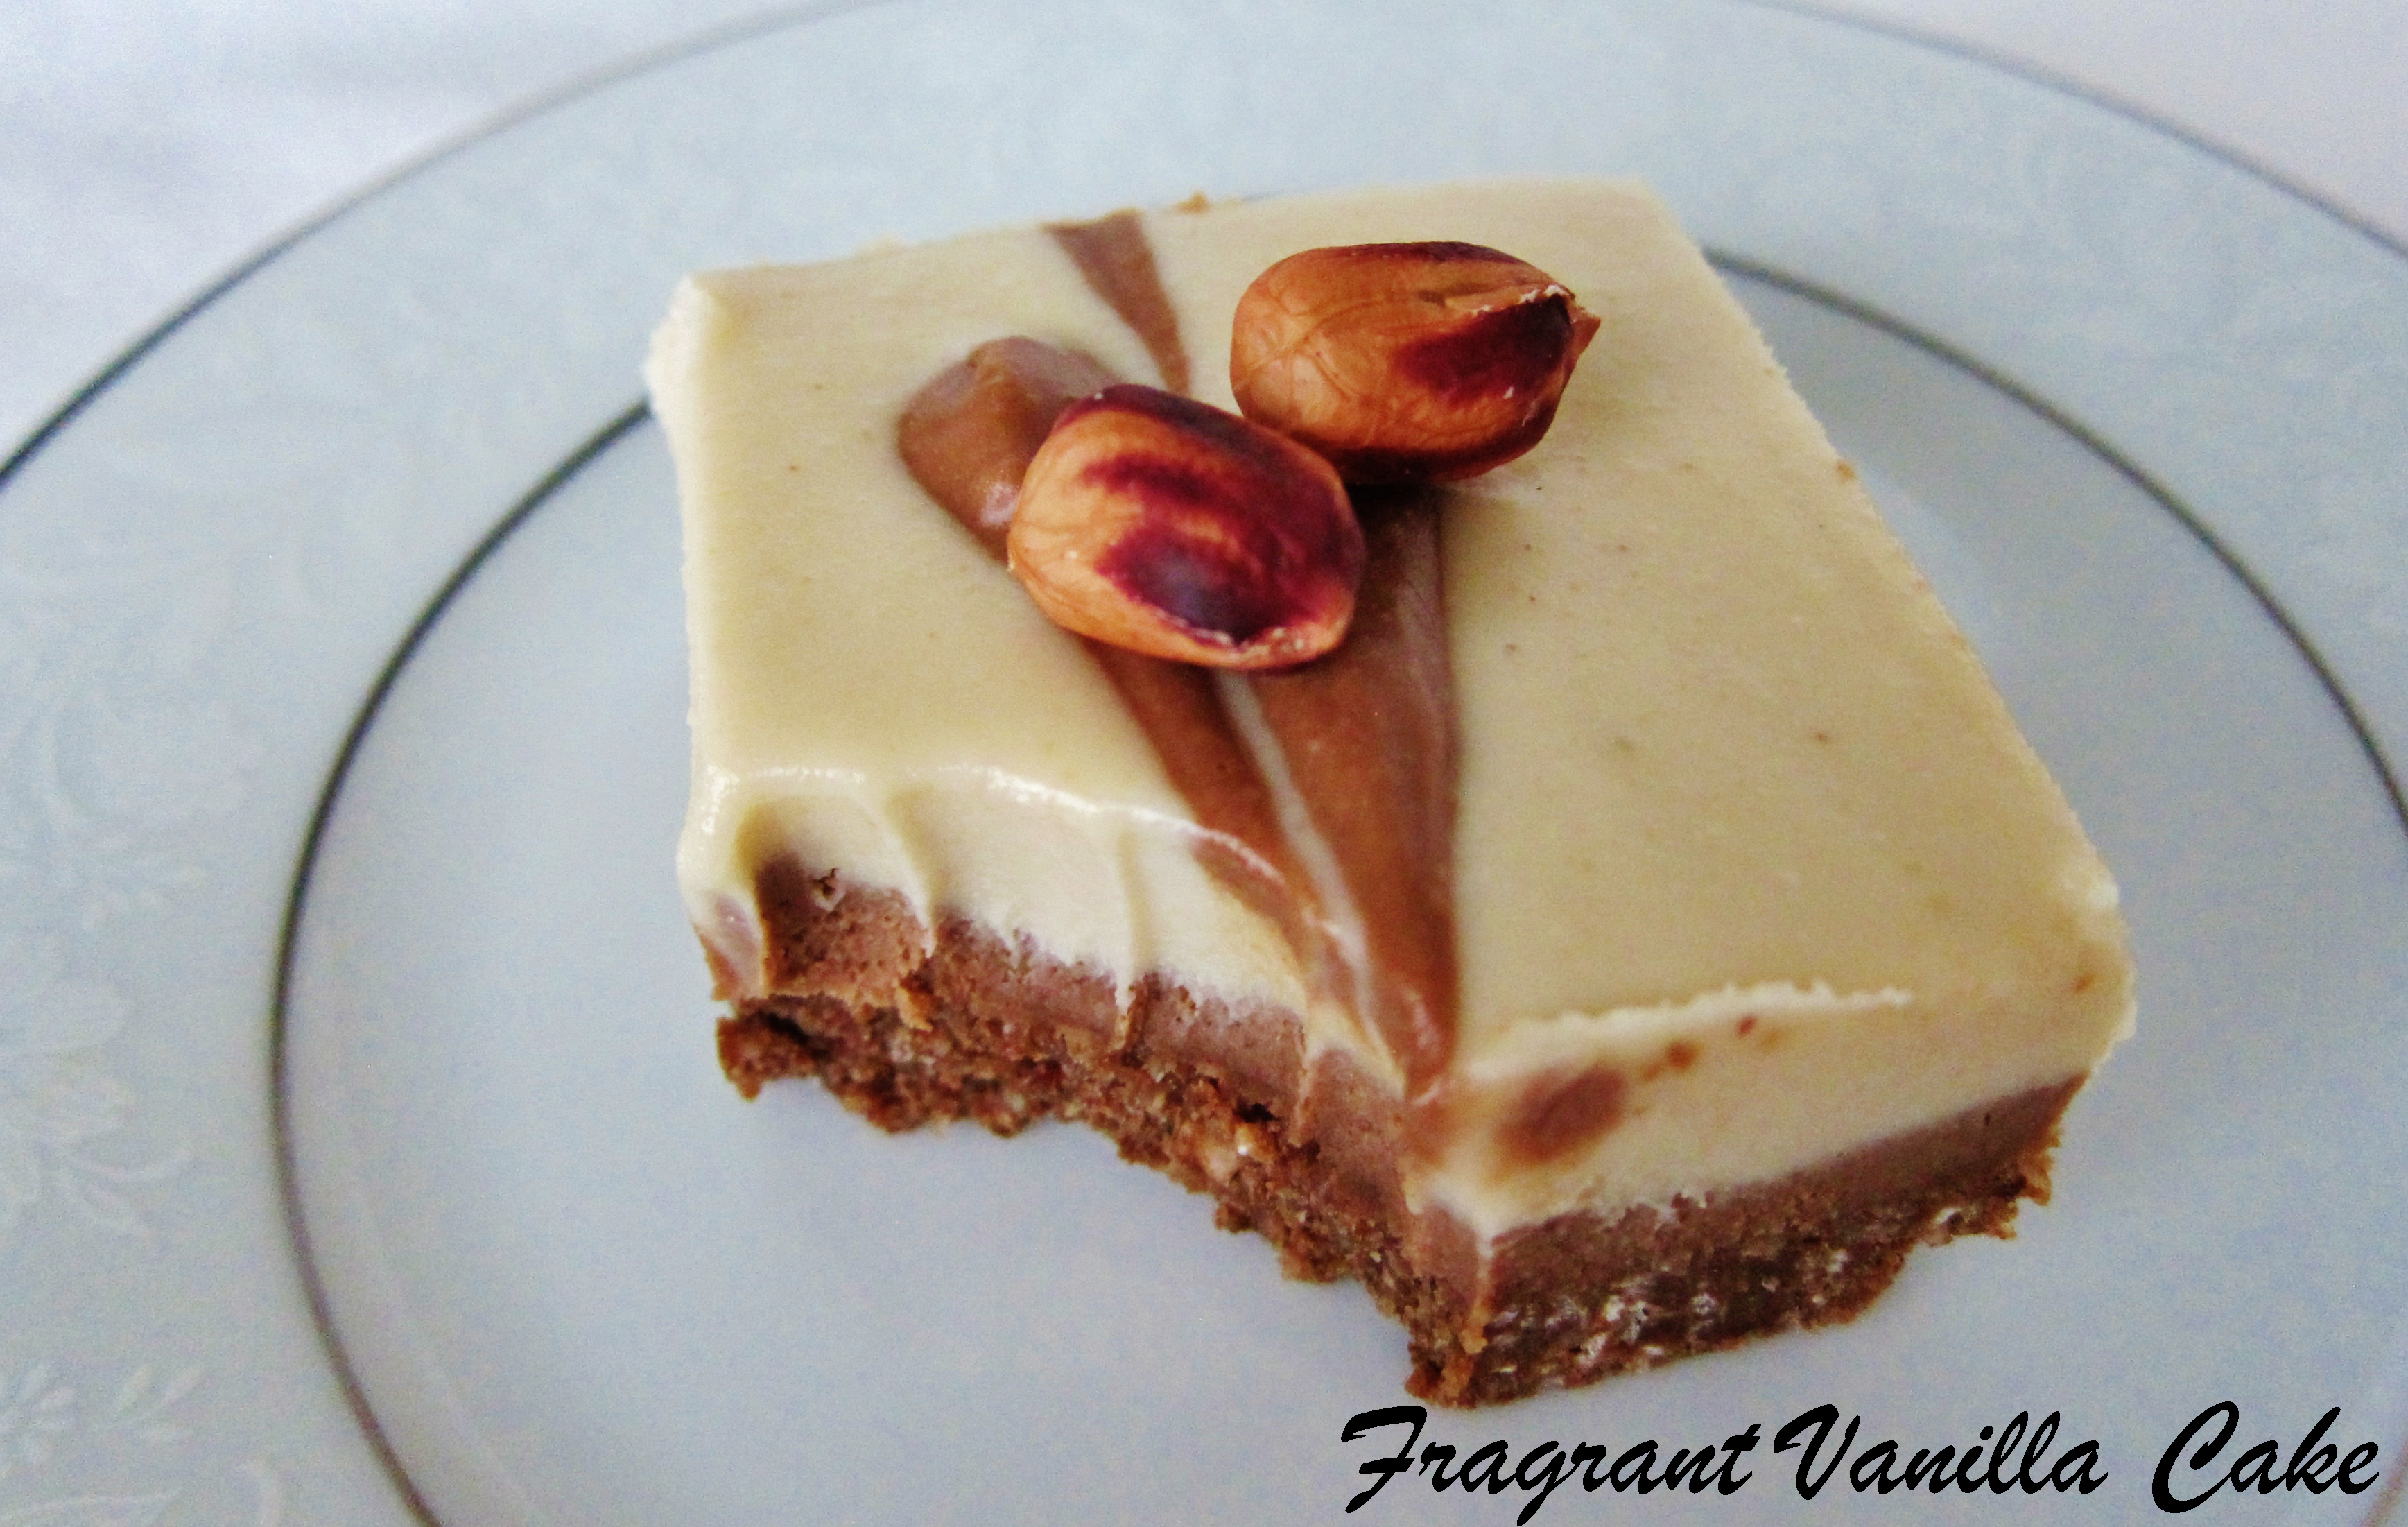
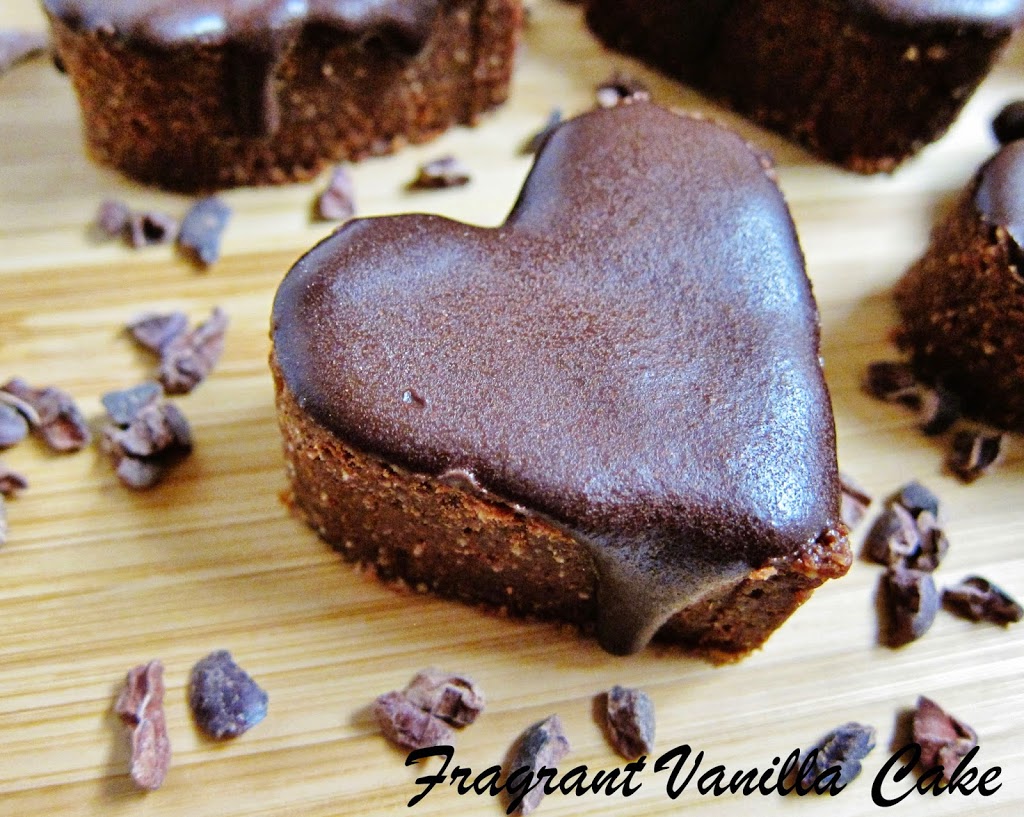
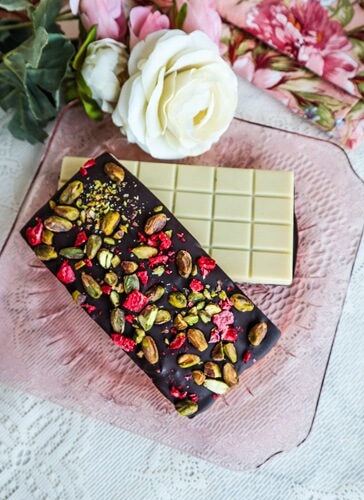
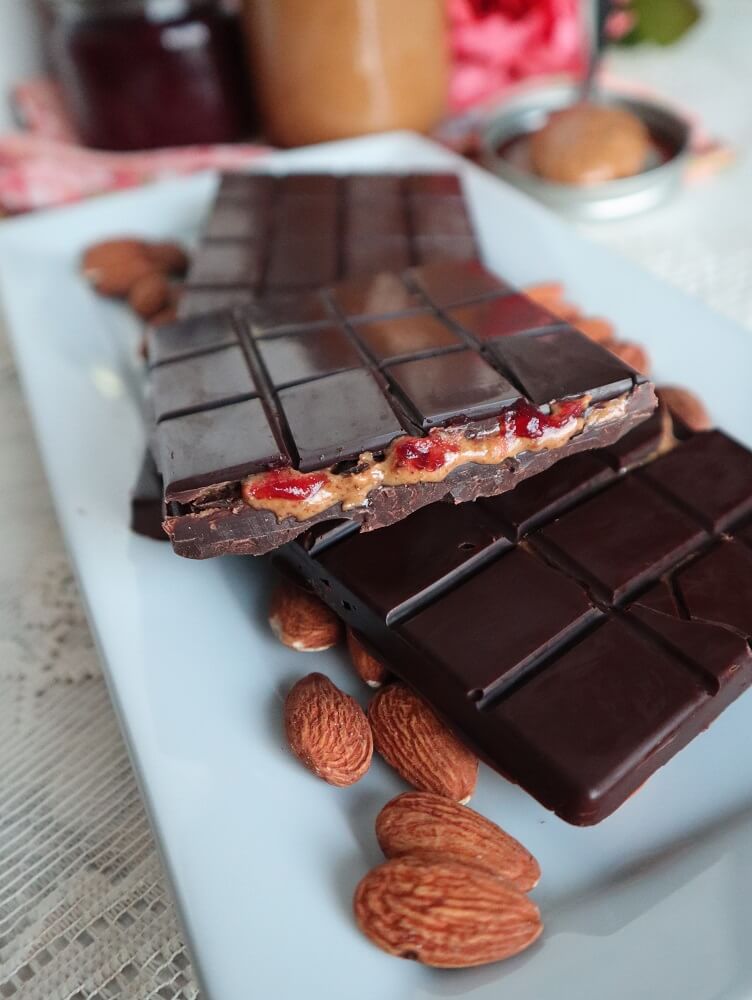
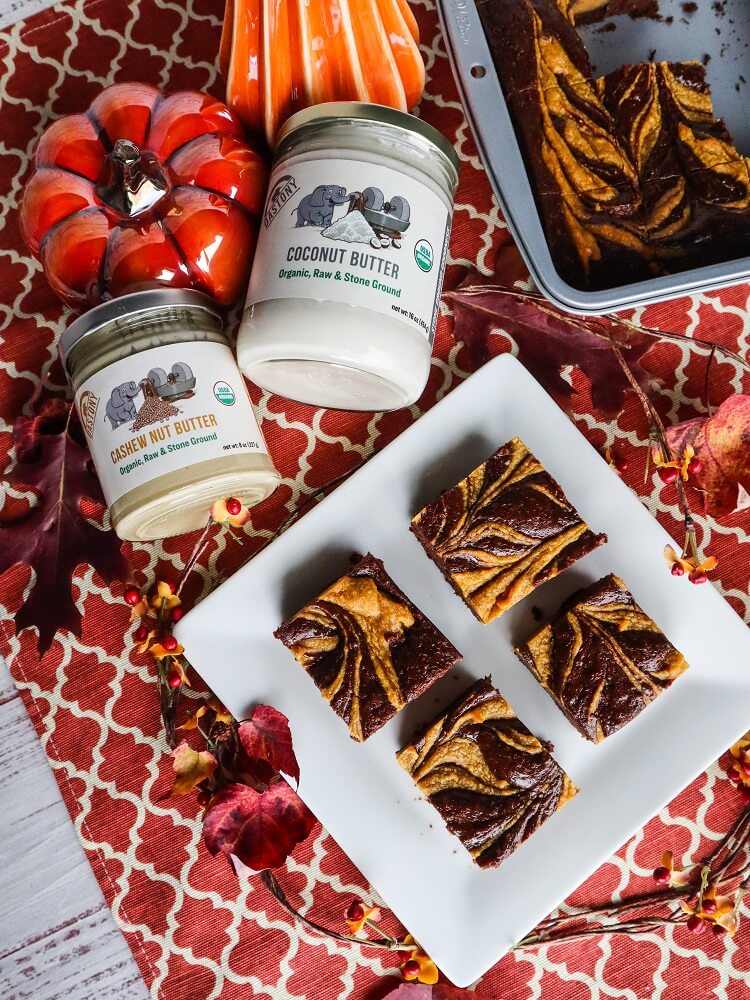
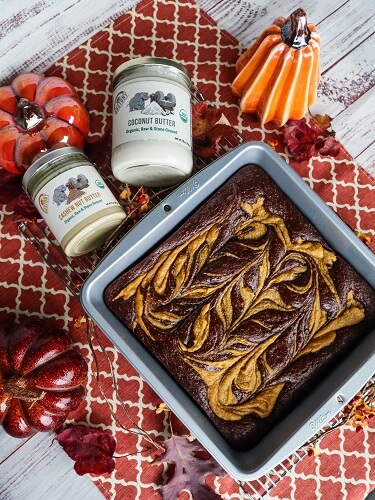
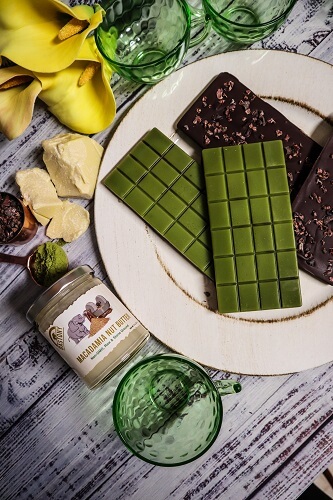 For mine, I use a cacao butter base, with a bit of coconut b\utter and macadamia nut butter sweetened with maple syrup and a bit of vanilla.
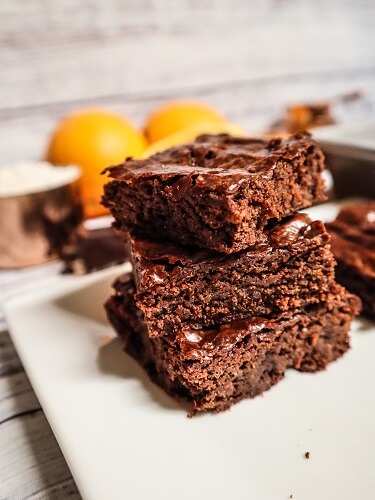
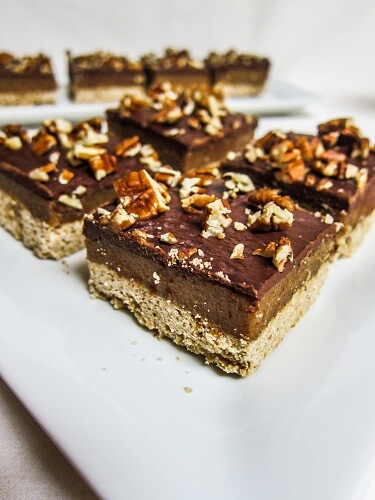
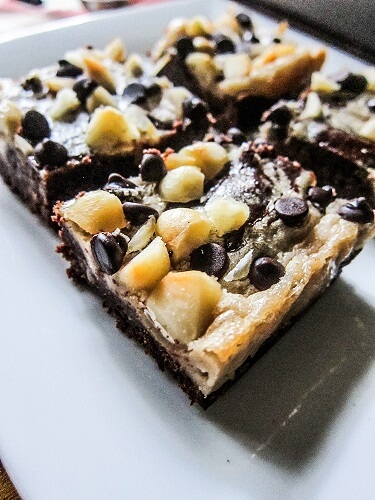
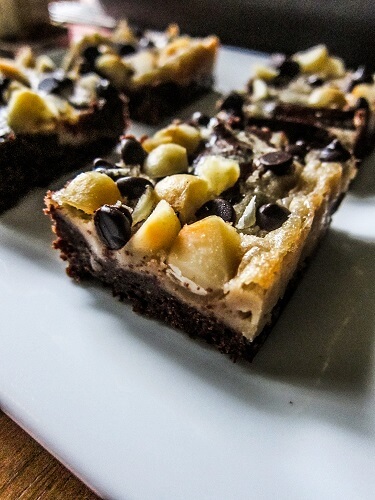
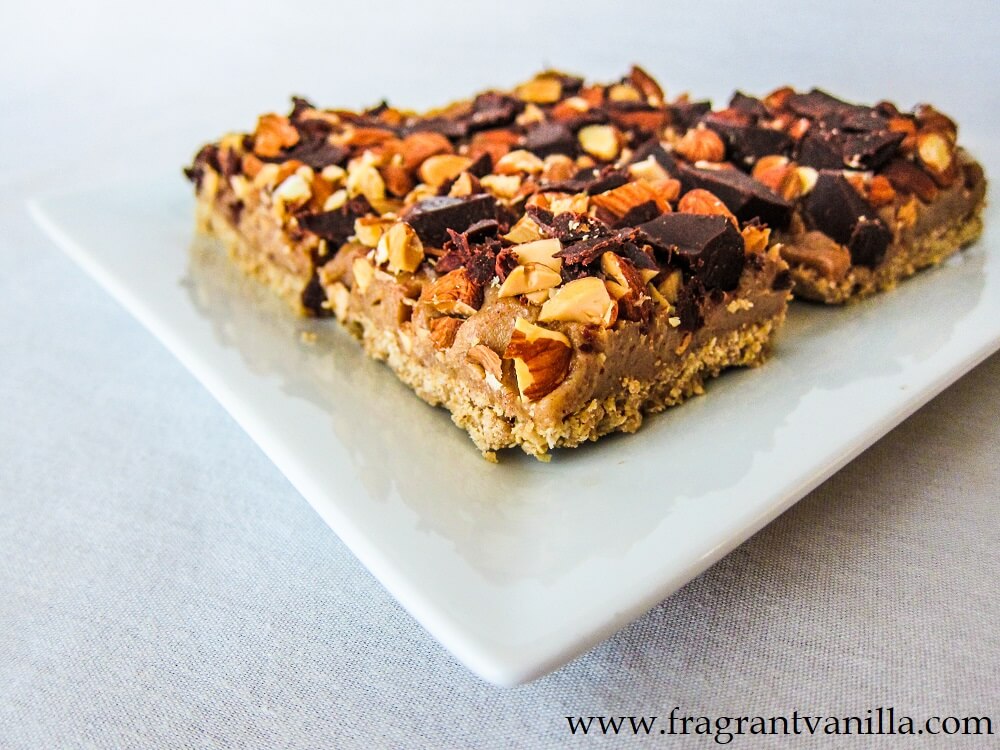
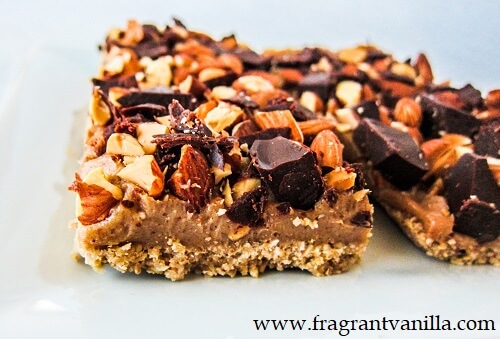
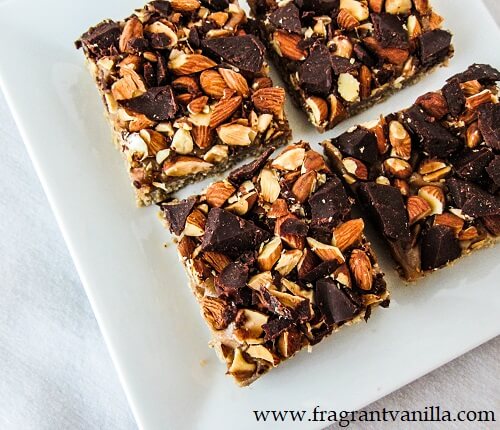
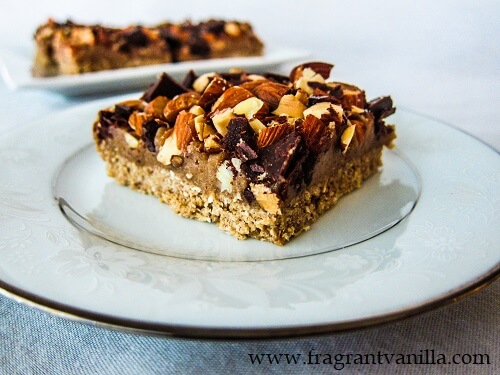
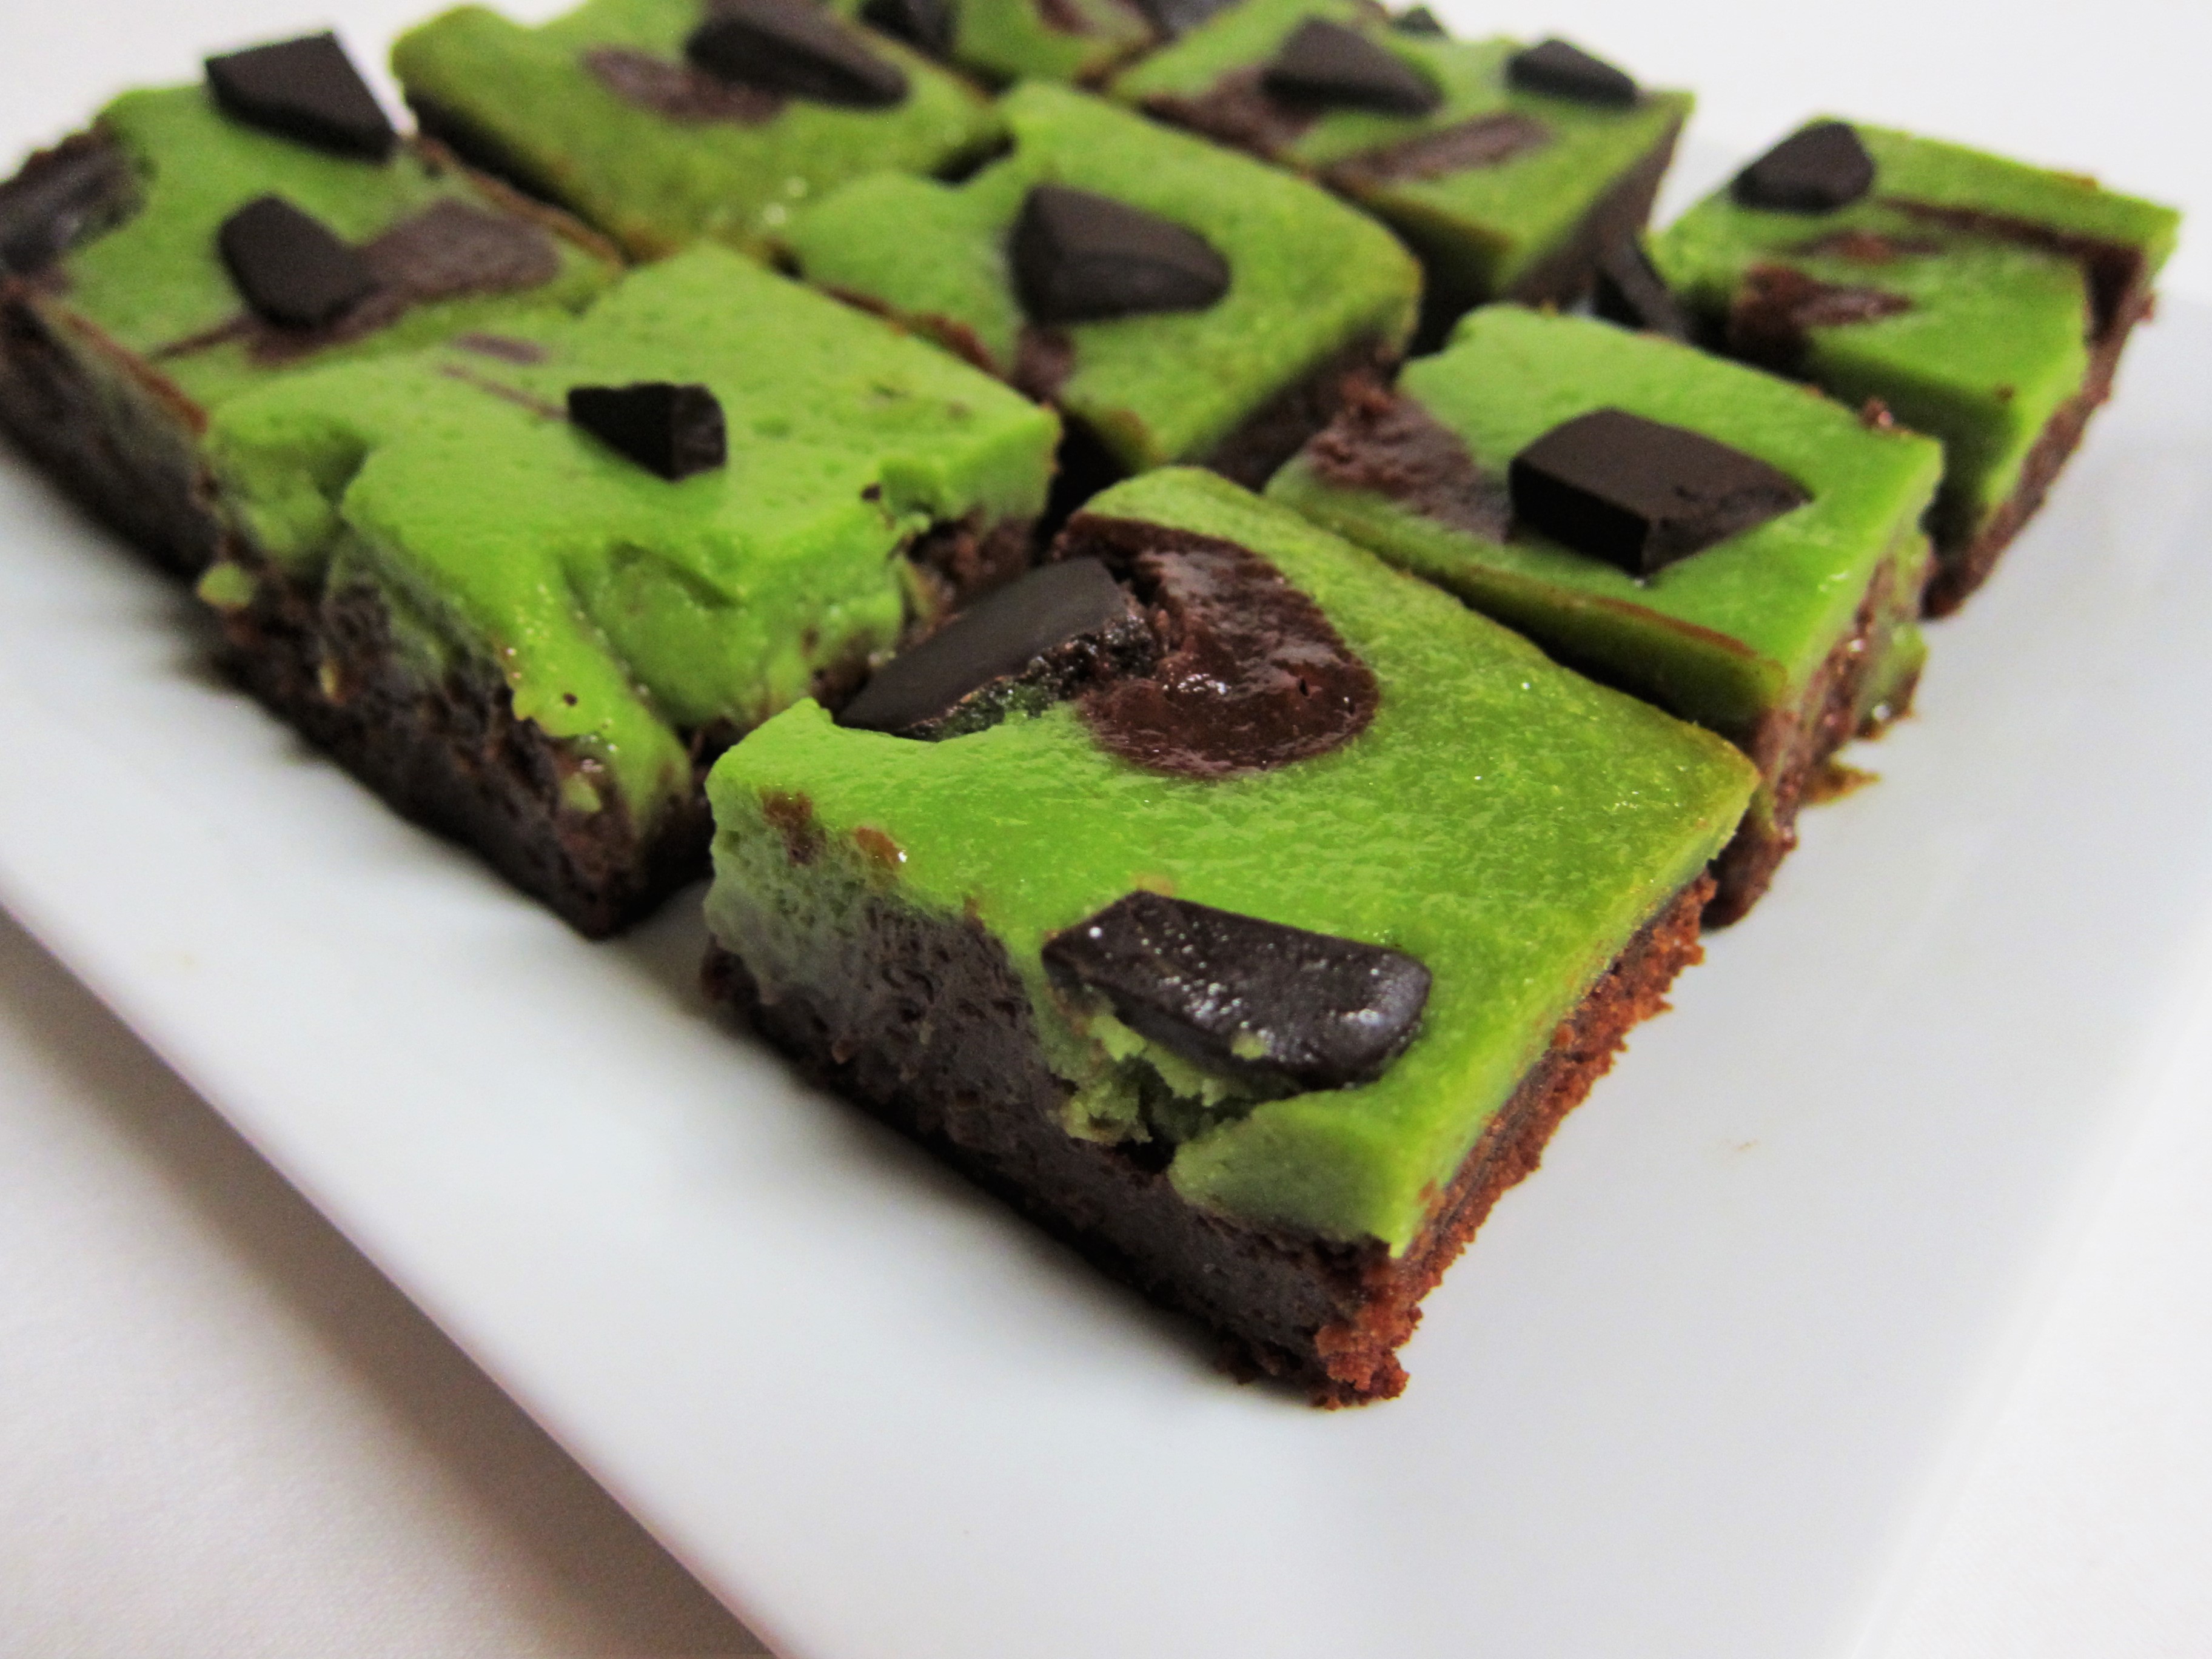
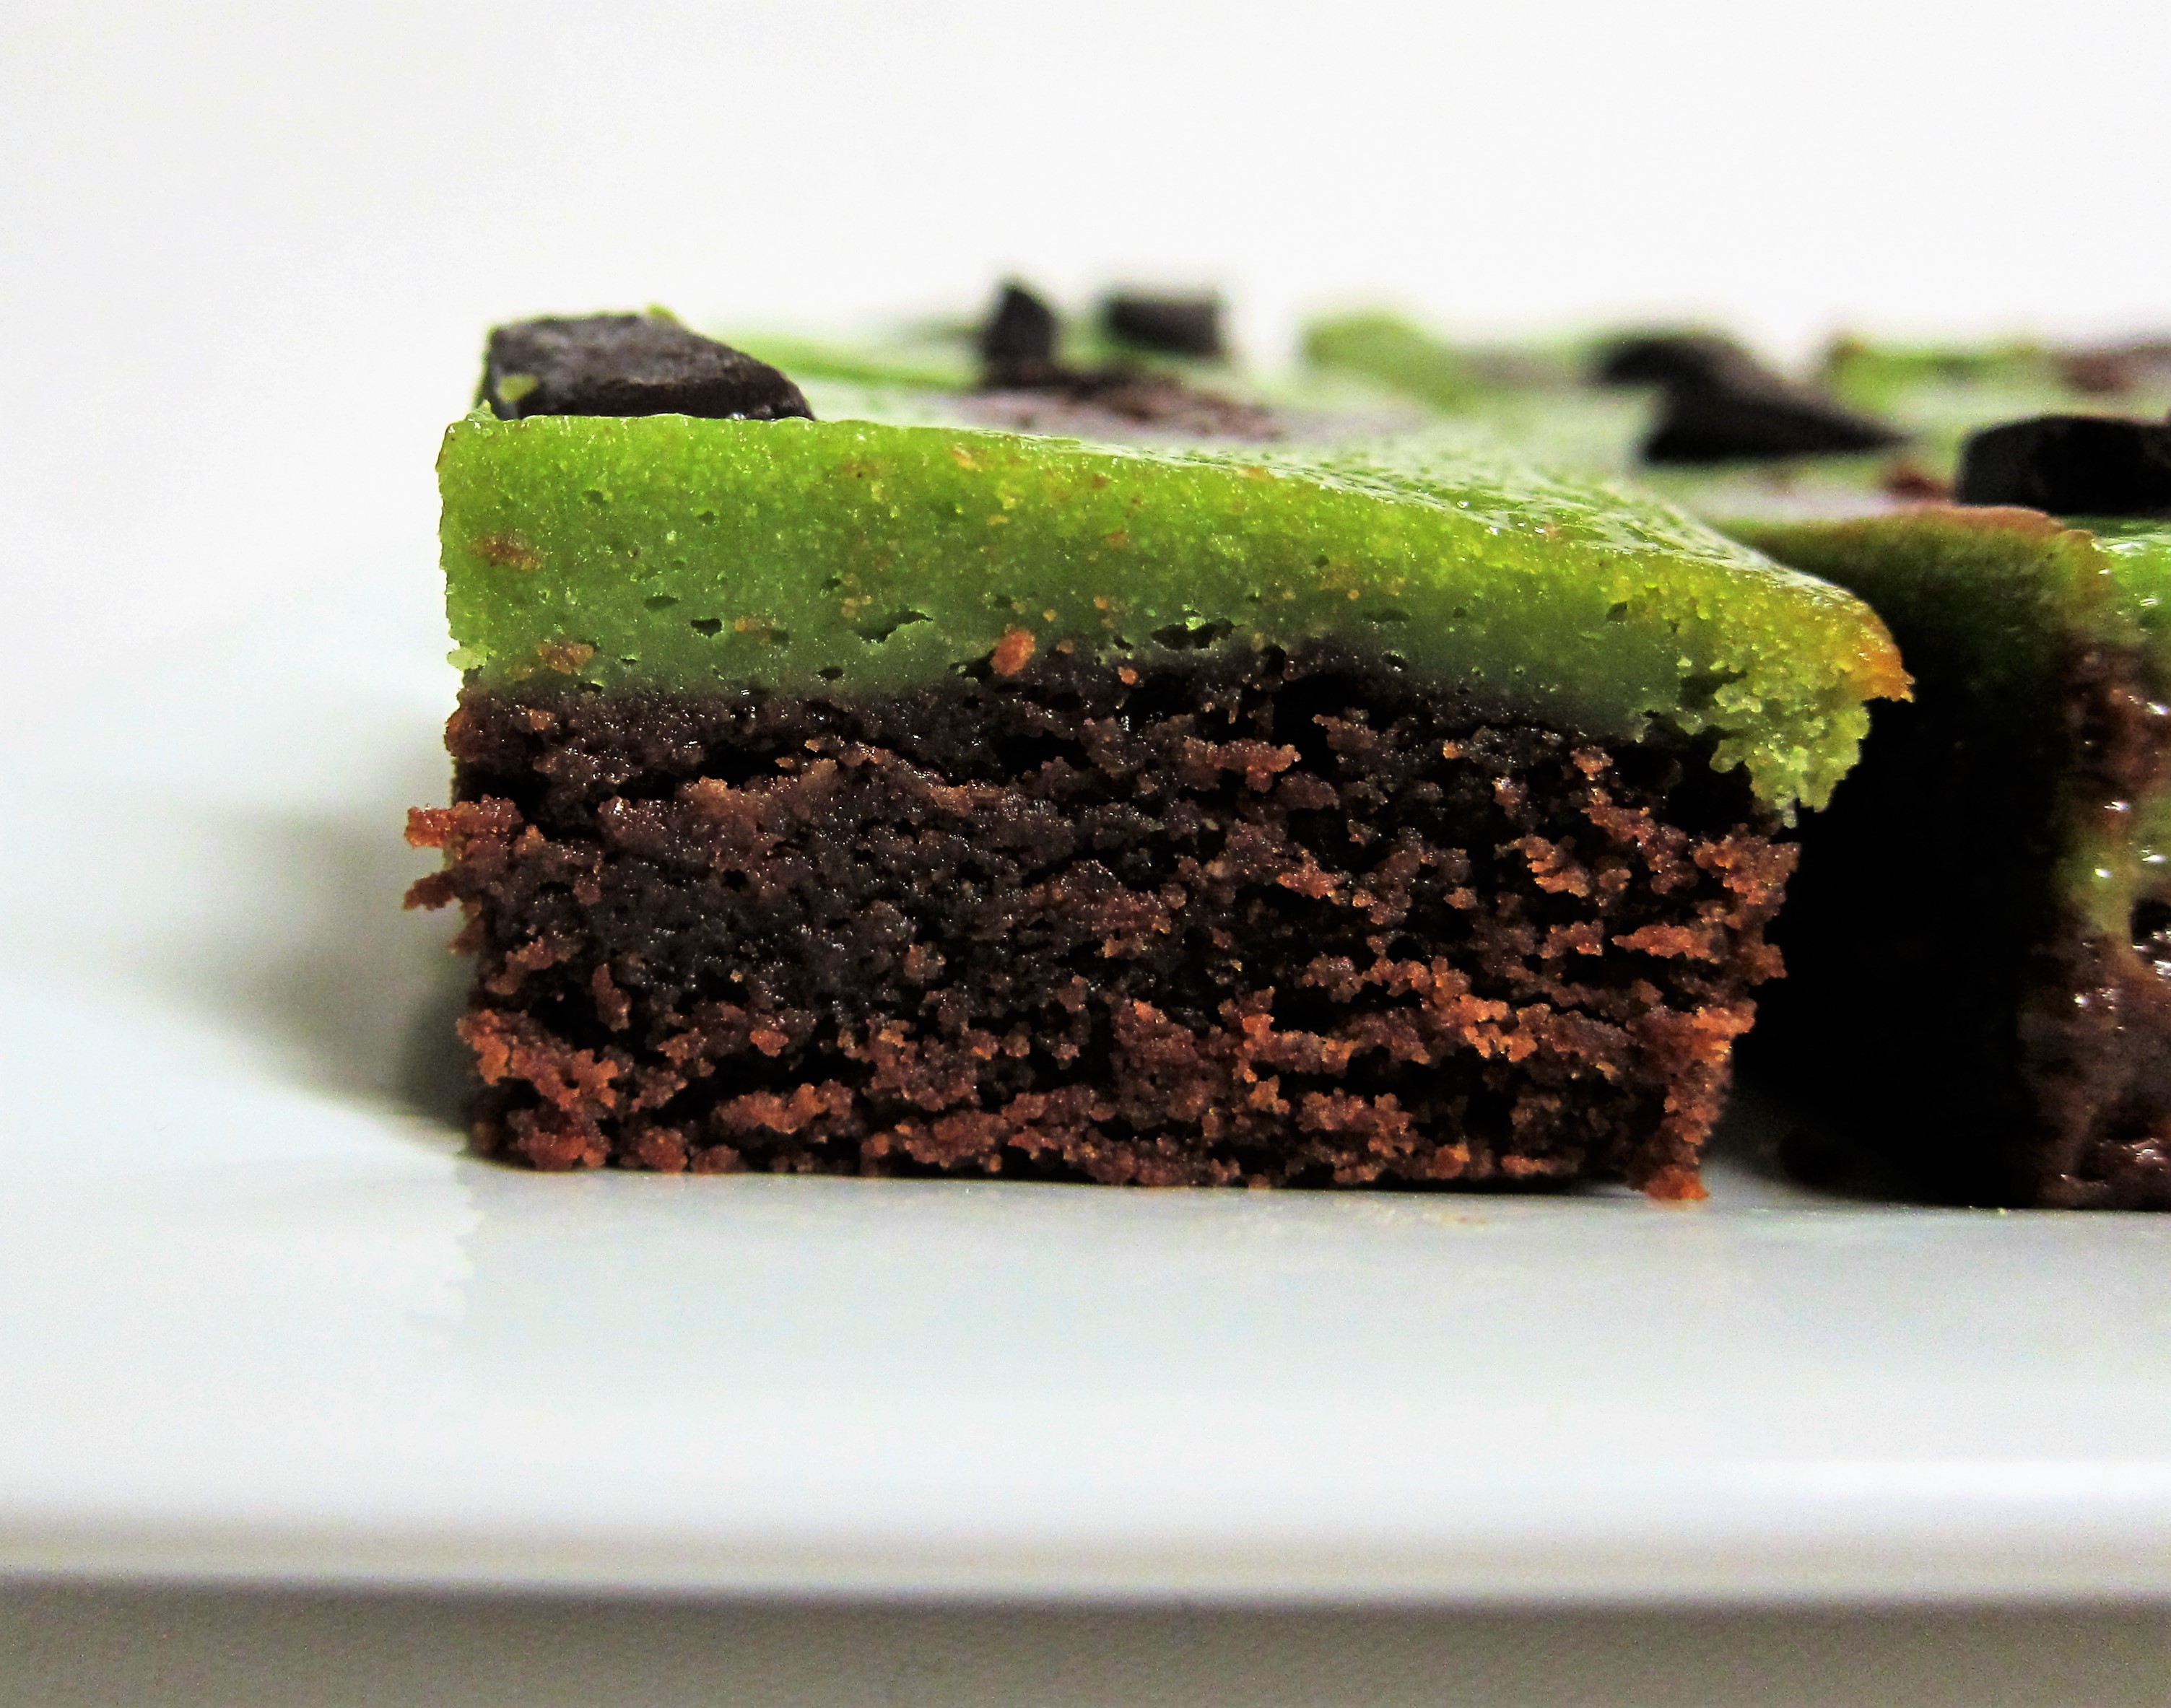
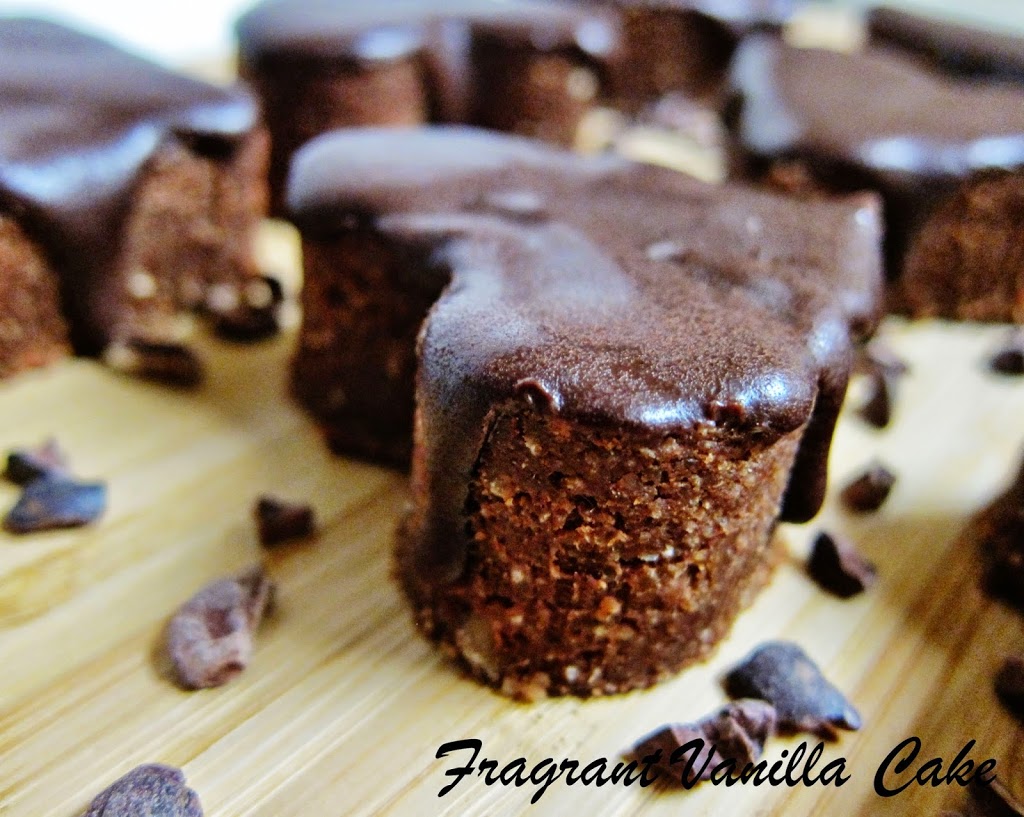
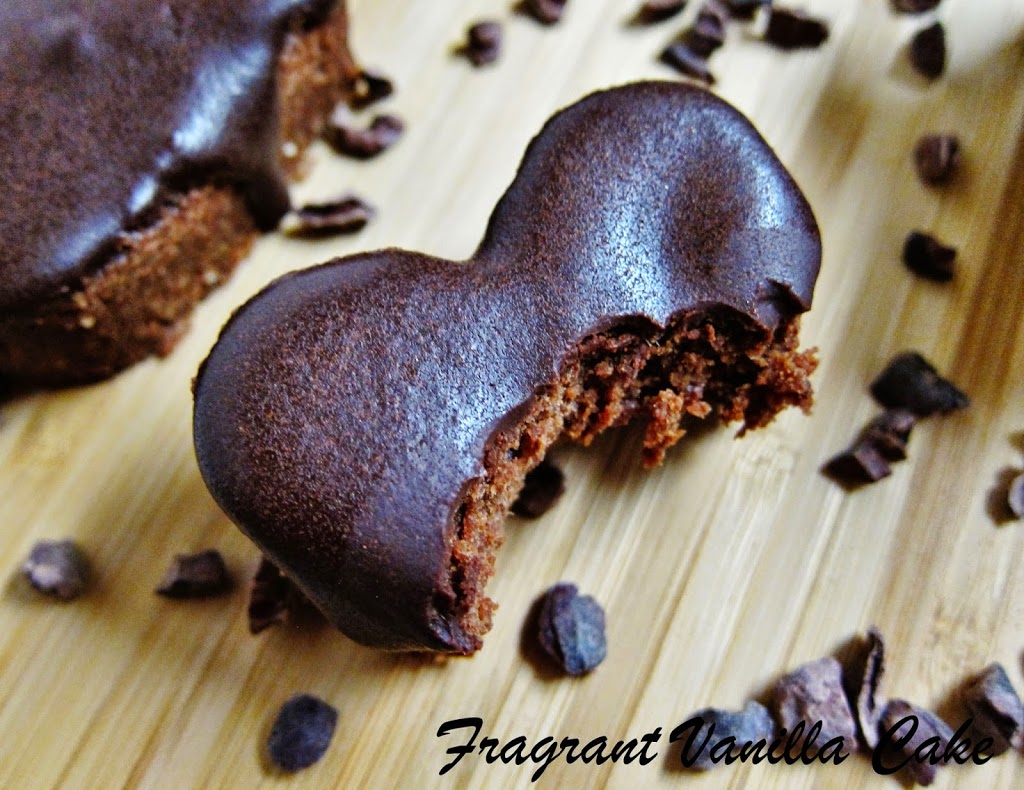
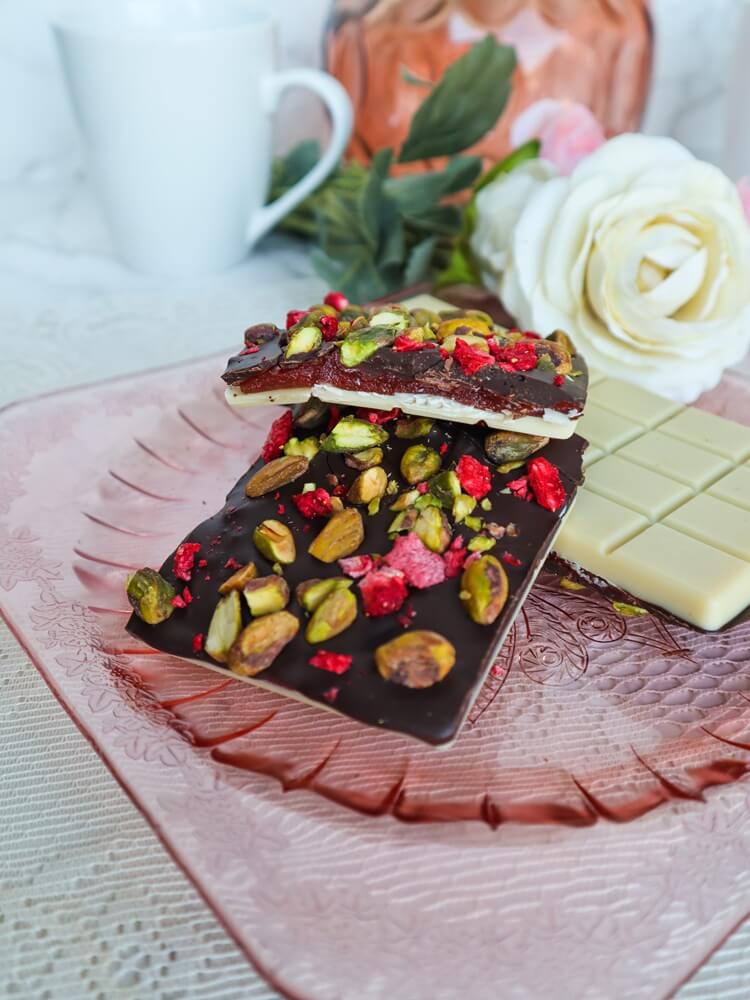
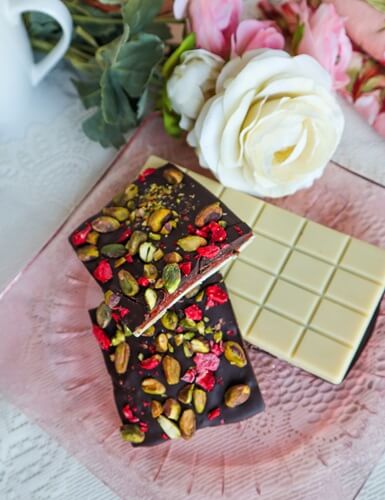
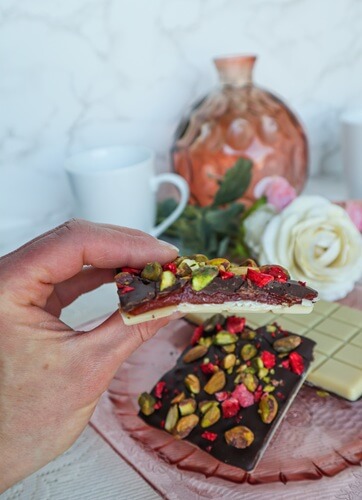
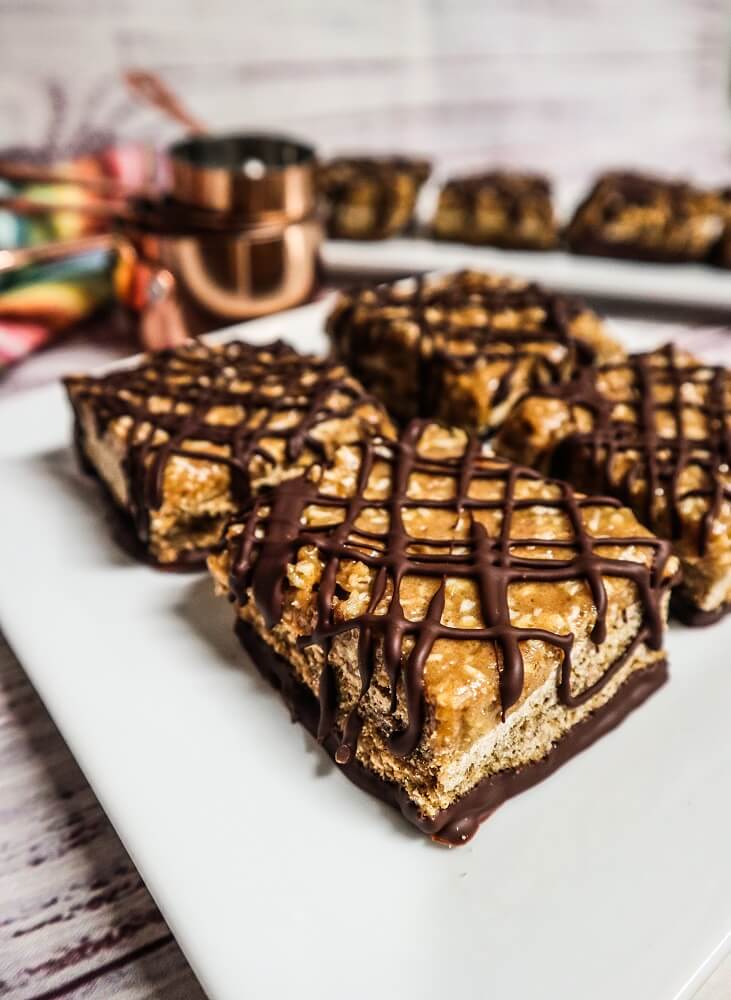
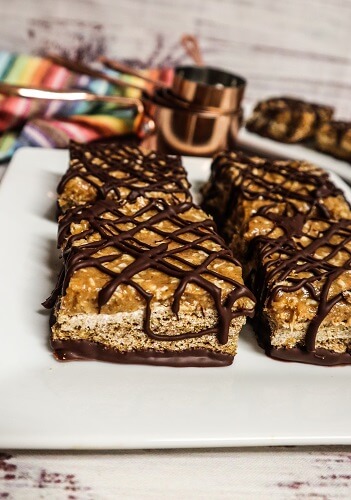
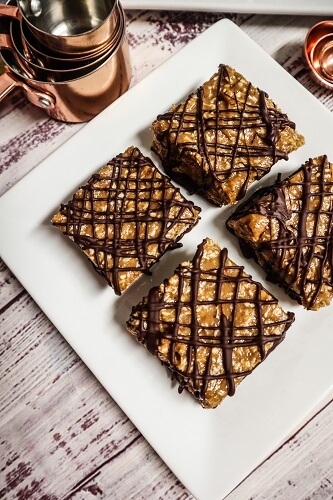
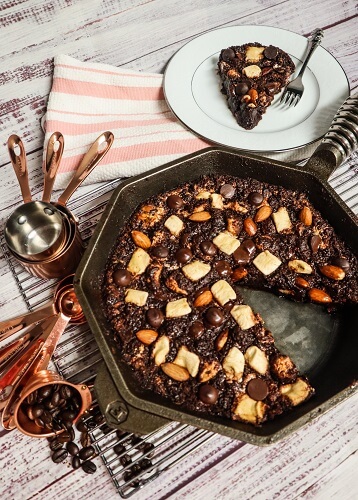
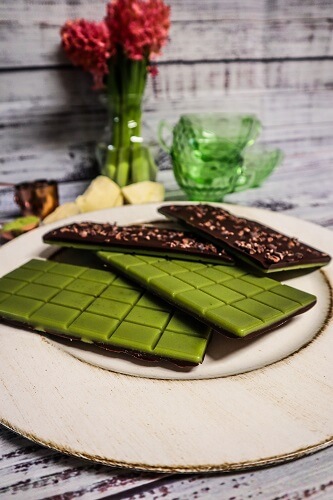
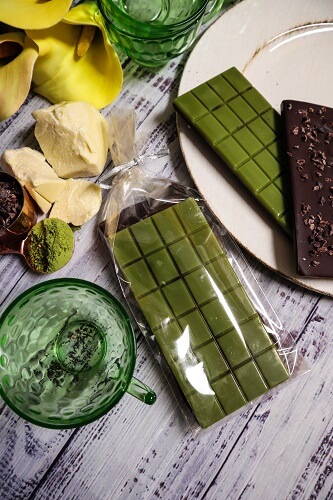
 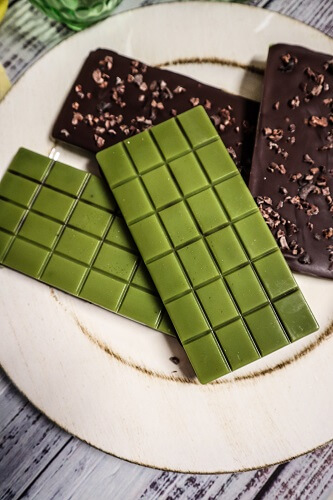 Once it was all hardened in the molds, I added a layer of dark chocolate over it and some cacao nibs for crunch! I could not wait to try them! I had to have a big chunk when they were finally ready. They were super delicious! That white chocolate mixed with the dark was almost a milk chocolate like flavor and it was so good with that earthy hint of matcha and crunchy cacao nibs. If you have to stay home, why not make a delicious treat for yourself like these?!
 Vegan Matcha Chocolate Bars with Cacao Nibs
Makes 4
Matcha White Chocolate:
Vegan Matcha Chocolate Bars with Cacao Nibs
Makes 4
Matcha White Chocolate: