I admit that growing up, Almond Joy and Mounds candy bars weren’t my first choice when it came to the candy swapping. I wasn’t a big fan of that syrupyLoading....
View Recipes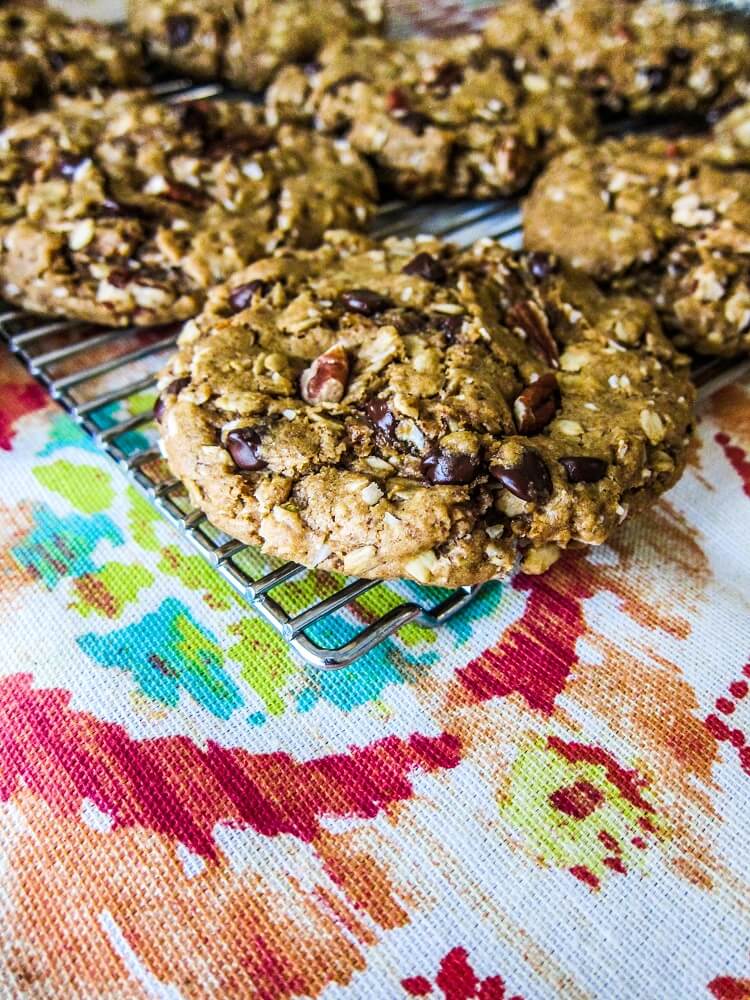
Vegan Cowboy Cookies
I recently saw a recipe for cowboy cookies (that wasn’t vegan), and I decided that I needed to veganize it because it sounded really good! Also, my Mom who isLoading....
View Recipes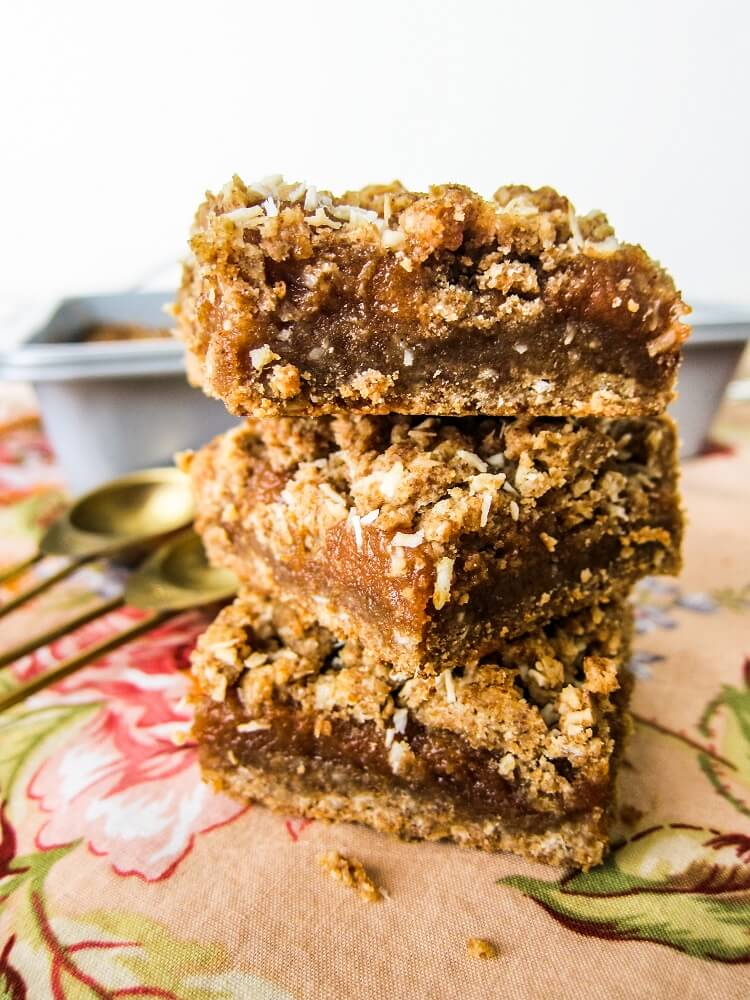
Vegan Coconut Lime Date Bars
I have always loved date bars. They are sweet, and gooey and delicious with a buttery crust and topping. I don’t think they get enough attention from most people, sameLoading....
View Recipes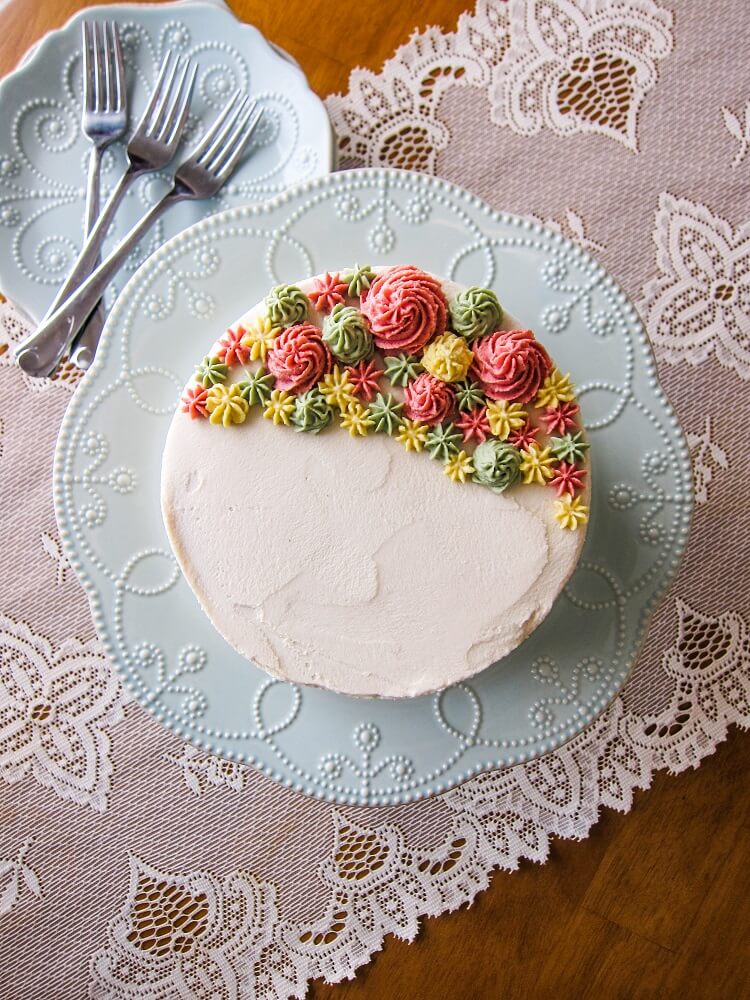
Vegan Coconut Macadamia Carrot Cake with White Chocolate Frosting
This year for Easter, I decided to make carrot cake. How original, I know but there is nothing wrong with sticking with tradition. You know what tradition I miss? WhenLoading....
View Recipes
Matcha Coconut Easter Nests
I love making Easter candy, and so when my Mom asked if I could make some white chocolate macaroon Easter nests I was all for it! I remember people alwaysLoading....
View Recipes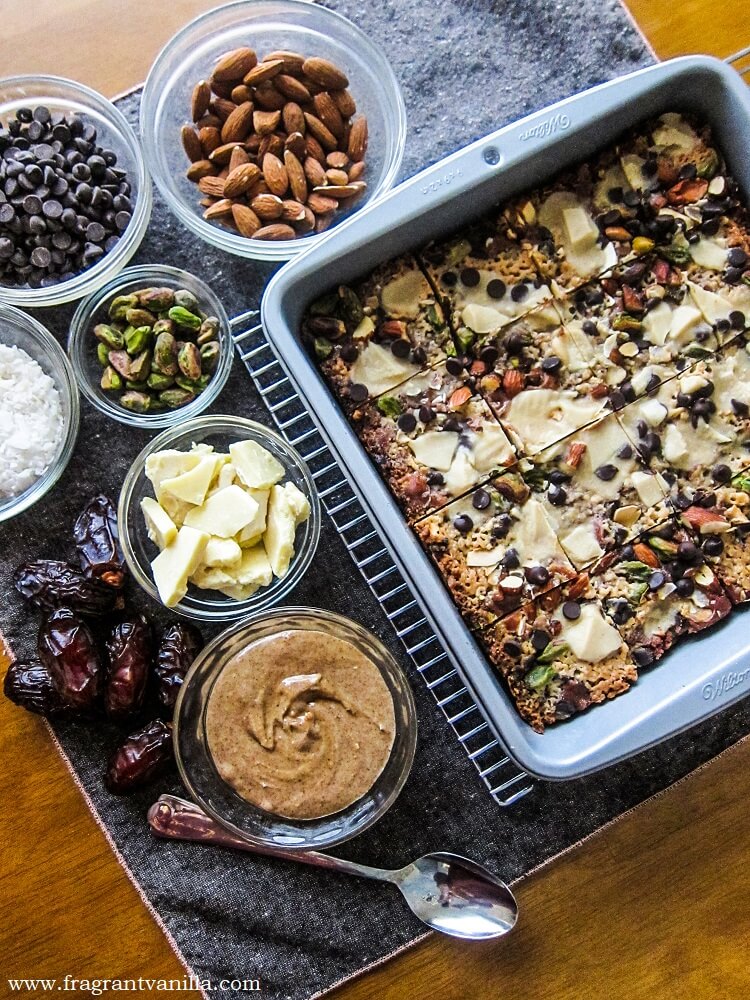
Vegan 8 Layer Bars
Magic cookie bars, seven layer bars, five layer bars 8 layer bars. They are all similar, and I loved them all growing up because they were all delicious. If youLoading....
View Recipes
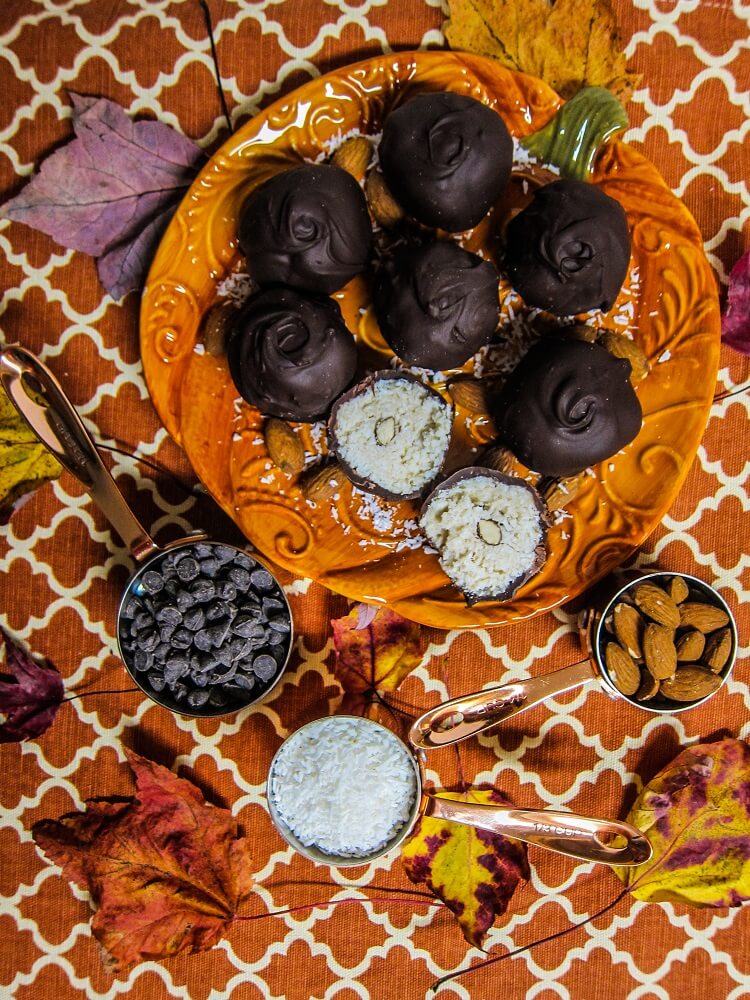
Vegan White Chocolate Coconut Truffles
My Mom is one of my best friends. She has always supported me in whatever I have chosen to pursue in life. She was always at every track and crossLoading....
View Recipes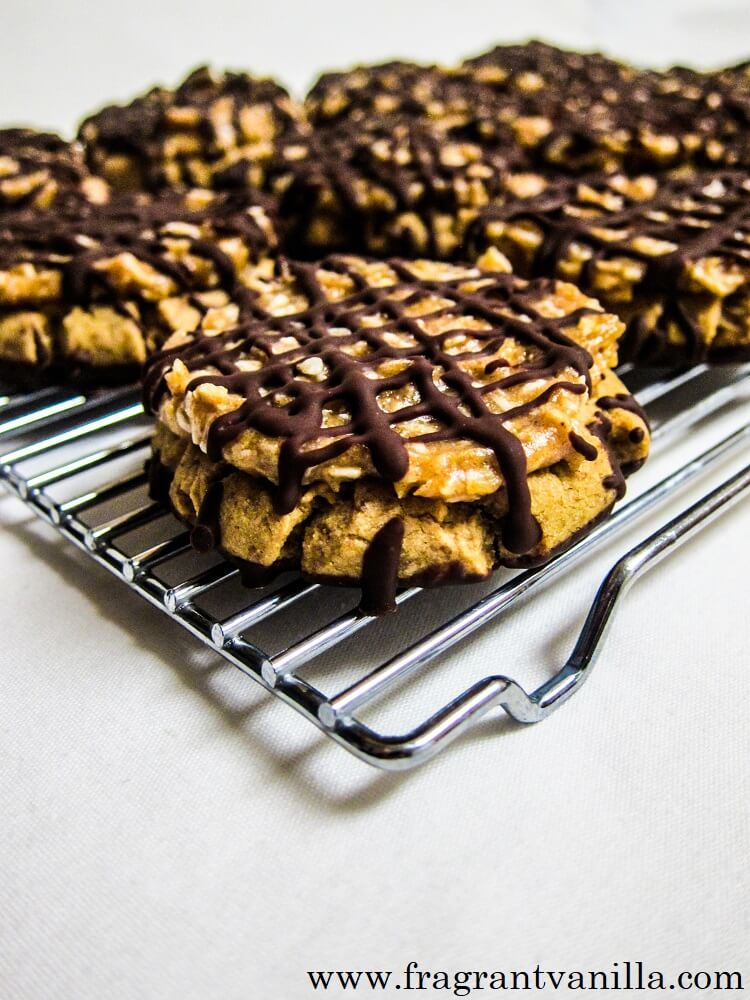
Vegan Samoa Cookies
I was never a Girl Scout. I was in other things when I was younger like dance, choir and a group at church called Pioneer Girls instead. But my familyLoading....
View Recipes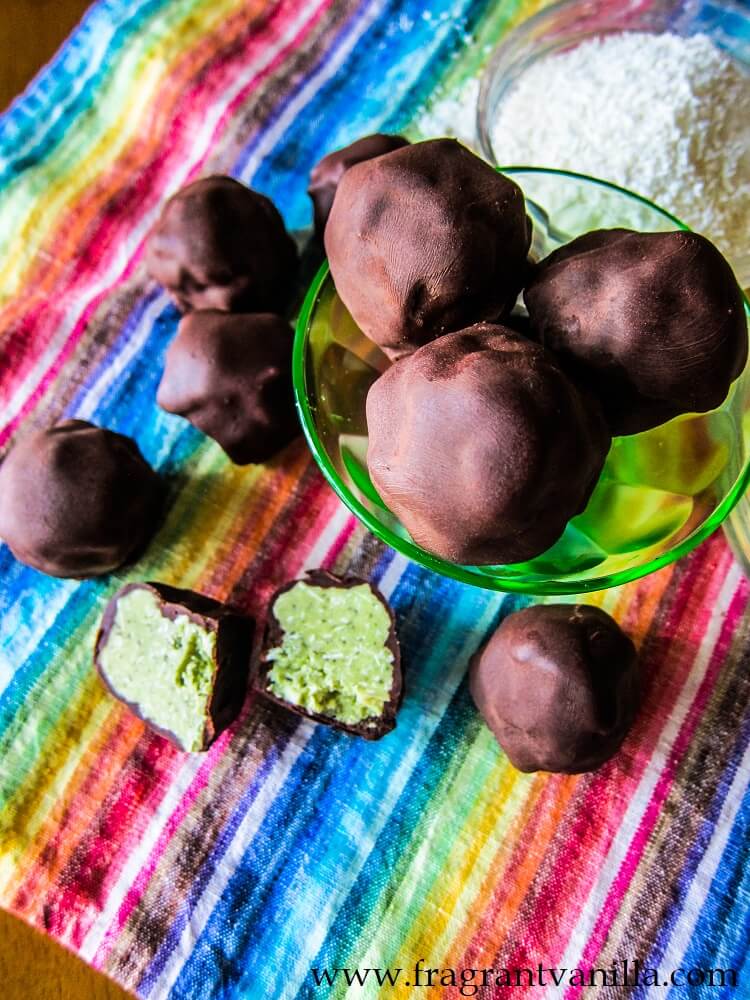
Vegan Coconut Mint and Lime Chocolates
Sometimes I make desserts based on what I am craving, and sometimes I get ideas for them in my everyday life. Maybe the way something looks, or an ingredient ILoading....
View Recipes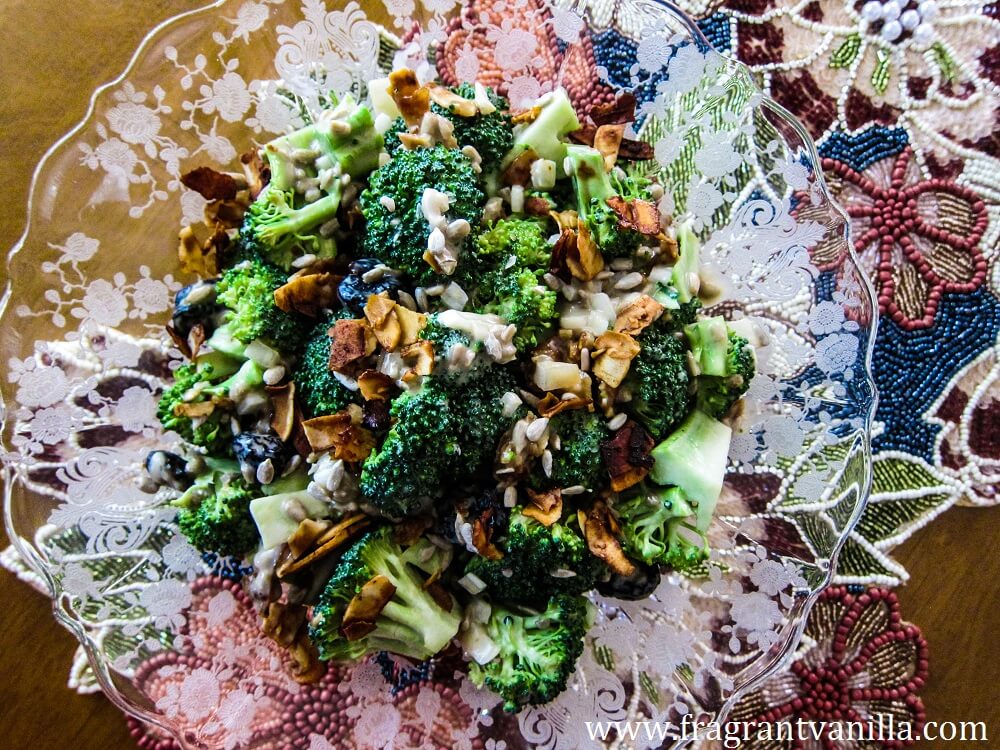
Vegan Broccoli “Bacon” Salad
There is a broccoli bacon salad that is very popular among Minnesotans at church potlucks or summer picnics. It has a creamy dressing, raisins, sunflower seeds, onions and sometimes cheeseLoading....
View Recipes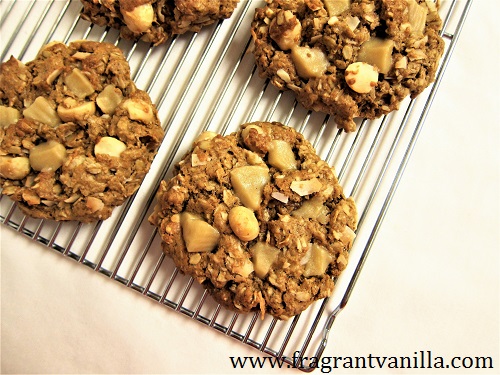
Vegan Macadamia Coconut White Chocolate Oatmeal Cookies
Macadamia white chocolate cookies seemed exotic to me as a kid. I remember getting them at bakeries or stores whenever I was allowed to pick out a cookie, and theyLoading....
View Recipes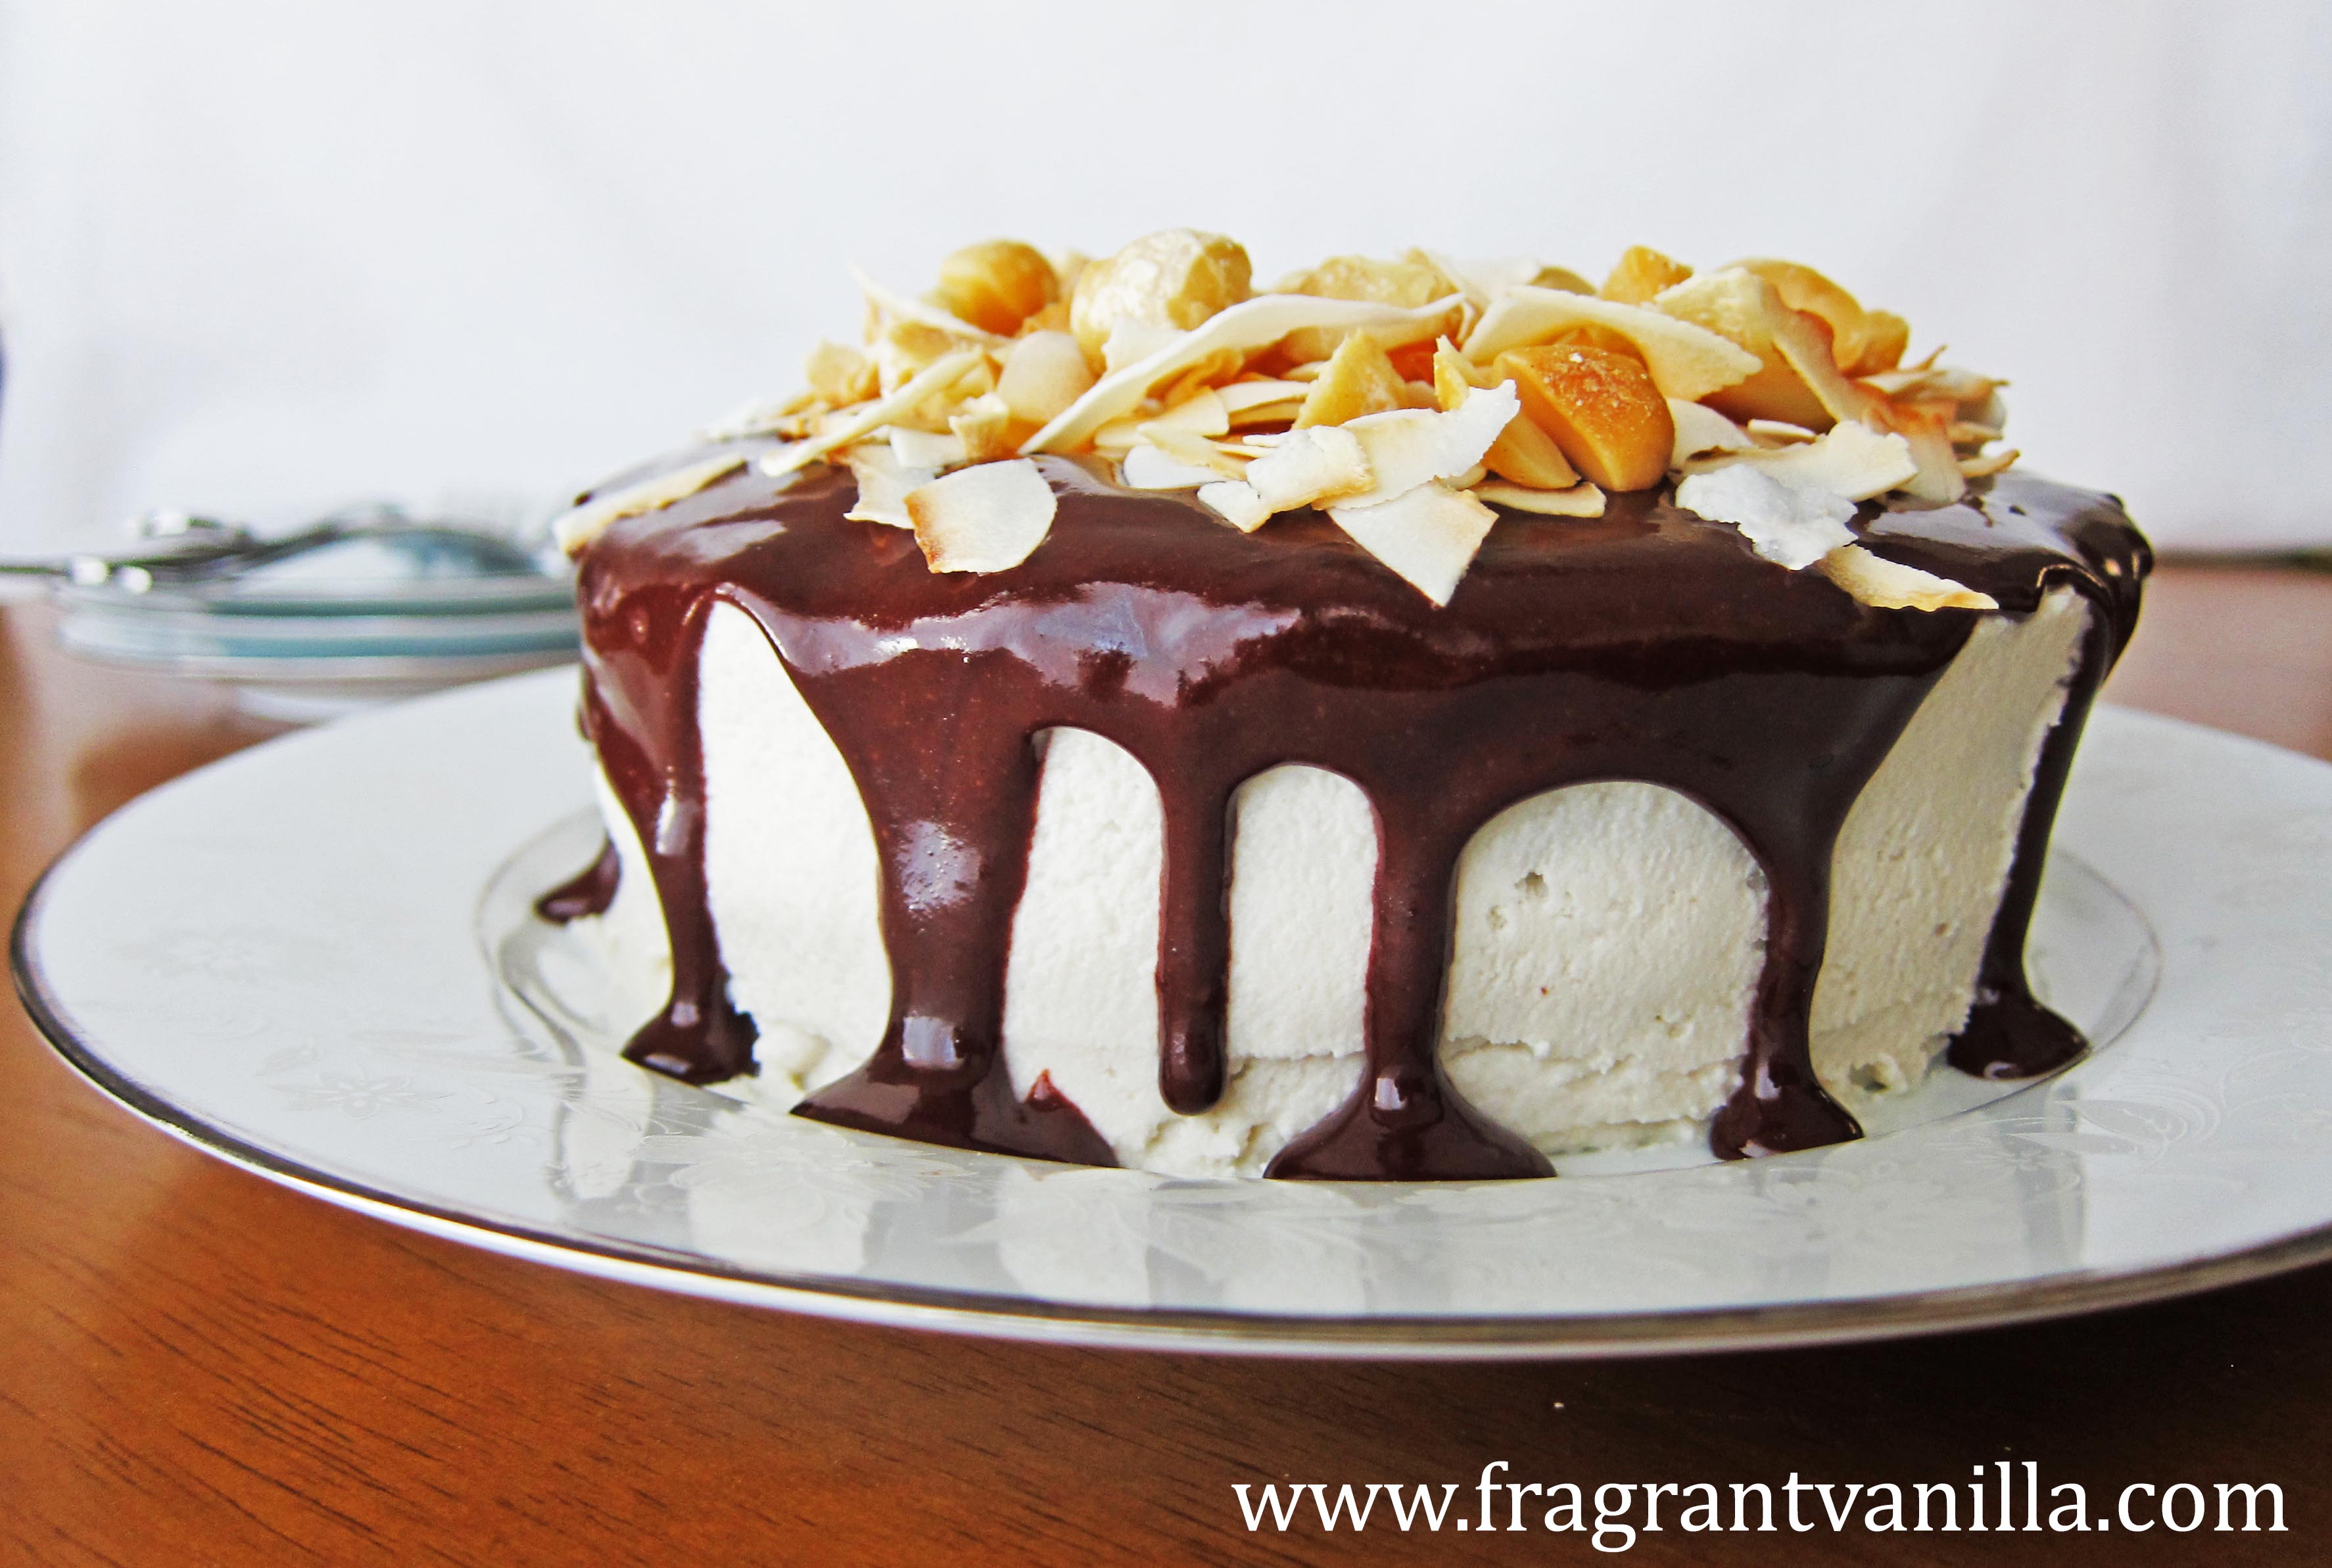
Vegan Dark Chocolate Coconut Macadamia Cake
Fragrant Vanilla Cake has just turned 6 years old! Well, technically it turned 6 on the 5th, but I didn’t have time to make a cake then, so I amLoading....
View Recipes
Vegan Chocolate Pistachio Shortbread Cookie Sandwiches
I was craving some dark chocolate short bread and my Mom had...
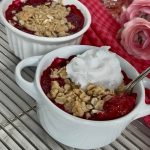
Vegan Raspberry Rhubarb Crisp
I love rhubarb season! Ever since I was little and I...
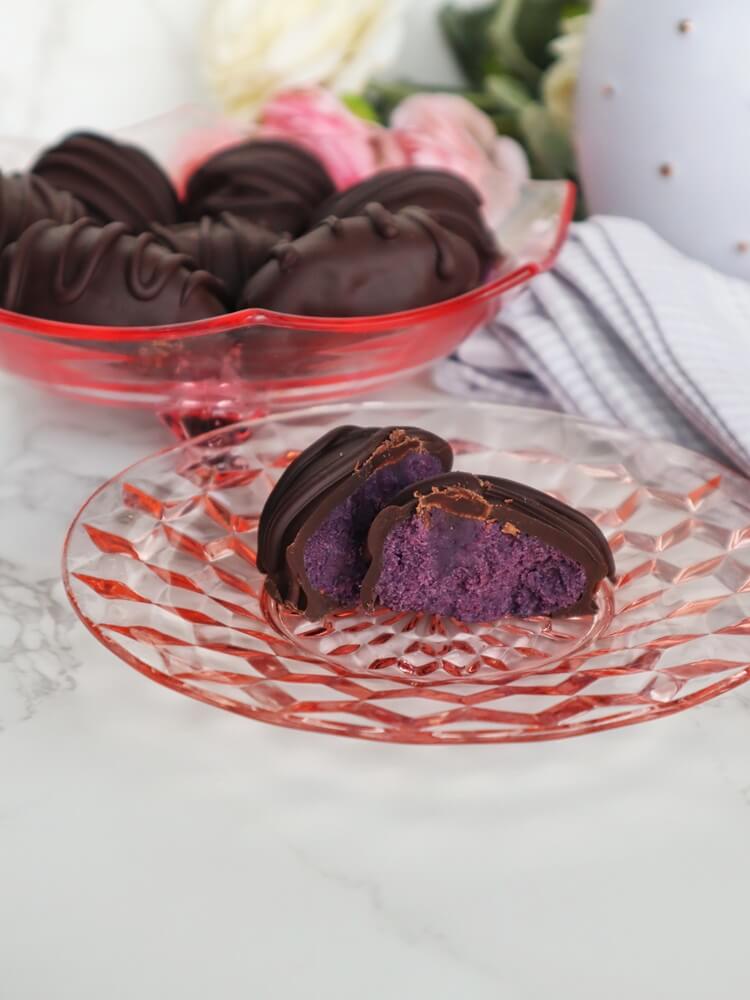
Vegan Blueberry Chocolate Eggs
Even though the stores are filled with Easter candy, I like to...
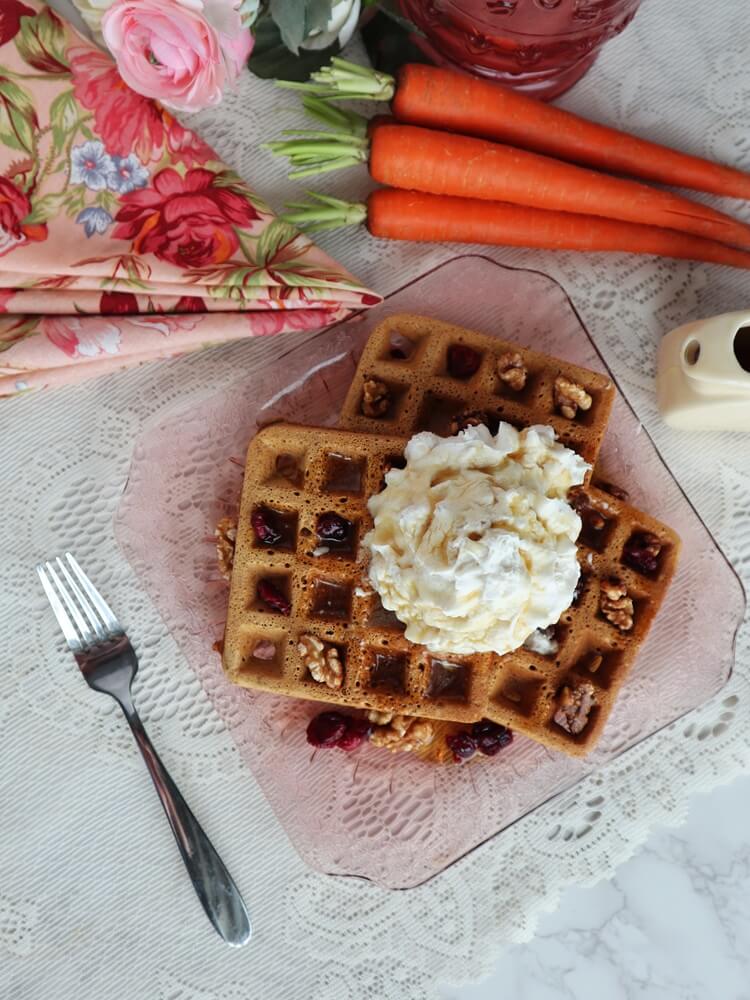
Vegan Carrot Cake Waffles
When I was little, I loved it when my Mom would make...