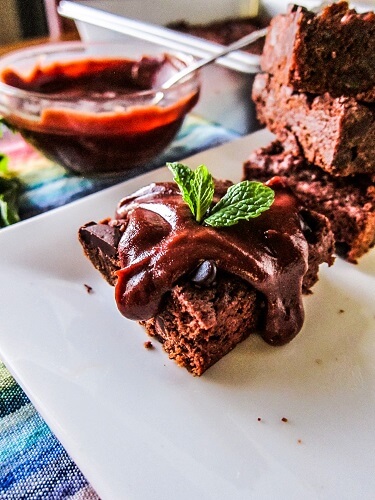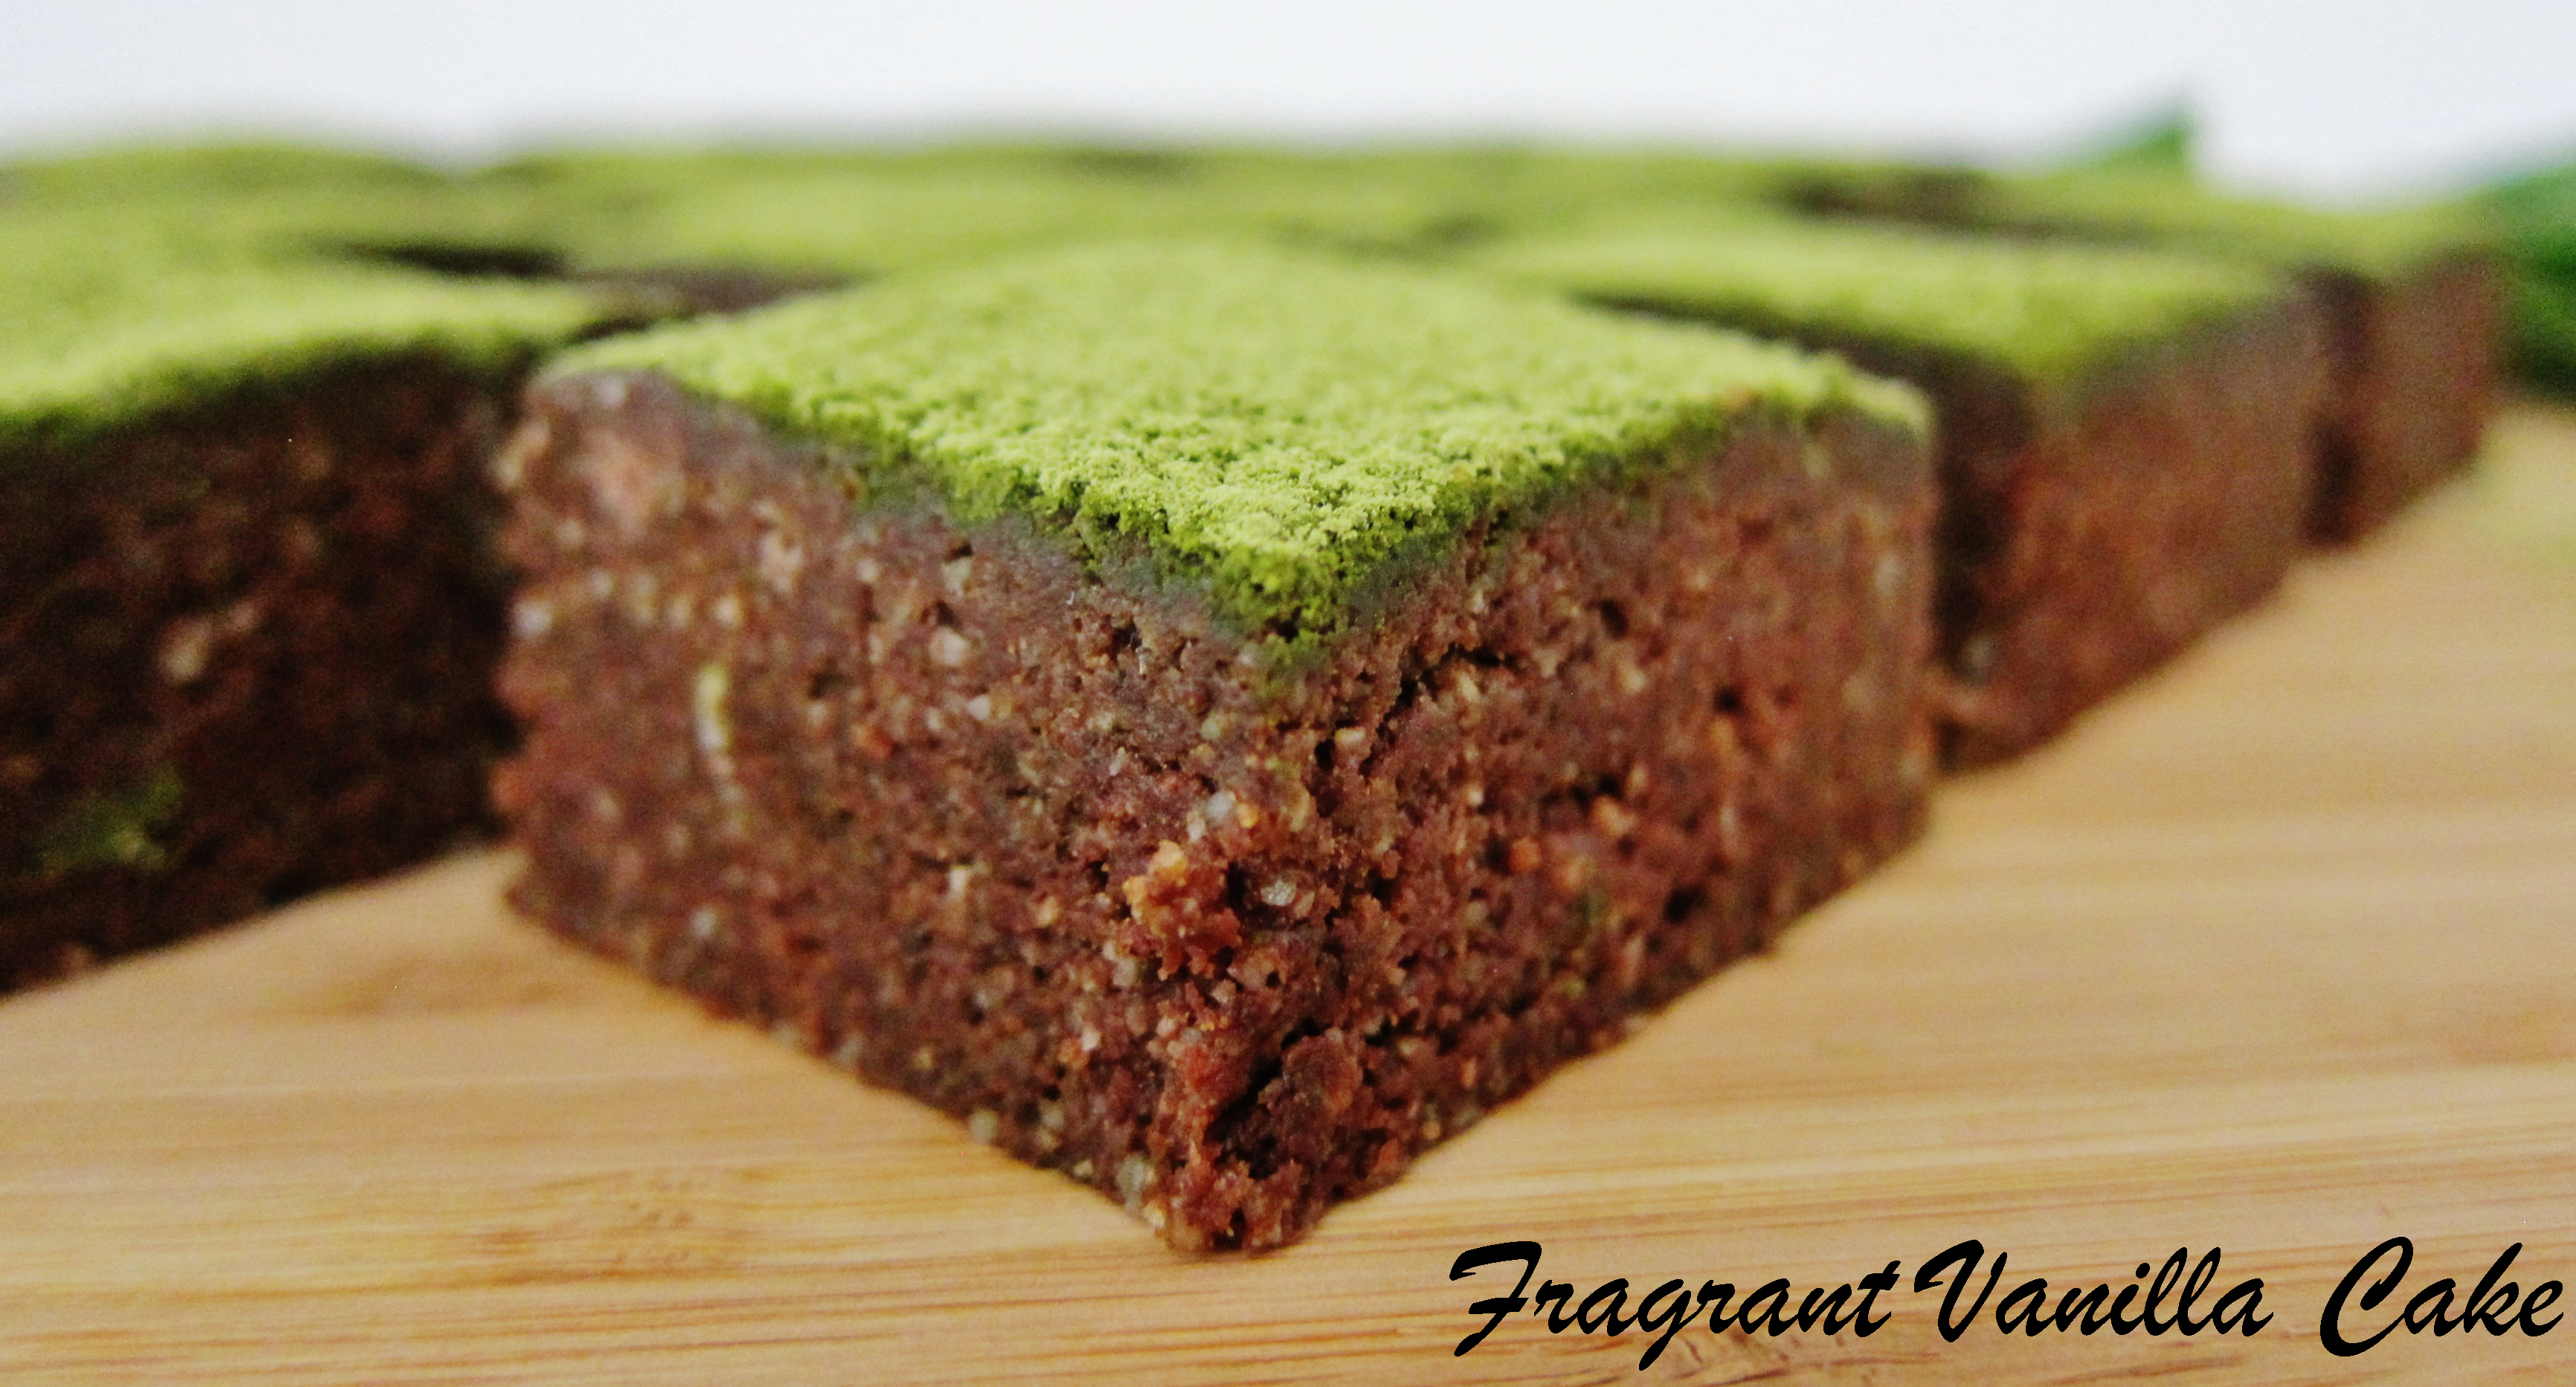
It was looking a bit brown and grey outside here in Minnesota, since it has been pretty cloudy lately, it gets dark early and all of the greenery has died plus we had no snow. That is until this weekend! I woke up to a blanket of fresh snow on the ground and honestly it was lovely to admire on my morning run! Sure it is a bit annoying to drive on, but you have to admit it is pretty and beats the brown. Now that is is finally looking like December I am in the mood for cozy holiday treats! I love a good peppermint mocha, so I thought why not turn it into a cake?! So I made a Vegan Peppermint Mocha Layer Cake! I had just bought a new cake stand that I really wanted to use too so it was perfect! Eric was telling me we should go pick up some coffee and cake to enjoy together and I told him I could do him one better, since I was in the process of making this cake!

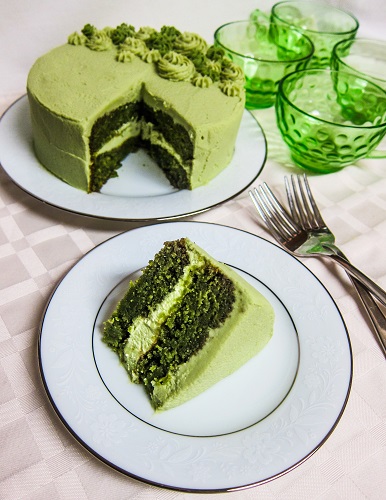
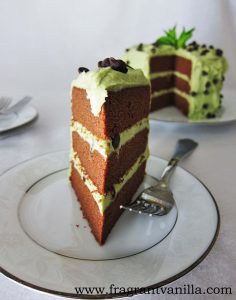
For the cake portion, I made my plain chocolate cake which is a really simple mix and bake recipe, nothing fussy. But I added in some peppermint extract and espresso powder to give it that peppermint mocha flavor. Coffee and chocolate go so well together in cake! One note on this recipe, use full fat coconut milk, the kind with cream, because it is the fat in this cake recipe and what gives it a nice texture. Also, it must be at room temperature otherwise the cake baking time will get messed up and it may bake unevenly. I learned these things the hard way with other cakes, but if you use the right milk at the right temperature it comes out just right!
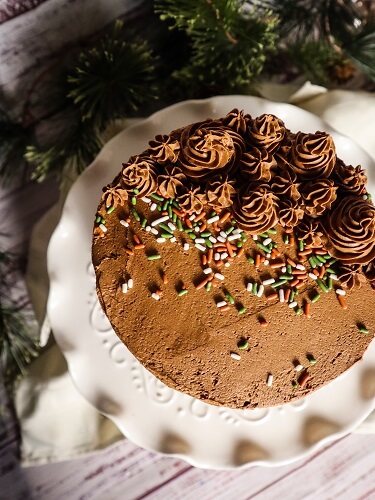
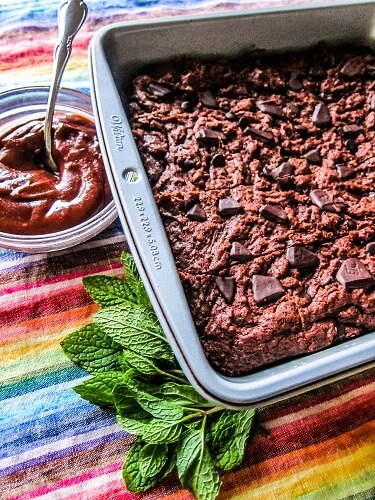
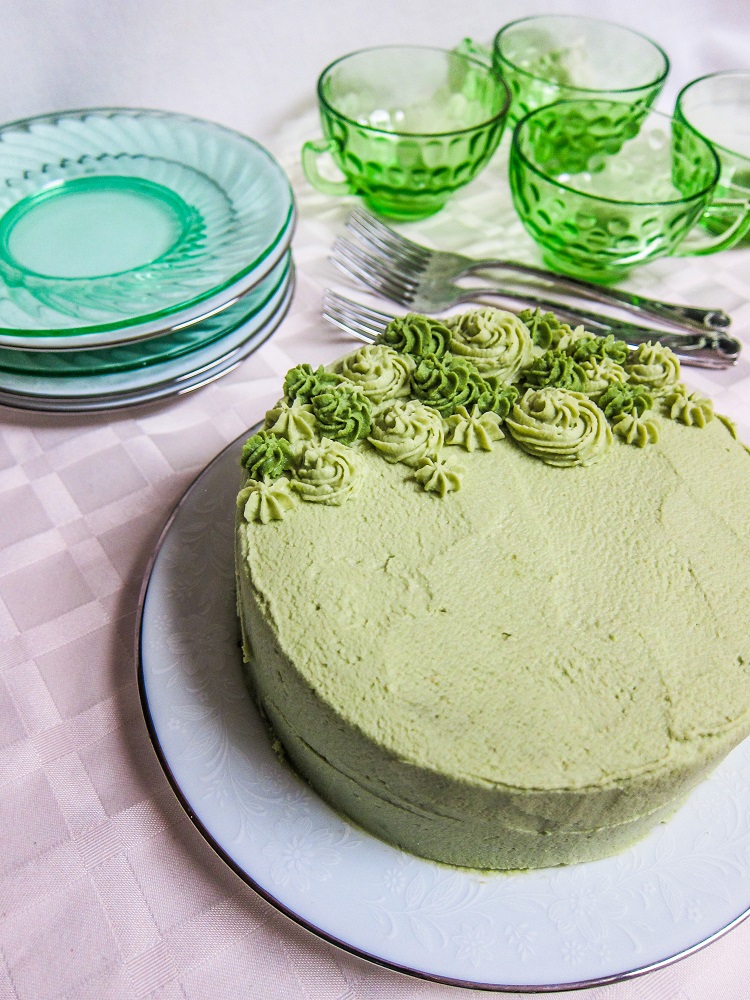
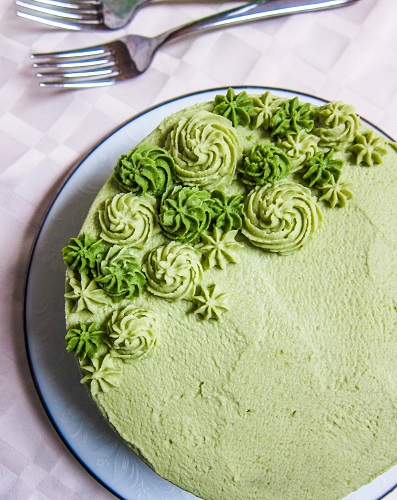
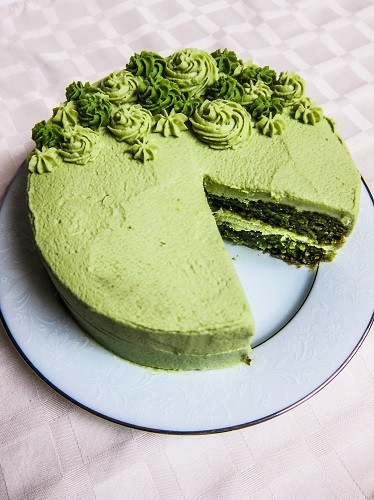
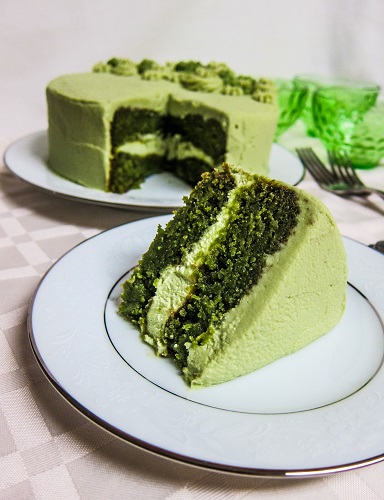
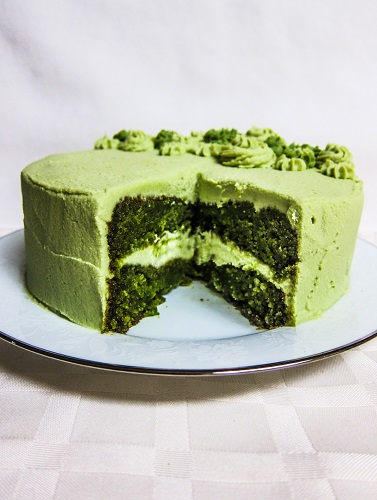
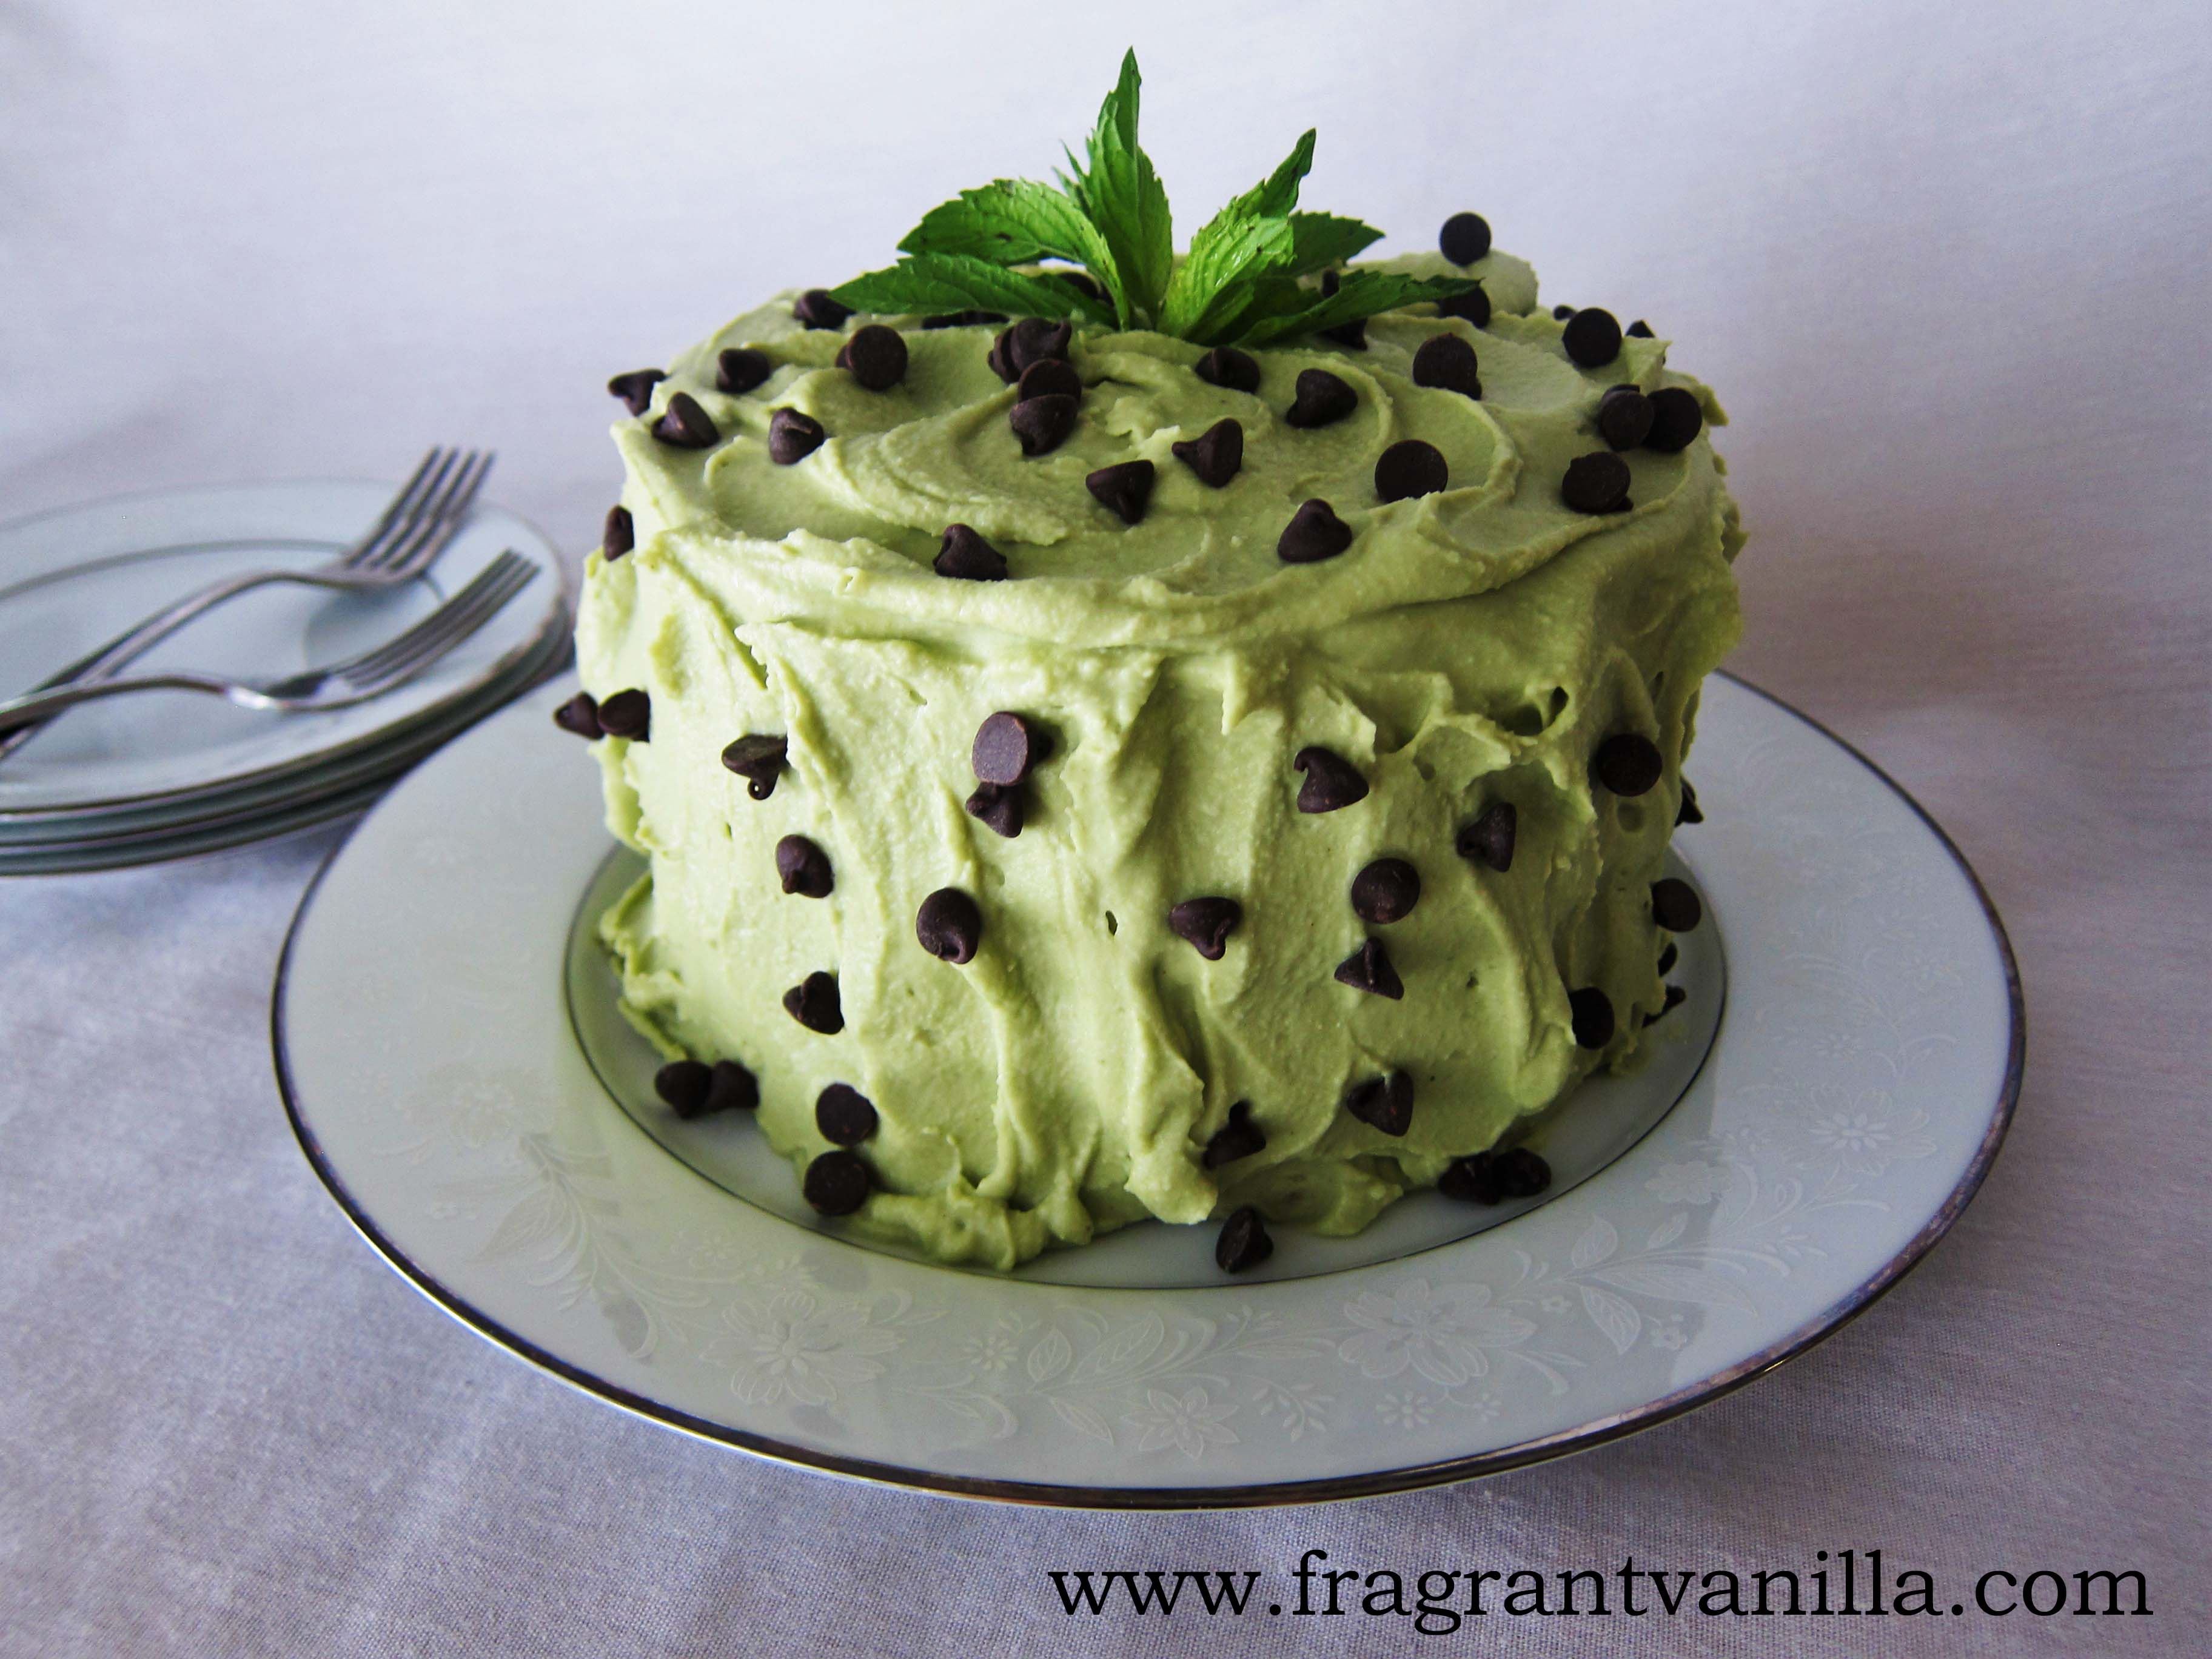
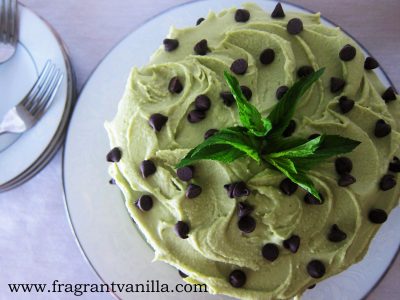
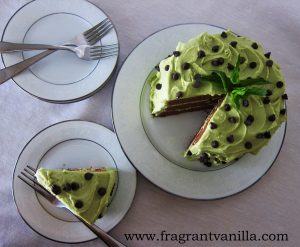
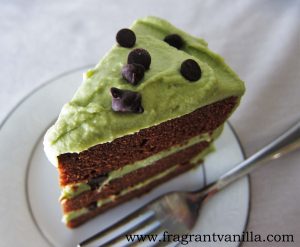
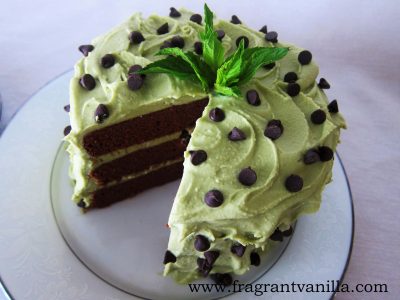
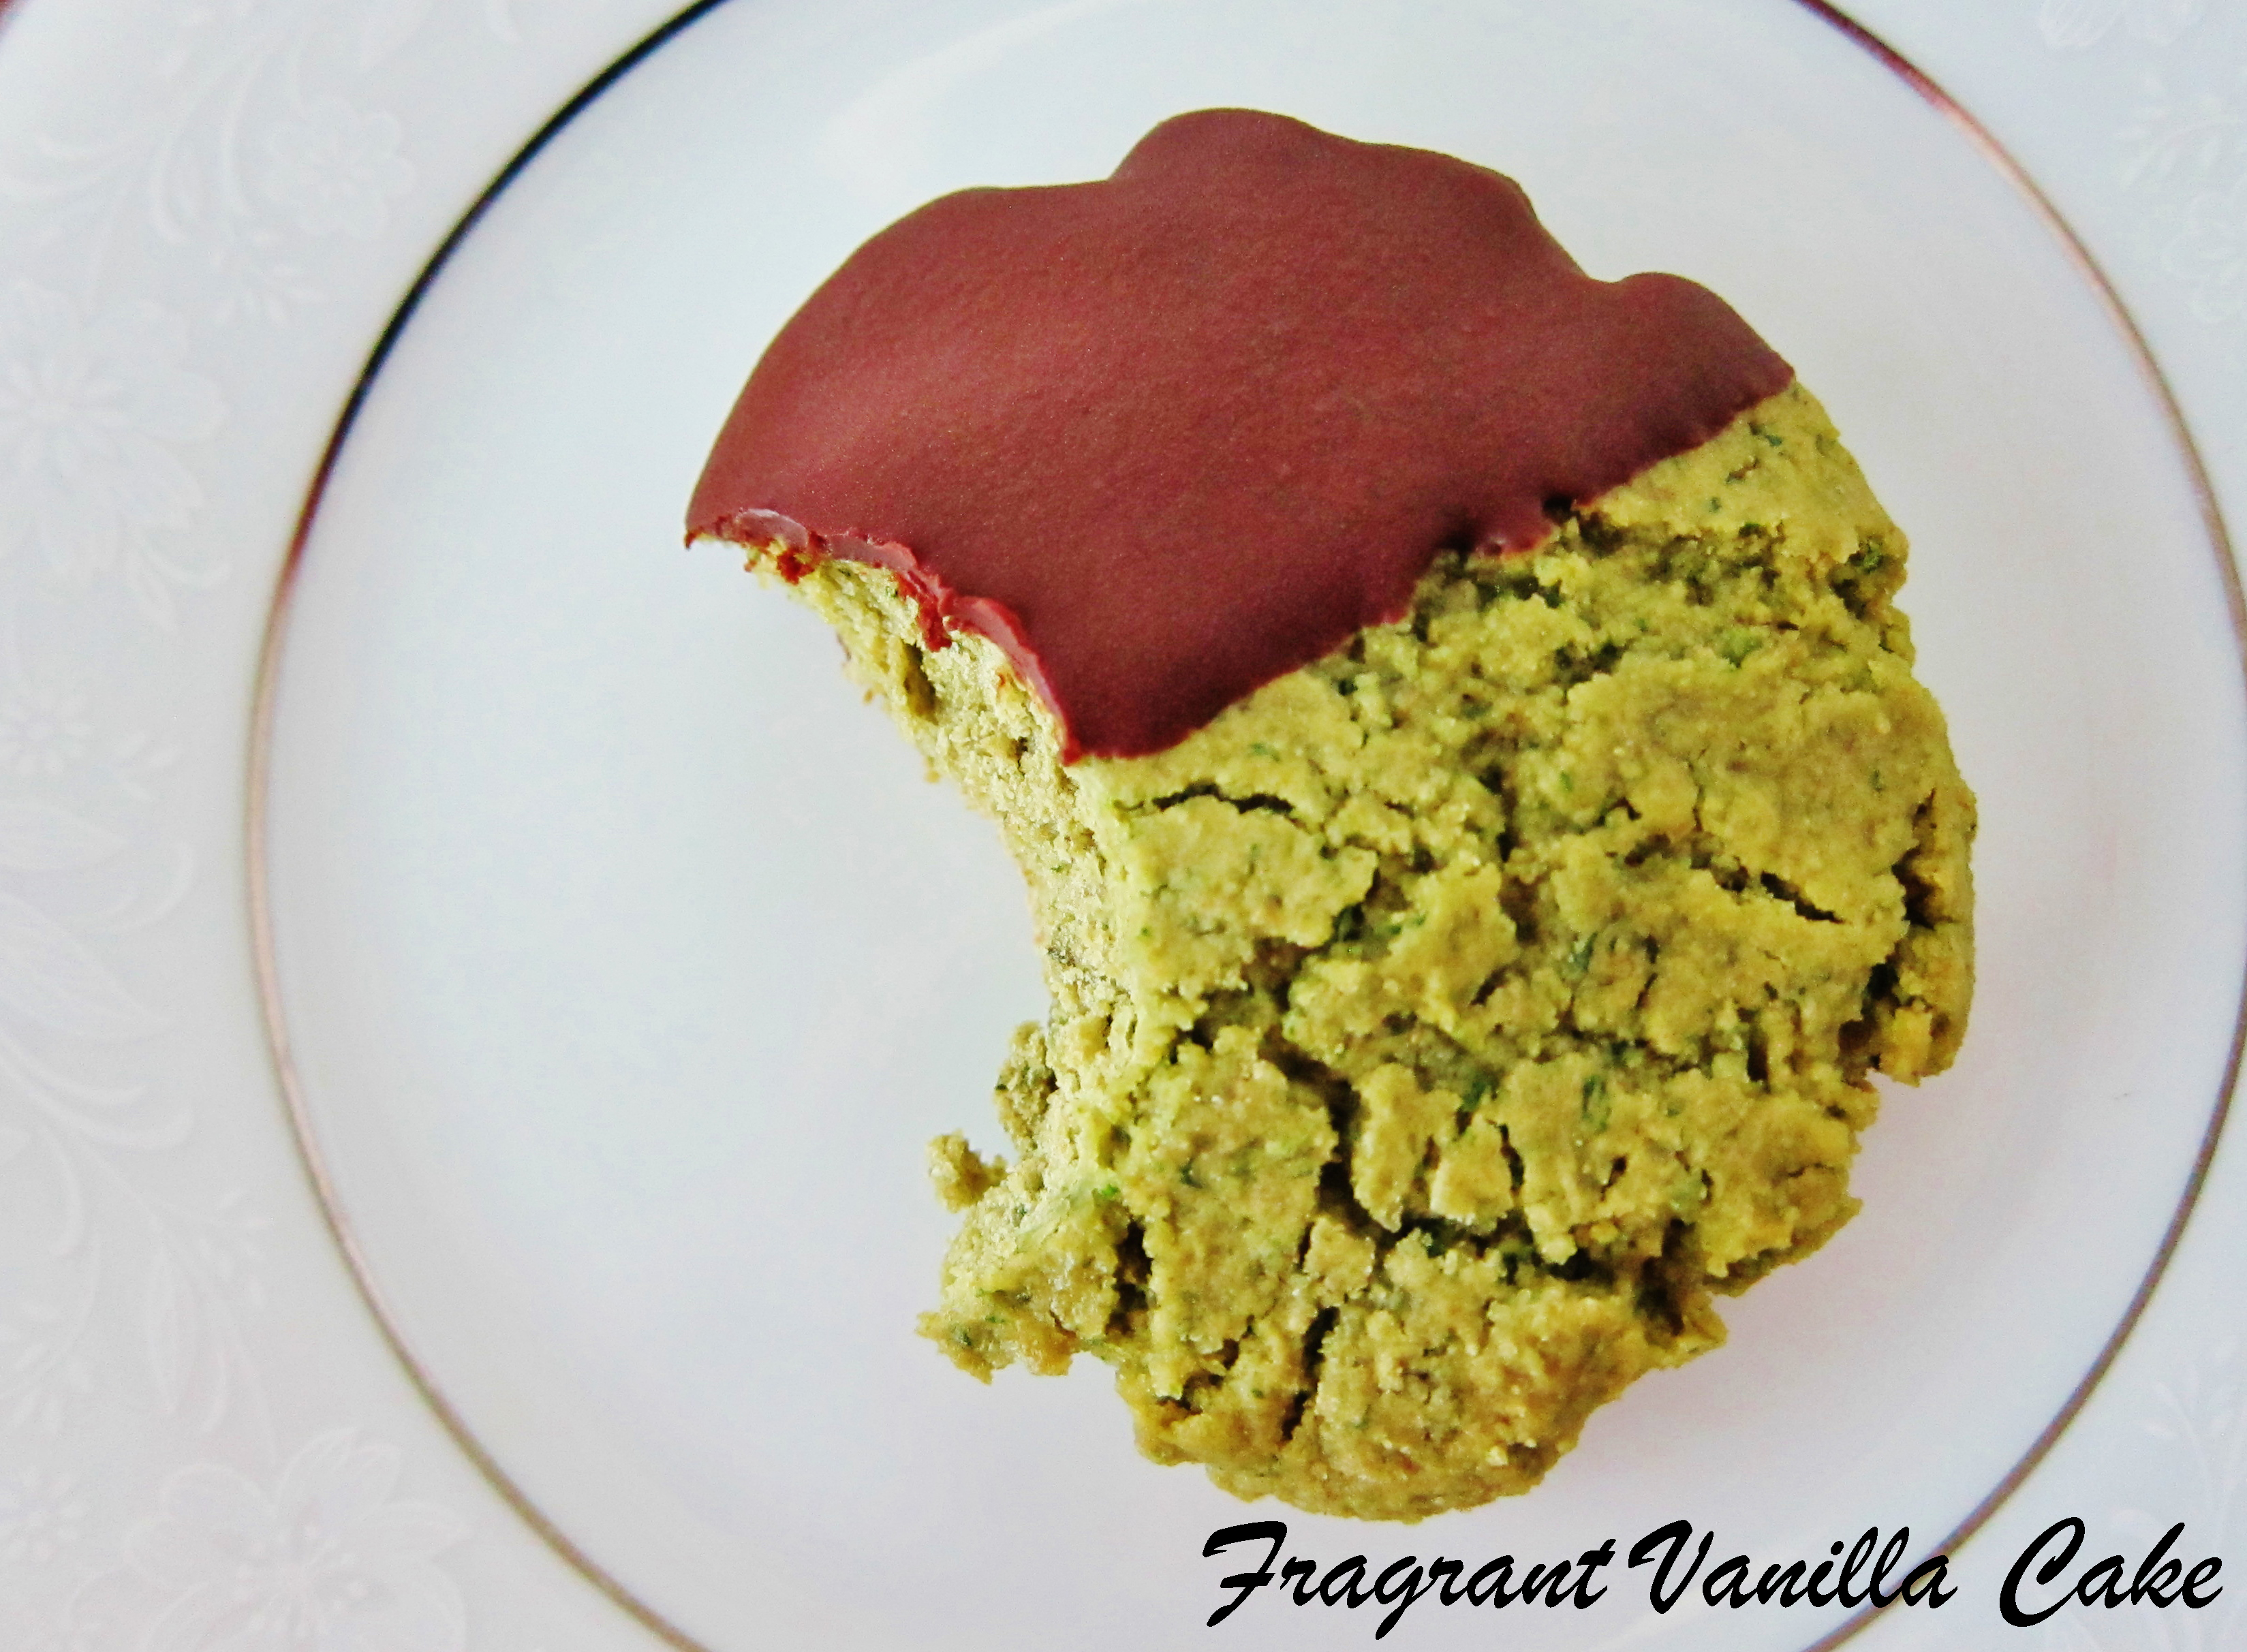
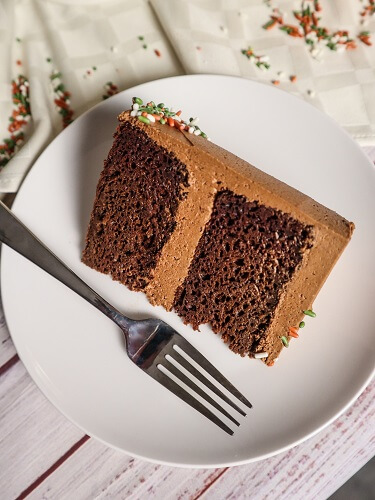
The batter tasted amazing and the cake baked up beautifully! My kitchen smelled amazing like peppermint brownies! I let my cakes cool overnight since I was making them after work, and did not have time to frost them that night. I often times do this because I know for sure they will be cool when I frost them and they seem to be easier to handle. Plus it isn’t such a big project for one day. Eric requested I make the cakes with a different frosting than the coconut based one I usually use, one that is more like the cake we buy at the local bakery so I made a vegan buttercream.
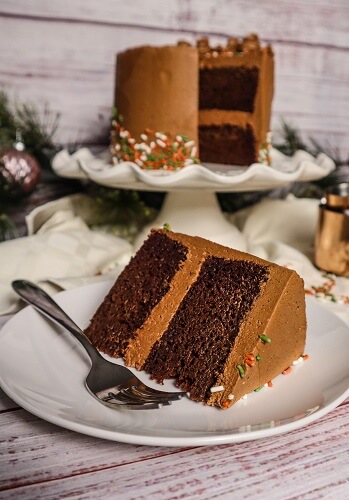
I know I usually don’t use refined sugars in my recipes but for a request from my husband and an occasional treat I thought why not?! So I used Earth balance to make a creamy fluffy vegan chocolate mint buttercream and it was sooo good! It tasted just like the frosting from our favorite bakery! Eric even ate the extra I had after decorating. The thing about this recipe is you will have plenty to decorate with which I love, since I like a good amount of frosting on my cakes. Has to be the right ratio of frosting to cake, and if you mess up that way you have a little extra.
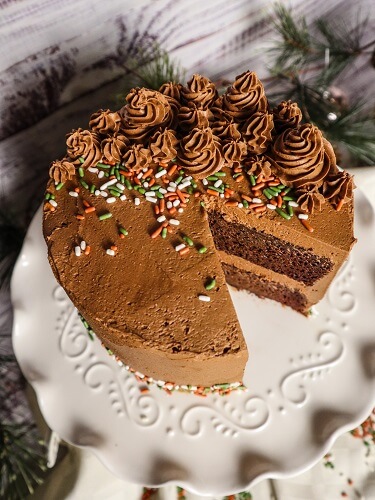
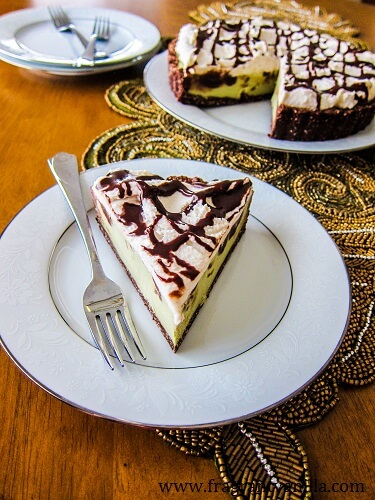
This cake turned out lovely and frosted nicely, I was very pleased with the result! It was heavenly, and just the right texture. The cake was soft and light, rich with dark chocolate flavor and coffee plus that hint of peppermint and the smooth creamy frosting was the perfect pairing with it! If you are a fan of peppermint mochas and cake, definitely give this a try!
Vegan Peppermint Mocha Cake
Makes one 6 inch cake
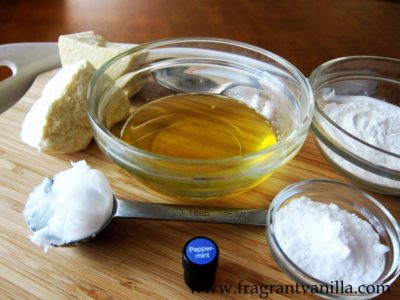
Ingredients:
two 6 inch cake pans
Cake:
- 1 1/2 cups organic whole wheat pastry flour
- 1/4 cup plus 2 Tbsp cacao powder
- 2 Tbsp espresso powder
- 1 1/2 tsp baking soda
- 1 tsp baking powder
- 1/2 tsp sea salt
- 1 cup maple sugar
- 2 cups full fat coconut milk (the thick kind that is mostly cream, I prefer Thai Kitchen brand) at room temperature
- 2 tsp pure vanilla extract
- 1 tsp peppermint extract
- 2 Tbsp cider vinegar
Frosting:
- 1 1/2 cups vegan butter, I used Earth Balance (if using the sticks, 3 sticks)
- 3 Tbsp plant based milk
- 1 tsp pure vanilla extract
- 1 tsp peppermint extract
- 1 cup cacao powder
- 4 cups organic powdered sugar
Instructions:
- Preheat the oven to 350F degrees and position rack in center of oven.
- Oil two 6 inch round baking pans and line them with parchment at the bottom so it will not stick.
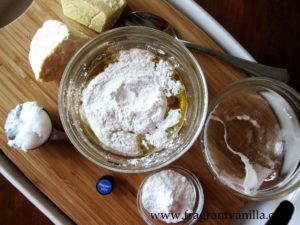
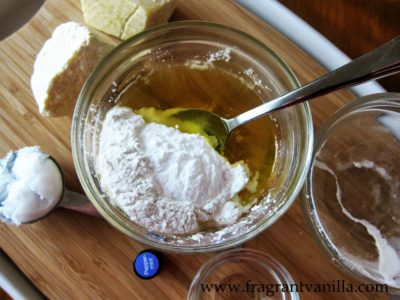
- Whisk flour, cacao powder, espresso powder, baking soda, sea salt, and sugar in a large bowl to blend well.
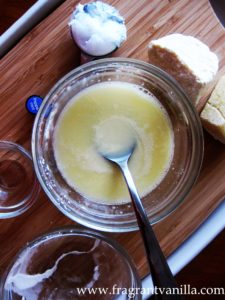
- Whisk coconut milk, peppermint and vanilla extract together in small bowl to blend well, then whisk into the flour mixture until well blended.
- Whisk the cider vinegar into the batter.
- Transfer the cake batter to prepared pans.
- Place in the oven, and bake cake until tester inserted into center comes out clean with just a few moist crumbs attached, about 25 minutes.
- Remove from the oven and let cool completely, then un-mold, by cutting around the edges if they are stuck at all, then putting plate over the top, then flipping it onto that plate then placing a plate on the bottom and flipping it upright onto that plate.
- To make the frosting, beat the butter in a large bowl with the milk, vanilla and mint until fluffy.
- Add the cacao powder and beat until well incorporated (scraping the sides down), then add the powdered sugar 1 cup at a time until completely mixed and light and fluffy.
- When ready to assemble, spread about 3/4 cup frosting over the first layer of the cake, then top with the other cake layer. Spread the remaining frosting over the top and down the sides of the cake. Use the remaining frosting to decorate the top of the cake if desired.
- Enjoy!
Cake keeps stored in the refrigerator, covered for up to 1 week.
Notes:
If you would rather use coconut sugar or granulated sugar for this, it will work in place of the maple sugar.
If you prefer to use regular AP flour in this in place of the whole wheat pastry that will work as well.
If you would like to make a 9 inch round cake, double the entire recipe, and bake it in two 9 inch round pans, increasing the baking time to 50 minutes to 1 hour (depending on your oven).
This cake can be made gluten free by swapping out the whole wheat pastry flour for Bob’s Red Mill gluten free all purpose baking flour (this is a brand I have used before and have tested it in cakes with great results).