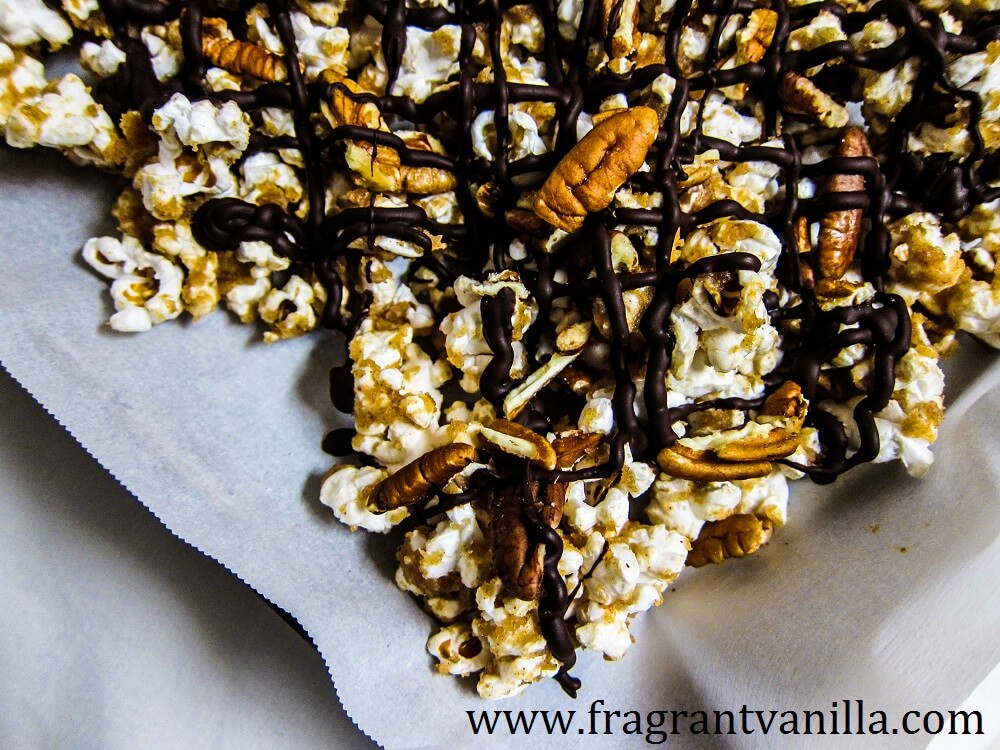
There was one day last week when everyone around me seemed like they were having a tough day. You know, like the book “Alexander and the Terrible, Horrible, No Good,Loading....
View Recipes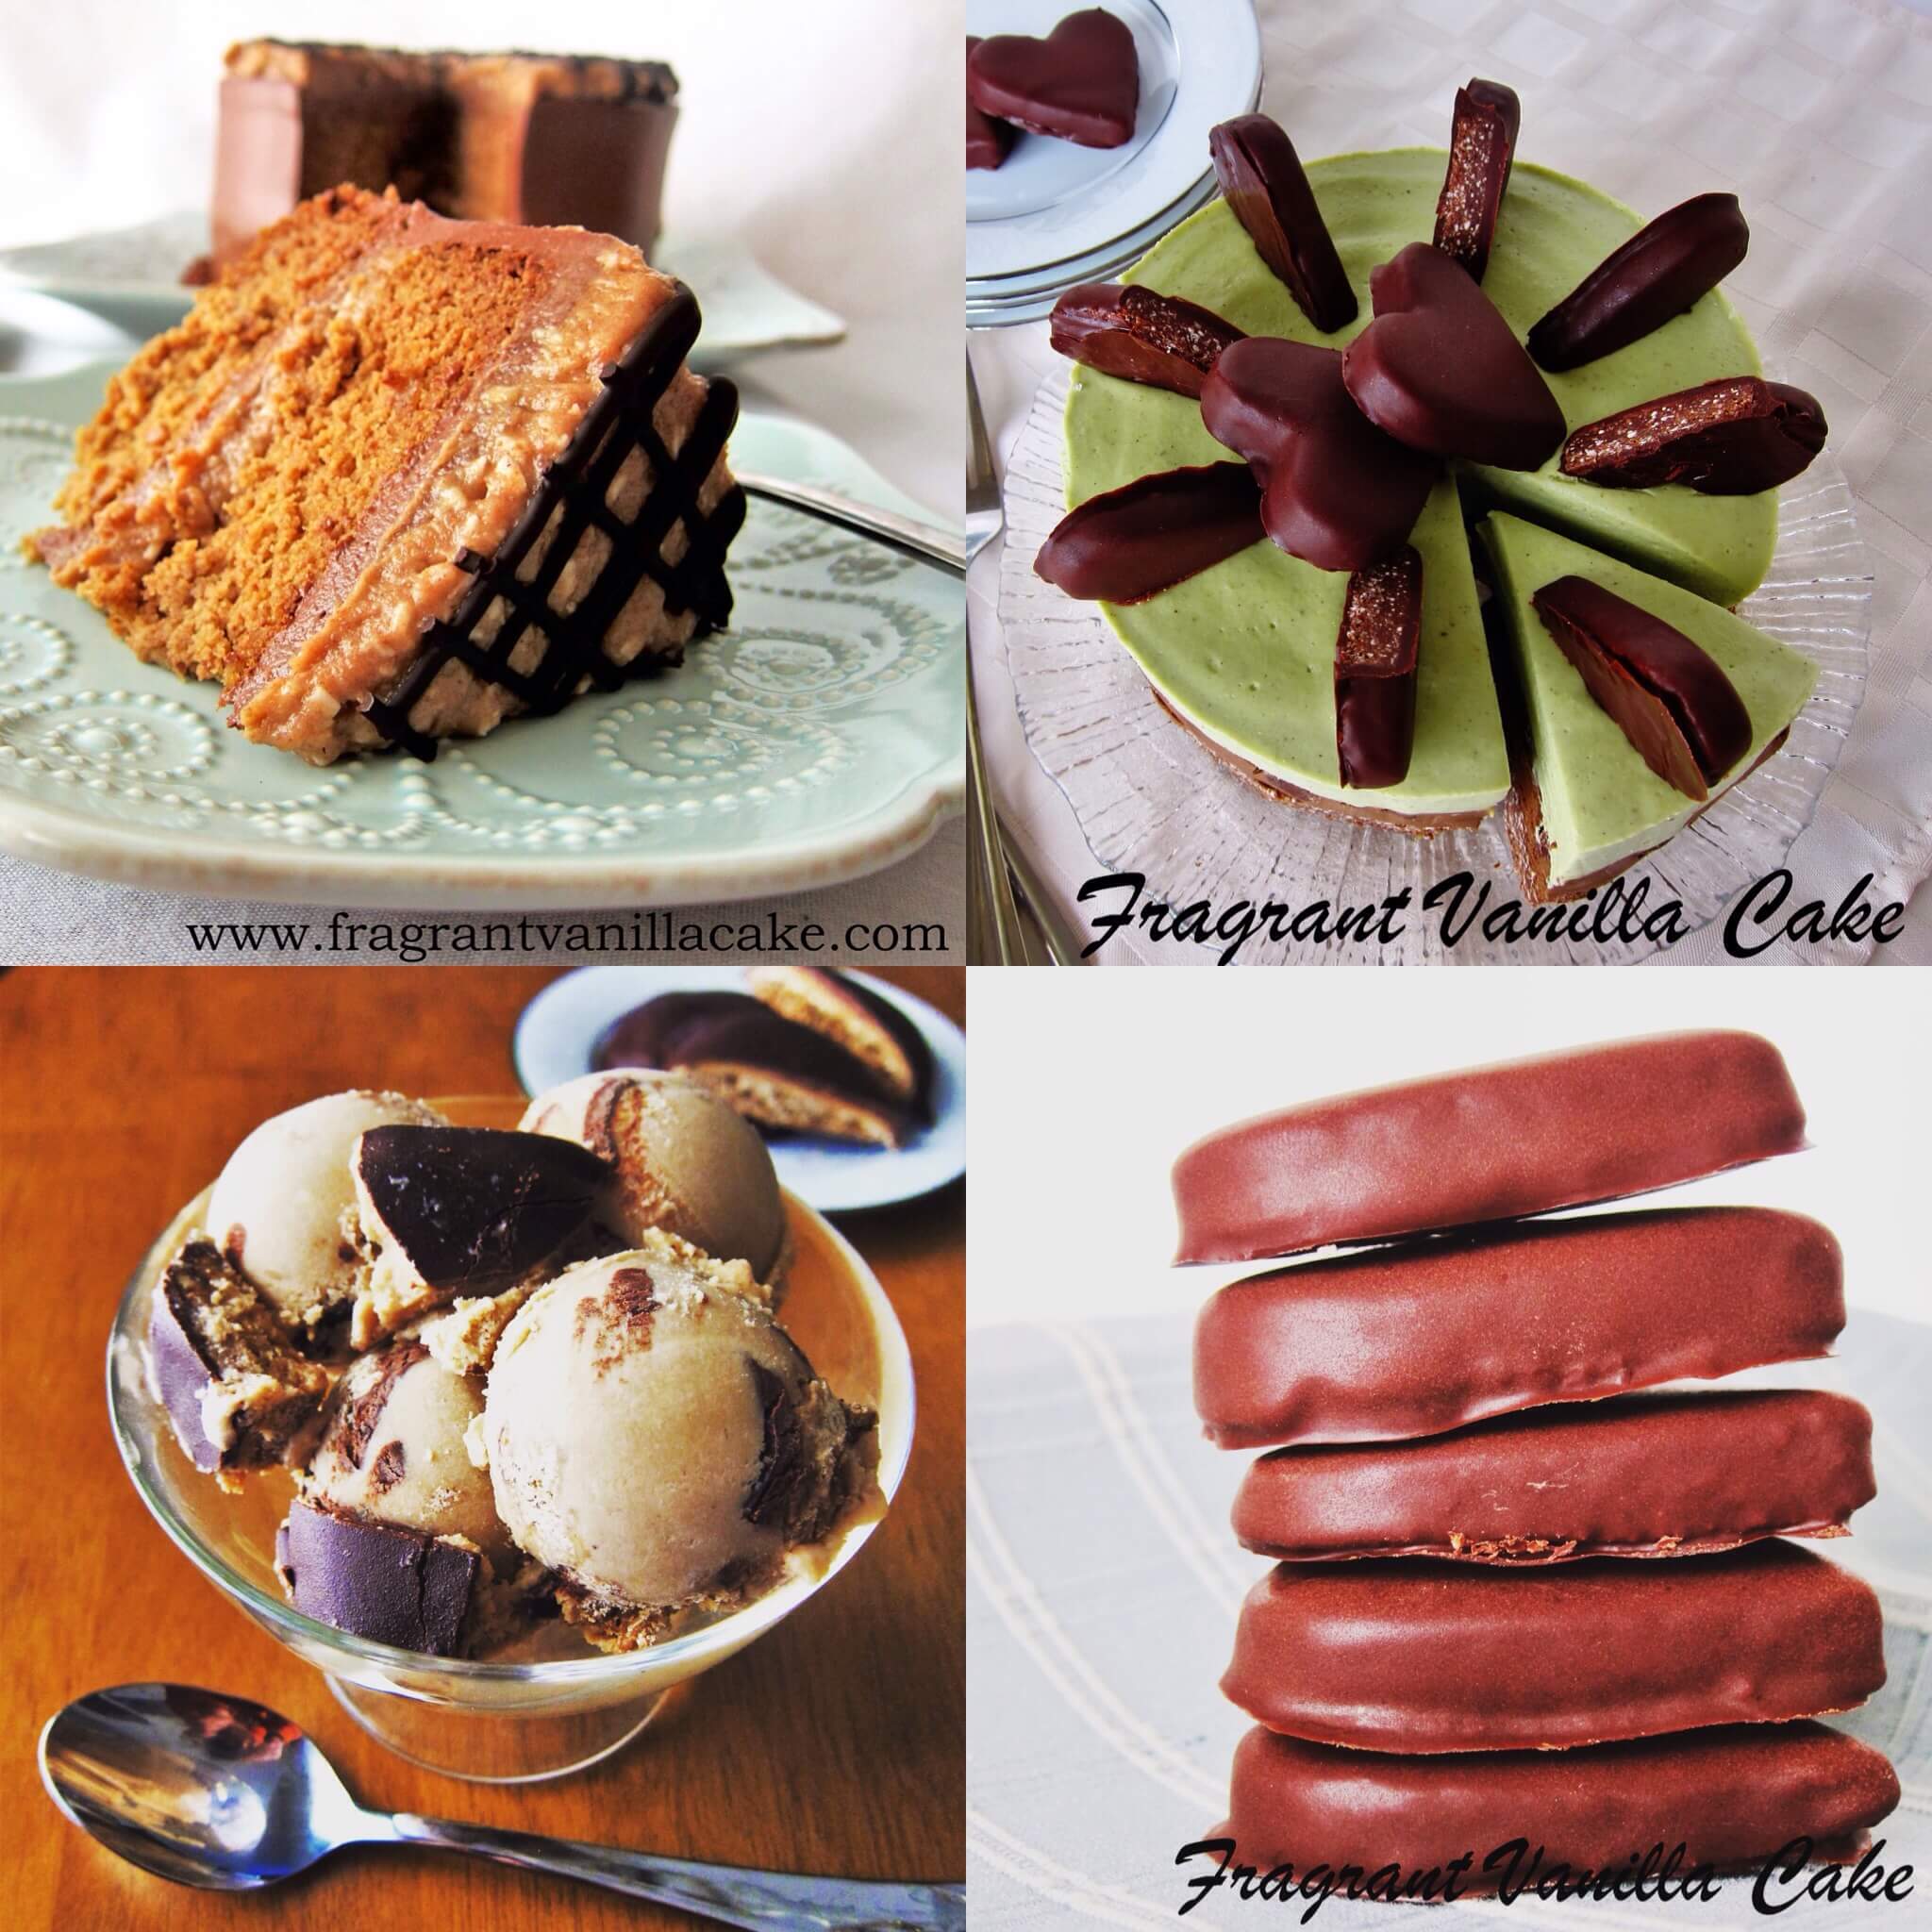
15 Vegan Girl Scout Cookie Themed Dessert Recipes
Girl Scout cookies are considered an American staple. You can’t go anywhere early in the year and not see a table set up with little girls selling their cookies. InLoading....
View Recipes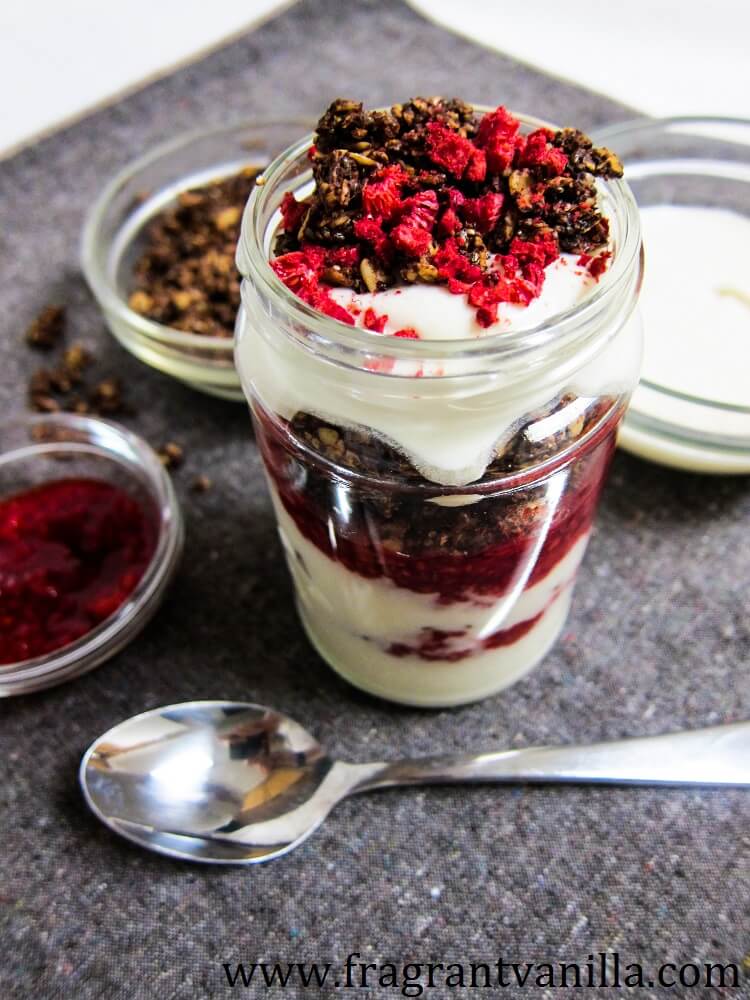
Chocolate Chia Crunch Granola and Coconut Yogurt Parfait
There was a time in my life before I went vegan that I ate yogurt every afternoon for a snack topped off with fruit. I was a huge yogurt eater,Loading....
View Recipes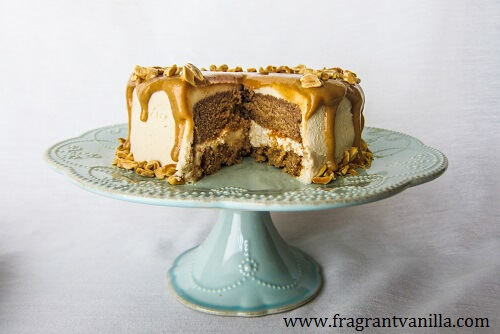
Vegan Peanut Butter Love Cake
If I could eat a whole jar of peanut butter I would. I love the stuff, and I always have since I was a little kid. Reese’s peanut butter cupsLoading....
View Recipes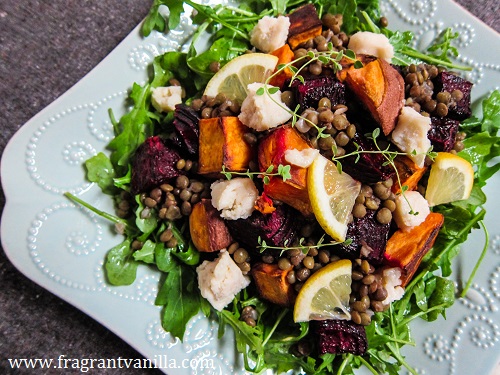
Roasted Sweets and Beets Lentil Salad
It was so warm here yesterday we set a record. Sixty degrees in February in Minnesota is almost unheard of. I am sure the skiers and other Winter sport enthusiastsLoading....
View Recipes
Raw Seed and Fruit Energy Bars
At the deli I work in, we make birdseed bars, and they always smell so good to me while baking, and the ingredients smell good, but they are not vegan.Loading....
View Recipes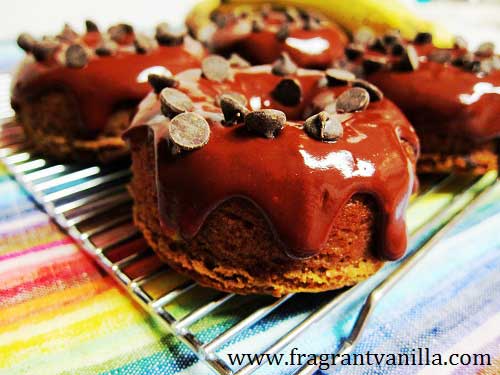
Vegan Peanut Butter Banana Chocolate Chip Doughnuts
Some of the best things in life are free. Long runs on chilly mornings, smiles, watching beautiful sunsets, cuddling, kind words. Also old bananas that the store gives you forLoading....
View Recipes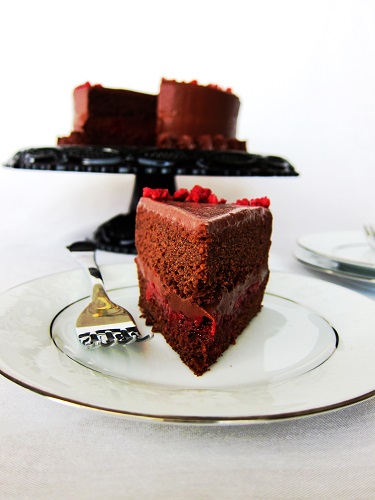
Vegan Dark Chocolate Red Wine Cake
Last week was kind of a stressful one for me. Including my computer breaking and losing most of my photos and everything because the hard drive was toast. There wereLoading....
View Recipes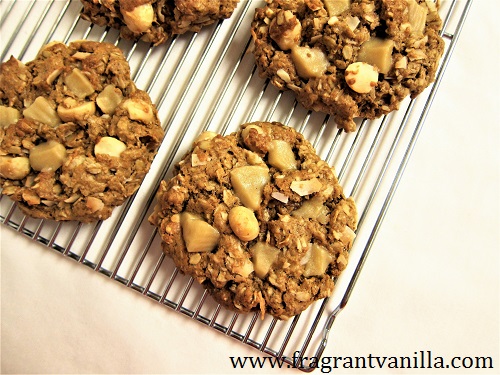
Vegan Macadamia Coconut White Chocolate Oatmeal Cookies
Macadamia white chocolate cookies seemed exotic to me as a kid. I remember getting them at bakeries or stores whenever I was allowed to pick out a cookie, and theyLoading....
View Recipes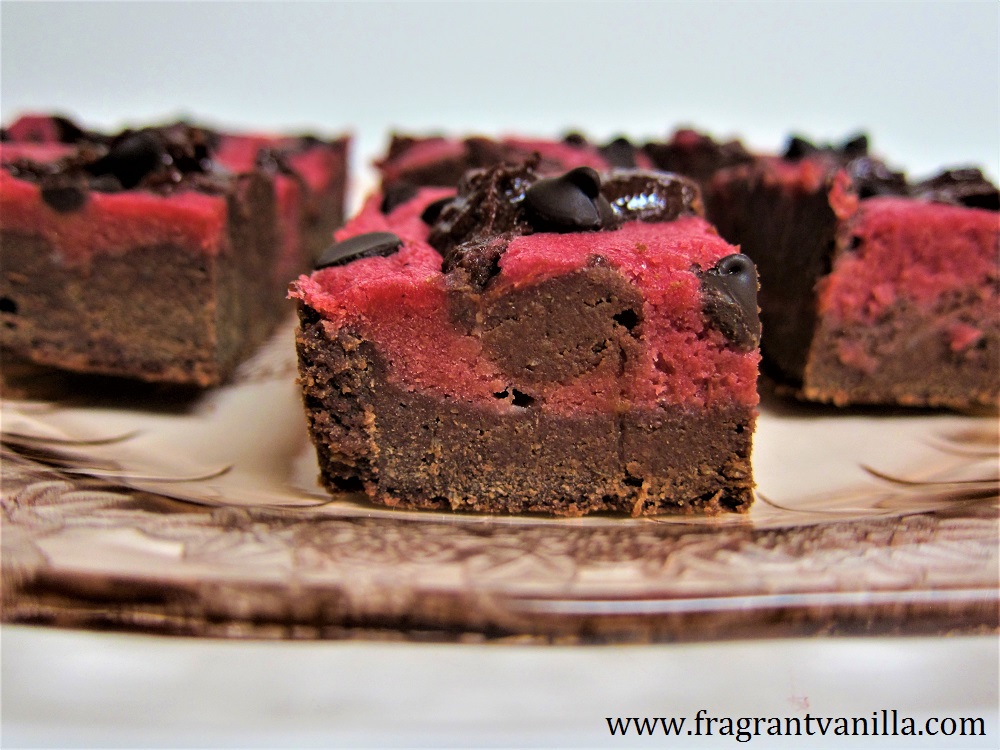
Vegan Pink Velvet Cheesecake Swirl Brownies
One of my all time favorite relaxing activities is baking something delicious in the kitchen. So, last Monday I decided to bake some brownies since it was my day off. Loading....
View Recipes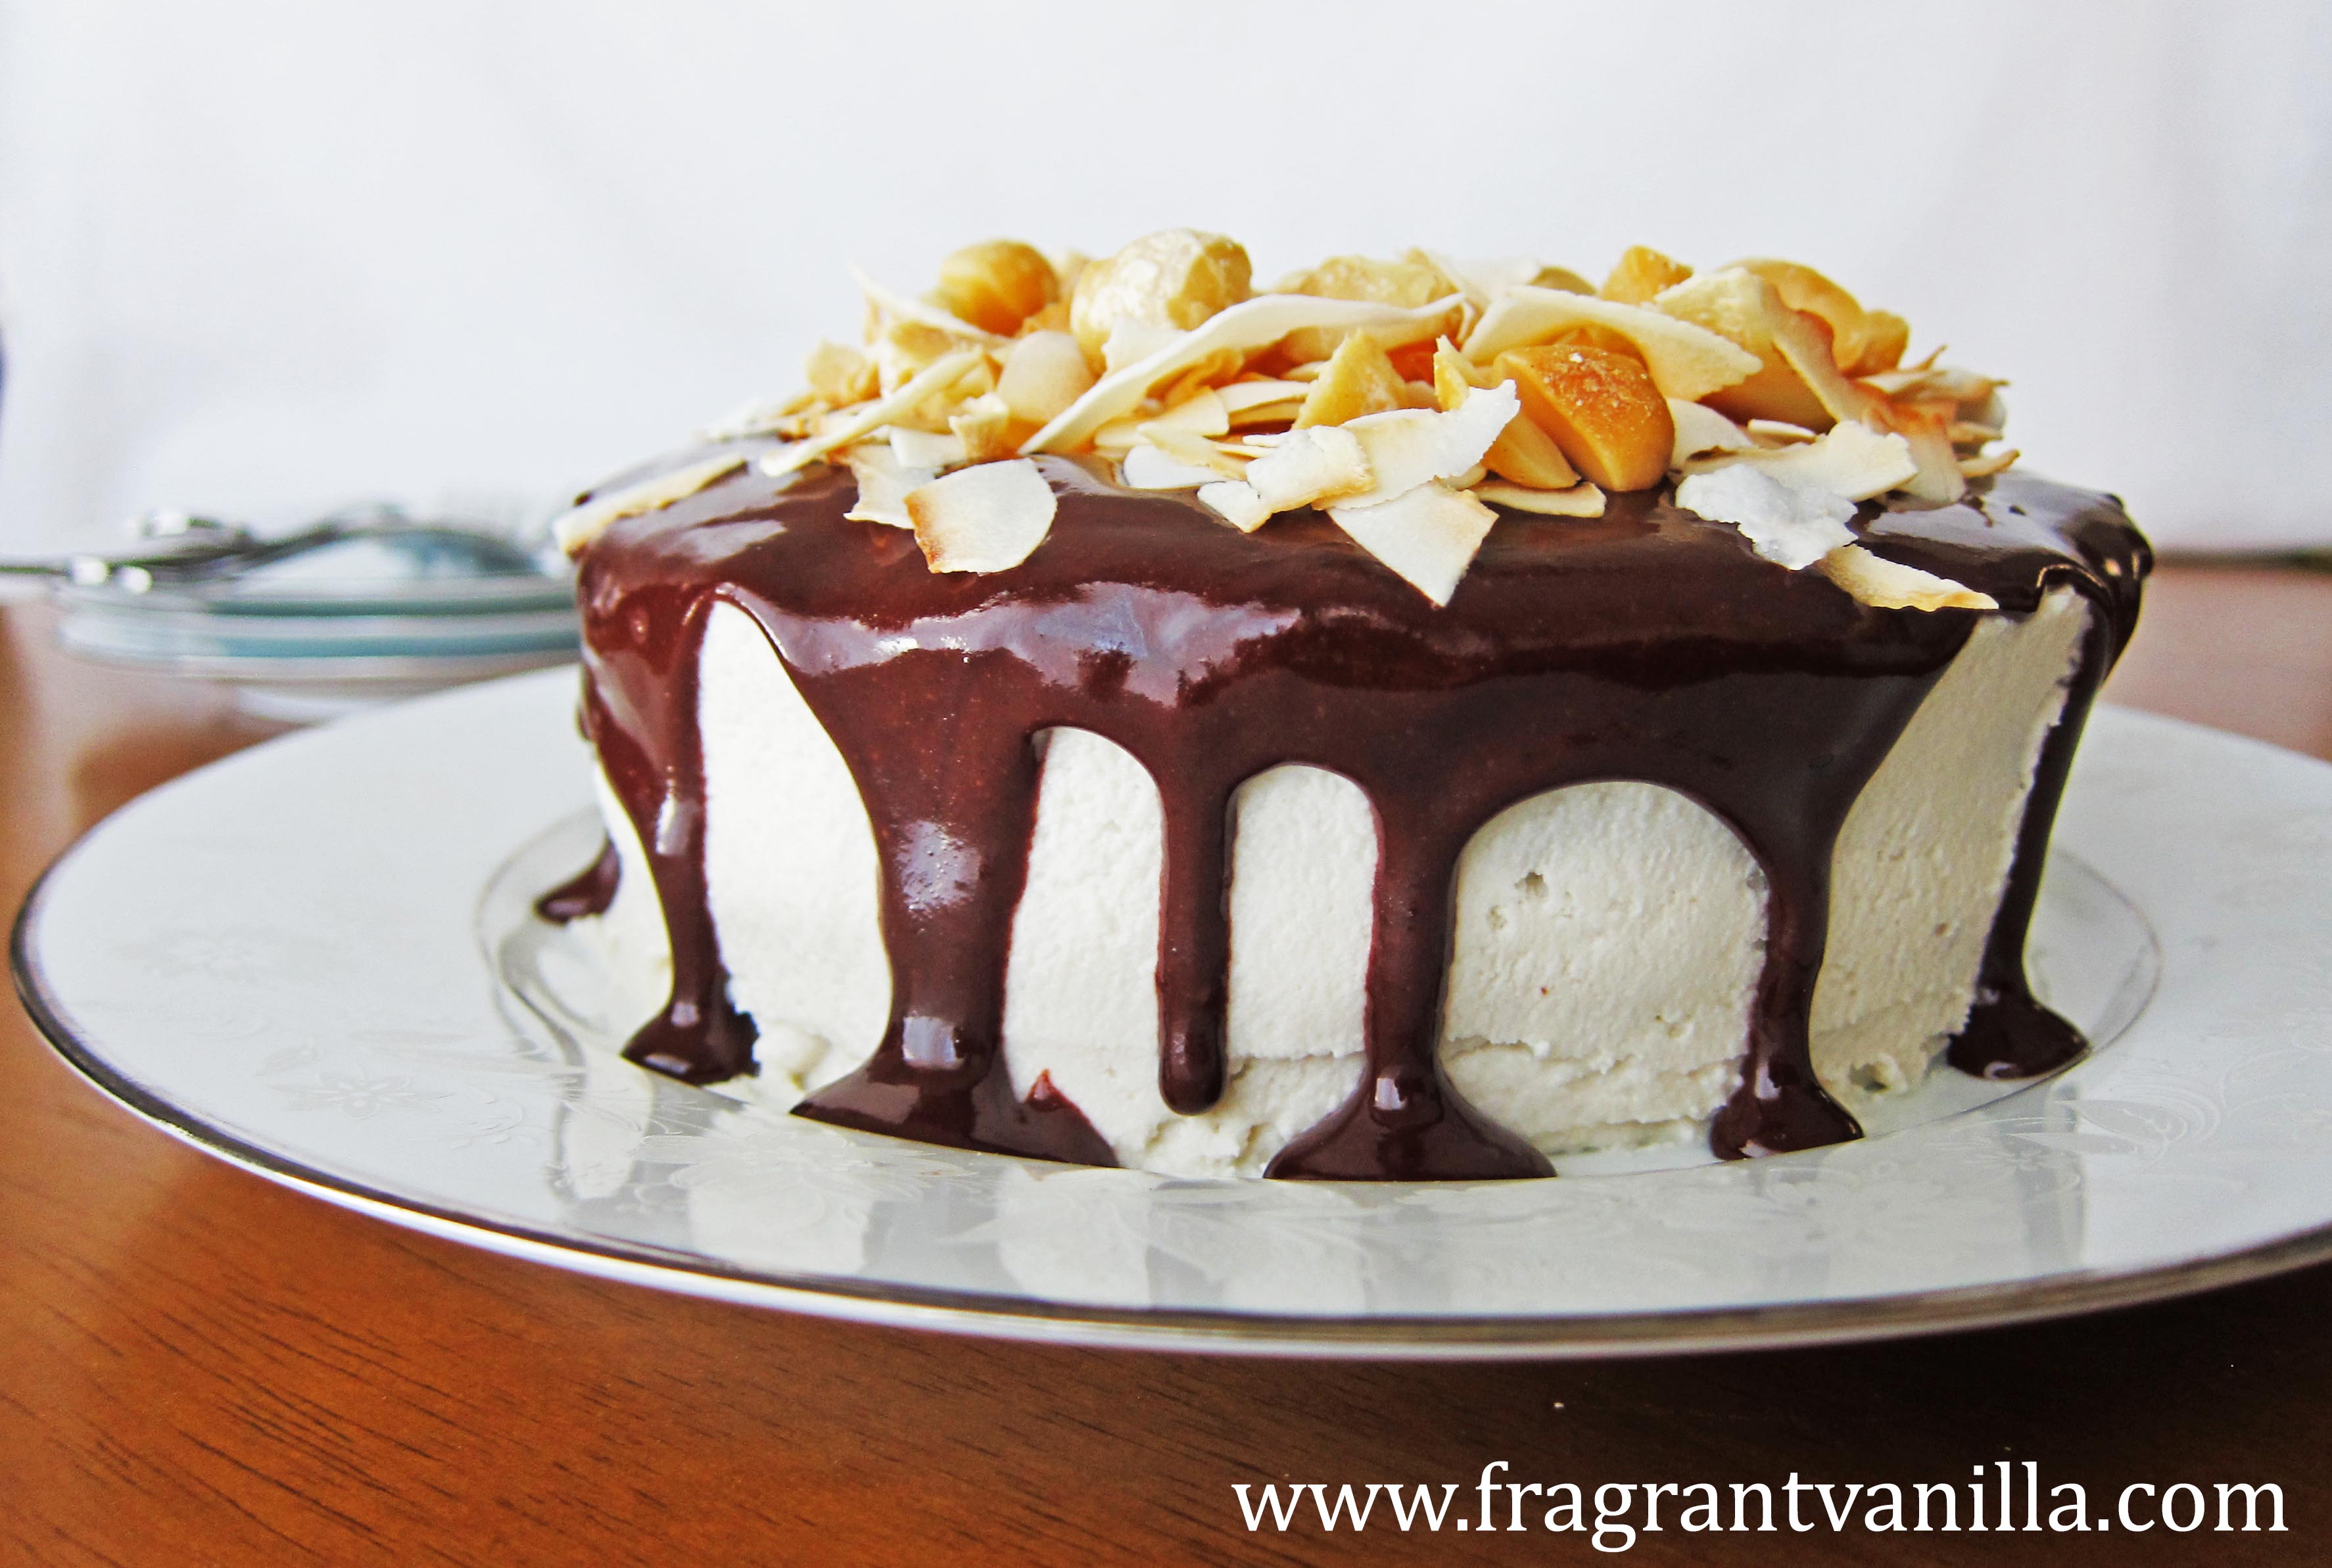
Vegan Dark Chocolate Coconut Macadamia Cake
Fragrant Vanilla Cake has just turned 6 years old! Well, technically it turned 6 on the 5th, but I didn’t have time to make a cake then, so I amLoading....
View Recipes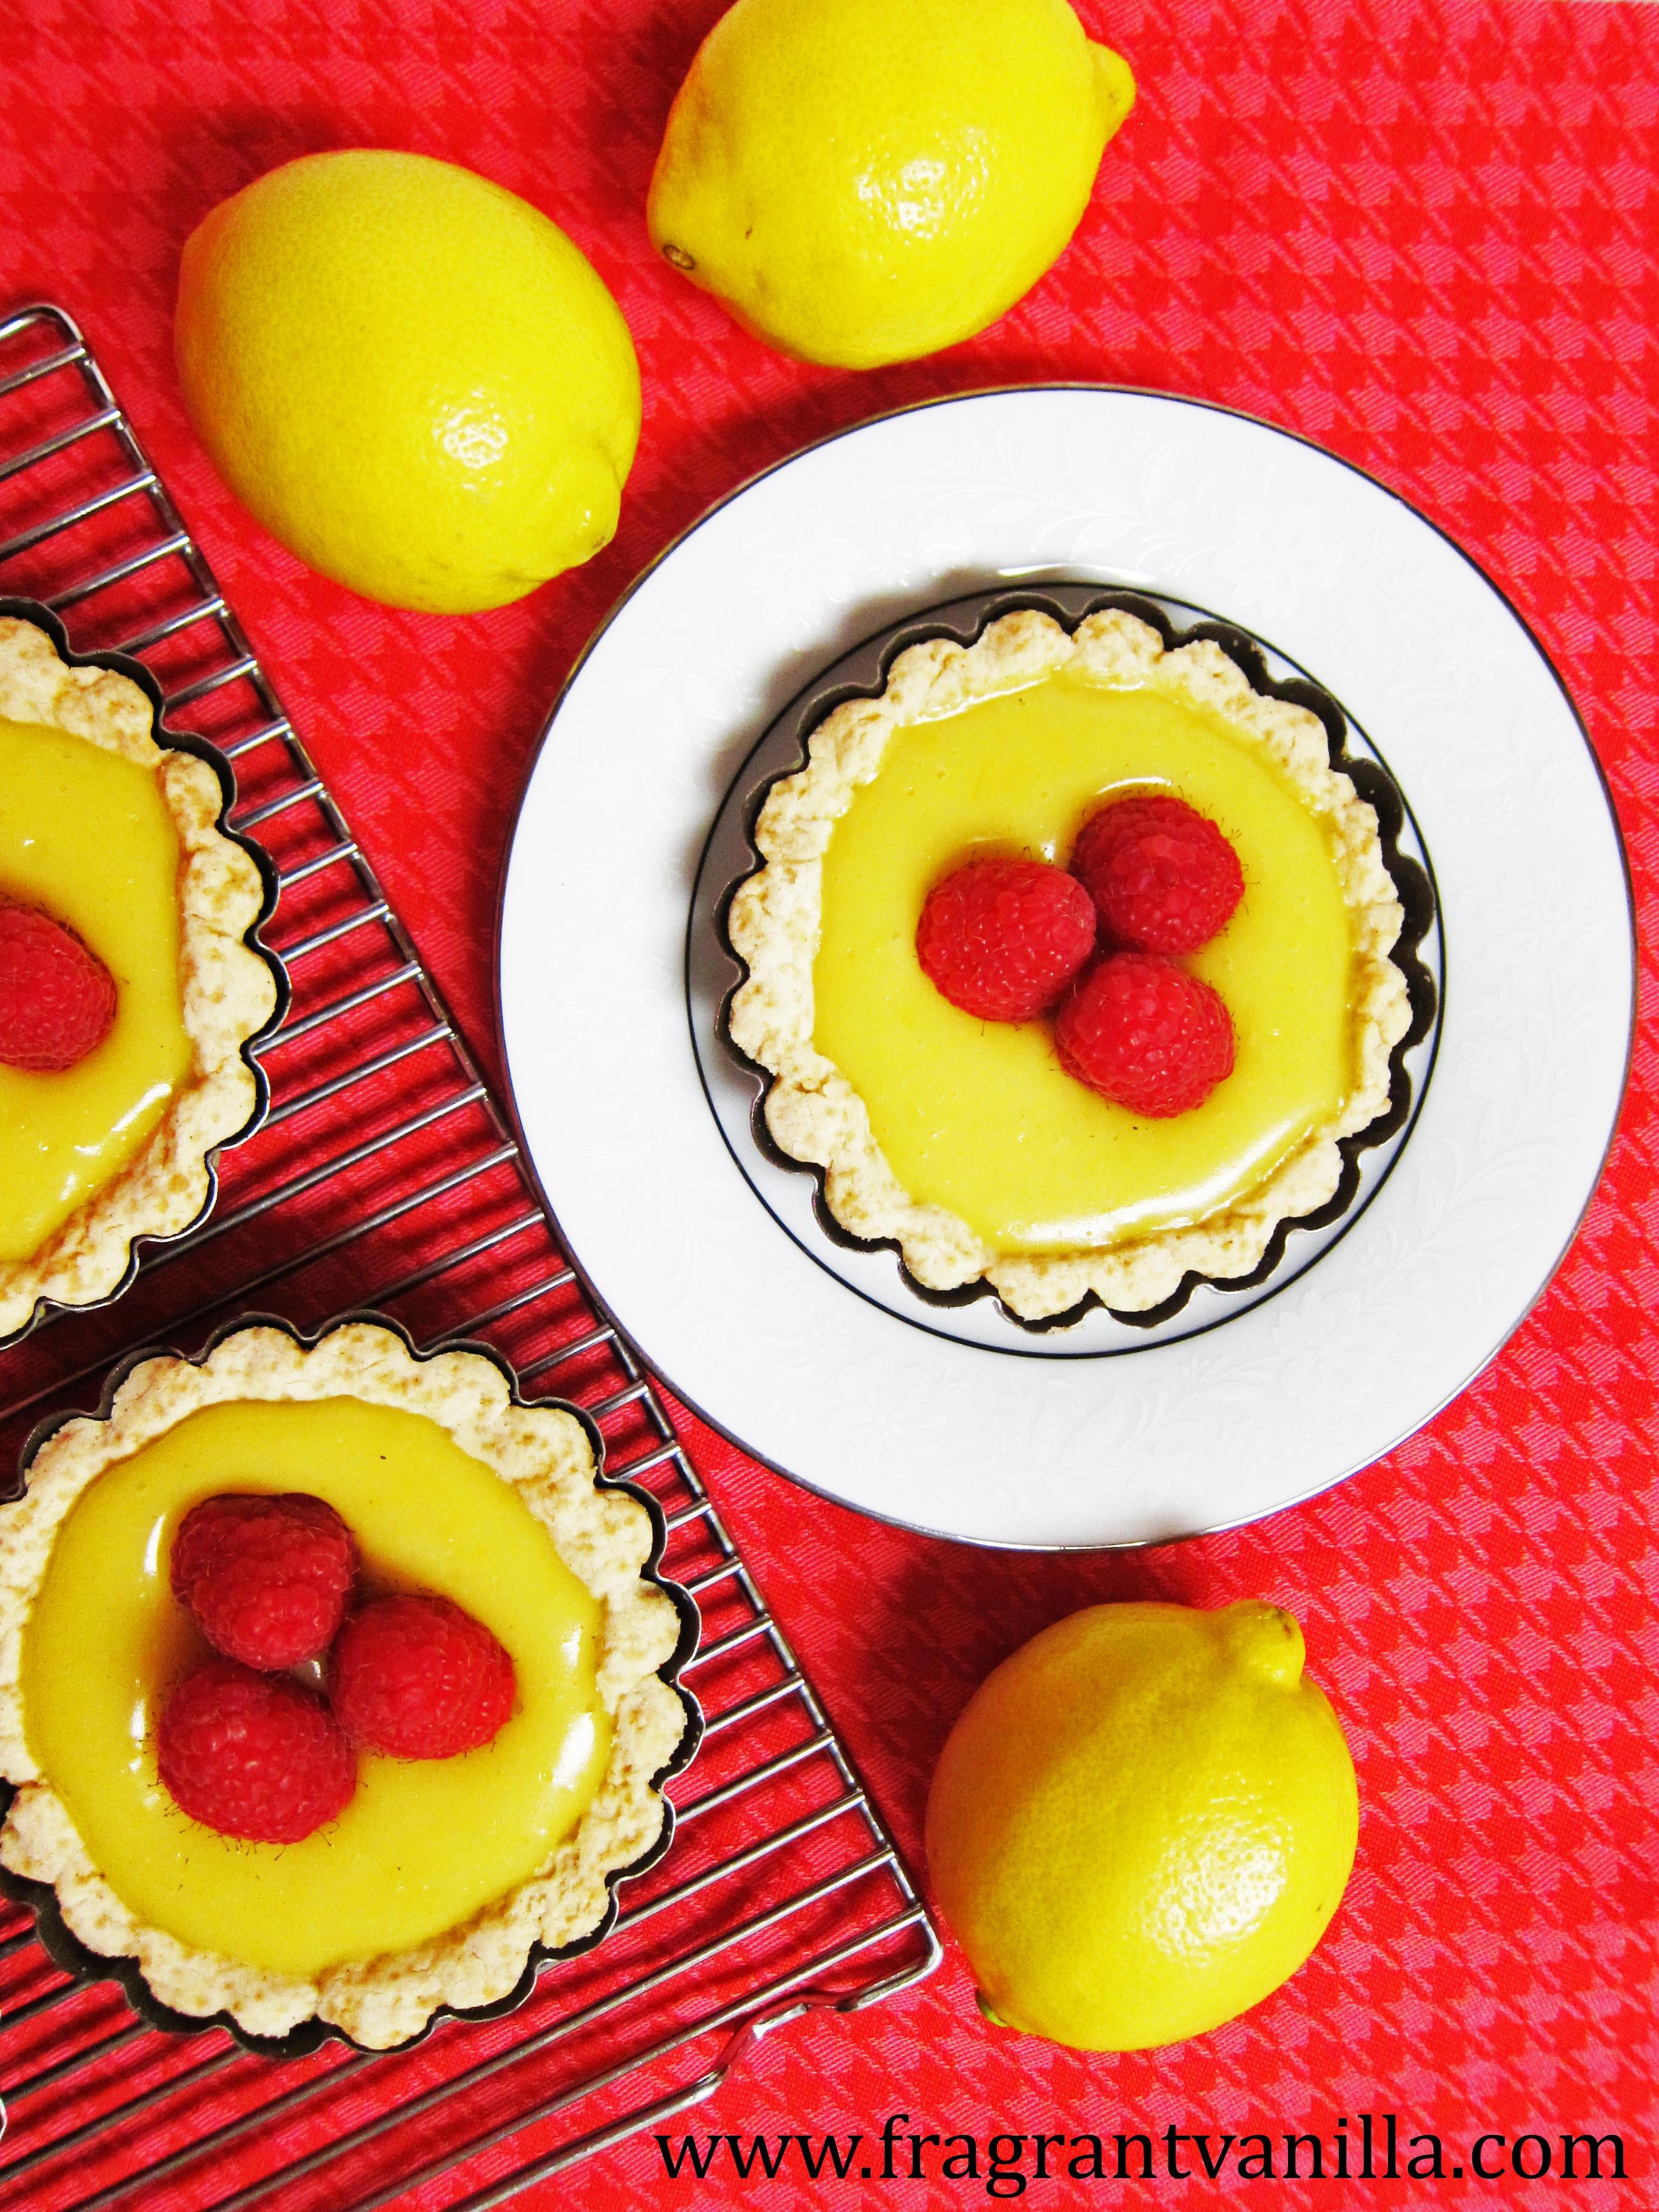
Vegan Mini Lemon Tarts
My Mom taught me to love lemon and all things citrus and tart. I think it originally came from my Grandma, who loved lemon as well, and so did herLoading....
View Recipes
Vegan Lavender Vanilla Almond Cake
I always enjoy making my own birthday cakes, because I love making...
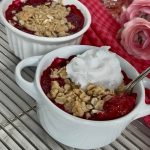
Vegan Raspberry Rhubarb Crisp
I love rhubarb season! Ever since I was little and I...

Vegan Chocolate Pistachio Shortbread Cookie Sandwiches
I was craving some dark chocolate short bread and my Mom had...
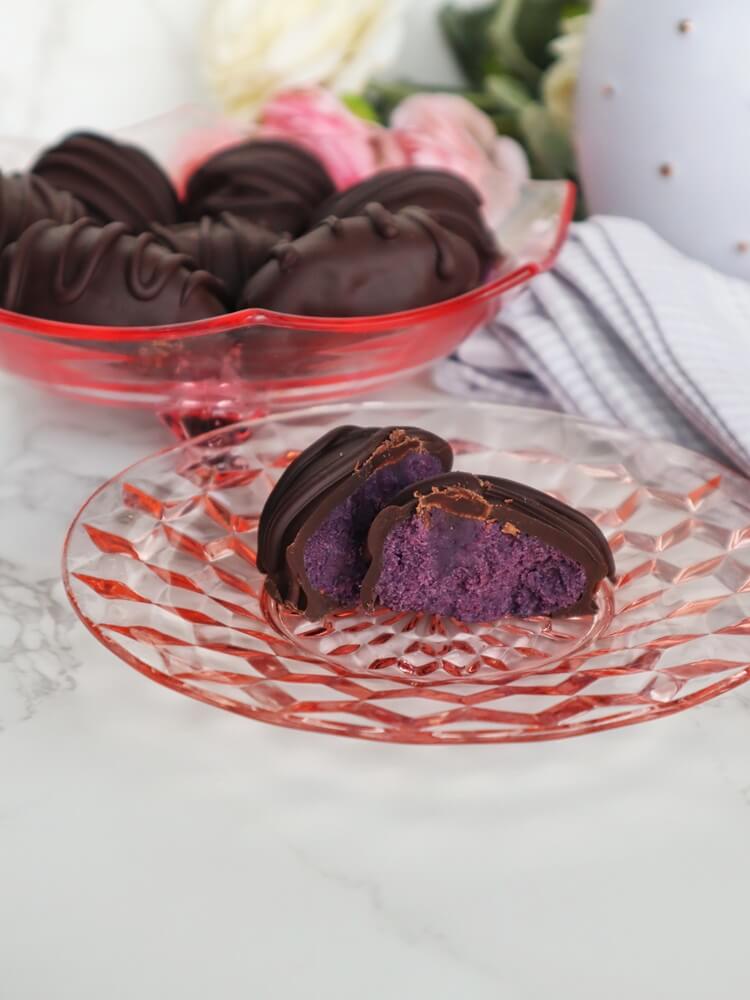
Vegan Blueberry Chocolate Eggs
Even though the stores are filled with Easter candy, I like to...