One of the things I love about fall is the cozy drinks. I am a big lover of pumpkin spice lattes, and even make my own at home. But ILoading....
View Recipes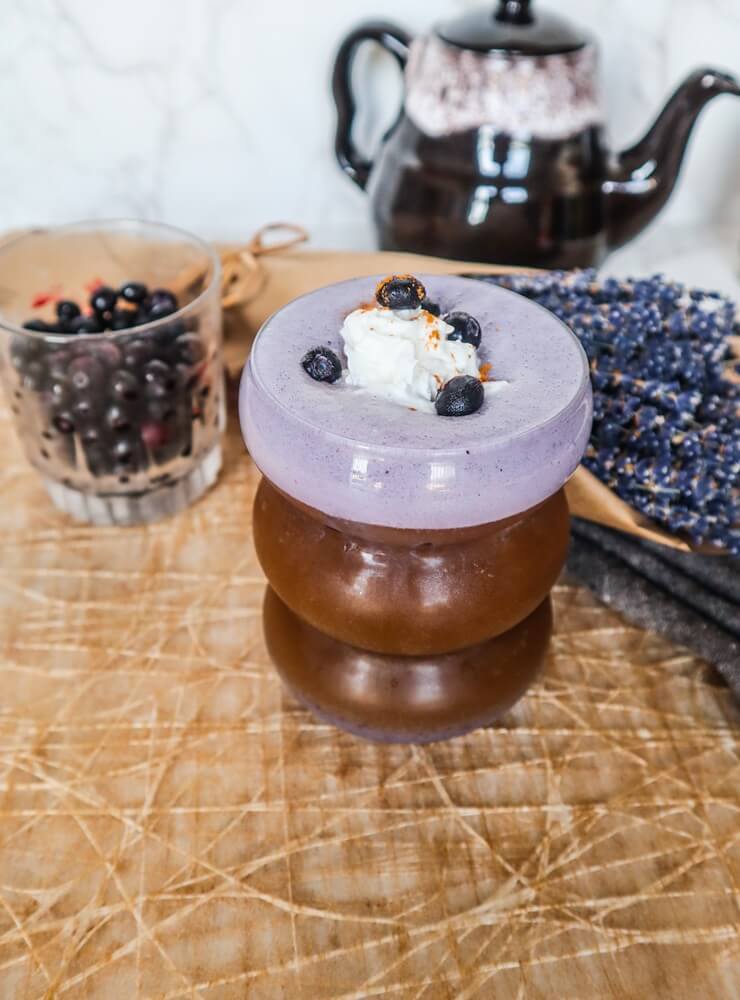
Blueberry Muffin Oat Milk Iced Latte
We are definitely now way into iced latte season. It was in the 80s yesterday outside, I definitely felt very warm on my run and wanted my coffee to beLoading....
View Recipes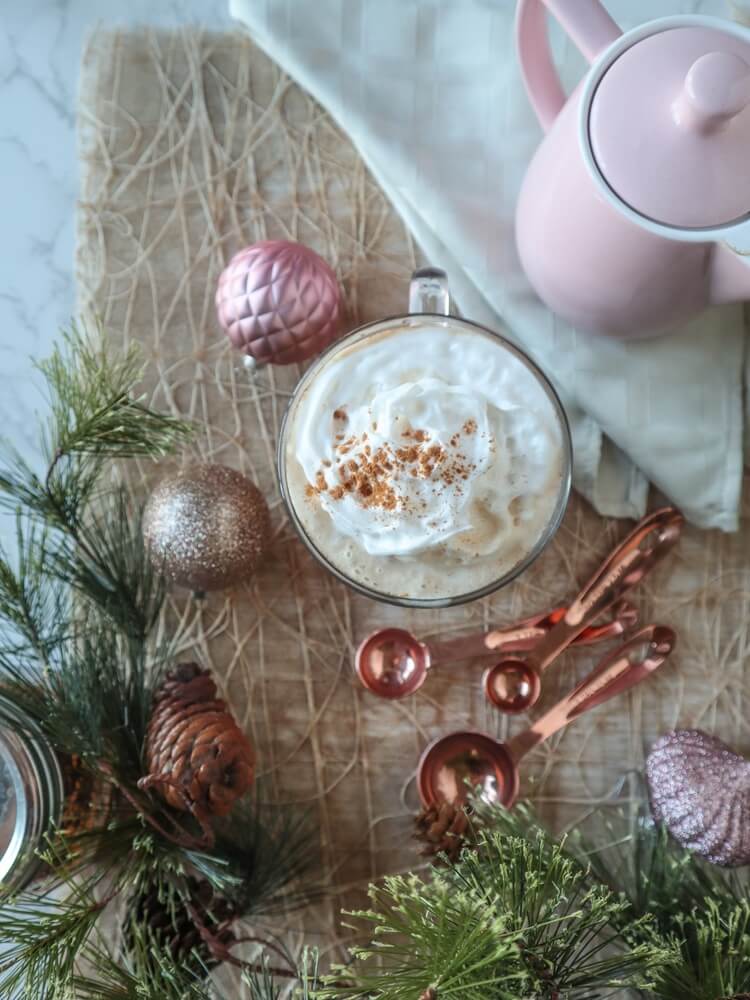
Gingerbread Oatmilk Latte
As much as I like to go to local coffee shops and make fancy drinks, it gets a bit expensive to do so more than once a week, so ILoading....
View Recipes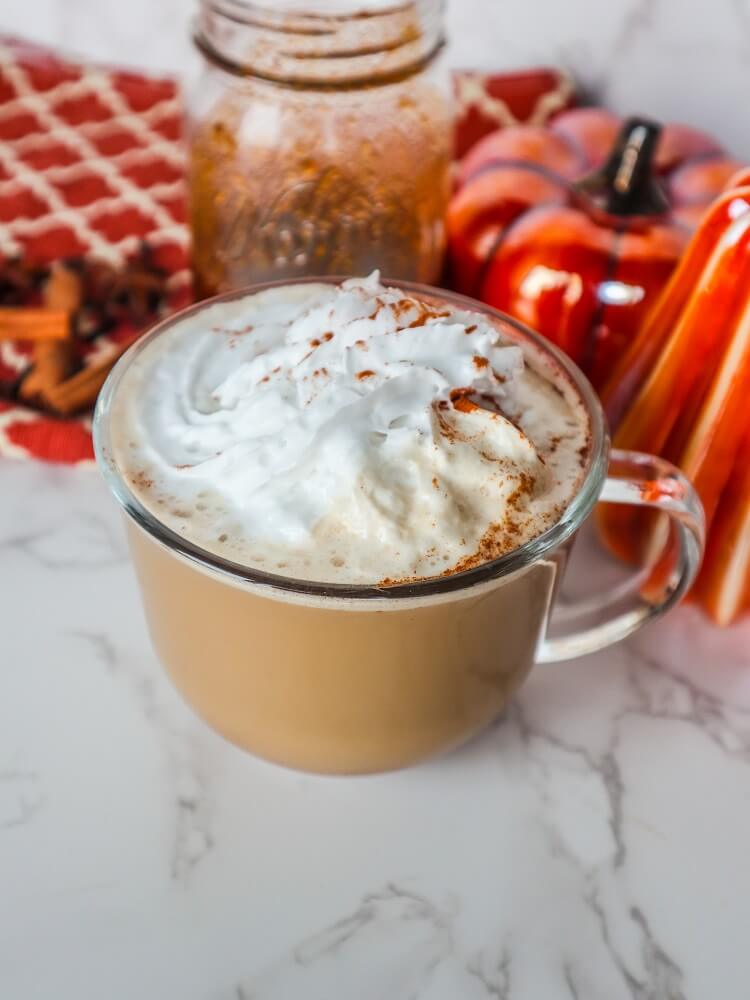
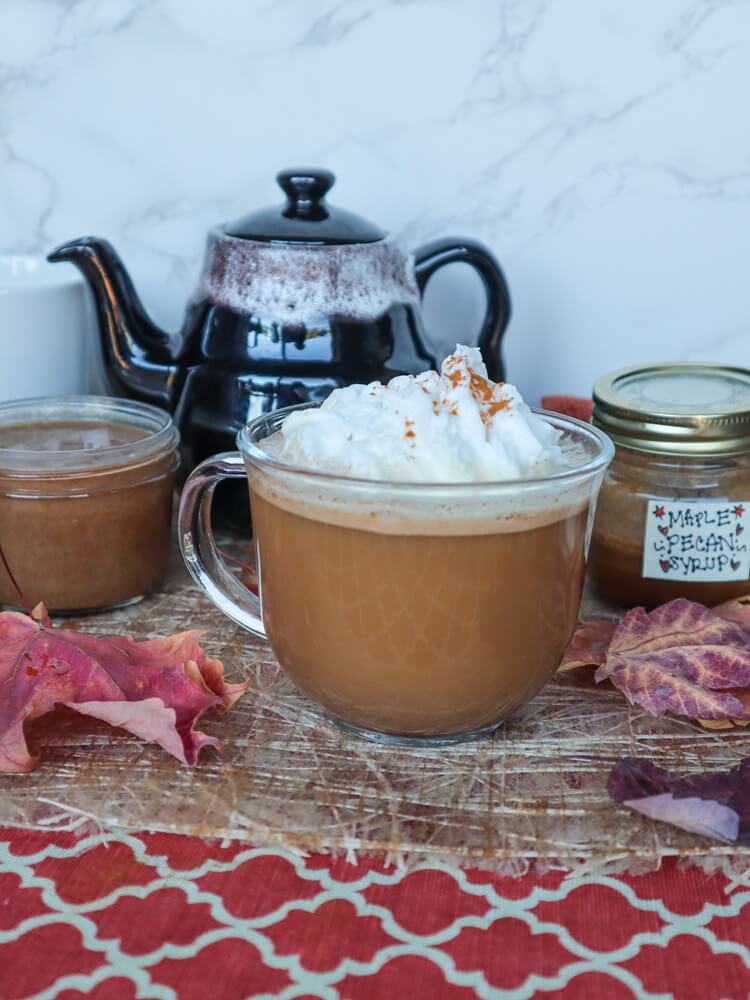
Pumpkin Spice Latte Syrup
I love a good pumpkin spice latte! But it has to be one made with actual real pumpkin in it. I am not a big fan of the ones thatLoading....
View Recipes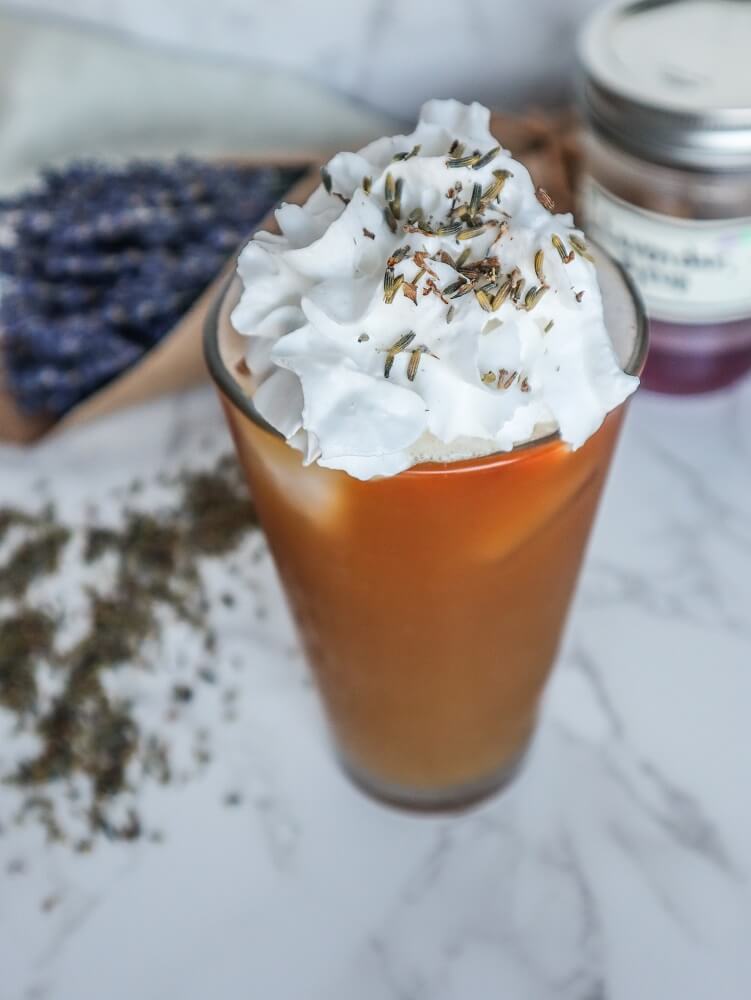
Lavender Vanilla Iced Latte
While we were in Wisconsin for our anniversary trip last month, we stopped by a lavender farm shop called Island Lavender and it smelled so amazing! Lavender is one ofLoading....
View Recipes
Flavor Fall! With Torani Sugar Free at Walmart
This post is sponsored by Torani but the content and opinions expressed here are my own. Fall is nearly here and that means it is time for all things fallLoading....
View Recipes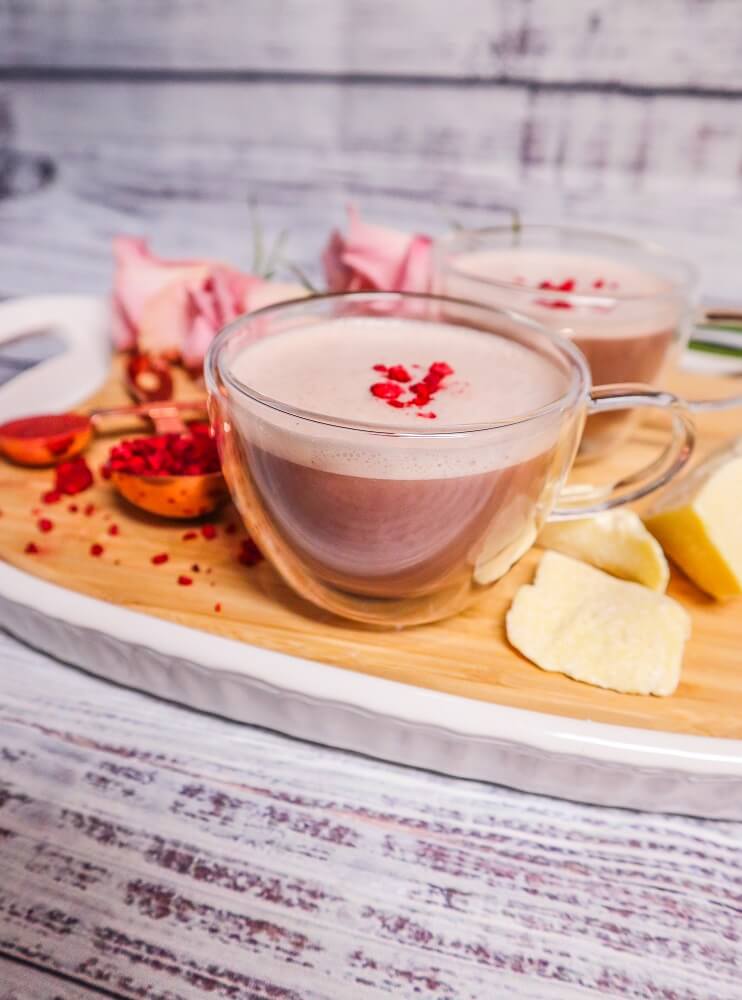
Raspberry Rose White Chocolate Latte
Everyone has those little thing in life that make them happy. For me, one of those things lately is lattes. Every weekend Eric and I stop and get a latteLoading....
View Recipes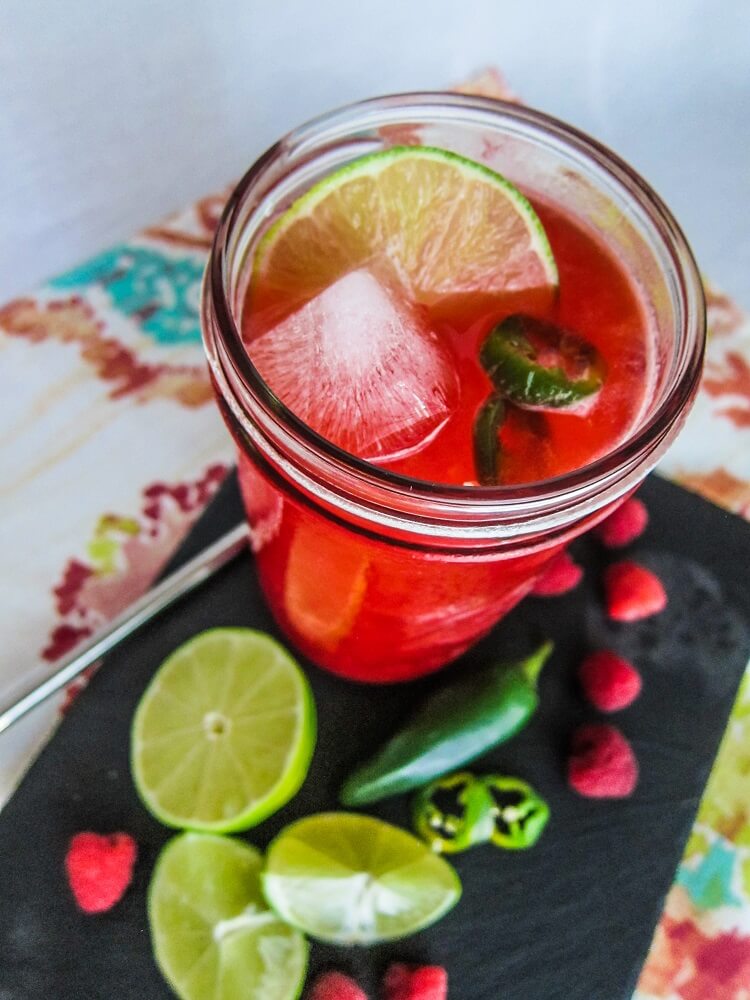
Raspberry Jalapeno Limeade
We are at the point in the Summer, right around my birthday where it is really hot here. Well, I consider it really hot. With the Minnesota humidity it isLoading....
View Recipes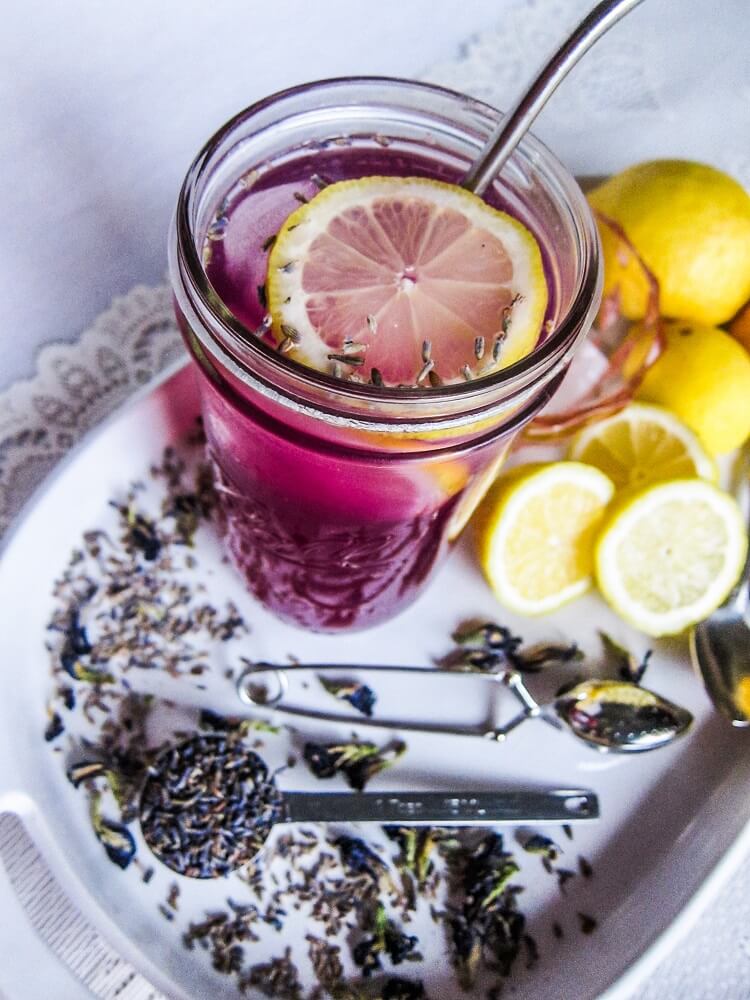
Lavender Lemonade
It was a sort of gloomy day Wednesday, so when I got home I decided to make myself a fancy drink fit for a hot Summer day and pretend likeLoading....
View Recipes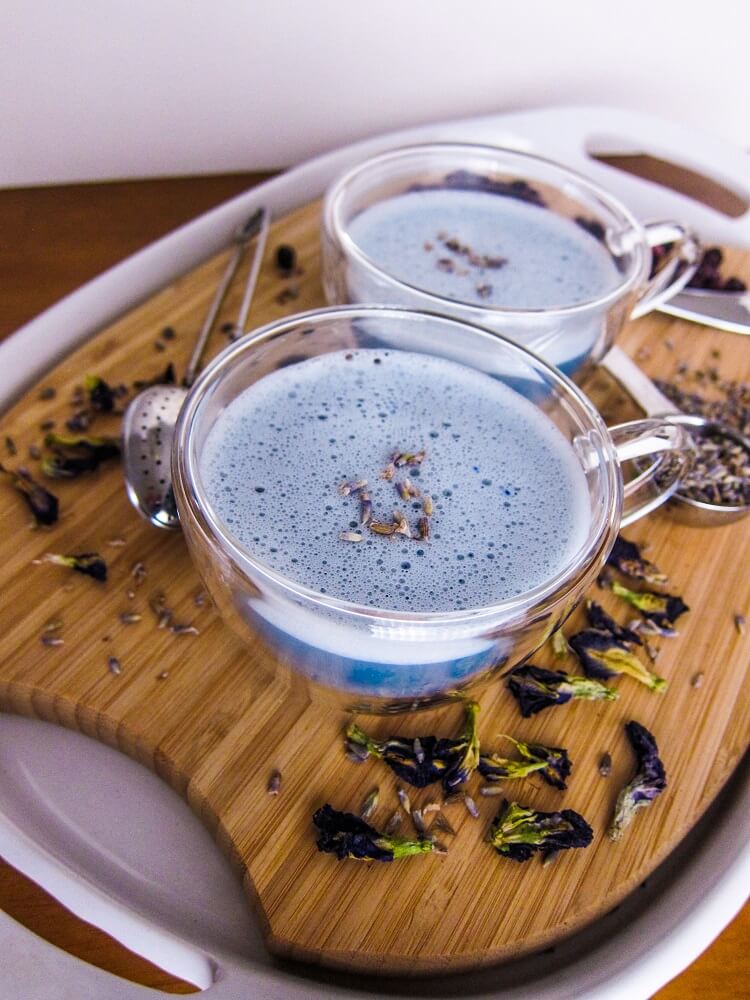
Blueberry Lavender Latte
I have been really into lattes lately. Not the ones with coffee, because I am not much of a coffee drinker and if I have coffee in the afternoon whenLoading....
View Recipes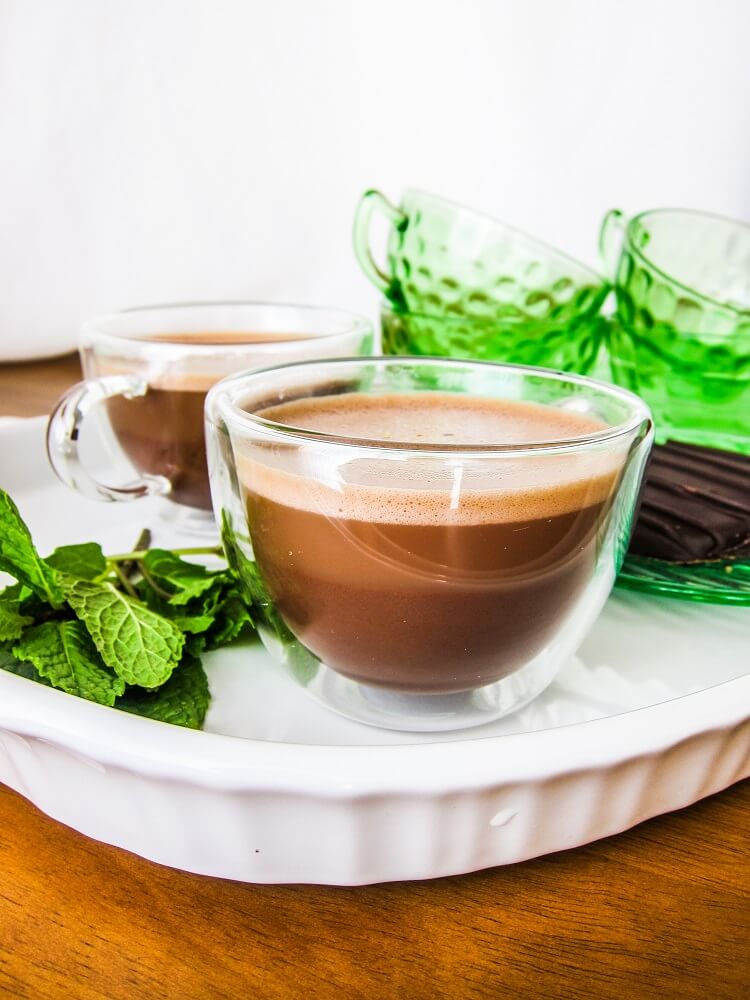
Vegan Thin Mint Latte
We are in the middle of Girl Scout cookie season, and I made some home made ones including Thin Mints, Tag-Alongs, and Samoas. But I also am having fun makingLoading....
View Recipes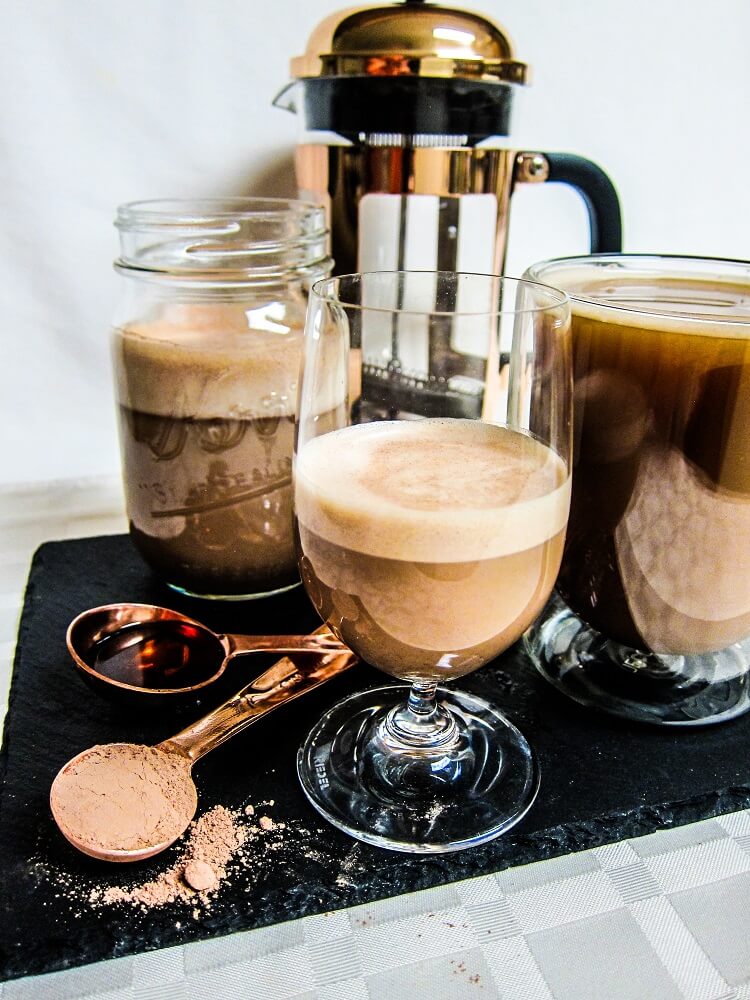
DIY Vegan Bailey’s Irish Cream Liqueur
When I was in my early twenties, one of my favorite alcoholic things to drink was Bailey’s Irish Cream. I mean, what’s not to like about it if you areLoading....
View Recipes
Vegan Chocolate Pistachio Shortbread Cookie Sandwiches
I was craving some dark chocolate short bread and my Mom had...
Vegan Raspberry Rhubarb Crisp
I love rhubarb season! Ever since I was little and I...
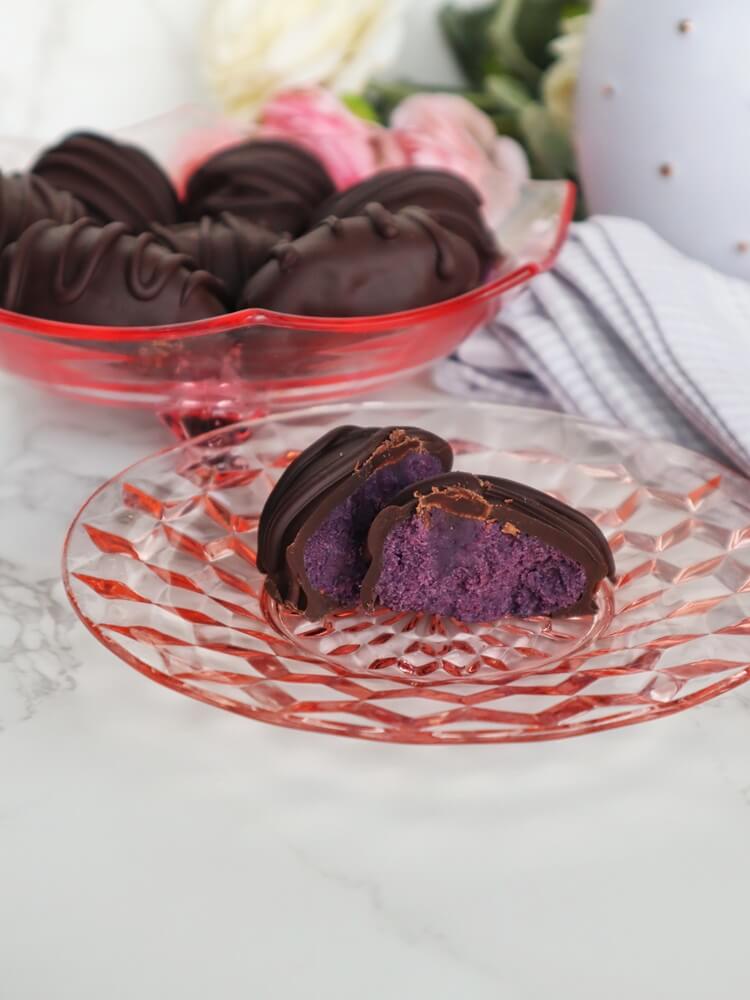
Vegan Blueberry Chocolate Eggs
Even though the stores are filled with Easter candy, I like to...
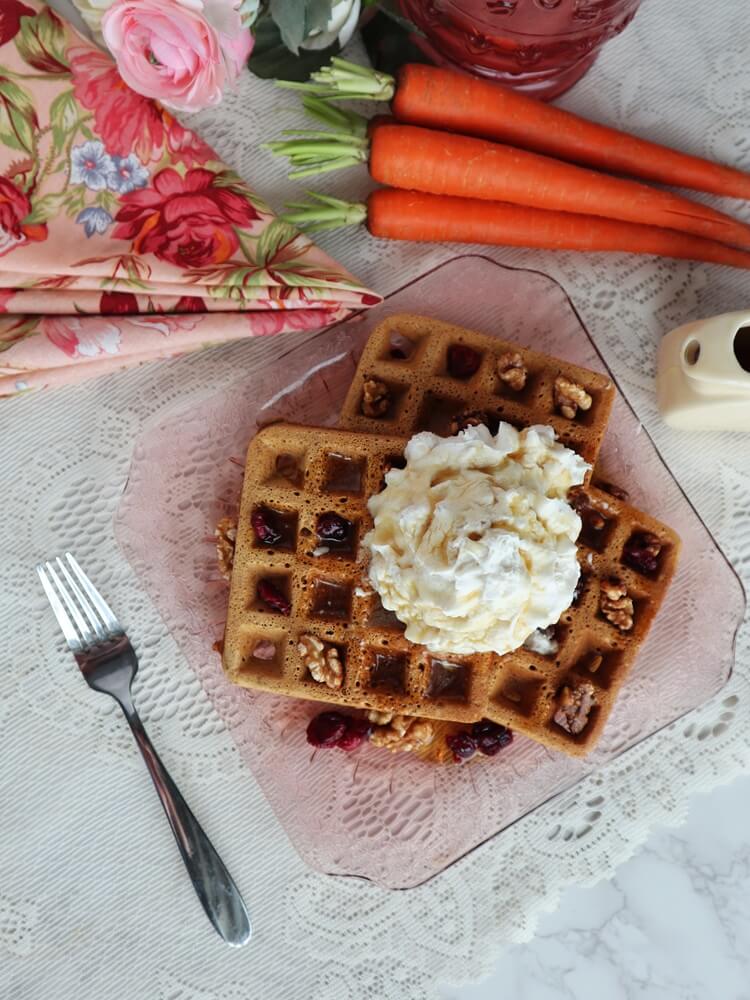
Vegan Carrot Cake Waffles
When I was little, I loved it when my Mom would make...