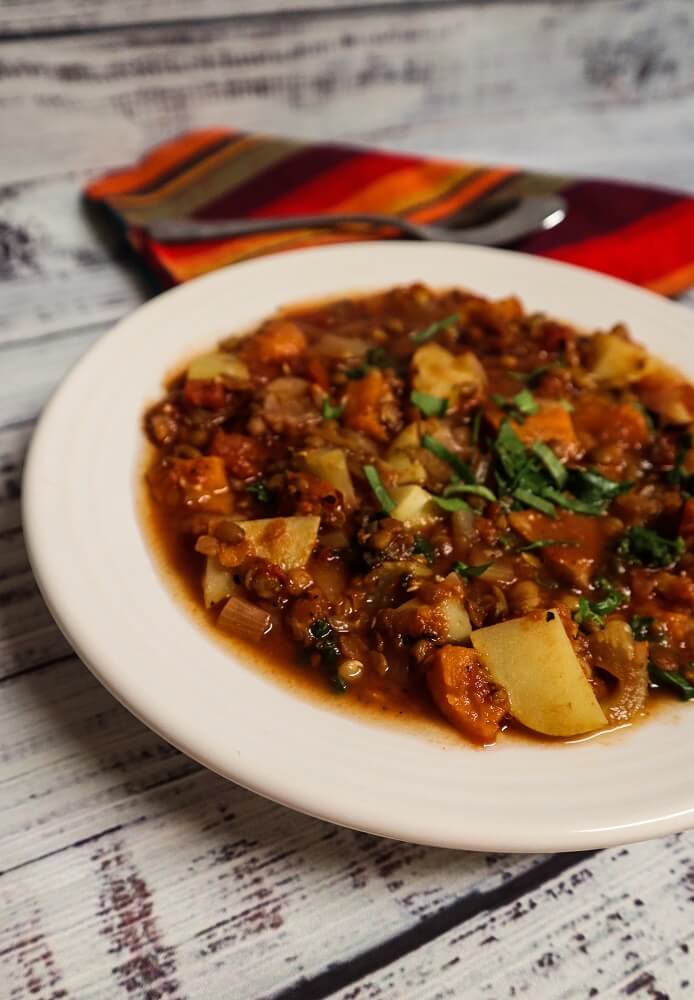
It is so weird to think that 15 years ago I really didn’t eat any lentils, or even know how to prepare them. I now love them and make themLoading....
View Recipes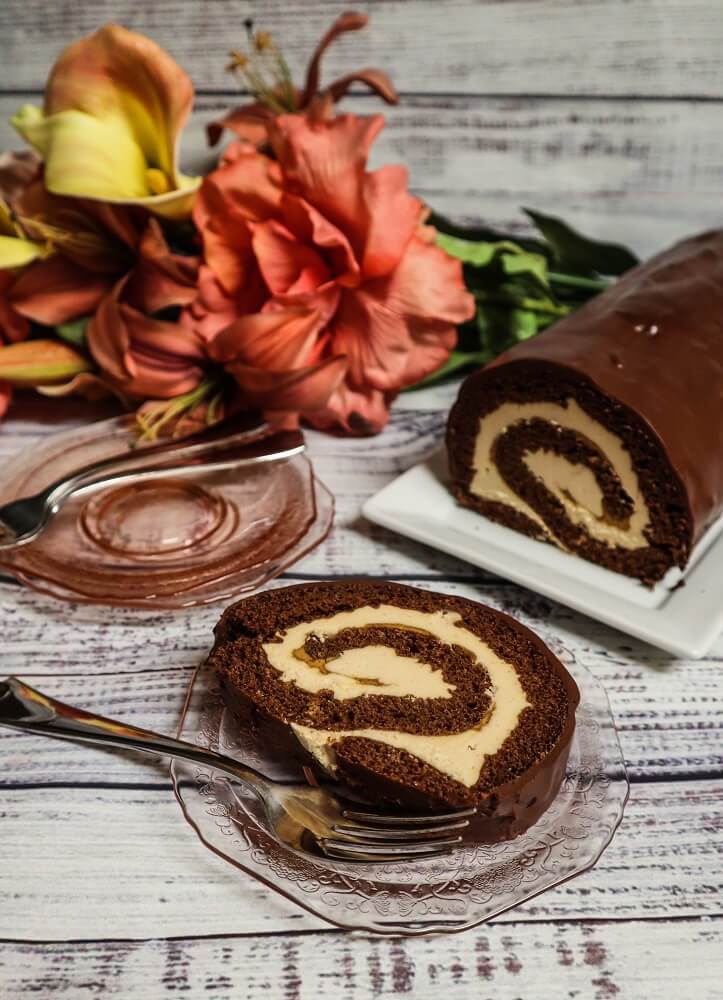
Vegan Chocolate Peanut Butter Roll Cake
I was craving chocolate cake last week, but I didn’t want a layer cake, so I made a rolled one! It may sound harder to make a rolled cake, butLoading....
View Recipes
Vegan Poppy Seed Rolls
Sweet rolls are for lazy weekend mornings, and days off. So I decided to make some on my day off last Monday. I know a lot of you mayLoading....
View Recipes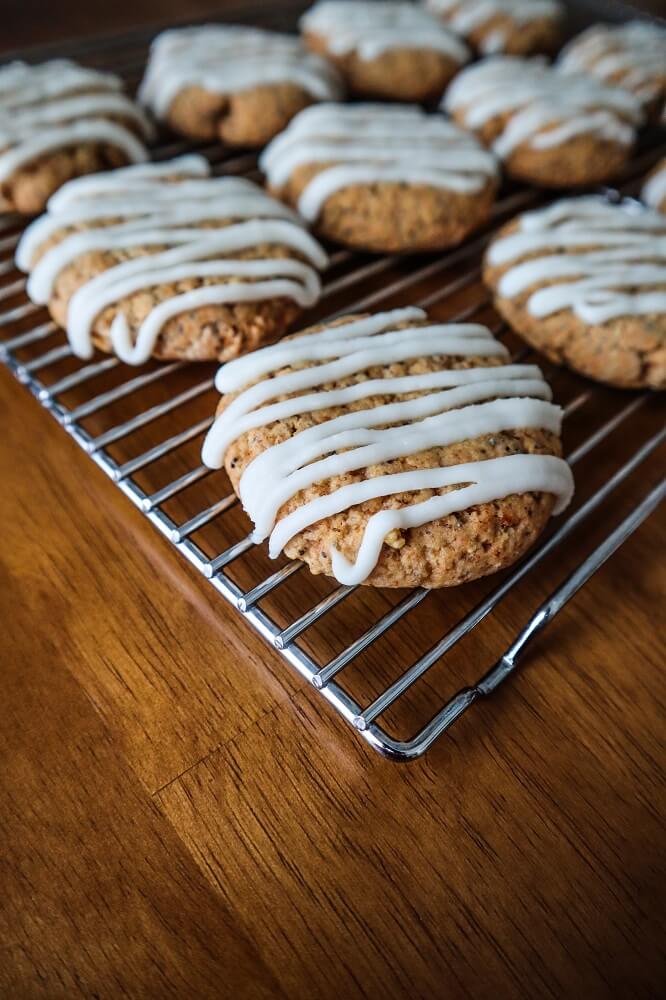
Vegan Lemon Poppy Seed Cookies
We went through a brief snowy cold week in Minnesota, and I didn’t know whether it was winter or spring for a minute. So I have been wanting to makeLoading....
View Recipes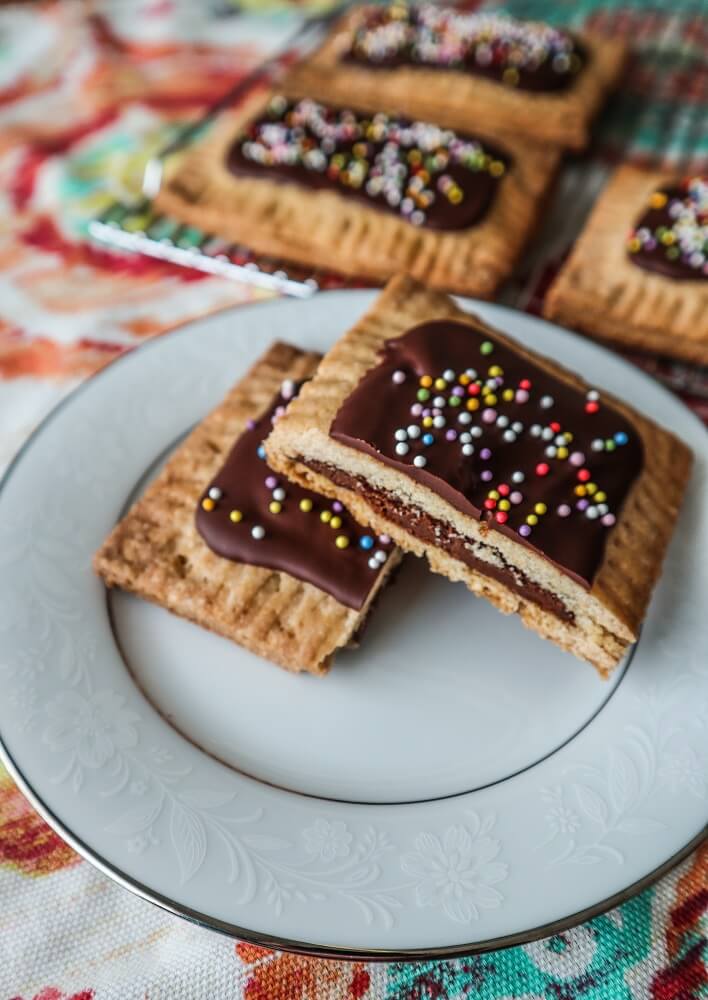
Vegan Chocolate Hazelnut Pop Tarts
I loved Nutella as a kid. I remember thinking it was pretty awesome that I could have chocolate on toast for breakfast (because it pretty much just tasted likeLoading....
View Recipes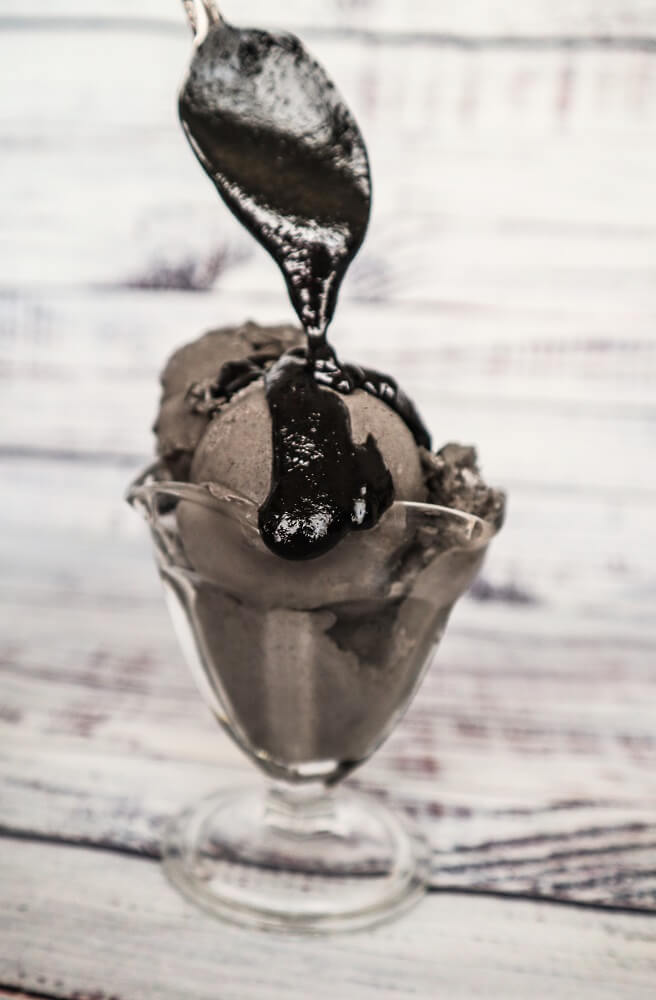
Vegan Black Sesame Maple Ice Cream
I am a big tahini lover, I like to keep some on hand at all times for recipes both sweet and savory, or just for drizzling over things and snackingLoading....
View Recipes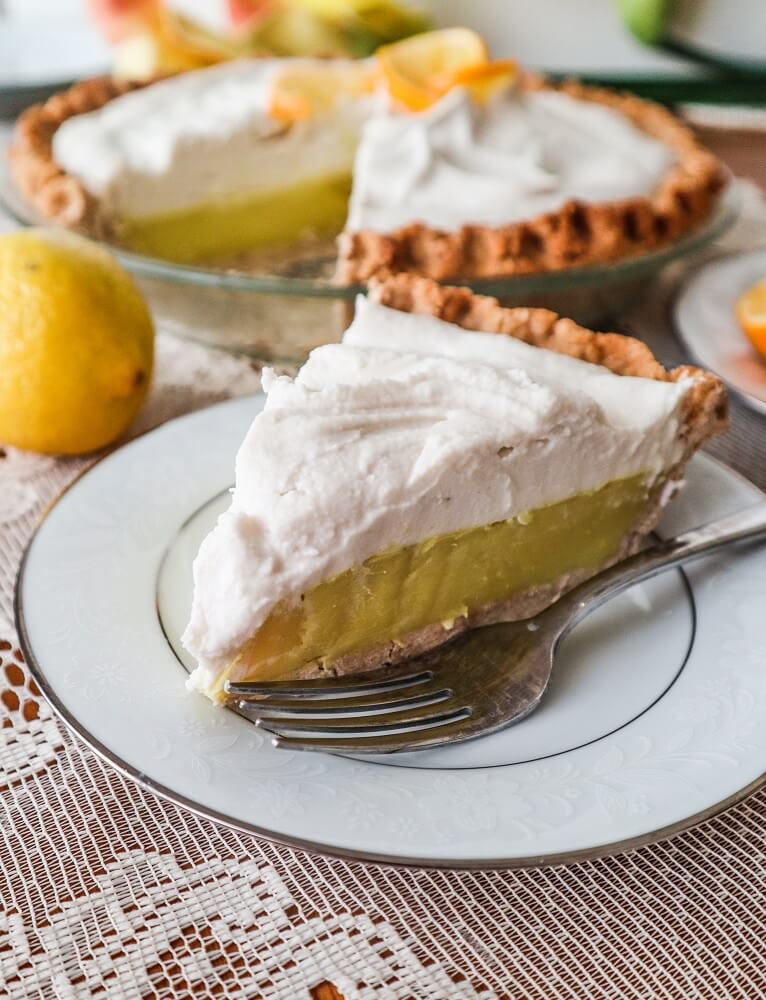
Vegan Lemon Cream Pie
I hope you all had a wonderful Easter weekend! Saturday we had beautiful warm weather here, but for Easter Sunday it was snowing and just pretty slushy and coldLoading....
View Recipes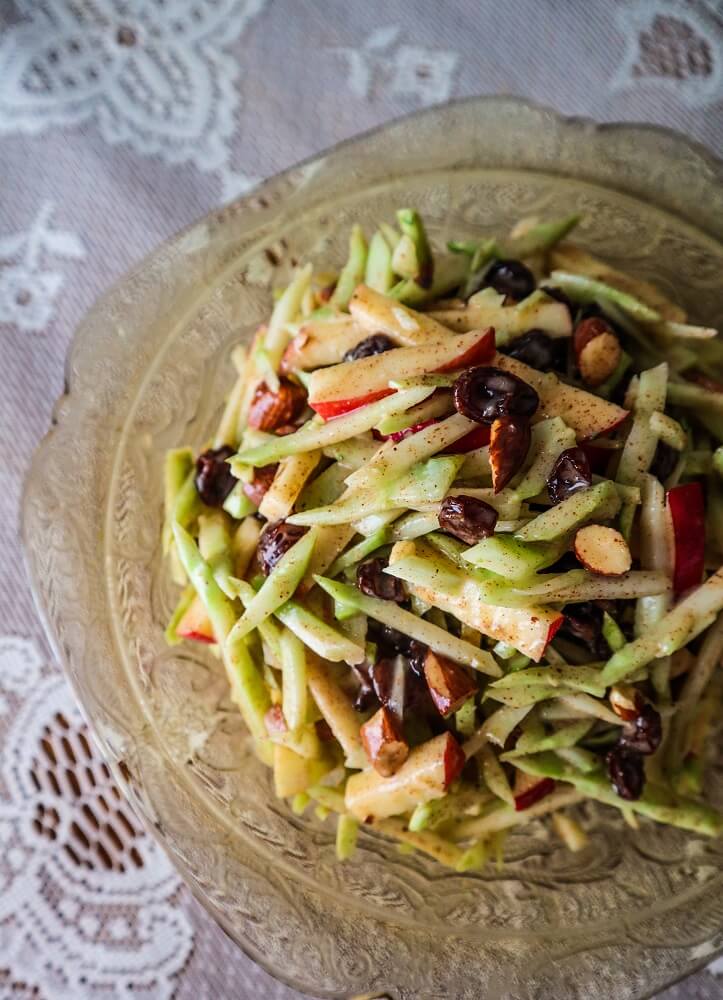
Broccoli Almond Apple Slaw
I don’t know why everyone throws all of their broccoli stems away and just keeps the flowrettes, honestly the stems are the most delicious sweet part of the broccoli inLoading....
View Recipes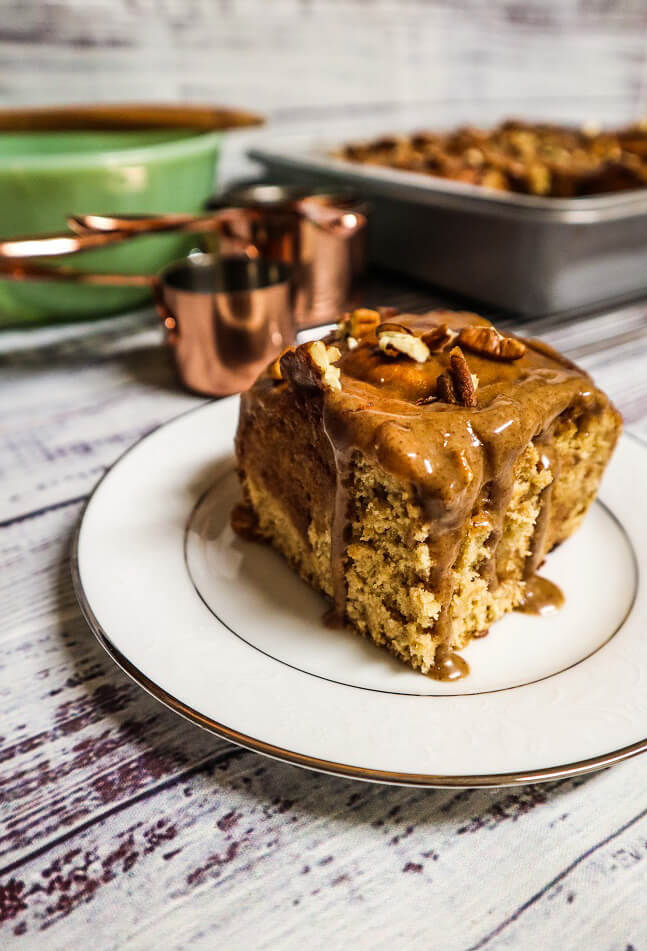
Vegan Banana Caramel Rolls
Easter is coming up next weekend, and although it will be a little different this year, me and my family will still be enjoying good food. Honestly, most years weLoading....
View Recipes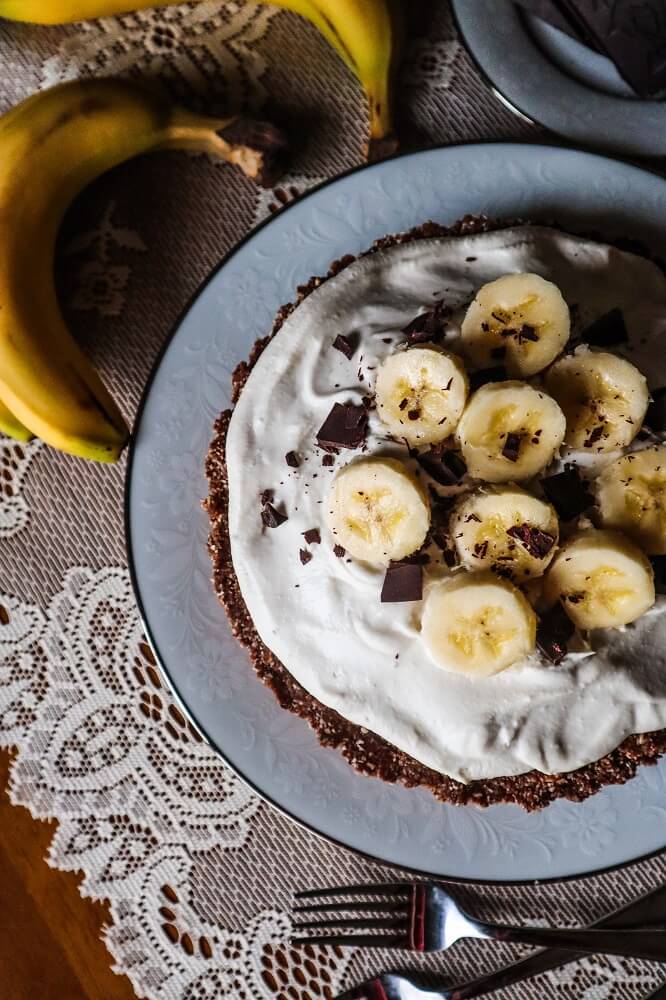
Vegan Chocolate Banana Cream Pie
About 10 years ago, there was a really good local upscale restaurant (that has sadly since closed) that my Mom and I would visit often, and they had amazing bananaLoading....
View Recipes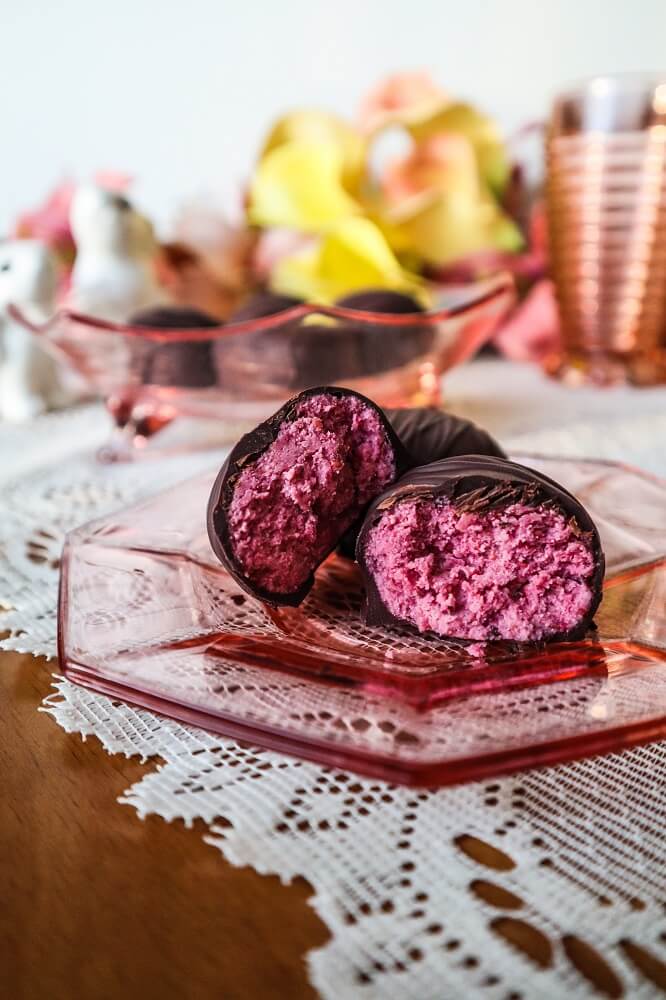
Vegan Raspberry Chocolate Eggs
I loved Easter candy as a kid. Those pastel wrappers and fun varieties of candy I couldn’t get the rest of the year, I loved opening up myLoading....
View Recipes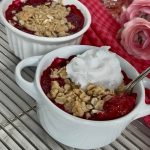
Vegan Raspberry Rhubarb Crisp
I love rhubarb season! Ever since I was little and I...

Vegan Chocolate Pistachio Shortbread Cookie Sandwiches
I was craving some dark chocolate short bread and my Mom had...
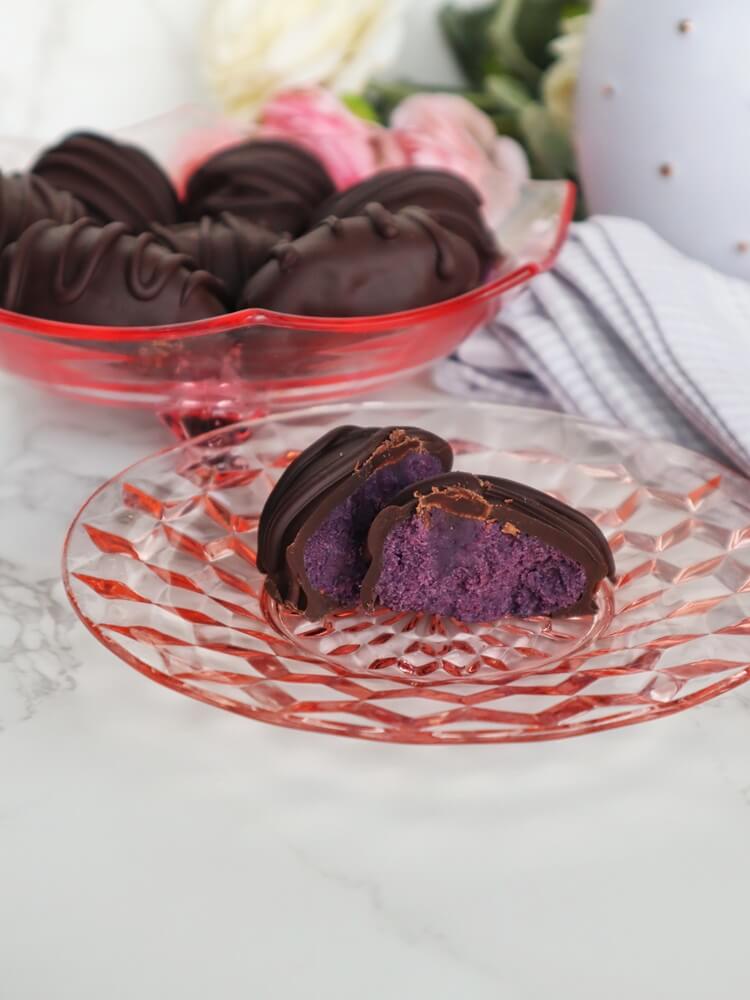
Vegan Blueberry Chocolate Eggs
Even though the stores are filled with Easter candy, I like to...
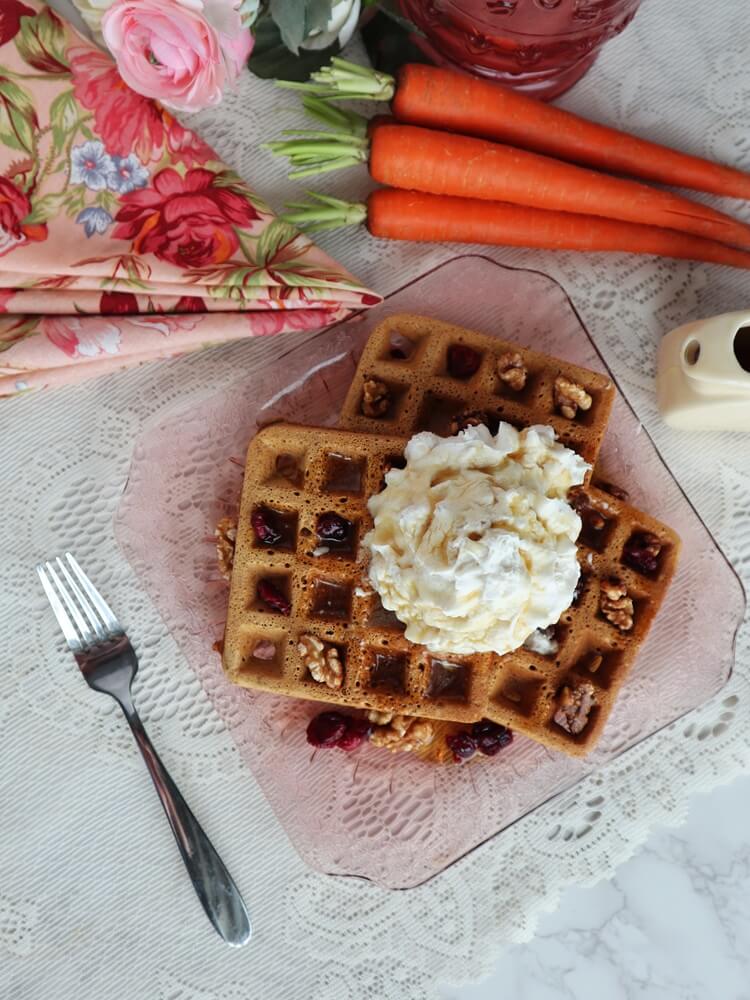
Vegan Carrot Cake Waffles
When I was little, I loved it when my Mom would make...