It was 90F+ degrees last weekend here in Minnesota. Which is pretty odd for this time of the year. You usually don’t get a bunch of days like that untilLoading....
View Recipes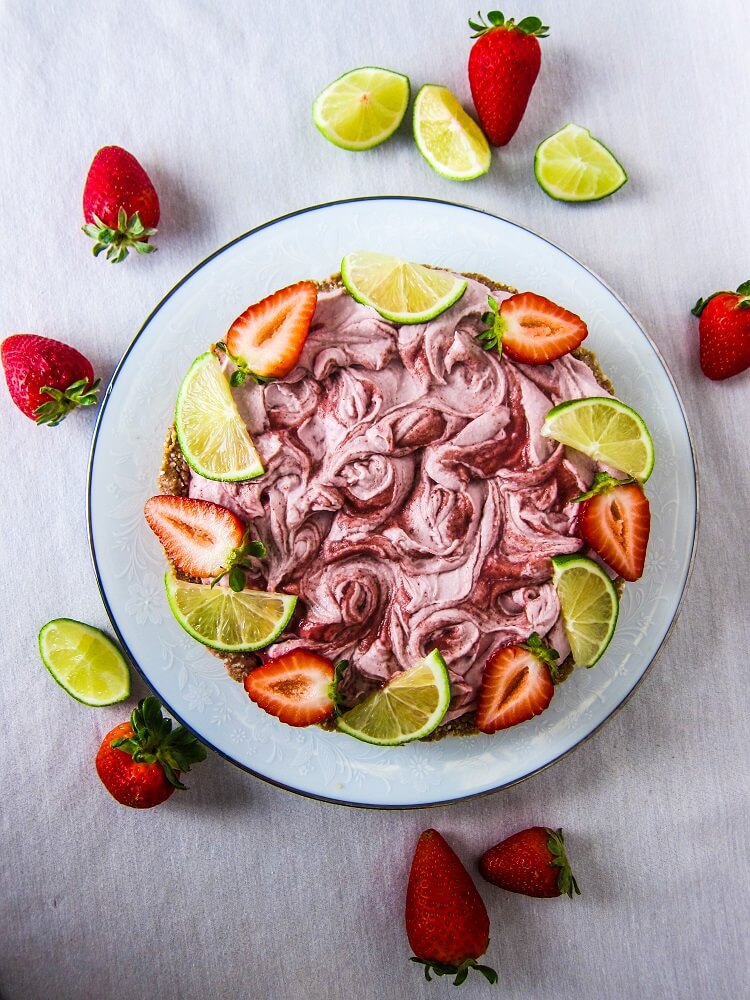
Vegan Strawberry Margarita Pie
I am not used to the humidity here yet. We basically went from Winter (18 inches of snow) to Spring for a few weeks right into hot Summer weather. ILoading....
View Recipes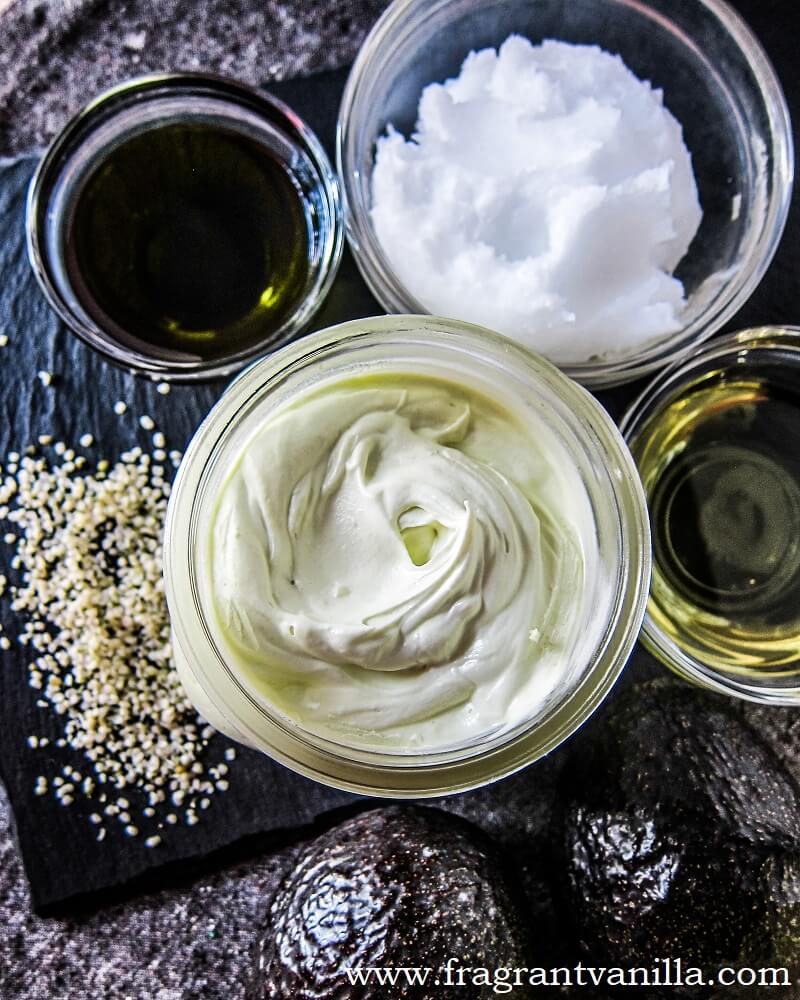
Avocado Hemp Butter
Have you ever gone to the store and wanted a vegan spreadable butter, and looked at the ones that were available, only to find out that they contained processed ingredients,Loading....
View Recipes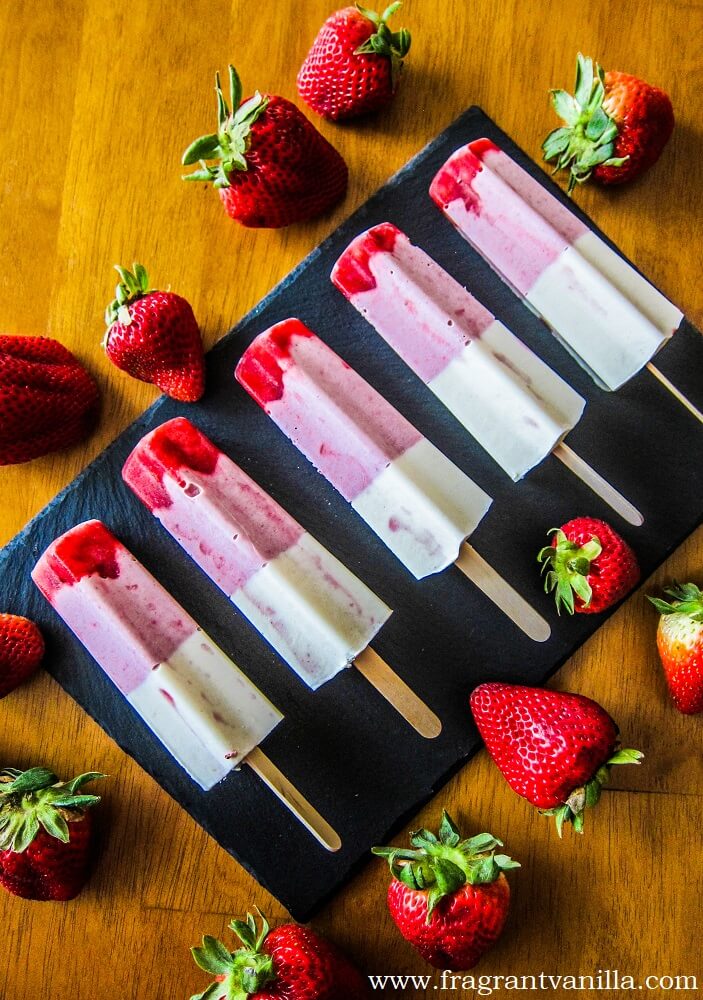
Vegan Strawberry Lemon Cheesecake Popsicles
It feels like Summer here, so I am craving popsicles. When I was little, they were an essential item that we always had to have around in the freezer. TheLoading....
View Recipes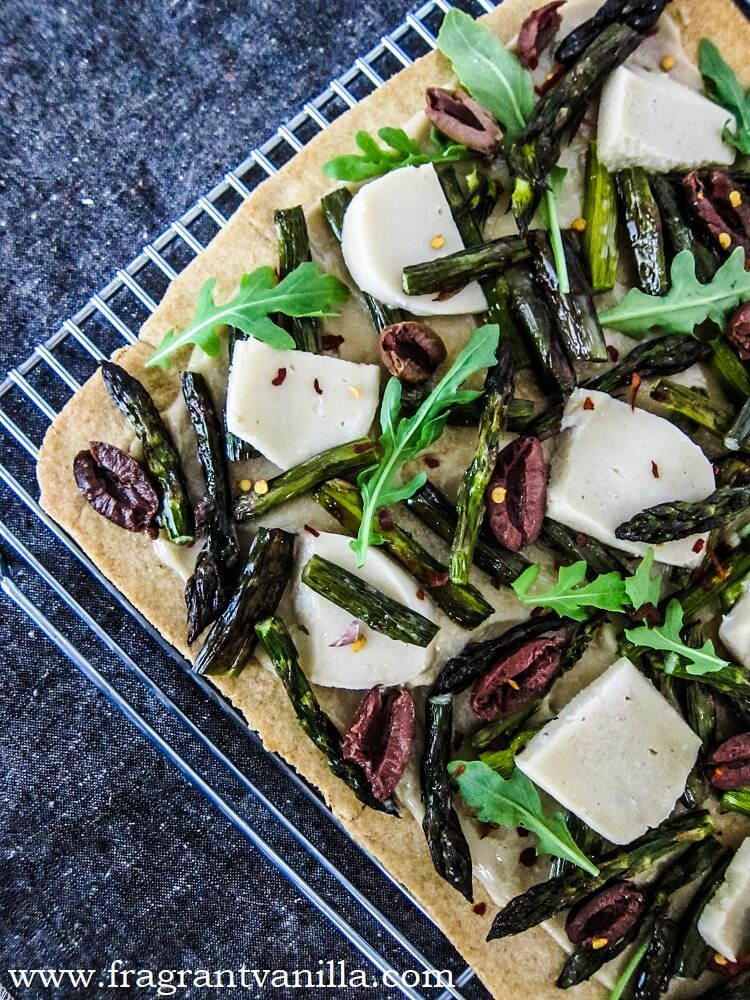
Vegan Roasted Asparagus Garlic Flat Bread
Last weekend I ran the Foodie 4 Mile, a race to celebrate the opening day of the Minneapolis North East Farmer’s Market. It was a beautiful perfect morning for running,Loading....
View Recipes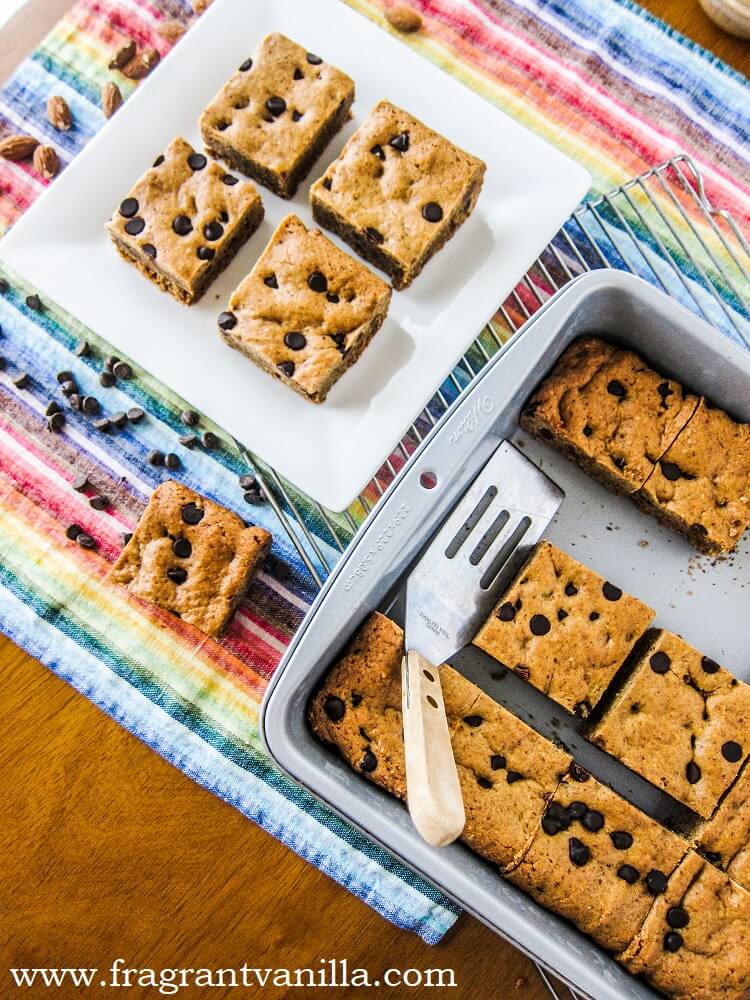
Vegan Almond Butter Maple Blondies
It smells so good here right now, like you have walked into a secret garden if you close your eyes when you walk outside. The trees and flowers are allLoading....
View Recipes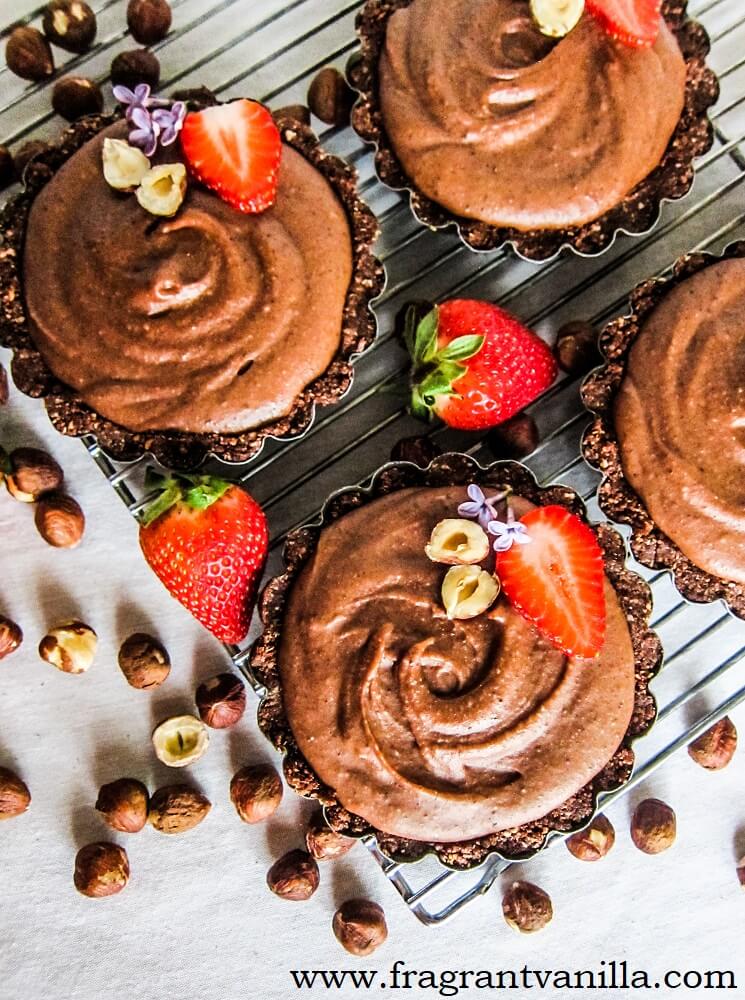
Mini Vegan Nutella Mousse Tarts
When I was little, I loved Nutella. I loved having Nutella toast, it was like having dessert for breakfast. After all, the real Nutella has sugar as the main ingredientLoading....
View Recipes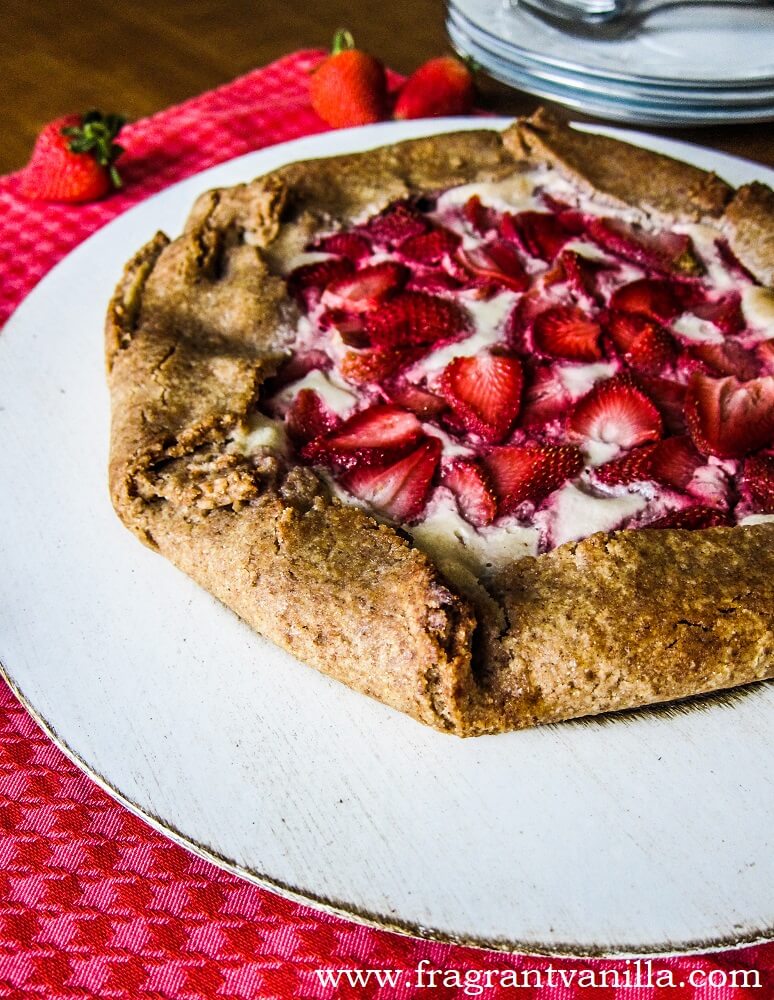
Vegan Strawberry Lemon Cream Cheese Galette
It is the little things in life that make me happy. For instance, when I went out for a run on Friday I was a bit tired and sluggish,Loading....
View Recipes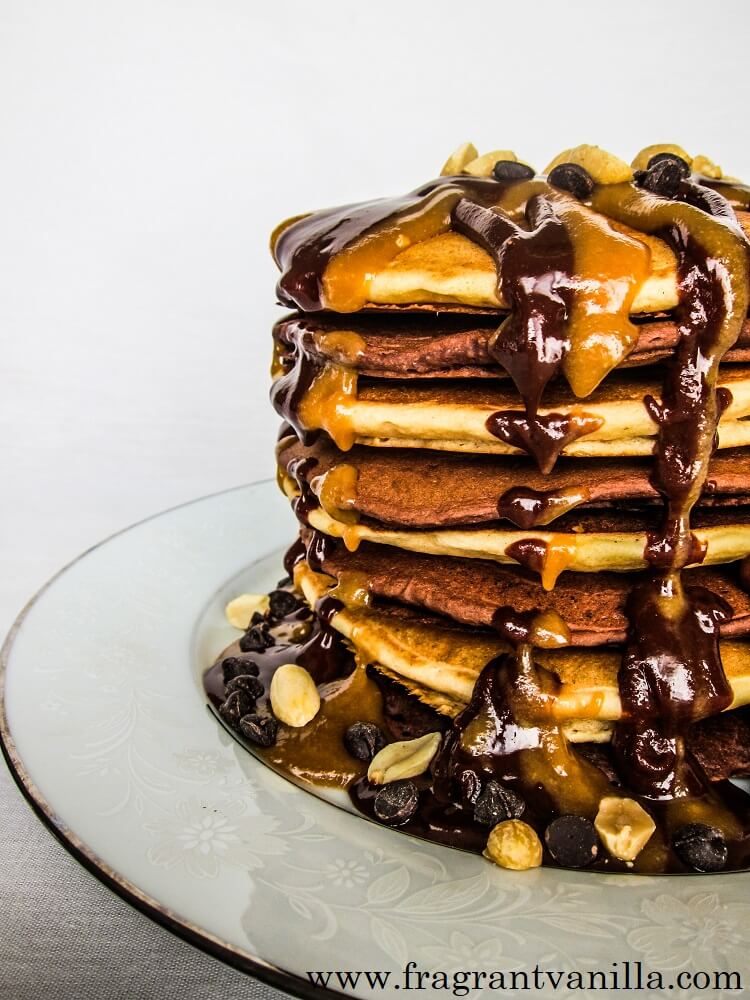
Vegan Peanut Butter Chocolate Pancakes
I am a peanut butter and chocolate fanatic. I even have a round up of 30+ Vegan Chocolate and Peanut Butter Recipes! Growing up, Reese’s peanut butter cups were myLoading....
View Recipes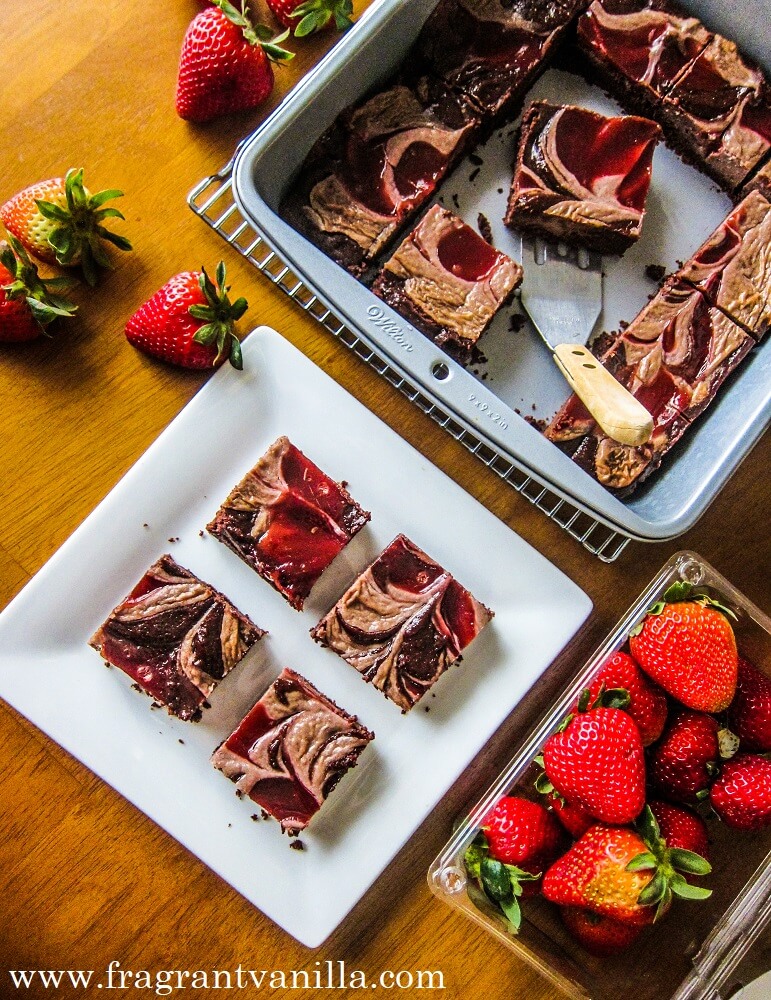
Vegan Strawberries and Cream Brownies
I spent most of last weekend outside, going for long bike rides and walks, because I feel like we haven’t seen the sun or warmth like this in forever. ILoading....
View Recipes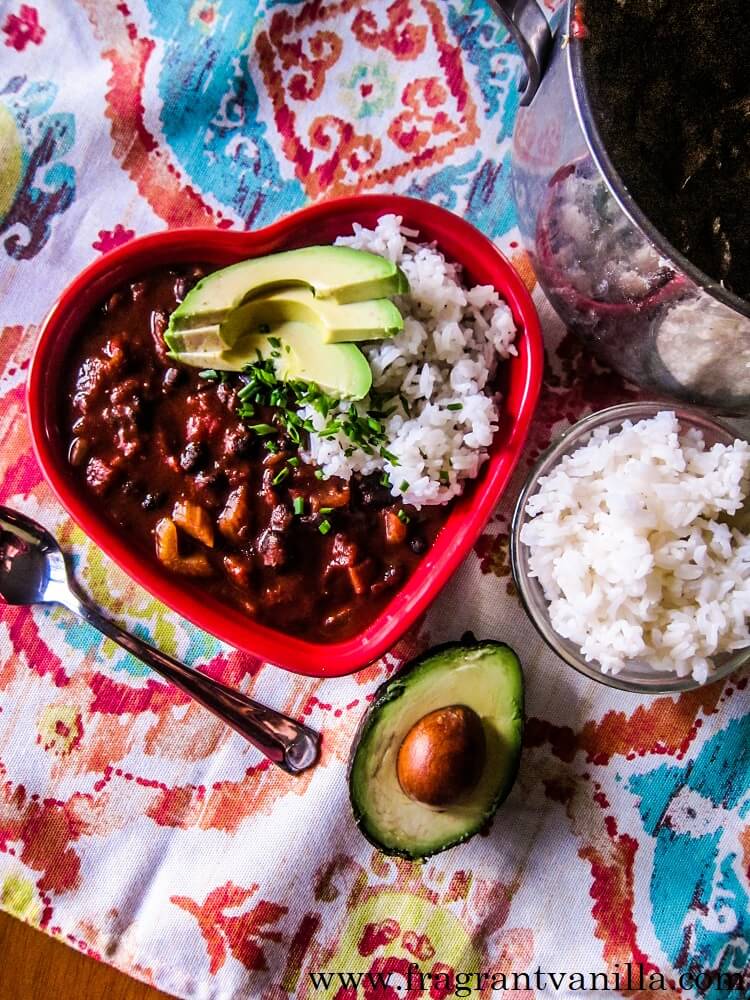
Vegan Chili Mole with Rice
I have always loved spicy chili. When I was little, my best friend’s Dad made the best chili with the vegetables from his garden. Including spicy peppers like habaneros andLoading....
View Recipes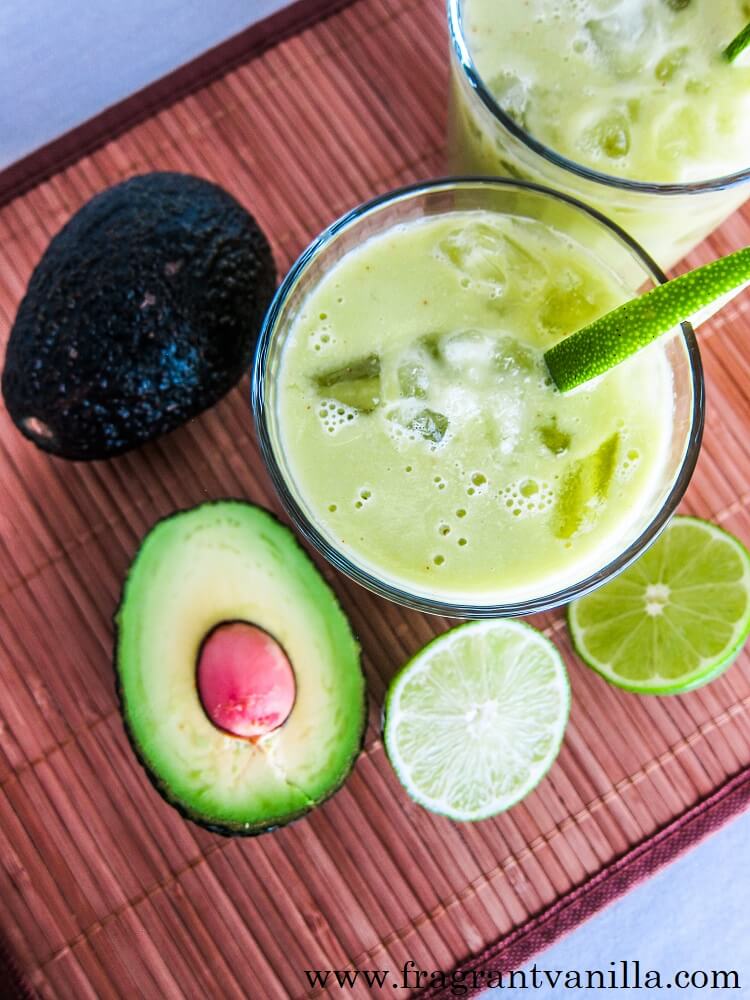
Avocado Lime Margaritas
Since it is Cinco de Mayo, I thought it would be the perfect day to share some margaritas with you! No, not those cheap ones with all of the sugarLoading....
View Recipes
Vegan Lavender Vanilla Almond Cake
I always enjoy making my own birthday cakes, because I love making...

Vegan Raspberry Rhubarb Crisp
I love rhubarb season! Ever since I was little and I...

Vegan Chocolate Pistachio Shortbread Cookie Sandwiches
I was craving some dark chocolate short bread and my Mom had...
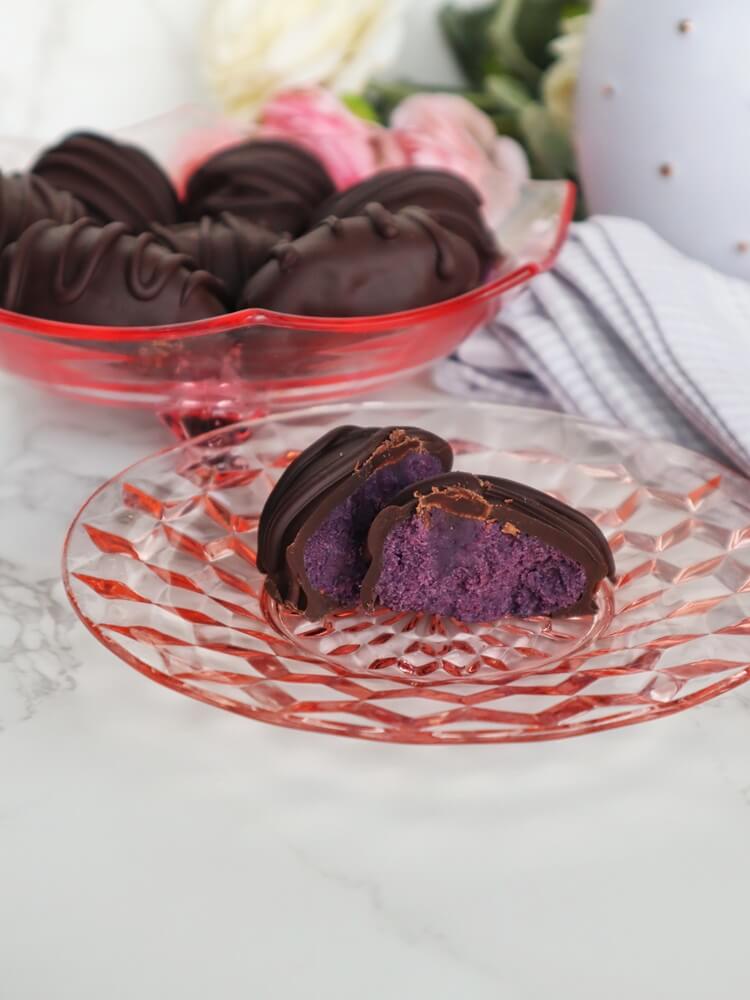
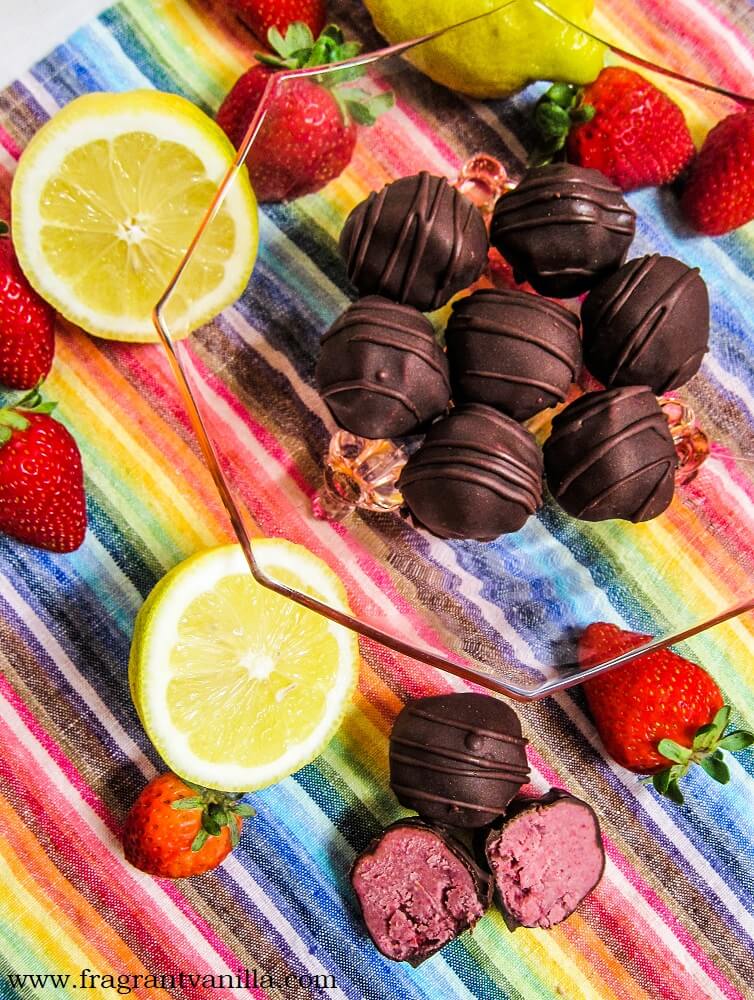
Vegan Blueberry Chocolate Eggs
Even though the stores are filled with Easter candy, I like to...