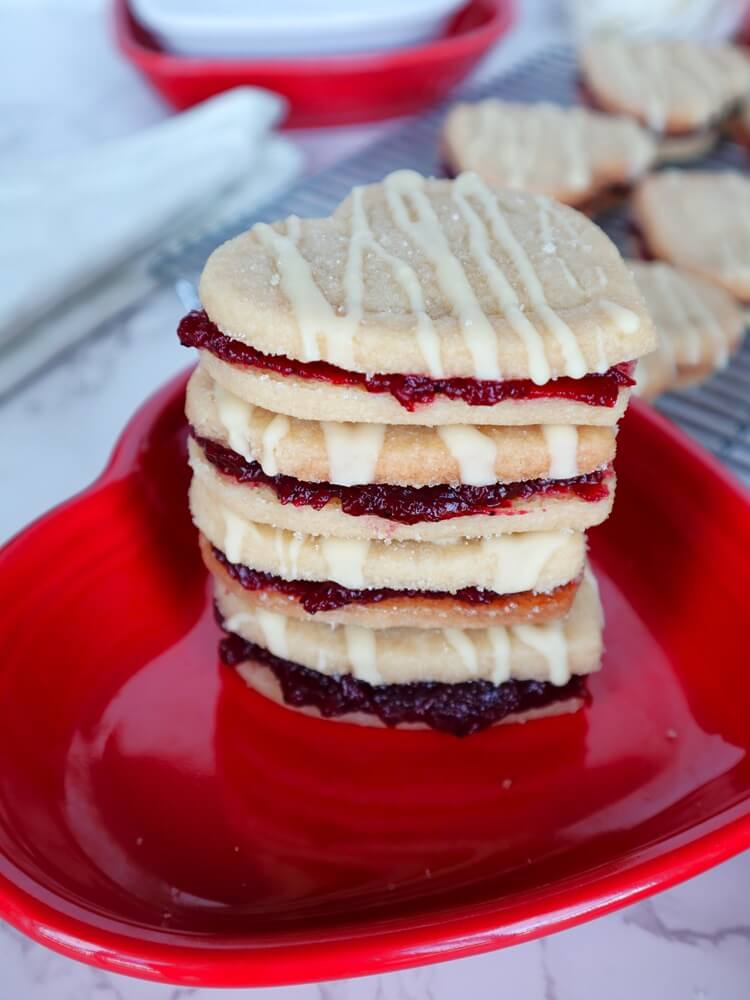
I have been craving shortbread lately, so I recently made some chocolate orange shortbread cookies, but I thought something with vanilla might be good too! Maybe something for upcoming Valentine’sLoading....
View Recipes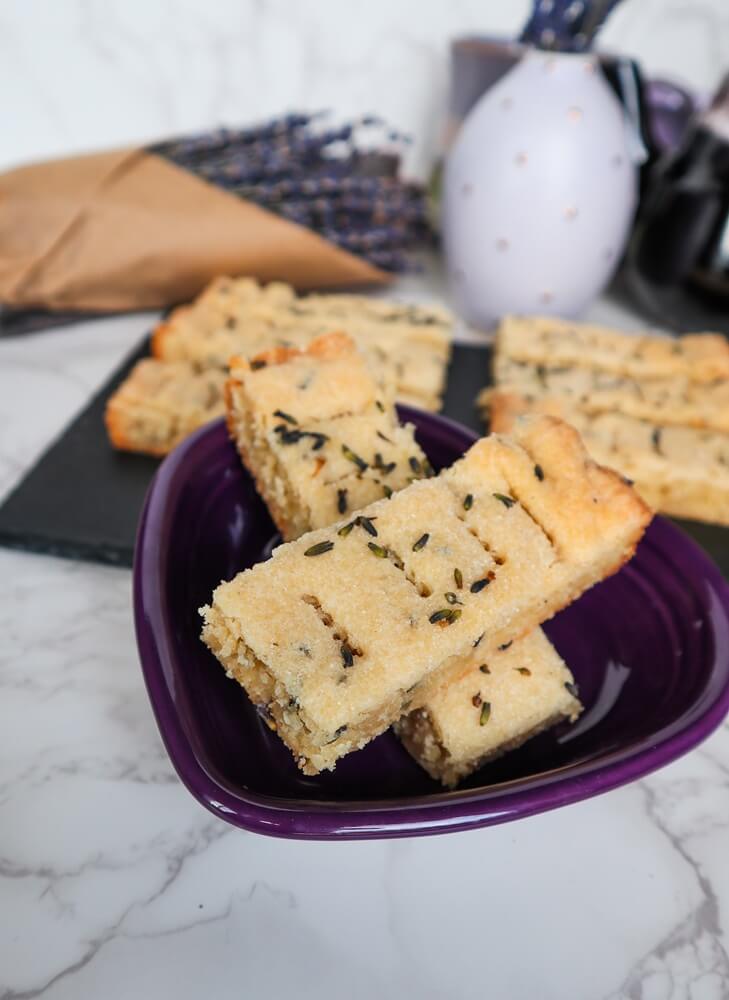
Vegan Vanilla Almond Lavender Short Bread
One of the things I have very much enjoyed doing the past couple of years is visiting a lavender farm or two during the summer. Lavender is one of myLoading....
View Recipes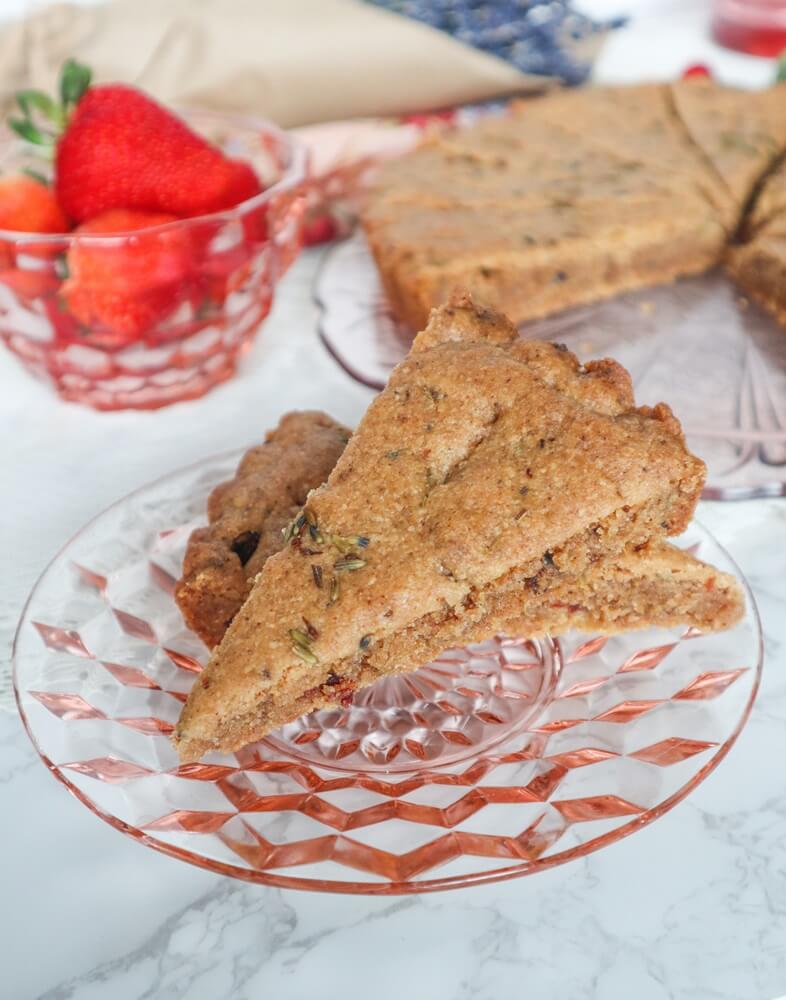
Vegan Vanilla Strawberry Lavender Short Bread
I love shortbread, the buttery melt in your mouth texture, the fact that it can be flavored with many different things depending on what you are in the mood forLoading....
View Recipes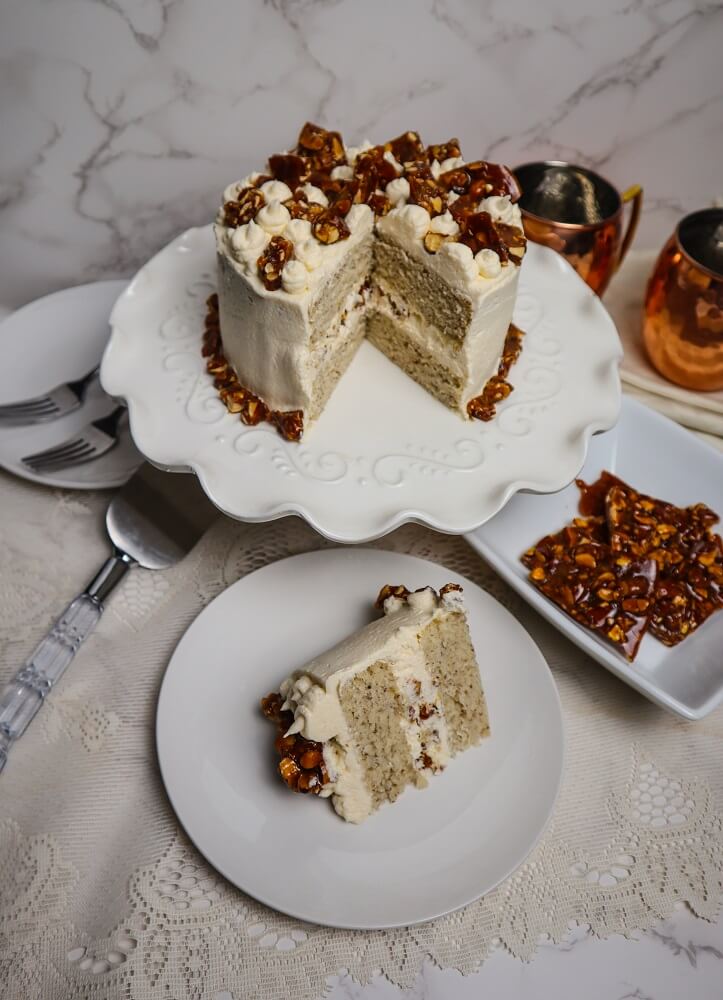
Vegan Almond Praline Cake
Around the holidays I like to make candy, things like peanut brittle and almond praline brittle are one of my husband Eric’s favorites! I made some almond praline brittle lastLoading....
View Recipes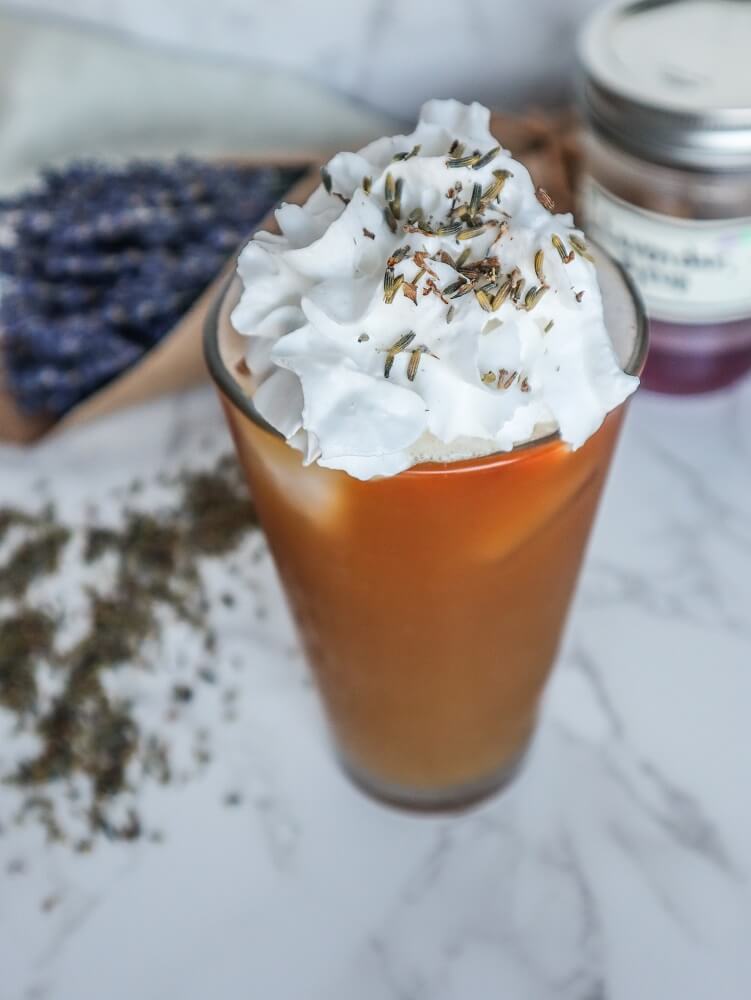
Lavender Vanilla Iced Latte
While we were in Wisconsin for our anniversary trip last month, we stopped by a lavender farm shop called Island Lavender and it smelled so amazing! Lavender is one ofLoading....
View Recipes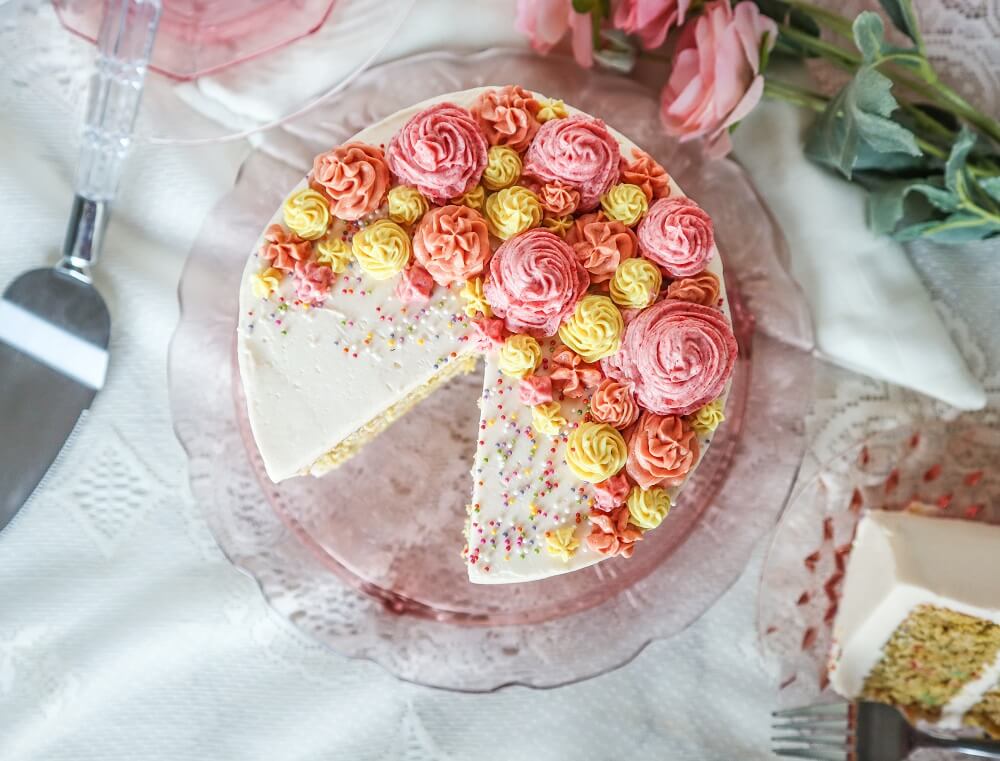
Vegan Vanilla Confetti Cake
It is always a good occasion for cake as far as I am concerned. Which is why I decided to make this Vegan Vanilla Confetti Cake randomly this week. ILoading....
View Recipes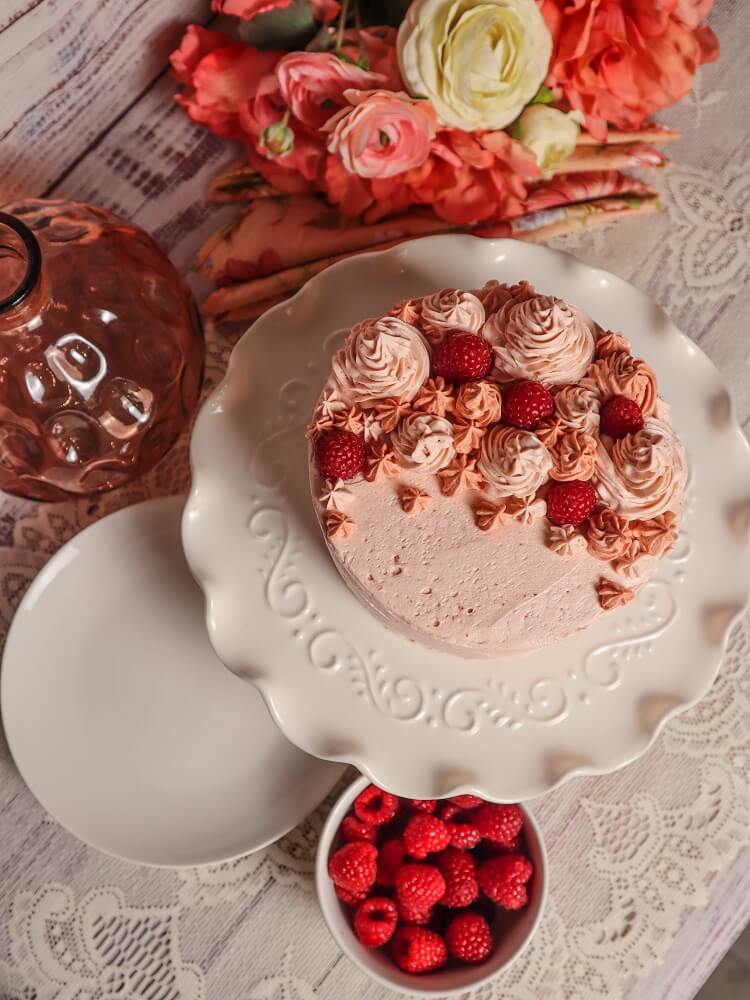
Vegan Raspberry Vanilla Cake
If I were to pick a favorite cake flavor, this Vegan Vanilla Raspberry Cake would be it. In fact, this is one of the flavors we ordered for our weddingLoading....
View Recipes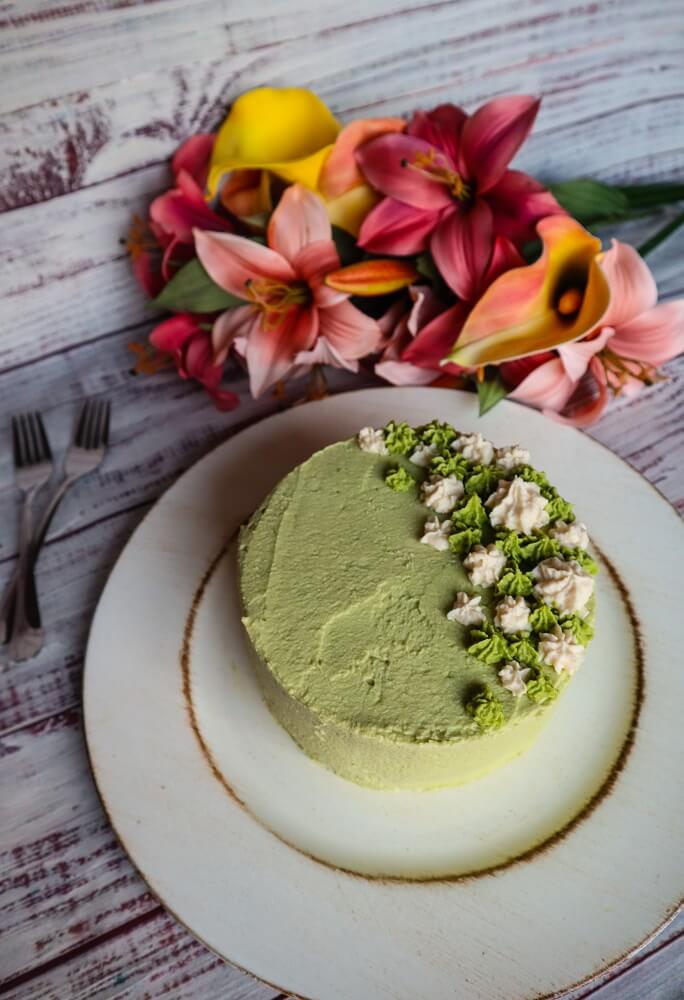
Vegan Matcha Vanilla Cake with White Chocolate Frosting
For my Birthday this year I decided to make my own cake despite being a bit busy, and that is why it has taken me a while to type upLoading....
View Recipes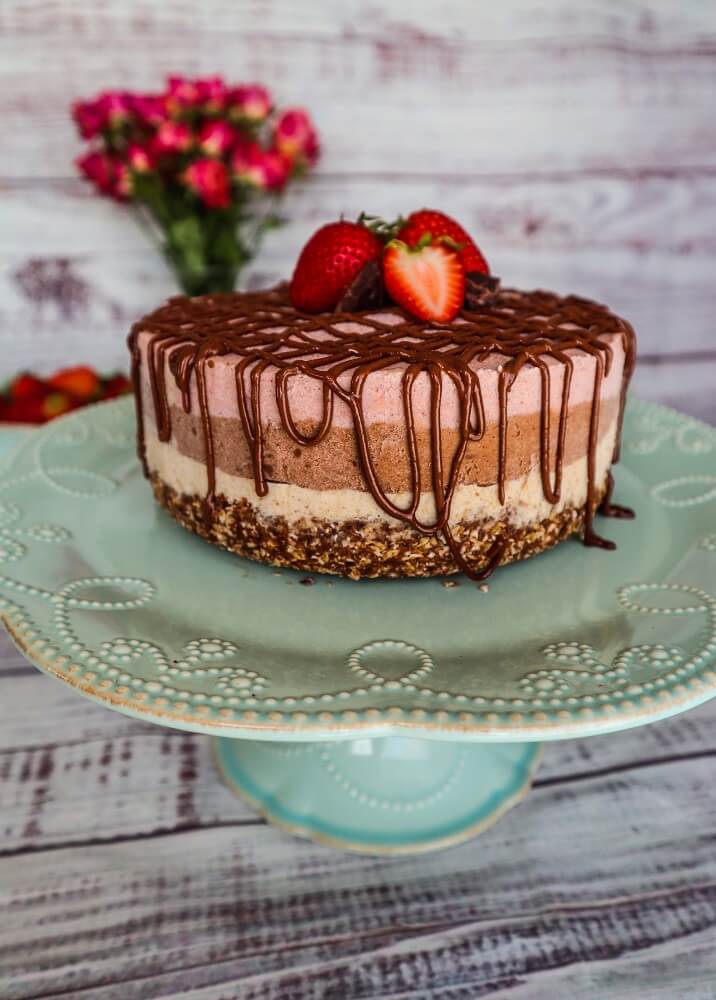
Vegan Neapolitan Ice Cream Cake
I always liked neapolitan ice cream. It seemed kind of fancy with its 3 flavors layered together and it meant that you didn’t have to simply choose one flavor ofLoading....
View Recipes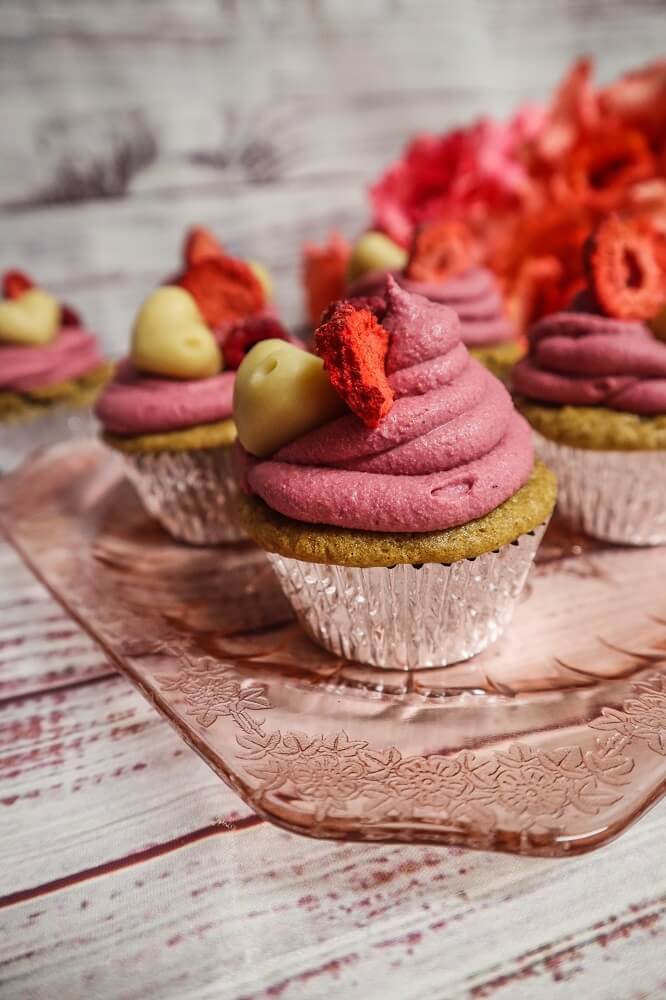
Vegan Raspberry Cupcakes
I started this blog 11 years ago last week, and although it seems like I have been making recipes forever I still can’t believe it has been that long!Loading....
View Recipes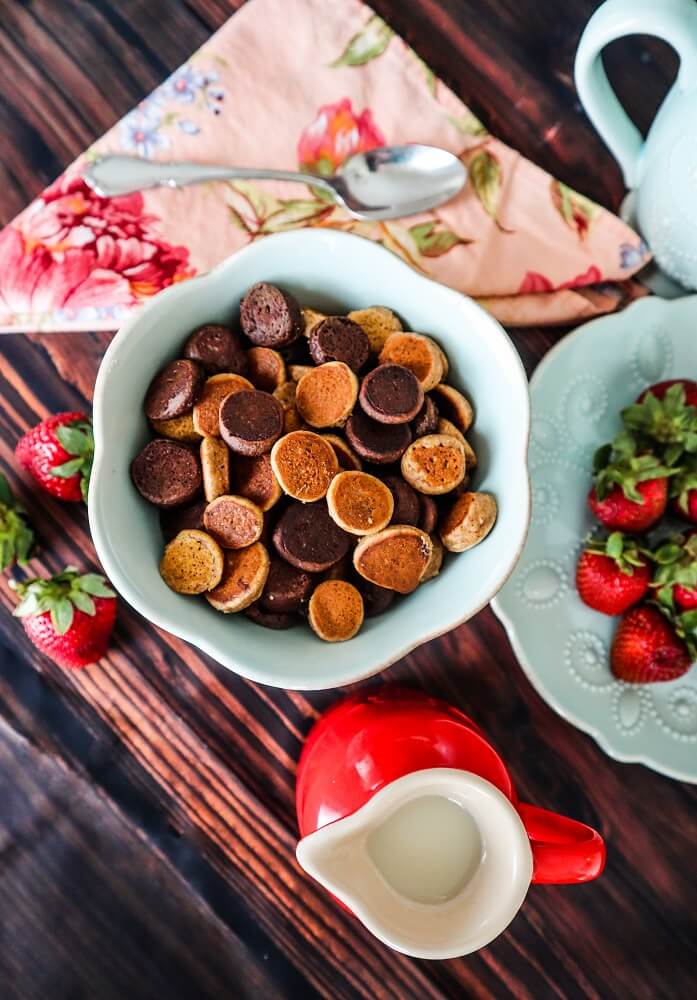
Vegan Vanilla and Chocolate Pancake Cereal
I don’t know about you, but I am always drooling over other people’s food photos on Instagram. One of the latest crazes that caught my eye was the pancake cerealLoading....
View Recipes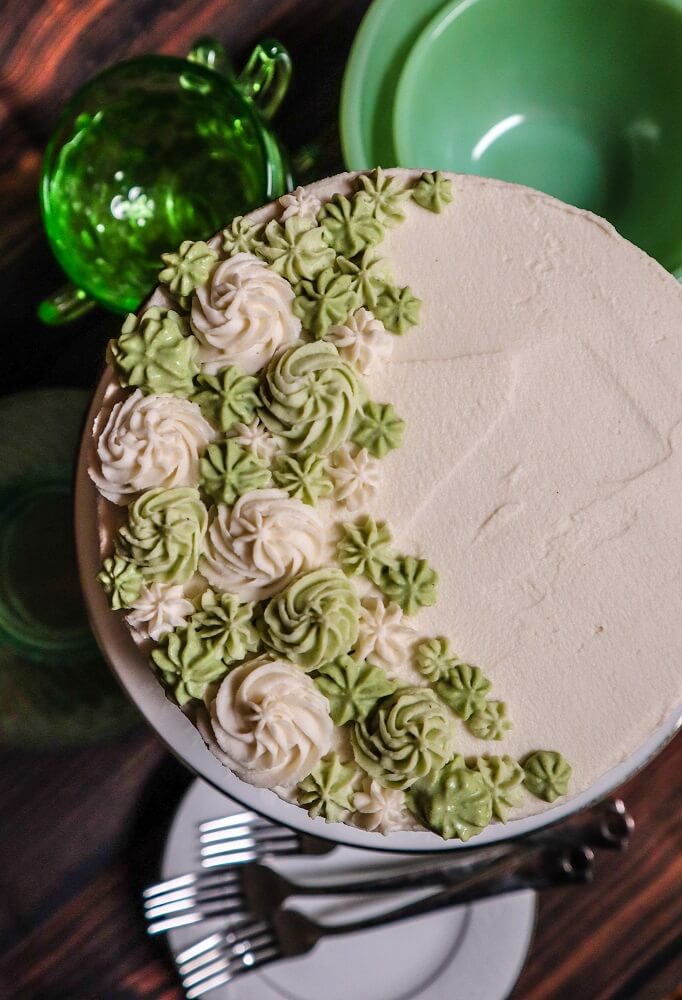
Vegan Peppermint Marble Cake
St. Patrick’s day is less than 2 weeks away, so it is the perfect time to make all things green. Especially fun desserts. Cakes are my favorite. So even thoughLoading....
View Recipes
Vegan Chocolate Pistachio Shortbread Cookie Sandwiches
I was craving some dark chocolate short bread and my Mom had...
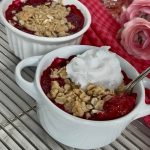
Vegan Raspberry Rhubarb Crisp
I love rhubarb season! Ever since I was little and I...
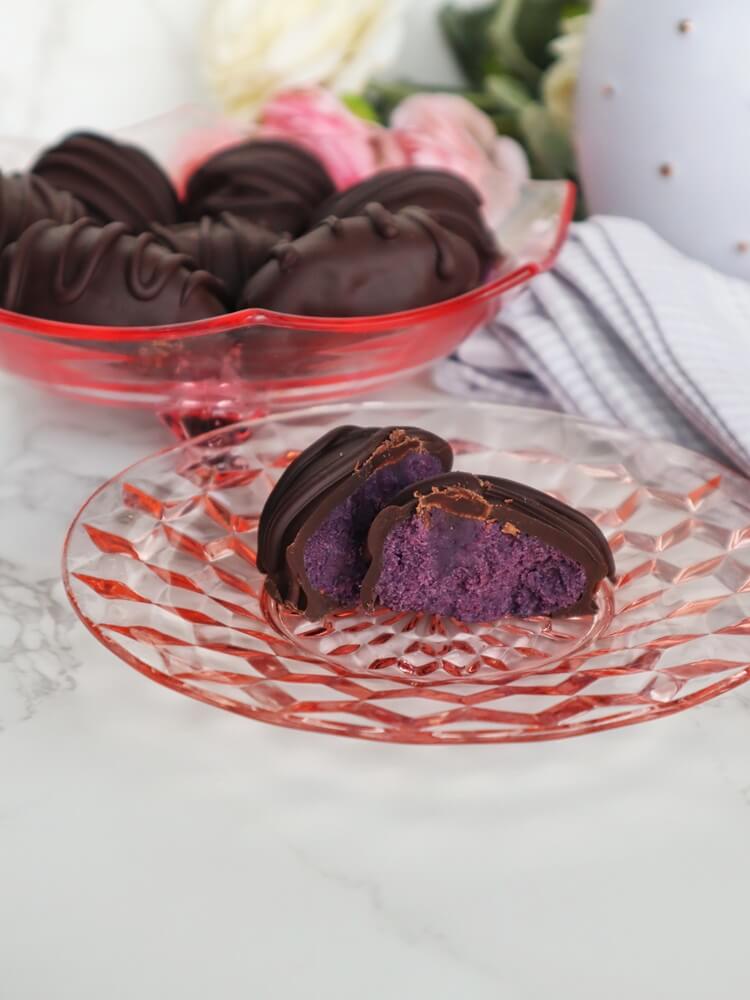
Vegan Blueberry Chocolate Eggs
Even though the stores are filled with Easter candy, I like to...
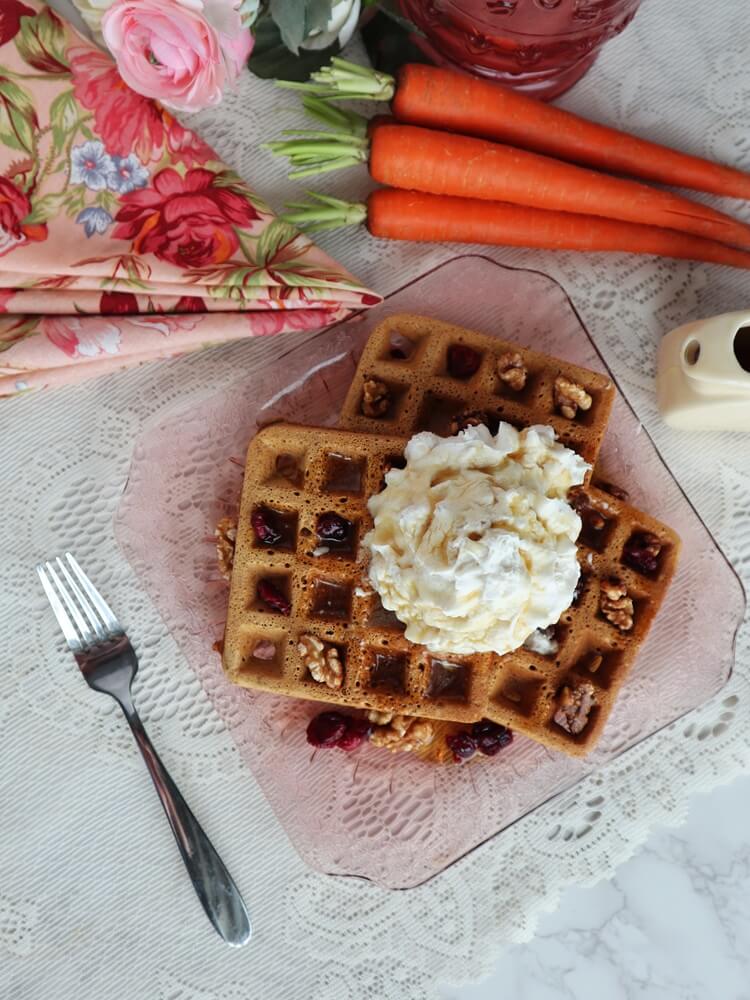
Vegan Carrot Cake Waffles
When I was little, I loved it when my Mom would make...