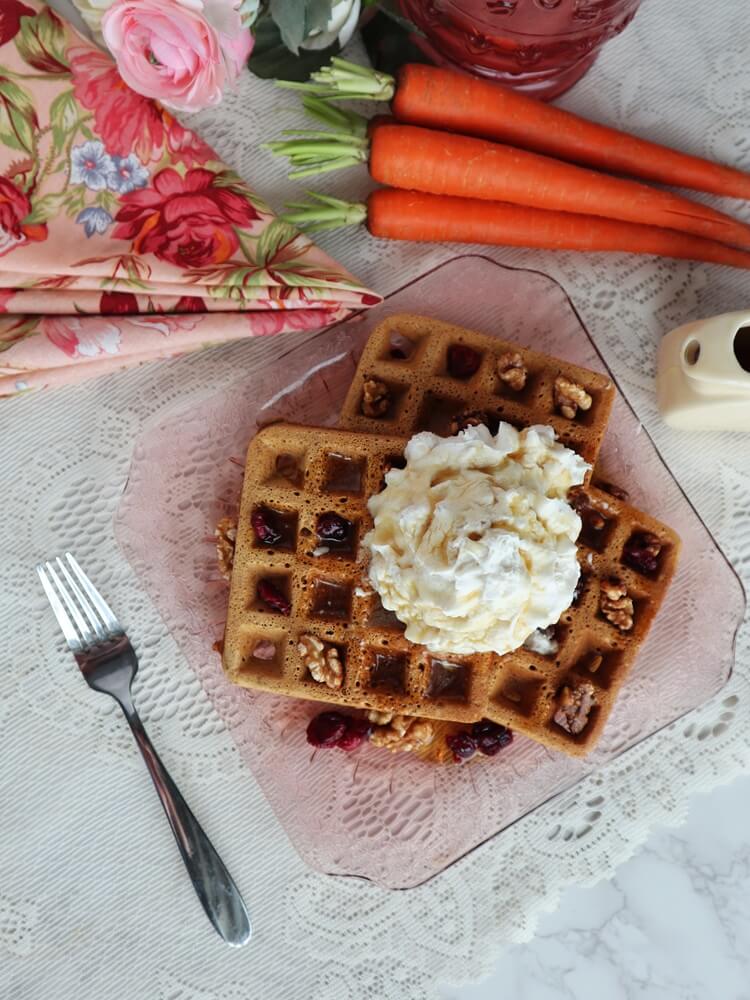
When I was little, I loved it when my Mom would make Belgian waffles. They were light and fluffy and so delicious! She made a recipe that used egg whitesLoading....
View Recipes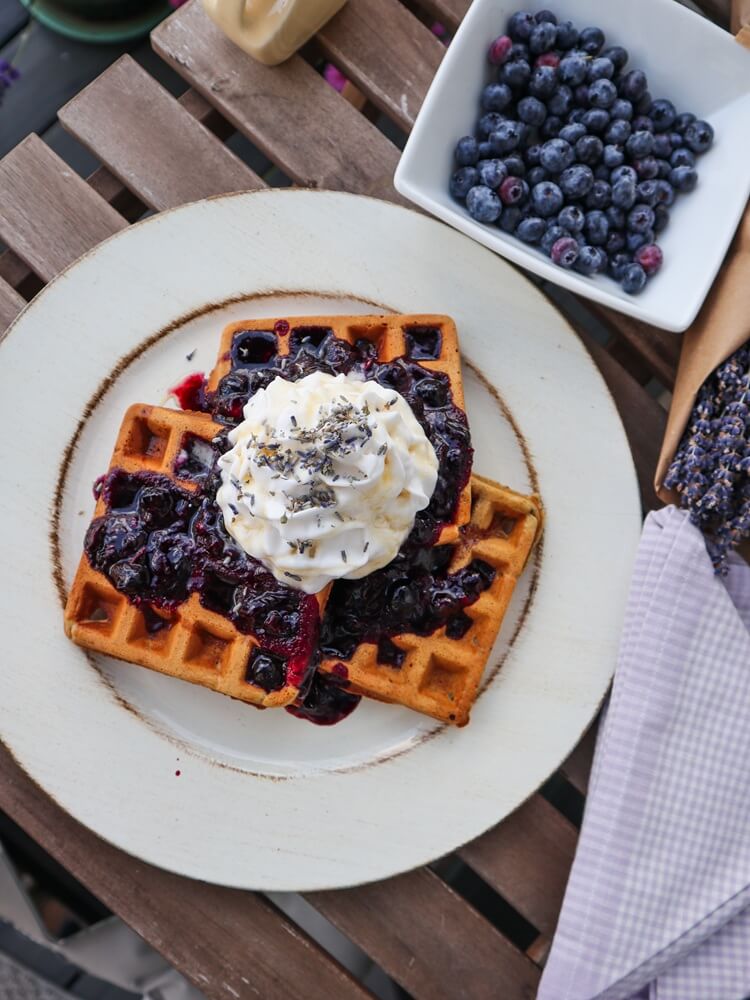
Vegan Blueberry Lavender Waffles
We just returned from our yearly road trip in celebration of our wedding anniversary and this year on the last day of our trip we visited a blueberryLoading....
View Recipes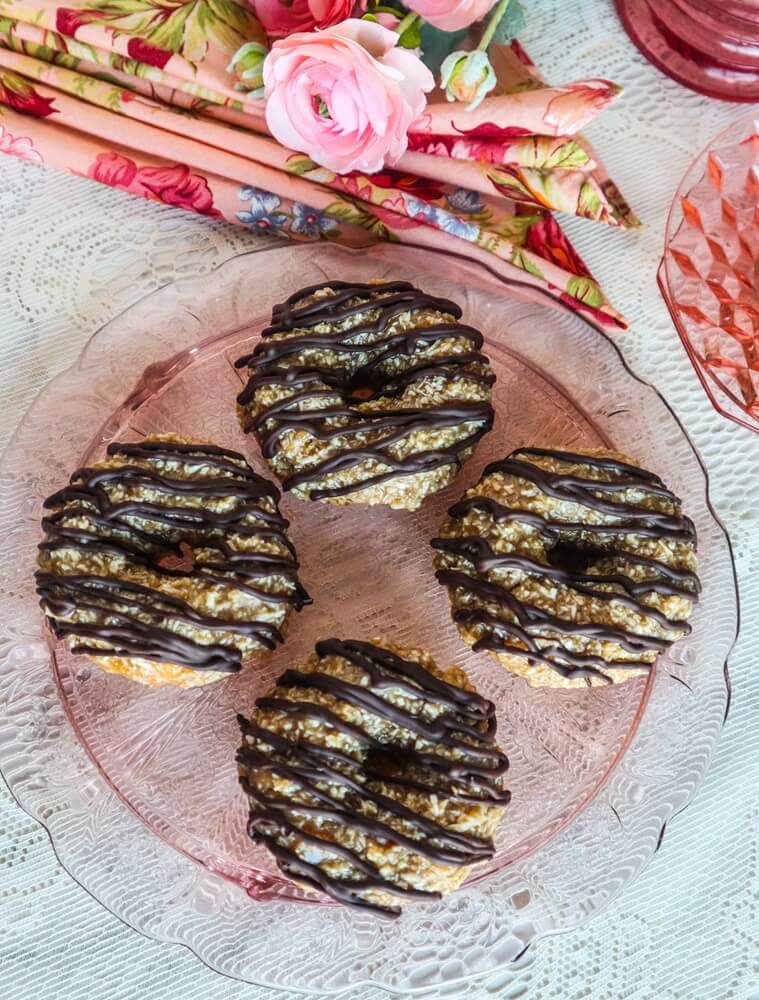
Vegan Samoa Doughnuts
Samoas were always my favorite Girl Scout cookies growing up, what’s not to love about a vanilla cookie with chewy caramel, coconut and chocolate?! So now I love making dessertsLoading....
View Recipes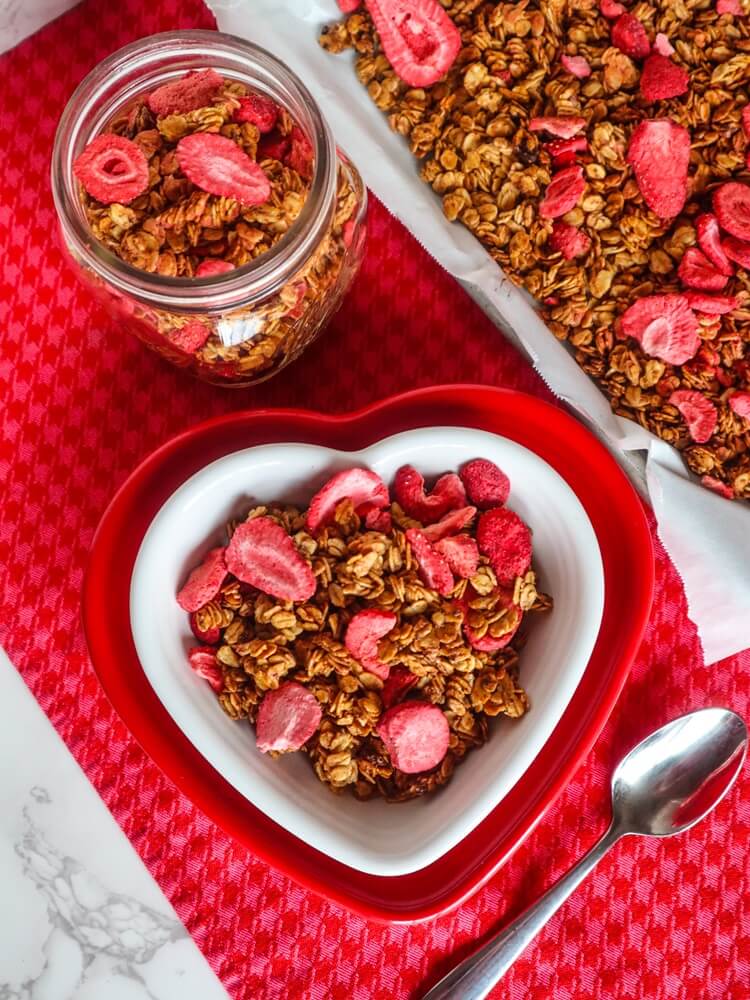
Strawberry Granola
I love home made granola! It is so easy to make, and so much better than store bought that since I started making my own I have never goneLoading....
View Recipes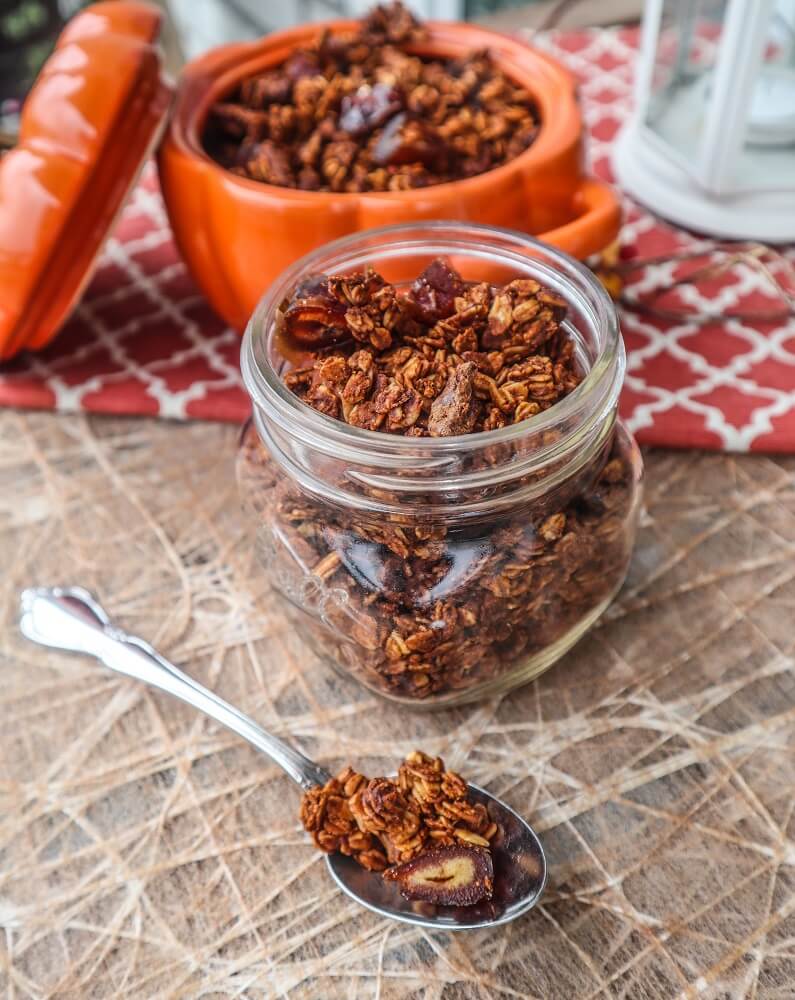
Vegan Pumpkin Maple Date Granola
You can feel fall in the air even if it is not technically fall yet. The overly hot days are gone, replaced with cool mornings and moderate temperatures. I loveLoading....
View Recipes
Vegan Peach Muffins
One of my favorite things to eat on weekends when I was little were muffins that my Dad made. Yes, they happened to come from a box, but there isLoading....
View Recipes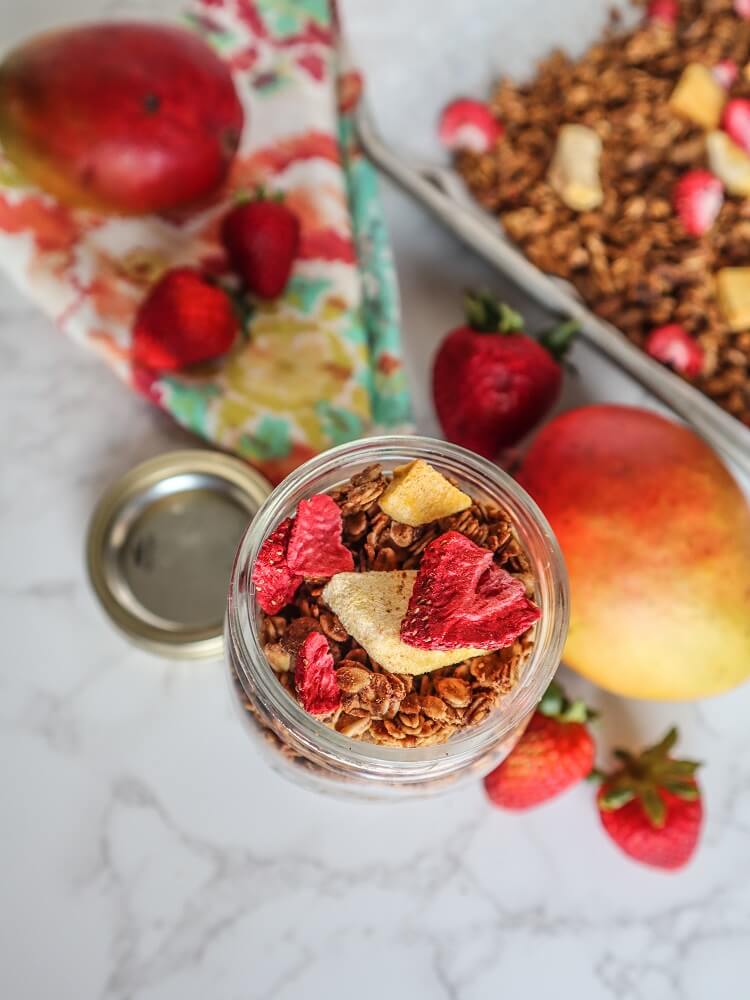
Mango Strawberry Granola
I was never a big granola person, until I discovered home made granola! Store bought was a bit too sweet and sugary for me sometimes, and the flavors weren’tLoading....
View Recipes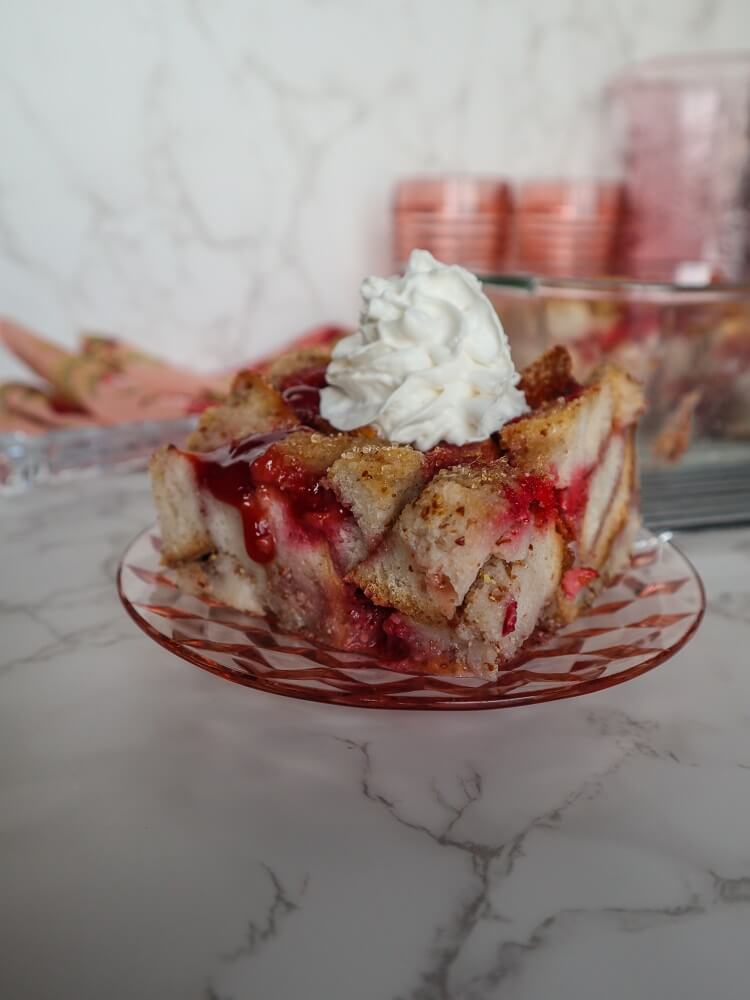
Vegan Strawberry Shortcake French Toast Casserole
I always loved french toast as a kid. It was sweet and delicious and it always seemed like a treat! Sweet breakfast to me has always seemed like dessert,Loading....
View Recipes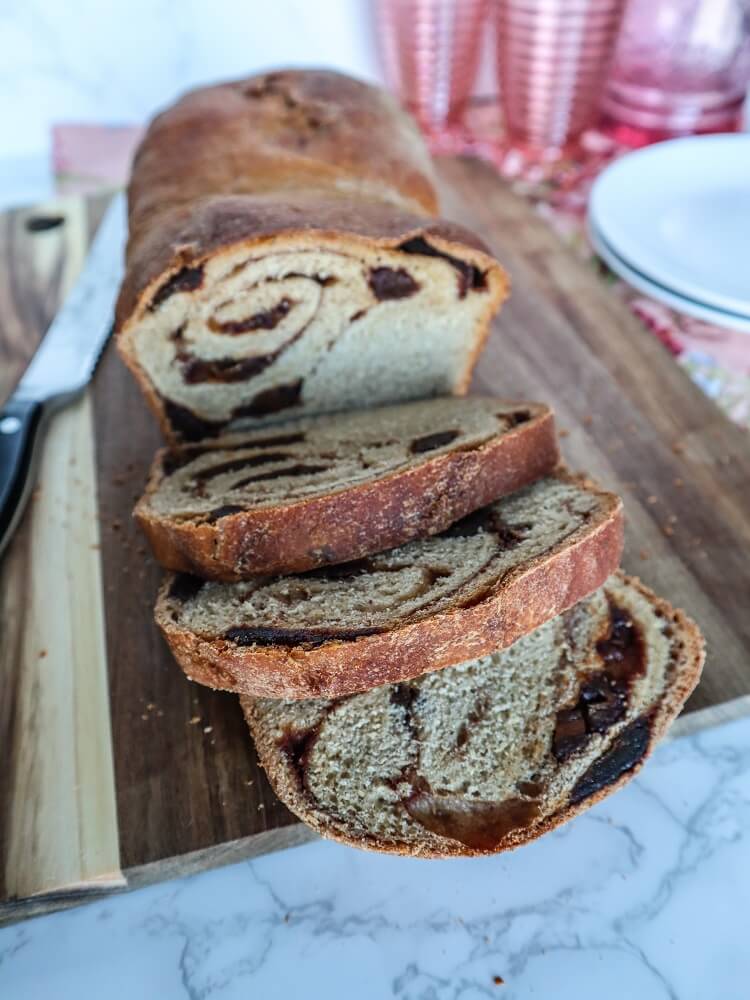
Vegan Date Cinnamon Swirl Bread
I always loved cinnamon bread growing up, especially for toast! It was amazing with some butter on it for a breakfast treat! I preferred the plain cinnamon, not theLoading....
View Recipes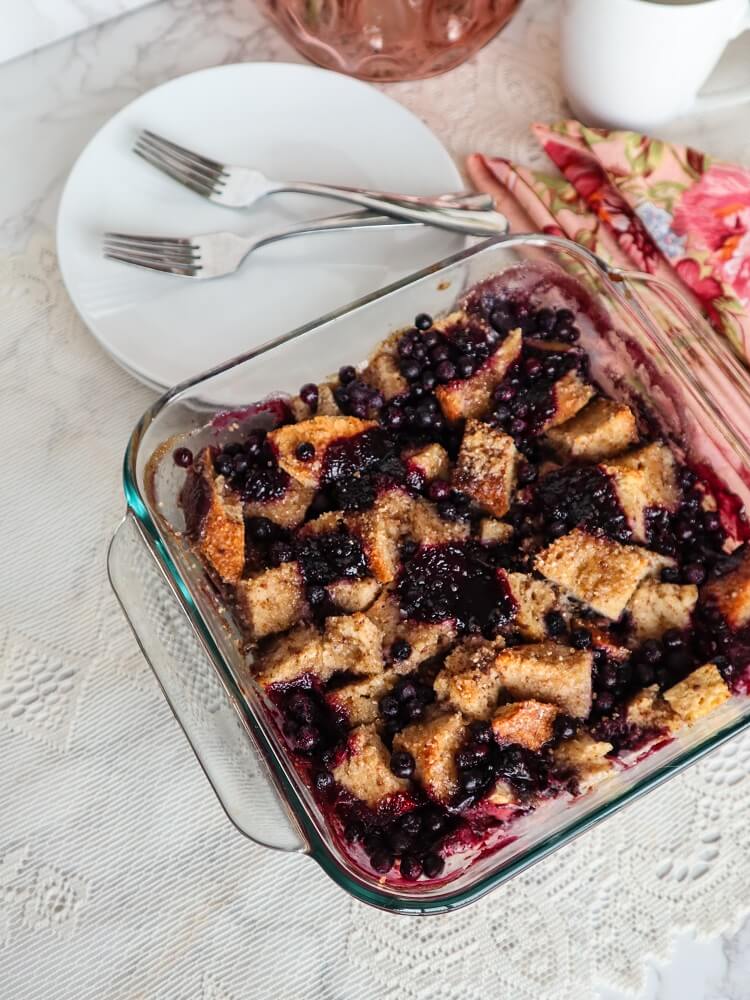
Vegan Blueberry Maple French Toast Casserole
One of my favorite things to do with a bunch of leftover bread is french toast casserole! I will often times put bread in the freezer if we don’t eatLoading....
View Recipes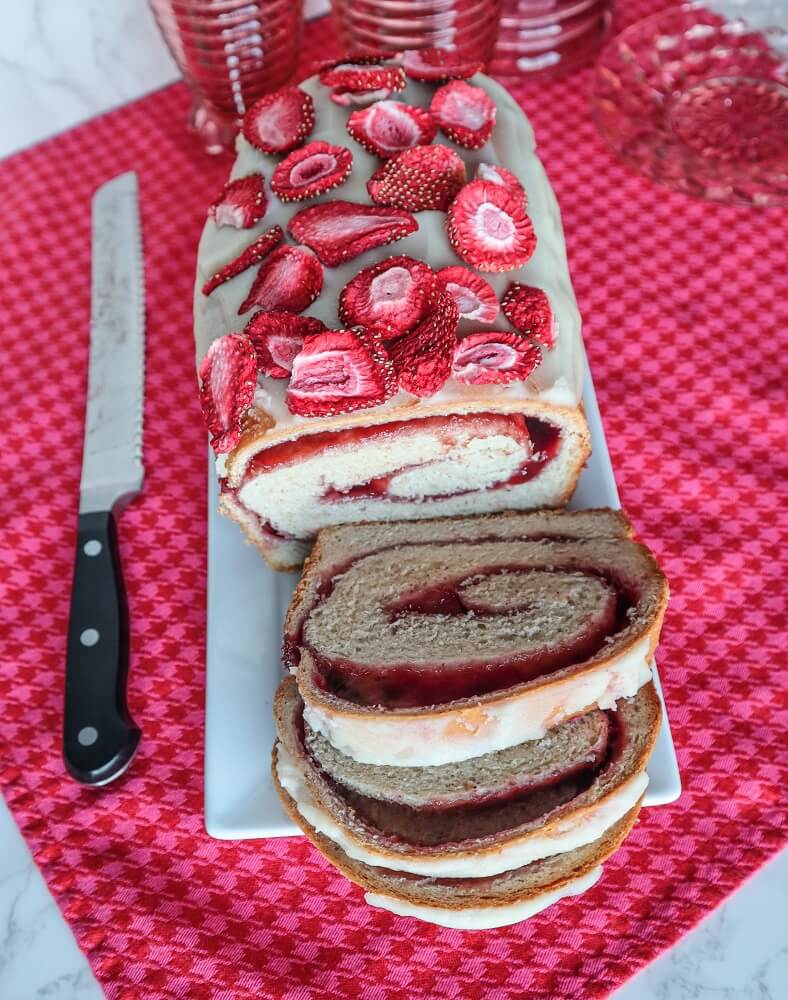
Vegan Berry Swirl Bread
I am so ready for spring! It felt like Spring here in Minnesota for about a week with temperatures in the high 30s and 40s and the snow was melting. Loading....
View Recipes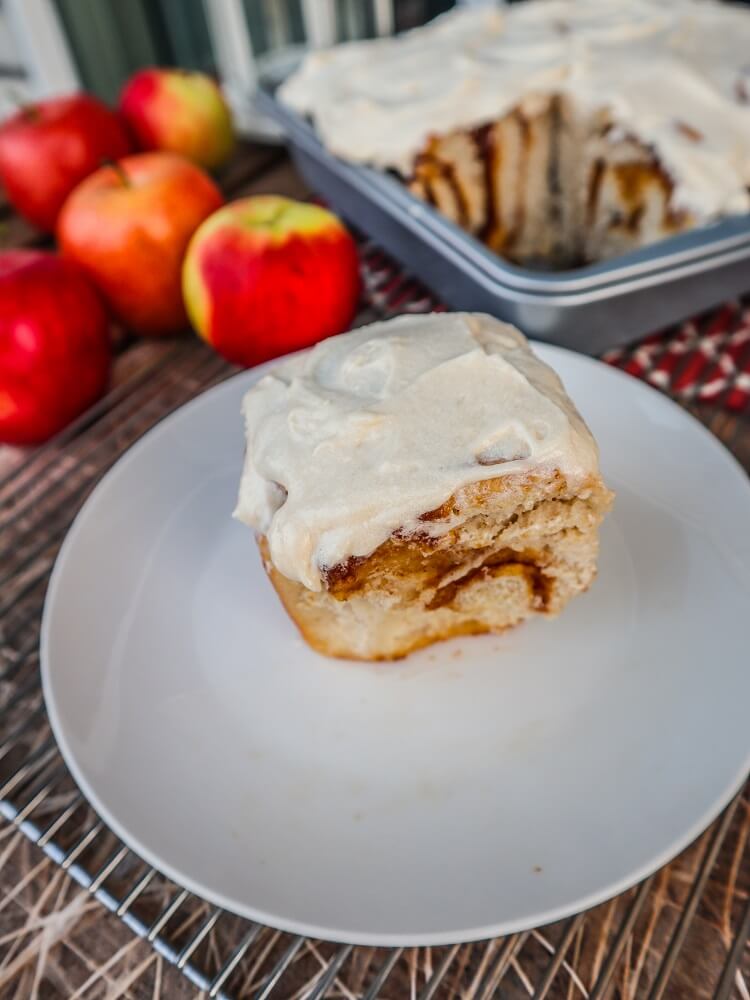
Vegan Apple Cinnamon Sweet Rolls
Apple season is in full swing! Although I have yet to make it to the apple orchard this year, I really want to go soon, I love goingLoading....
View Recipes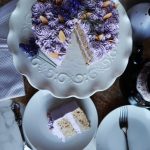
Vegan Lavender Vanilla Almond Cake
I always enjoy making my own birthday cakes, because I love making...
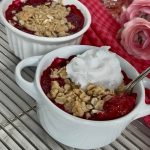
Vegan Raspberry Rhubarb Crisp
I love rhubarb season! Ever since I was little and I...

Vegan Chocolate Pistachio Shortbread Cookie Sandwiches
I was craving some dark chocolate short bread and my Mom had...
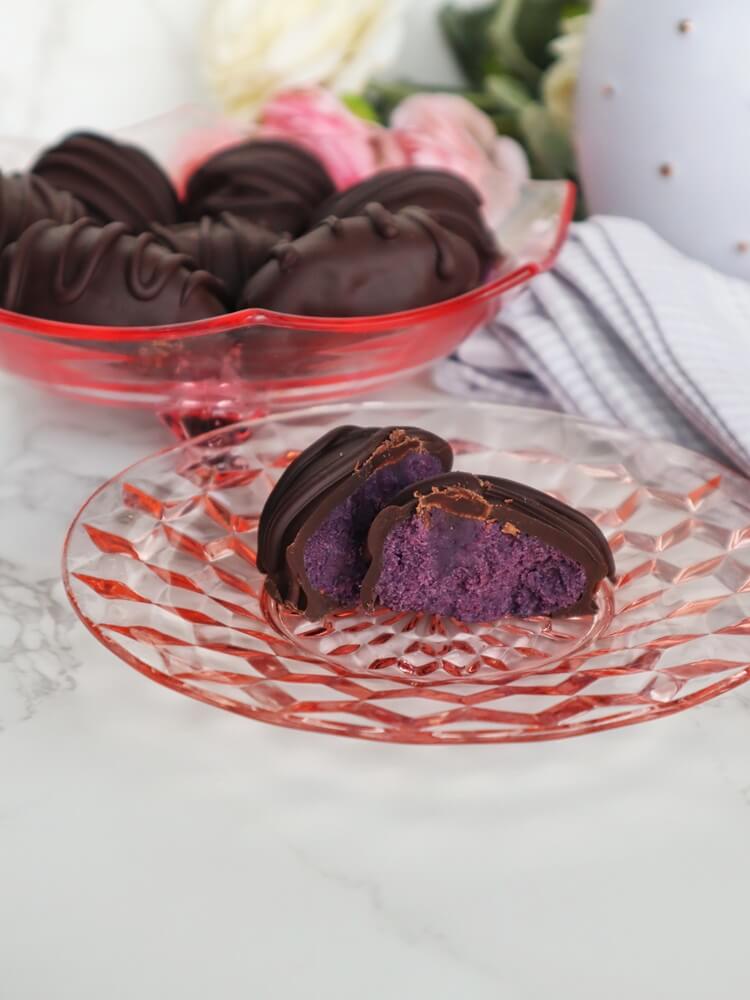
Vegan Blueberry Chocolate Eggs
Even though the stores are filled with Easter candy, I like to...