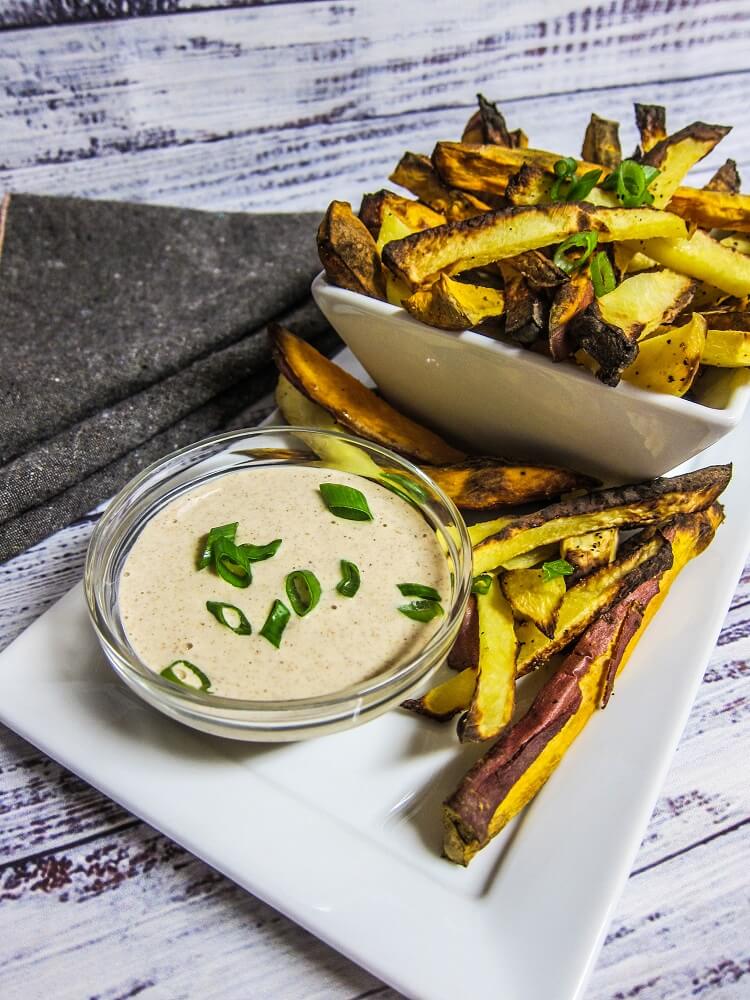
One of my all time favorite things we make at the deli I work at is sweet potato or yam fries. They are so simple but so good. So, oftenLoading....
View Recipes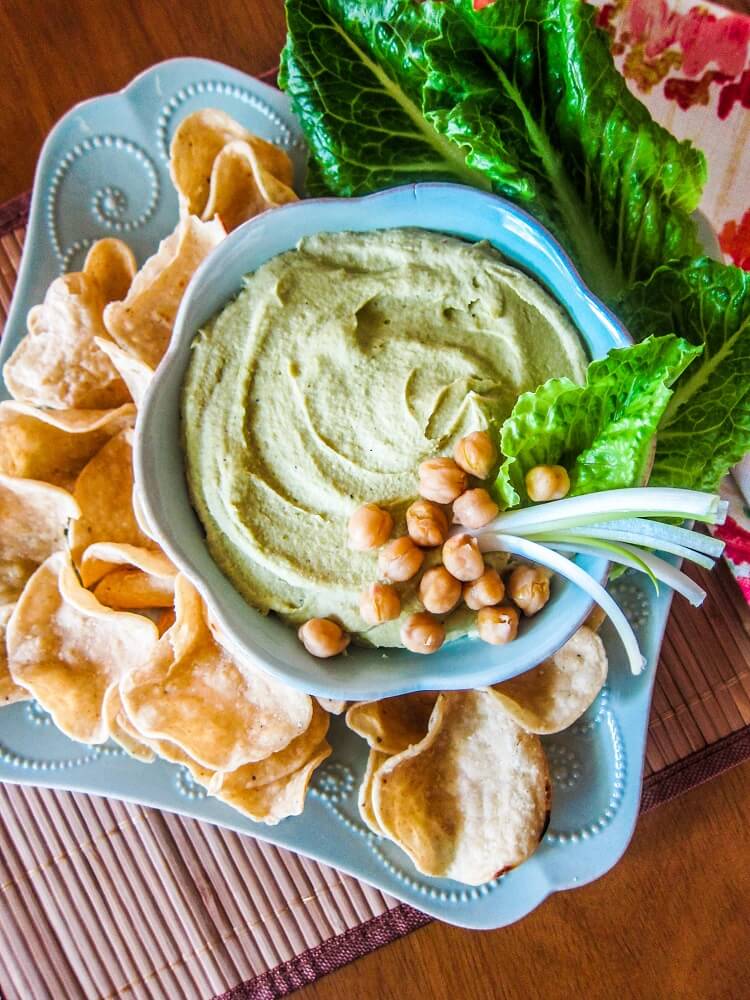
Roasted Garlic Scape Hummus
About 10 years ago, I was shopping at a local co op that I made the trip to every weekend, and I came across an odd item in the produce.Loading....
View Recipes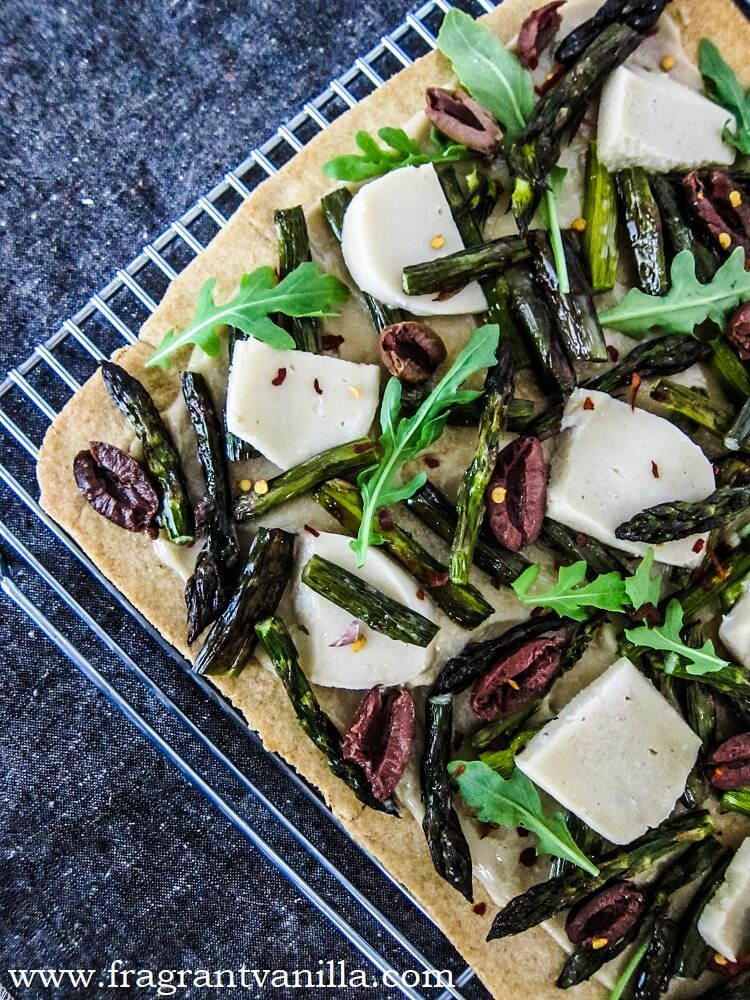
Vegan Roasted Asparagus Garlic Flat Bread
Last weekend I ran the Foodie 4 Mile, a race to celebrate the opening day of the Minneapolis North East Farmer’s Market. It was a beautiful perfect morning for running,Loading....
View Recipes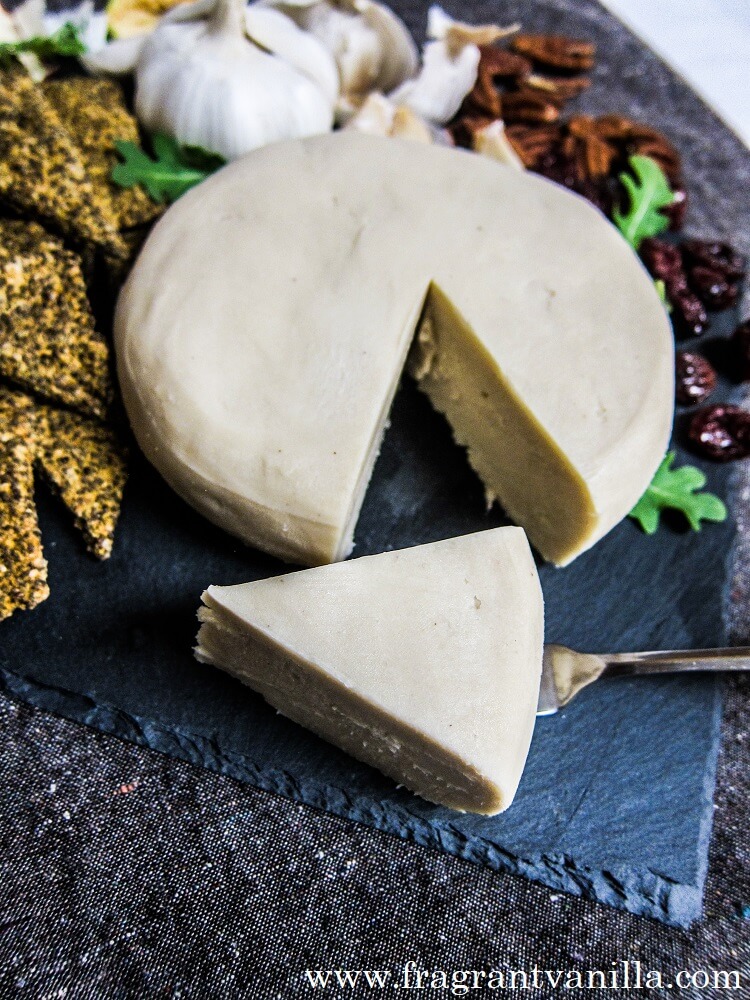
Vegan Garlic White Cheddar Cheeze
Often times when I am at the store, I see an item that isn’t vegan that sounds good to me and I try to veganize it once I get home,Loading....
View Recipes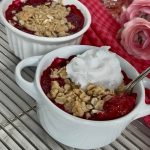
Vegan Raspberry Rhubarb Crisp
I love rhubarb season! Ever since I was little and I...

Vegan Chocolate Pistachio Shortbread Cookie Sandwiches
I was craving some dark chocolate short bread and my Mom had...
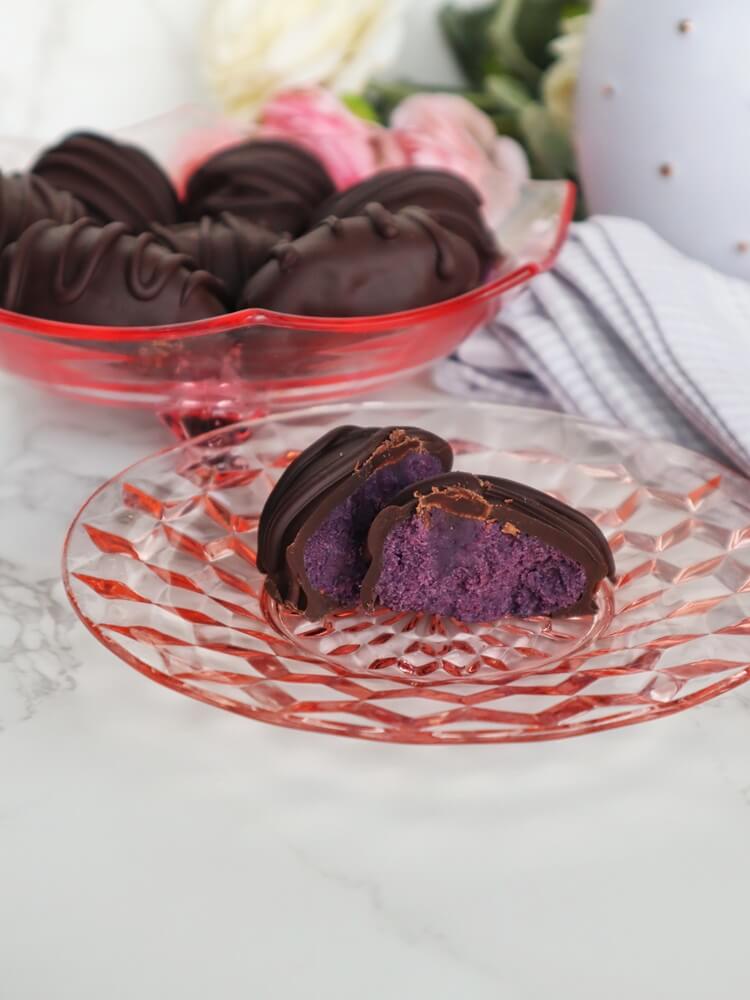
Vegan Blueberry Chocolate Eggs
Even though the stores are filled with Easter candy, I like to...
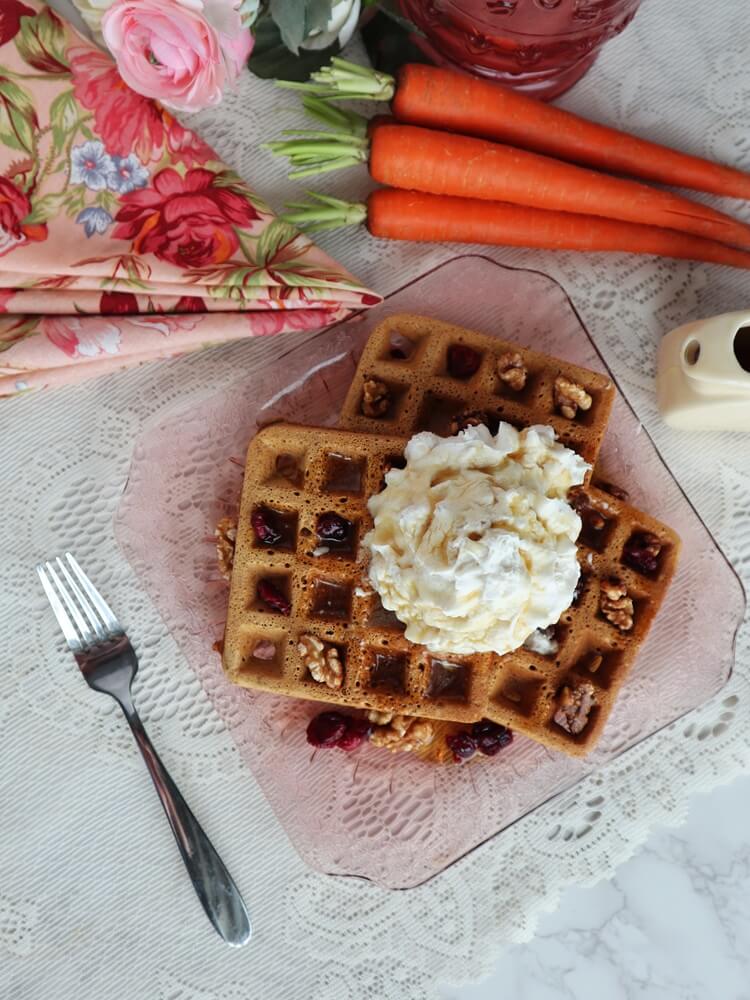
Vegan Carrot Cake Waffles
When I was little, I loved it when my Mom would make...