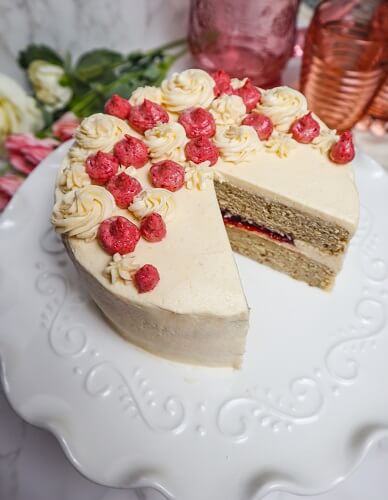
Vegan Peanut Butter and Jelly Layer Cake
I think I lived on peanut butter and jelly sandwiches for lunch for a while when I was little. I didn't really like other types of sandwiches at that point (I hated everything with lunch meat, makes sense that I am vegan now) and they were just so darn delicious! My Mom always bought raspberry jam the chunky kind with the seeds and my Dad would always buy strawberry. But when I went over to other people's houses and had grape that was a real treat! I just loved peanut butter and jelly! So much so that when they came out with that goober grape jam and jelly all in one jar, me and my friends bought ourselves some jars of it to take on a high school nordic ski trip and I can remember eating it straight up out of the jar plain when we were really hungry after a 3 hour ski. It tasted so good! I still love PB and J but I am a bit more picky now when it comes to the peanut butter and jelly. I make my own peanut butter in the Vitamix and just use dried roasted peanuts and sea salt, and my favorite jam is the home made jam my husband's Dad makes from his home grown raspberries, it is the perfect balance of tart and sweet and low sugar which really allows the berry flavors to shine (if I wasn't able to get that though, I go for the fruit sweetened or less sweet ones). I have been wanting to make a PB and J dessert for about a month now, so last weekend I made a Vegan Peanut Butter and Jelly Layer Cake!
It took me several days to do so due to a time crunch but it was so worth it! Often times I bake my cake layers one day, then make the frosting and assemble the cake the next and it works out really well! For this cake, I used my classic vanilla cake and added a bit of peanut butter to the batter. It was so delicious even before I baked it! Yes I sampled a bit of it. Had to make sure it tasted good after all! It smelled so heavenly while baking!
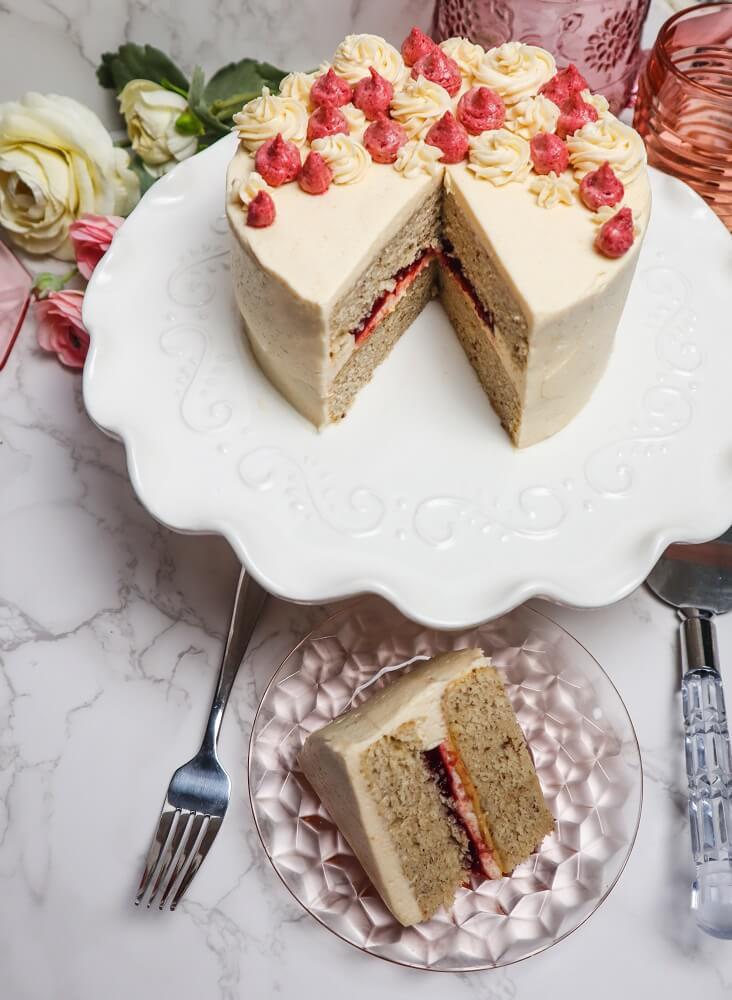
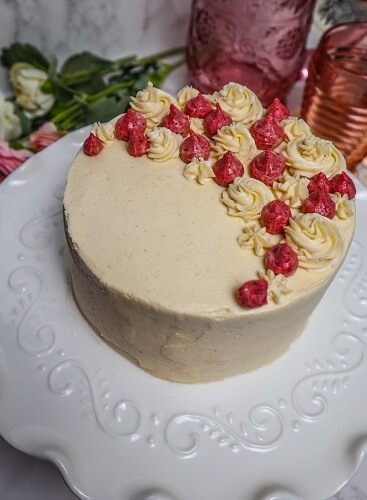
For the frosting I made a vanilla buttercream with a bit of peanut butter in it as well and it was so smooth and heavenly! I mixed a bit of raspberry powder into some of it since this was a PB and J cake after all and it tinted it a nice color for decorating! Raspberry powder is just freeze dried raspberries blended up in a blender until they become powder. They make a great flavoring if you are making a berry frosting because the flavor is intense and they don't add excess moisture plus they make it a lovely color! I also put a layer of jelly and peanut butter in between the cake layers along with some of the frosting.

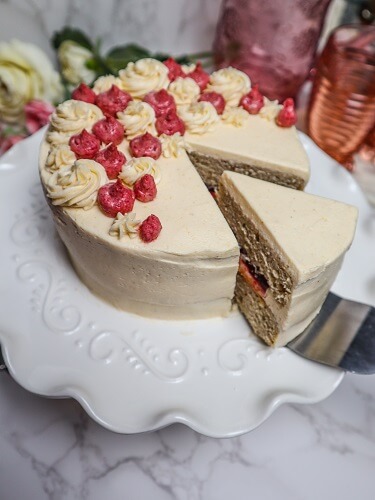
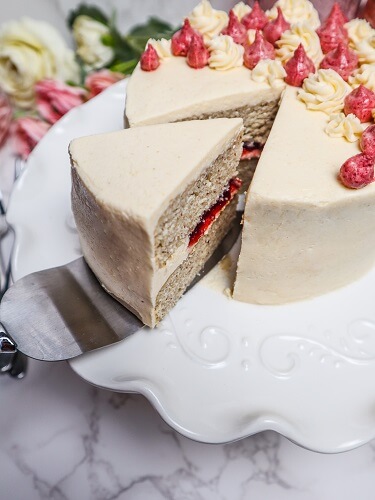
I could not wait to try the finished product! I had sampled the components but it would be even better once all put together! This cake was so crave worthy! The soft, sweet vanilla scented cake layers were perfect with the rich peanut butter, tart sweet raspberry jam and luscious smooth peanut butter buttercream frosting! If you are a PB and J fan this will be right up your alley and you should definitely give this Vegan Peanut Butter and Jelly Layer Cake a try!
Vegan Peanut Butter and Jelly Layer Cake
Makes one 2 layer 6 inch cake
Ingredients:
Cake:
- 1 1/2 cups organic while wheat pastry flour or all purpose flour
- 3/4 cup plus 2 Tbsp granulated sugar
- 3/4 tsp baking powder (1/2 tsp plus 1/4 tsp)
- 1/2 tsp sea salt
- 2 flax eggs (2 Tbsp golden ground flax seed mixed with 1/4 cup plus 2 Tbsp filtered water, allowed to sit 15 minutes)
- 1/4 cup plus 2 Tbsp avocado oil or other neutral oil
- 2 Tbsp smooth peanut butter
- 1/2 cup thin plant based milk
- 1 1/2 tsp pure vanilla extract
Filling:
- 3 Tbsp smooth peanut butter
- 1/4 cup raspberry jelly
Frosting:
- 1 1/2 cups vegan butter, I used Earth Balance (at room temperature)
- 2 Tbsp smooth peanut butter
- 3-4 Tbsp plant based milk (I used Oatly, but you can use what you prefer), add 3 then if needed add another if frosting comes out too stiff
- 1 tsp pure vanilla extract
- 4 cups powdered sugar
- 1 Tbsp raspberry powder (freeze dried raspberries ground to powder)
Instructions:
- Preheat oven to 350F degrees, and line 2 6 inch round cake pans with parchment on the bottom and oil the sides.
- In a large bowl, combine the flour, sugar, baking powder and sea salt and whisk to blend.
- Add the flax eggs, avocado oil, peanut butter, milk, and vanilla and beat with an electric mixer for about a minute (or 3 minutes if doing it by hand with a whisk).
- Pour the cake batter into the prepared pans, dividing evenly between them.
- Place the cakes in the oven and bake for about 30 minutes until the cakes are done in the center (you are able to insert a toothpick into the center and it comes out almost clean with a few moist crumbs).
- Remove from the oven and let cool 20 minutes, then remove the cakes from the pans by cutting around the sides, placing a plate on top then inverting it and tapping on it. Allow them then to cool completely once they are out of the pans.
- To make the frosting, beat the butter with the milk and vanilla until fluffy.
- Add the powdered sugar 1 cup at a time, and beat until completely mixed and light and fluffy (if the frosting is too stiff add that other Tbsp of milk). Remove 1/2 cup and mix the berry powder into it.
- When ready to frost, Place one cake layer on a plate, spread the peanut butter over it, then spread about 1/2 inch thick layer of the peanut butter frosting over it, and pipe a barrier the edges to keep the jelly in and spread the jelly in the center of that. Top with the next cake layer.
- Spread some more peanut butter frosting on the top and down the sides of the cake evenly, then place the rest of the peanut butter frosting in a pastry bag and use it to decorate the top, as well as the berry frosting to bag to do the same. This frosting recipe makes enough that you should be able to do some generous piping decorations on top, because I like a lot of frosting!
- Serve the cake and enjoy!
