When I was a kid, sloppy joes were a staple at just about every summer gathering or party that I went to. Most likely because they were great for making in a crock pot and having ready ahead of time, and everyone loved them. They actually weren’t my favorite most of the time unless someone had a really good recipe but I still would eat them as was tradition. Now of course I have to pass most of the time because I am vegan and ground beef an option for me. But I have come up with a recipe to make at home that I actually really love, much more than those ones I grew up eating. I am a big fan of lentils, and I had seen other people make lentil sloppy joes so I gave it a go.

The only putzy part about this is cooking the lentils, but luckily they cook a lot faster than most beans. I cooked mine a day ahead of time actually to speed the process. I like to use french lentils for this, but green lentils or brown will work as well, anything that holds its shape and doesn’t fall apart too much (like red lentils, which would not be a good option). I made a simple sauce for these with ingredients I already had on hand and it worked out great!

I know some people put a lot of extra veggies in their sloppy joe mix but I just went with onions, garlic and tomatoes and kept it simple. To make it BBQ flavored and a bit tangy, I added apple cider vinegar, mustard, maple syrup for a little sweetness and some smoked paprika to give it that smokey flavor. I don’t like my sauce super sweet, but if you are one of those people that does, feel free to add a little maple syrup. That is what cooking for yourself is all about, making recipes that are tailored to your own tastes!

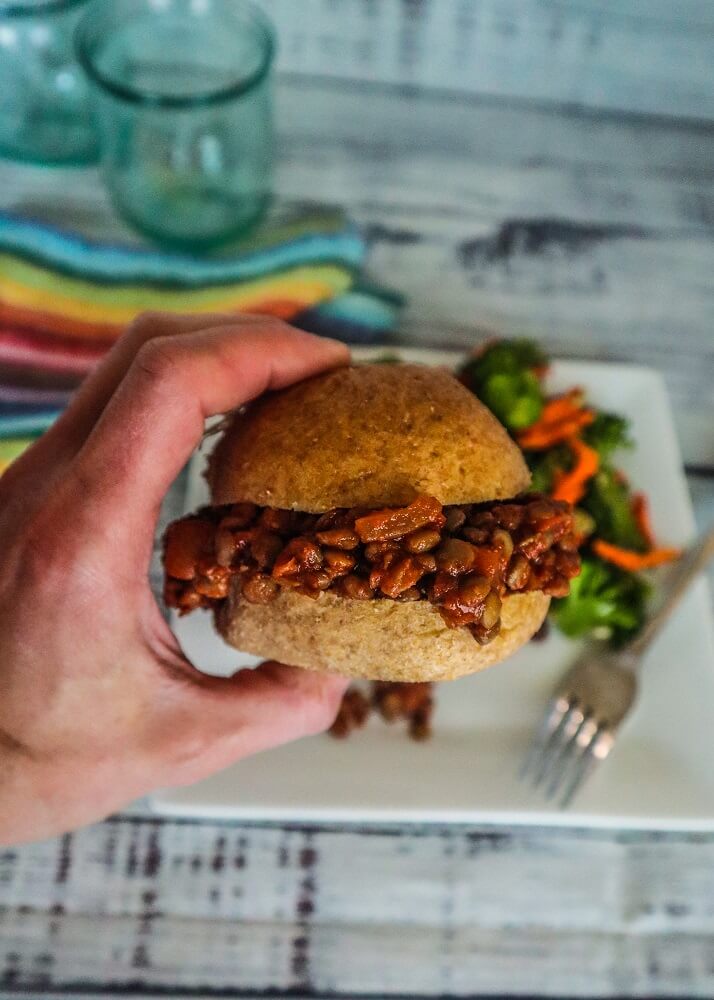
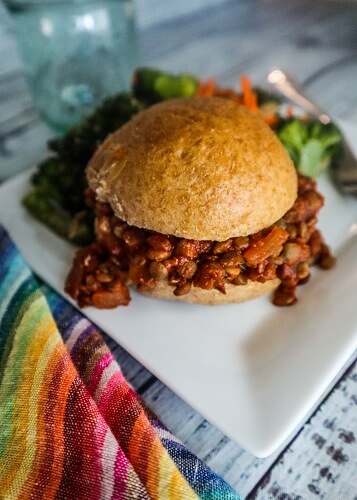
These turned out super delicious! They were way better than the ones I grew up eating. They had plenty of flavor, and were filling without being heavy. I served them on buns the first day, but for leftovers the next day I served them over some brown rice and that was good as well! So you have options here if you are not a bread person or are gluten free. I hope you all are having a wonderful summer so far!
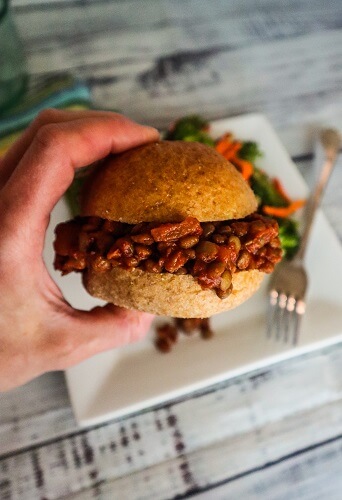
BBQ Lentil Sloppy Joes
Makes 8
Ingredients:
- 1 1/3 cups dried french lentils or green lentils
- filtered water
- 1 tsp olive oil
- 1 medium onion, minced
- 2 garlic cloves, minced
- 1 6 oz can tomato sauce
- 1 5 oz can tomato paste
- 3/4 cup filtered water
- 2 Tbsp cider vinegar
- 1 Tbsp dijon mustard
- 1 Tbsp maple syrup
- 1 tsp smoked paprika
- 1/2 tsp black pepper
- 1/4 tsp sea salt, or to taste
- 8 whole wheat buns for serving
Instructions:
- In a medium pot, combine the lentils and enough filtered water to cover them by 3 inches. Bring to a boil, then lower to a simmer and cook for about 30-40 minutes or until the lentils are tender but still holding their shape. Remove from heat, drain well and set aside.
- In a medium saucepan, heat the onions and garlic in the oil and saute until starting to turn translucent, about 5 minutes. Add the tomato sauce, tomato paste, water, vinegar, mustard, maple syrup, paprika, black pepper, and sea salt and bring to a simmer. Allow to cook for about 20 minutes to allow the flavors to blend.
- Mix in the lentils, and cook until everything is heated through.
- Serve the BBQ Lentils on the buns.