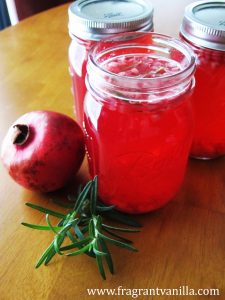
Pomegranate Rosemary Kombucha
I used to make kombucha all the time, after Eric got me into it a few years back. I would make all sorts of delicious flavors, depending on what fruit was in season, and it was pretty exciting! But then my kombucha making fell by the wayside when I got busy, and other things took priority. I had been meaning to get back into it for a while now, because I do love kombucha and it is so expensive at the store. So, I finally started again, about a month ago, and I am now enjoying delicious probiotic rich, healthy kombucha that is pretty cost effective. If you love kombucha, I definitely recommend making your own, because you will save so much money, and you can make delicious flavor combinations. Not to mention it is healthier than some of the store bought brands. It may sound like a difficult process, but really it is easy once you get into it and have it fermenting at all times so you always have a supply.

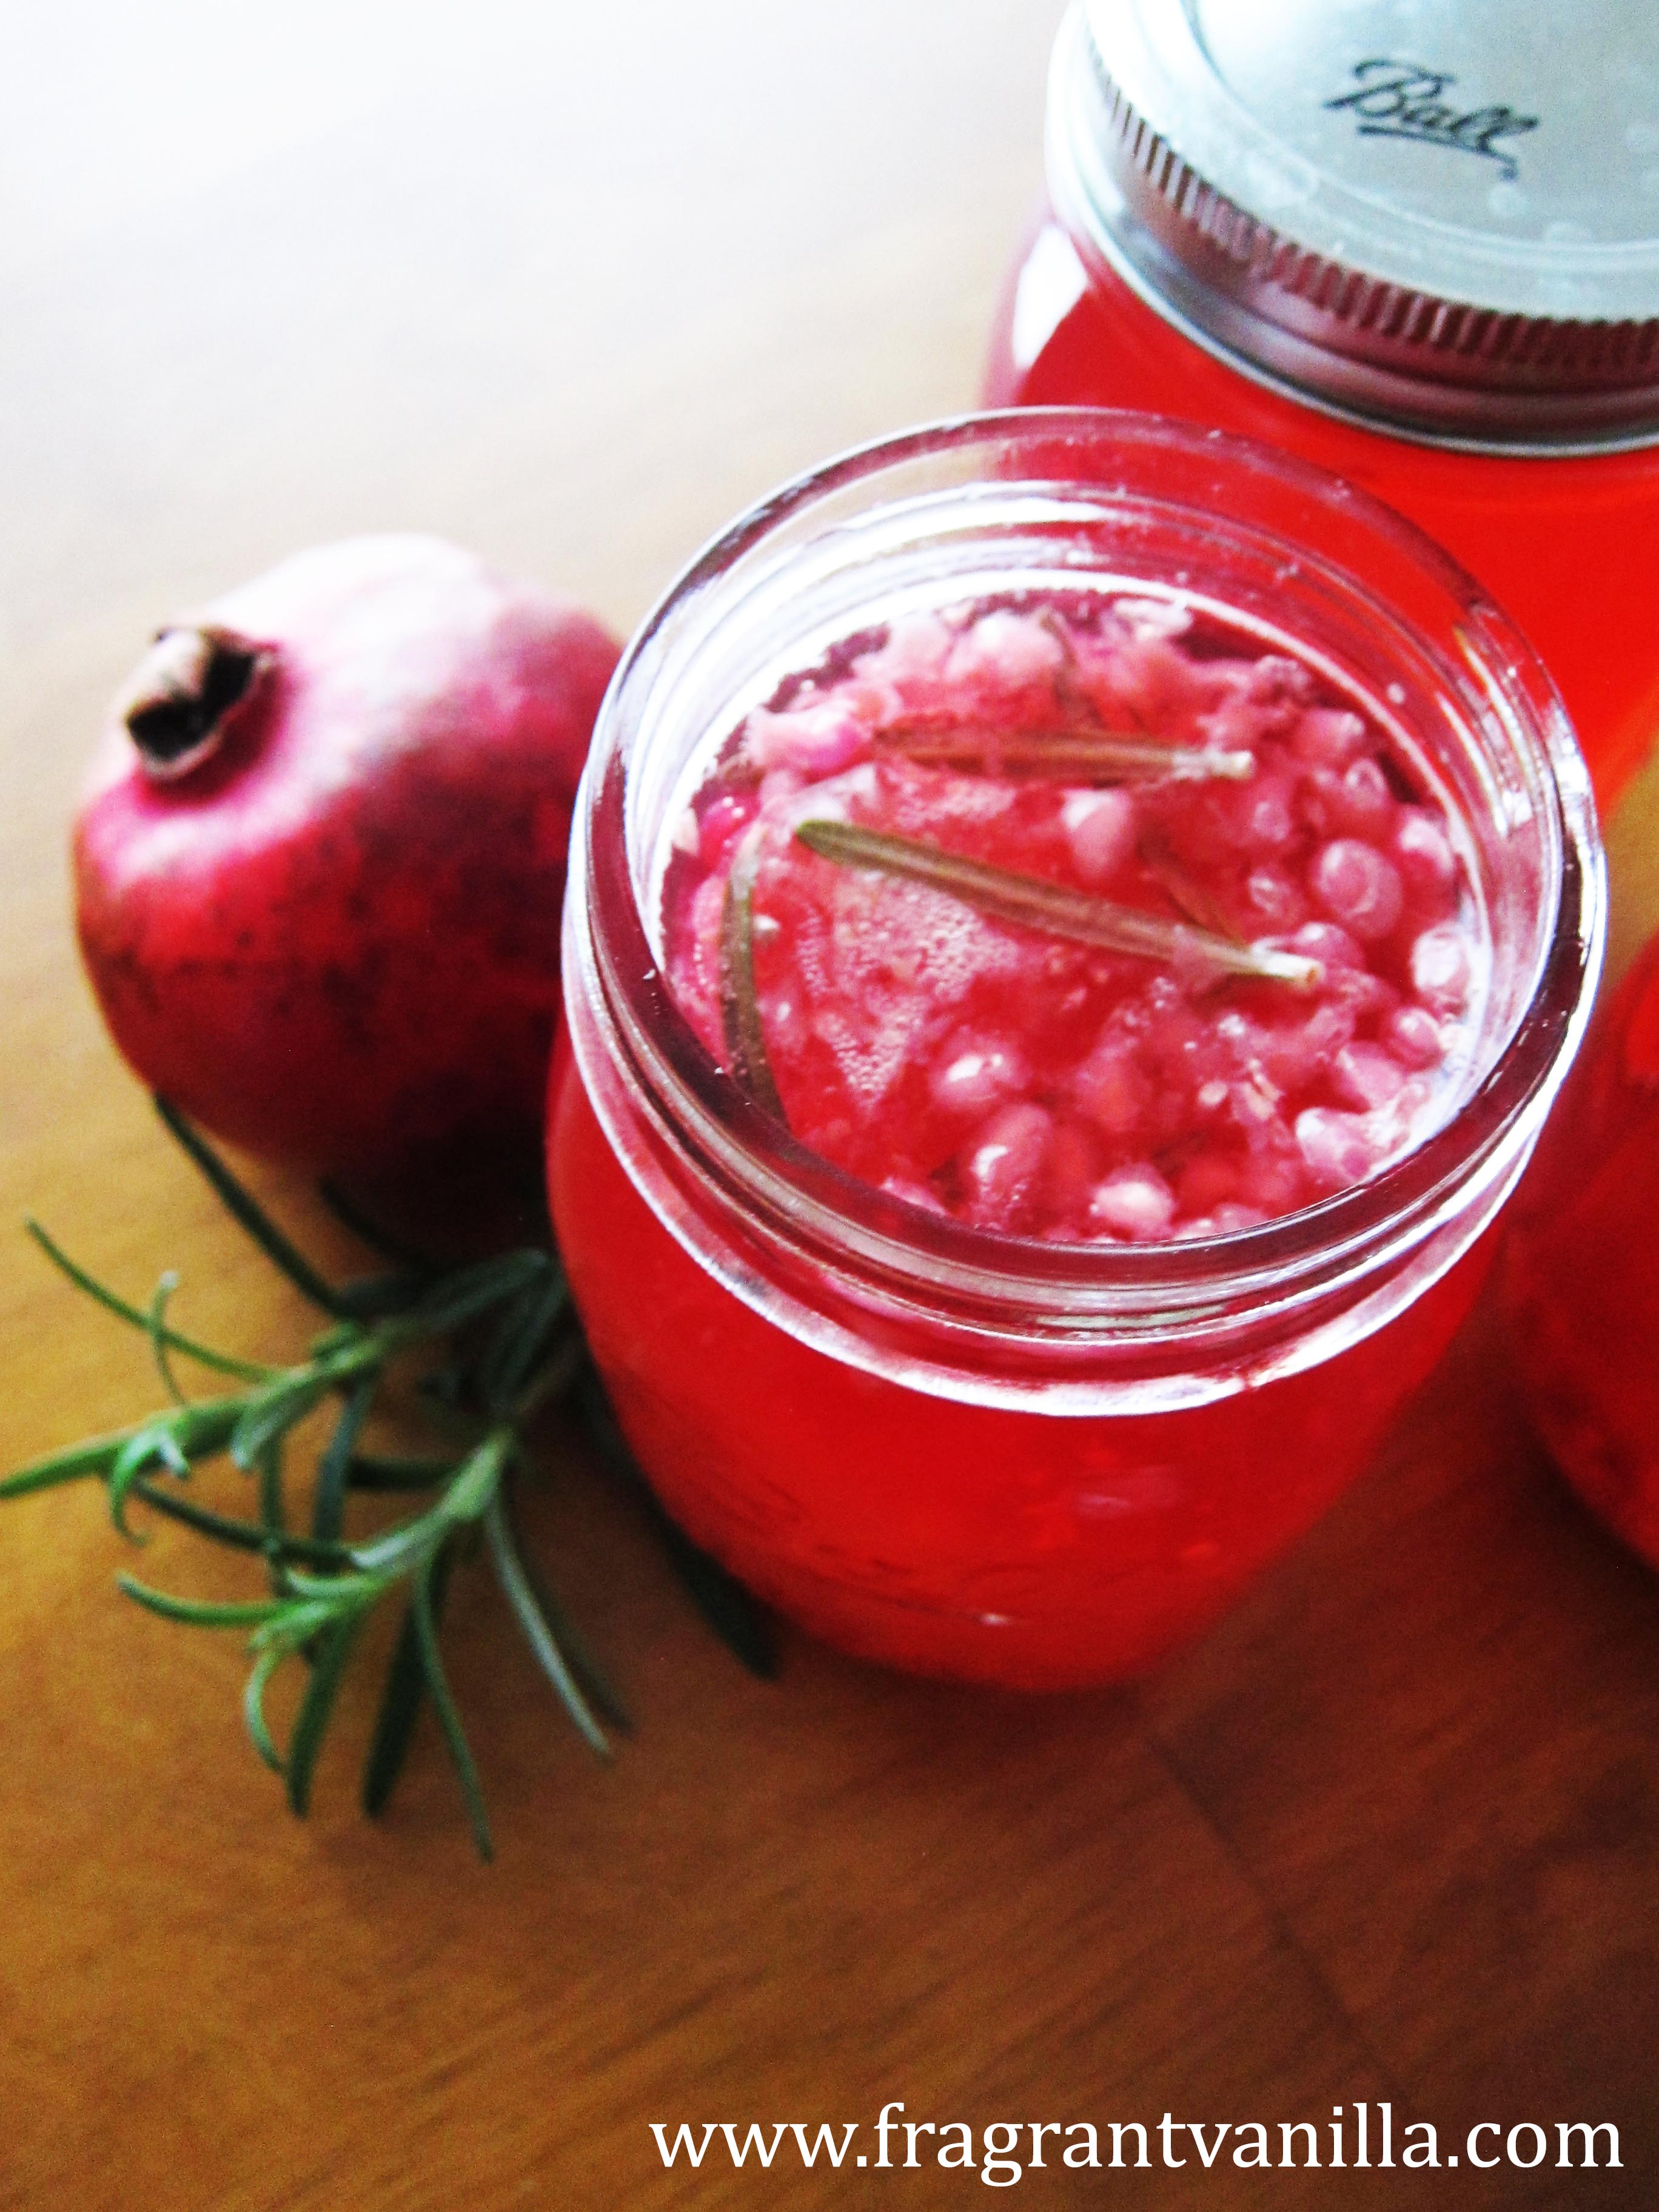
It isn't just the flavor and refreshing element of the kombucha that I enjoy, but the fact that it supplies my body with healthy probiotics. I feel like when I am drinking it my digestion is better, which is probably because of the healthy bacteria it contributes to my gut. I like to flavor mine with a little fruit to make it more interesting, although I like it just plain sometimes as well. This last batch, I decided to flavor with some pomegranate and rosemary because it was just what I happened to have on hand, and it seemed like a good, festive holiday combination!
It turned out delicious, which is why I recommend trying it if you get some kombucha going. Pour some of this kombucha into a glass, and it is sort of like a healthier cocktail! Don't let the amount of time it takes to make this discourage you, it is mostly hands off, and like I said before, once you get a continuous supply going it is easy. Feel free to sub in other fruit for the pomegranate (keeping in mind you might need to puree it) and omit the rosemary or add a different herb to your liking. Also if you have any questions, I am always happy to answer them in the comments section!

Pomegranate Rosemary Kombucha
Makes about 4 quarts
Ingredients:
- 4 quarts filtered water
- 5 Tbsp loose green tea placed in a piece of cheesecloth and tied (like a sachet).
- 1 cup raw sugar
- 1 large glass jar (large enough to hold the 4 quarts liquid)
- 1 cup starter tea (half a 16 oz plain kombucha from the store will work )
- 1 Scoby*
- Cheesecloth or large coffee filters**
- 4 32 oz glass jars
- 1 cup fresh pomegranate seeds, crushed to release their juices
- a few sprigs fresh organic rosemary
Instructions:
- To make the kombucha, wash your hands very well with apple cider vinegar or soap (but not antibacterial because this can contaminate the Kombucha and make it not work). Wash out the glass jar you will be using to make the kombucha with the cider vinegar as well to sanitize it.
- Next, fill a 3 liter pot with 4 quarts of filtered water, and bring to a boil. Boil for 5 minutes to sanitize it.
- Add the green tea sachet, and let steep for about 3 minutes (or as long as you would normally brew tea). Turn off heat and add 1 cup raw sugar. Stir to dissolve, then let sit until the water cools to 75 degrees F. You do not want to add the culture when it is hot, or it will kill it.
- When the tea is cool, pour it into the glass jar and add the starter tea, Sanitize hands with the cider vinegar and gently put the scoby into the tea, cover the top of the jar with the cloth, and secure it tightly with rubber band.
- Put the jar somewhere warm and dark where it won't be disturbed (I put mine in a closet on the top shelf). Temperature should be consistently at least 70 degrees if possible. Lower temperatures will make it grow slowly, but below 70ºF makes it more likely that unwanted organisms will start growing too.
- Wait about a week. When the tea starts to get smelly like vinegar, you can start tasting it. The scoby should form another scoby in the jar, and it may sink and it may float. If it floats though, it helps prevent mold. Note that if you see mold you have to throw the batch away and start over with a new scoby.
- When ready to test, remove a small amount. The best way to pull a sample is with a straw. Dip the straw about halfway into the tea, cover the end with your finger, pull the straw out and drink the liquid inside or put that liquid on the test strip. If the kombucha tastes really sweet, it is not done, and it needs more time to eat the sugar. If it tastes slightly vinegary, it is done and ready to be put in jars. How warm it is in your house affects how fast the kombucha is ready. I find that in the Summer mine is done faster.
- Gently remove original scoby and new baby scoby with clean hands (sanitized with the vinegar is fine) and set them in a clean container. They may be stuck together. Pour a little of the kombucha on them and cover them to save them for another batch (they should be kept at room temperature.
- Pour the brewed kombucha into clean jars (but reserve 1 cup of the kombucha to make another batch next time). Fill them almost to the top but leave a little space for them to get fizzy and to add the flavor. Add some of the pomegranate seeds to to each jar, then sprinkle a few of the rosemary leaves into each jar. Put the lids on tight and let sit 3-5 days at room temperature to ferment and become carbonated. Once they are fizzy, you can strain them into other clean jars (or not depending on your taste). Store in the fridge.
*a scoby is a culture that is used to make kombucha, you can read more about them here: http://en.wikipedia.org/wiki/Kombucha
I grew my own, see how HERE.
**If you tend to have fruit flies, use the coffee filters, because the fruit flies can not go through them, you do not want them getting into your kombucha because you will have to throw it out.
