I haven’t had more than a few days of vacation here and there for at least two years. I have also been working all throughout the quarantine since I amLoading....
View Recipes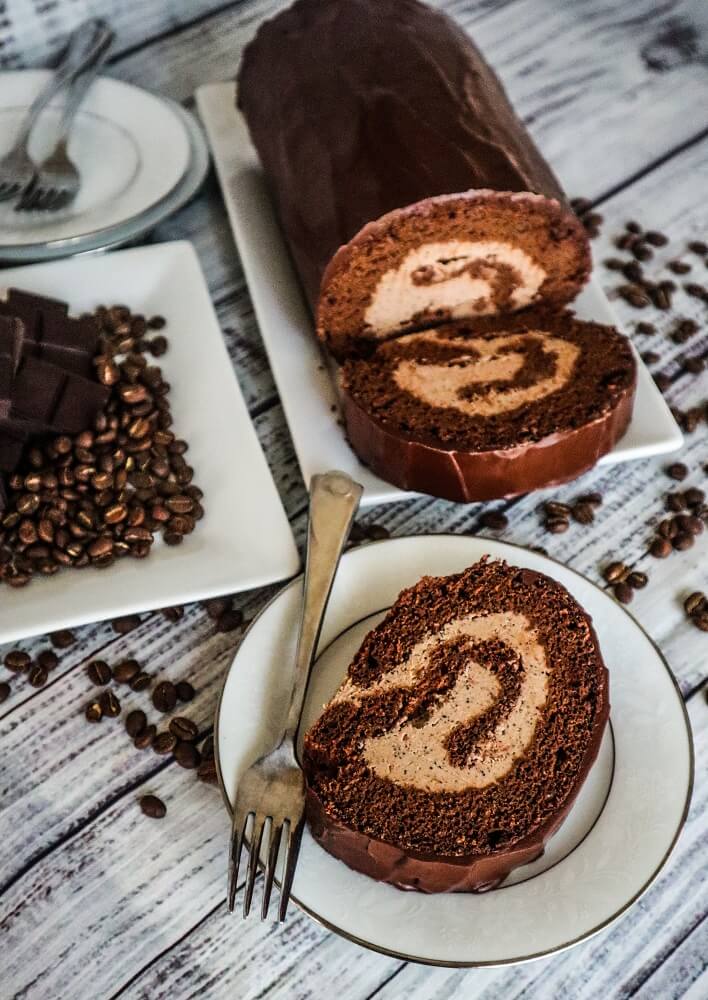
Vegan Mocha Roll Cake
I feel like my Birthday crept up on me this year. There has been so much crazy stuff going on, and so many changes, including my kitchen remodel that justLoading....
View Recipes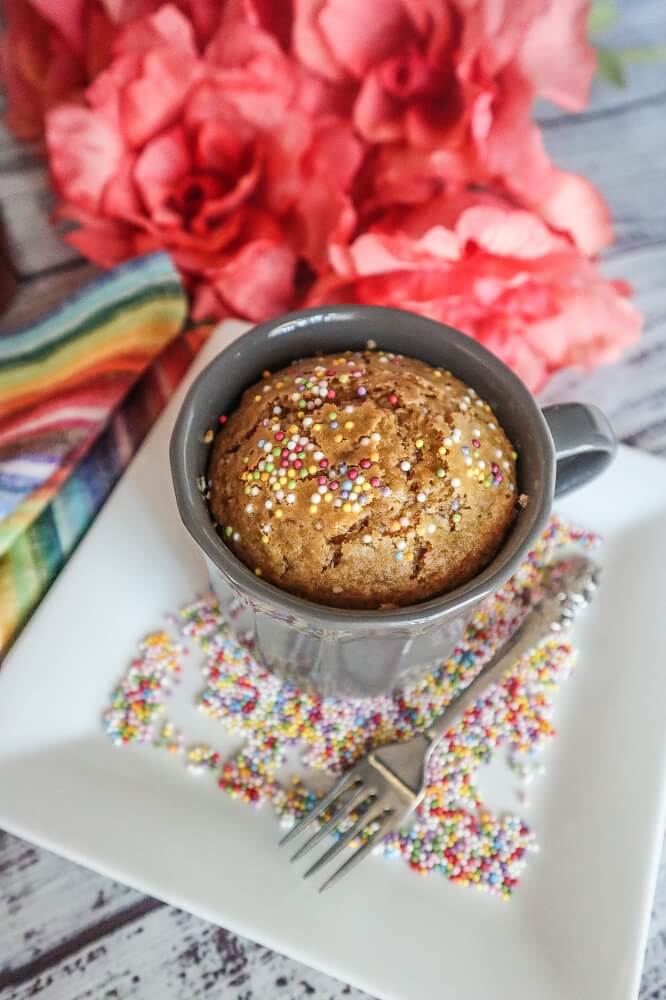
Vegan Vanilla Cake In a Mug
It was Friday, at the end of a long week, and I was in the mood for some cake. But I didn’t want to go through a lot of troubleLoading....
View Recipes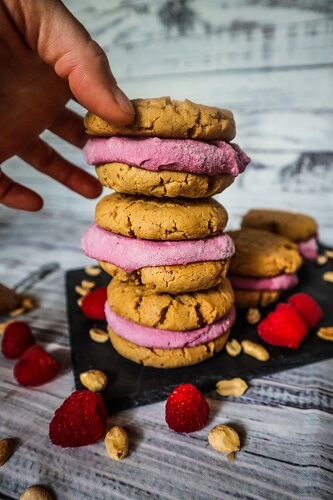
Vegan PB and J Ice Cream Sandwiches
It has been quite steamy outside here in Minnesota lately, so it is the perfect time to enjoy cool treats like ice cream! I have been wanting to make some,Loading....
View Recipes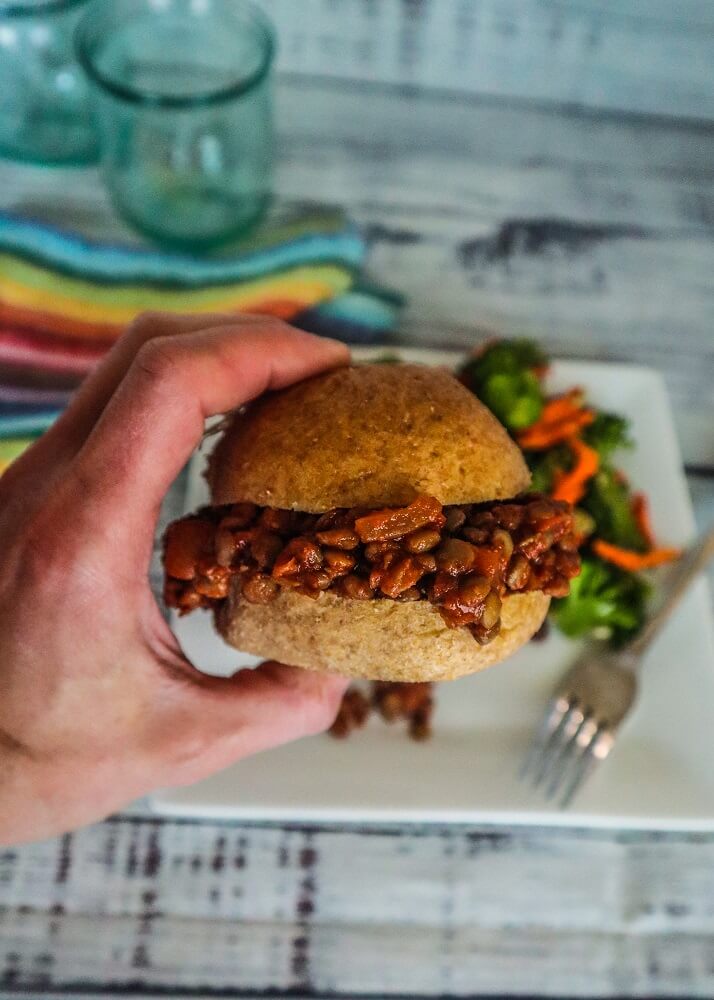
BBQ Lentil Sloppy Joes
When I was a kid, sloppy joes were a staple at just about every summer gathering or party that I went to. Most likely because they were great for makingLoading....
View Recipes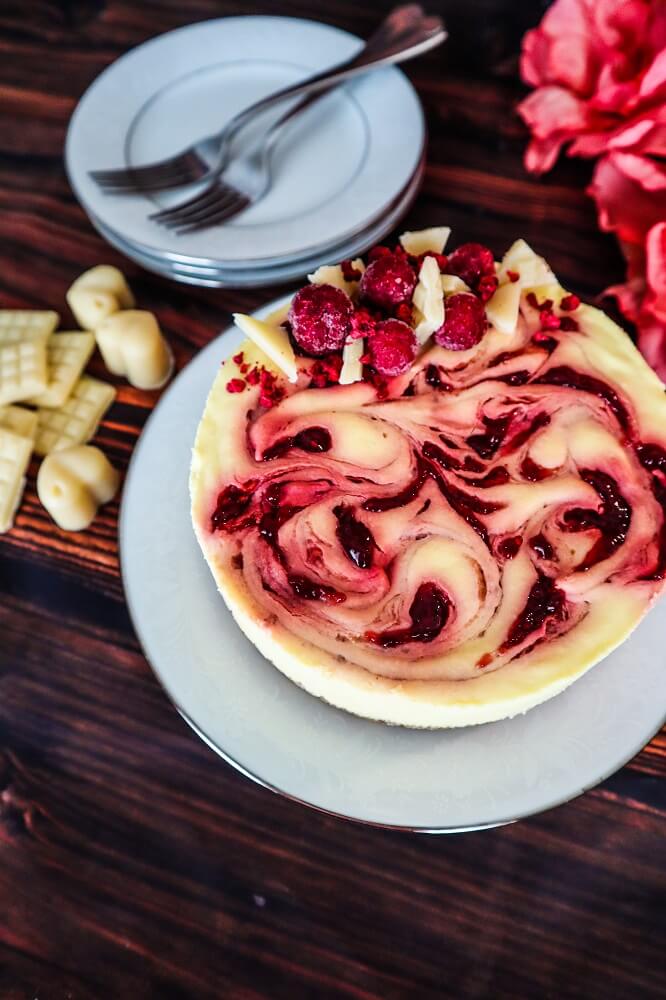
Vegan White Chocolate Mango Raspberry Cheesecake
I can’t believe it is already July! Time has flown this year with all that is going on, and I feel a bit out of sorts as toLoading....
View Recipes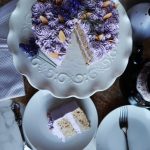
Vegan Lavender Vanilla Almond Cake
I always enjoy making my own birthday cakes, because I love making...
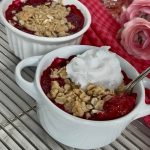
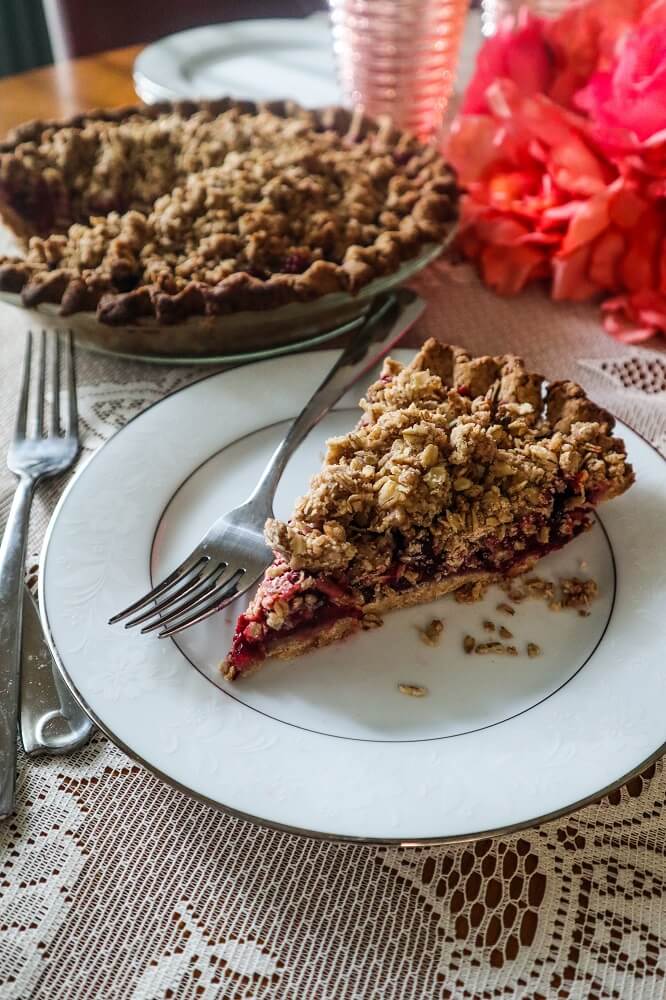
Vegan Raspberry Rhubarb Crisp
I love rhubarb season! Ever since I was little and I...

Vegan Chocolate Pistachio Shortbread Cookie Sandwiches
I was craving some dark chocolate short bread and my Mom had...
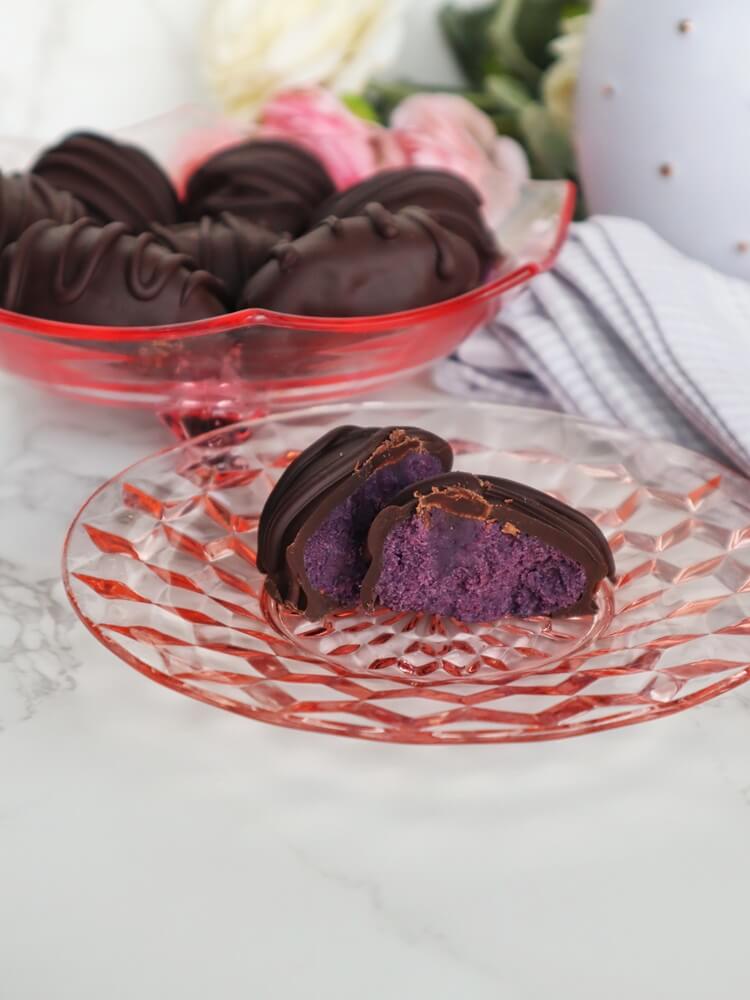
Vegan Blueberry Chocolate Eggs
Even though the stores are filled with Easter candy, I like to...