Nut goodies. The name brings back memories of biting into a maple cream and crunchy peanut goodness coated in smooth chocolate. A child's dream dessert. I have to admit when I was little they ranked right up there with Reese's PB cups if not higher. They are made right here in Minnesota, and I was kind of shocked to find out that my boyfriend Eric who was born in Arizona and just recently moved here in the last 5 years had never heard of them or had one. "WHAT? You, the biggest chocolate lover I know missed out on having a Nut Goodie as a child? You missed out!" I said.
It soon occurred to me that maybe most of the world was missing out on nut goodies and I had to at least create a rawified vegan version so Eric could try one (and those of you who have never had one but still want to enjoy sweets without refined sugars can have one too)!
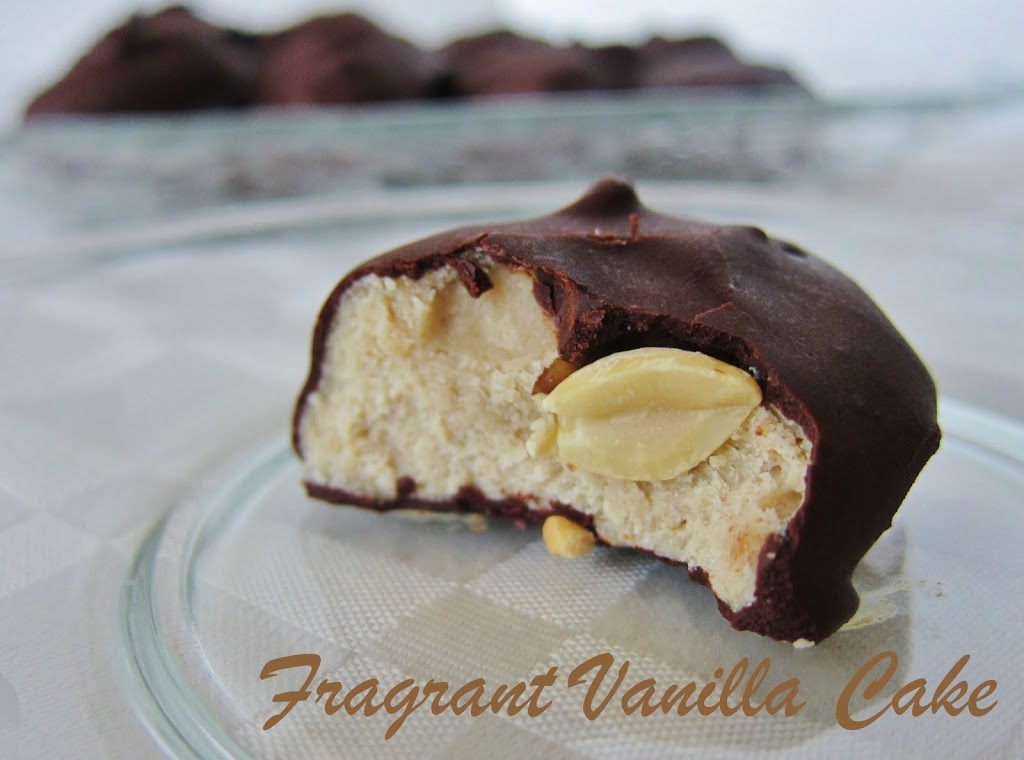
For the filling, I made a maple cream from coconut (you can't taste it, but it makes the texture perfect), some dates for sweetness a touch of maple extract (because it would not be a Nut Goodie without it), and some maca powder, which was perfect adding a bit more sweet and a little toasty note. I then pressed some peanuts into them, dipped them in raw dark chocolate and voila! Raw Nut Goodie goodness! They tasted pretty damn near close to the real thing, and as Eric stood there enjoying about his 4th one with a chocolate mustache, I knew he approved.
Raw Nut Goodie Bites
Makes about 12
Filling:
2 cups finely shredded raw coconut
6 soft medjool dates, pitted
2 Tbsp maca powder
1/2 cup water
1/4 tsp sea salt
1 tsp pure vanilla extract
1 tsp pure maple extract
2 Tbsp coconut butter
1 cup raw jungle peanuts
Raw Chocolate Coating:
1/2 cup raw cacao powder
1/2 cup raw coconut oil
1/4 cup raw coconut nectar (or your choice liquid raw sweetener)
In a high speed blender, combine all the filling ingredients and process until very smooth. Remove from the blender and scoop onto a foil lined sheet by the Tbsp. Press the peanuts into the tops of the filling mounds (but not too hard because you still want them to be mounds). Set in the freezer until firm, about 30 minutes.
Meanwhile, whisk together the chocolate ingredients in a small bowl. Once the filling has firmed up, set on a fork and dip into the chocolate, let the excess drain off, then place back on the foil. Repeat with remaining candies, then place them all in the freezer for 5 minutes to set the chocolate. Store extra in the fridge.